Whats up everybody, long time follower of this awesome message board. My name is Matt and I operate a small(but growing) detail business out of cape coral Fl. looking forward to networking and learning from everyone
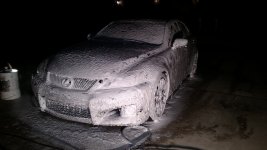
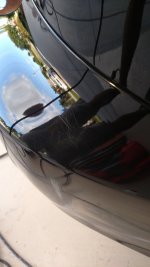
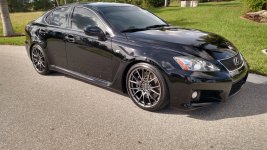
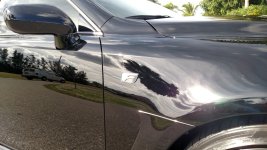
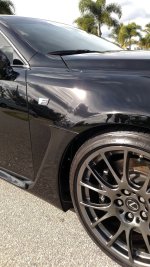
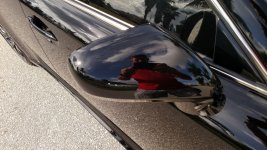
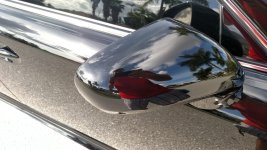
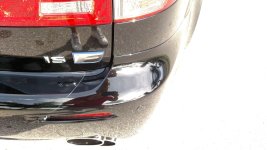
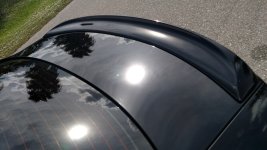
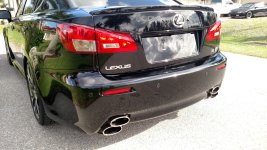
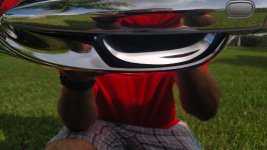
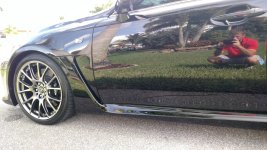
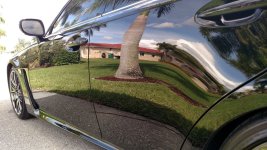
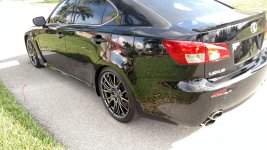
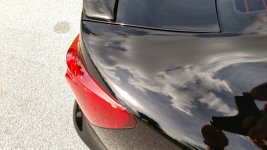
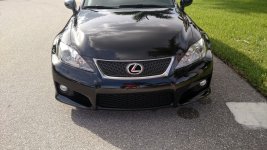
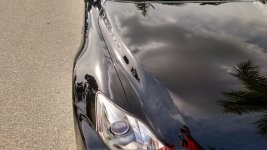
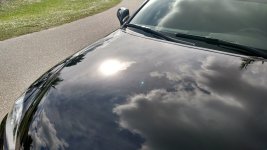
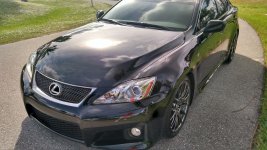
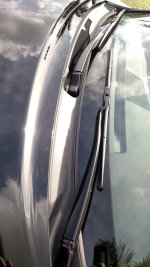
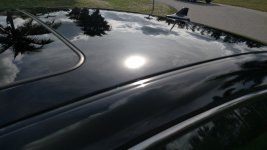
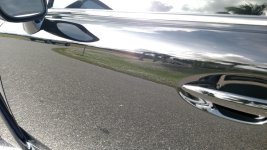
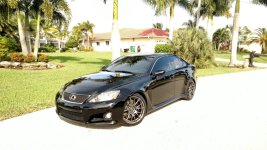
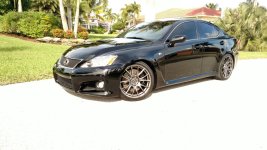
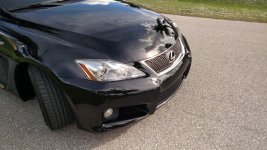
Lets get to the pics, basically im gunna go step by step through a 3 step correction on Gloss Black Lexus IS-F that had been poorly washed and always covered(i hate car covers) so here goes nothing.
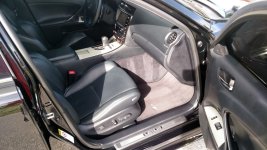
I like starting with the interior as I've noticed moving around the car and vacuuming, brushing, wiping, going in and out can often dust up the exterior. so I started inside
Vacuumed Driver mat, ended up brushing/ scrubbing the lettering.

the clients priority was not the inside so i didnt go too crazy.
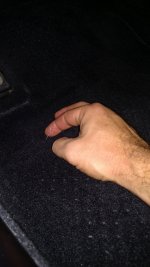
under the floor mat coming through the carpeting was this bugger of nylon thread. didnt seem important so snip snip.

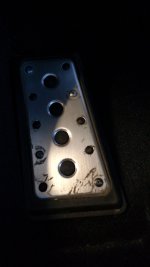
Third Pedal Before:

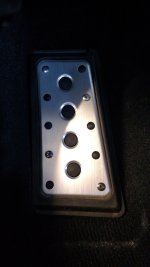
After:

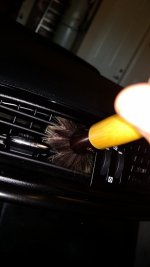
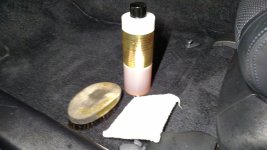
Brushing the vents. In case you want to know this is a womens make-up brush i bought at walgreens. i use my partially saturated with megs APC rag, and run the brush through the rag making it just a tiny bit damp and i find this dampness helps grab the dust which can otherwise be a PITA

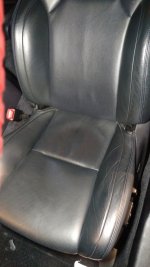
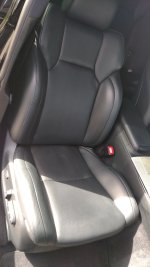
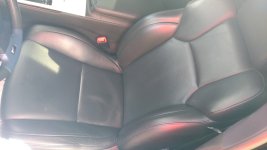
Drivers Seat Clean ready for Leatherique two step.


Here is the Rejuvinator Oil spread. All the interior leather surfaces were treated.

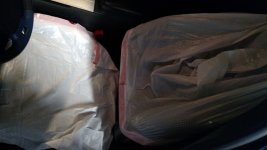
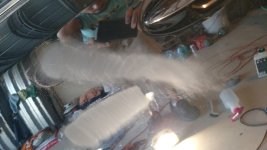
Since i didn't feel like sitting in this oil(ha!) and i planned to let it soak in for the next day or so i would be polishing i covered the seat with new trash bags. I have found that sitting the car in a warm spot, like outside, opens the pores of the leather and lets the treatment really work its magic.

Lets get to the pics, basically im gunna go step by step through a 3 step correction on Gloss Black Lexus IS-F that had been poorly washed and always covered(i hate car covers) so here goes nothing.
I like starting with the interior as I've noticed moving around the car and vacuuming, brushing, wiping, going in and out can often dust up the exterior. so I started inside
Vacuumed Driver mat, ended up brushing/ scrubbing the lettering.
the clients priority was not the inside so i didnt go too crazy.
under the floor mat coming through the carpeting was this bugger of nylon thread. didnt seem important so snip snip.
Third Pedal Before:
After:
Brushing the vents. In case you want to know this is a womens make-up brush i bought at walgreens. i use my partially saturated with megs APC rag, and run the brush through the rag making it just a tiny bit damp and i find this dampness helps grab the dust which can otherwise be a PITA
Drivers Seat Clean ready for Leatherique two step.
Here is the Rejuvinator Oil spread. All the interior leather surfaces were treated.
Since i didn't feel like sitting in this oil(ha!) and i planned to let it soak in for the next day or so i would be polishing i covered the seat with new trash bags. I have found that sitting the car in a warm spot, like outside, opens the pores of the leather and lets the treatment really work its magic.
Attachments
-
 IMG_20151127_160449637_zpsm2tk2qm4.jpg351.7 KB · Views: 209
 -
 IMG_20151127_164527592_zpsy1vuuunx.jpg238.2 KB · Views: 204
 -
 IMG_20151127_164601056_zpsp2m2gi7s.jpg121.5 KB · Views: 200
 -
 IMG_20151127_164927690_zpshtgsneql.jpg158.6 KB · Views: 201
 -
 IMG_20151127_165043543_zpsueu7ddfq.jpg136.9 KB · Views: 202
 -
 IMG_20151127_170429059_zpsxmdokbjx.jpg259 KB · Views: 201
 -
 IMG_20151127_170437181_zps6bmemwtu.jpg229.7 KB · Views: 199
 -
 IMG_20151127_171237679_zpss5ee7nra.jpg289.5 KB · Views: 201
 -
 IMG_20151127_173440208_zpspda7qqoz.jpg174.7 KB · Views: 199
 -
 IMG_20151127_174404759_zpssvbyakss.jpg231.6 KB · Views: 197


")