AndrewBigA
New member
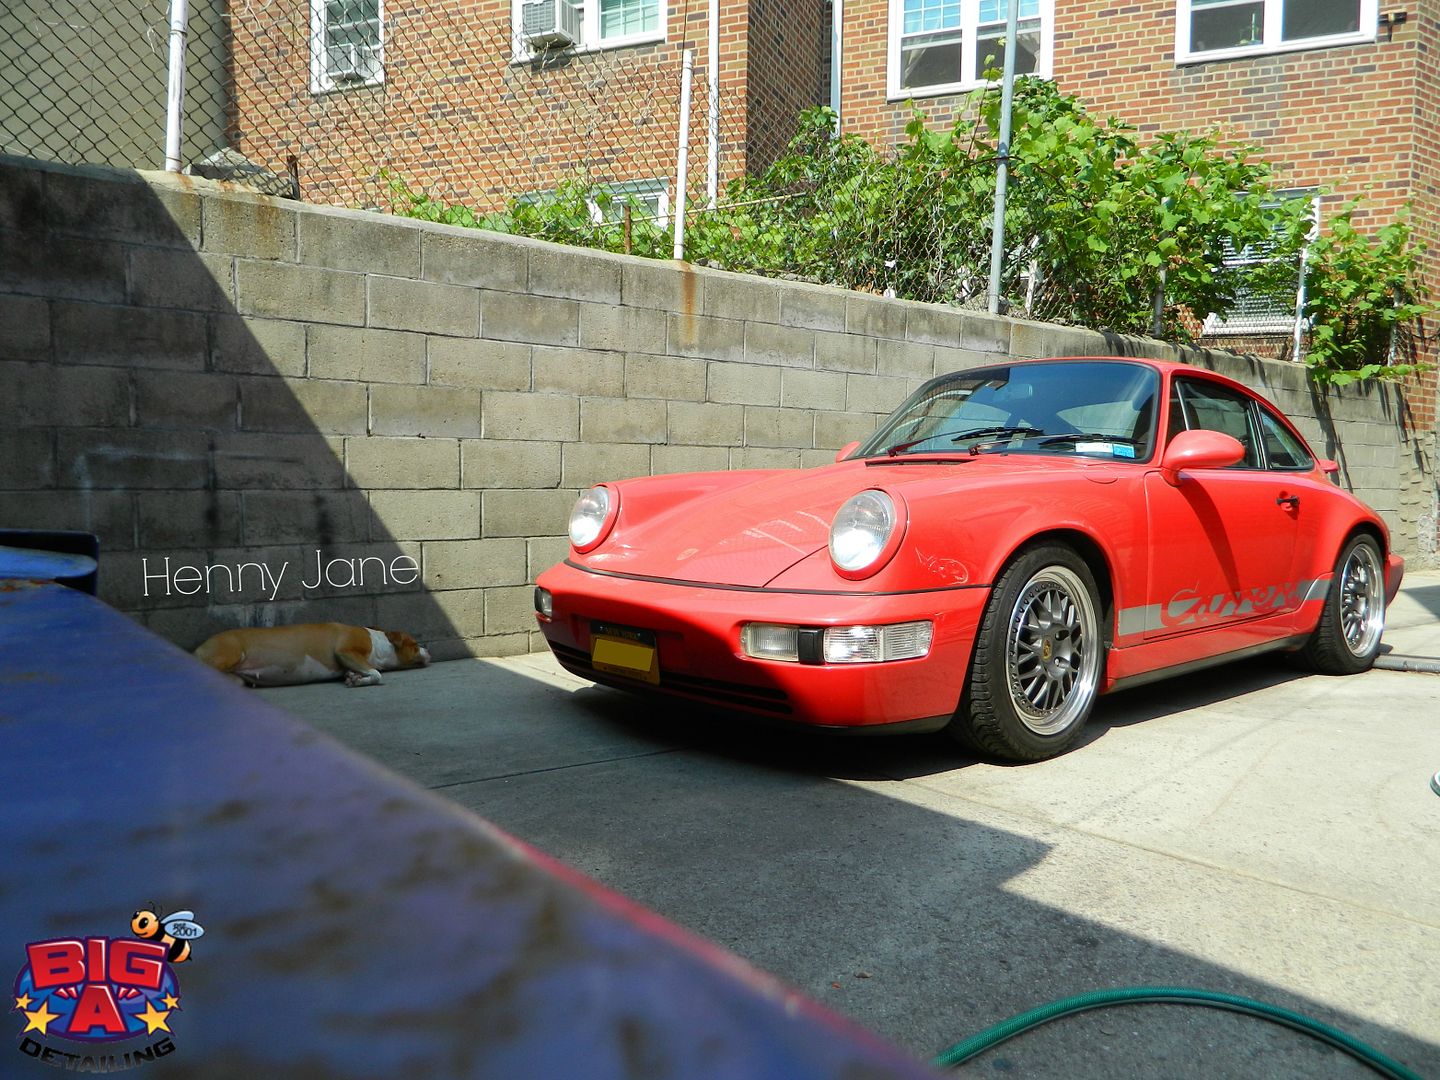
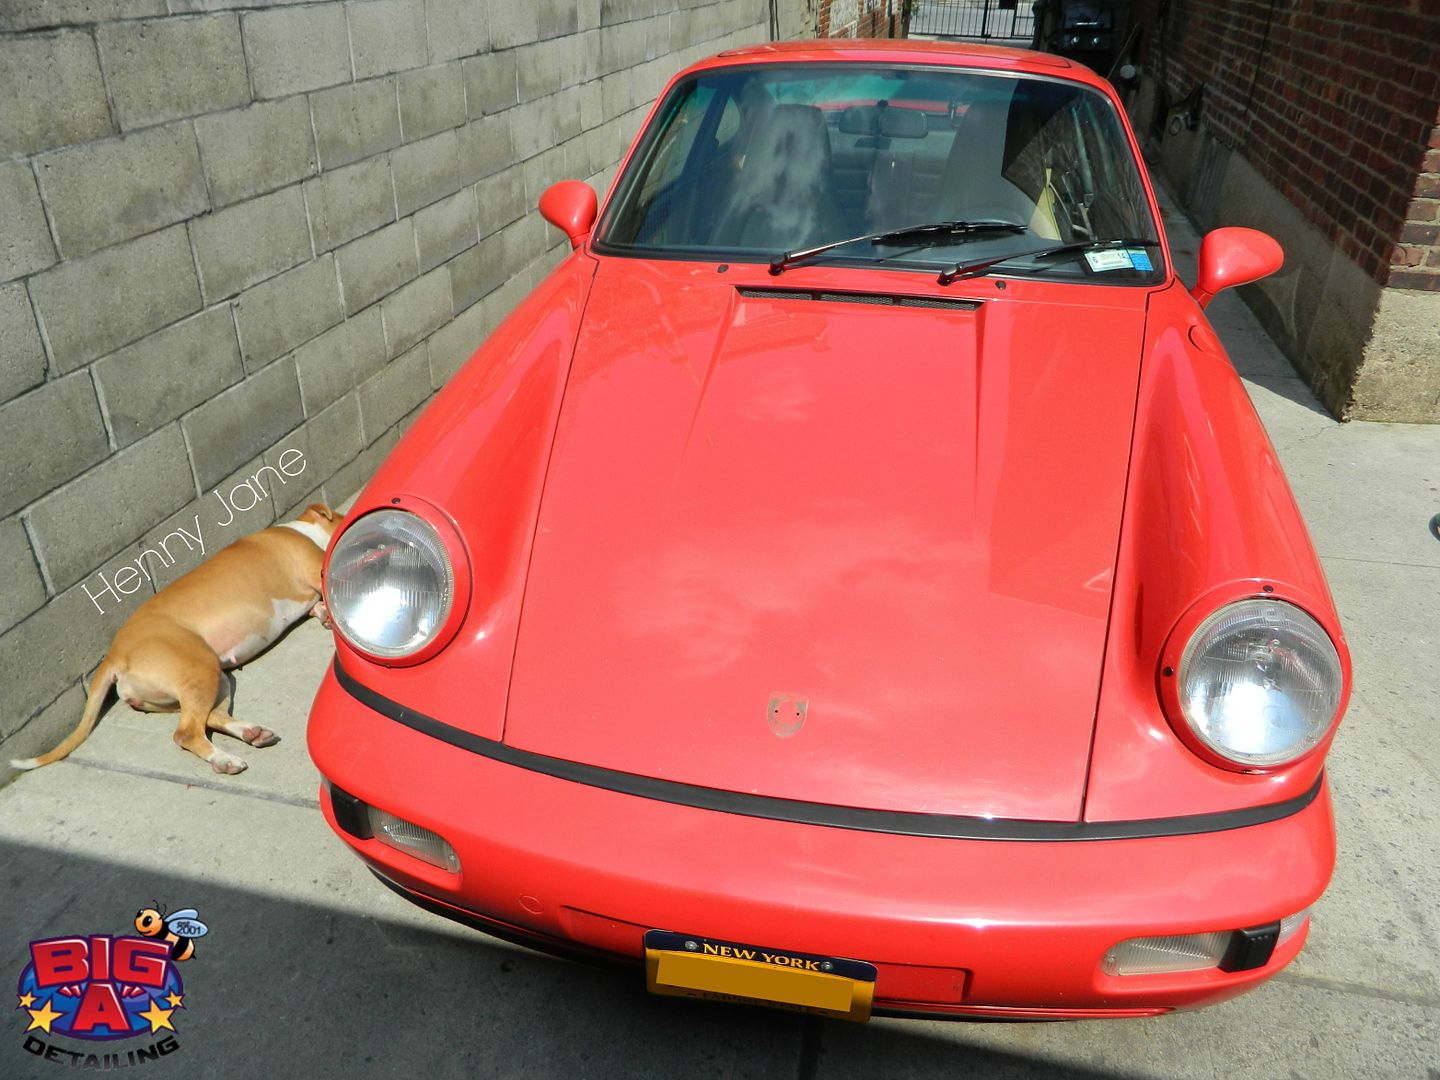
Photoshoot in College Point, Queens NY
by Ronnie C. https://www.facebook.com/ronniecphotography
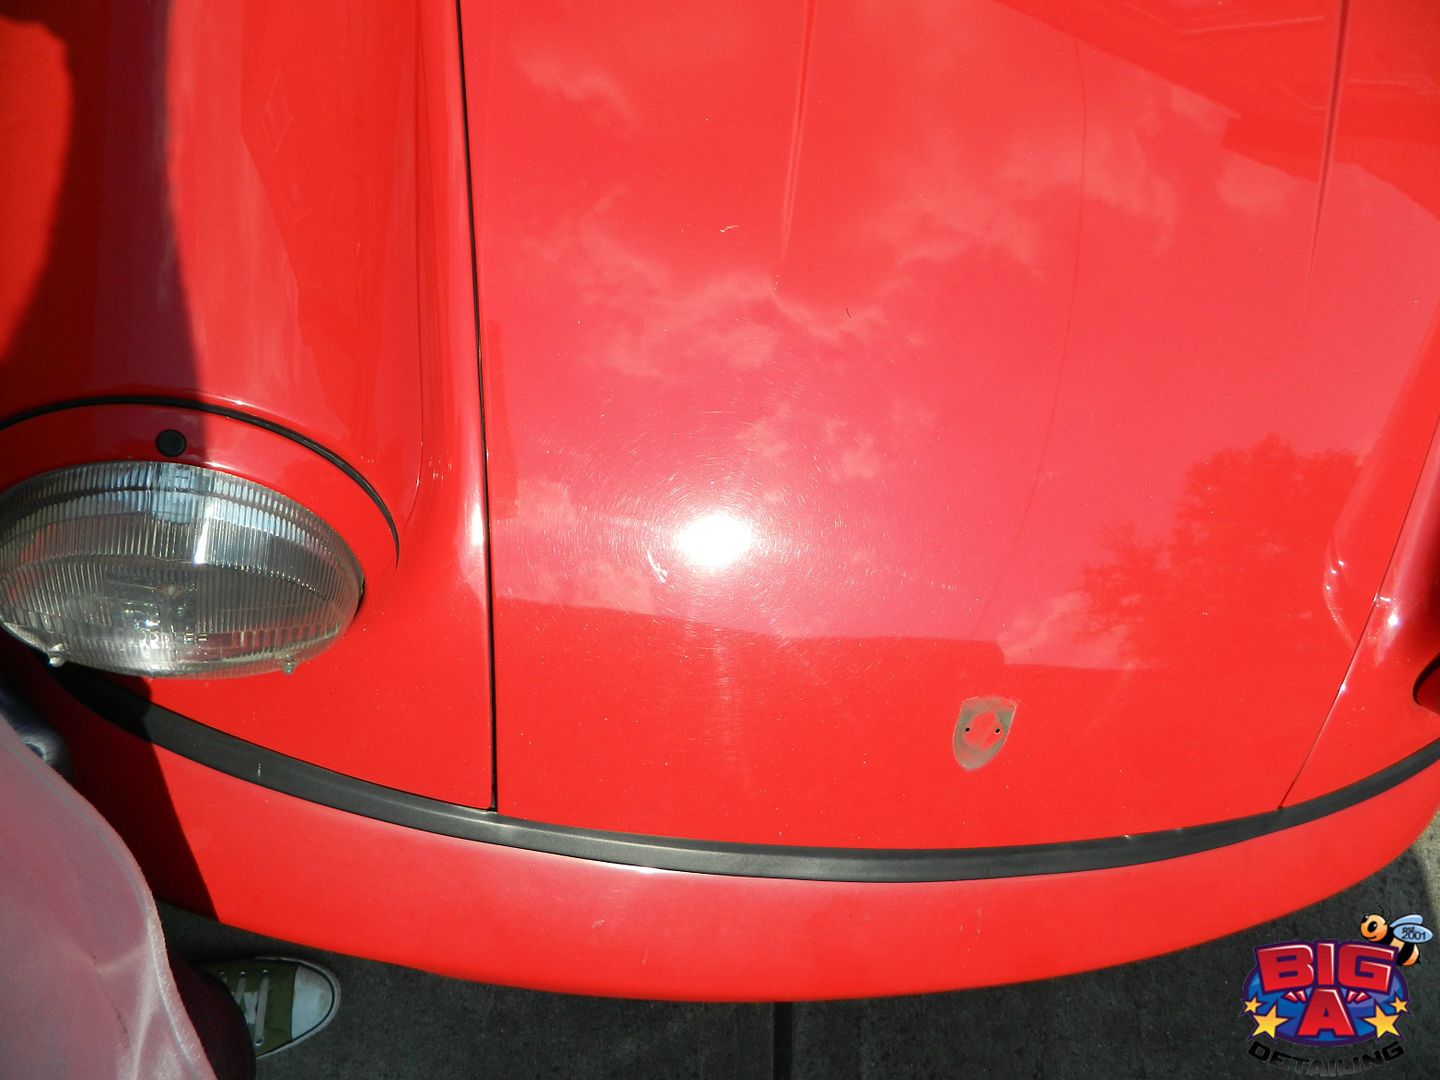
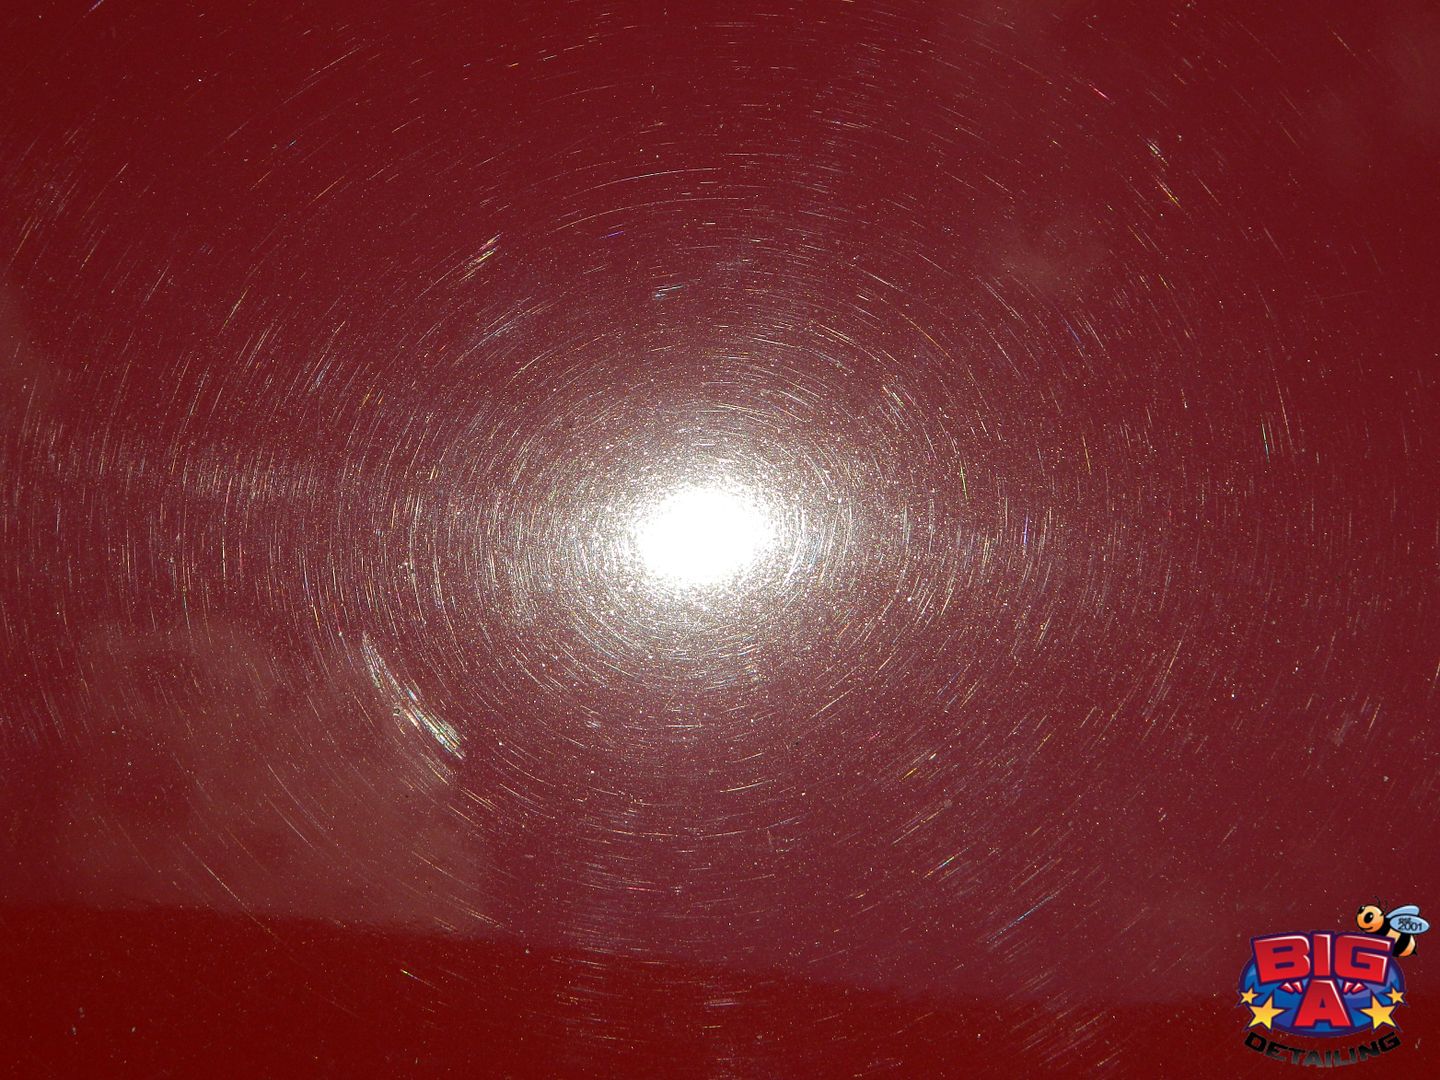
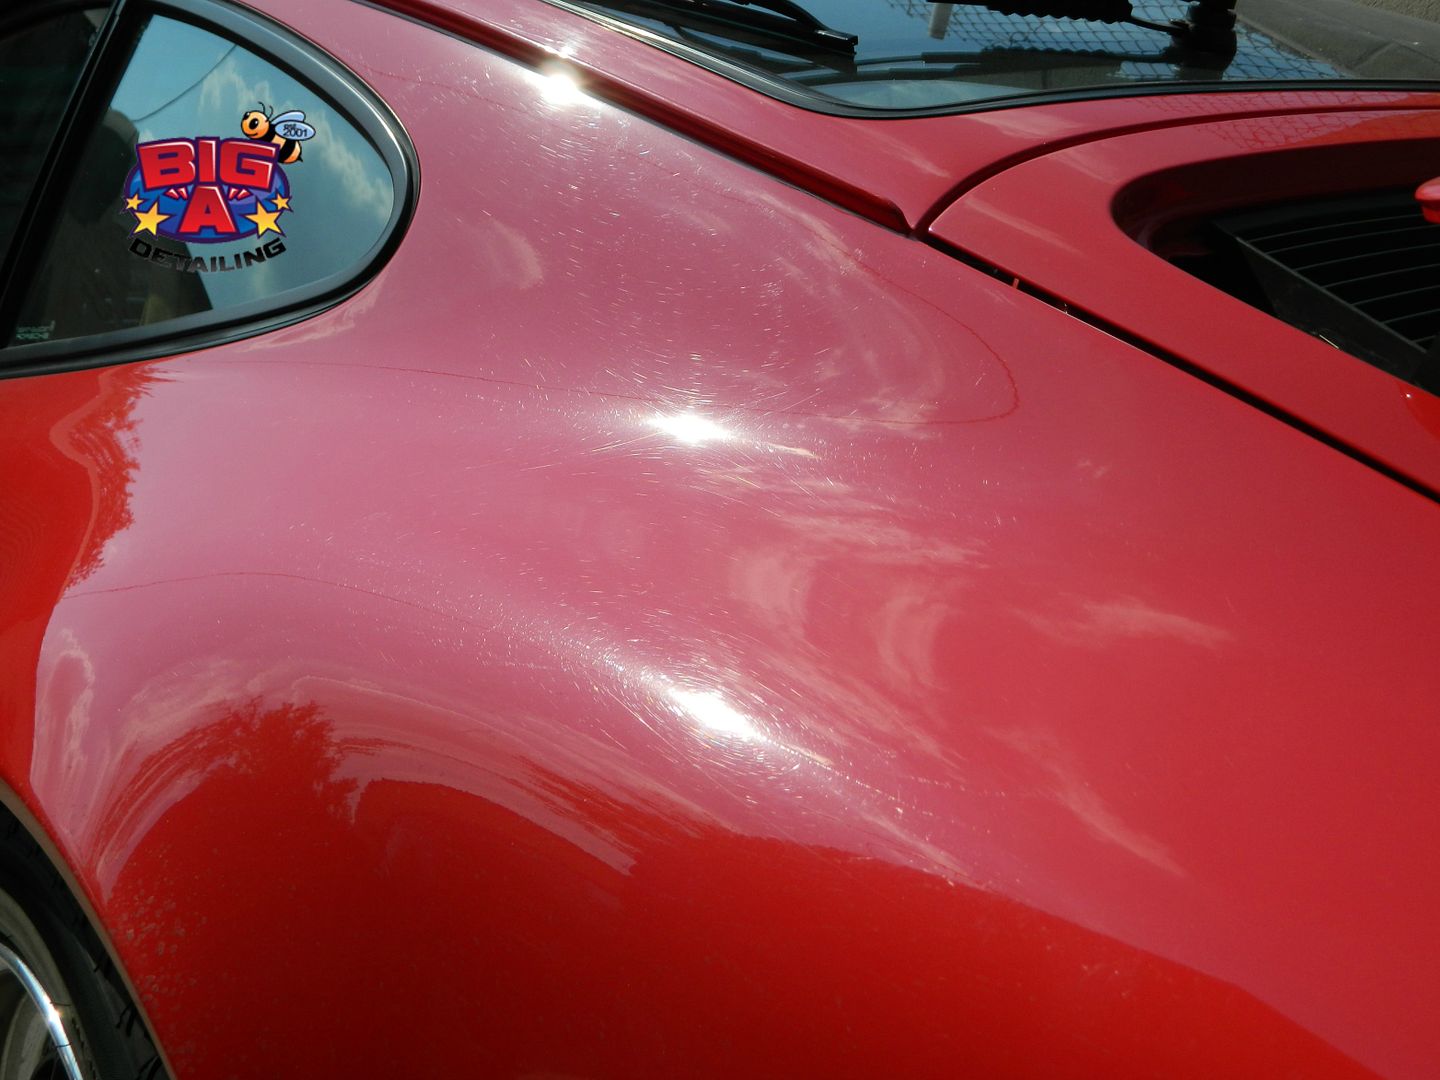
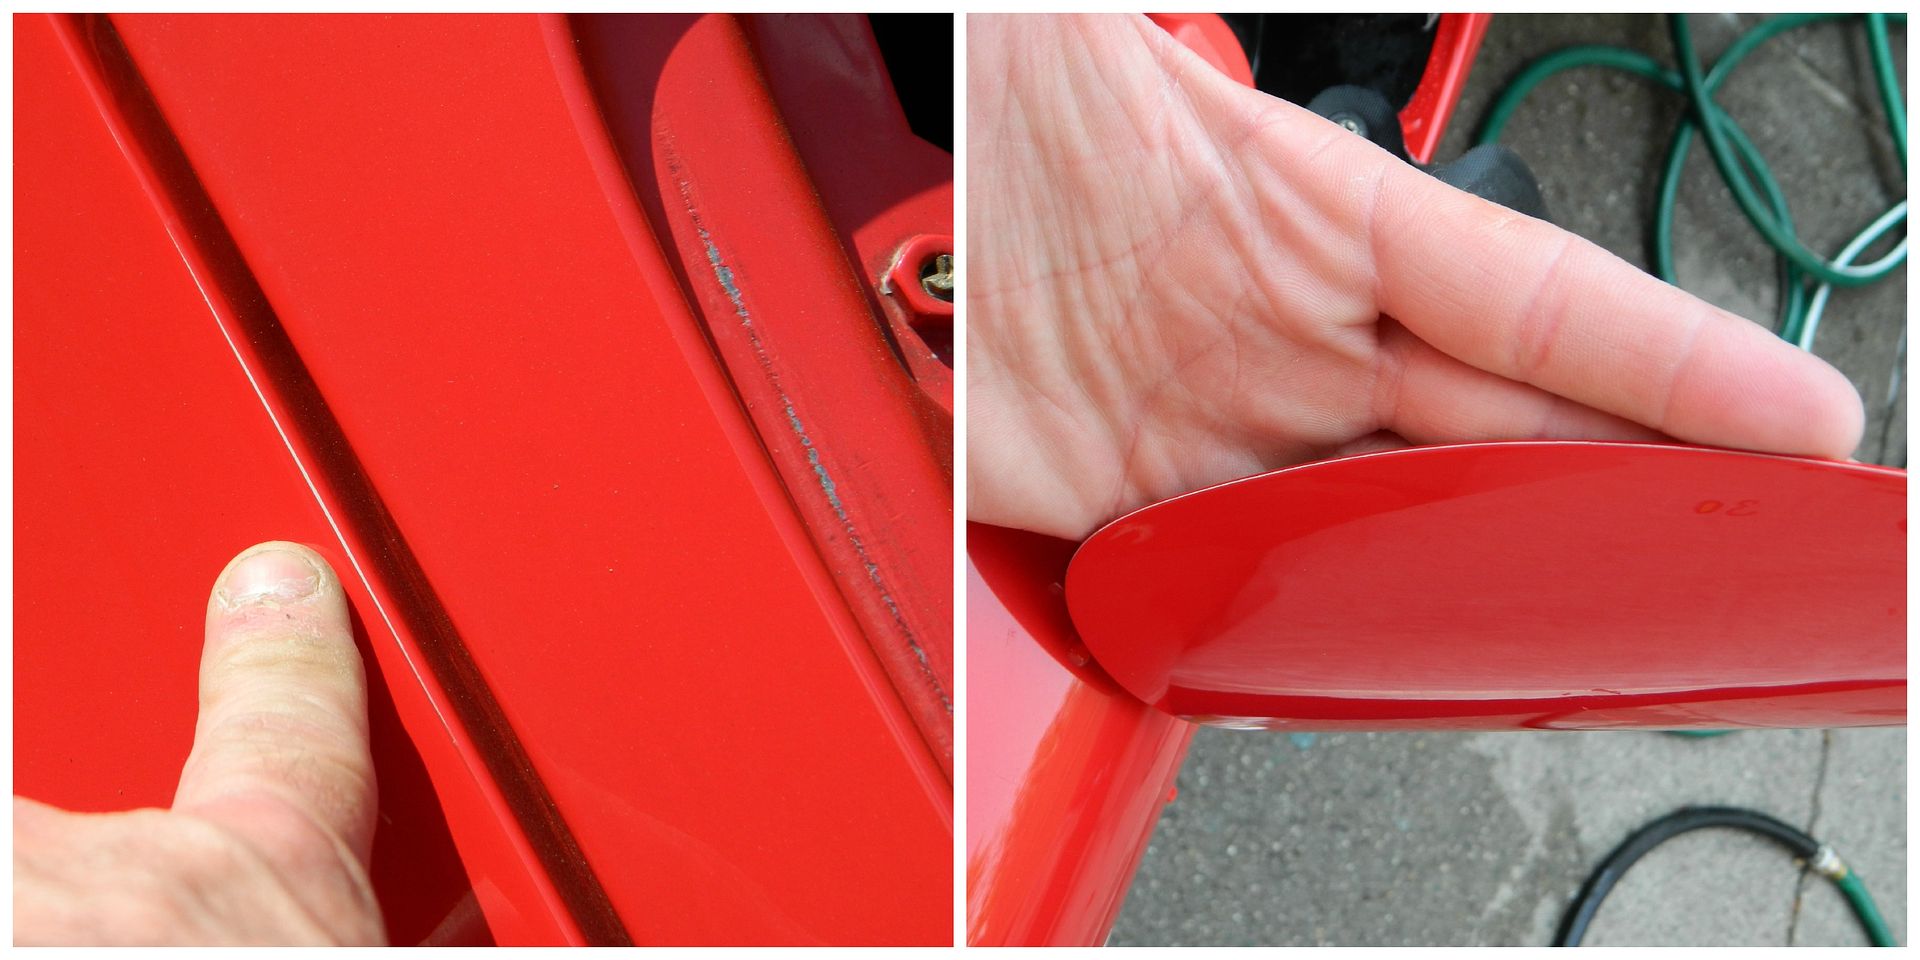
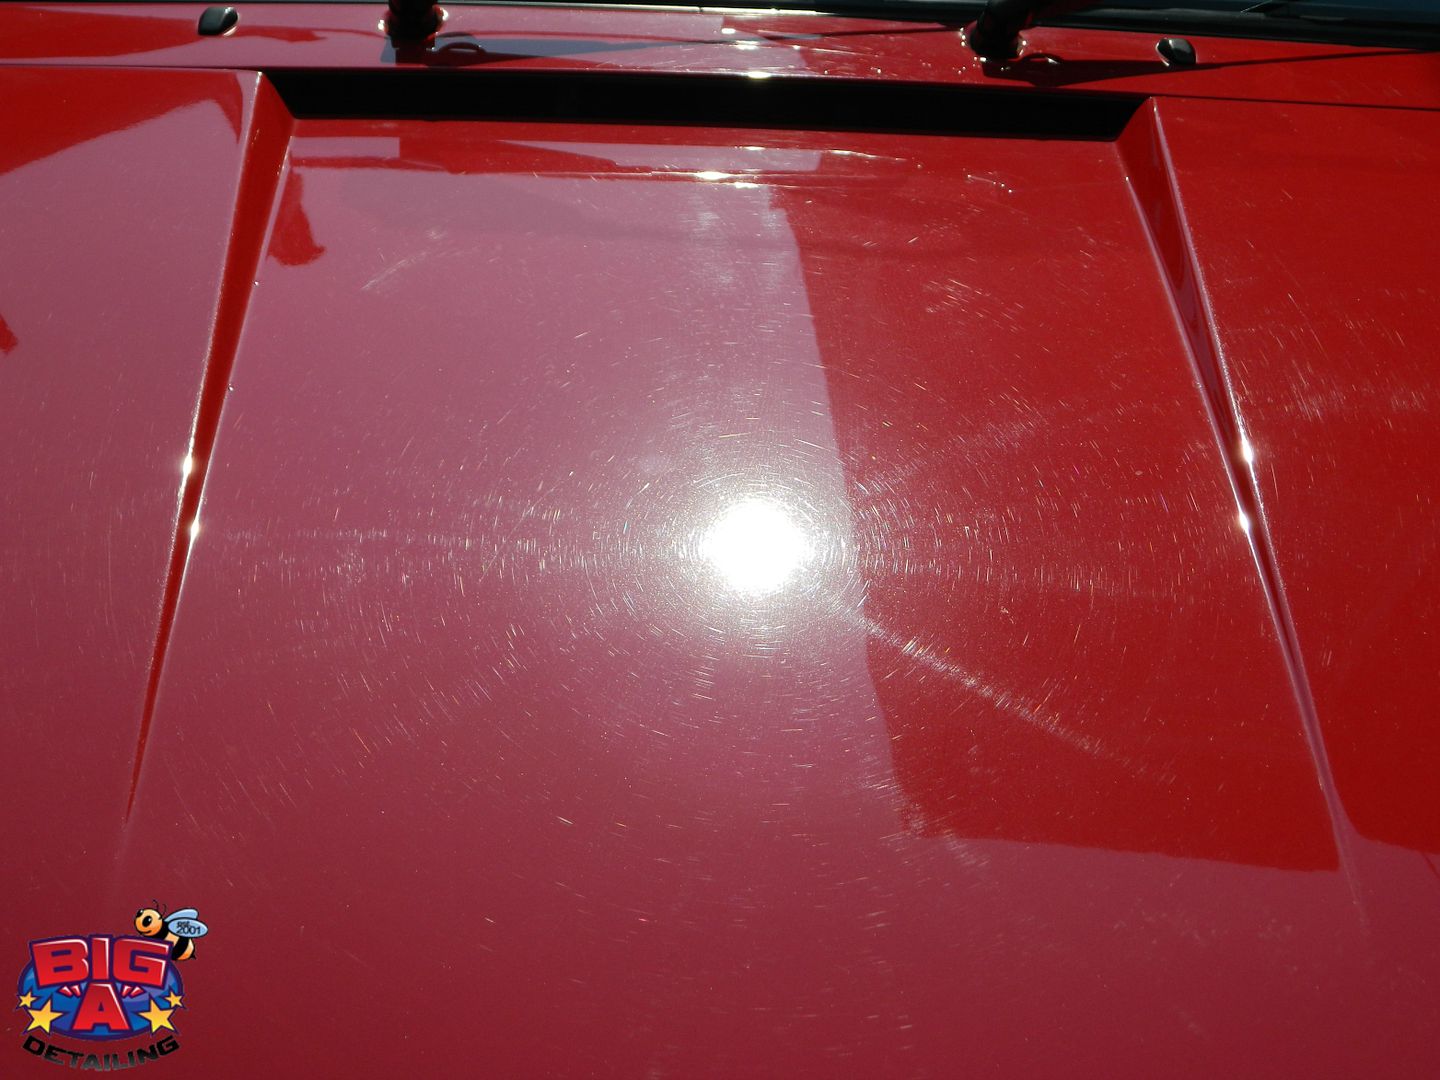
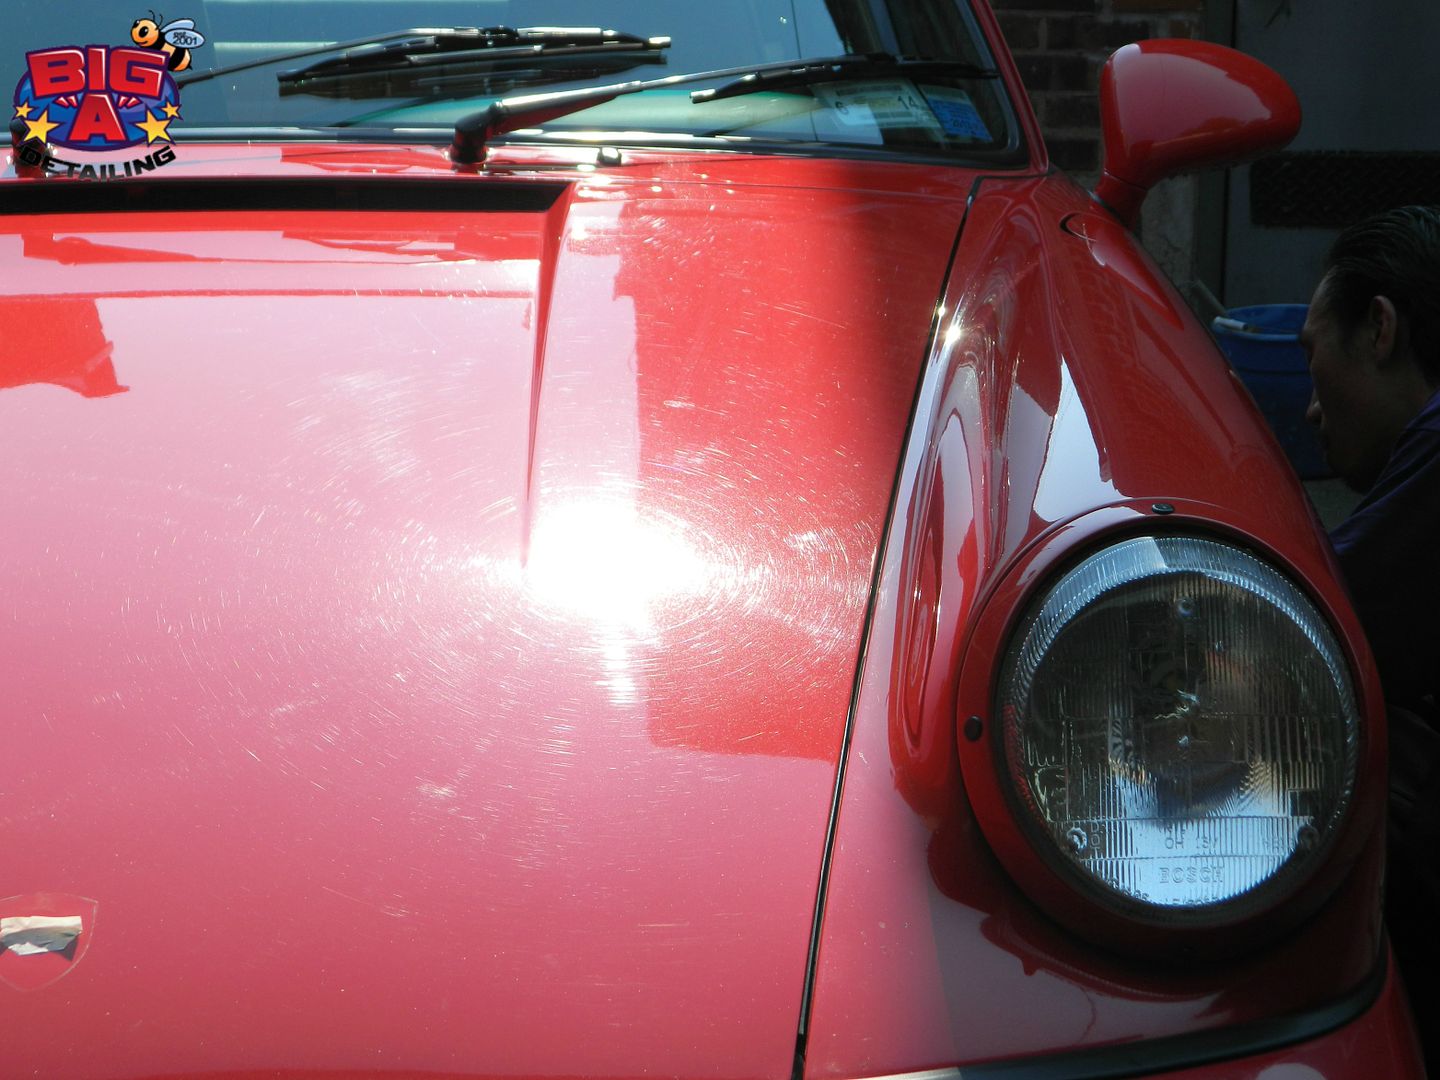
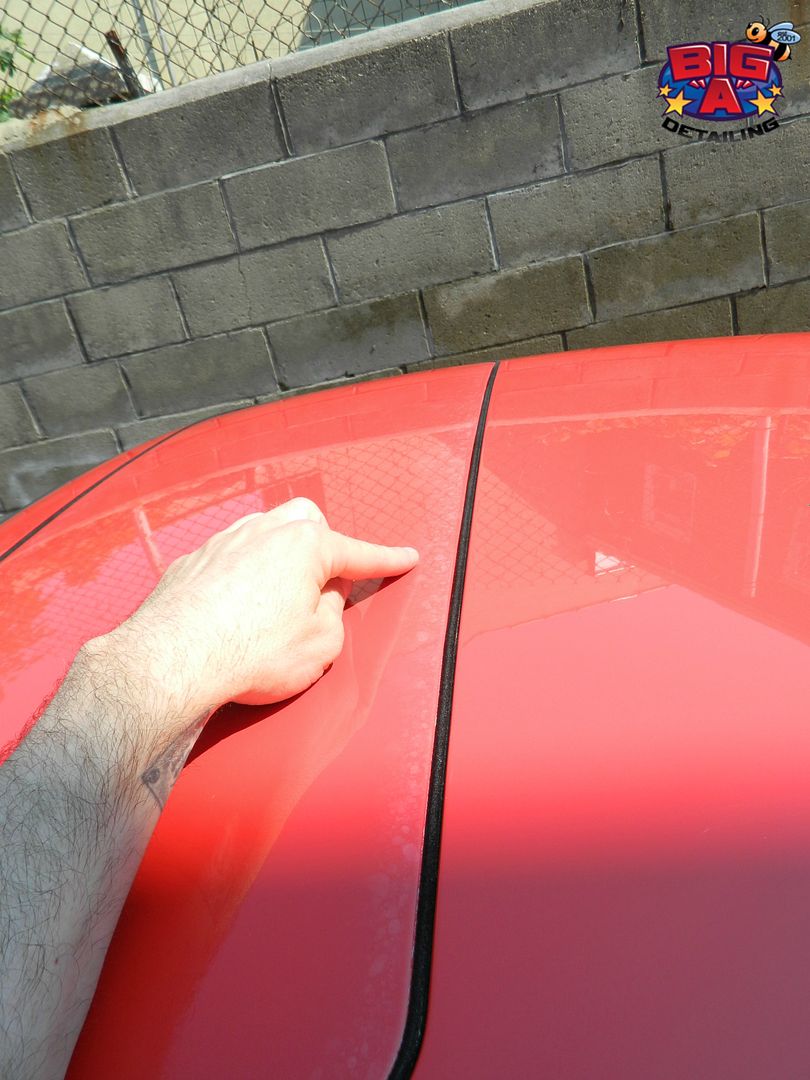
Polishing older single stage paint can be tricky. If you don't cover the edges with tape it will get you in big trouble. I found a few burn marks & tried to touch them up the best I could.
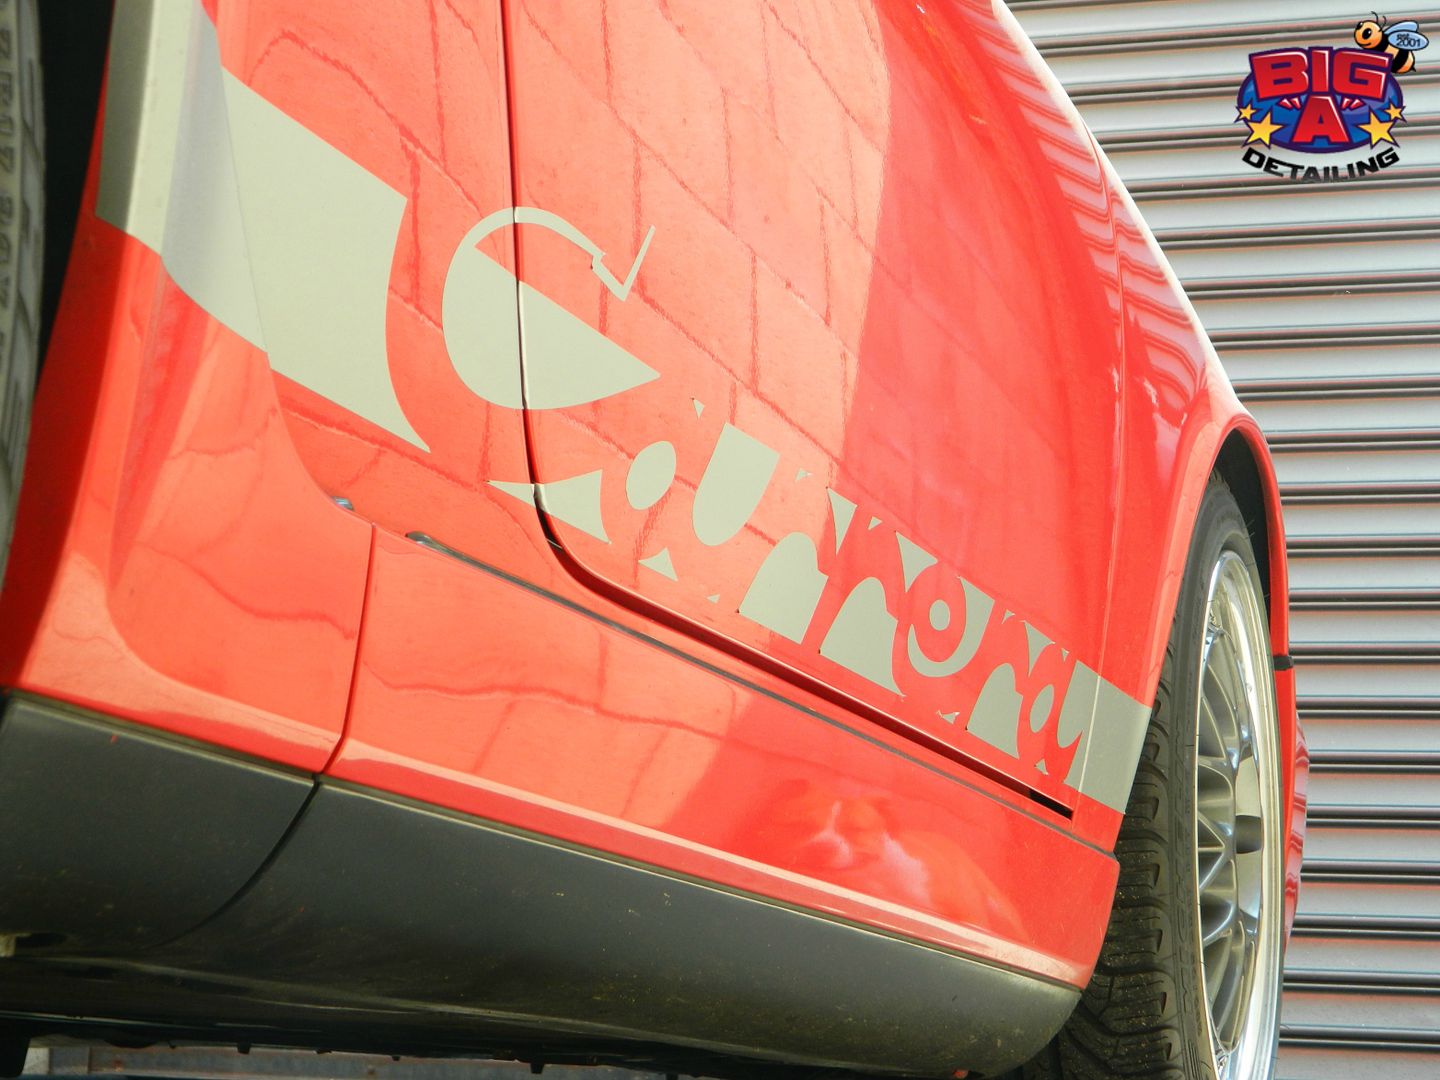
I was able to remove all of the swirls & finish down hologram free in 2 steps with the Dewalt DWP849X + Makita 9227C Rotaries. Some deep marks remain but it was not smart to go fishing for them with anything more abrasive than Meguiars M205 Polish on 6.5" & 4.0" green BS pads. The paint transfer on low speeds was enough to make me nervous. The next step was done with 3MUF Polish on black BS pads. I was still getting some paint transfer on these very soft pads. For protection I gave this German beauty 3M Performance Finish on her paint & lights!
Others: Exhaust Tips polished with #0000 steel wool then Ardex Metal Mania. Wheel Lips polished with Ardex Metal Mania. Tires were treated with Optimum Opti-Bond. Head & Tail Lights were rotary polished with green/M205 + black/3MUF + 3MPF.

by Ronnie C. https://www.facebook.com/ronniecphotography
Polishing older single stage paint can be tricky. If you don't cover the edges with tape it will get you in big trouble. I found a few burn marks & tried to touch them up the best I could.
I was able to remove all of the swirls & finish down hologram free in 2 steps with the Dewalt DWP849X + Makita 9227C Rotaries. Some deep marks remain but it was not smart to go fishing for them with anything more abrasive than Meguiars M205 Polish on 6.5" & 4.0" green BS pads. The paint transfer on low speeds was enough to make me nervous. The next step was done with 3MUF Polish on black BS pads. I was still getting some paint transfer on these very soft pads. For protection I gave this German beauty 3M Performance Finish on her paint & lights!
Others: Exhaust Tips polished with #0000 steel wool then Ardex Metal Mania. Wheel Lips polished with Ardex Metal Mania. Tires were treated with Optimum Opti-Bond. Head & Tail Lights were rotary polished with green/M205 + black/3MUF + 3MPF.


