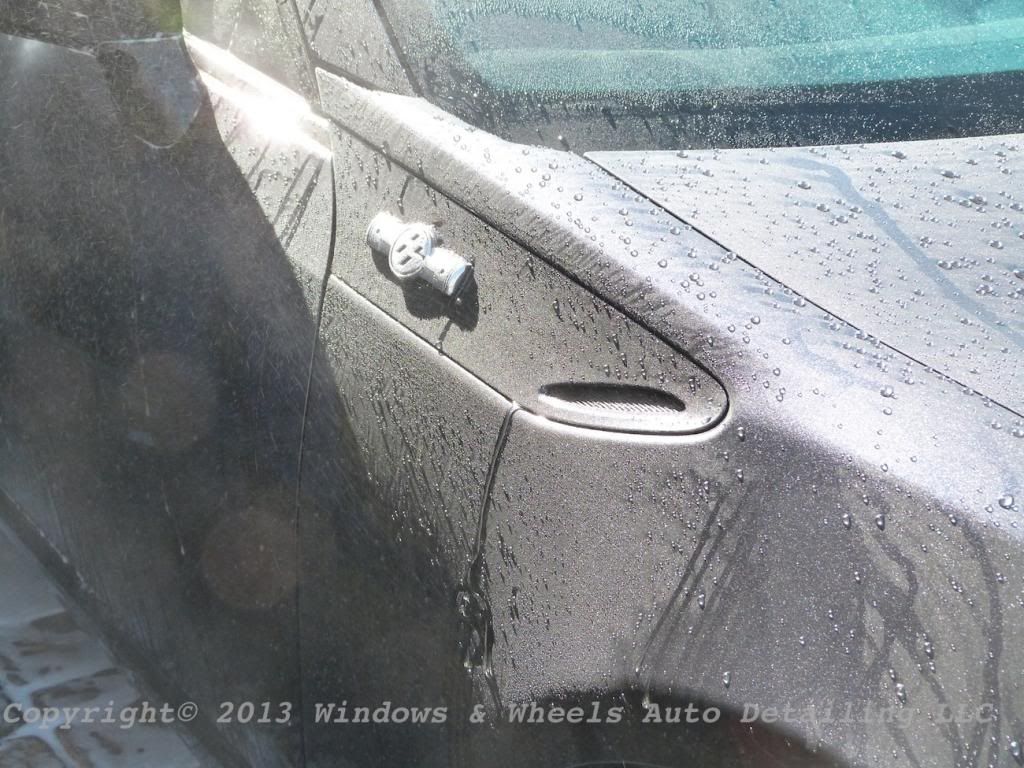
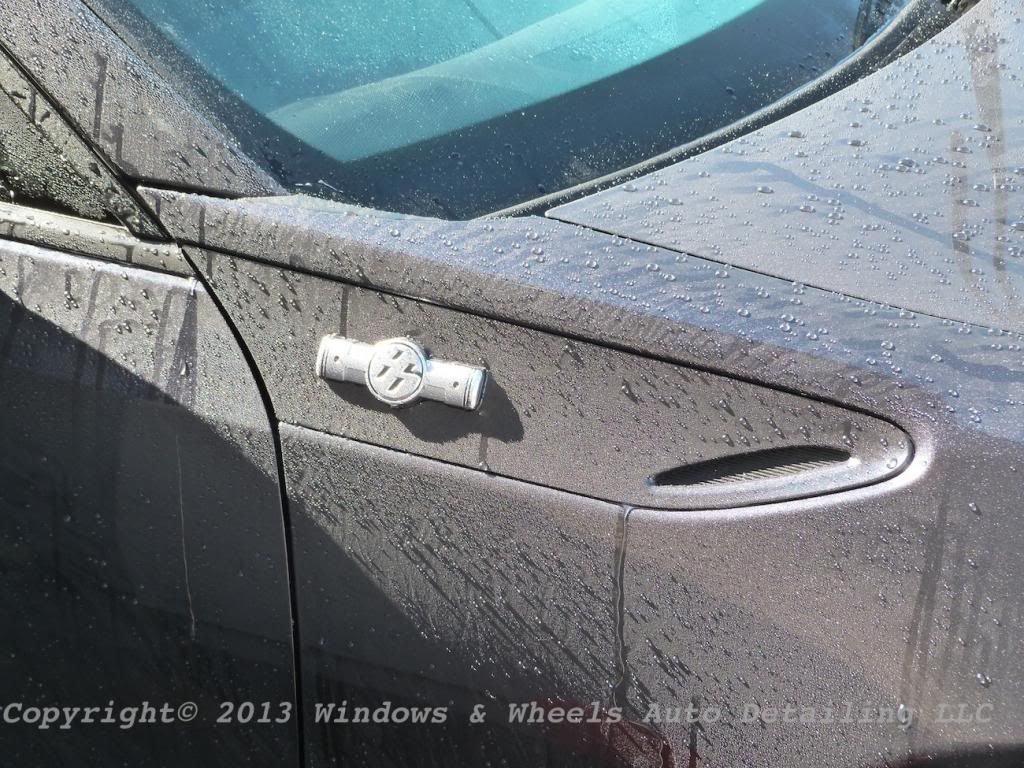
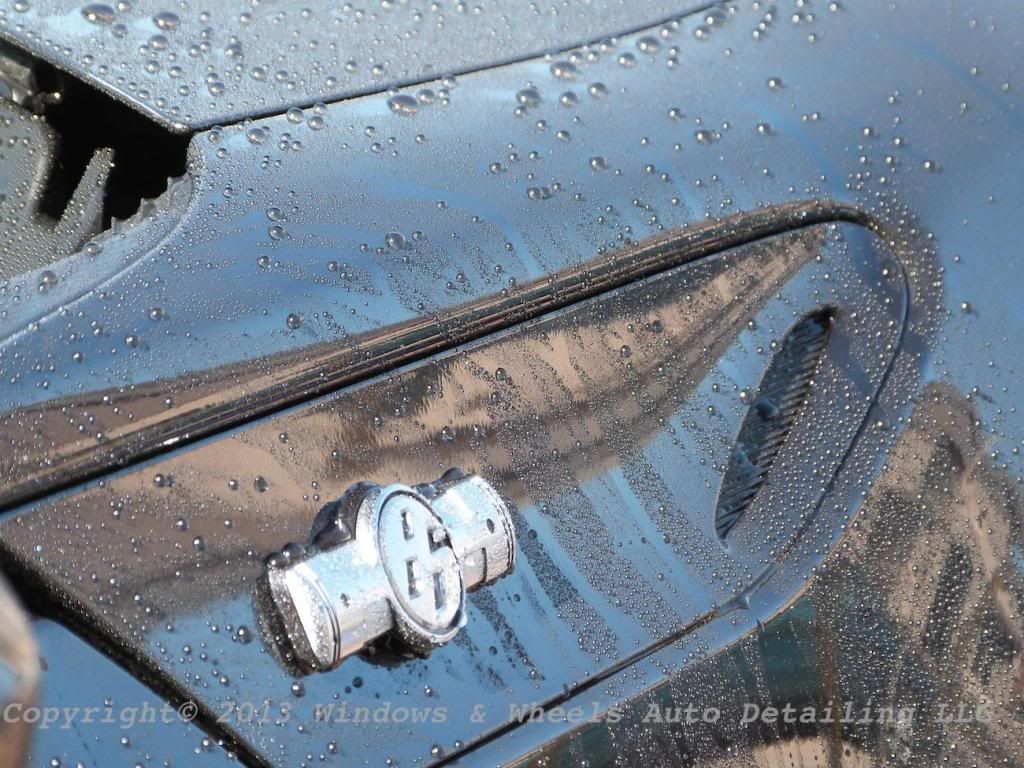
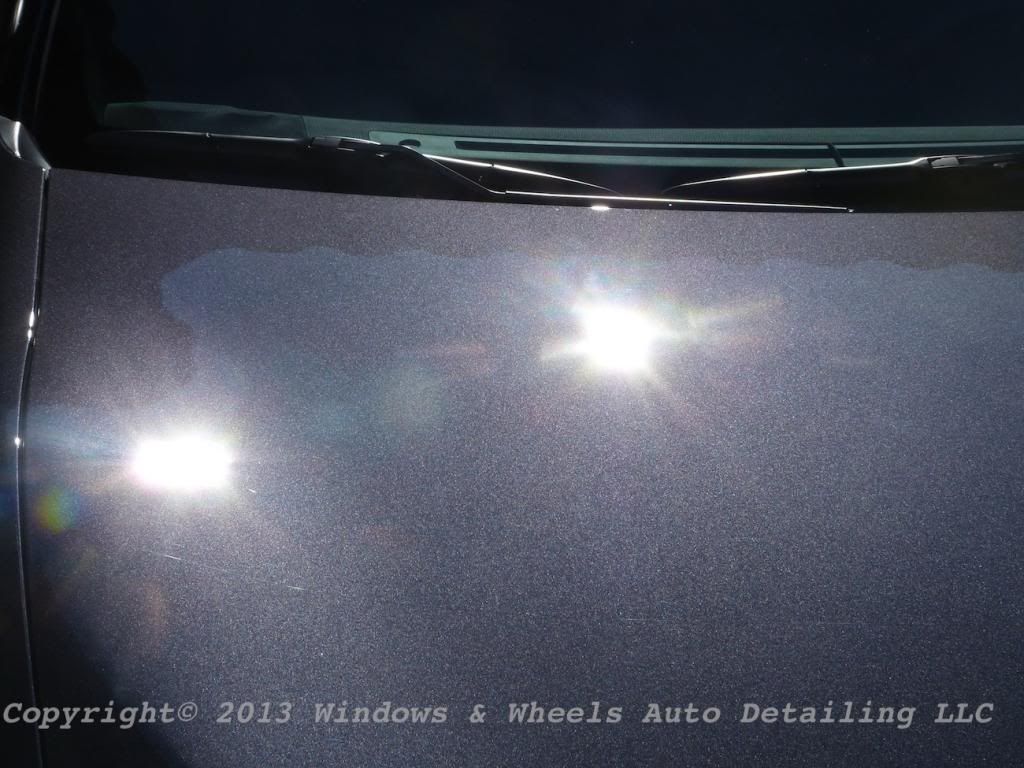
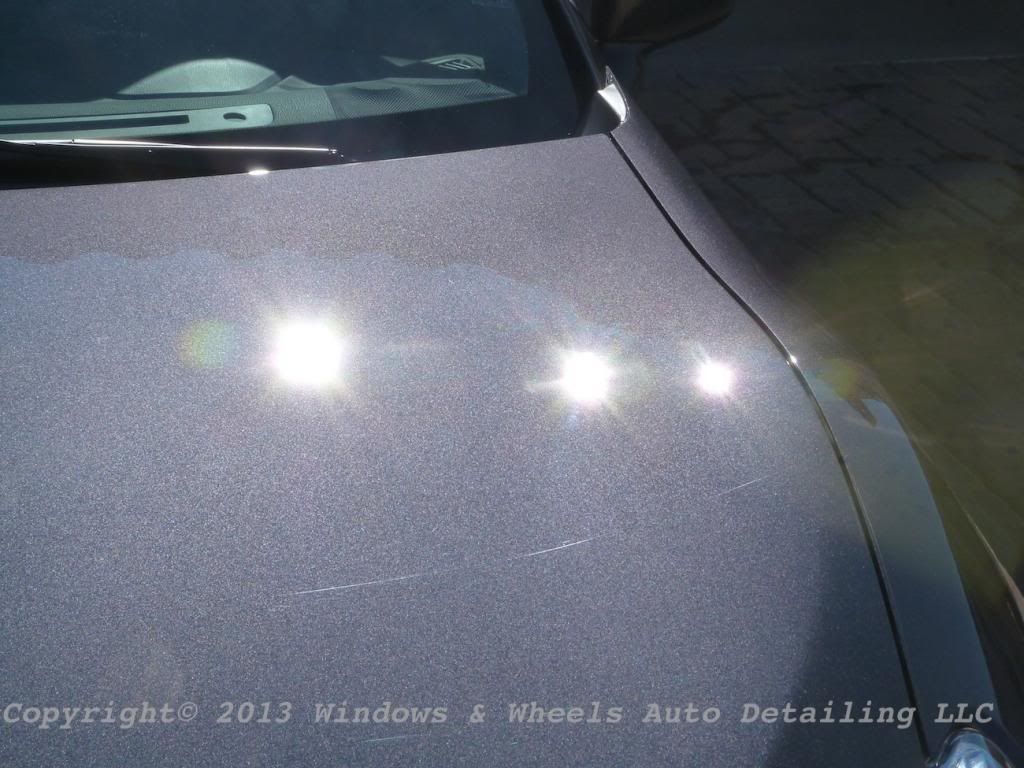
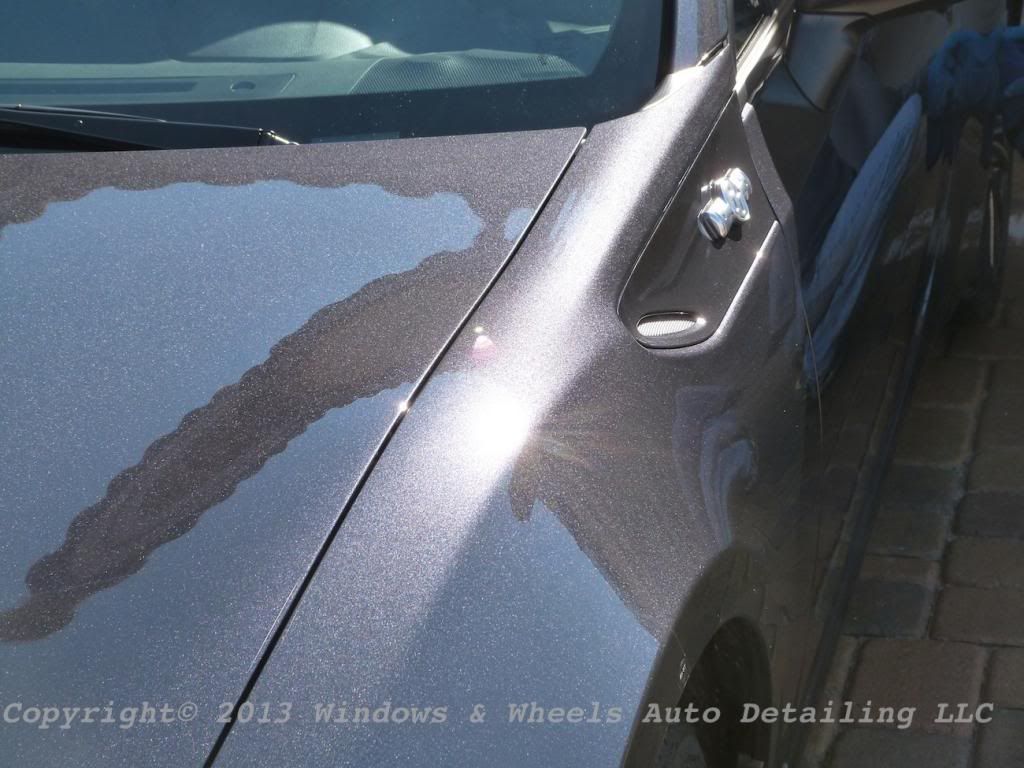
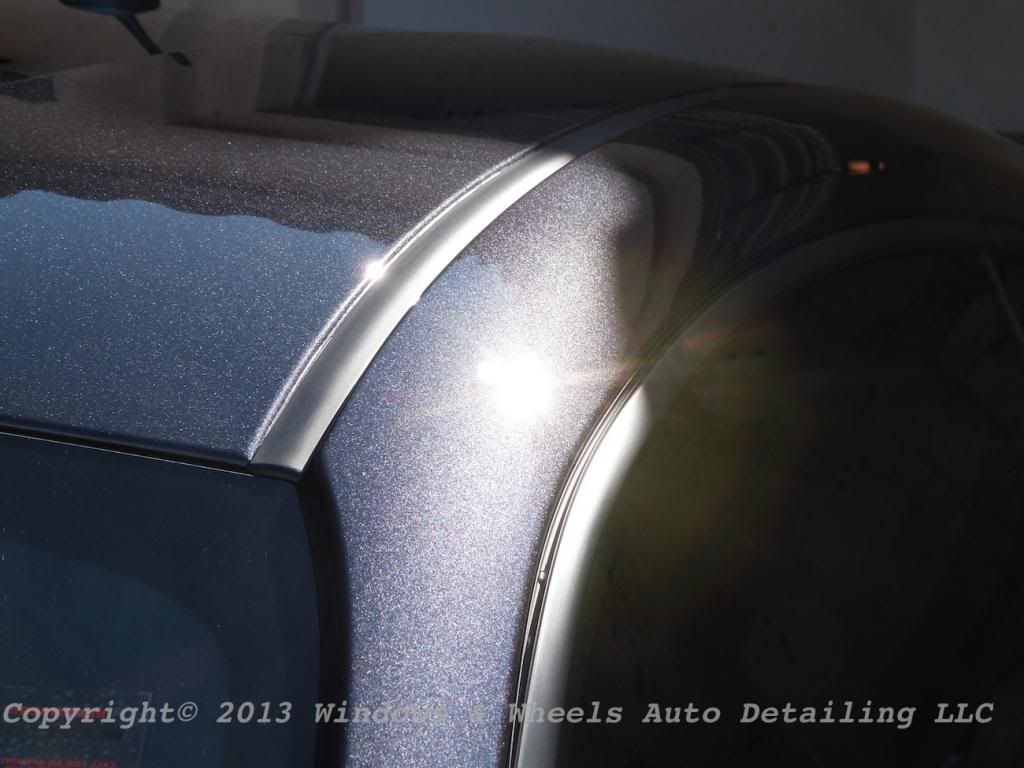
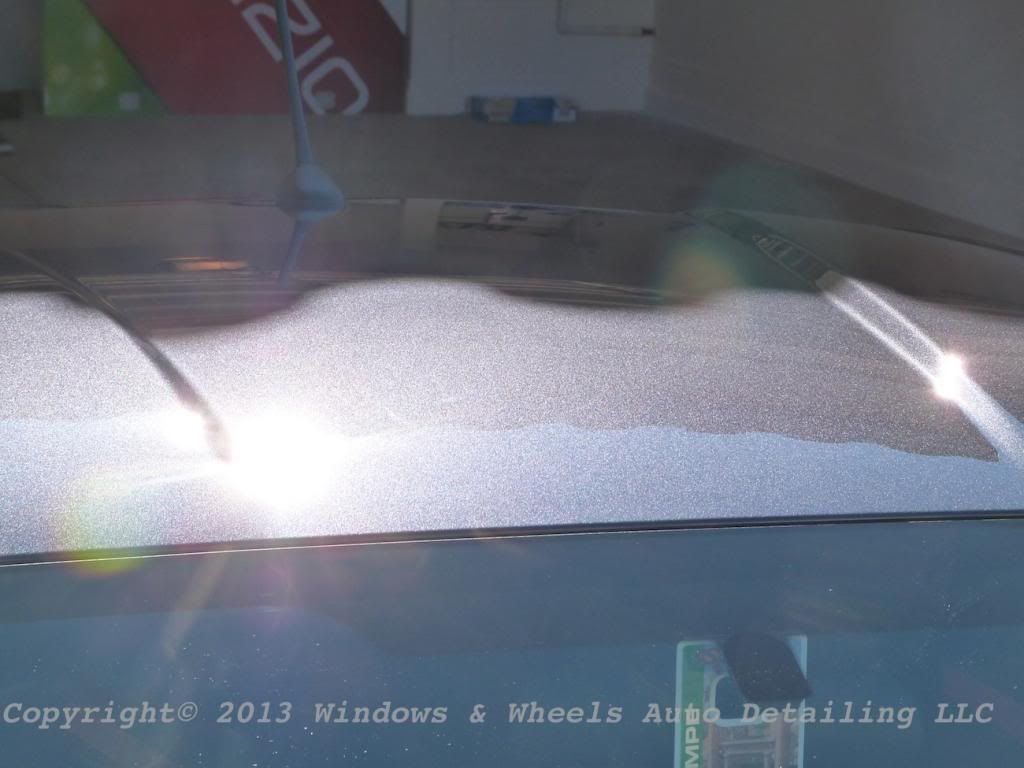
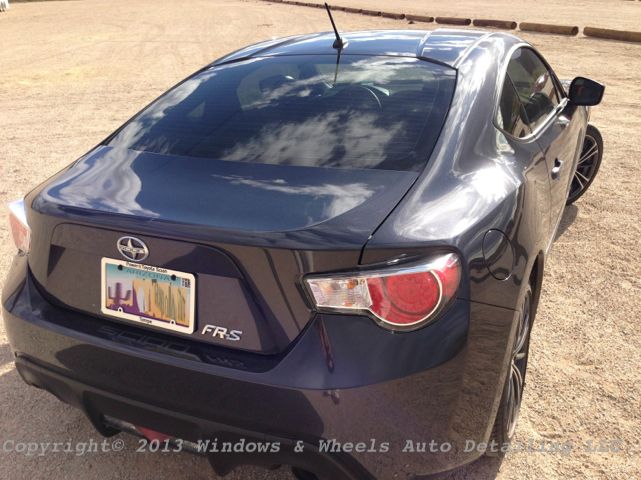
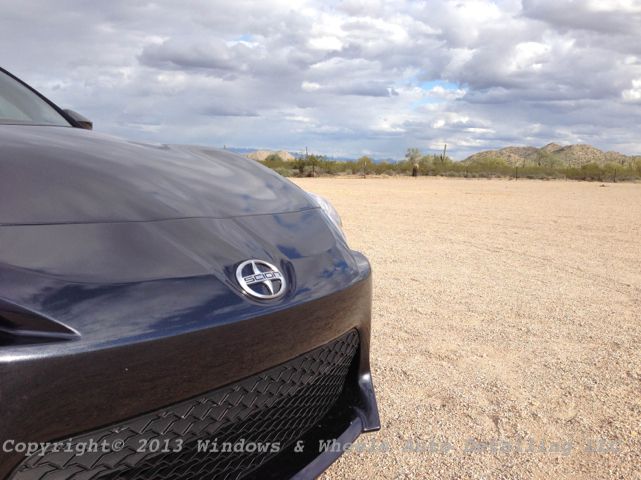
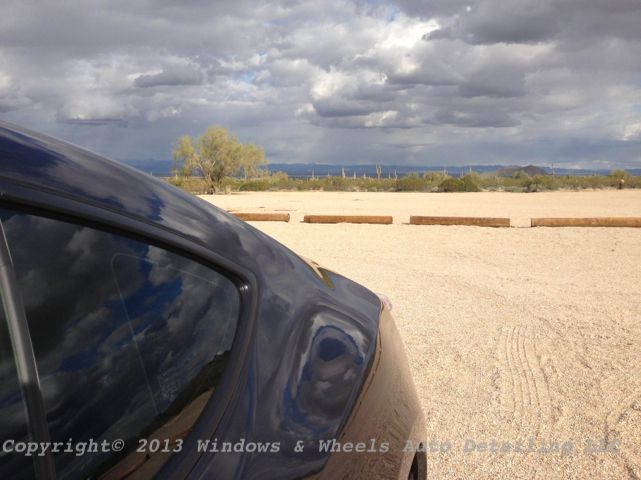
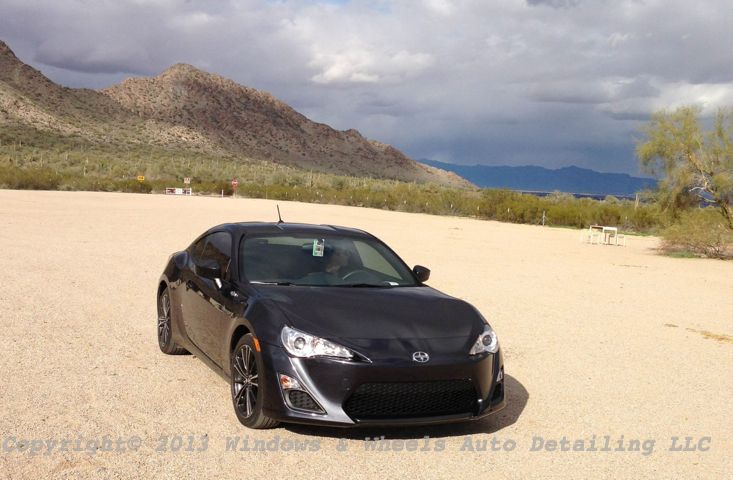
A few weeks back i received an email from a fellow detailer, Greg at Reflections Detailing out of Utah, saying that the owner of an FR-S, who belonged to the same forum as he did, had made a post complaining about the holograms/buffer trails and swirls left on his brand new FR-S. Apparently the dealership had messed it up, and then they sent it to a body shop that was a part of the same Autoplex and they tried their hand at it...while i'd seen MUCH worse holograms left, these were still very apparent.
So the owner contacted me, thanks to Greg's recommendation and told me the body shop would be paying for the paint correction and that he would pay for Opti-Coat Pro to be applied after the paint was back into shape.
The body shop didn't bark at our quote (kudos to them, that's not something that happens everyday!) and agreed to pay for the correction. So we set a date to come in and do our thing.
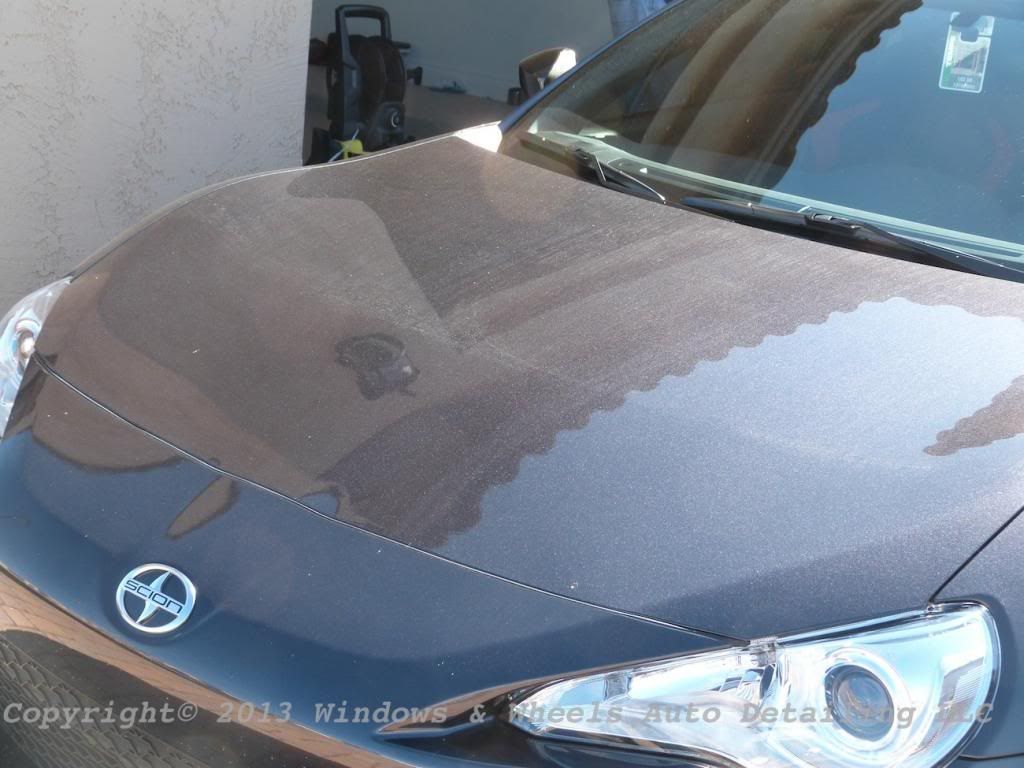
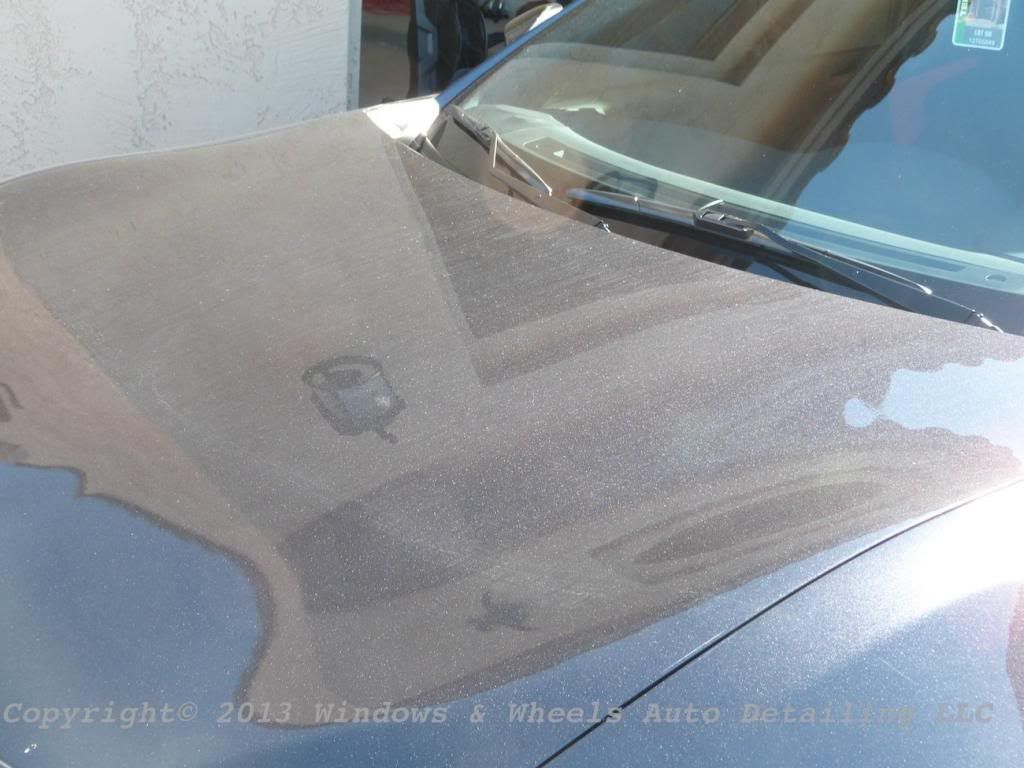
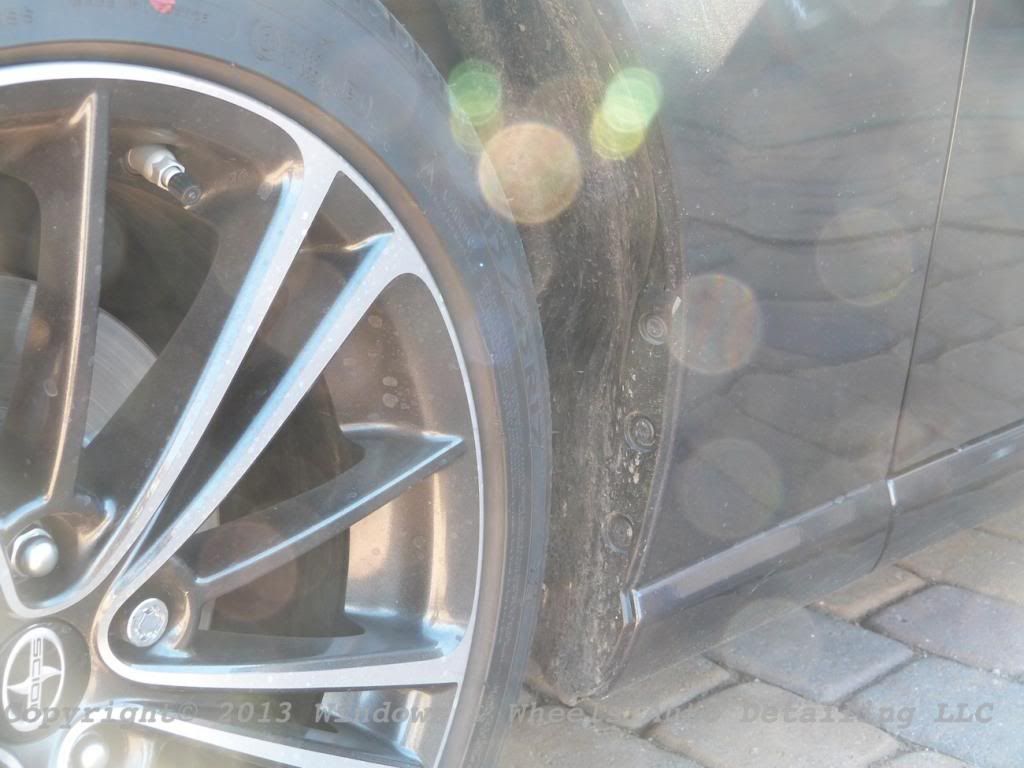
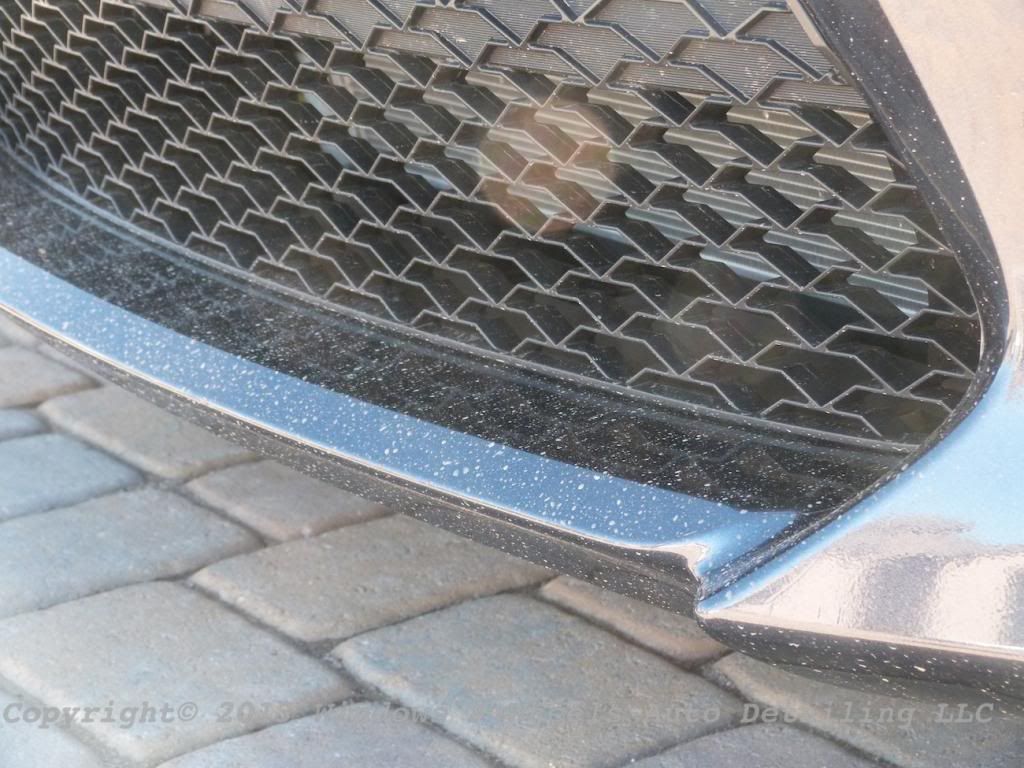
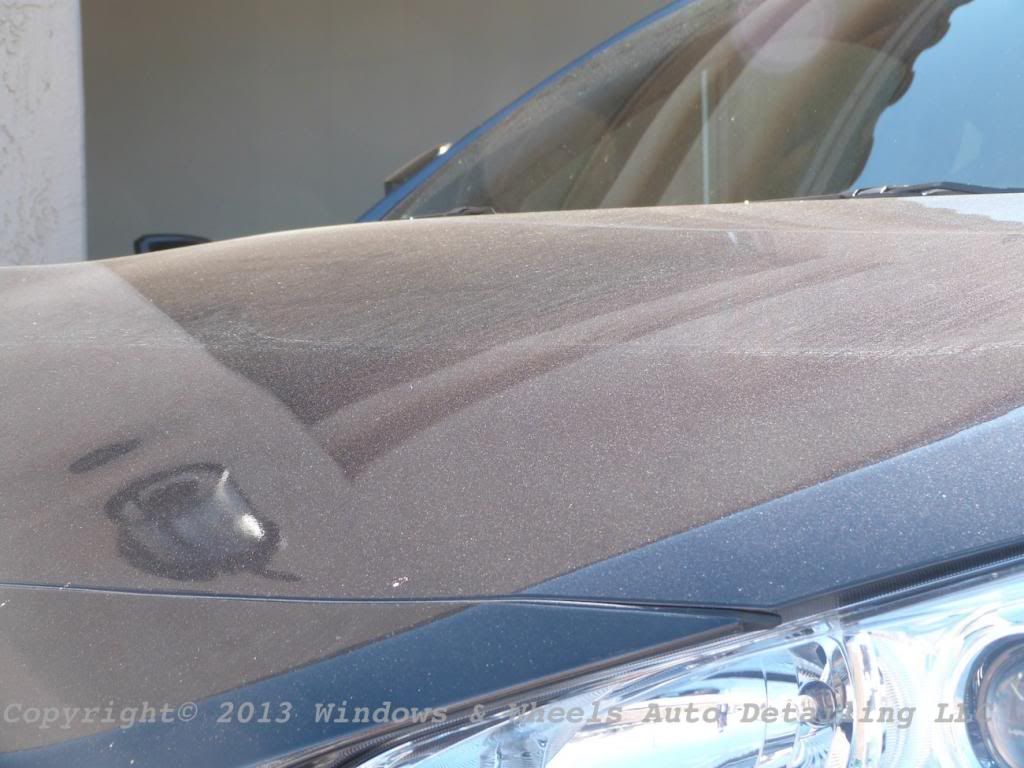
Upon arrival well, she was a bit dirty:
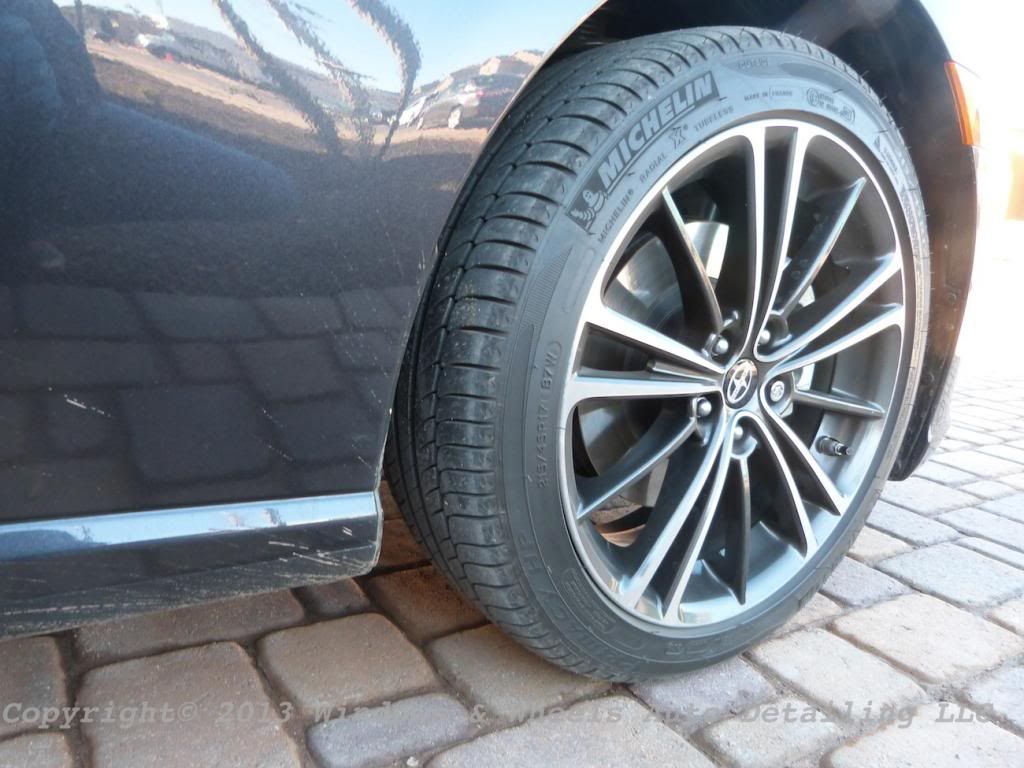
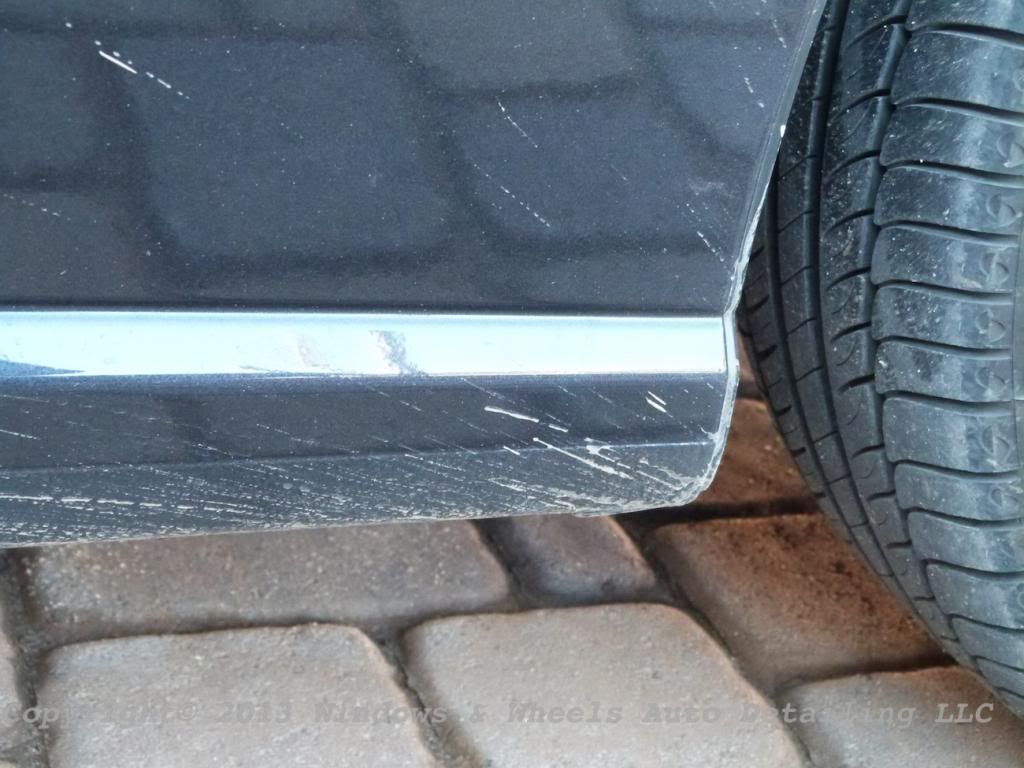
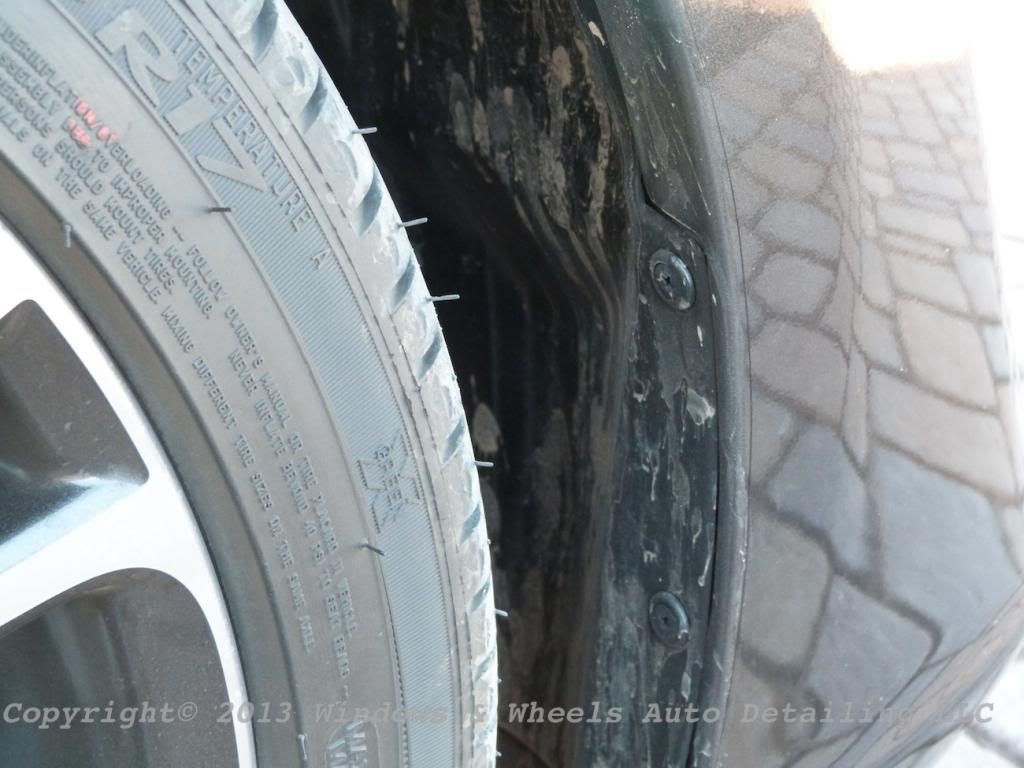
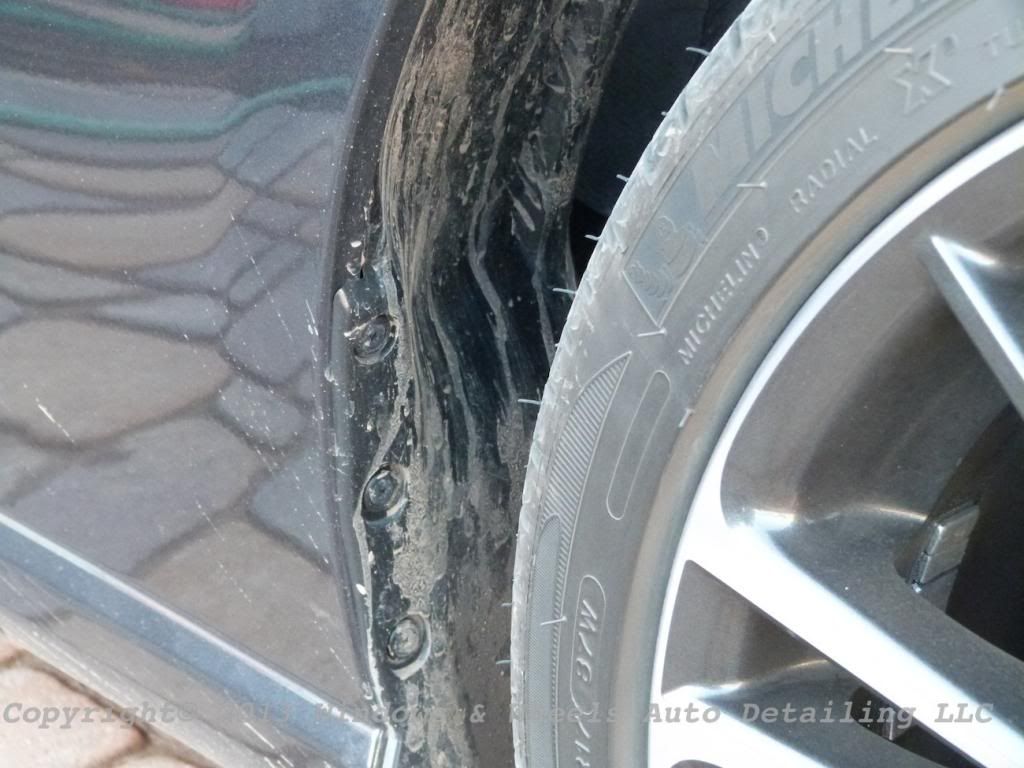
Nothing that was catastrophic but it surely needed attention.
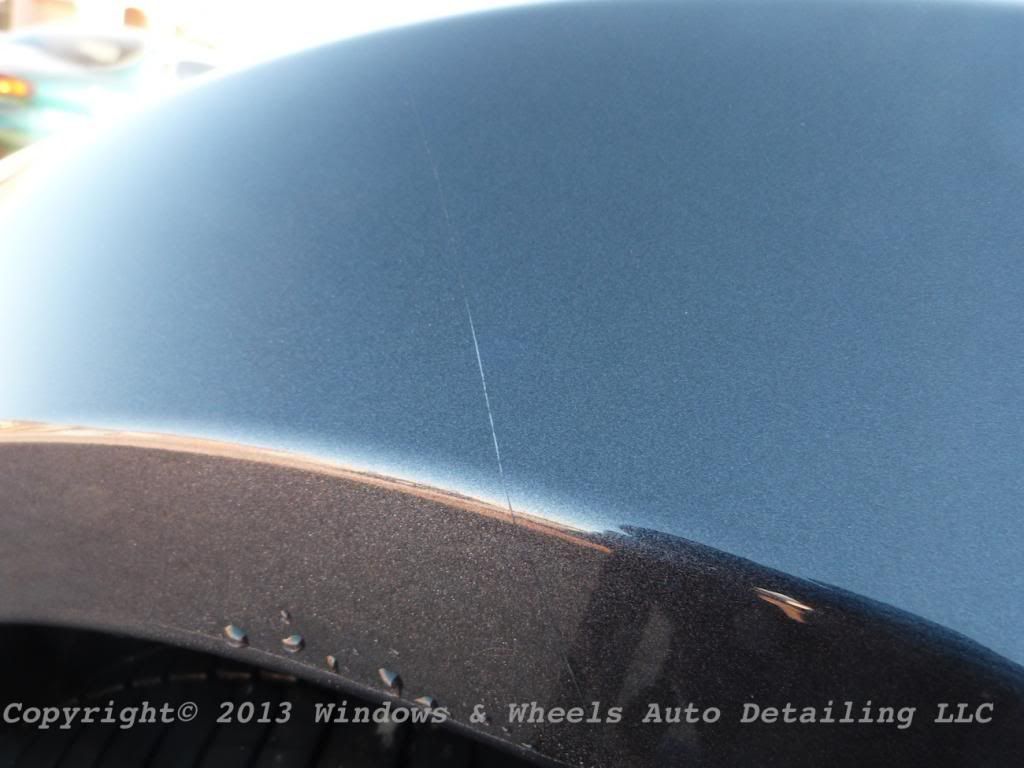
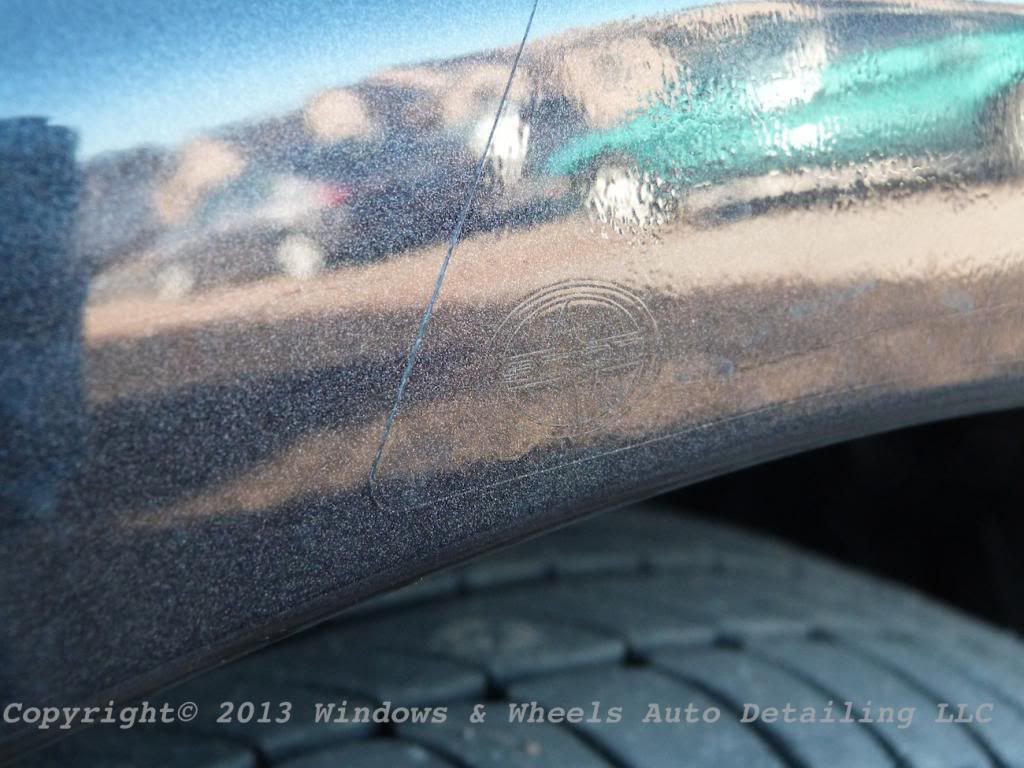
We noticed a couple spots on the clear bra that was slightly lifting, wanted to document this before any work started to show it was there before we did anything:
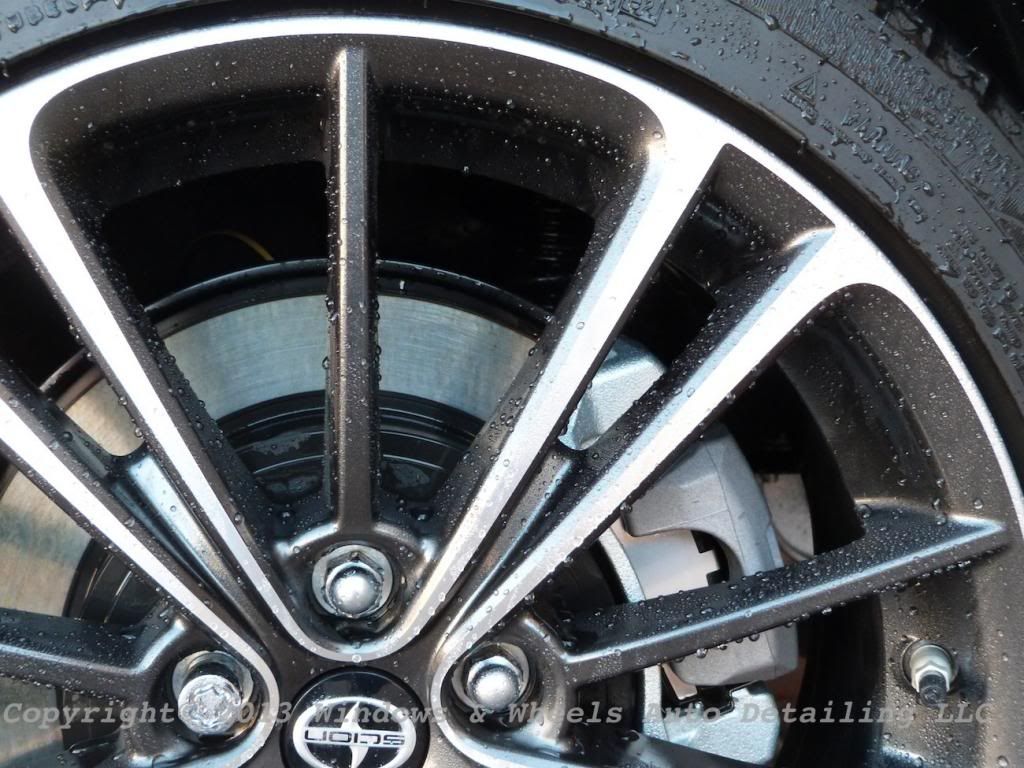
So as always, we started out with the tires, rims and wheel wells:
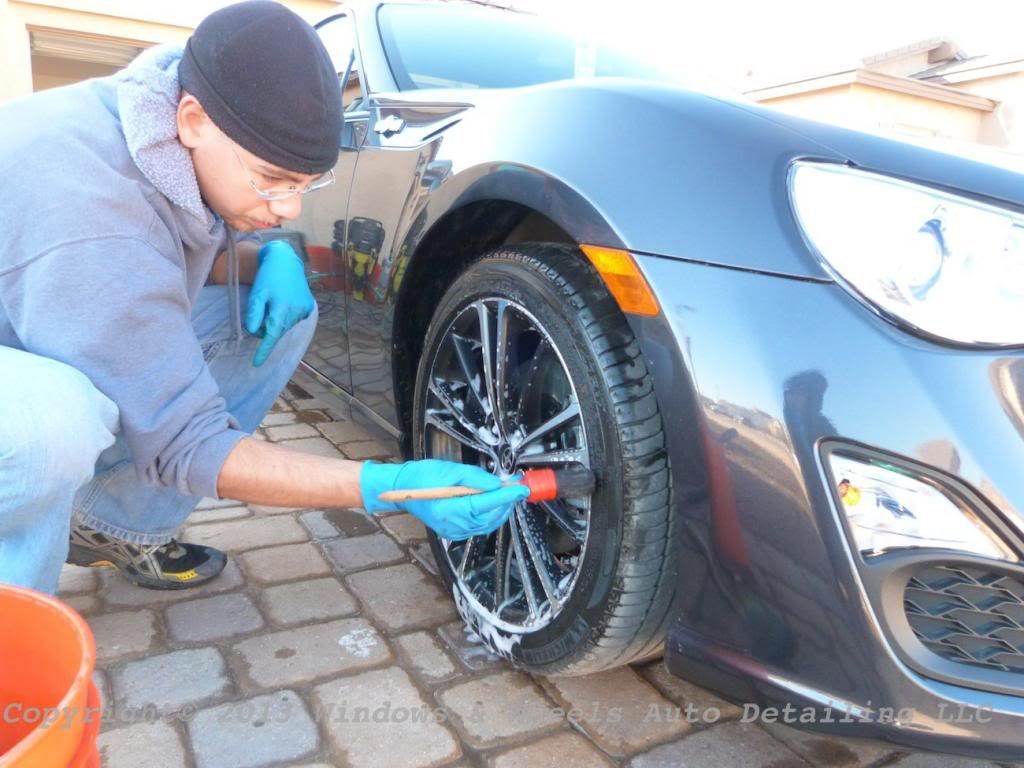
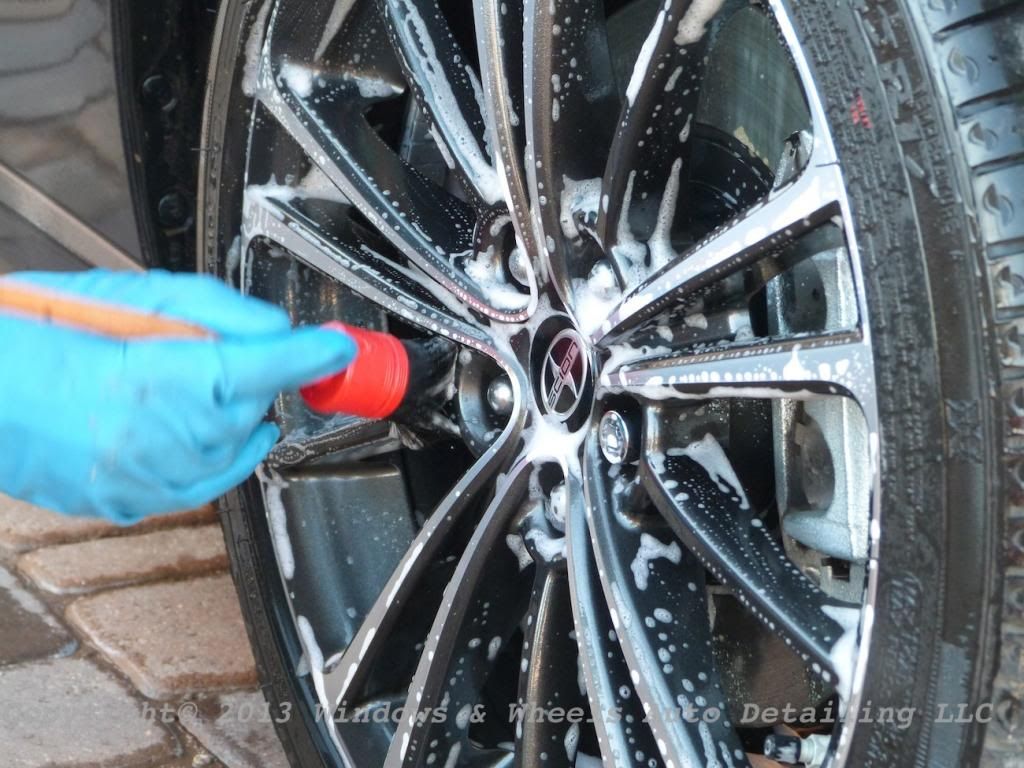
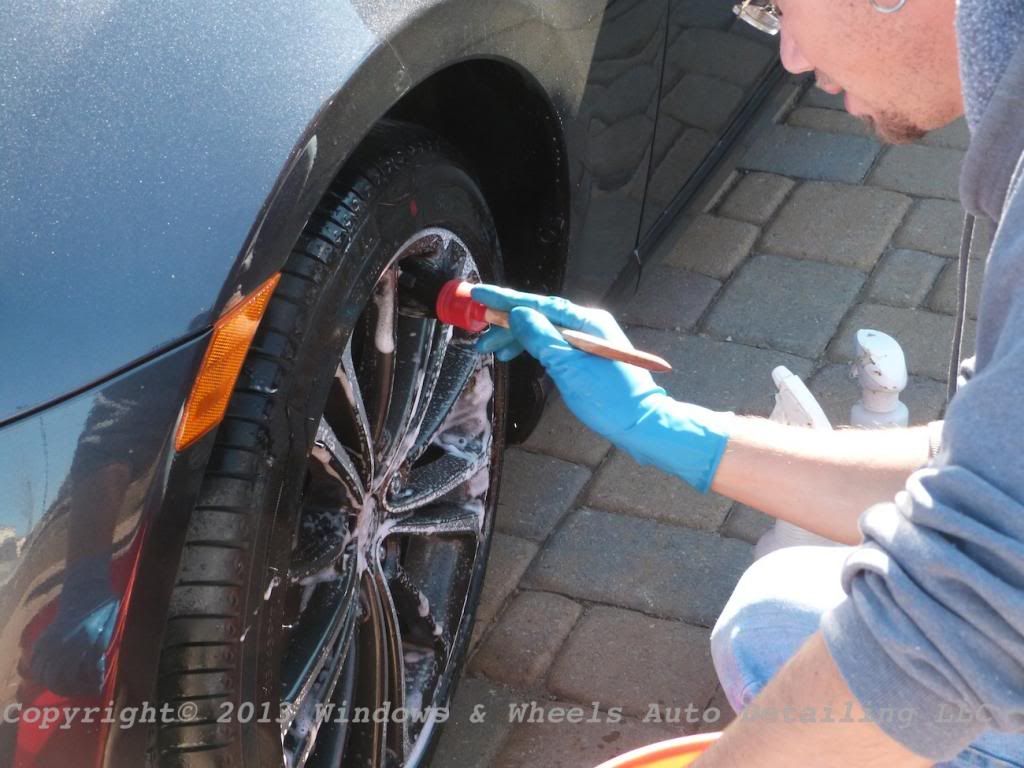
Swissvax wheel brush works very well in my opinion, i like how the bristles fan out and are very soft.
I am however testing out a new brush, the Atlasta Soft Tip, the bristles are a bit thicker than the SV, but pretty soft. This brush is excellent for stubborn, baked on brake dust as well as for cleaning lug nuts, emblems, handles and rubber stripping.
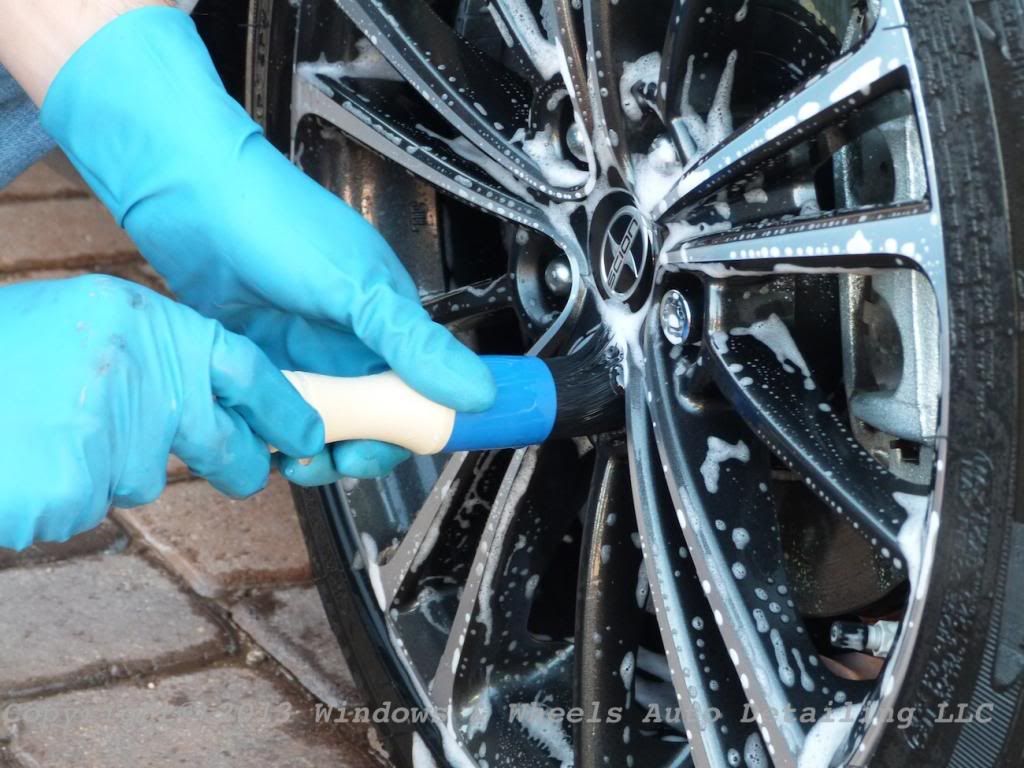
The brush is built VERY well...i think i could run it over and it would still be ok. Ive also had zero issues with letting it sit in water for hours (did that on purpose just to see if it would hold up) or using it with strong cleaners. The bristles are a bit less flexible so don't work quite as well on larger wheel face sections..
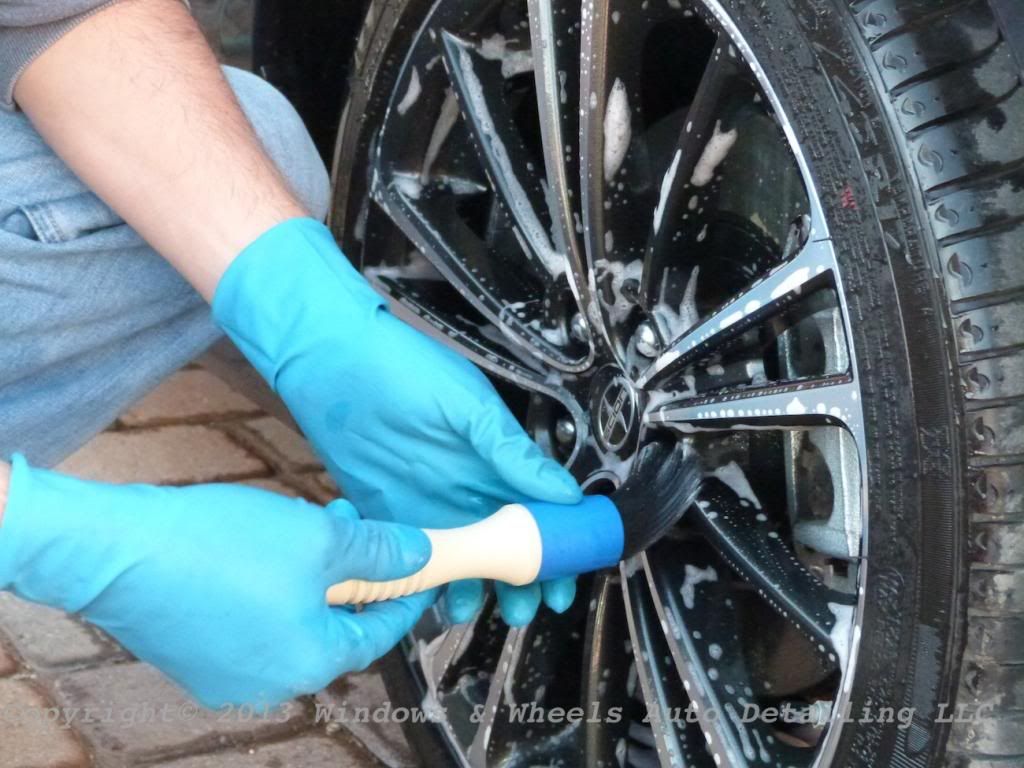
Both brushes definitely have their place and i'll continue to work with and test them both out.
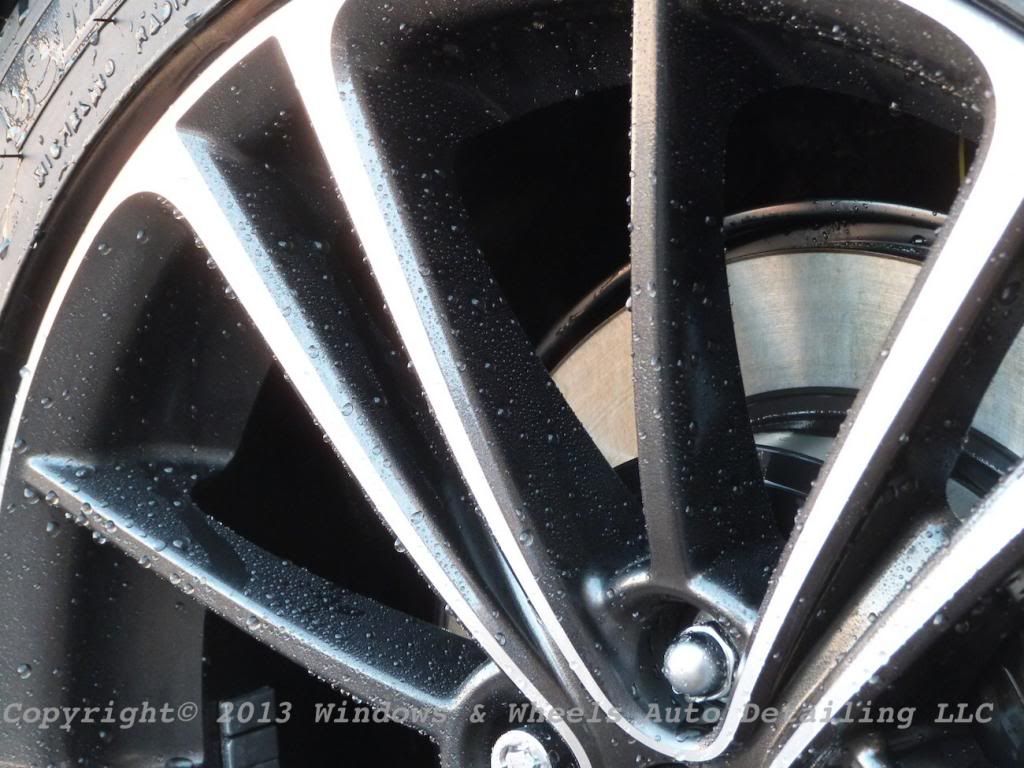
Next of course was cleaning the barrels, there wasn't quite enough clearance for my 3" Wheel Woolie, and i hadn't yet received my 2" one yet, so it was to the trust ole' EZ Detail Wheel brush!
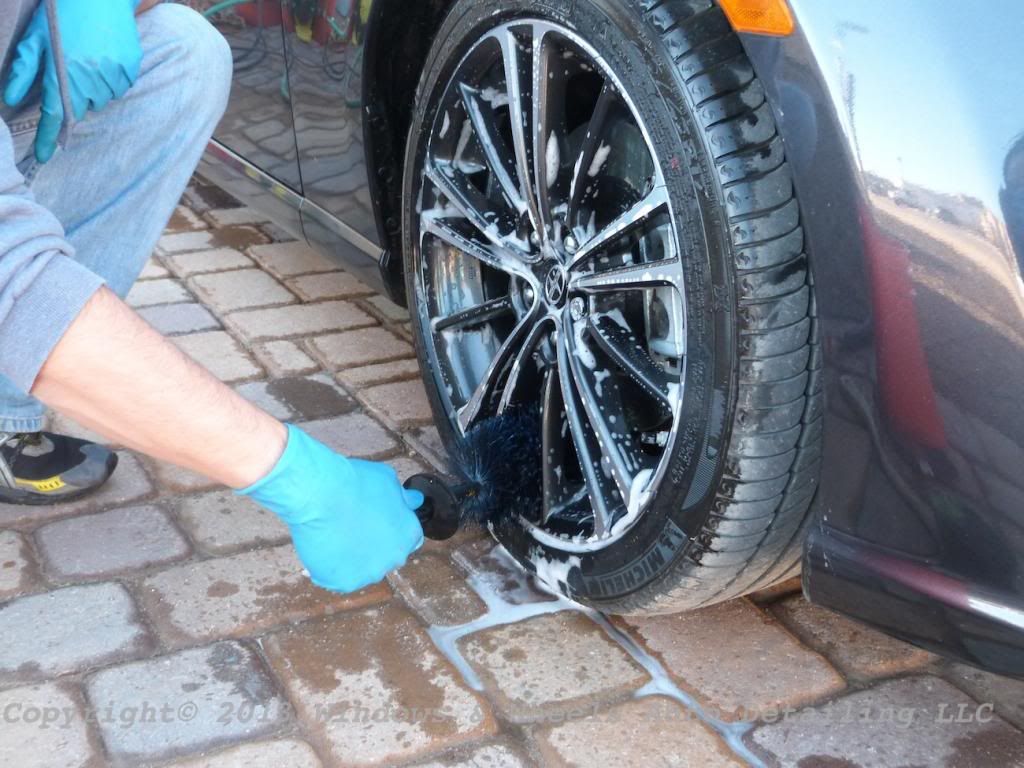
It slings some but, it gets the job done:
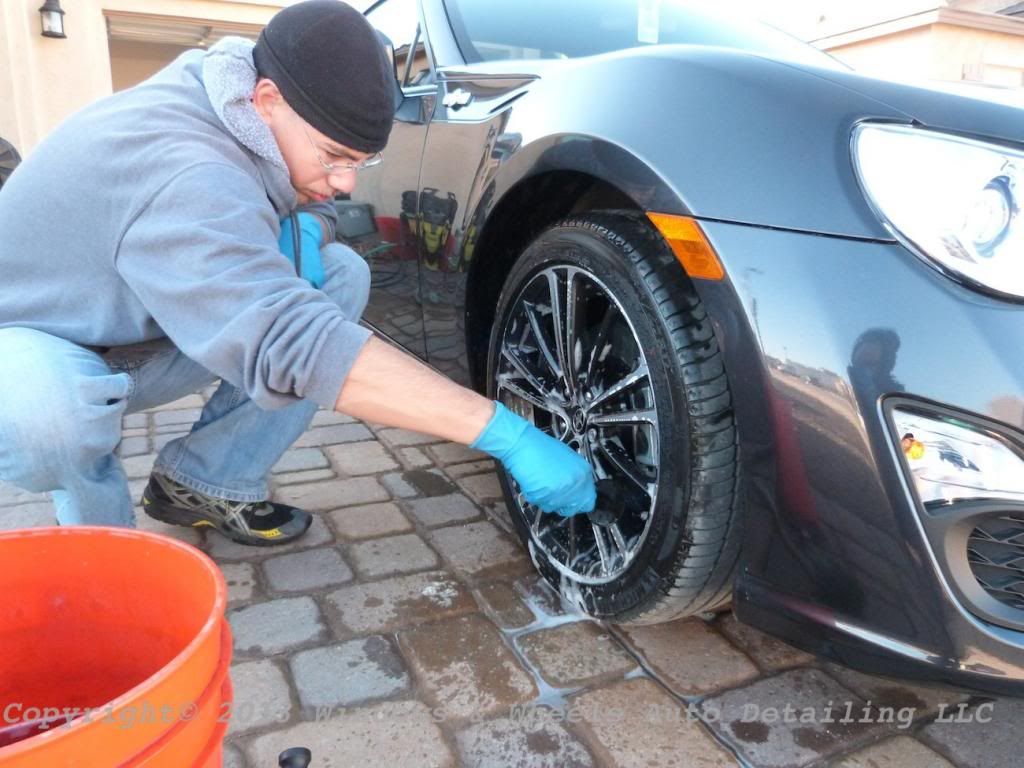
I also had another brush i was trying out from the same makers of the ATLASTA brush, PartsBrush.com. This one, as the website name indicated, was a parts brush, but i wondered how it would work on tires or wheel wells, since often times a brush with stiffer bristles is needed:
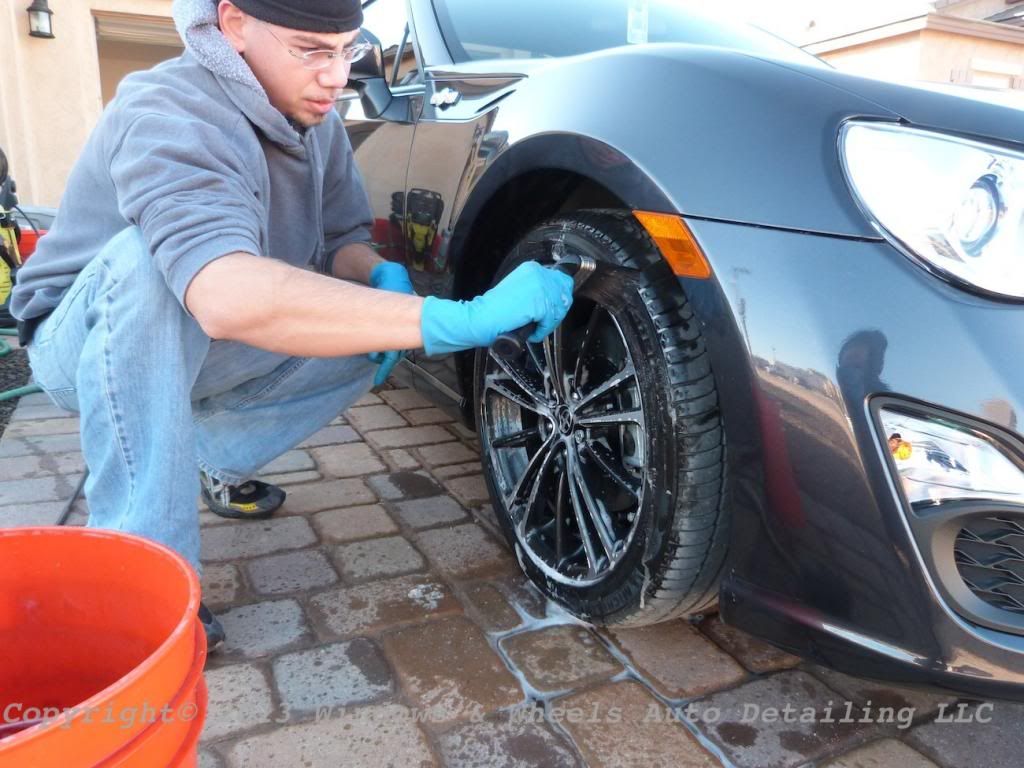
The bristles were a bit too long to use the wide way as shown above, but weren't bad for using when held the other way:
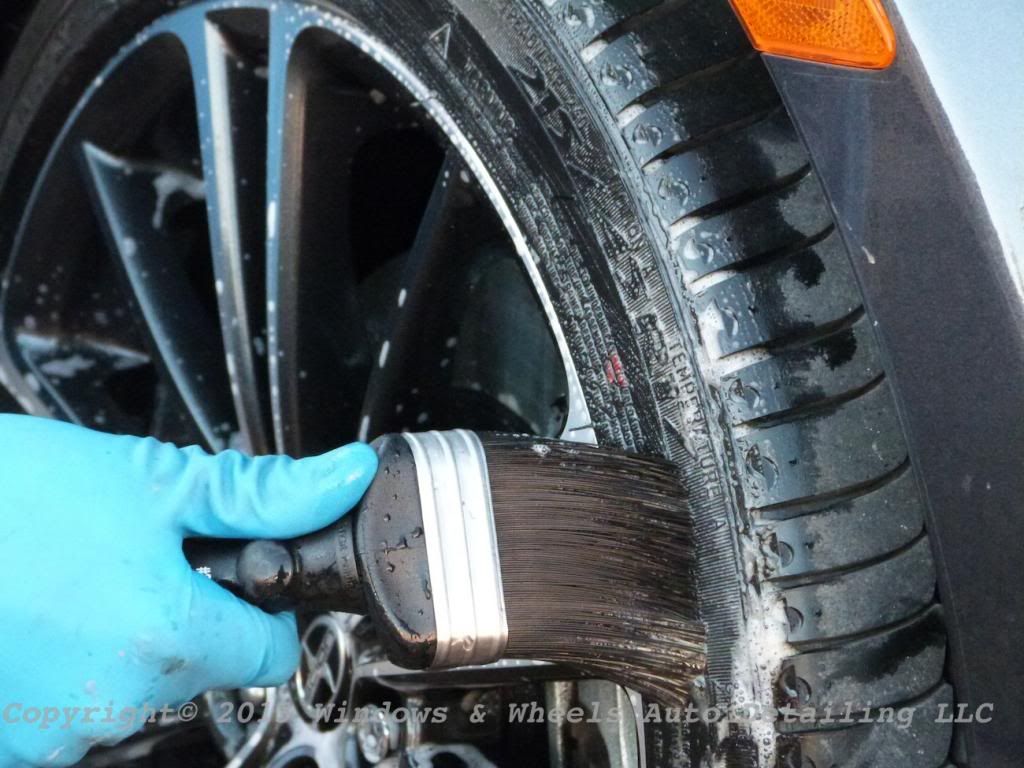
I wouldn't say this is an all around wheel brush, it was a little too difficult to use on the entire wheel, but worked well on lettering and the inside lip of the tire, which often times holds ALL KINDS of gunk, especially if there is old tire dressing thats been layered on.
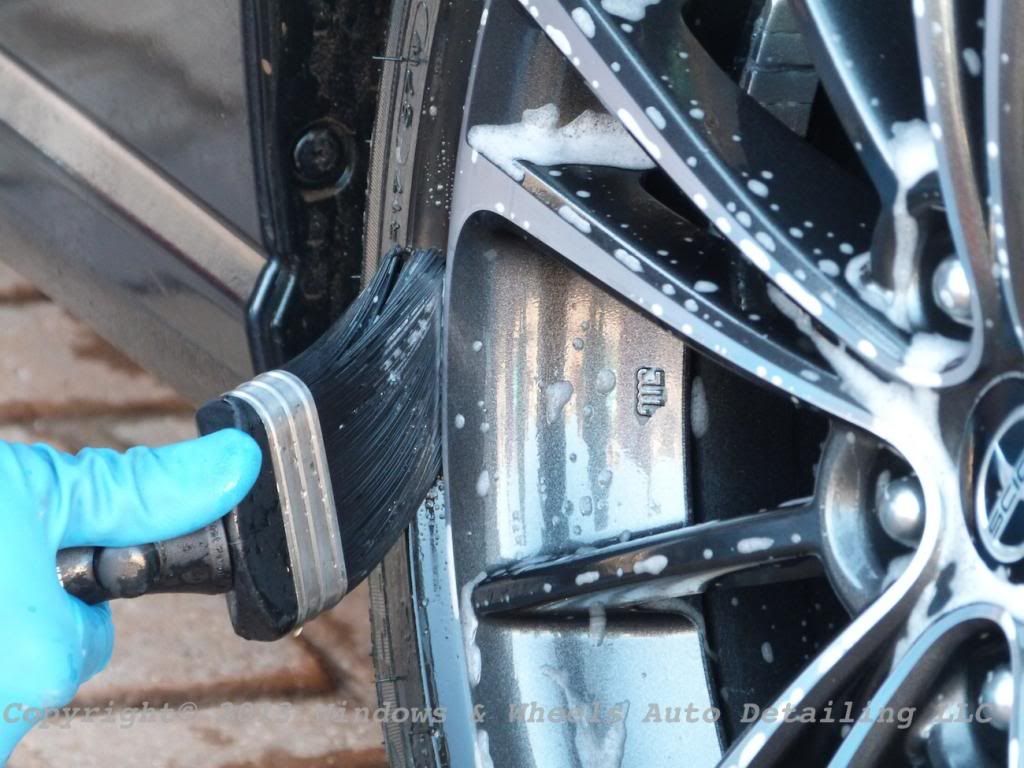
I think if the brush was a bit fatter and had shorter bristles, it would be an excellent tire brush. Doug, the VP of the company, said that they're just getting into making detailing brushes so hopefully with some further testing we can hope for a possible redesigned brush with the same sturdy bristles and handle formatted especially for tires, we'll see!
It DID come in handy for pushing into inset areas of the plastic wheel well covers. Wheels Woolies and fender brushes will usually work pretty well but sometimes don't allow for enough pressure to be applied, or the bristles are difficult to push into the corners, this guy got in the corners pretty easily...the shorter handle made it a LITTLE difficult but, the angled head was very nice to work with:
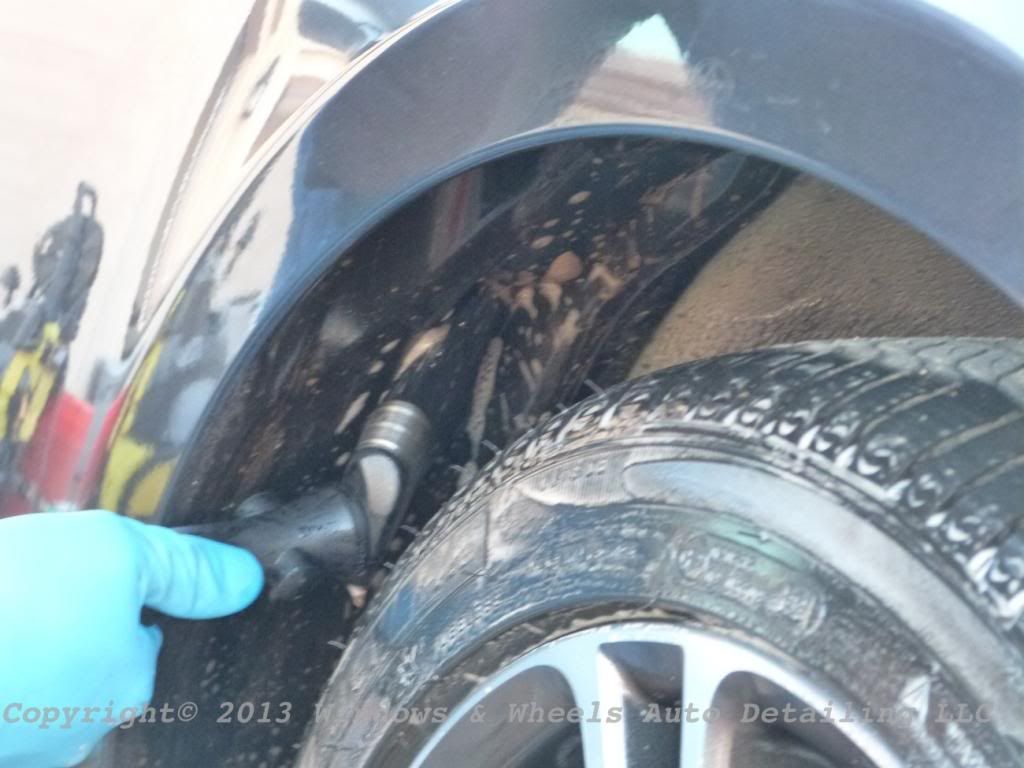
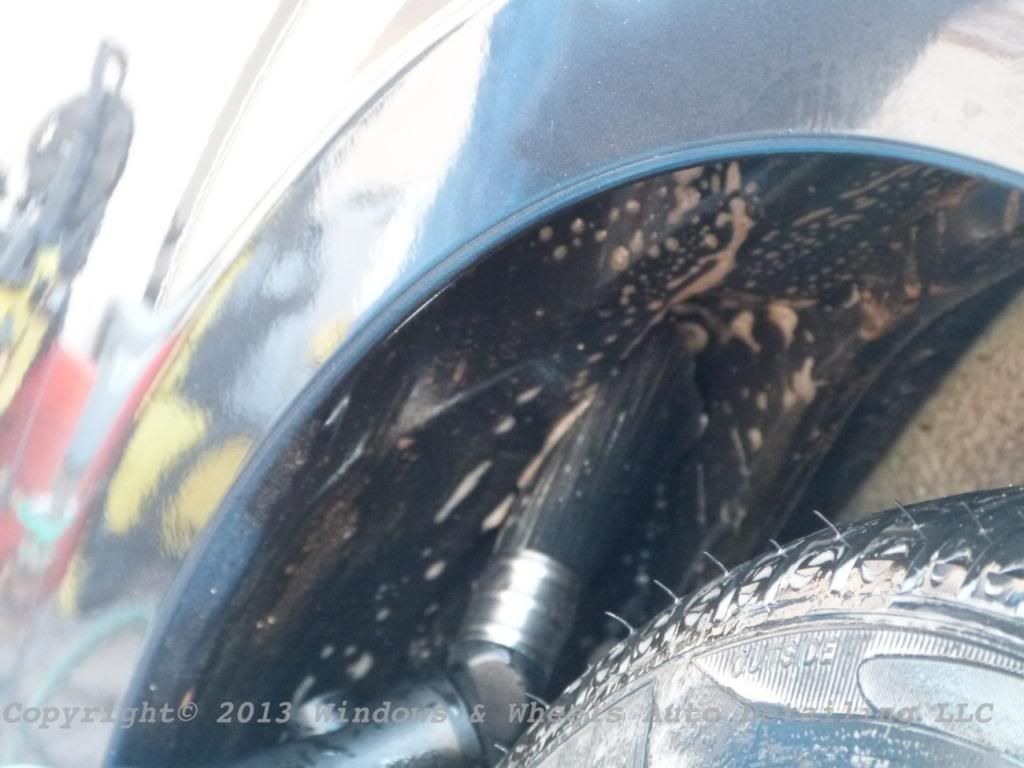
As you can see, the longer handle of the fender brush was a bit easier to get into the well and worked fine for the bigger, flatter areas of the wheel well covers:
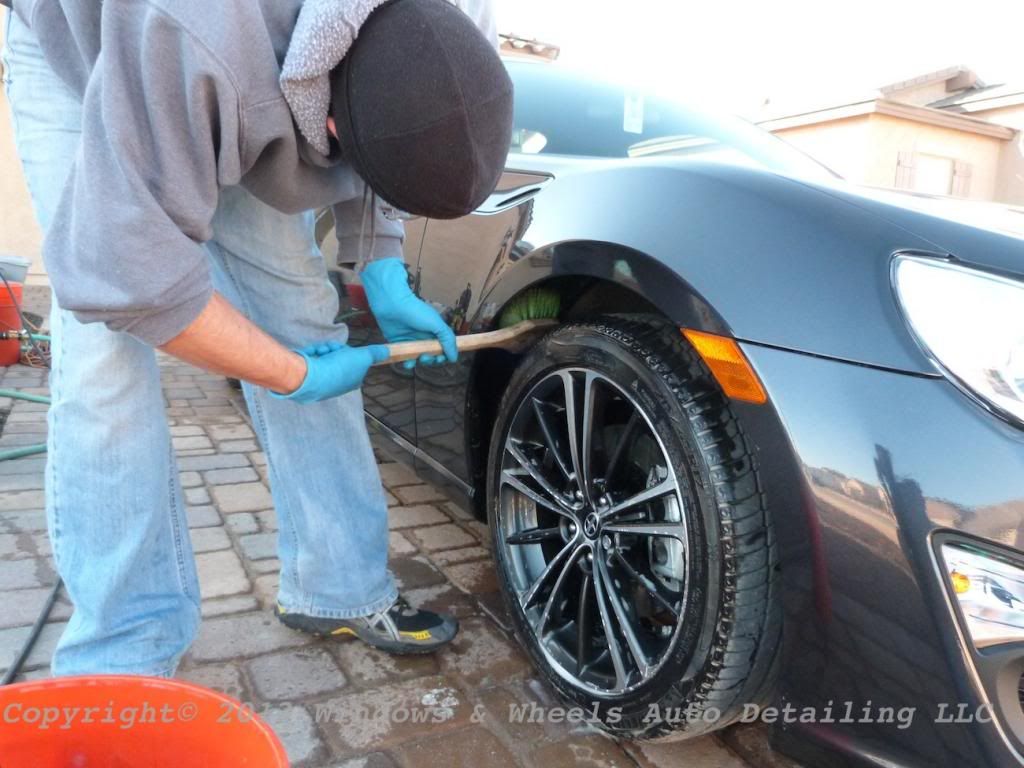
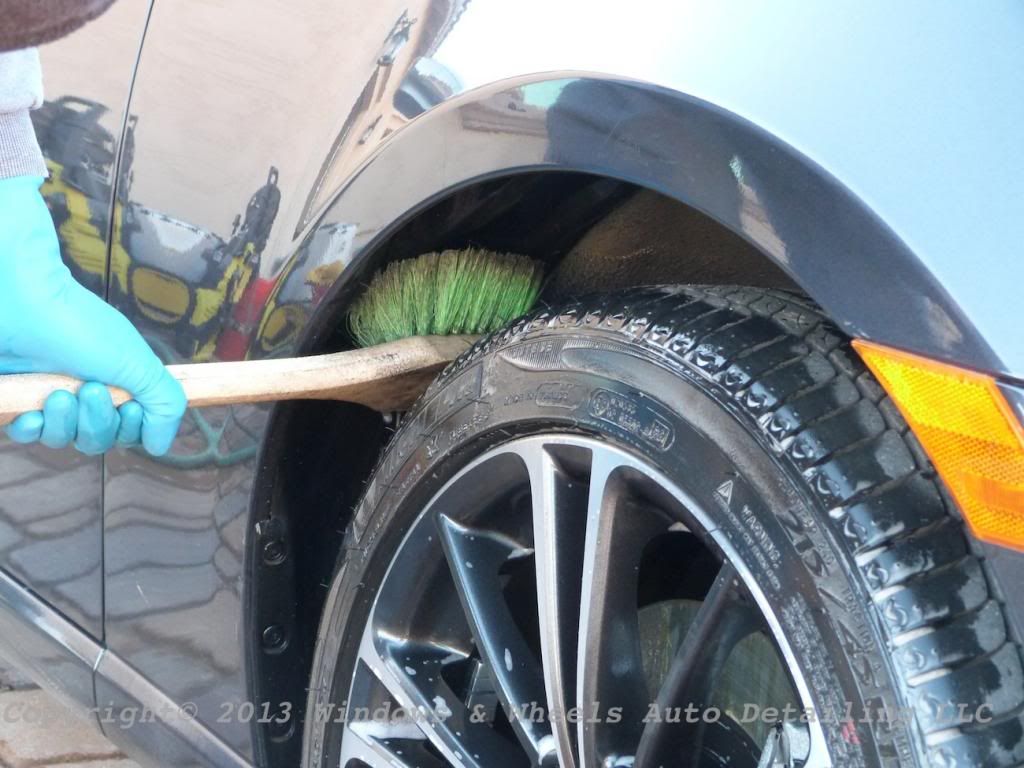
It was a great day for trying out multiple brushes!
Then time to pressure wash clean:
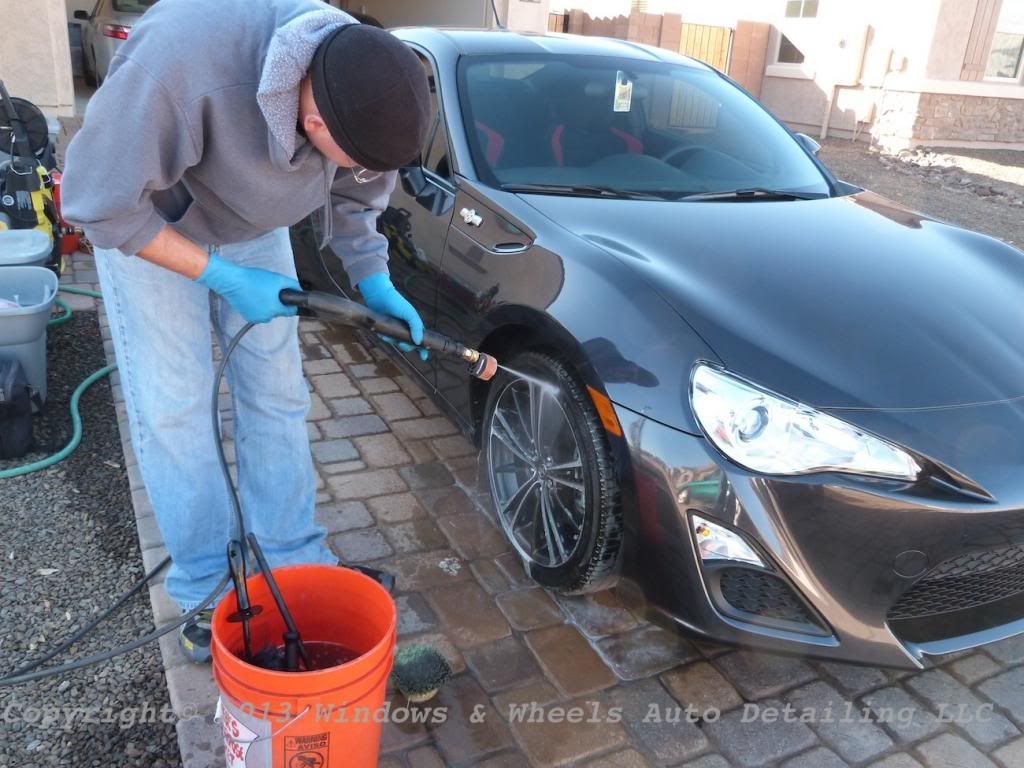
Cleaning up nicely!
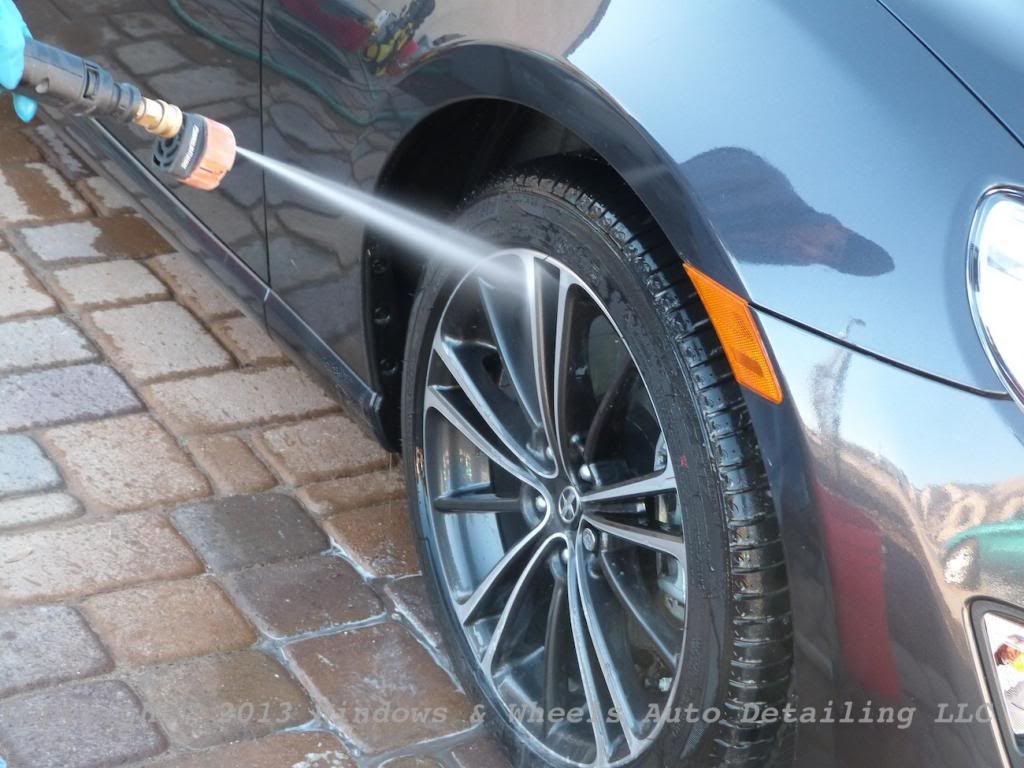
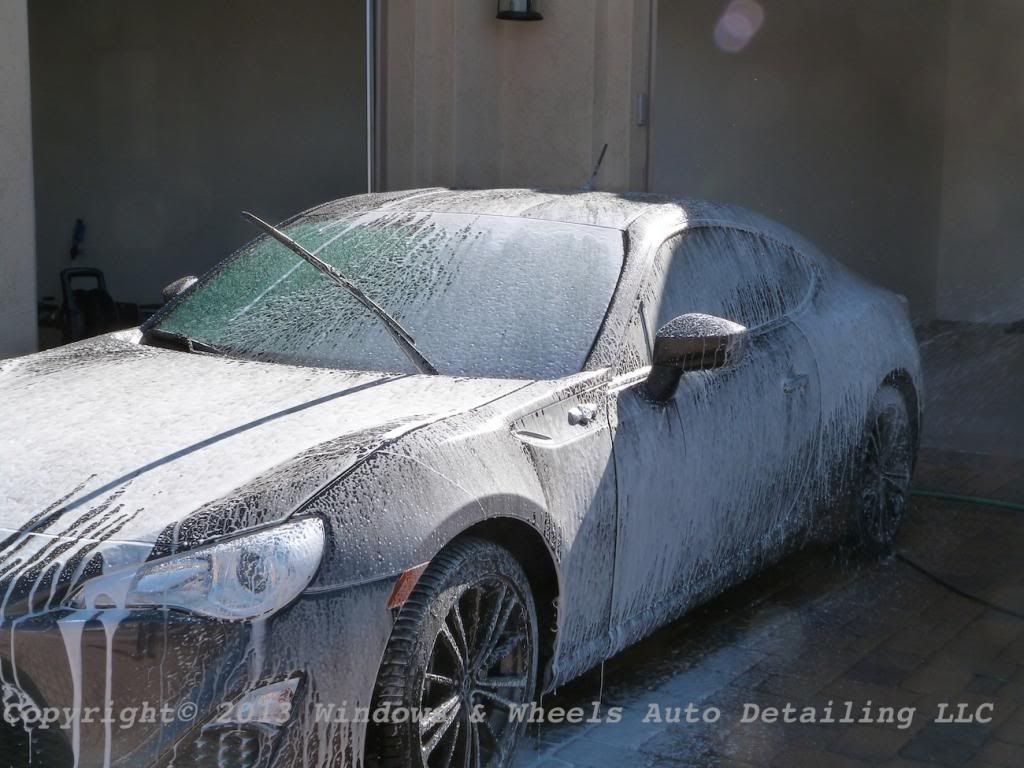
Then after a thorough rinsing it was time to foam this baby up!
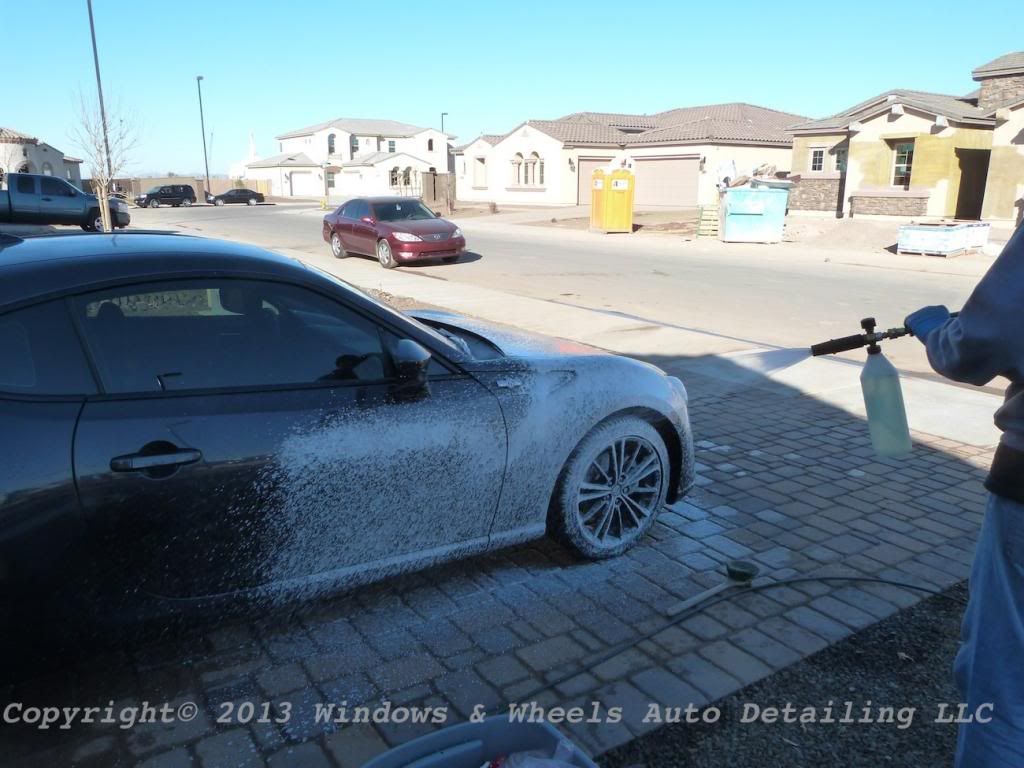
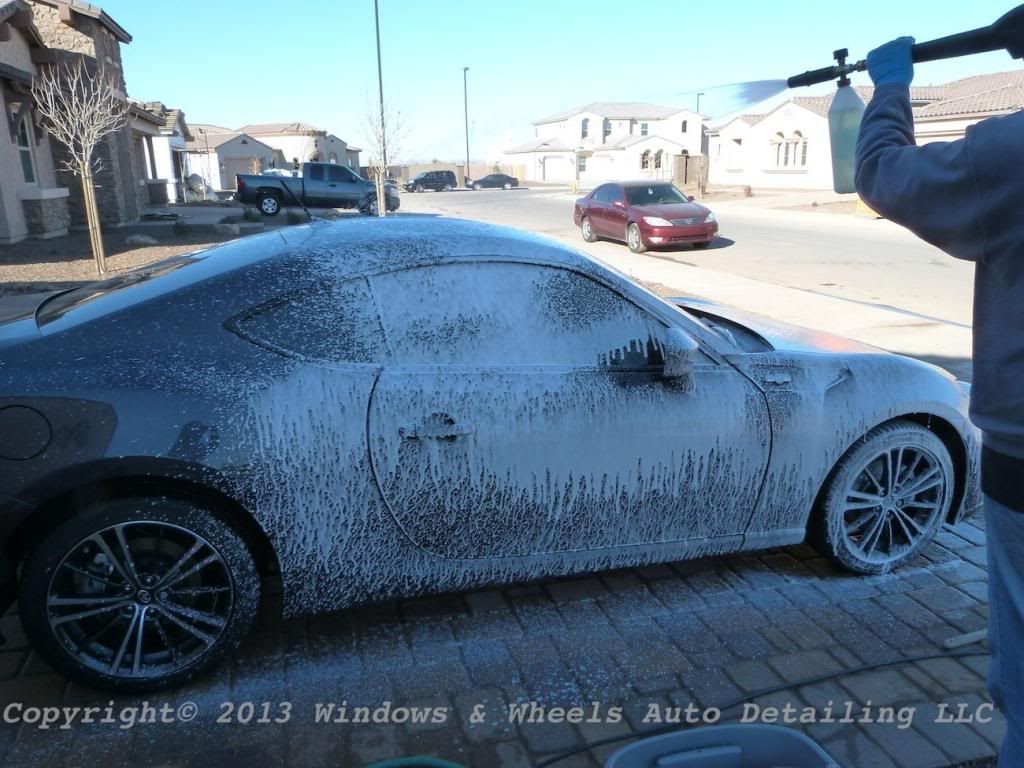
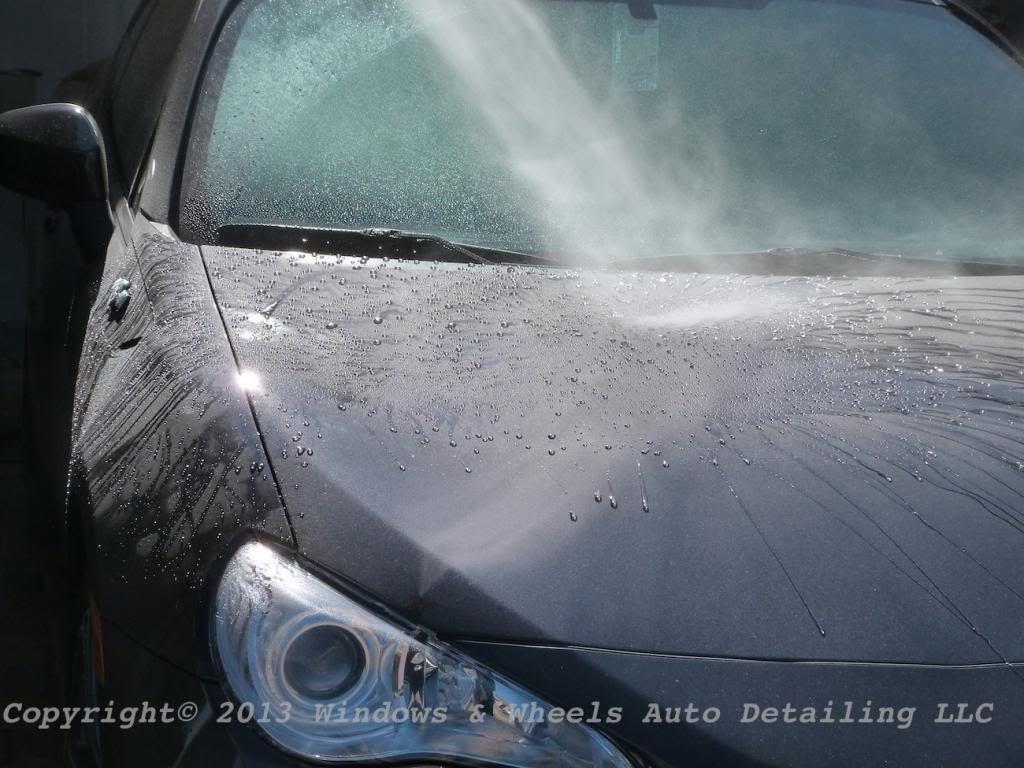
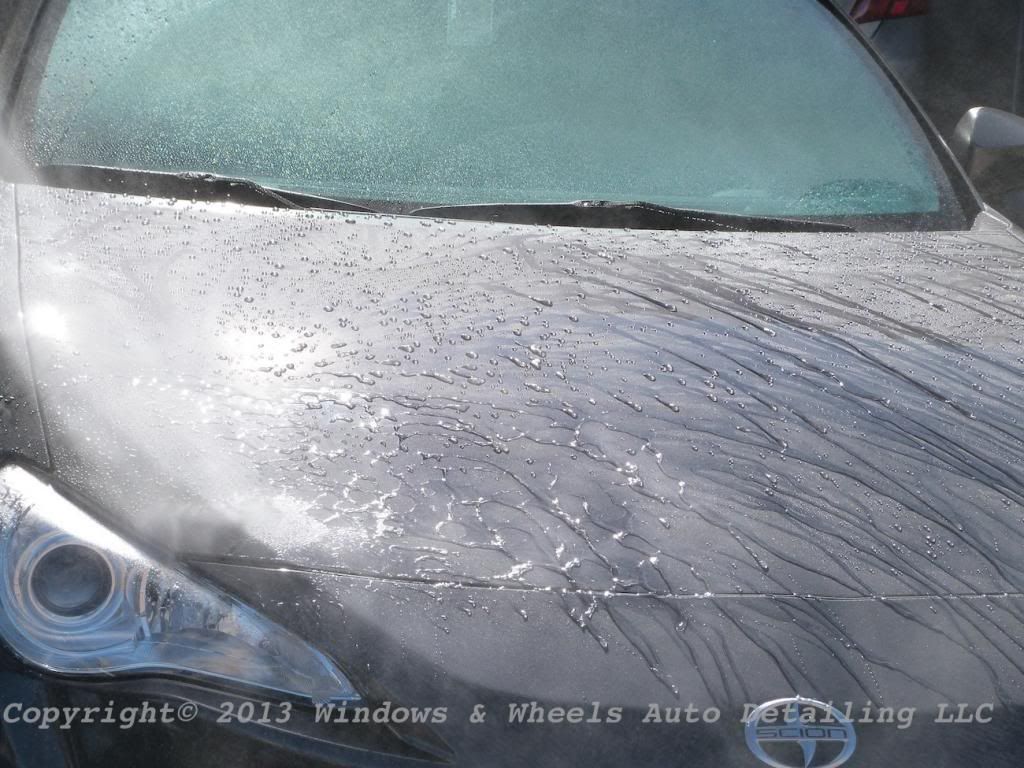
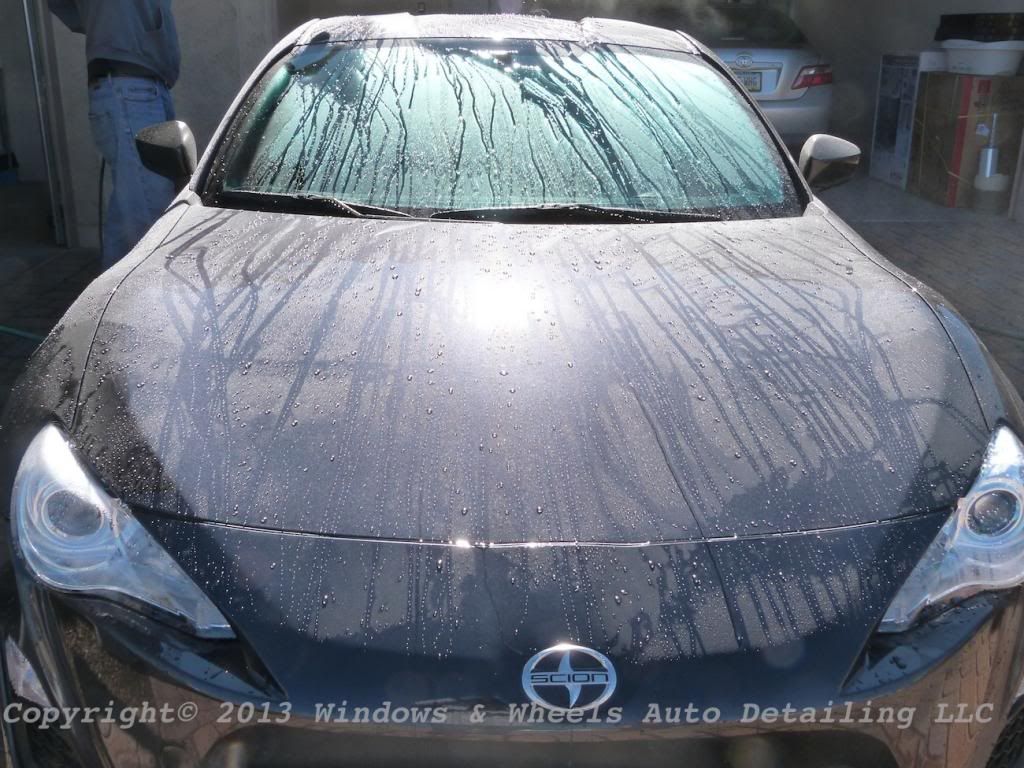
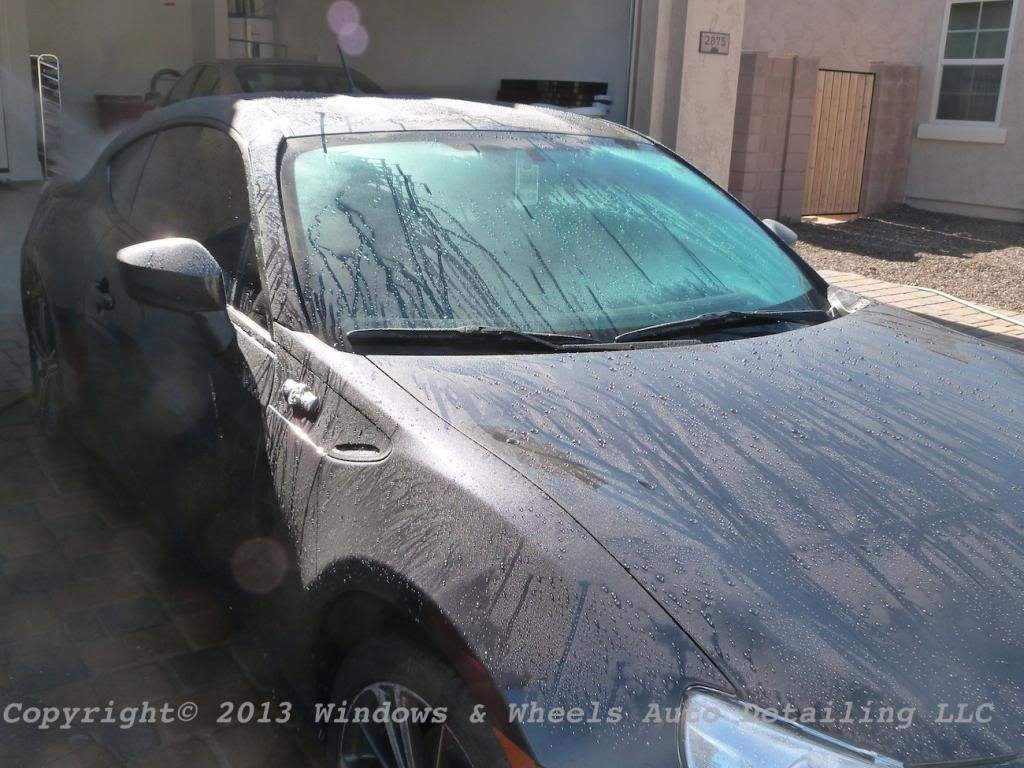
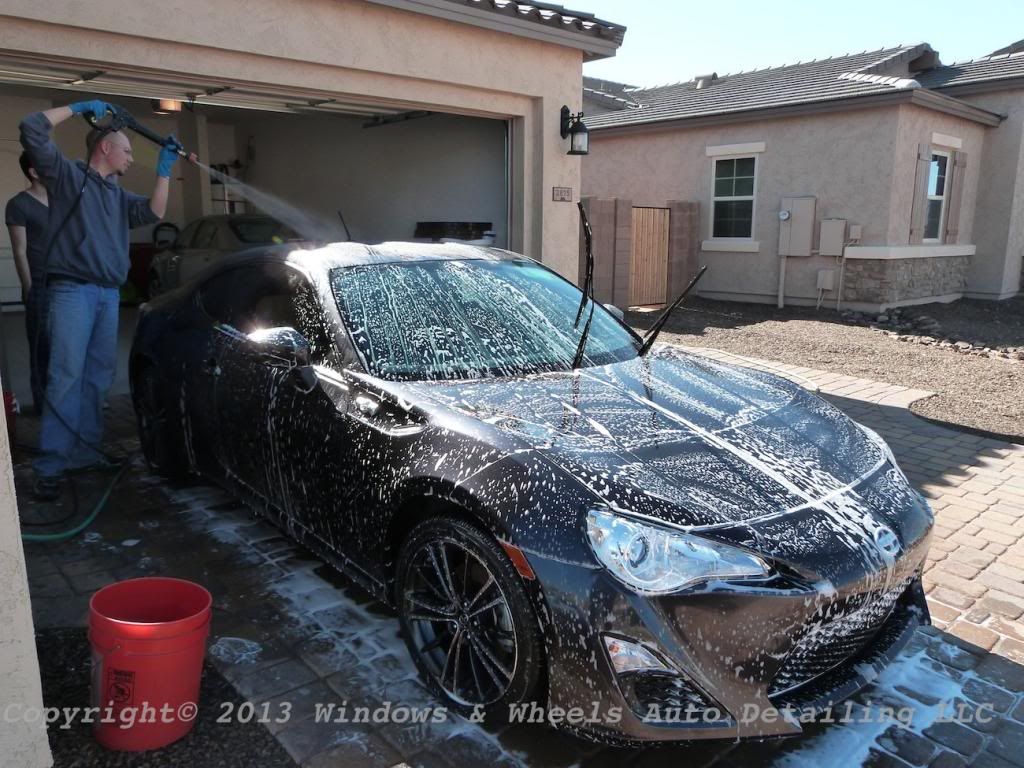
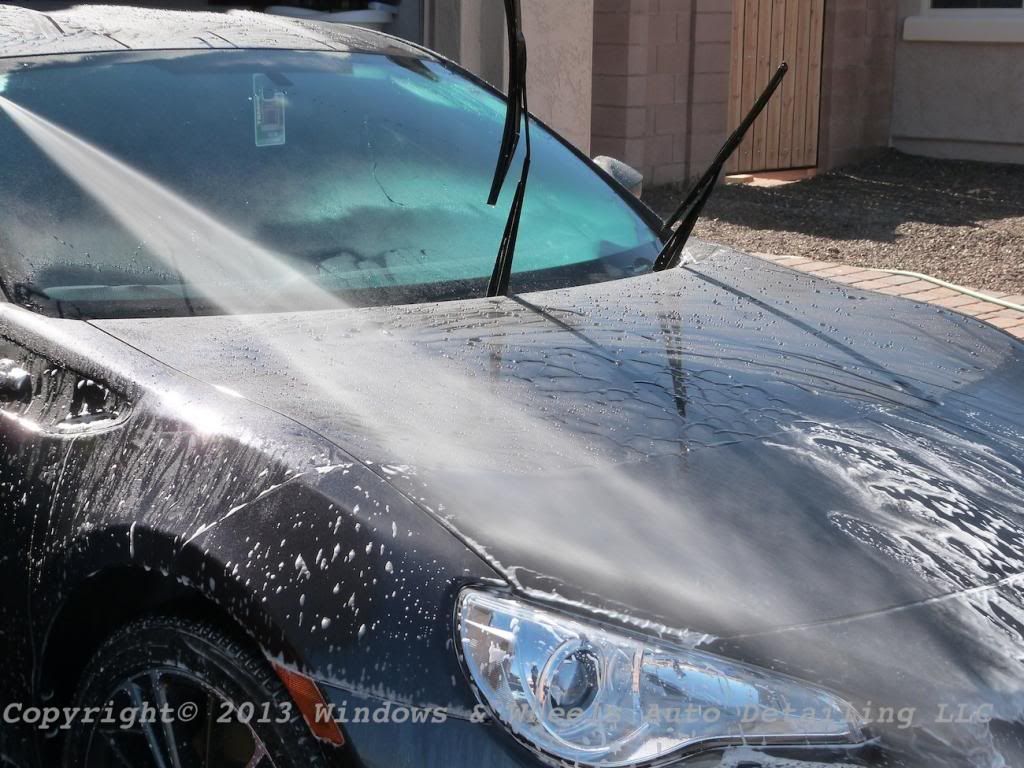
Then after 2-bucket was, ittttt was time to rinse it down...
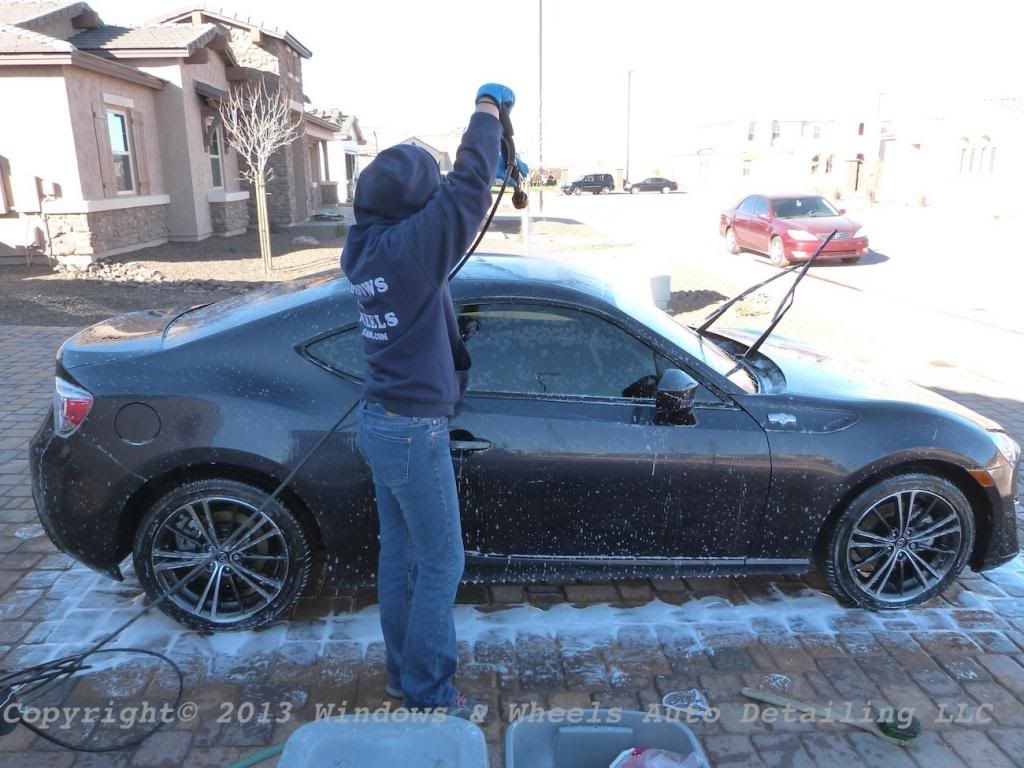
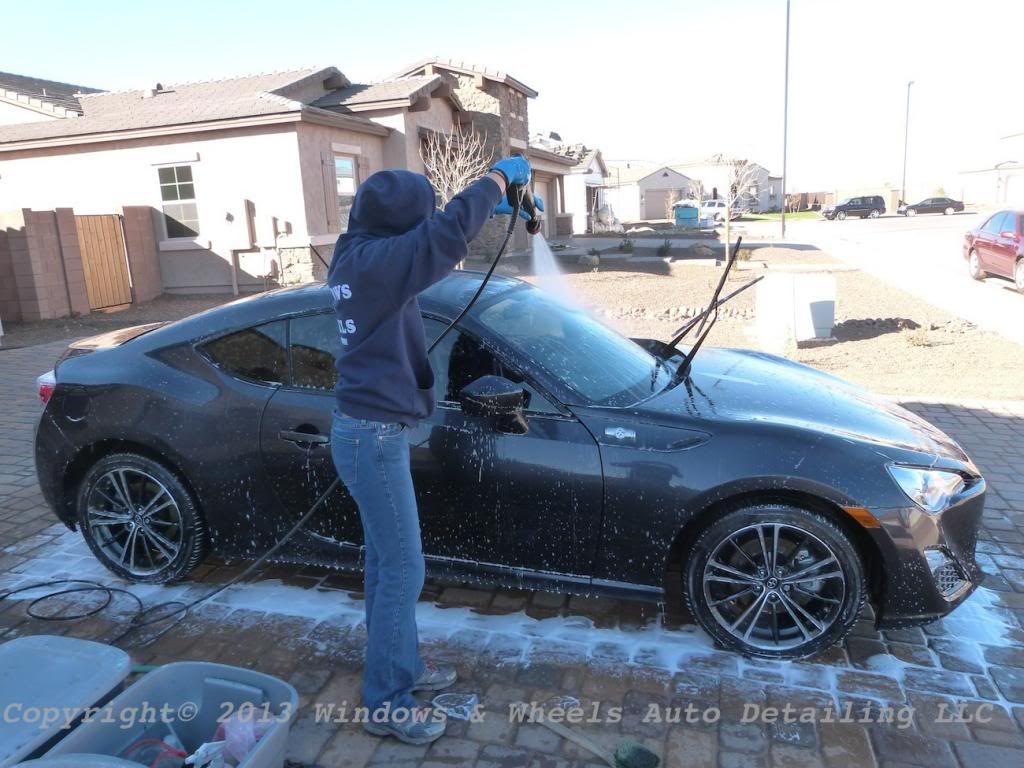
You can probably guess it was a bit cold that day (to us Arizona desert dwellers who complain at anything under 75 degrees).
Next the owner backed it into the garage and we began inspecting the paint (again):
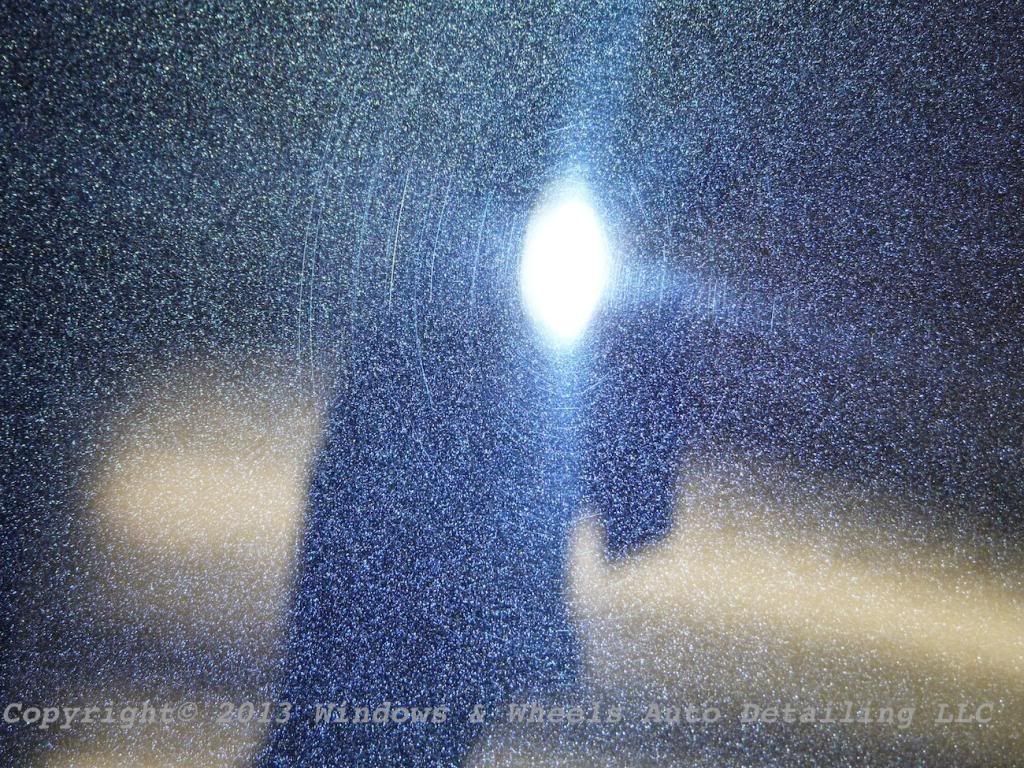
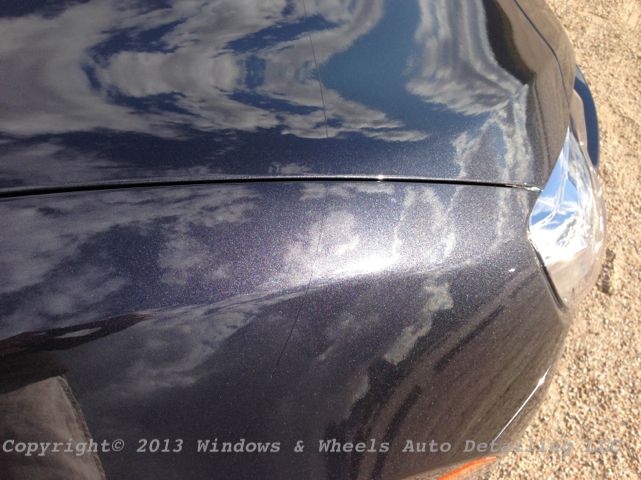
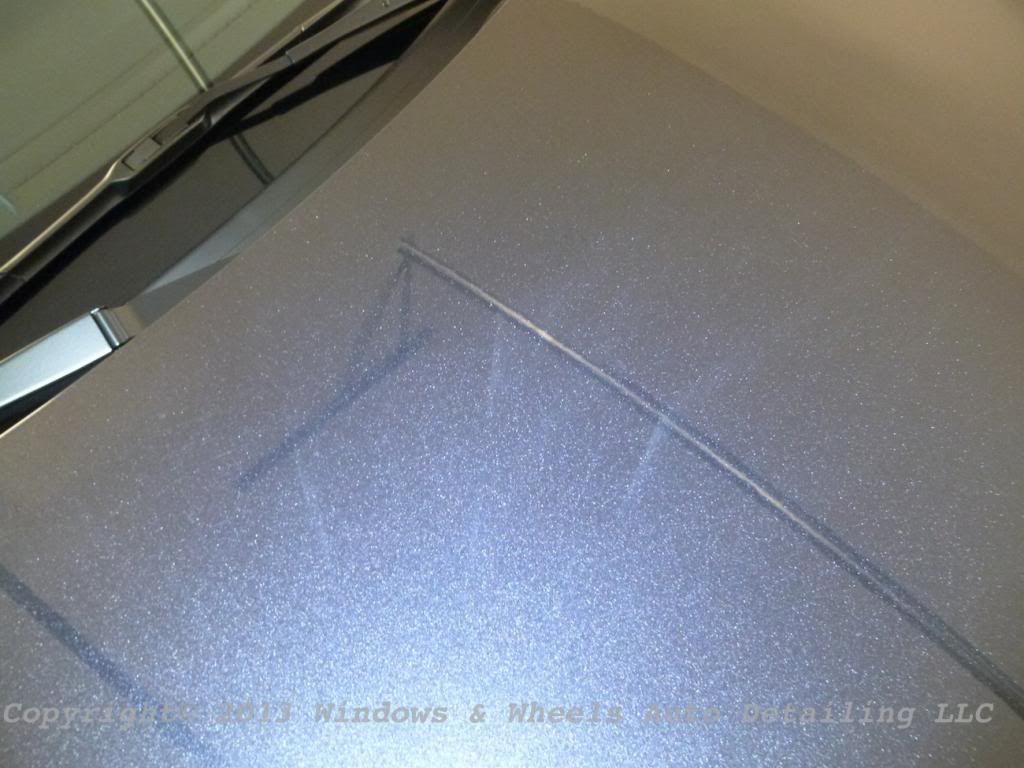
Swirls were not difficult to see at all...the buffer trails/holograms however, took a much more keen eye, ESPECIALLY on a metallic color such as this:
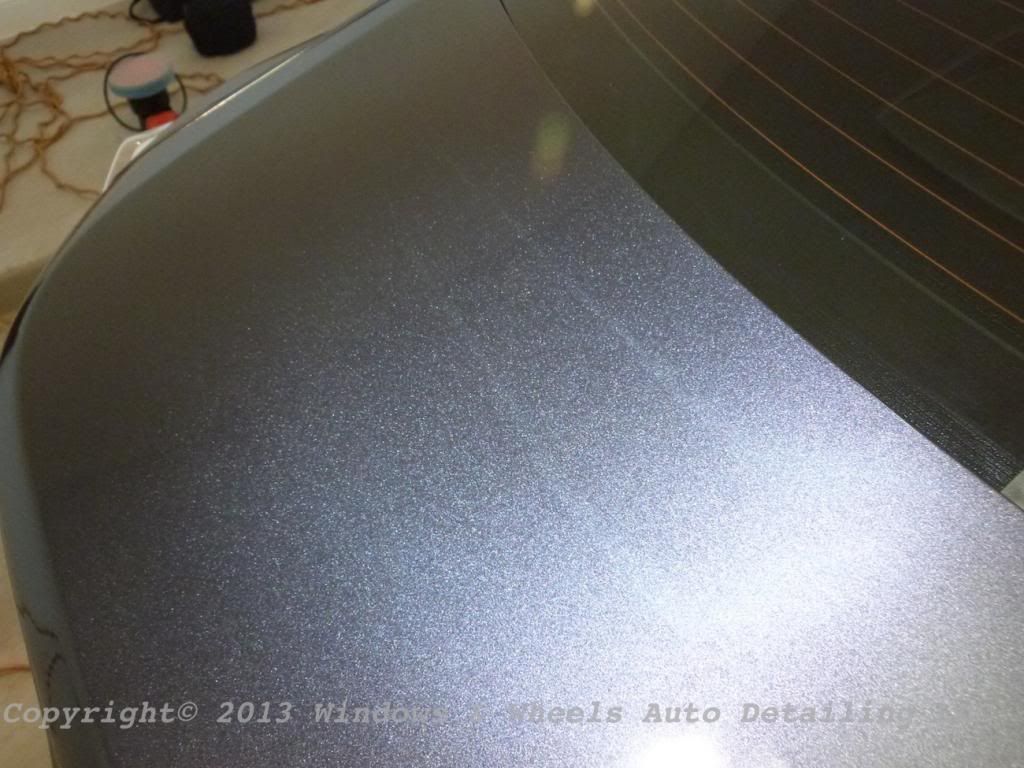
See those 2 lines going across the trunk...those are buffer trails.
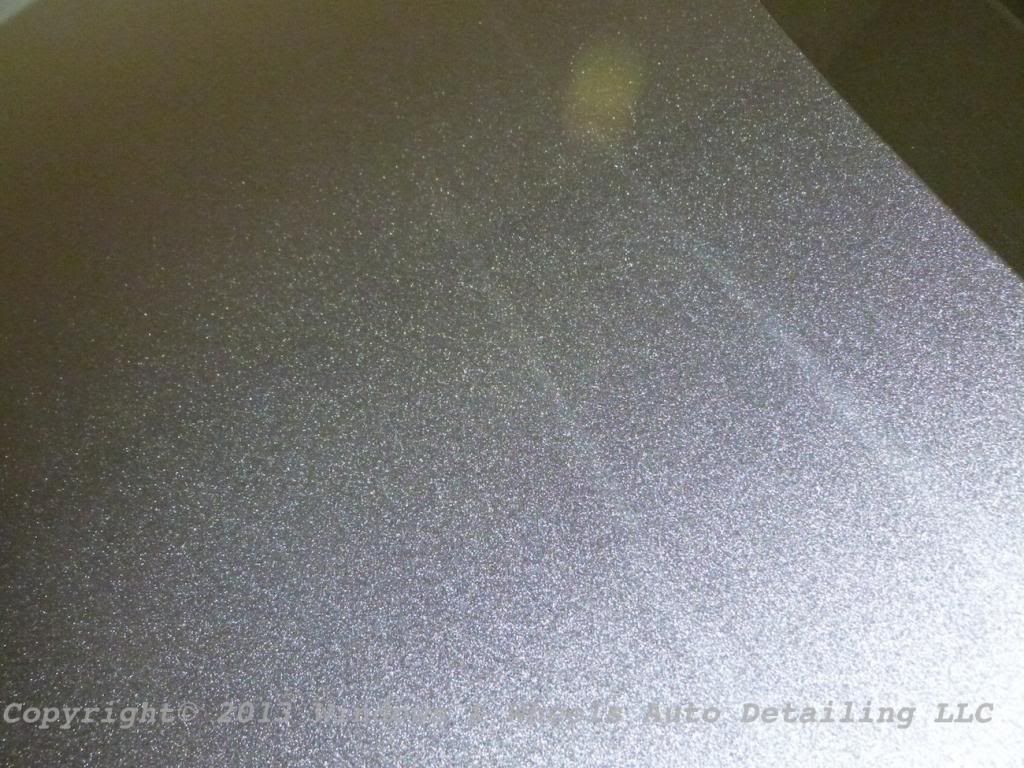
Here is a closer look:
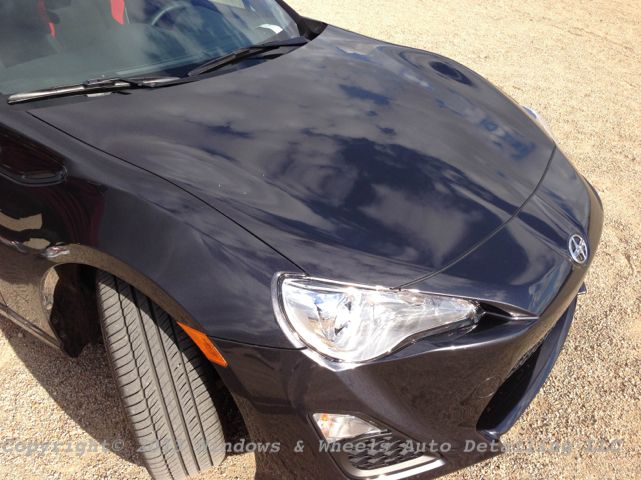
The ones on the hood were a bit easier to see:
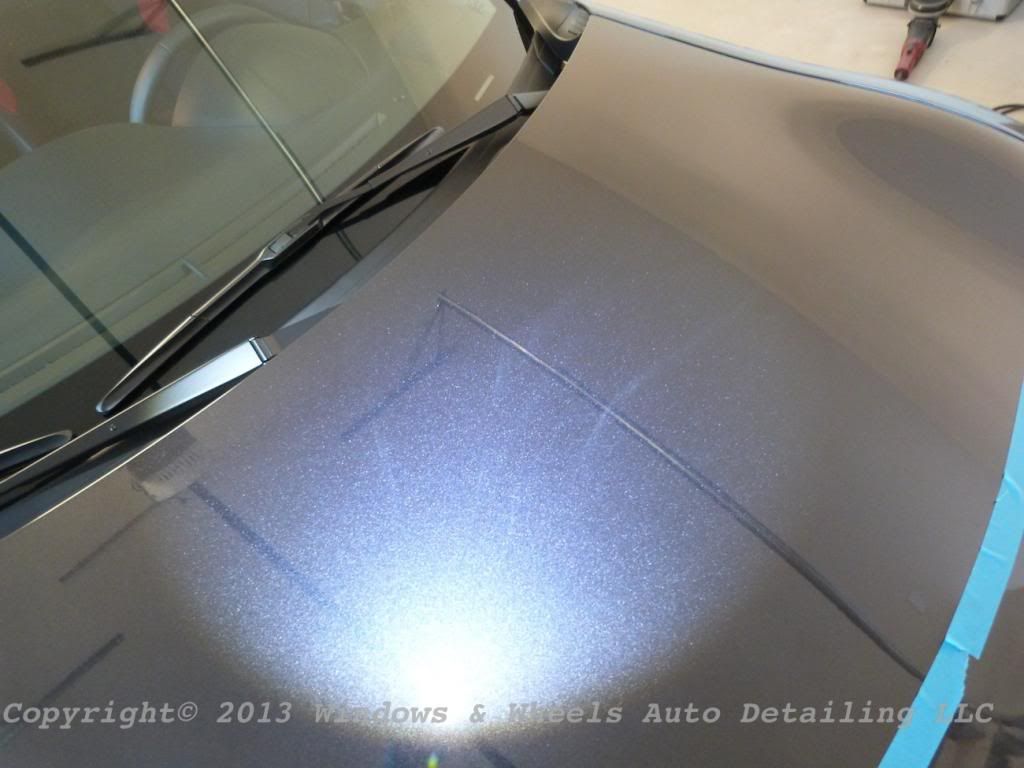
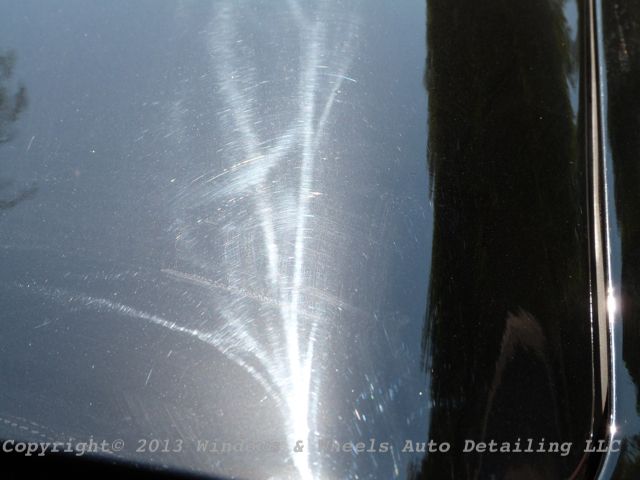
Surely not pretty but, nothing we couldn't handle. We'd seen MUCH worse than that...a bit more of an extreme version was on this GMC Sierra we'd done a few months prior...still havent gotten up the nerve to do the write up on that bad boy but, sometime soon:
And so, the polishing began. Megs D300 and Microfiber Cutting Discs on a Griots DA, followed by Dani with her PC, Buff n' Shine Green pad and 205:
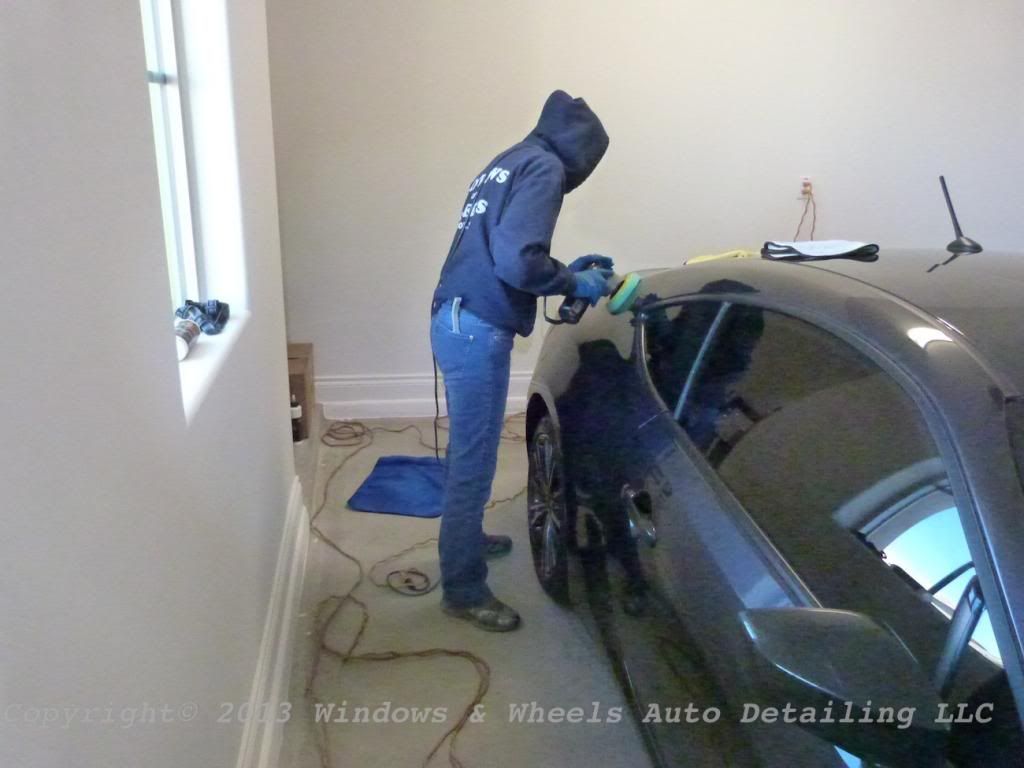
And yes, she was still bundled up and cold lol:
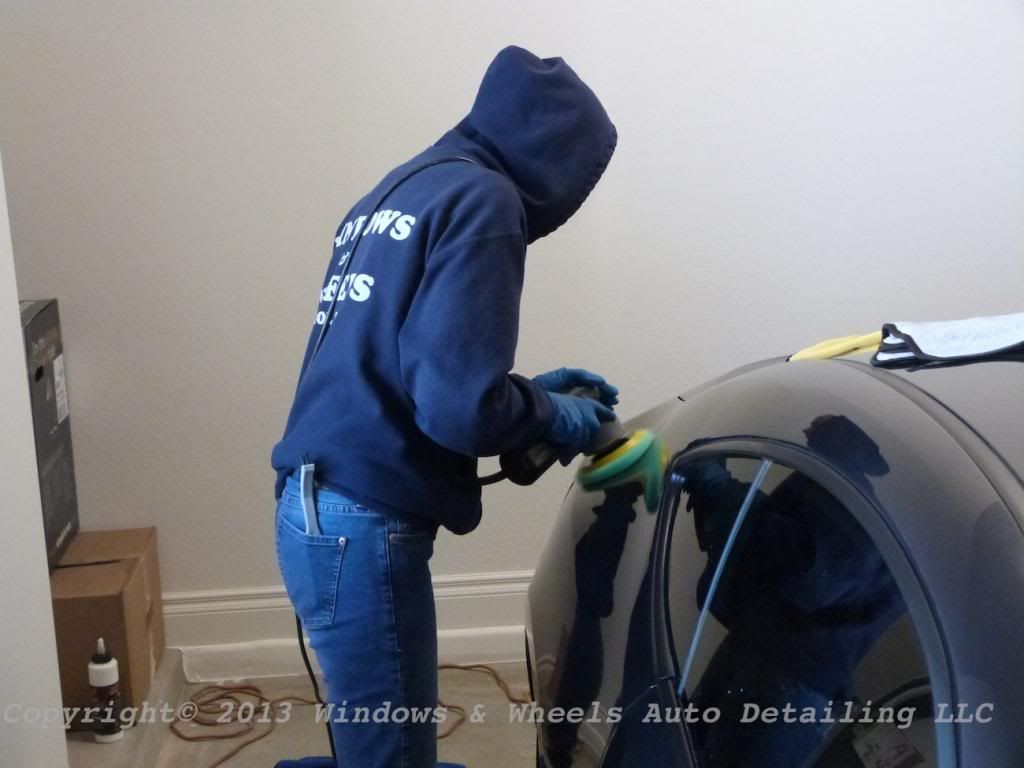
*Singin'* Who's that lady? (Whos that lady) - Polishing lady (Whos that lady)
Ok back to the write up...
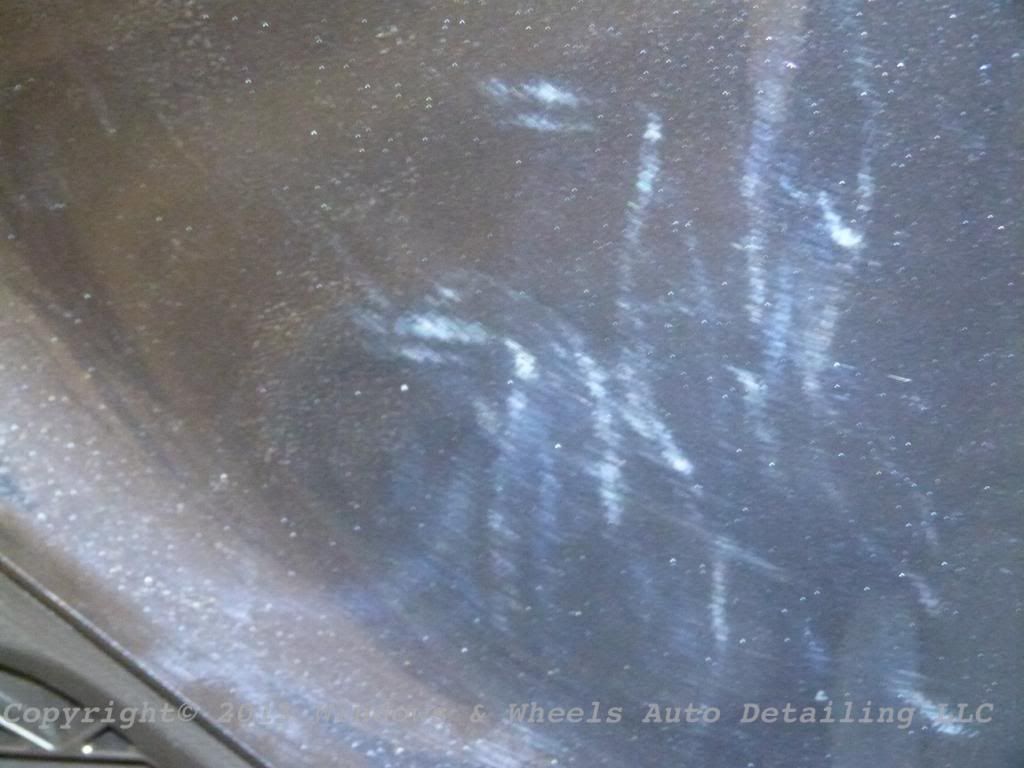
The full front was totally covered with clear bra, but it was nice and swirled up too:
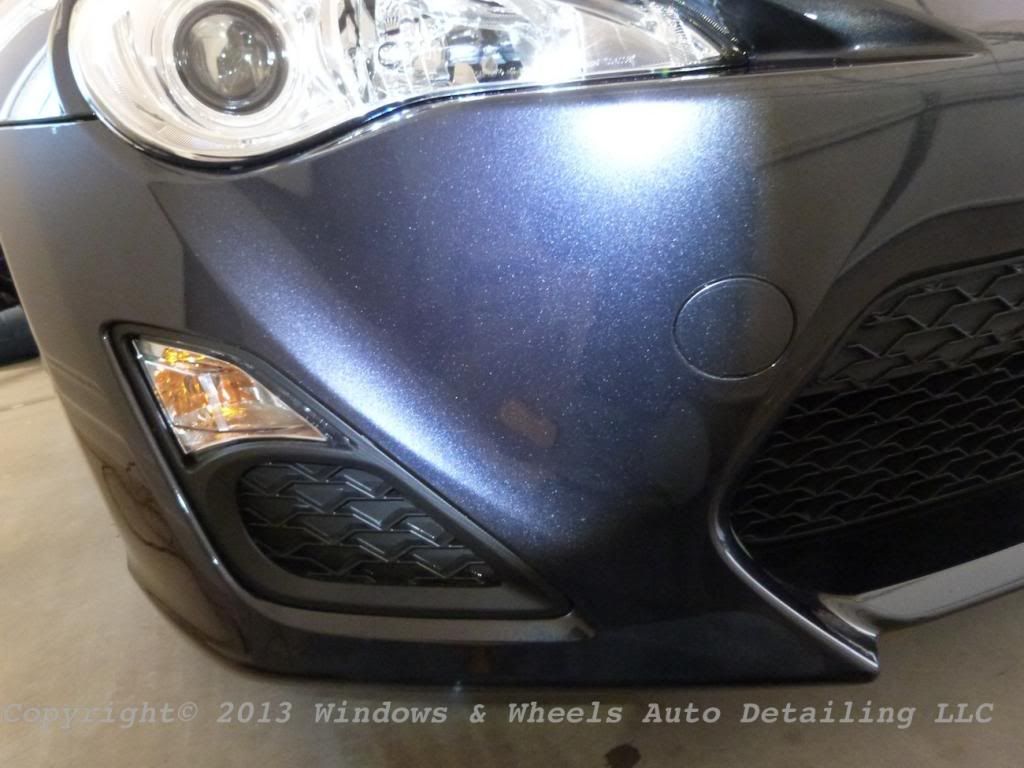
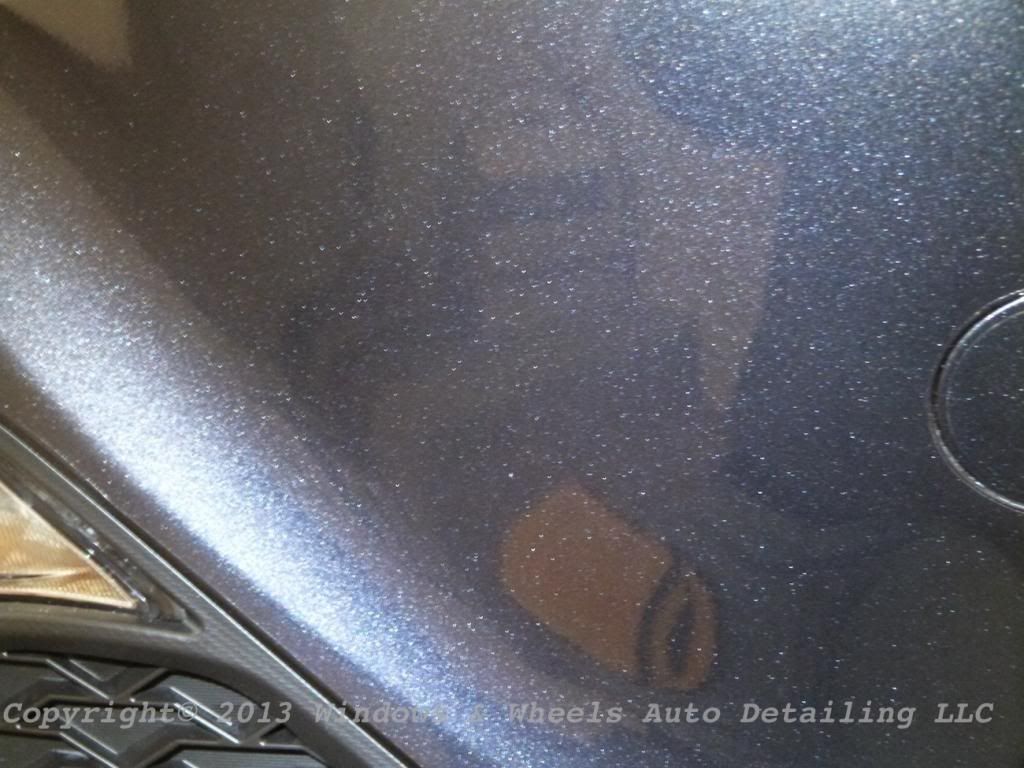
We were able to get that back to as close to new as anyone could:
So, the polishing continued for several hours. When we were through we had the owner pull it back out into the sun, with his help we spotted a few more individual scratches (he had VERY good eyes) that were pretty deep in the trunk, but we were able to remove them, as well as a couple on the hood.
After all was in great shape he pulled it back into the garage..we did a Isopropyl Alcohol wipe down and washed with Megs Rinseless to prep the paint for Opti-Coat.
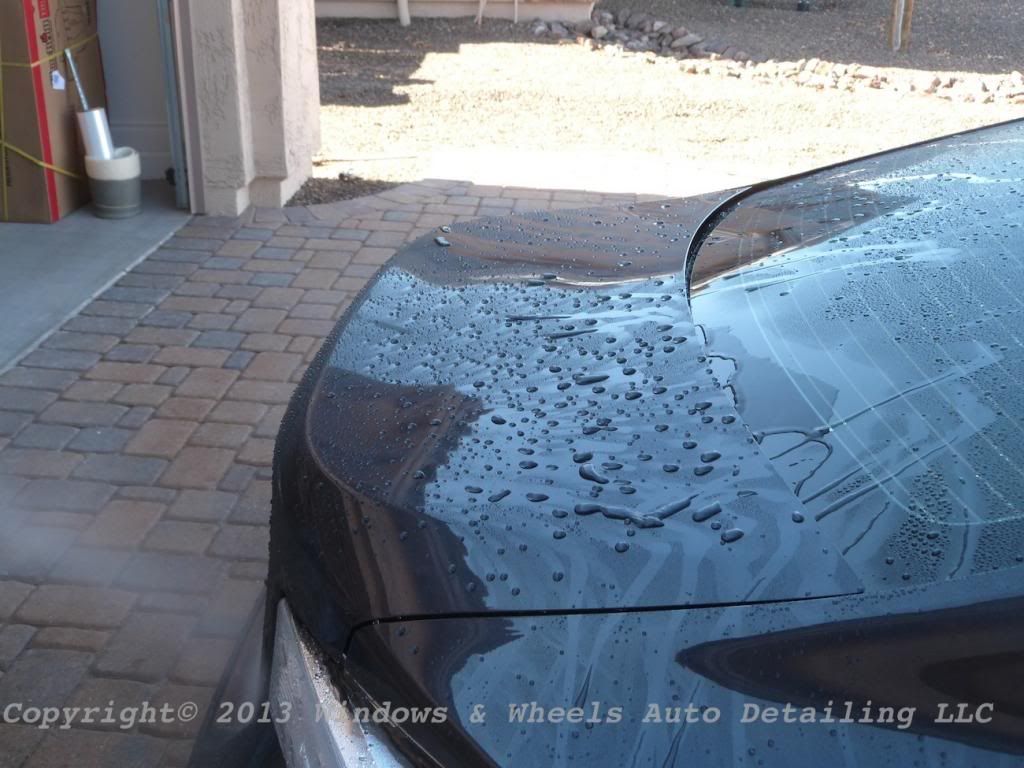
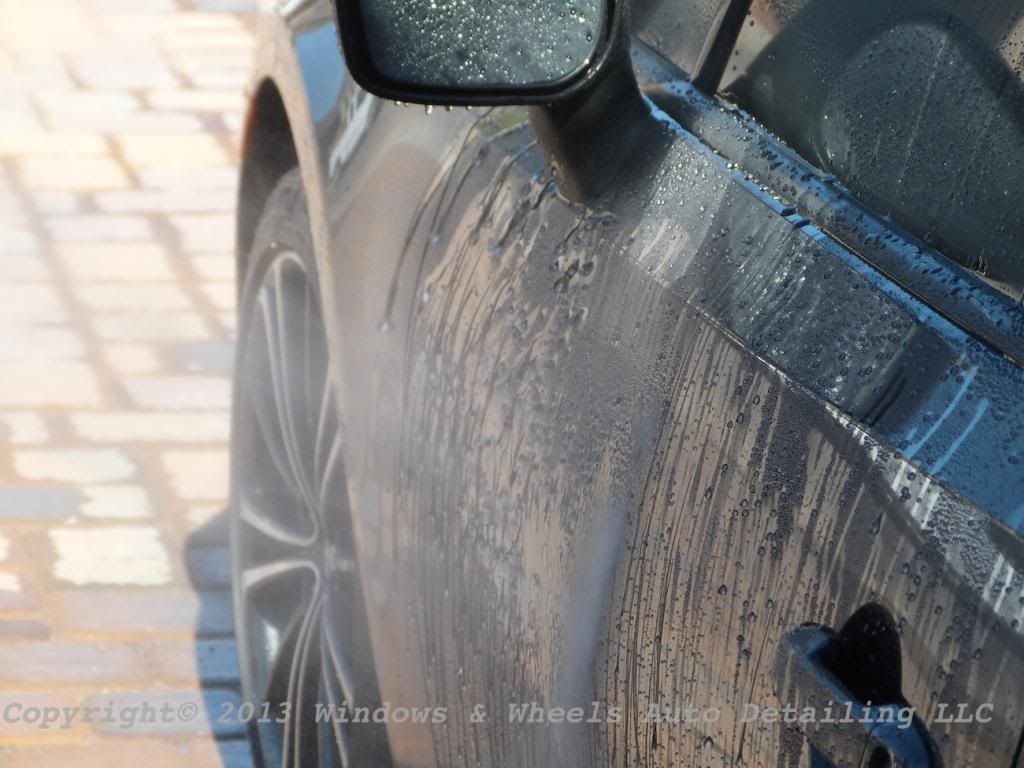
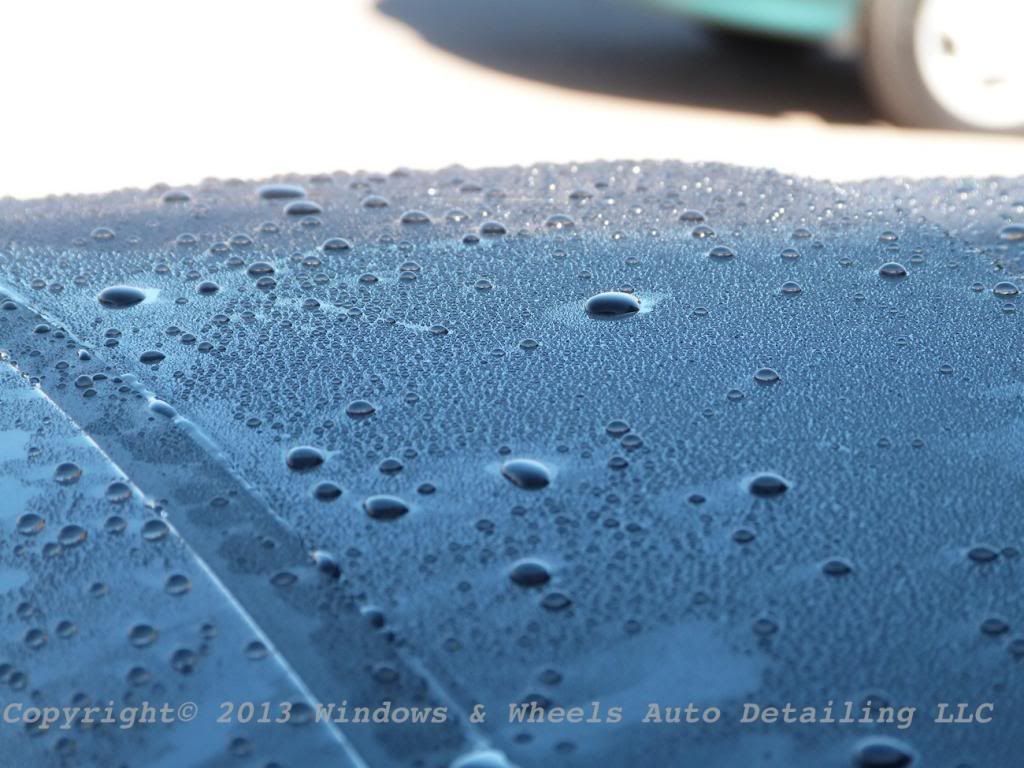
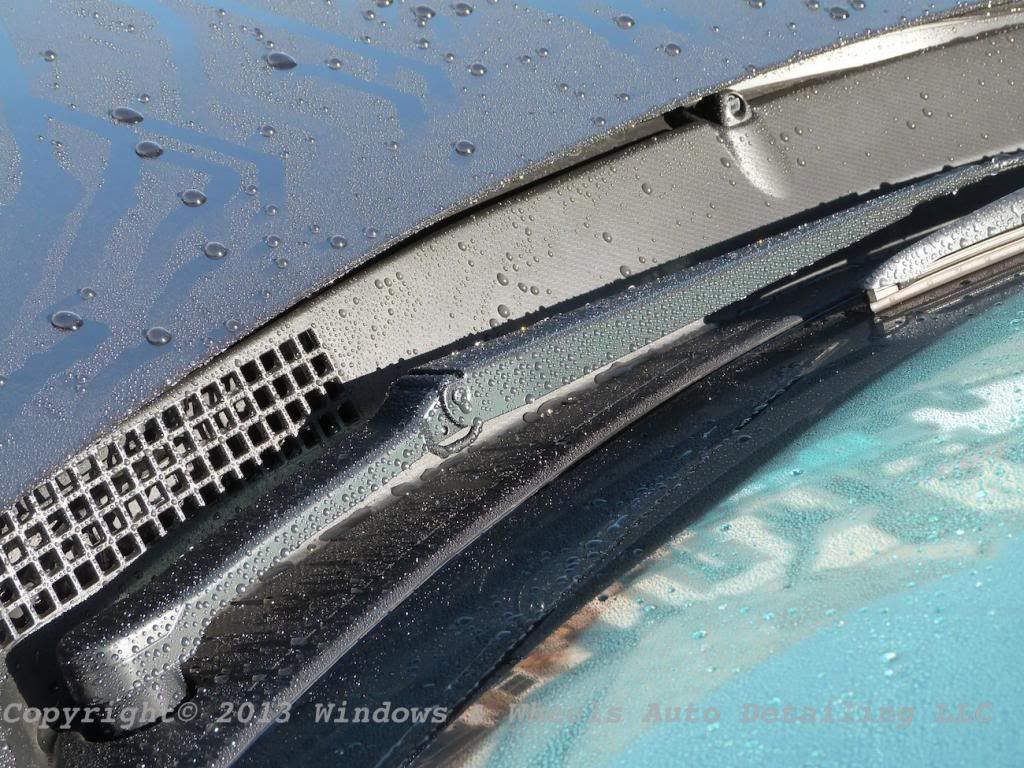
All paint, wheel faces and hard trim were coated, as usual. The clear bra was not, via the owners request. And as always, we told him in a couple of weeks we'd come back to do a follow up wash and to double check for any high spots and touch them up if any were present.
So the owner contacted me, thanks to Greg's recommendation and told me the body shop would be paying for the paint correction and that he would pay for Opti-Coat Pro to be applied after the paint was back into shape.
The body shop didn't bark at our quote (kudos to them, that's not something that happens everyday!) and agreed to pay for the correction. So we set a date to come in and do our thing.
Upon arrival well, she was a bit dirty:


Nothing that was catastrophic but it surely needed attention.
We noticed a couple spots on the clear bra that was slightly lifting, wanted to document this before any work started to show it was there before we did anything:


So as always, we started out with the tires, rims and wheel wells:


Swissvax wheel brush works very well in my opinion, i like how the bristles fan out and are very soft.
I am however testing out a new brush, the Atlasta Soft Tip, the bristles are a bit thicker than the SV, but pretty soft. This brush is excellent for stubborn, baked on brake dust as well as for cleaning lug nuts, emblems, handles and rubber stripping.

The brush is built VERY well...i think i could run it over and it would still be ok. Ive also had zero issues with letting it sit in water for hours (did that on purpose just to see if it would hold up) or using it with strong cleaners. The bristles are a bit less flexible so don't work quite as well on larger wheel face sections..

Both brushes definitely have their place and i'll continue to work with and test them both out.
Next of course was cleaning the barrels, there wasn't quite enough clearance for my 3" Wheel Woolie, and i hadn't yet received my 2" one yet, so it was to the trust ole' EZ Detail Wheel brush!

It slings some but, it gets the job done:

I also had another brush i was trying out from the same makers of the ATLASTA brush, PartsBrush.com. This one, as the website name indicated, was a parts brush, but i wondered how it would work on tires or wheel wells, since often times a brush with stiffer bristles is needed:

The bristles were a bit too long to use the wide way as shown above, but weren't bad for using when held the other way:

I wouldn't say this is an all around wheel brush, it was a little too difficult to use on the entire wheel, but worked well on lettering and the inside lip of the tire, which often times holds ALL KINDS of gunk, especially if there is old tire dressing thats been layered on.

I think if the brush was a bit fatter and had shorter bristles, it would be an excellent tire brush. Doug, the VP of the company, said that they're just getting into making detailing brushes so hopefully with some further testing we can hope for a possible redesigned brush with the same sturdy bristles and handle formatted especially for tires, we'll see!
It DID come in handy for pushing into inset areas of the plastic wheel well covers. Wheels Woolies and fender brushes will usually work pretty well but sometimes don't allow for enough pressure to be applied, or the bristles are difficult to push into the corners, this guy got in the corners pretty easily...the shorter handle made it a LITTLE difficult but, the angled head was very nice to work with:


As you can see, the longer handle of the fender brush was a bit easier to get into the well and worked fine for the bigger, flatter areas of the wheel well covers:


It was a great day for trying out multiple brushes!
Then time to pressure wash clean:

Cleaning up nicely!

Then after a thorough rinsing it was time to foam this baby up!


Then after 2-bucket was, ittttt was time to rinse it down...


You can probably guess it was a bit cold that day (to us Arizona desert dwellers who complain at anything under 75 degrees).
Next the owner backed it into the garage and we began inspecting the paint (again):

Swirls were not difficult to see at all...the buffer trails/holograms however, took a much more keen eye, ESPECIALLY on a metallic color such as this:

See those 2 lines going across the trunk...those are buffer trails.
Here is a closer look:

The ones on the hood were a bit easier to see:


Surely not pretty but, nothing we couldn't handle. We'd seen MUCH worse than that...a bit more of an extreme version was on this GMC Sierra we'd done a few months prior...still havent gotten up the nerve to do the write up on that bad boy but, sometime soon:

And so, the polishing began. Megs D300 and Microfiber Cutting Discs on a Griots DA, followed by Dani with her PC, Buff n' Shine Green pad and 205:

And yes, she was still bundled up and cold lol:

*Singin'* Who's that lady? (Whos that lady) - Polishing lady (Whos that lady)
Ok back to the write up...
The full front was totally covered with clear bra, but it was nice and swirled up too:

We were able to get that back to as close to new as anyone could:


So, the polishing continued for several hours. When we were through we had the owner pull it back out into the sun, with his help we spotted a few more individual scratches (he had VERY good eyes) that were pretty deep in the trunk, but we were able to remove them, as well as a couple on the hood.
After all was in great shape he pulled it back into the garage..we did a Isopropyl Alcohol wipe down and washed with Megs Rinseless to prep the paint for Opti-Coat.
All paint, wheel faces and hard trim were coated, as usual. The clear bra was not, via the owners request. And as always, we told him in a couple of weeks we'd come back to do a follow up wash and to double check for any high spots and touch them up if any were present.

