LawrenceSA
New member
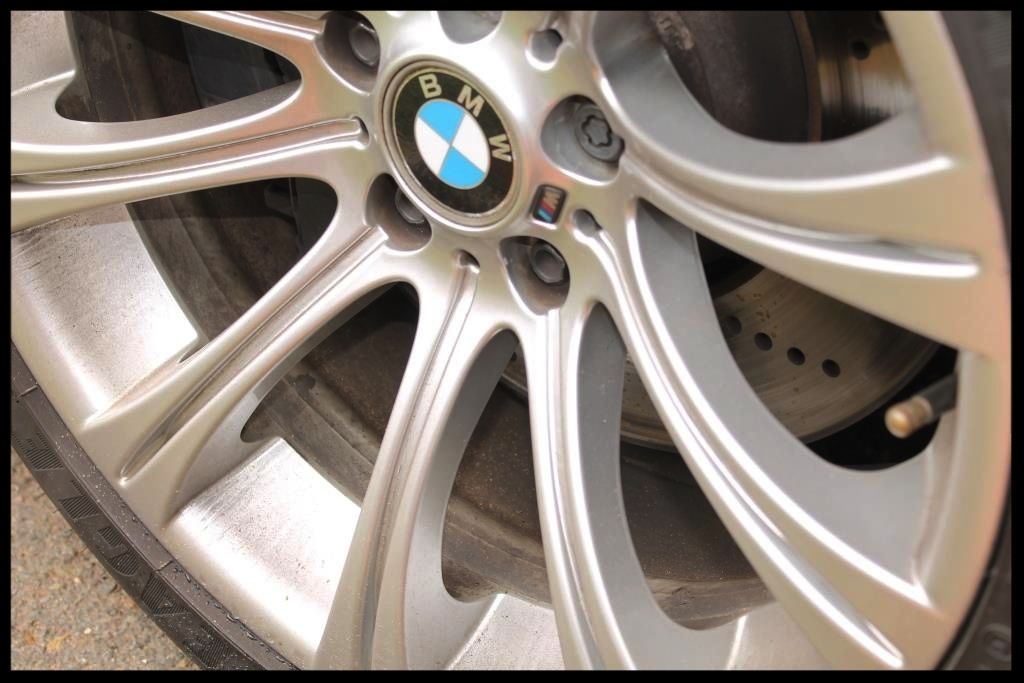
The owner only wanted the paintwork sorted out - no engine bay, no interior, no wheels...
It was easy enough to leave the engine bay and interior alone, but I simply just couldn't leave the wheels looking the way they were and hand the car back like that, so I did them anyway (obviously at no extra cost to the customer).
This is what they looked like before.
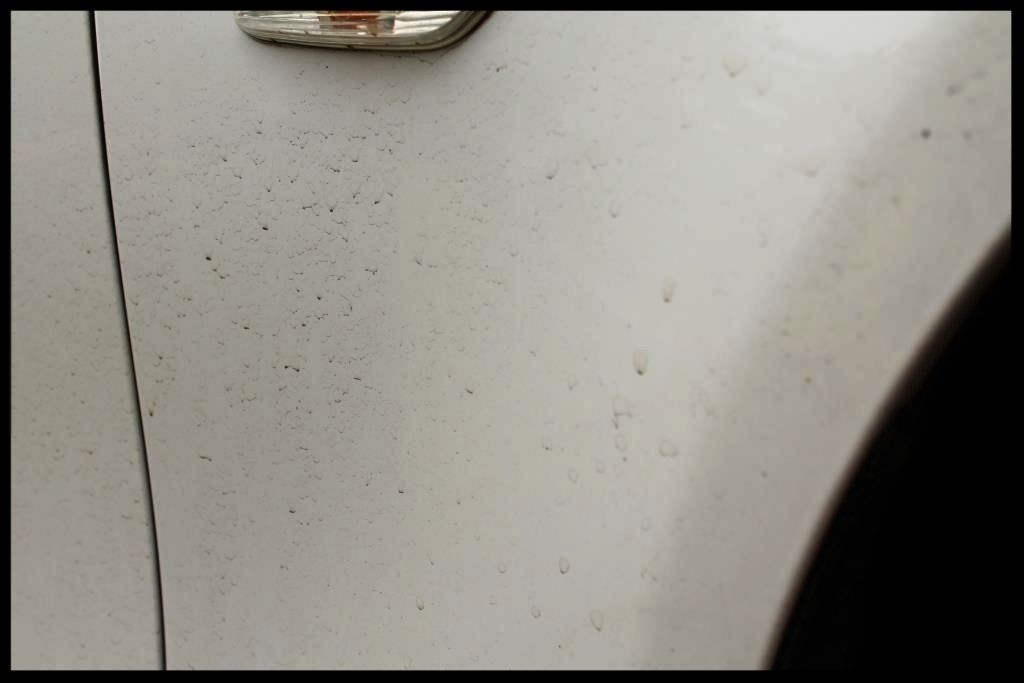
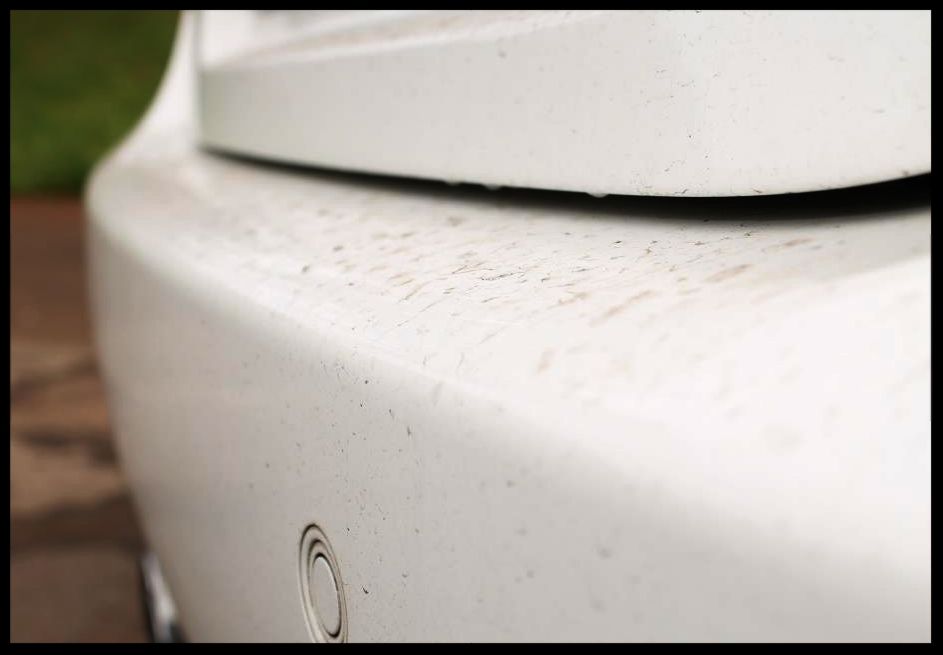
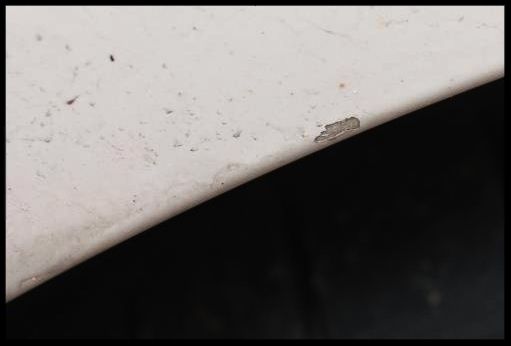
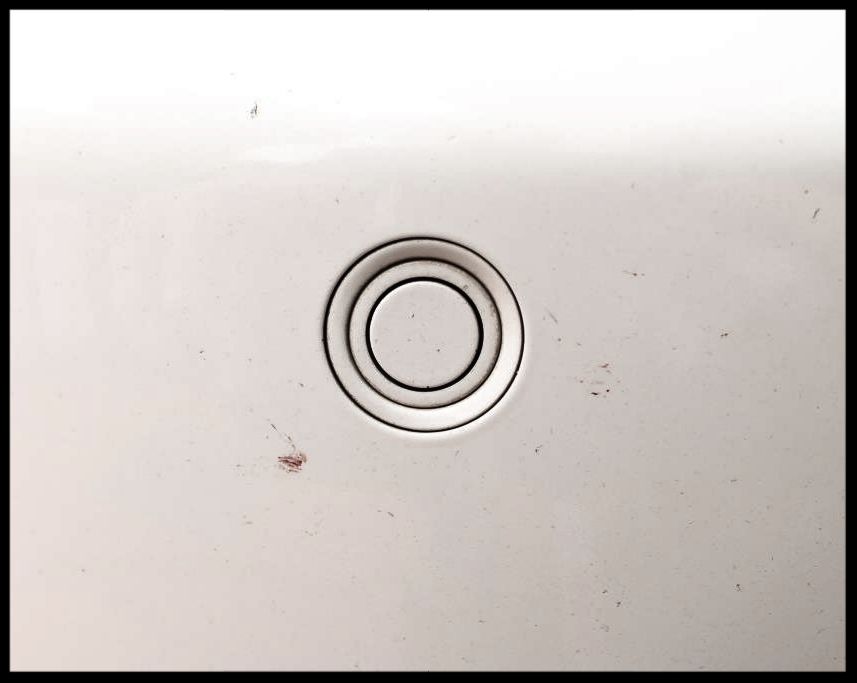
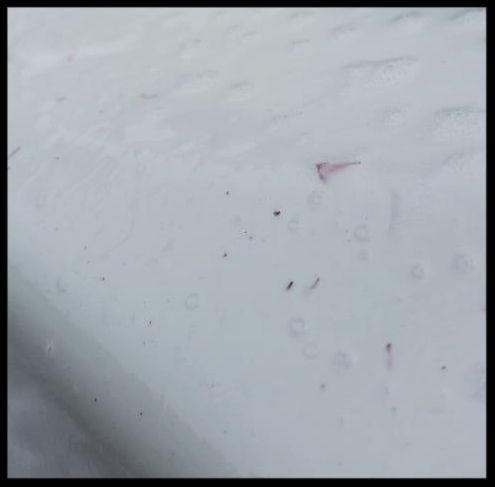
So this is the second owner of the car and which he purchased from a old man who literally pulled the car out once a week for a joyride, and then proceeded to take it to the local car [strikethrough]wash[/strikethrough]scratch place to have it [strikethrough]cleaned[/strikethrough]scratched... and boy did it show. The paint was some of the worst I have seen and was robbing the paint of any gloss or clarity.
The car obviously had some dirt on it which is to be expected on a daily driven car.
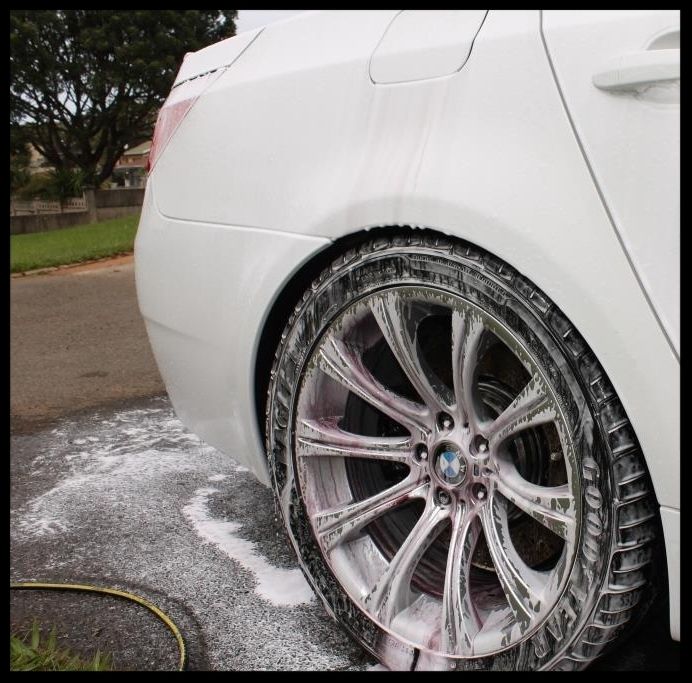
I approached this one slightly differently as I was concerned that the nice overcast weather on Saturday morning would disappear leaving another hot summer's day on the cards, and I knew doing a proper decon on this car would be important and I wanted to maximize the dwell time of the iron remover on the paint, so decided to wash the wheels during the washing of the car, not as a dedicated 'before' step. I used the same products (foam/pre-wash/iron remover) but also hit them with a quick shot of VP Billberry - they were agitated with various brushes throughout the process.
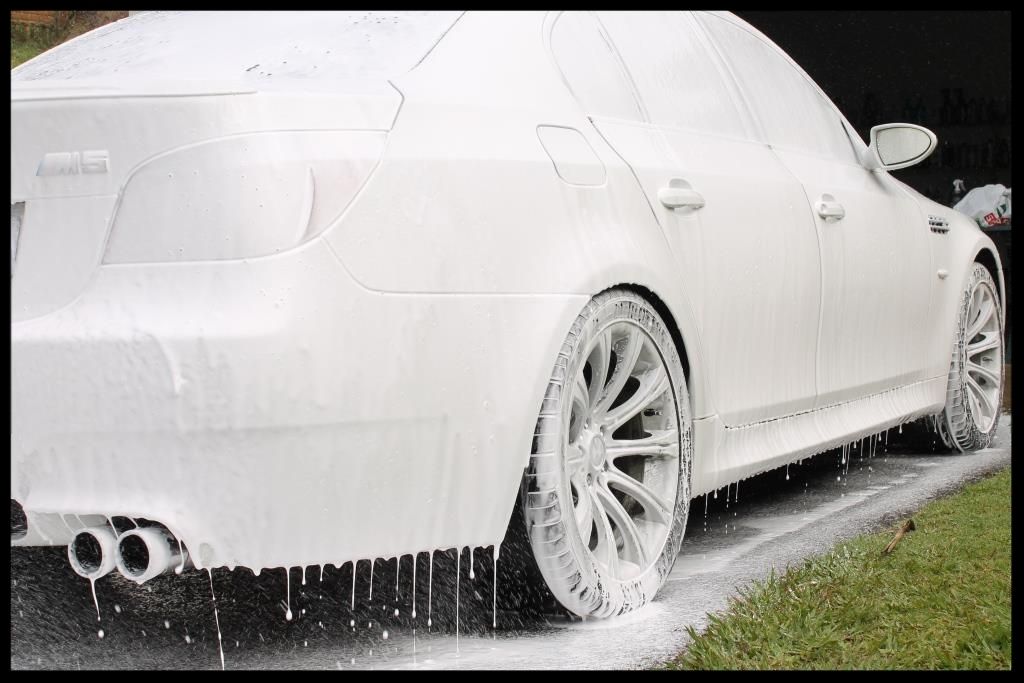
The first thing I did was give the whole car including the wheels a decent rinsing with the HP washer to remove as much of the 'loose' dirt as possible. The car and wheels were then foamed using Carchem Snowfoam, which was left to dwell before being HP rinsed off.
I then sprayed on some Valet Pro Citrus Pre-wash via a pump sprayer over the car and wheels and left that to dwell before HP rinsing off.
I then proceeded to do a full 2 bucket was using Carchem Luxury Shampoo and Lambswool wash mitts. The door and boot shuts were cleaned at this point too and then protected using Gyeon Wetcoat, which was also applied to the wheels for some protection.
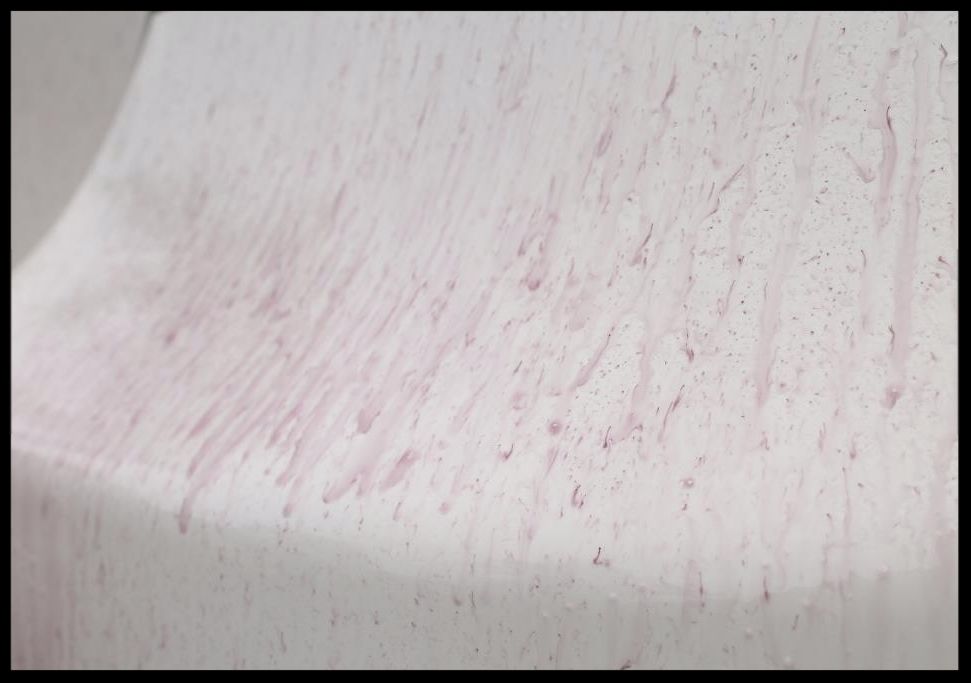
Valet Pro Tar remover was then used to remove any tar spots, and I then used Carchem Revolt to remove the iron contaminants from the wheels and paint.

The car was then pulled back into the garage and clayed using Shield Heavy Duty Clay with ONR (blue) as lube.
Then it was time to sort out the paint....
Paint readings were taken and were mostly in the 120µ range. The bootlid was between 92µ and 108µ and the 2 rear doors up in the 180µ to 220µ range, indicating a repaint - the rear bumper also showed signs of a repaint with some evidence of 'dry spraying'.
So after some test spots I eventually dialled in a decent process, which was the Flex 3401, Lake Country Blue Hybrid Foamed Wool Pads and FG400, is some places requiring 2 sets, then followed by Menzerna 3-in-1 on a Orange Lake Country Hybrid.
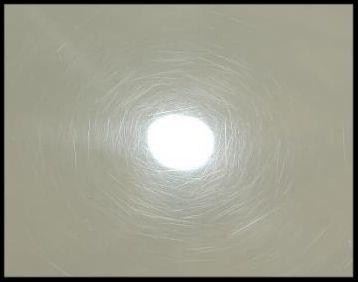
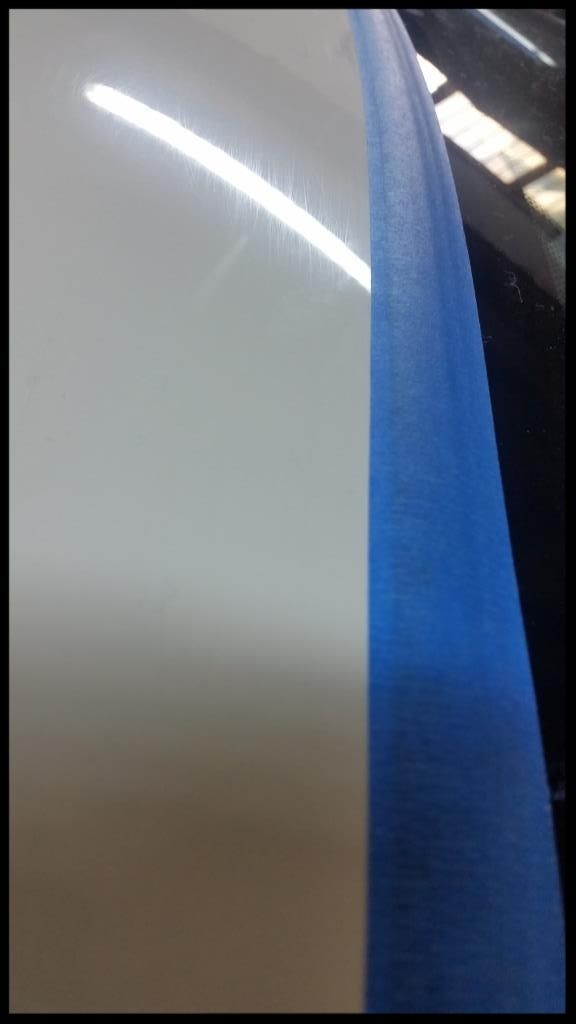
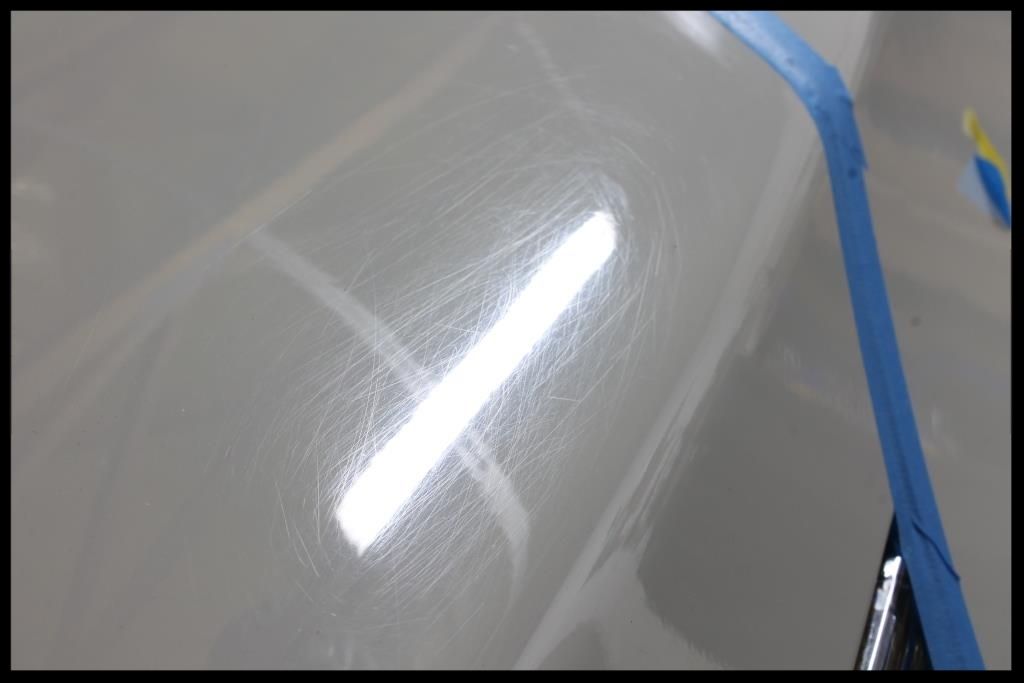
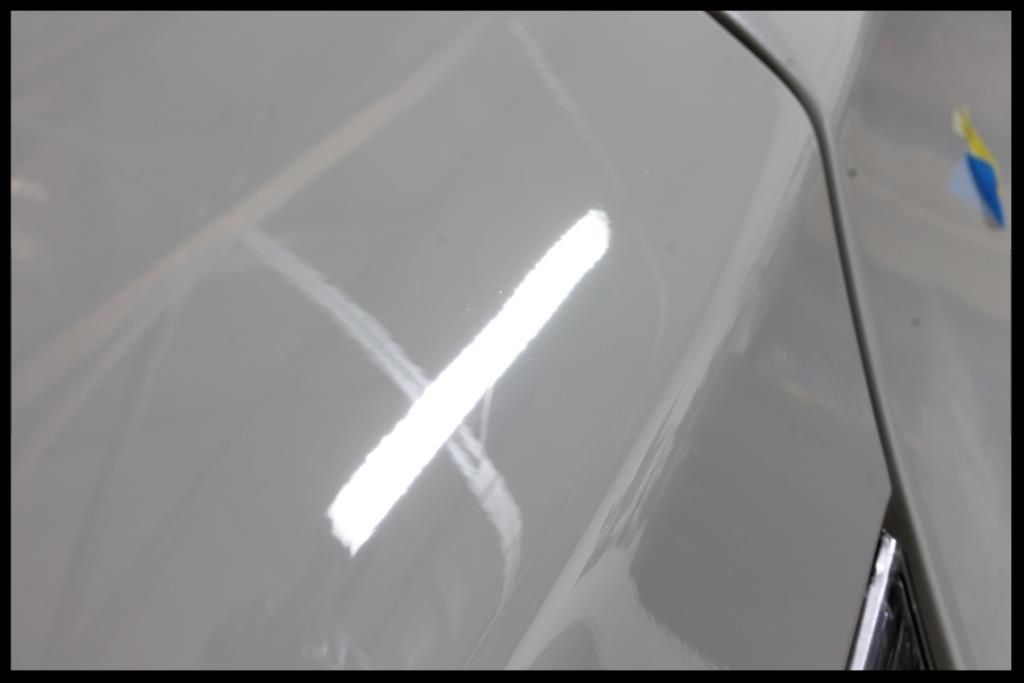
Here are some before and afters of the correction work
A cell phone shot
Before
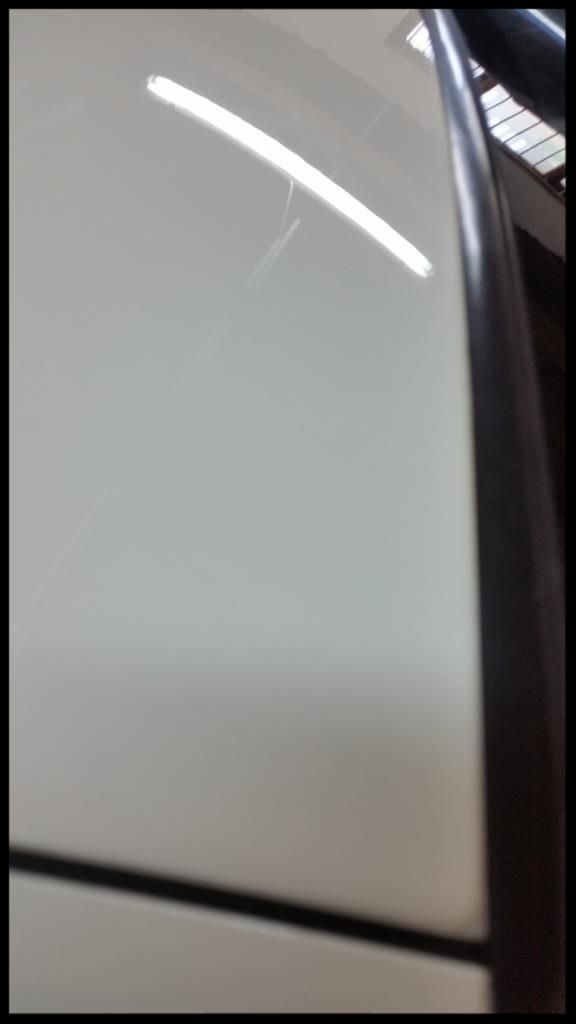
After
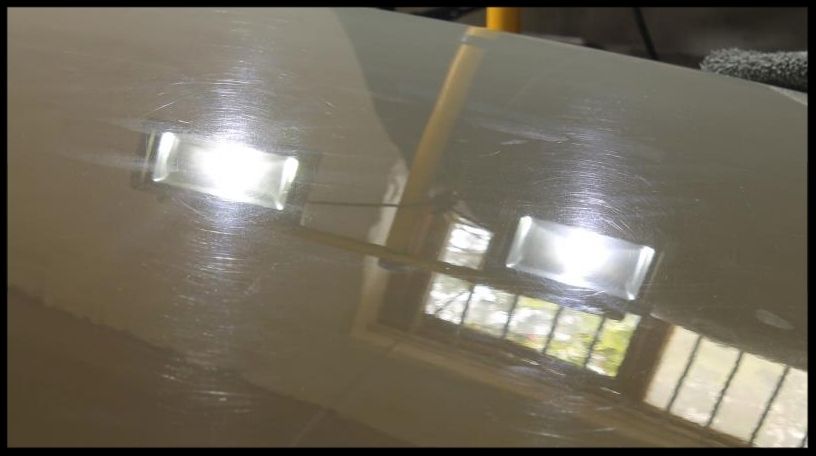
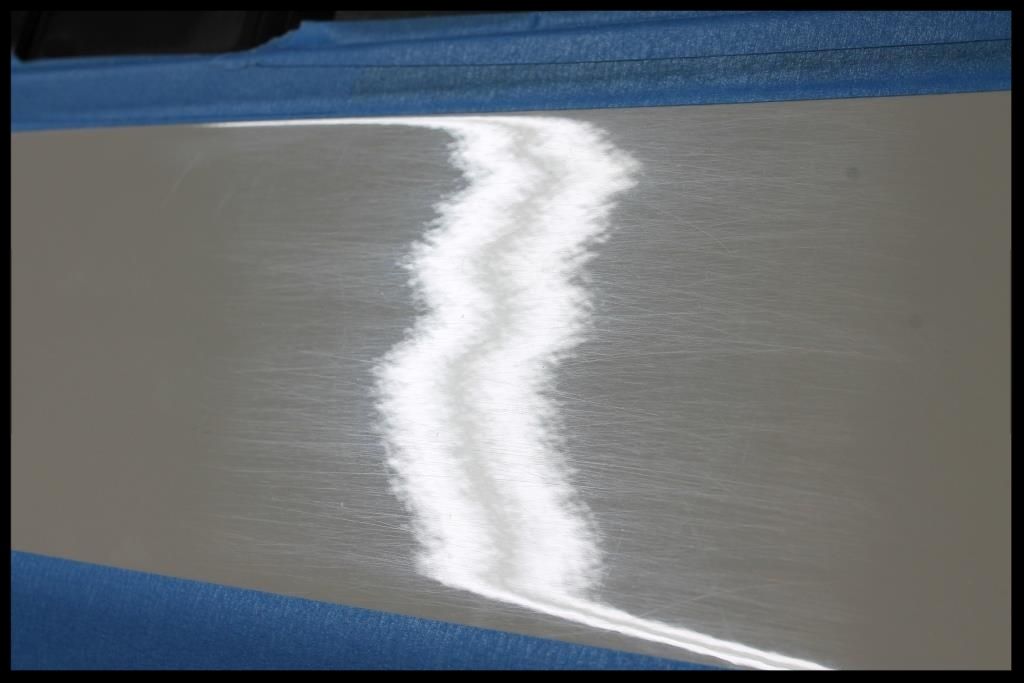
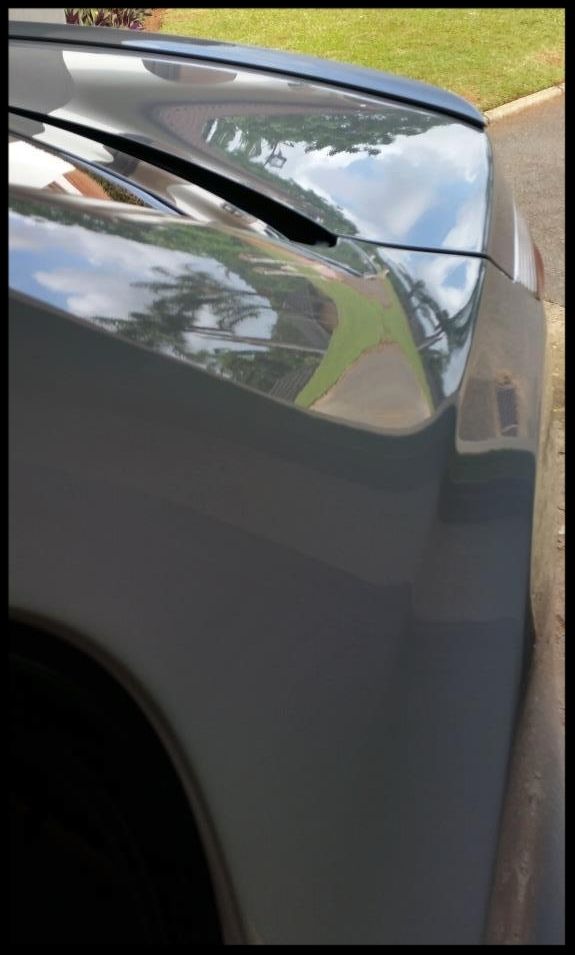
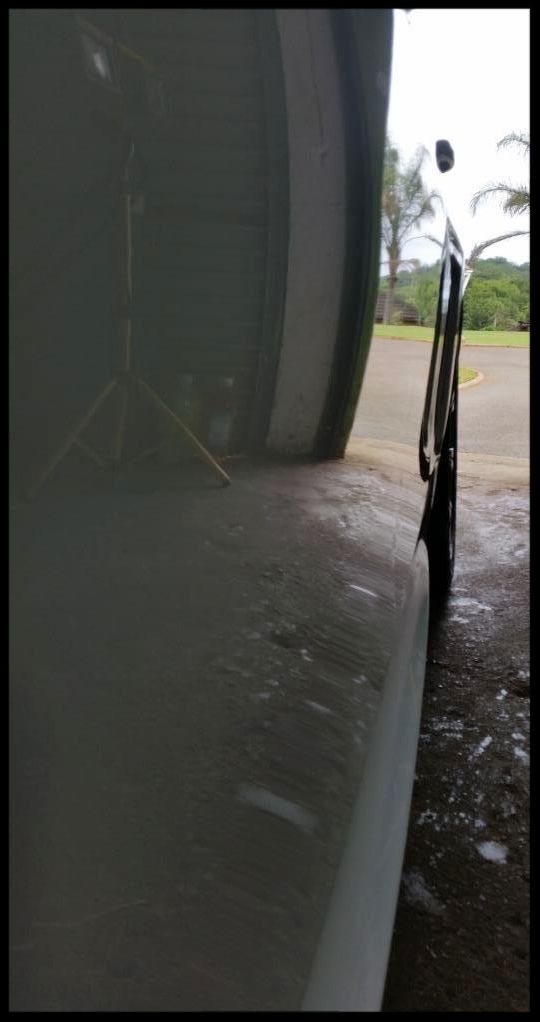
DSLR shots
Before
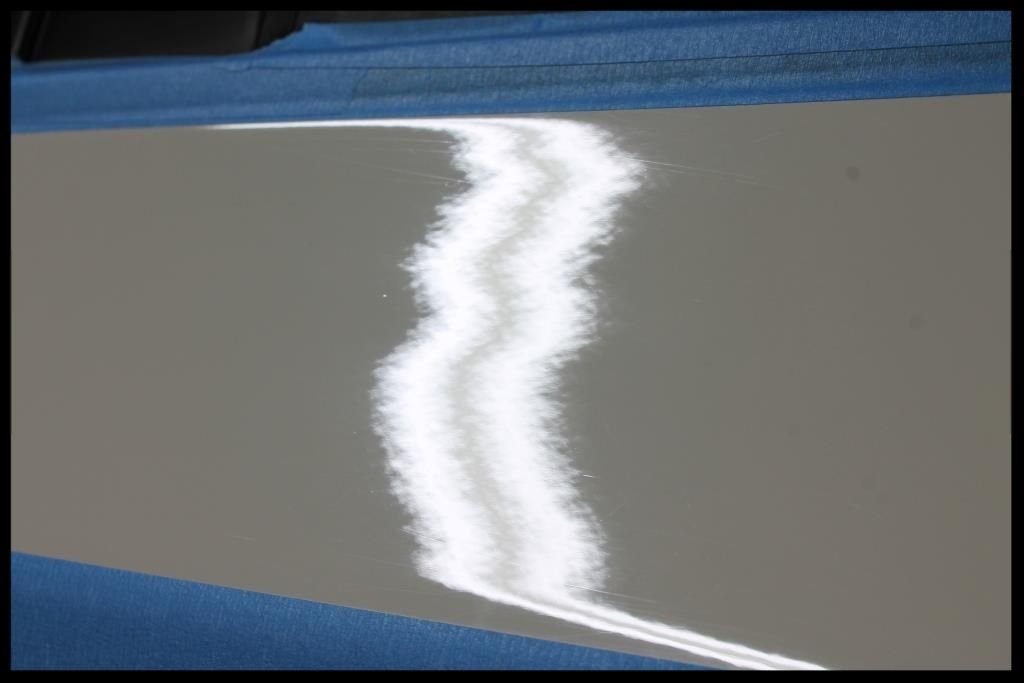
After
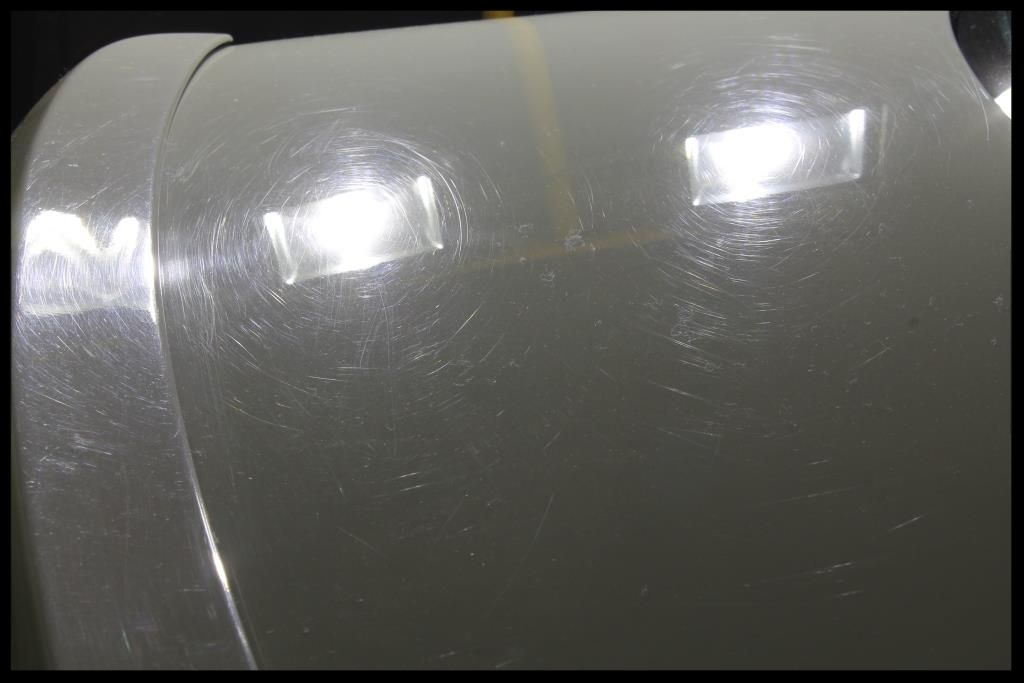
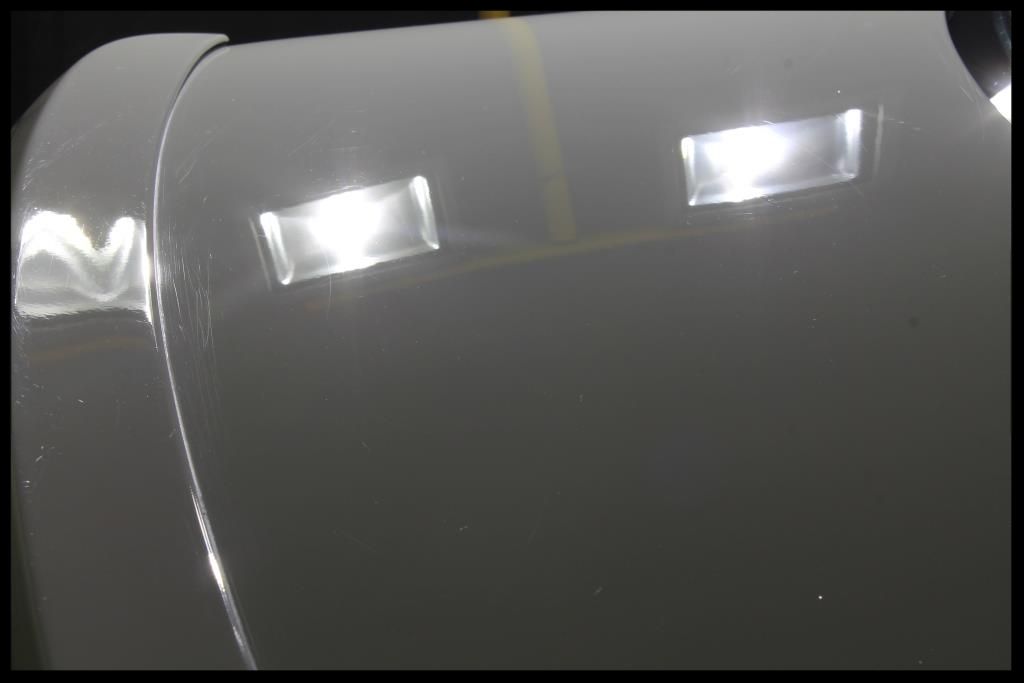
Before
After
The bootlid could really have done with another compounding session to clear up the last of the damage, but the paint measurements didn't support this approach and with it being a daily driver, it would have been the wrong thing to do, so this is as far as I took it.
Before
After
I then applied some additional protection in the form of Menzerna Powerlock, and tackled all the other details....
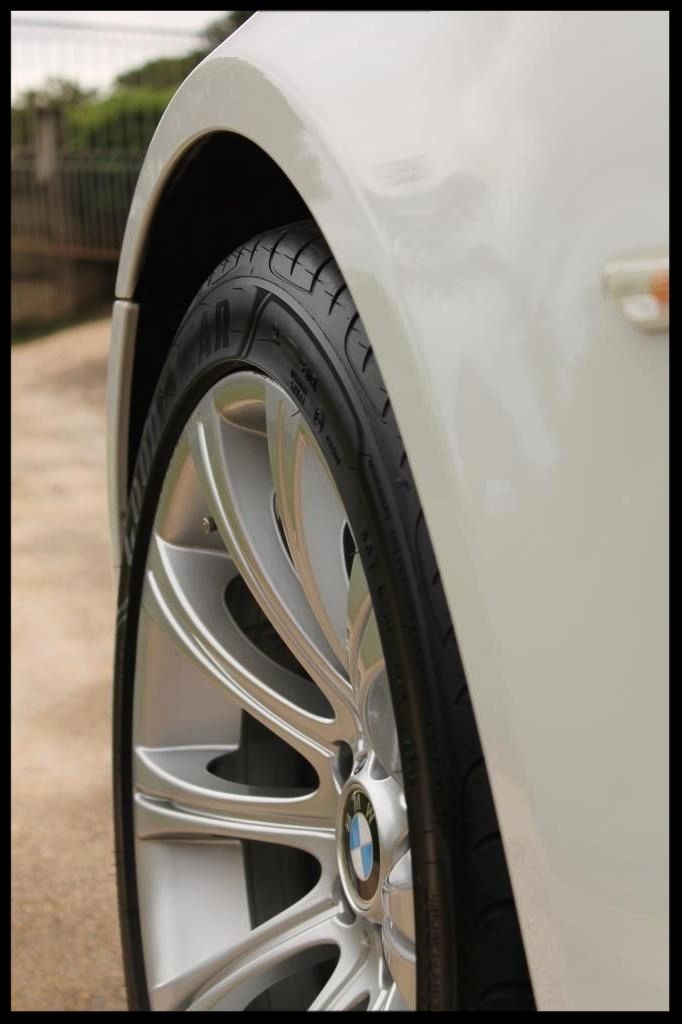
Tires Dressed with Optimum Tire Sheen (2 coats 12 hours apart)
Glass cleaned using Autoglym Fastglass
Exterior rubbers / front honeycomb etc cleaned using Shield Heavy Duty Rubber Cleaner and protected with Aerospace 303
Front windscreen coated with Wynn's C-thru
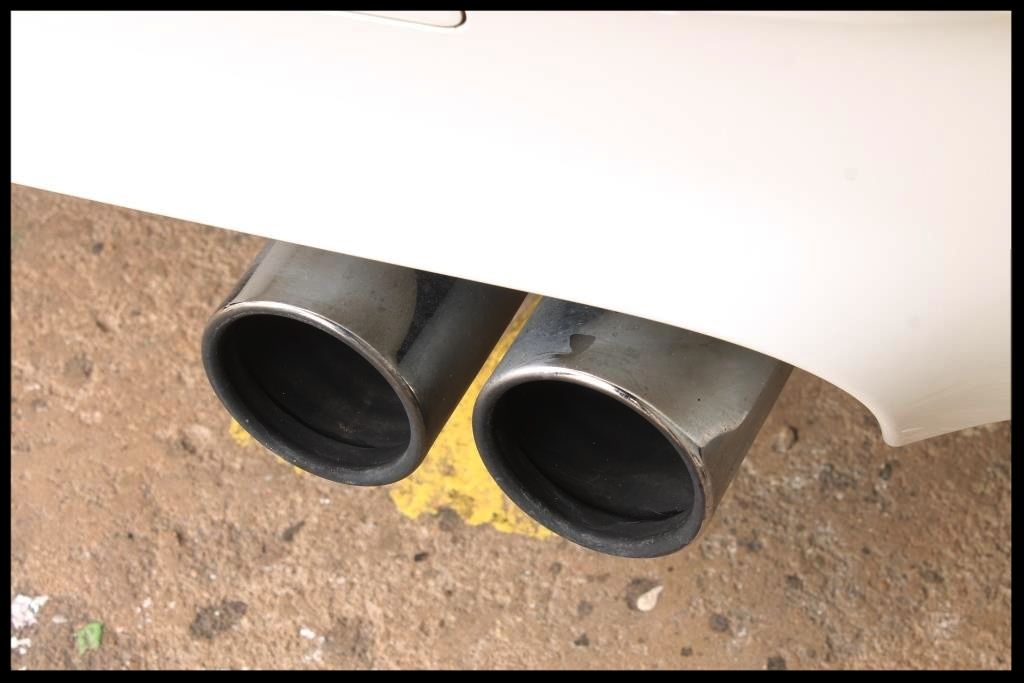
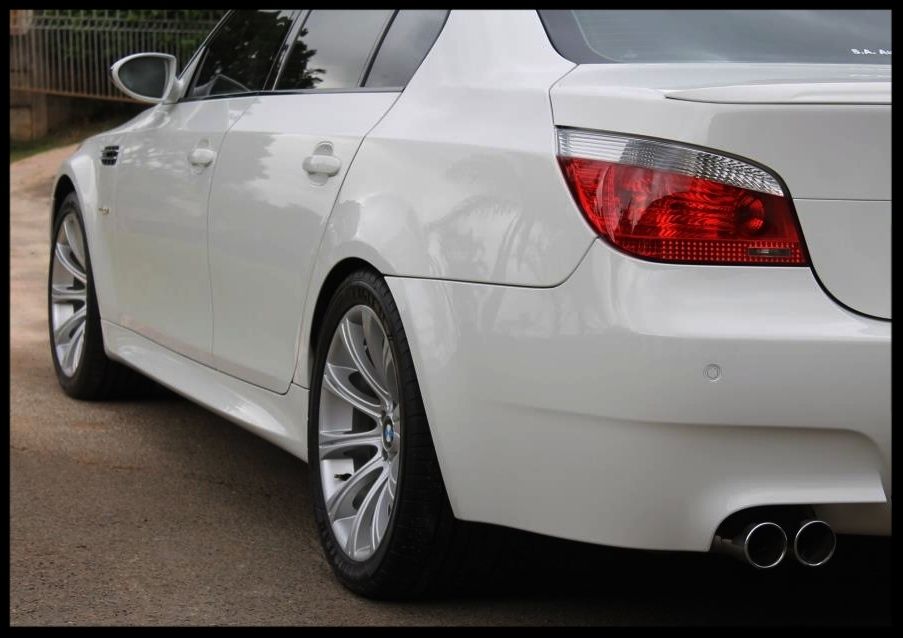
Exhaust tips cleaned and then lightly polished using Meguiars NXT Metal Polish

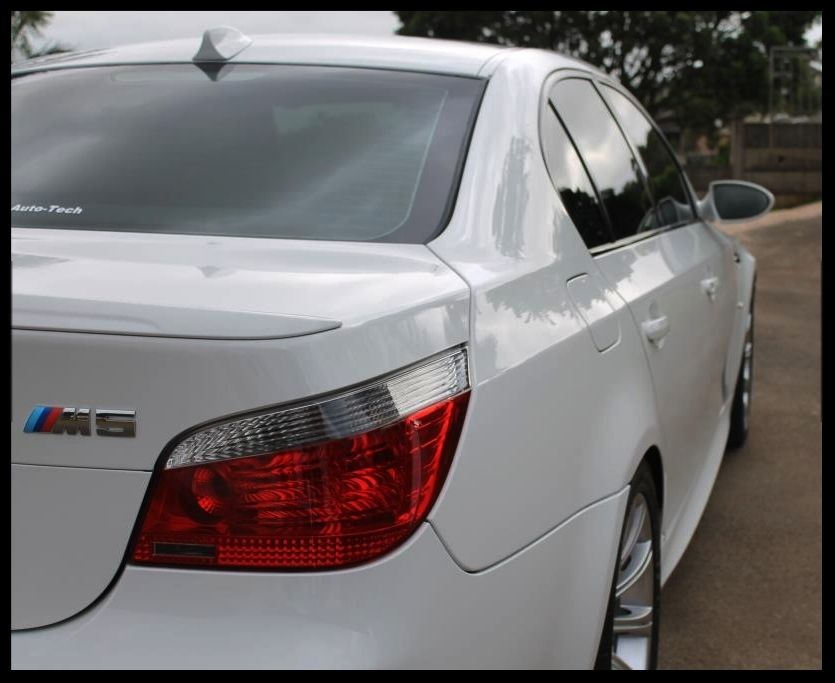
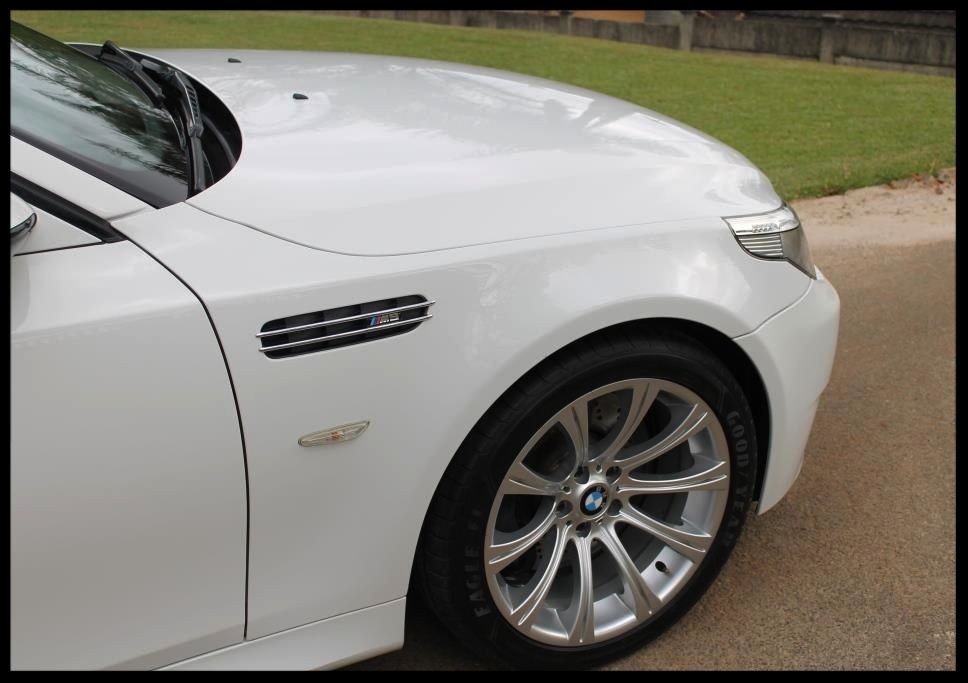
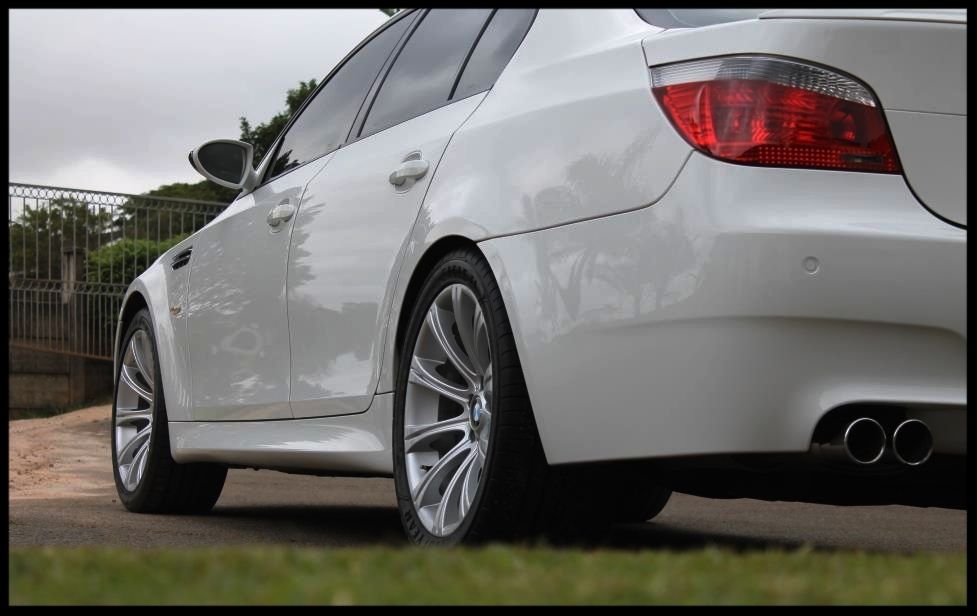
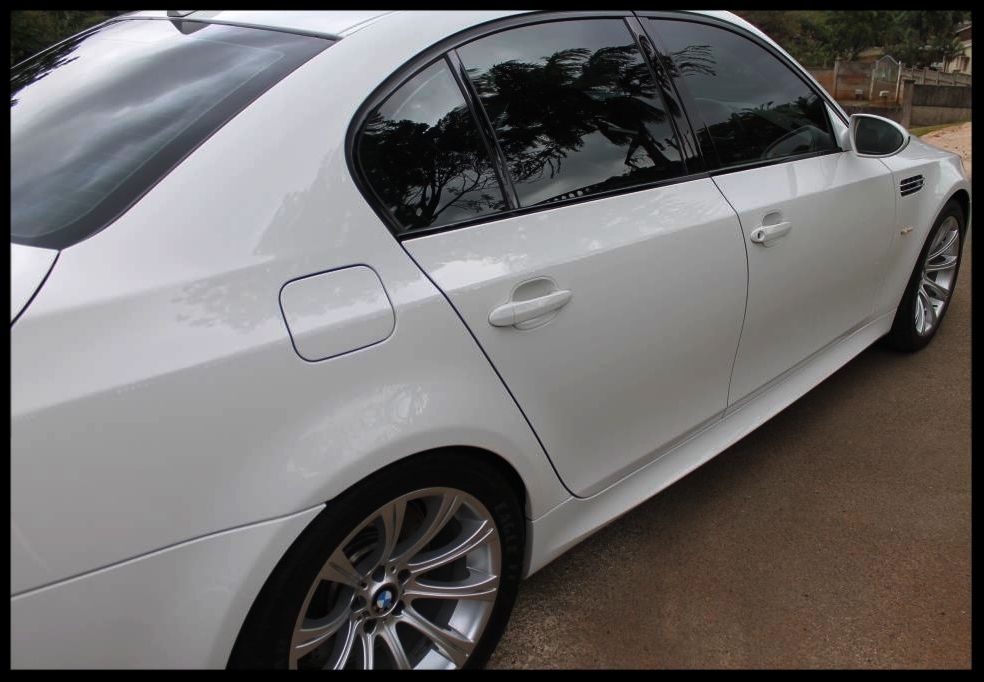
Here are some pics of the completed car.
Cell shots
Still in the garage
Outside
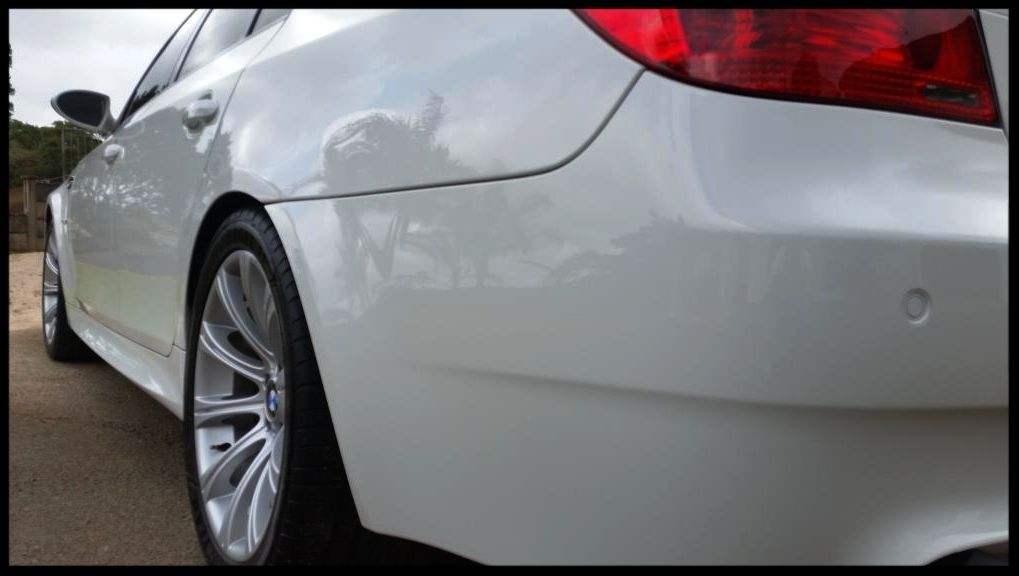
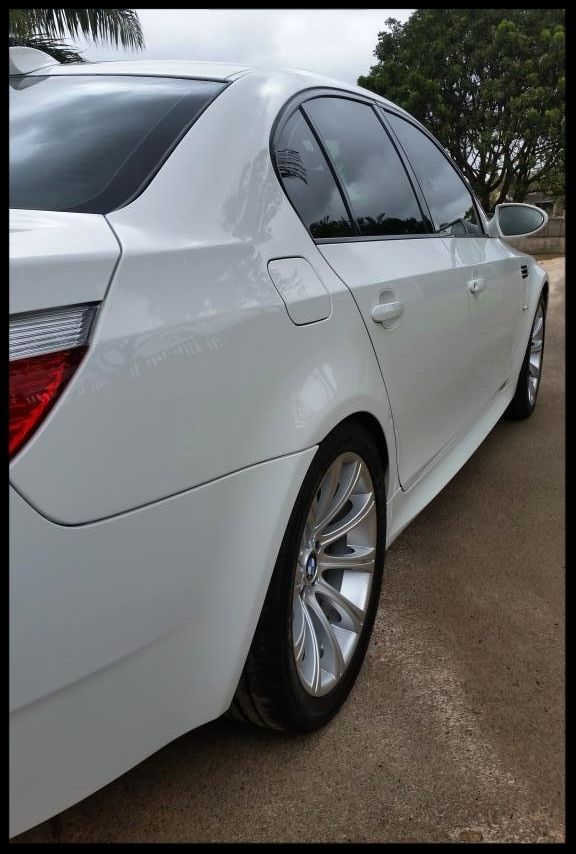
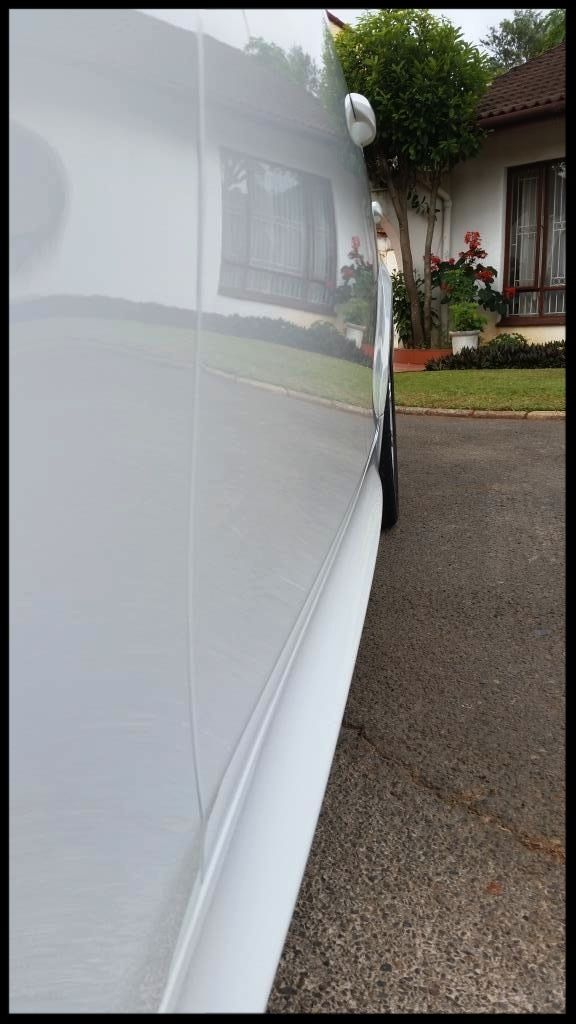
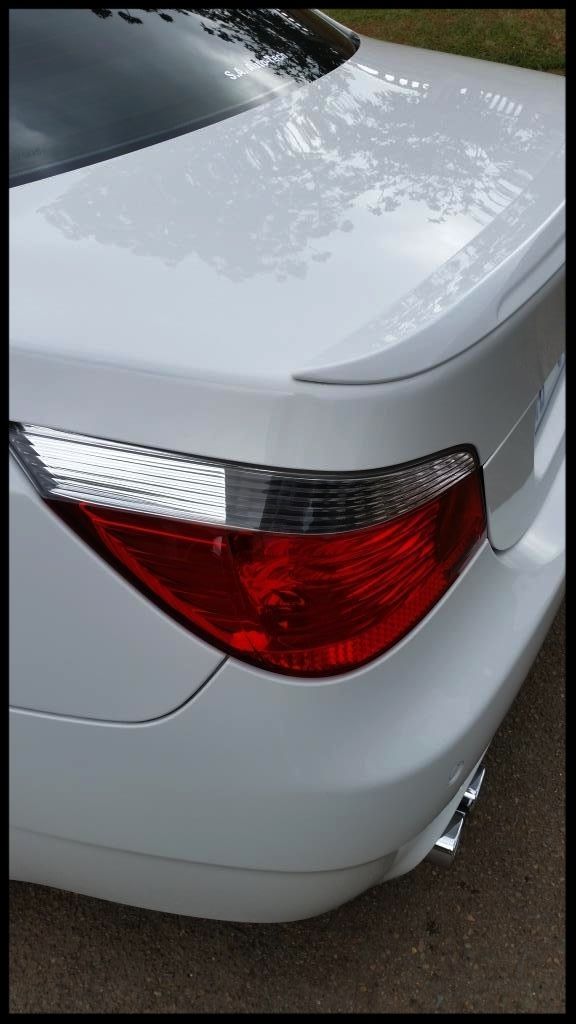
DSLR shots
Total time spent = 26 hours
As always, thanks for taking the time to read this, and any questions or comments are welcome
:hi:
It was easy enough to leave the engine bay and interior alone, but I simply just couldn't leave the wheels looking the way they were and hand the car back like that, so I did them anyway (obviously at no extra cost to the customer).
This is what they looked like before.
So this is the second owner of the car and which he purchased from a old man who literally pulled the car out once a week for a joyride, and then proceeded to take it to the local car [strikethrough]wash[/strikethrough]scratch place to have it [strikethrough]cleaned[/strikethrough]scratched... and boy did it show. The paint was some of the worst I have seen and was robbing the paint of any gloss or clarity.
The car obviously had some dirt on it which is to be expected on a daily driven car.
I approached this one slightly differently as I was concerned that the nice overcast weather on Saturday morning would disappear leaving another hot summer's day on the cards, and I knew doing a proper decon on this car would be important and I wanted to maximize the dwell time of the iron remover on the paint, so decided to wash the wheels during the washing of the car, not as a dedicated 'before' step. I used the same products (foam/pre-wash/iron remover) but also hit them with a quick shot of VP Billberry - they were agitated with various brushes throughout the process.
The first thing I did was give the whole car including the wheels a decent rinsing with the HP washer to remove as much of the 'loose' dirt as possible. The car and wheels were then foamed using Carchem Snowfoam, which was left to dwell before being HP rinsed off.
I then sprayed on some Valet Pro Citrus Pre-wash via a pump sprayer over the car and wheels and left that to dwell before HP rinsing off.
I then proceeded to do a full 2 bucket was using Carchem Luxury Shampoo and Lambswool wash mitts. The door and boot shuts were cleaned at this point too and then protected using Gyeon Wetcoat, which was also applied to the wheels for some protection.
Valet Pro Tar remover was then used to remove any tar spots, and I then used Carchem Revolt to remove the iron contaminants from the wheels and paint.
The car was then pulled back into the garage and clayed using Shield Heavy Duty Clay with ONR (blue) as lube.
Then it was time to sort out the paint....
Paint readings were taken and were mostly in the 120µ range. The bootlid was between 92µ and 108µ and the 2 rear doors up in the 180µ to 220µ range, indicating a repaint - the rear bumper also showed signs of a repaint with some evidence of 'dry spraying'.
So after some test spots I eventually dialled in a decent process, which was the Flex 3401, Lake Country Blue Hybrid Foamed Wool Pads and FG400, is some places requiring 2 sets, then followed by Menzerna 3-in-1 on a Orange Lake Country Hybrid.
Here are some before and afters of the correction work
A cell phone shot
Before
After
DSLR shots
Before
After
Before
After
The bootlid could really have done with another compounding session to clear up the last of the damage, but the paint measurements didn't support this approach and with it being a daily driver, it would have been the wrong thing to do, so this is as far as I took it.
Before
After
I then applied some additional protection in the form of Menzerna Powerlock, and tackled all the other details....
Tires Dressed with Optimum Tire Sheen (2 coats 12 hours apart)
Glass cleaned using Autoglym Fastglass
Exterior rubbers / front honeycomb etc cleaned using Shield Heavy Duty Rubber Cleaner and protected with Aerospace 303
Front windscreen coated with Wynn's C-thru
Exhaust tips cleaned and then lightly polished using Meguiars NXT Metal Polish
Here are some pics of the completed car.
Cell shots
Still in the garage
Outside
DSLR shots
Total time spent = 26 hours
As always, thanks for taking the time to read this, and any questions or comments are welcome
:hi: