LawrenceSA
New member
Sadly, like so many, the owner of this vehicle was none the wiser when it comes to proper paint maintenance. I simply believe that this is down to a lack of education and methods handed down from previous generations whose paint systems were not the same. I was there too and so no disrespect is meant to the owner, or anyone reading this who may still be in the same boat - I only raise this because it is probably one of the biggest reasons why we have so many cars on our roads that are swirled to hell and back, and with clear coats that are in the process of failing earlier than they should have.
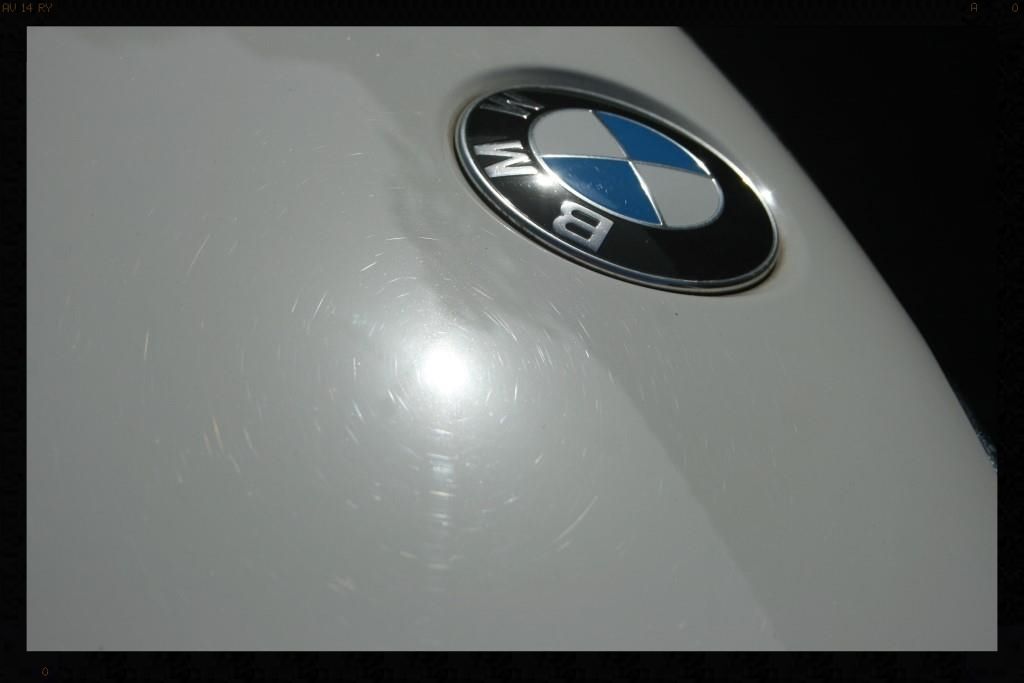
It is safe to assume that we all understand that if you wash a car that it full of dust/dirt it looks a lot better. Also, most people want their car to look shiny - because shiny paint looks better than dull paint. :drool: :thumbup: Where it generally goes wrong though is that people don't really understand what makes their paint dull, and so believe that no harm is done when washing the car. What they don't realize though is that it is POOR WASHING and DRYING that inflicts millions of random scratches into your paint through forcing the dirt (pick some sand up between your fingers and feel how hard it is) over and into the paint surface.
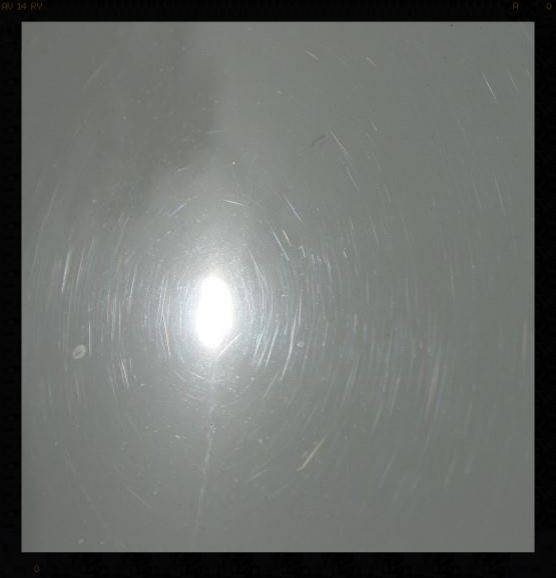
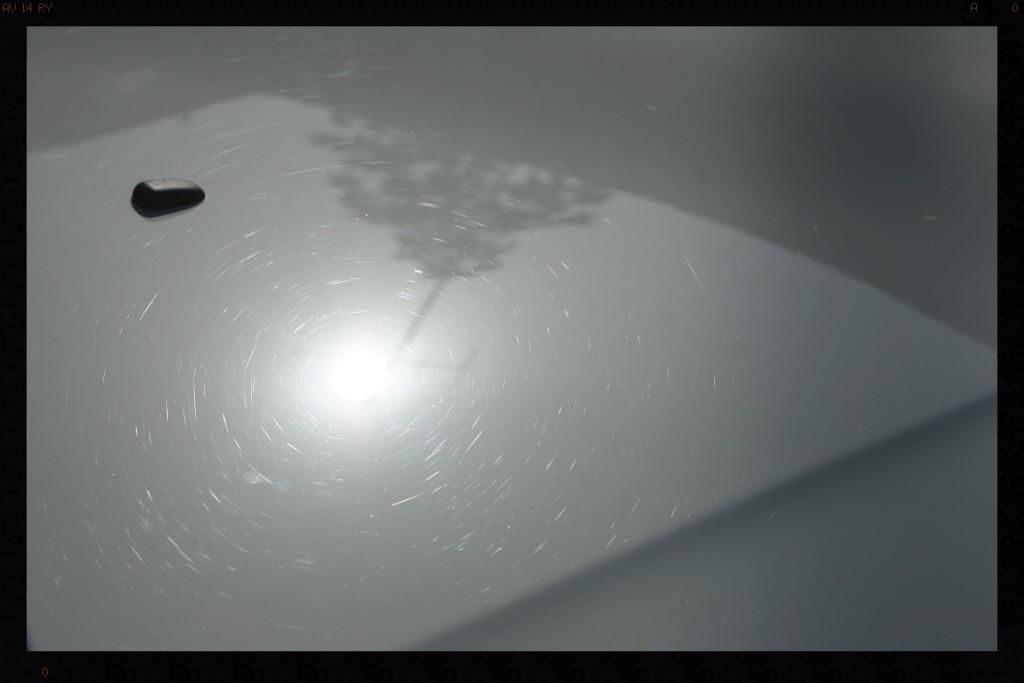
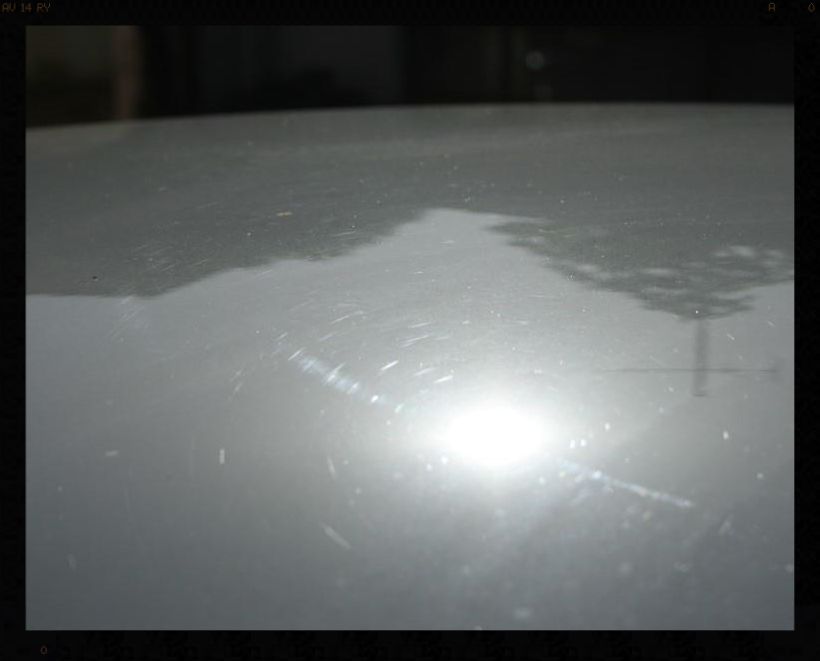
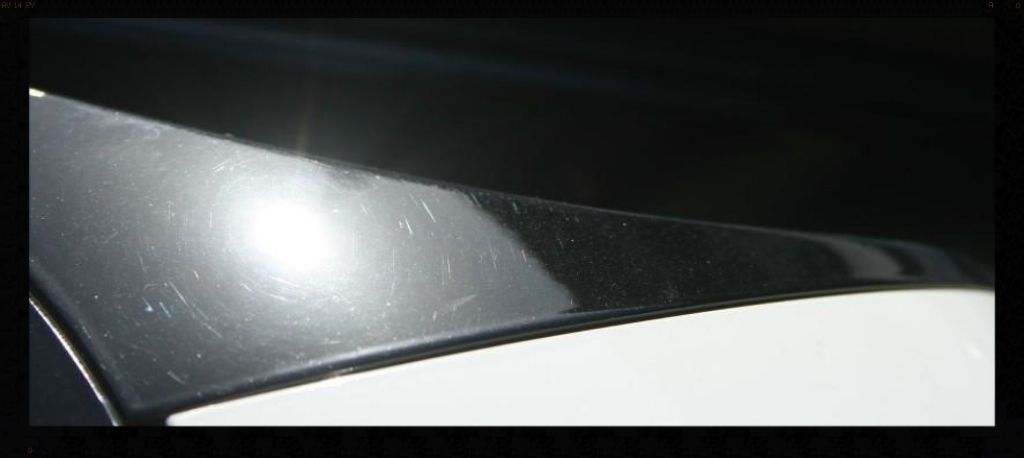
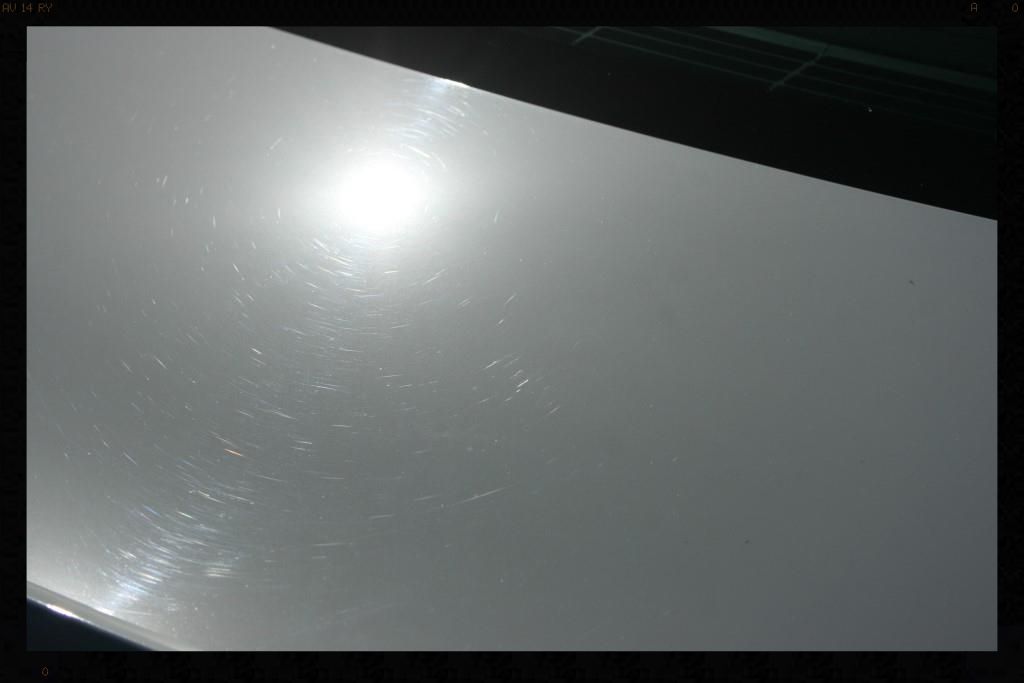
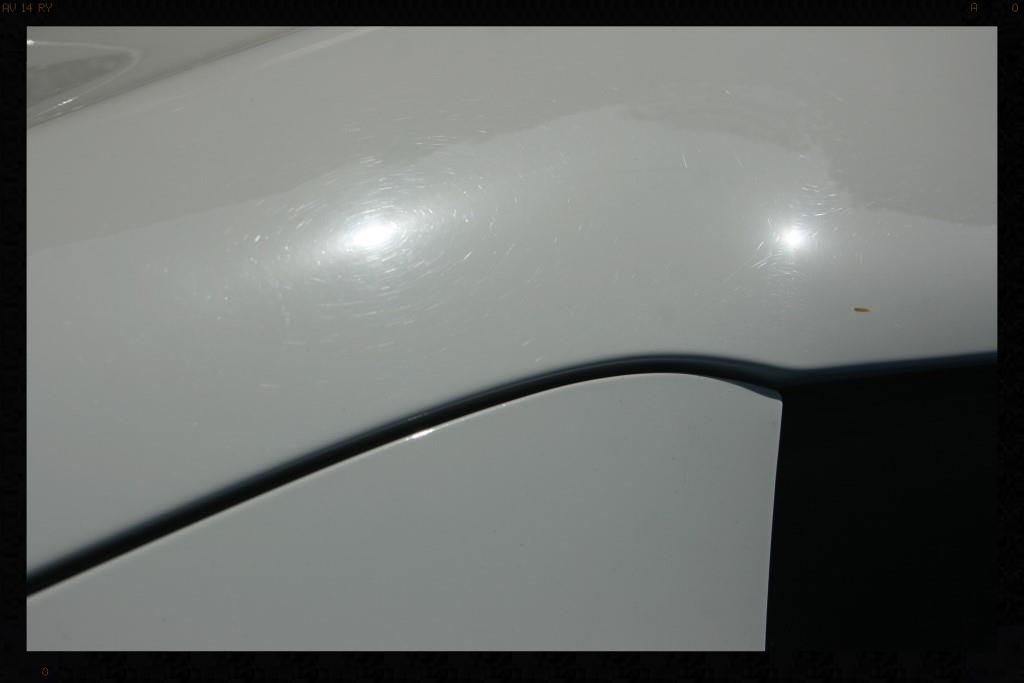
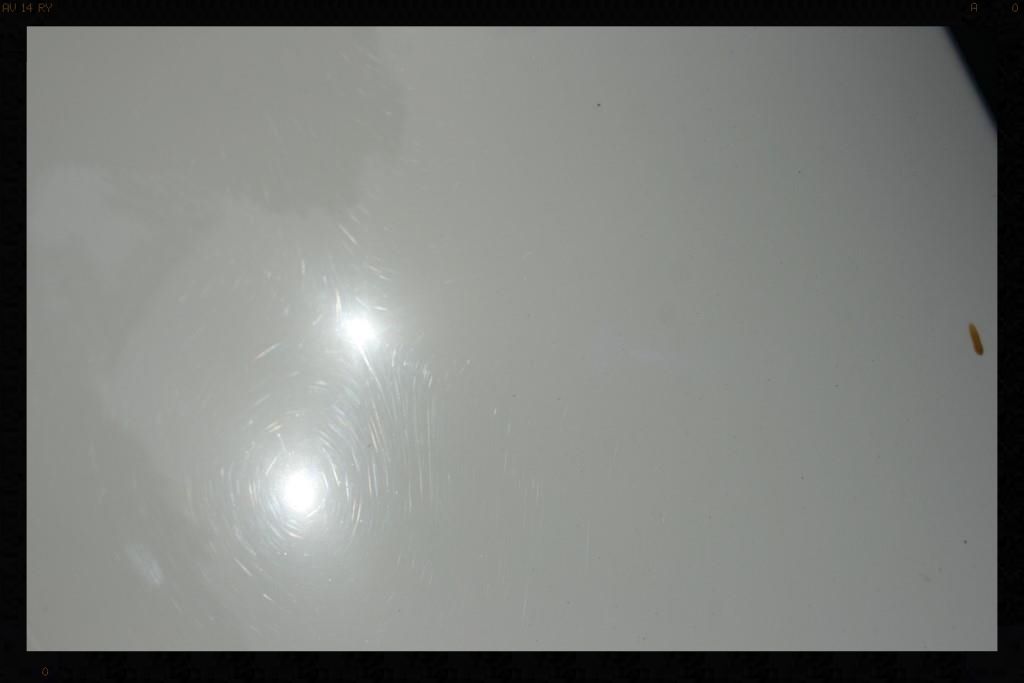
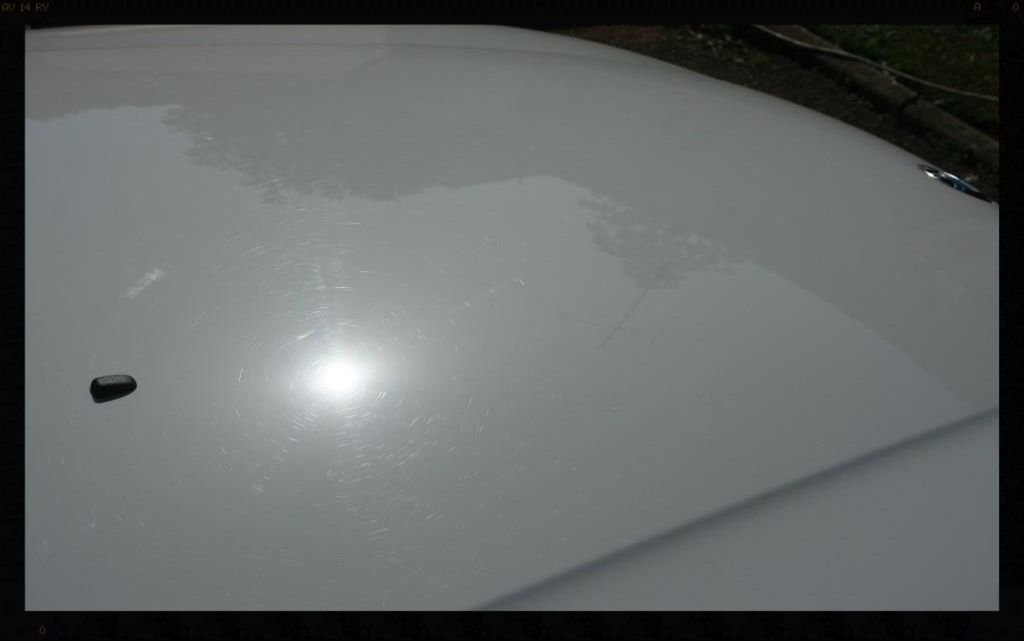
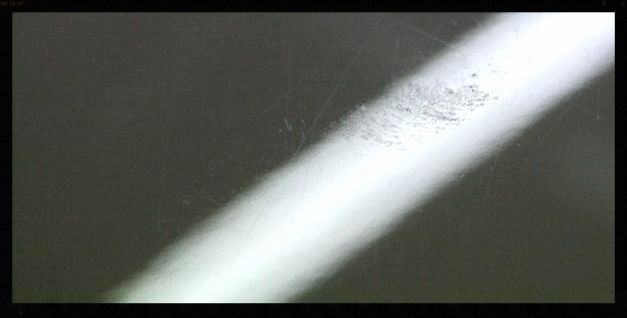
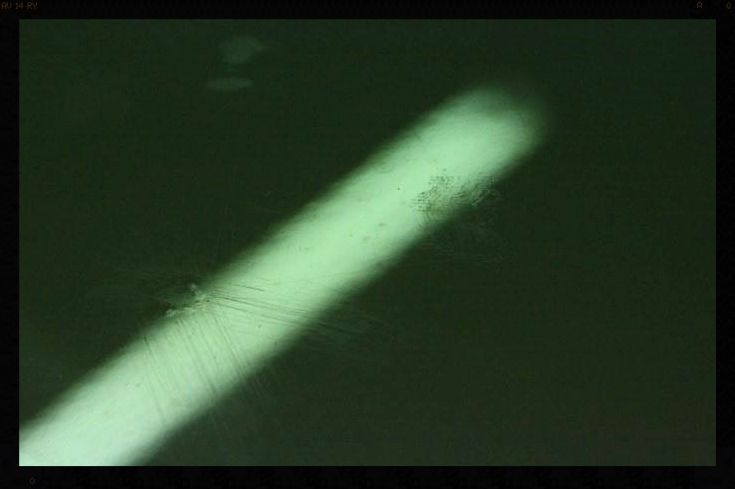
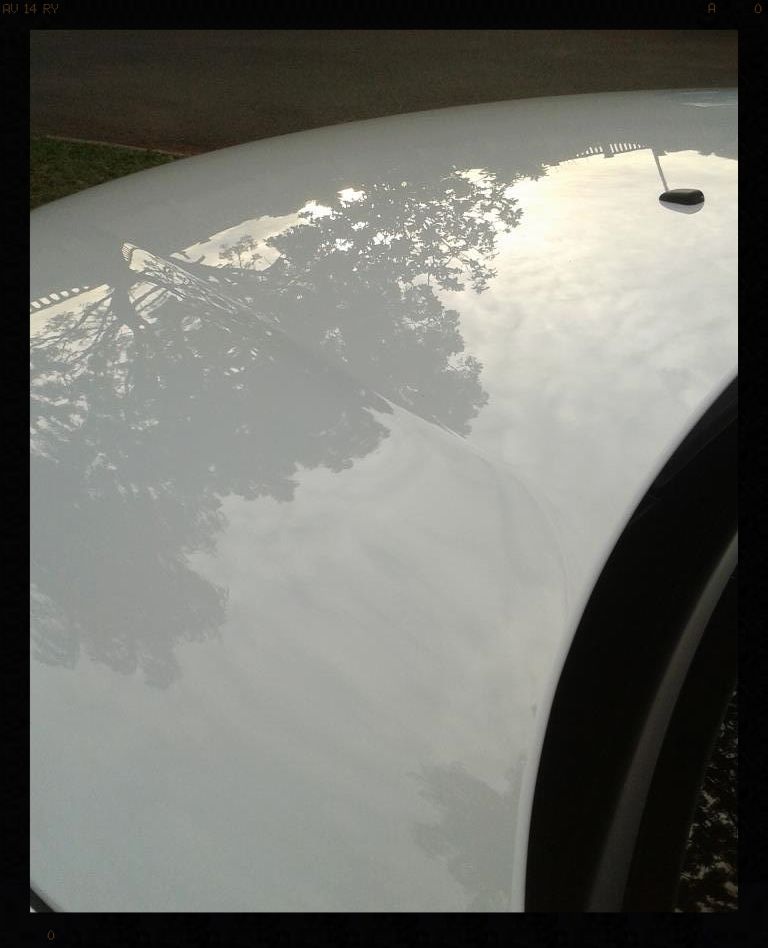
It is these scratches that create defects below the surface of the paint and the resultant uneven surface is what refracts light instead of allowing it to pass directly through the clear coat. It is like trying to look through and old pair of sunglasses that have lenses that are scratched - what you see is a blurry/dull/unclear/distorted image of what you would see if the lenses were free of scratches. Add pressure or do it more often or use improper products/tools/technique and you land up with paint that can look like this in 8000km.

This means the paint needs to be polished to 'make it level again'.
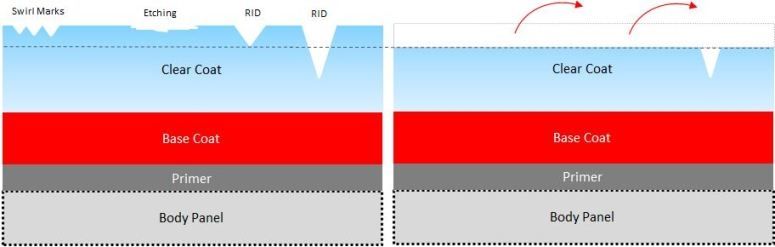
The more you polish, the less paint you are left with, the sooner it will fail.
<span>Ok so let's get detailing.....
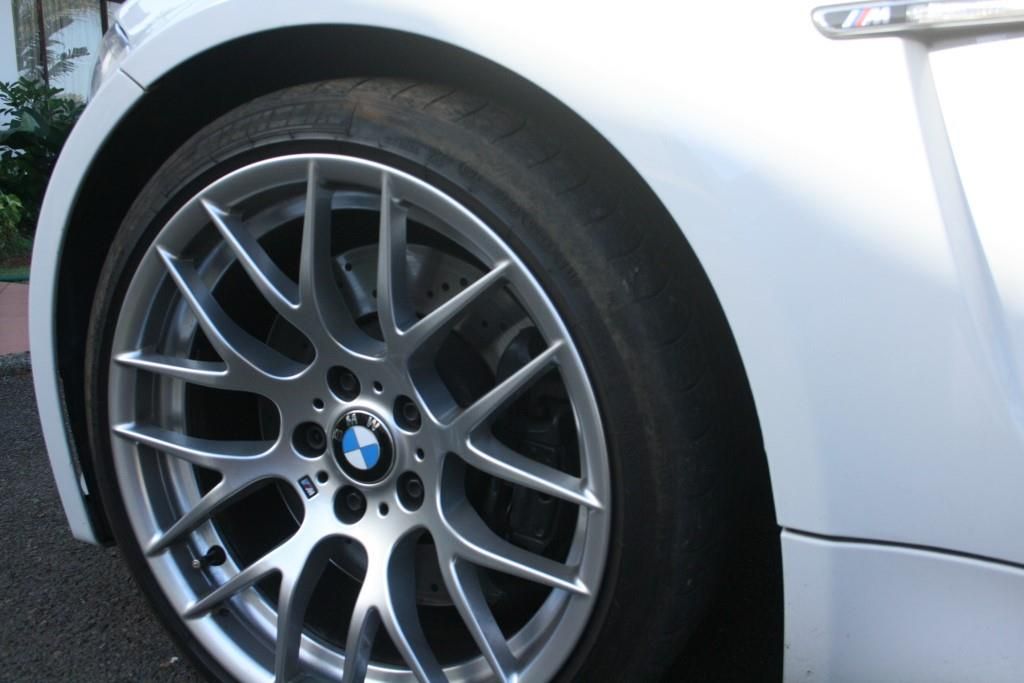
Arches: Rinsed with a HP washer, sprayed with Cyclo APC via a foaming trigger head and allowed to dwell and then agitated with a Mothers Fender Well Brush. This was followed with another HP Rinse. The arches would later be dressed with Glossworx Extreme Tyre Shine
Tires: Cleaned with Mothers Mothers FX Wheel Cleaner and a Mothers Tire Brush and later dressed with 2 coats of Optimum Optibond Tire Gel 12 hours apart.
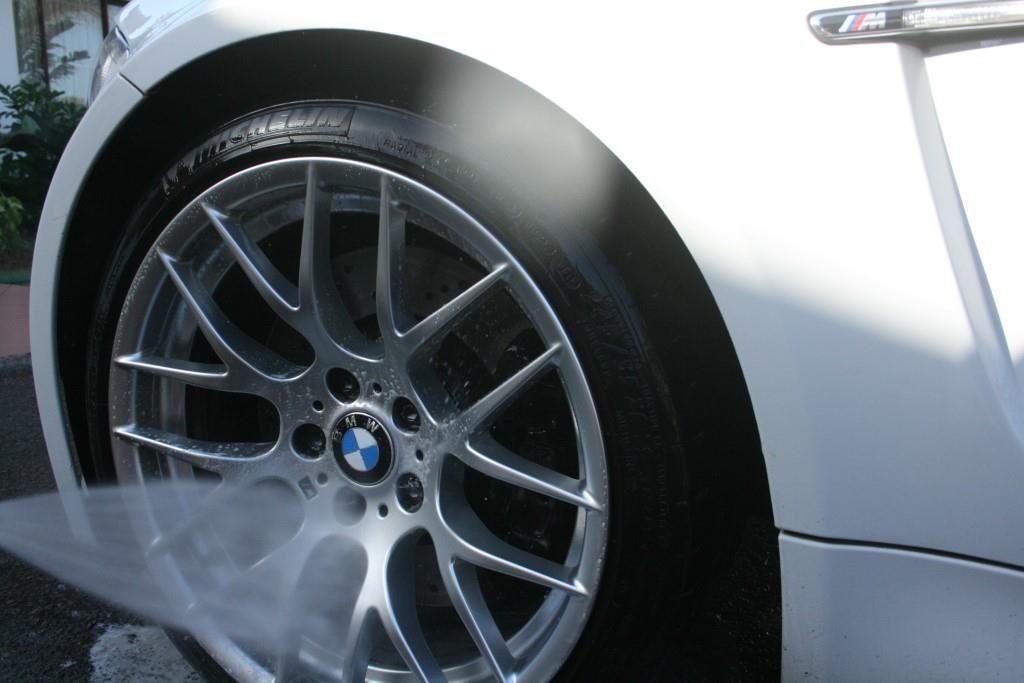
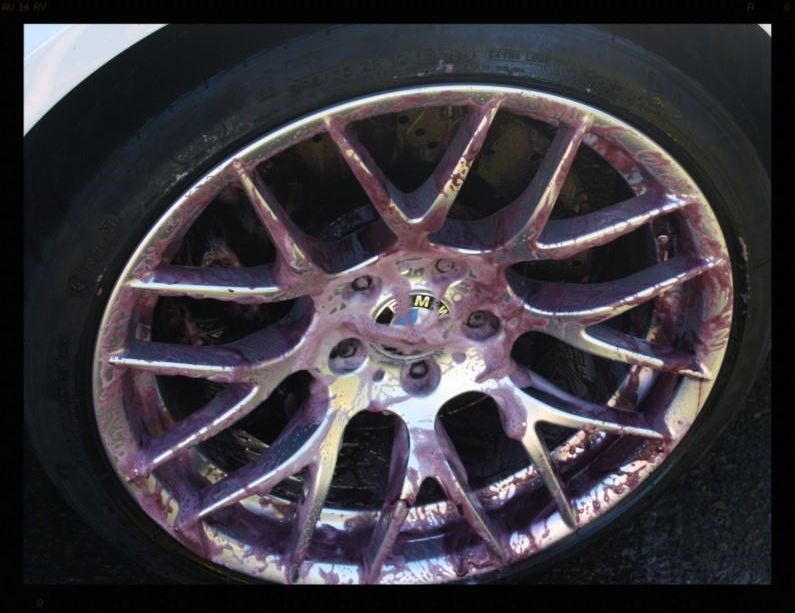
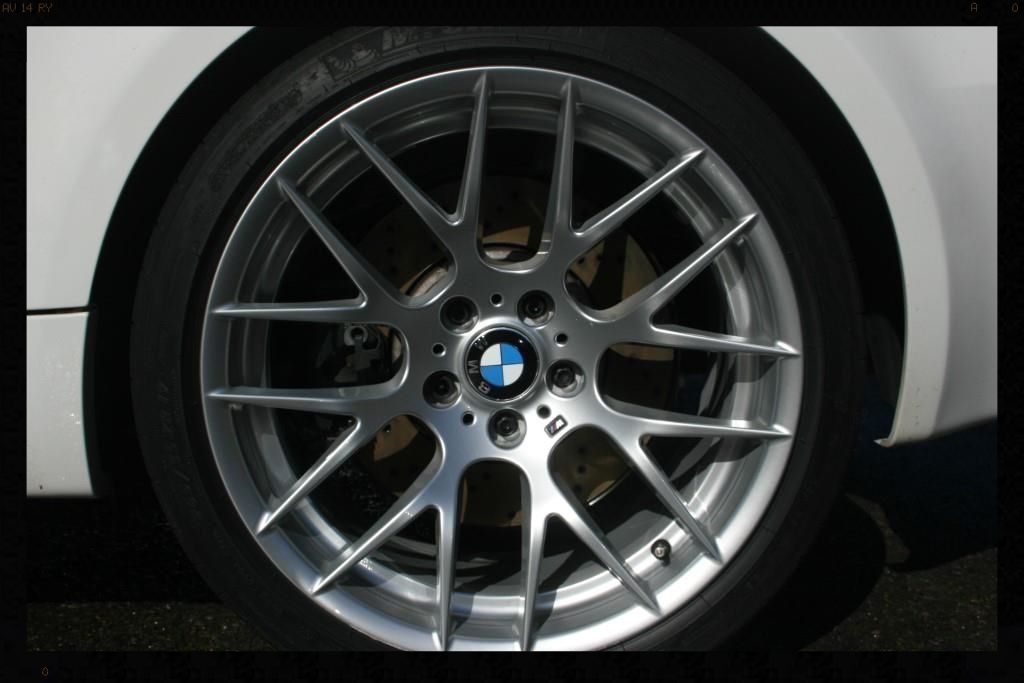
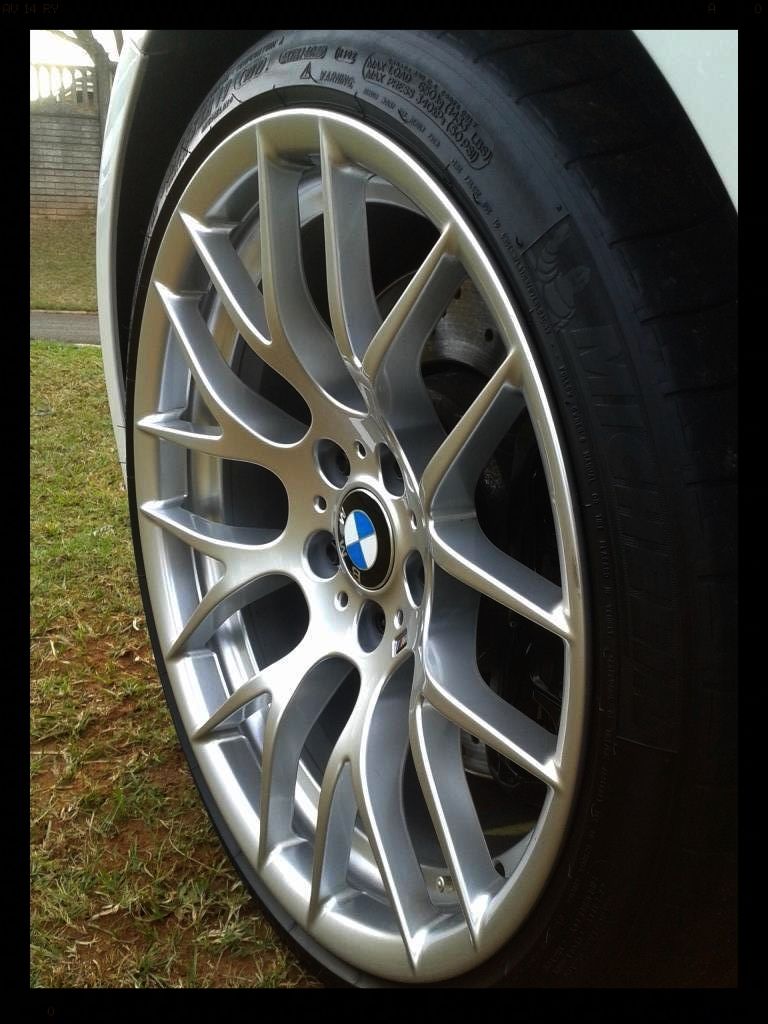
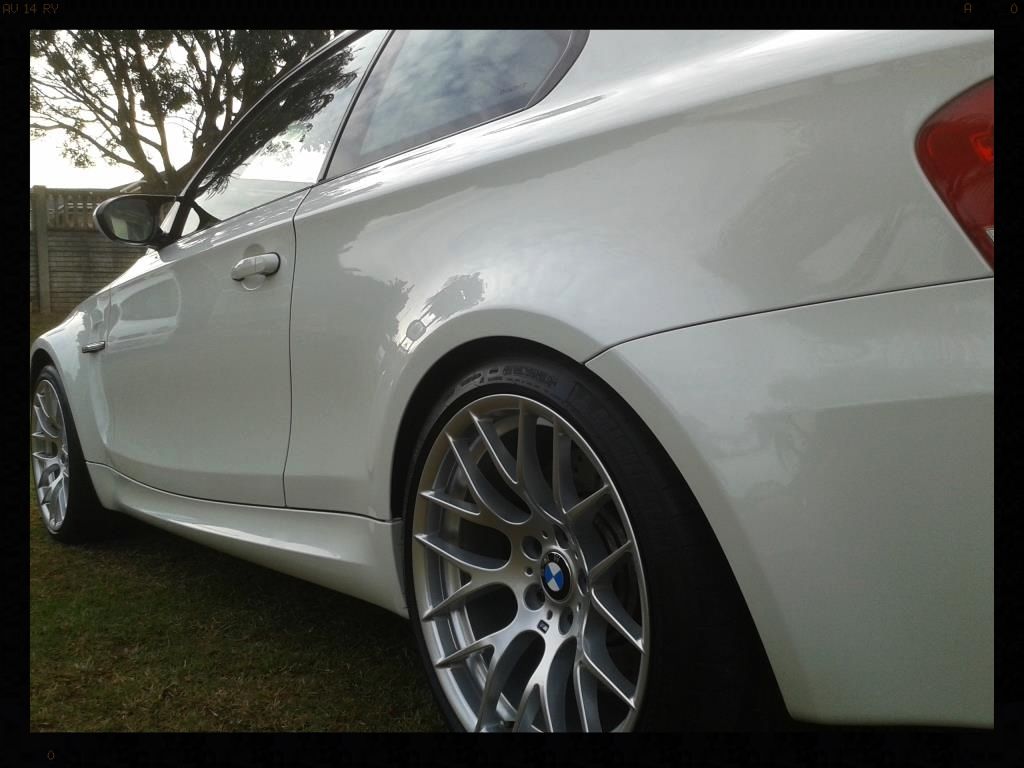
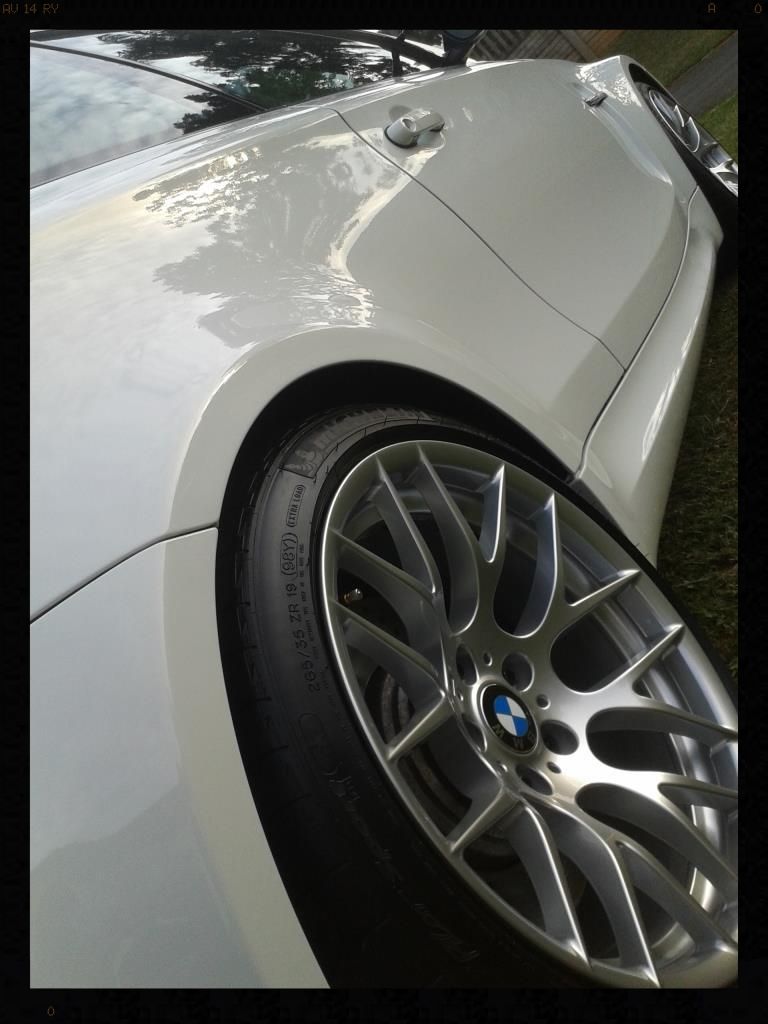
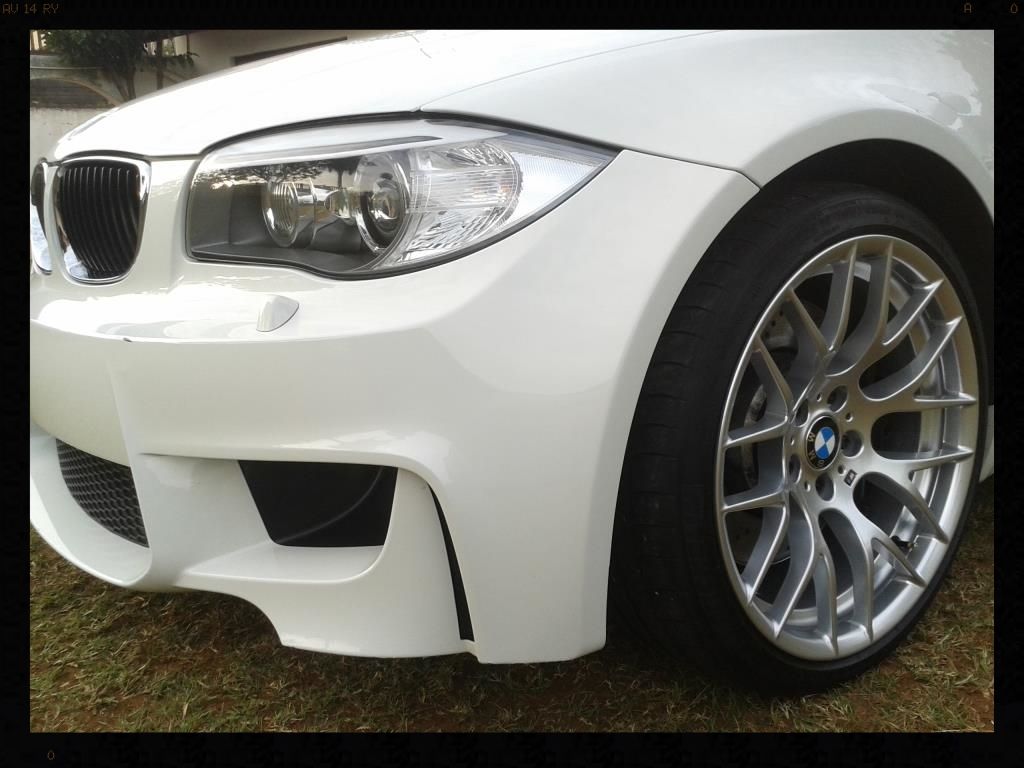
Wheels: Rinsed with a HP washer then cleaned using Mothers FX Wheel Cleaner and a Daytona Jnr and a Valet Pro Boar Hairs brush and dried. The wheels were then thoroughly sprayed with Valet Pro Dragons Breath which was agitated after being allowed to dwell for a few minutes, using the same brushes, and then thoroughly rinsed and dried them. Valet Pro Citrus Tar & Glue Remover was used to remove any tar spots. The wheels were then foamed using Valet Pro Advanced Neutral Snow Foam when the rest of the car was - this would ensure there were no remaining residue on the surface. Clayed with an unreleased sample clay I am testing at the moment. The wheels would later be sealed with Menzerna Powerlock.
Brake Calipers: Rinsed with a HP washer, sprayed with Cyclo APC via a foaming trigger head and allowed to dwell and then agitated with a Valet Pro Boars Hair Brush.
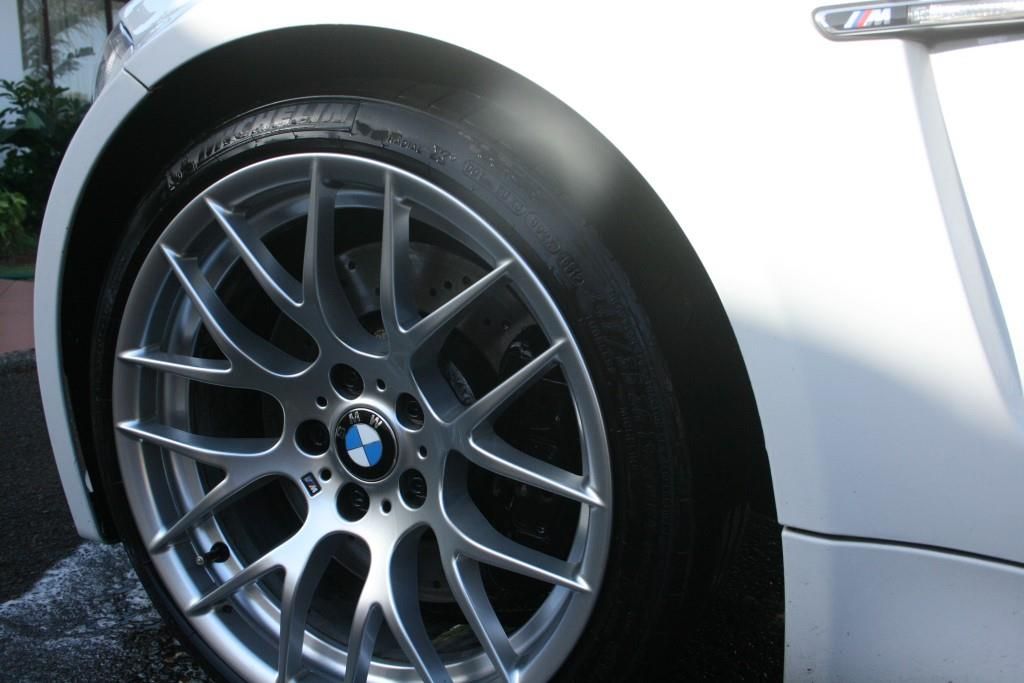
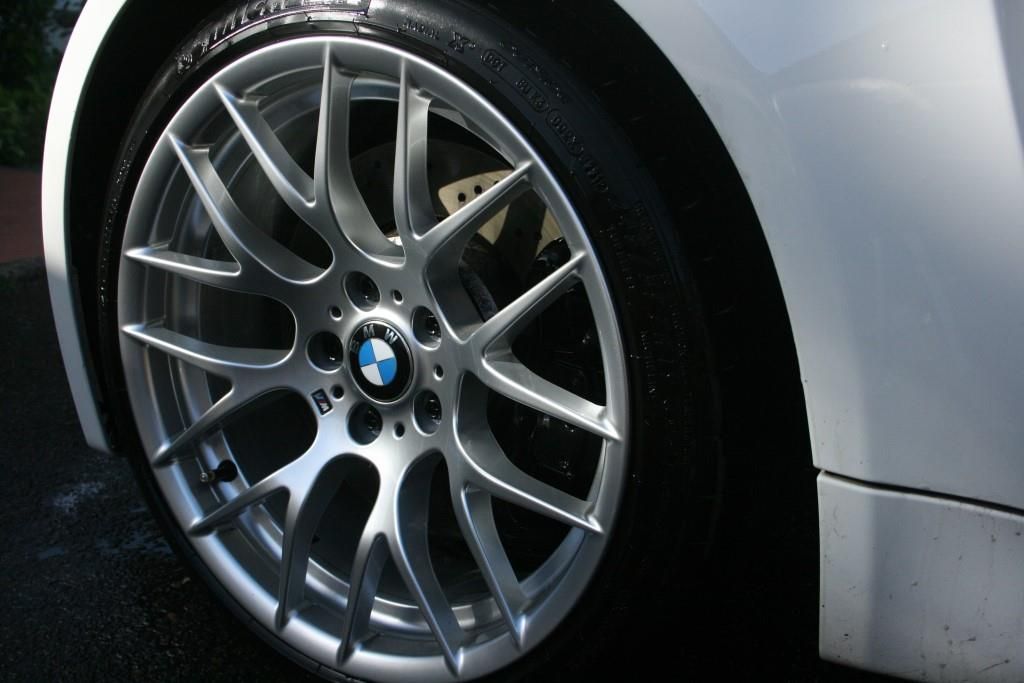
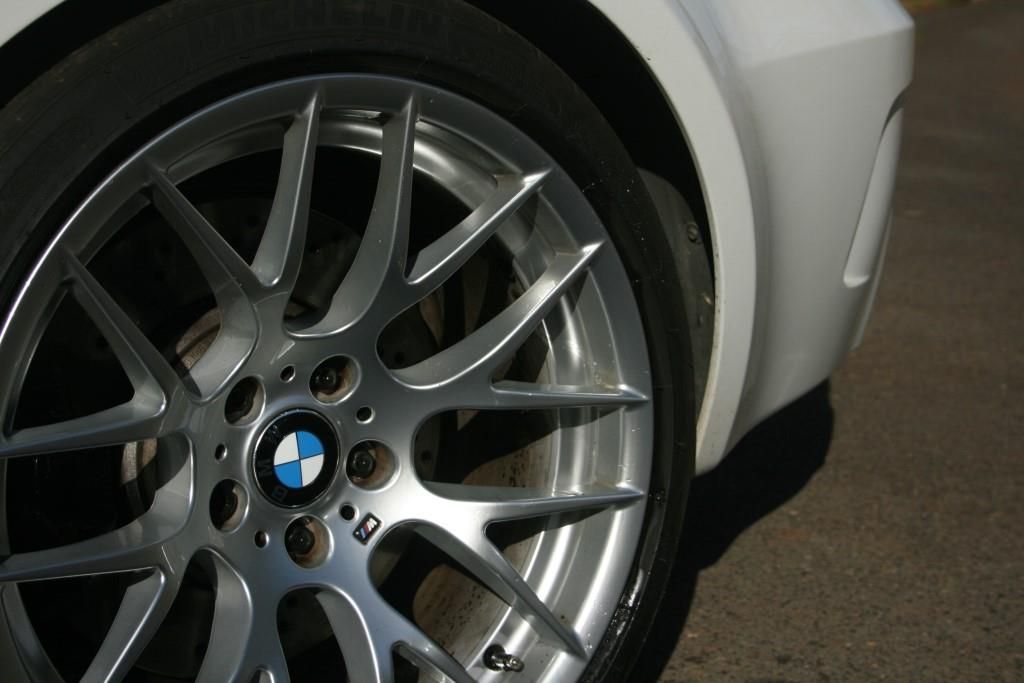
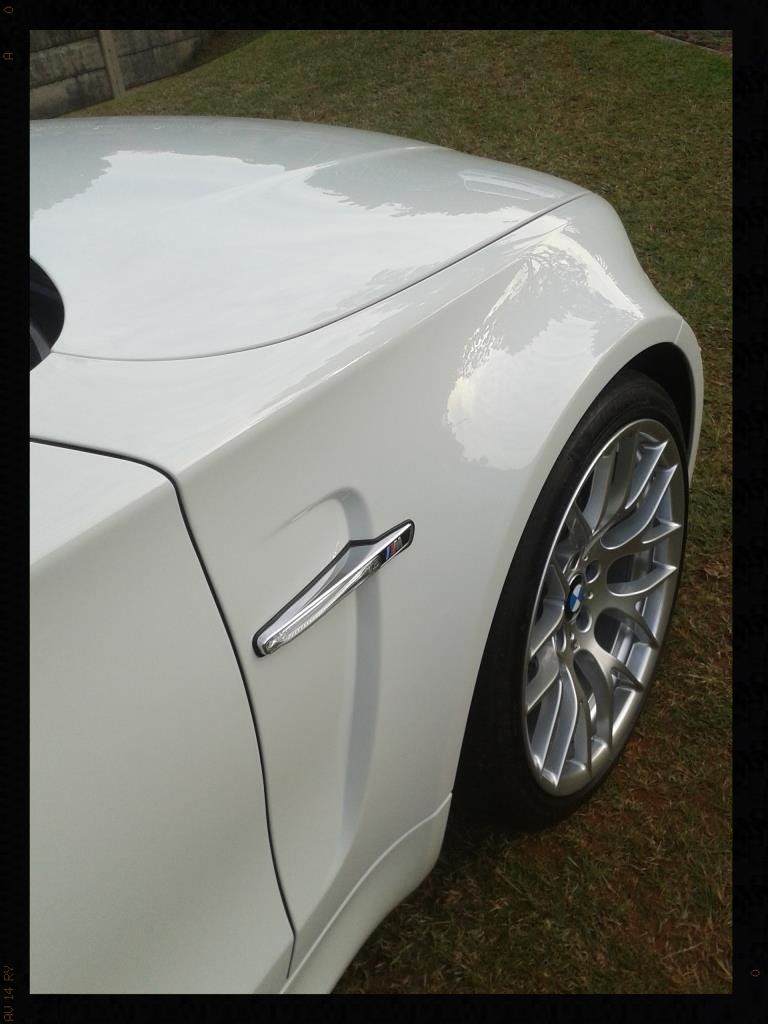
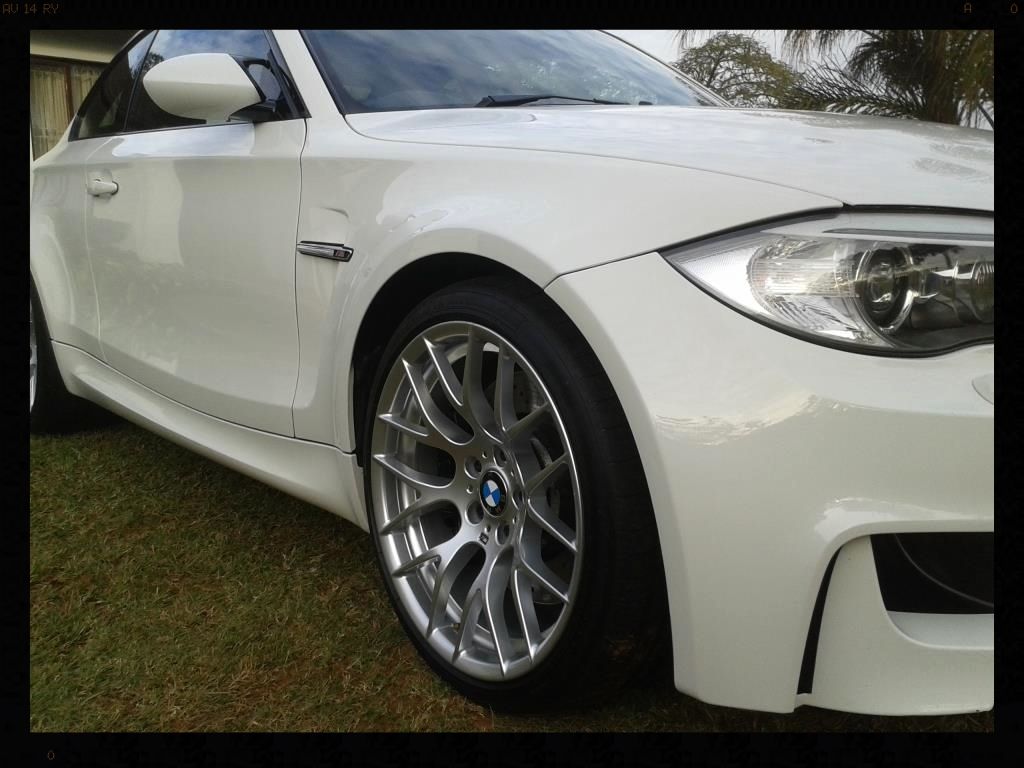
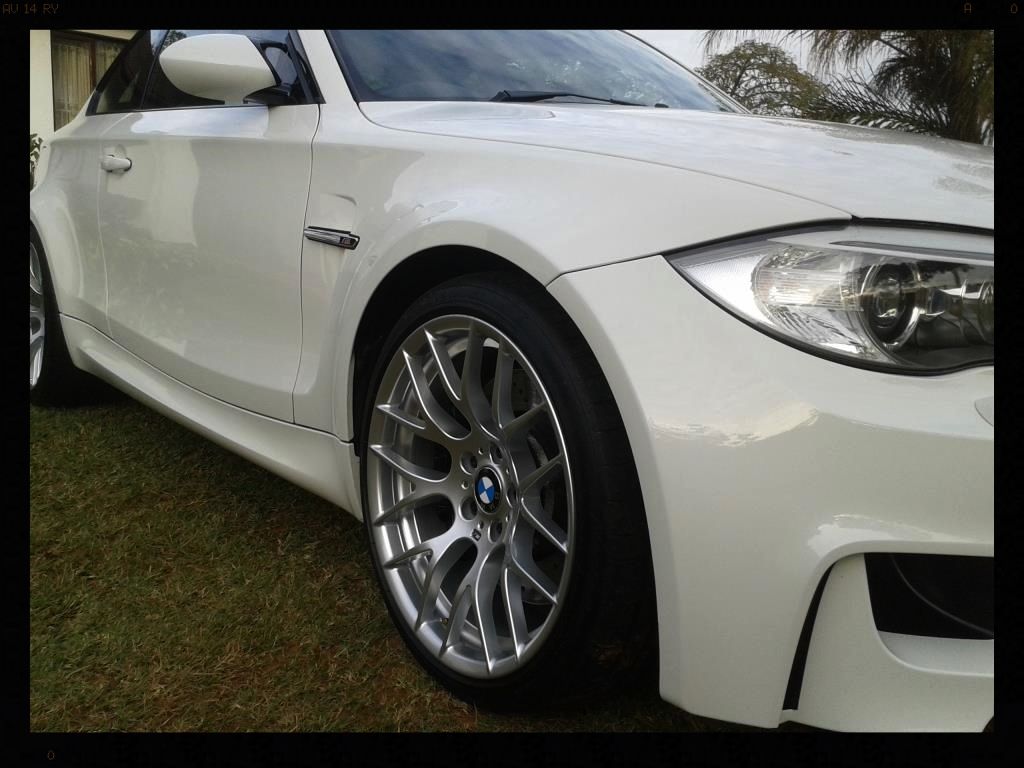
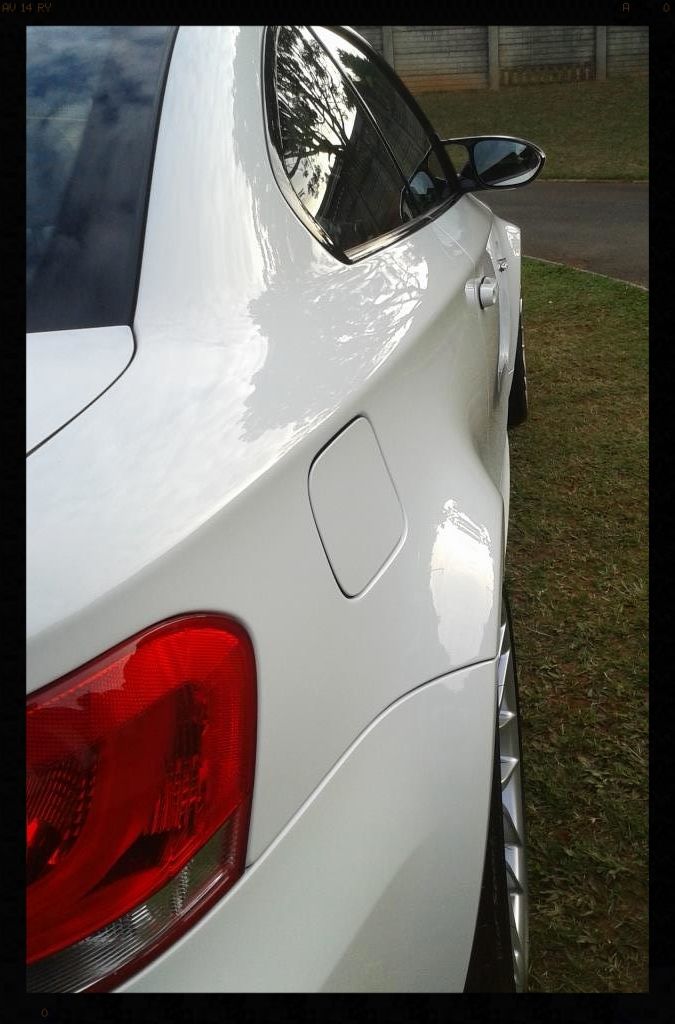
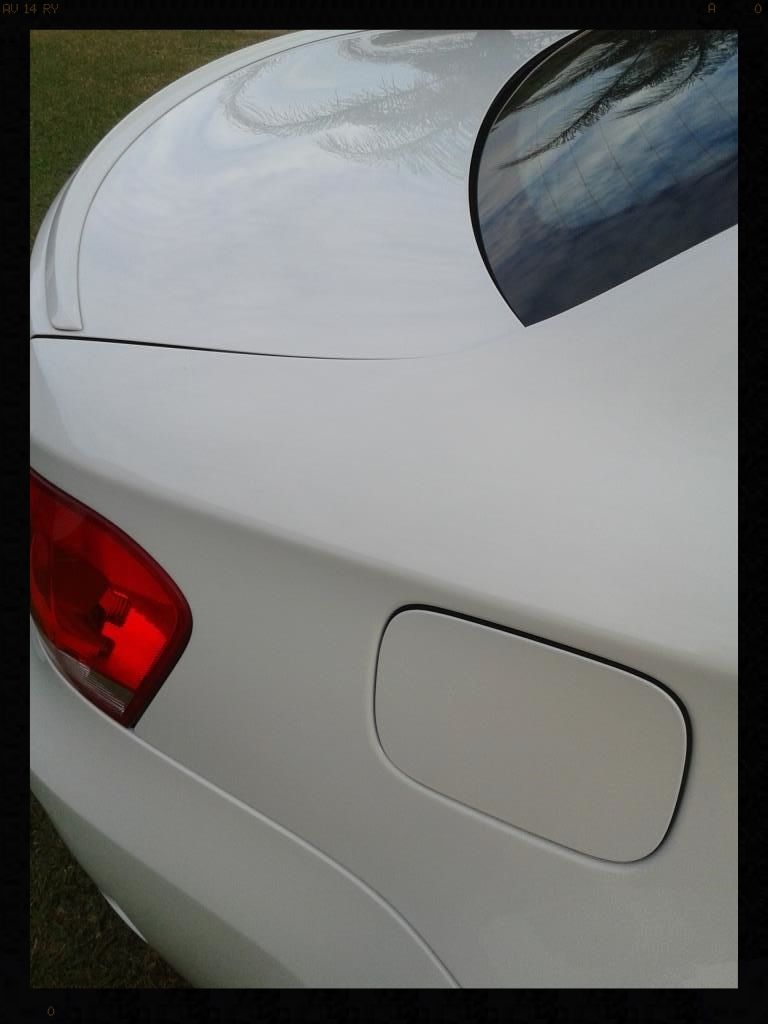
Looking much better
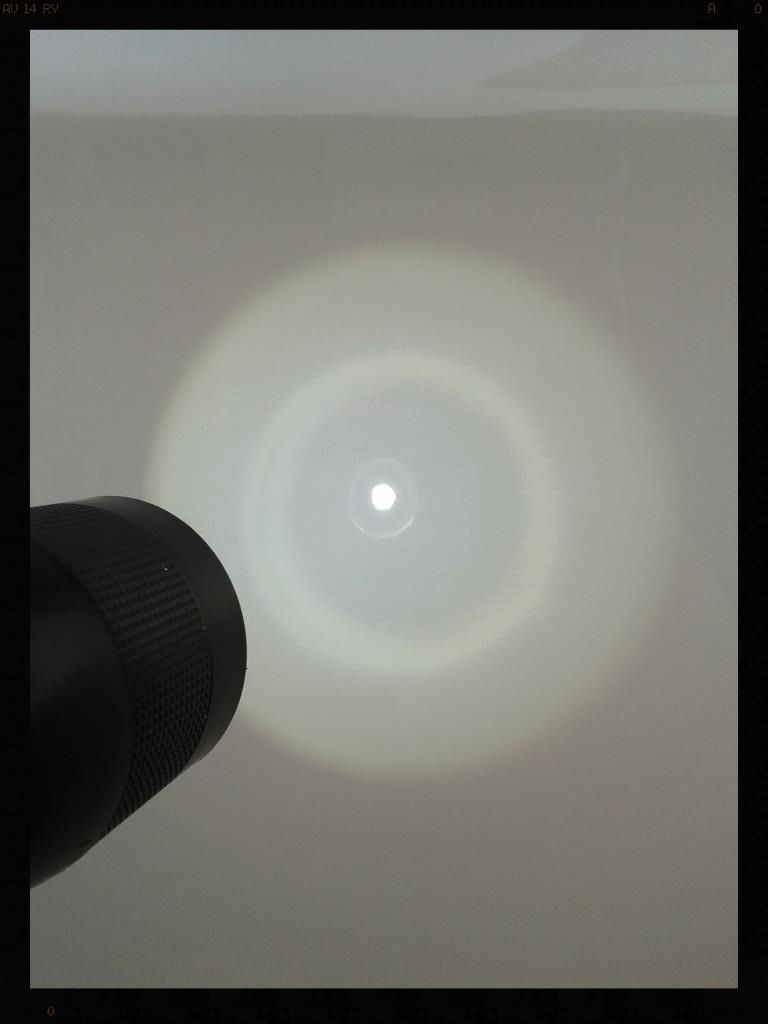
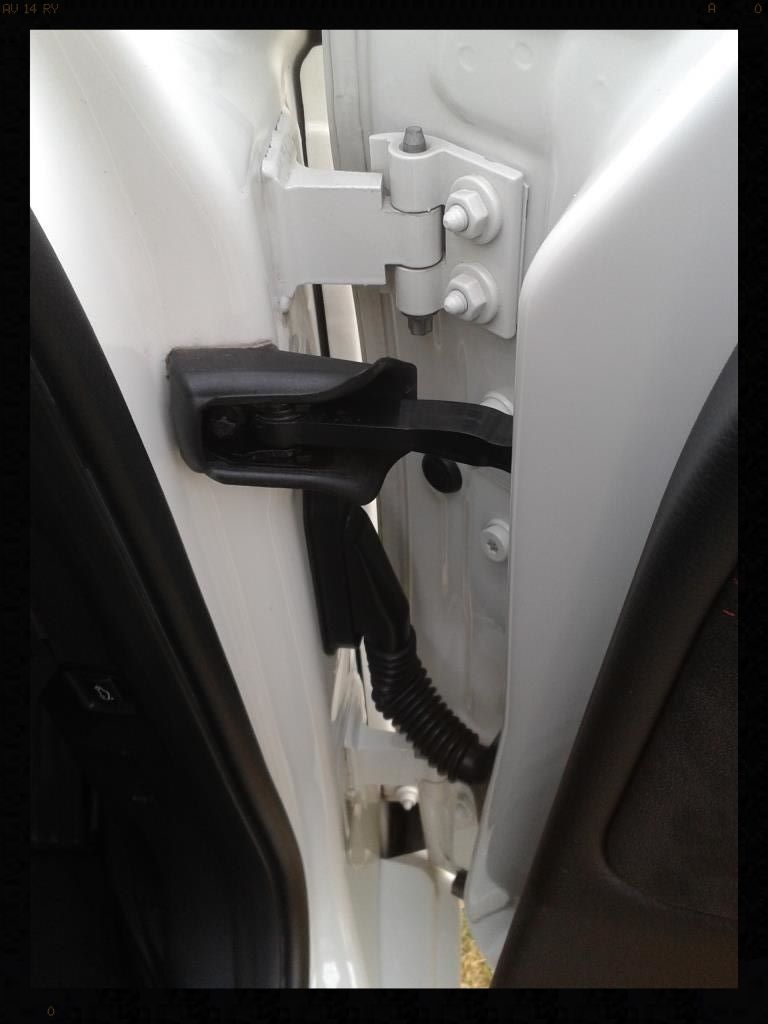
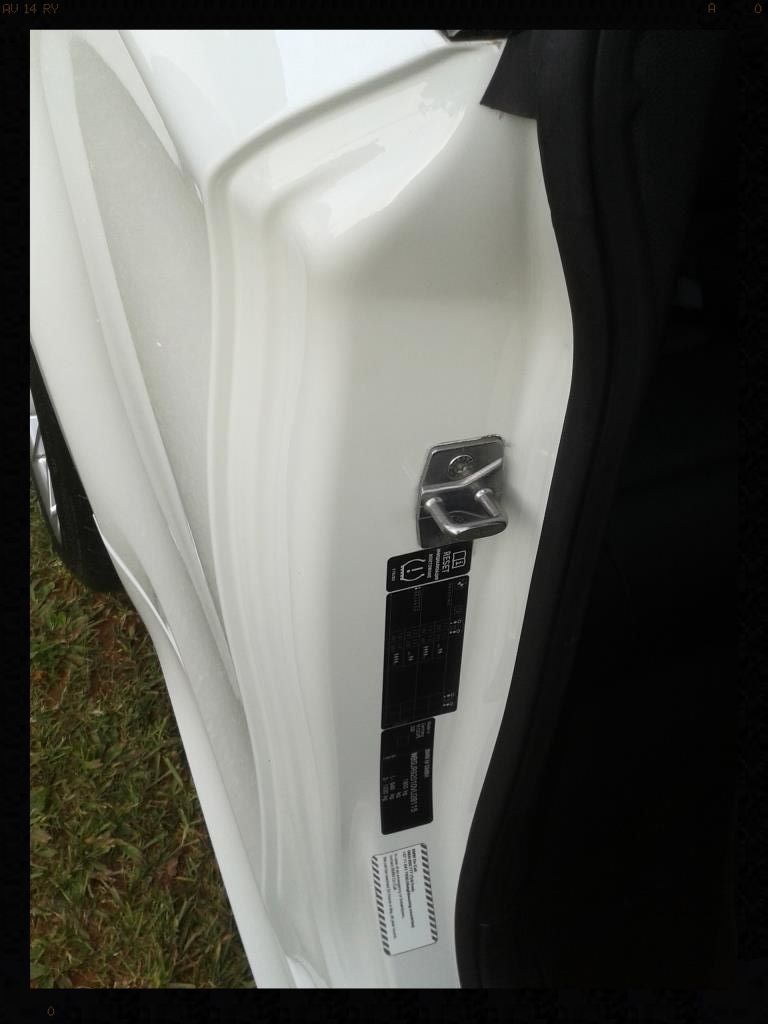
Door shuts, boot shut, window rubbers, fuel flap, badges etc: Cleaned using Cyclo APC with Valet Pro brushed and then HP Rinsed
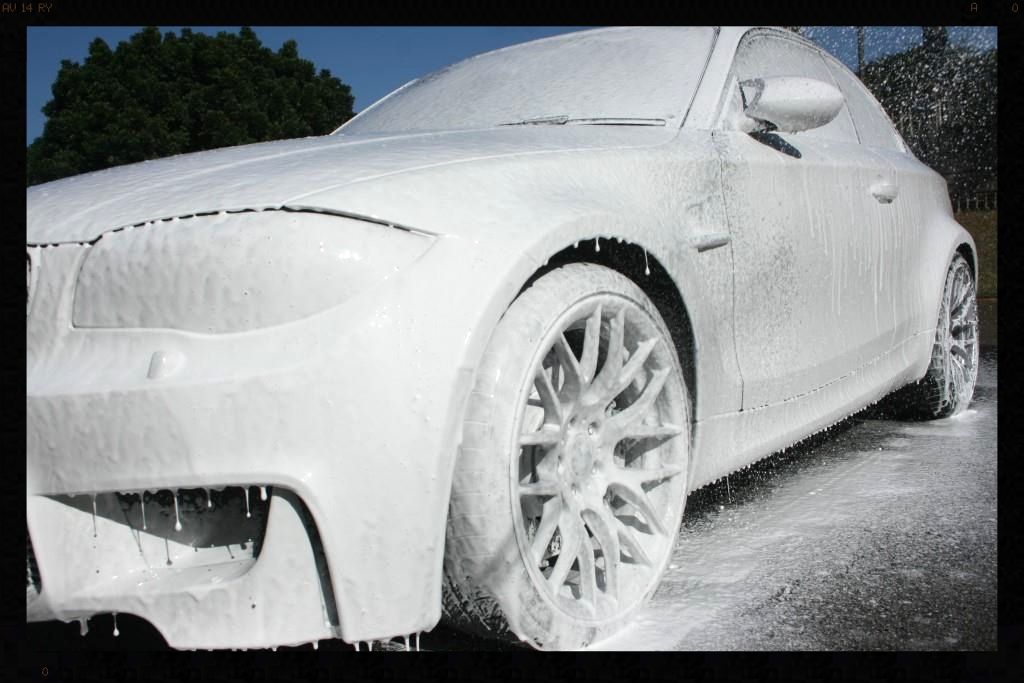
Wash: Prefoamed using Valet Pro Advanced Neutral Snow Foam via foam cannon followed by a 2BM wash with Lambswool wash mitts and Glossworx Shampoo.
Dry: ONR at QD strength with WW Drying towels and compressed air
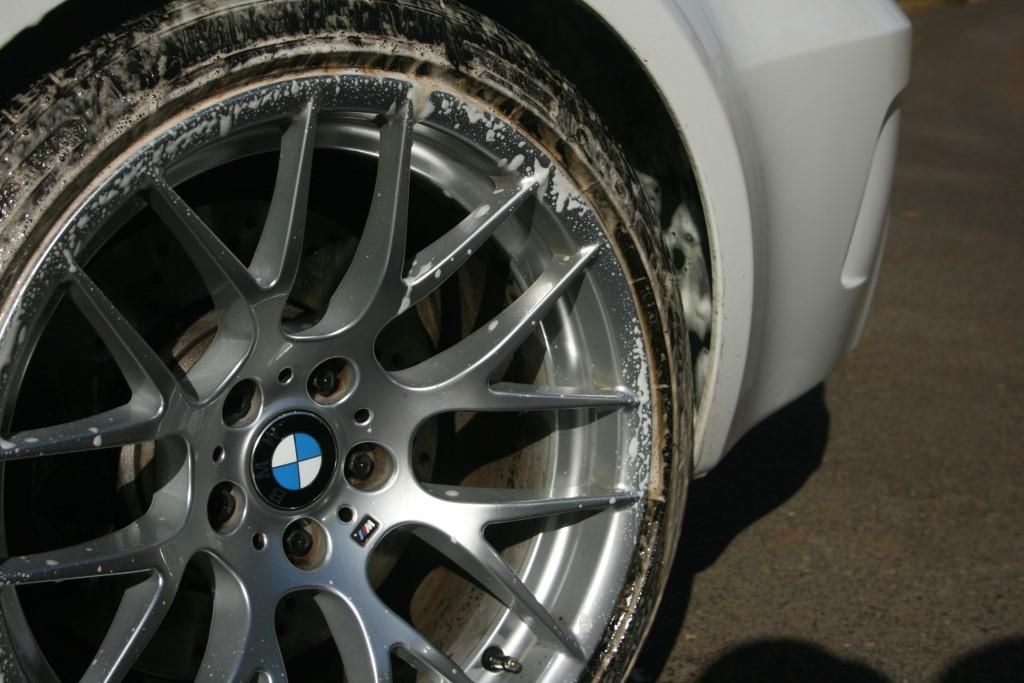
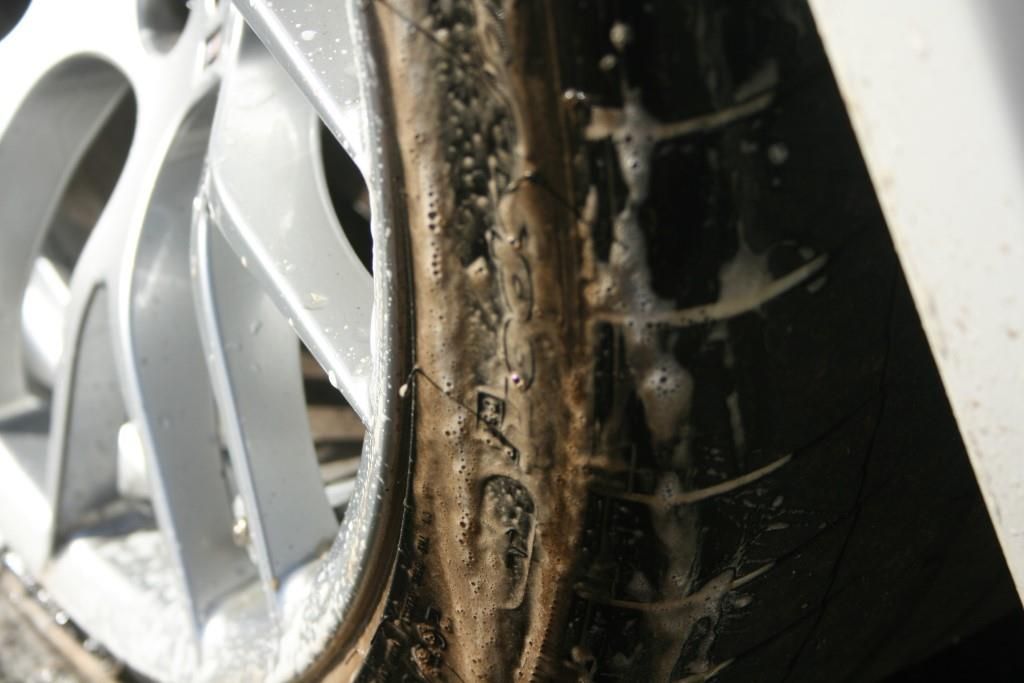
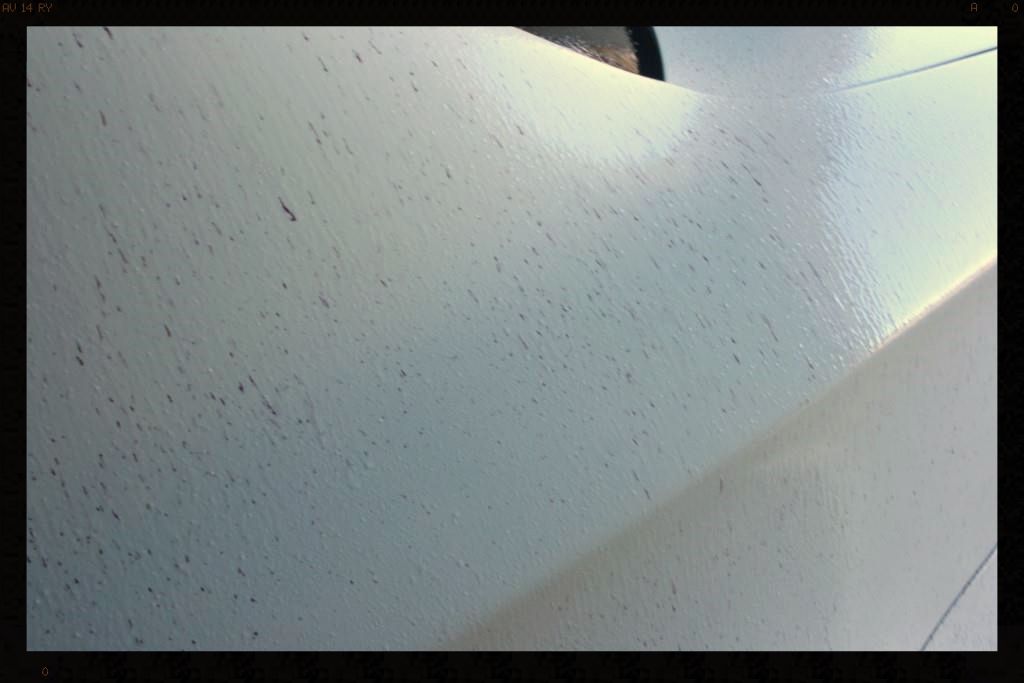
Decontamination: A baggie test was conducted revealing a lot of contamination. First Valet Pro Citrus Tar & Glue Remover was used to remove any tar spots. Then the car was sprayed with ample Valet Pro Dragon's Breath which was allowed to dwell before being thoroughly rinsed. I then re-foamed the car and rinsed and dried it. Then the long process of claying began. A lot of time was spent on the panel gaps, around all the badges/emblems/ and in all the little nooks and crannies.
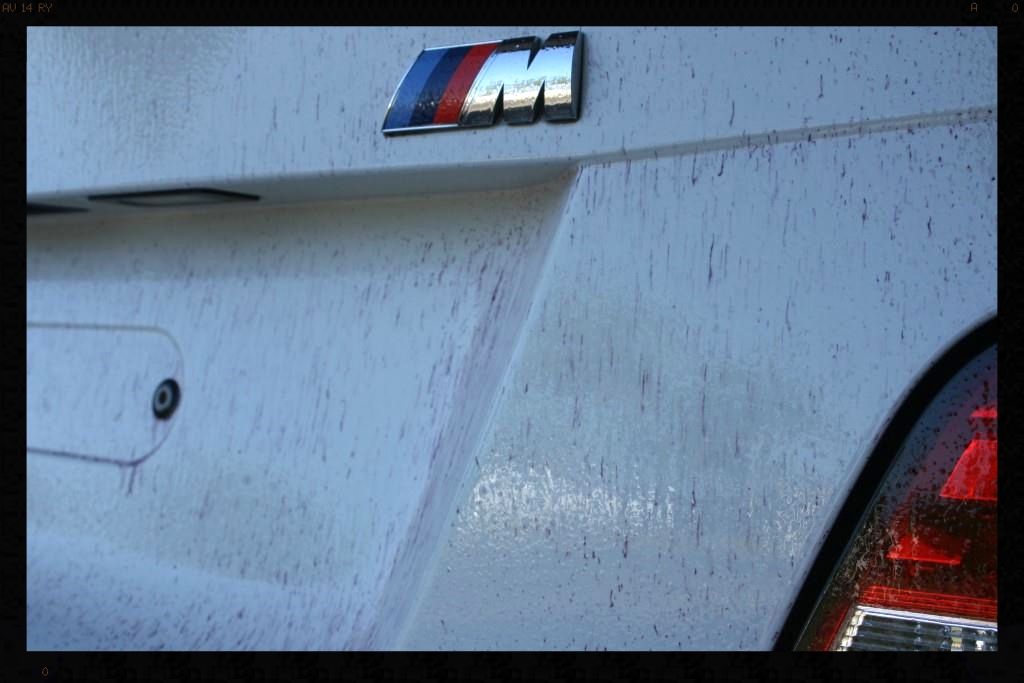
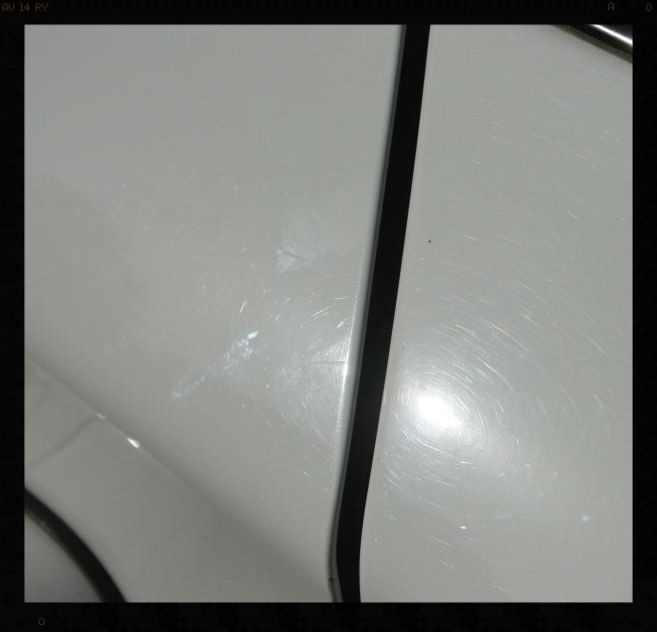
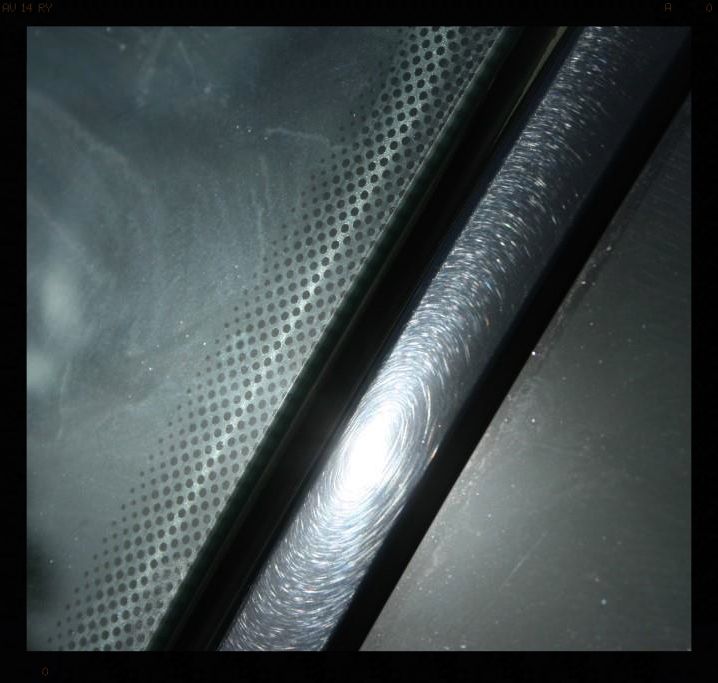
Some nasty etching
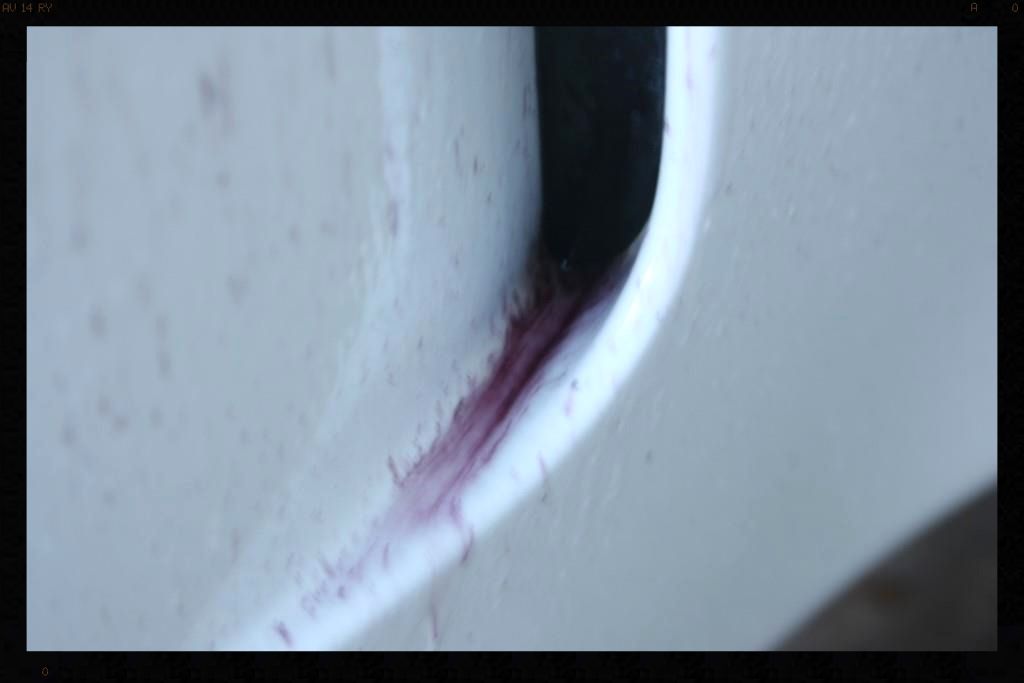
And here you can clearly see the DEEP scratches from where someone has aggressively tried to rub the bird droppings off the car :bang:
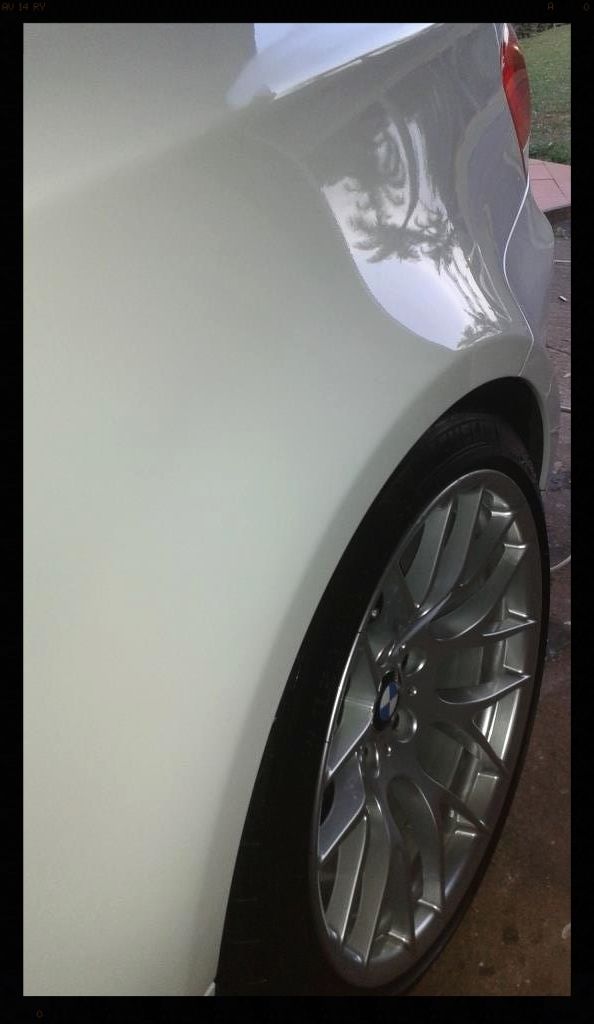
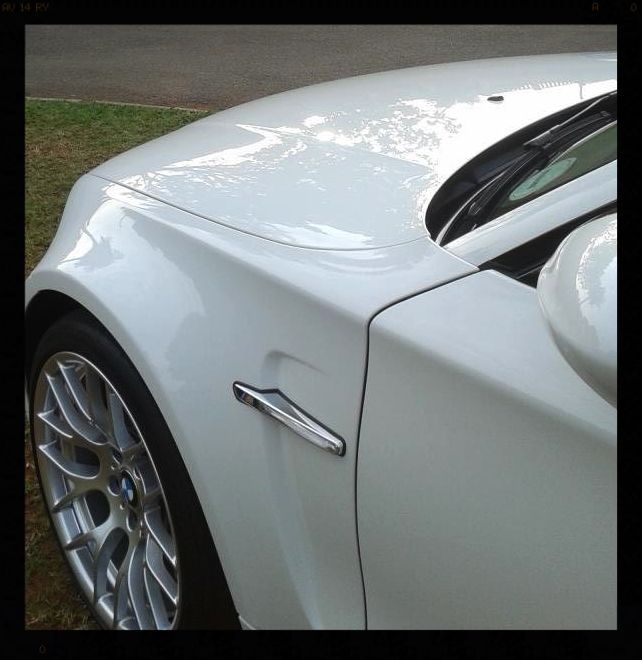
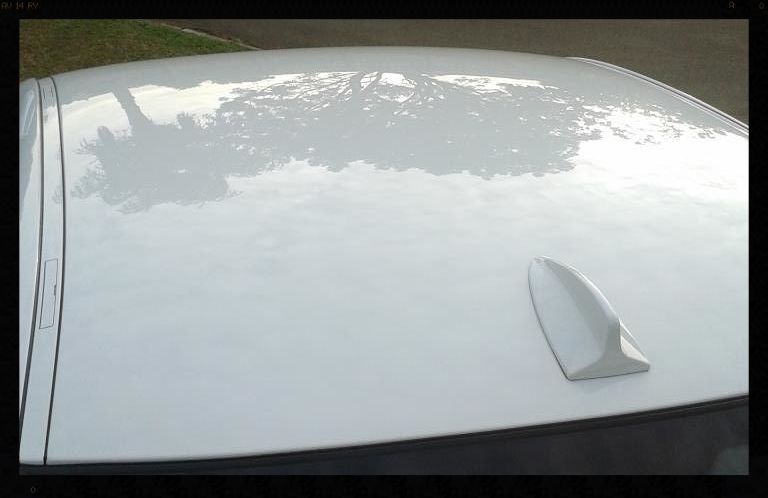
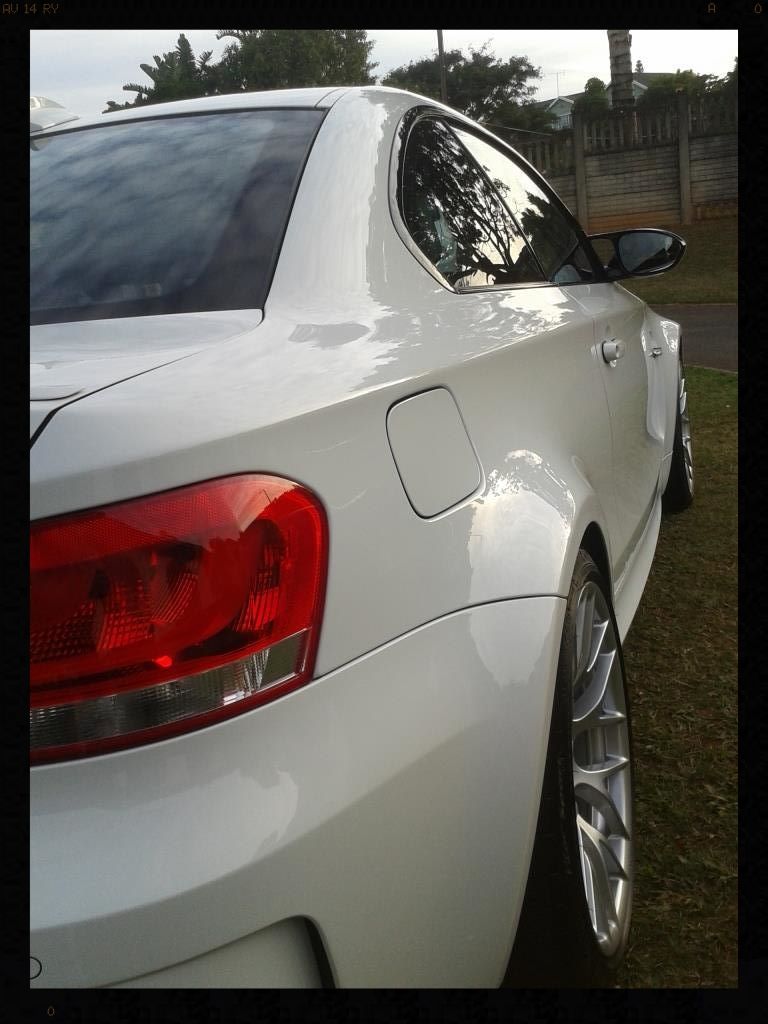
Paint correction: Menzerna FG400 with LC orange pads (6.5"and 4")
Tail light correction: Menzerna FG400 with LC orange pads (4") followed by Menzerna SF4000 with LC grey pad (4")
Unfortunately about the only pic I have to show the difference is this one
Protection: Collinite 845 [Autofinesse Tripple used on Door Jambs]
Glass : Sample Fine Grade Clay / ONR at clay lube strength / Glossworx Glass Cleaner / Streak Free Microfiber Glass Cleaning Cloths / Insta Finish Bead Off
Door rubbers, plastic trim : Shield Heavy Duty Vinyl and Rubber Cleaner / Optimum Optibond Tire Gel
Interior: Blown out with compressed air / Vacuum / Autofinesse Spritz
Engine Bay: Blown out with compressed air / Wiped down with MF Towel and Cyclo APC / Dressed using Glossworx Extreme Tire Shine

Leather: Glossworx Leather Cleaner / Valet Pro brushes / MF Towel Wipe / Compressed Air dry / Glossworx Leather Conditioner.
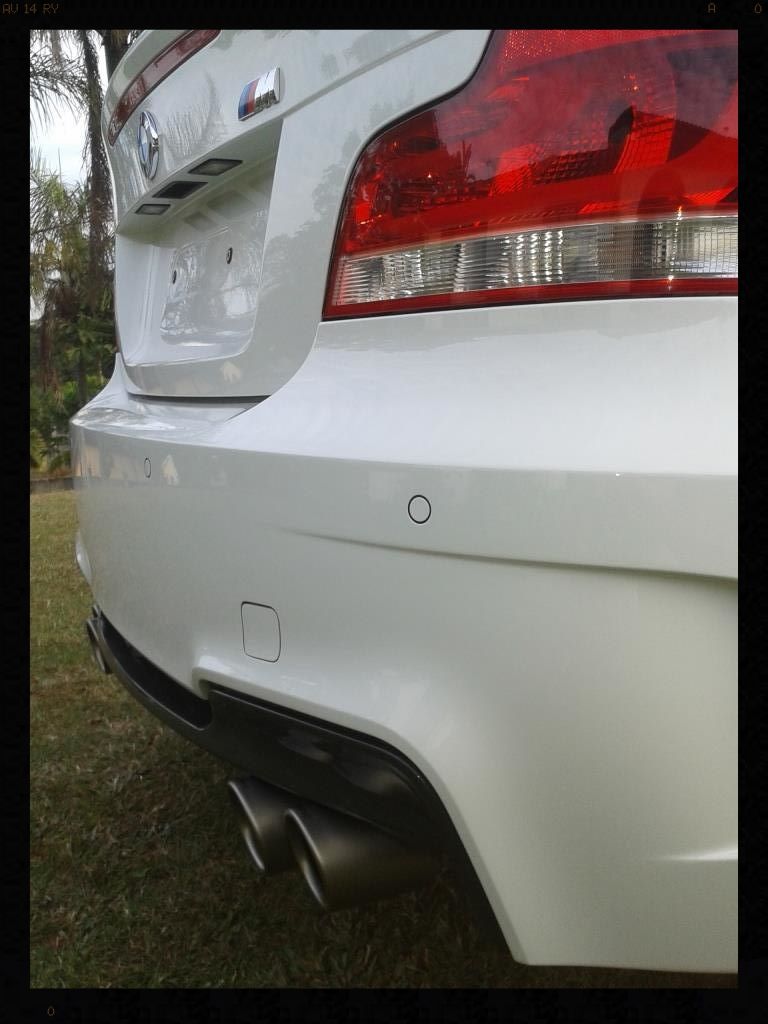
Exhaust tips [some nice Akrapovic tips - cold start in the garage in the morning is simply :drool: ]: Cyclo CM30 APC / Various brushes / Meguiars NXT Metal Polish
It is safe to assume that we all understand that if you wash a car that it full of dust/dirt it looks a lot better. Also, most people want their car to look shiny - because shiny paint looks better than dull paint. :drool: :thumbup: Where it generally goes wrong though is that people don't really understand what makes their paint dull, and so believe that no harm is done when washing the car. What they don't realize though is that it is POOR WASHING and DRYING that inflicts millions of random scratches into your paint through forcing the dirt (pick some sand up between your fingers and feel how hard it is) over and into the paint surface.
It is these scratches that create defects below the surface of the paint and the resultant uneven surface is what refracts light instead of allowing it to pass directly through the clear coat. It is like trying to look through and old pair of sunglasses that have lenses that are scratched - what you see is a blurry/dull/unclear/distorted image of what you would see if the lenses were free of scratches. Add pressure or do it more often or use improper products/tools/technique and you land up with paint that can look like this in 8000km.
This means the paint needs to be polished to 'make it level again'.
The more you polish, the less paint you are left with, the sooner it will fail.
<span>Ok so let's get detailing.....
Arches: Rinsed with a HP washer, sprayed with Cyclo APC via a foaming trigger head and allowed to dwell and then agitated with a Mothers Fender Well Brush. This was followed with another HP Rinse. The arches would later be dressed with Glossworx Extreme Tyre Shine
Tires: Cleaned with Mothers Mothers FX Wheel Cleaner and a Mothers Tire Brush and later dressed with 2 coats of Optimum Optibond Tire Gel 12 hours apart.
Wheels: Rinsed with a HP washer then cleaned using Mothers FX Wheel Cleaner and a Daytona Jnr and a Valet Pro Boar Hairs brush and dried. The wheels were then thoroughly sprayed with Valet Pro Dragons Breath which was agitated after being allowed to dwell for a few minutes, using the same brushes, and then thoroughly rinsed and dried them. Valet Pro Citrus Tar & Glue Remover was used to remove any tar spots. The wheels were then foamed using Valet Pro Advanced Neutral Snow Foam when the rest of the car was - this would ensure there were no remaining residue on the surface. Clayed with an unreleased sample clay I am testing at the moment. The wheels would later be sealed with Menzerna Powerlock.
Brake Calipers: Rinsed with a HP washer, sprayed with Cyclo APC via a foaming trigger head and allowed to dwell and then agitated with a Valet Pro Boars Hair Brush.
Looking much better
Door shuts, boot shut, window rubbers, fuel flap, badges etc: Cleaned using Cyclo APC with Valet Pro brushed and then HP Rinsed
Wash: Prefoamed using Valet Pro Advanced Neutral Snow Foam via foam cannon followed by a 2BM wash with Lambswool wash mitts and Glossworx Shampoo.
Dry: ONR at QD strength with WW Drying towels and compressed air
Decontamination: A baggie test was conducted revealing a lot of contamination. First Valet Pro Citrus Tar & Glue Remover was used to remove any tar spots. Then the car was sprayed with ample Valet Pro Dragon's Breath which was allowed to dwell before being thoroughly rinsed. I then re-foamed the car and rinsed and dried it. Then the long process of claying began. A lot of time was spent on the panel gaps, around all the badges/emblems/ and in all the little nooks and crannies.
Some nasty etching
And here you can clearly see the DEEP scratches from where someone has aggressively tried to rub the bird droppings off the car :bang:
Paint correction: Menzerna FG400 with LC orange pads (6.5"and 4")
Tail light correction: Menzerna FG400 with LC orange pads (4") followed by Menzerna SF4000 with LC grey pad (4")
Unfortunately about the only pic I have to show the difference is this one
Protection: Collinite 845 [Autofinesse Tripple used on Door Jambs]
Glass : Sample Fine Grade Clay / ONR at clay lube strength / Glossworx Glass Cleaner / Streak Free Microfiber Glass Cleaning Cloths / Insta Finish Bead Off
Door rubbers, plastic trim : Shield Heavy Duty Vinyl and Rubber Cleaner / Optimum Optibond Tire Gel
Interior: Blown out with compressed air / Vacuum / Autofinesse Spritz
Engine Bay: Blown out with compressed air / Wiped down with MF Towel and Cyclo APC / Dressed using Glossworx Extreme Tire Shine
Leather: Glossworx Leather Cleaner / Valet Pro brushes / MF Towel Wipe / Compressed Air dry / Glossworx Leather Conditioner.
Exhaust tips [some nice Akrapovic tips - cold start in the garage in the morning is simply :drool: ]: Cyclo CM30 APC / Various brushes / Meguiars NXT Metal Polish


")