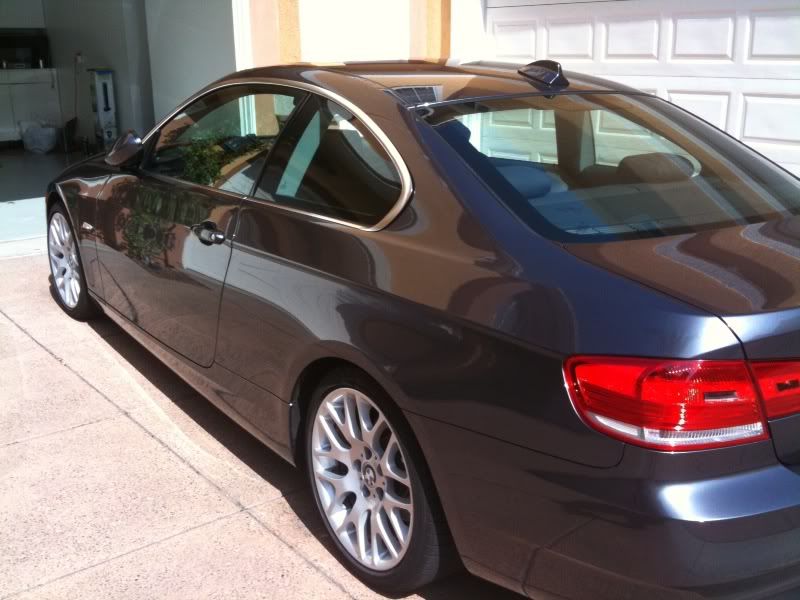
So here it is:
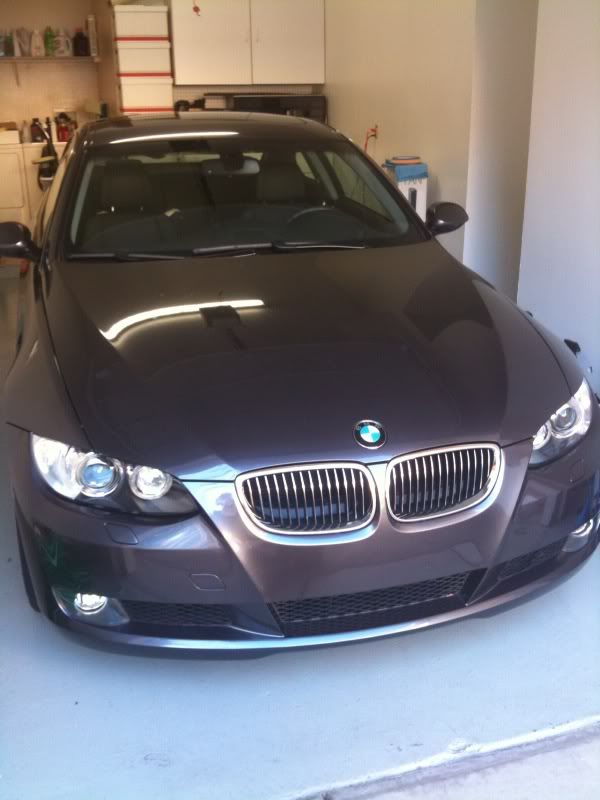
My girlfriend's 2008 328i coupe. She garages this car, but doesn't really keep up with washing or removing bird droppings unless I do it for her. *no comment*... Anyway, since I am going to begin my detailing/paint restoration project on my car, I decided to practice on hers first. I'll keep you guys updated with photos on the forum along the way.
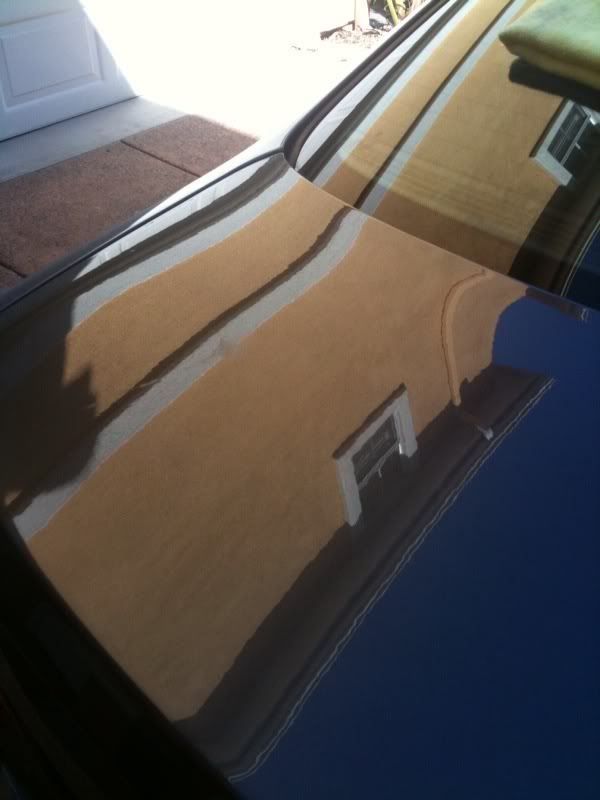
I decided to start with one panel first...the trunk lid. It seems to have a lot of pits and bird dropping stains, so it's a good practice panel. I started with washing the car, then claybarred the trunk lid. That removed a bunch of the surface contaminants I could physically feel with my fingertips. What was left was a really bad bird dropping stain, and multiple spot defects. Here are two photos of the stain:
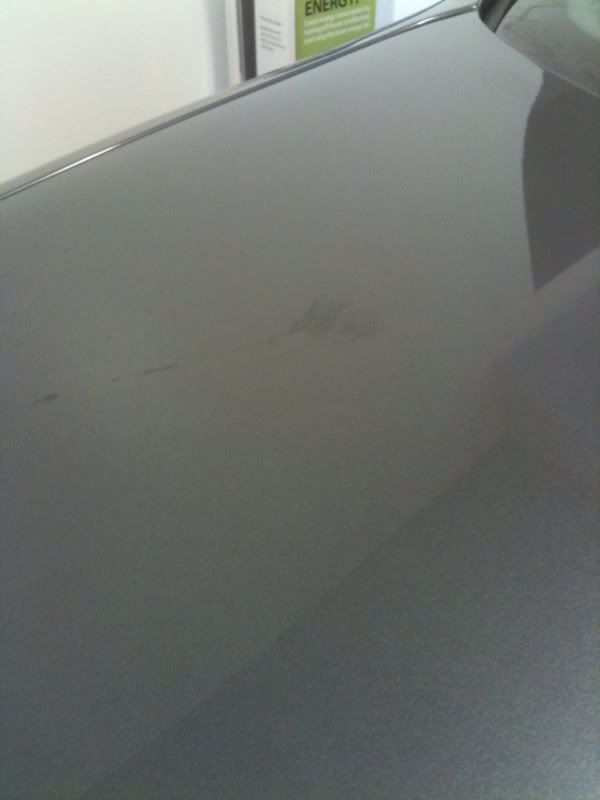
The surface of this stain is by mo means smooth. My finger gets caught as I run my fingertips along it's path.
My first run-through I used a hi-gloss PAC orange compounding pad with Menzerna Intensive Polish. I went over the trunk lid with three applications of the Menzerna. Stain is unfortunately still there. (BTW, I'm using a PC7424.)
I thought it might be interesting to use a 45X magnifying lens to zero in on the paint defect. What I saw is that the acid from the bird droppings actually made the clearcoat surface look like a cracked barren desert. Not sure if you can see this as clearly as I can, because I'm taking these photos with an iPhone... Here it is:
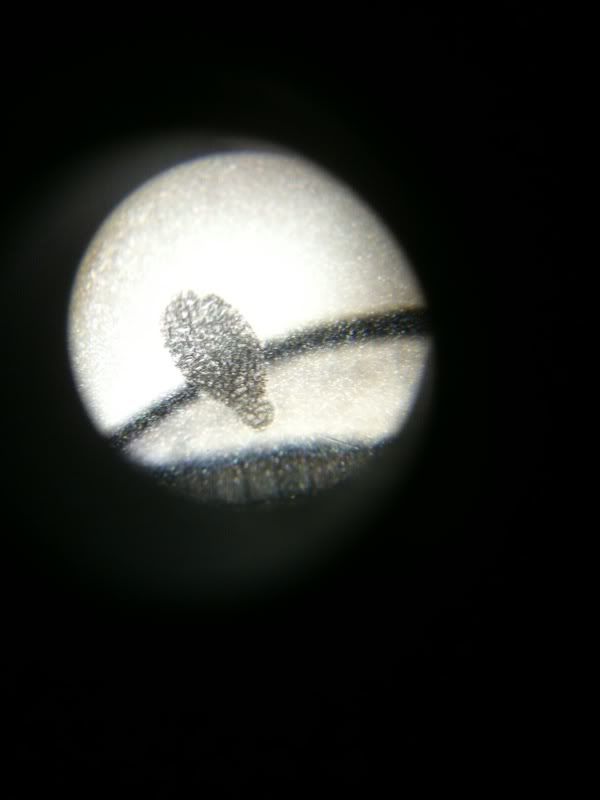
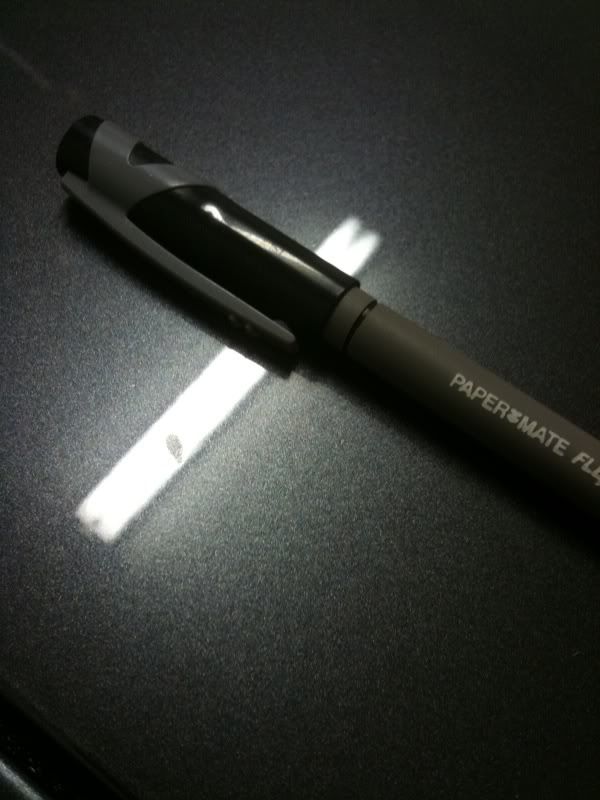
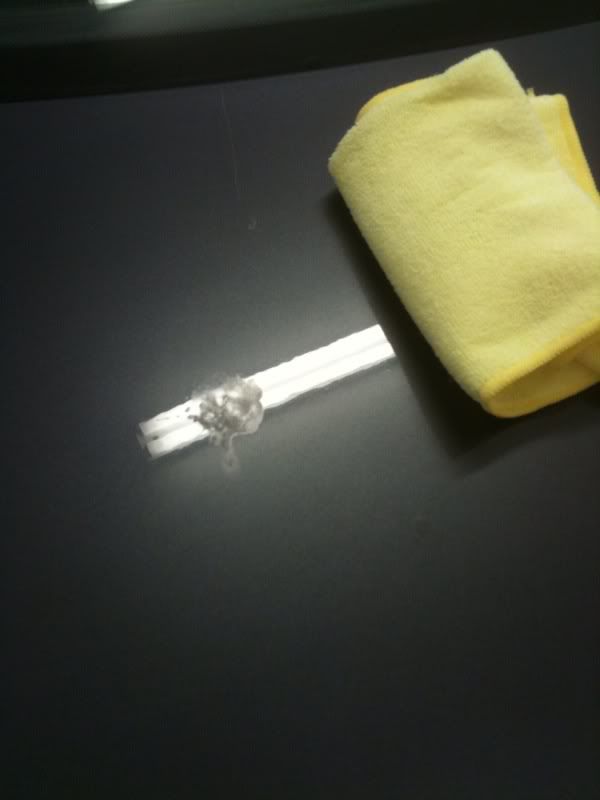
This was a close up of only a side-stain of the main stain. I put a pen there to give a size perspective. The stain I zoomed in on is located where the flourescent lighting is reflecting off the surface.
I'll keep updating this thread as I go. So far, I'm pretty sure this stain won't come out without a heavier cutting pad and a rotary polisher...
My girlfriend's 2008 328i coupe. She garages this car, but doesn't really keep up with washing or removing bird droppings unless I do it for her. *no comment*... Anyway, since I am going to begin my detailing/paint restoration project on my car, I decided to practice on hers first. I'll keep you guys updated with photos on the forum along the way.
I decided to start with one panel first...the trunk lid. It seems to have a lot of pits and bird dropping stains, so it's a good practice panel. I started with washing the car, then claybarred the trunk lid. That removed a bunch of the surface contaminants I could physically feel with my fingertips. What was left was a really bad bird dropping stain, and multiple spot defects. Here are two photos of the stain:
The surface of this stain is by mo means smooth. My finger gets caught as I run my fingertips along it's path.
My first run-through I used a hi-gloss PAC orange compounding pad with Menzerna Intensive Polish. I went over the trunk lid with three applications of the Menzerna. Stain is unfortunately still there. (BTW, I'm using a PC7424.)
I thought it might be interesting to use a 45X magnifying lens to zero in on the paint defect. What I saw is that the acid from the bird droppings actually made the clearcoat surface look like a cracked barren desert. Not sure if you can see this as clearly as I can, because I'm taking these photos with an iPhone... Here it is:
This was a close up of only a side-stain of the main stain. I put a pen there to give a size perspective. The stain I zoomed in on is located where the flourescent lighting is reflecting off the surface.
I'll keep updating this thread as I go. So far, I'm pretty sure this stain won't come out without a heavier cutting pad and a rotary polisher...

") . Right now I'm a full-time student getting prepped for state board exams in California, so this is my way of winding down from studying... *sigh*. Speaking of which...back to studying I go.
. Right now I'm a full-time student getting prepped for state board exams in California, so this is my way of winding down from studying... *sigh*. Speaking of which...back to studying I go.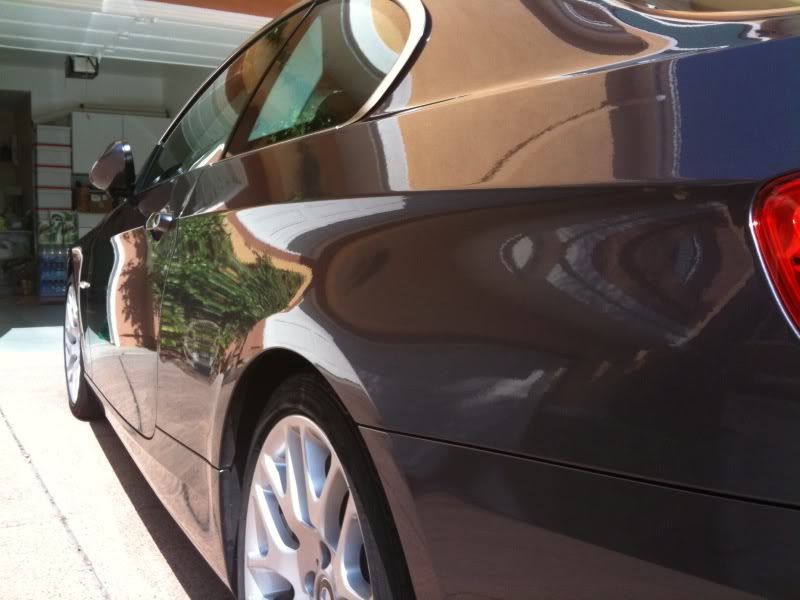

 Great job. Unfortunately sometimes it is just better to live with the defect and avoid ruining the paint then chance perfection.