This is my first thread for displaying work, so feel free to comment on pictures/views/angles I should have taken. For starters, this Porsche is a 24/7 outdoor car surrounded by trees. I started out with a simple wash to remove the dirt with Megs Gold Class. In the sunlight it looked "ok", but when I pulled it into my garage, the problems were clearly visible. My intention was to correct most of the paint and apply Opti-seal as my LSP, just to find out how long it holds up in the most harsh conditions. This is an old race car so, this is not a "full detail" since I only had the car for 2 days.
Before wash
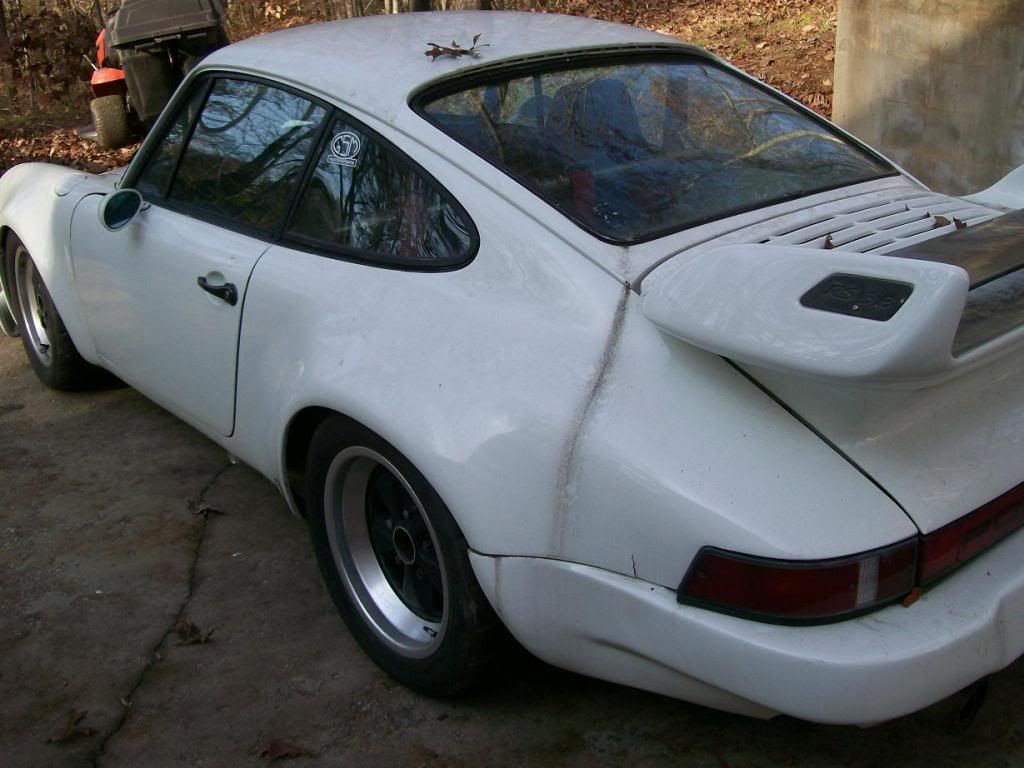
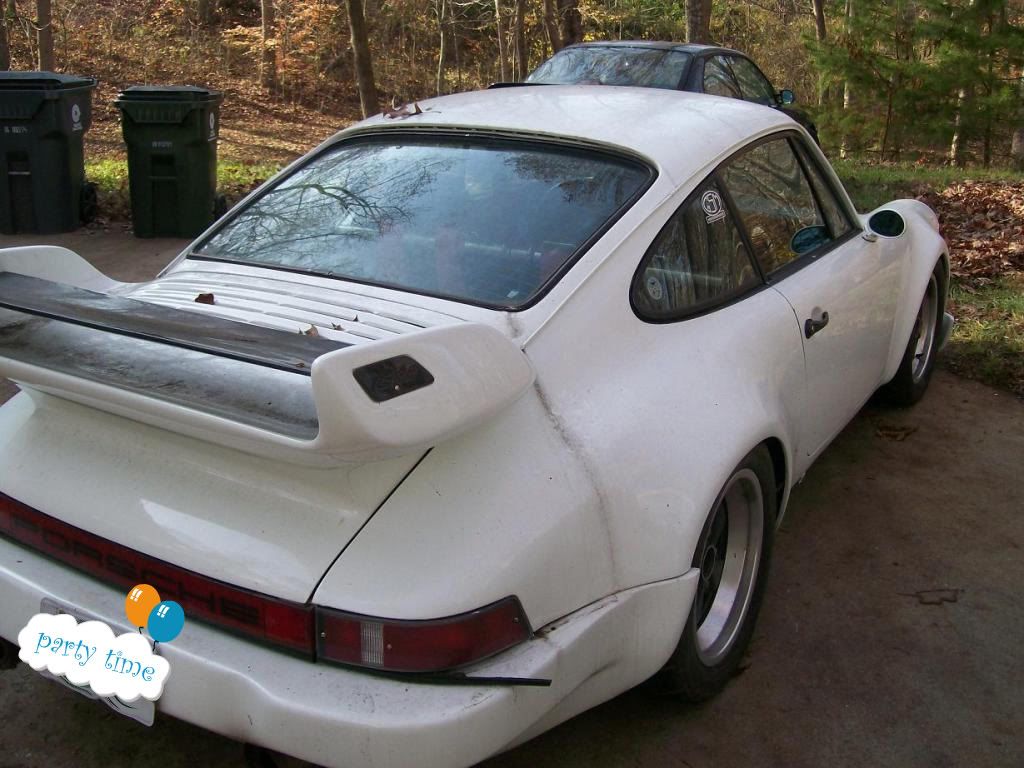


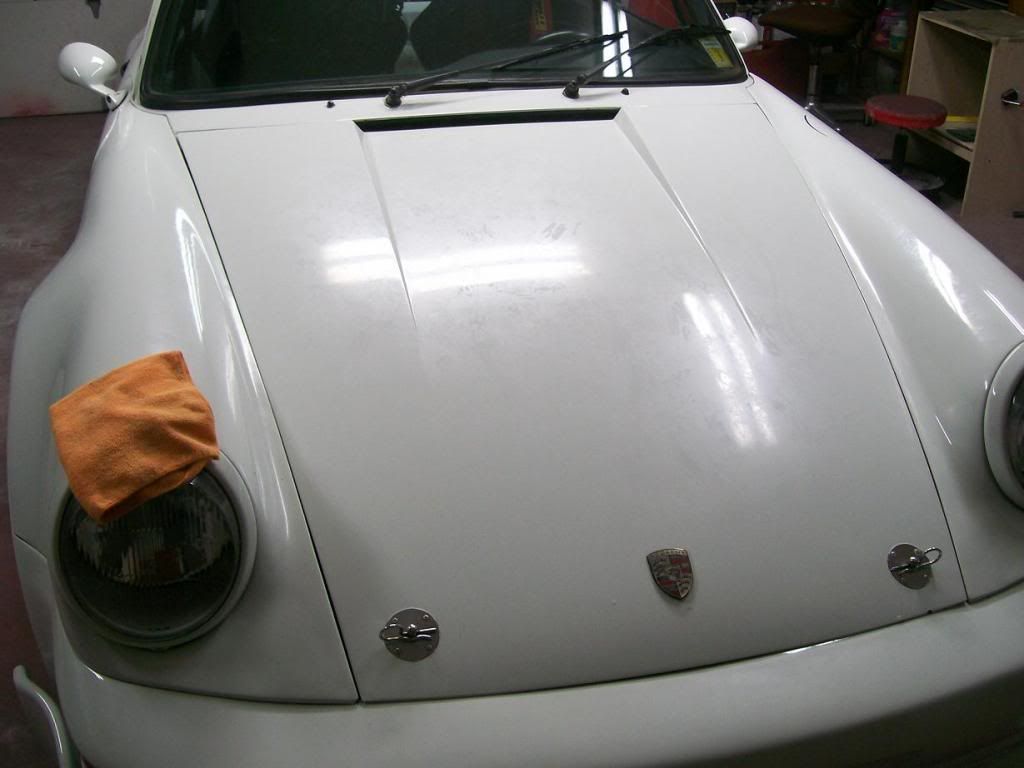
After wash


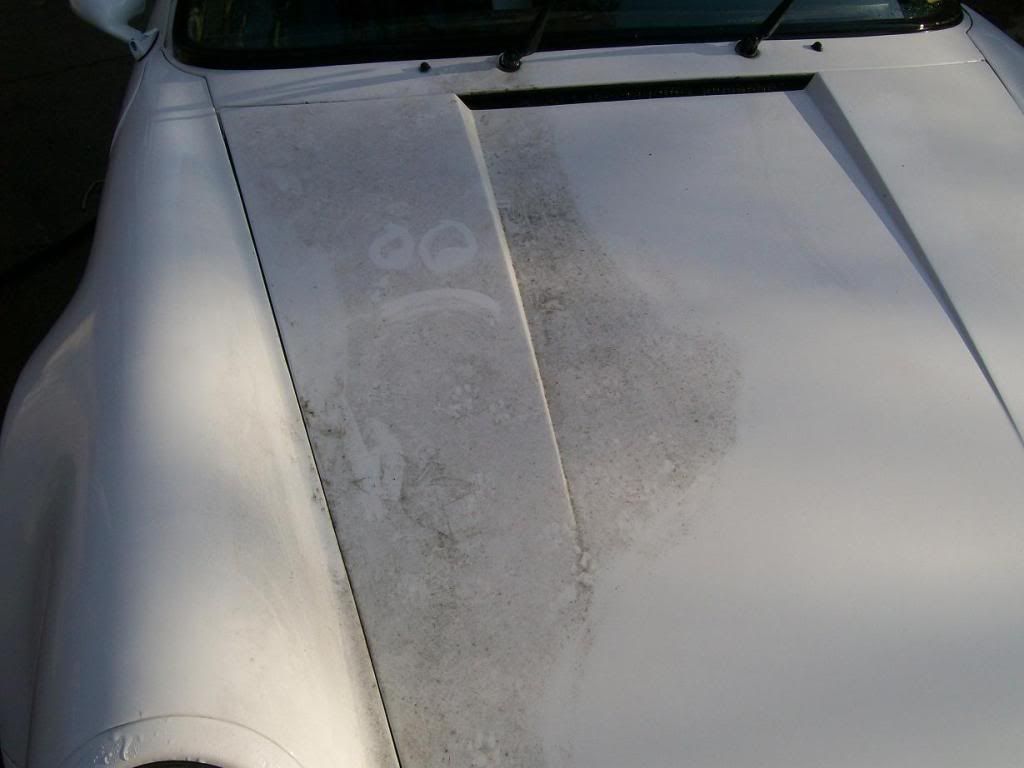
Not too bad, right? Wrong... This is under my garage lighting..
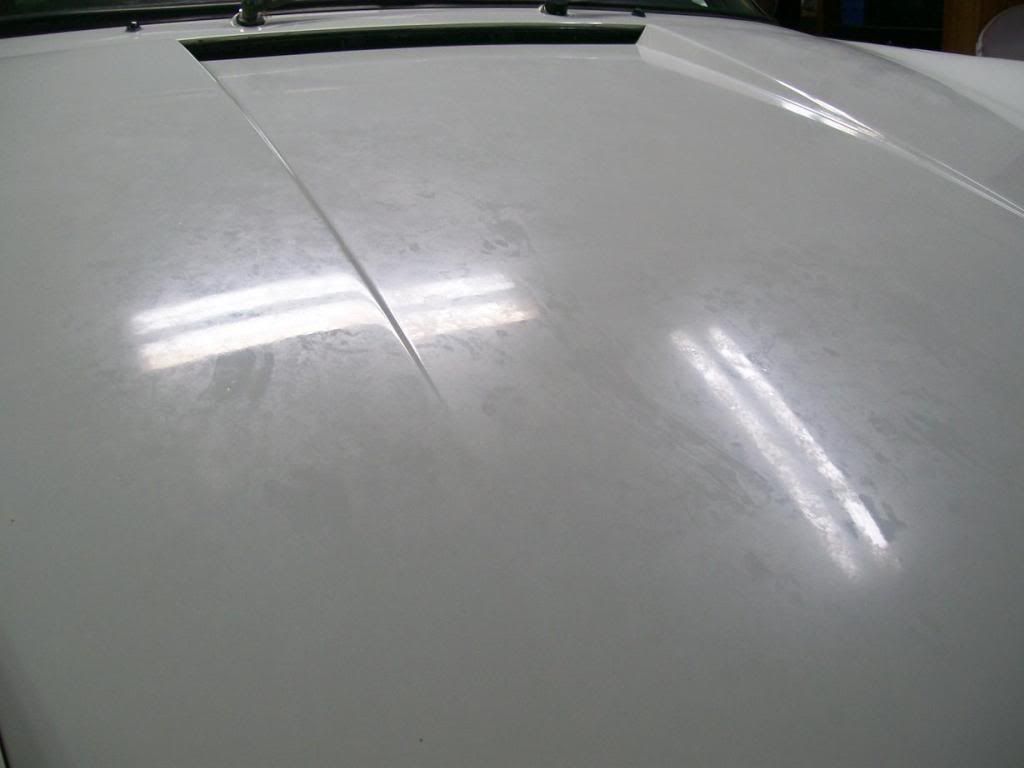
I still have no idea what the haze was that covered the entire car. I would venture a guess to say oxidation with acid etching combination. You can see outlines of cat prints and leaves, almost as if I never washed it. My first trial was clay bar, which had NO effect at all. I tried various paint cleaners, IPA, grease/wax removers, NOTHING could even touch this crap. So began compound/pad via rotary trial and errors. M105 w/ Orange LC, did the job with the expense of 4-5 passes, not bad yet not very time/cost effective. M85 w/ Soft Buff 2.0 Burgundy did better will about 3-4 passes. So, I dug deeper and pulled out the harshest cutting compound I own, 3M Super Duty 05954 w/ Soft Buff 1.0 Red. Now, mind you, I would never use this on anything unless I was sure this was a last resort before full scale wet sanding or reflowing lacquer, hence why this was a full bottle") Needless to say, it did the job very well and managed little to no swirls. Because of the time crunch I chose to follow up with M85 w/ burgundy 2.0 to remove the micro marring. It's not easy to "finish" paint prep with that combo, but with good rotary skills on white/orange peeled paint it's possible and time effective using only 1 pass with each.
Needless to say, it did the job very well and managed little to no swirls. Because of the time crunch I chose to follow up with M85 w/ burgundy 2.0 to remove the micro marring. It's not easy to "finish" paint prep with that combo, but with good rotary skills on white/orange peeled paint it's possible and time effective using only 1 pass with each.
Hood 50/50
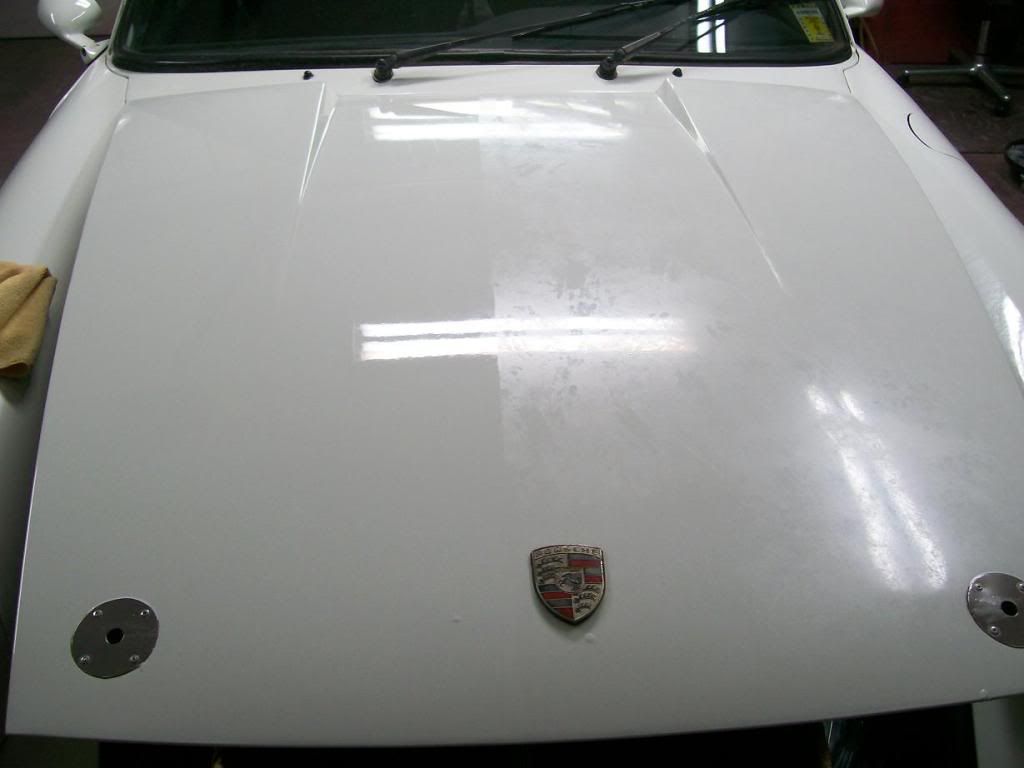
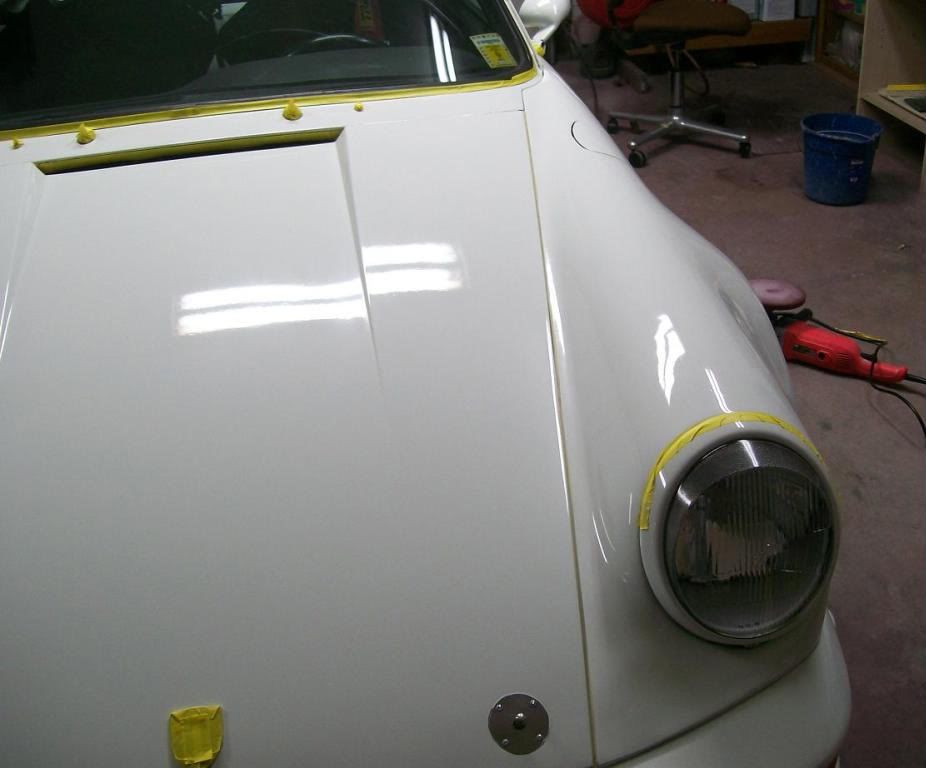
Hood done

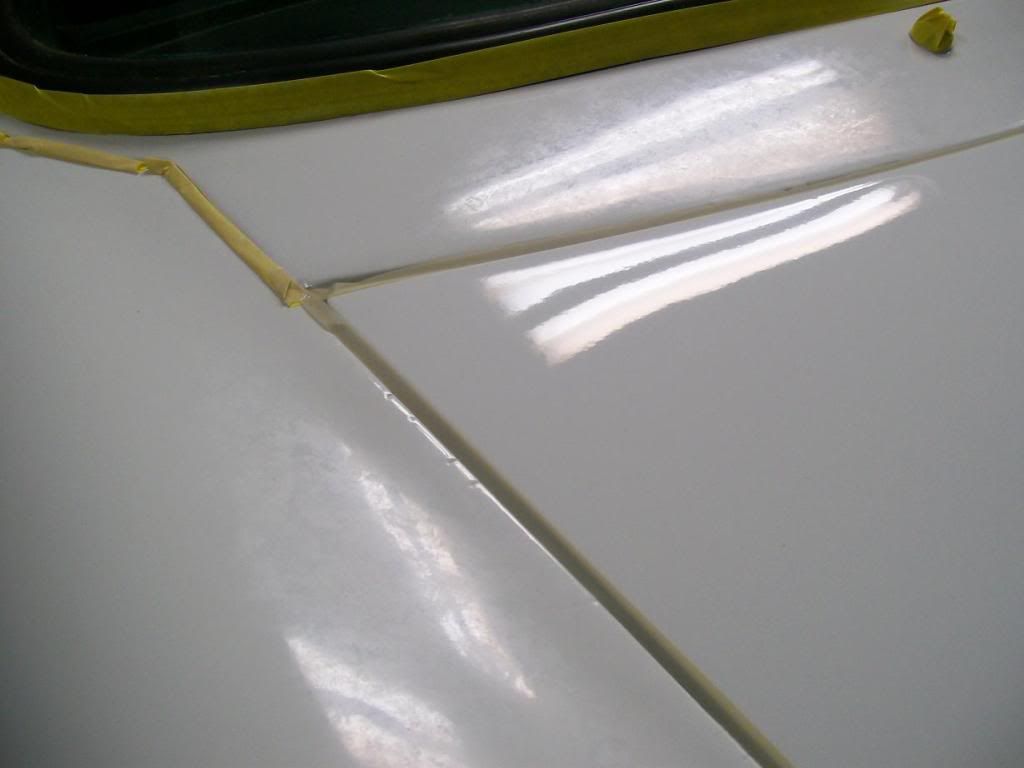
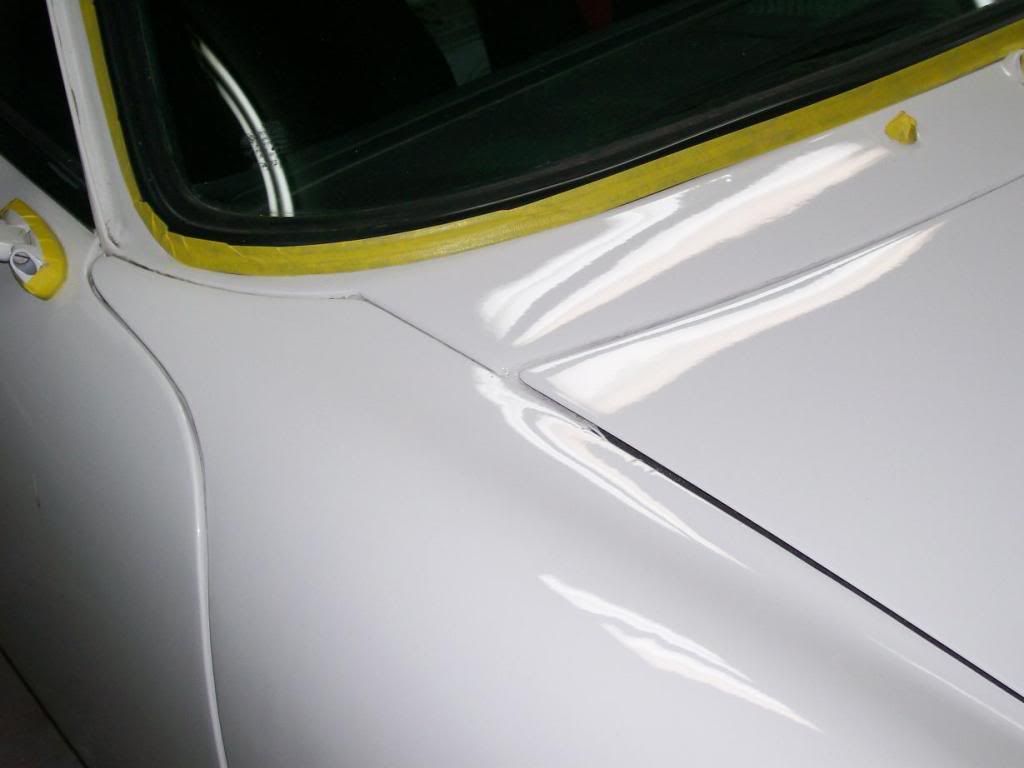
Hood/Fender done
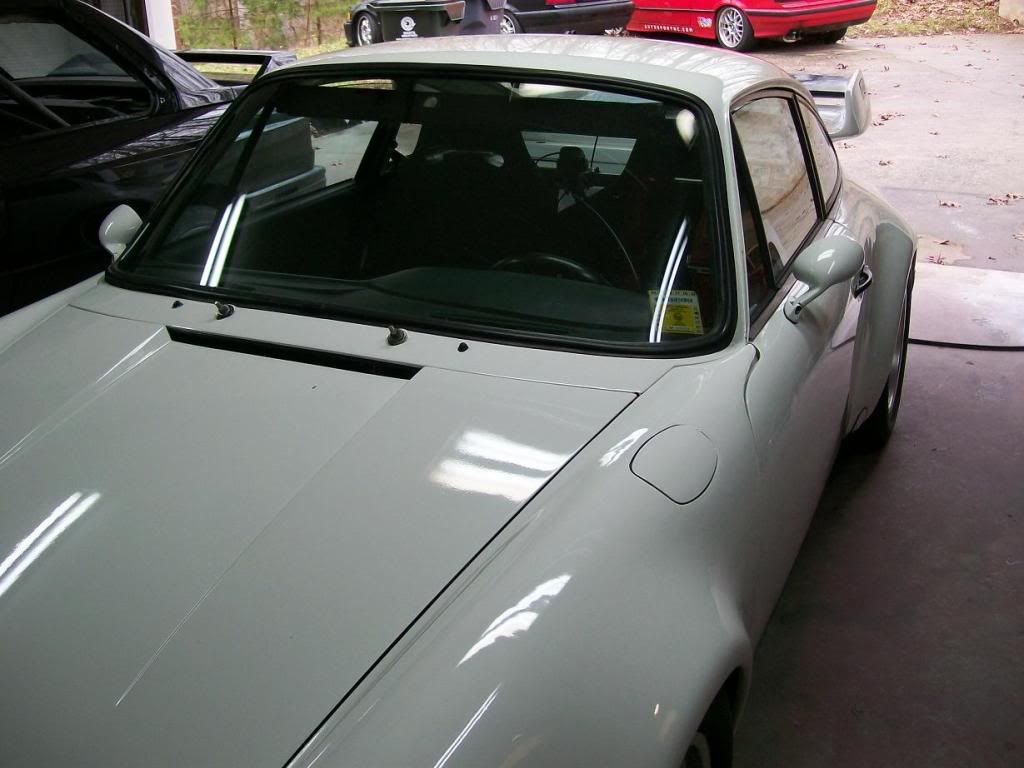
Hood vs. Cowl/Fender
Cowl done
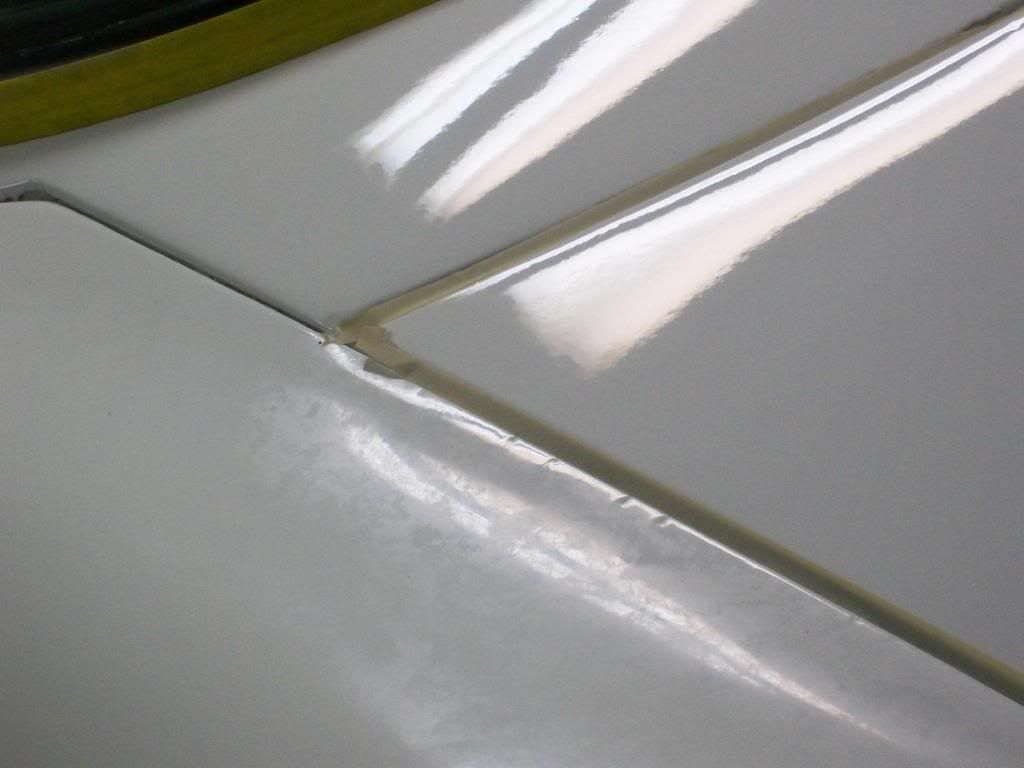
All better!
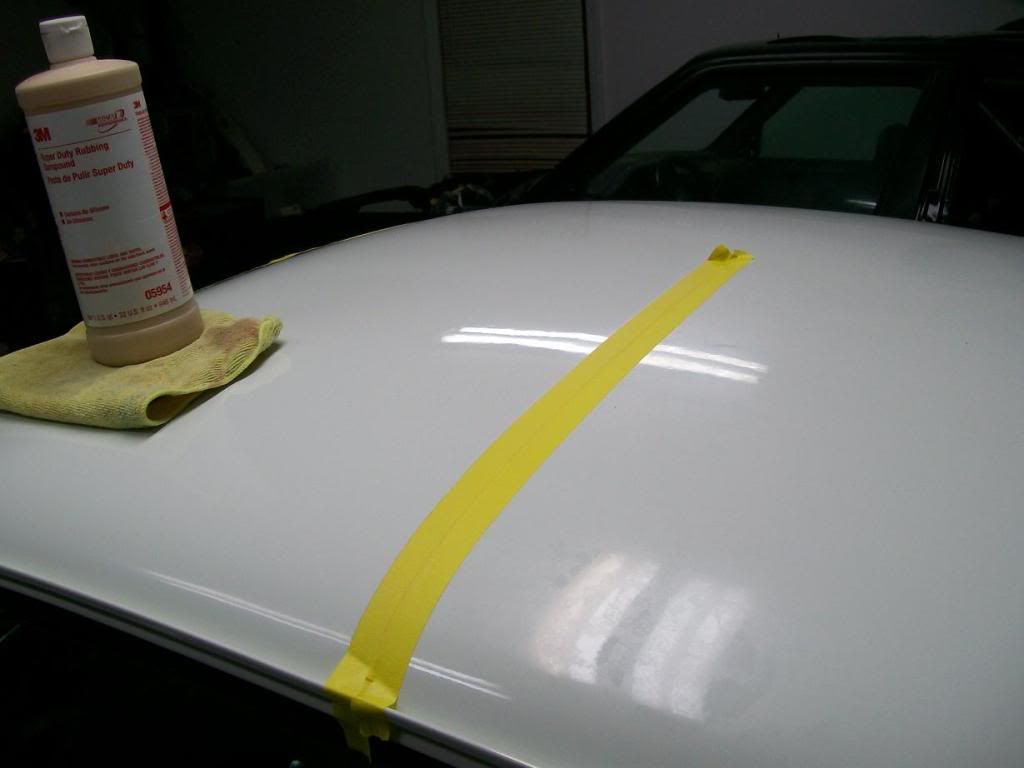
Roof :bawling:
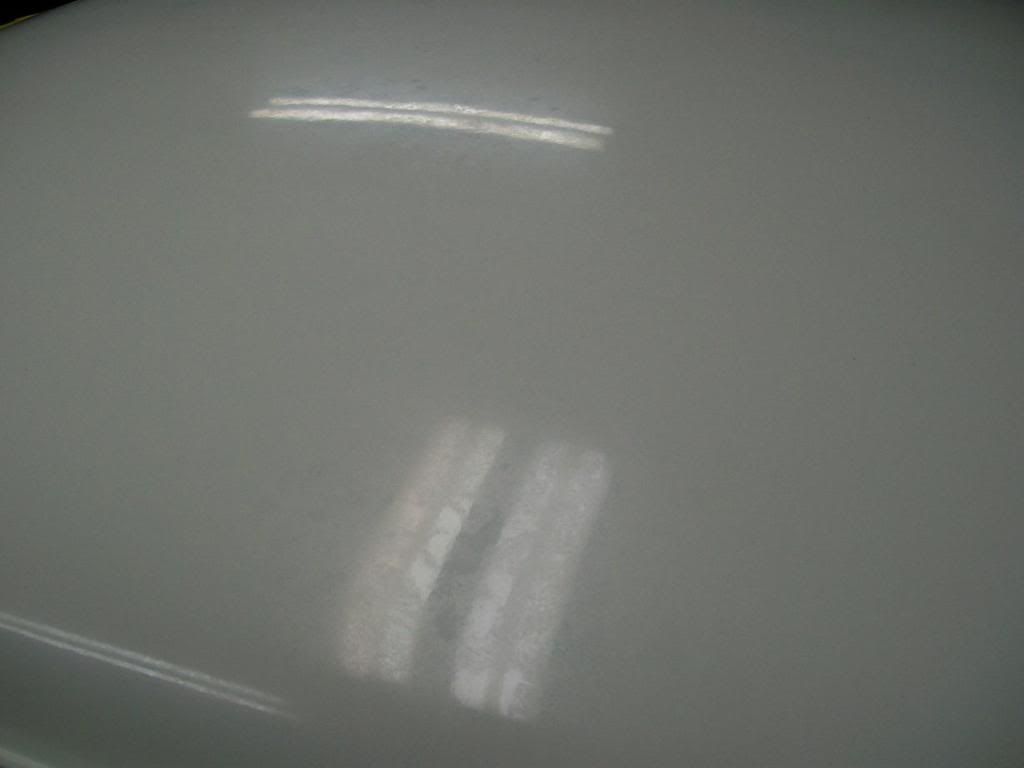
Here's a 50/50 after only using the 3M Super Dooker.
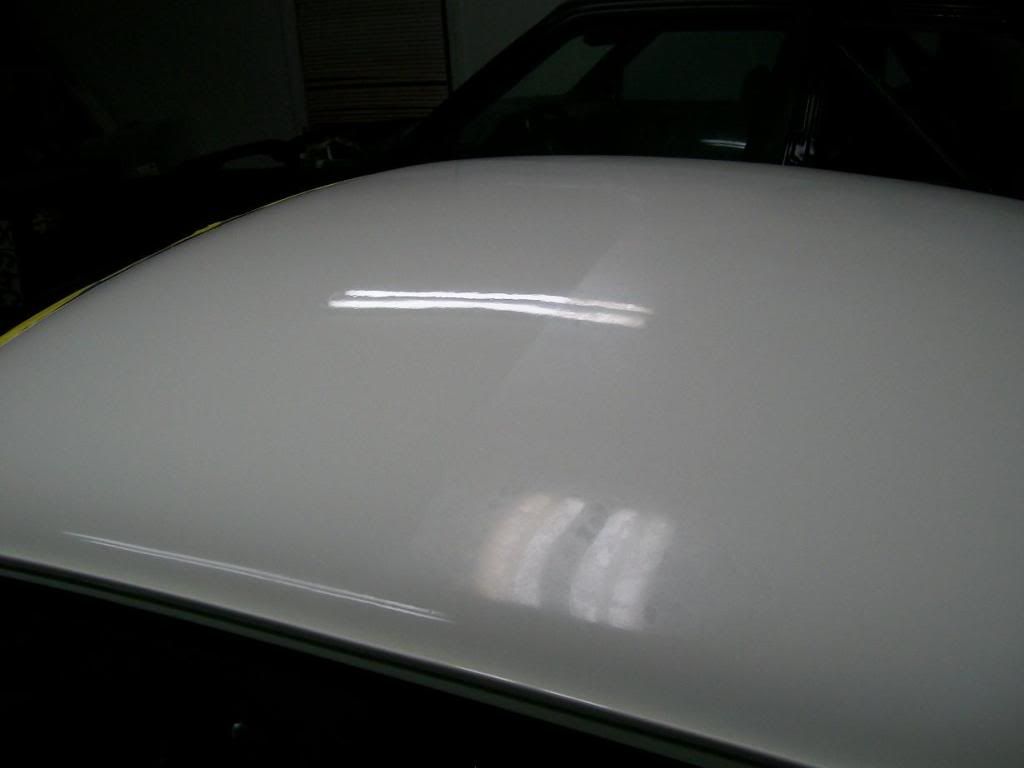
Roof 50/50 after M85
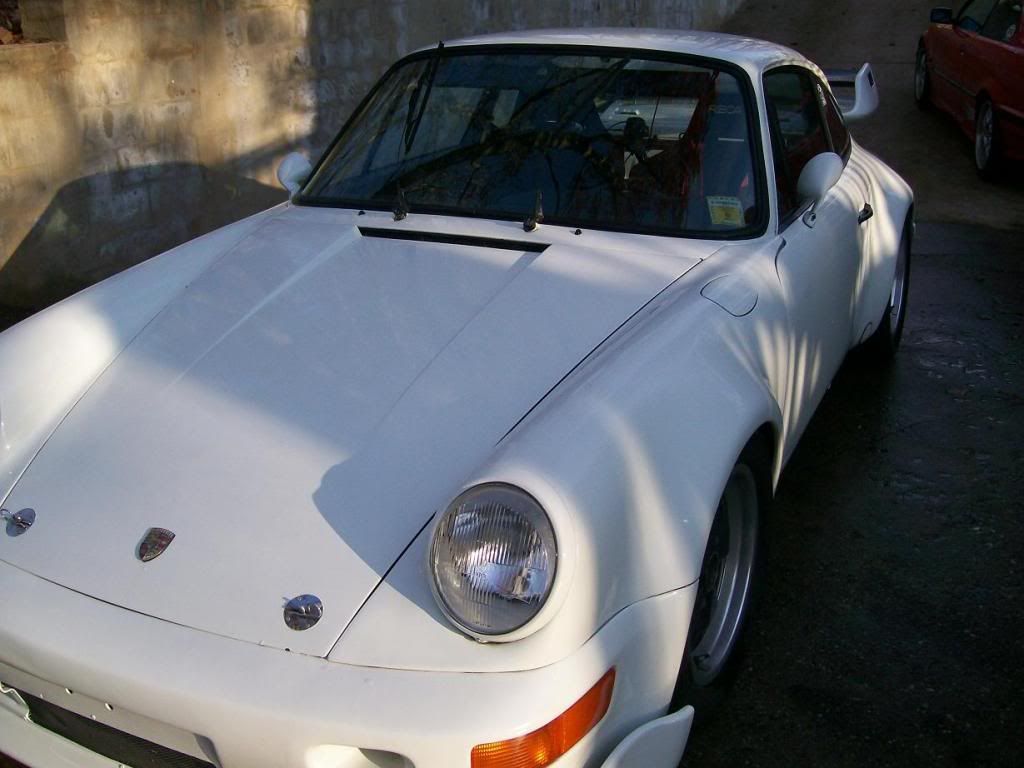
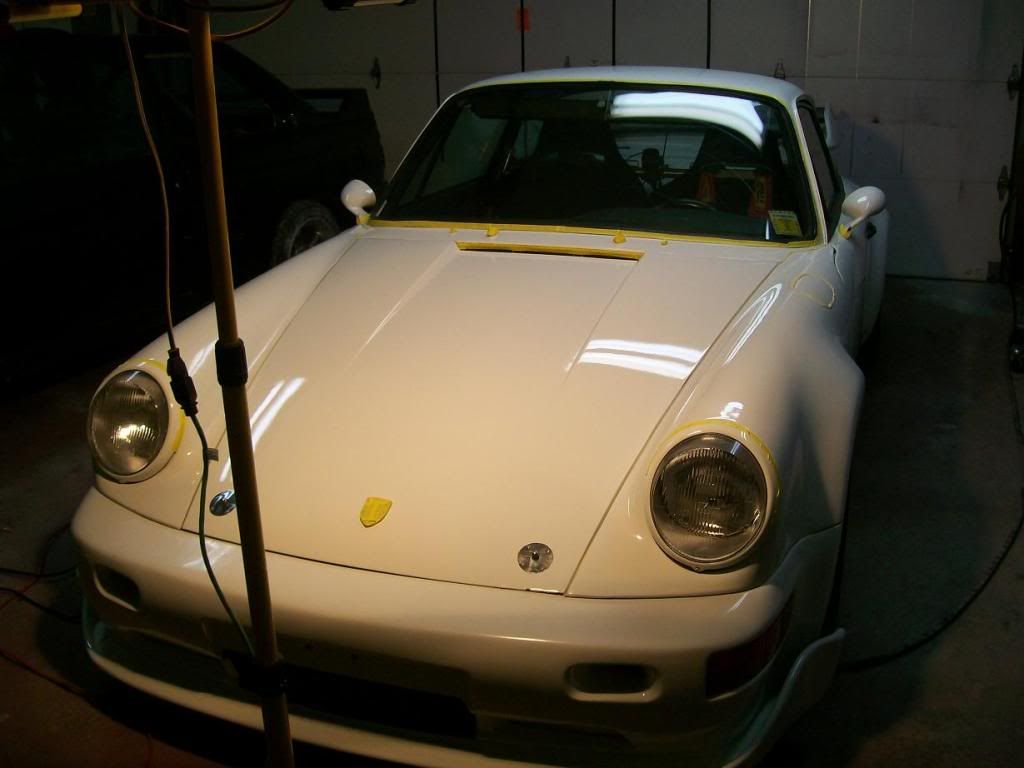
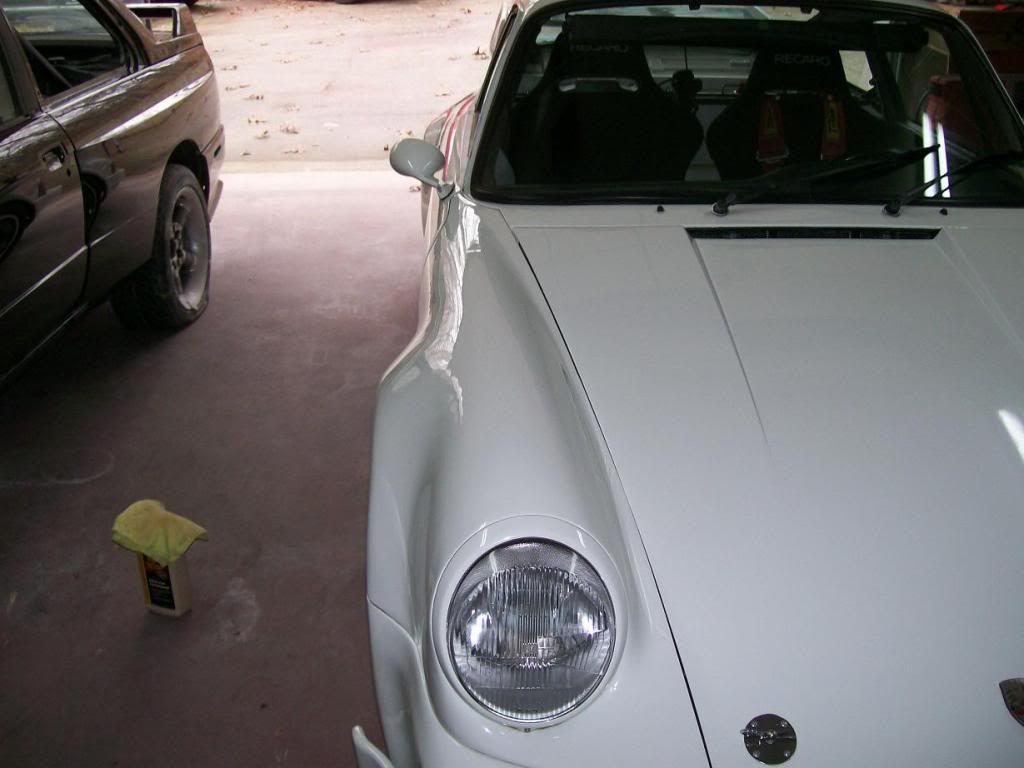
I was crunched for time, so I neglected pictures of the rear quarters and doors. It didn't help that it was raining out, so I didn't think the shots would be worthwhile, so I just took them in the garage. Also, If you were wondering about halogen shots, I found them useless on this car and wouldn't see the oxidation/haze on the paint with them on. Example...
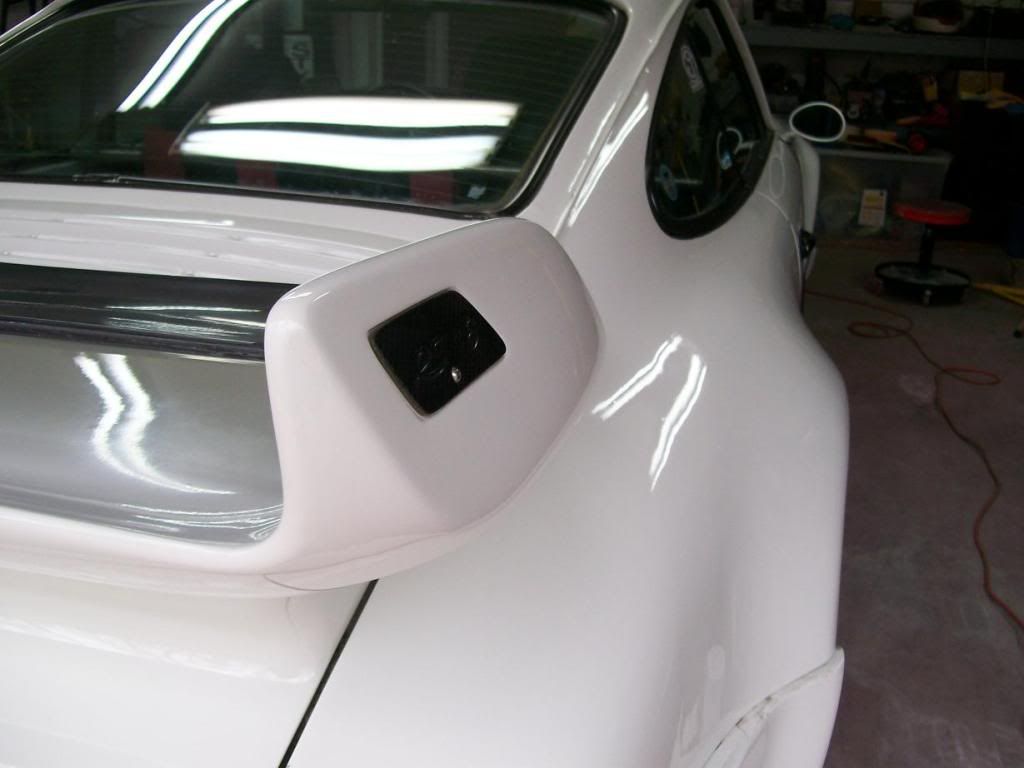
Sealed with Opti-seal
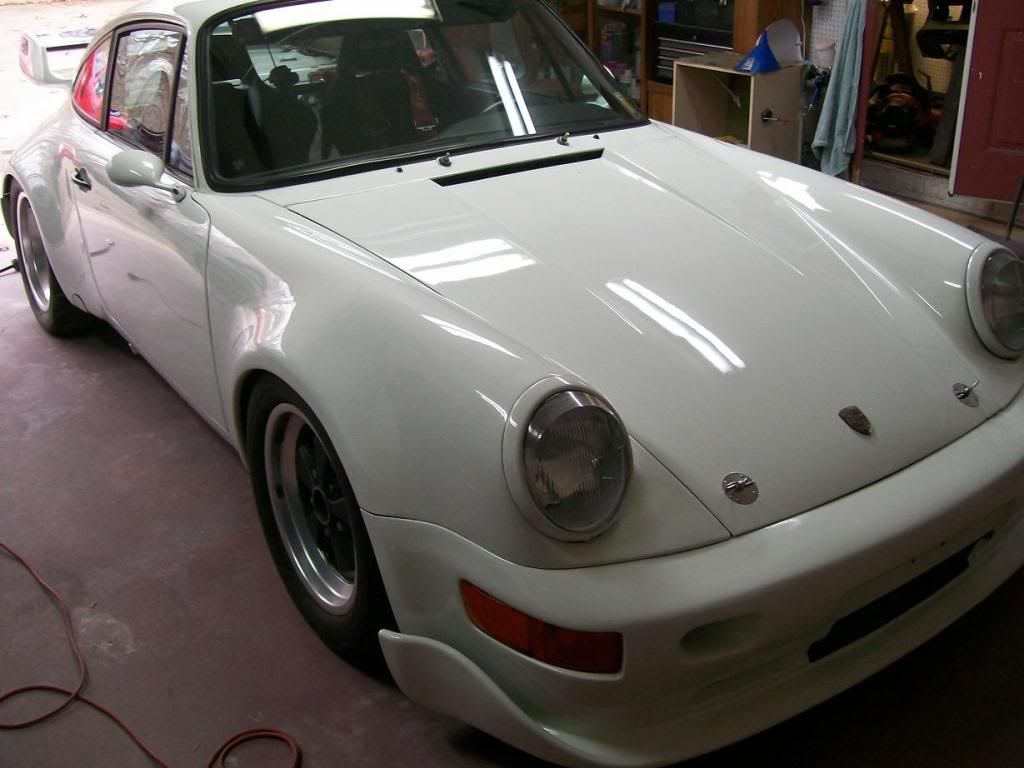
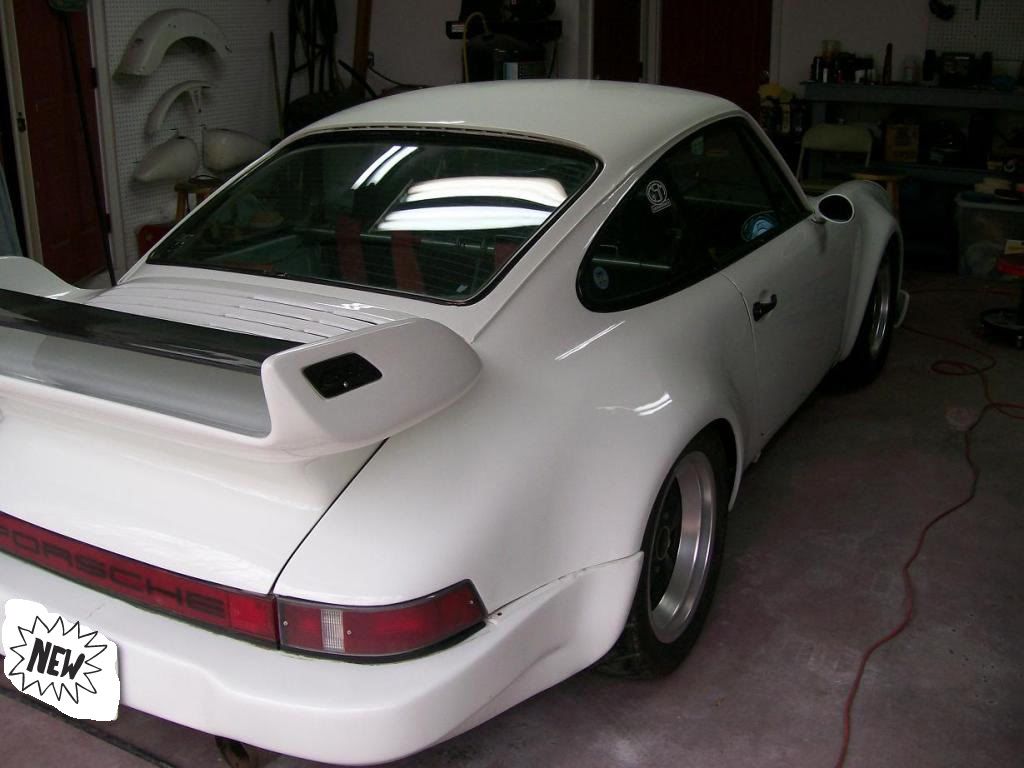
Hope you guys enjoy it and can give me some feedback on what that haze was. All I can say is it was some of the hardest crap to remove that I've come across. Anyways, don't burn me too bad on neglecting a full detail on everything, and I did skip a few patches like under the rear spoiler. My main purpose was to apply opti and see how it holds up in the elements through this winter and will prob. be spring before I give it another wash, but I'll make another post on how good/poor it does. Making a note, only 1 layer was applied and no top coat of wax. Total time, around 10 hours, half of that was experimenting. Thanks, hope you guys enjoy!
Before wash
After wash
Not too bad, right? Wrong... This is under my garage lighting..
I still have no idea what the haze was that covered the entire car. I would venture a guess to say oxidation with acid etching combination. You can see outlines of cat prints and leaves, almost as if I never washed it. My first trial was clay bar, which had NO effect at all. I tried various paint cleaners, IPA, grease/wax removers, NOTHING could even touch this crap. So began compound/pad via rotary trial and errors. M105 w/ Orange LC, did the job with the expense of 4-5 passes, not bad yet not very time/cost effective. M85 w/ Soft Buff 2.0 Burgundy did better will about 3-4 passes. So, I dug deeper and pulled out the harshest cutting compound I own, 3M Super Duty 05954 w/ Soft Buff 1.0 Red. Now, mind you, I would never use this on anything unless I was sure this was a last resort before full scale wet sanding or reflowing lacquer, hence why this was a full bottle
Needless to say, it did the job very well and managed little to no swirls. Because of the time crunch I chose to follow up with M85 w/ burgundy 2.0 to remove the micro marring. It's not easy to "finish" paint prep with that combo, but with good rotary skills on white/orange peeled paint it's possible and time effective using only 1 pass with each. Hood 50/50
Hood done
Hood/Fender done
Hood vs. Cowl/Fender
Cowl done
All better!
Roof :bawling:
Here's a 50/50 after only using the 3M Super Dooker.
Roof 50/50 after M85
I was crunched for time, so I neglected pictures of the rear quarters and doors. It didn't help that it was raining out, so I didn't think the shots would be worthwhile, so I just took them in the garage. Also, If you were wondering about halogen shots, I found them useless on this car and wouldn't see the oxidation/haze on the paint with them on. Example...
Sealed with Opti-seal
Hope you guys enjoy it and can give me some feedback on what that haze was. All I can say is it was some of the hardest crap to remove that I've come across. Anyways, don't burn me too bad on neglecting a full detail on everything, and I did skip a few patches like under the rear spoiler. My main purpose was to apply opti and see how it holds up in the elements through this winter and will prob. be spring before I give it another wash, but I'll make another post on how good/poor it does. Making a note, only 1 layer was applied and no top coat of wax. Total time, around 10 hours, half of that was experimenting. Thanks, hope you guys enjoy!