'60 Imala, Full Wet Sand and Buff: Rasky's Auto Detailing

Bobby G

New member
by David W. Bynon

<font size="1">Copyright©, 1999-2002, Autopia Car Care -- All Rights Reserved</font>


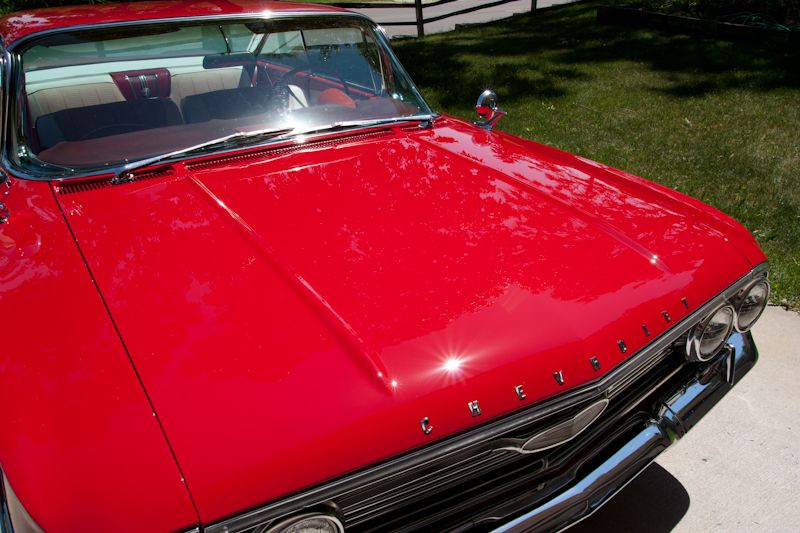
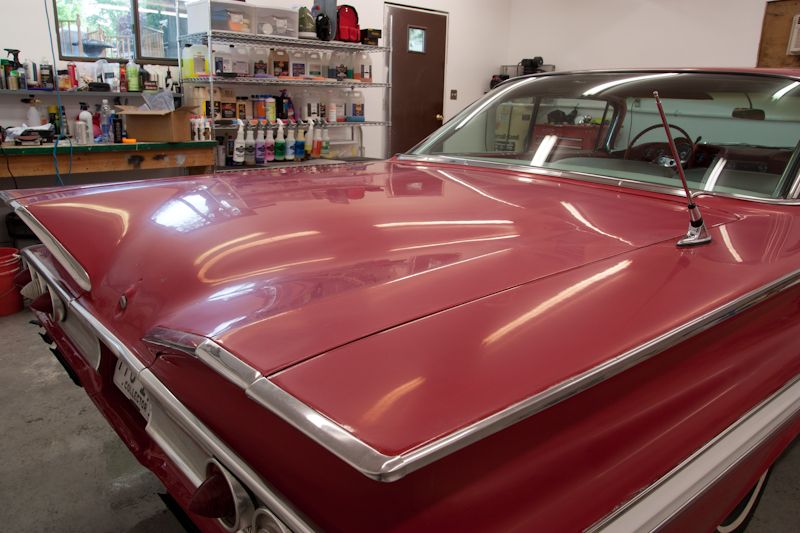
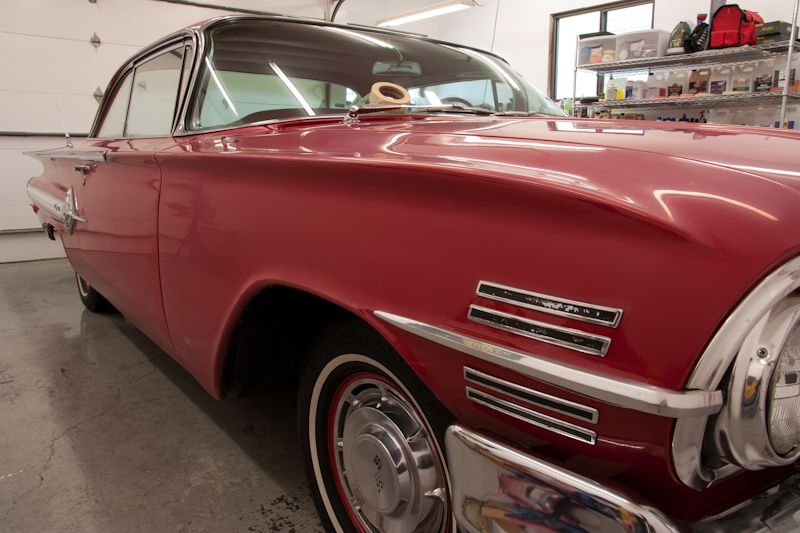
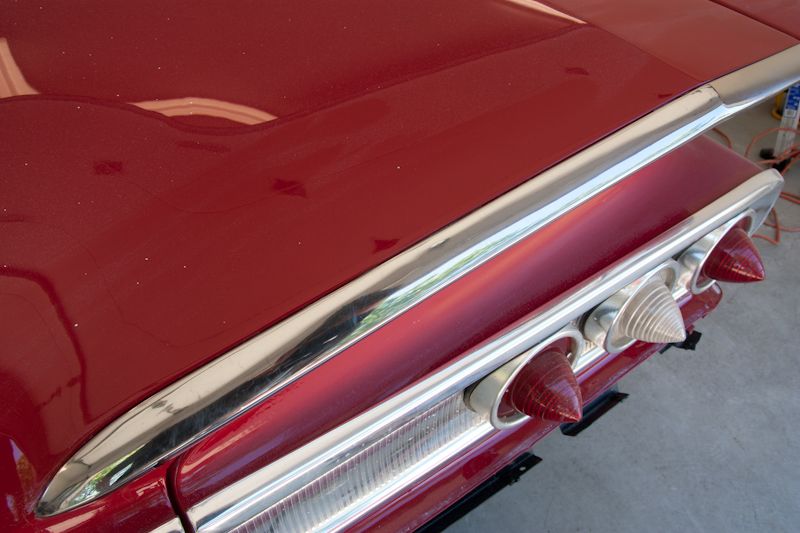
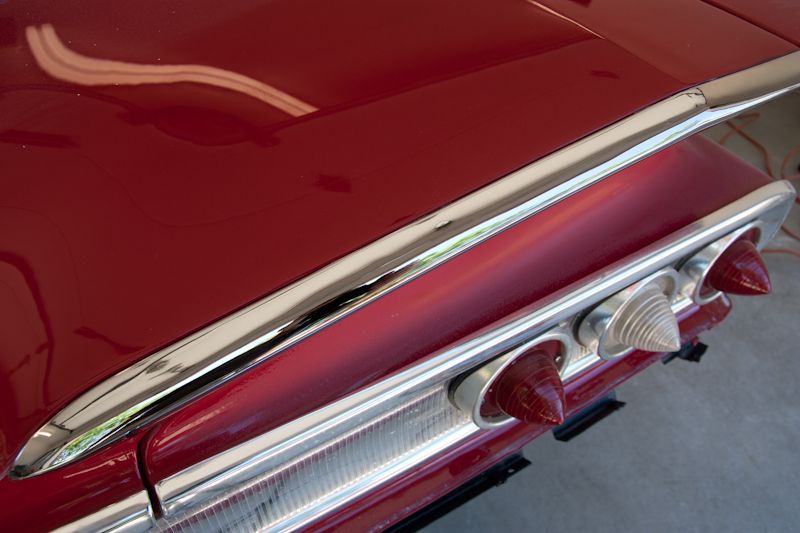
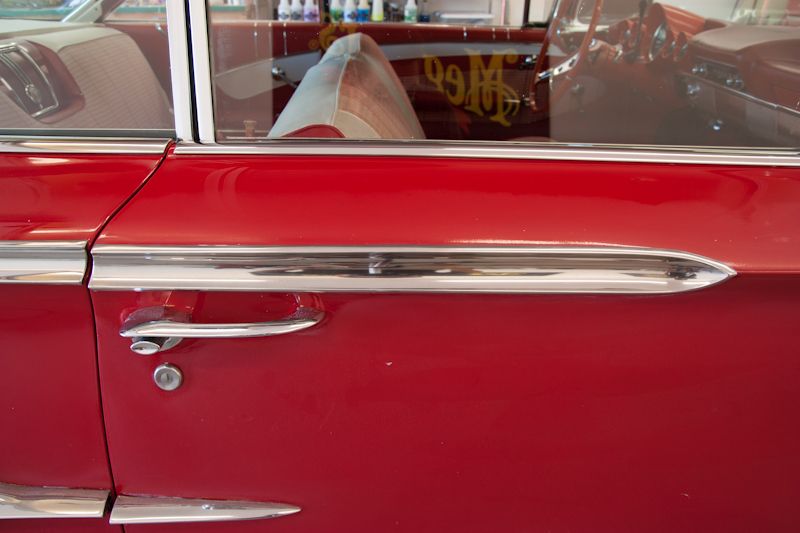
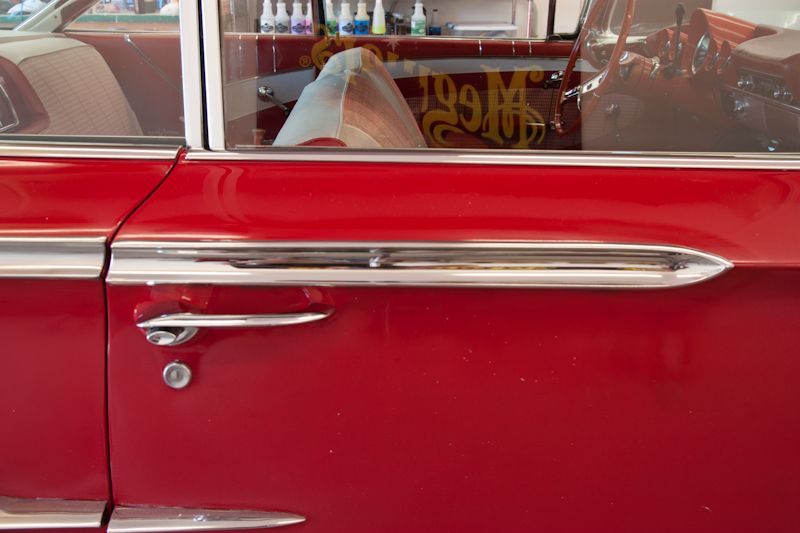
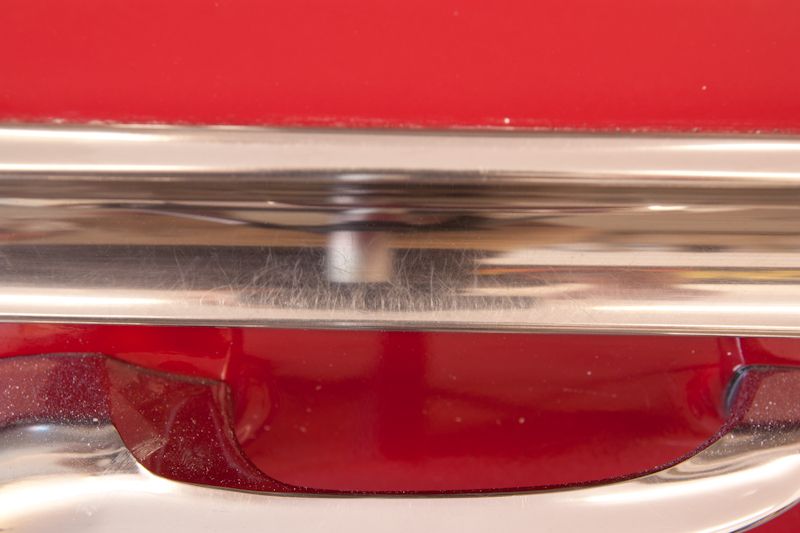
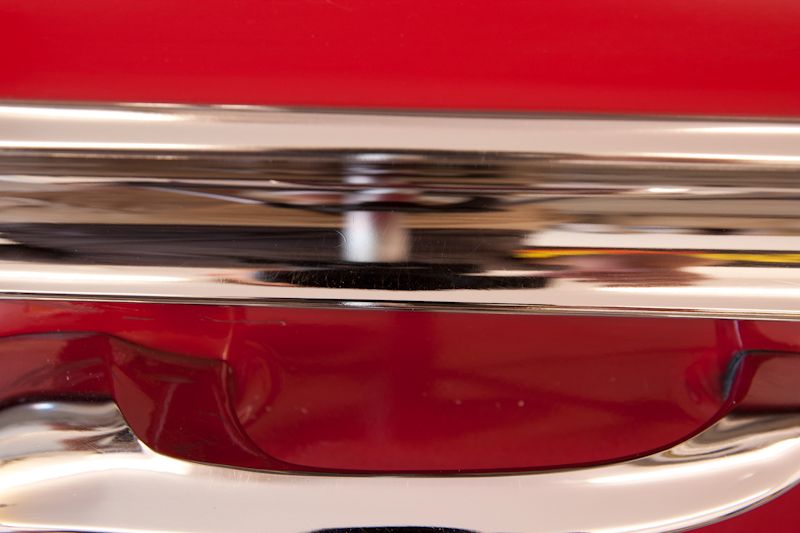
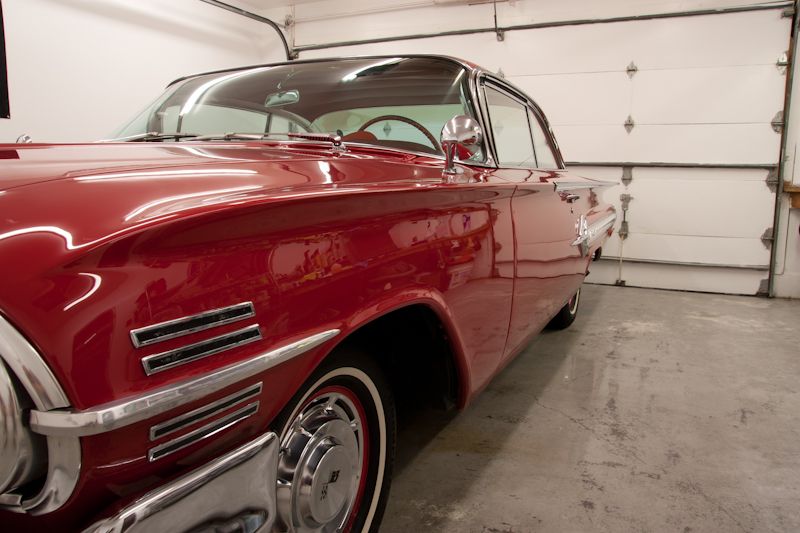
The contrast between your car's paint and the rubber, vinyl, plastic and chrome trim, are the details that set your car apart. For bright metal surfaces, I recommend Luster Care Polishes, Auto Wenol or P21S Multi-Surface Finish Restorer to add depth and brilliance. Luster Care is the best polish I have found for chrome, aluminum, and stainless steel.


Black body and trim moldings should be dark, crisp, and clean. If the moldings are in good condition, use 303 Aerospace Protectant or Meguiar's #40. Meguiar's #40 has cleaners to dissolve wax residues and grime. They both offer a nice finish. If the moldings are sun-faded, abused or neglected, use Forever Black to restore the trim's black color. 303 Aerospace Protectant and Meguiar's #40 are penetrating dressings. Forever Black is a permanent dye.


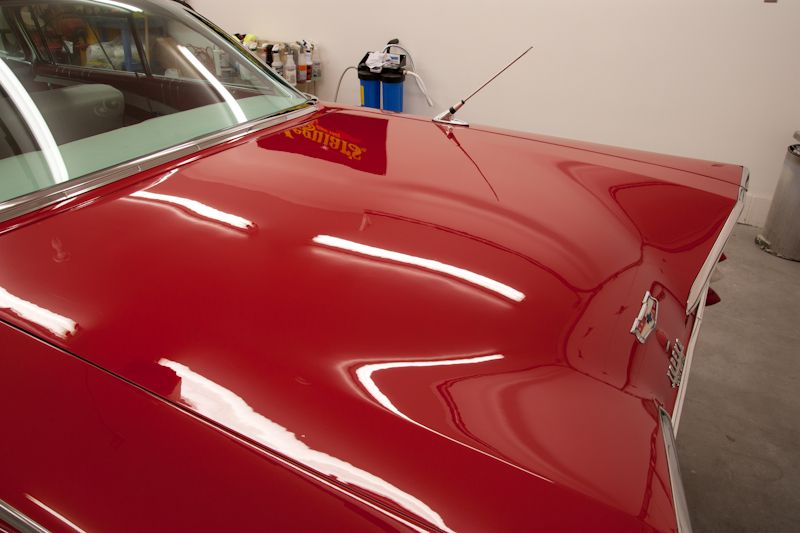
Next, to remove wax residues from emblems, logos, panel breaks and crevices, use a soft detail brush sprayed with Meguiar’s Final Inspection or Eimann Fabrik Clear Pearl.


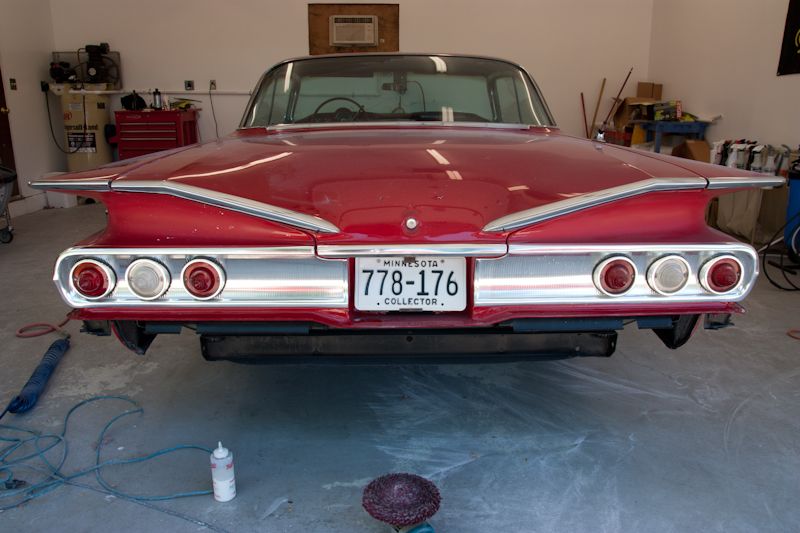
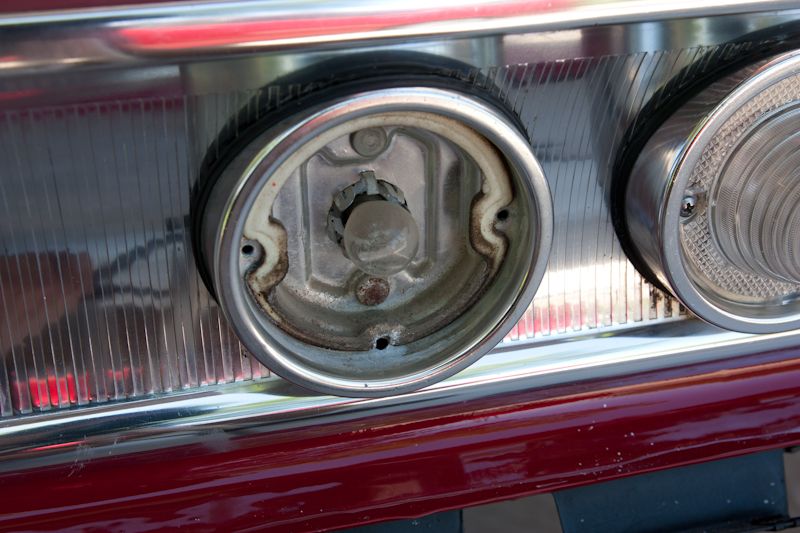
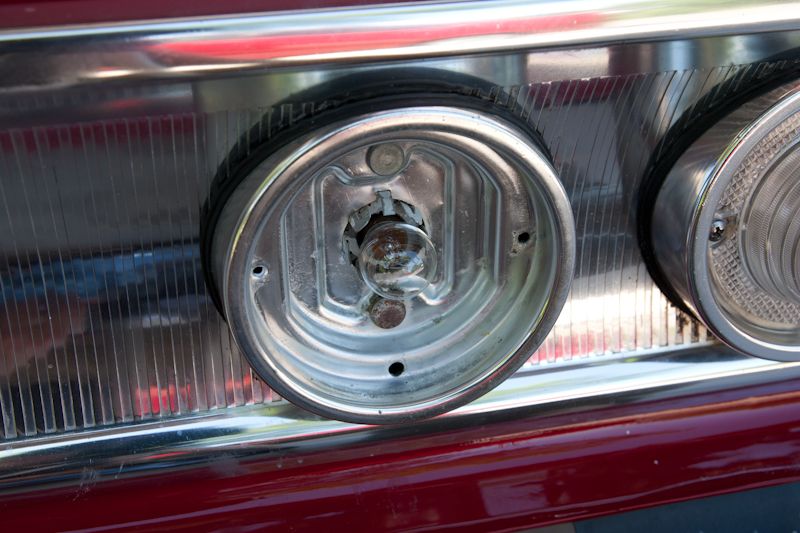
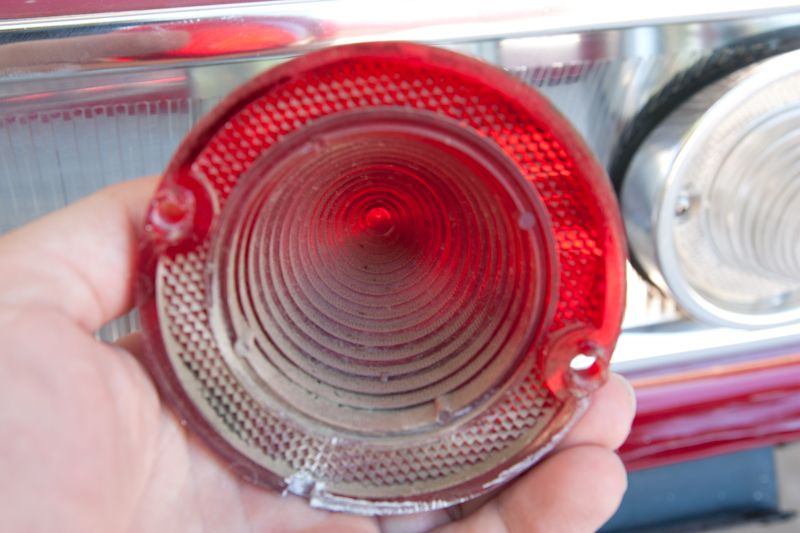
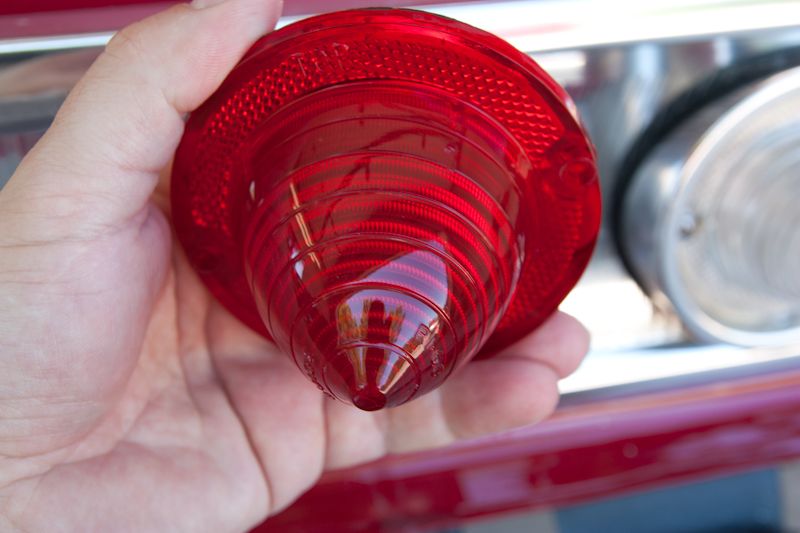
Finally, to give a quick sparkle to plastic tail light lenses and Plexiglas headlight covers, use a shot of Plexus. Plexus is a spray polish made for plastics. It works great as a protectant and polish on clear-coated wheels, too!
 
1960 Impala, Full Wet Sand and Buff.

So this is another car that my mentor recently picked up for resale at a local auction (yes it sold). The car appeared to have been repainted several years ago, but it was never actually wet sanded and buffed after the repaint. Overall the car was in very good shape, but the paint really needed to be leveled off to show it's true potential. While I really wanted to level the paint as smooth as glass, the initial paint readings told me there was not a lot of paint of the car and the owner and I agreed not to go too crazy with the sanding, but it was still a huge improvement!


So lets take a look at how the car came in...

Here it is at the owners facility, where I did my initial inspection and test sanding/buffing.

20110522-_MG_4813.jpg


Deck lid
20110522-_MG_4808.jpg


Zoomed in
20110522-_MG_4809.jpg


Top of the passenger door
20110522-_MG_4816.jpg


Side of passengers door
20110522-_MG_4817.jpg


Passenger fender
20110522-_MG_4818.jpg


Dust nibs still in the paint
20110522-_MG_4823.jpg


20110524-_MG_4824.jpg


Drivers side fender
20110524-_MG_4825.jpg


20110524-_MG_4827.jpg


Looking down the side....those fins made for some challenging sanding and buffing.
20110524-_MG_4828.jpg


20110524-_MG_4830.jpg


This one shows some swirls, RIDS, and nasty orange peel.
20110524-_MG_4836.jpg


The Sanding process was done by both hand and DA. Areas that were highly curved needed to be done by hand using Meguiars (Nikken) 1500/3000 grit sheets and a makeshift sanding block/pad. The flat panels were done using a combination on Mirka Soft 1000/2500 grit disks in both 3" and 6", followed by some Meguiar's 3000 grit disks.

I must also give Kevin over at BuffyDaddy a huge thumbs up for helping me find the right sanding media for this rock solid paint and for getting them out to me in such a timely matter! This was by far the hardest paint I've ever laid a buffer too. The Mirka Soft discs worked flawlessly and will be added to my wet sanding arsenal! Thanks again Kevin!!!
:notworthy:

Pics of the sanding in process
20110526-_MG_4843.jpg


Hand sanding curved areas
20110526-_MG_4846.jpg


20110526-_MG_4849.jpg


DA sanding
20110526-_MG_4851.jpg


Car all sanded ready to be buffed...notice that the 3000 grit almost leaves the paint with a slight gloss. ;)
20110530-_MG_4879.jpg


20110530-_MG_4880.jpg


20110530-_MG_4881.jpg


20110530-_MG_4882.jpg


20110530-_MG_4884.jpg


Doing some more test spots trying to figure out best combo for scratch removal.
20110601-_MG_4885.jpg


50/50 test spot
20110526-_MG_4857.jpg
 
This was on one of the late week nights, frustrated by how hard the paint was....Kevin asked how it was going so I thought I'd send him a pic showing how it was "really" going. :D
20110602-_MG_4891.jpg


The actual sanding scratch removal was done with the below process:
-M105 on the rotary with various wool pads (KB's method)
-M105 on the rotary with cyan LC foam pads
-M205 on the rotary with tangerine LC foam pads
-PO85RD on the rotary with black LC foam pads

LSP was Blackfire Wet-Diamond


The next day I decided to take a break from the paint and focus on the stainless trim and a few other items, which M105 actually polished up very nicely.

Before
20110604-_MG_4894.jpg


After
20110604-_MG_4896.jpg


Before
20110604-_MG_4903.jpg


After
20110604-_MG_4906.jpg


Change can be seen better in these ones

Before
20110604-_MG_4904.jpg


After
20110604-_MG_4905.jpg


While polishing the rear trim piece I also took off the tail light covers to better polish them. Plus they were a little dirty inside so I gave them a quick cleaning. This was actually a 50/50 shot of the rear trim and taillights...hard to see difference in the pic
20110604-_MG_4893.jpg


Dirty housing
20110604-_MG_4897.jpg


Quick cleaning
20110604-_MG_4899.jpg


Tail lights
20110604-_MG_4898.jpg


20110604-_MG_4900.jpg


20110604-_MG_4901.jpg


Both sides done
20110604-_MG_4902.jpg


Another 50/50 shot
20110605-_MG_4909.jpg
 
This was as I finally finished at 1:00a.m. during a week night. I normally don't take cars on during the week as I have a full time job, but the car had to get done as it was going to the auction the next day.
20110607-_MG_4912.jpg


20110607-_MG_4913.jpg


20110607-_MG_4914.jpg


20110607-_MG_4915.jpg


20110607-_MG_4916.jpg


20110607-_MG_4917.jpg


20110607-_MG_4918.jpg


20110607-_MG_4919.jpg


Next day when the owner picked it up.....yea sun! :)
20110608-_MG_4920.jpg


20110608-_MG_4921.jpg


20110608-_MG_4922.jpg


20110608-_MG_4925.jpg


20110608-_MG_4926.jpg


20110608-_MG_4927.jpg


20110608-_MG_4929.jpg


20110608-_MG_4930.jpg


I didn't do anything with the motor or trunk but thought I add pics of them as well
20110608-_MG_4933.jpg


20110608-_MG_4934.jpg


As always, thank you for taking the time to view my work! :)

Rasky
 
Thats a monster of a car !
Huge trunk! :D

I hope the car has a good new owner who will take care of her!

Gorgeous work Rasky!!

Thanks DC! :)

Nice save Rasky

Smart mouth comments removed by Mod 3.

Do you require another timeout?

Thanks Flash! I actually thought the video was pretty funny. I may have to share that one with Kevin. :)


A lot of labor............
Well finished!!!!!!
:wizard:


Thank you!
 
Tremendous work Chad. That's an incredible save. :clap: Maybe I missed it, but how long did this one take?
 
No, thank you Chad....for having a sense of humor. I'm quite sure Kevin a.k.a. (Buff Daddy) would've found it funny as well :-B

Flash, you know that you are on a short leash do to your history of personal attacks, so basically anything you post is scrutinized to a high level. Some may not think this is fair, but the mods here dont think its fair to have to babysit you either.
 
Chad what a effort!!!!!!!!!!!!!!!!!!!!!!!!!!!!!!!!!!!!!!!!!!!!!!!!!!!!!! I have had jobs like this in the past so I can relate, the areas where the fin starts are incredibly hard to work on.


"Brillidge certified"


Did not know I should call KBM.............."Buffdaddy" oh s**t that is funny. <:-P
 
Incredible work Rasky, that had to have been a lot of real estate to work on. I'm still not 100% comfortable with a full wet sand/buff, but your write-ups help a lot. Thanks!

-Kody-
 
Chad,
Awesome work on a monster car. I can't imagine how tedious it is to wet sand a car that big with all those curves.
My hats' off to you my friend!!:rockon:
 
Back
Top