LawrenceSA
New member
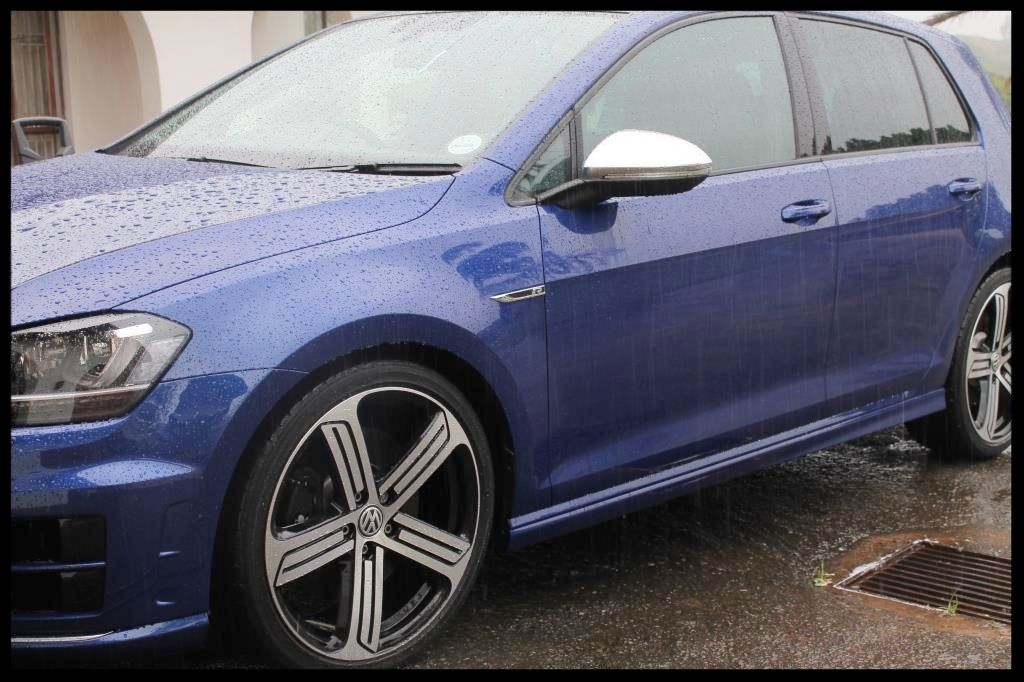
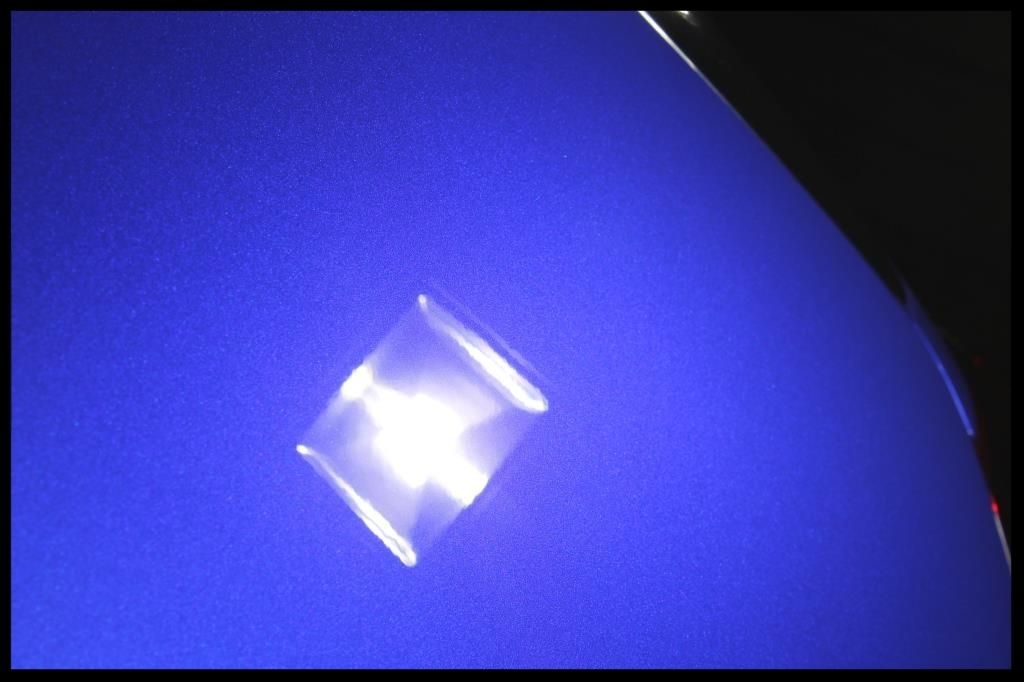
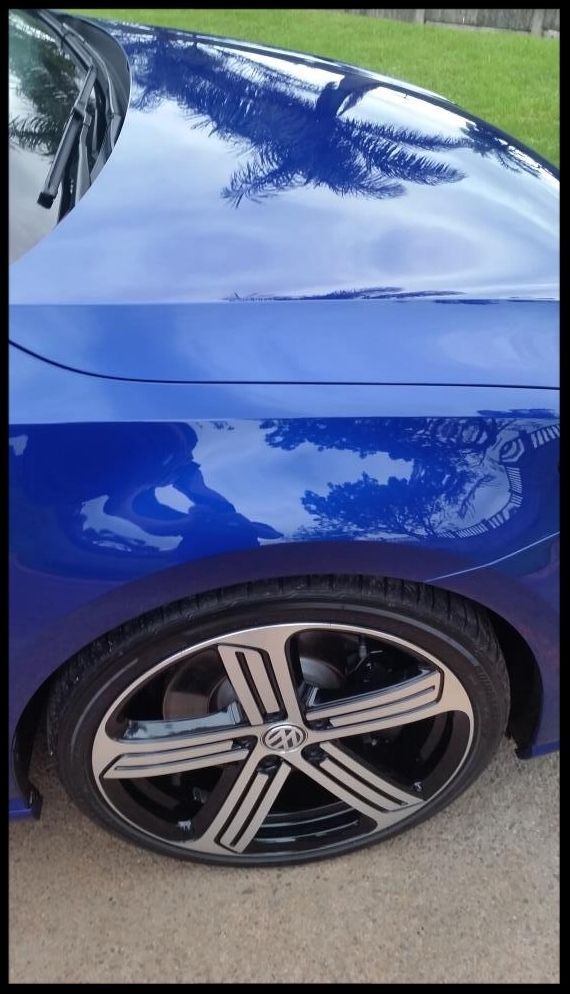
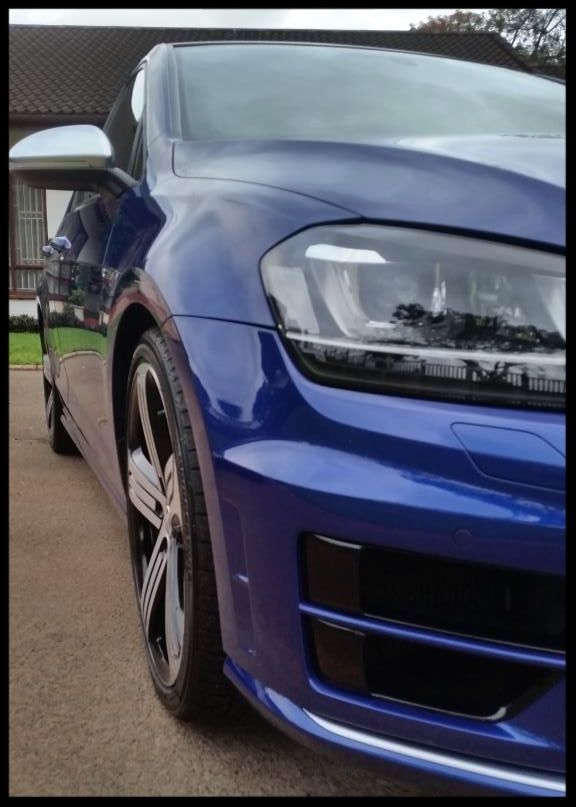
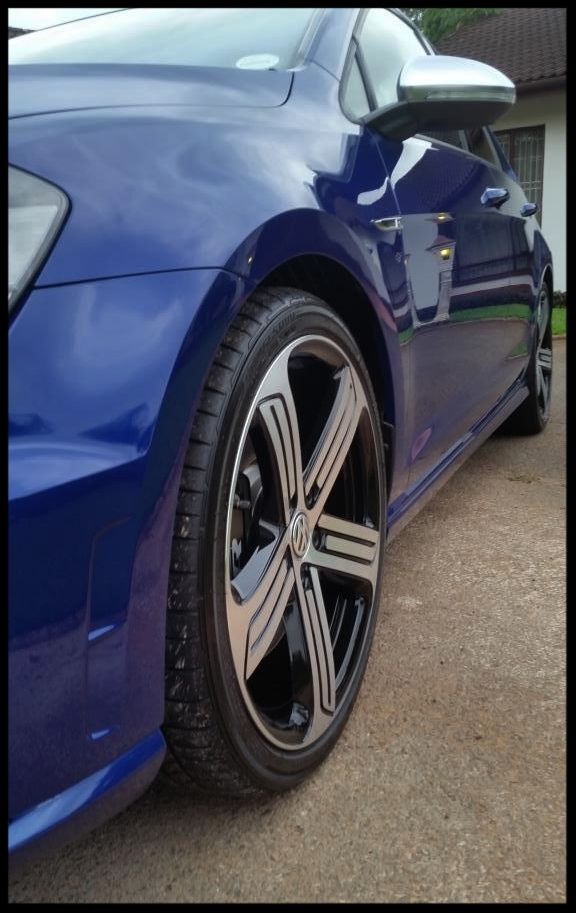
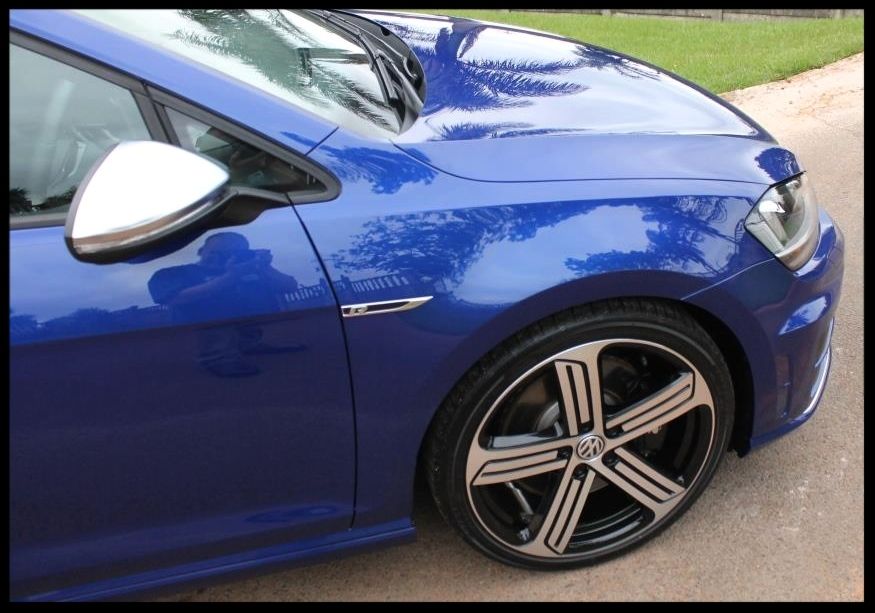
This is a pic from another Lapiz Blue 7R I did a couple of weeks ago.
Its very similar in age and mileage to this car but look at how fewer swirls are on this car.
You can see this car is better cared for, which is always a great thing and invariably means less clear coat needs to be removed over the life of the vehicle, leaving it better protected and imo of higher value. It obviously also means it looks better between details which need to be done less often. Prevention really is better then cure :roll:
Anyway... on to the detail
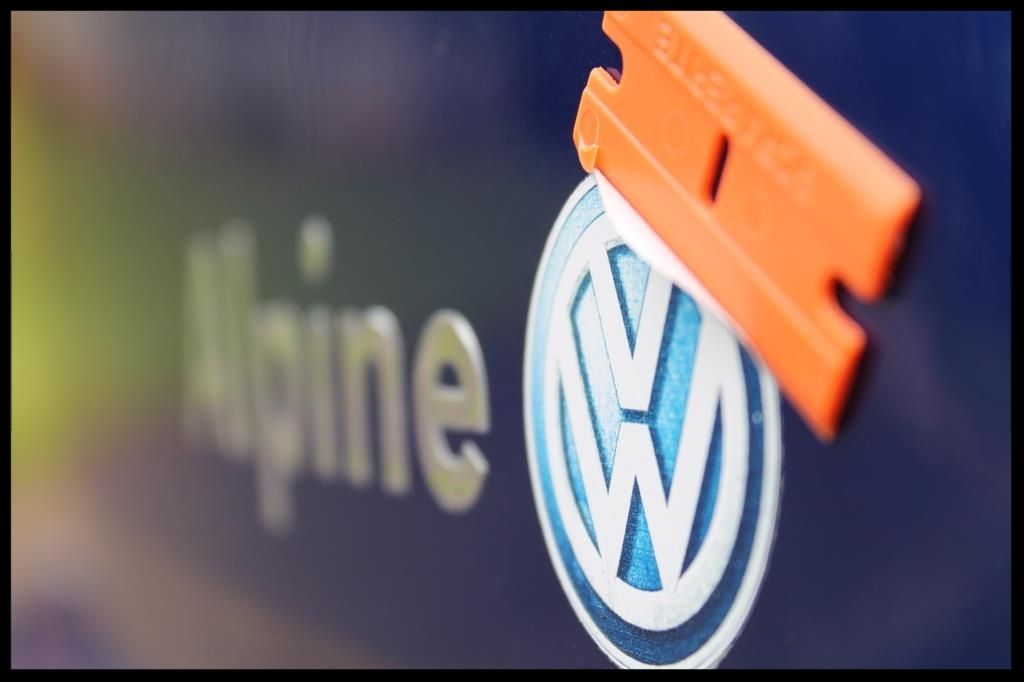
First up I removed the dealer sticker. I sprayed some ONR over the area, let it dwell for a bit, then wiped it clean with a MF towel. I then warmed up the area with a hairdryer and used a plastic razor blade to gently lift a corner of the sticker.

And peeled it off leaving behind the glue residue
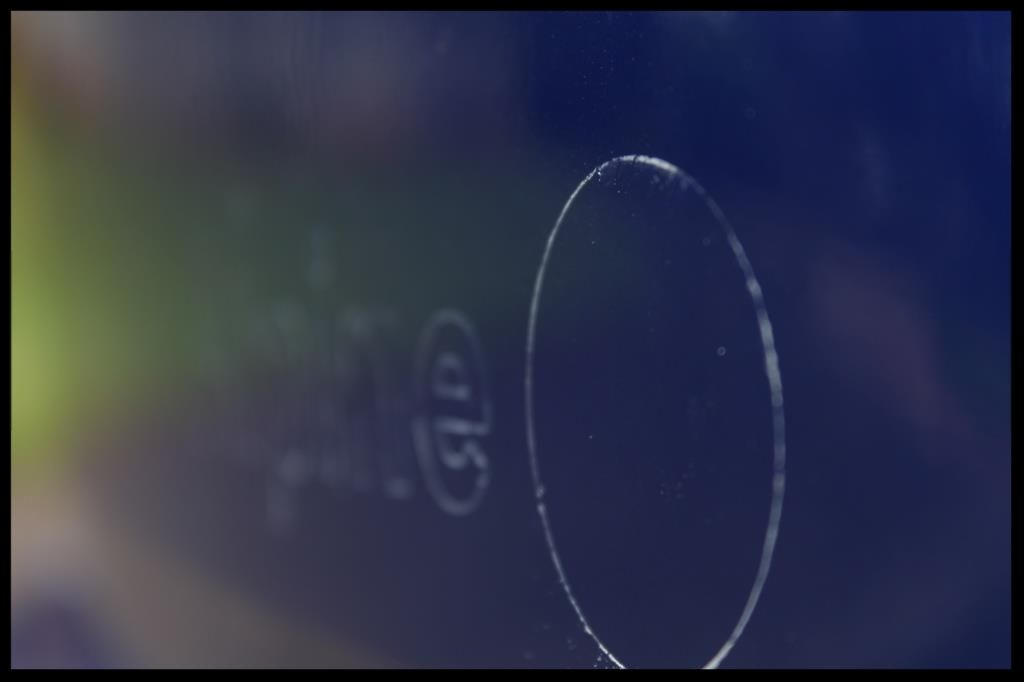
I then sprayed some Valet Pro Citrus Tar Remover onto some cotton discs and placed those against the paint - this allows a longer dwell time, making it much easier to wipe away the residue, reducing the chance of scratches.

And done

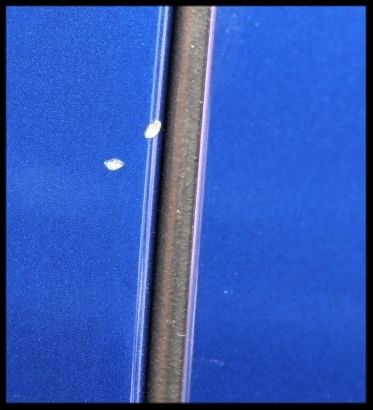
As you can see from the first pic, the paint was in pretty good condition considering its approaching 2 years - there was however a set of 2 small chips right near the edge of the one door, which I would touch up with the OEM Touch Up paint supplied by the owner.
So onto the actual detail...
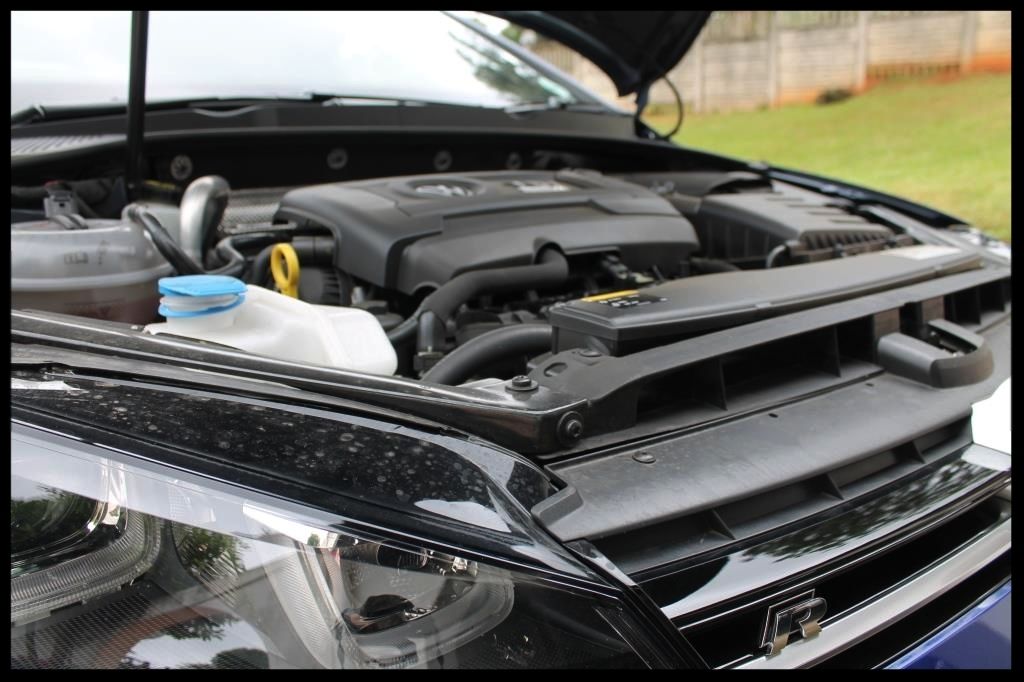
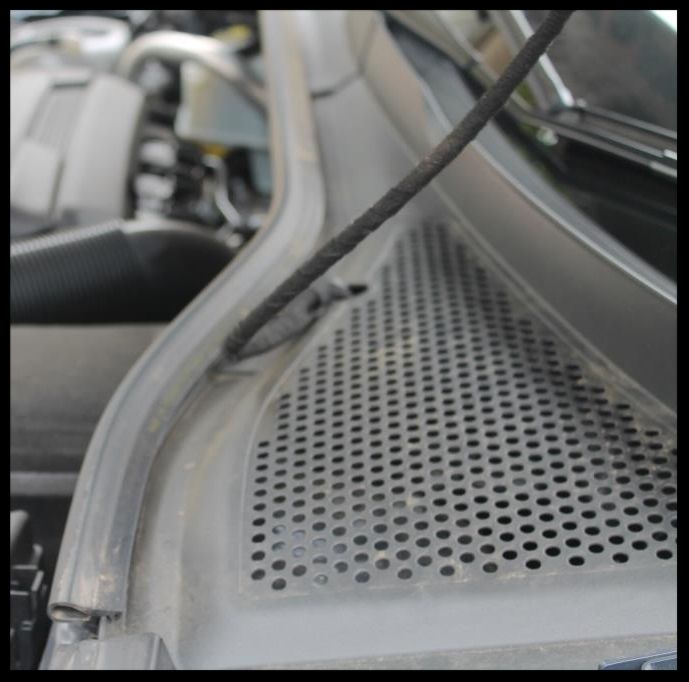
The engine bay wasn't bad and was given a clean using various brushes and mf towels and Carchem APC at 1:5. It was blown dry, the plastics dressed with Autofinesse Dressel and the painted surfaces cleaned/polished/protected using Autofinesse Tripple on a mf applicator pad by hand.

No after pics
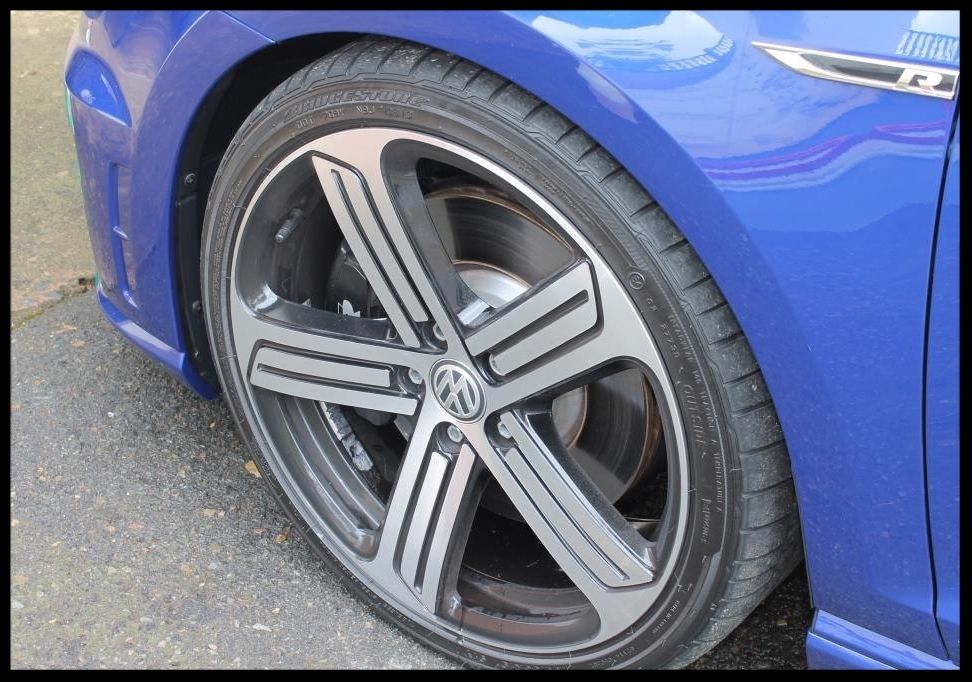
I then turned my attention to the wheels, tires, fender wells and brake calipers.
-HP rinse arches, tires and wheels.
-Clean arches with a Carchem APC at 1:5 using a Mothers Fenderwell Brush and Speedmaster
-HP rinse
-Clean tires with Valet Pro Billbery Wheel Cleaner @ 1:6 and a Mothers Tire brush.
-HP rinse
-Repeat tire cleaning
-HP rinse
-Wash wheels and brake calipers with VP Bilberry Wheel Cleaner @ 1:6, Speedmaster and Speedmaster Jnr brushes and Valet Pro Boars Hair Brushes
-HP rinse
-Dry
-Remove tar using Autoglym Intensive Tar Remover and at the same time I removed the old wheel weight stickers
-Spray with APC and HP Rinse
-Dry
-Remove bonded and embedded ferrous contaminants on wheels and brake calipers with Carchem Revolt, Speedmaster (big and small) brushes and Valet Pro Boars Hair Brushes
-HP Rinse + flood rinse
Then the rain came and so later the process continued on the wheels....
-Dry
-Polished with Menzerna 3-in-1 on a Mothers Power Cone
-Sealed with Menzerna Powerlock
-Tires dressed with 2 coats of Optimum Tire Sheen
I actually quite enjoy washing in the rain, and the inevitable cup of hot coffee that follows once the car is back in the garage :grin:
Despite the rain having started to fall I still gave the car a decent hp rinse, foamed it using Valet Pro ANSF and let the rain carry the foam and dirt away. Then I foamed half the car, like this
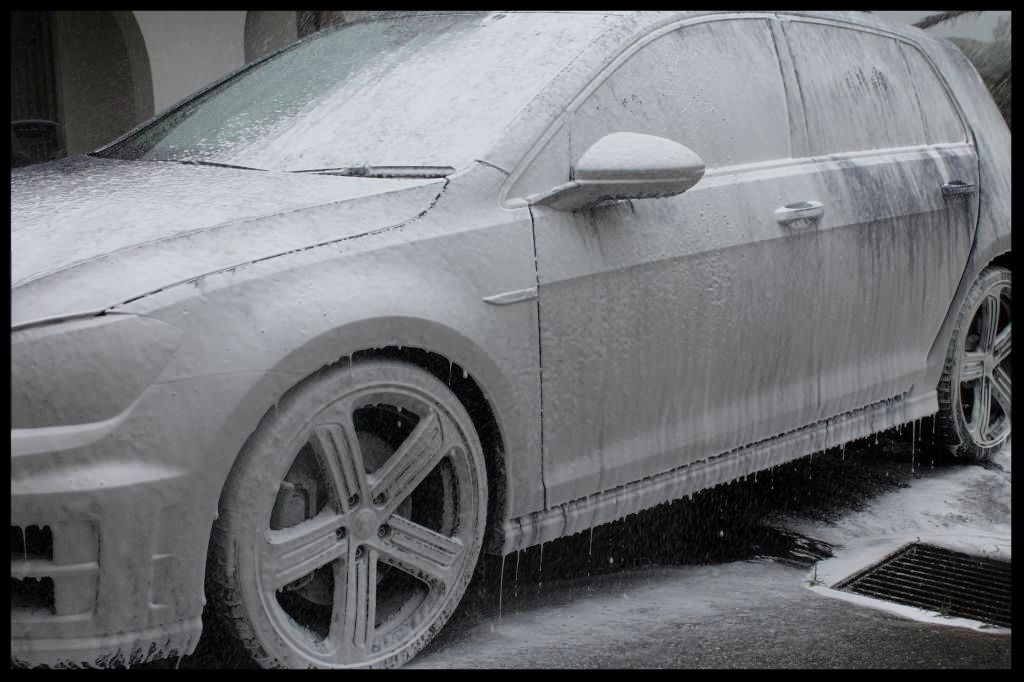
And washed it, top down, with a couple of lambswool wash mitts and Carchem Luxury Shampoo, then repeated on the other side...
I then bought the car into the garage and drank that cup of coffee :lol:
It was then clayed using Shield Heavy Duty Clay.
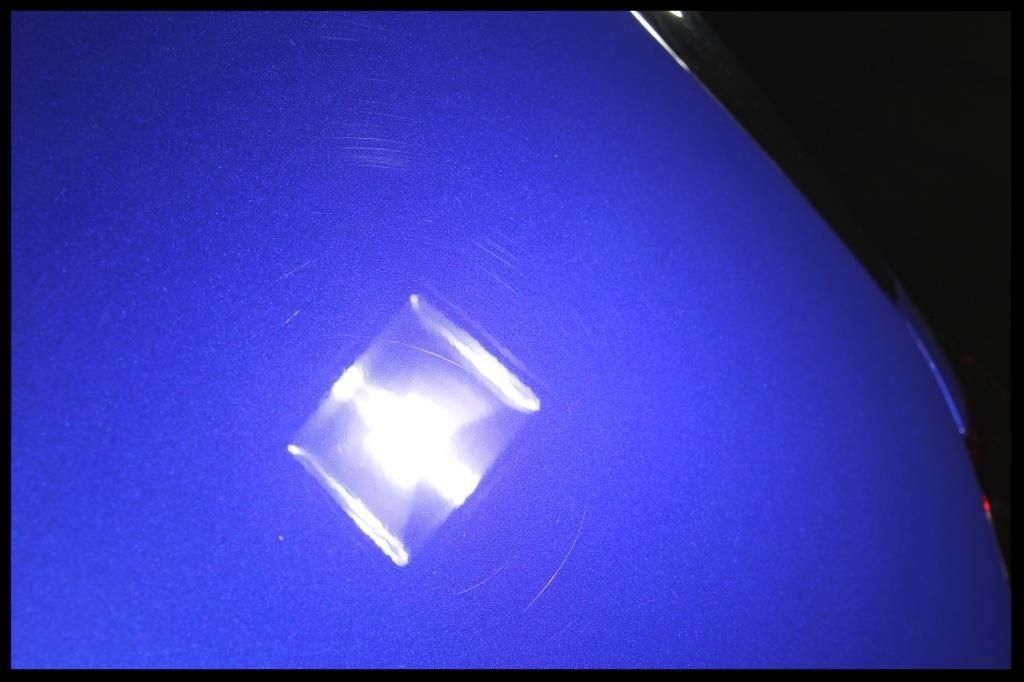
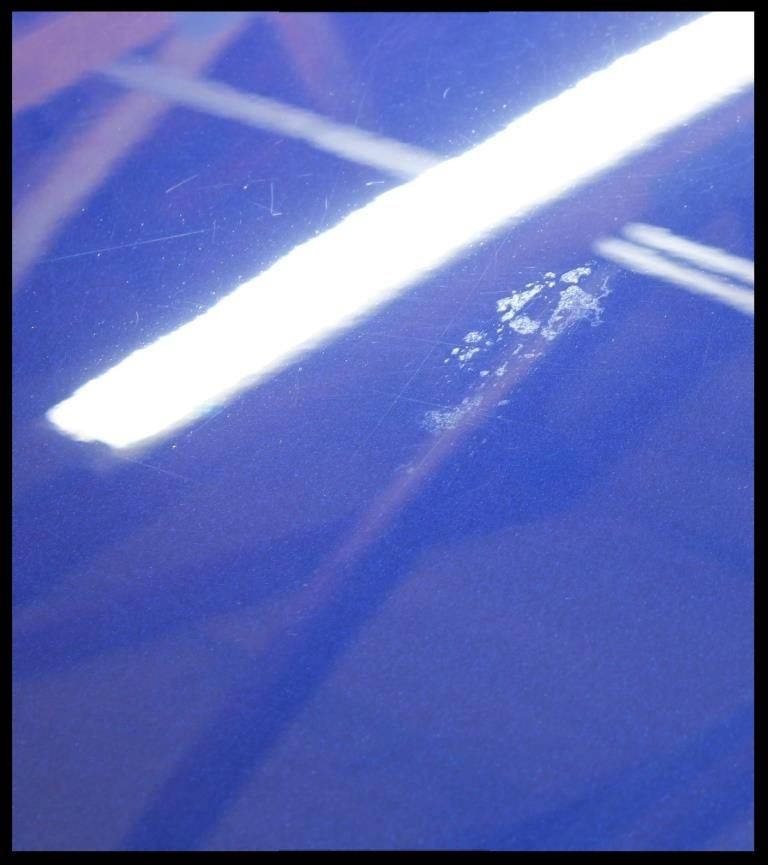
The bonnet had a nasty bird dropping etching, and you can also see a few scratches...
 [/url]
Fortunately it came out relatively easily - Menzerna FG400 / Orange Lake Country Hybrid / Flex 3401
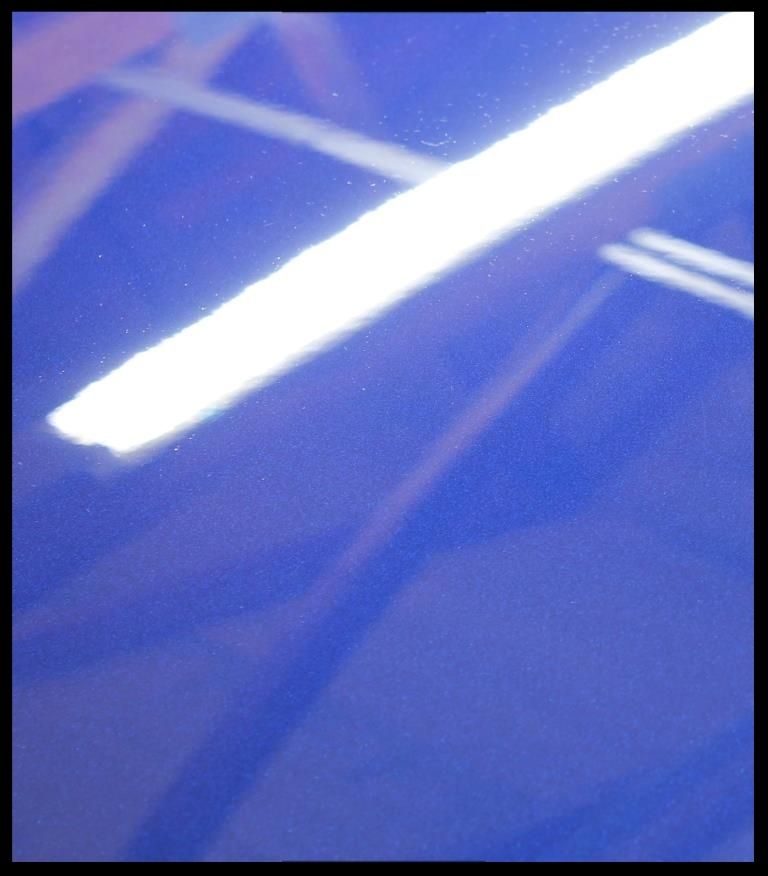
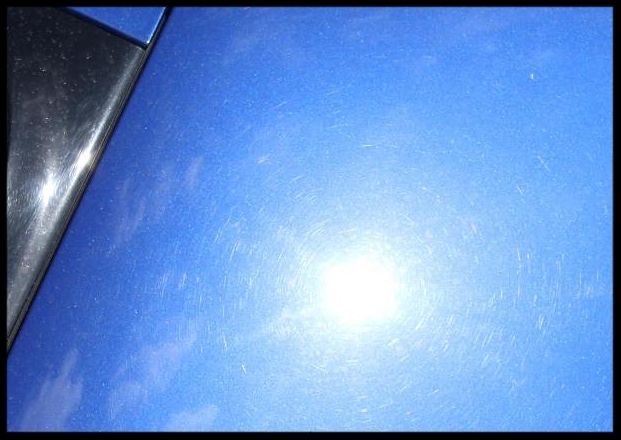
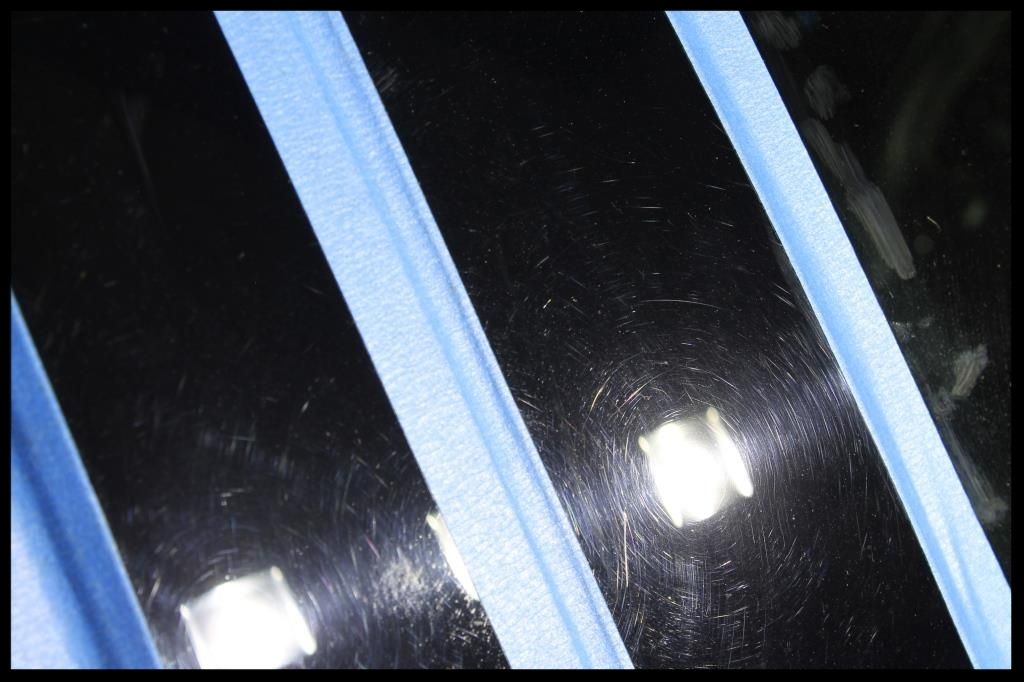
The rest of the paint looked pretty much like this
And was corrected using Menzerna PF2300 / White Lake Country Hybrid / Flex 3401 followed by Menzerna SF4000 / Black Lake Country Hybrid
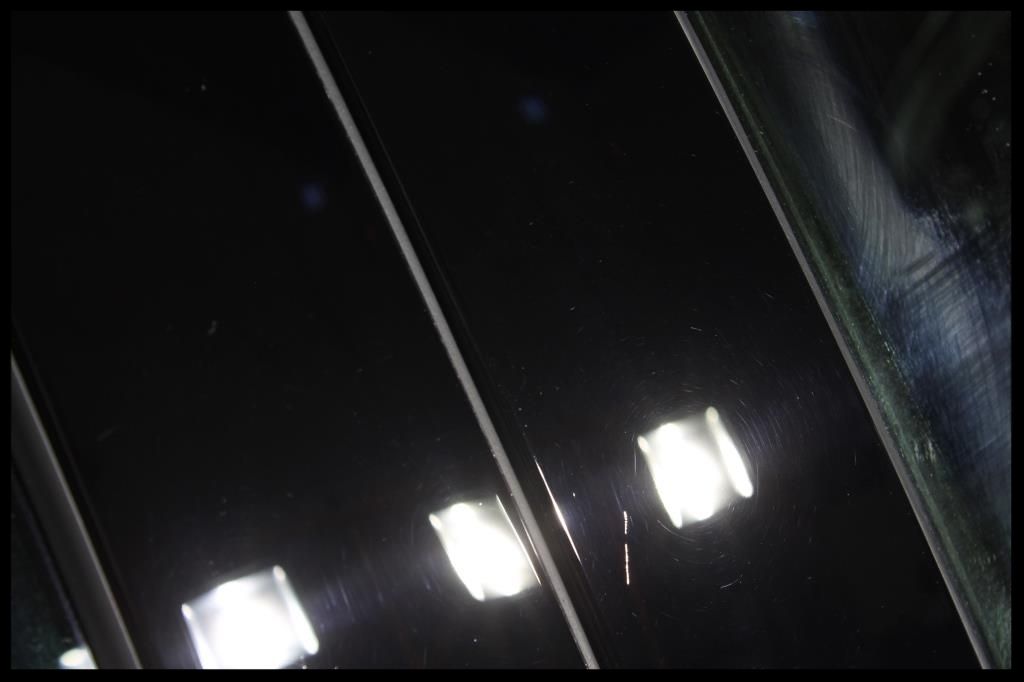
The B-pillars, which always take a hammering, were corrected using Menzerna PF2300 / White Lake Country Hybrid / Flex 3401, with the intention of only improving them, not perfecting them - no use in over-doing them now and suffering later.
I then used 2 coats of Chemical Guys Pete's 53 for the LSP.
I was asked by the owner to polish this.... here is a 50/50 after the initial first cut using Menzerna Polishing Cream / 4" Orange Lake Country CCS Pad / Shield DA
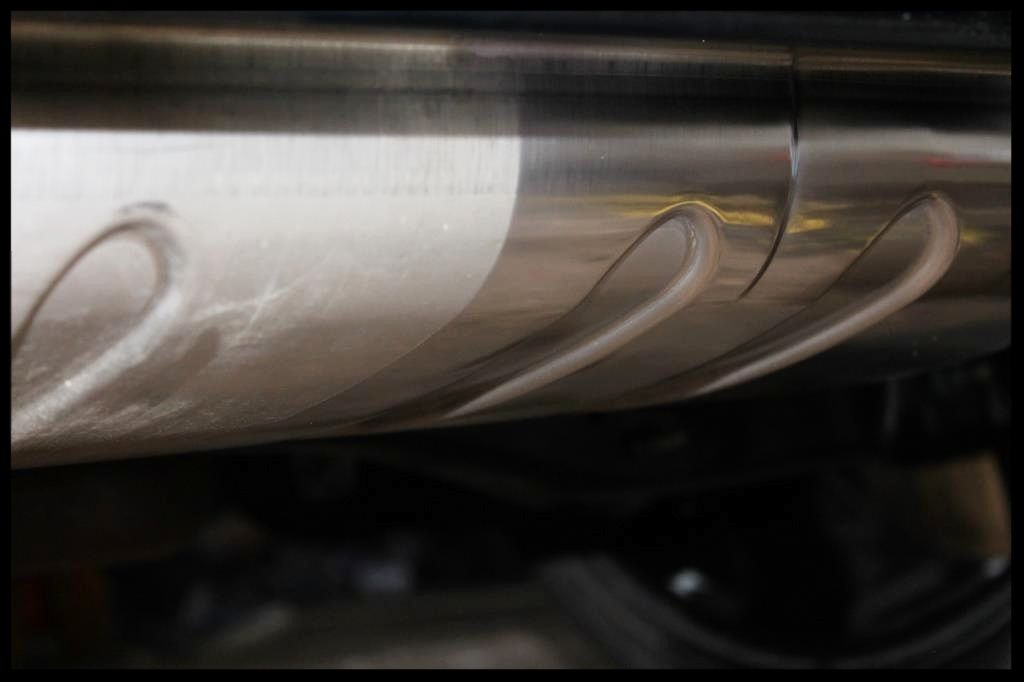
Once that initial cut had been completed, it was followed by Mothers Power Metal / 4" White Lake Country CCS Pad / Shield DA. The exhaust tips themselves were then polished using the same process, just by hand instead of by machine.
Then it was time to tackle the rest of the detail. This included:
Interior
-Blow out loose dirt with blower
-Vacuum
-Leather cleaned and protected with Collinite 855
-Plastics and dash cleaned with Carchem APC then given a final wipe using Autofinesse Spritz
-Vacuum
Glass
- Clayed using Shield Heavy Duty clay with ONR as lube
- Cleaned using Autoglym Fast Glass
Door rubbers, window rubbers, exterior plastic trim
- Cleaned using Shield Heavy Duty Vinyl and Rubber Cleaner
- Protected using Aerospace 303
The miserable weather continued and so the owner opted to collect the car on a dry day, which happened to be Thursday evening. Just prior to collection the car was given a rinseless wash to remove any dust that had collected. This was done using chinchilla mf towels with ONRWW
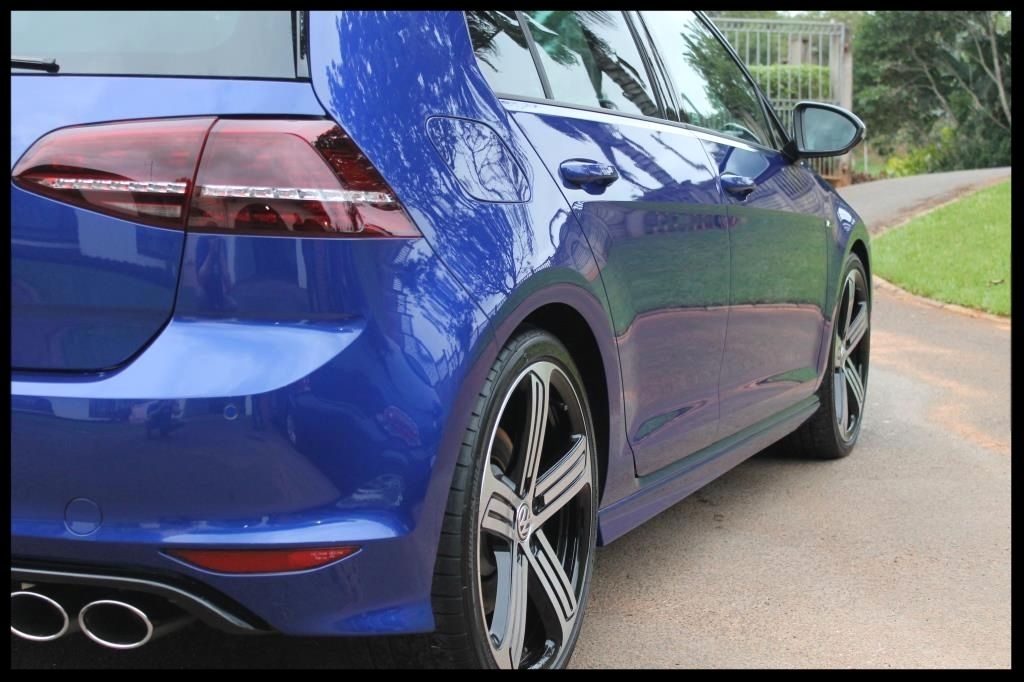
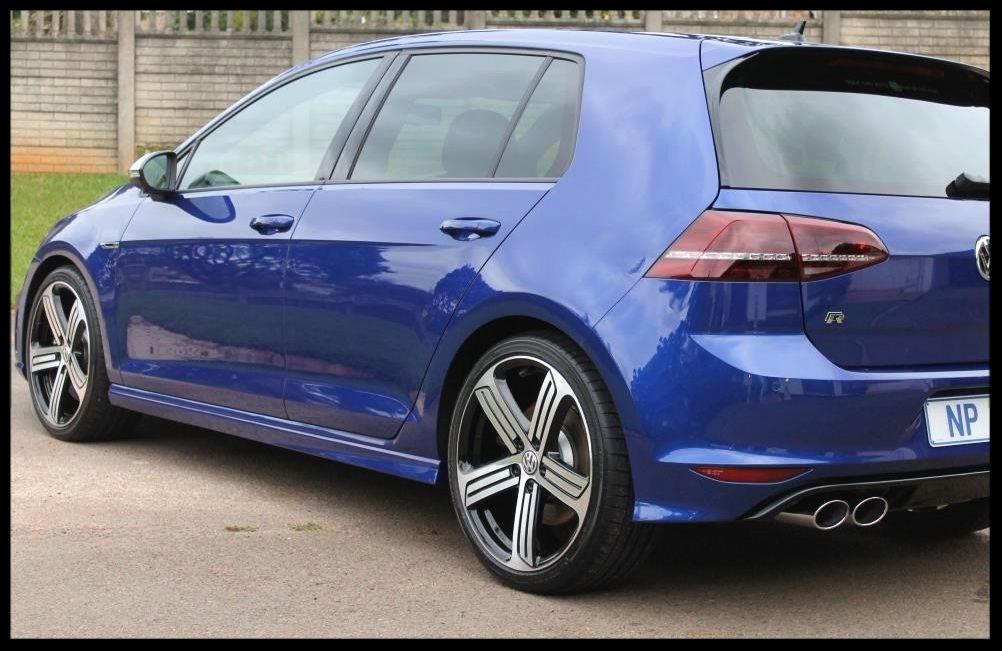
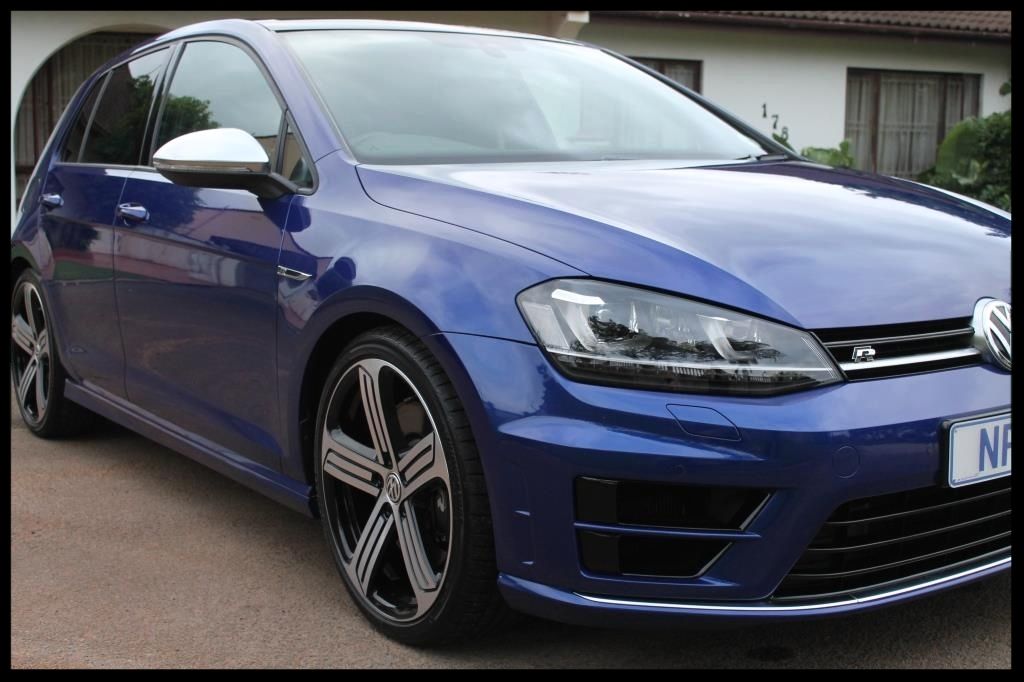
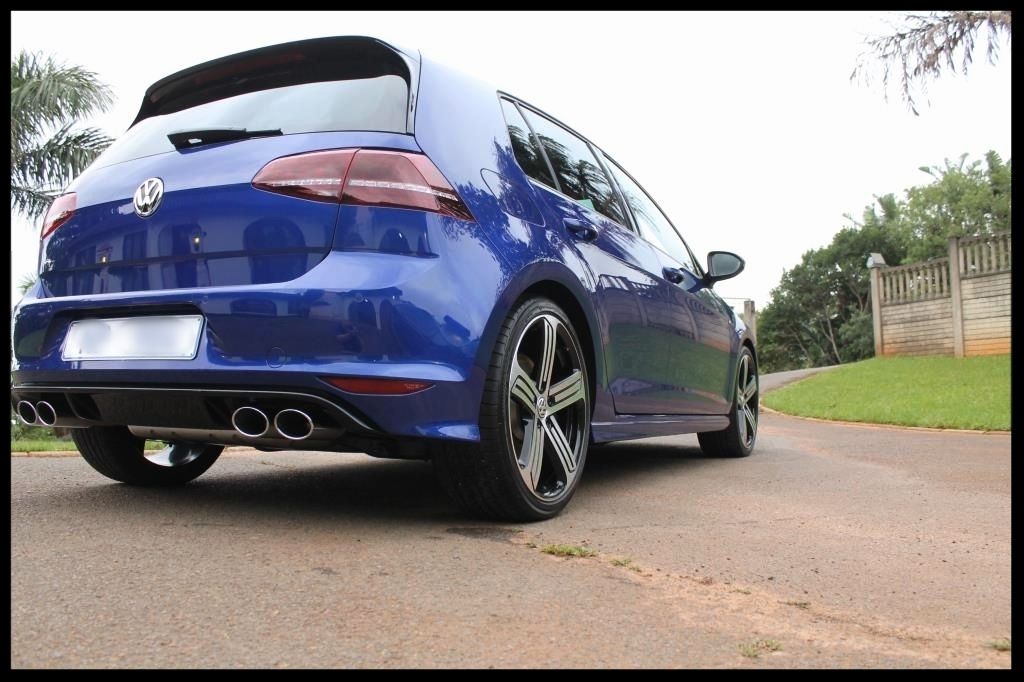
Here are a few shots in the dying light with my cell
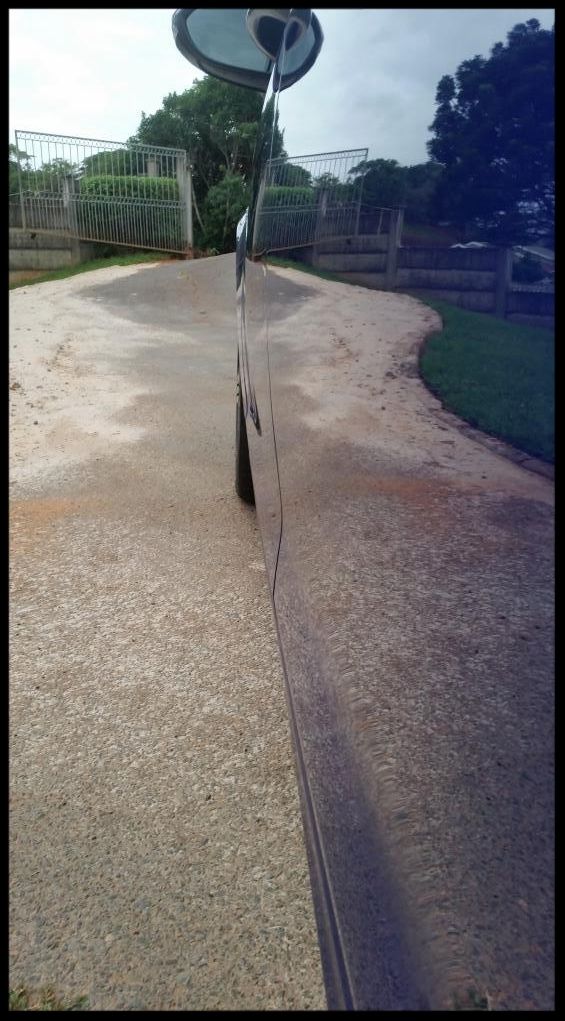
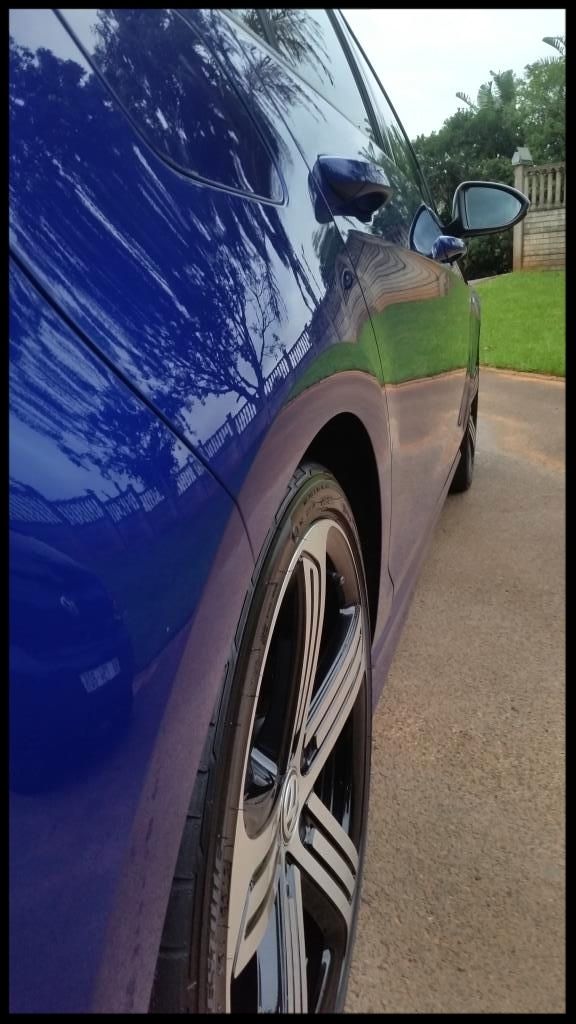
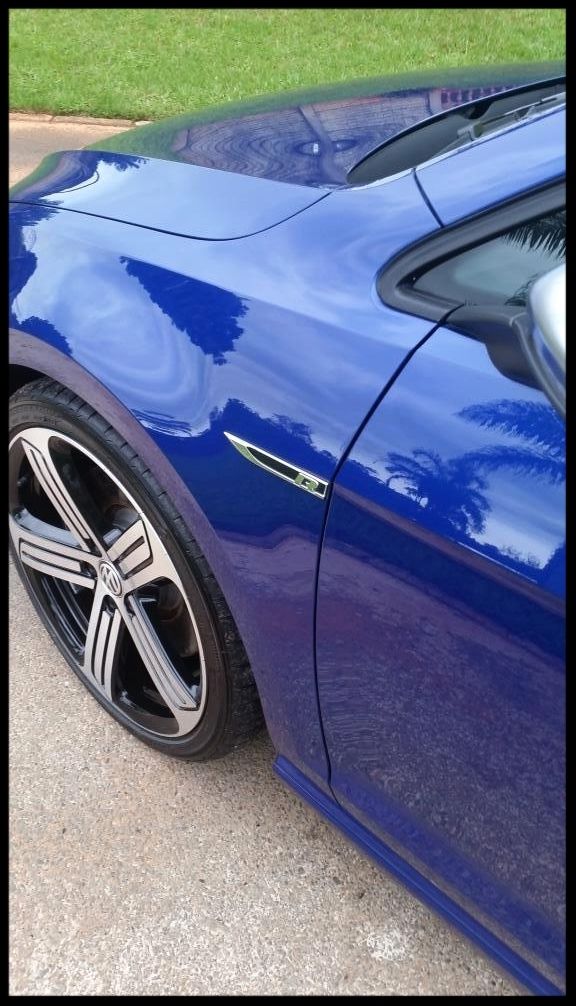
And then with the DSLR
Total time spent = 30 hours
As always, thanks for taking the time to read this, and any questions or comments are welcome
Its very similar in age and mileage to this car but look at how fewer swirls are on this car.
You can see this car is better cared for, which is always a great thing and invariably means less clear coat needs to be removed over the life of the vehicle, leaving it better protected and imo of higher value. It obviously also means it looks better between details which need to be done less often. Prevention really is better then cure :roll:
Anyway... on to the detail
First up I removed the dealer sticker. I sprayed some ONR over the area, let it dwell for a bit, then wiped it clean with a MF towel. I then warmed up the area with a hairdryer and used a plastic razor blade to gently lift a corner of the sticker.
And peeled it off leaving behind the glue residue
I then sprayed some Valet Pro Citrus Tar Remover onto some cotton discs and placed those against the paint - this allows a longer dwell time, making it much easier to wipe away the residue, reducing the chance of scratches.
And done
As you can see from the first pic, the paint was in pretty good condition considering its approaching 2 years - there was however a set of 2 small chips right near the edge of the one door, which I would touch up with the OEM Touch Up paint supplied by the owner.
So onto the actual detail...
The engine bay wasn't bad and was given a clean using various brushes and mf towels and Carchem APC at 1:5. It was blown dry, the plastics dressed with Autofinesse Dressel and the painted surfaces cleaned/polished/protected using Autofinesse Tripple on a mf applicator pad by hand.
No after pics
I then turned my attention to the wheels, tires, fender wells and brake calipers.
-HP rinse arches, tires and wheels.
-Clean arches with a Carchem APC at 1:5 using a Mothers Fenderwell Brush and Speedmaster
-HP rinse
-Clean tires with Valet Pro Billbery Wheel Cleaner @ 1:6 and a Mothers Tire brush.
-HP rinse
-Repeat tire cleaning
-HP rinse
-Wash wheels and brake calipers with VP Bilberry Wheel Cleaner @ 1:6, Speedmaster and Speedmaster Jnr brushes and Valet Pro Boars Hair Brushes
-HP rinse
-Dry
-Remove tar using Autoglym Intensive Tar Remover and at the same time I removed the old wheel weight stickers
-Spray with APC and HP Rinse
-Dry
-Remove bonded and embedded ferrous contaminants on wheels and brake calipers with Carchem Revolt, Speedmaster (big and small) brushes and Valet Pro Boars Hair Brushes
-HP Rinse + flood rinse
Then the rain came and so later the process continued on the wheels....
-Dry
-Polished with Menzerna 3-in-1 on a Mothers Power Cone
-Sealed with Menzerna Powerlock
-Tires dressed with 2 coats of Optimum Tire Sheen
I actually quite enjoy washing in the rain, and the inevitable cup of hot coffee that follows once the car is back in the garage :grin:
Despite the rain having started to fall I still gave the car a decent hp rinse, foamed it using Valet Pro ANSF and let the rain carry the foam and dirt away. Then I foamed half the car, like this
And washed it, top down, with a couple of lambswool wash mitts and Carchem Luxury Shampoo, then repeated on the other side...
I then bought the car into the garage and drank that cup of coffee :lol:
It was then clayed using Shield Heavy Duty Clay.
The bonnet had a nasty bird dropping etching, and you can also see a few scratches...
Fortunately it came out relatively easily - Menzerna FG400 / Orange Lake Country Hybrid / Flex 3401
The rest of the paint looked pretty much like this
And was corrected using Menzerna PF2300 / White Lake Country Hybrid / Flex 3401 followed by Menzerna SF4000 / Black Lake Country Hybrid
The B-pillars, which always take a hammering, were corrected using Menzerna PF2300 / White Lake Country Hybrid / Flex 3401, with the intention of only improving them, not perfecting them - no use in over-doing them now and suffering later.
I then used 2 coats of Chemical Guys Pete's 53 for the LSP.
I was asked by the owner to polish this.... here is a 50/50 after the initial first cut using Menzerna Polishing Cream / 4" Orange Lake Country CCS Pad / Shield DA
Once that initial cut had been completed, it was followed by Mothers Power Metal / 4" White Lake Country CCS Pad / Shield DA. The exhaust tips themselves were then polished using the same process, just by hand instead of by machine.
Then it was time to tackle the rest of the detail. This included:
Interior
-Blow out loose dirt with blower
-Vacuum
-Leather cleaned and protected with Collinite 855
-Plastics and dash cleaned with Carchem APC then given a final wipe using Autofinesse Spritz
-Vacuum
Glass
- Clayed using Shield Heavy Duty clay with ONR as lube
- Cleaned using Autoglym Fast Glass
Door rubbers, window rubbers, exterior plastic trim
- Cleaned using Shield Heavy Duty Vinyl and Rubber Cleaner
- Protected using Aerospace 303
The miserable weather continued and so the owner opted to collect the car on a dry day, which happened to be Thursday evening. Just prior to collection the car was given a rinseless wash to remove any dust that had collected. This was done using chinchilla mf towels with ONRWW
Here are a few shots in the dying light with my cell
And then with the DSLR
Total time spent = 30 hours
As always, thanks for taking the time to read this, and any questions or comments are welcome