Flannigan
New member
I was very excited for the job that we had scheduled today. A brand new, Moonlight Blue Metallic Audi S6 pulled into the garage bright and early this morning. It was booked for our New Car Prep Service as well as the Opti-Guard treatment. We quickly realized that there were some dealer installed swirls and holograms that needed to be dealt with, so we got to work.
It was 19 degrees and cloudy this morning so we didn't take any pictures of the wash process since we didn't want to be outside any longer than we had to. We started with the wheels using an ONR mixture to clean them, followed by Meguiars APC+ to cleanthe tires and wheel wells. The tires and wells were also dressed with MEguiars Hyperdressing.
The vehicle was also washed with ONR and quickly dried with an Autoality WW towel. We check out the lower panels, and there weren't any embedded contaminants so we didn't need to clay on this vehicle, so we moved right to the polishing. After a little testing we ended up using Menzerna PowerFinish on a Tangerine HT pad with a Meguiars G110 DA. This gave us almost perfect correction, 95%+ of the swirls and scuffs were removed. Here is how the paint looked in the sun. Sorry no before pics of the swirls, they weren't crazy, but they were there.
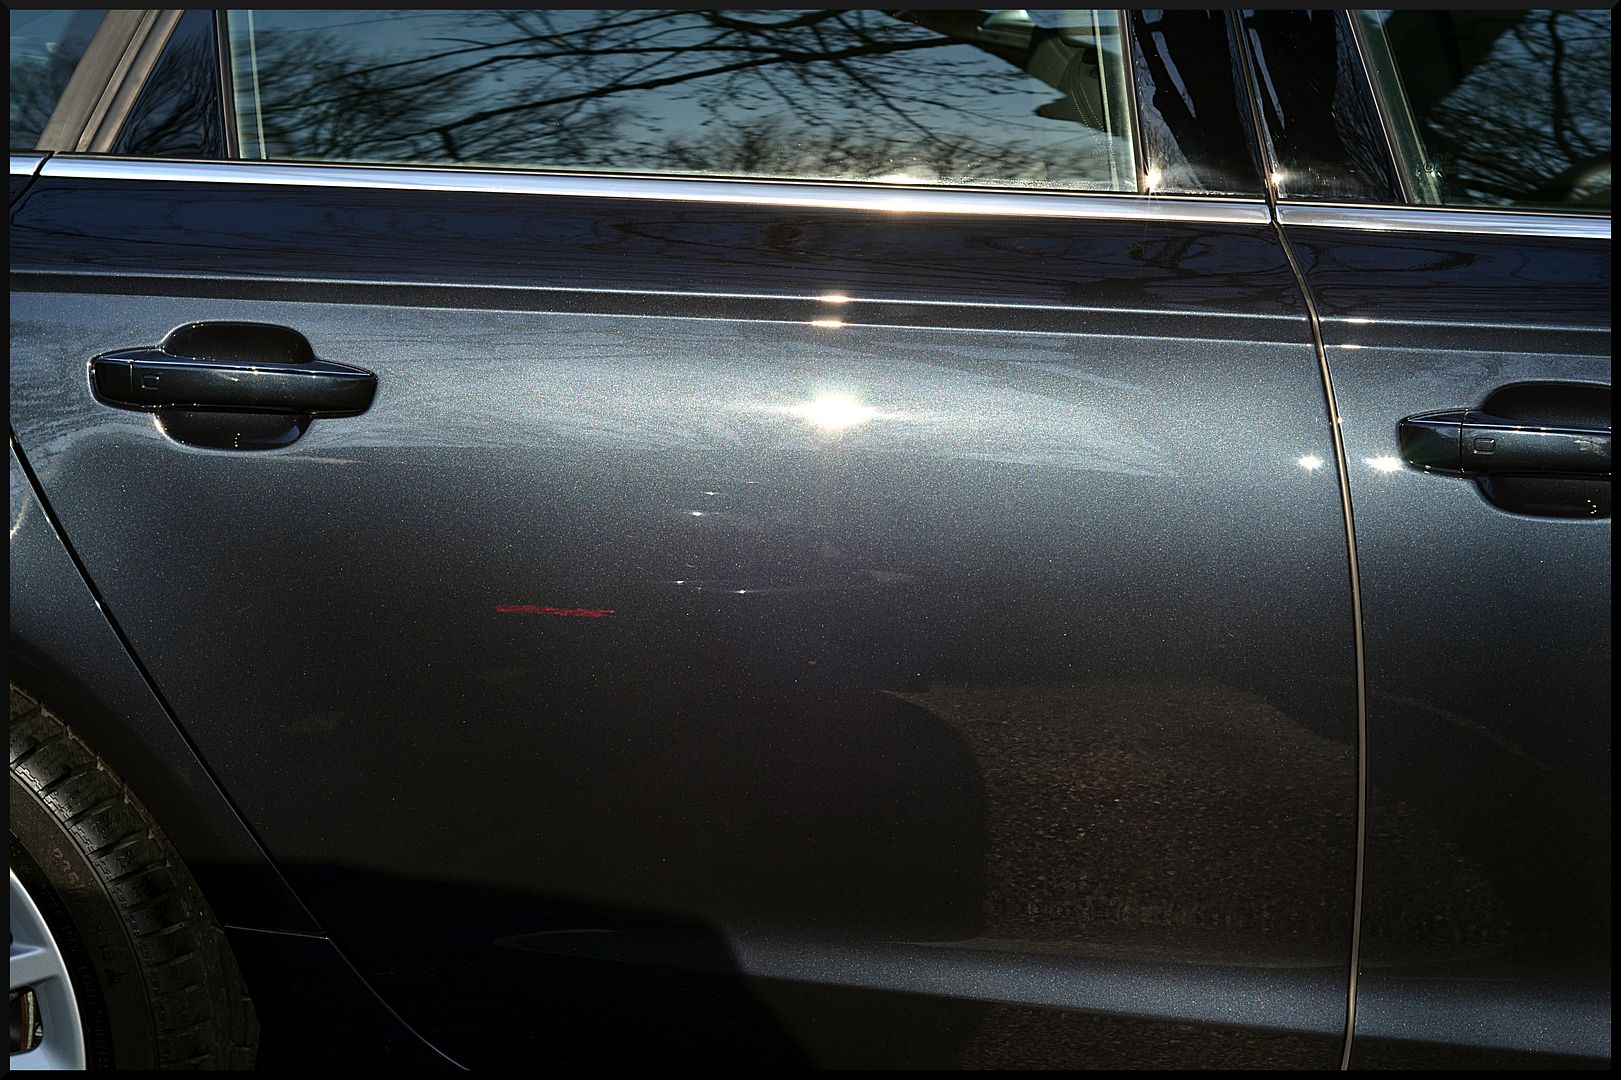
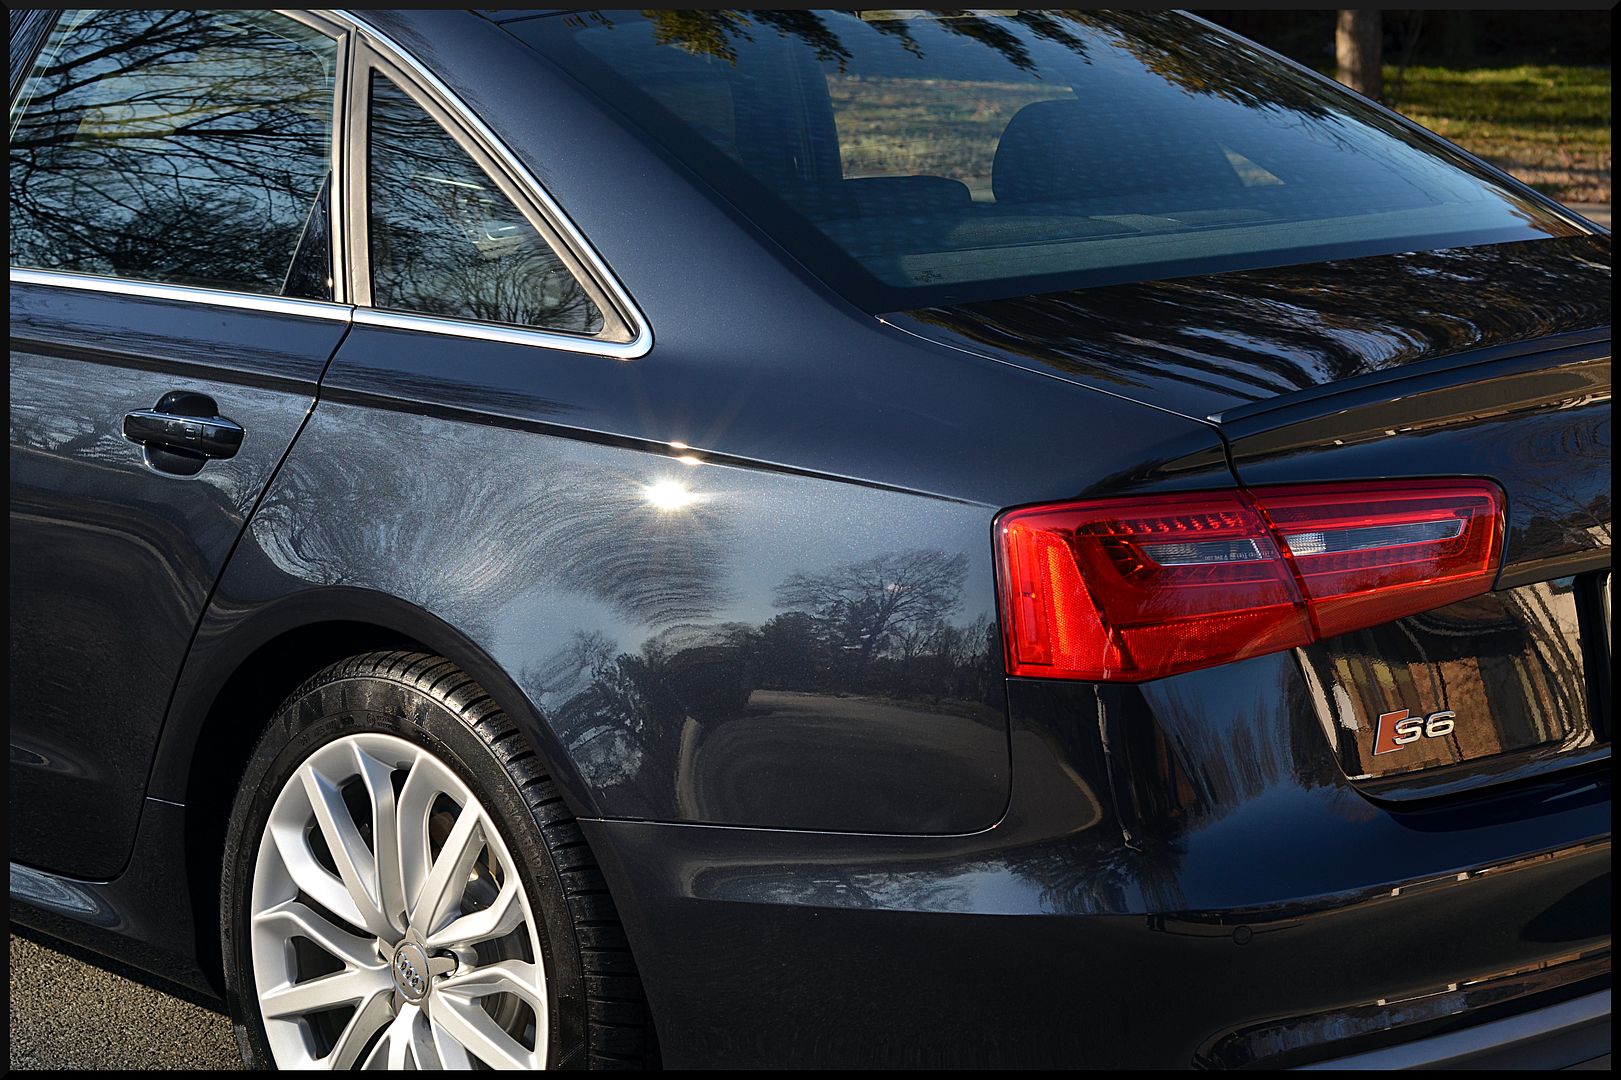
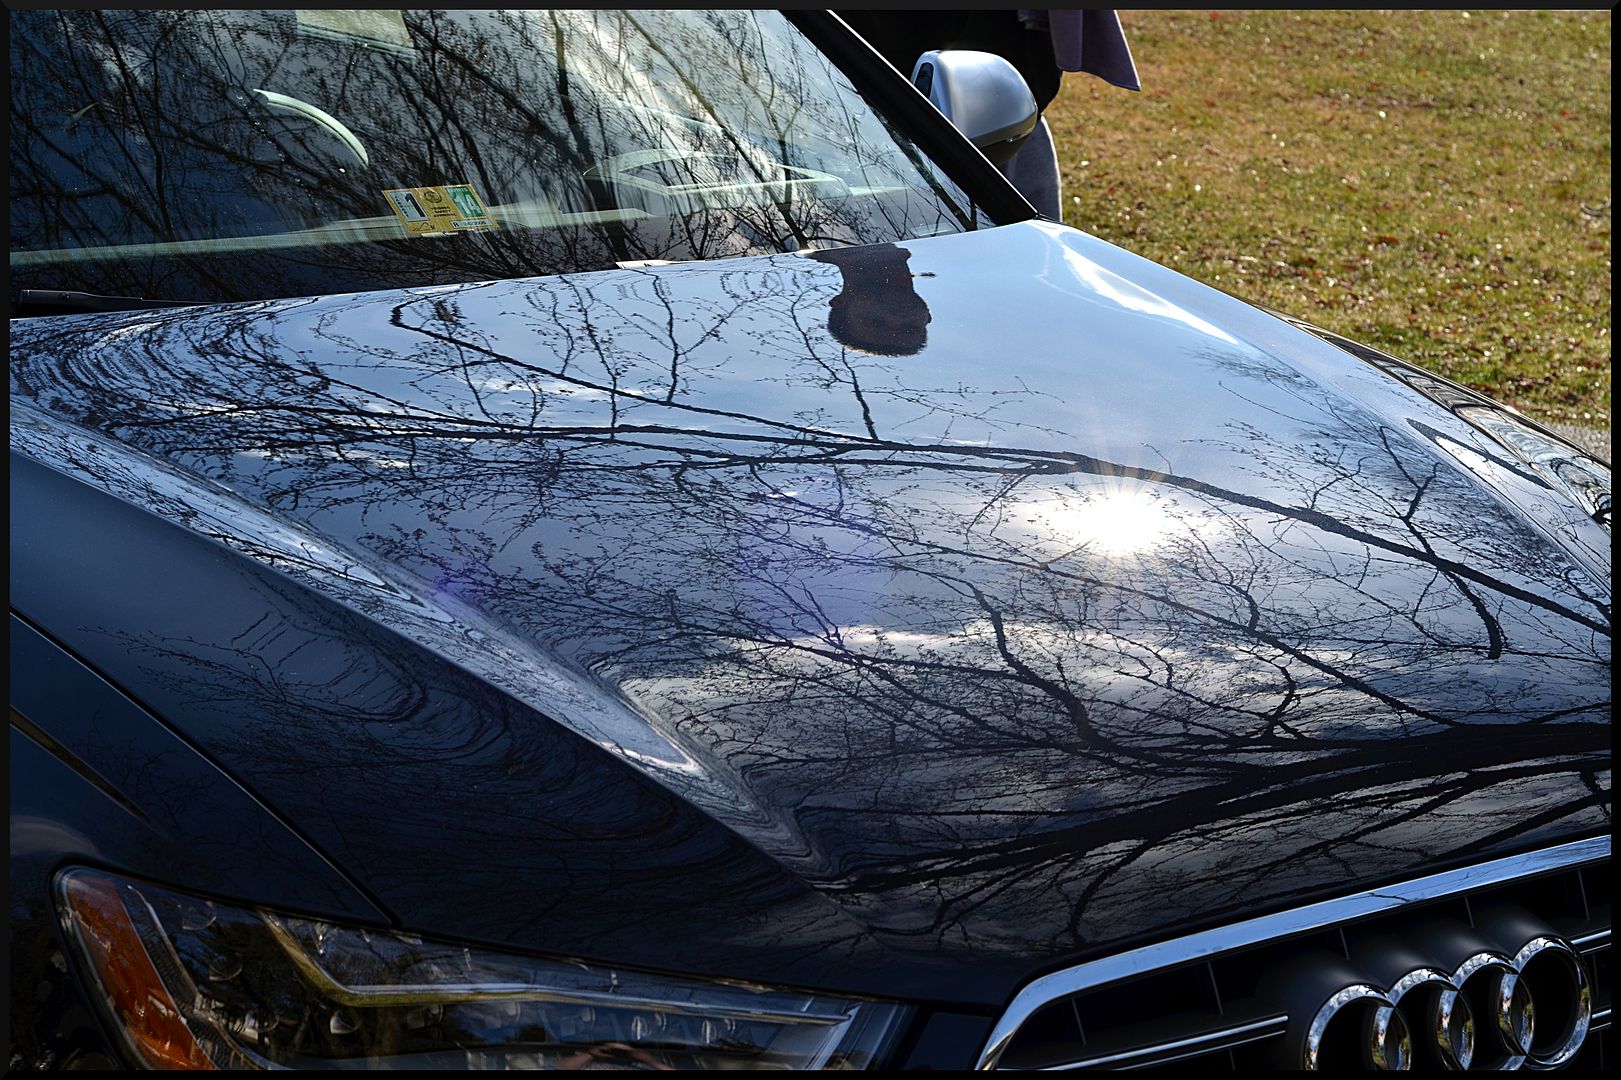
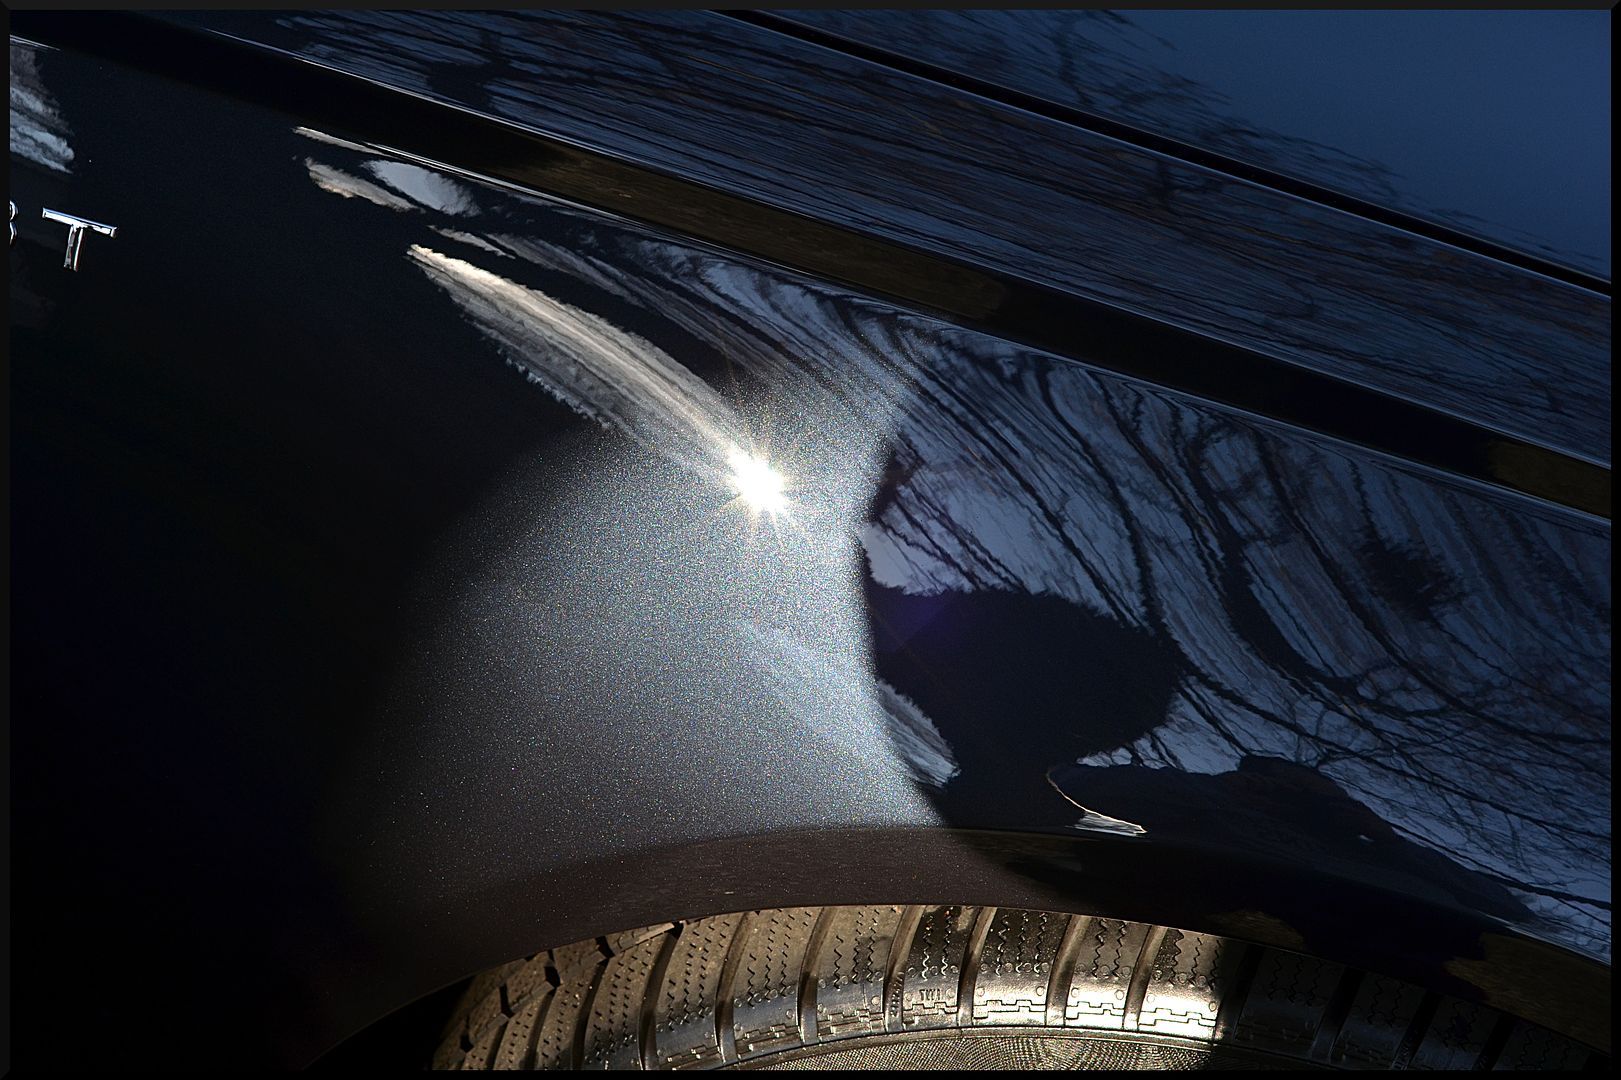
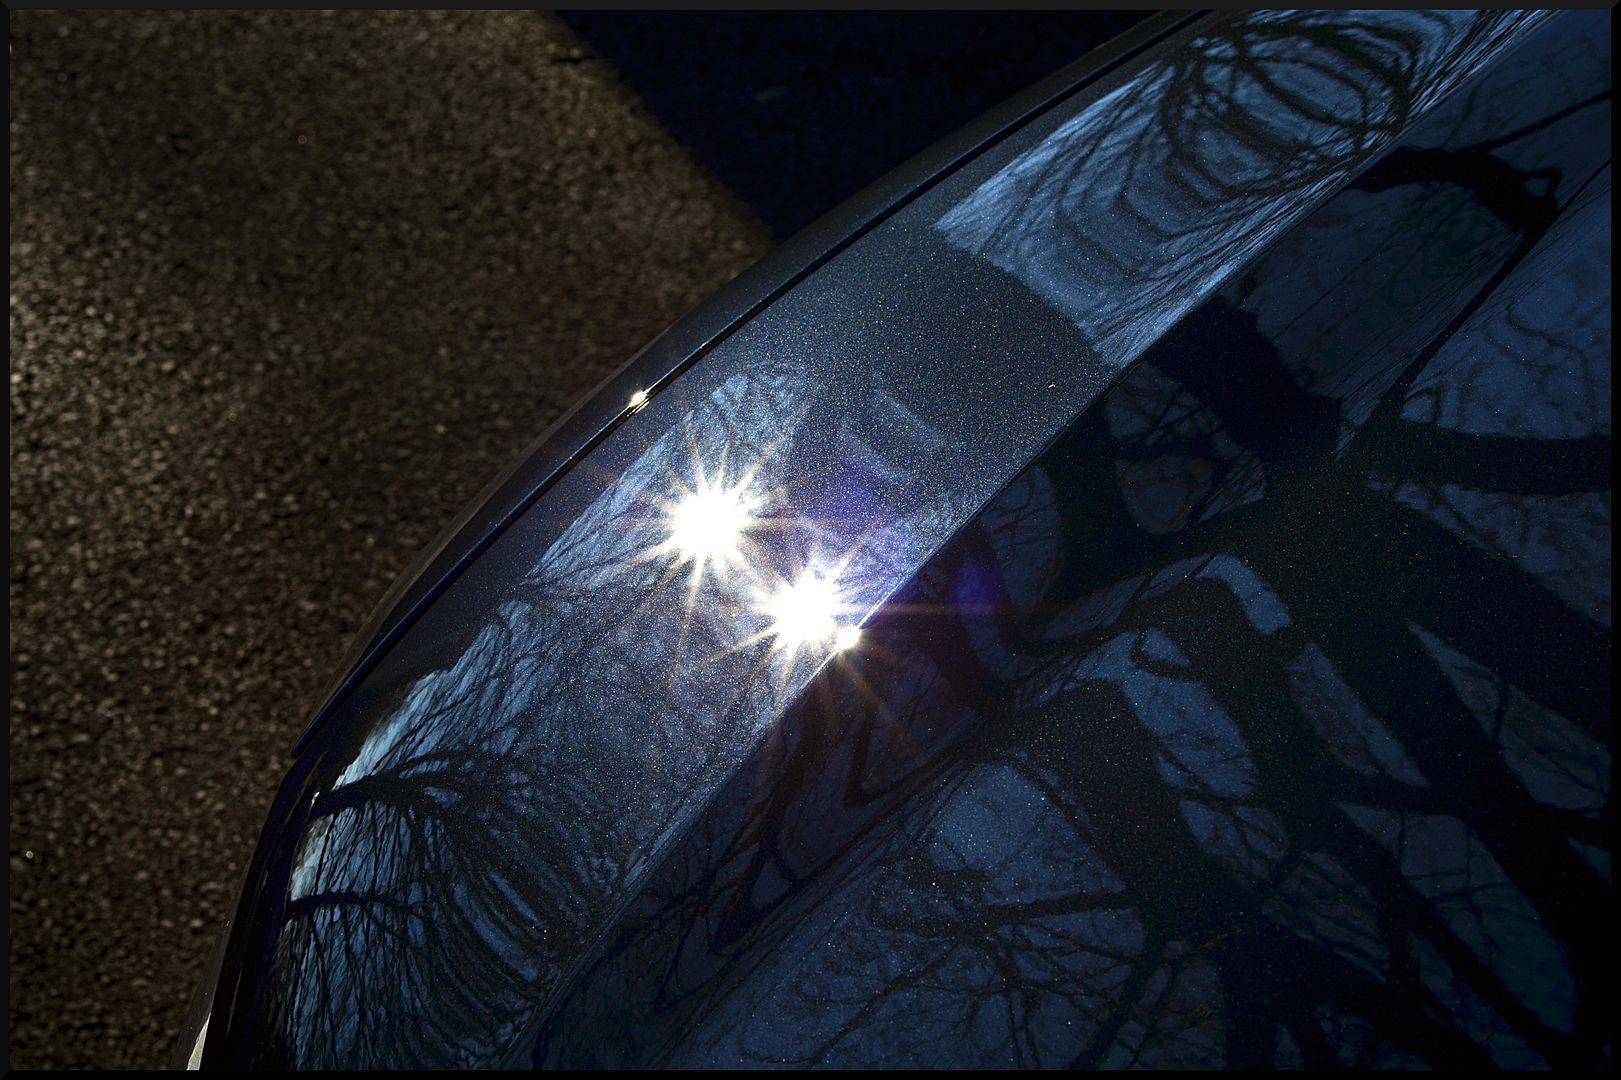
After all the paint was corrected we wiped it down with CarPro Eraser to prep it for the Opti-Guard application. We then applied Opti-Guard to the paint, wheels, trim, and glass. As everyone knows Opti-Guard gives an amazing gloss to the paint, especially when it has recently been buffed closed to perfection.
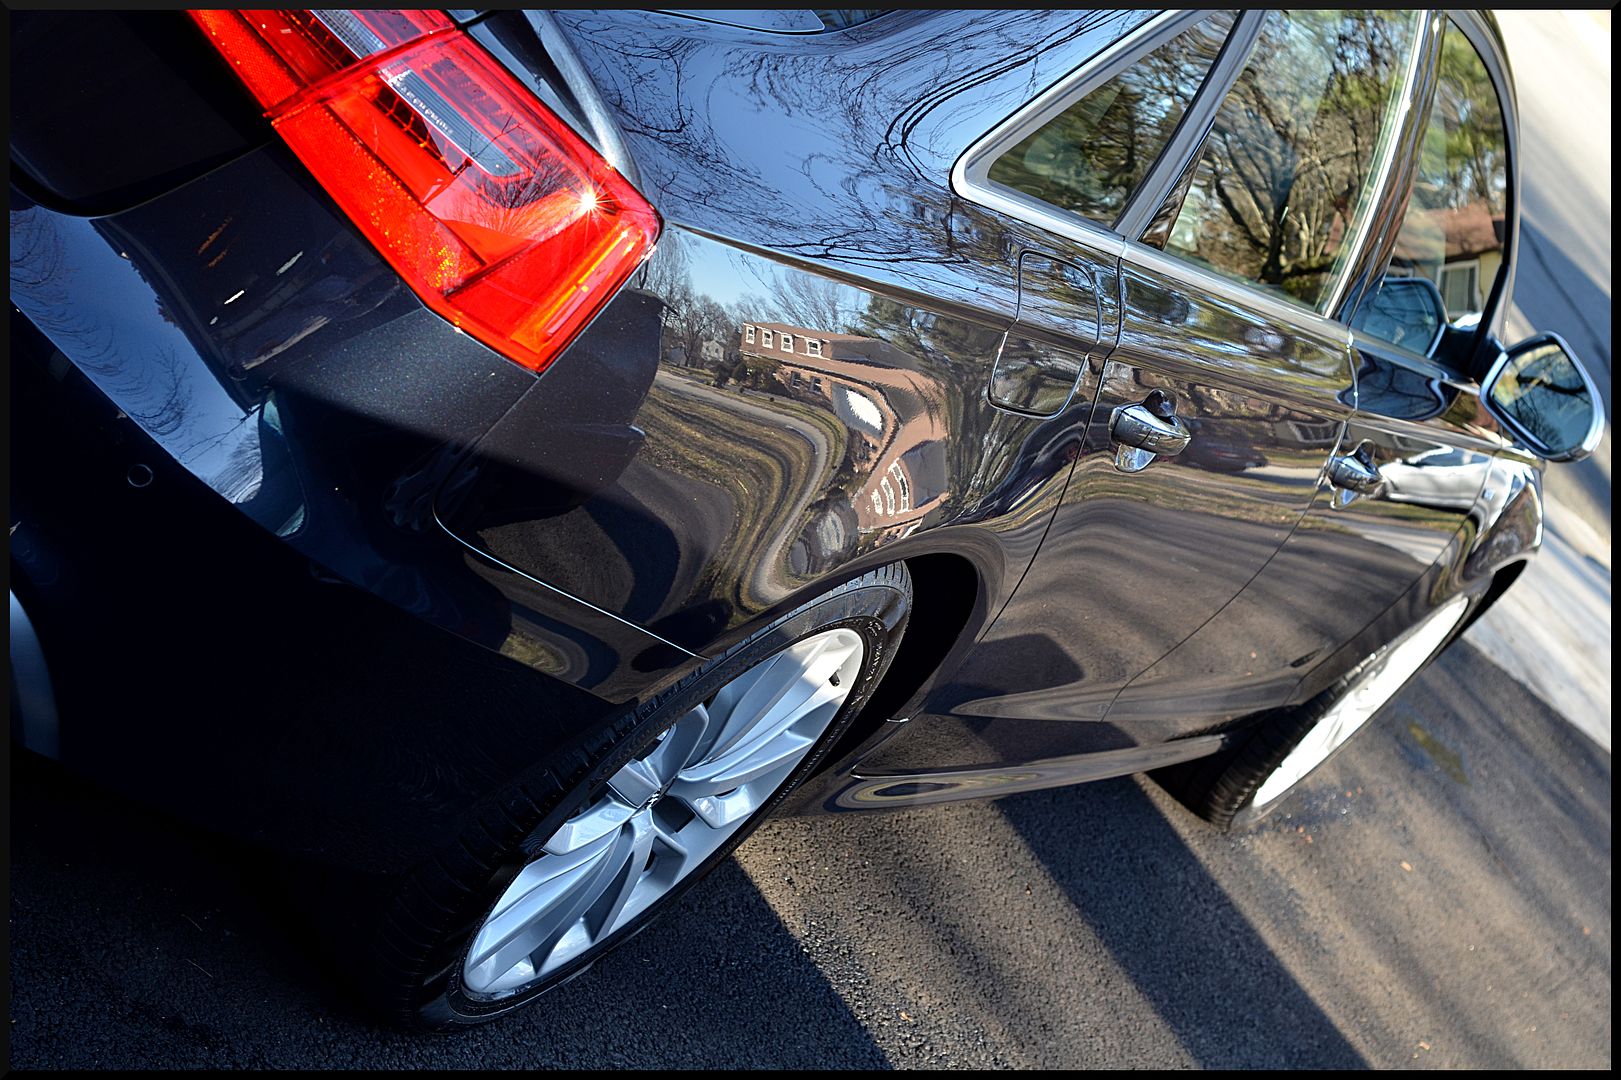
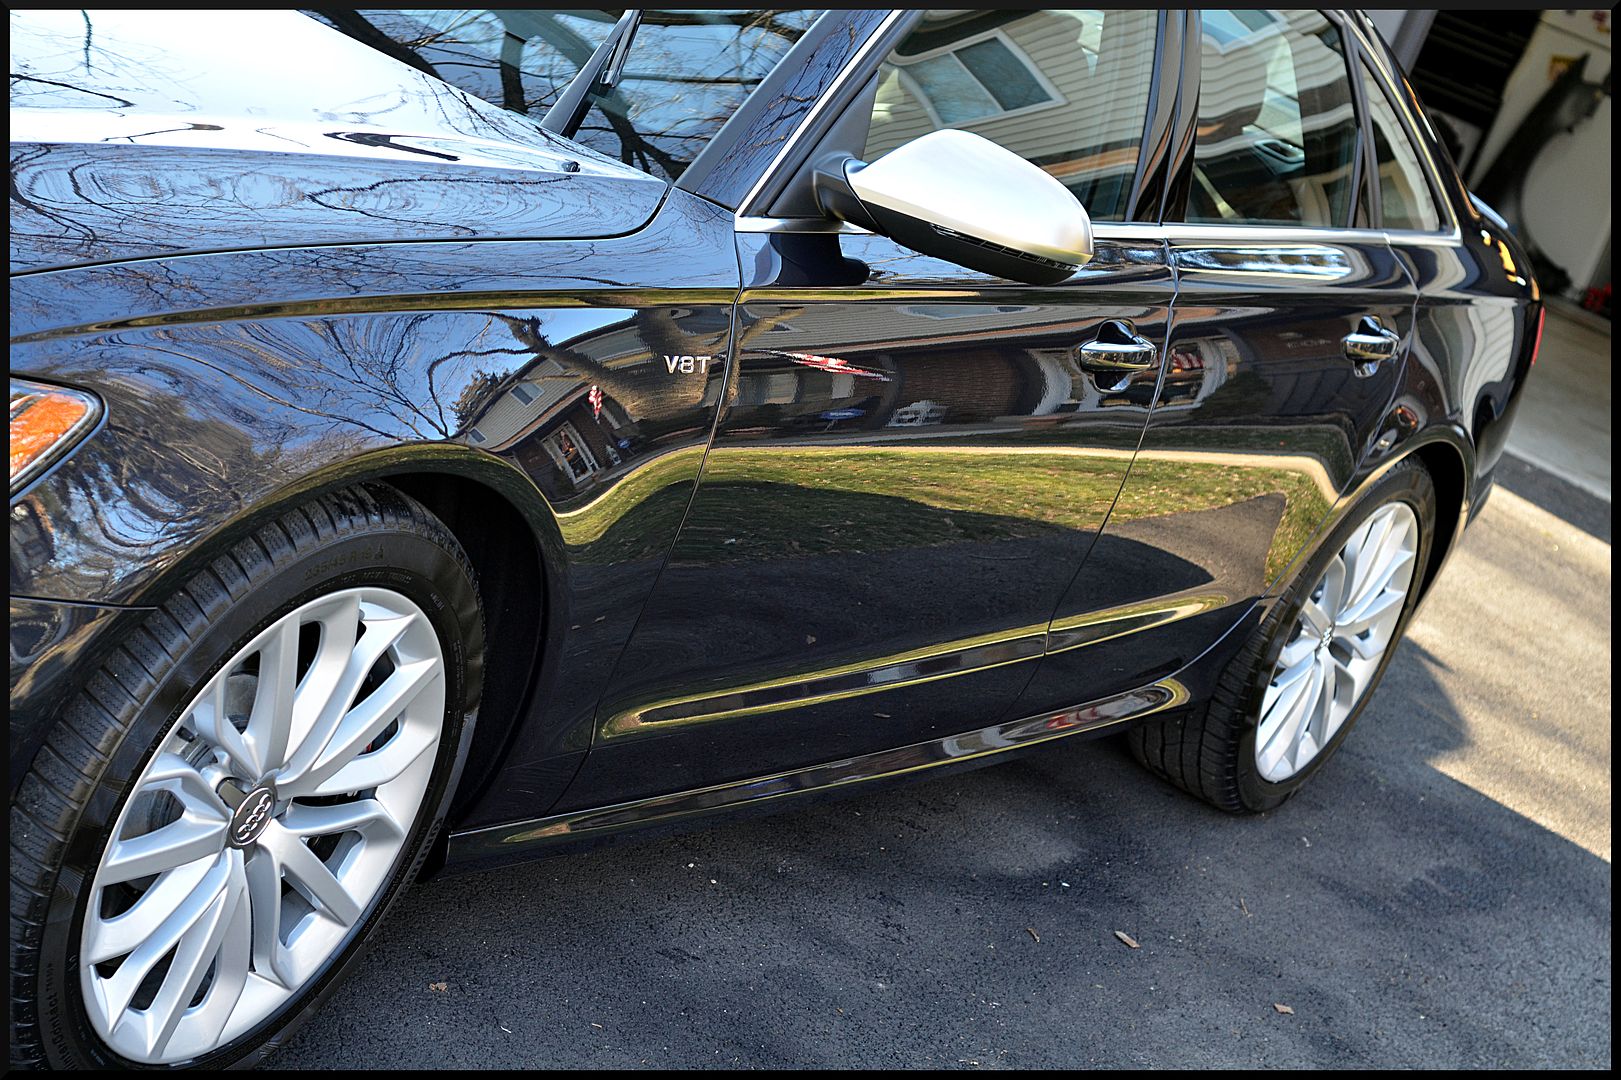
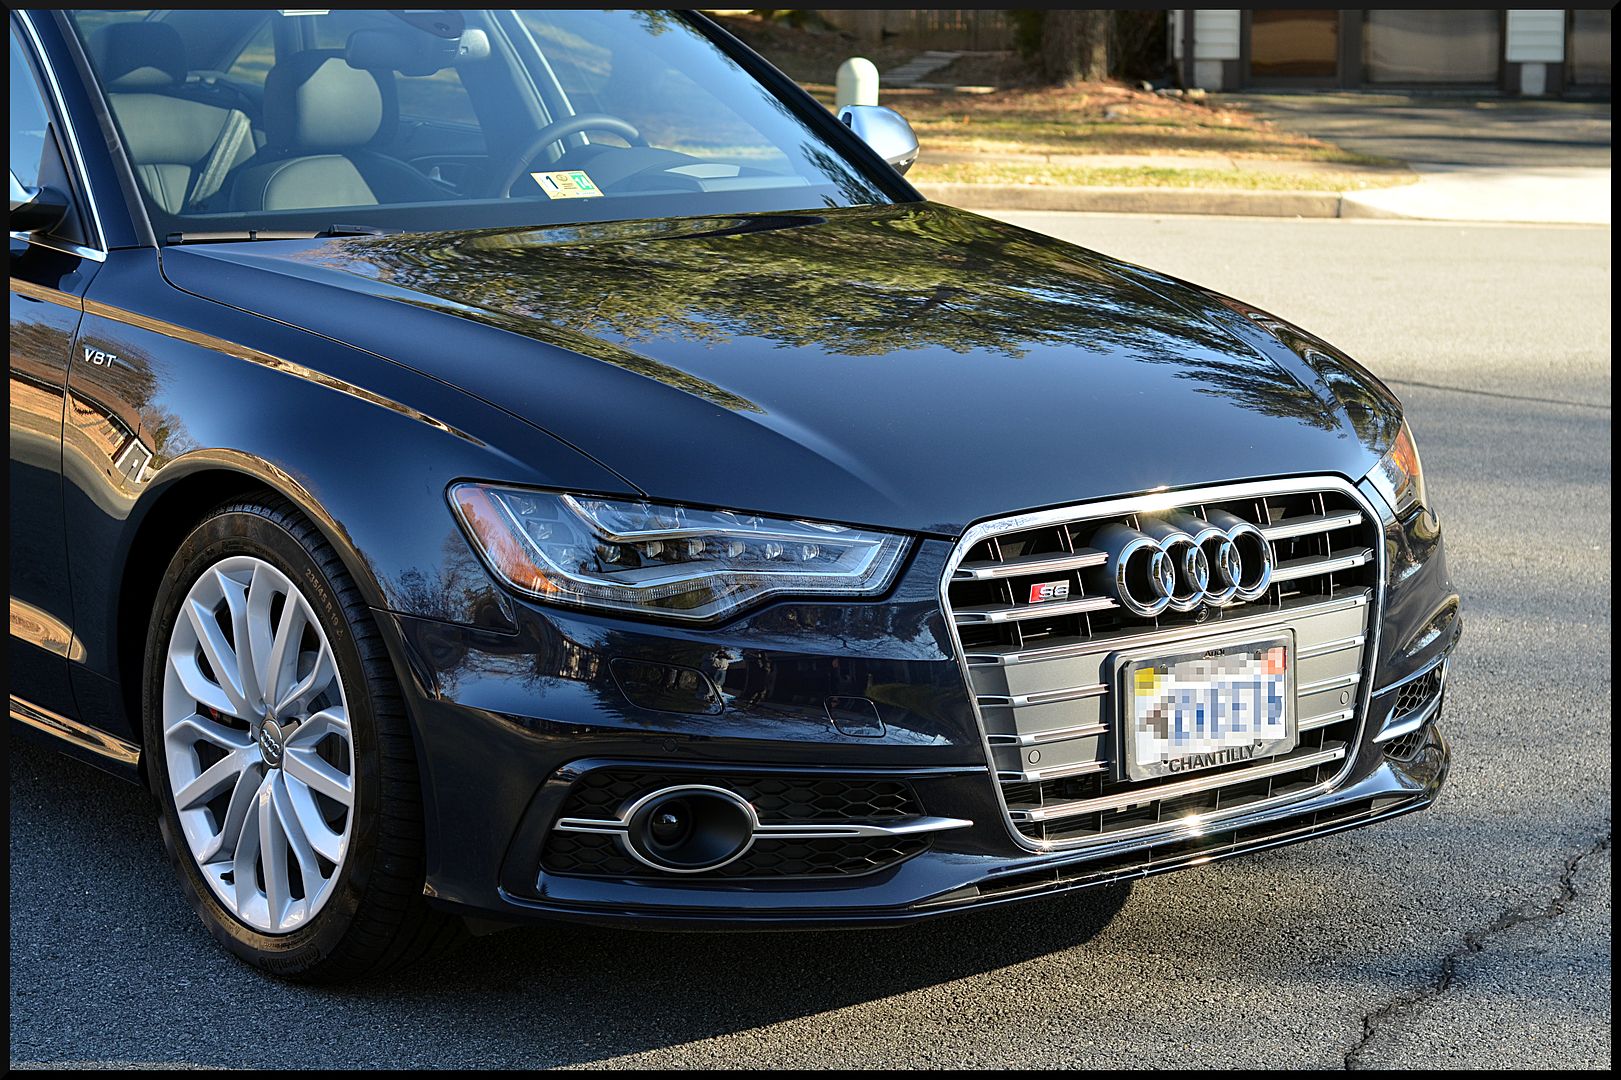
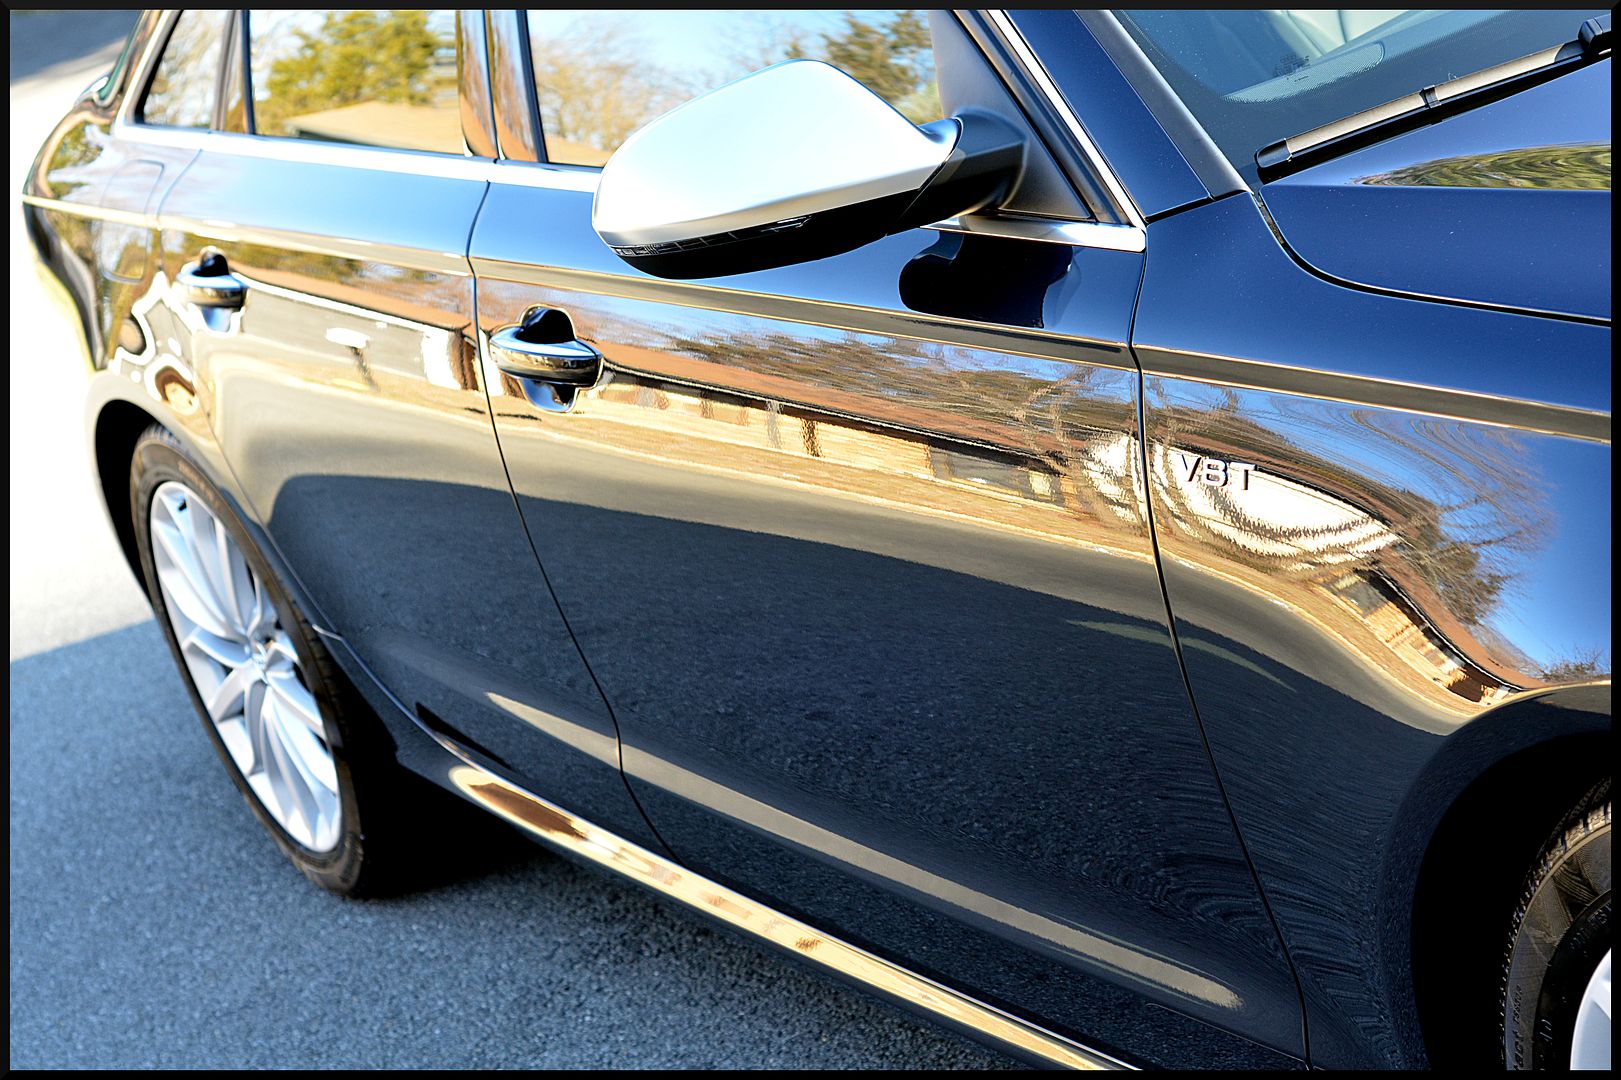
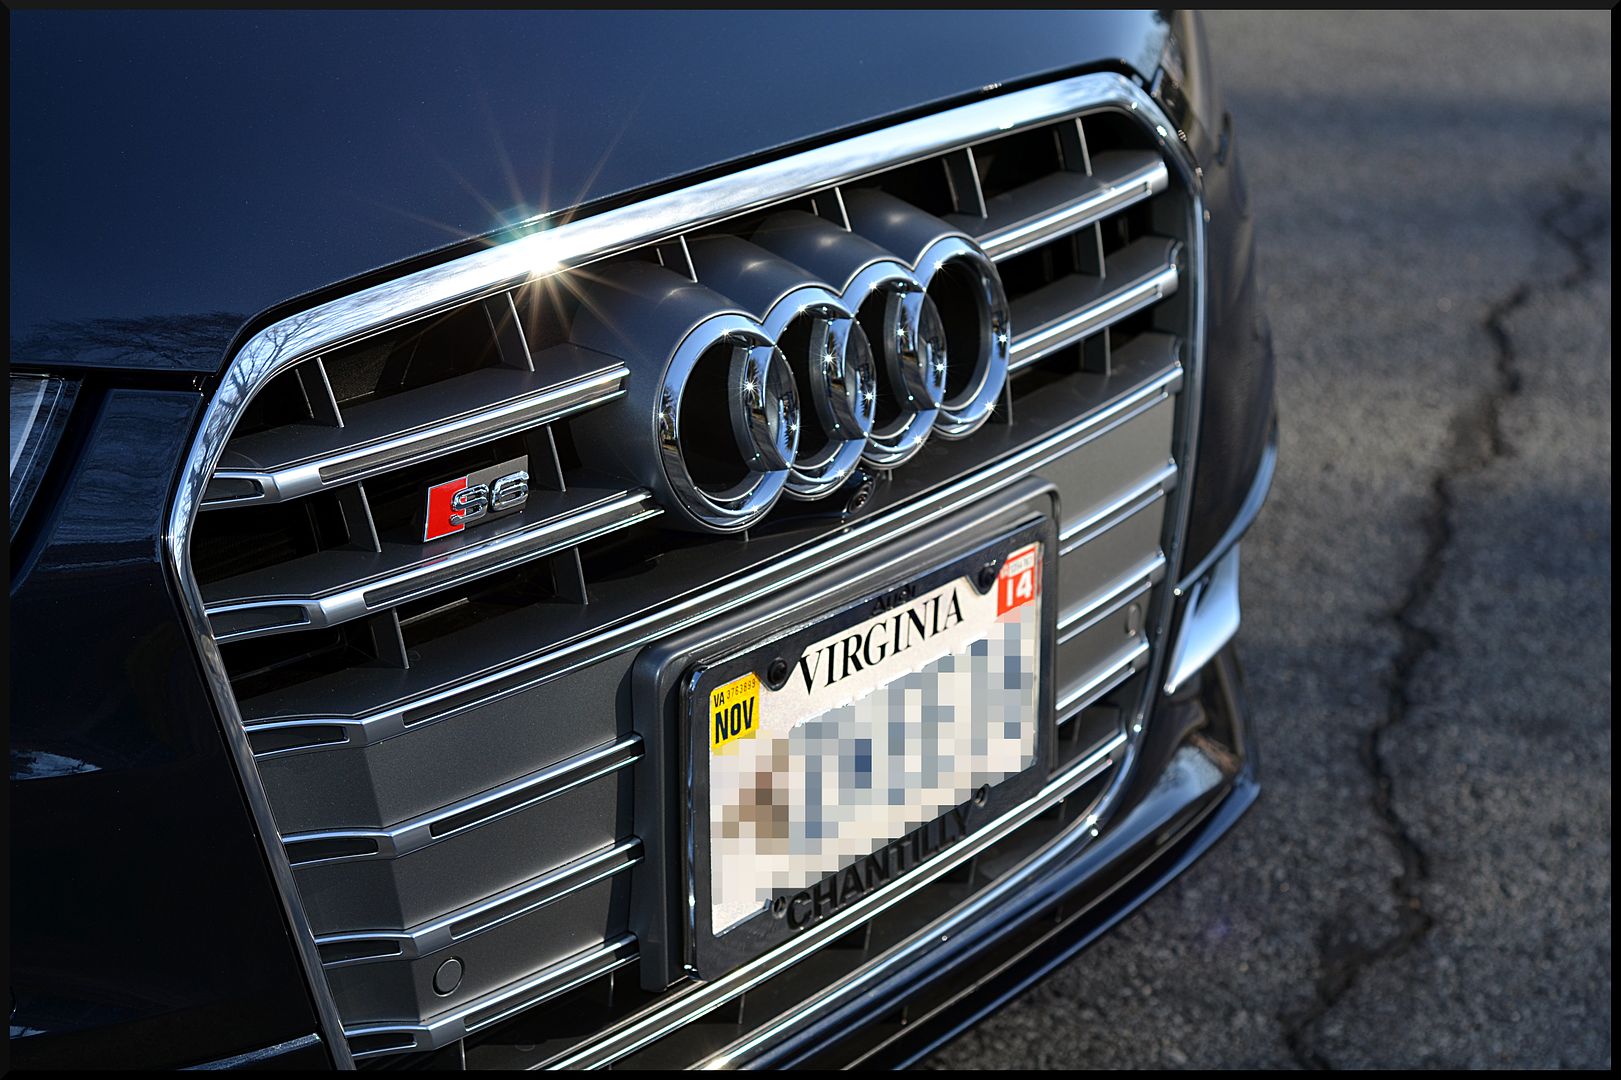
We really love this color because in the bright sunlight it looks blue but in the shade it looks almost black and has some great depth and reflective properties.
To finish the detail off we cleaned the glass inside and out, polished and sealed the exhaust tips, and did a quick interior detail. Here is how the car turned out.
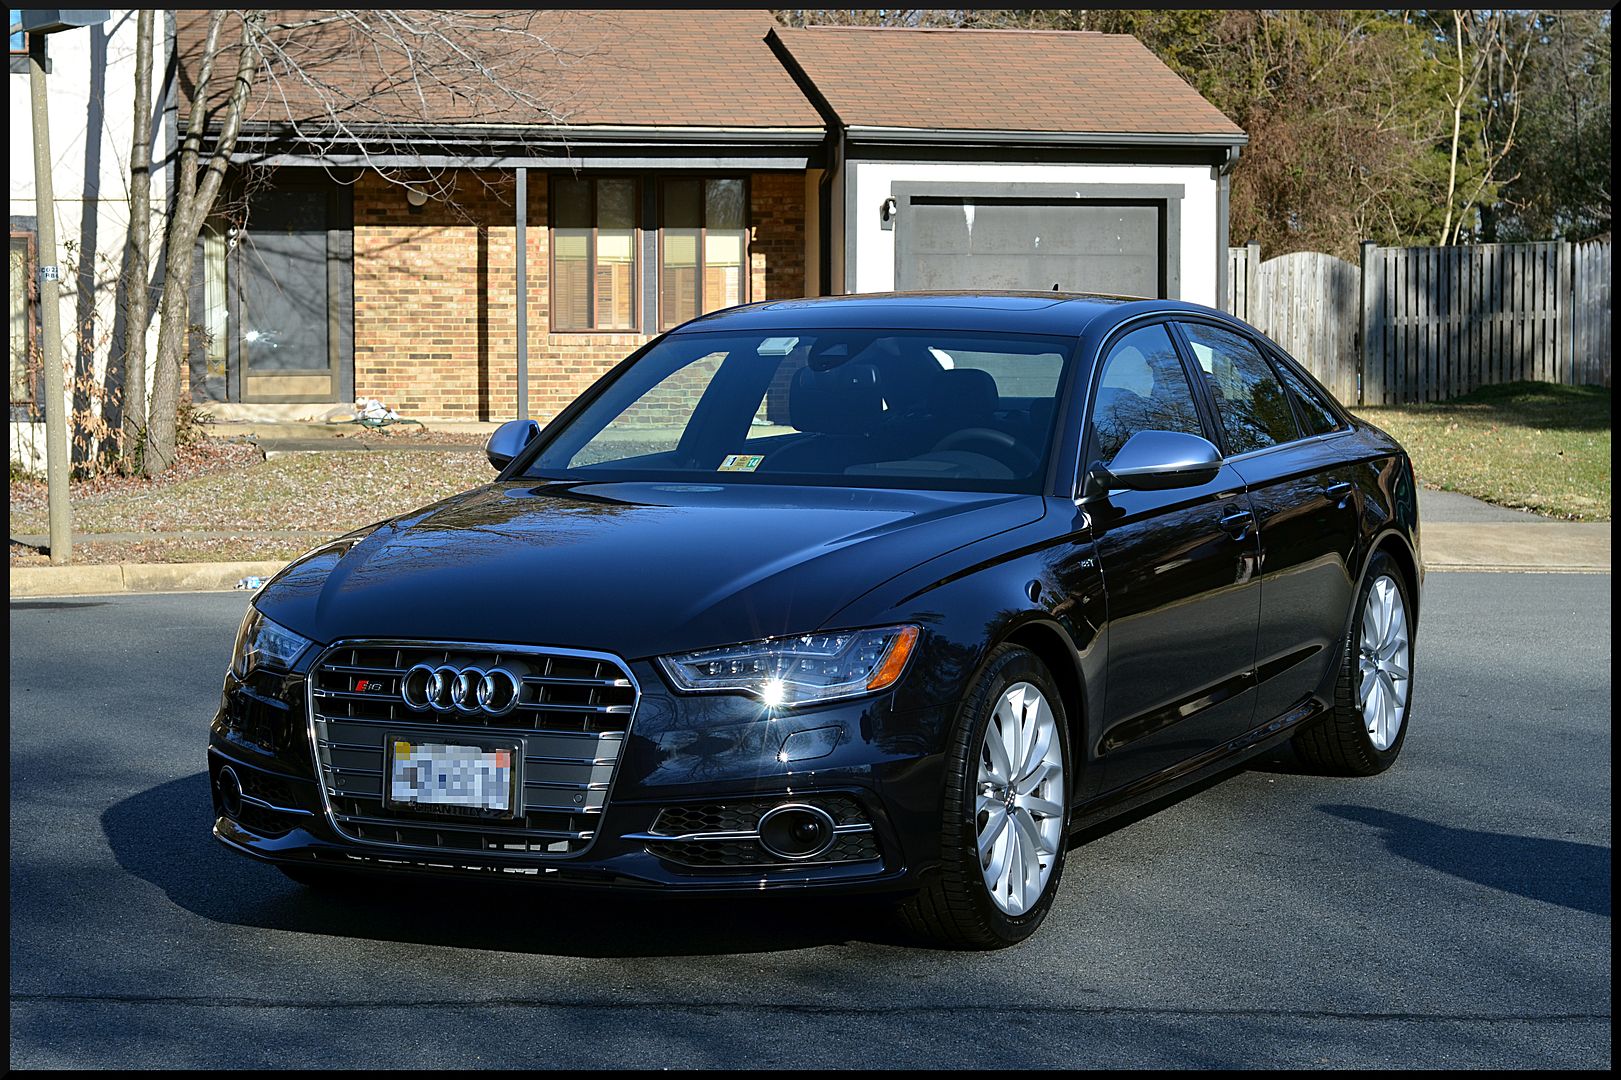
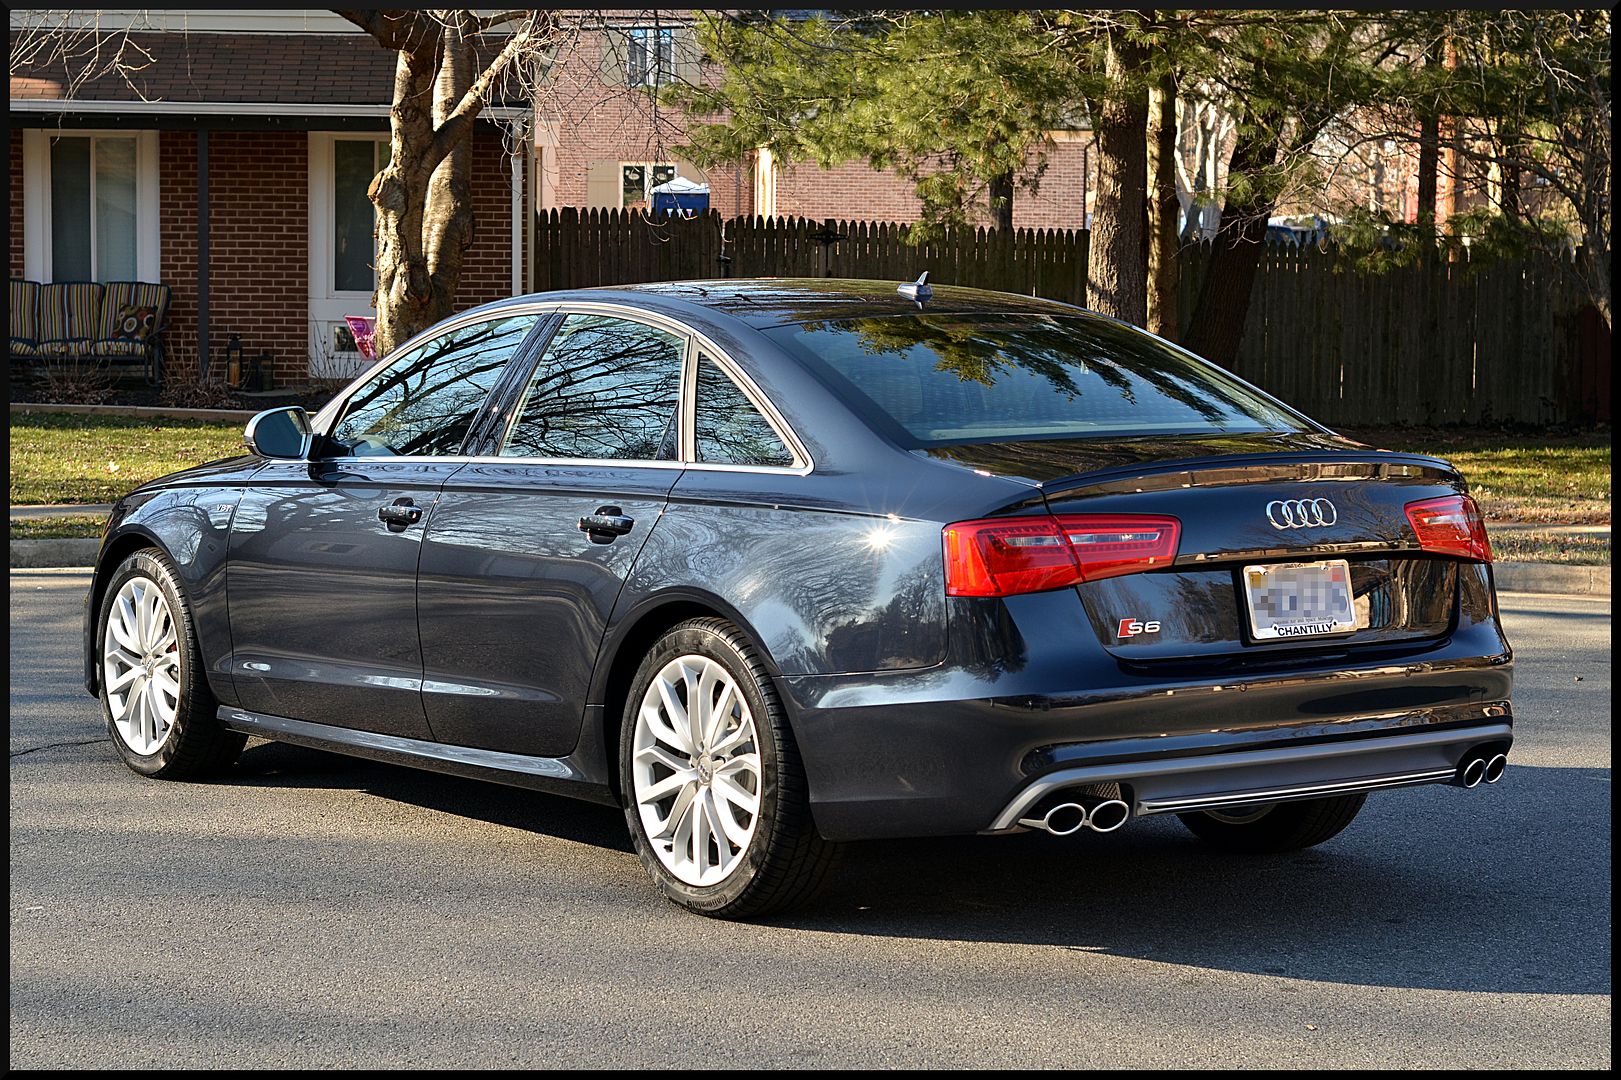
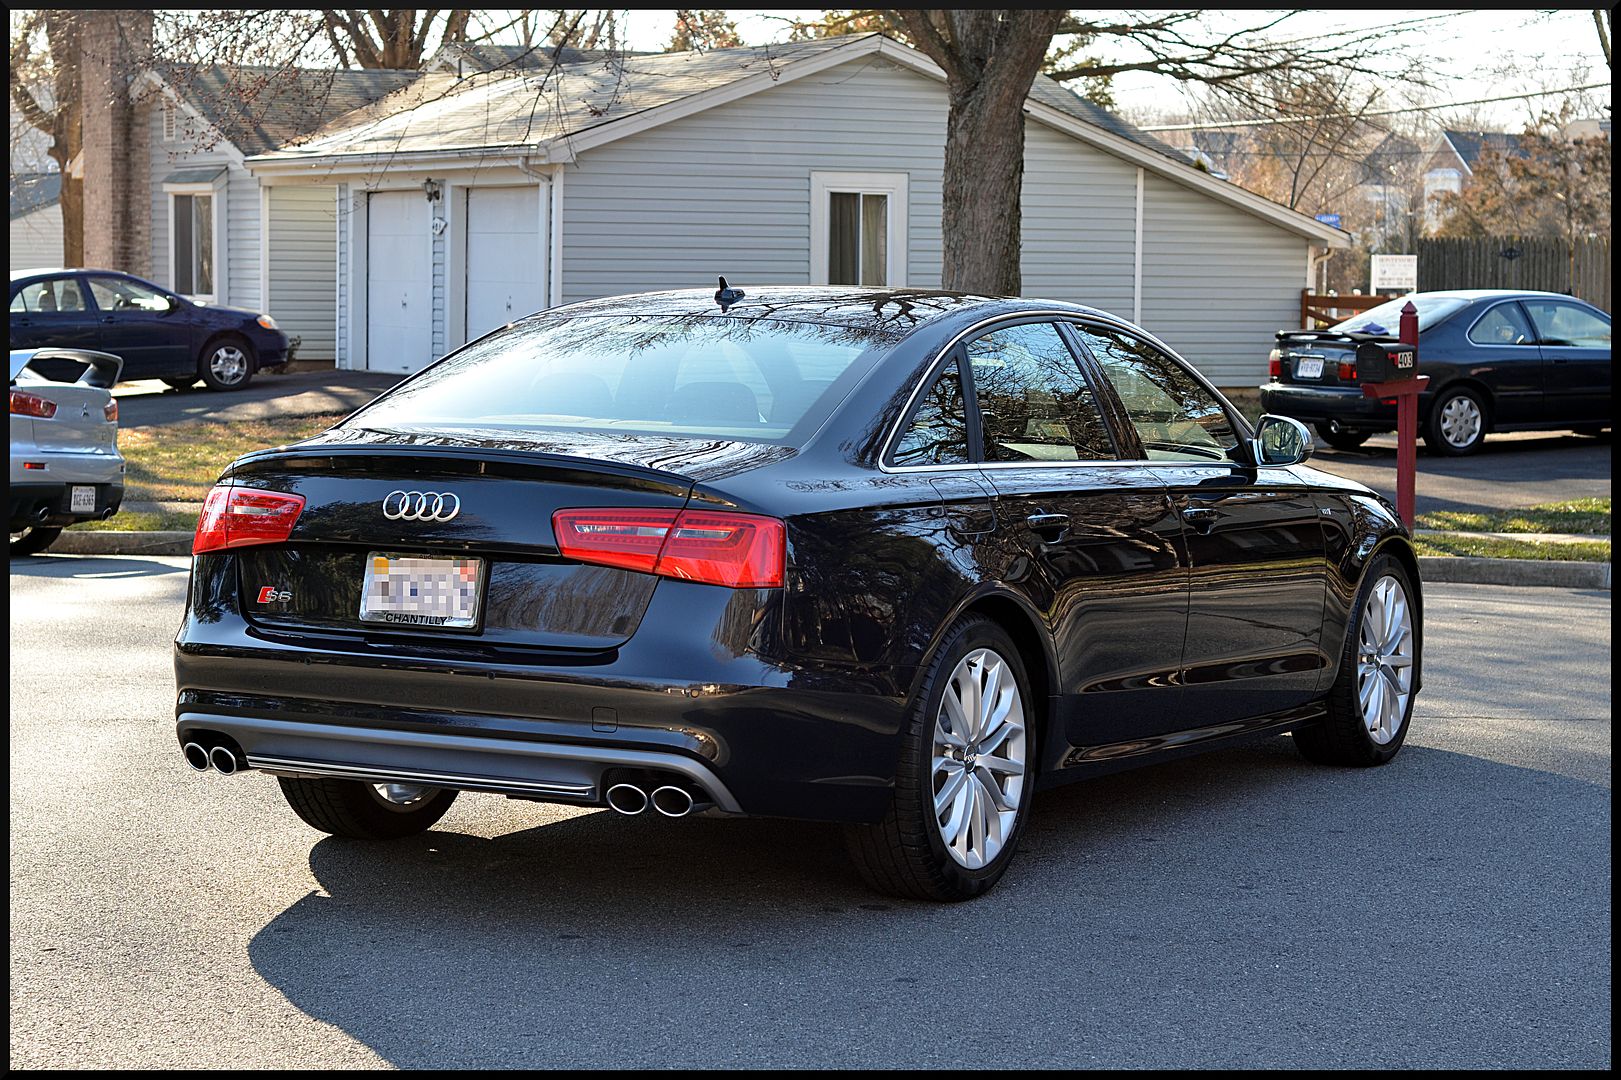

As you can see in the last set of pictures, the paint goes from a light slate blue, to a deep blue, and then almost black. We loved working on this vehicle and are very happy with the results, as was the customer. Thanks for taking the time to check out our write up, and we look forward to your feedback!
It was 19 degrees and cloudy this morning so we didn't take any pictures of the wash process since we didn't want to be outside any longer than we had to. We started with the wheels using an ONR mixture to clean them, followed by Meguiars APC+ to cleanthe tires and wheel wells. The tires and wells were also dressed with MEguiars Hyperdressing.
The vehicle was also washed with ONR and quickly dried with an Autoality WW towel. We check out the lower panels, and there weren't any embedded contaminants so we didn't need to clay on this vehicle, so we moved right to the polishing. After a little testing we ended up using Menzerna PowerFinish on a Tangerine HT pad with a Meguiars G110 DA. This gave us almost perfect correction, 95%+ of the swirls and scuffs were removed. Here is how the paint looked in the sun. Sorry no before pics of the swirls, they weren't crazy, but they were there.


After all the paint was corrected we wiped it down with CarPro Eraser to prep it for the Opti-Guard application. We then applied Opti-Guard to the paint, wheels, trim, and glass. As everyone knows Opti-Guard gives an amazing gloss to the paint, especially when it has recently been buffed closed to perfection.


We really love this color because in the bright sunlight it looks blue but in the shade it looks almost black and has some great depth and reflective properties.
To finish the detail off we cleaned the glass inside and out, polished and sealed the exhaust tips, and did a quick interior detail. Here is how the car turned out.


As you can see in the last set of pictures, the paint goes from a light slate blue, to a deep blue, and then almost black. We loved working on this vehicle and are very happy with the results, as was the customer. Thanks for taking the time to check out our write up, and we look forward to your feedback!
