Thomas Dekany
New member
I corrected this beautiful M3 in October when it was brand new. After the rainy season, the owner was ready to have the exterior cleaned up (interior was mint).
This time the choice was made to just have a 1 step done as the paint was very well maintained plus the car is either garaged or under a car port.
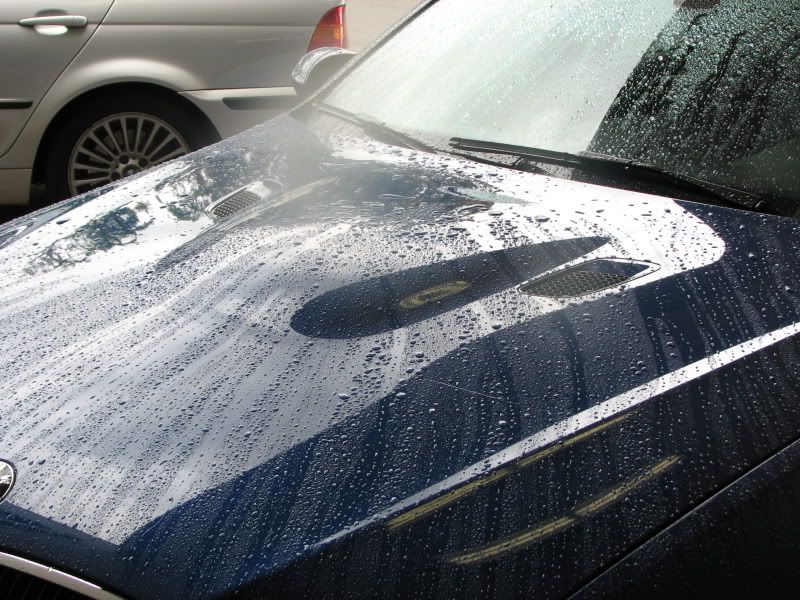
When the car was dropped off, I was very surprised to notice what seemed like a "protected" finish. I had to feel the paint and it was slick!
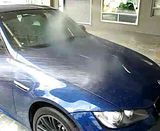
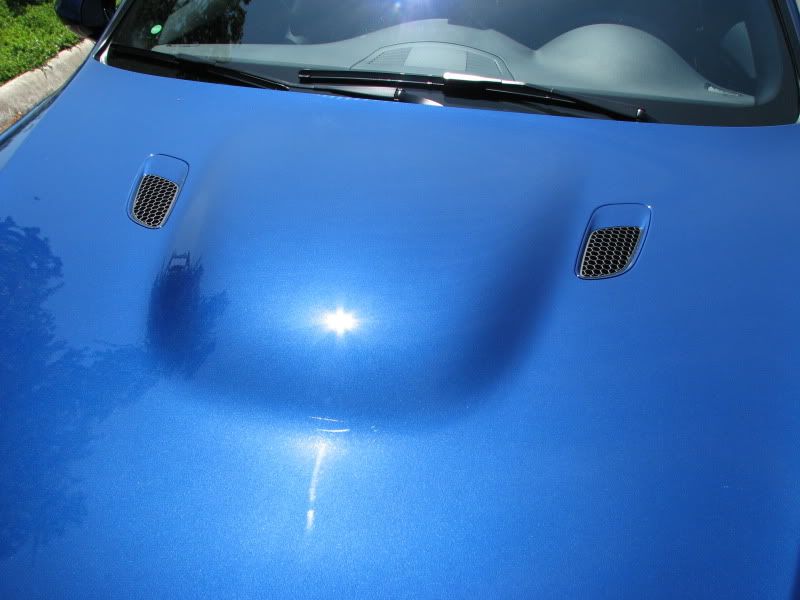
The first morning I too these 2 videos to show how the paint was reacting with water
(not the best but you will see it clearly)
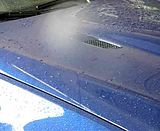
CLOSER
I had the car for 2 days to do the detail right. While I didn't take any before pictures, unfortunately there were some wash induced imperfections in the paint, but most seemed fairly light plus no matter what I was going to level the paint anyway.
The owner is a real cool guy and M3s are my favorite cars. You just don't want the car leave less than 100%
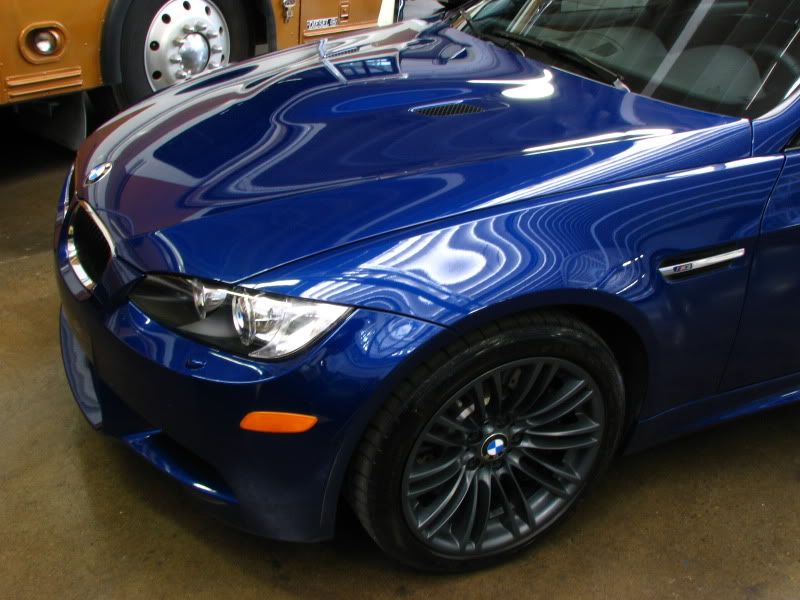
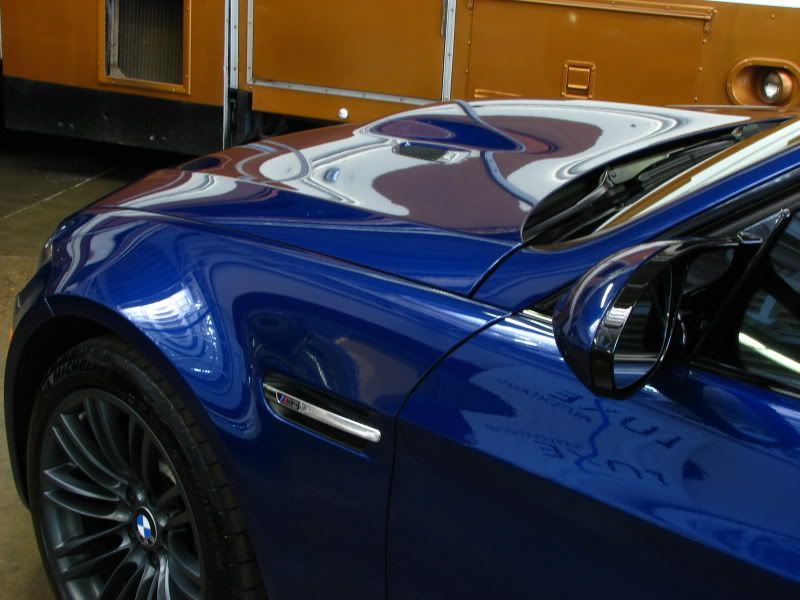
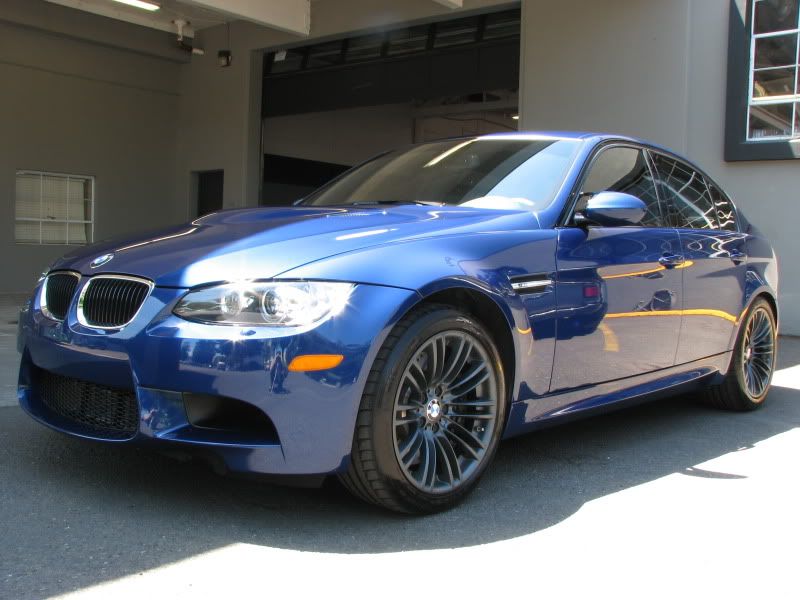
How the car looked before
No during will be posted, plus it is hard to see the difference.
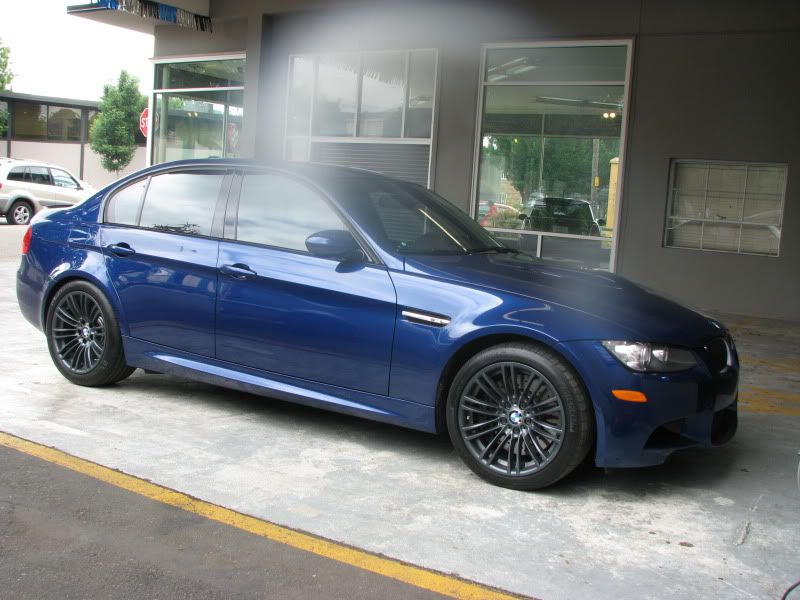
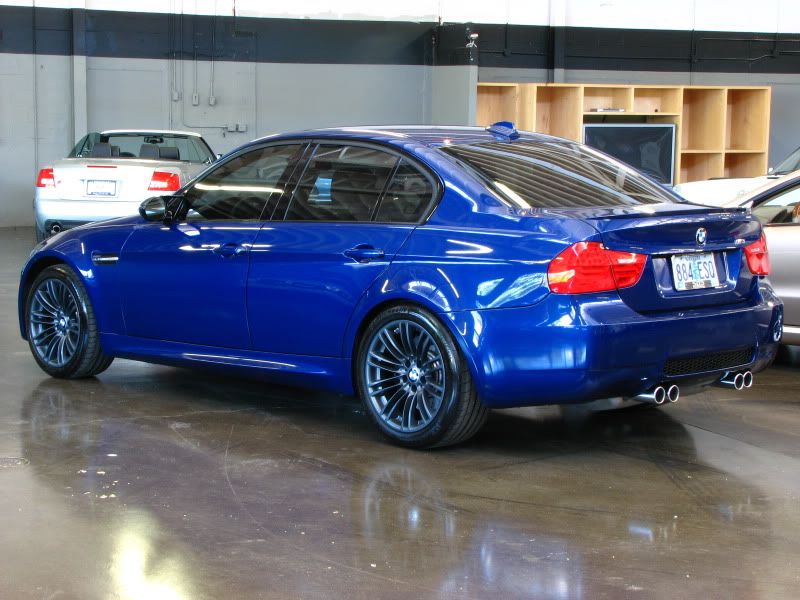
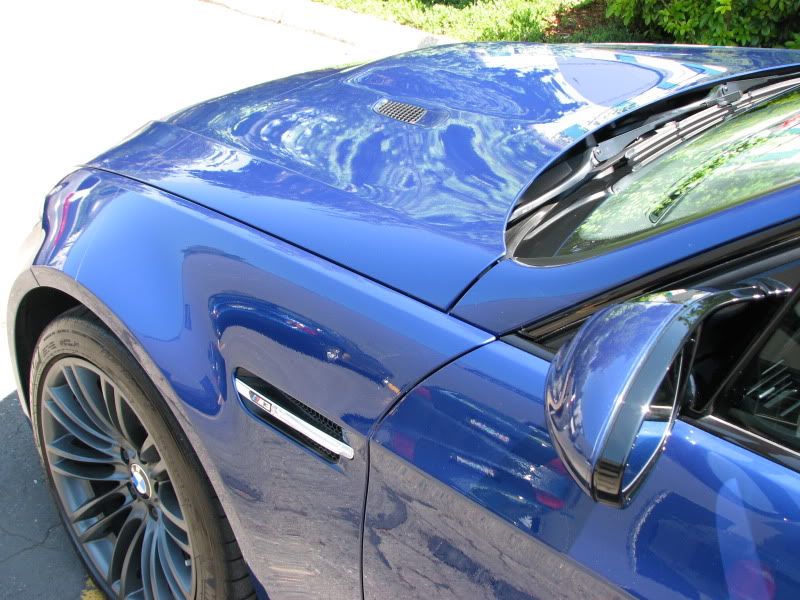
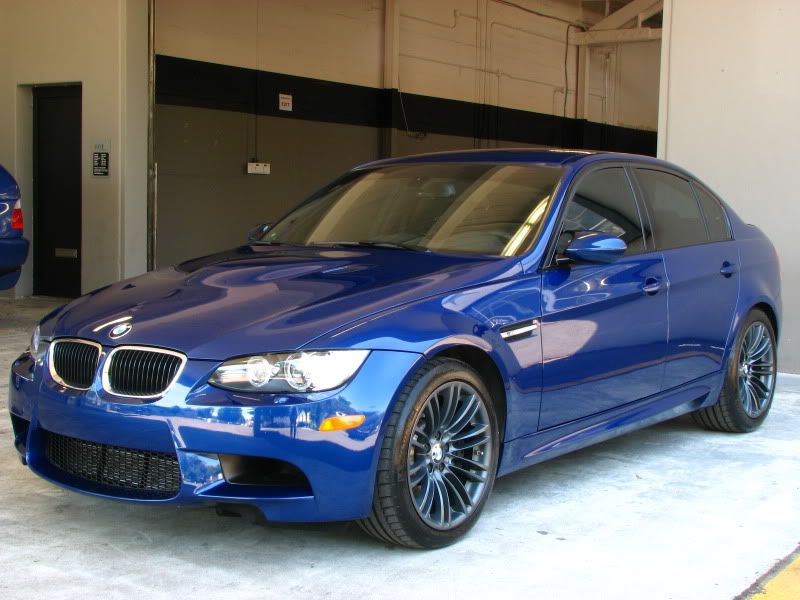
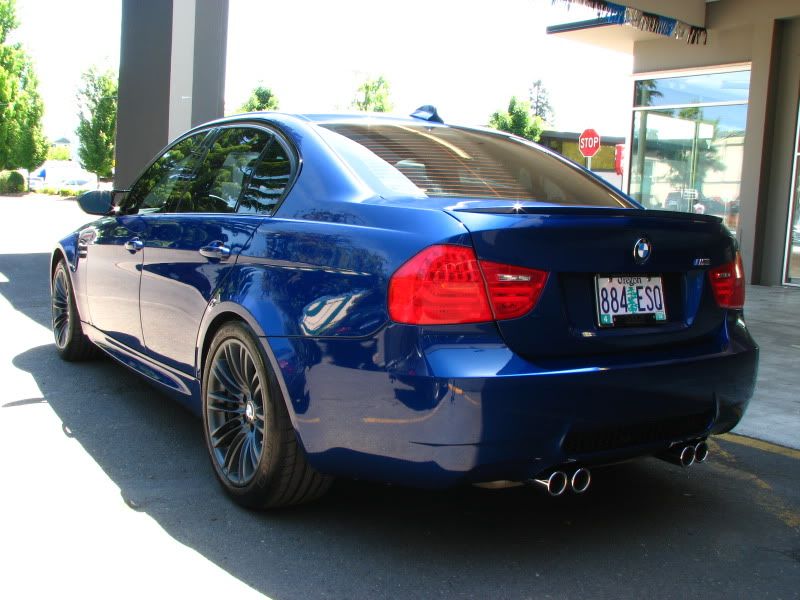
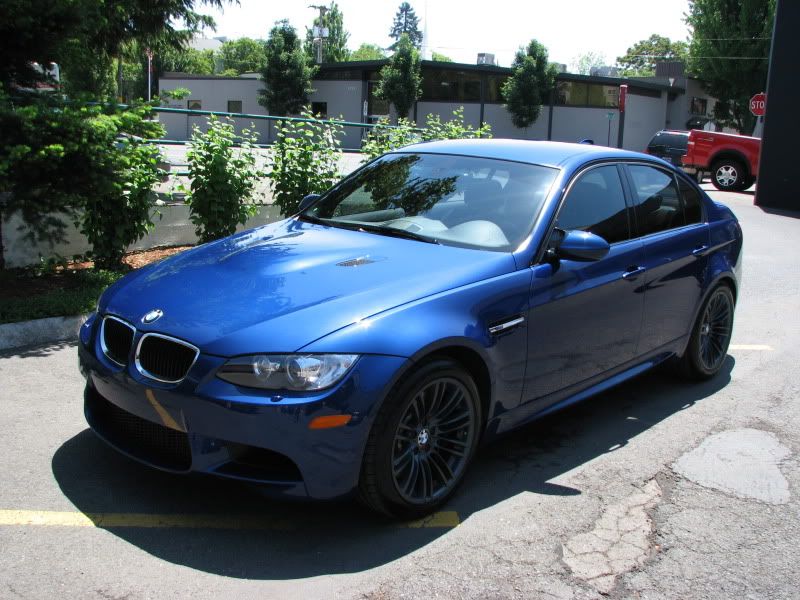
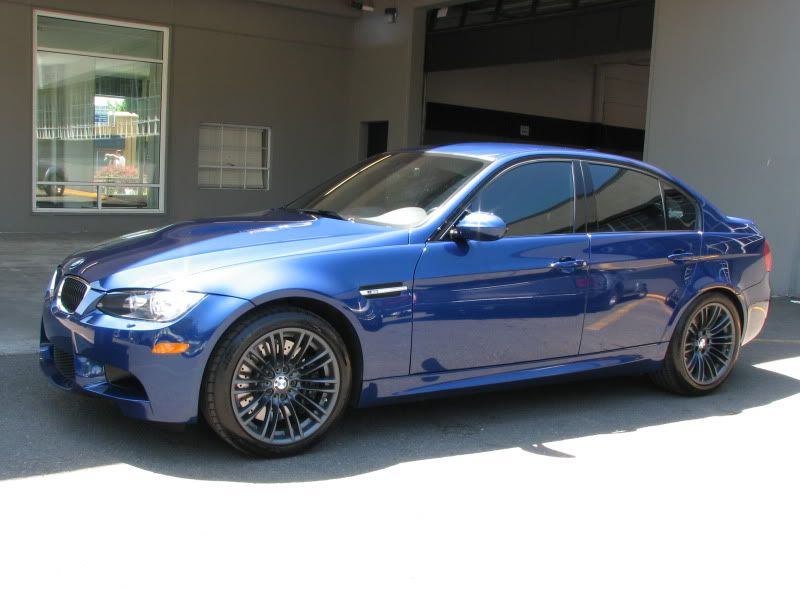
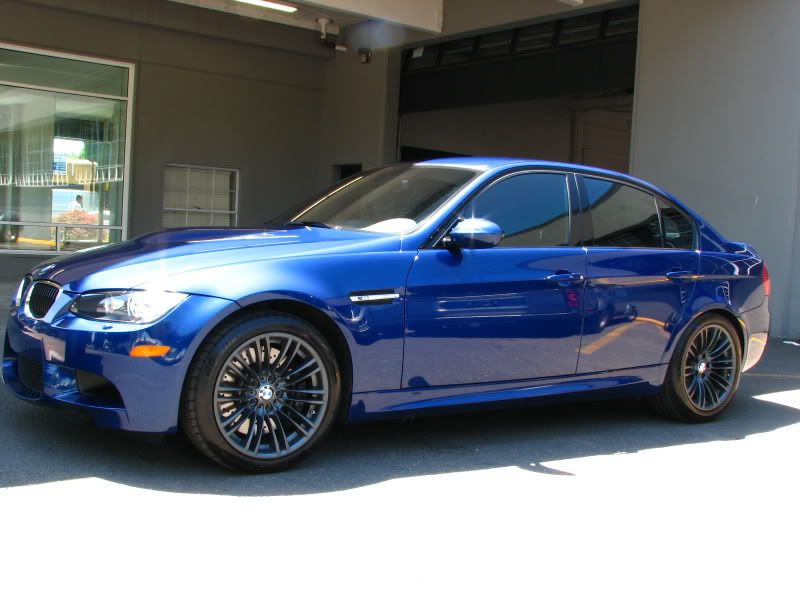
AFTERS
EXCUSE THE SMEAR ON THE CLEAR BRA, IT WAS WIPED OFF AFTER THE PICTURE WAS TAKEN

This time the choice was made to just have a 1 step done as the paint was very well maintained plus the car is either garaged or under a car port.
When the car was dropped off, I was very surprised to notice what seemed like a "protected" finish. I had to feel the paint and it was slick!
The first morning I too these 2 videos to show how the paint was reacting with water
(not the best but you will see it clearly)
CLOSER
I had the car for 2 days to do the detail right. While I didn't take any before pictures, unfortunately there were some wash induced imperfections in the paint, but most seemed fairly light plus no matter what I was going to level the paint anyway.
The owner is a real cool guy and M3s are my favorite cars. You just don't want the car leave less than 100%
How the car looked before
No during will be posted, plus it is hard to see the difference.
AFTERS
EXCUSE THE SMEAR ON THE CLEAR BRA, IT WAS WIPED OFF AFTER THE PICTURE WAS TAKEN
") . It helps extremely.
. It helps extremely.