by David W. Bynon
<font size="1">Copyright©, 1999-2002, Autopia Car Care -- All Rights Reserved</font>
People often ask me how I make and keep my cars looking so picture-perfect. “What wax do you use?� is the question that comes up most often. Unfortunately, it’s not quite that easy. If you want the perfect shine, you have to do a little work, and you have to work to keep it maintained. If your car’s paint is relatively new and in excellent condition, getting the perfect shine is actually pretty easy.
What is the perfect shine, anyway? The perfect shine comes when the paint surface is in good condition, free of all contaminants, polished, protected, glazed and waxed. Let’s look at each of these requirements individually.
Good Paint Condition – For the first 12 to 18 months of a new car’s life, the paint is relatively oxidation free and in good condition. If you maintain your new car’s paint with regular washing and protection, oxidation will remain minimal and cleaning the paint will be a minor task. Plan to wash or Quick Detail your car weekly.
Free of Contaminates – As you drive your car, debris from the road (i.e., tar, oil, bugs, etc.) will lodge itself on your car’s paint. The longer this debris is allowed to remain, the more difficult it is to remove. This is just one reason that regular washing is so important. Your car also will attract other contaminates as it sits outside. Birds, bugs and neighborhood kids seem to have a natural attraction to beautiful cars. These contaminates must be removed. You can’t wax over them and expect to get a show car finish.
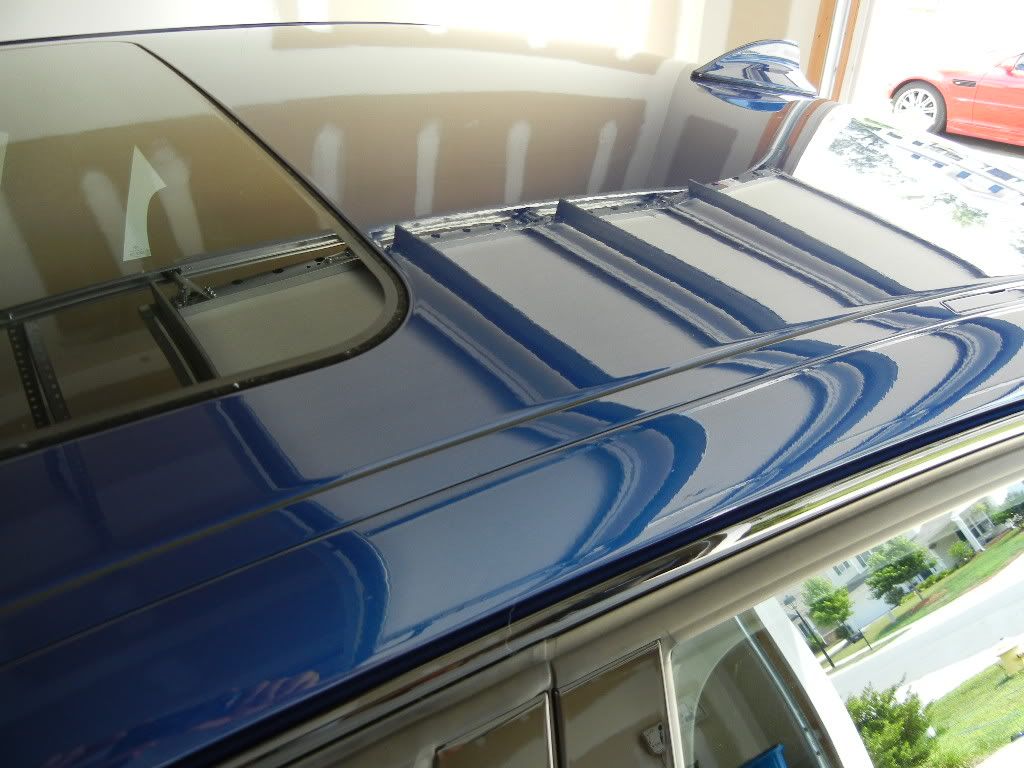
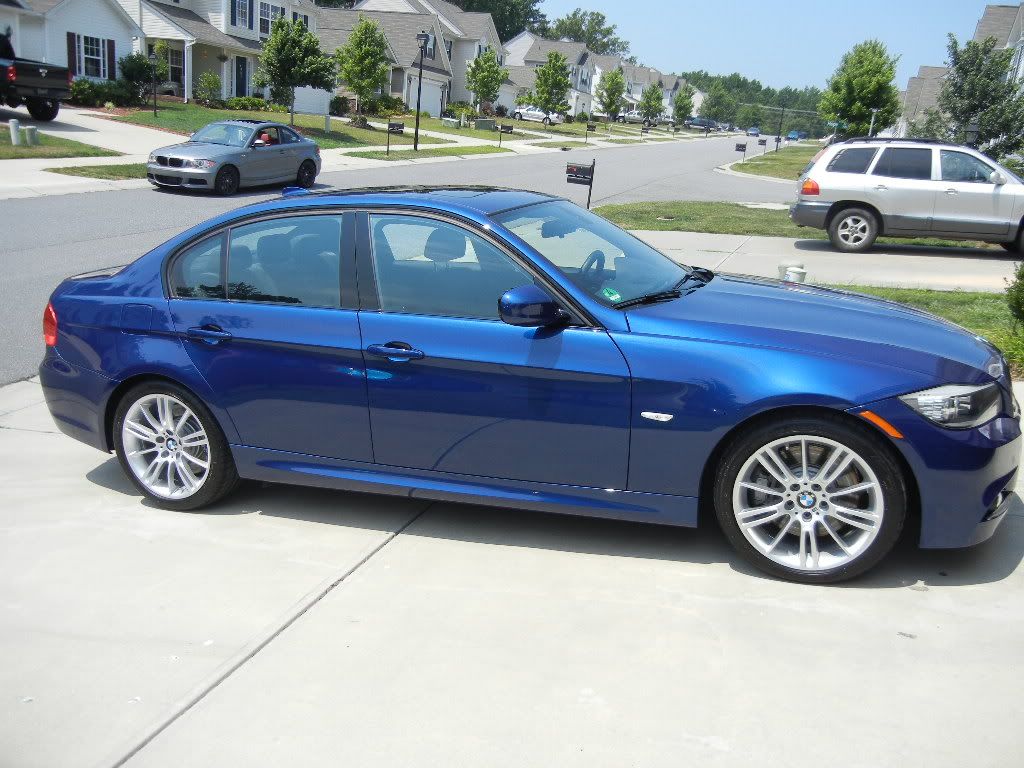
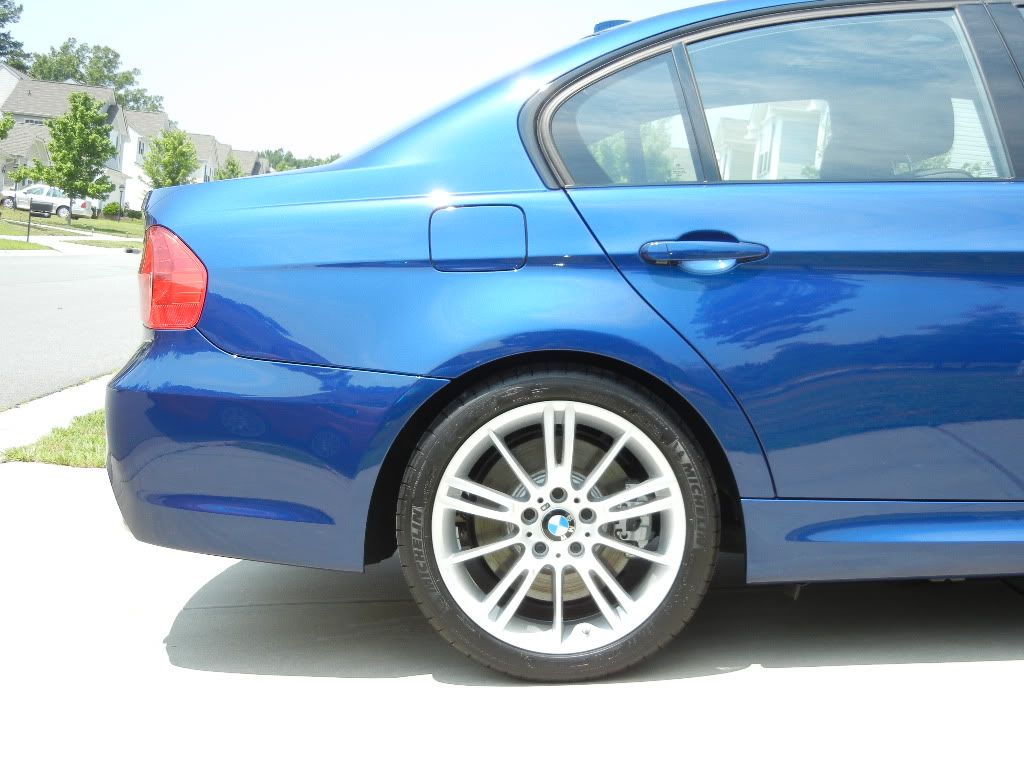
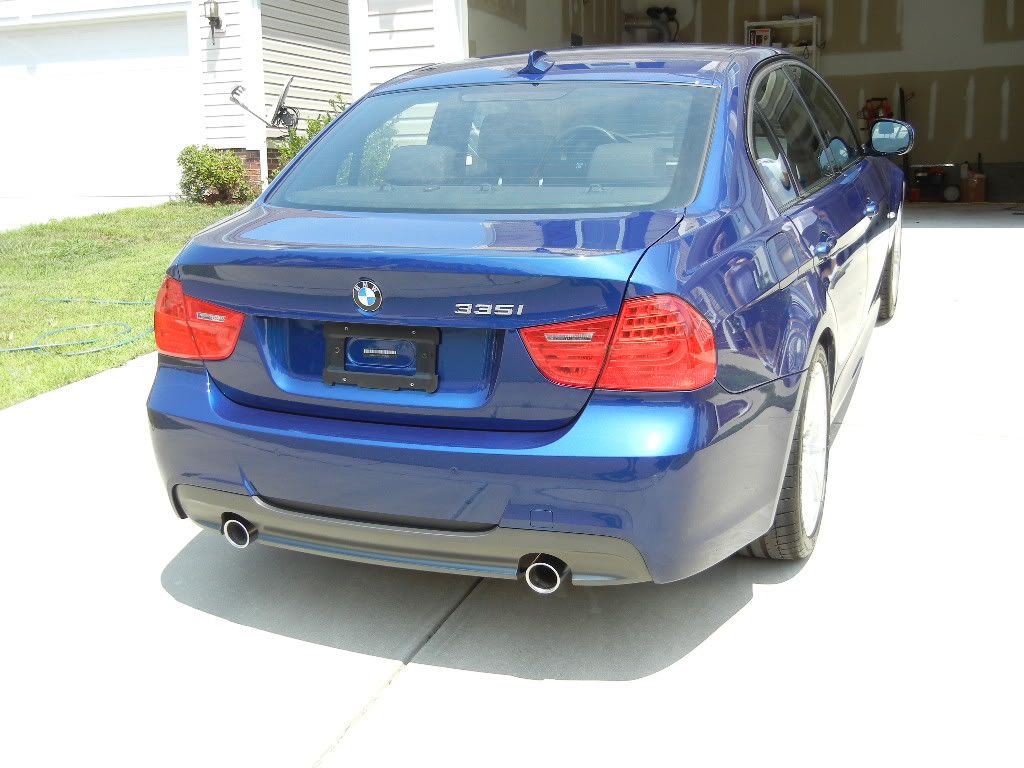
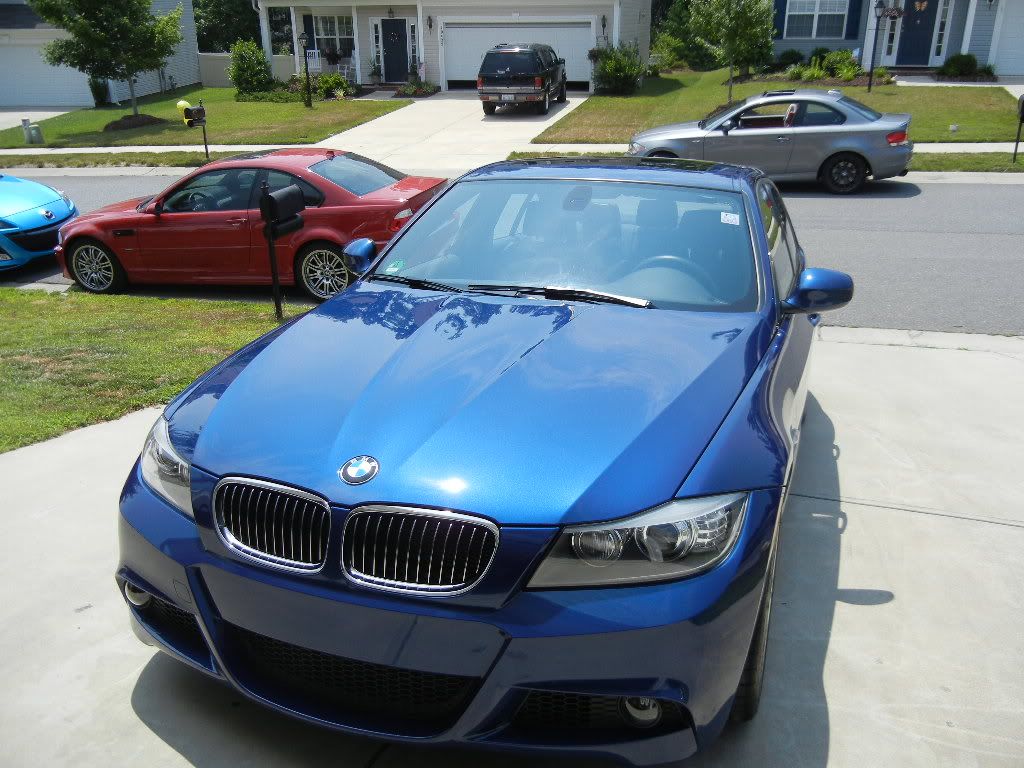
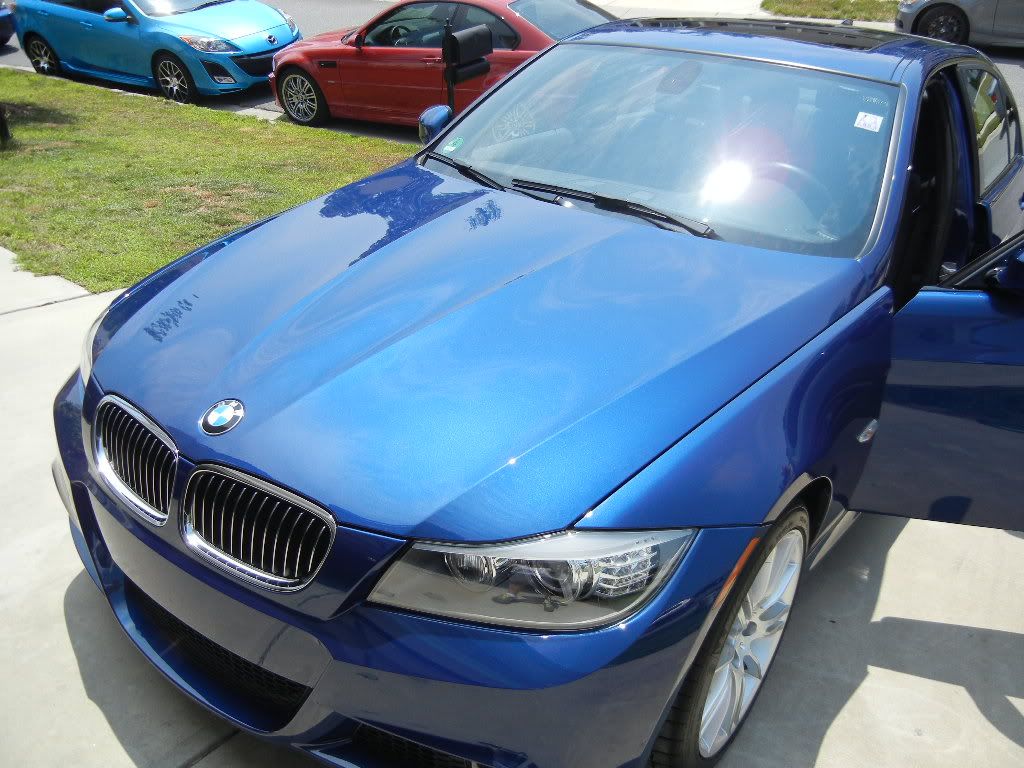
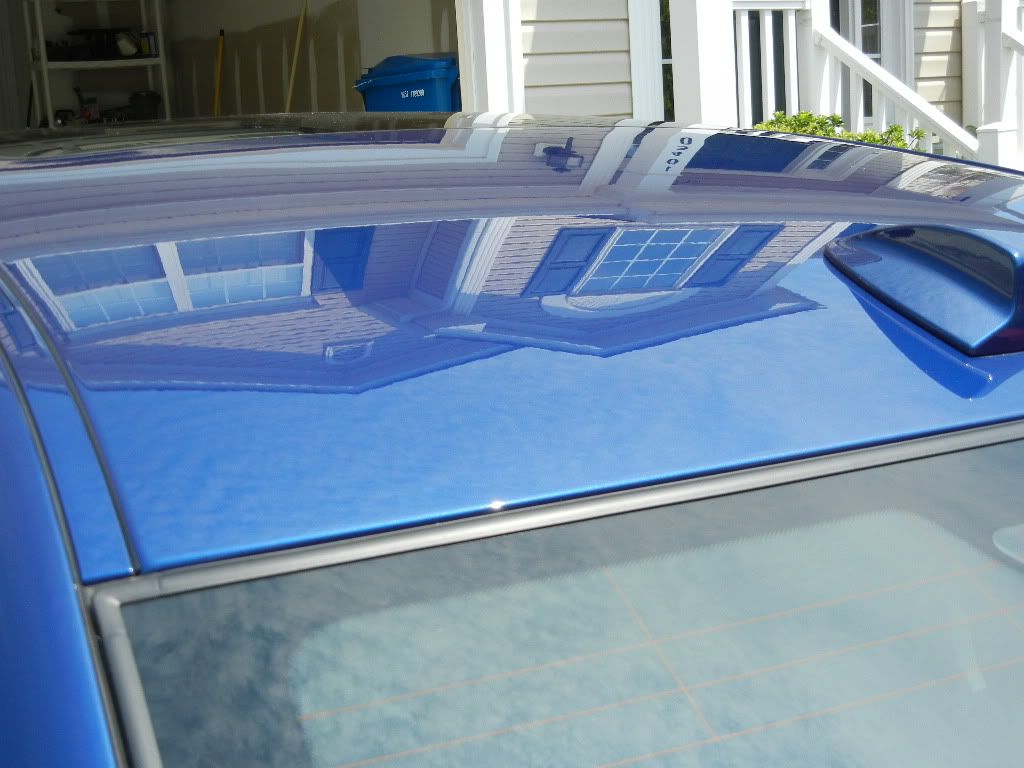
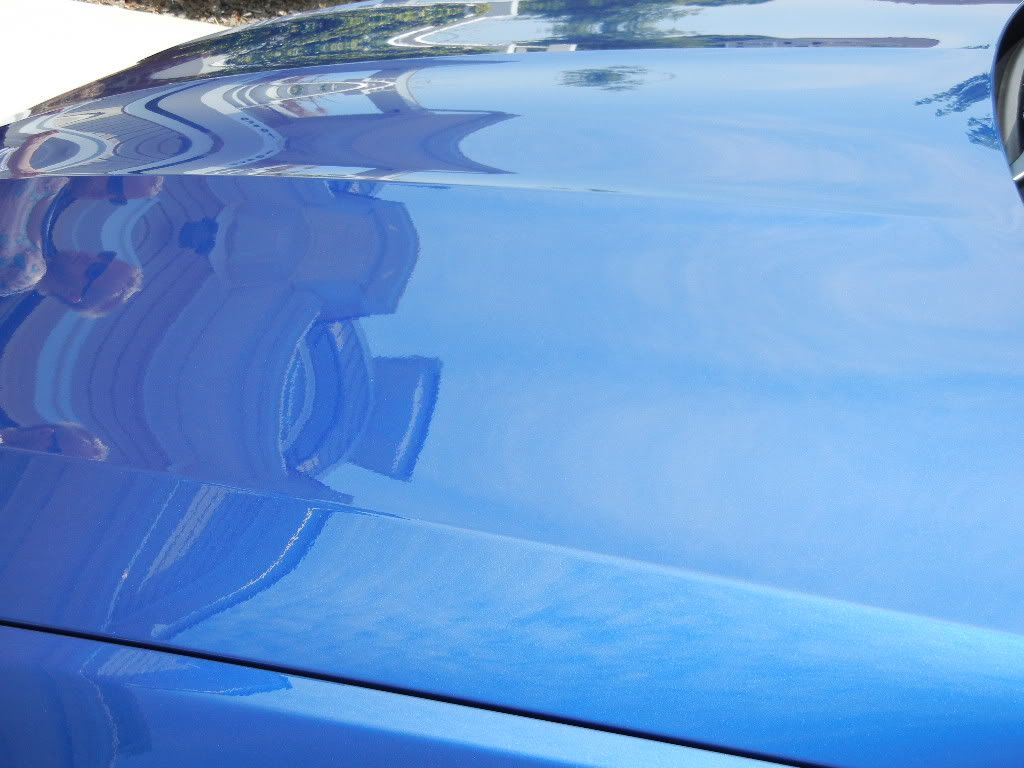
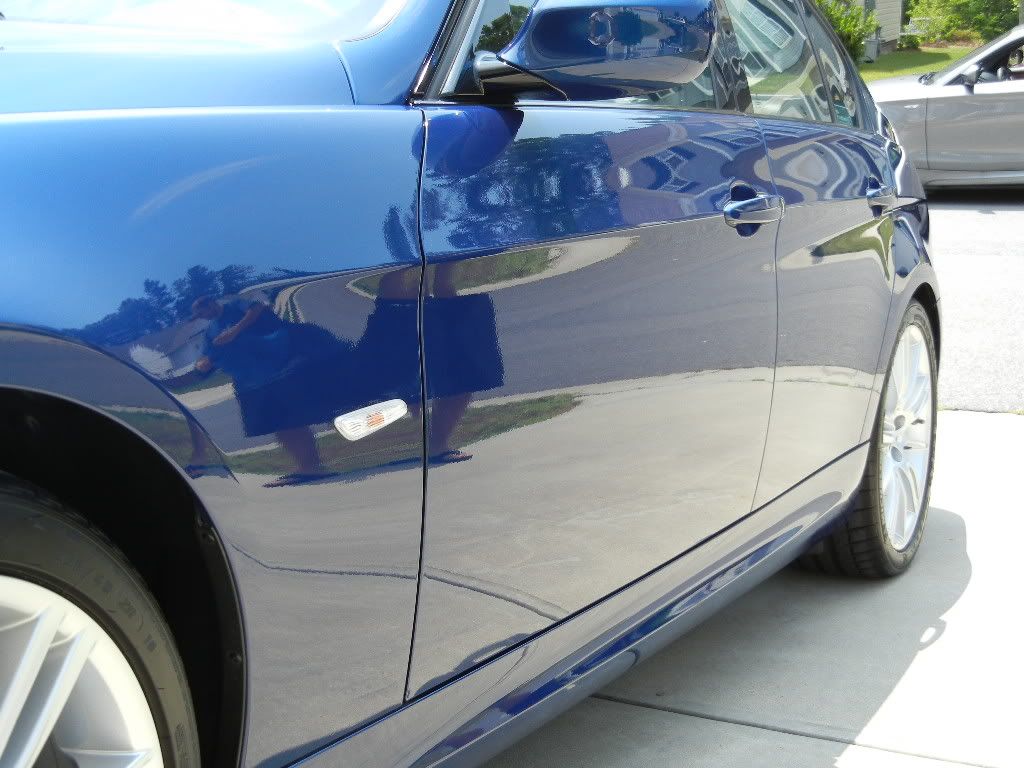
Polished – Polishing is necessary to remove minor blemishes, including surface scratches, swirl marks, pitted areas (minor road stone nicks), and scuffs. When polished, the paint finish will feel perfectly smooth. Your hand and polishing towel will literally glide over the surface. Feeling a perfectly polished car is a stimulating experience for most car nuts. There’s nothing quite like the polished fenders of a Porsche, Ferrari, Corvette or my neighbor’s Woody (woof!).
Protected – Paint is protected when it’s sealed from the elements and contaminants. It used to be that paste waxes, both natural and synthetic, were the best sealants. Not any more. The king of sealants today is the acrylic polymer. These micro-thin coatings are 5 to 10 times more durable than the best waxes. They offer extended protection from the elements and provide a super slick surface that reflects more light than all but the best waxes.
Glazed – Here’s a term that’s grossly misused in detailing products. Glazes are paint treatments used to fill small surface scratches and swirl marks. Most glazes are made from a blend of carnauba waxes and silicones. Polymer glazes are also available. If using a wax-based glaze, the glaze's filling ability generally only lasts a matter of days before swirl marks and light scratches reappear. If you’ve ever had your baby professionally detailed only to have swirl marks reappear a week later, now you know why.
Waxed – Waxing is the final step of the perfect shine. We’re not talking just any wax, here; we’re talking about a pure, natural carnauba wax. Pure carnauba waxes don’t have cleaning properties or synthetic compounds. They are made from a blend of carnauba waxes, bees wax and natural oils. It’s this quality show car wax that gives the paint depth and warmth. I know, I know, it kind of sound like we’re talking about a fine wine or something. Just don’t underestimate the value of a great wax to final results of the finished product.
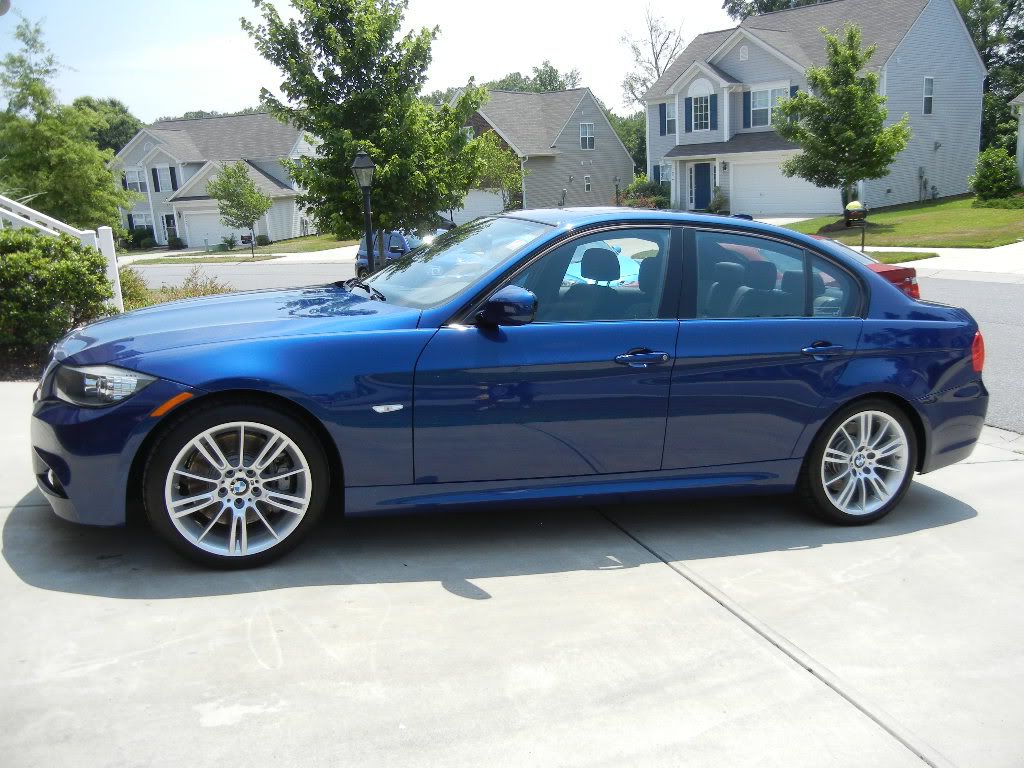
Now that you know the six requirements for the perfect shine, I’ll share with you my personal tips that keep my cars turning heads. The first thing to know is that I treat my toys differently than my daily driver. It’s very difficult to maintain a perfect shine on a daily driver, unless you only drive it a mile or two a day. Show cars (toys) are easier, because their job is to stay beautiful.
The Show Car Finish
My toys get the show car treatment 2-3 times a year. In between these weekend long events, they get a simple weekly maintenance that I will explain later. Here’s the basic weekend tasks (paintwork only):
I wash the car twice with a high concentration car wash from Eimann Fabrik, called Powerwash+. It’s a professional strength product that removes even the most stubborn dirt and grime.
After the wash and dry, I examine the paint with my hand. If I find rough areas, I use a synthetic clay bar and lubricant to remove the contaminates. I finish the cleaning process by going over all of the painted surfaces with Pinnacle Paintwork Cleansing Lotion. It’s the best pre-wax cleaner I have found, and it acts as a mild polish to remove oxidation. To get the best cleaning action, I use quality cotton terrycloth over foam applicators to apply Pinnacle Paintwork Cleansing Lotion, and a 100% cotton terrycloth towel to remove and buff.
After using the clay bar and the Paintwork Cleansing Lotion, the paint will literally squeak. You will also be able to see all of the paint defects. It’s time to get out the polish and treat each area of damaged paint. If I find heavy scuffs or surface scratches that I can feel with my fingernail, I repair these areas with Eagle One Scratch Remover. Swirl marks and other minor blemishes I polish out using 3M Imperial Hand Glaze (it’s a polish, not a glaze) or Meguiar’s Professional Hand Polish. I also use one of these polishes to go over any area where I used Eagle One Scratch Remover to restore the full luster of the paint.
Once perfectly polished, it’s time to seal the paint and lock in the beauty. For this I use a product that has been on the market for nearly 14 years, and has proven its quality to me again and again. Klasse All-In-One is a cleaner and polymer that immediately seals and protects paint with an elastic non-chip, shrink-proof, heat and scratch resistant, long lasting acrylic finish. Did he say “cleaner�? I sure did. Klasse All-In-One will remove the oils left behind by the polish and your hands, to produce a very brilliant finish.
When you’re finished sealing, you’ll be looking at a beautiful finish. Your first thought will be “hey, the car looks awesome… I must be doneâ€�. Not so fast, bucko! In about two hours, after the Klasse All-In-One has had a chance to cure, you’ll begin seeing swirls and other imperfections come to the surface. Klasse All-In-One is so thin it can’t fill the micro, hair-line surface scratches. To hide these imperfections, you must use a glaze. I like the companion to Klasse All-In-One, called Klasse Sealant Glaze.
You can apply 2-3 layers of Klasse Sealant Glaze as necessary to hide the swirls in your paint. This is the most effective product I’ve found for troubled black and dark blue cars.
You’re almost there. The final step, the literal icing on the cake, is the waxing. Many will ask “after sealing and glazing, why wax?� The answer lies in the richness of color, depth and clarity that only a high quality carnauba wax can bring out on a polished surface.
For the wax job I reach for only two products: Blitz Wax or Pinnacle Souveran. Blitz Wax is a hard wax. It dries hard and provides a lot of depth and warmth. Depending on weather conditions, it is cursed with static buildup, which makes it attract dust. Pinnacle Souveran is a true show car wax. It’s very pricey ($8.75 per ounce compared to Blitz Wax at $1.40 per ounce), but the results are no less than stunning. Pinnacle Souveran wax brings out a warmth and depth on my Speed Yellow Porsche 996 that I have not been able to duplicate with any other wax.
On steps 4 through 6 I use a quality foam applicator to apply and a Miracle Towel to remove and buff. Nothing else works quite like the Miracle Towel. It’s lint free (really!) and it’s tiny micro hooks pull the excess sealant or wax away from the paint for faster buffing.
Perfect Shine Maintenance
If you’ve finished the six steps to a show car, “perfect shine�, finish, you’ll need to do some light maintenance to keep it looking great. If it’s a true show car (toy), keep it covered. Even while neatly tucked away in the garage you should keep your car covered. This keeps dust and pollutants off of the beautiful finish, and the wax won’t evaporate as quickly (yes, wax evaporates). Next, plan to do a Quick Detailing on your car after each outing. Choose a detailing spray containing a quality carnauba wax. This will replenish the wax lost through evaporation. The Quick Detailing will normally take no more than 5 to 10 minutes. With a good Quick Detailing program, you’ll find that you can cut washing back to one every couple of weeks. So, in the long run, Quick Detailing will save you time and keep your car beautiful.
Buffing Up the Daily Driver_
While all of the steps above will work wonders on the daily driver, the reality is that the hard work will only last a few weeks before you need to do it all over again. To keep your daily driver looking its best, perform steps 1 through 4 every four to six months, and wash your car weekly with a mild car shampoo like P21S Bodywork Shampoo or Pinnacle Bodywork Shampoo. Use a good Quick Detailing spray after each washing to restore the shine.
<font size="1">Many of the products mentioned in this article are available from Classic Motoring Accessories and are used at the buyer's own risk. Autopia Car Care is not affiliated with and does not represent Classic Motoring Accessories or the manufacturers of the products mentioned.</font>
<font size="1">Copyright©, 1999-2002, Autopia Car Care -- All Rights Reserved</font>
People often ask me how I make and keep my cars looking so picture-perfect. “What wax do you use?� is the question that comes up most often. Unfortunately, it’s not quite that easy. If you want the perfect shine, you have to do a little work, and you have to work to keep it maintained. If your car’s paint is relatively new and in excellent condition, getting the perfect shine is actually pretty easy.
What is the perfect shine, anyway? The perfect shine comes when the paint surface is in good condition, free of all contaminants, polished, protected, glazed and waxed. Let’s look at each of these requirements individually.
Good Paint Condition – For the first 12 to 18 months of a new car’s life, the paint is relatively oxidation free and in good condition. If you maintain your new car’s paint with regular washing and protection, oxidation will remain minimal and cleaning the paint will be a minor task. Plan to wash or Quick Detail your car weekly.
Free of Contaminates – As you drive your car, debris from the road (i.e., tar, oil, bugs, etc.) will lodge itself on your car’s paint. The longer this debris is allowed to remain, the more difficult it is to remove. This is just one reason that regular washing is so important. Your car also will attract other contaminates as it sits outside. Birds, bugs and neighborhood kids seem to have a natural attraction to beautiful cars. These contaminates must be removed. You can’t wax over them and expect to get a show car finish.
Polished – Polishing is necessary to remove minor blemishes, including surface scratches, swirl marks, pitted areas (minor road stone nicks), and scuffs. When polished, the paint finish will feel perfectly smooth. Your hand and polishing towel will literally glide over the surface. Feeling a perfectly polished car is a stimulating experience for most car nuts. There’s nothing quite like the polished fenders of a Porsche, Ferrari, Corvette or my neighbor’s Woody (woof!).
Protected – Paint is protected when it’s sealed from the elements and contaminants. It used to be that paste waxes, both natural and synthetic, were the best sealants. Not any more. The king of sealants today is the acrylic polymer. These micro-thin coatings are 5 to 10 times more durable than the best waxes. They offer extended protection from the elements and provide a super slick surface that reflects more light than all but the best waxes.
Glazed – Here’s a term that’s grossly misused in detailing products. Glazes are paint treatments used to fill small surface scratches and swirl marks. Most glazes are made from a blend of carnauba waxes and silicones. Polymer glazes are also available. If using a wax-based glaze, the glaze's filling ability generally only lasts a matter of days before swirl marks and light scratches reappear. If you’ve ever had your baby professionally detailed only to have swirl marks reappear a week later, now you know why.
Waxed – Waxing is the final step of the perfect shine. We’re not talking just any wax, here; we’re talking about a pure, natural carnauba wax. Pure carnauba waxes don’t have cleaning properties or synthetic compounds. They are made from a blend of carnauba waxes, bees wax and natural oils. It’s this quality show car wax that gives the paint depth and warmth. I know, I know, it kind of sound like we’re talking about a fine wine or something. Just don’t underestimate the value of a great wax to final results of the finished product.
Now that you know the six requirements for the perfect shine, I’ll share with you my personal tips that keep my cars turning heads. The first thing to know is that I treat my toys differently than my daily driver. It’s very difficult to maintain a perfect shine on a daily driver, unless you only drive it a mile or two a day. Show cars (toys) are easier, because their job is to stay beautiful.
The Show Car Finish
My toys get the show car treatment 2-3 times a year. In between these weekend long events, they get a simple weekly maintenance that I will explain later. Here’s the basic weekend tasks (paintwork only):
I wash the car twice with a high concentration car wash from Eimann Fabrik, called Powerwash+. It’s a professional strength product that removes even the most stubborn dirt and grime.
After the wash and dry, I examine the paint with my hand. If I find rough areas, I use a synthetic clay bar and lubricant to remove the contaminates. I finish the cleaning process by going over all of the painted surfaces with Pinnacle Paintwork Cleansing Lotion. It’s the best pre-wax cleaner I have found, and it acts as a mild polish to remove oxidation. To get the best cleaning action, I use quality cotton terrycloth over foam applicators to apply Pinnacle Paintwork Cleansing Lotion, and a 100% cotton terrycloth towel to remove and buff.
After using the clay bar and the Paintwork Cleansing Lotion, the paint will literally squeak. You will also be able to see all of the paint defects. It’s time to get out the polish and treat each area of damaged paint. If I find heavy scuffs or surface scratches that I can feel with my fingernail, I repair these areas with Eagle One Scratch Remover. Swirl marks and other minor blemishes I polish out using 3M Imperial Hand Glaze (it’s a polish, not a glaze) or Meguiar’s Professional Hand Polish. I also use one of these polishes to go over any area where I used Eagle One Scratch Remover to restore the full luster of the paint.
Once perfectly polished, it’s time to seal the paint and lock in the beauty. For this I use a product that has been on the market for nearly 14 years, and has proven its quality to me again and again. Klasse All-In-One is a cleaner and polymer that immediately seals and protects paint with an elastic non-chip, shrink-proof, heat and scratch resistant, long lasting acrylic finish. Did he say “cleaner�? I sure did. Klasse All-In-One will remove the oils left behind by the polish and your hands, to produce a very brilliant finish.
When you’re finished sealing, you’ll be looking at a beautiful finish. Your first thought will be “hey, the car looks awesome… I must be doneâ€�. Not so fast, bucko! In about two hours, after the Klasse All-In-One has had a chance to cure, you’ll begin seeing swirls and other imperfections come to the surface. Klasse All-In-One is so thin it can’t fill the micro, hair-line surface scratches. To hide these imperfections, you must use a glaze. I like the companion to Klasse All-In-One, called Klasse Sealant Glaze.
You can apply 2-3 layers of Klasse Sealant Glaze as necessary to hide the swirls in your paint. This is the most effective product I’ve found for troubled black and dark blue cars.
You’re almost there. The final step, the literal icing on the cake, is the waxing. Many will ask “after sealing and glazing, why wax?� The answer lies in the richness of color, depth and clarity that only a high quality carnauba wax can bring out on a polished surface.
For the wax job I reach for only two products: Blitz Wax or Pinnacle Souveran. Blitz Wax is a hard wax. It dries hard and provides a lot of depth and warmth. Depending on weather conditions, it is cursed with static buildup, which makes it attract dust. Pinnacle Souveran is a true show car wax. It’s very pricey ($8.75 per ounce compared to Blitz Wax at $1.40 per ounce), but the results are no less than stunning. Pinnacle Souveran wax brings out a warmth and depth on my Speed Yellow Porsche 996 that I have not been able to duplicate with any other wax.
On steps 4 through 6 I use a quality foam applicator to apply and a Miracle Towel to remove and buff. Nothing else works quite like the Miracle Towel. It’s lint free (really!) and it’s tiny micro hooks pull the excess sealant or wax away from the paint for faster buffing.
Perfect Shine Maintenance
If you’ve finished the six steps to a show car, “perfect shine�, finish, you’ll need to do some light maintenance to keep it looking great. If it’s a true show car (toy), keep it covered. Even while neatly tucked away in the garage you should keep your car covered. This keeps dust and pollutants off of the beautiful finish, and the wax won’t evaporate as quickly (yes, wax evaporates). Next, plan to do a Quick Detailing on your car after each outing. Choose a detailing spray containing a quality carnauba wax. This will replenish the wax lost through evaporation. The Quick Detailing will normally take no more than 5 to 10 minutes. With a good Quick Detailing program, you’ll find that you can cut washing back to one every couple of weeks. So, in the long run, Quick Detailing will save you time and keep your car beautiful.
Buffing Up the Daily Driver_
While all of the steps above will work wonders on the daily driver, the reality is that the hard work will only last a few weeks before you need to do it all over again. To keep your daily driver looking its best, perform steps 1 through 4 every four to six months, and wash your car weekly with a mild car shampoo like P21S Bodywork Shampoo or Pinnacle Bodywork Shampoo. Use a good Quick Detailing spray after each washing to restore the shine.
<font size="1">Many of the products mentioned in this article are available from Classic Motoring Accessories and are used at the buyer's own risk. Autopia Car Care is not affiliated with and does not represent Classic Motoring Accessories or the manufacturers of the products mentioned.</font>
")