This gorgeous Porsche 911 GT3 RS was just purchased by the owner and was looking to start the car off in the right direction. As soon as the car left the dealerships lot, it was on its way to Unique Car Care for a proper new car prep as well as clear film (aka clear-bra) to the complete hood, complete fenders, complete front bumper, mirrors, rocker panels, a-pillars, partial roof and the carbon fiber rear spoiler to protect the paint against stone chips and road debris.
I had been speaking with the owner before he took ownership of the car and I had advised him to have the dealer simply remove the cosmoline protection in order to inspect the paint and leave the rest of the prep for us to handle. As most of you know, dealers are famous for inducing swirls, buffer trails, marring, etc. which would make my job more difficult. Surprisingly, they actually listened to him and weren’t able to get their dirty little hands on it!
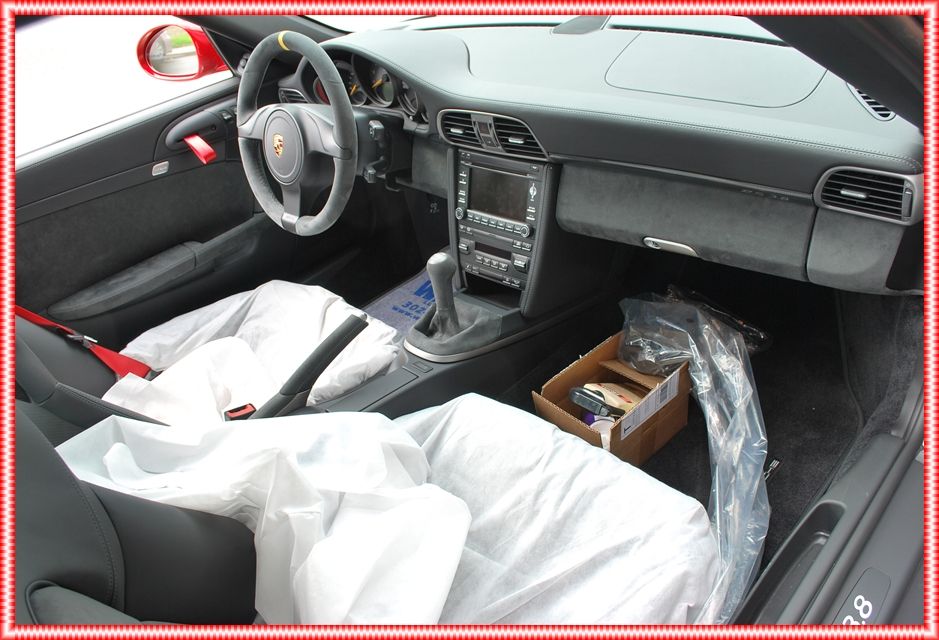
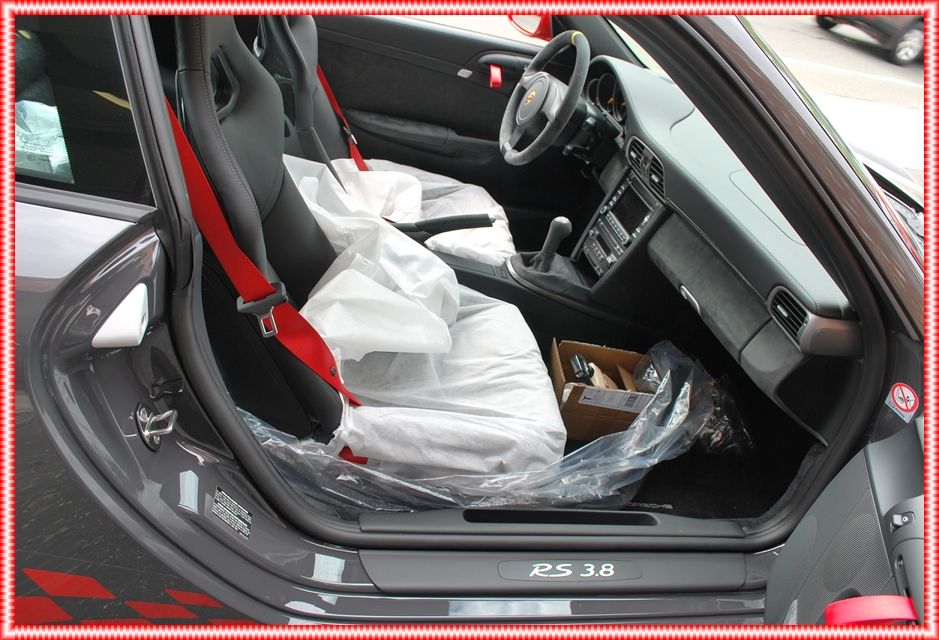
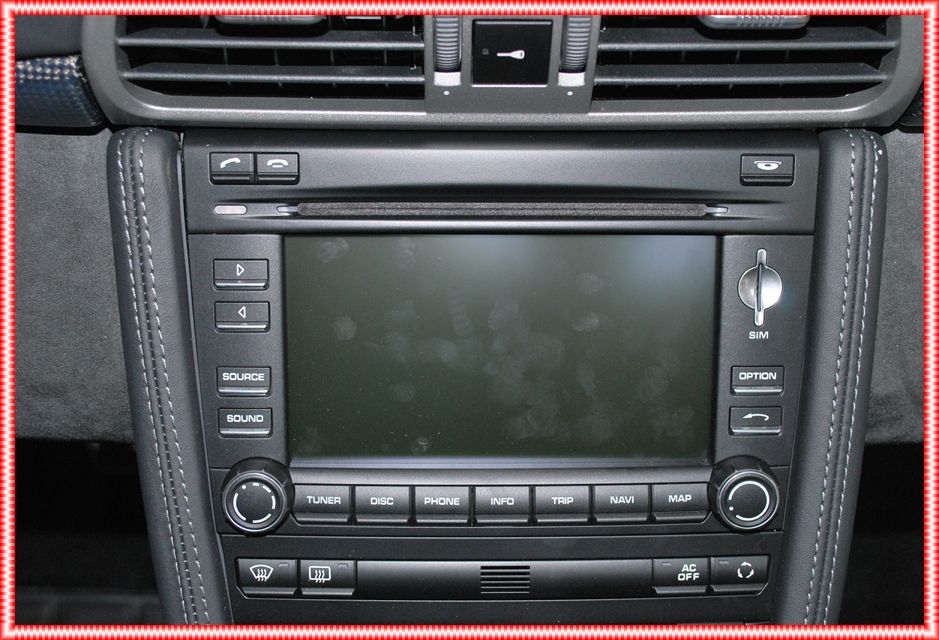
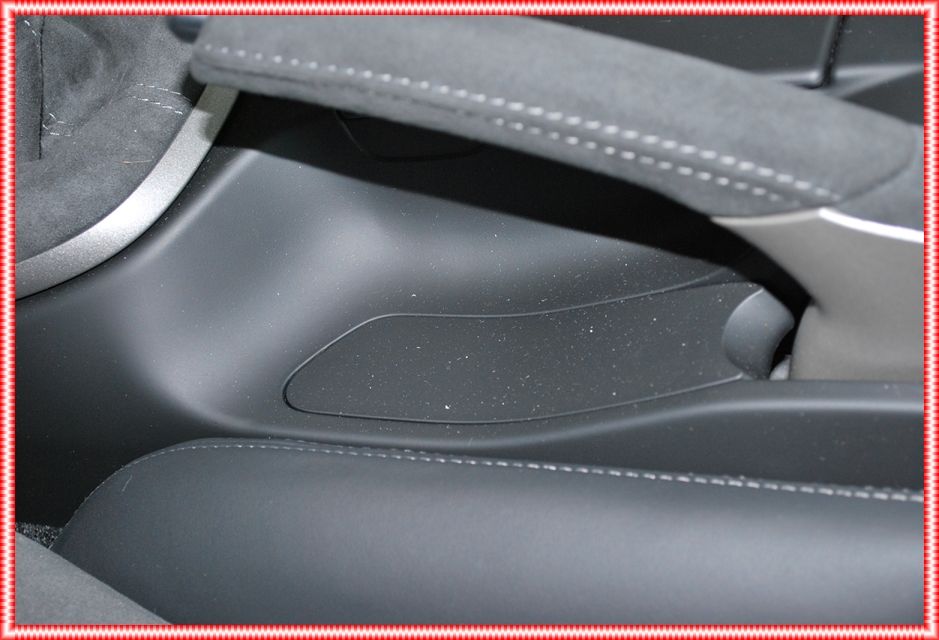
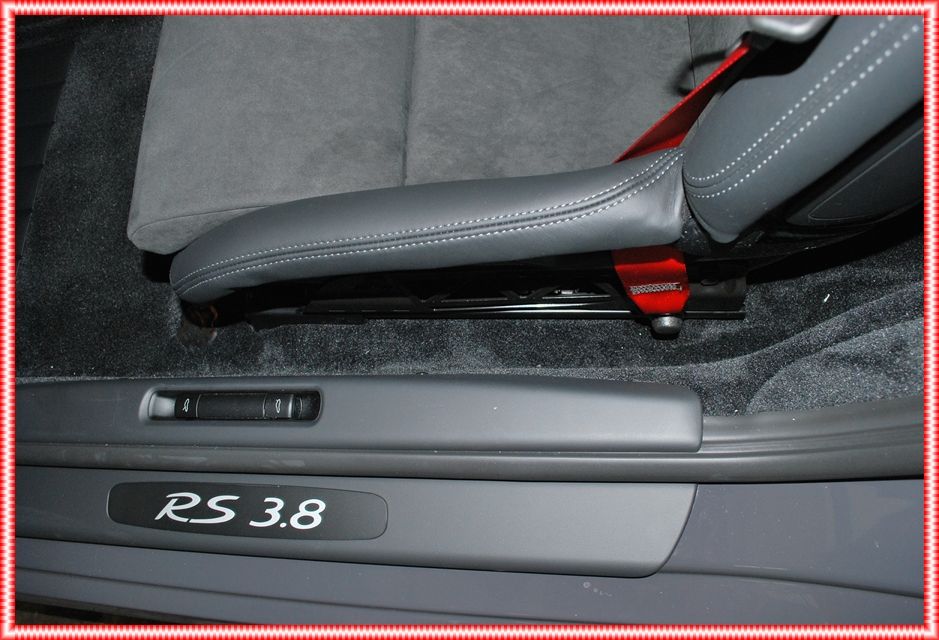
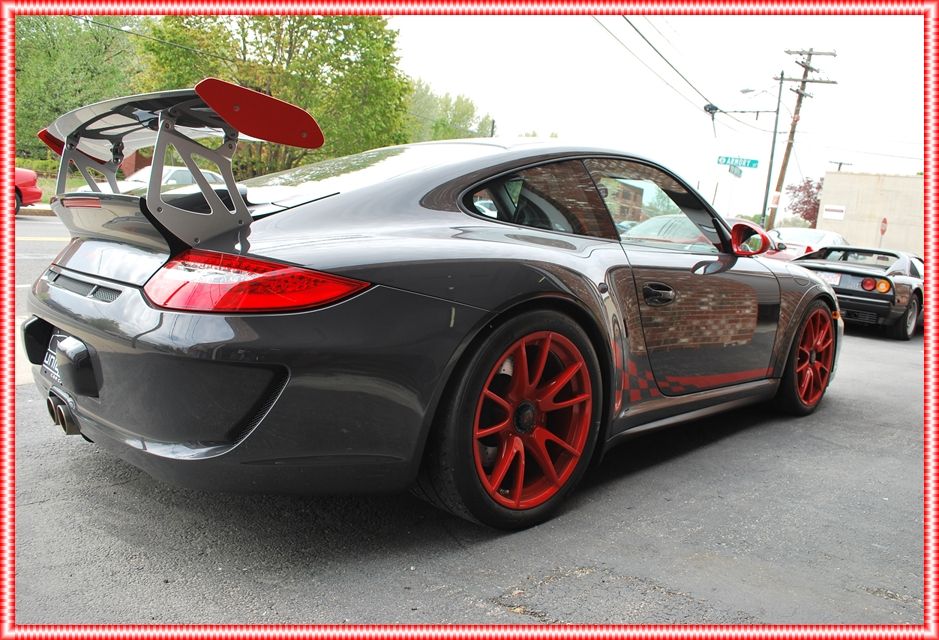
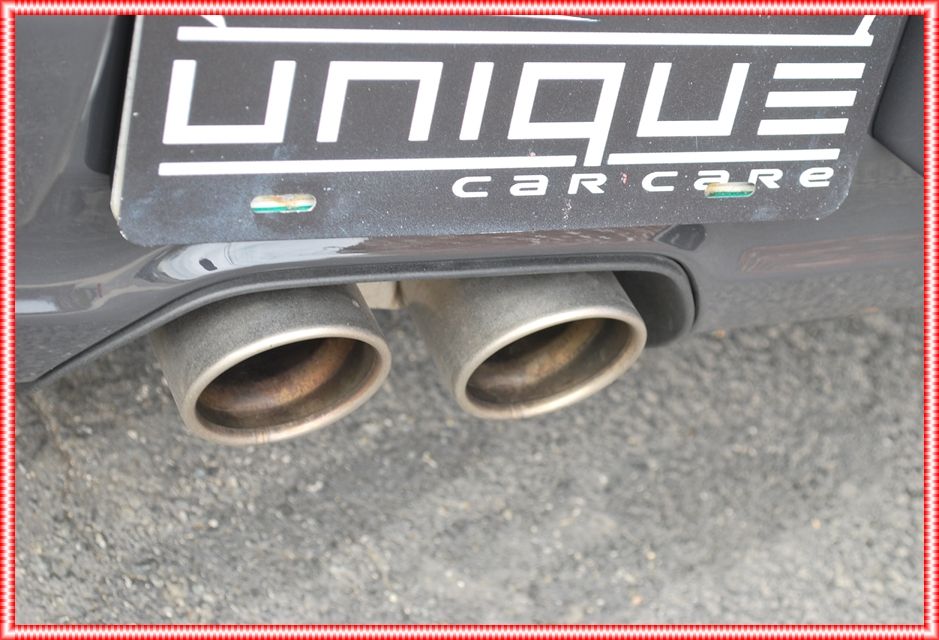
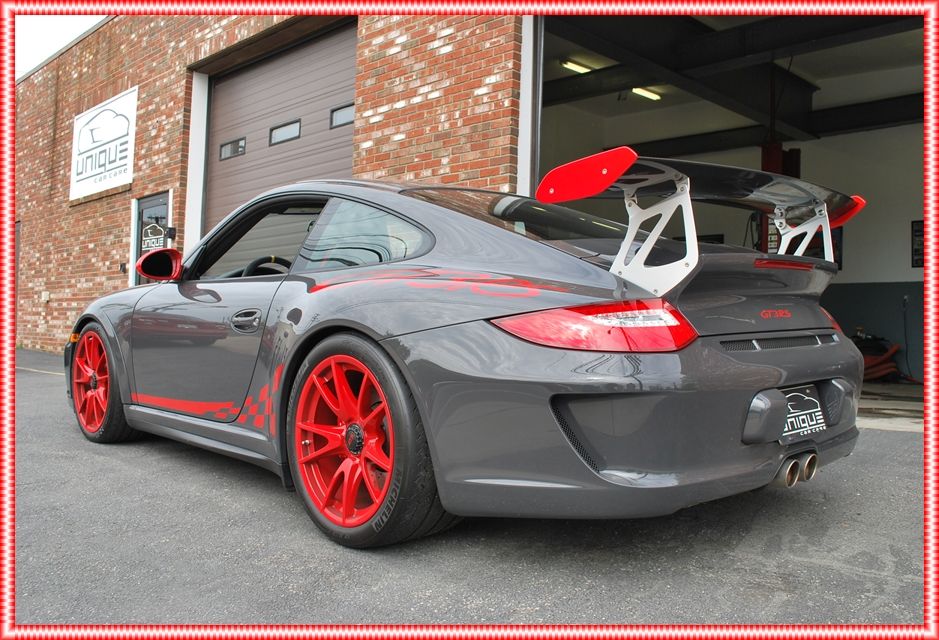
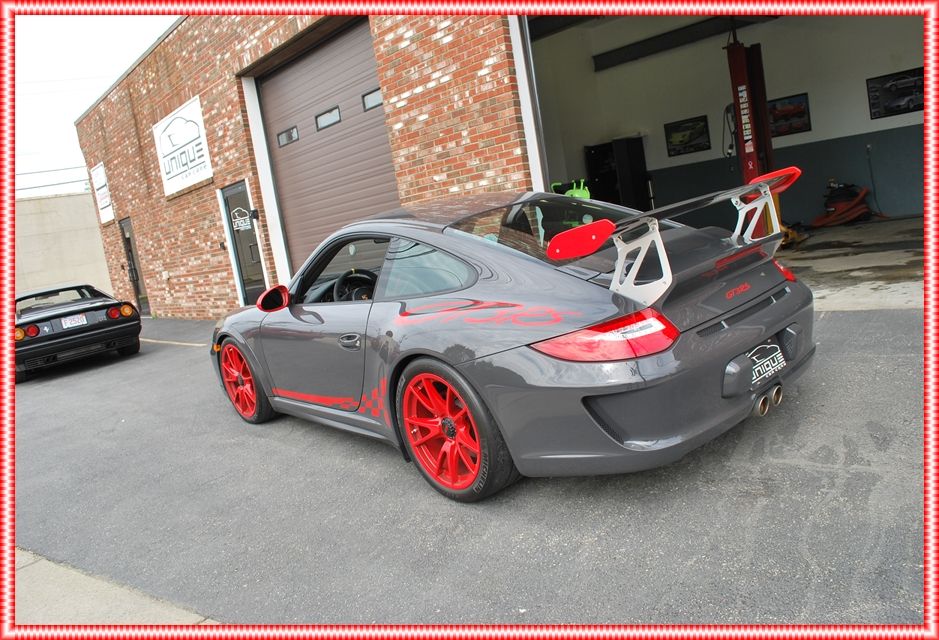
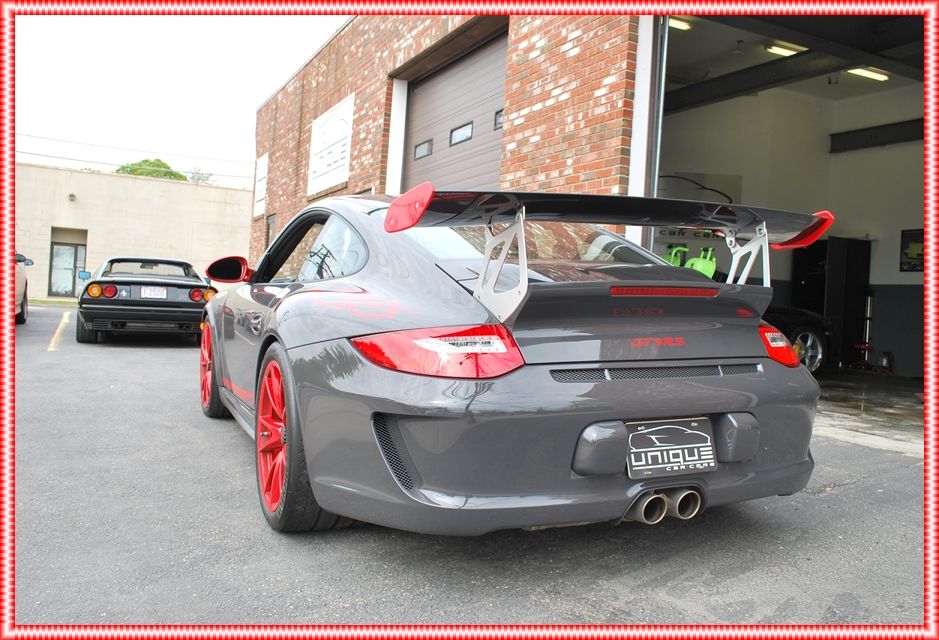
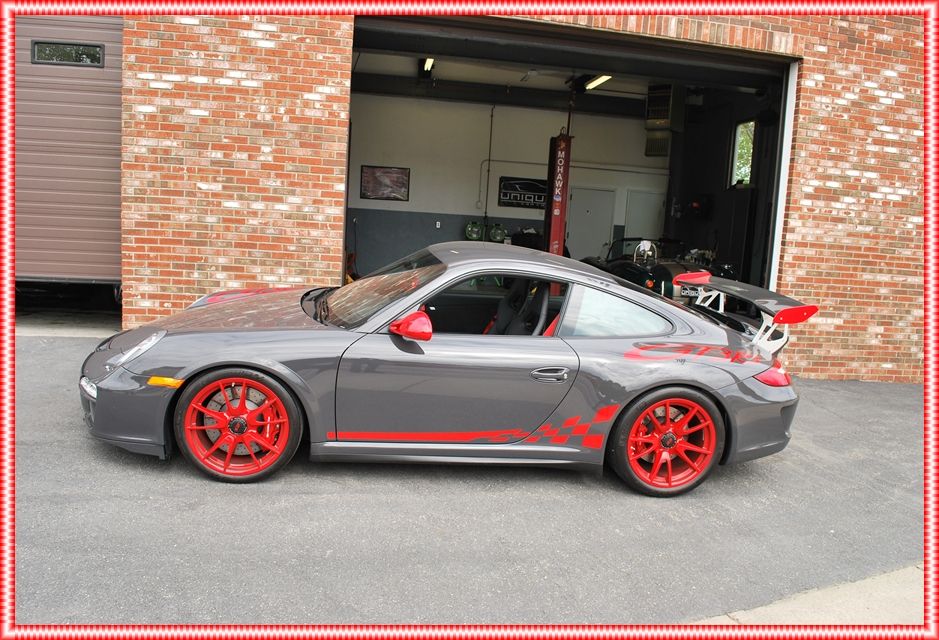
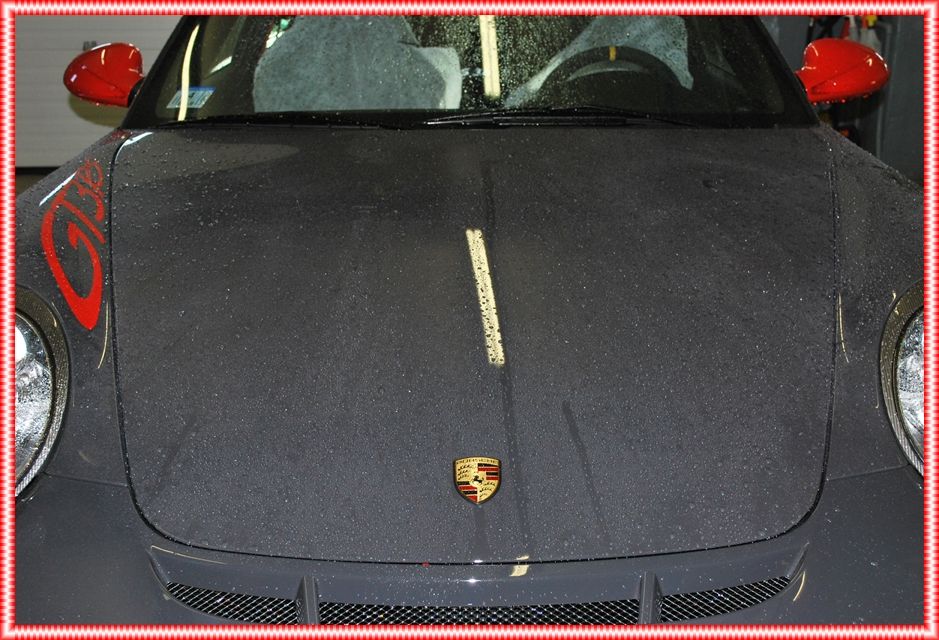
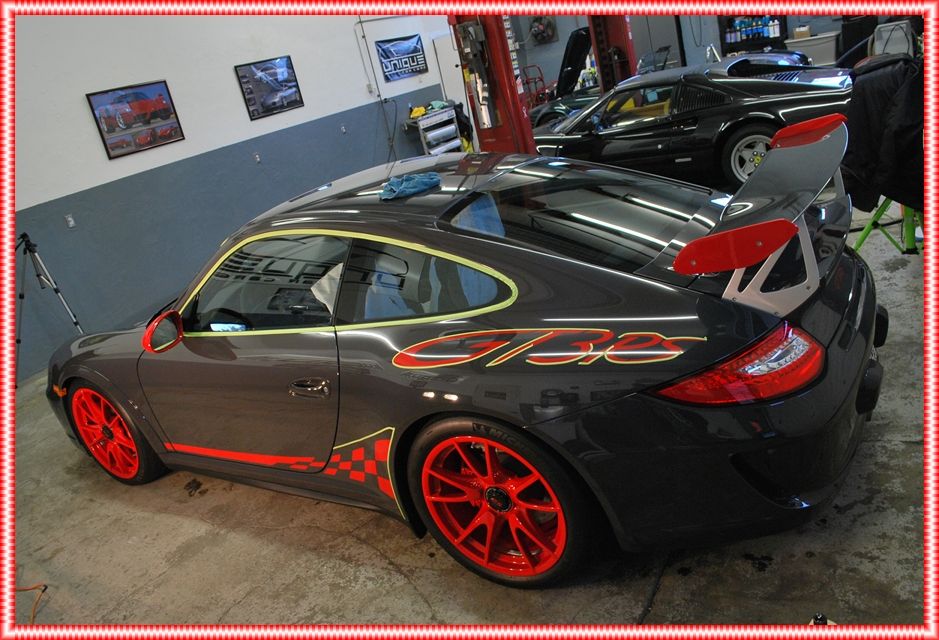
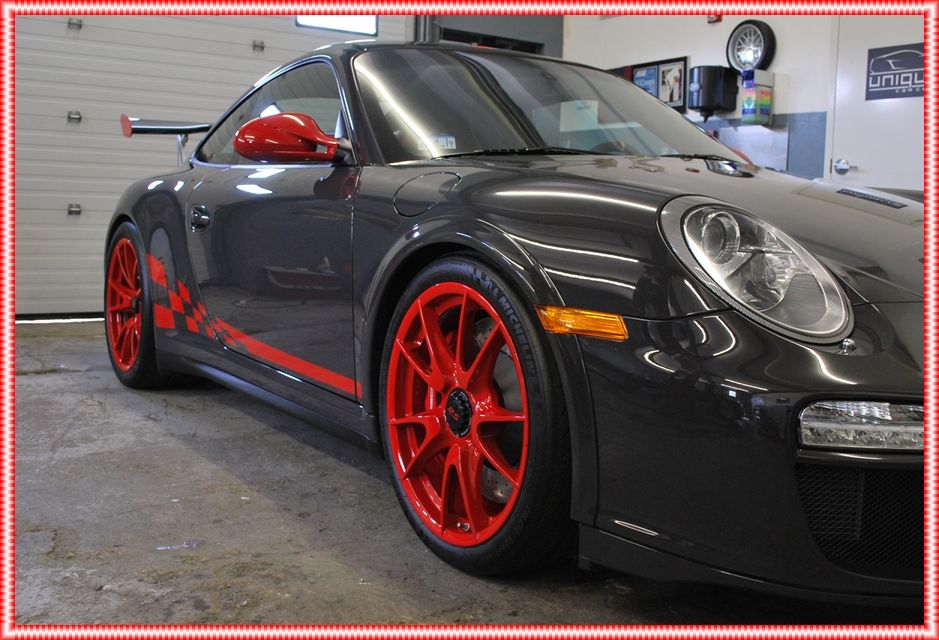
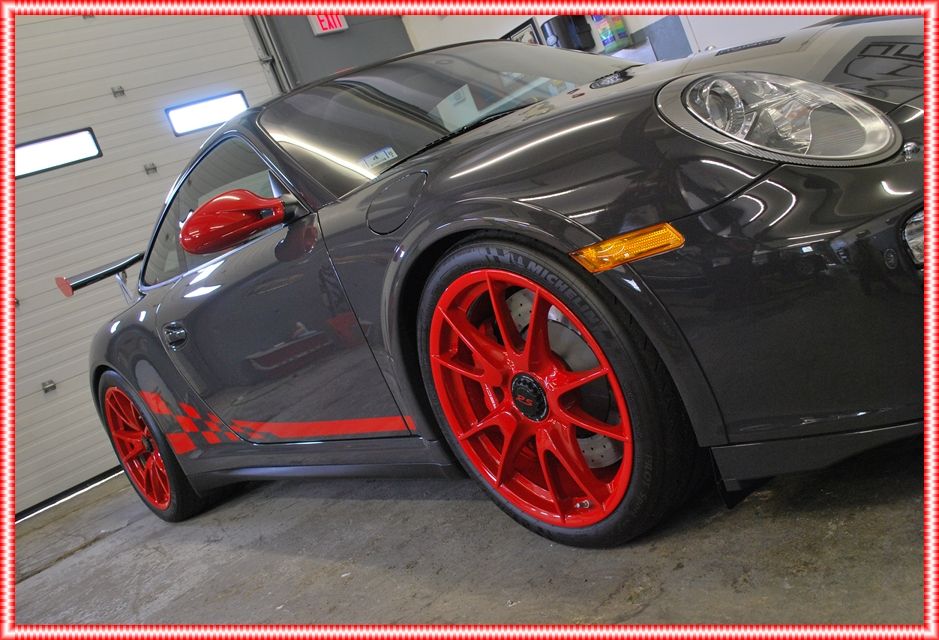
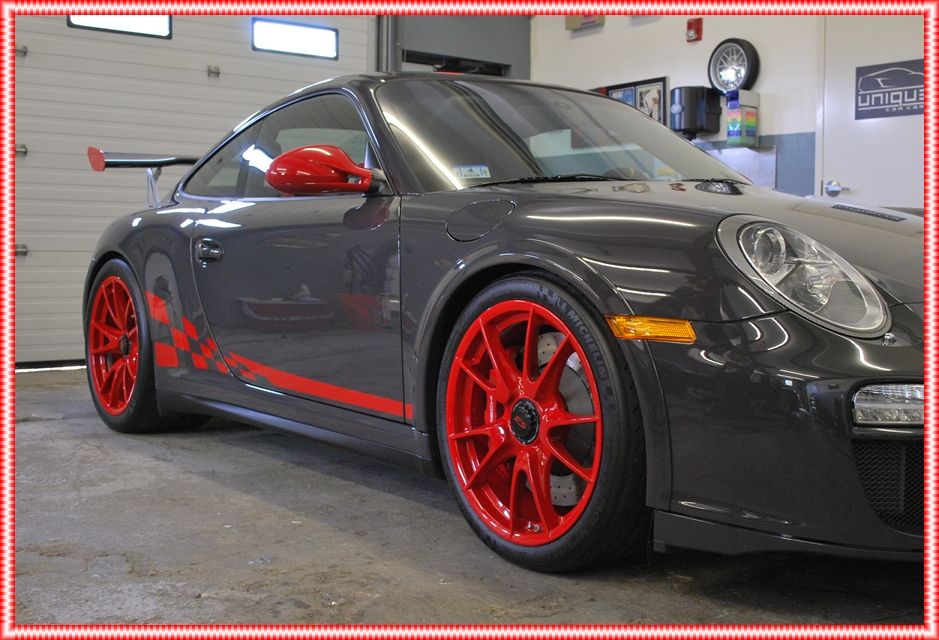
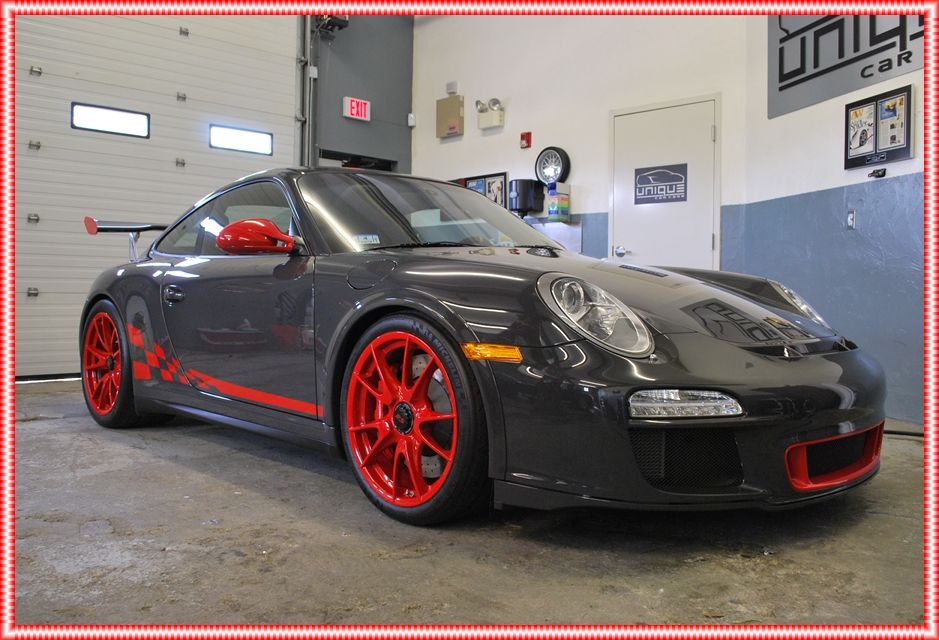
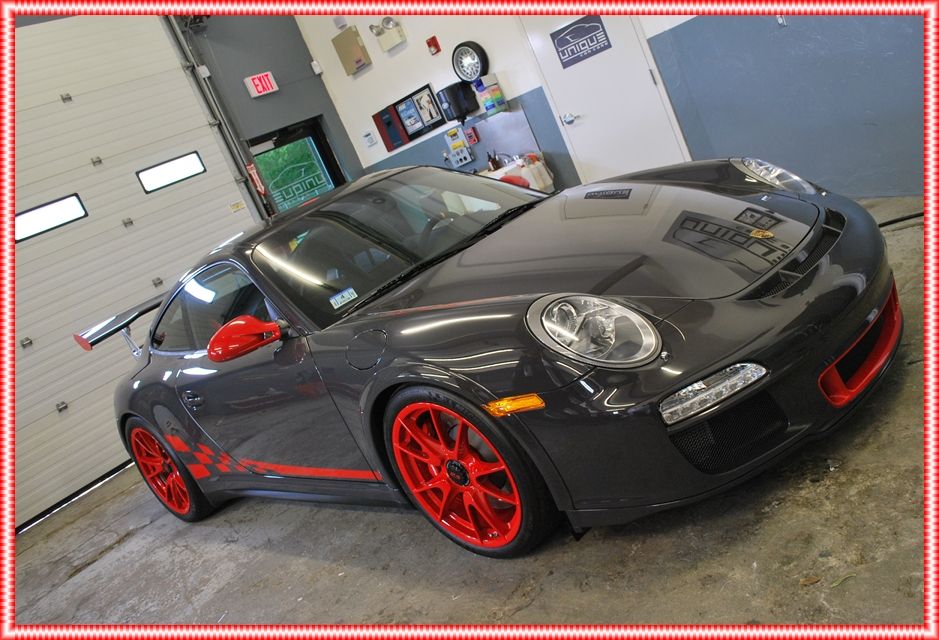
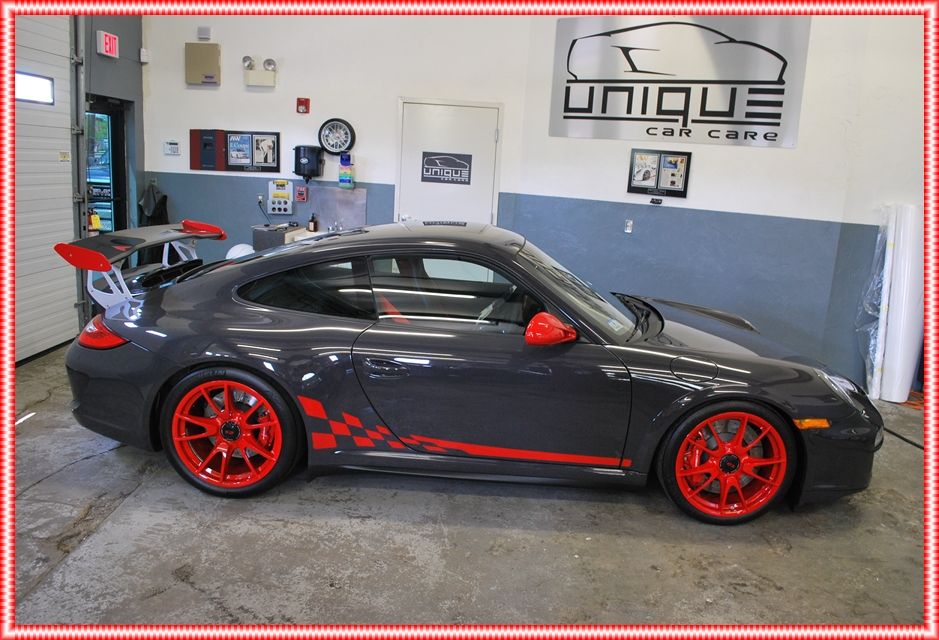
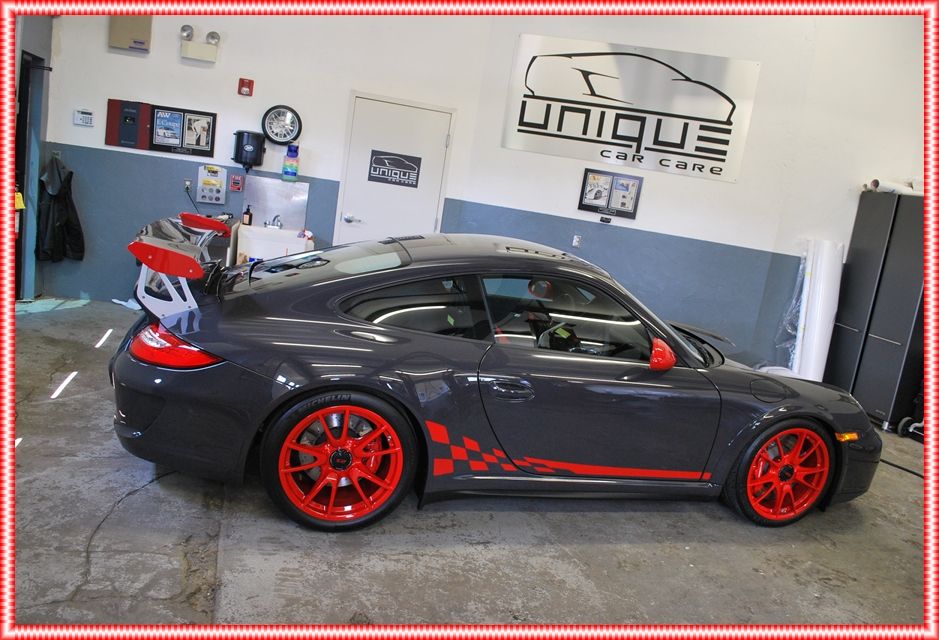
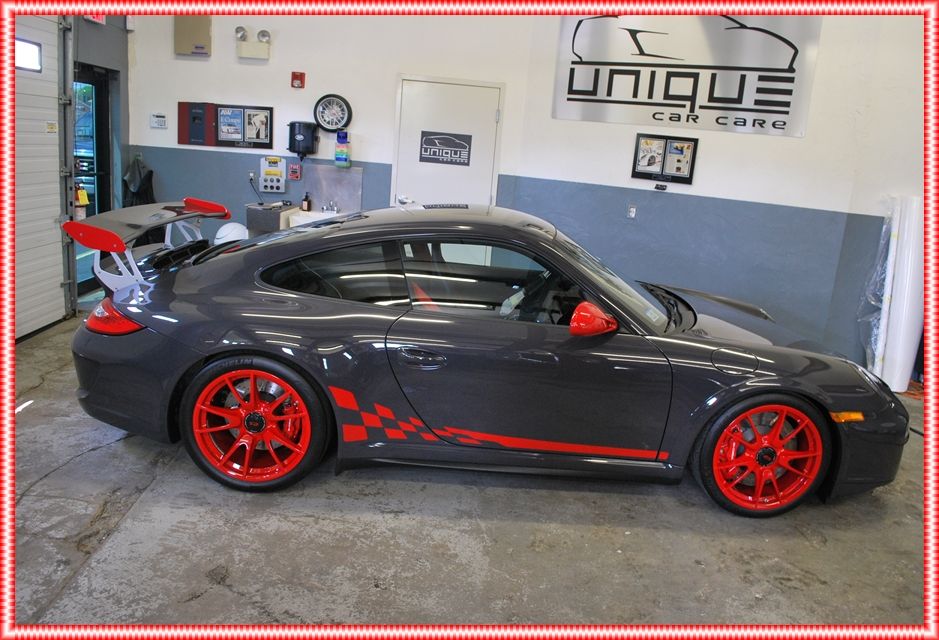
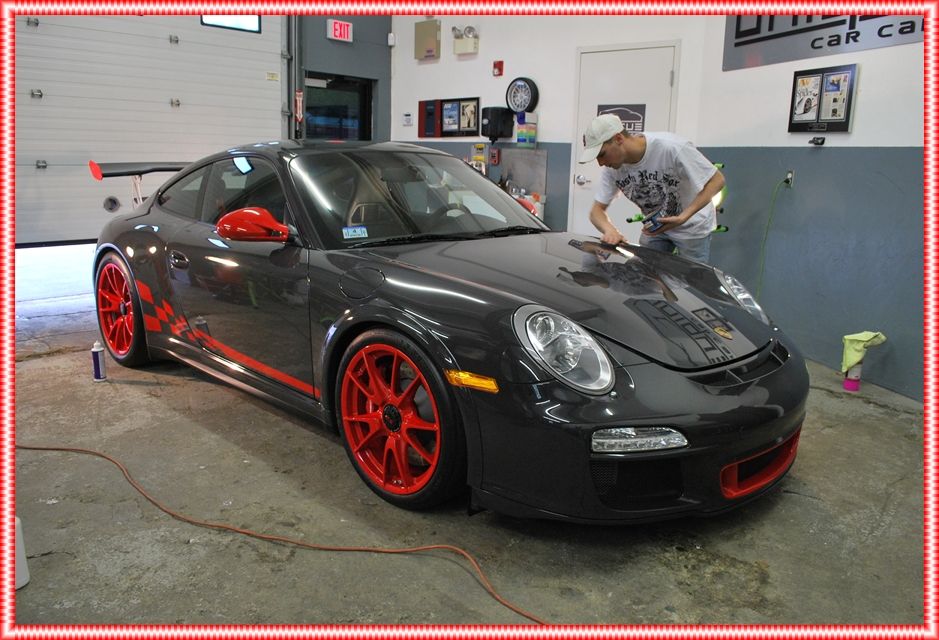
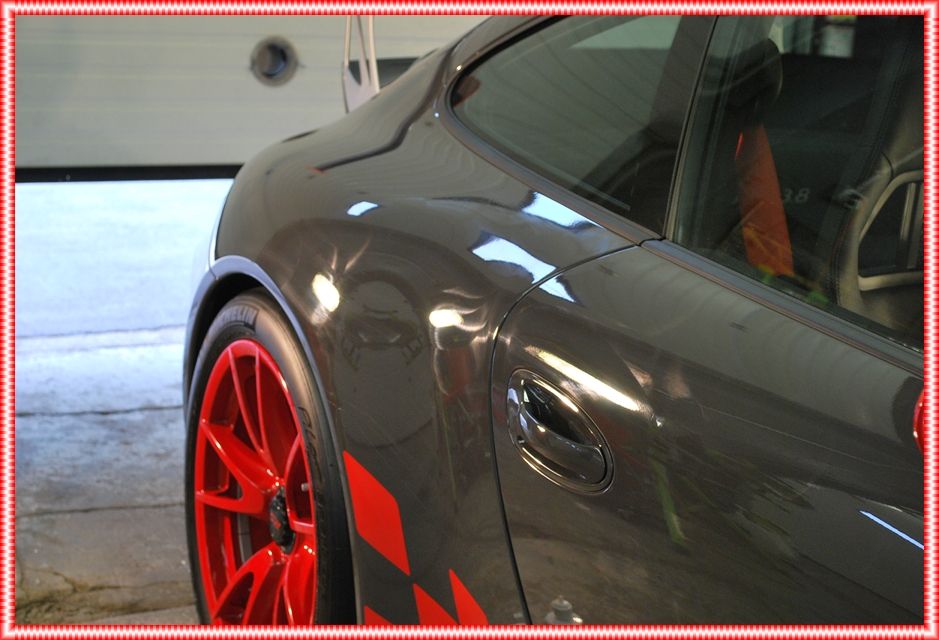
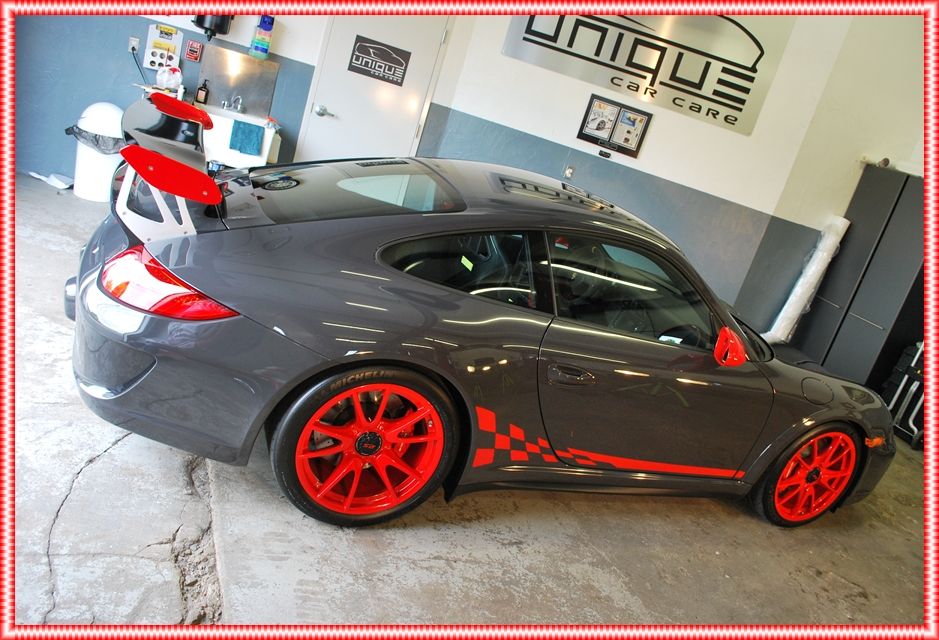
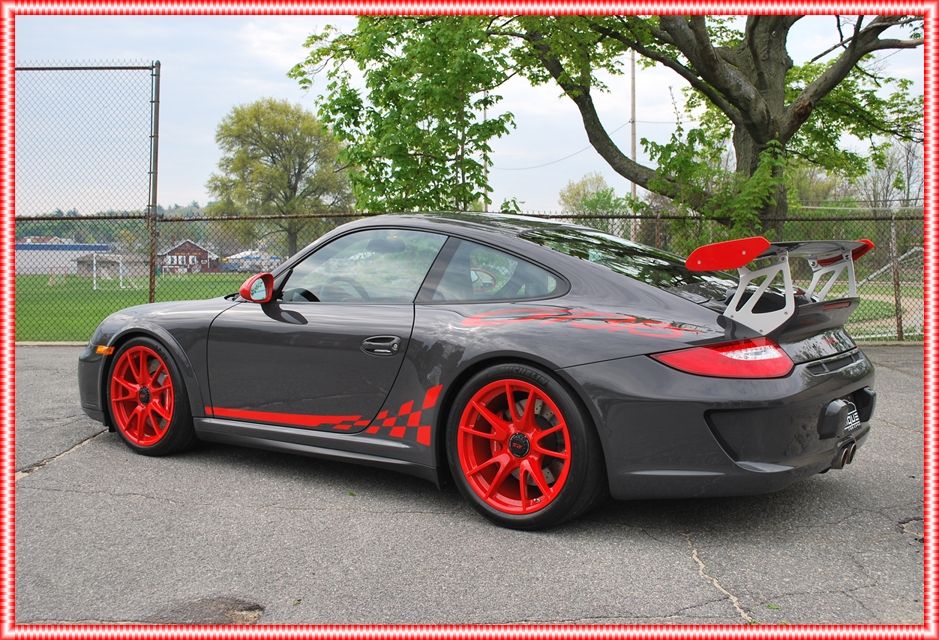
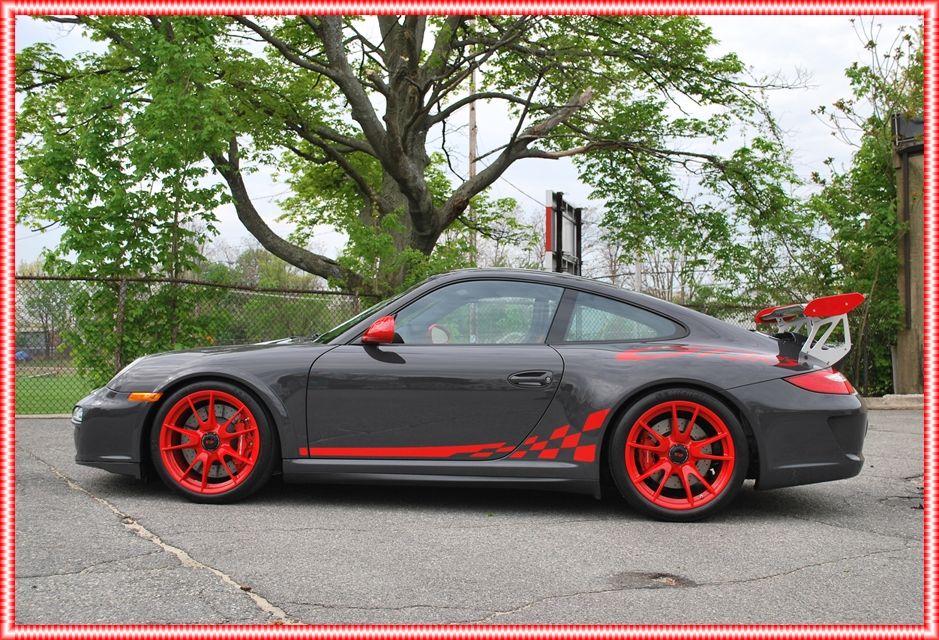
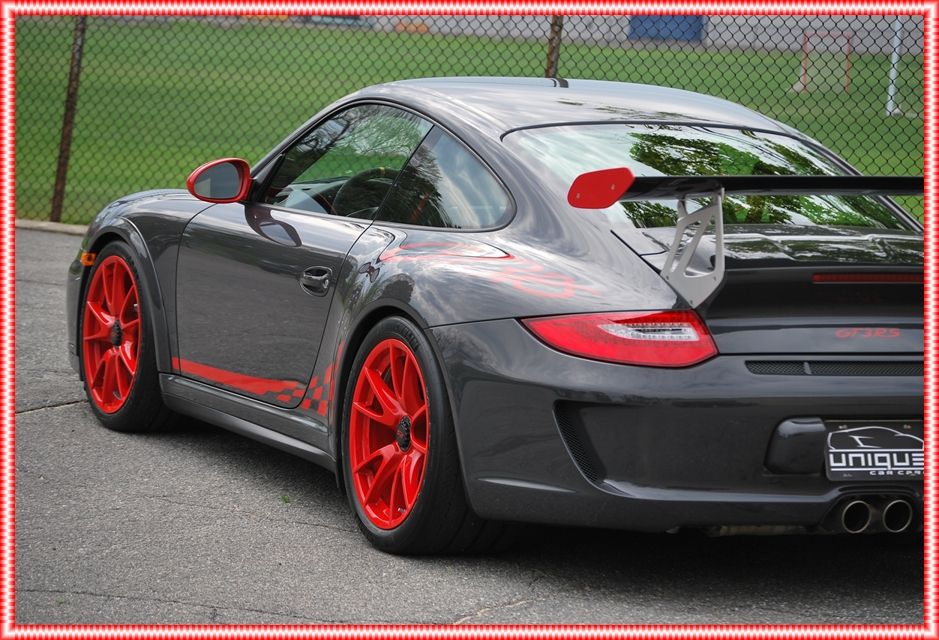
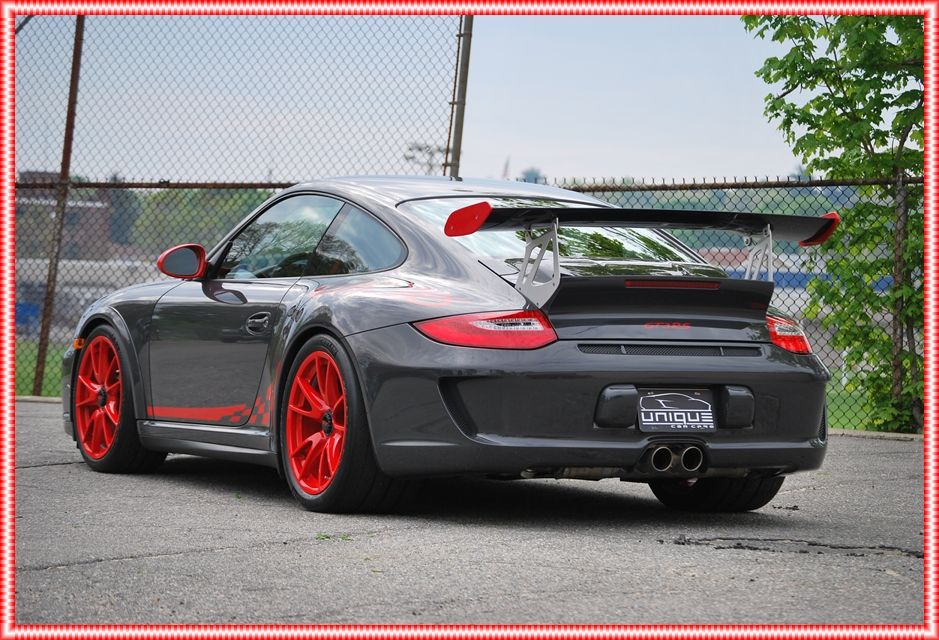
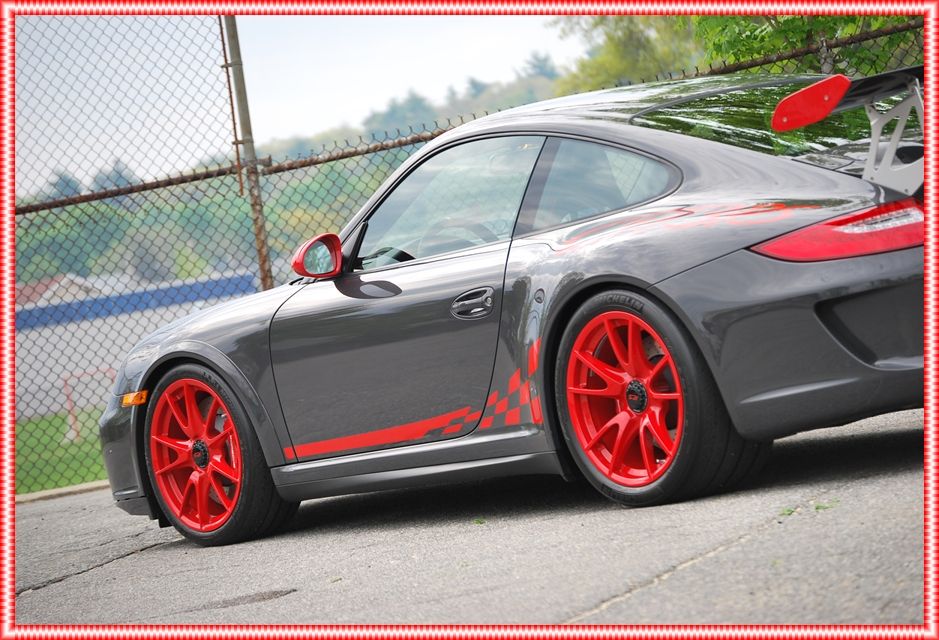
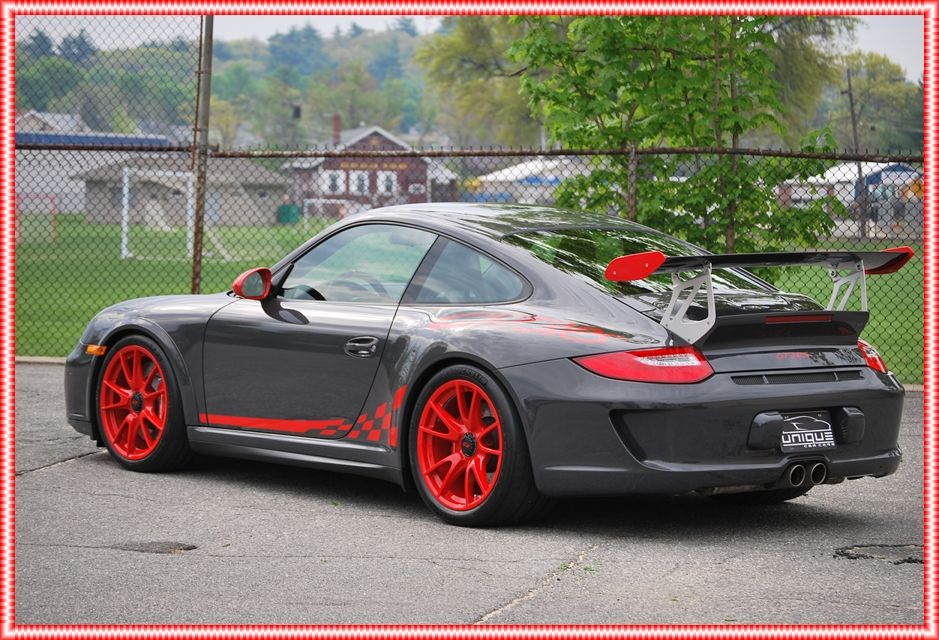
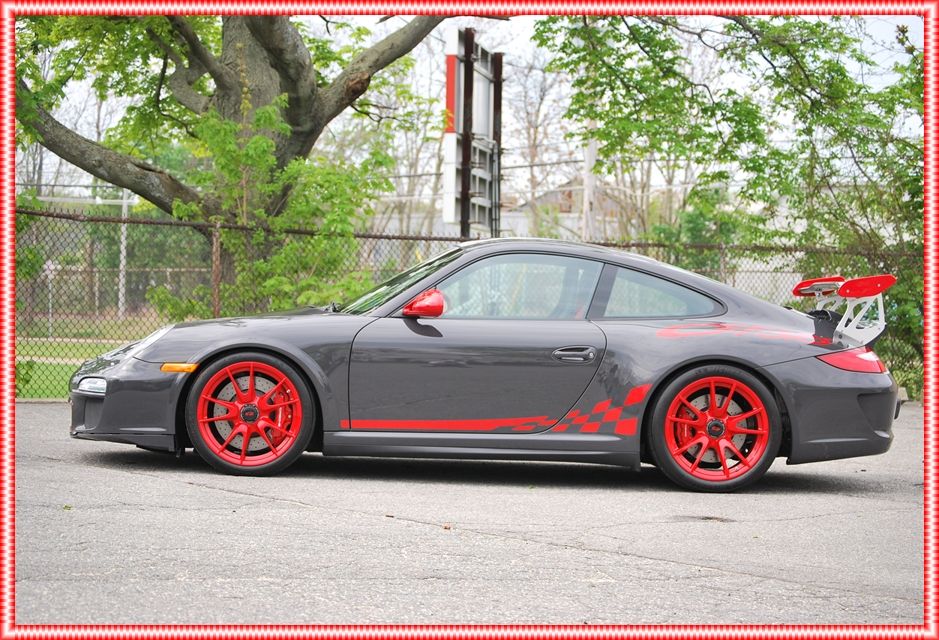
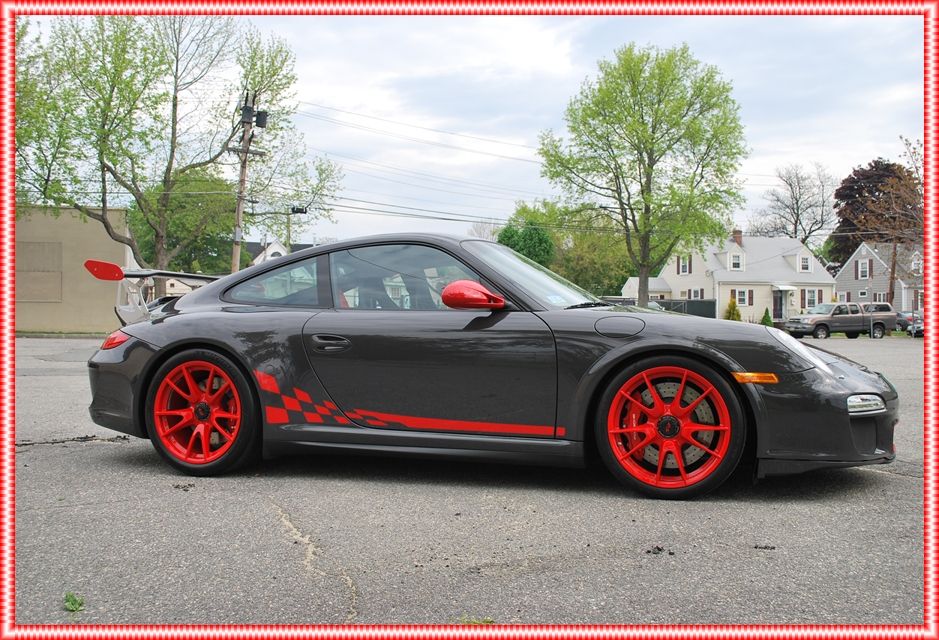
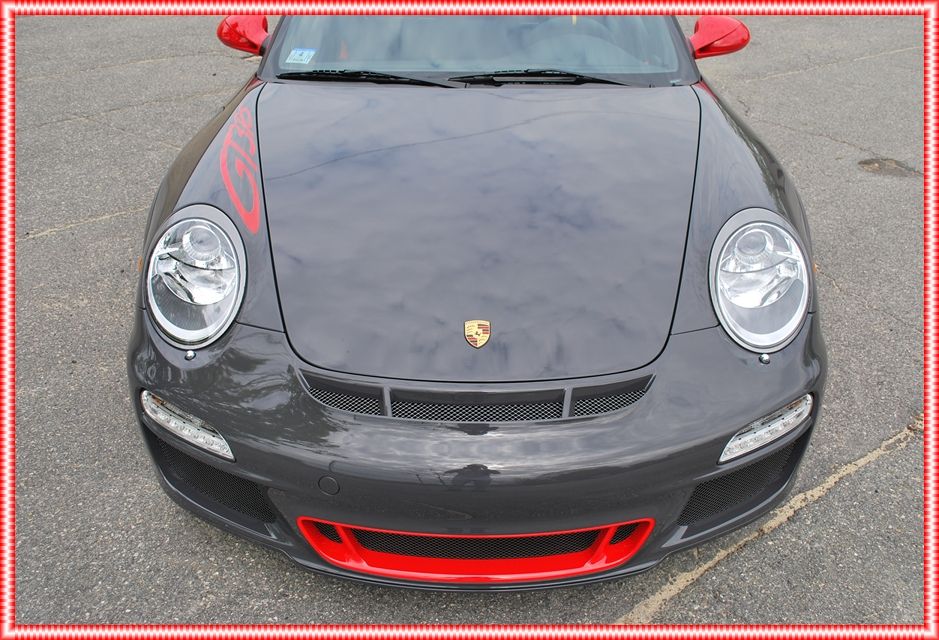
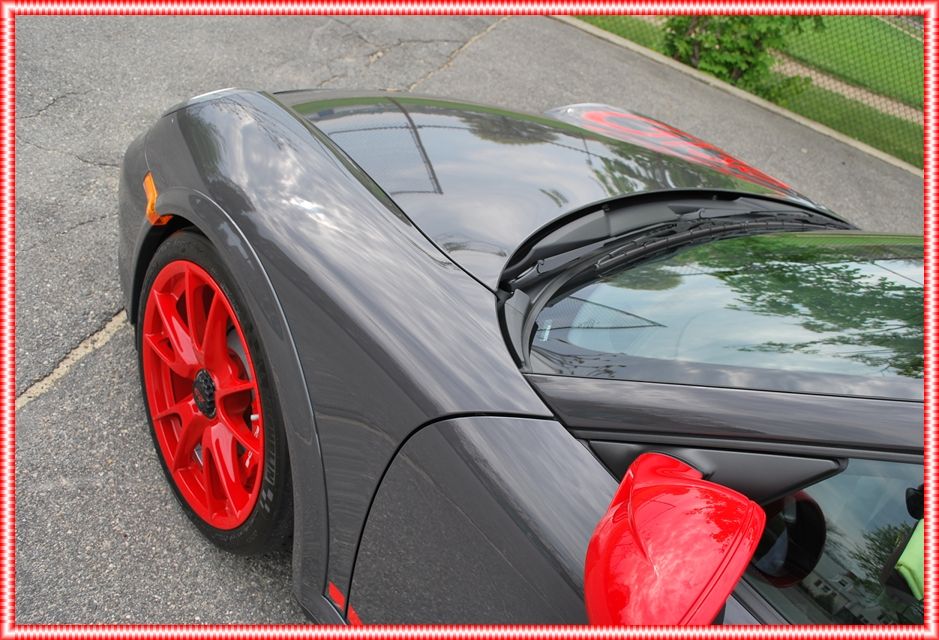
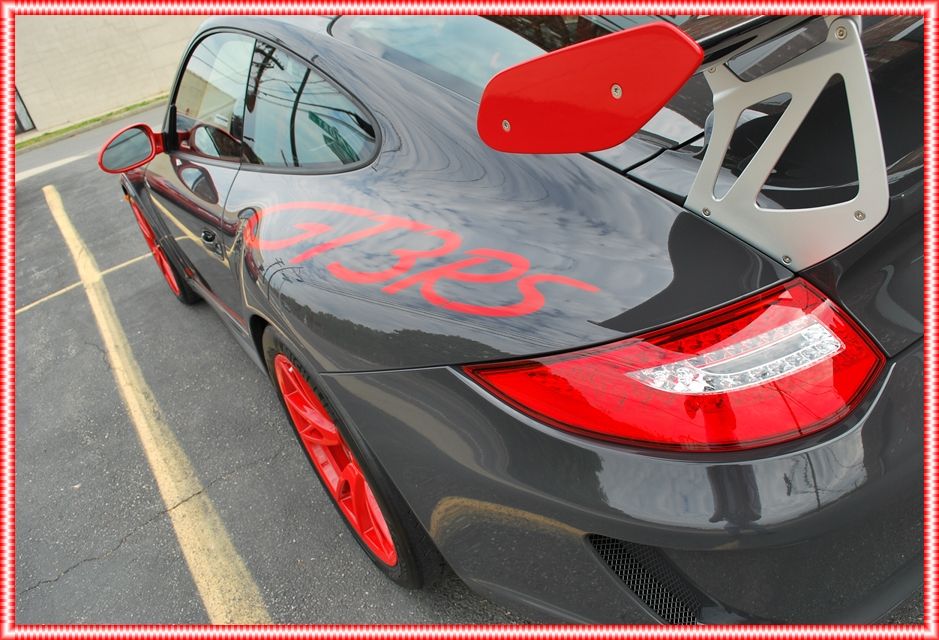
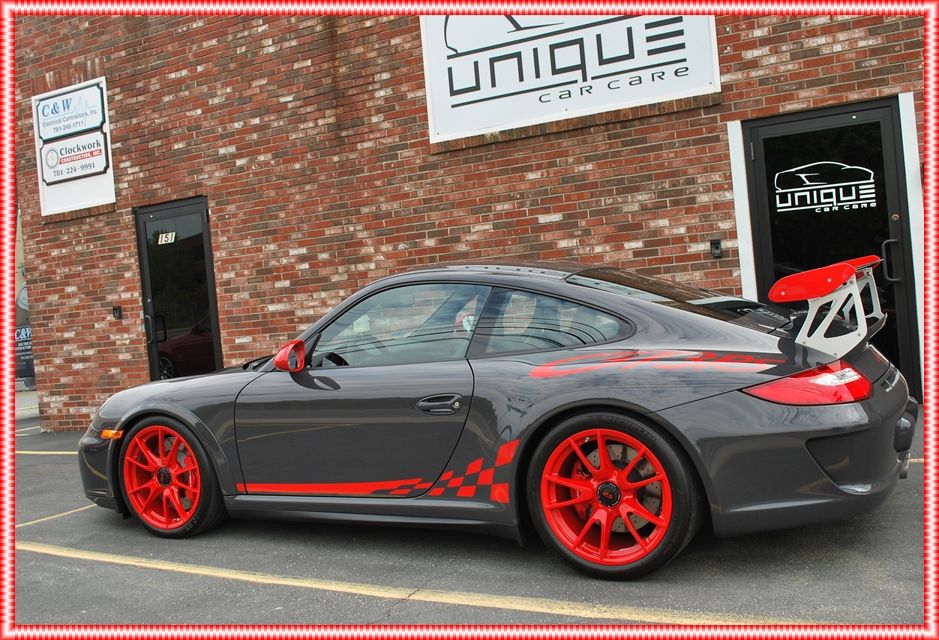
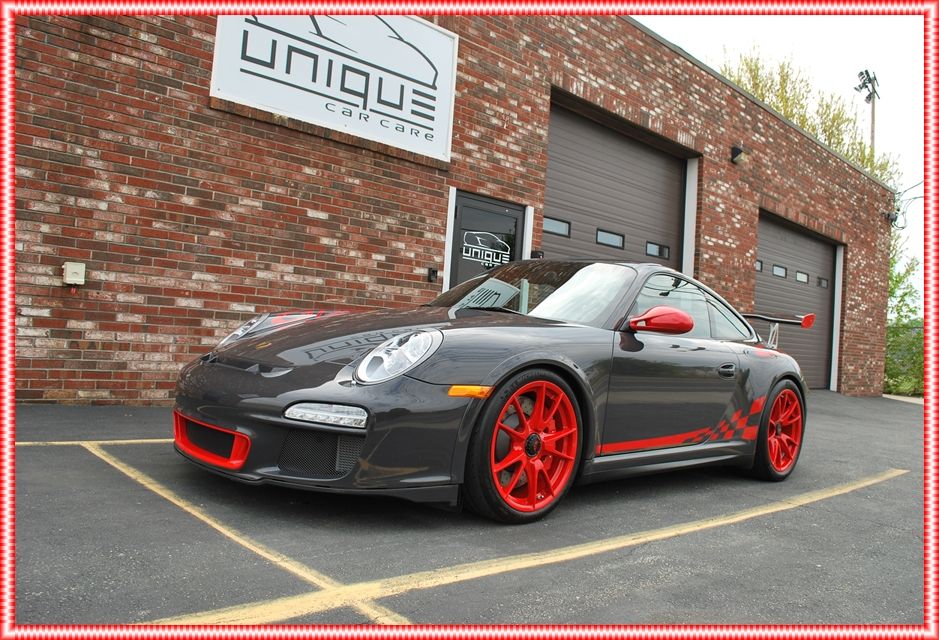
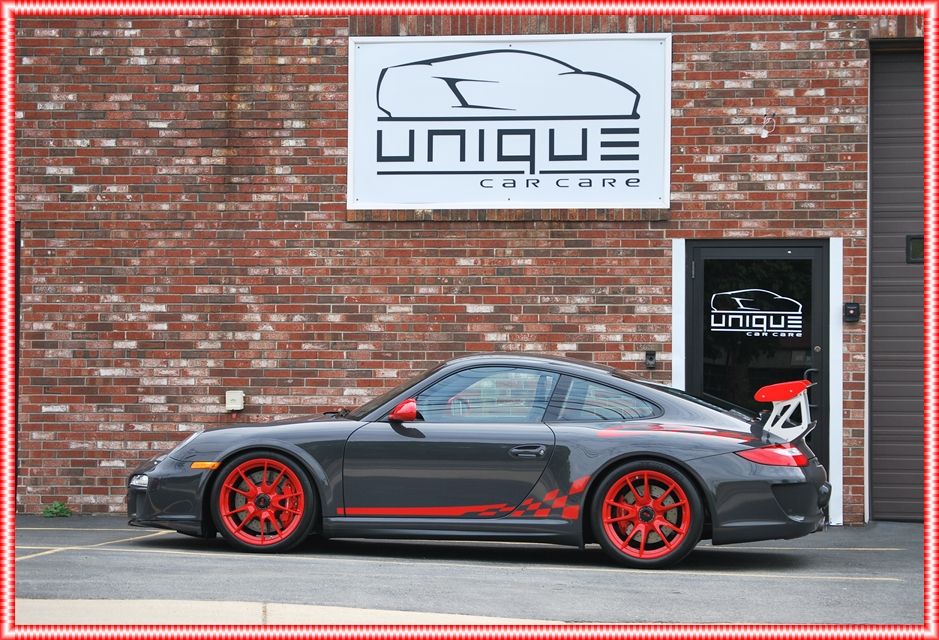
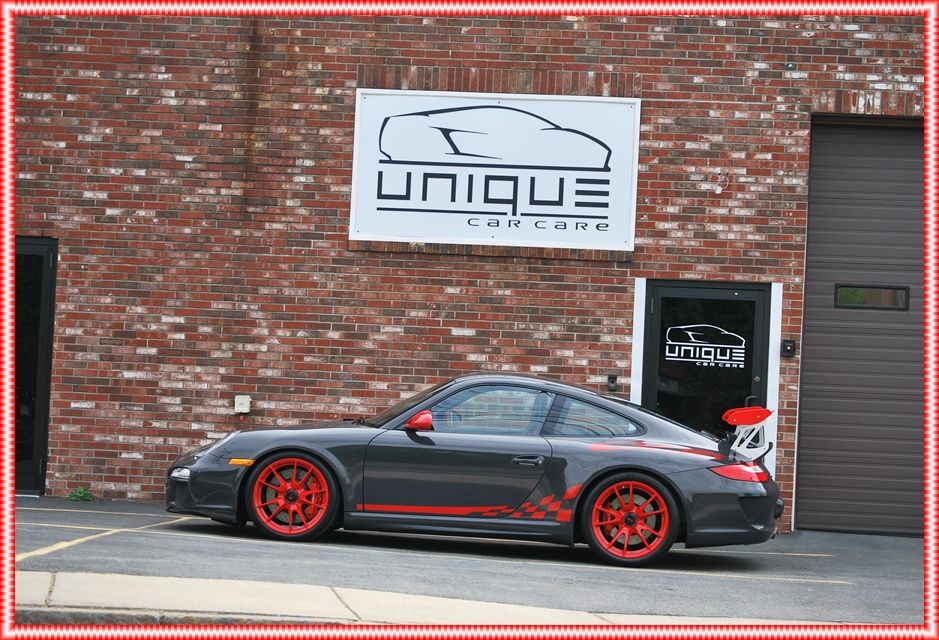
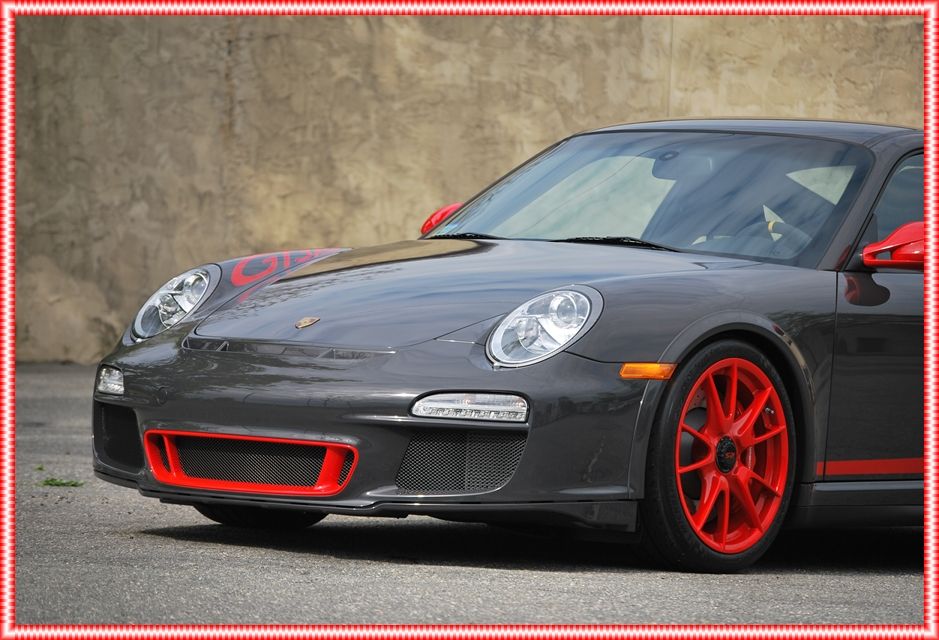
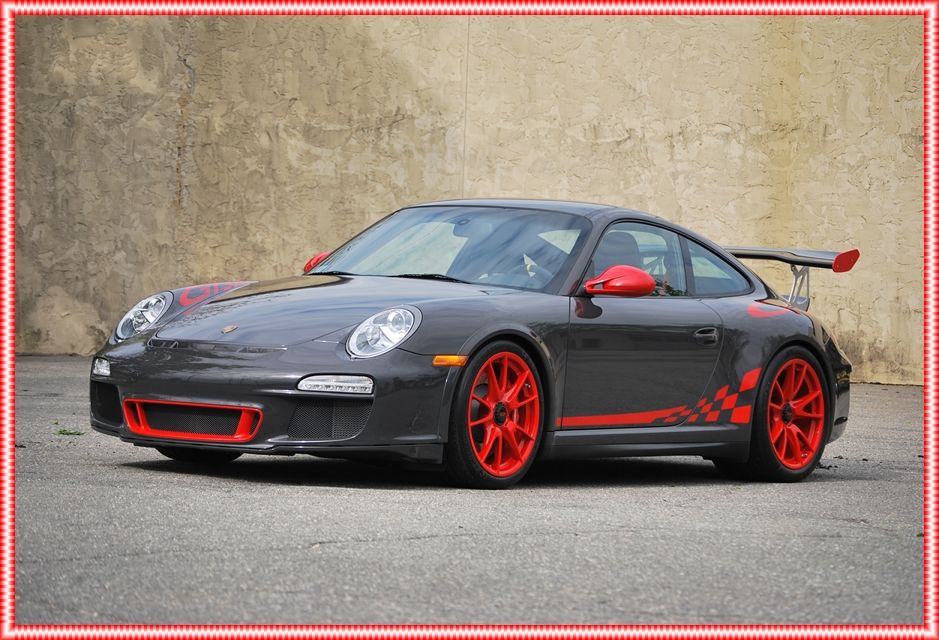
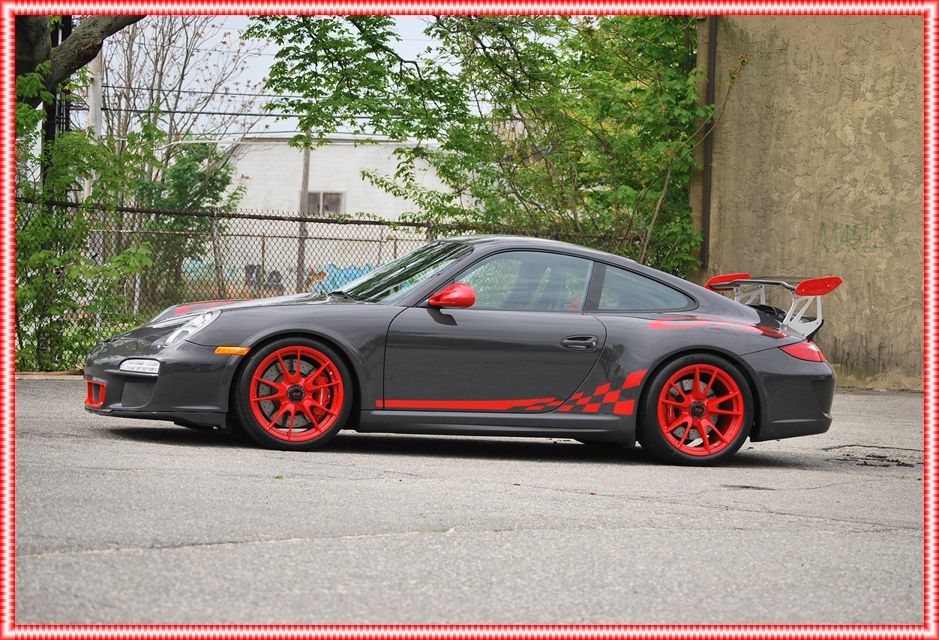
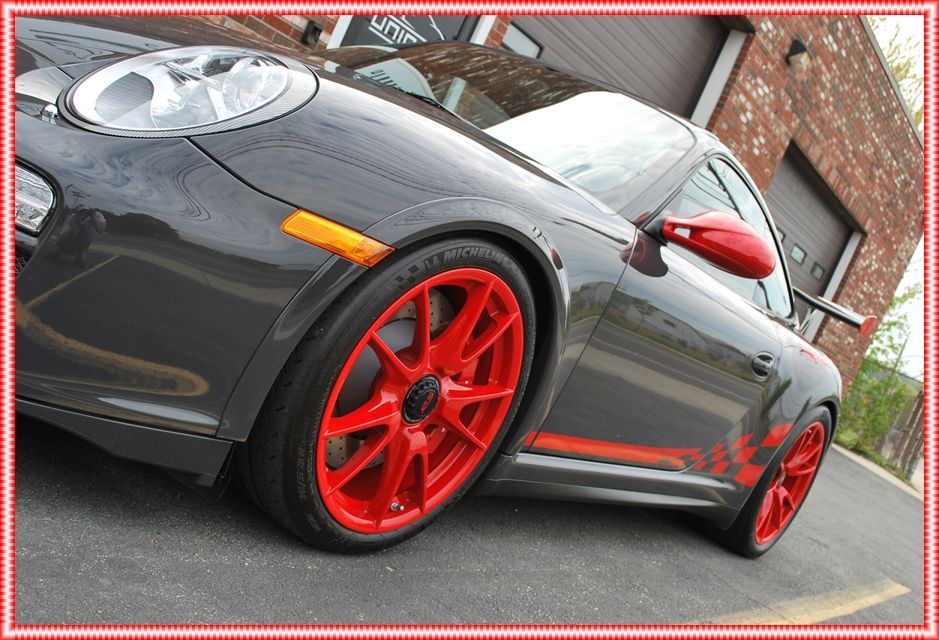
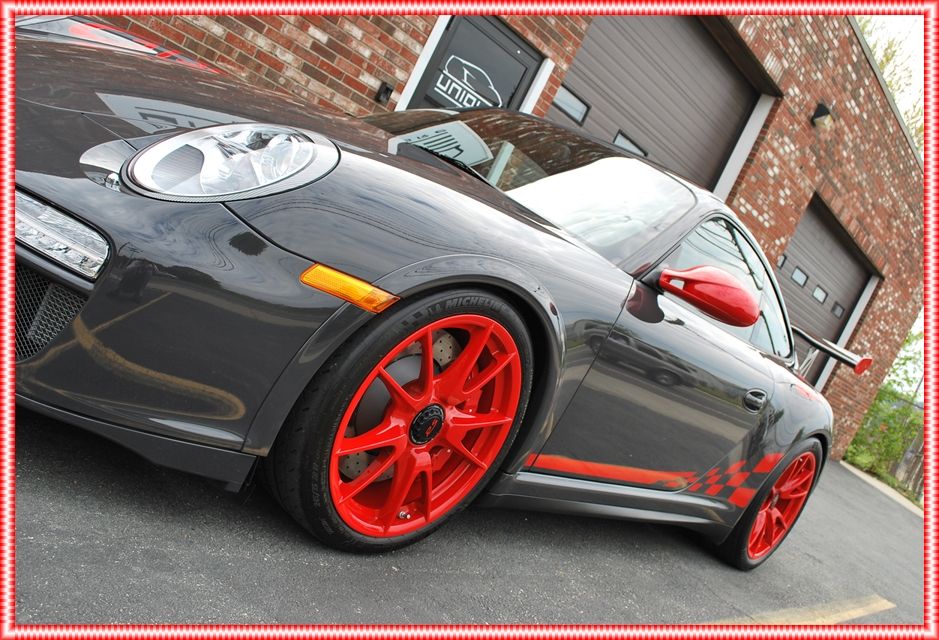
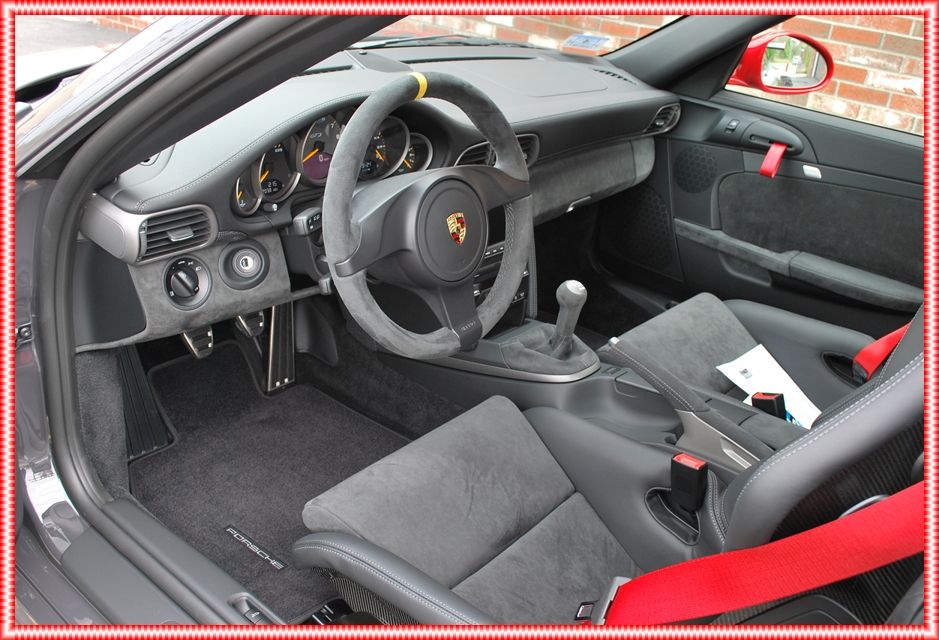
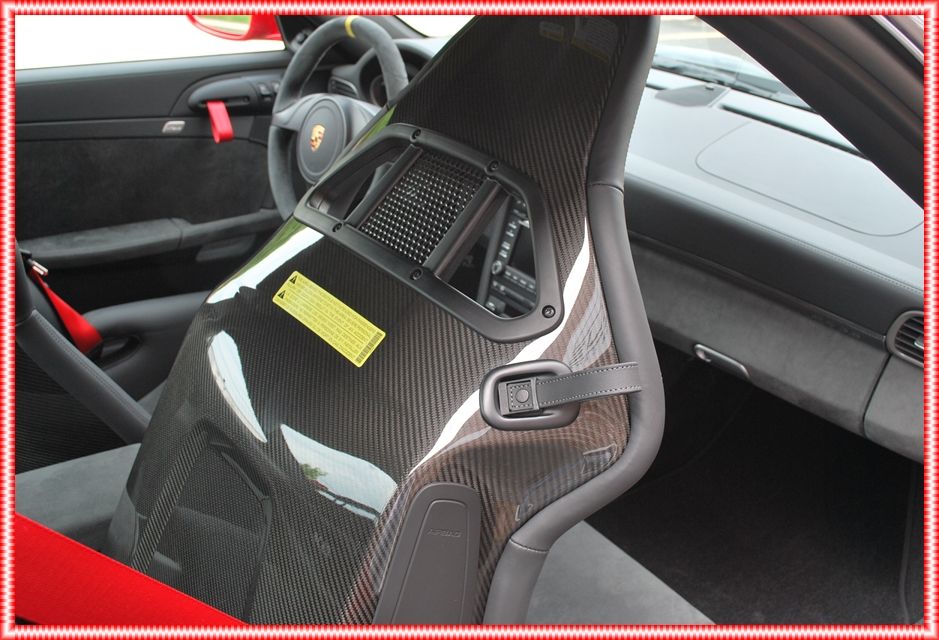
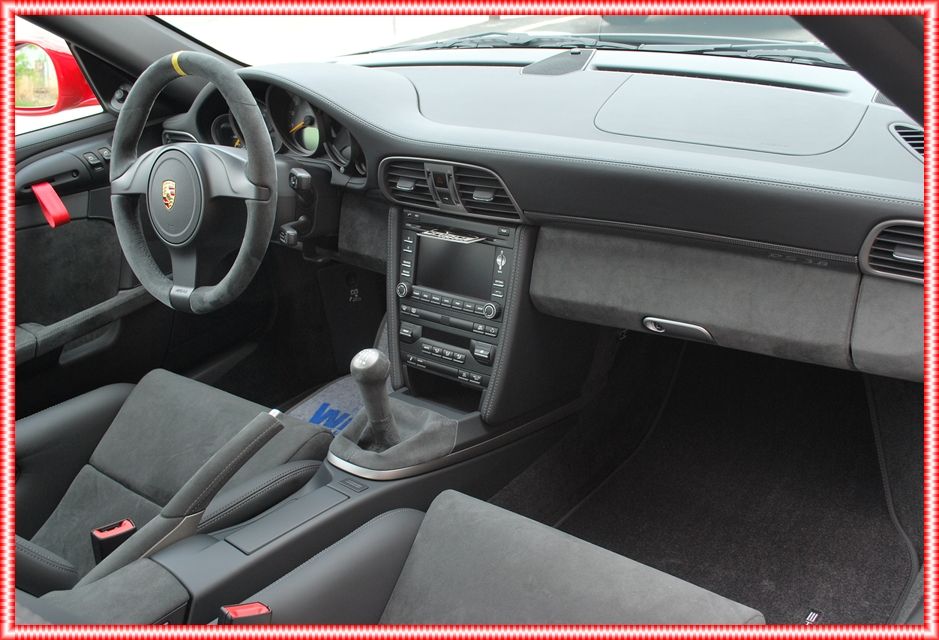
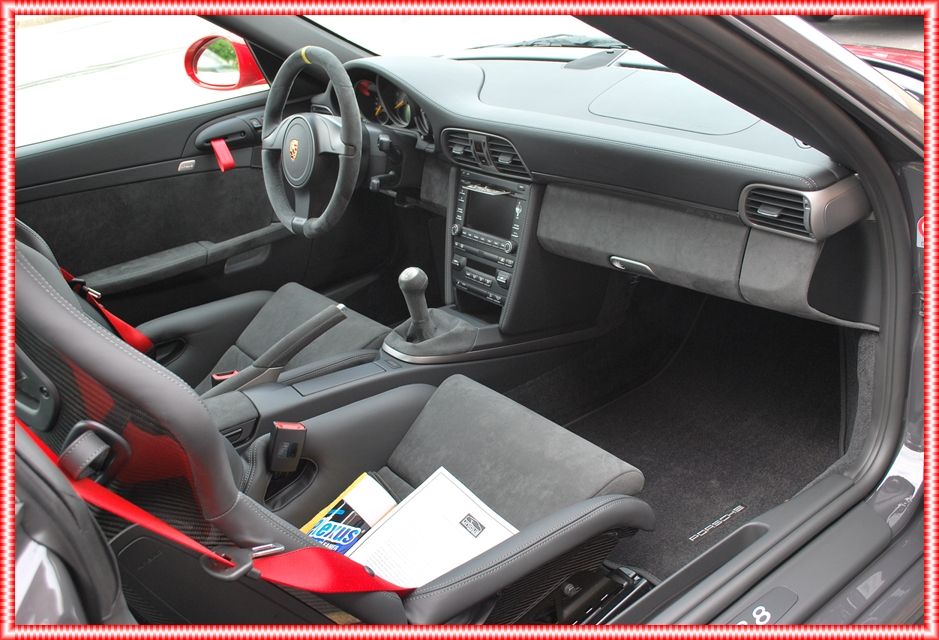
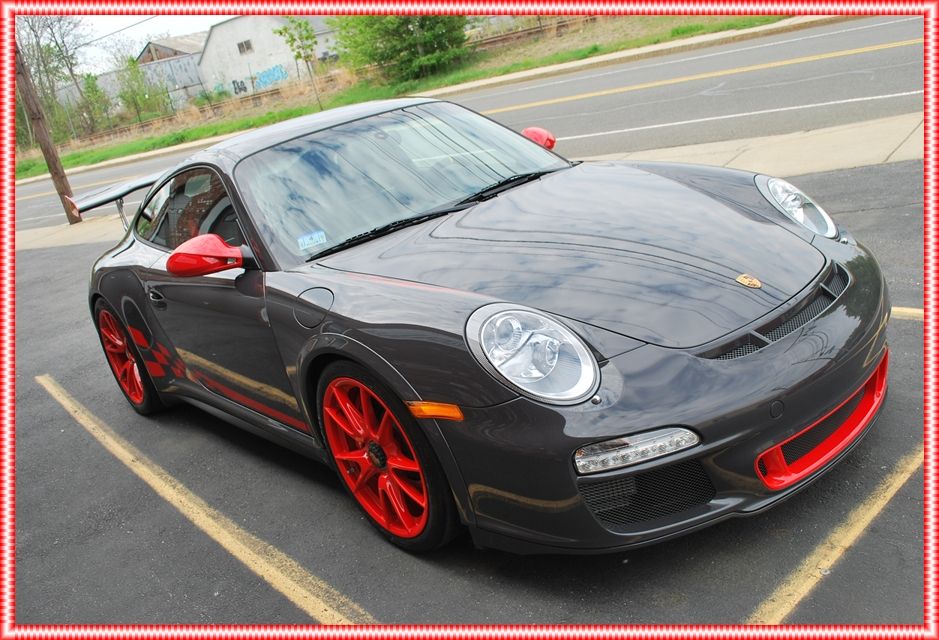
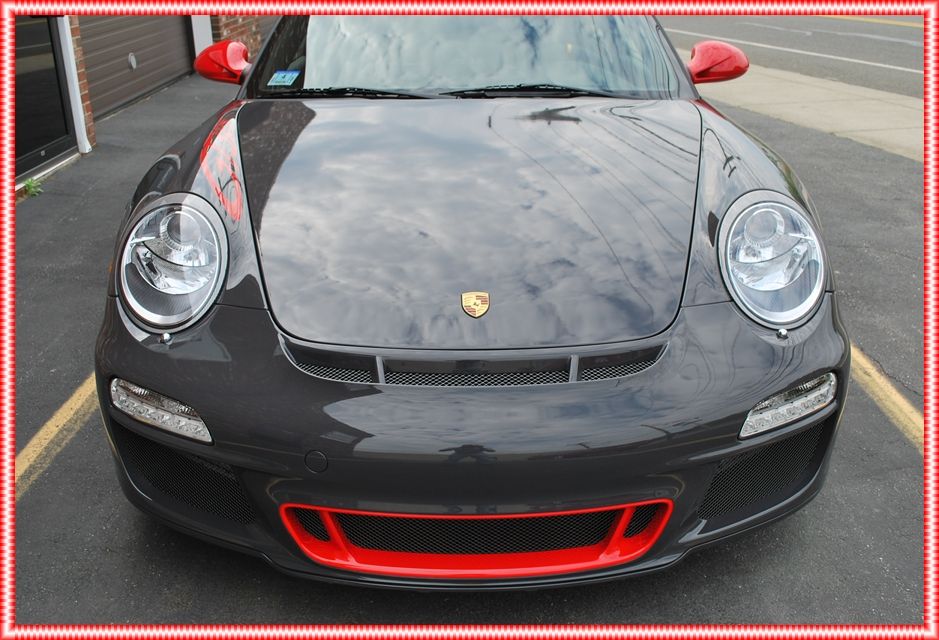
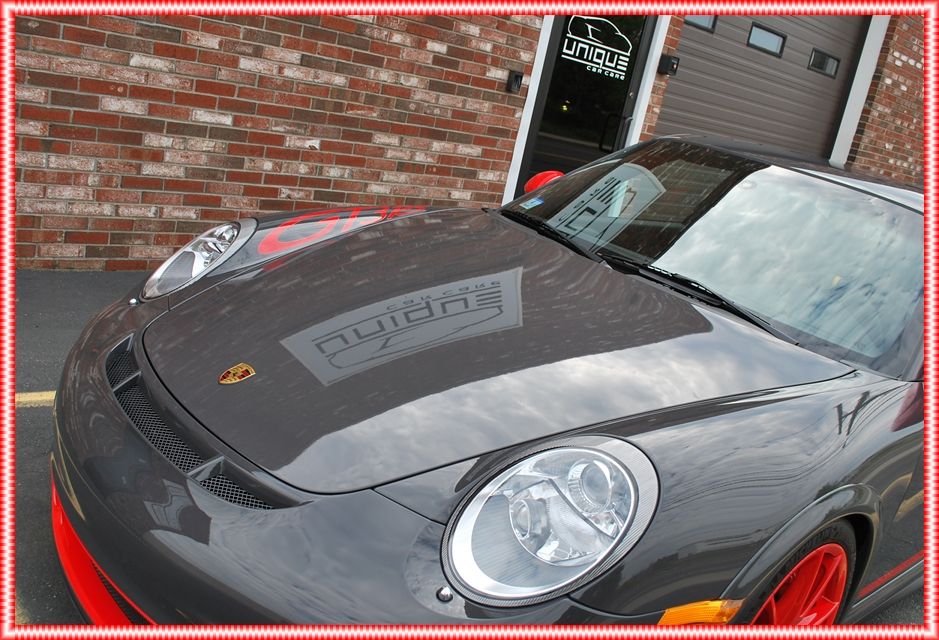
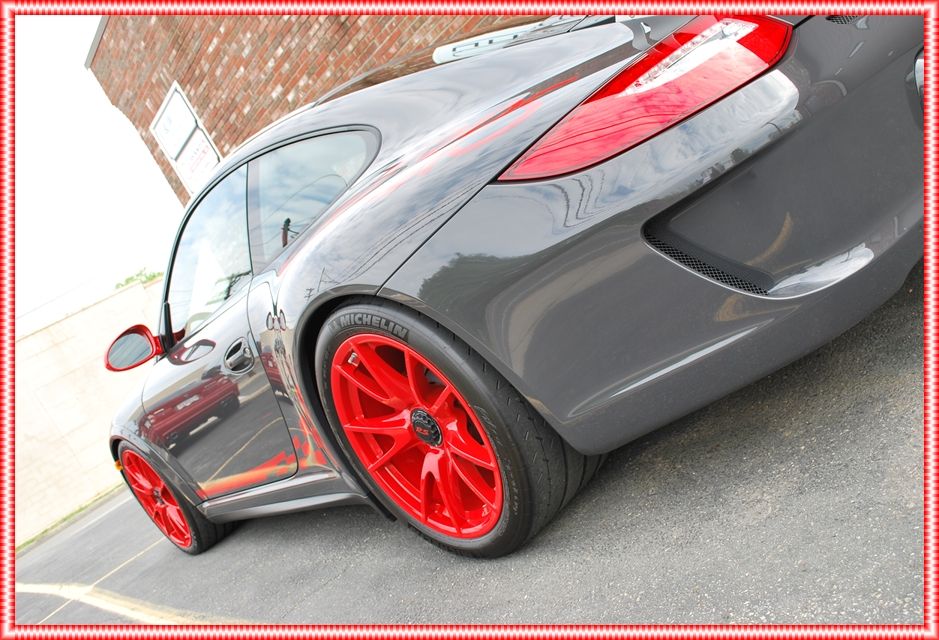
This is what the car looked like when it arrived at the shop:
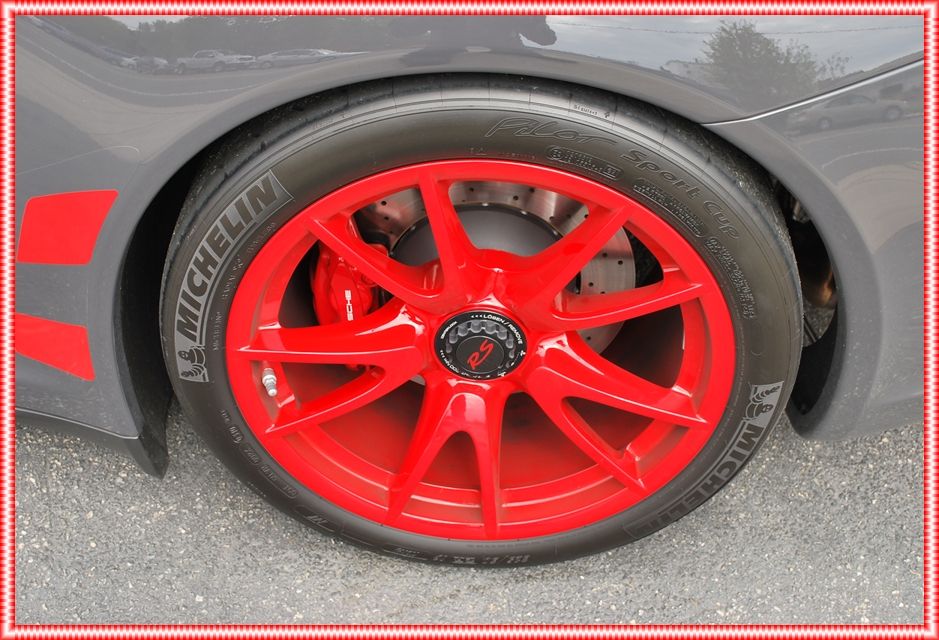
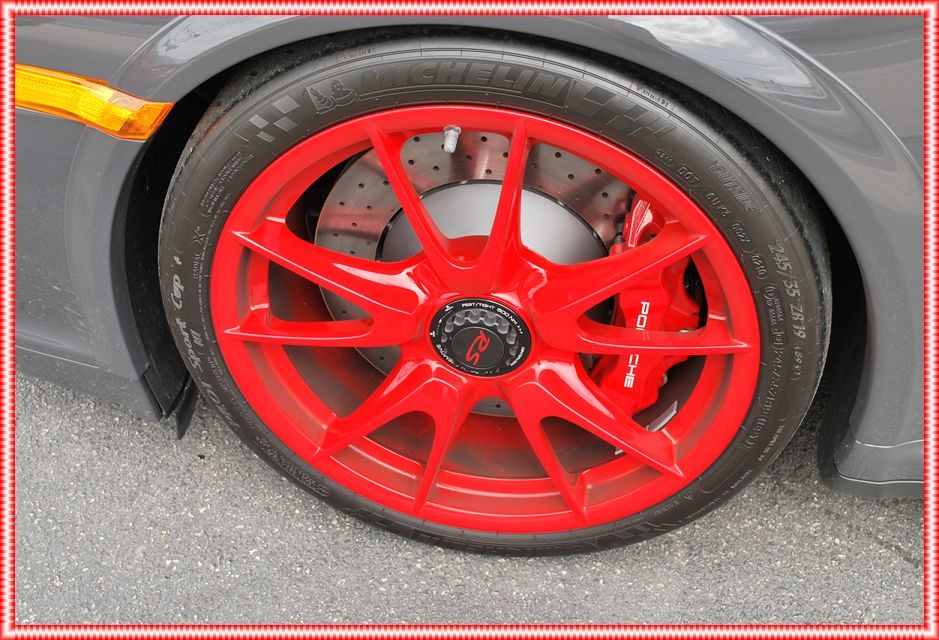
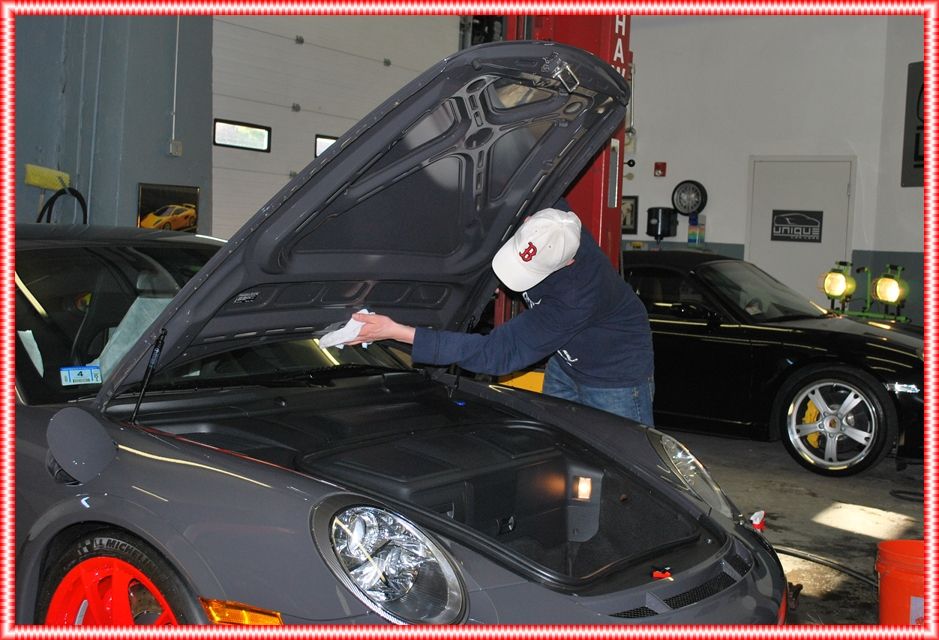
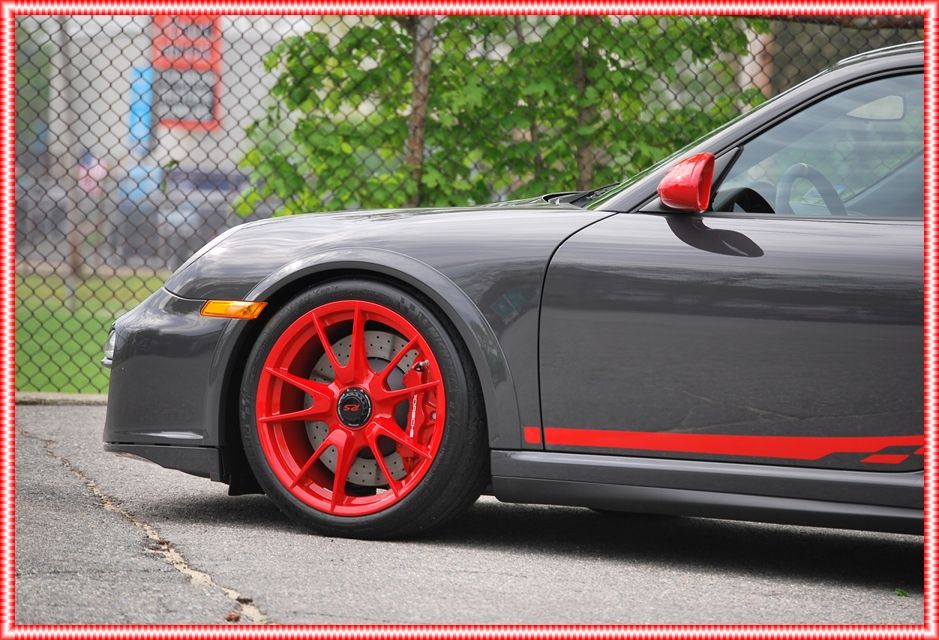
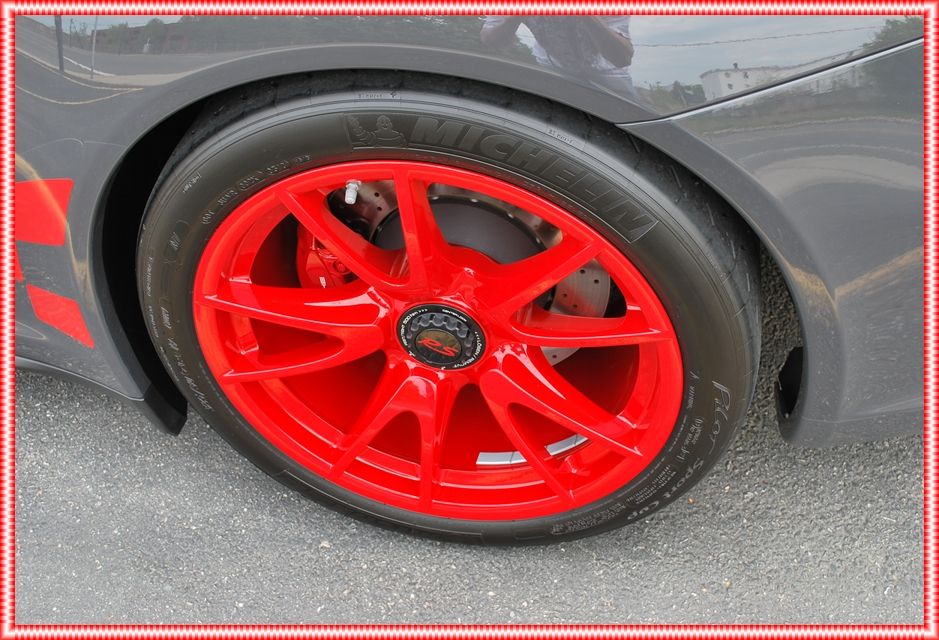
Once I was done drooling over this beautiful piece of machinery (one of my favorite cars!), I pulled it in the shop and got to work. I started by giving the wheels, tires and wheel wells an extensive cleaning using a citrus degreaser and a variety of brushes to get every nook and cranny.
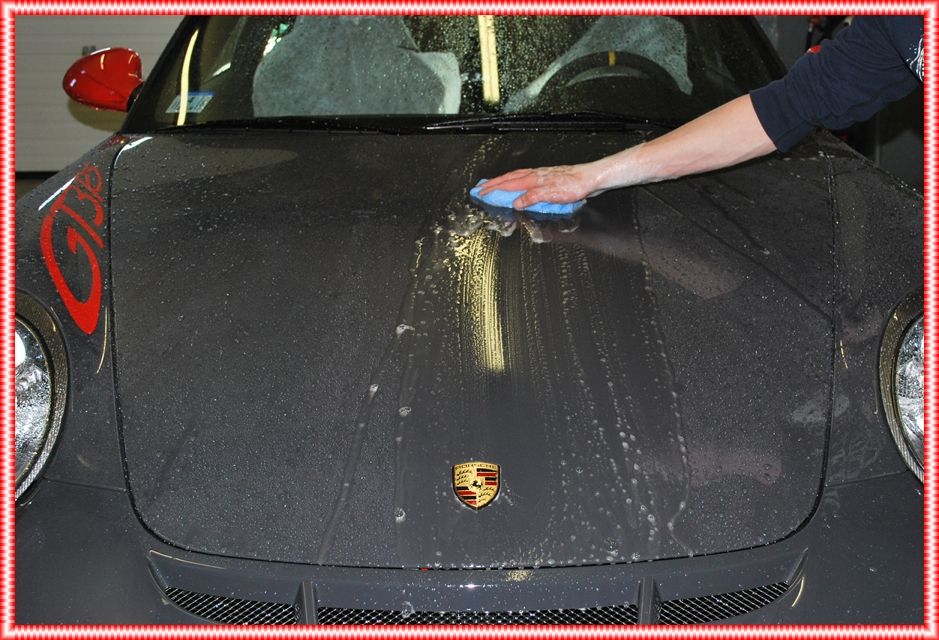
I washed the exterior using a new microfiber cloth to remove any loose contaminants on the paint.
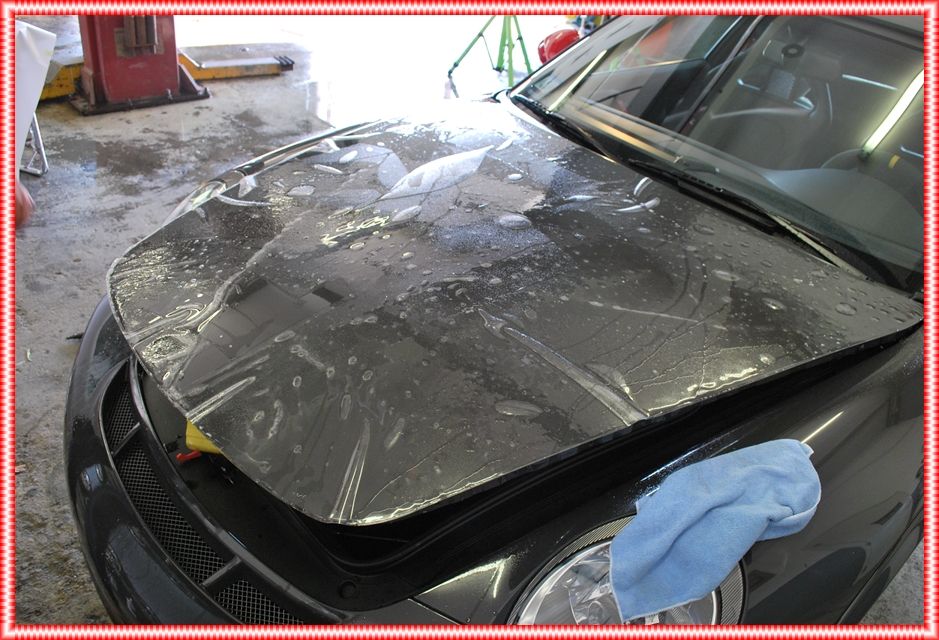
Once the car was clean, I went back and gave it an additional wash using a citrus degreaser in order to remove any products that may have been previously applied to the paint (this includes wax, glaze, sealant, quick detailers, etc..). This ensures the paint is free of any products that can cause problems when polishing. After stripping the paint with degreaser, I clayed the exterior to remove any bonded contaminants that may have been present. Most of these cars sit in the port or on the dealer lot without any protection and accumulate all kinds of fallout, so I clayed it just to be safe since we would be installing the Ventureshield film. It is extremely important that the paint as clean as possible before the film install.
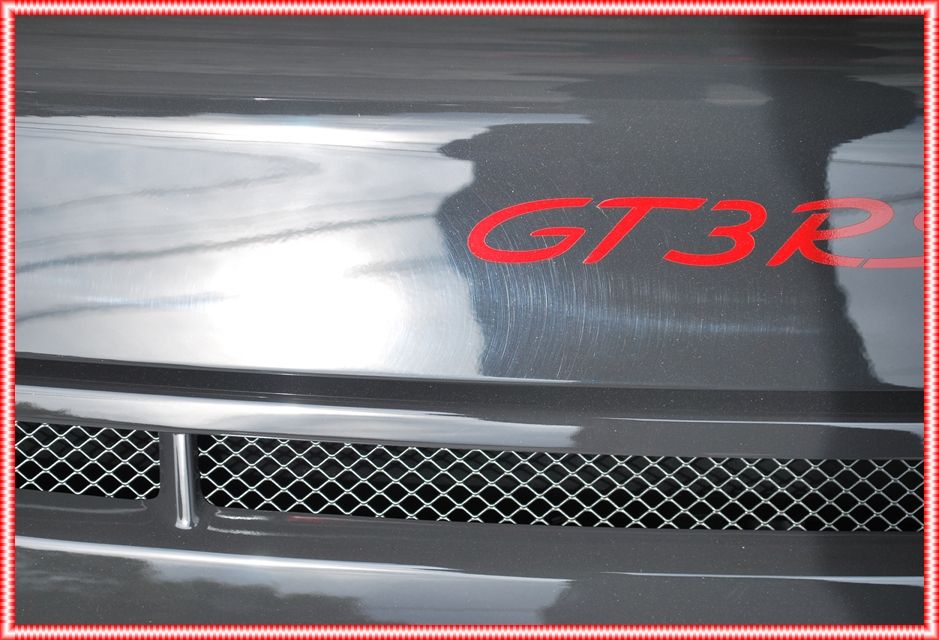
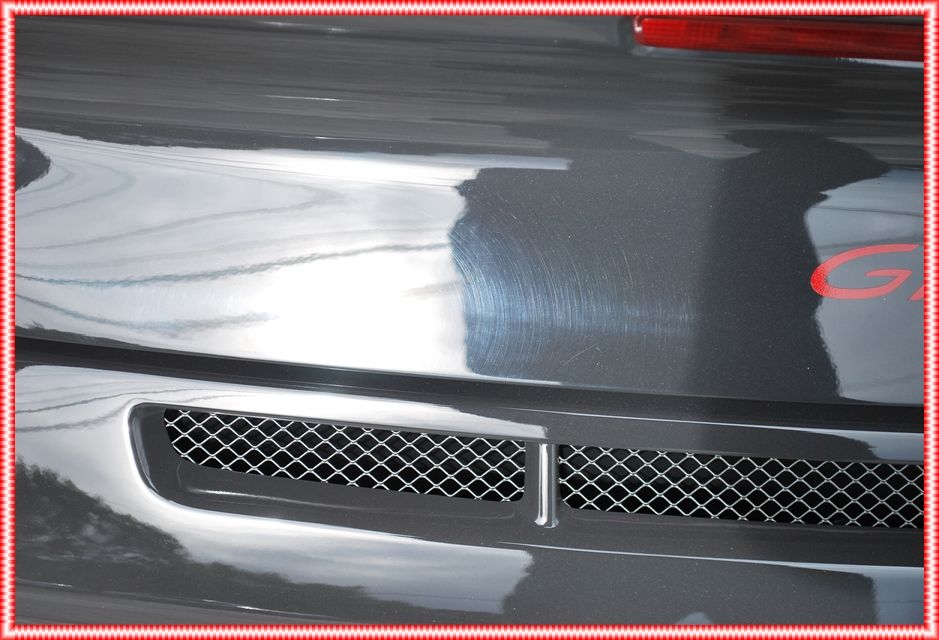
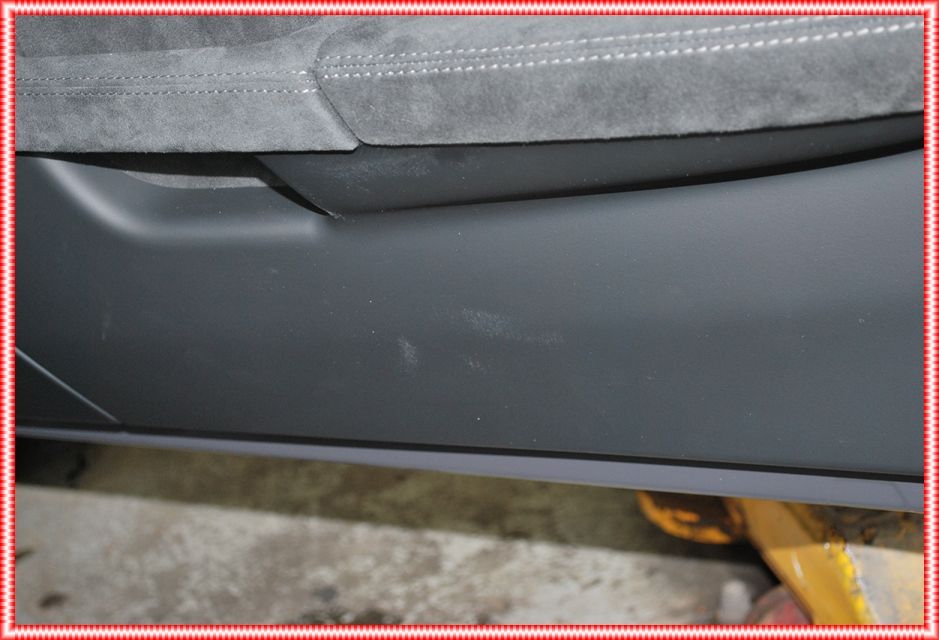
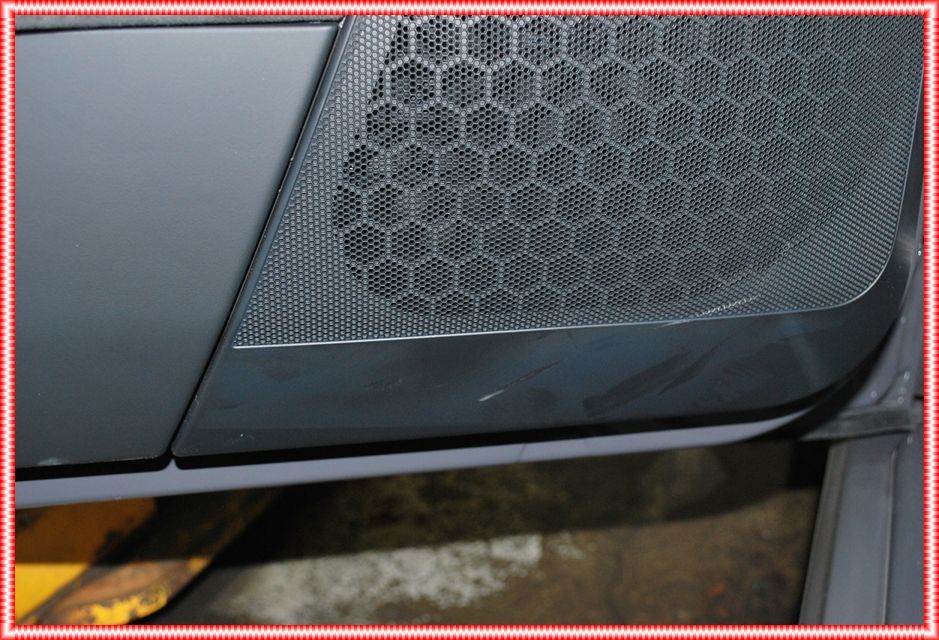
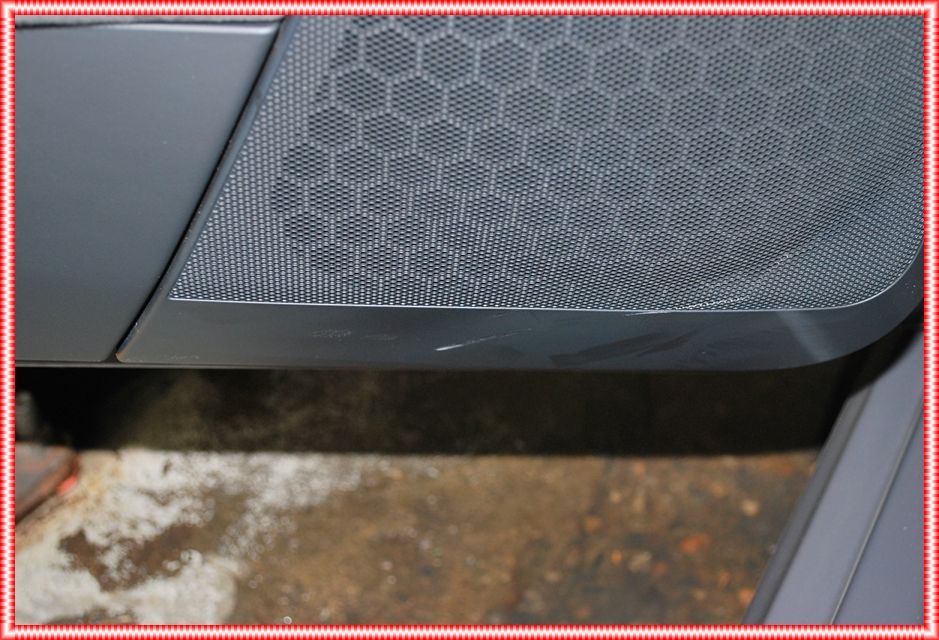
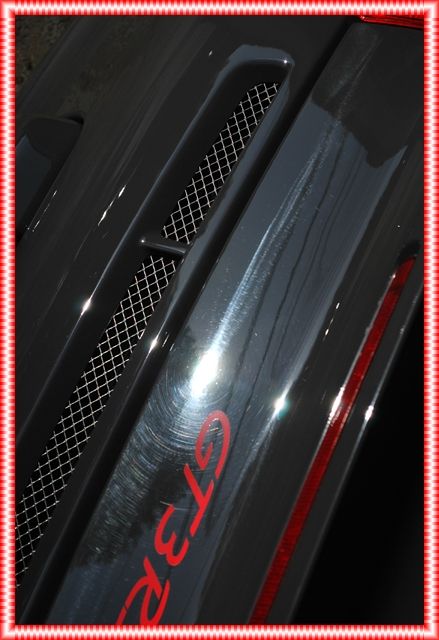
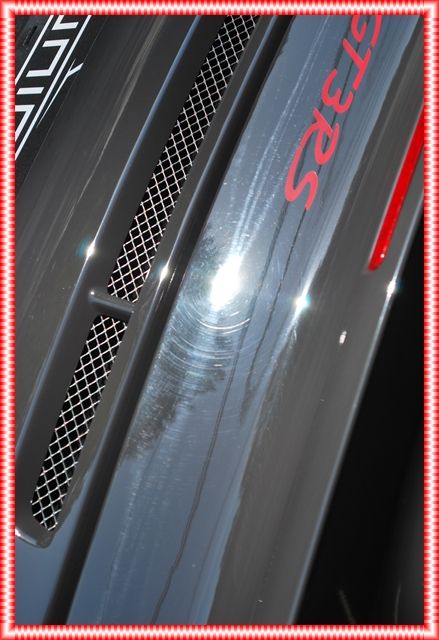
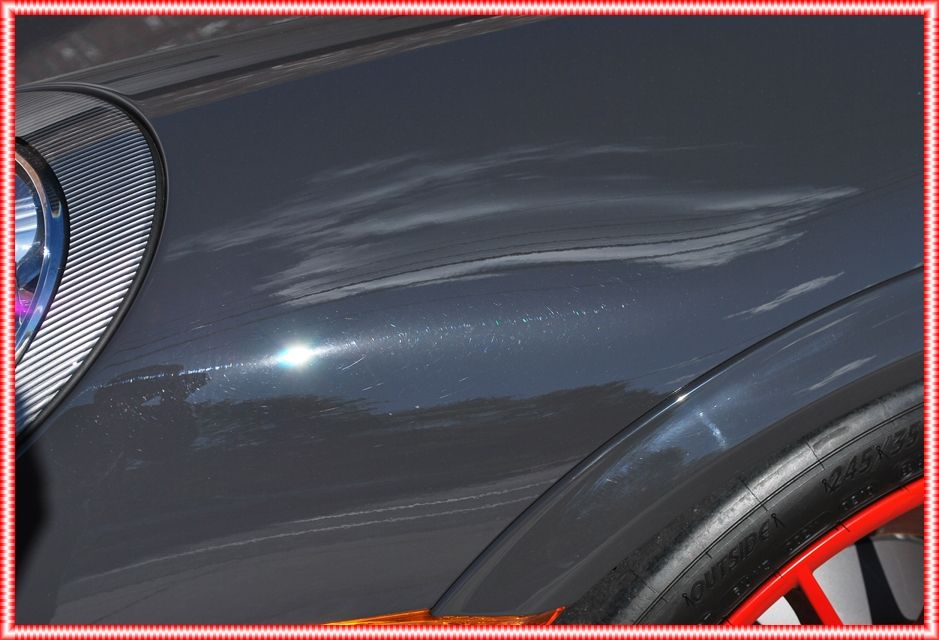
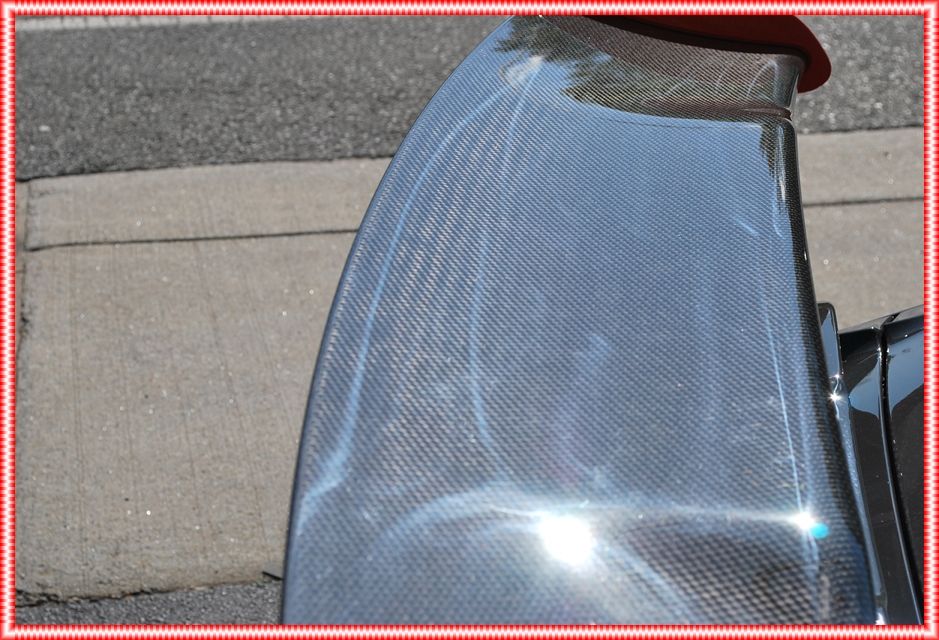
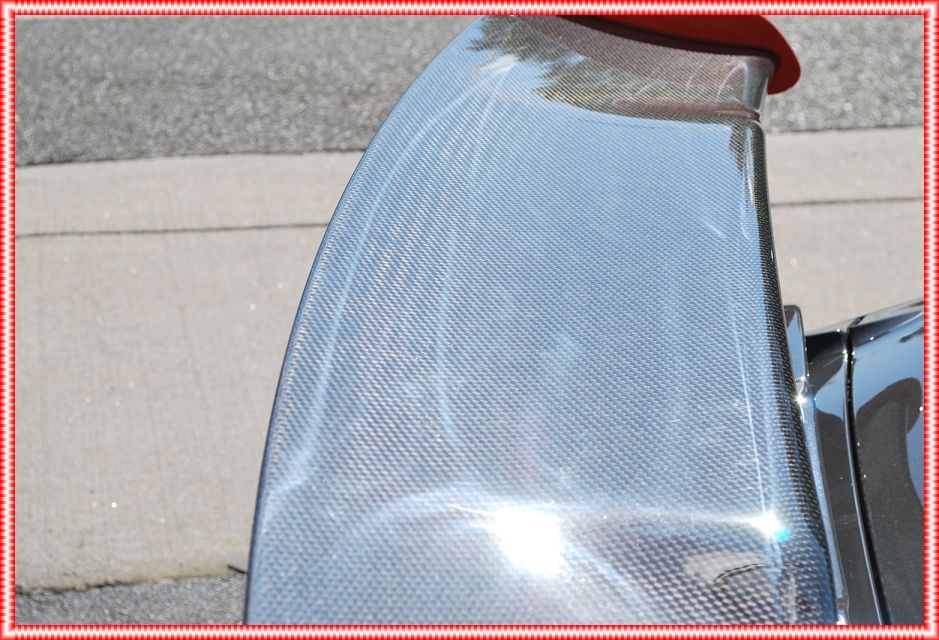
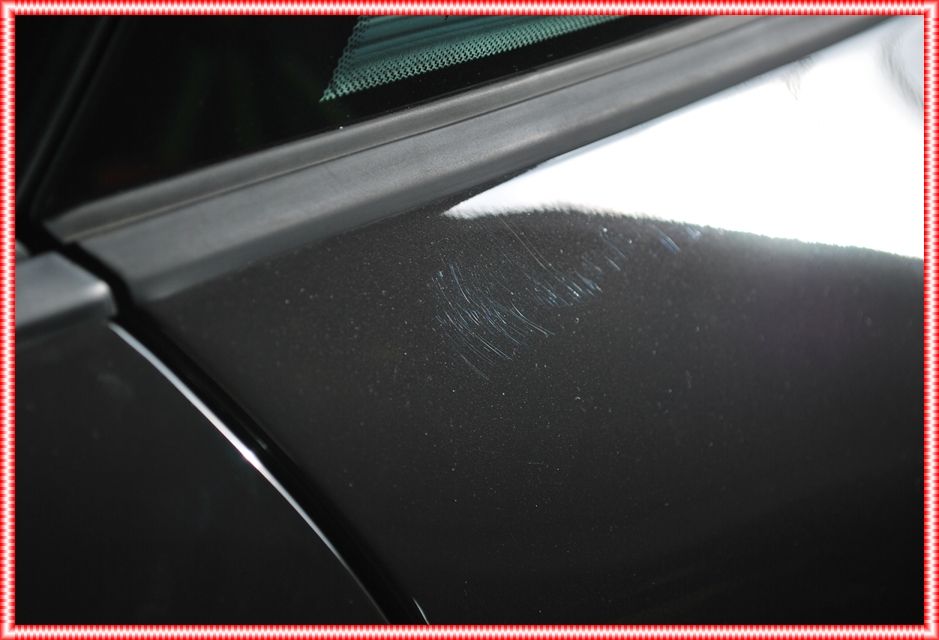
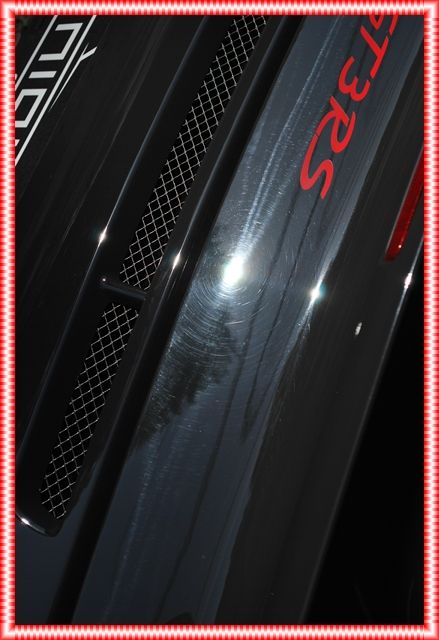
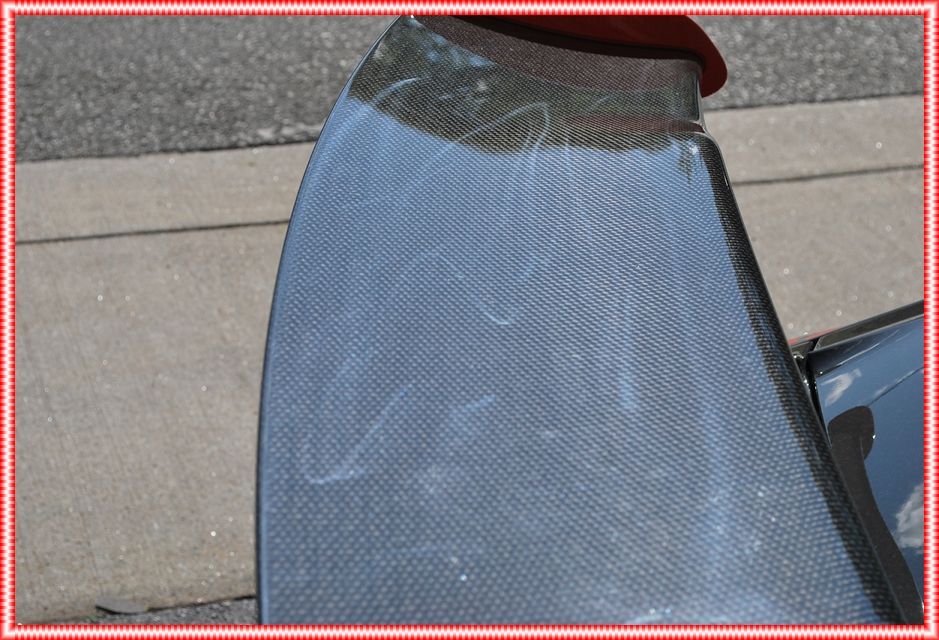
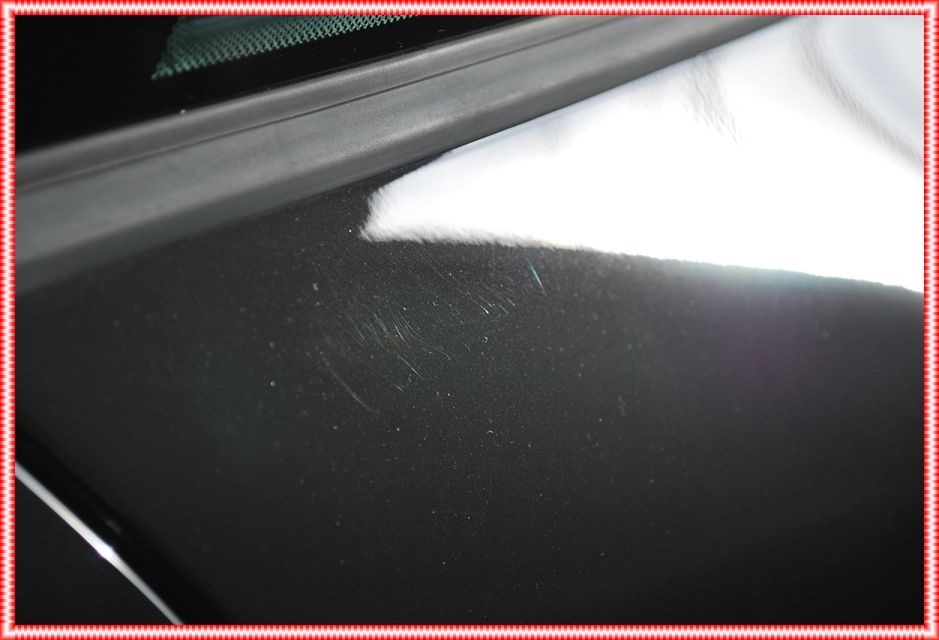
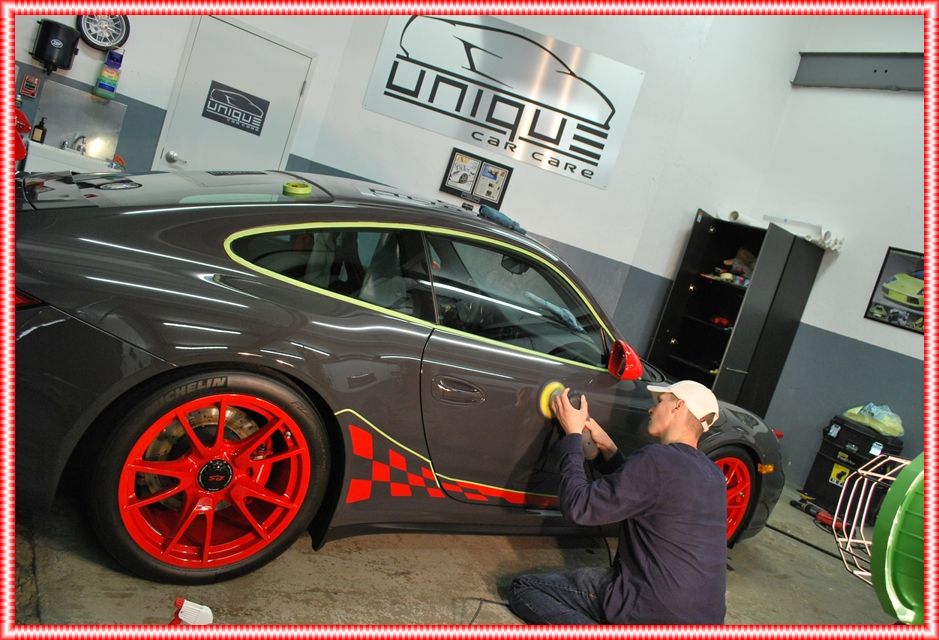
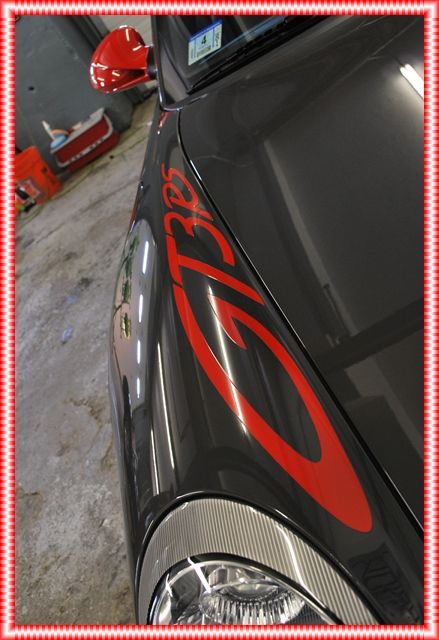
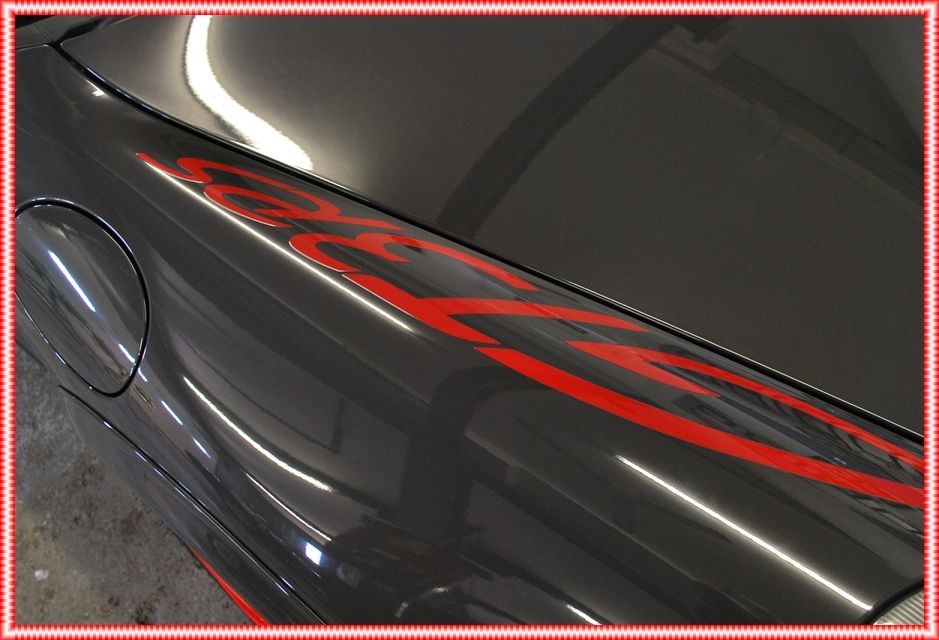
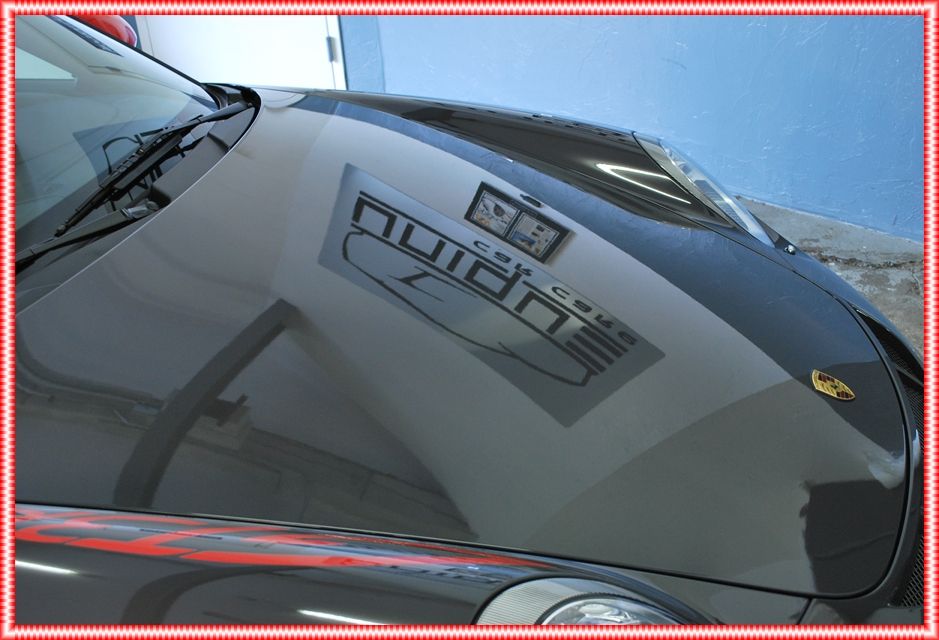
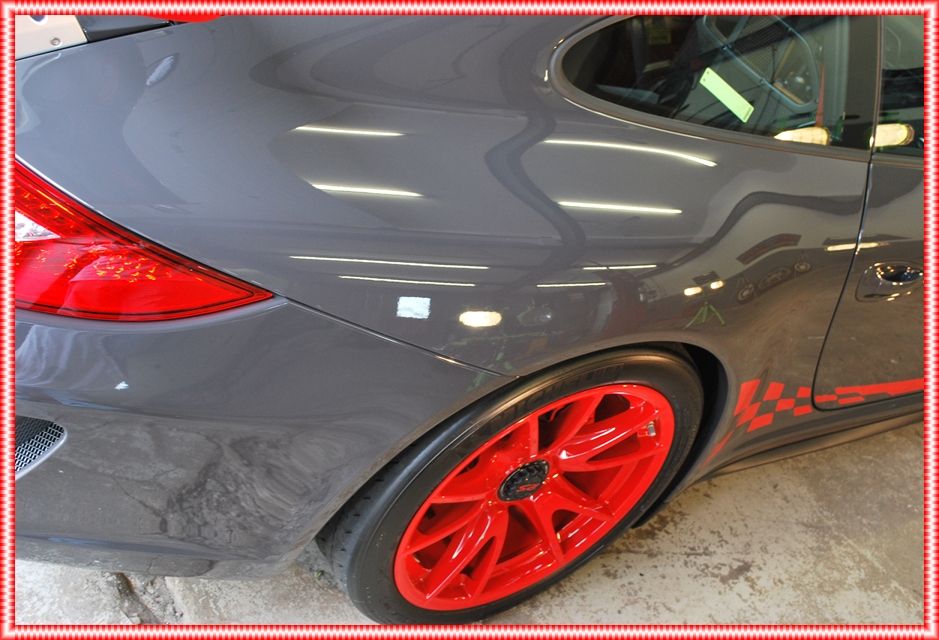
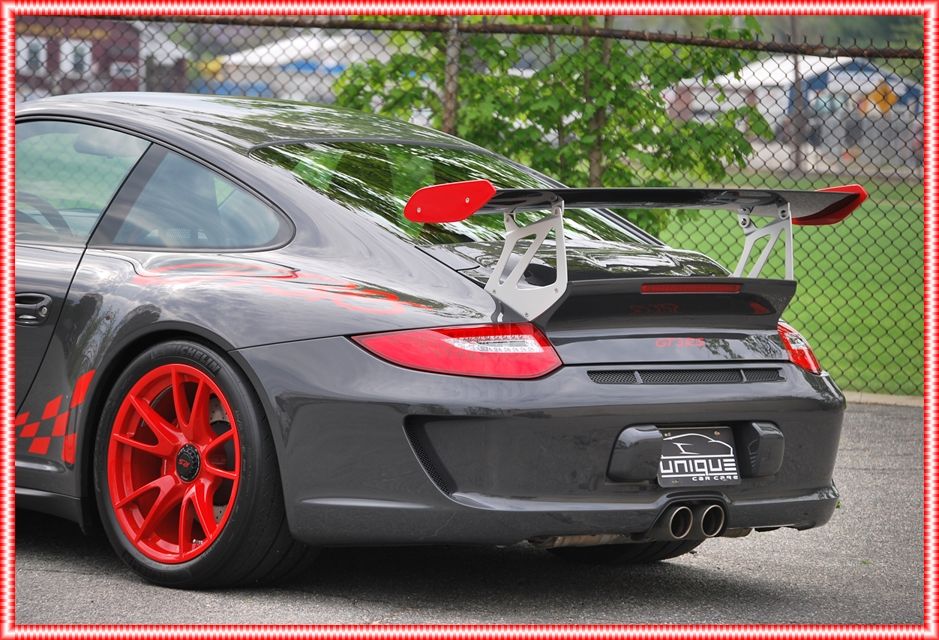
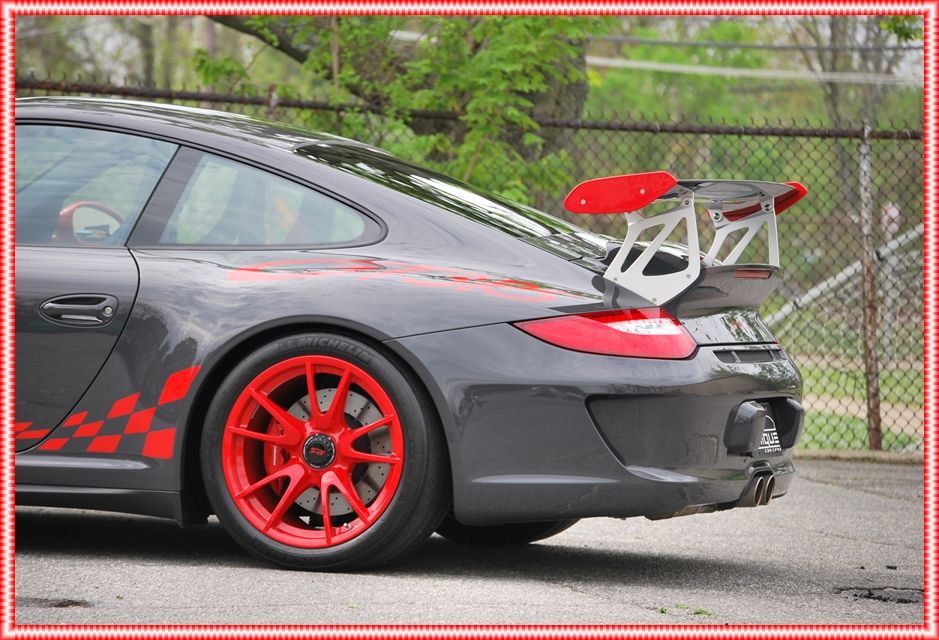
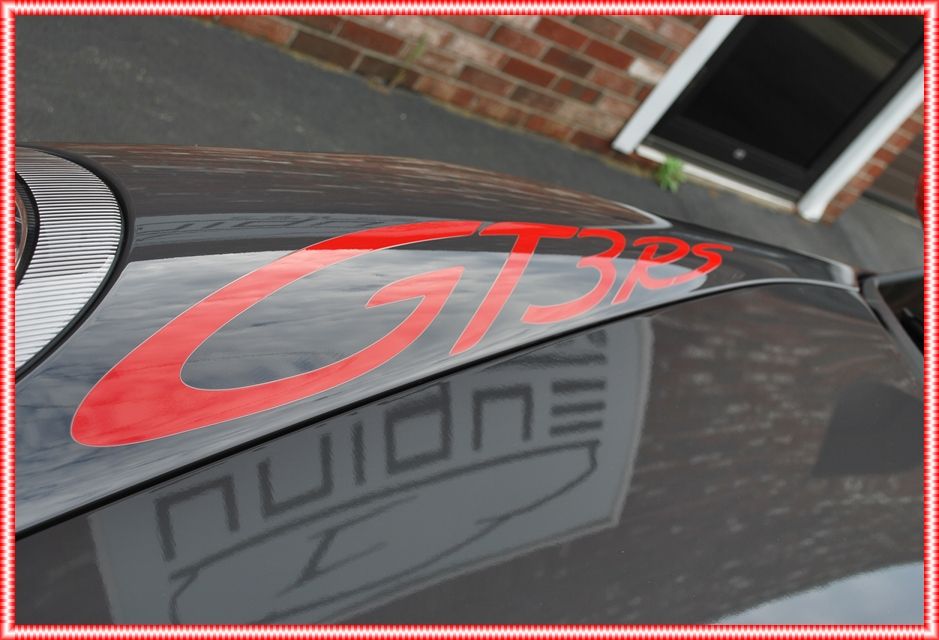
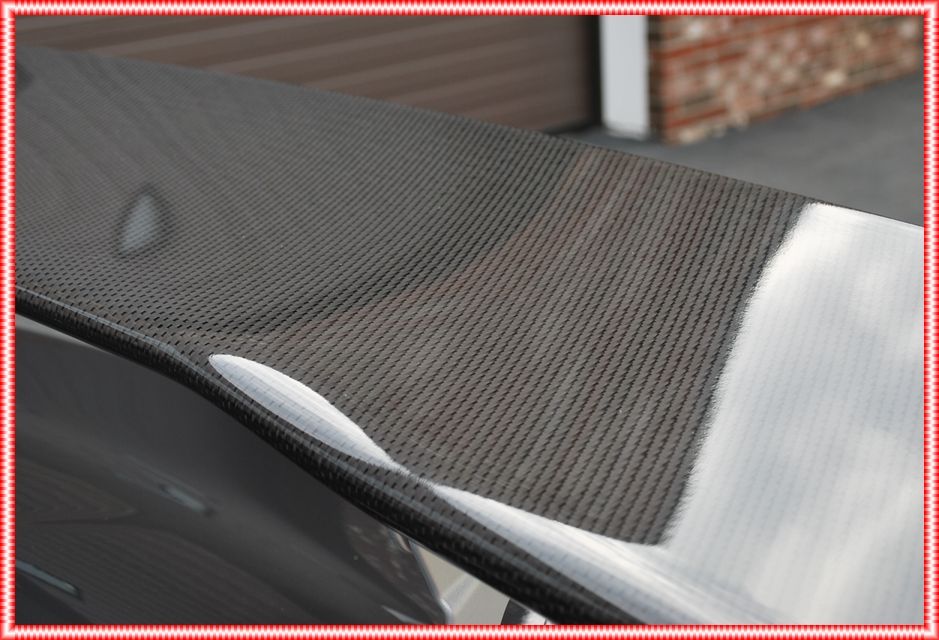
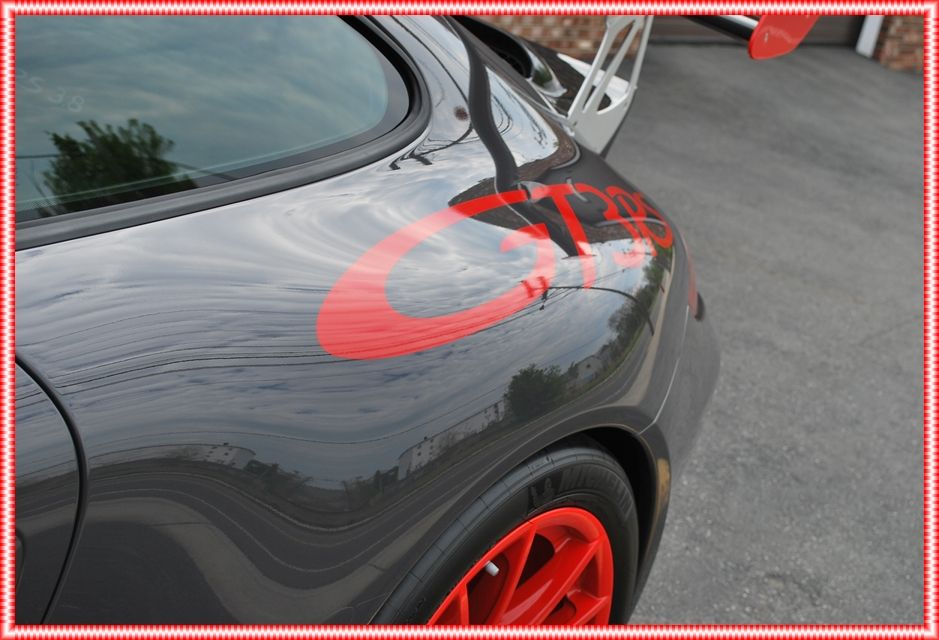
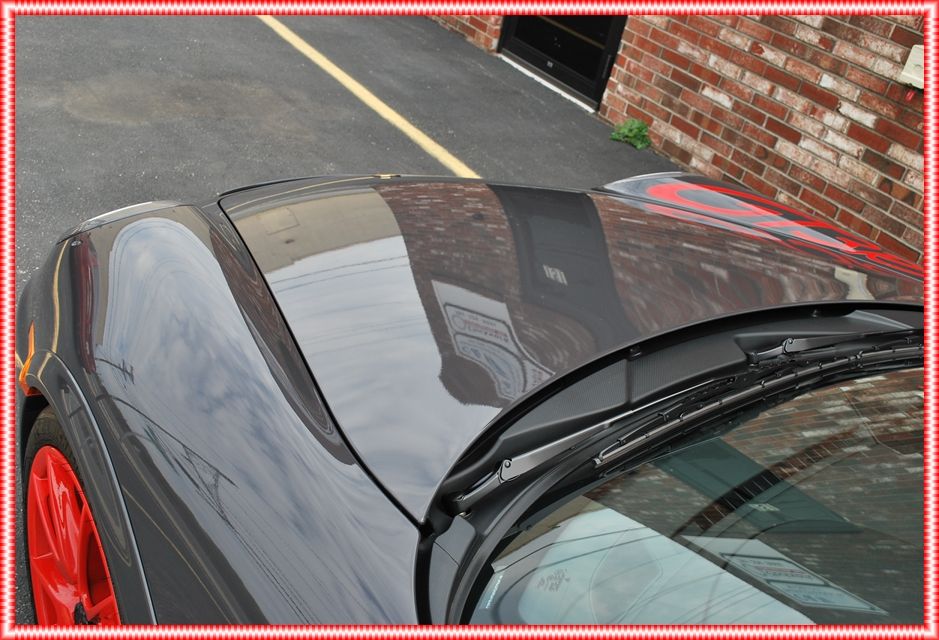
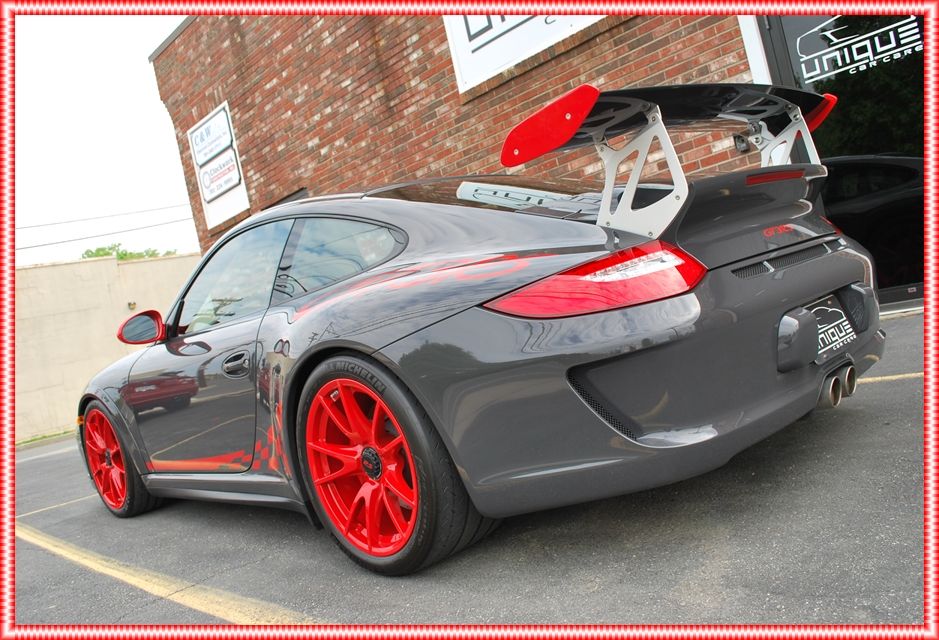
I knew that the car was going to require some polishing in order to get it ready for the clear film install, but it wasn’t until I pulled the car outside in the sun that I saw some fairly serious defects present. Even though the dealership didn’t prep the car, there were some buffer trails present on the rear deck lid and rear spoiler as you can see in the pictures below. The rest of the car wasn’t too bad, but the owner wanted the car showroom new, so I inspected the paint carefully before pulling it in the shop to start polishing.
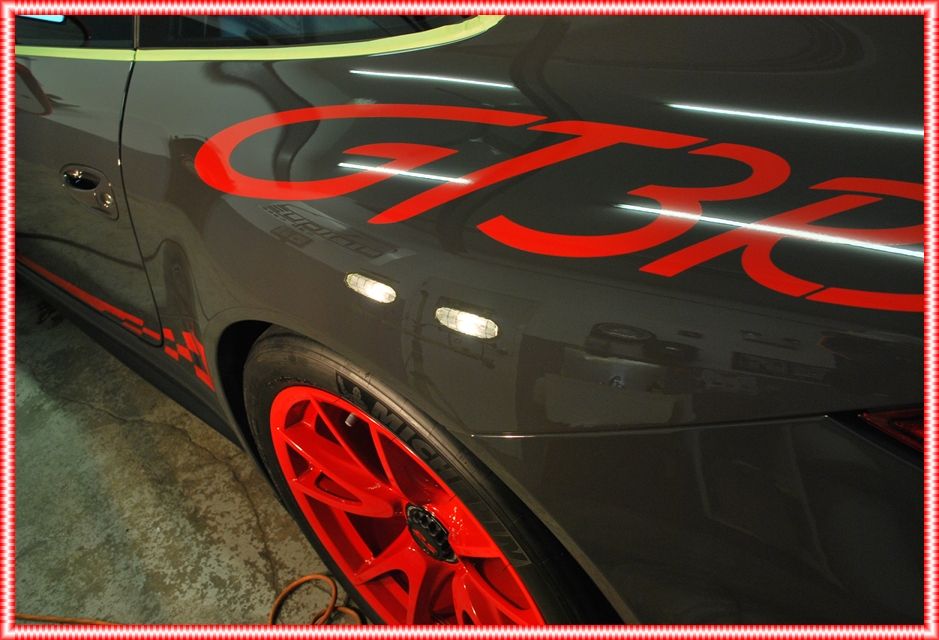
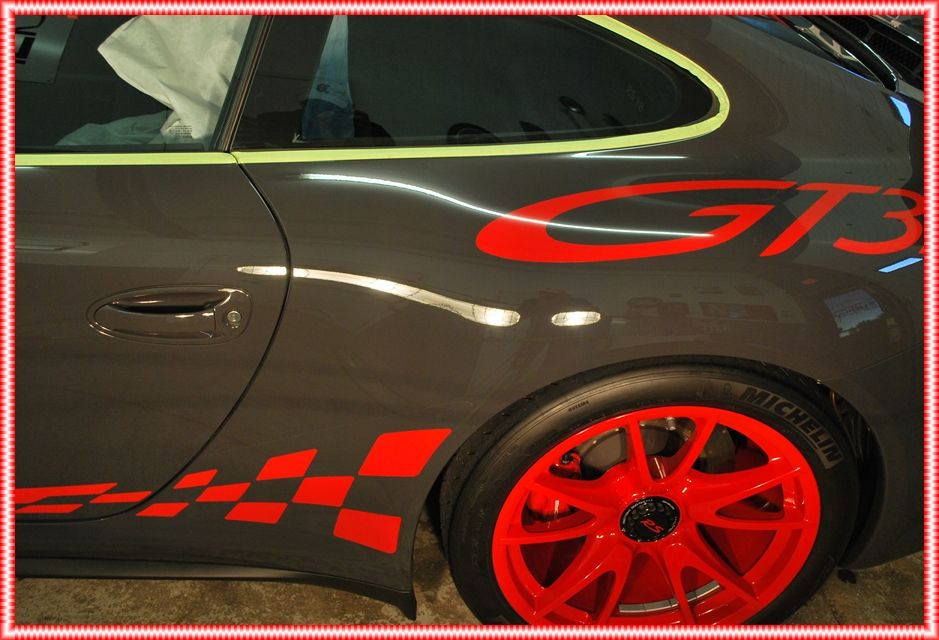
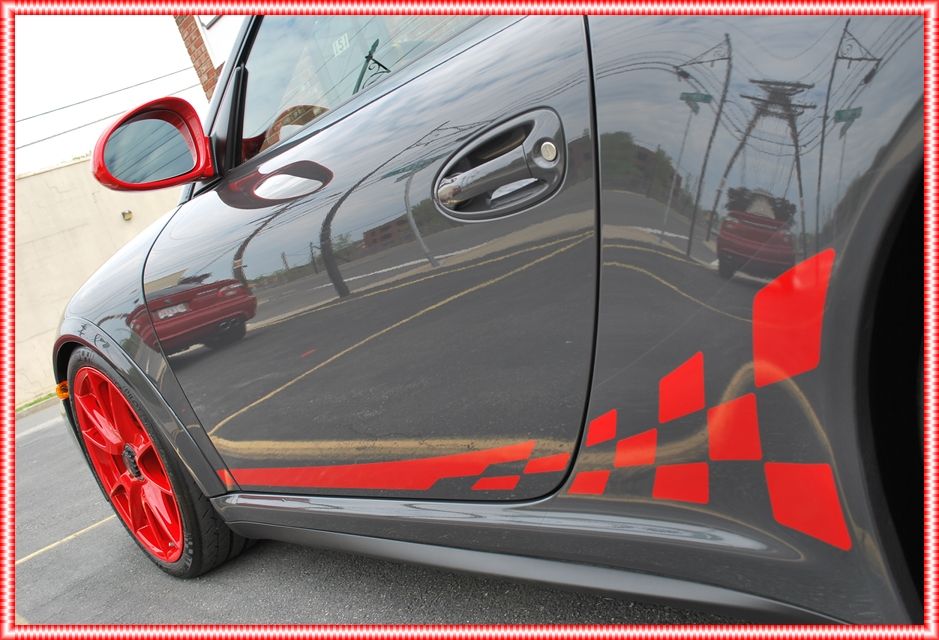
As you can see, it was going to need some polishing it in order to get it ready for the film install. I masked off any critical areas that could possibly be damaged from polishing, such as the GT3 RS vinyl decals on the rear quarter panel and front fender.
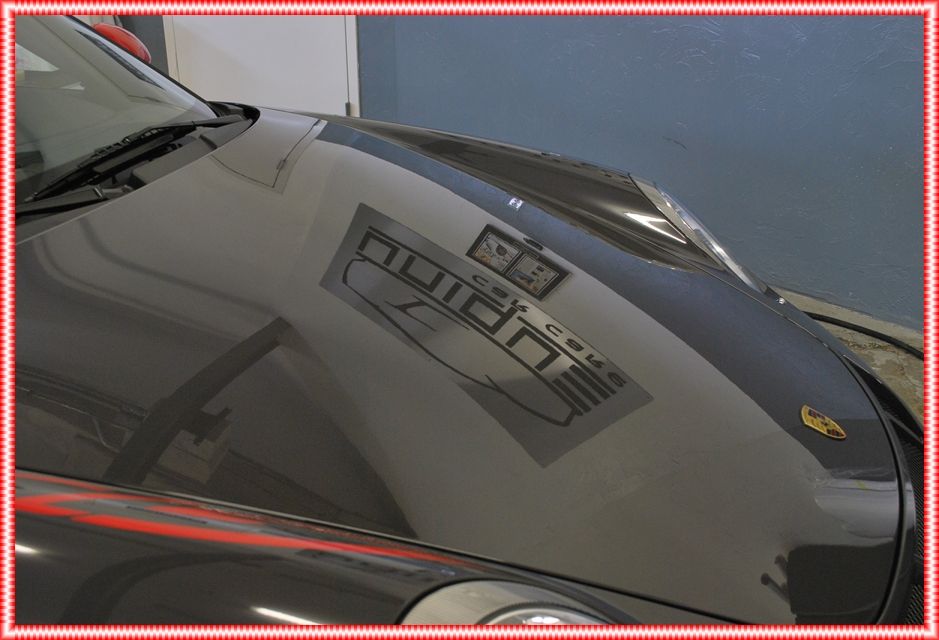
I opted for a 2-step polishing treatment to get the paint looking its absolute best. The first step was Meguiars 105 using an orange foam pad via DA, which knocked out the heavier defects. Since the M105 created lots of dust, I gave the car a quick wash in-between polishing steps to ensure all dust and product spatter was removed before moving on. For the final polishing step, I used Menzerna 85rd on a black foam finishing pad via DA, which really amped up the gloss and left the paint looking absolutely flawless.
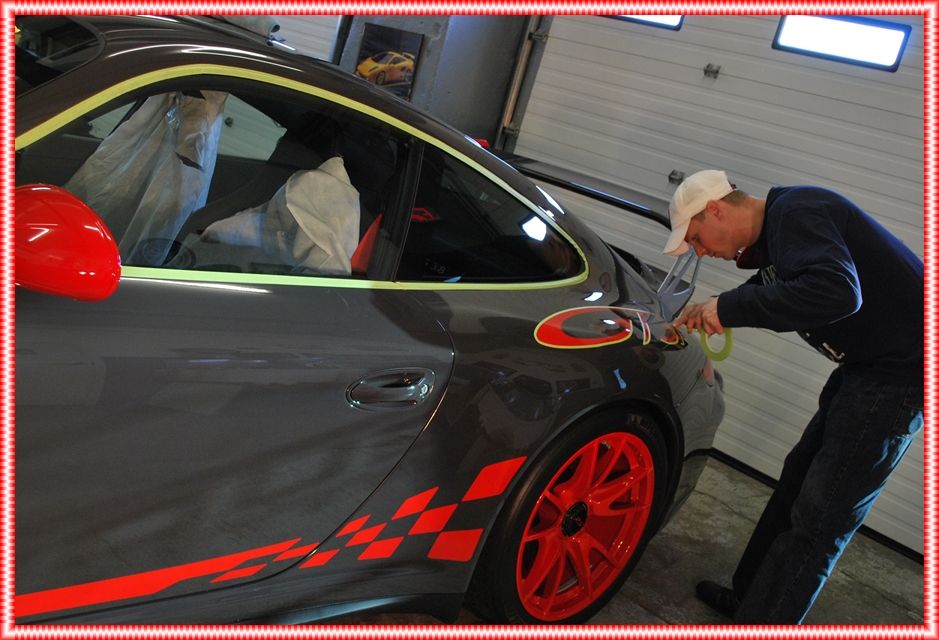
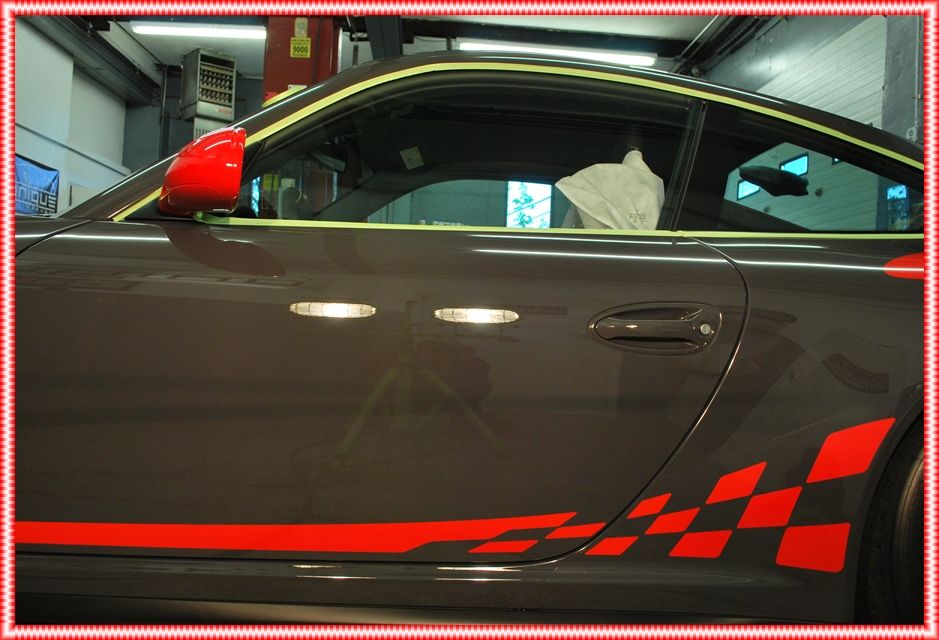
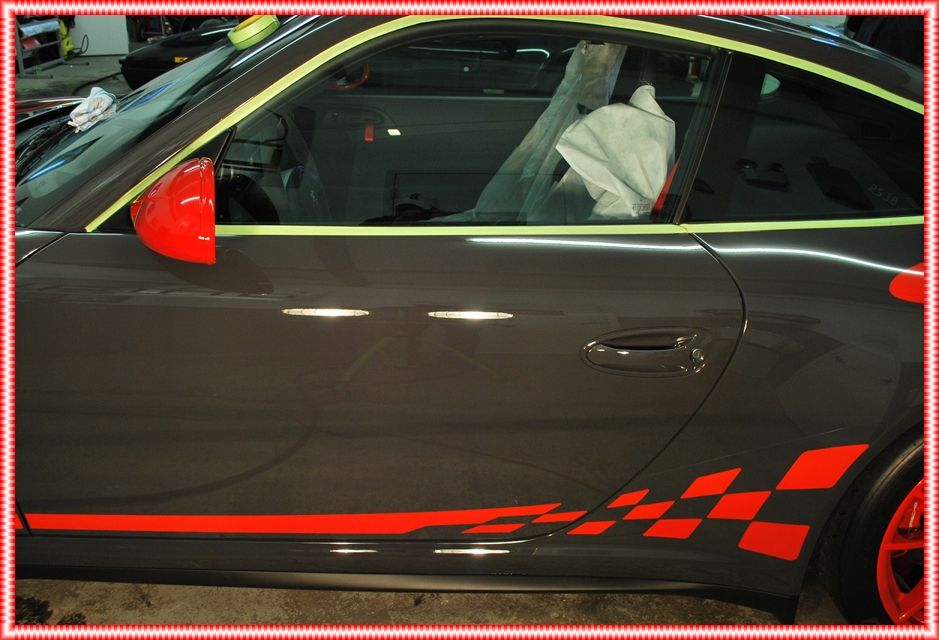
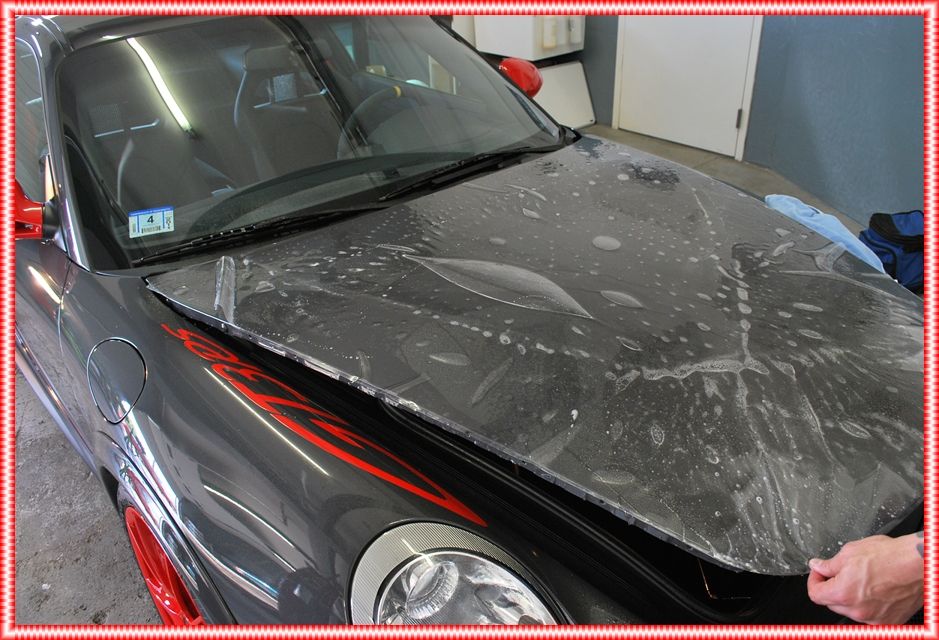
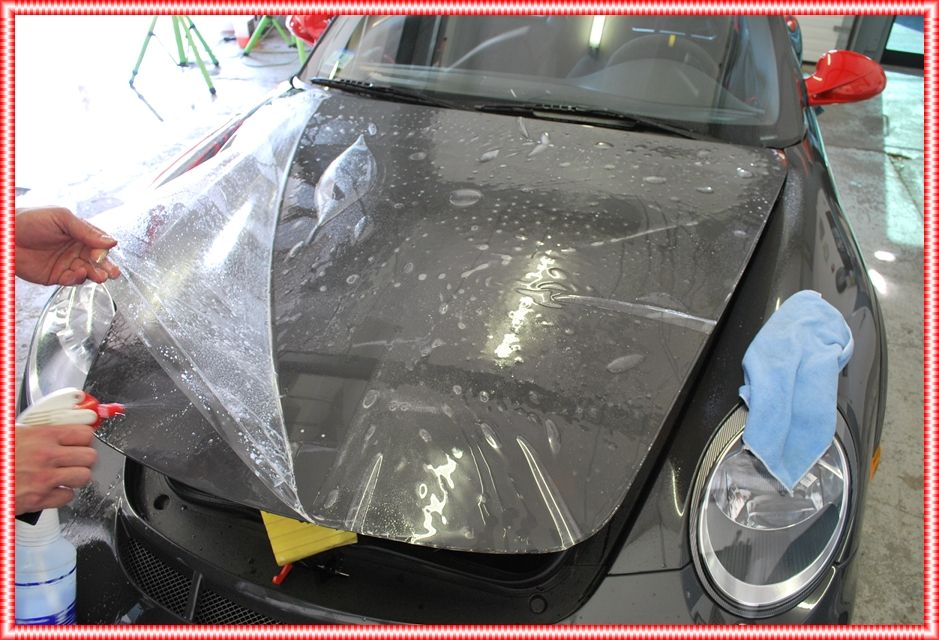
Now that the paint was perfectly defect-free, I wiped the entire exterior down with alcohol using a fresh microfiber to ensure there was a perfect foundation for the film to adhere to. It is very important not to have any waxes, sealants or polishing oils present or it could cause problems when applying the film. The film installer arrived the following day and did an absolutely amazing job. We were both concerned with the factory decals on the front fenders and how they would look with the film applied over them, but in the end, it came out flawless. Since the owner was debating tracking the car at some point, he opted to cover the complete hood, complete fenders, complete front bumper, mirrors, rocker panels, a-pillars, partial roof and the carbon fiber rear spoiler to protect the paint against stone chips and road debris. Here’s a couple during shots of the film install.
Once the film was installed, I applied Collinite 915 to the entire exterior (including the clear-bra) for it’s superior protection and great looks. I also applied Optimum Opti-Seal to all exterior glass.
All wheels (including the inners) were sealed with two coats of Rejex per request of the owner.
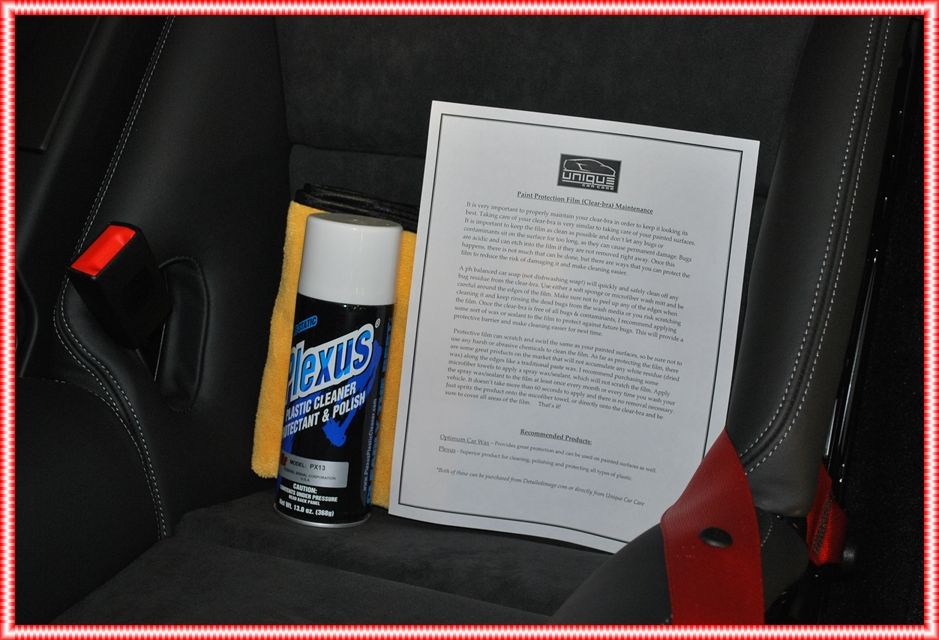
I supplied the owner with some Plexus, a microfiber cloth and instructions on how to keep the clear-bra looking its best…
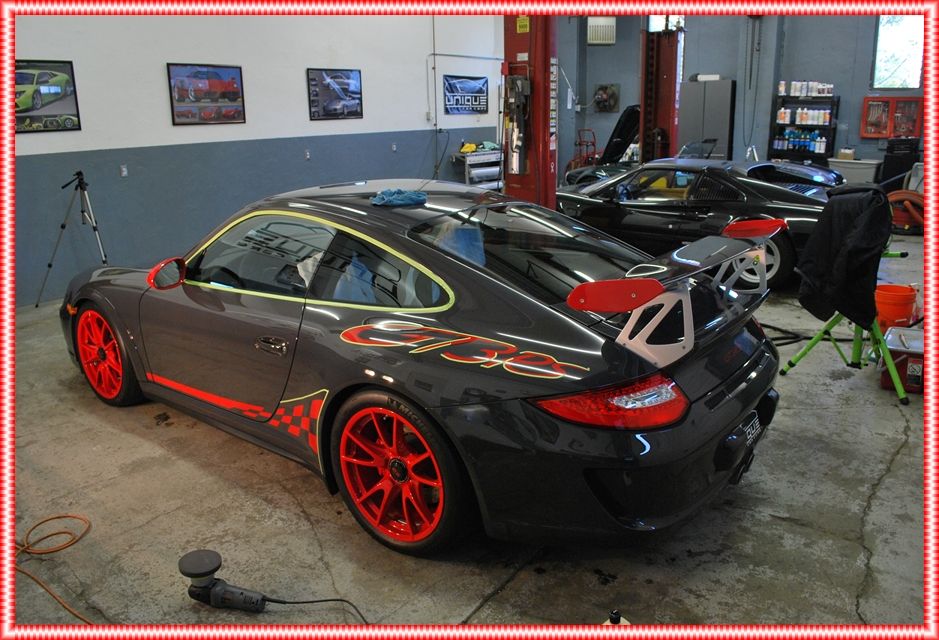
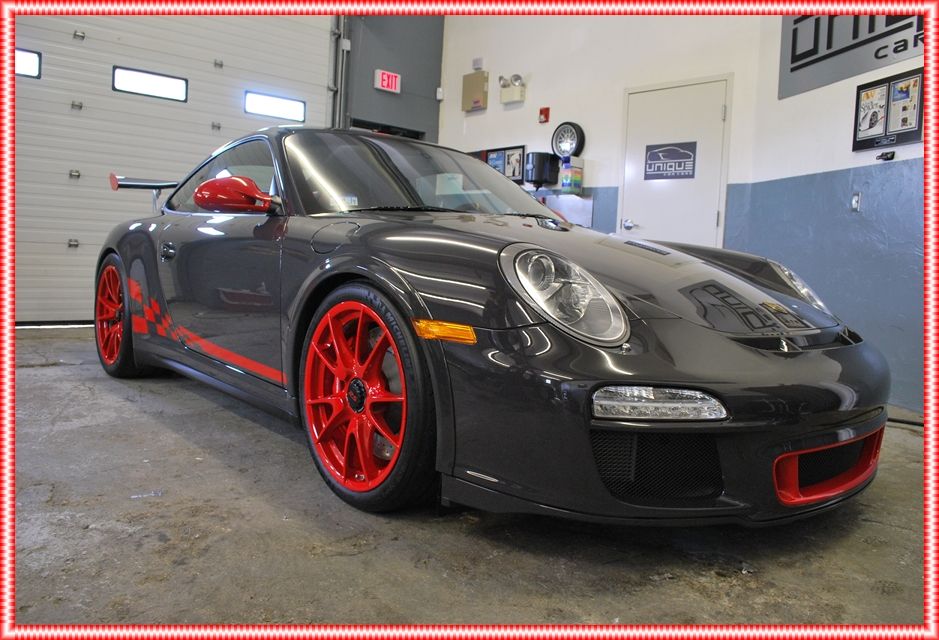
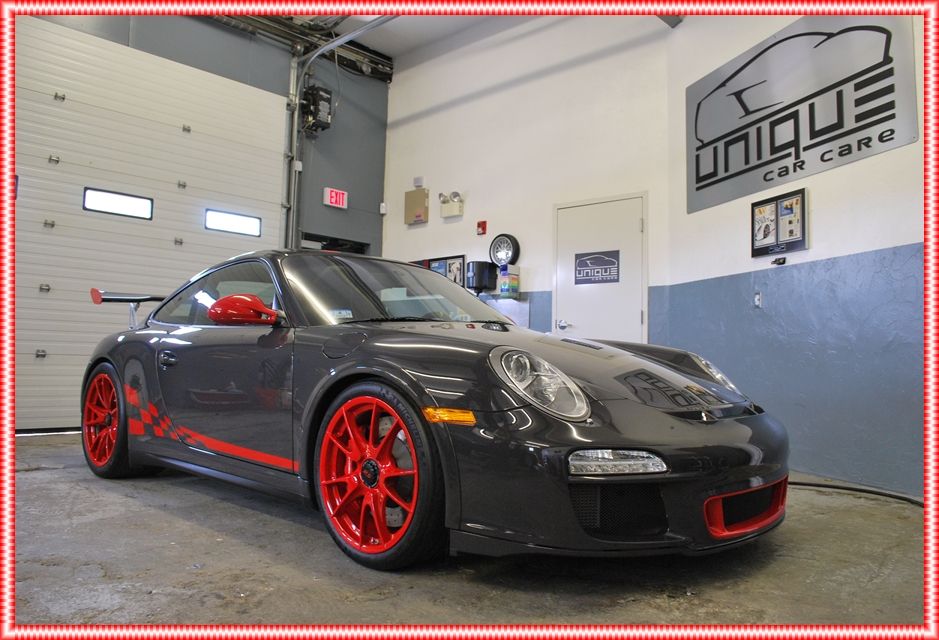
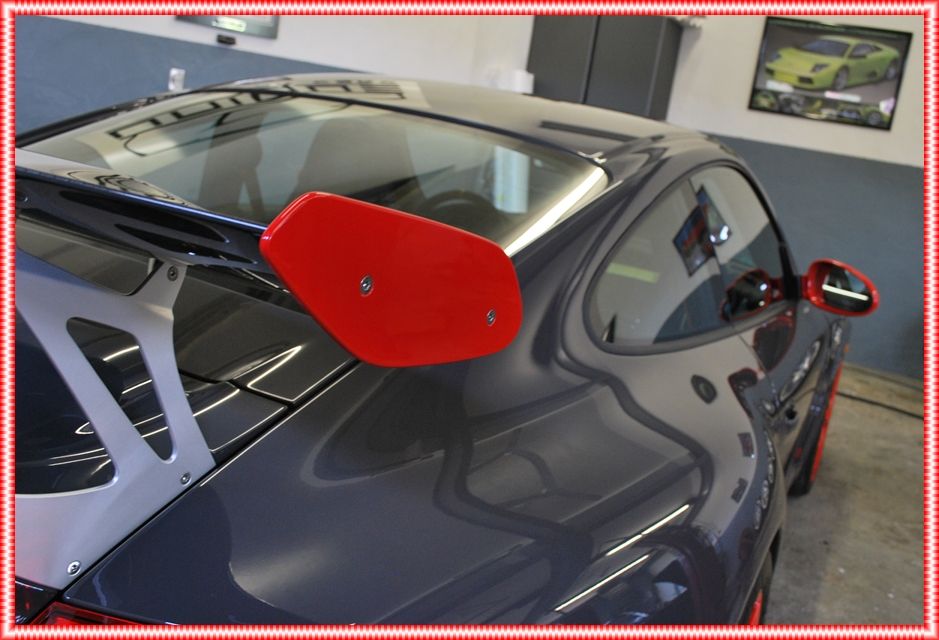
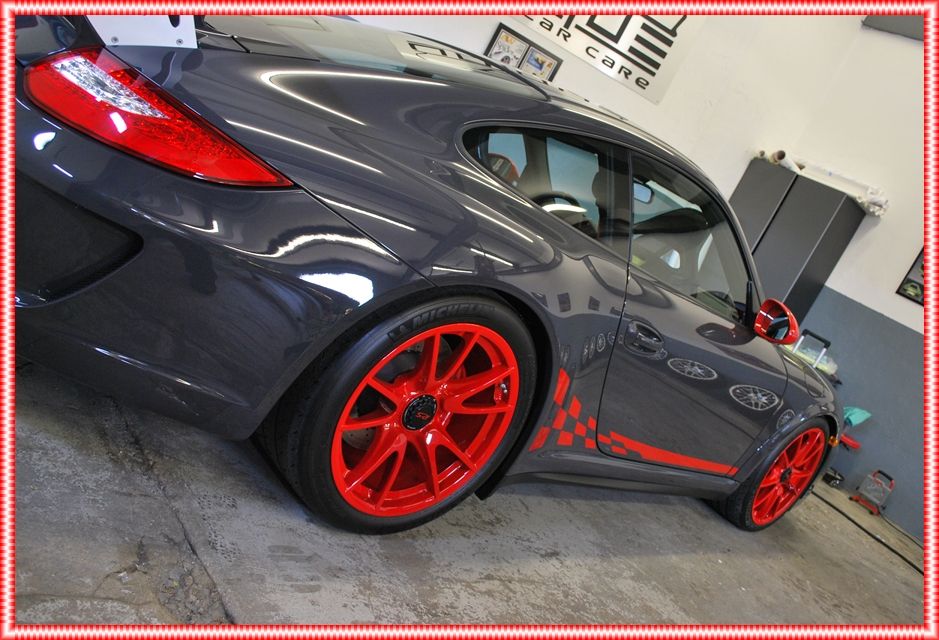
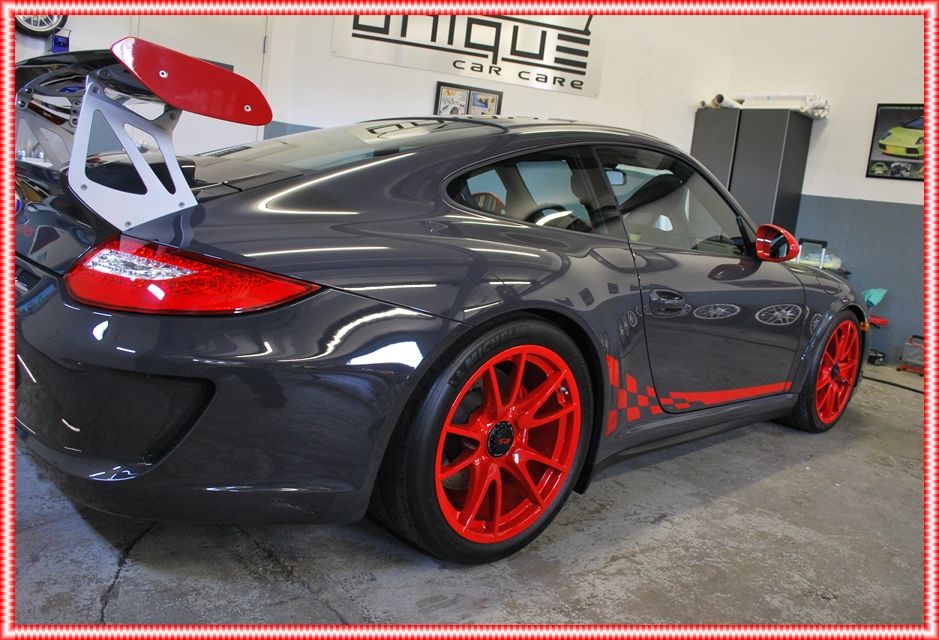
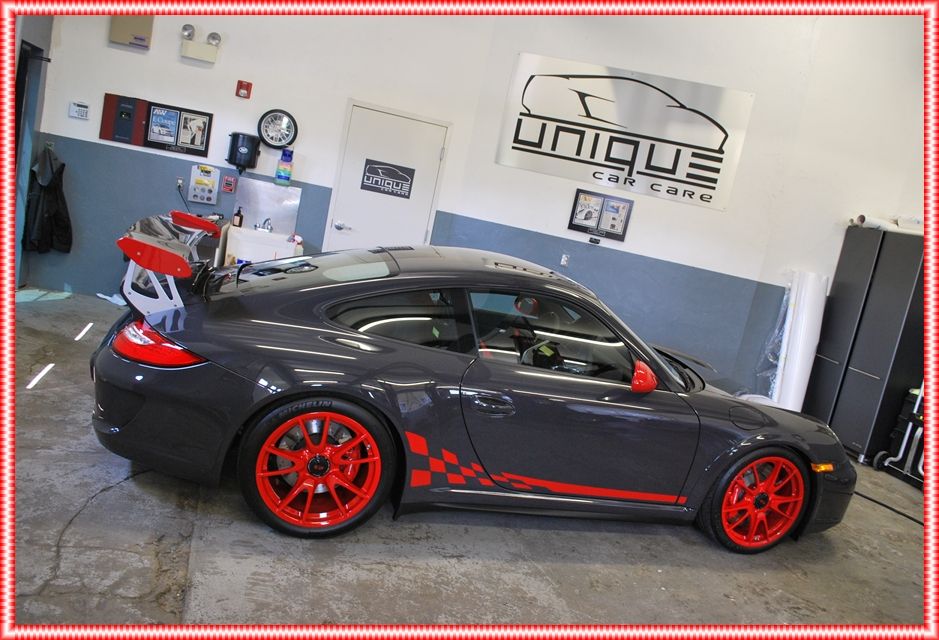
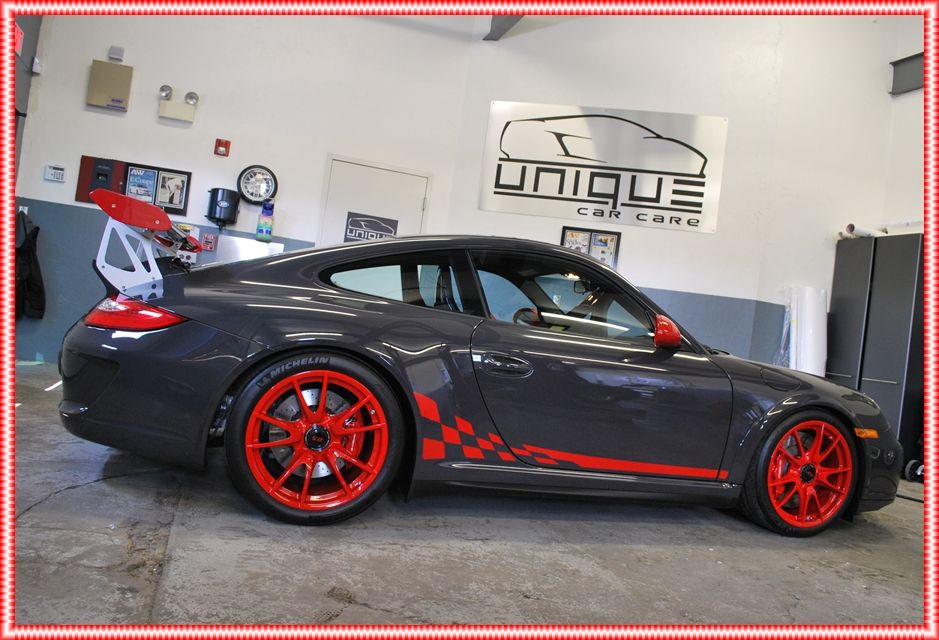
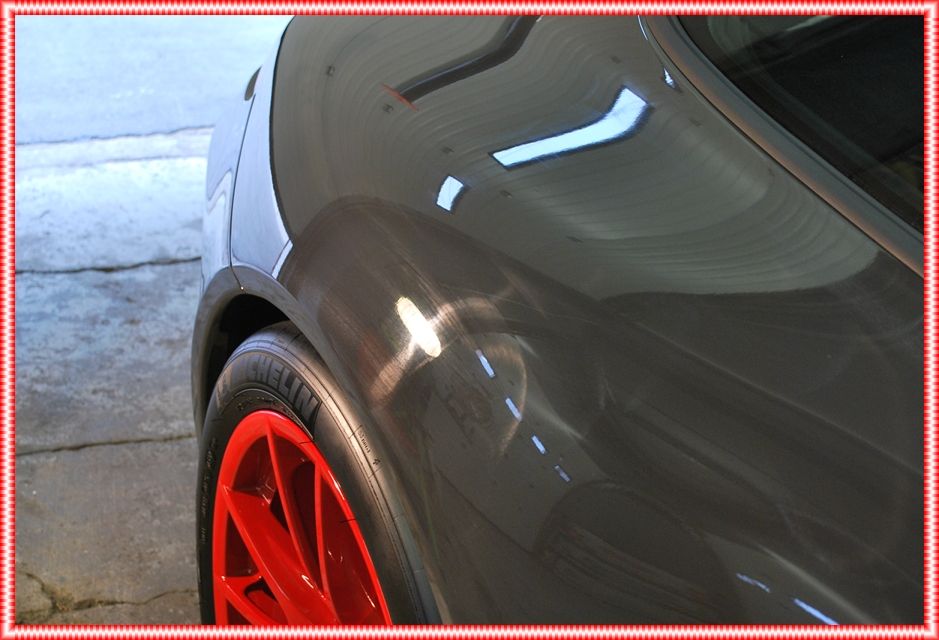
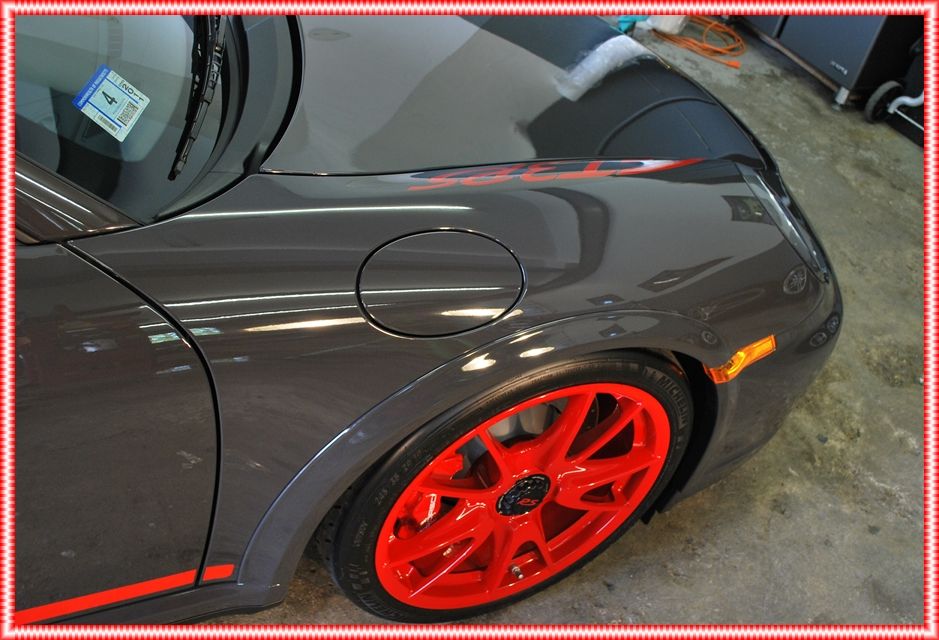
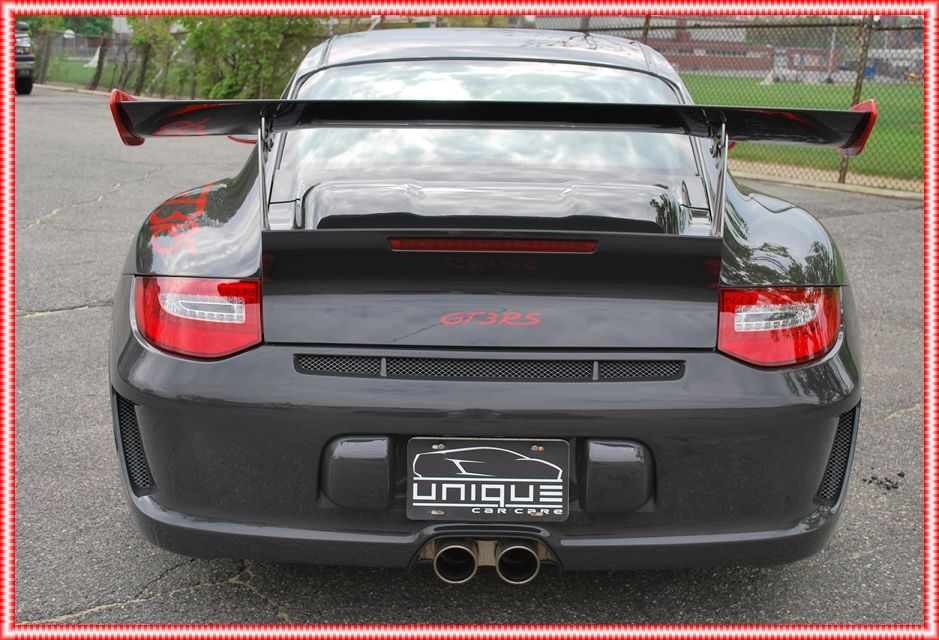
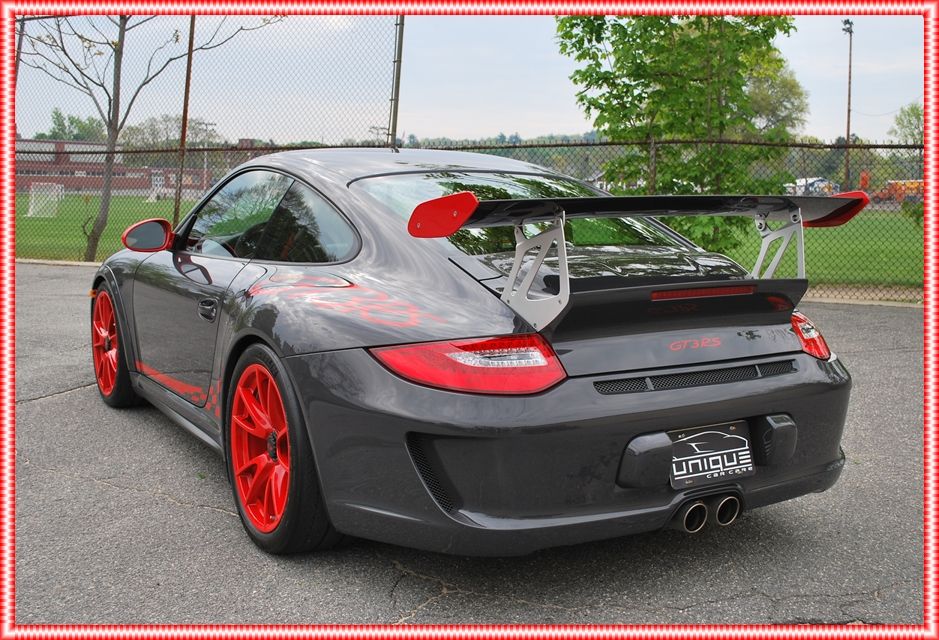
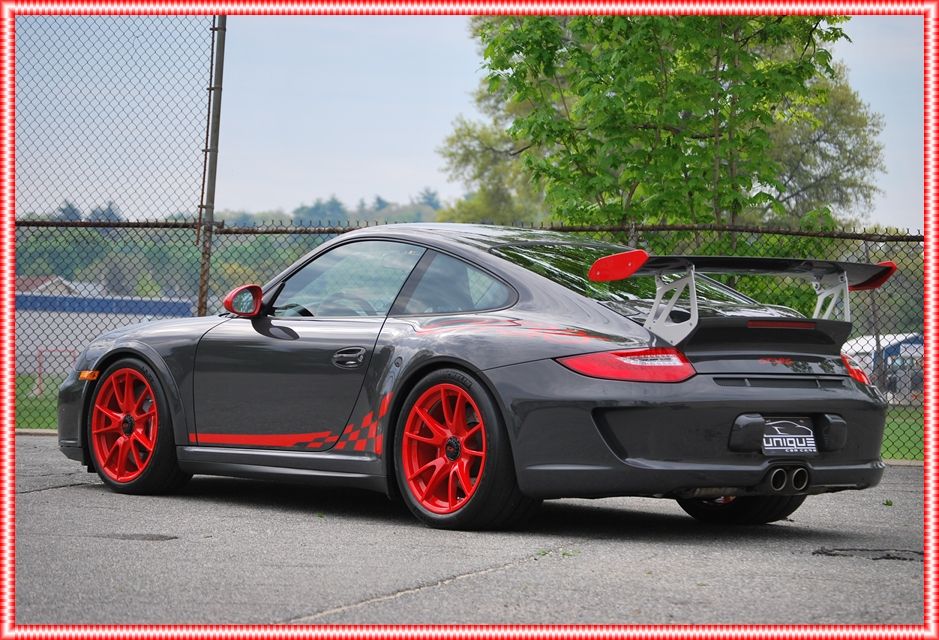
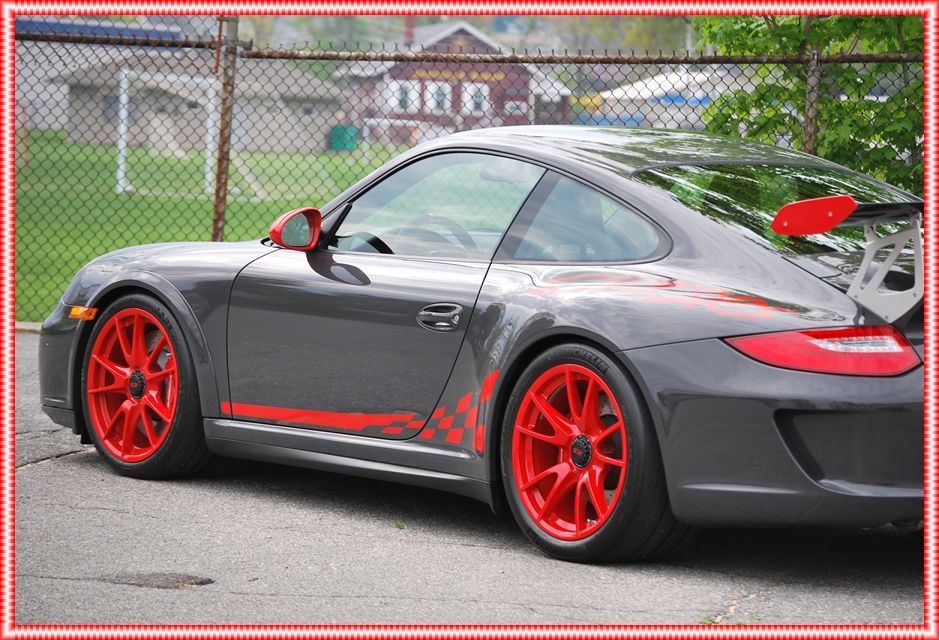
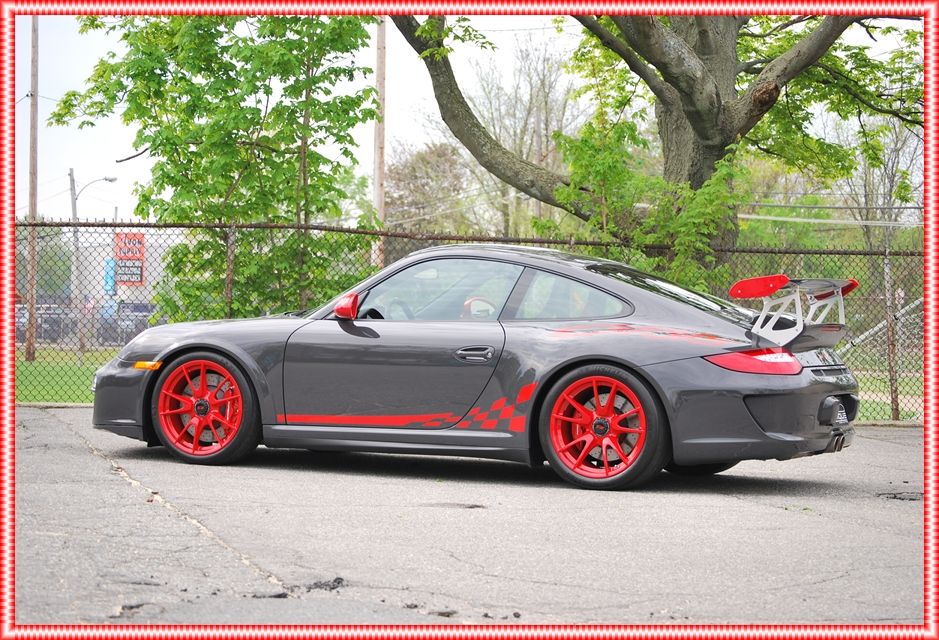
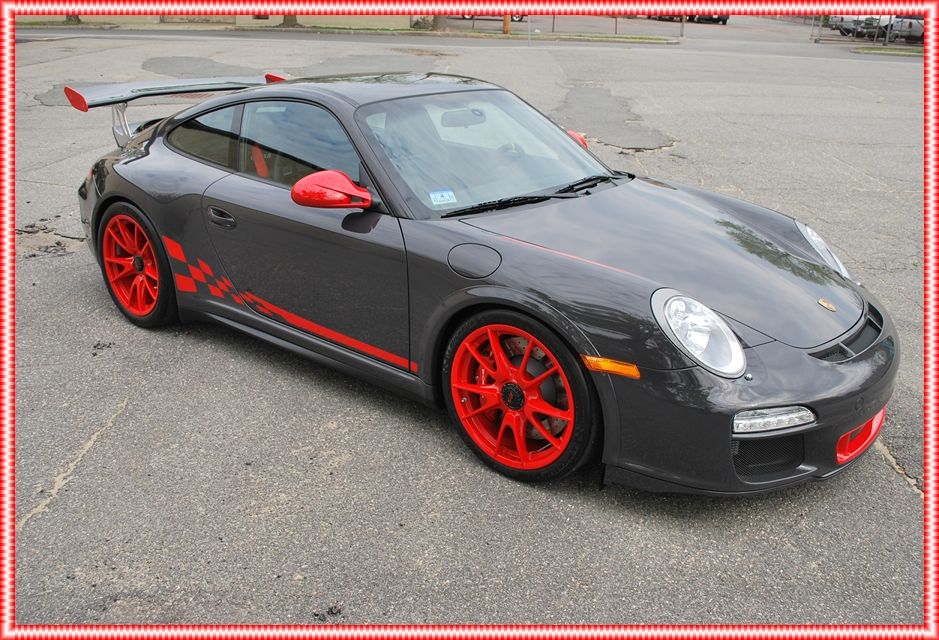
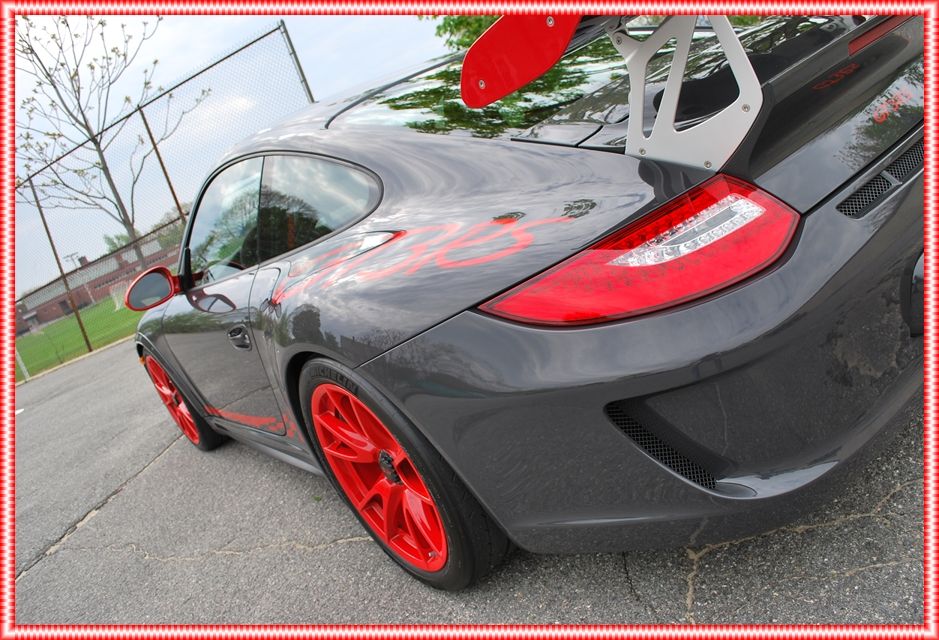
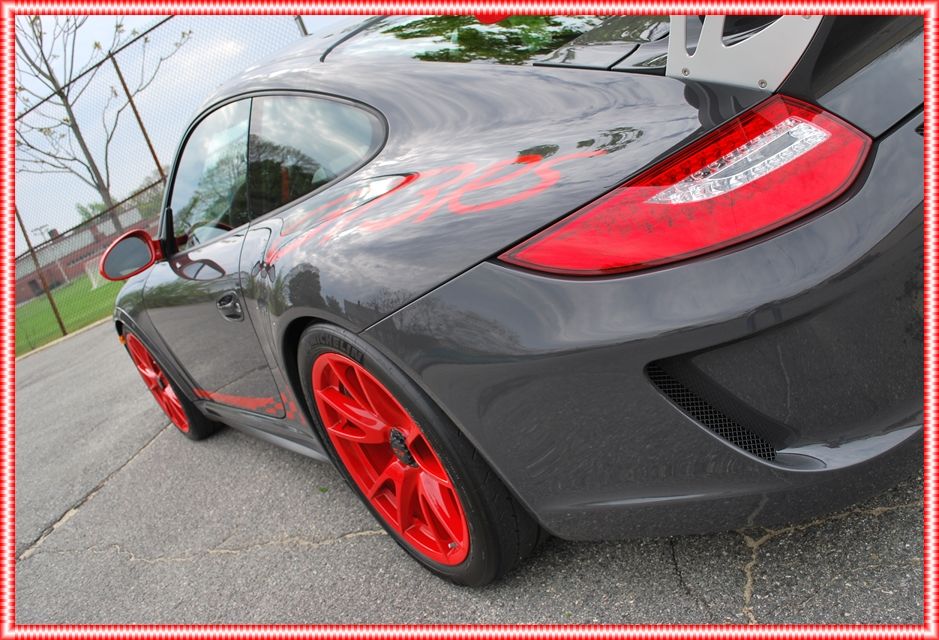
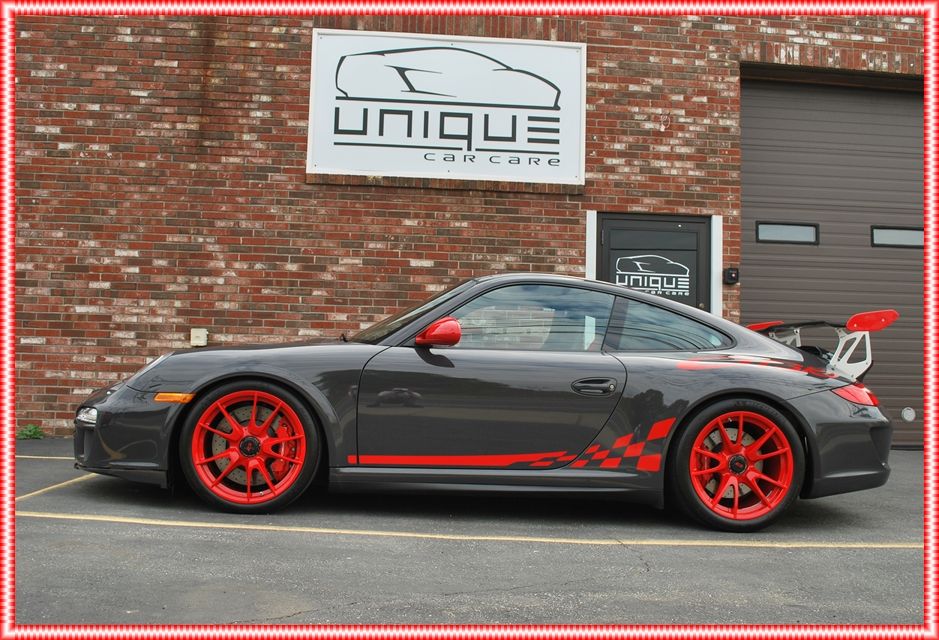
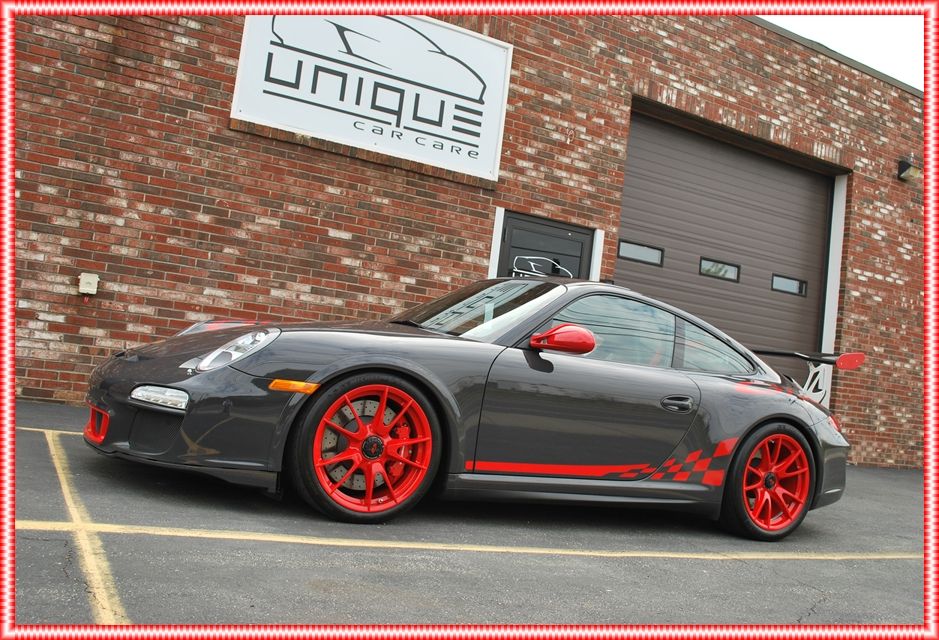
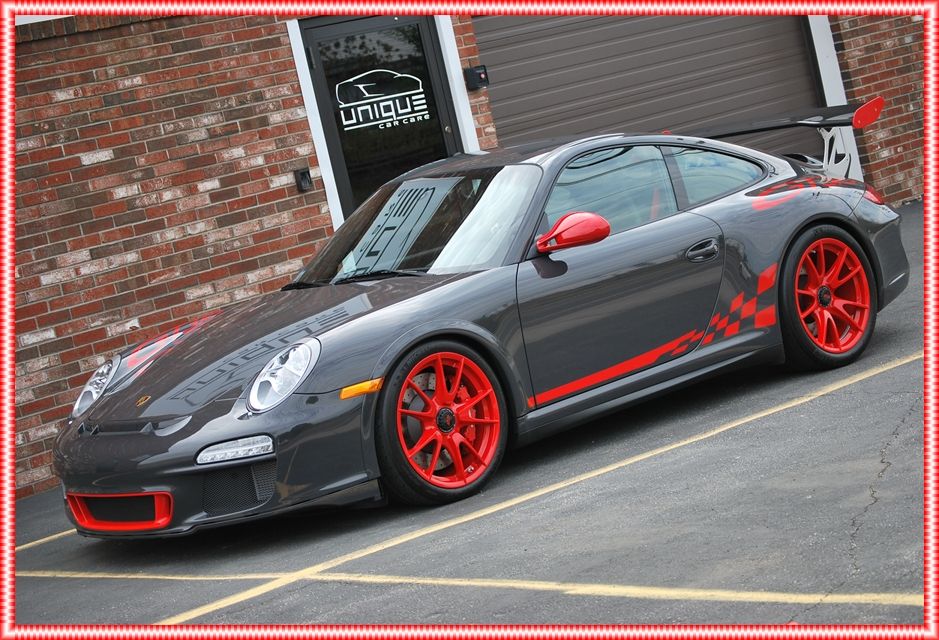
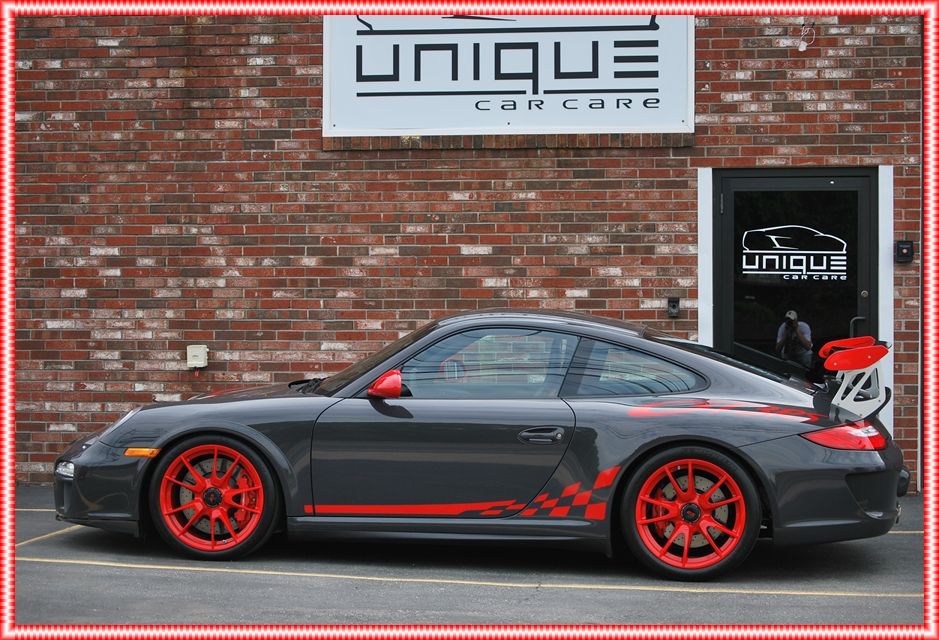
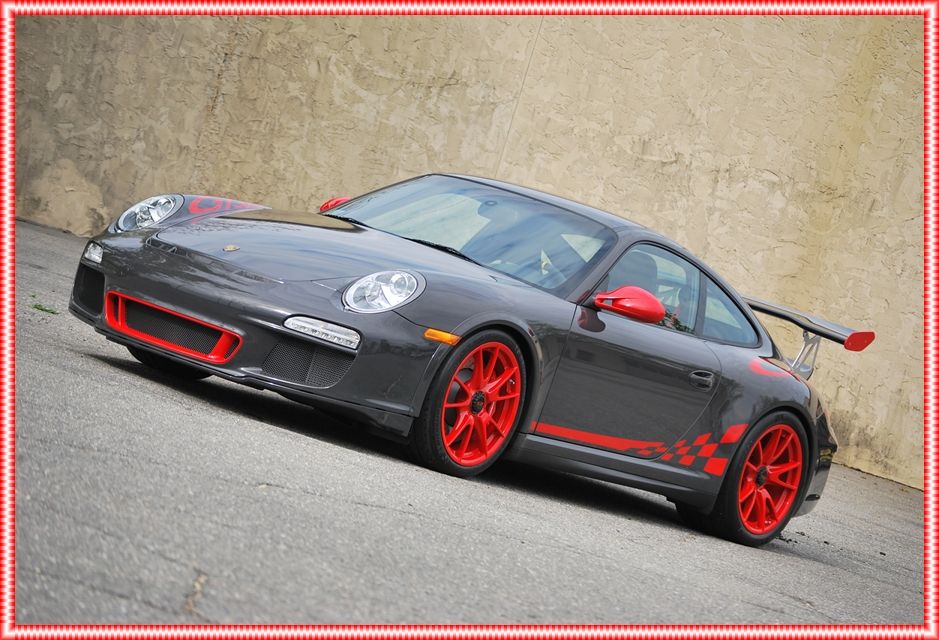
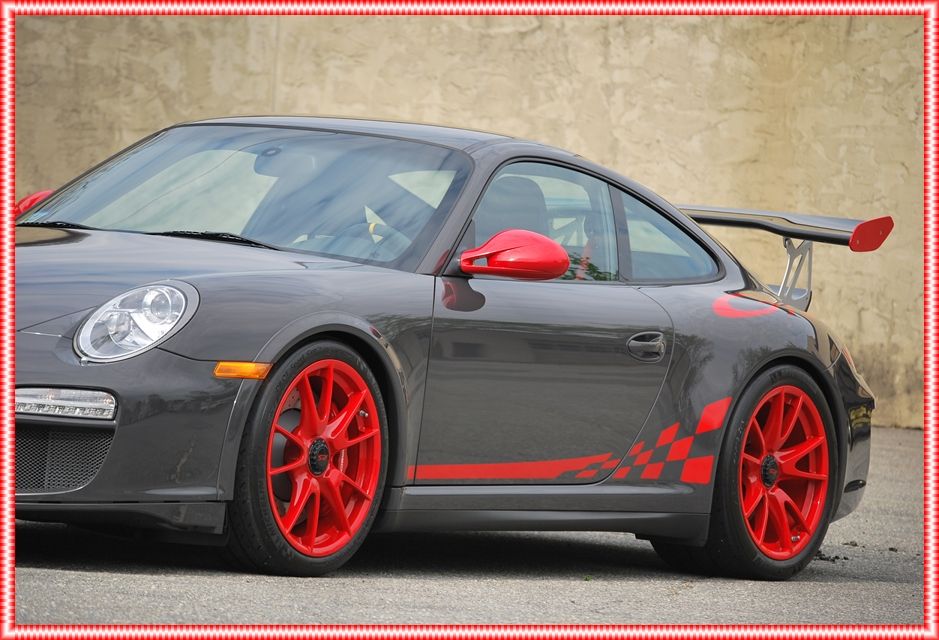
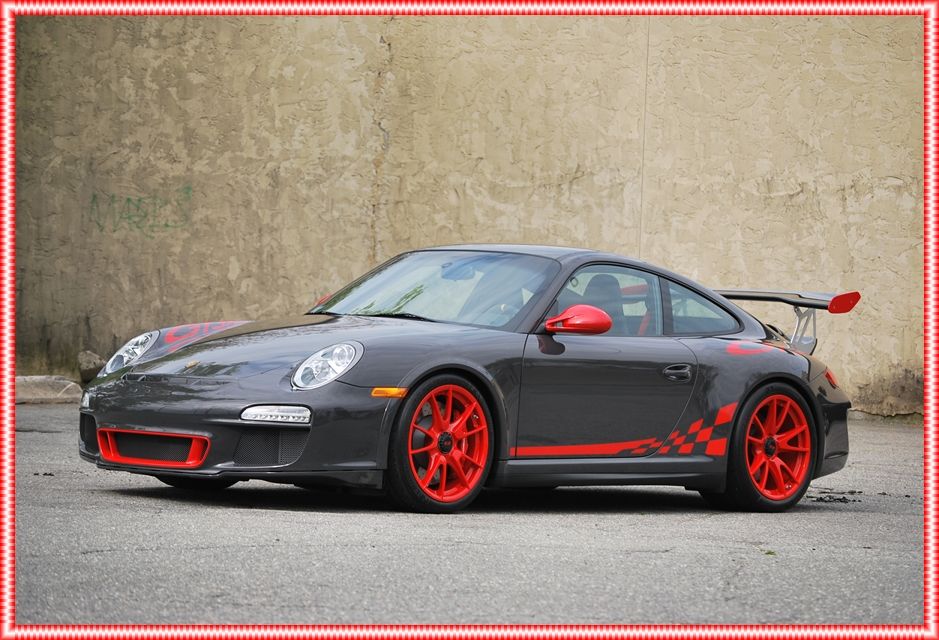
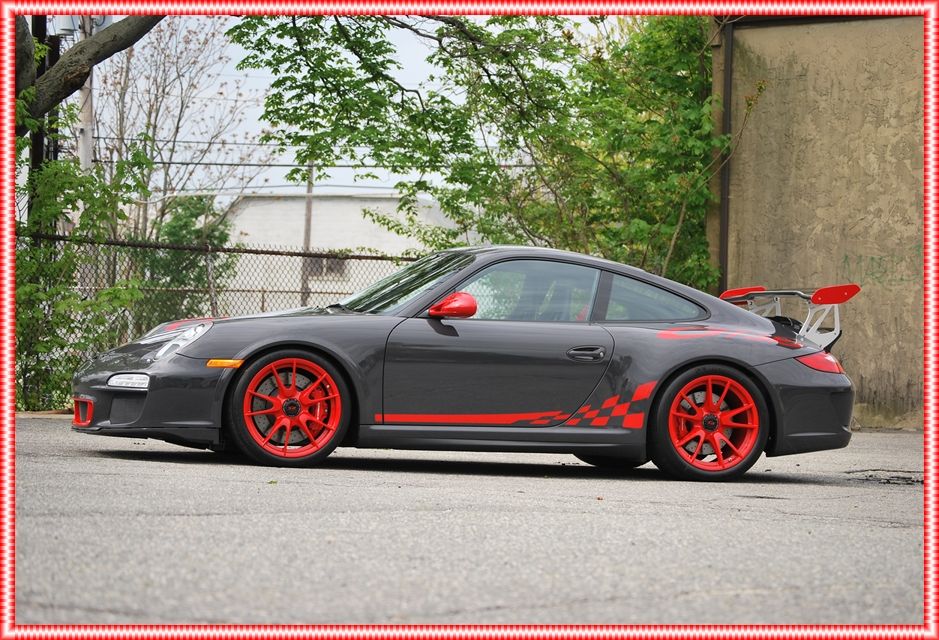
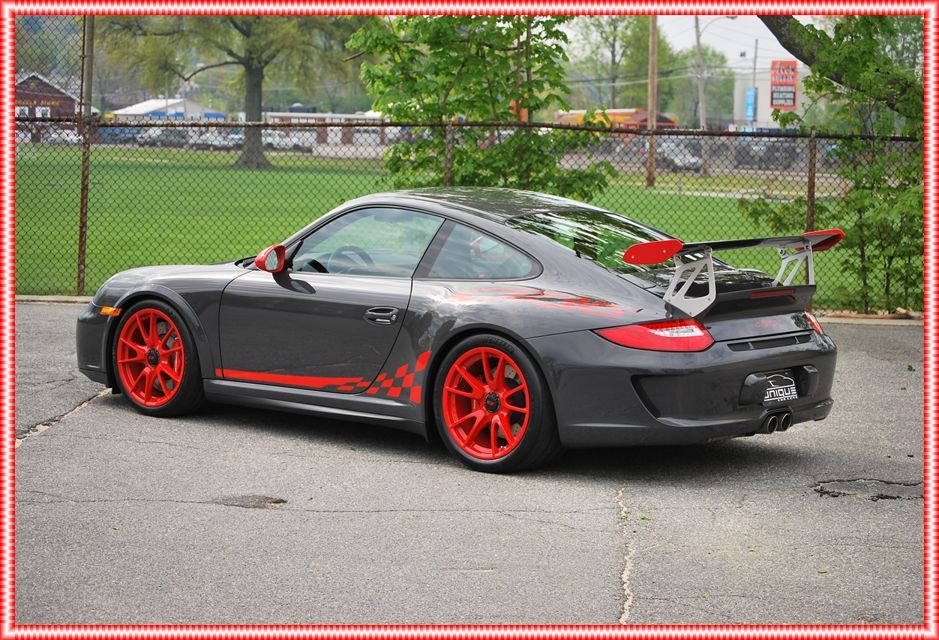
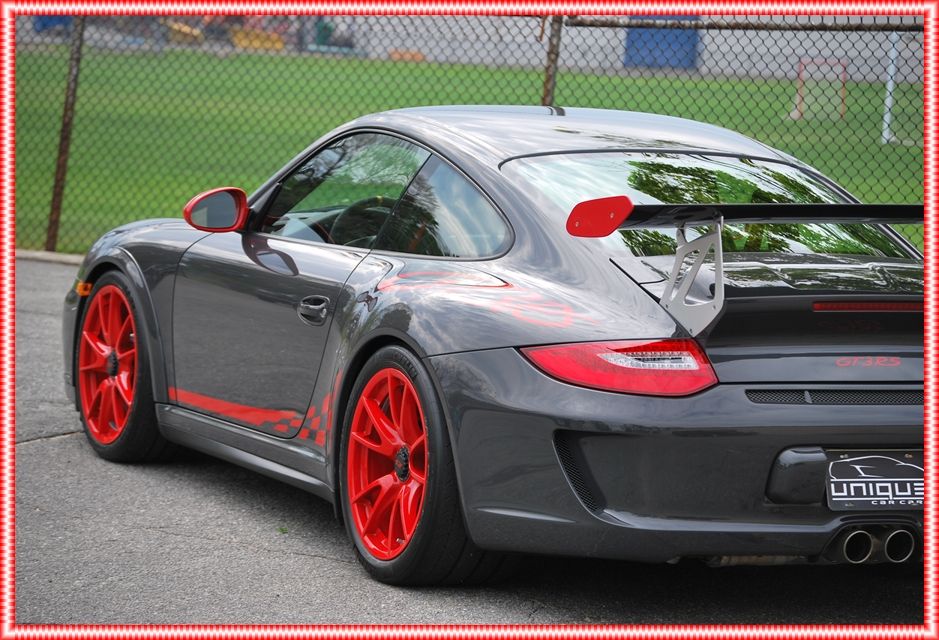
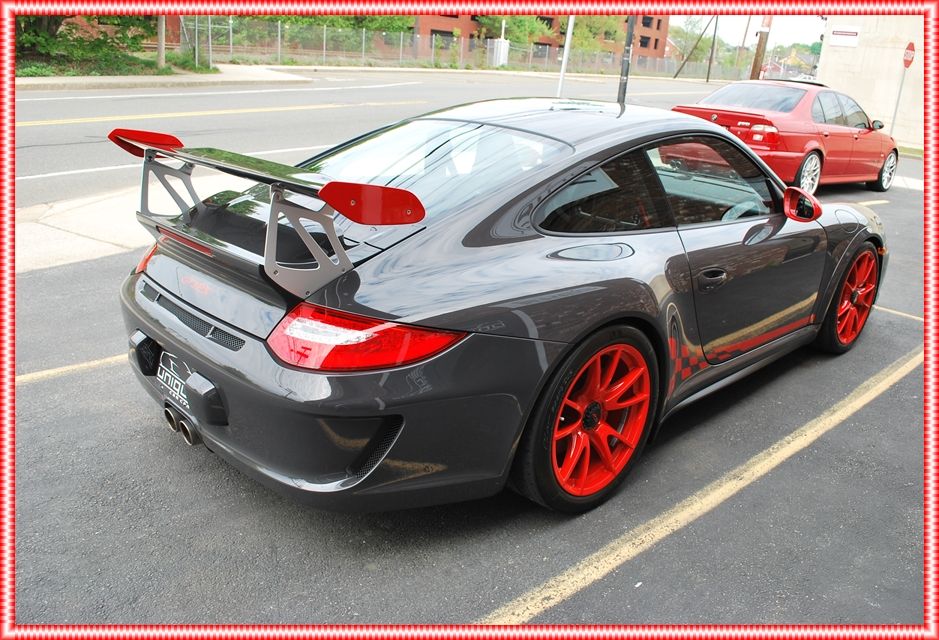
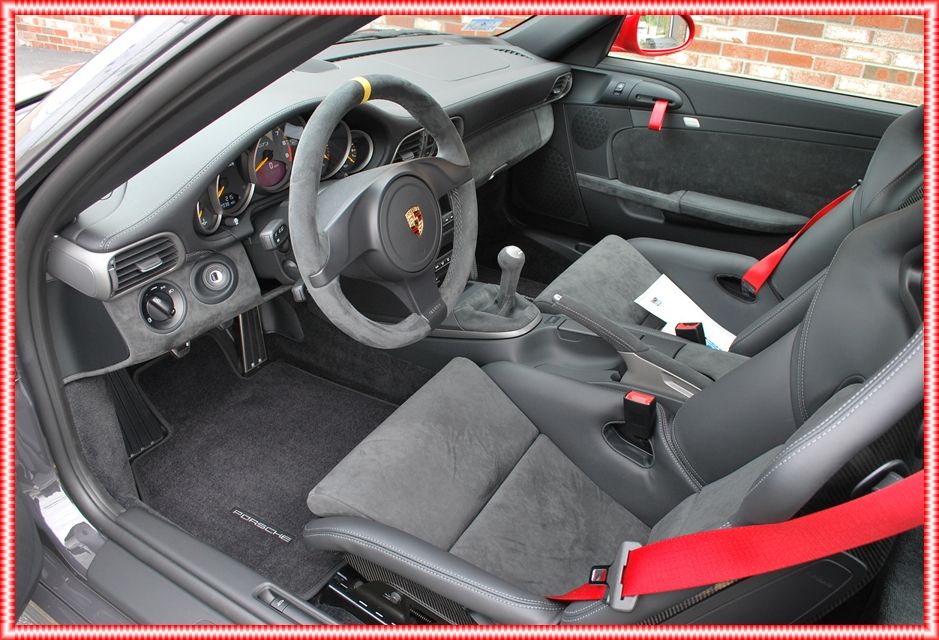
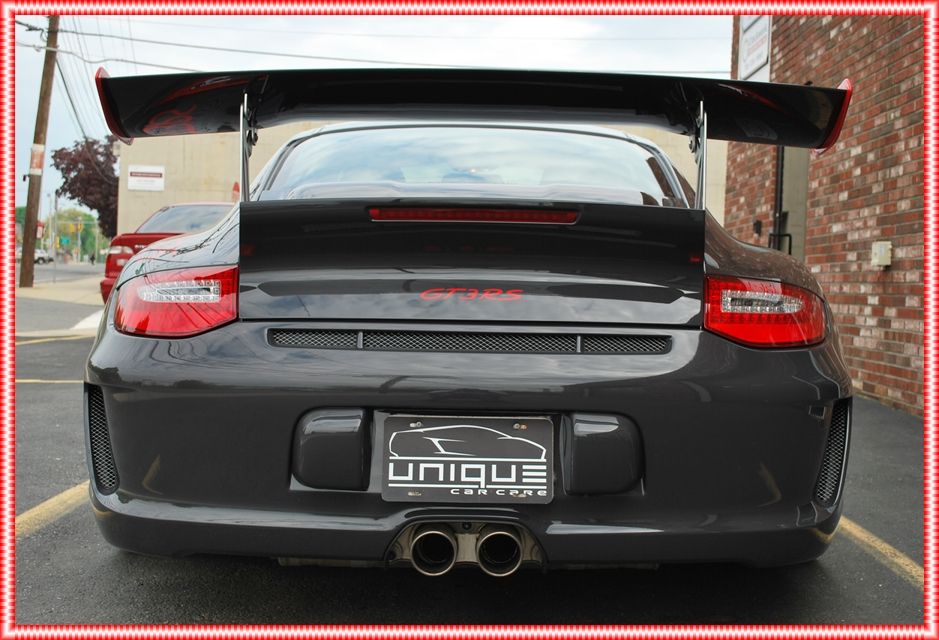
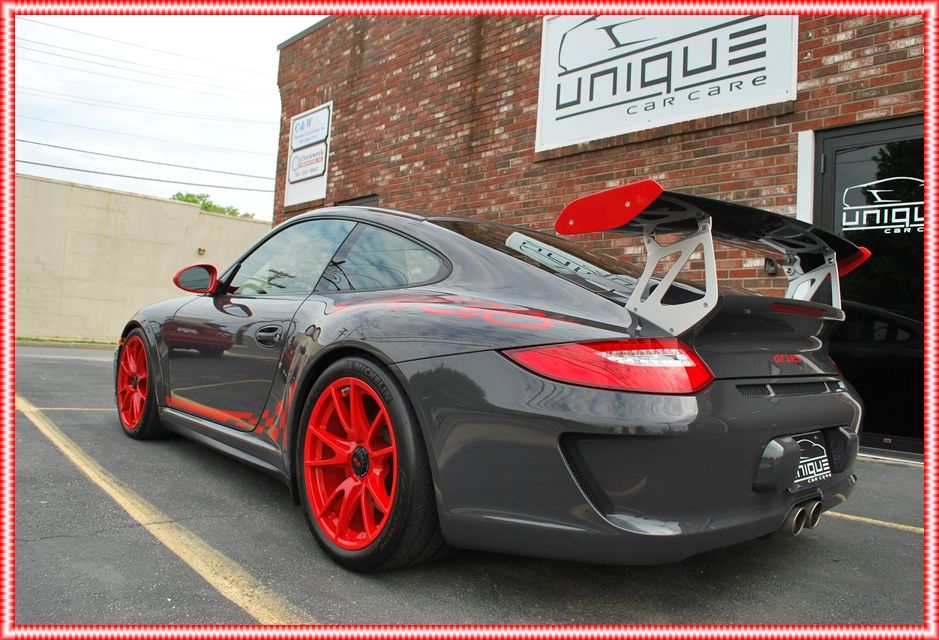
And now for the after pictures of this sexy beast!!
I agree Thomas. Who would ever think about these colors together? I absolutely love everything about this car (besides the fact that it's not mine!) ...
Oh man! Finally, The write up! Ive been waiting for this one for a while now. This is my dream car! something about it, is just insanely awesome! If anyone reading this can afford to buy me one. I am willing to offer a lifetime supply of any detailing work to your vehicles for the rest of my ability to work?
I came close to having one of my clients having their new GT3RS delivered like that to me, but he bailed at the last minute and cancelled his order.:sadpace: I love this write up and I'm sending it to him so he can see what he missed. :smash: I think M105/85rd is the dynamic due for this paint and hasn't failed me yet. Great work like always and have a great New Year with lots of prosperity!

 > </o
> </o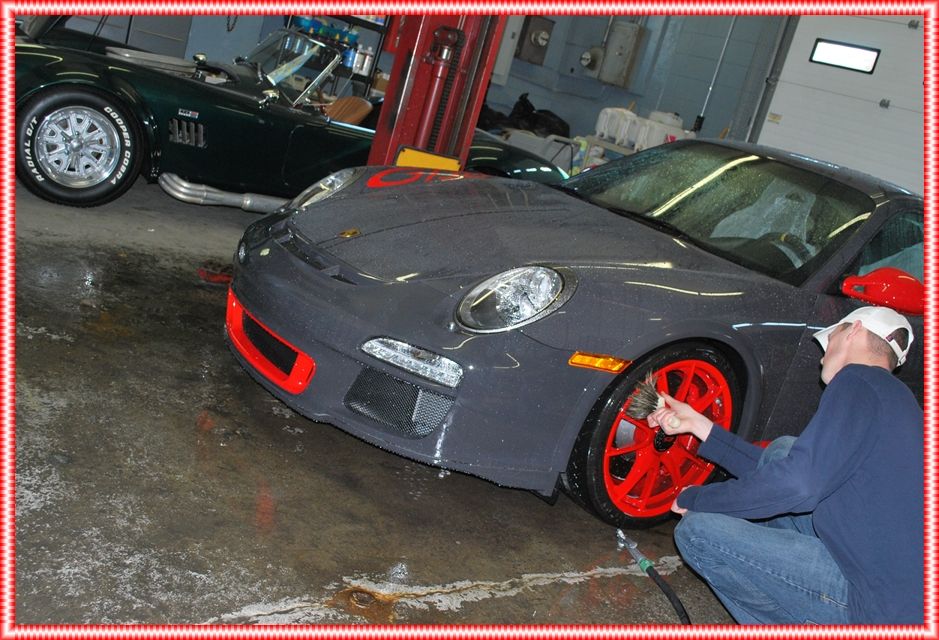


")
 ...
...