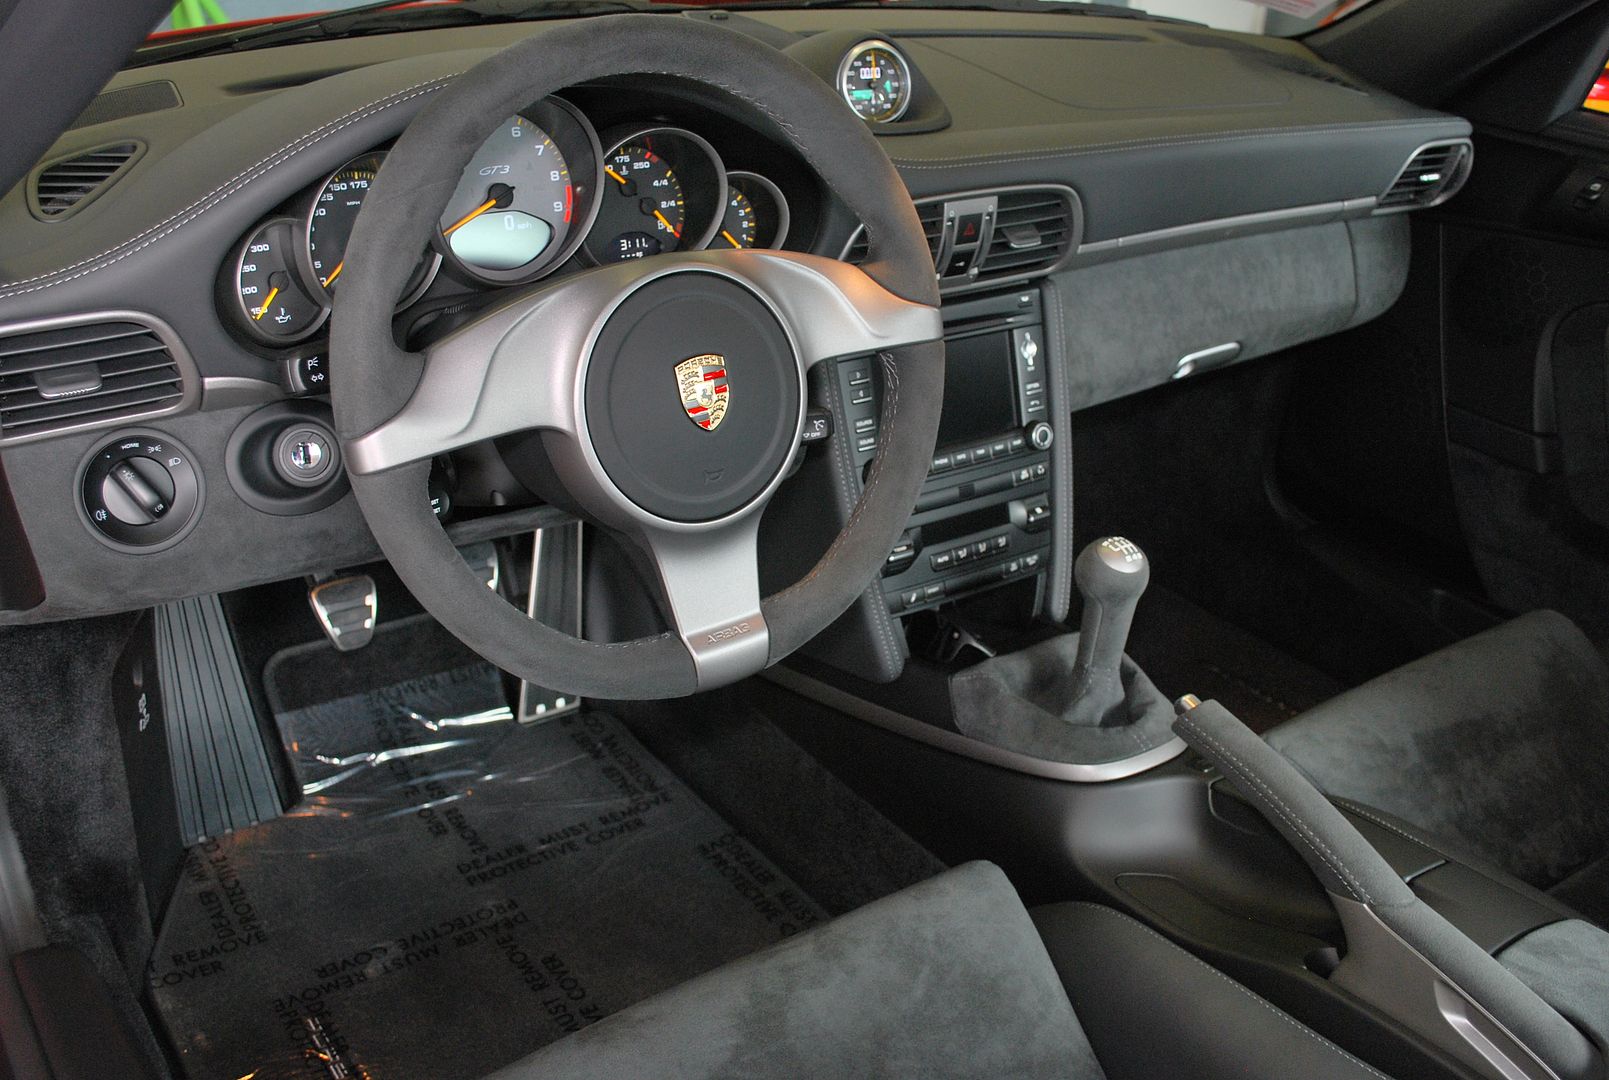
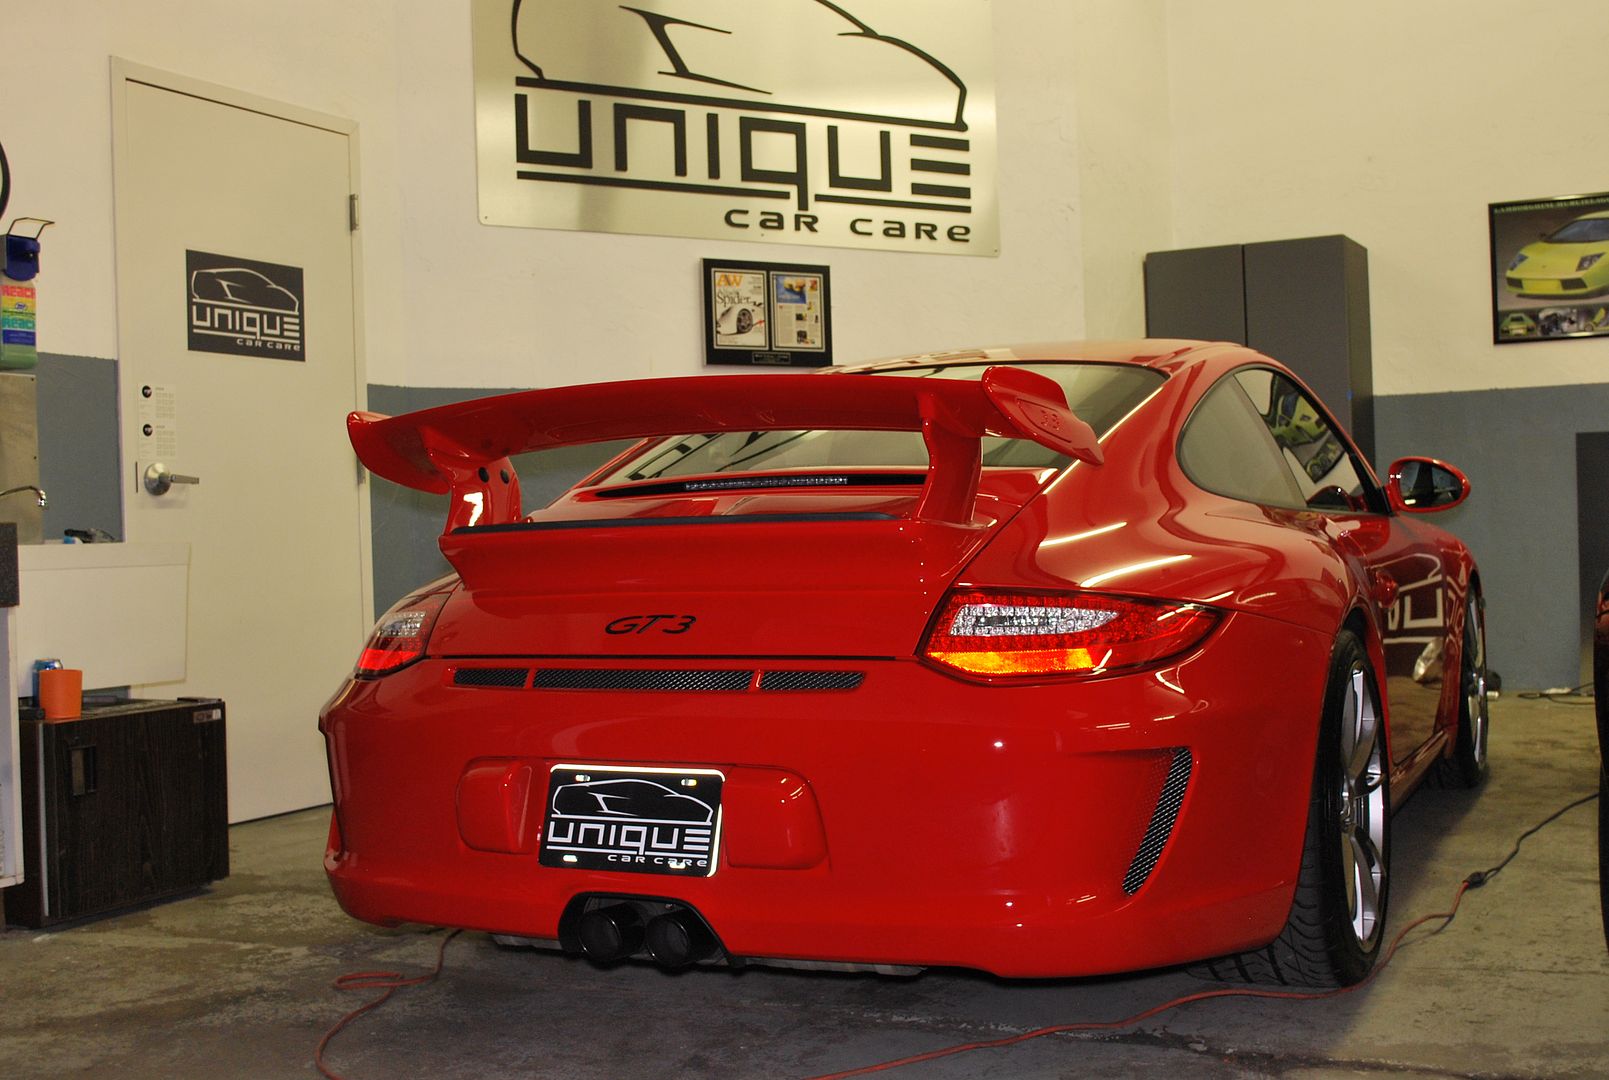
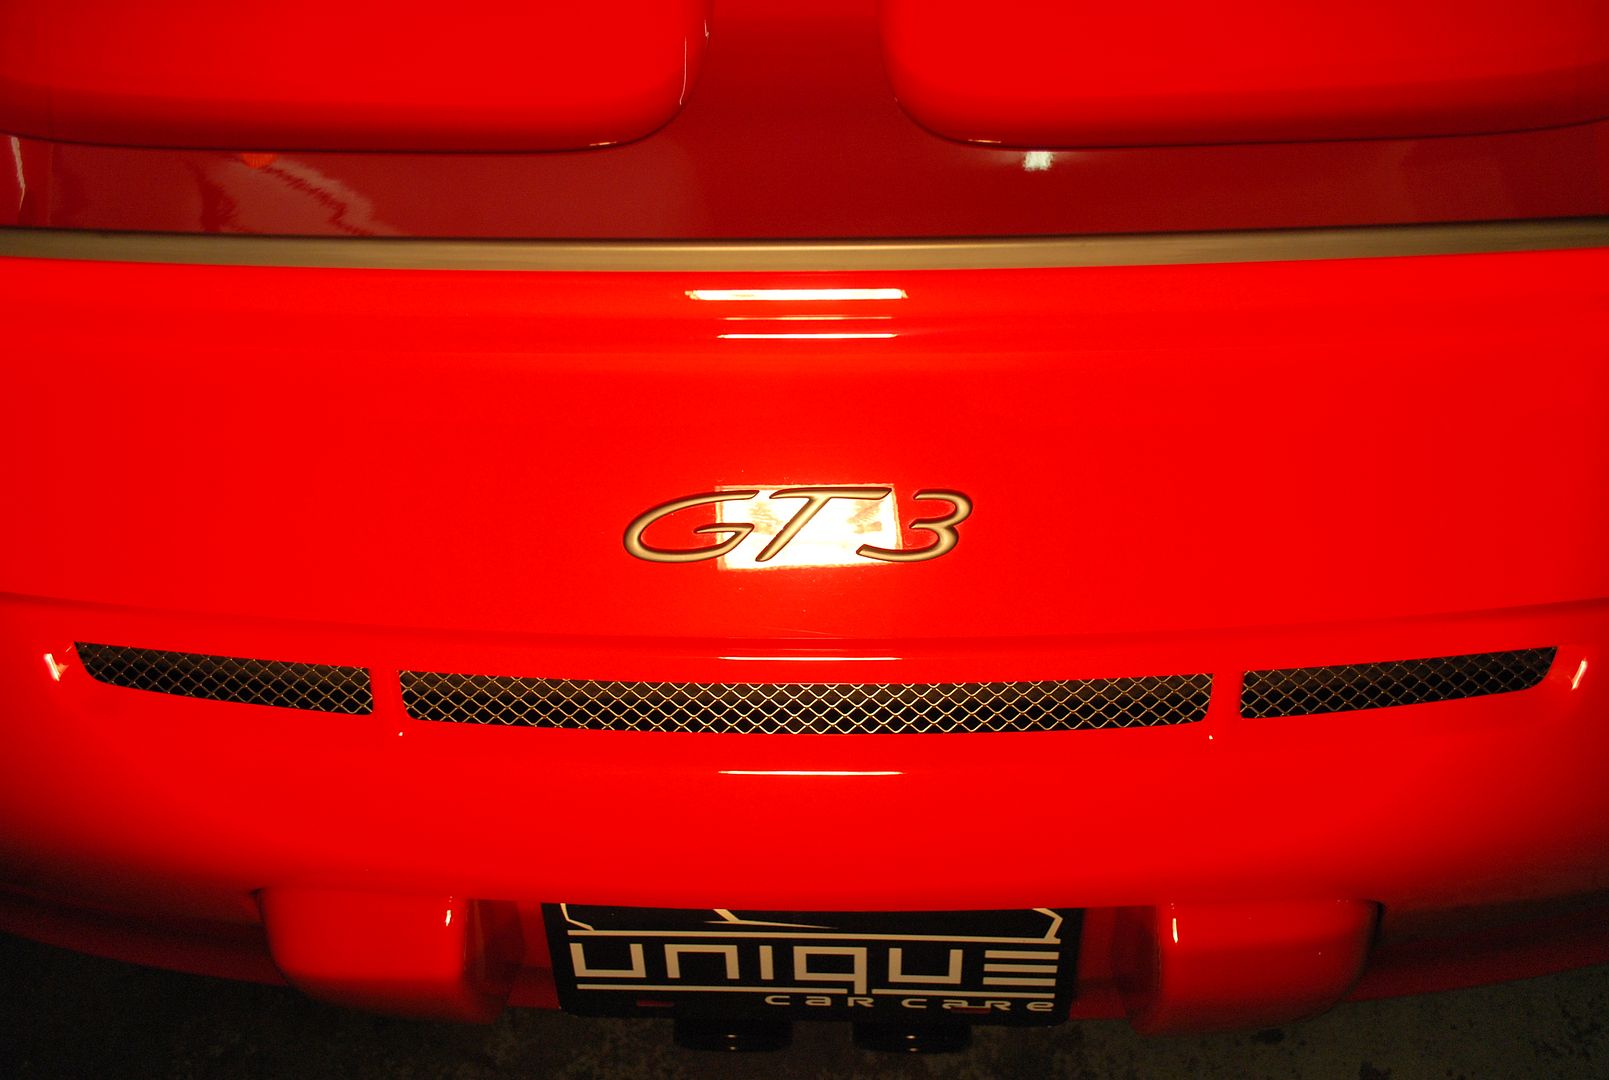
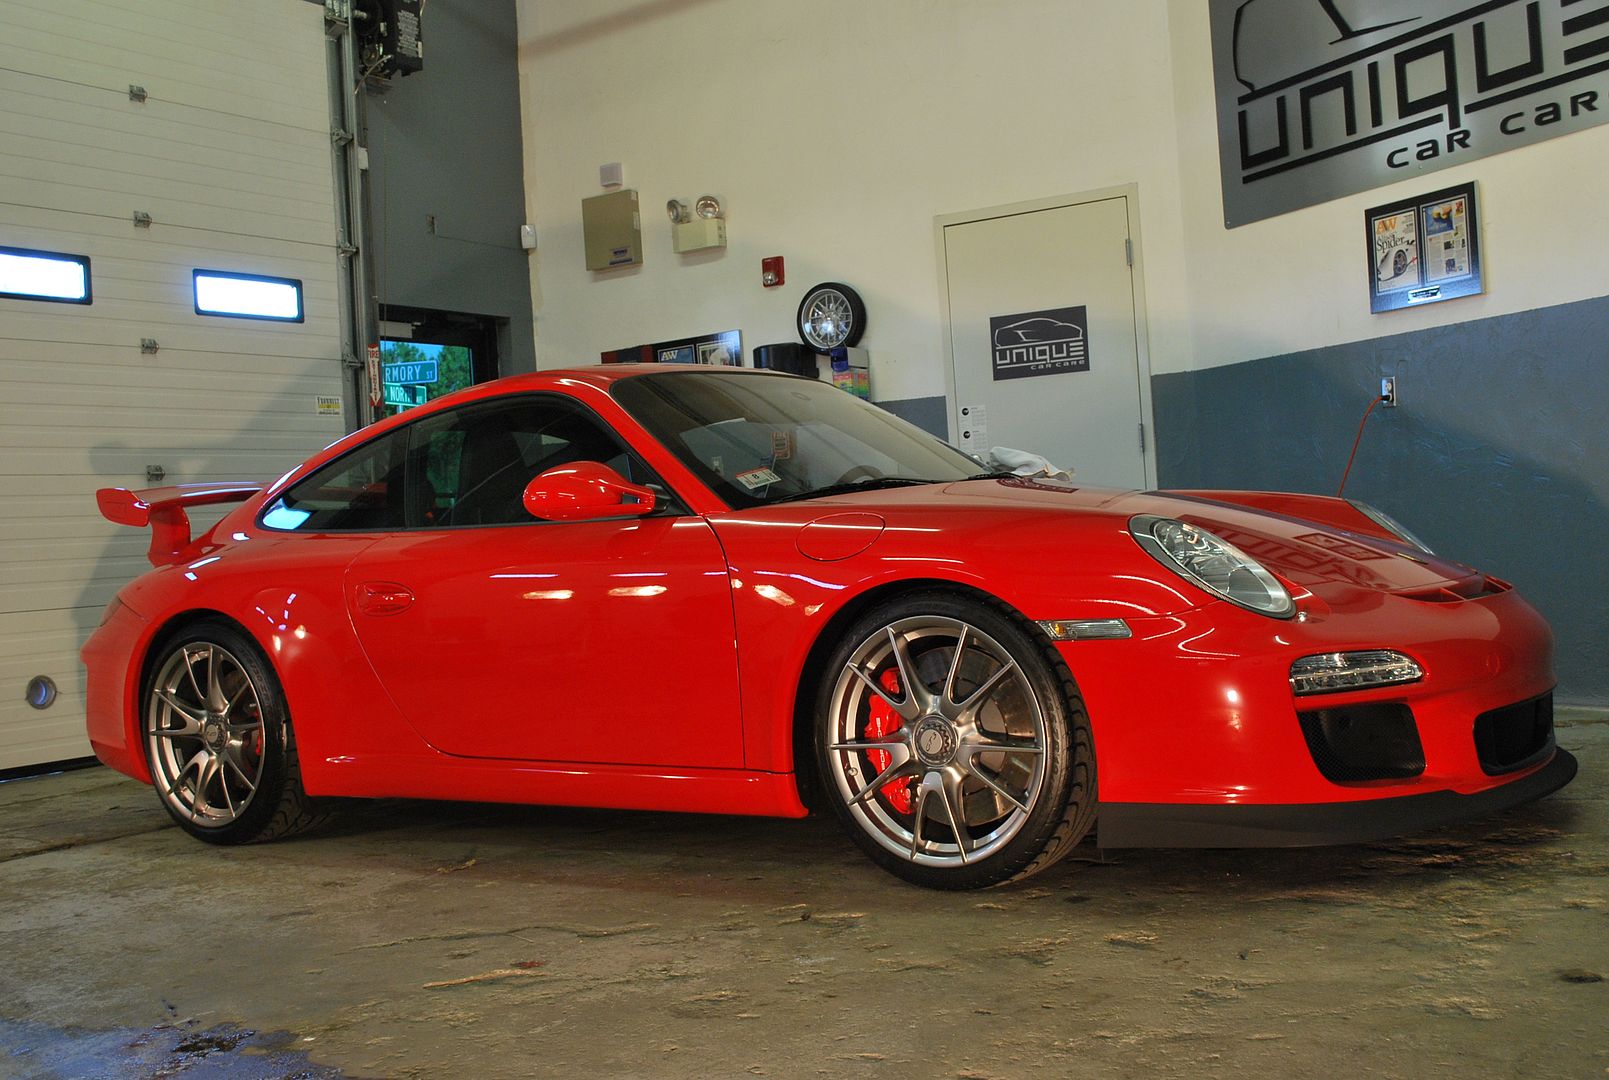
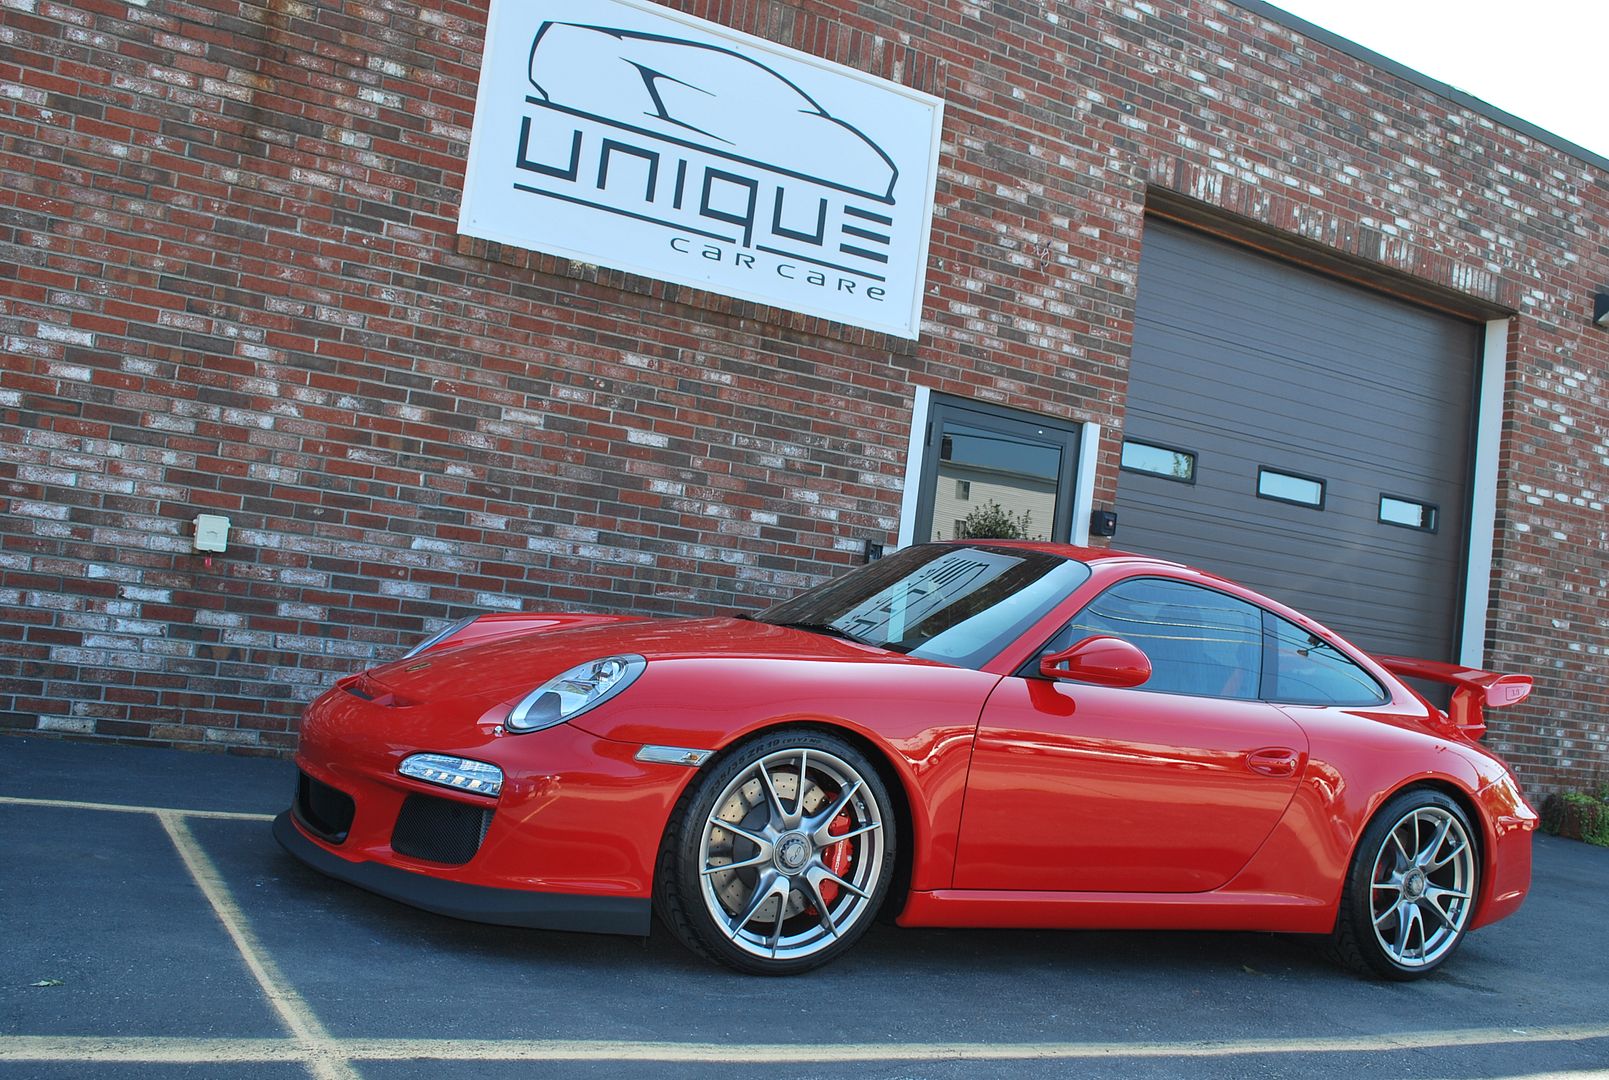
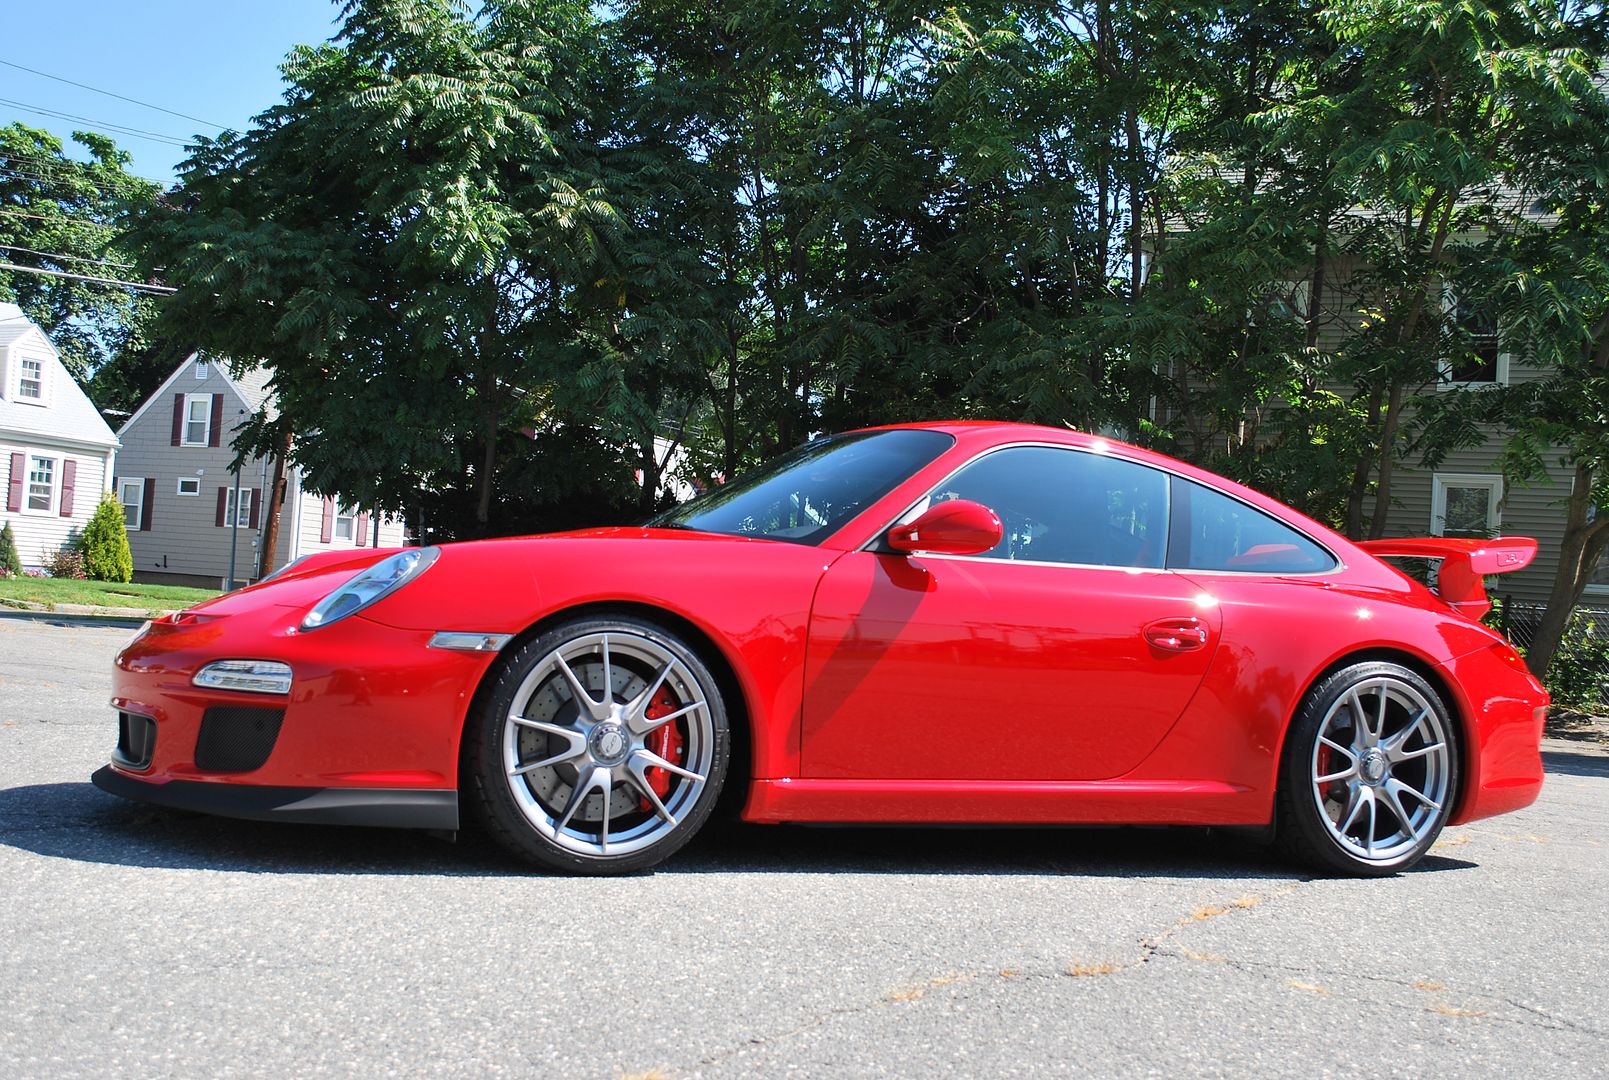
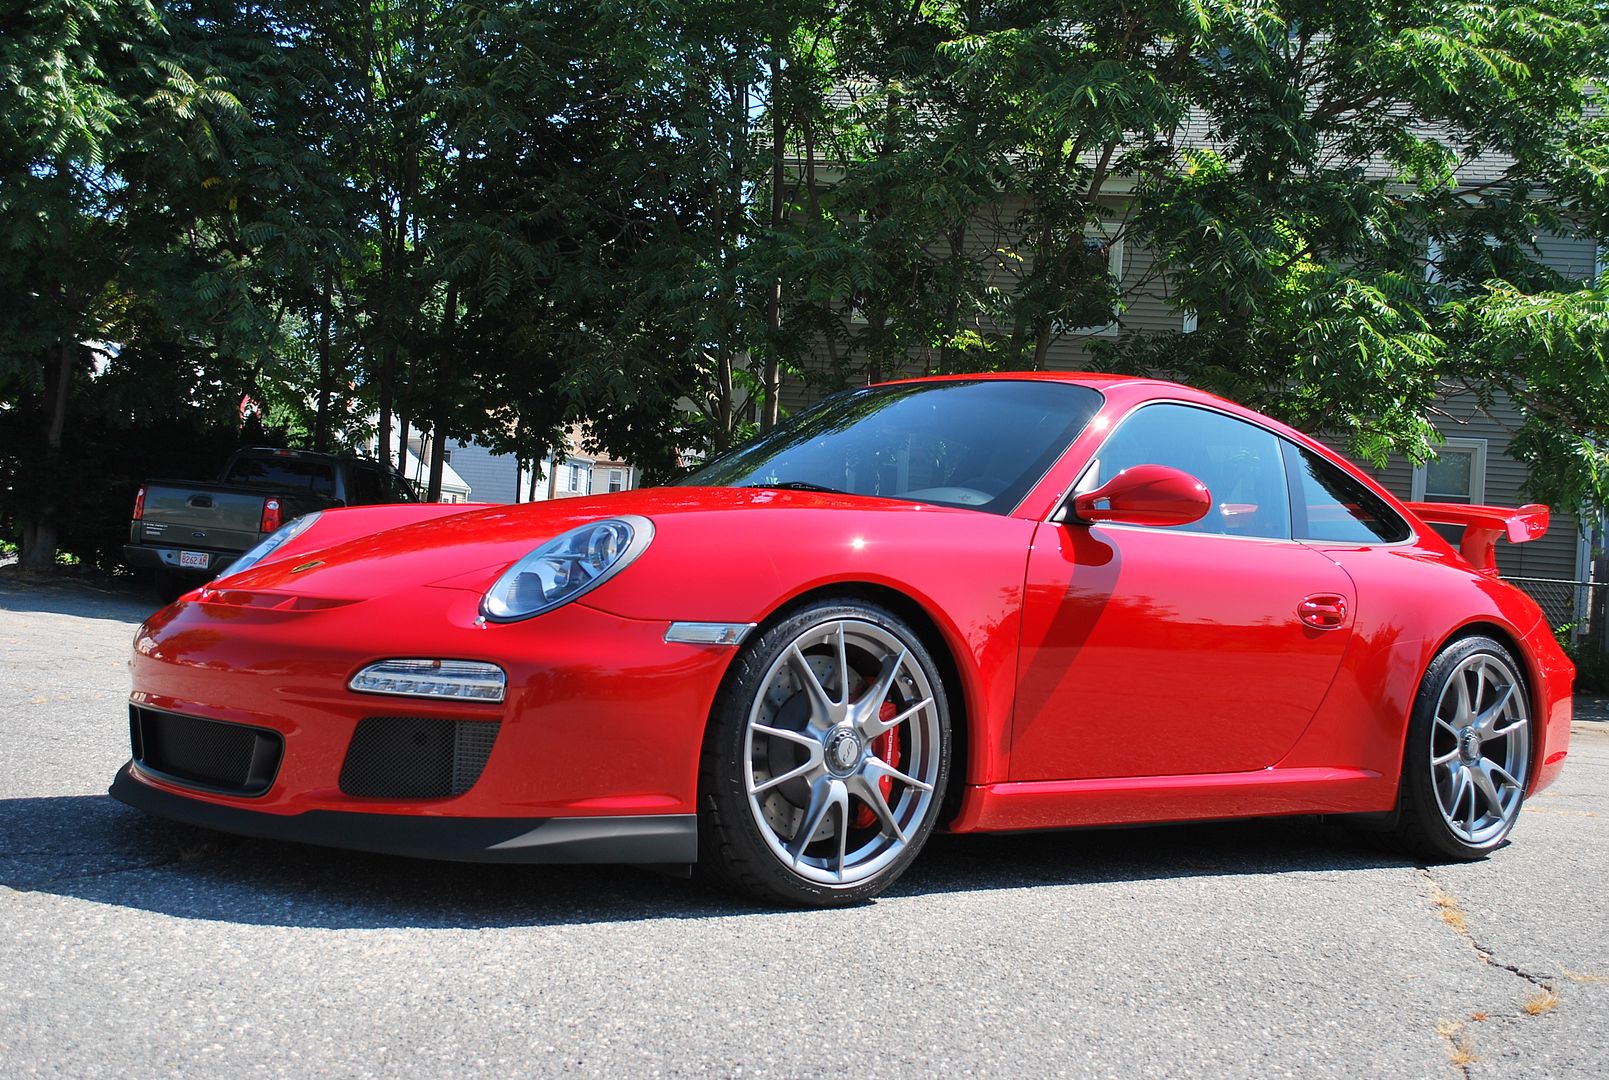
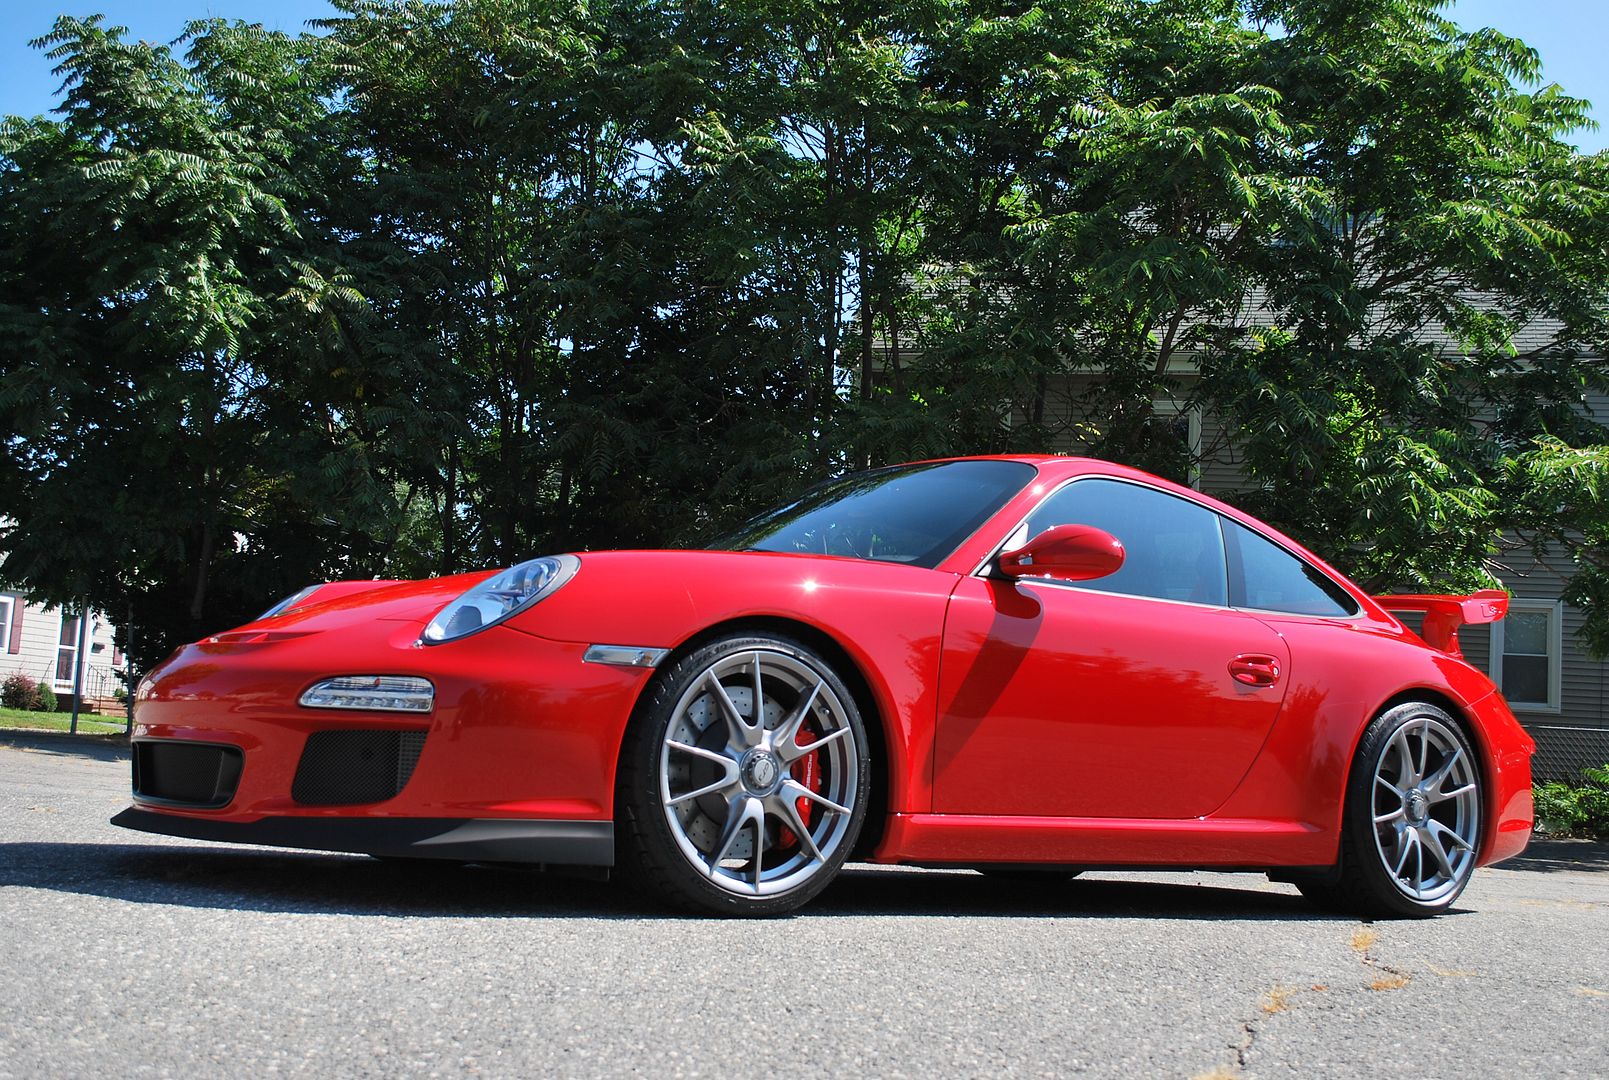
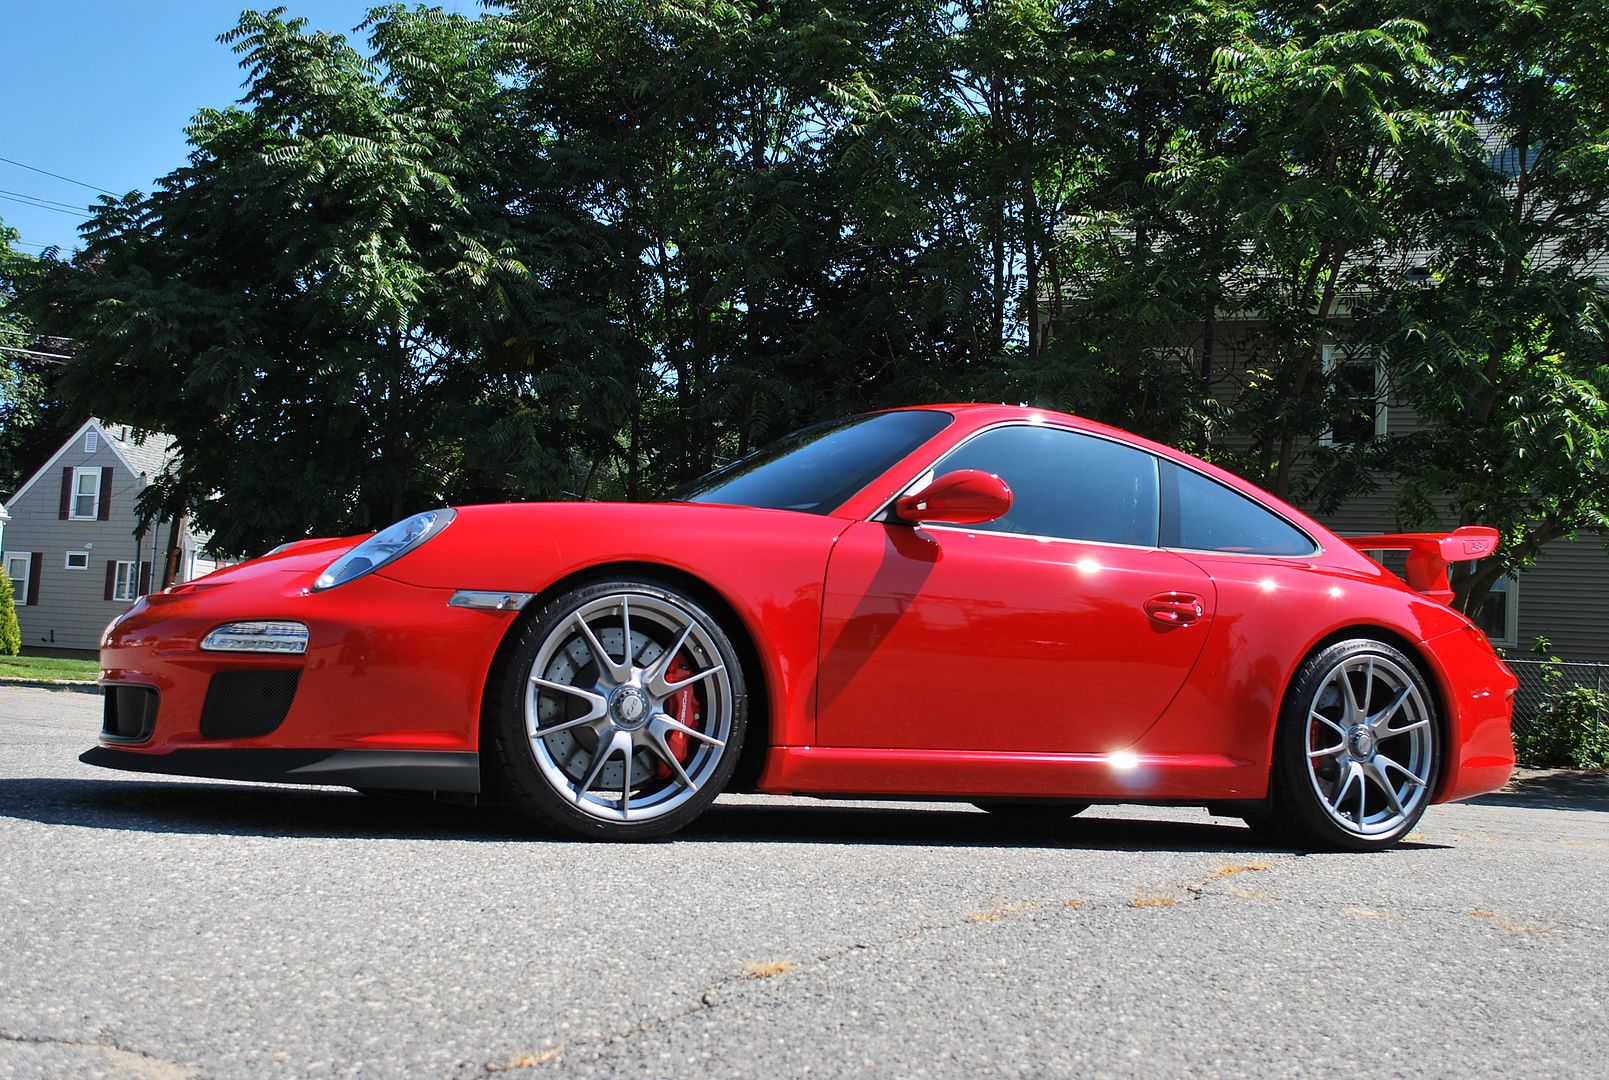
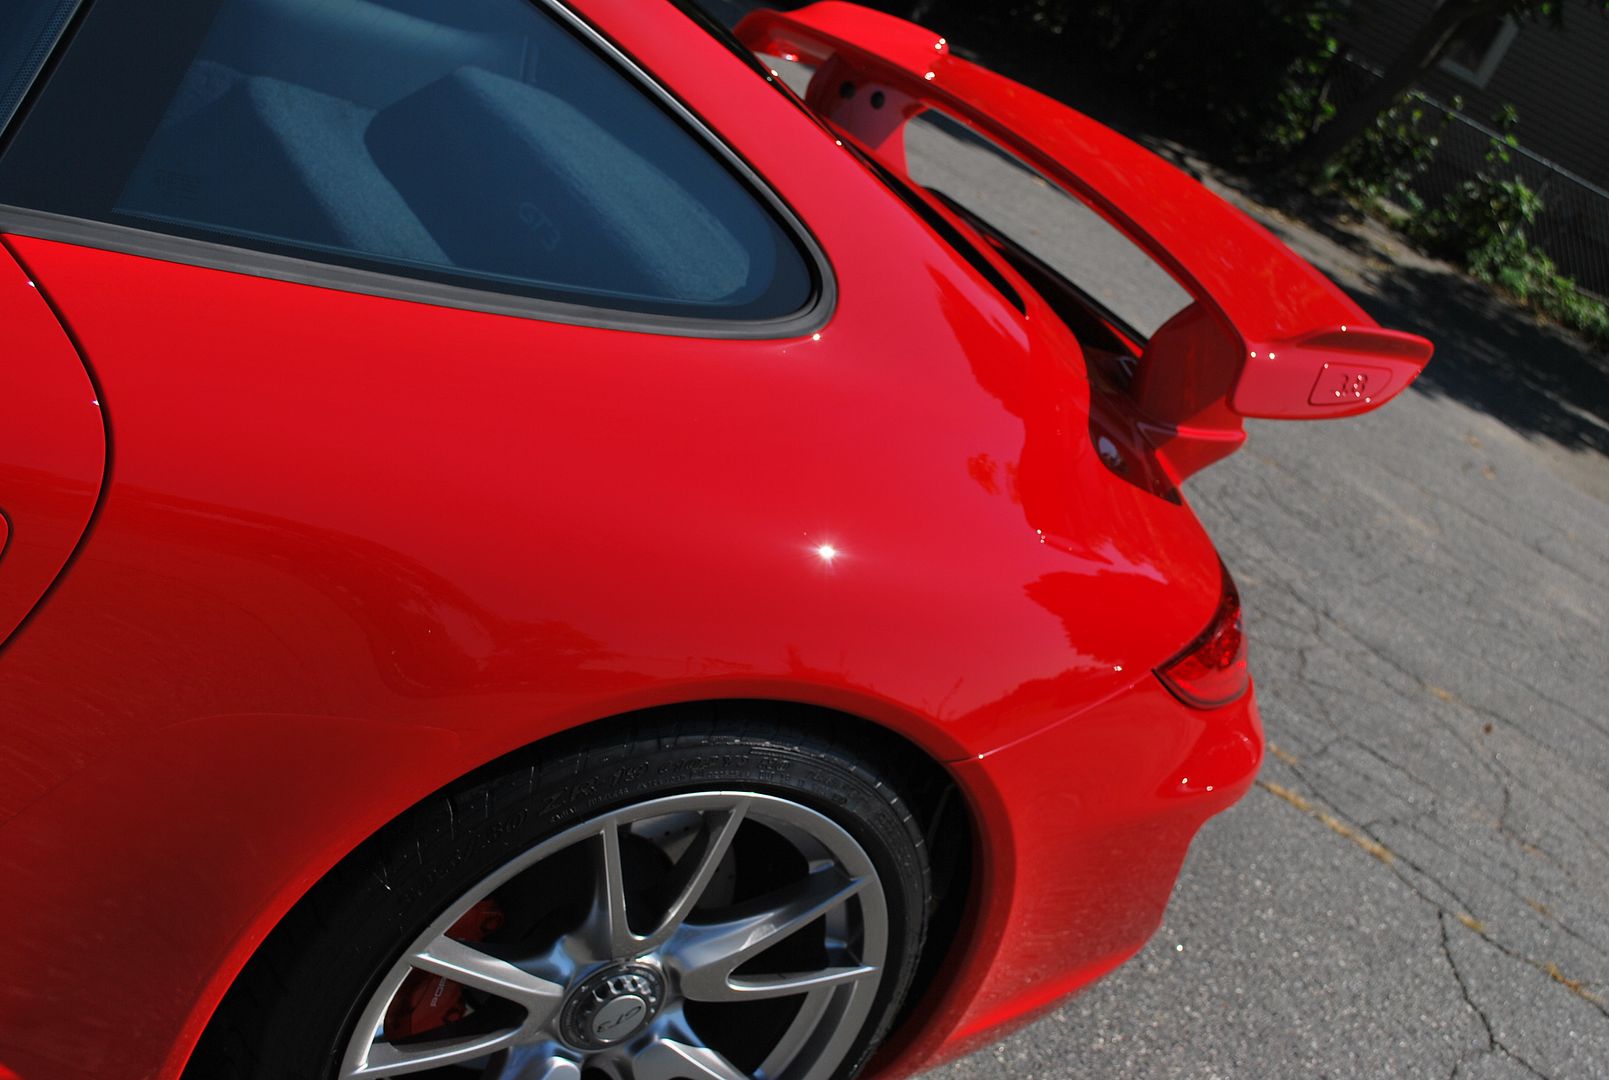
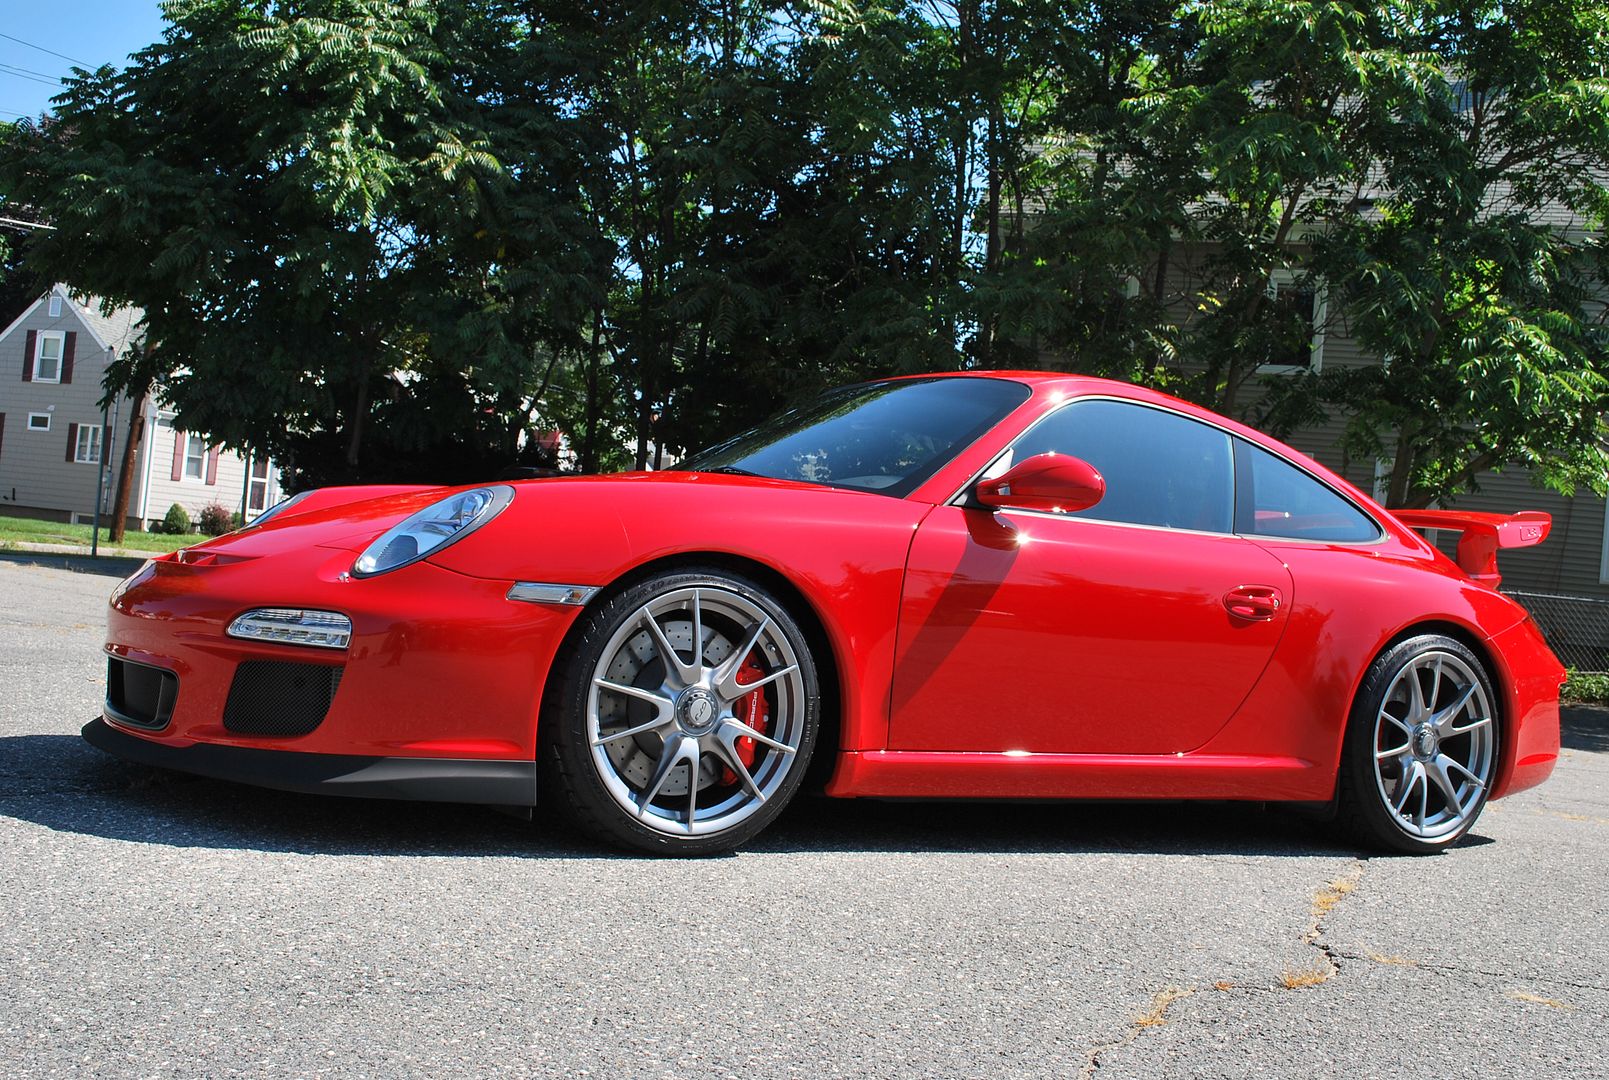
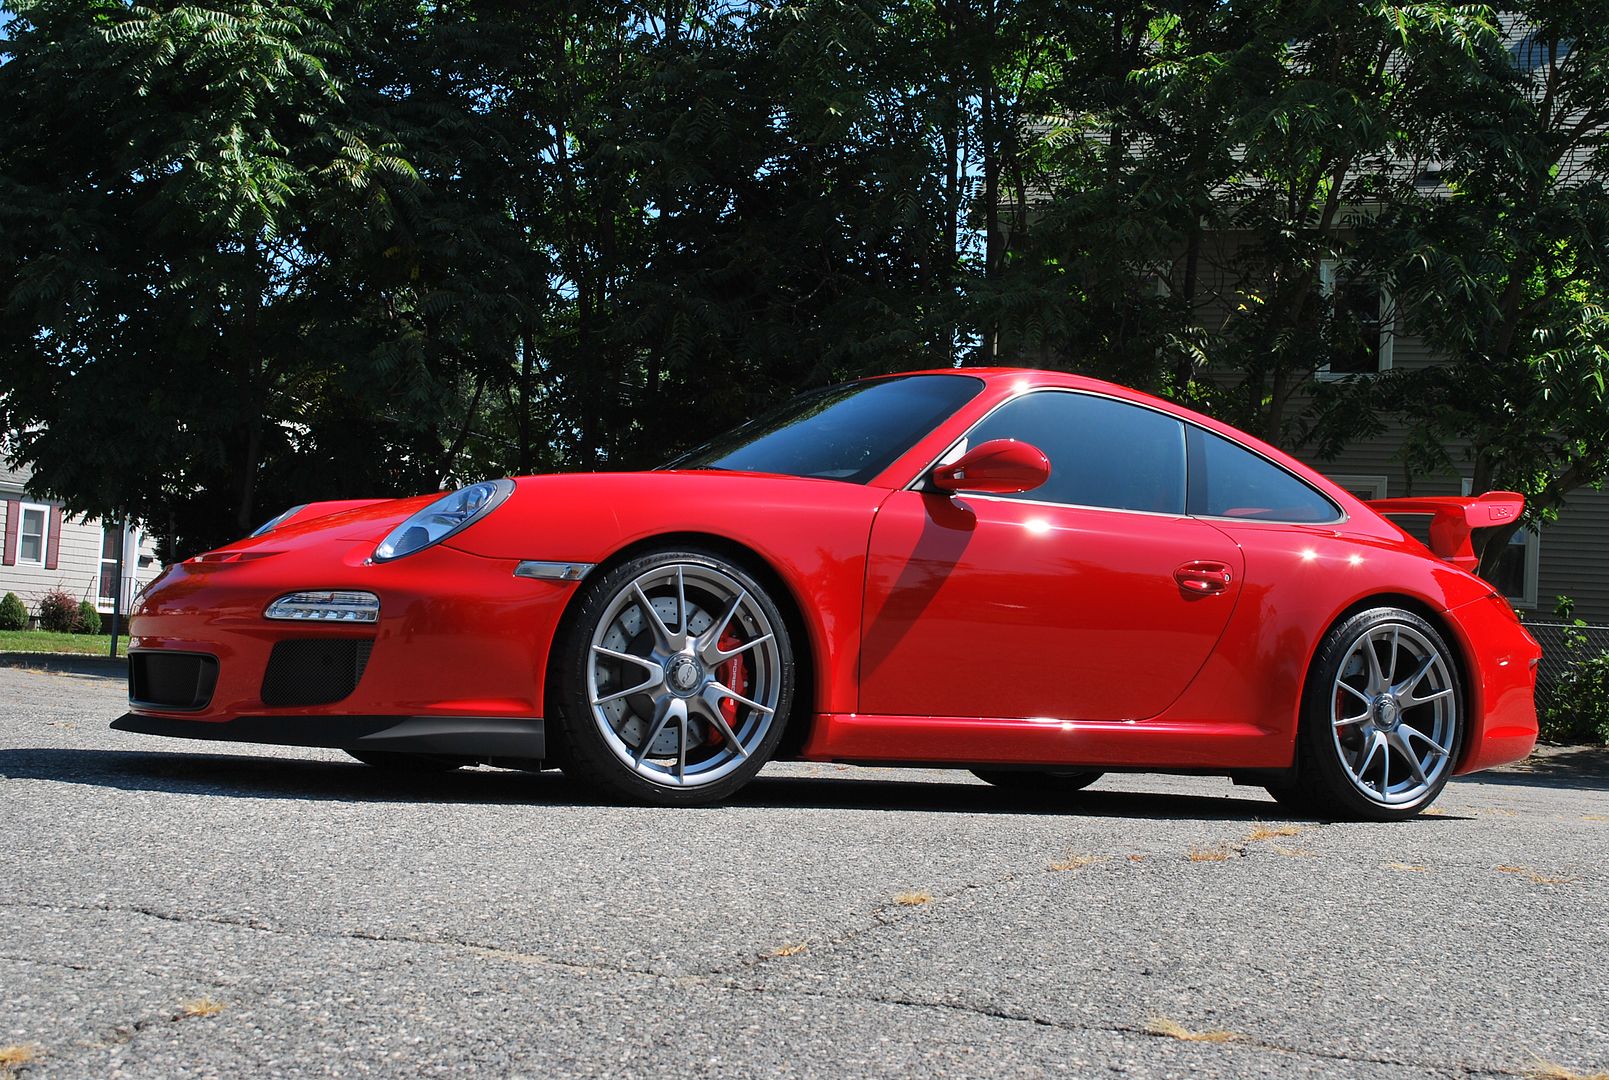
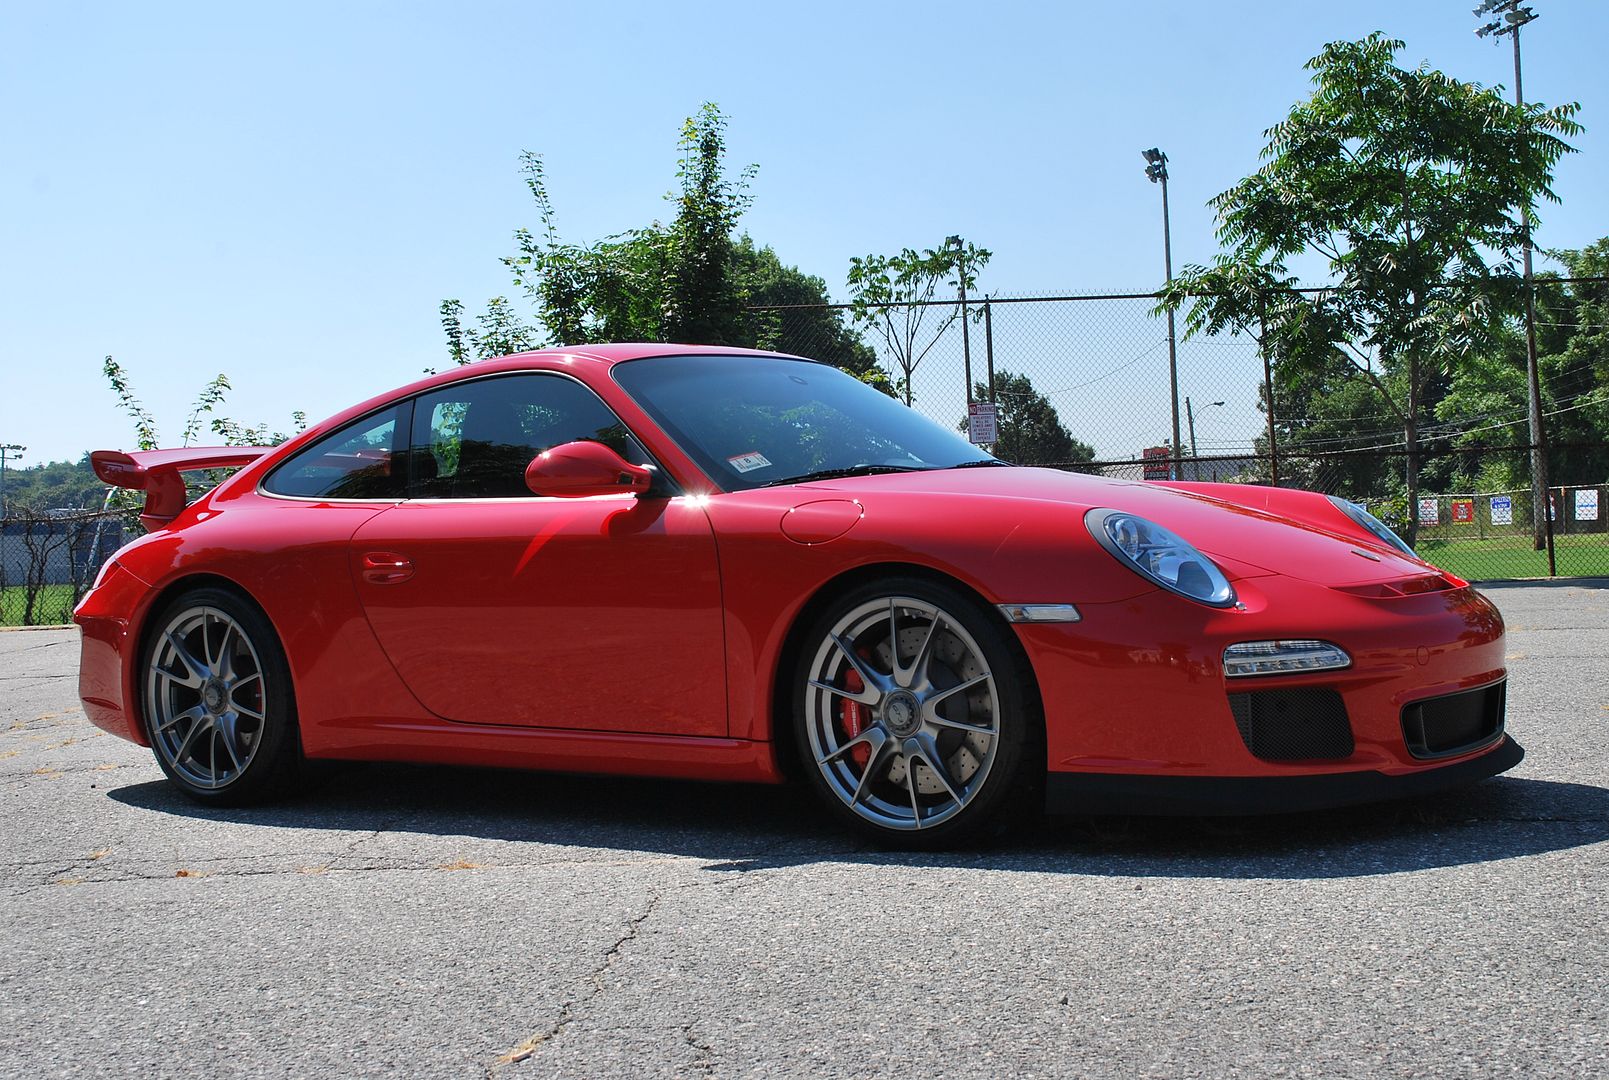
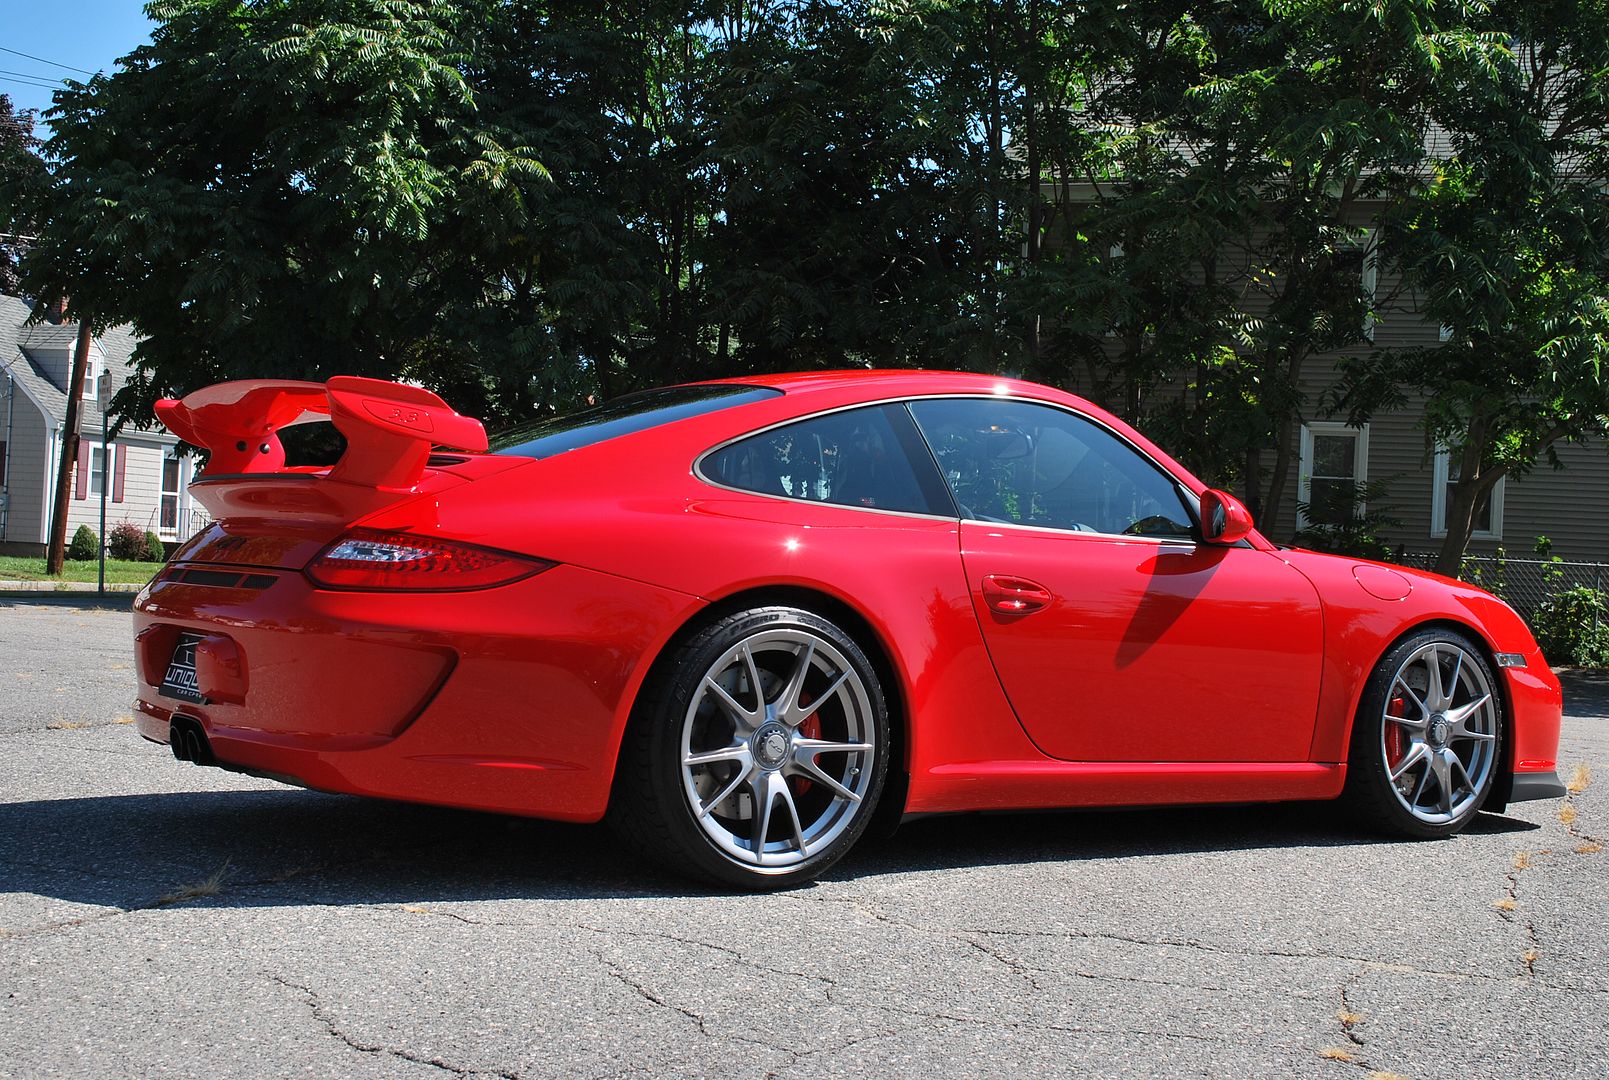
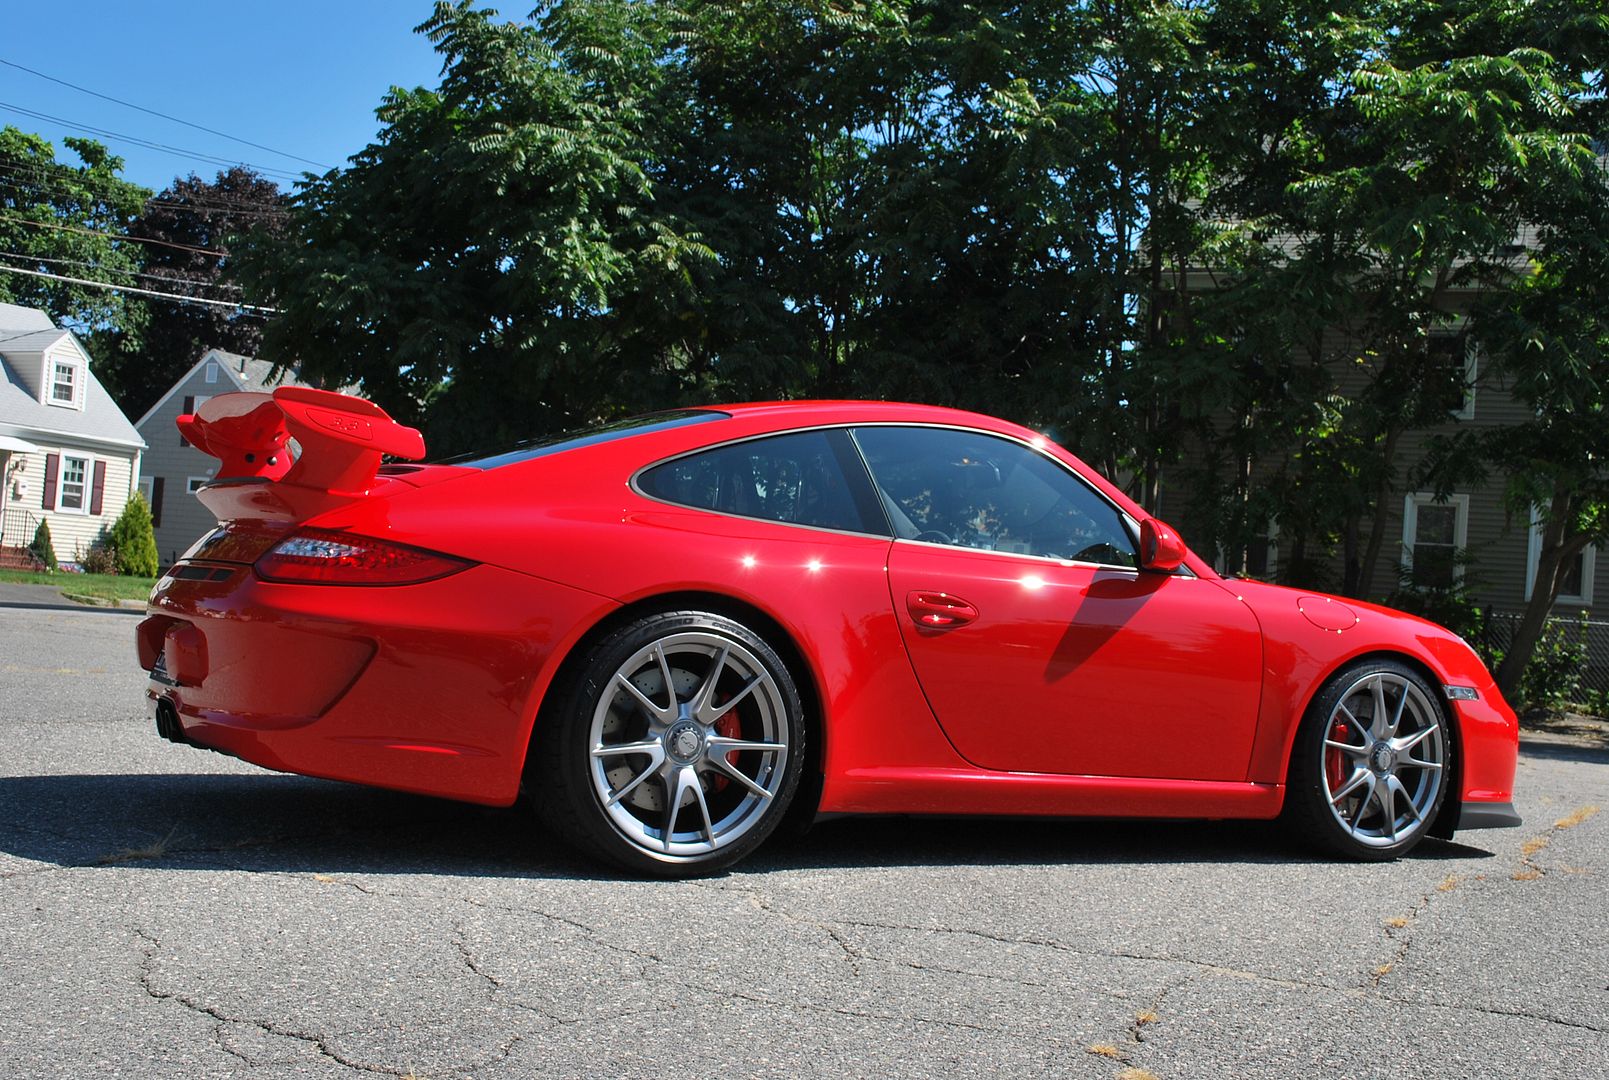
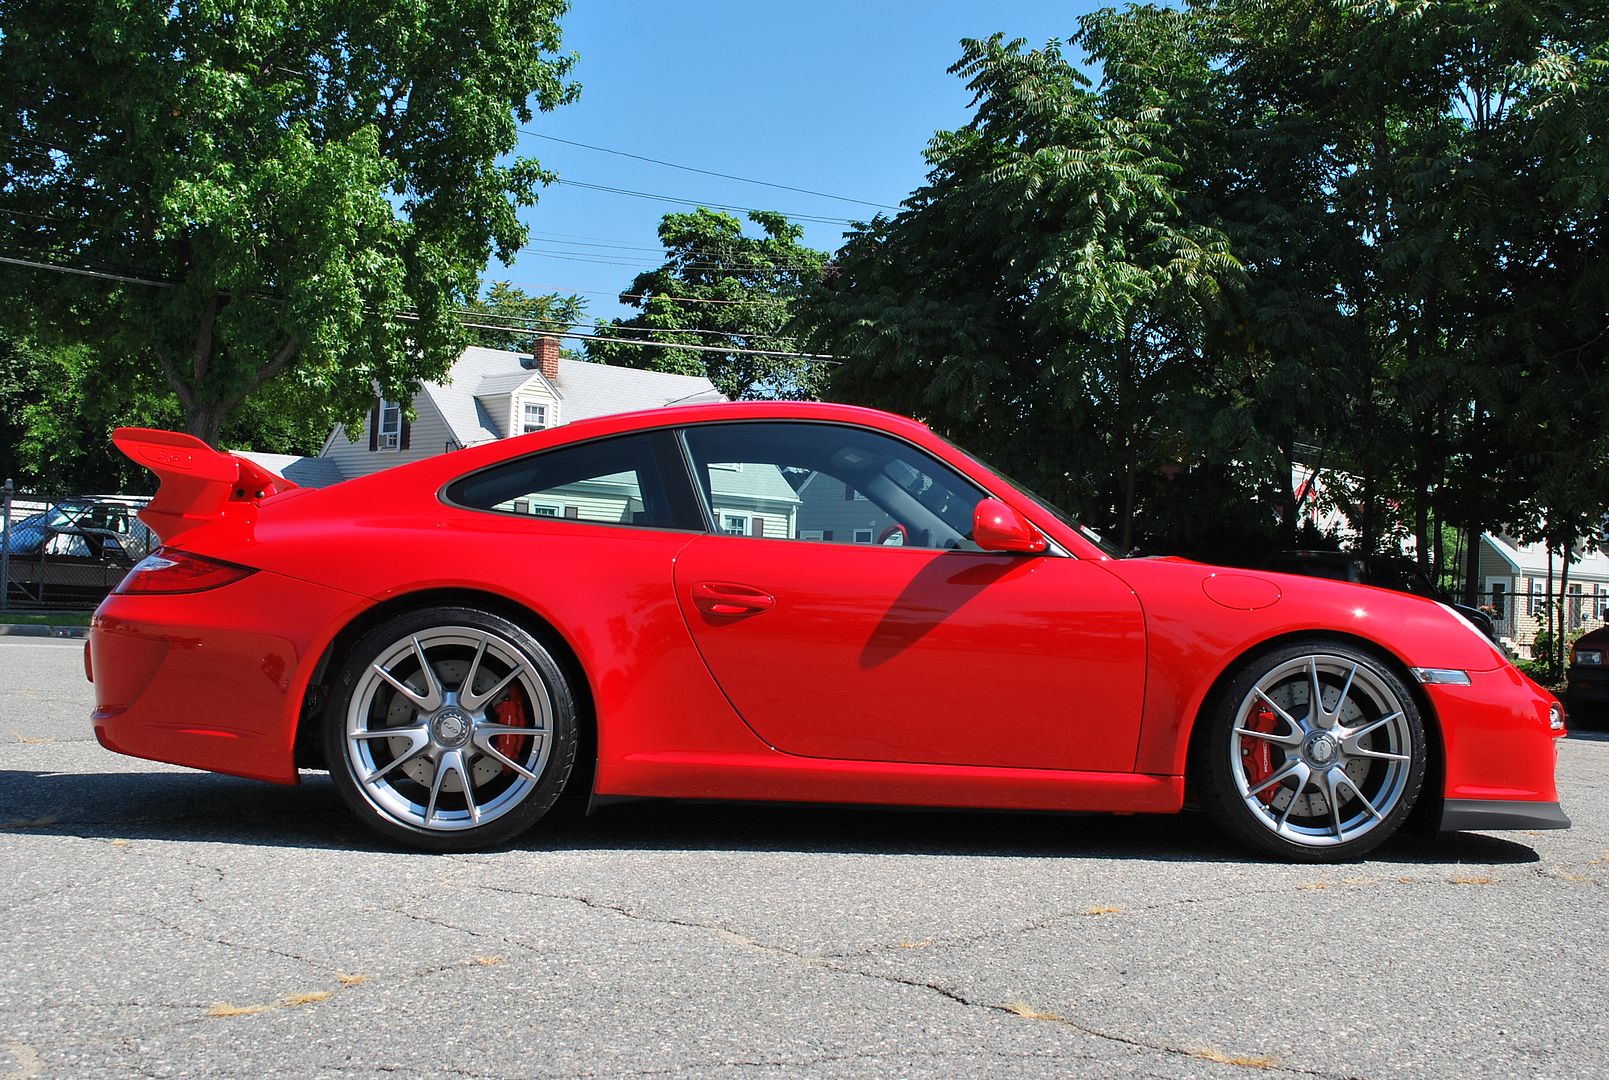
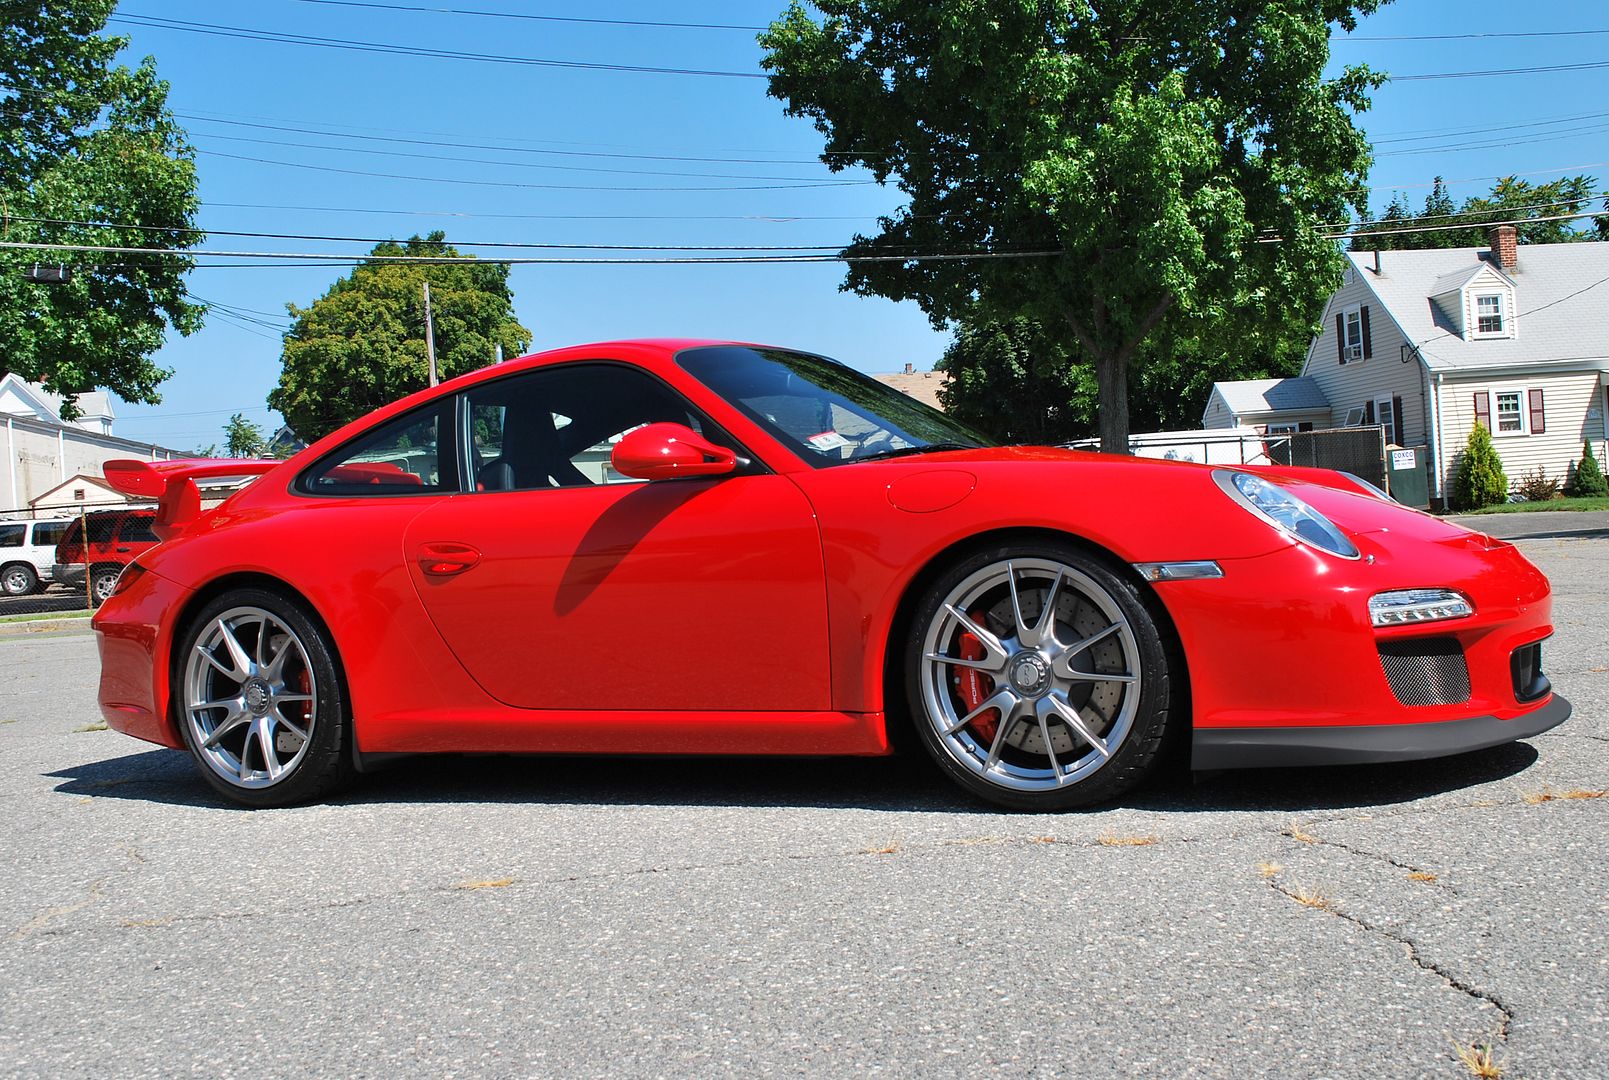
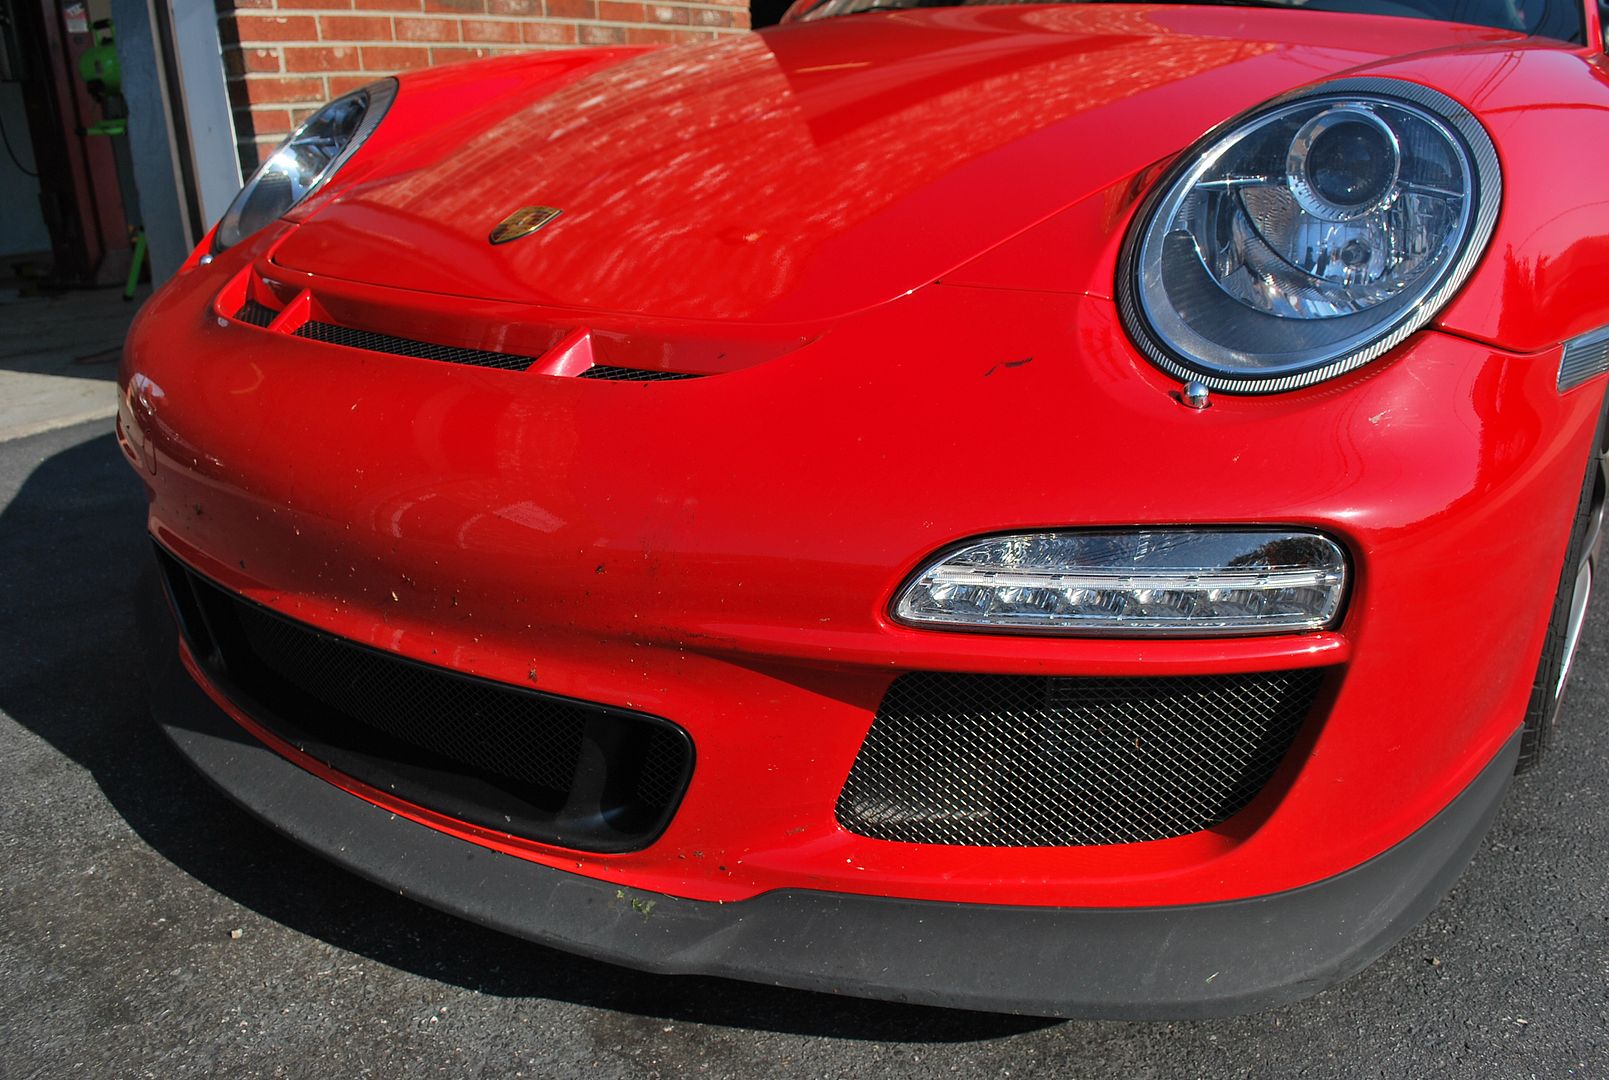
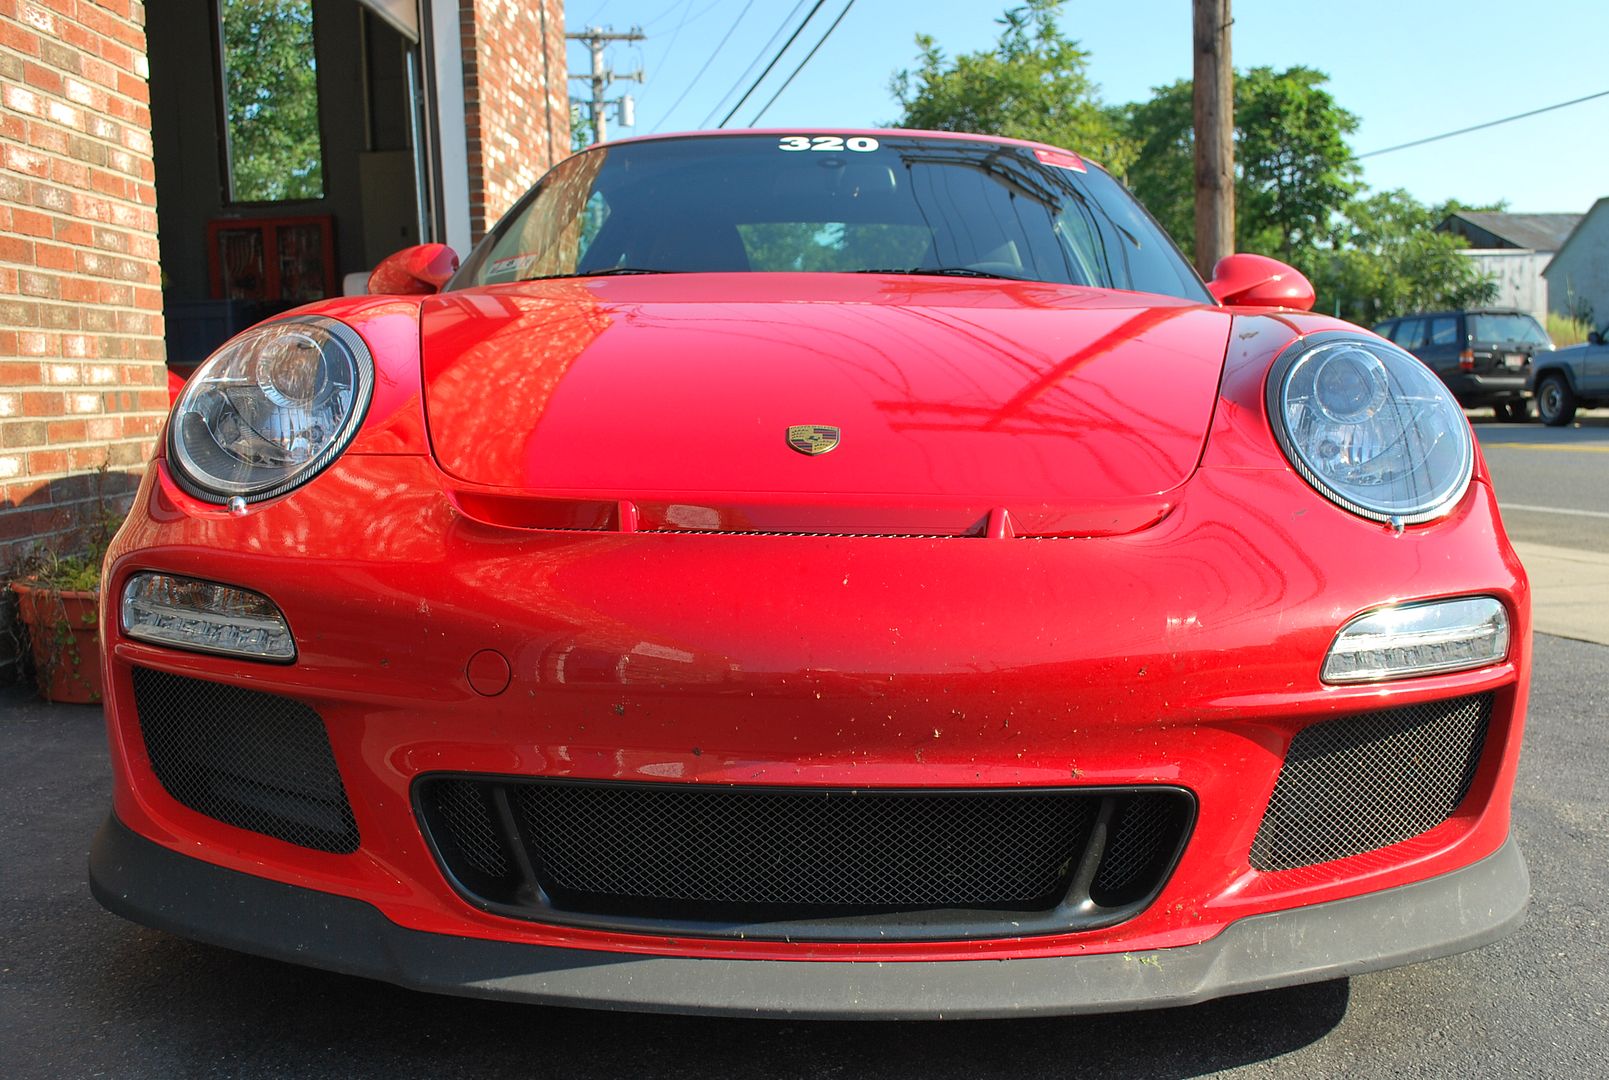
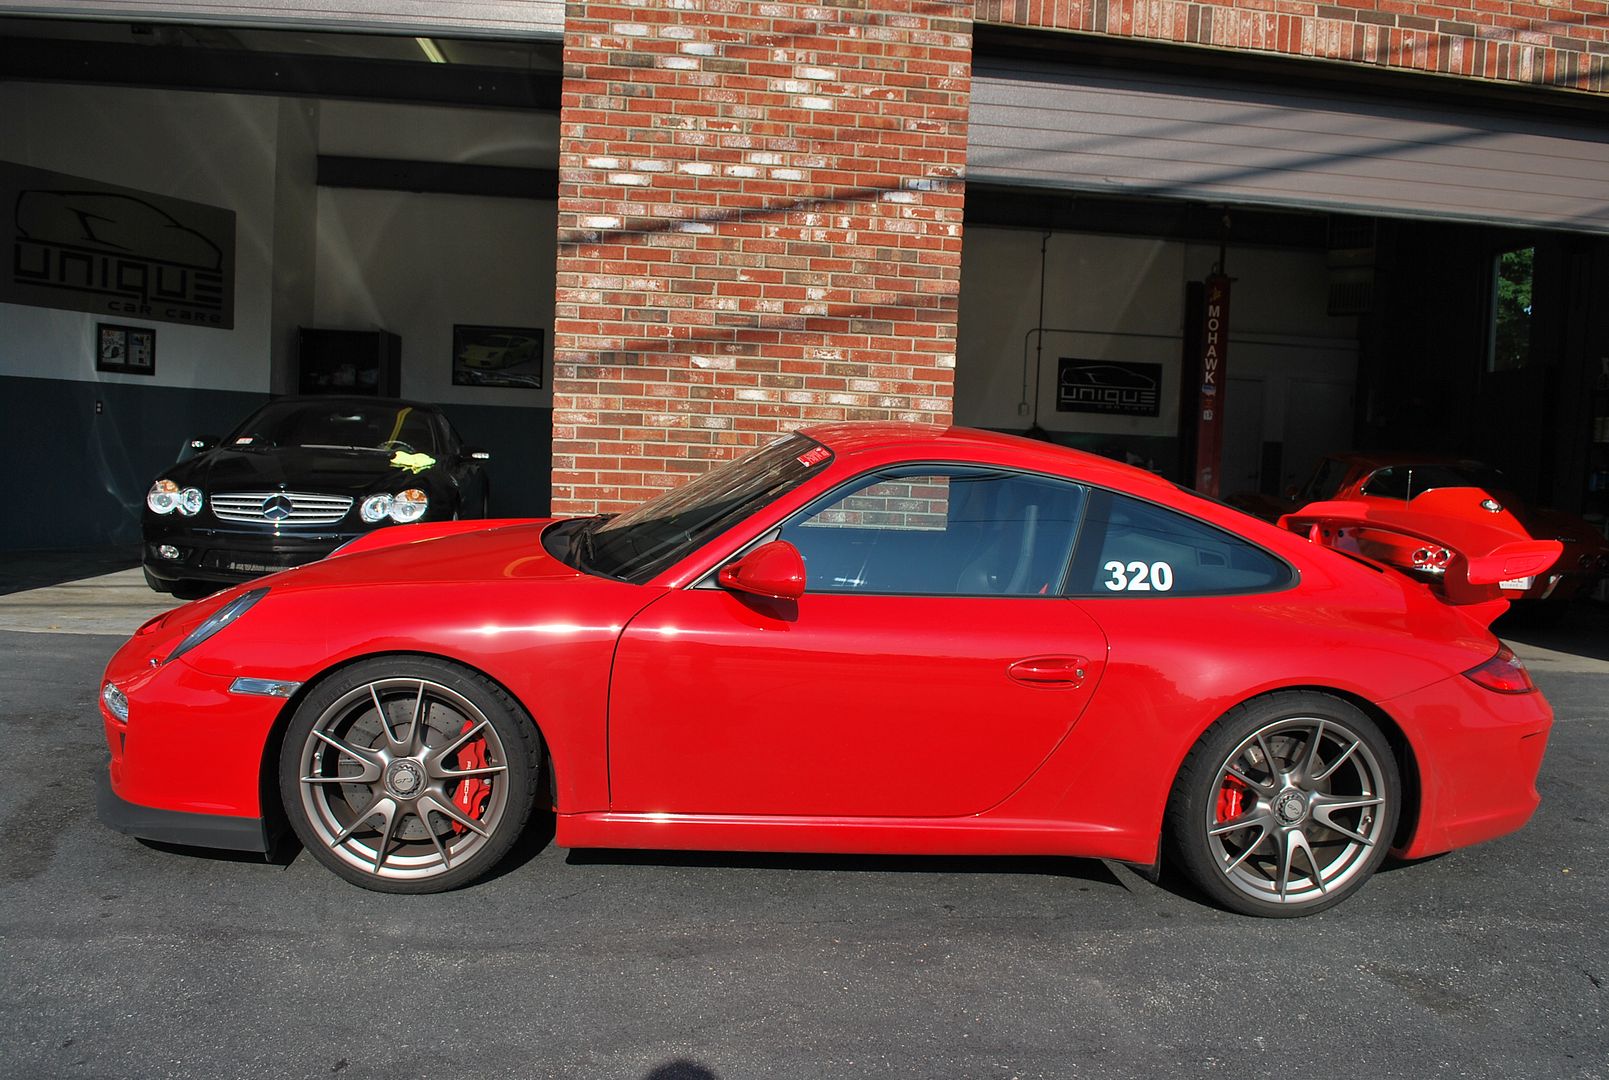
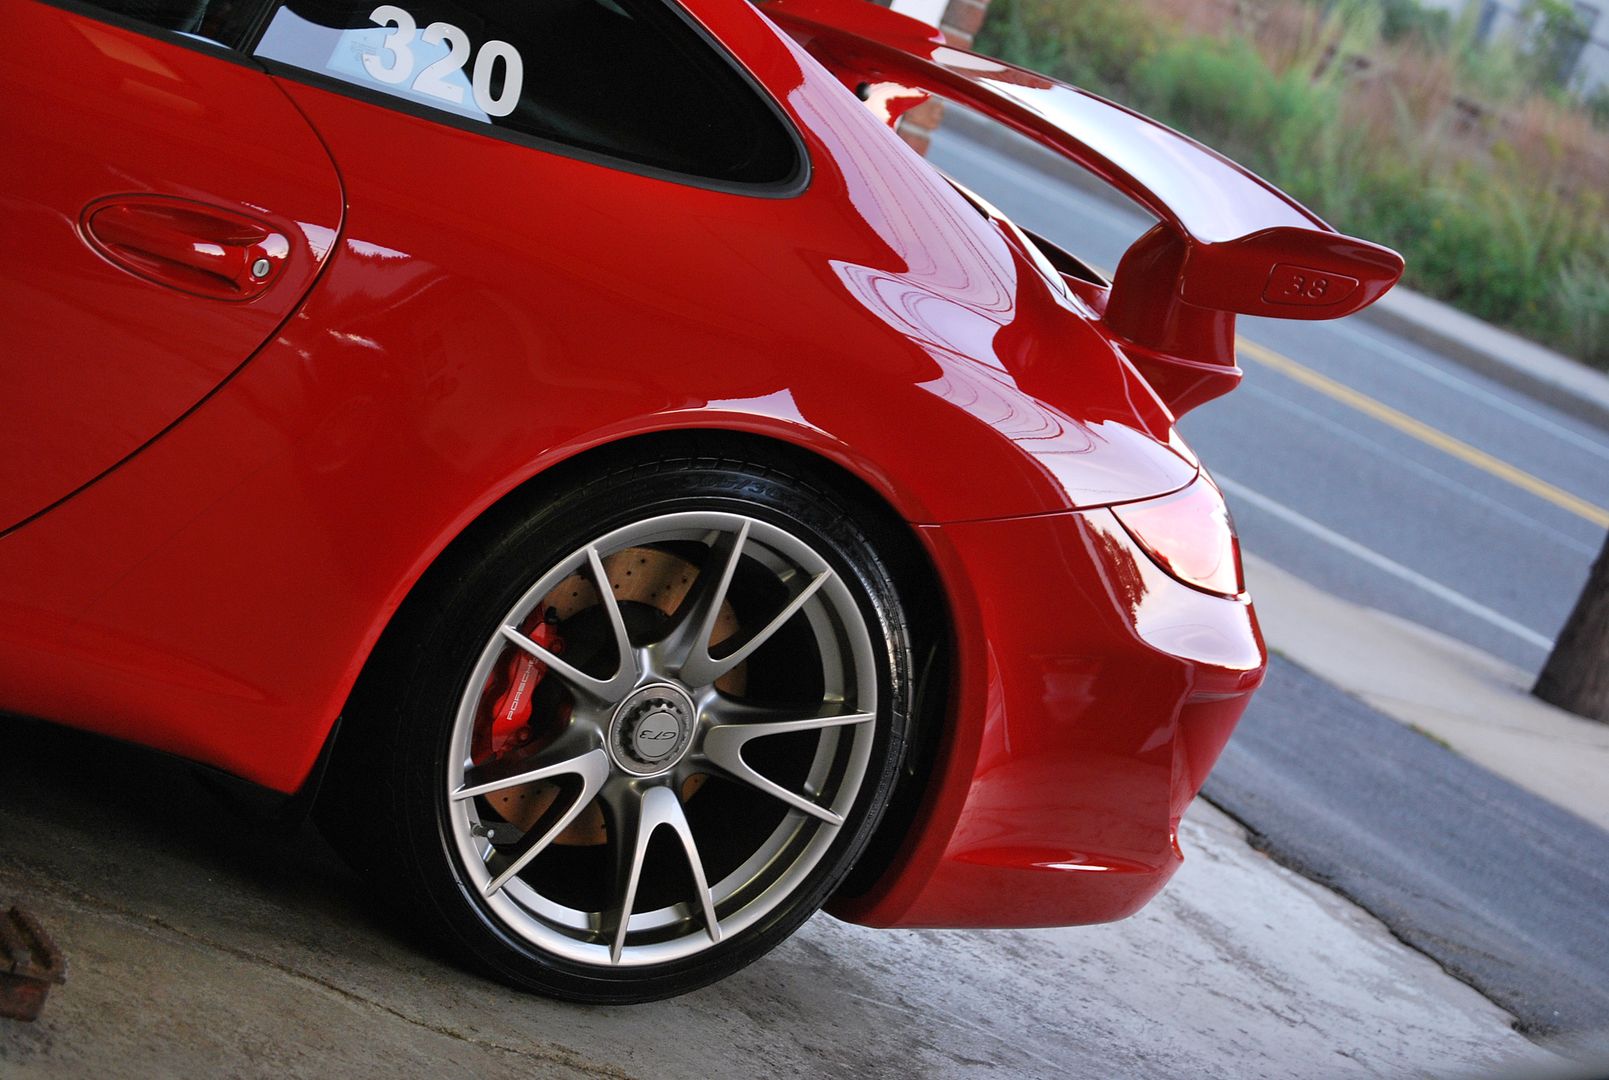
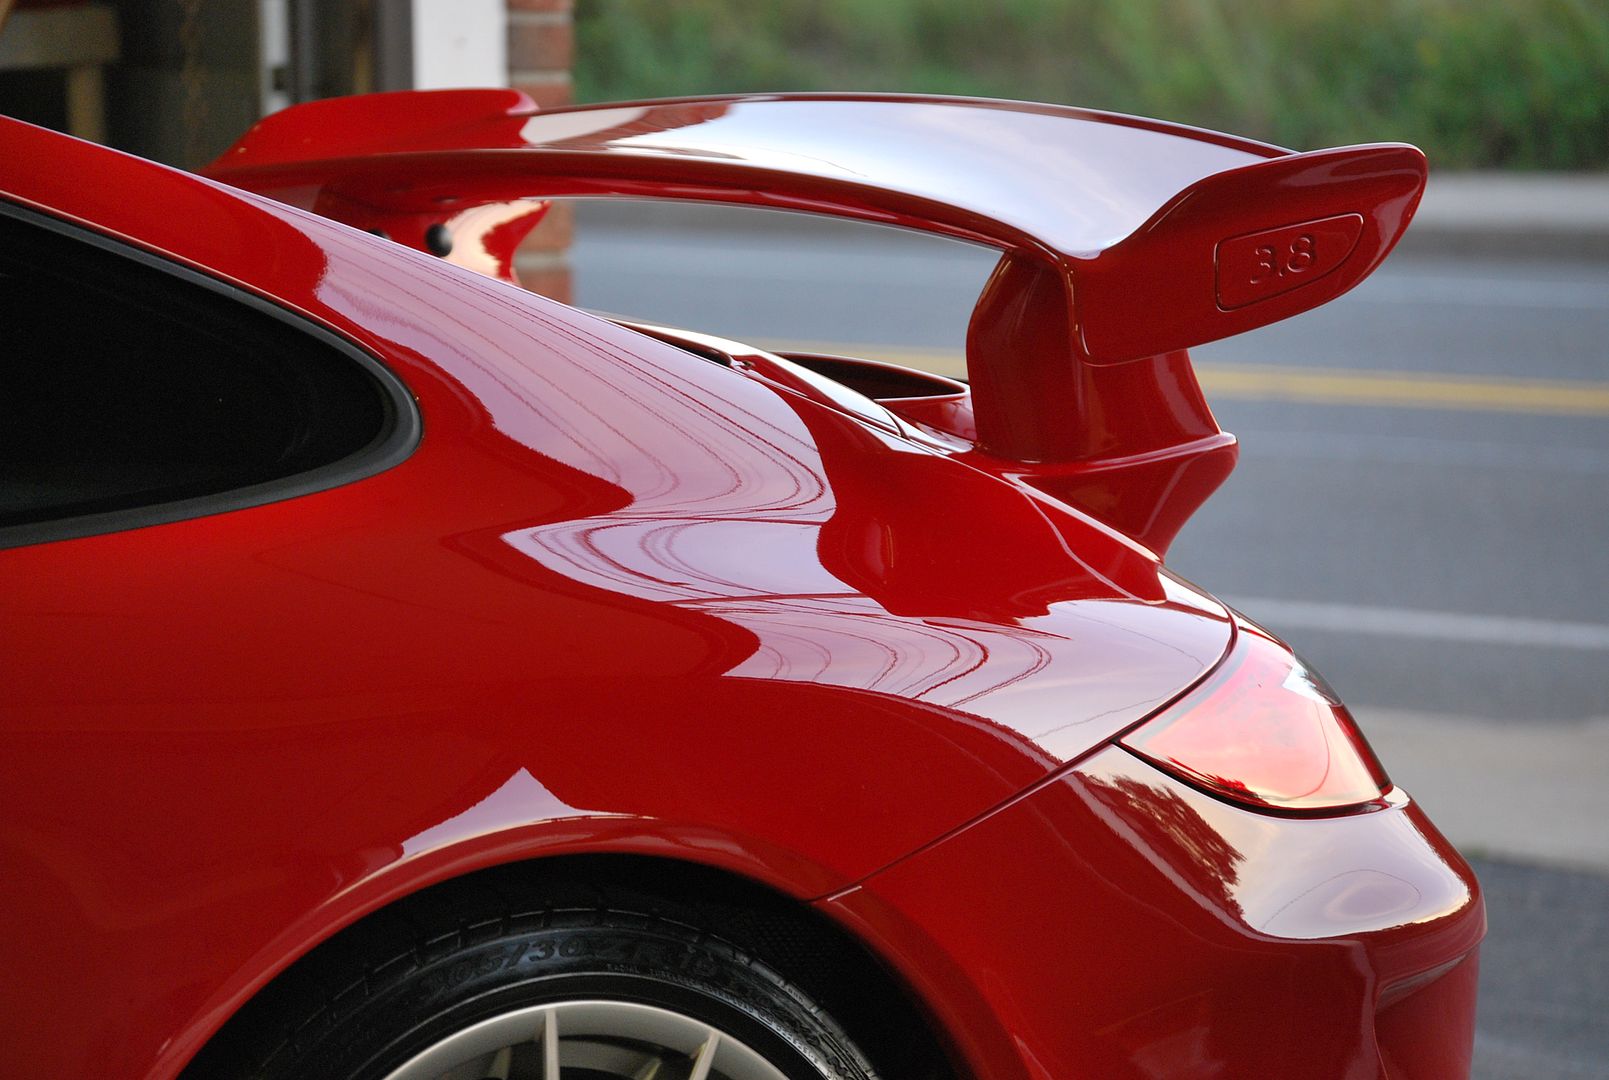
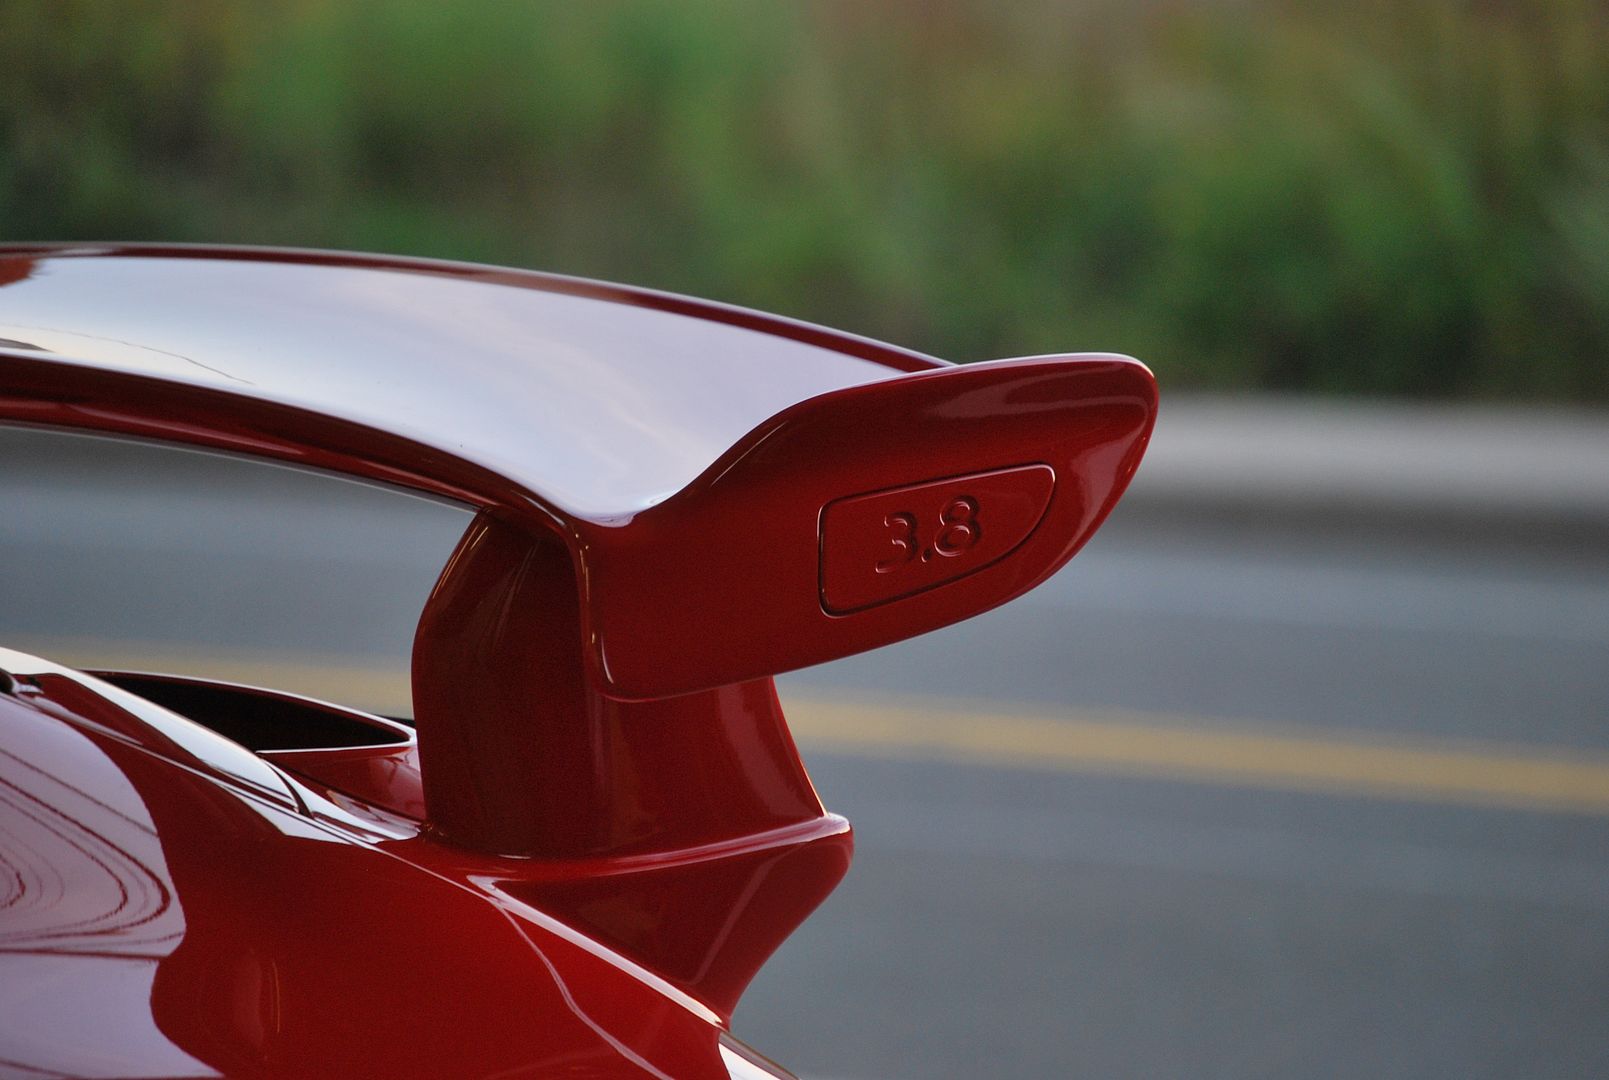
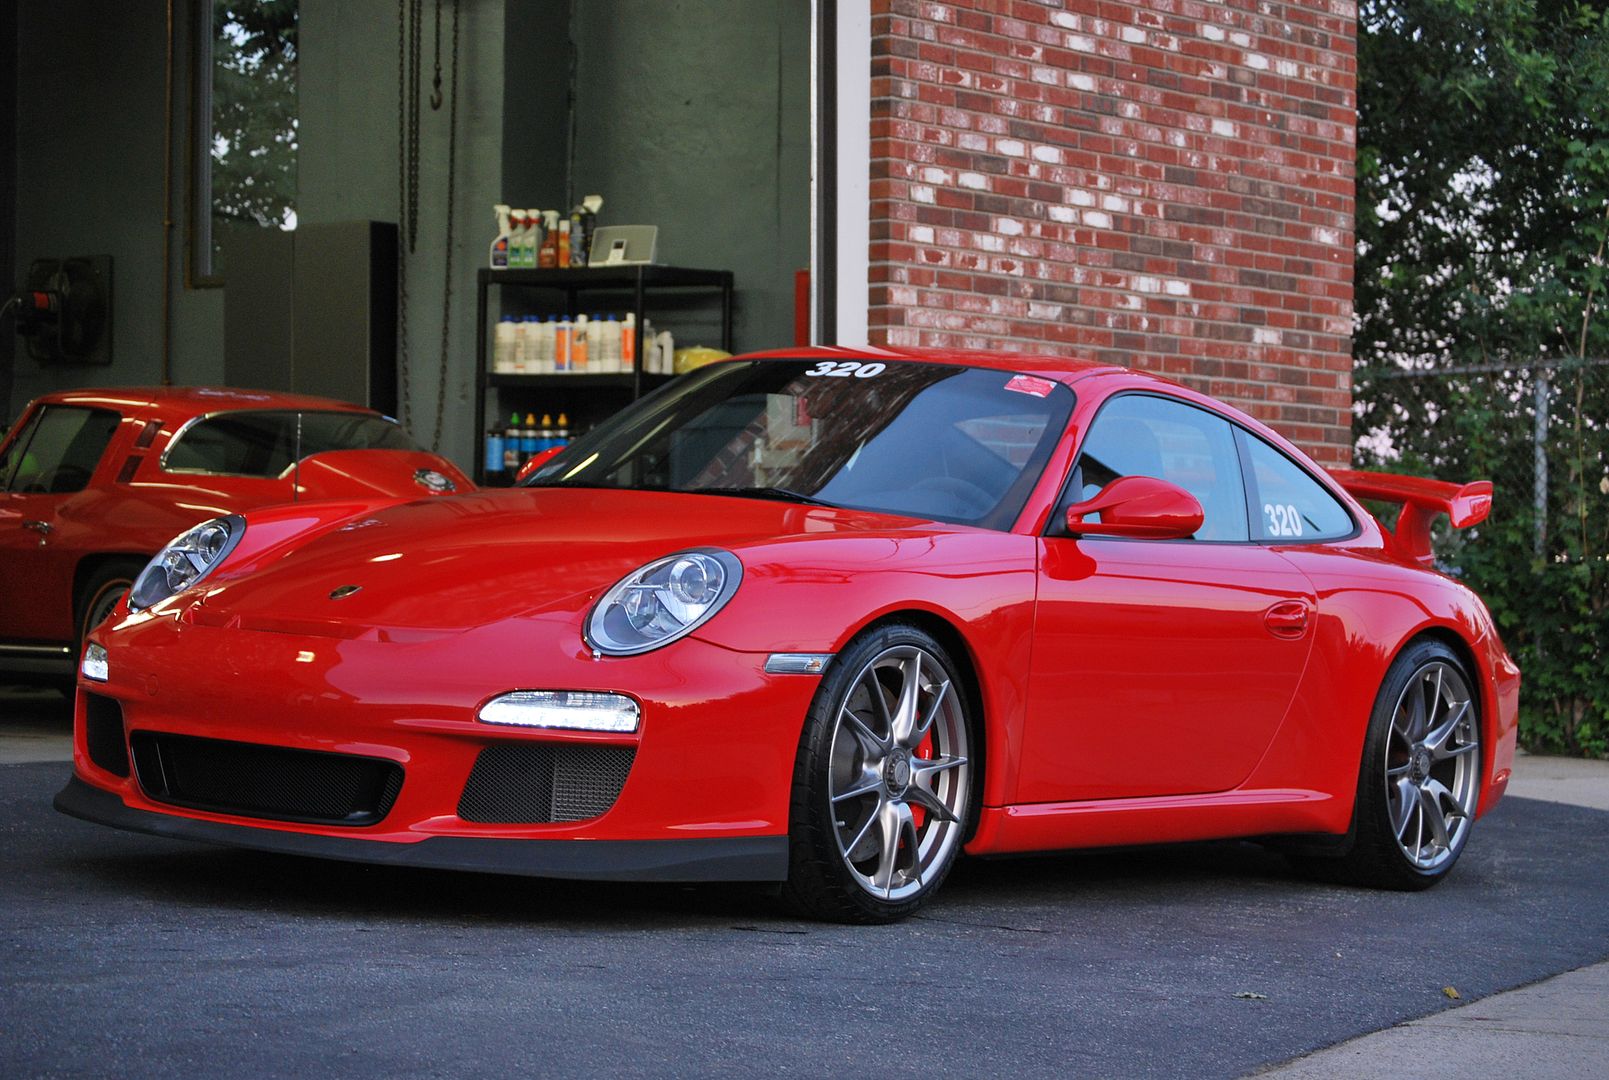
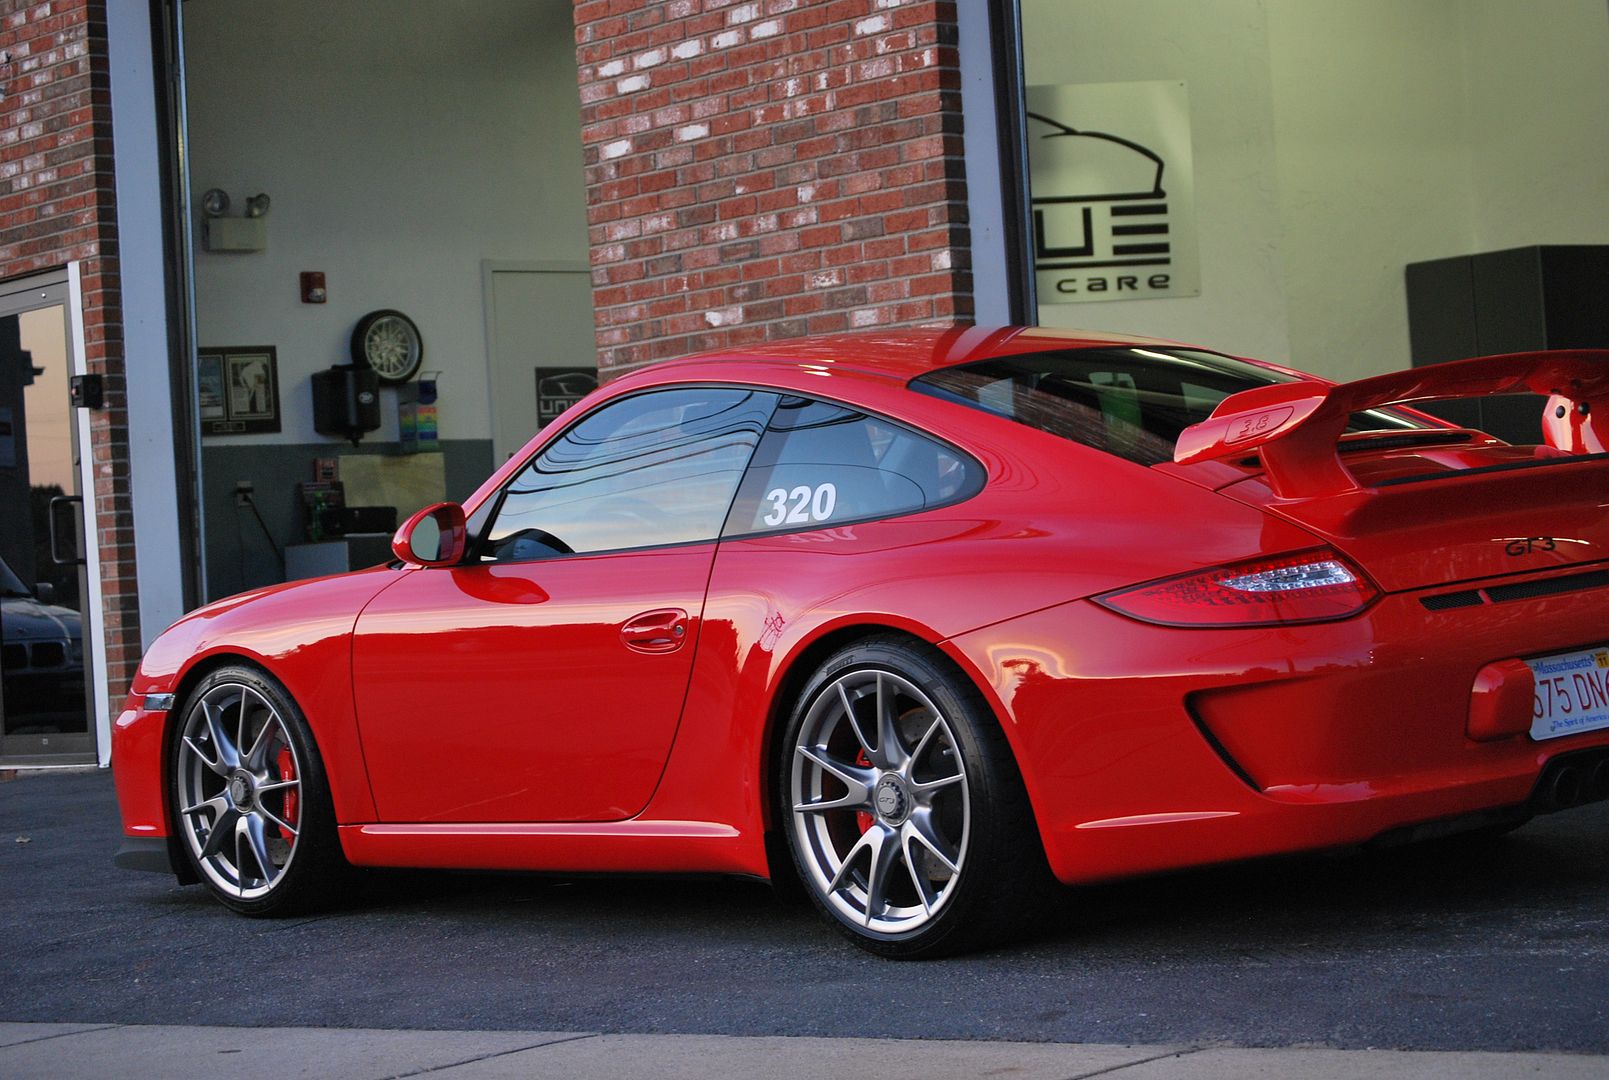
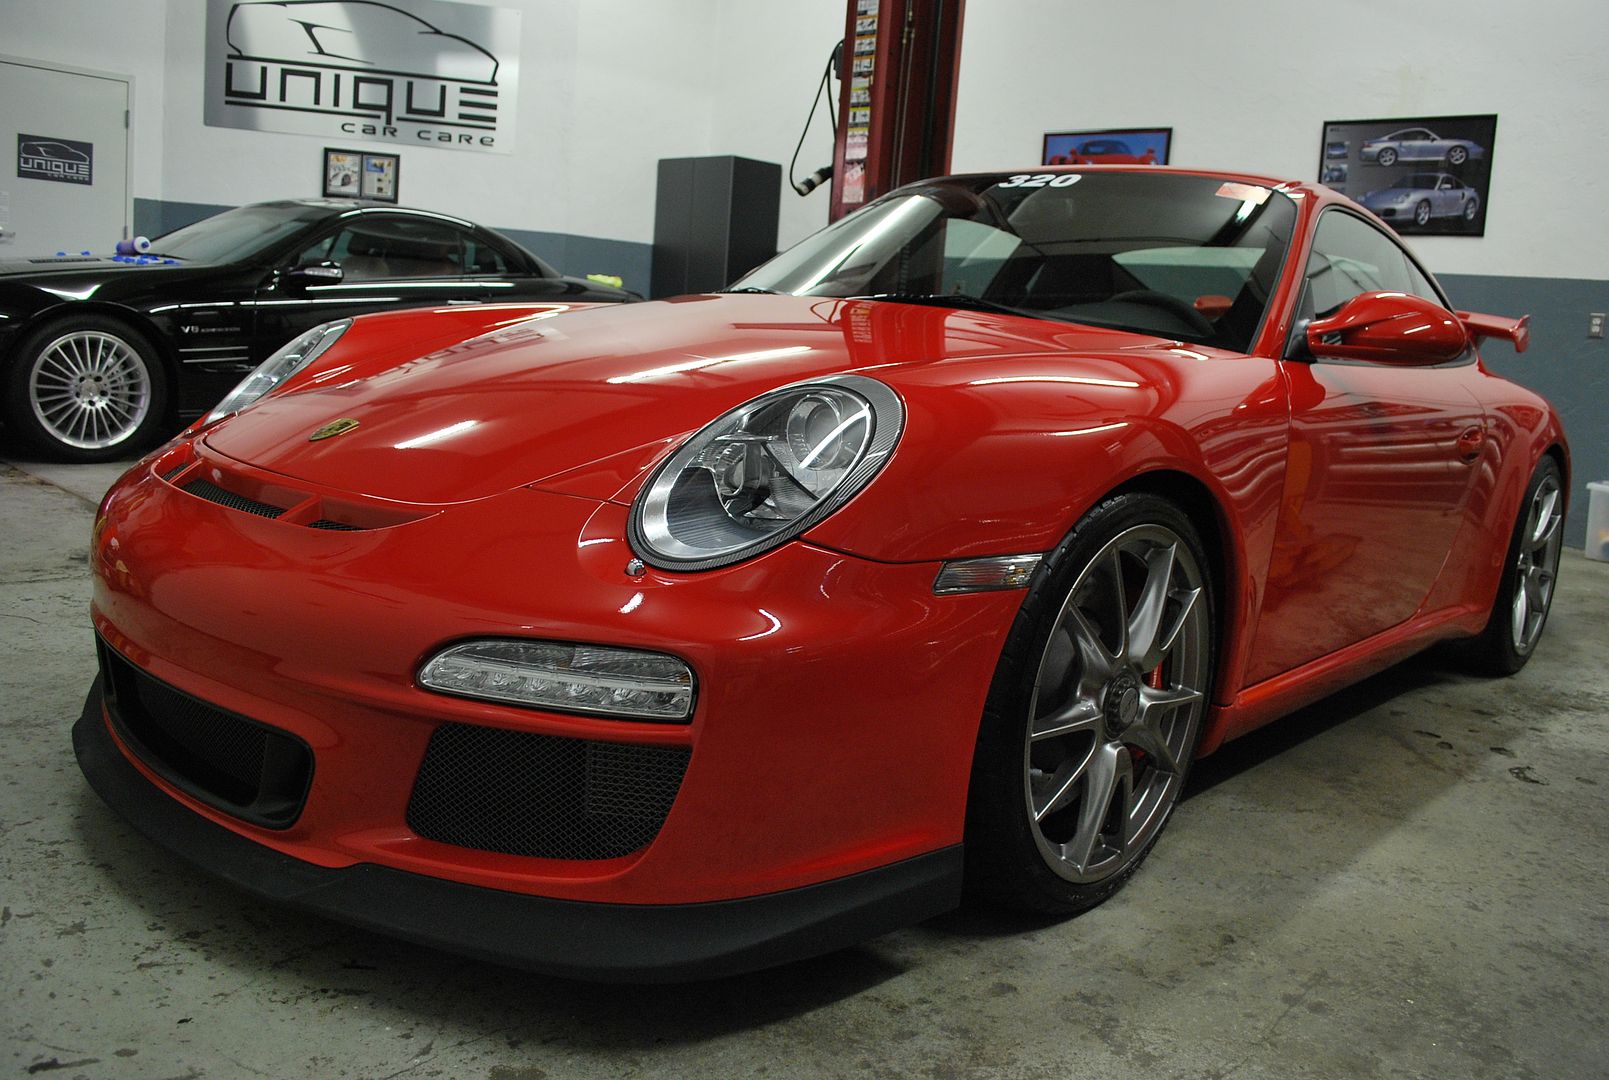
This gorgeous 2010 Porsche GT3 in Guards Red was scheduled for a general cleanup and clear film install (clear-bra). The owner plans on tracking the car and wanted to make sure that all critical areas were covered in film to ensure that no damage was done and keep the car looking its best. Despite being new, the owner had a slight mishap and damaged the front lip spoiler. I told the owner I would repair the spoiler while it was at the shop.
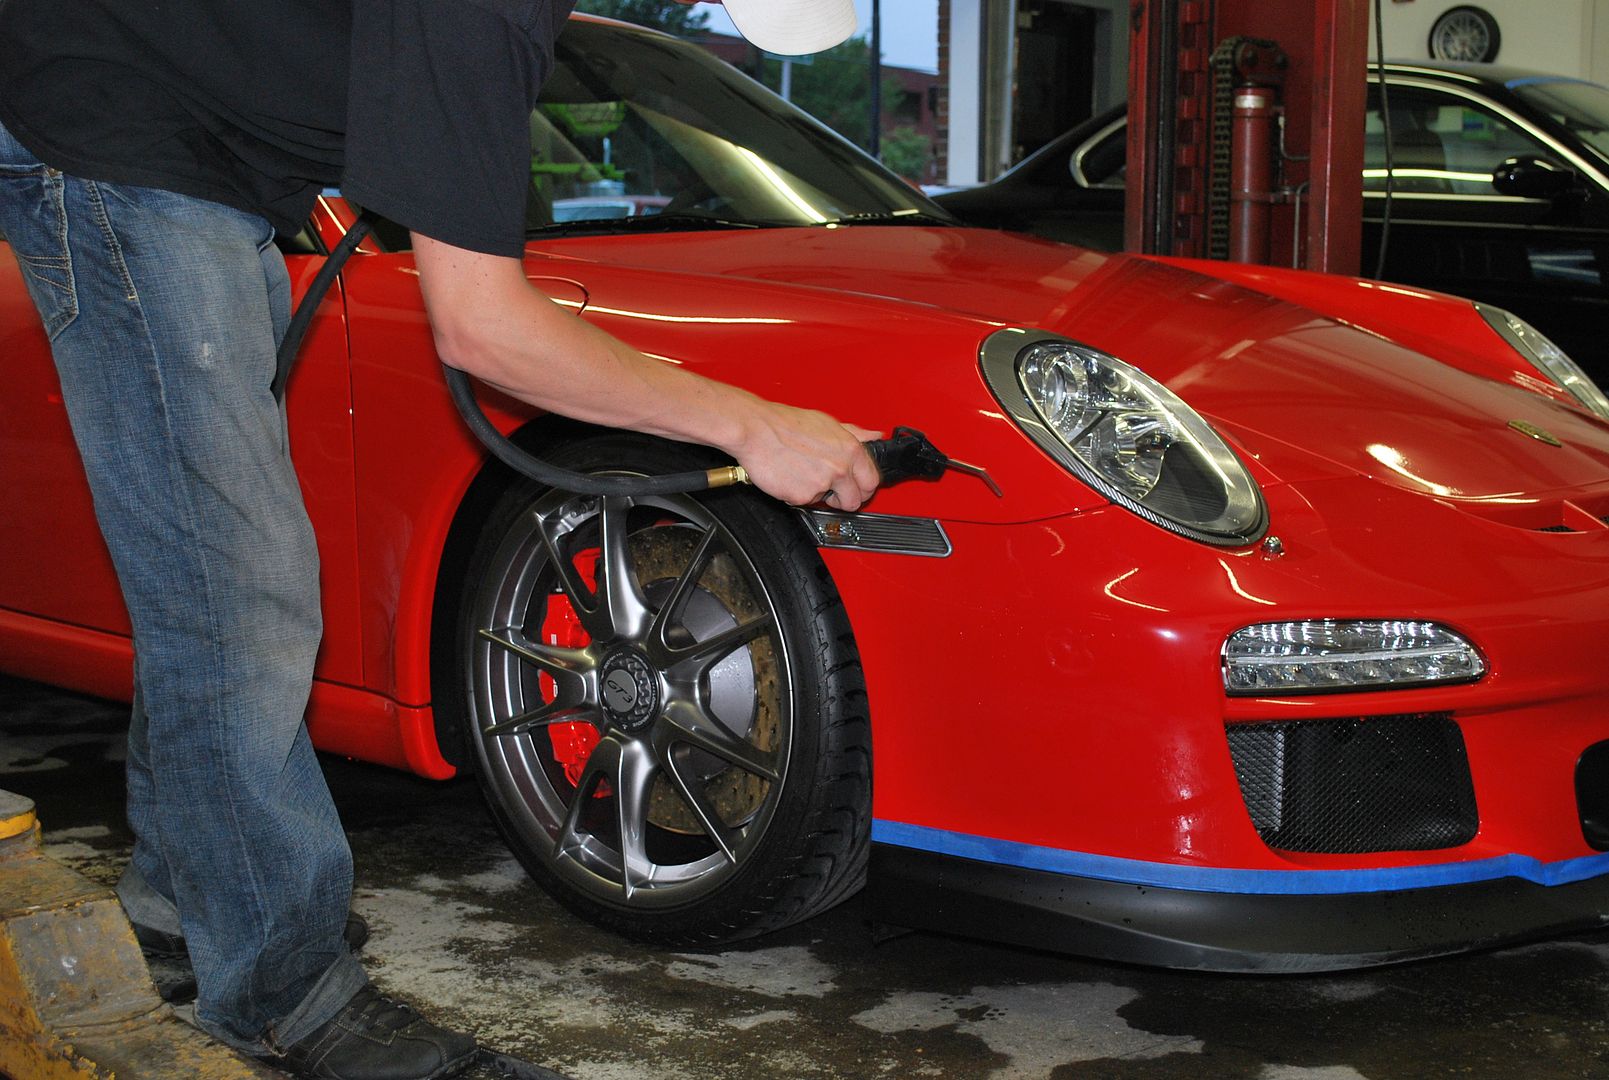
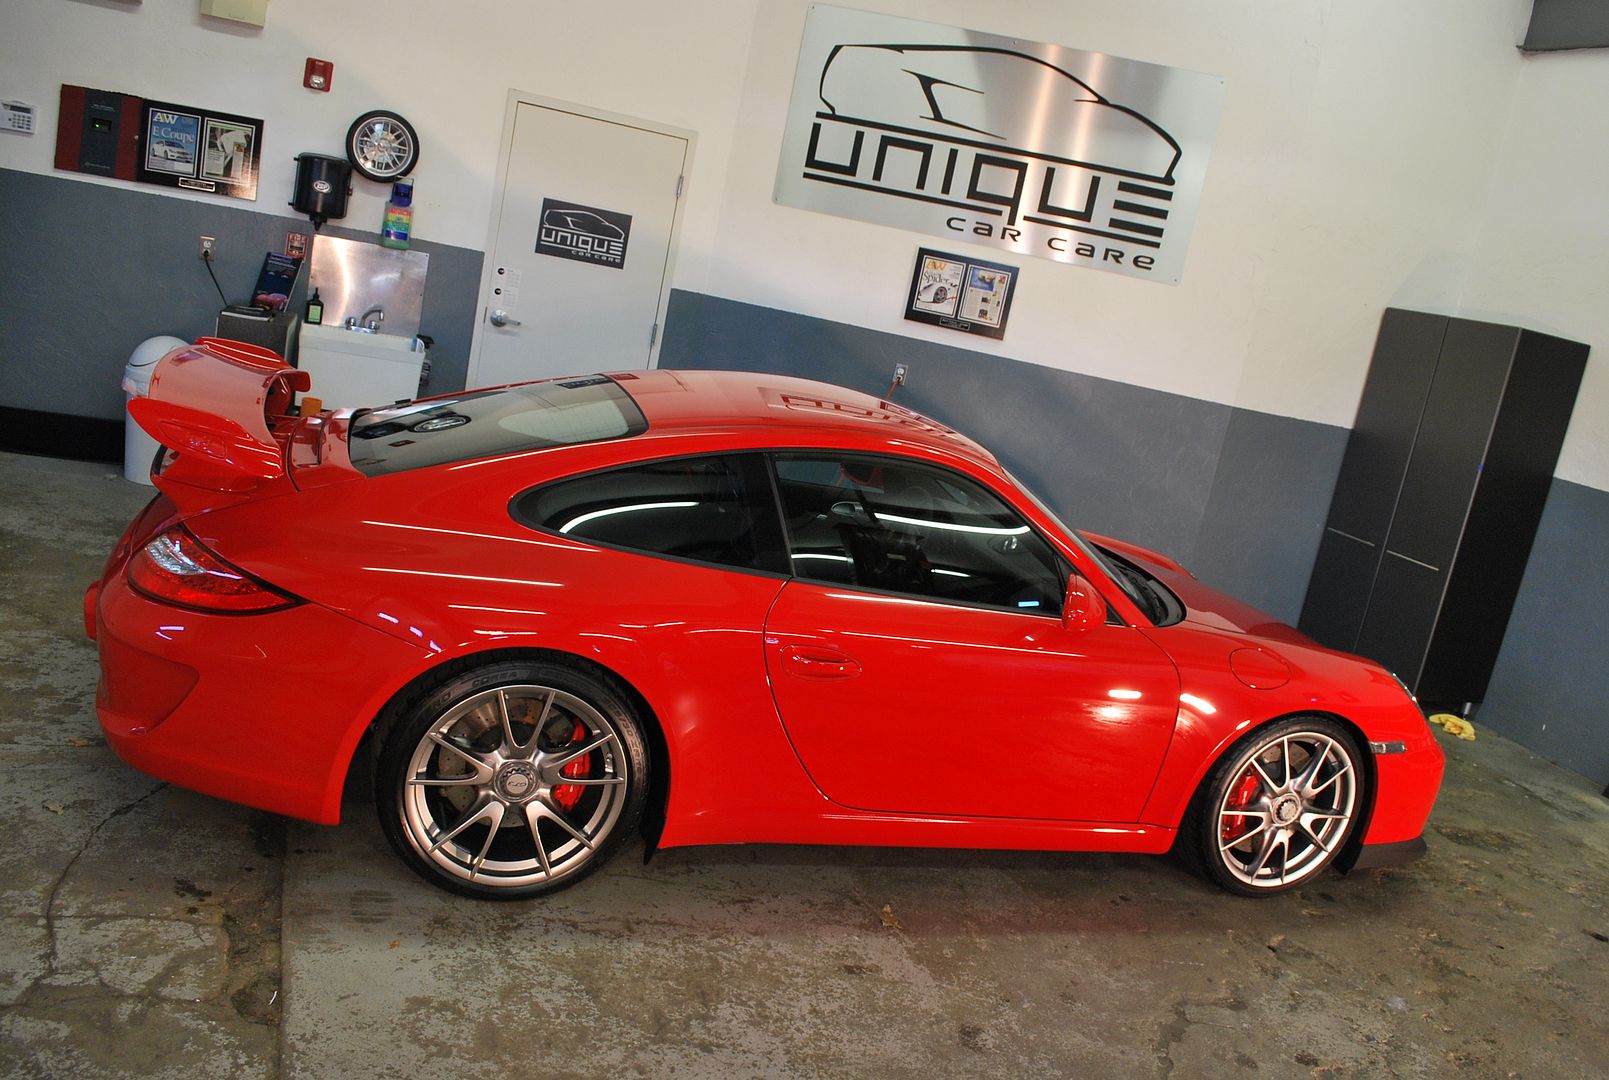
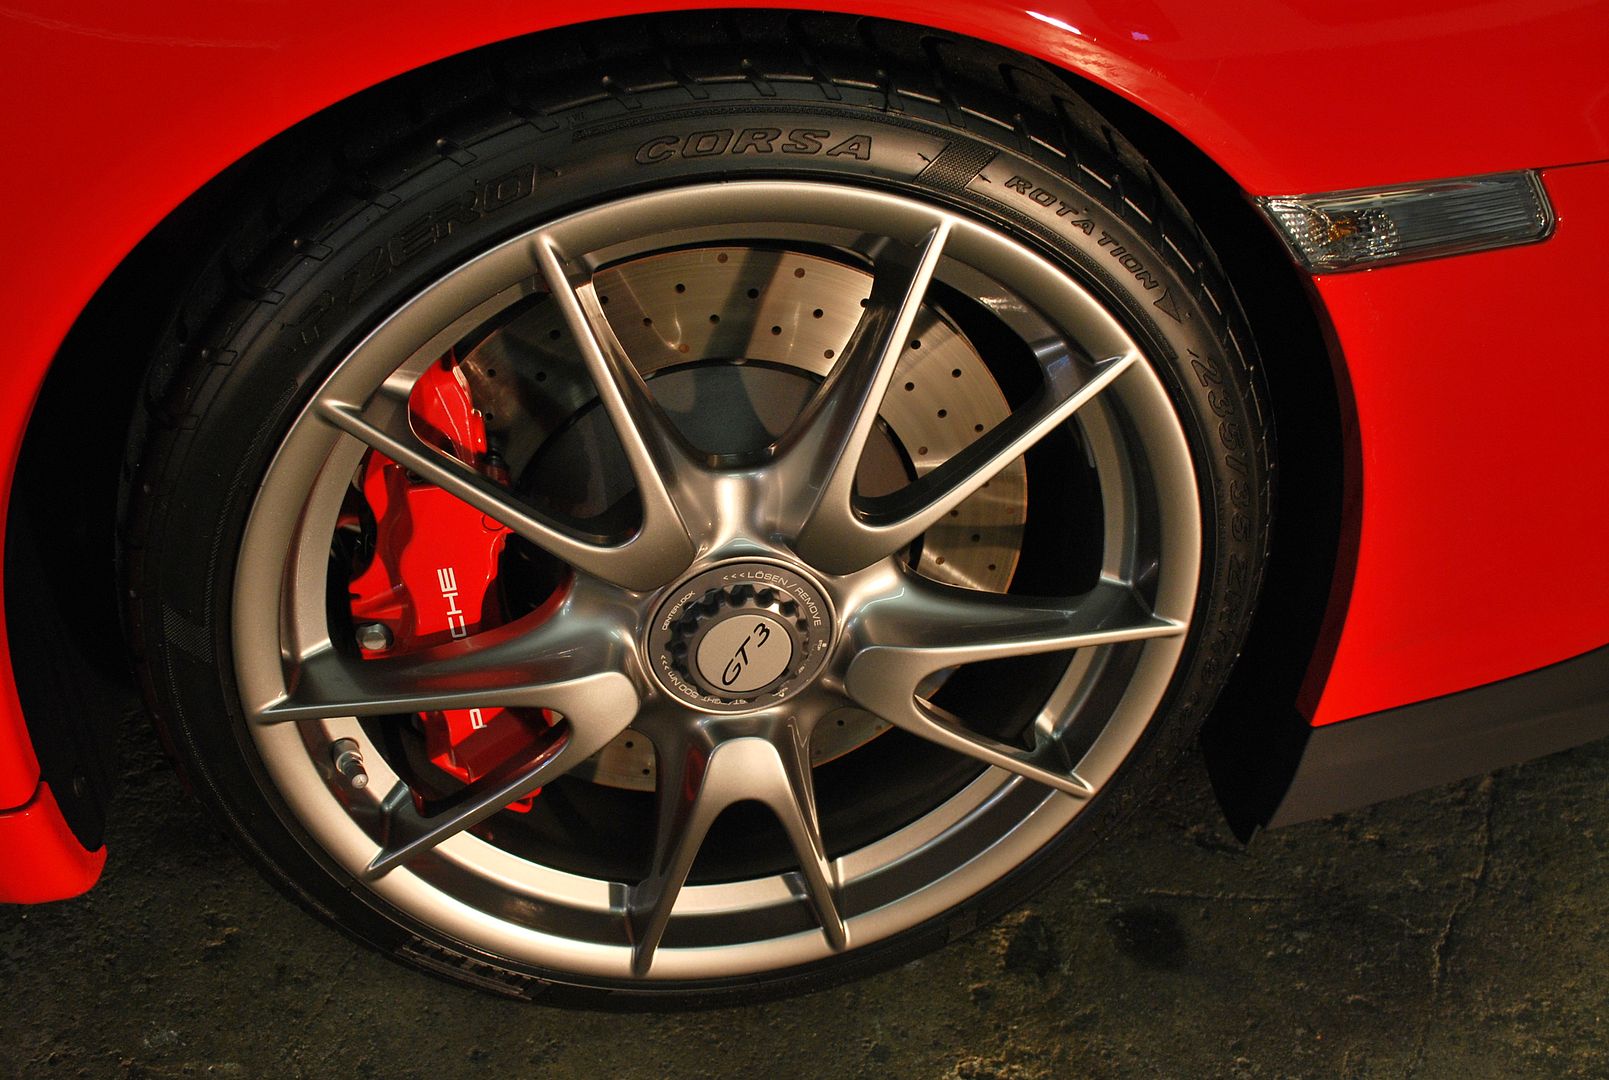
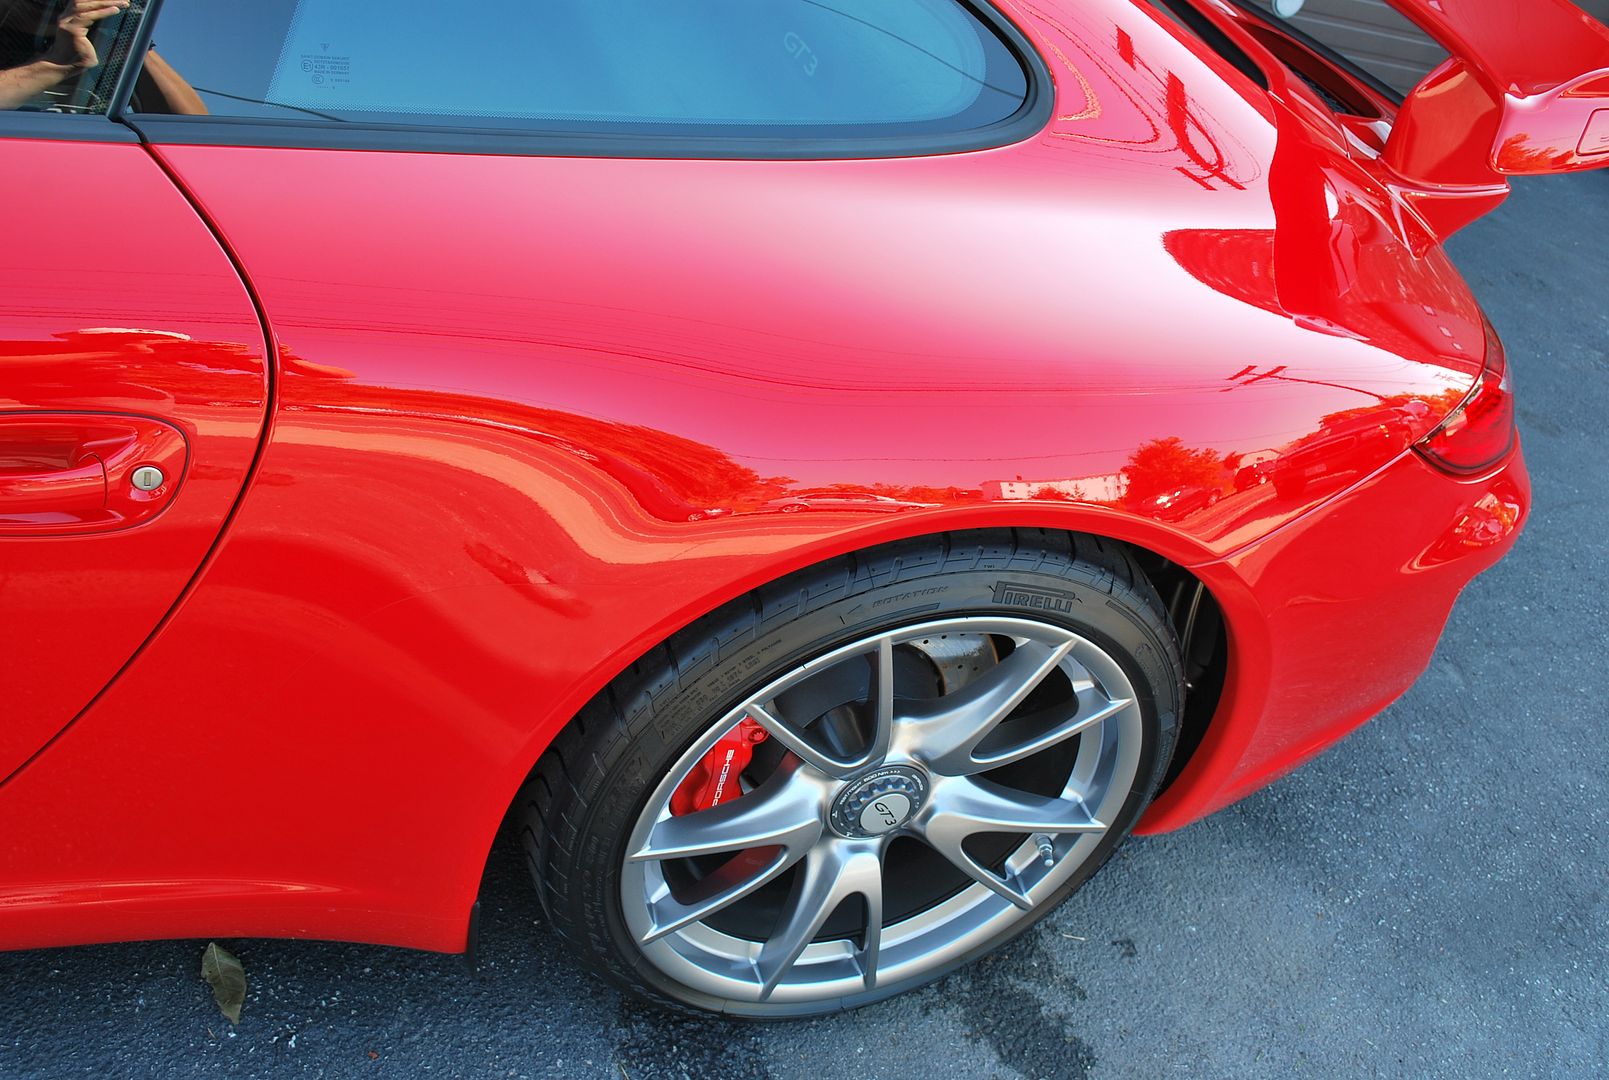
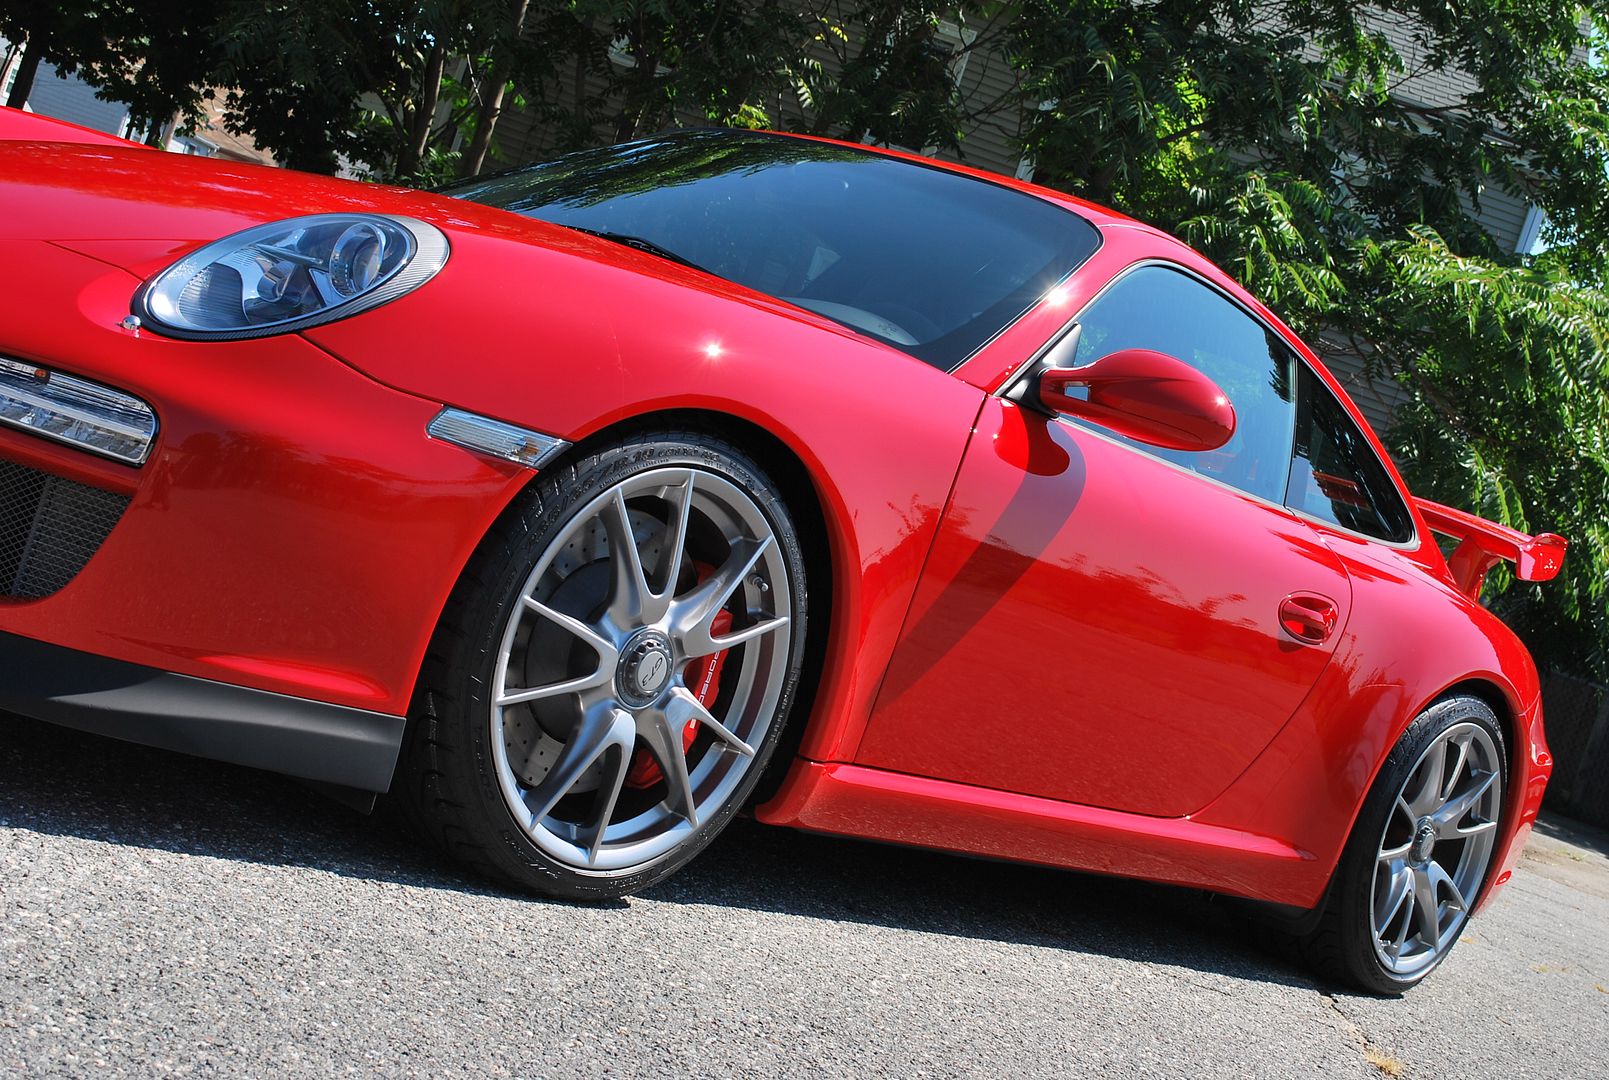
Upon arrival, the car was already in great shape, which is expected being a new car. I started by giving all of the wheels, tires & wheel wells an extensive cleaning.
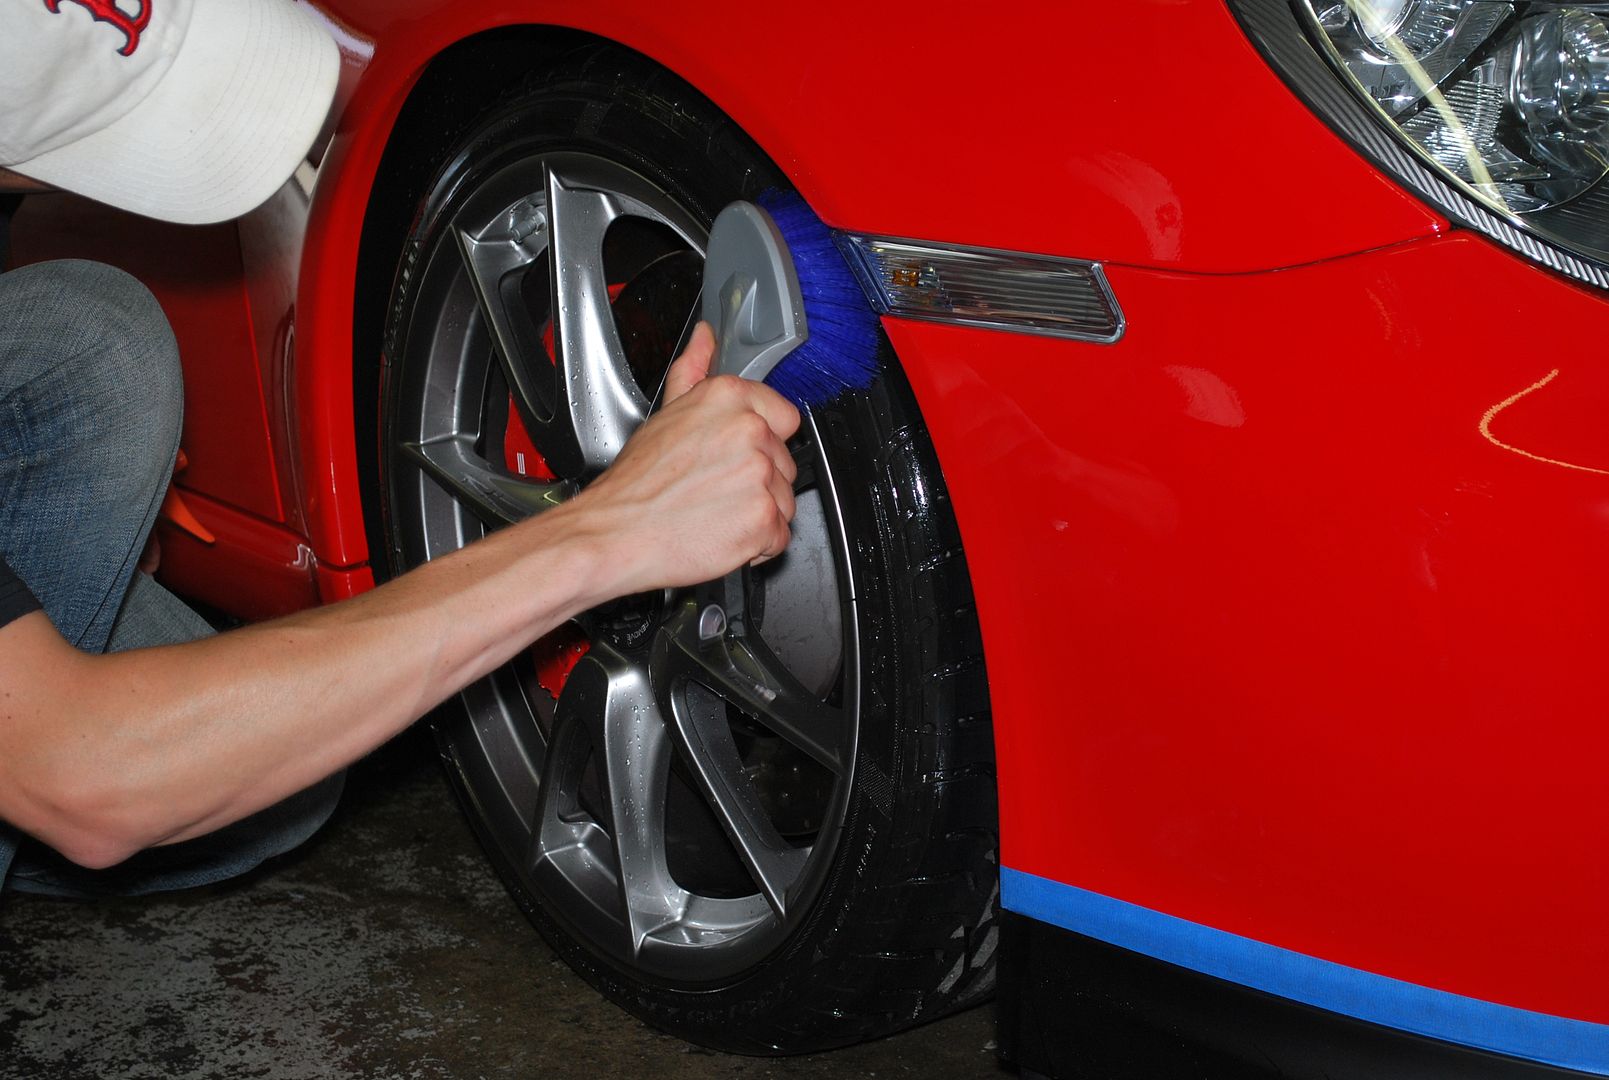
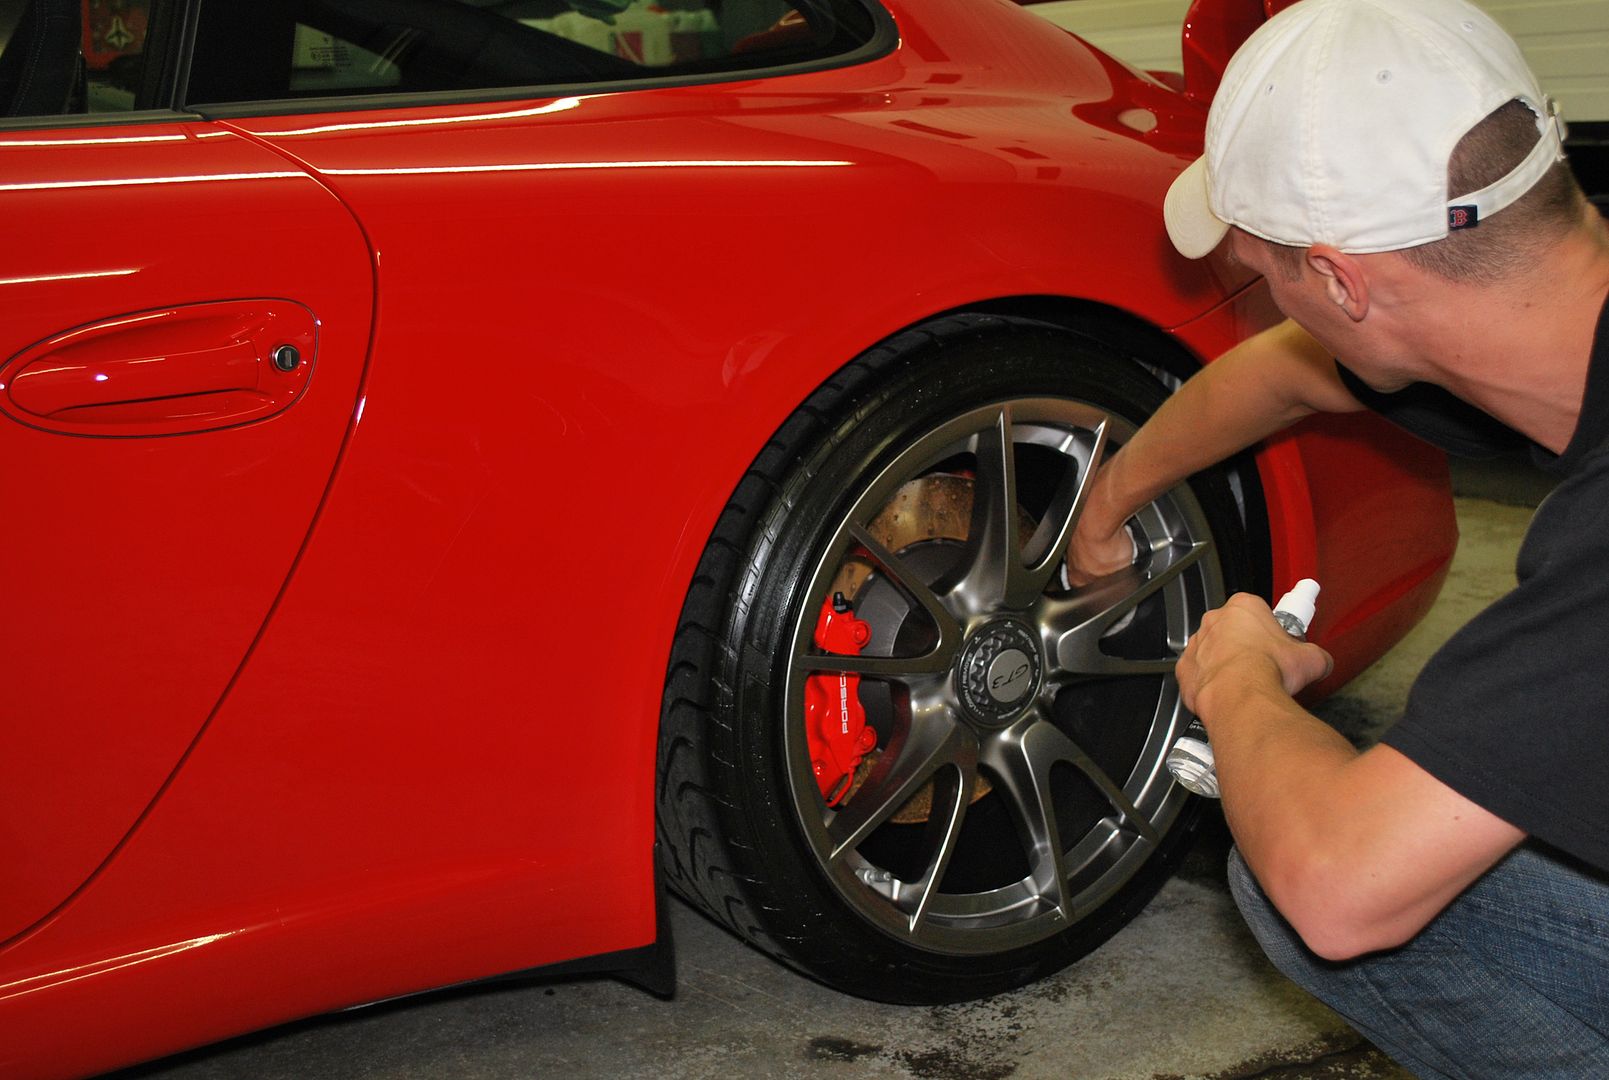
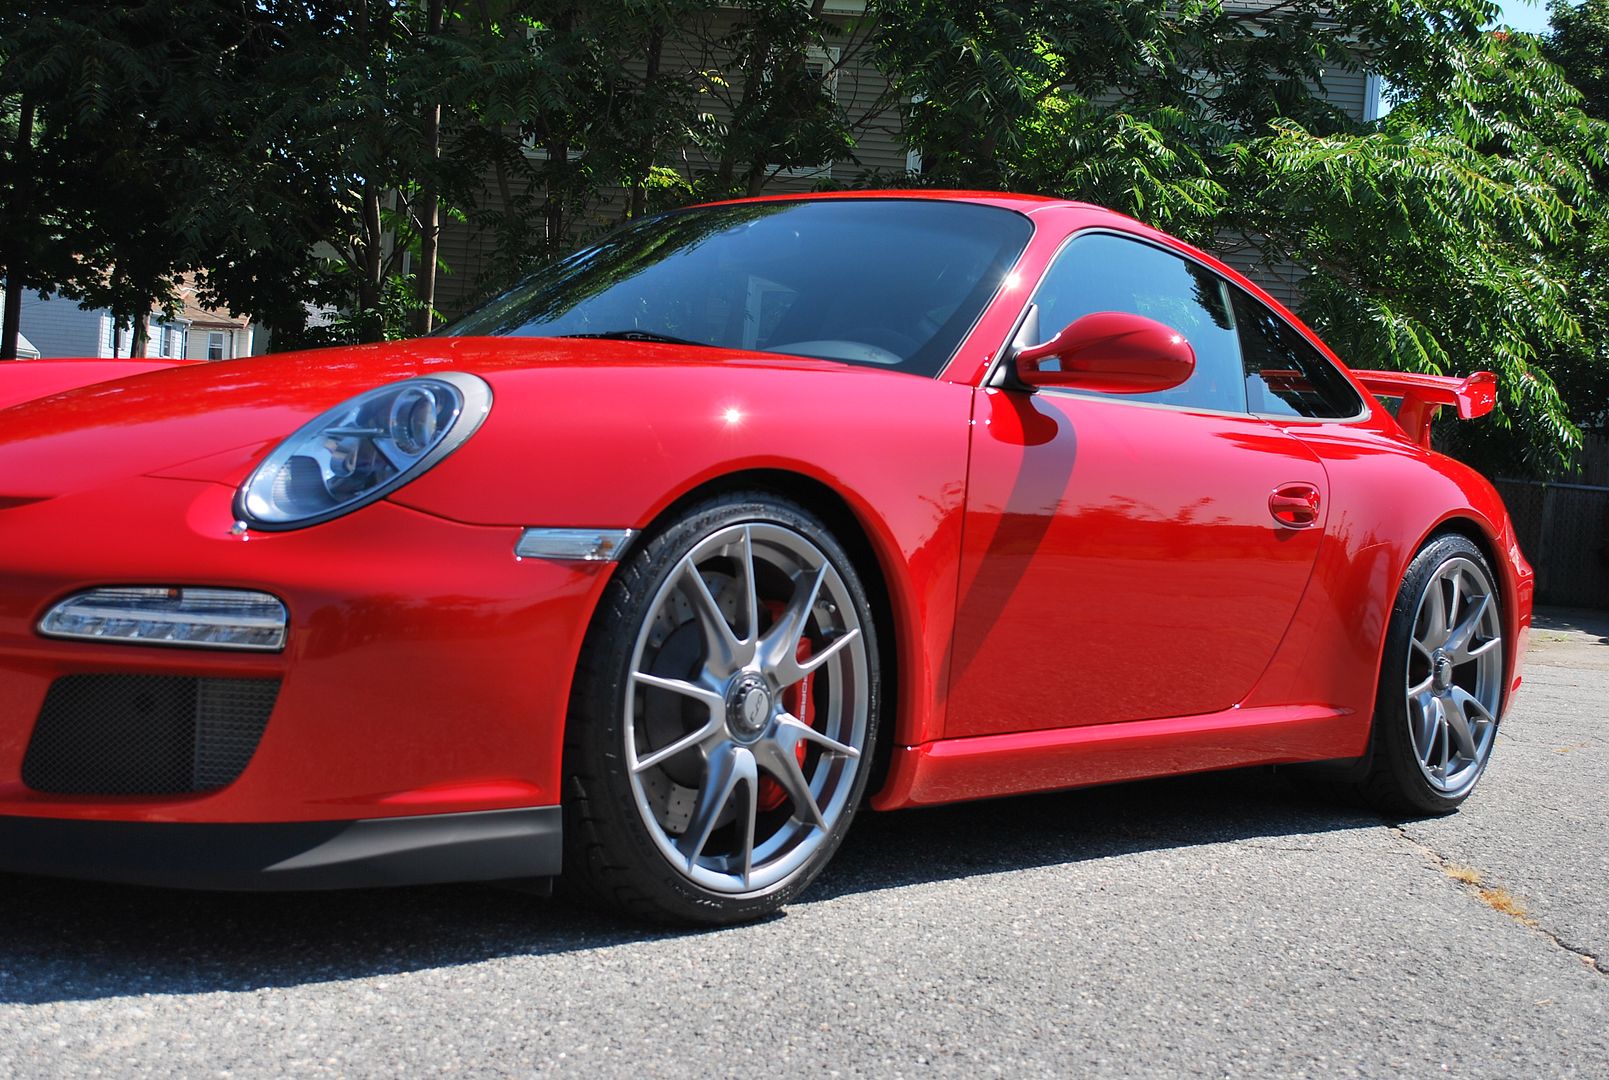
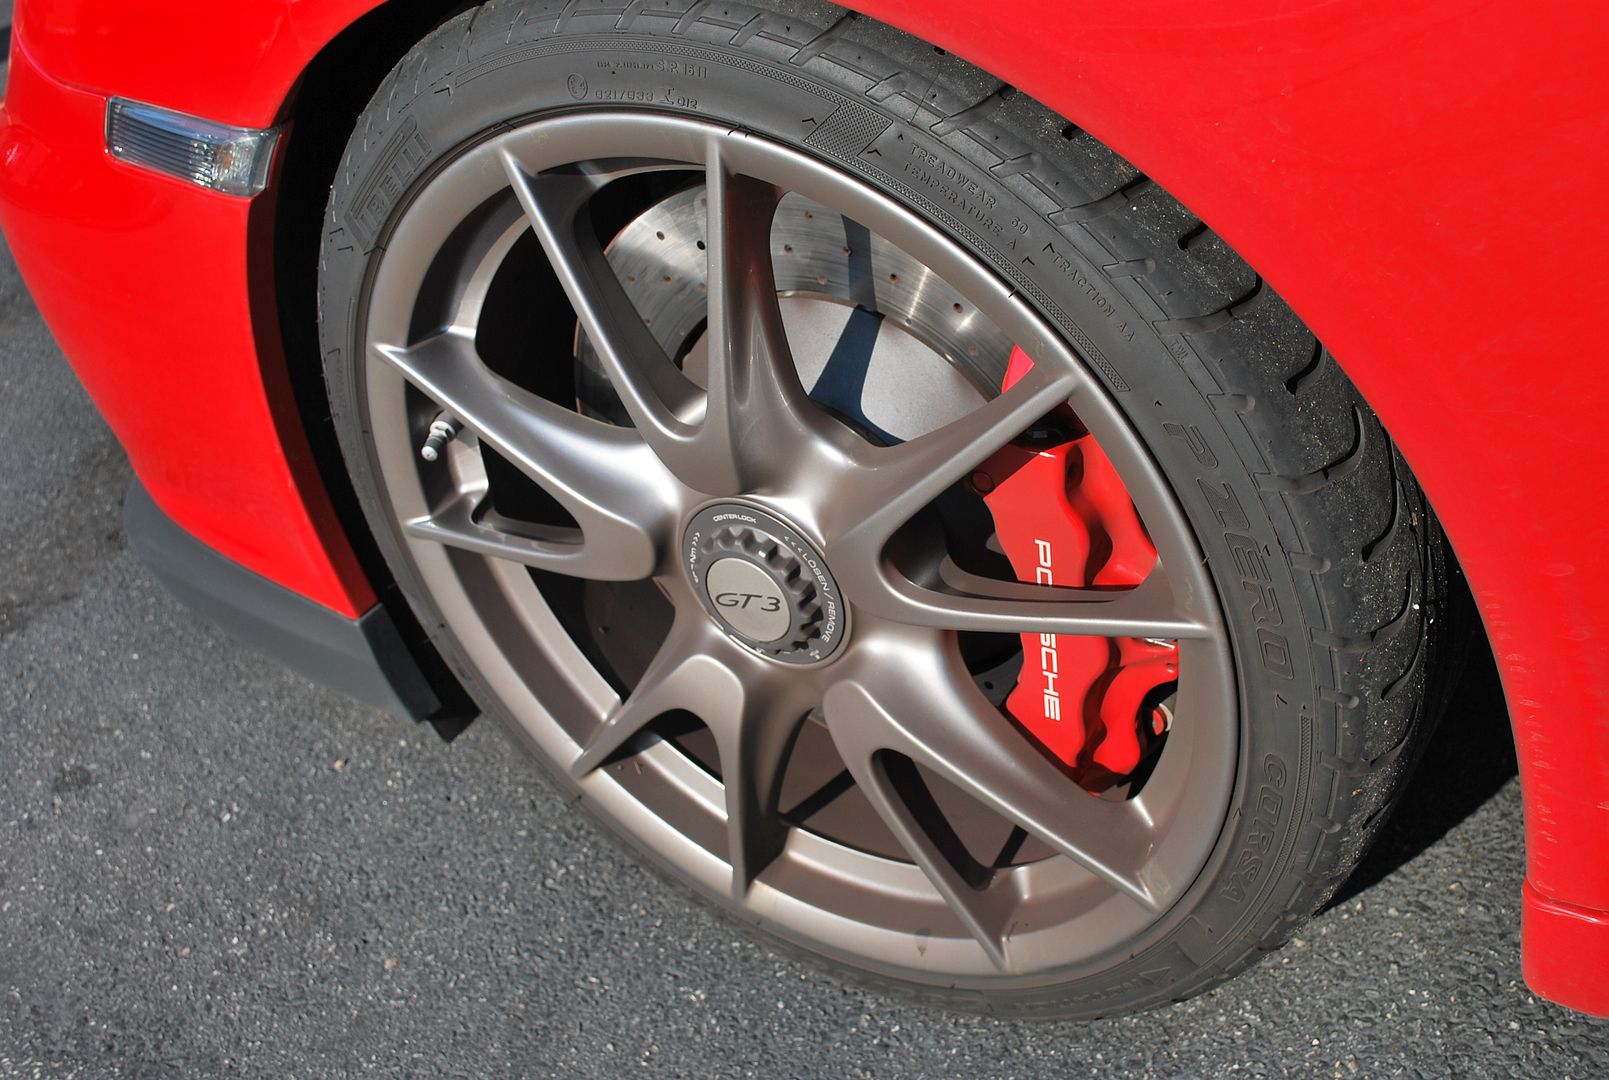
All tires and wheel wells were cleaned with Kleens degreaser and agitated with a soft bristle wheel brush as seen below.
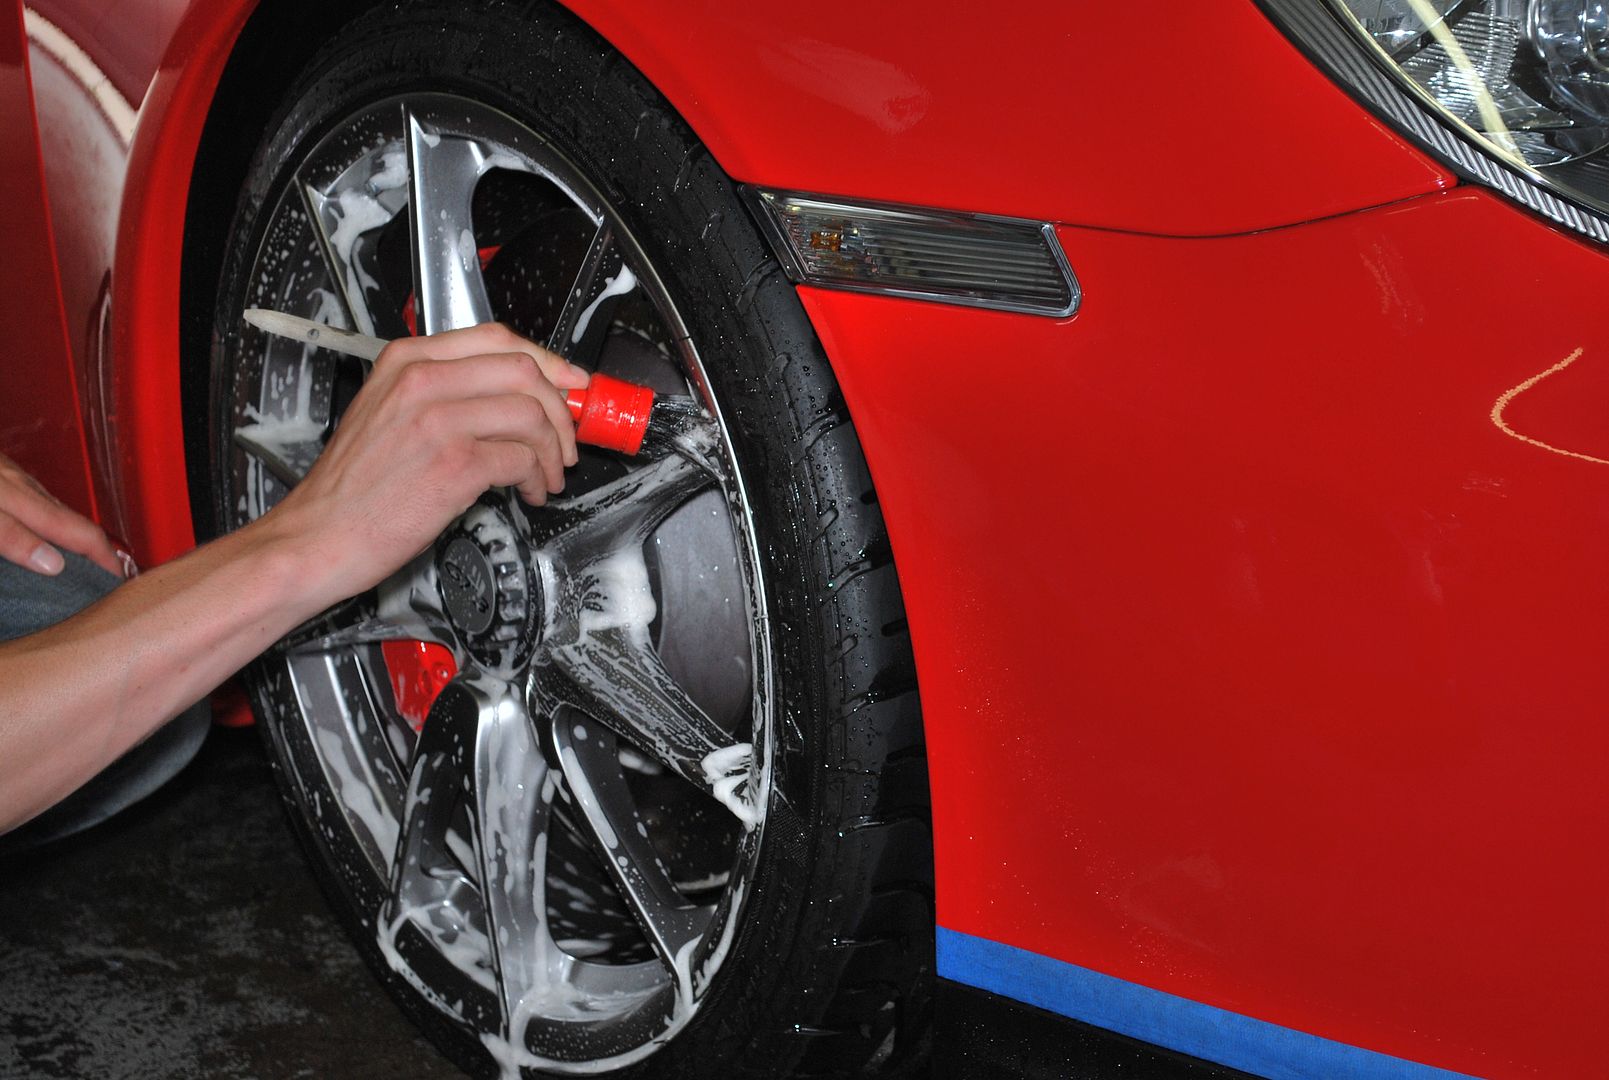
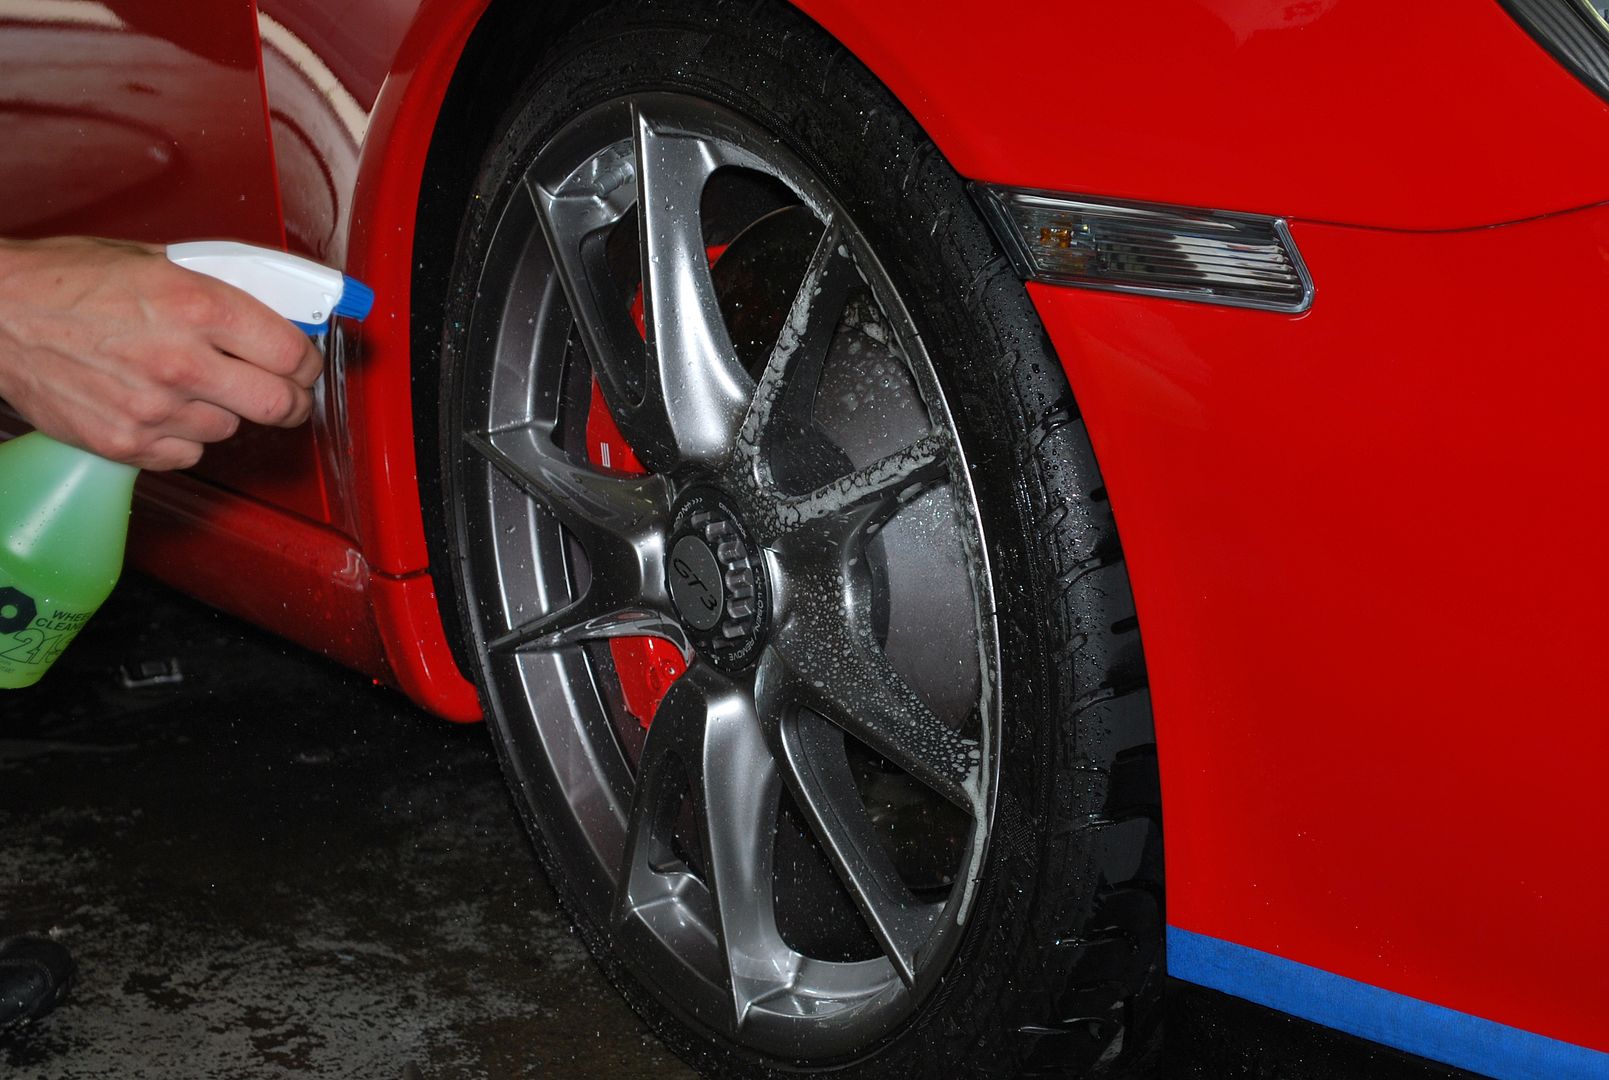
The wheels were treated with P21S wheel cleaner and agitated with various brushes to get every square inch of the wheels spotless.
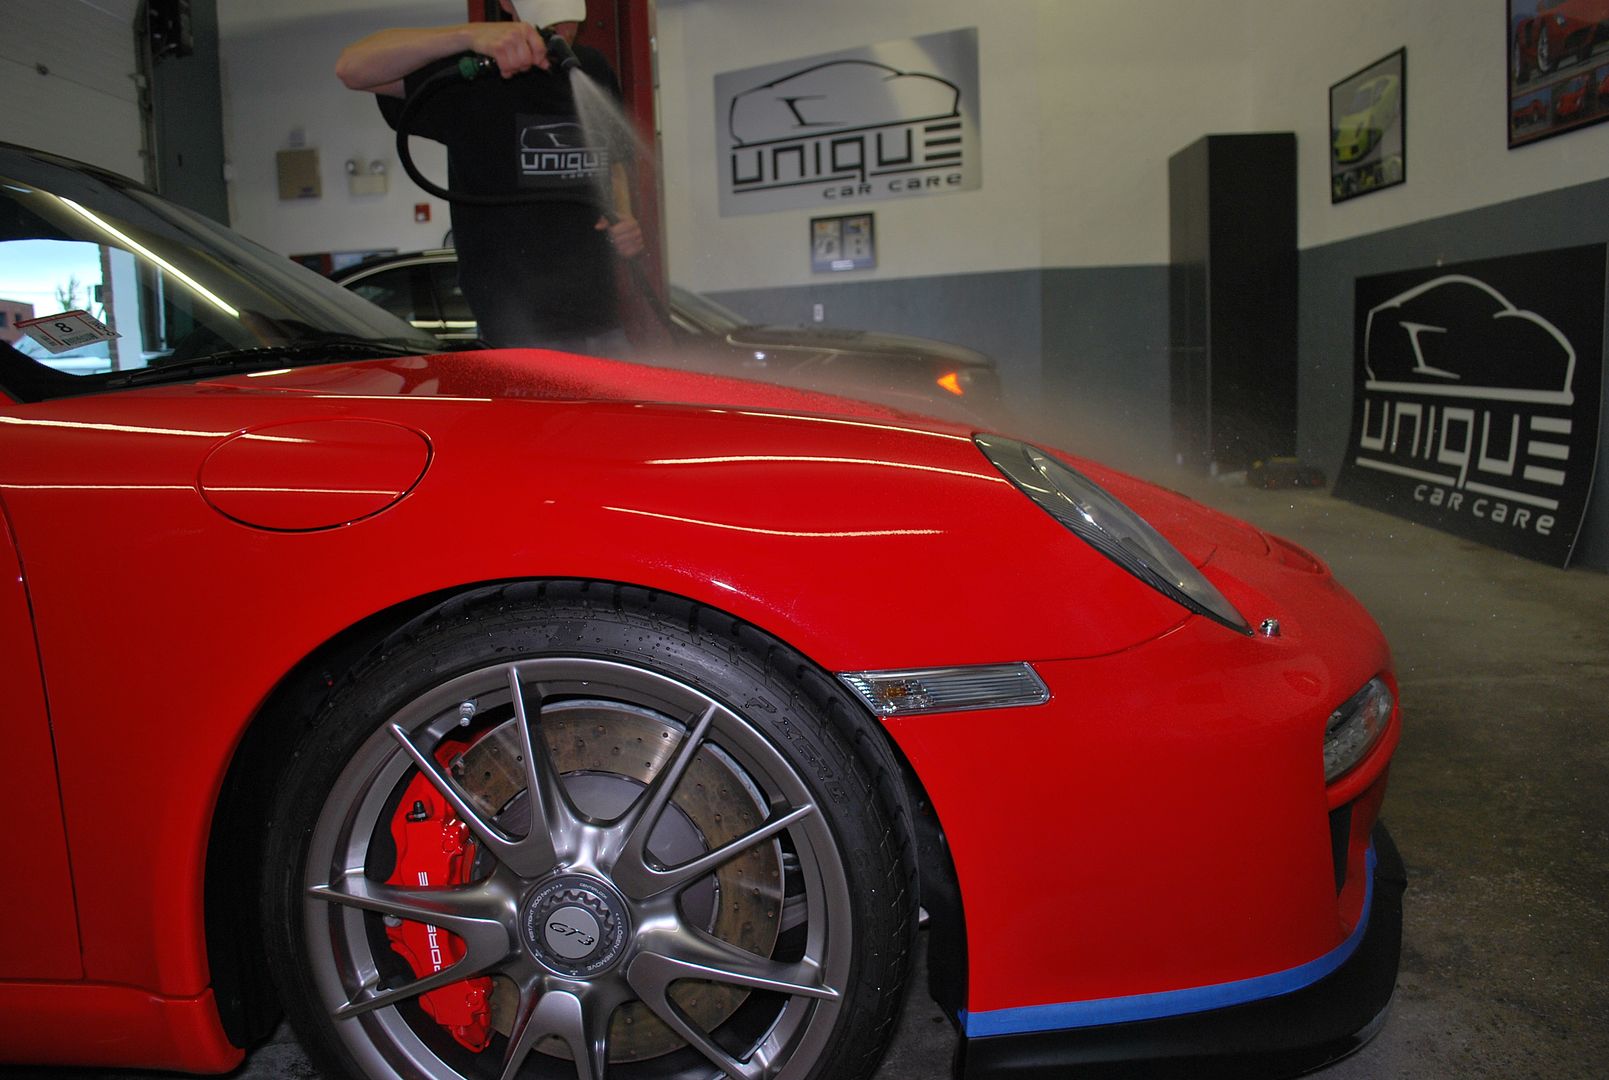
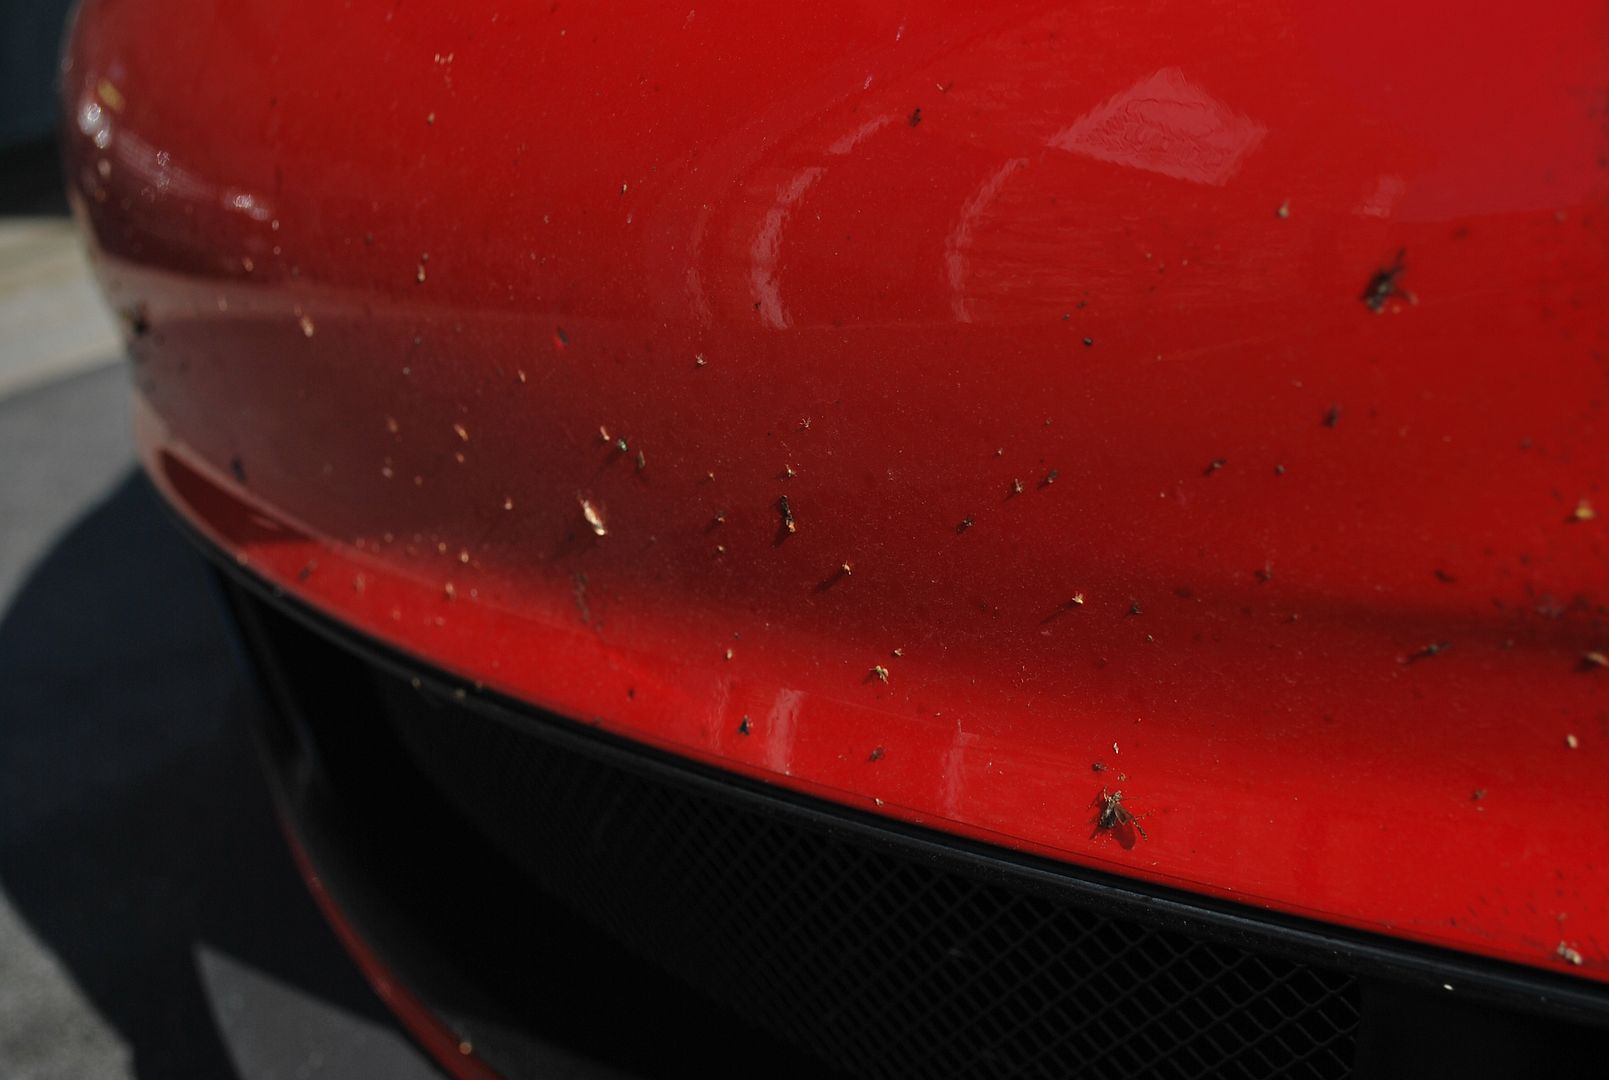
Once I completed the steps above, I gave the exterior a thorough rinse, paying special attention to all of the cracks & crevices where sand and dirt usually accumulate.
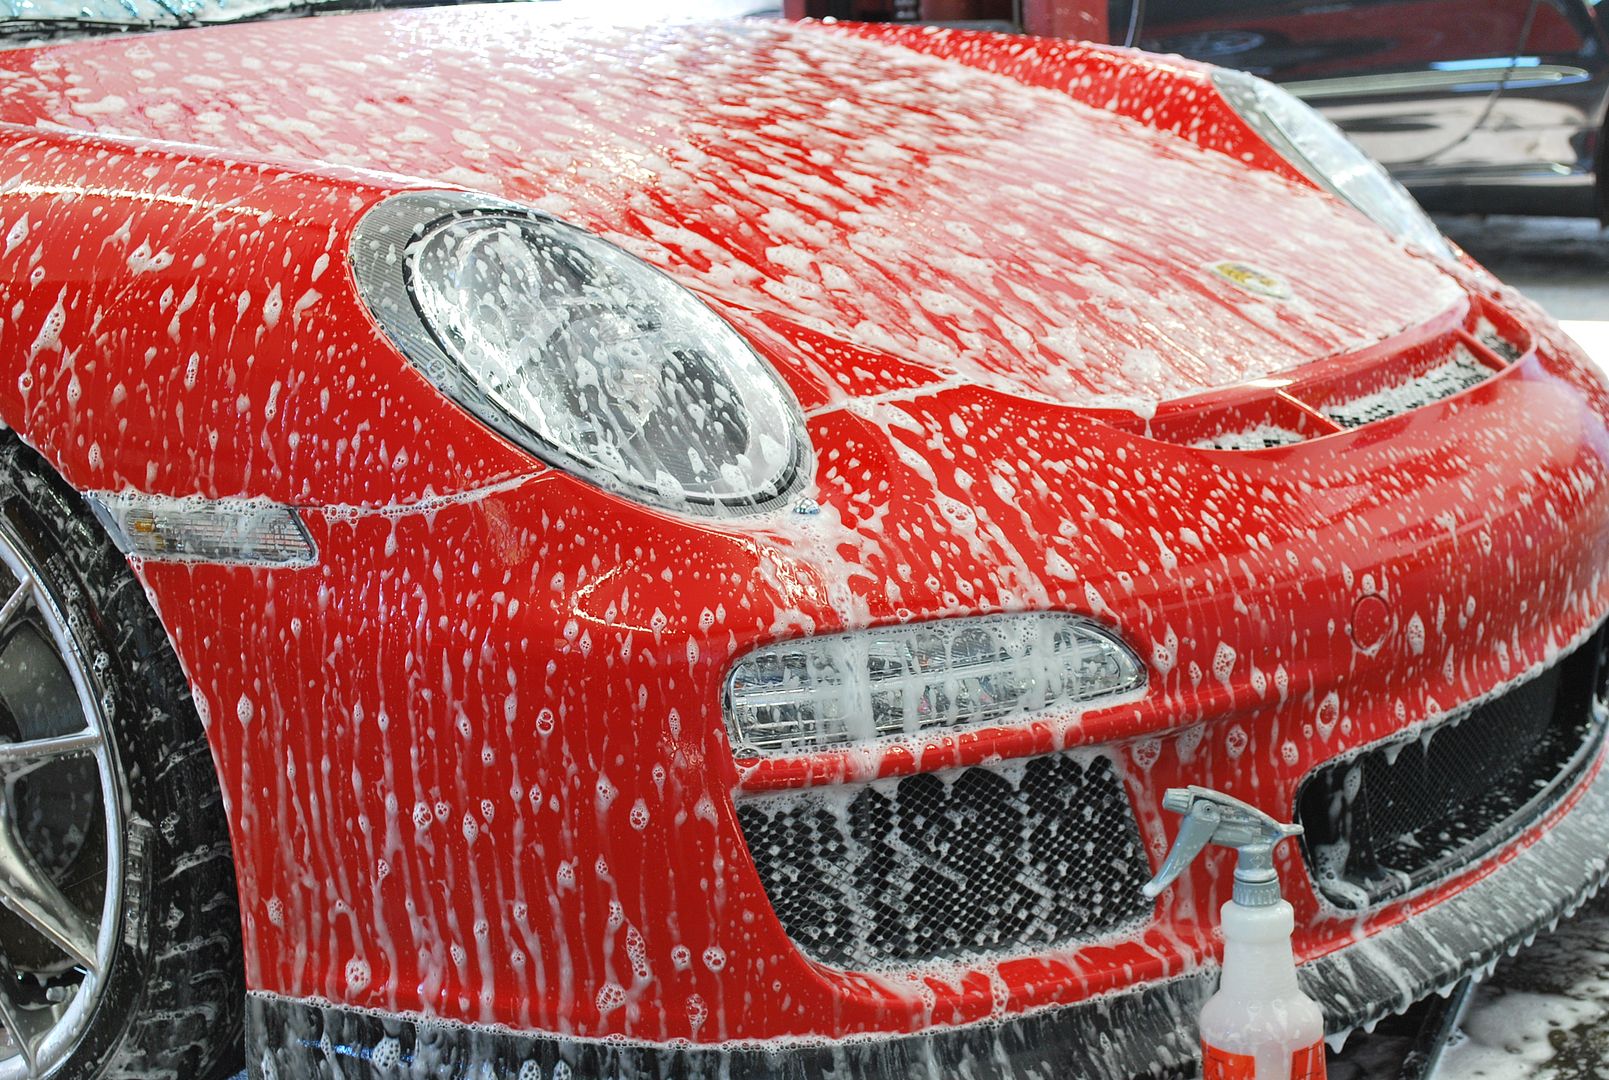
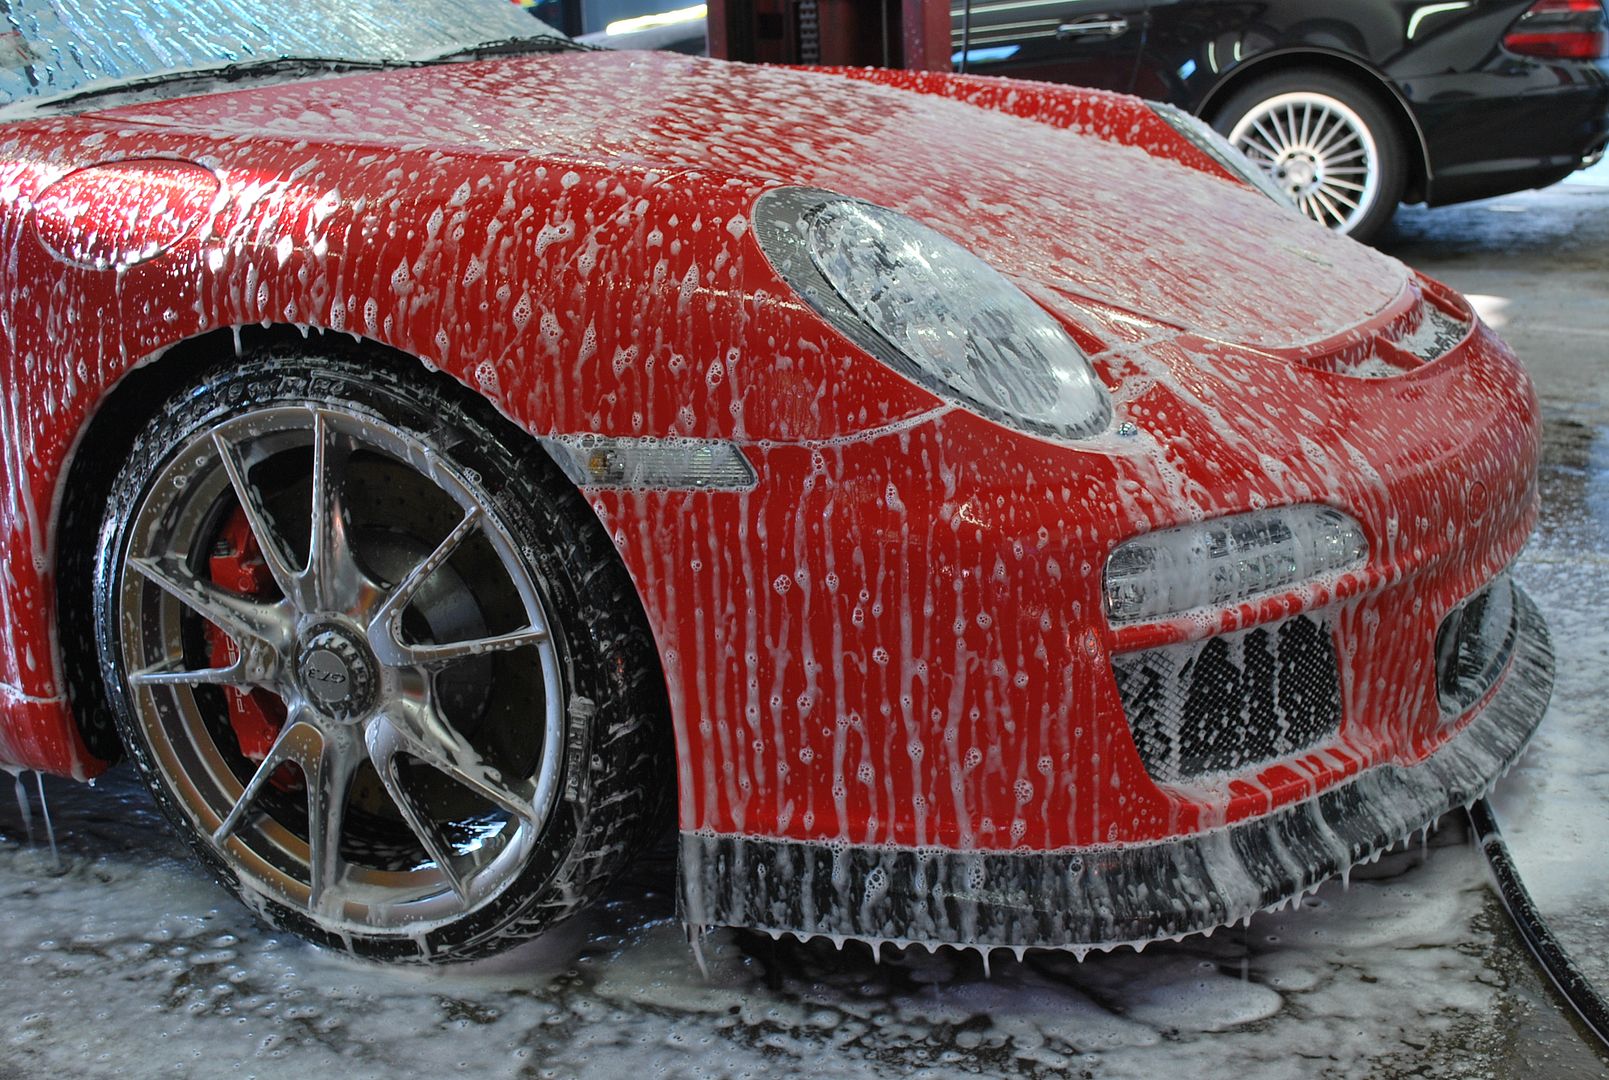
Once the vehicle was rinsed free of all loose dirt and contaminants, I soaked the car in foam using a Gilmour Foammaster II foam gun. I mixed a bit of degreaser in with the soap to help strip away any protection that may have been present.
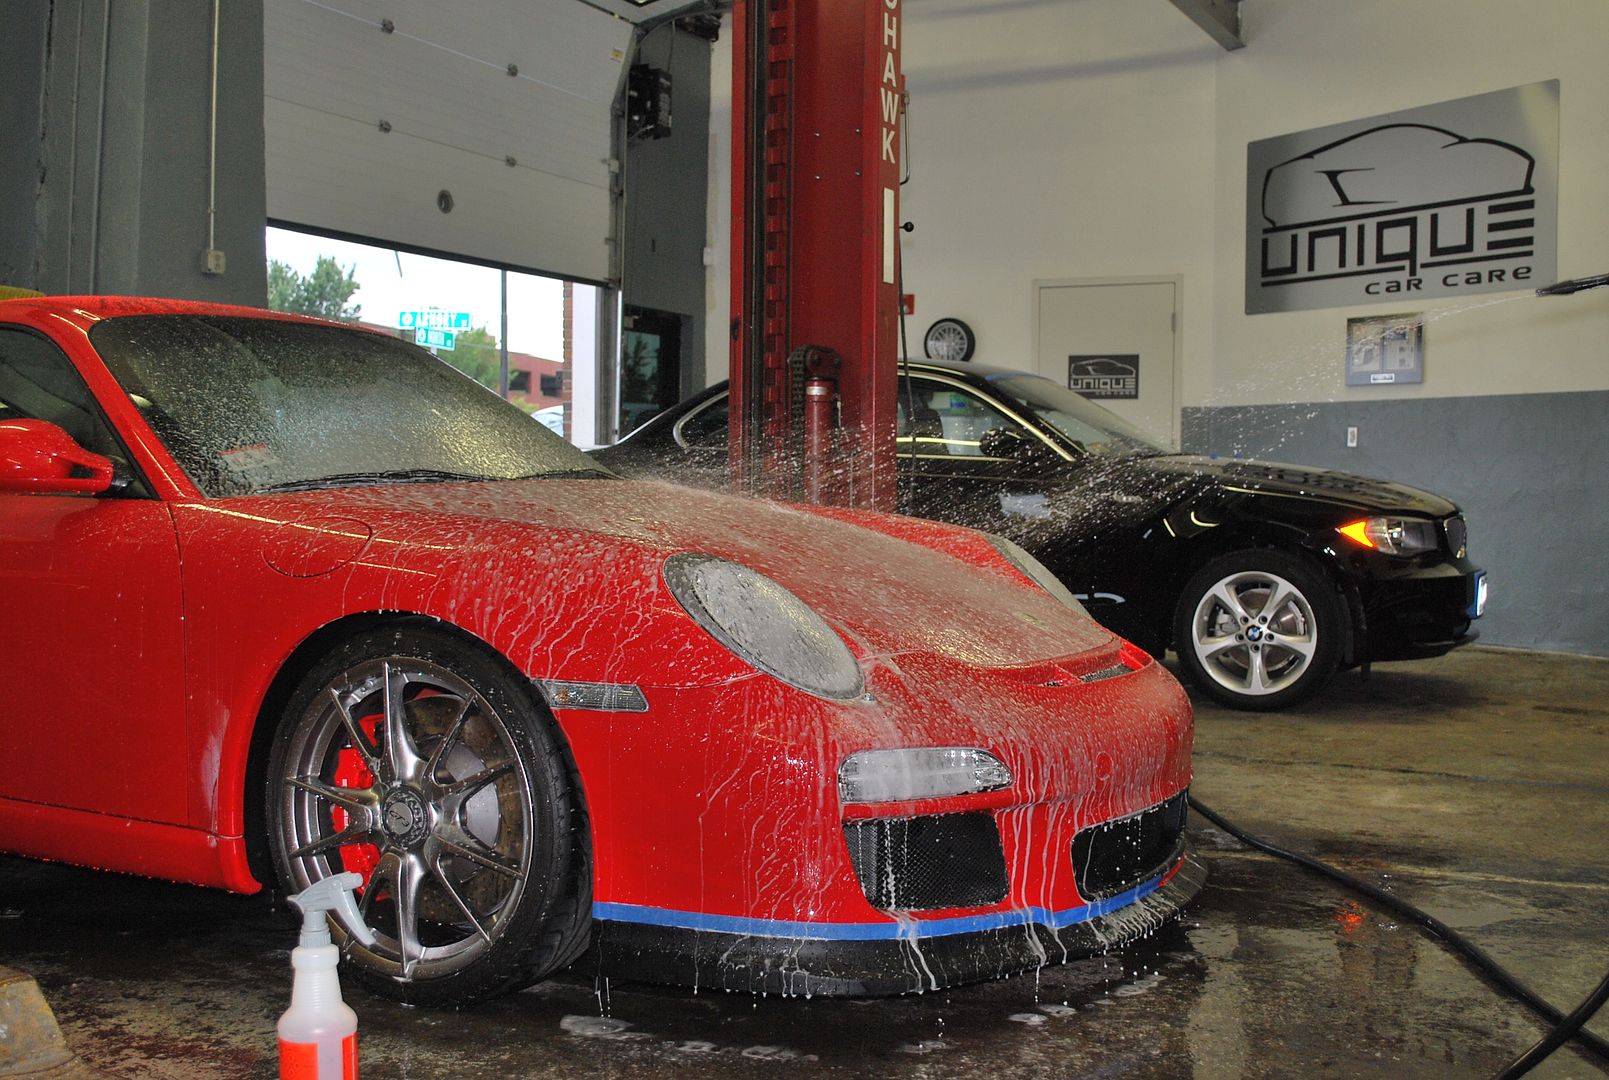
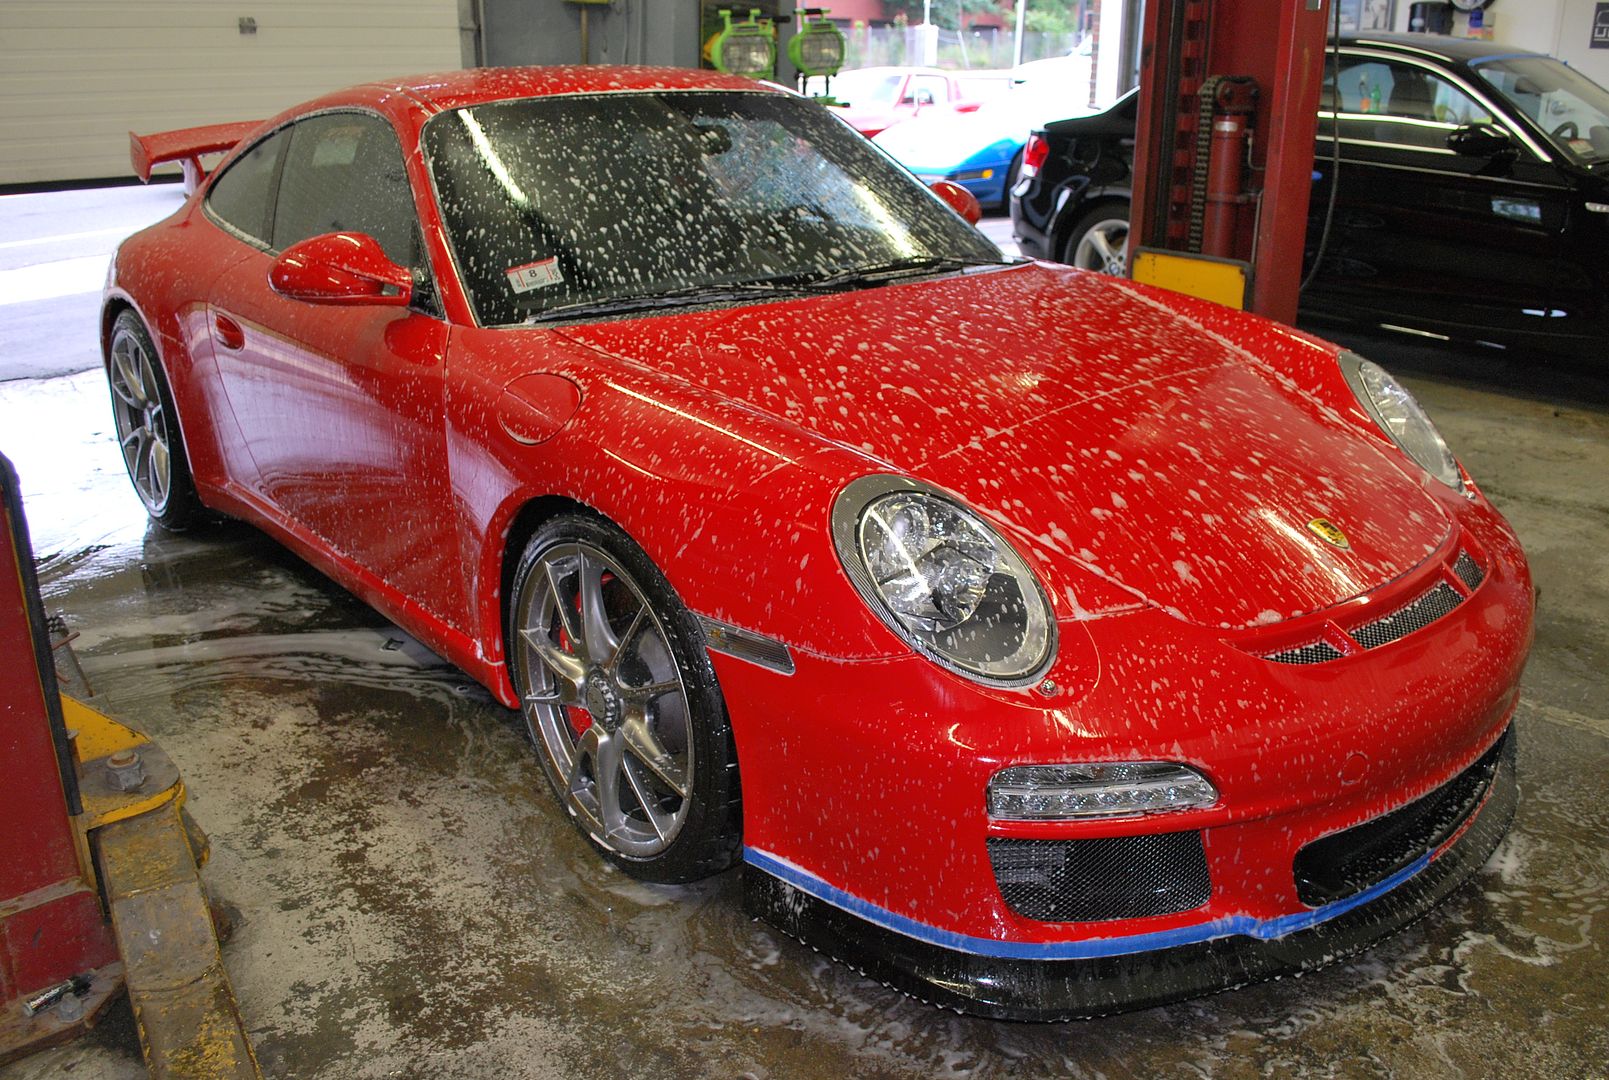
By allowing the foam to dwell on the surface for several minutes, it helps loosen any grime that is on the surface and reduce the chance of marring the paint when performing the wash. After allowing the foam to dwell for several minutes, the exterior was rinsed for a second time with lots of pressure to remove as much contamination as possible.
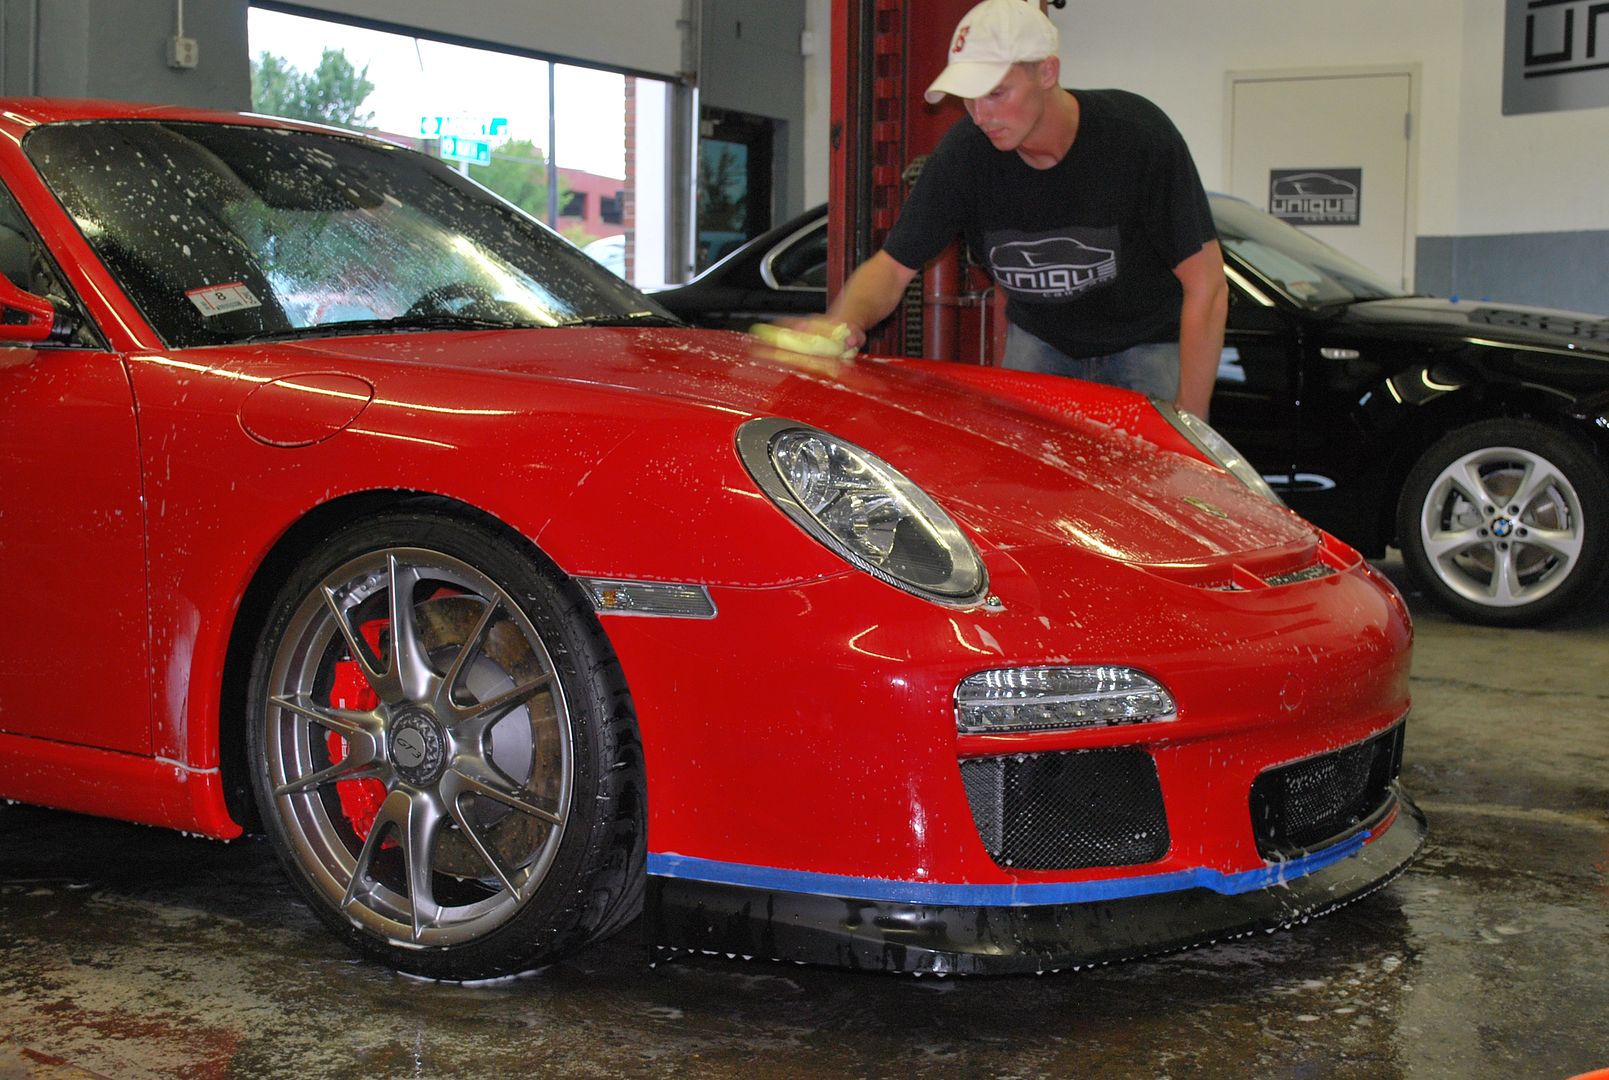
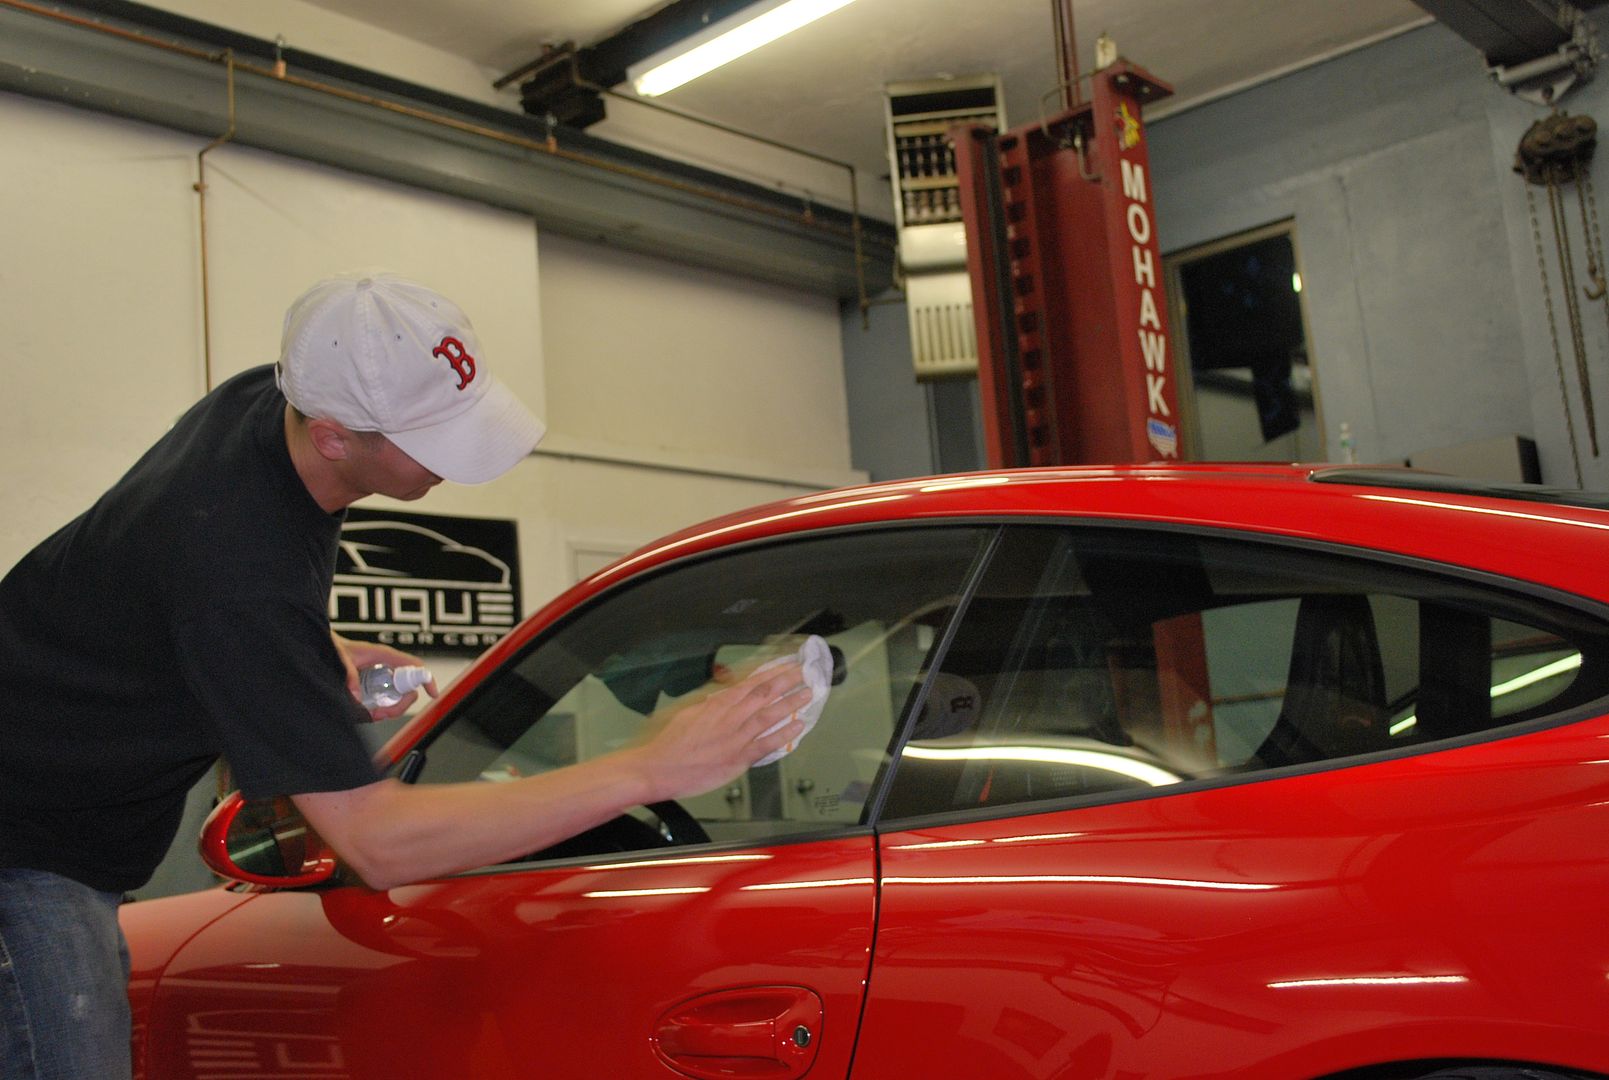
Next, the exterior received a hand wash to prep the paint for the clear-bra install the following day.
After the wash was complete, all surfaces were dried and all door, hood & trunk jambs were wiped clean with a microfiber towel. In addition, all cracks & crevices were blow with compressed air to remove any excess water that was hiding…
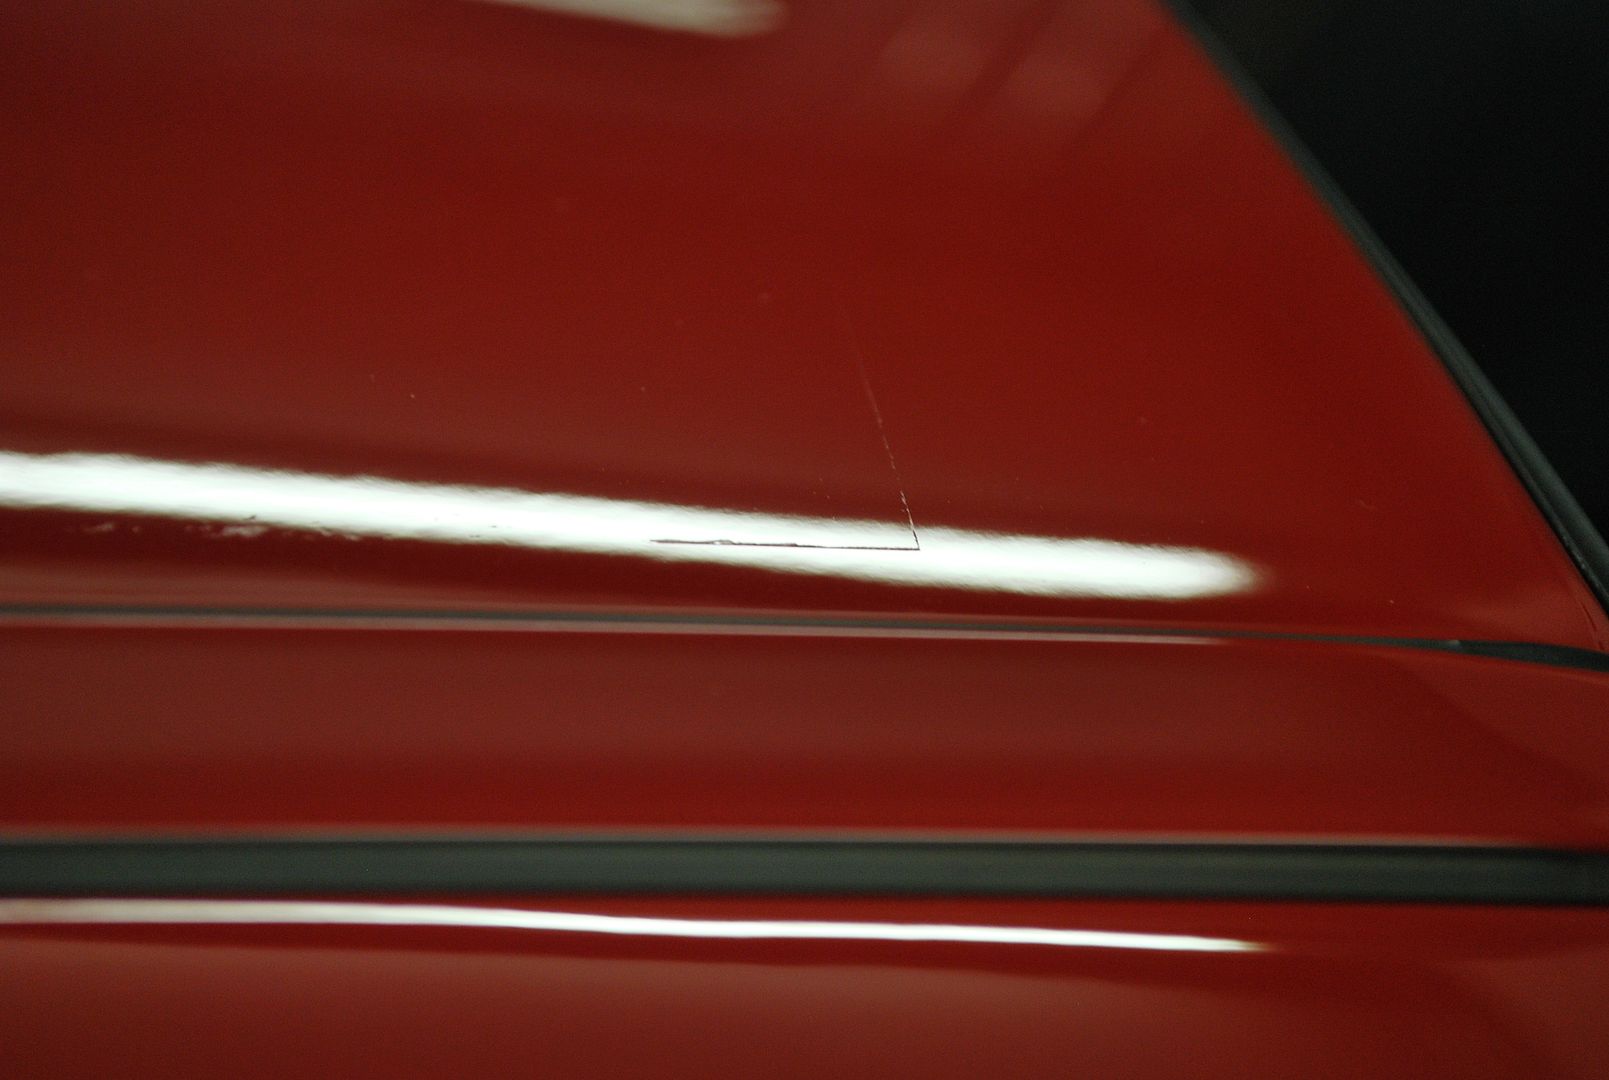
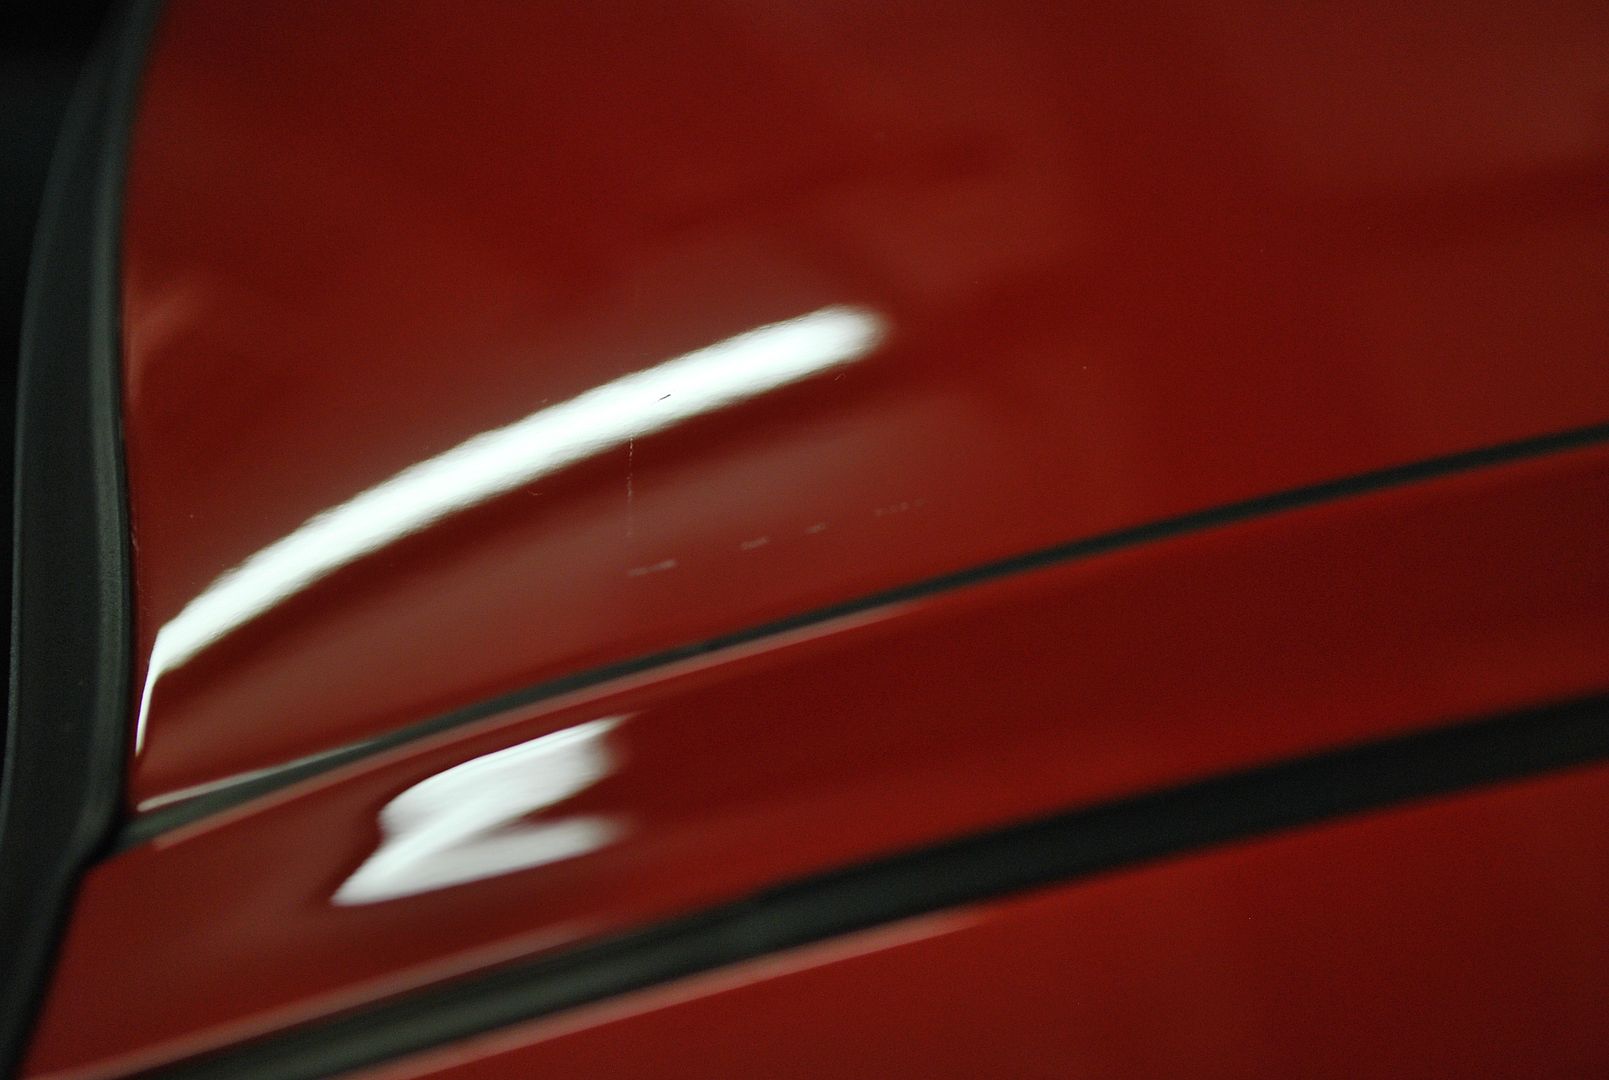
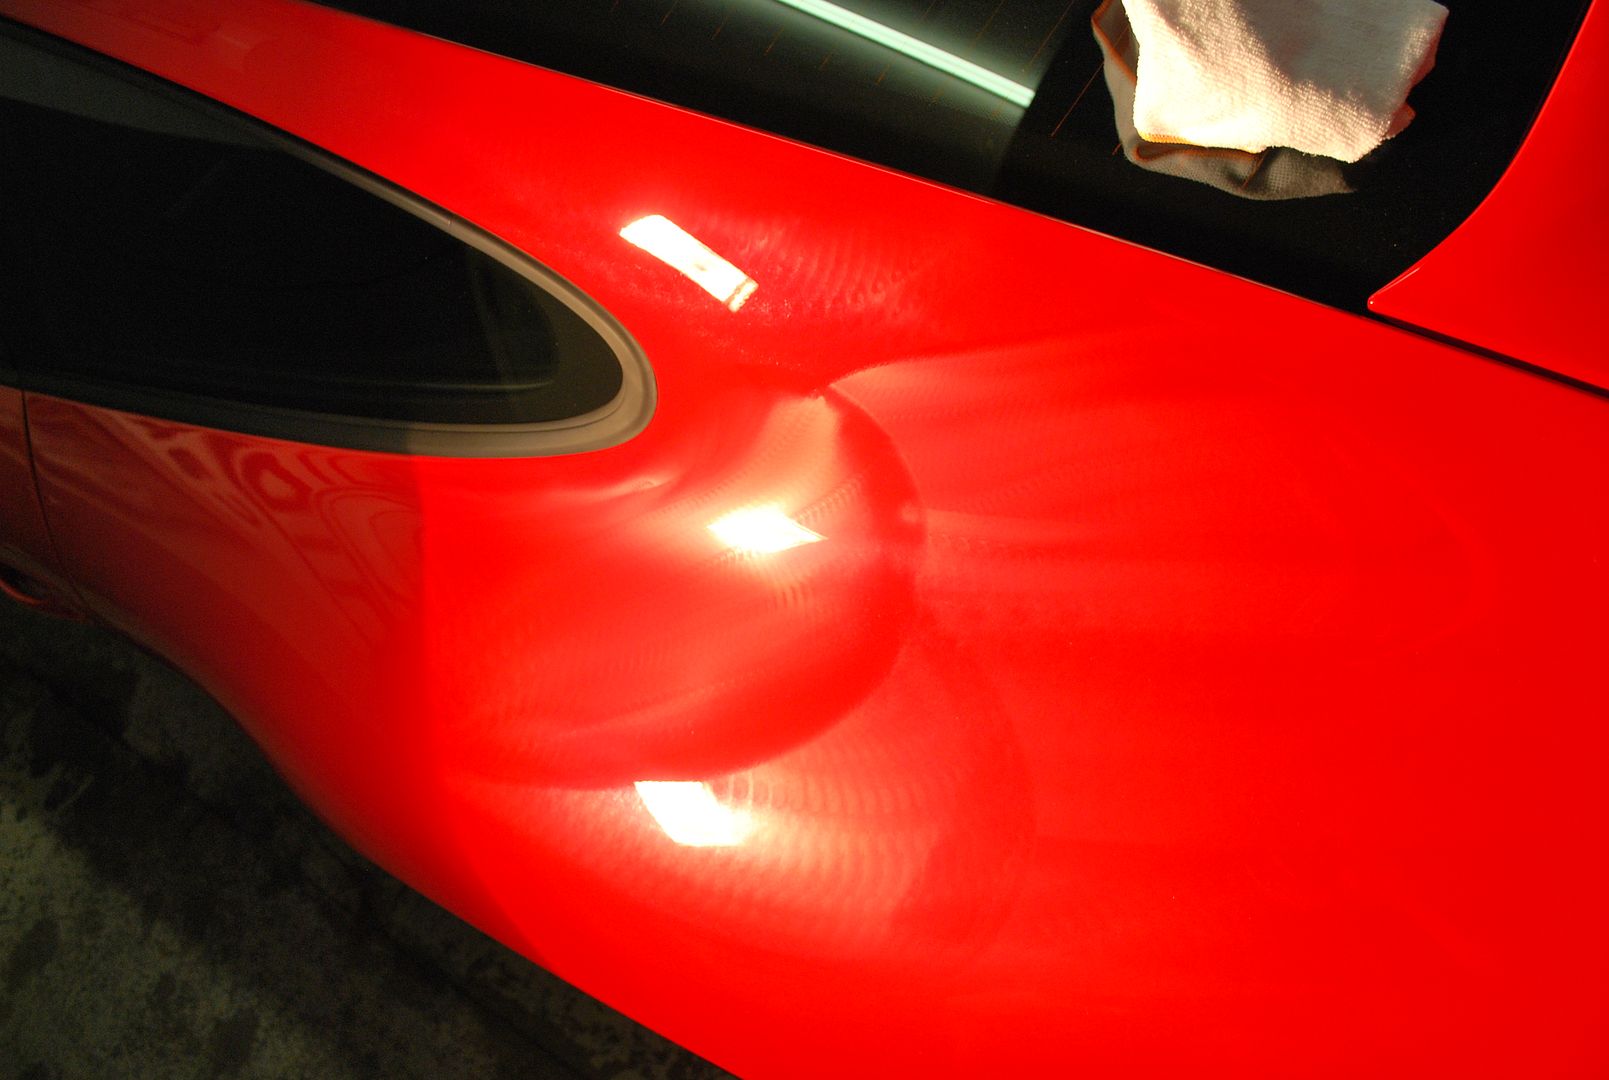
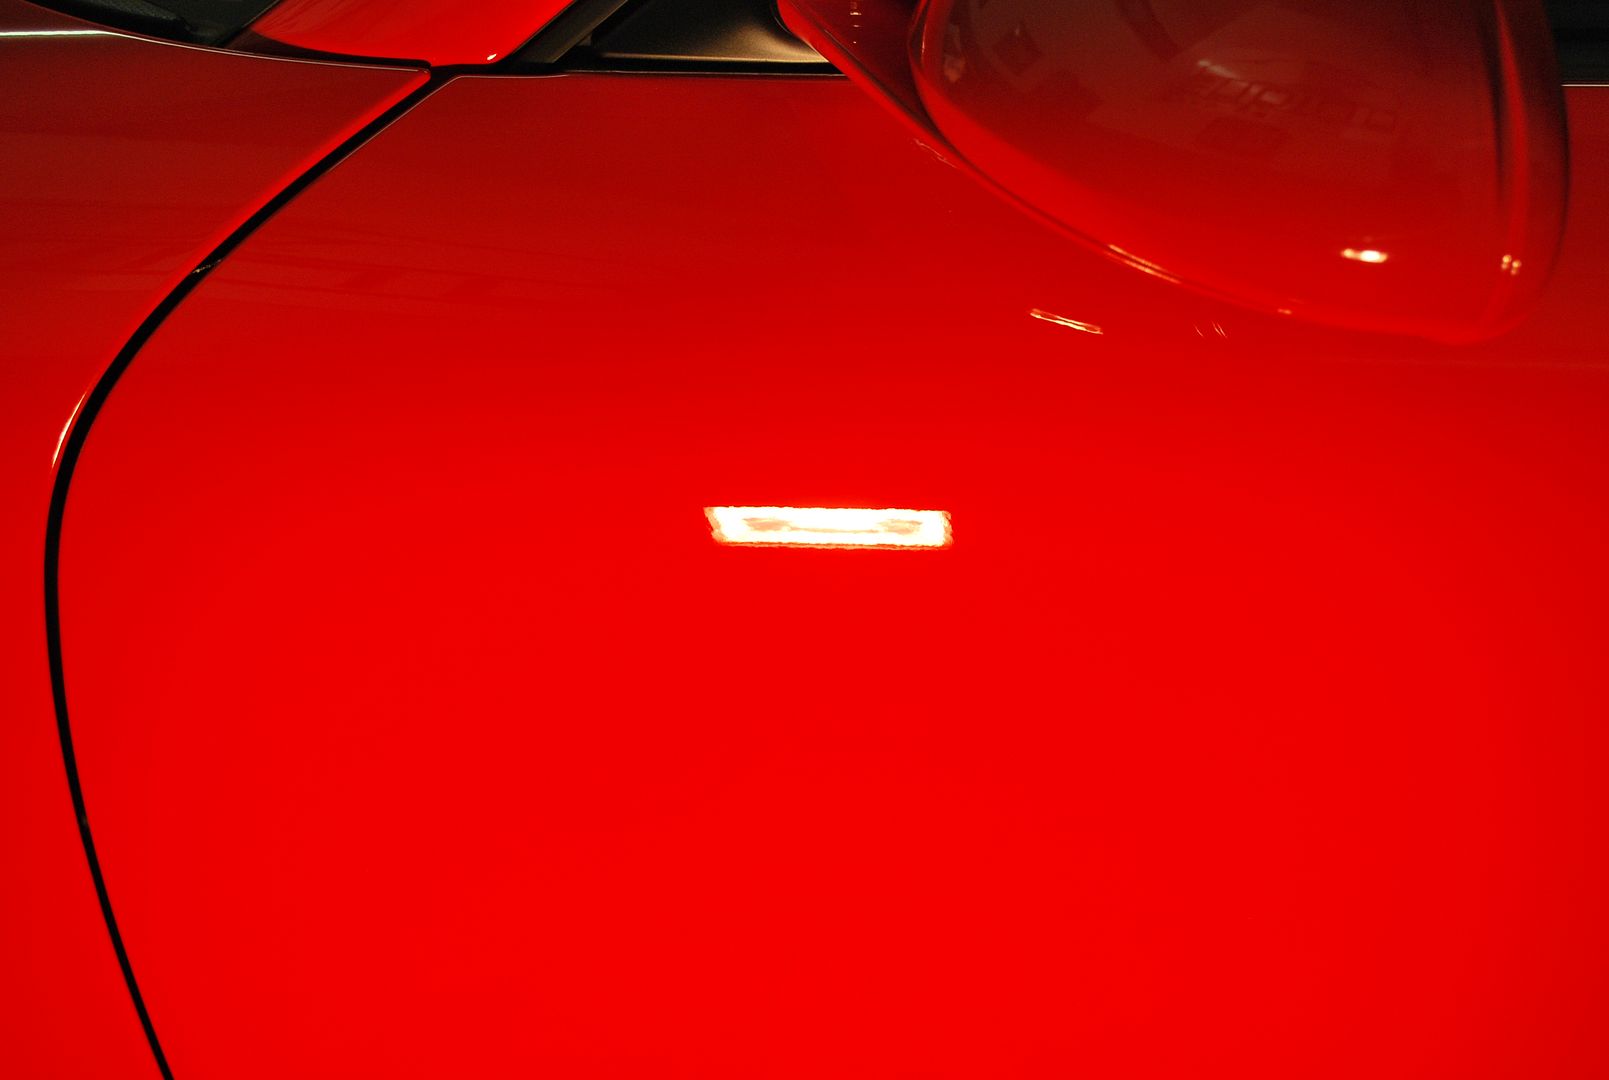
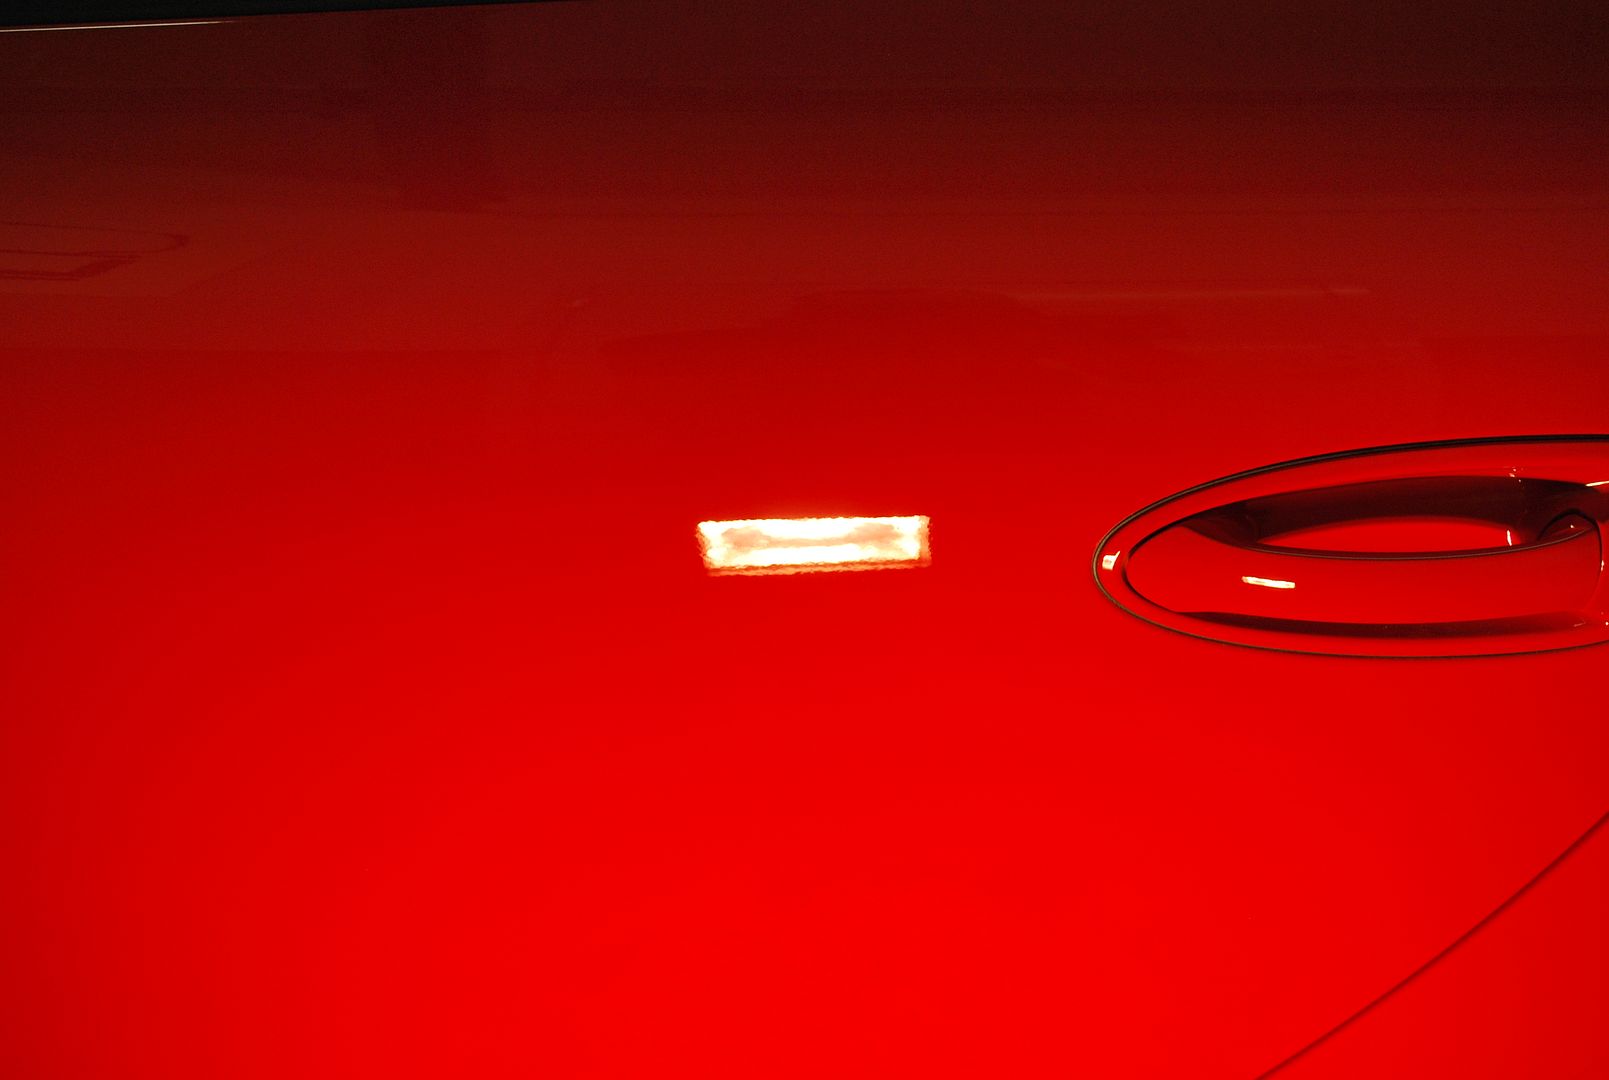
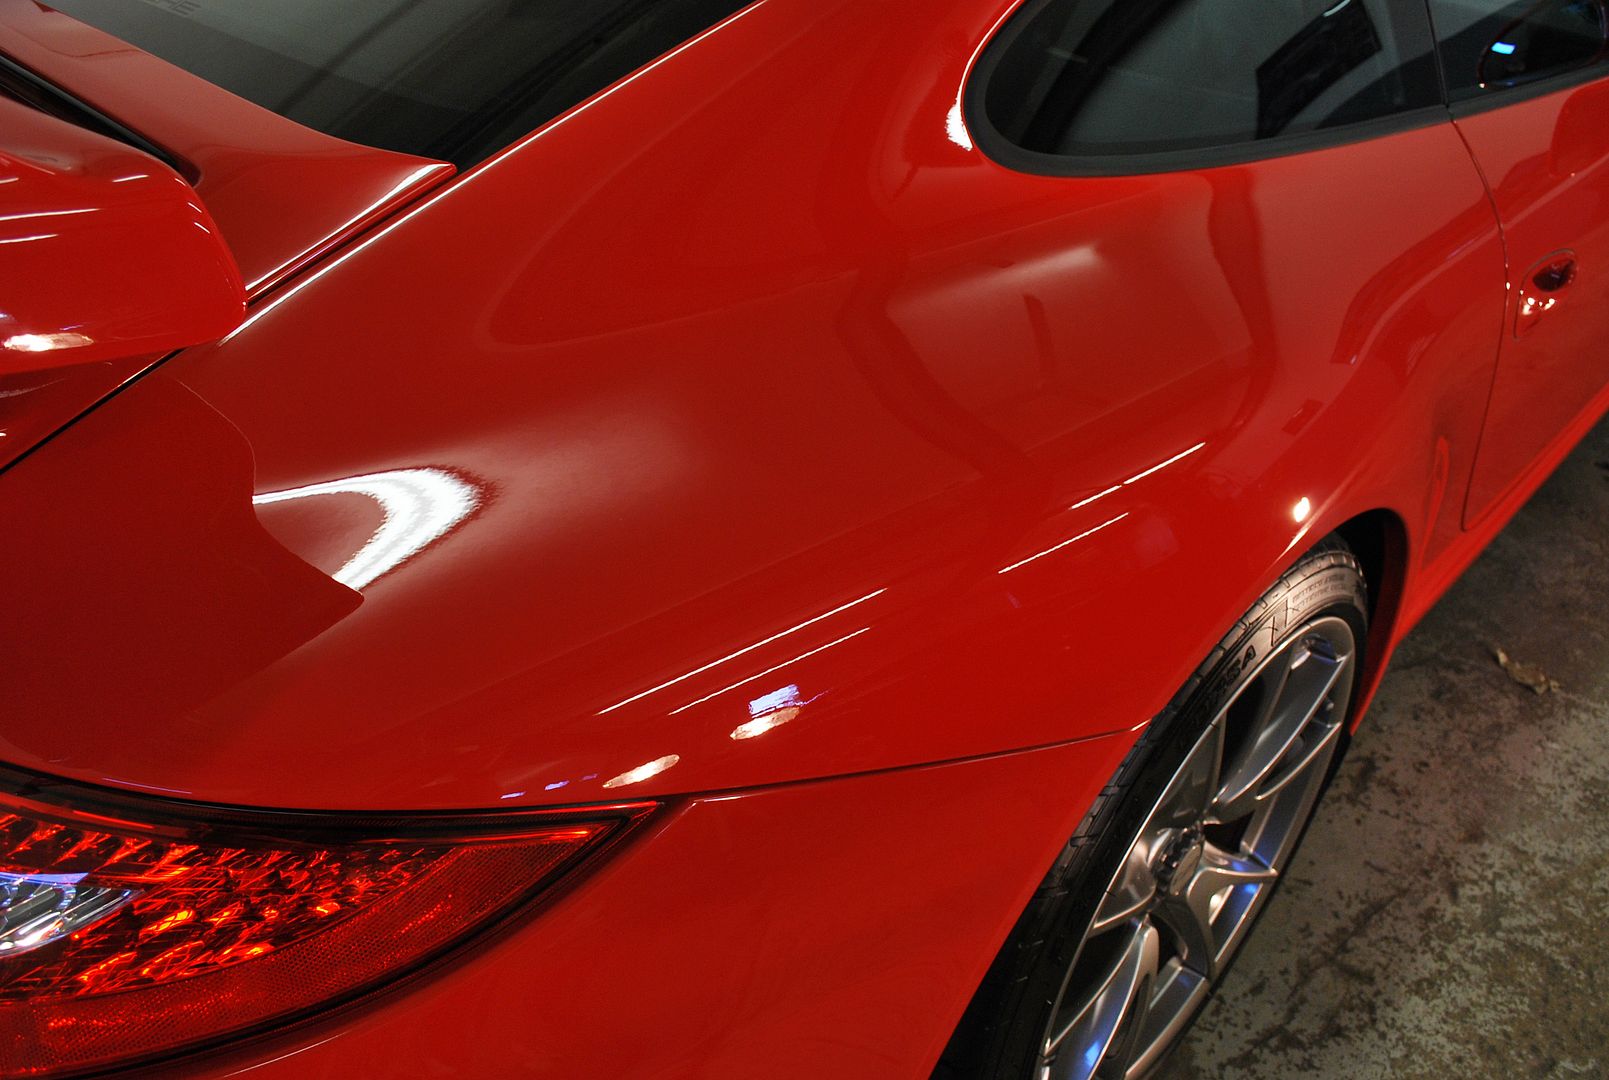
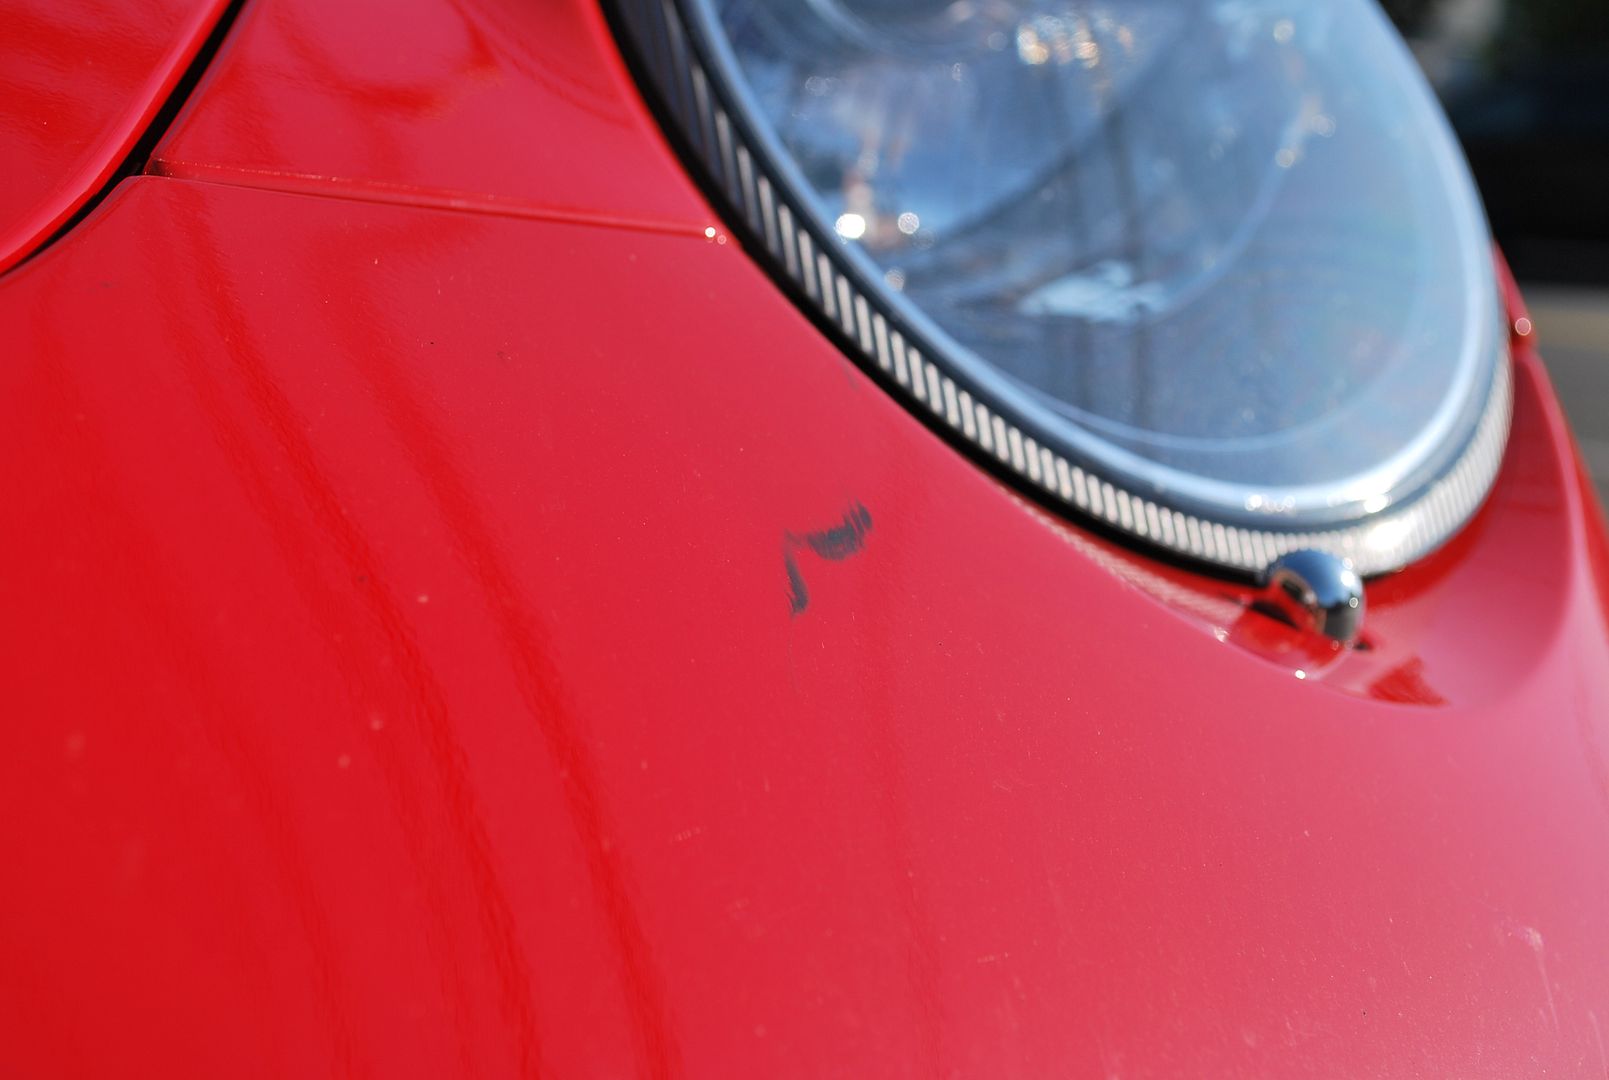
Now that the paint was clean, I carefully inspected the paint to make sure it was absolutely perfect before the clear-bra install. Although this car was brand new, I did notice some sanding tracer marks on the front bumper, which were overlooked by the factory.
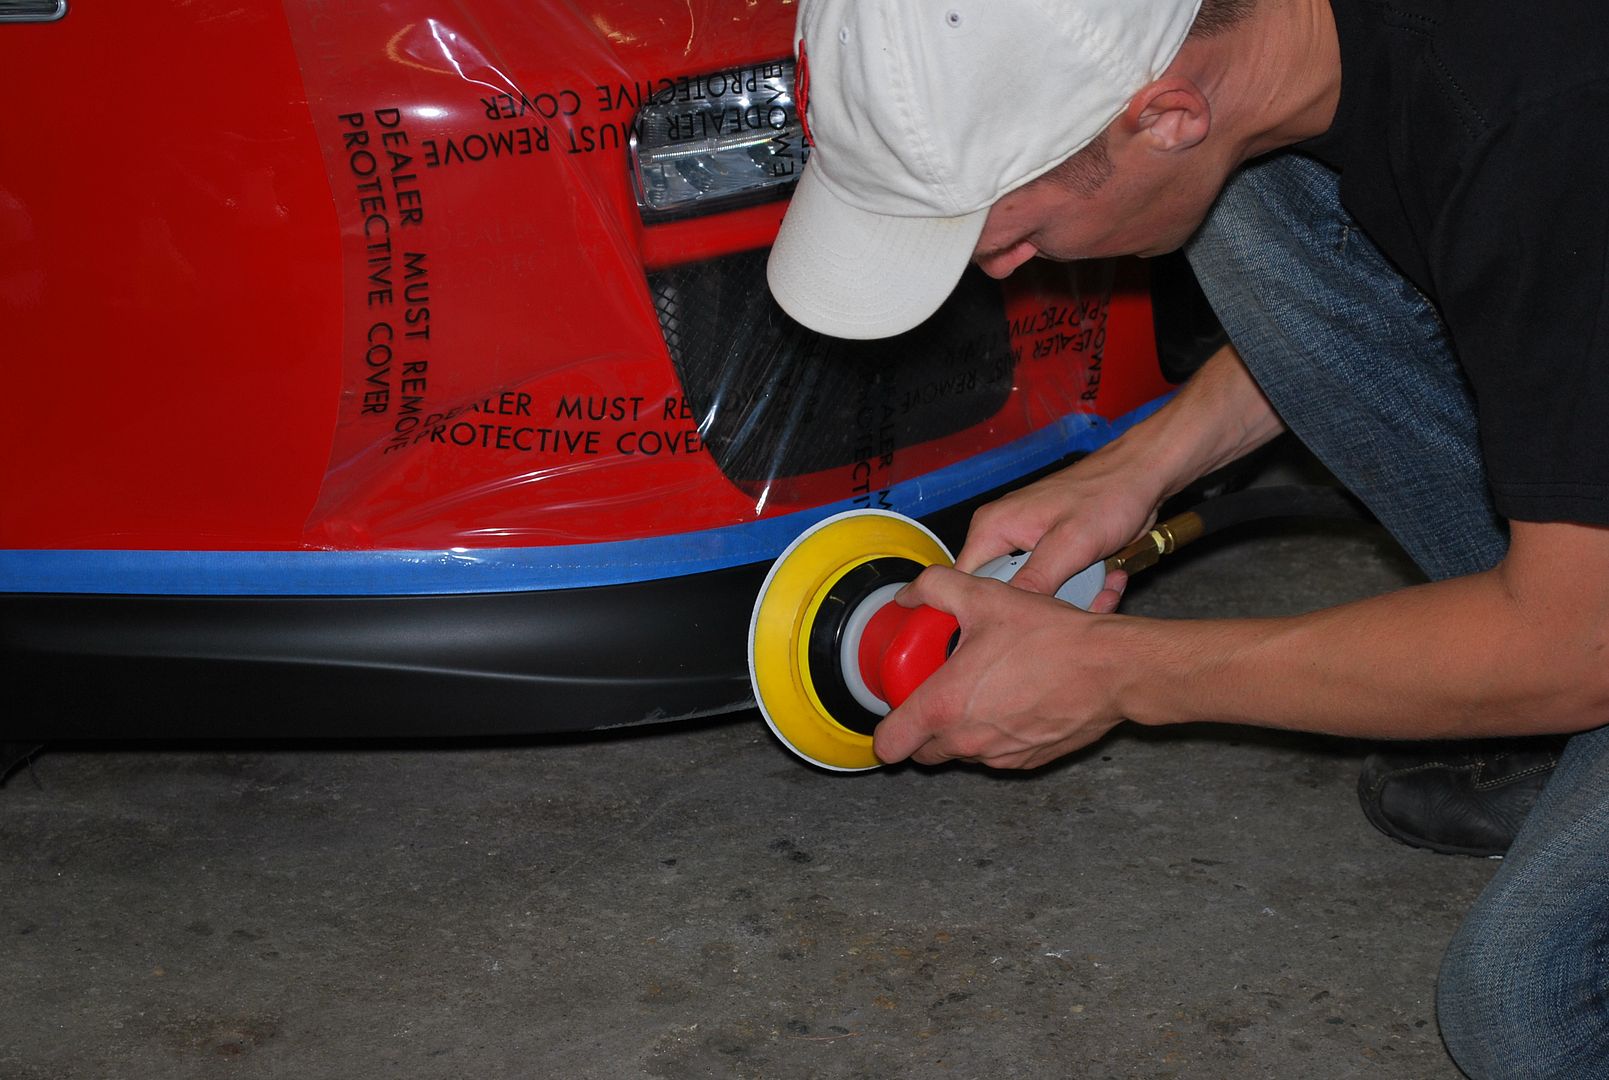
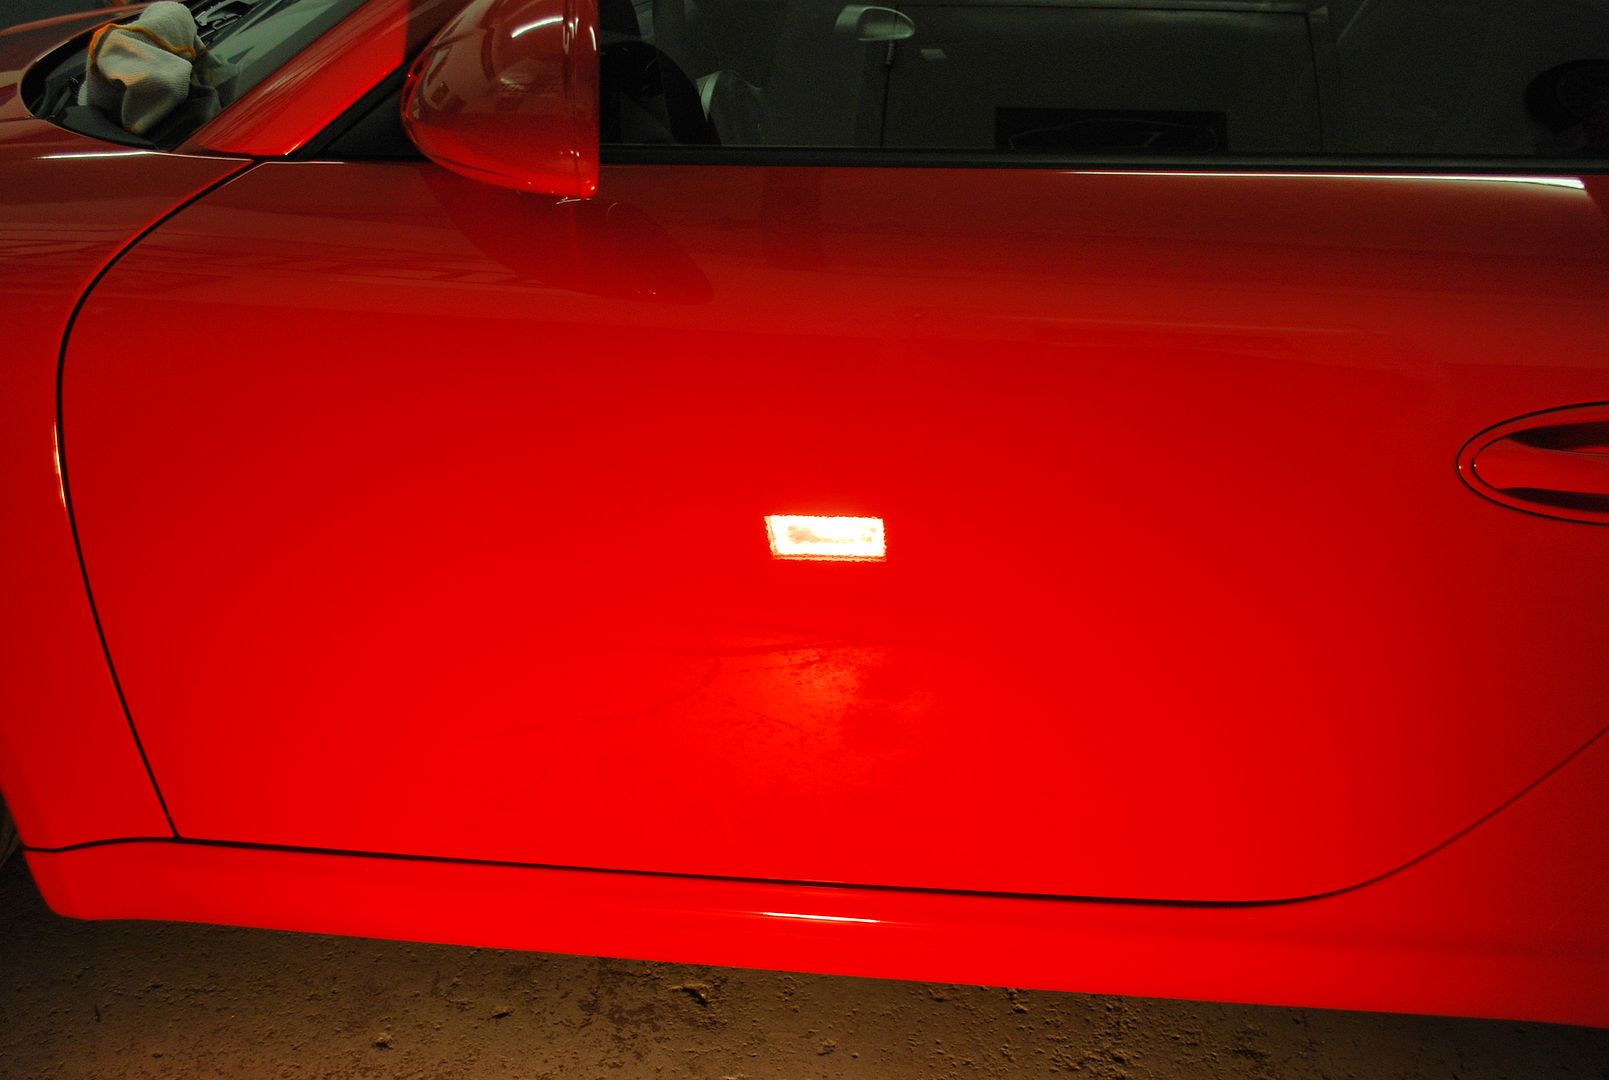
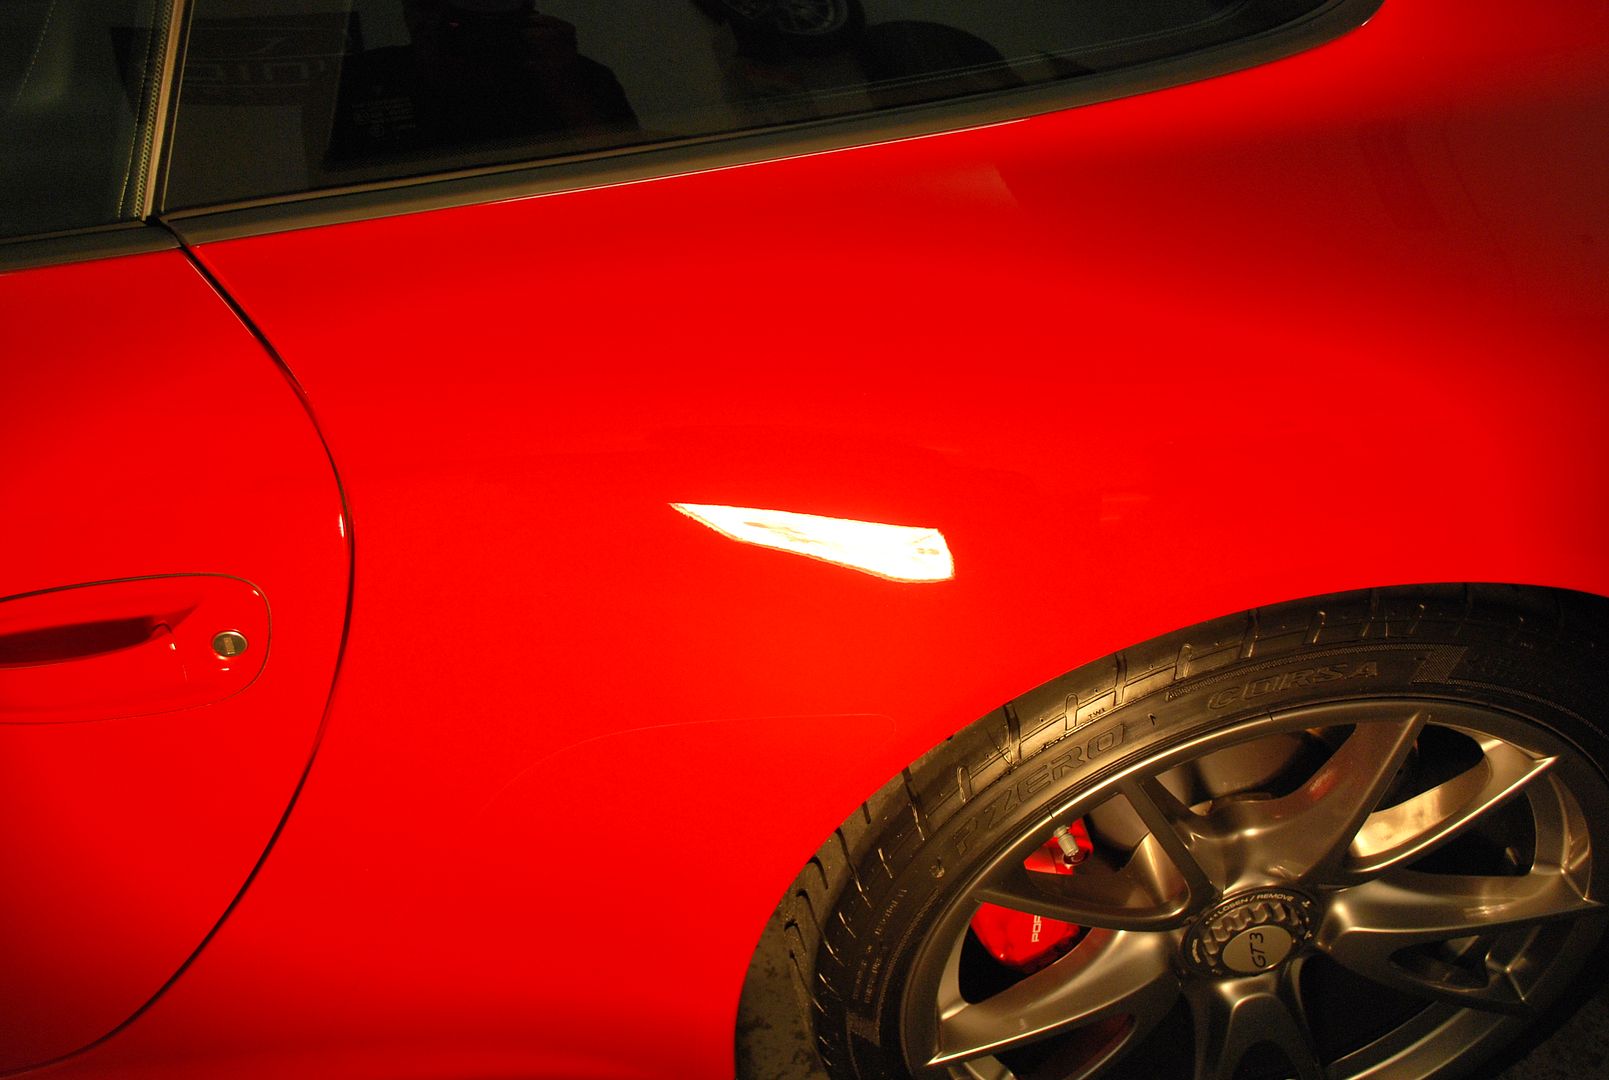
I masked off the front spoiler with blue painters tape and polished all areas being covered with the clear film using Menzerna PO203S on a white foam LC polishing pad, followed by Menzerna PO85rd using a black foam LC finishing pad. After all polishing was complete, the surface was wiped clean with 91% alcohol to ensure that all carrier oils left from the polish were completely removed. This did a great job clearing up any imperfections and left the surface ready for the clear film install the following morning.
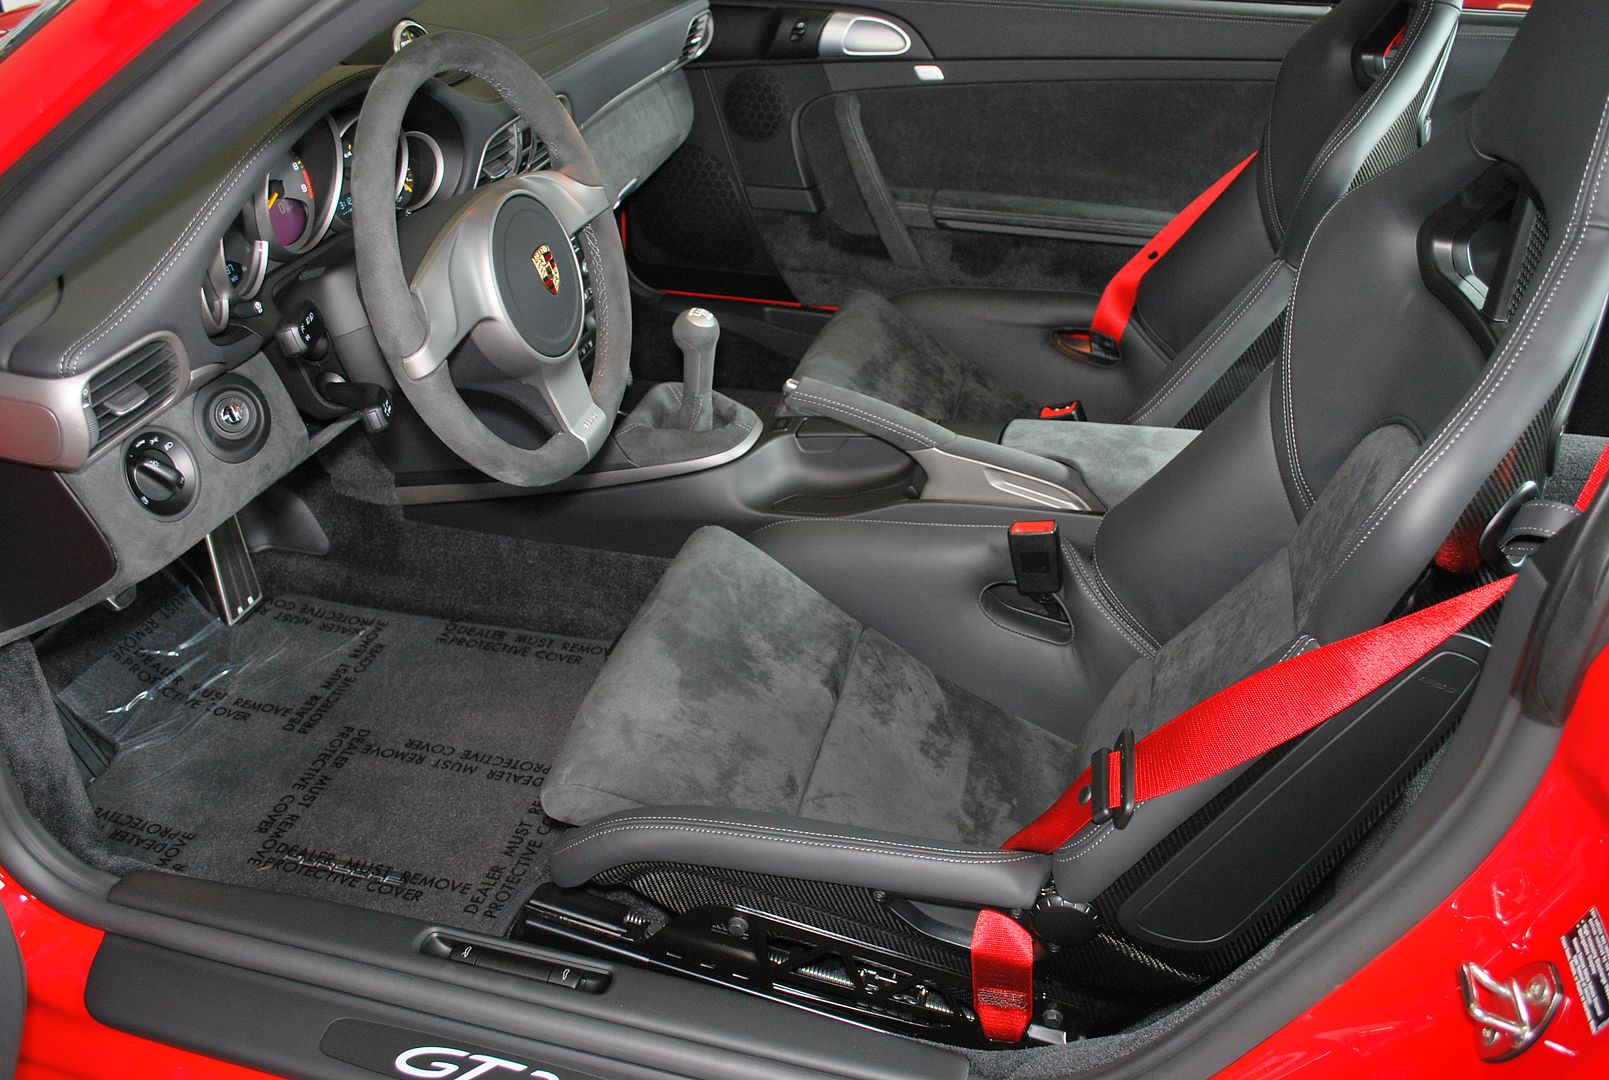
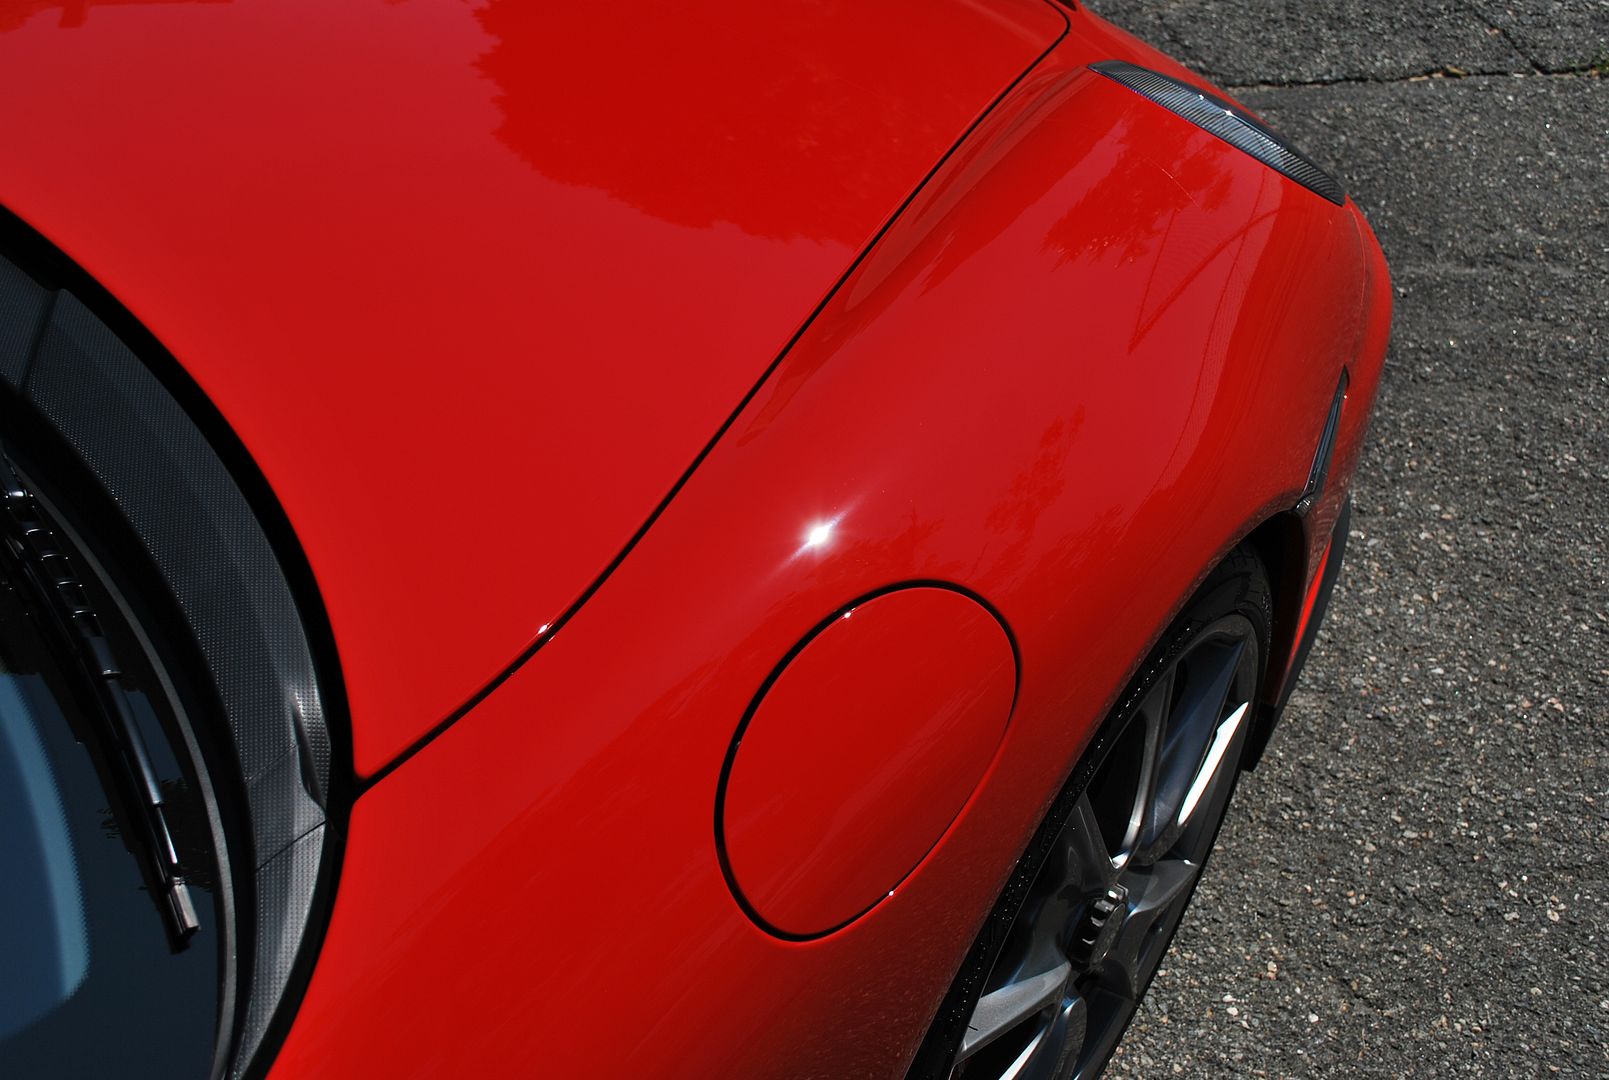
Because the owner planned on using the car the way it’s supposed to be, he opted to have a custom kit installed to the front of the car as well as the bottom rocker panels, behind the front & rear wheels, door jambs and the back of the carbon fiber seats. This is a very smart idea, since the car would be visiting the track often and will protect the super soft Porsche paint from getting chipped up.
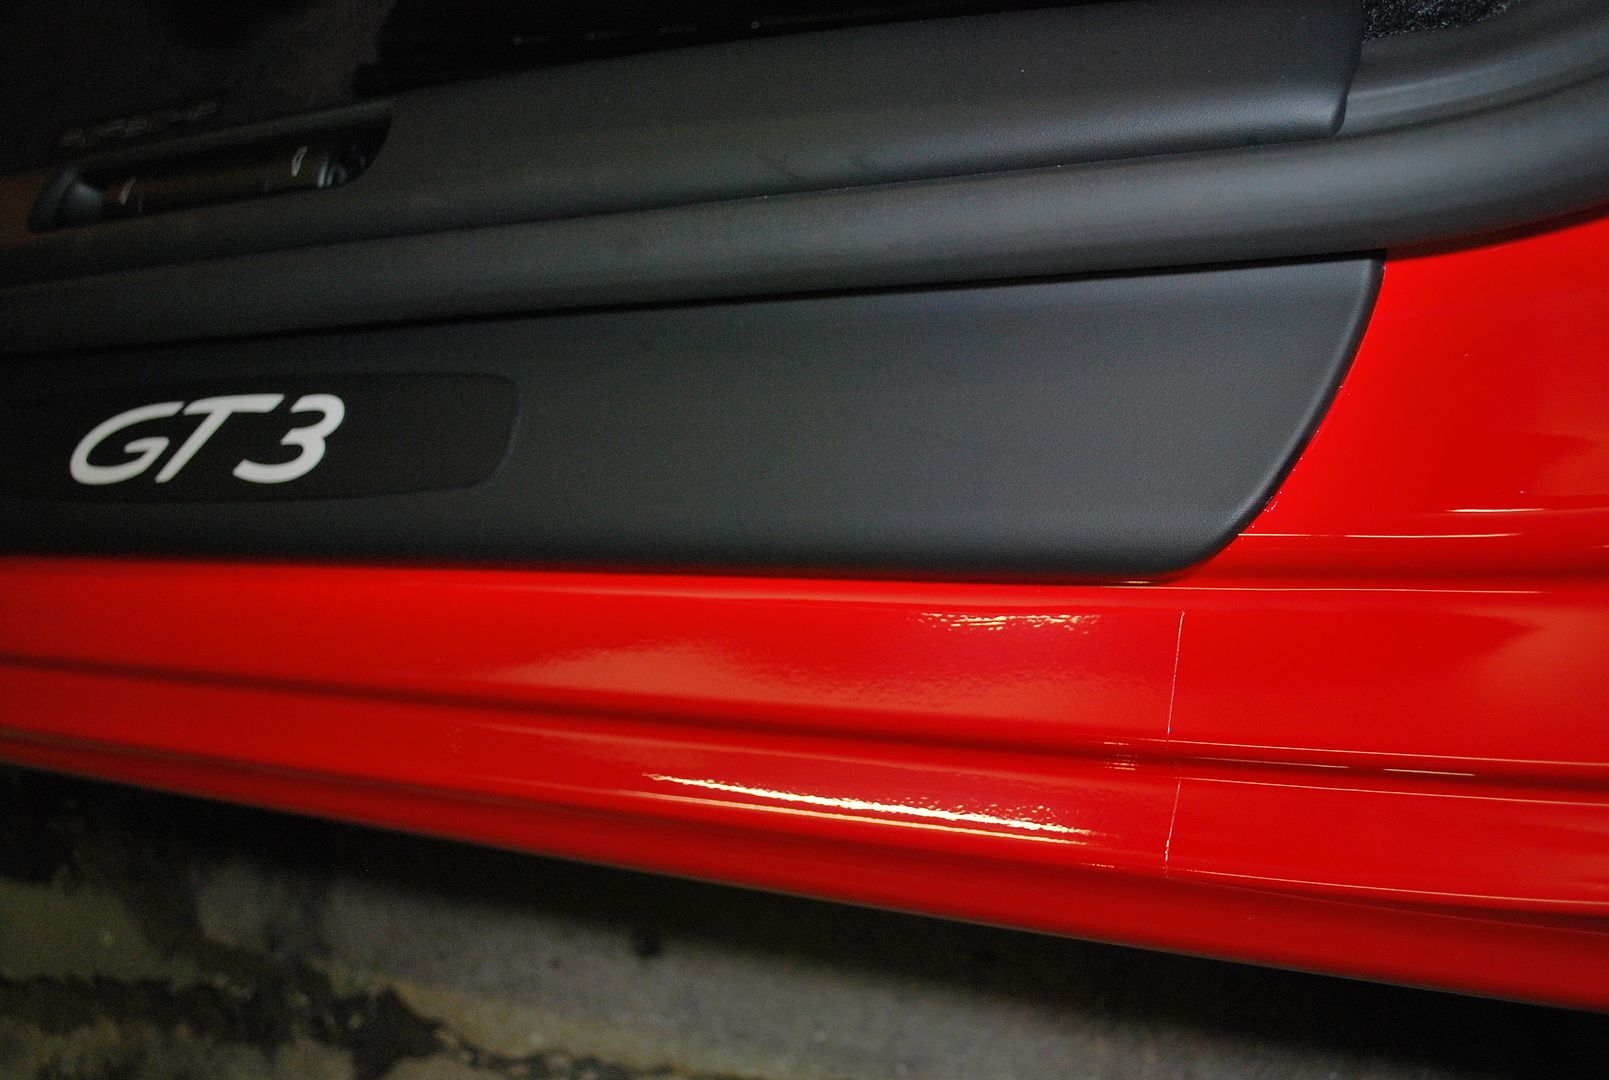
Door jambs covered in film…
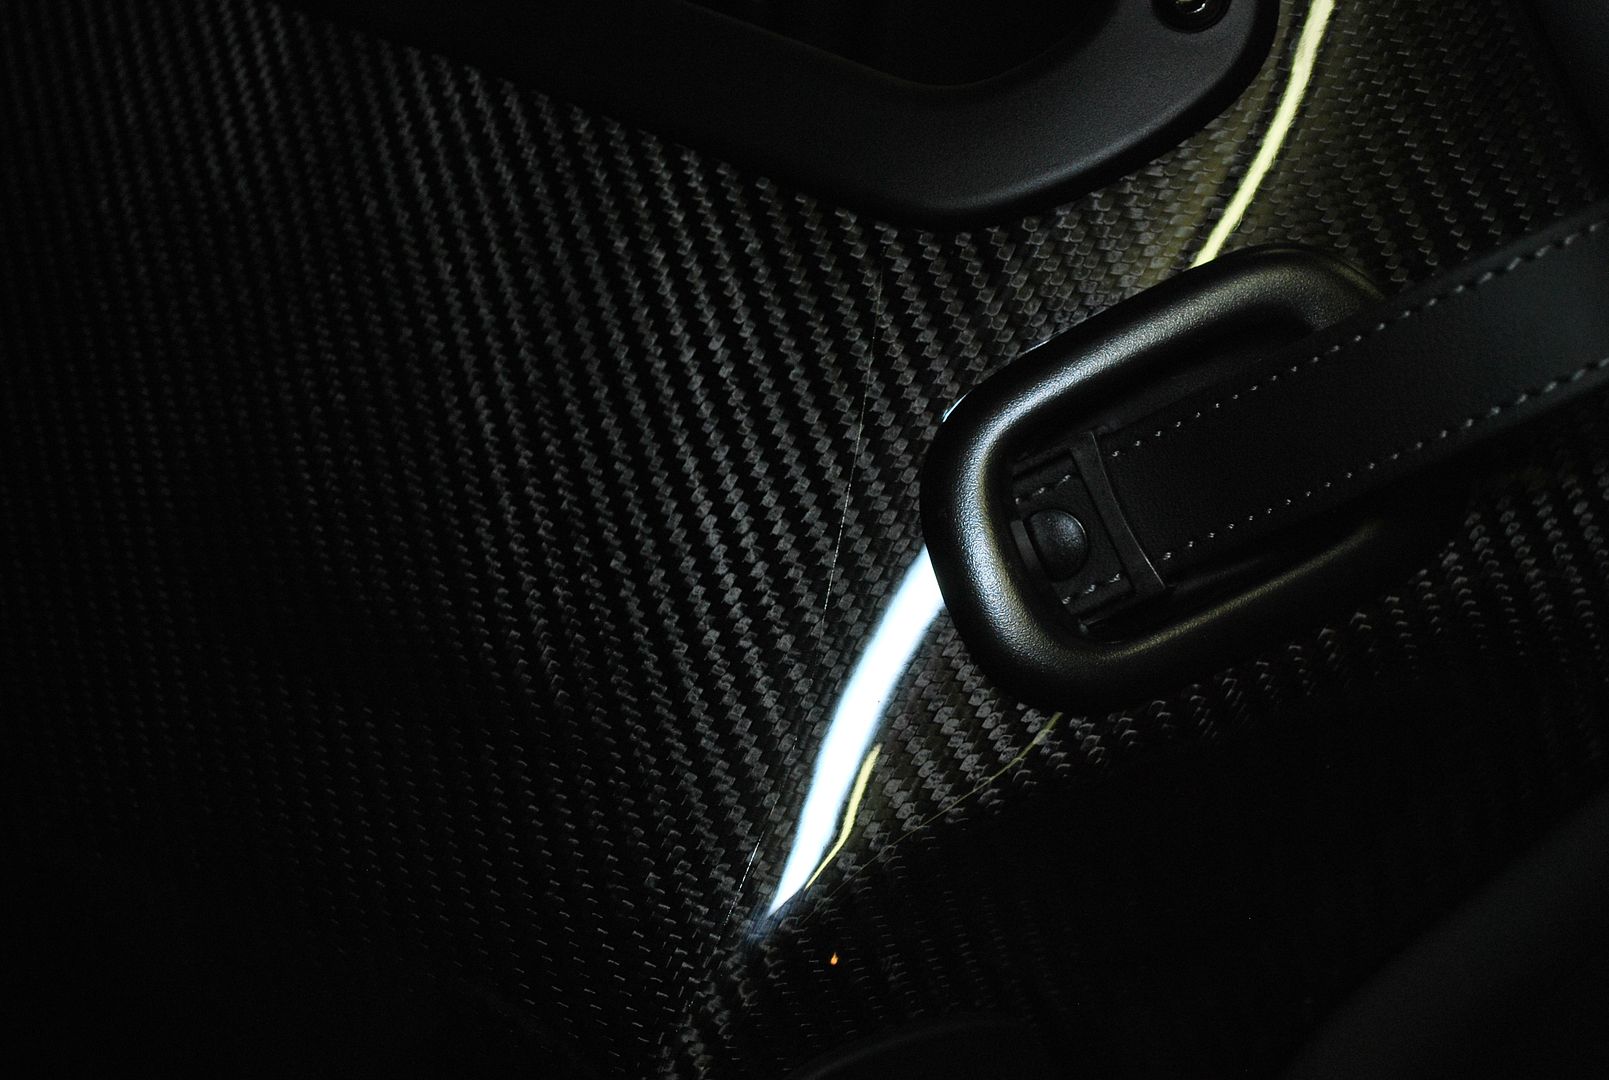
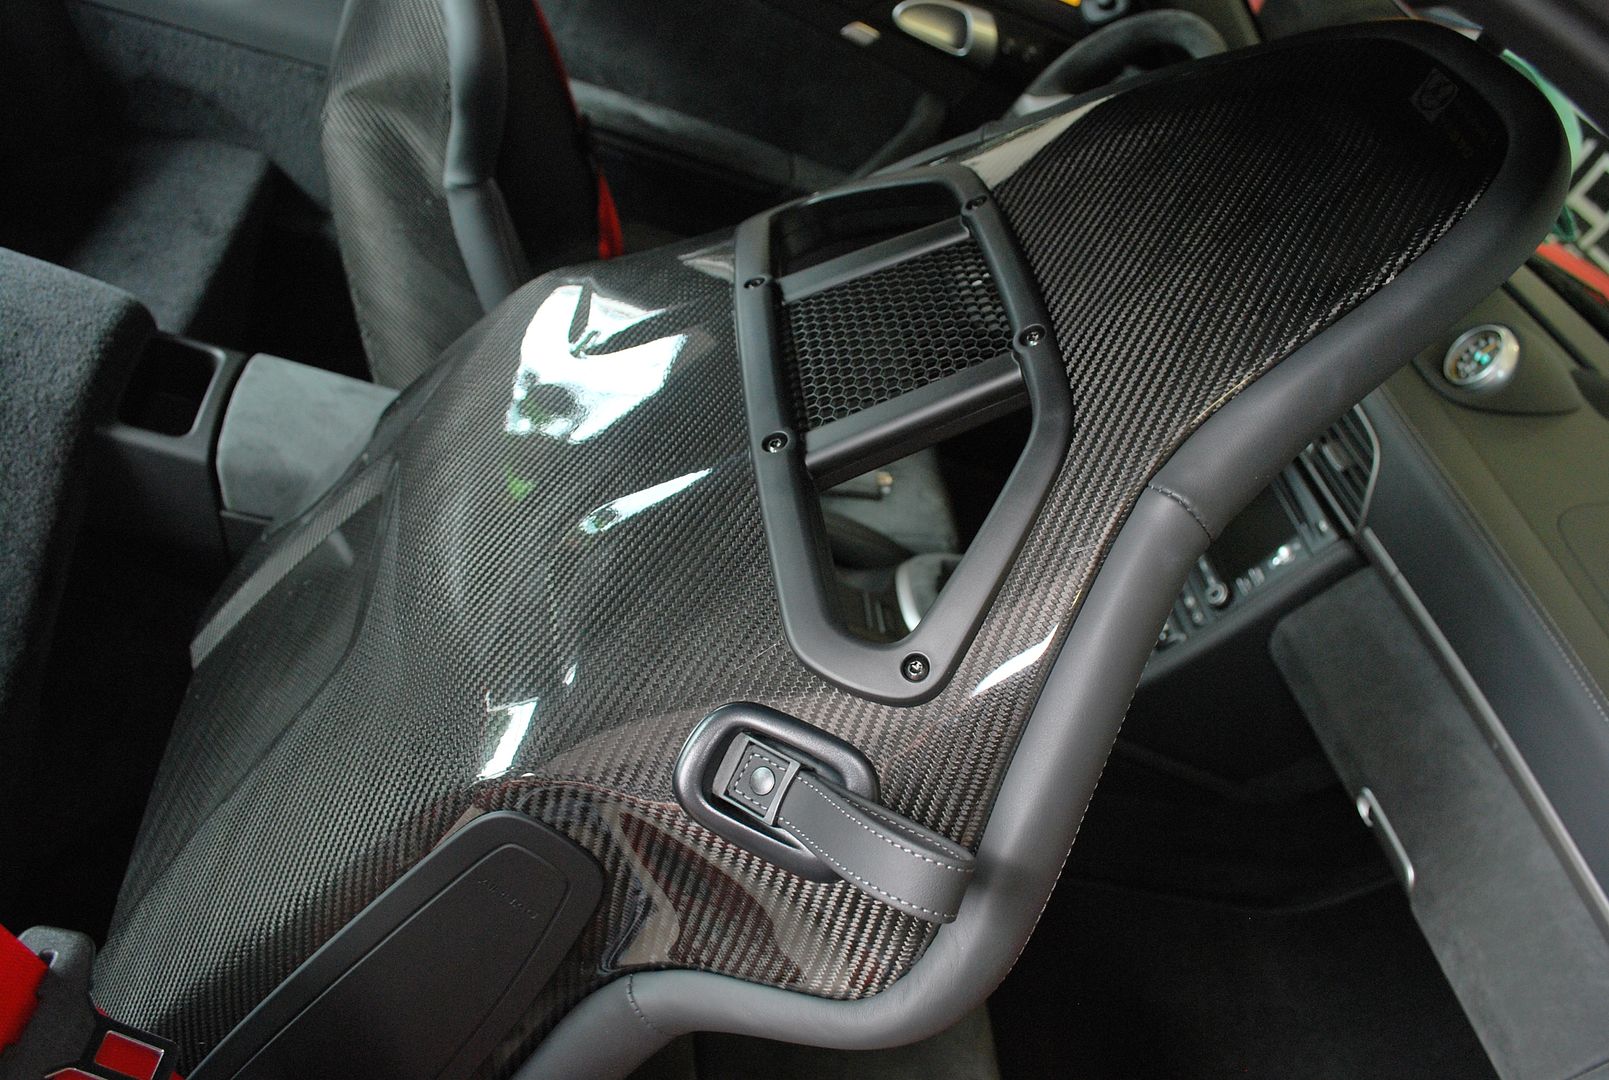
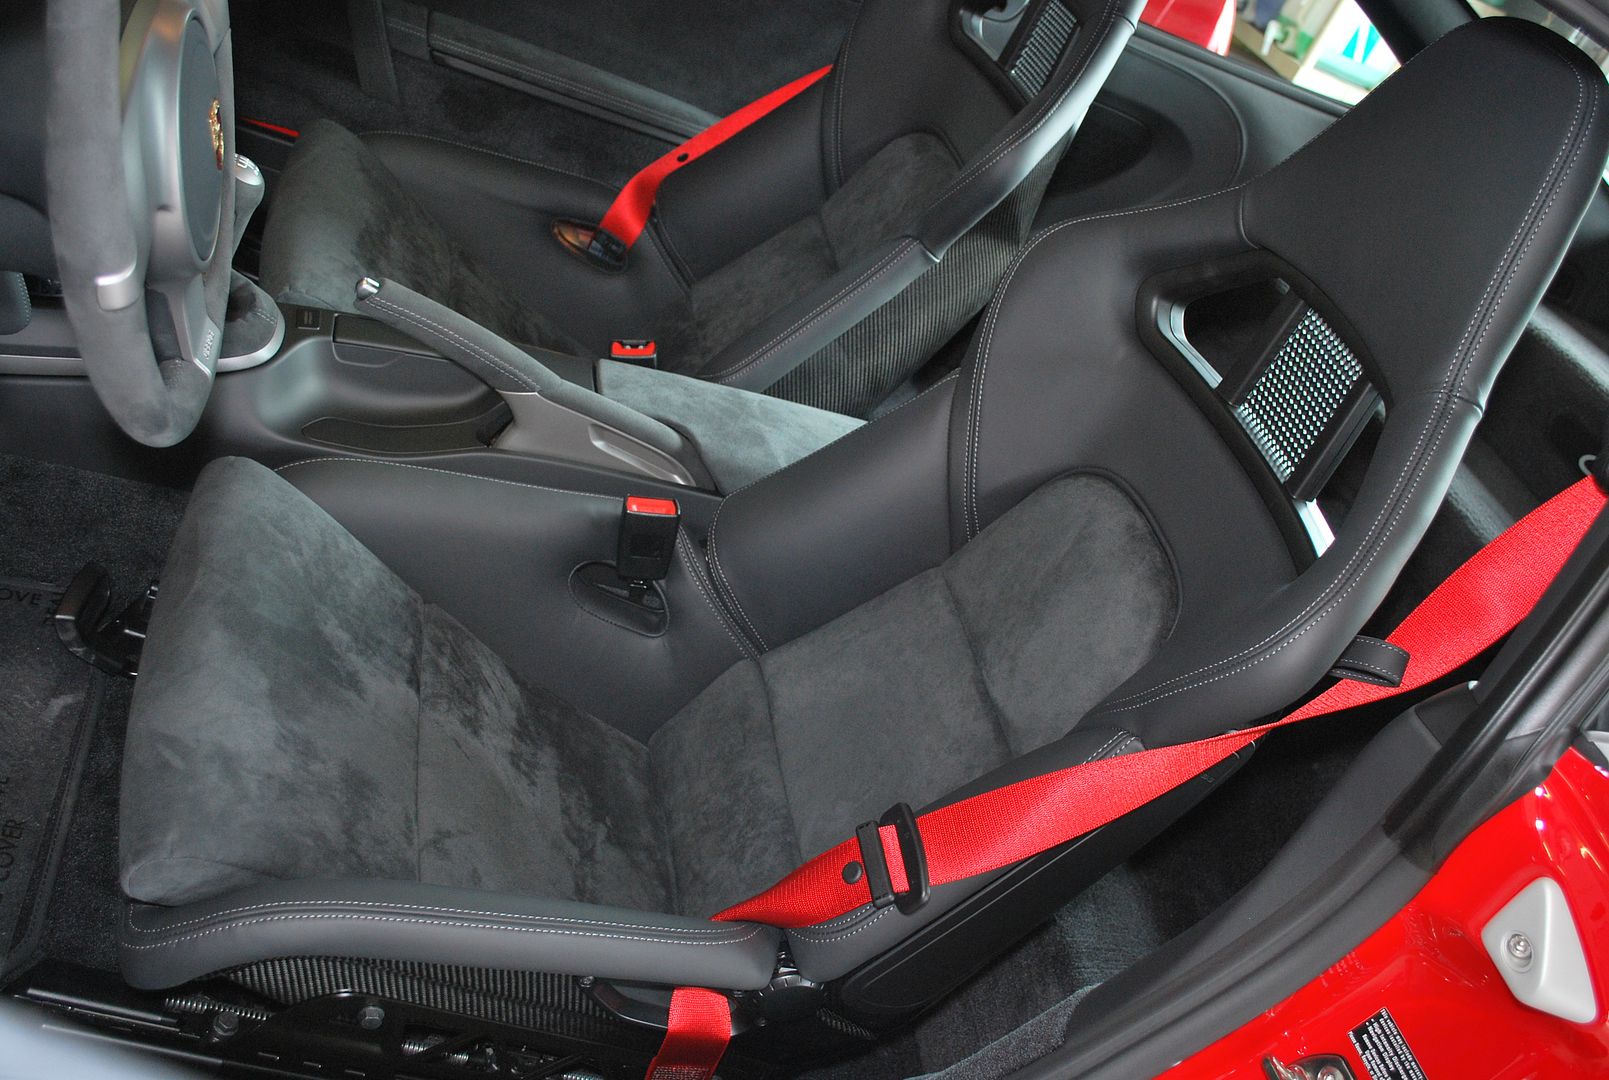
Carbon fiber seats covered in film…
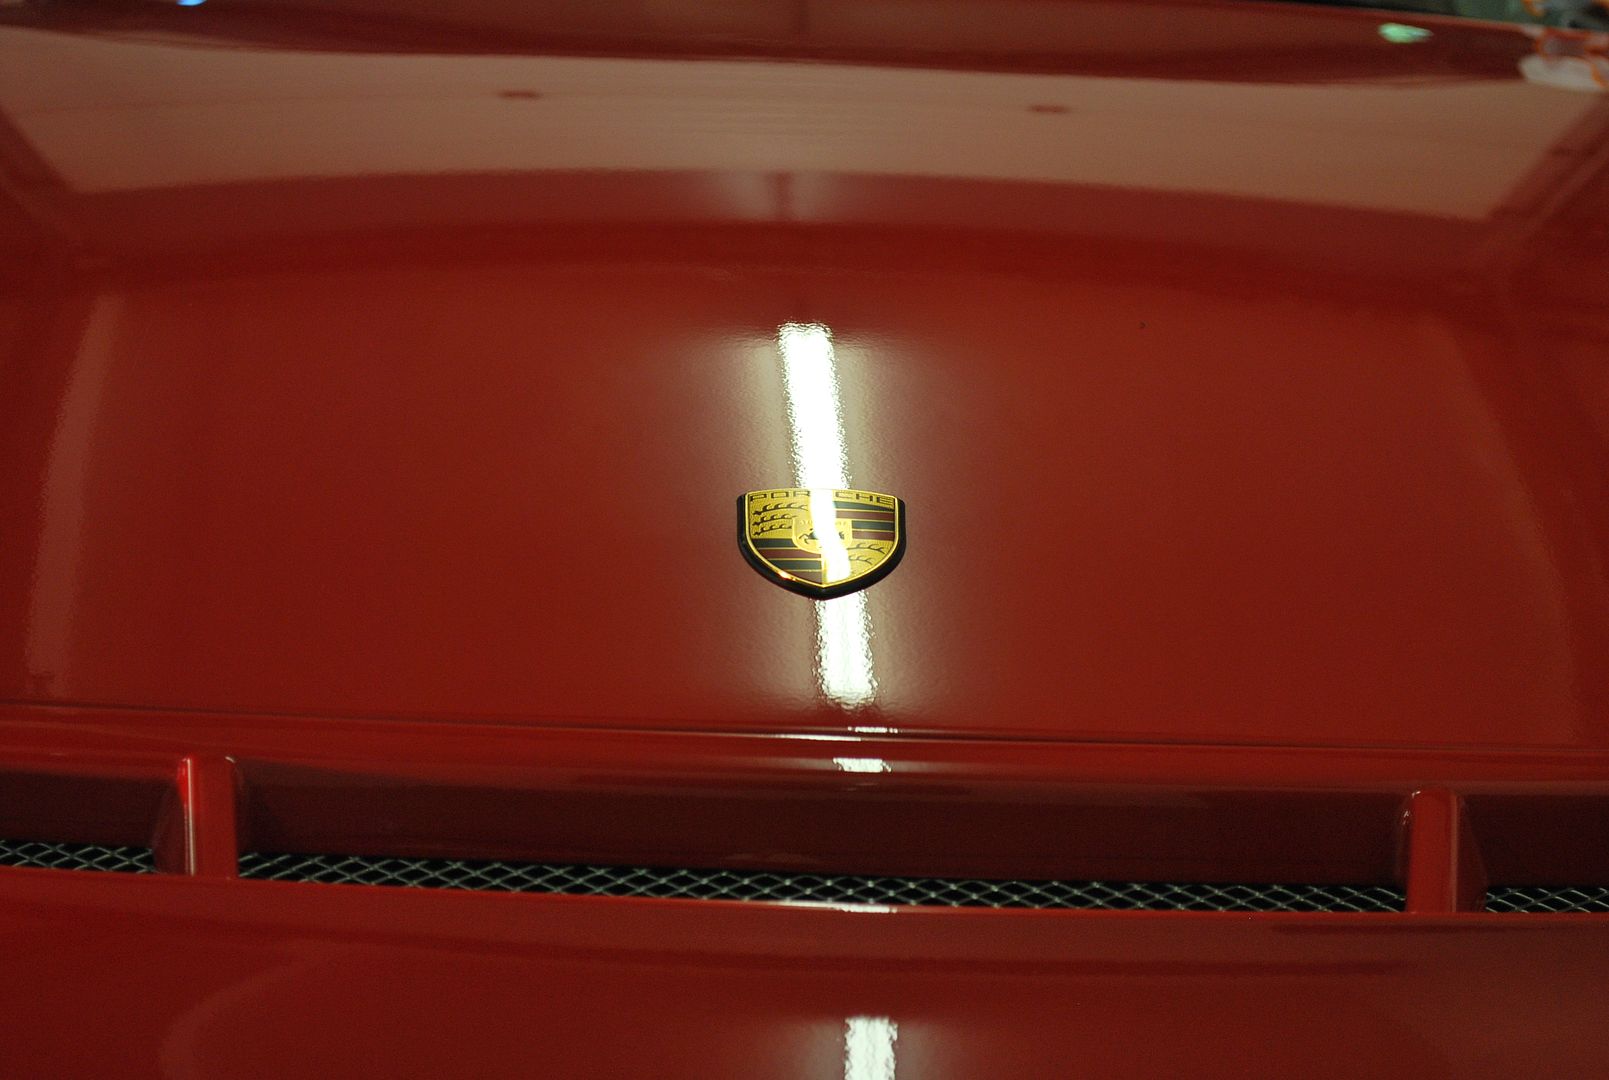
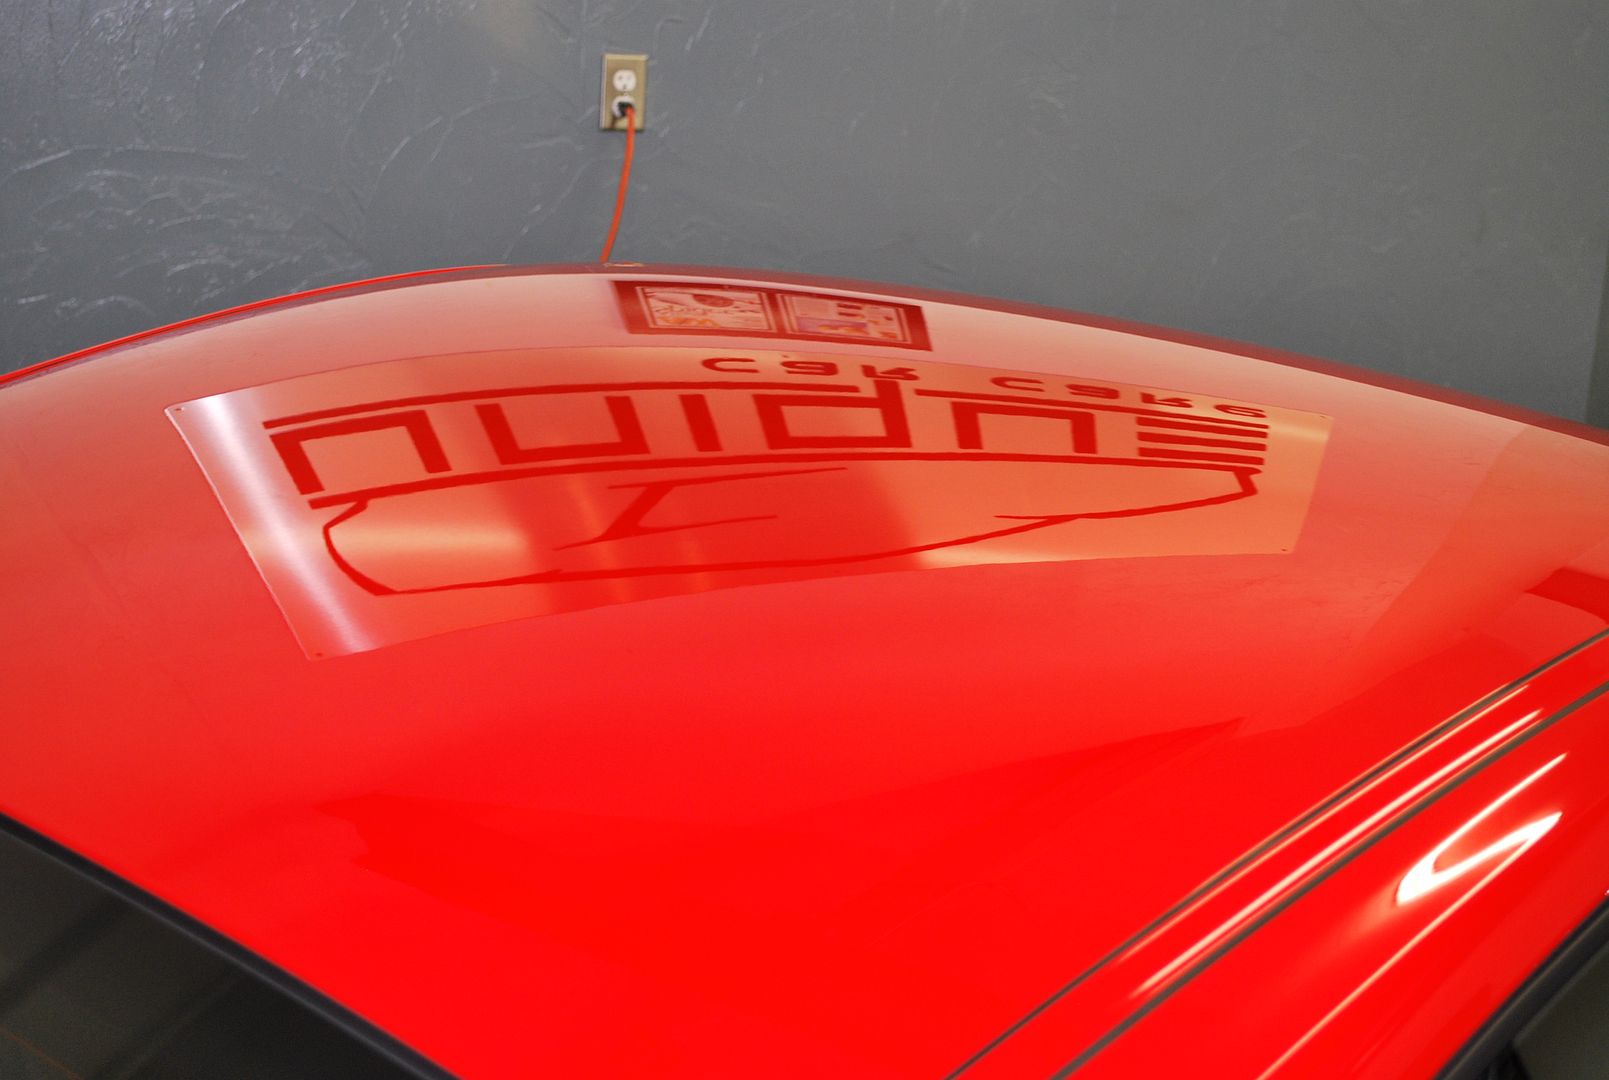
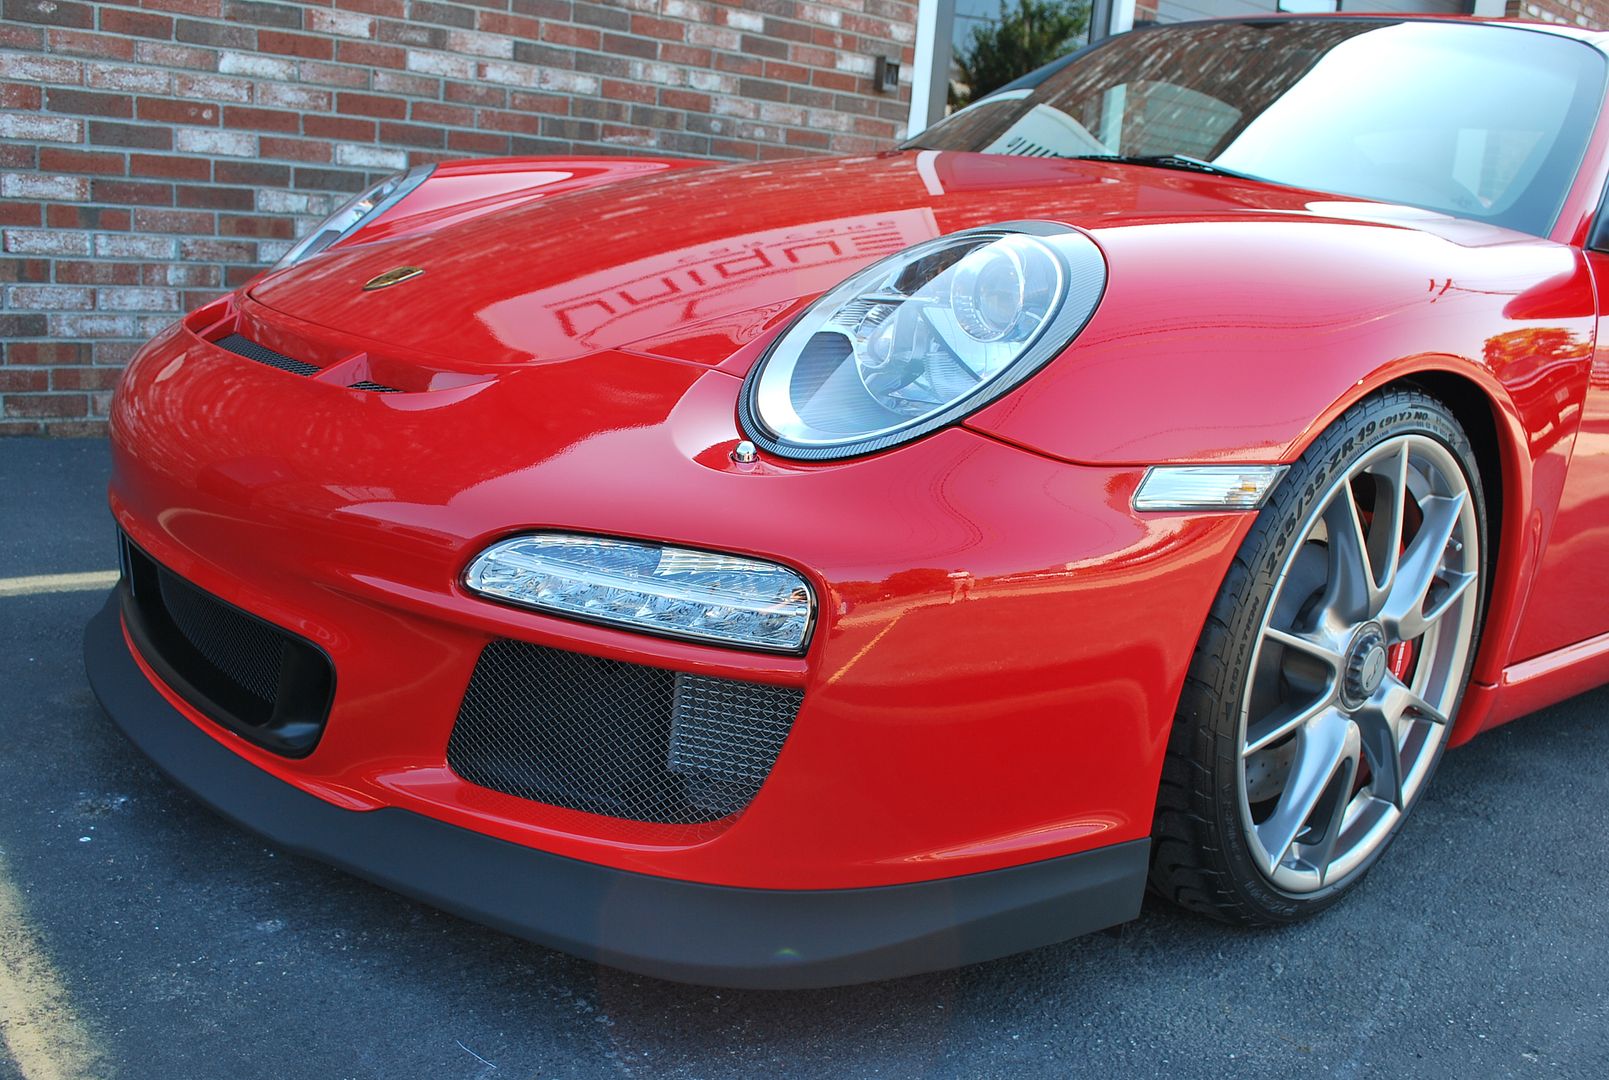
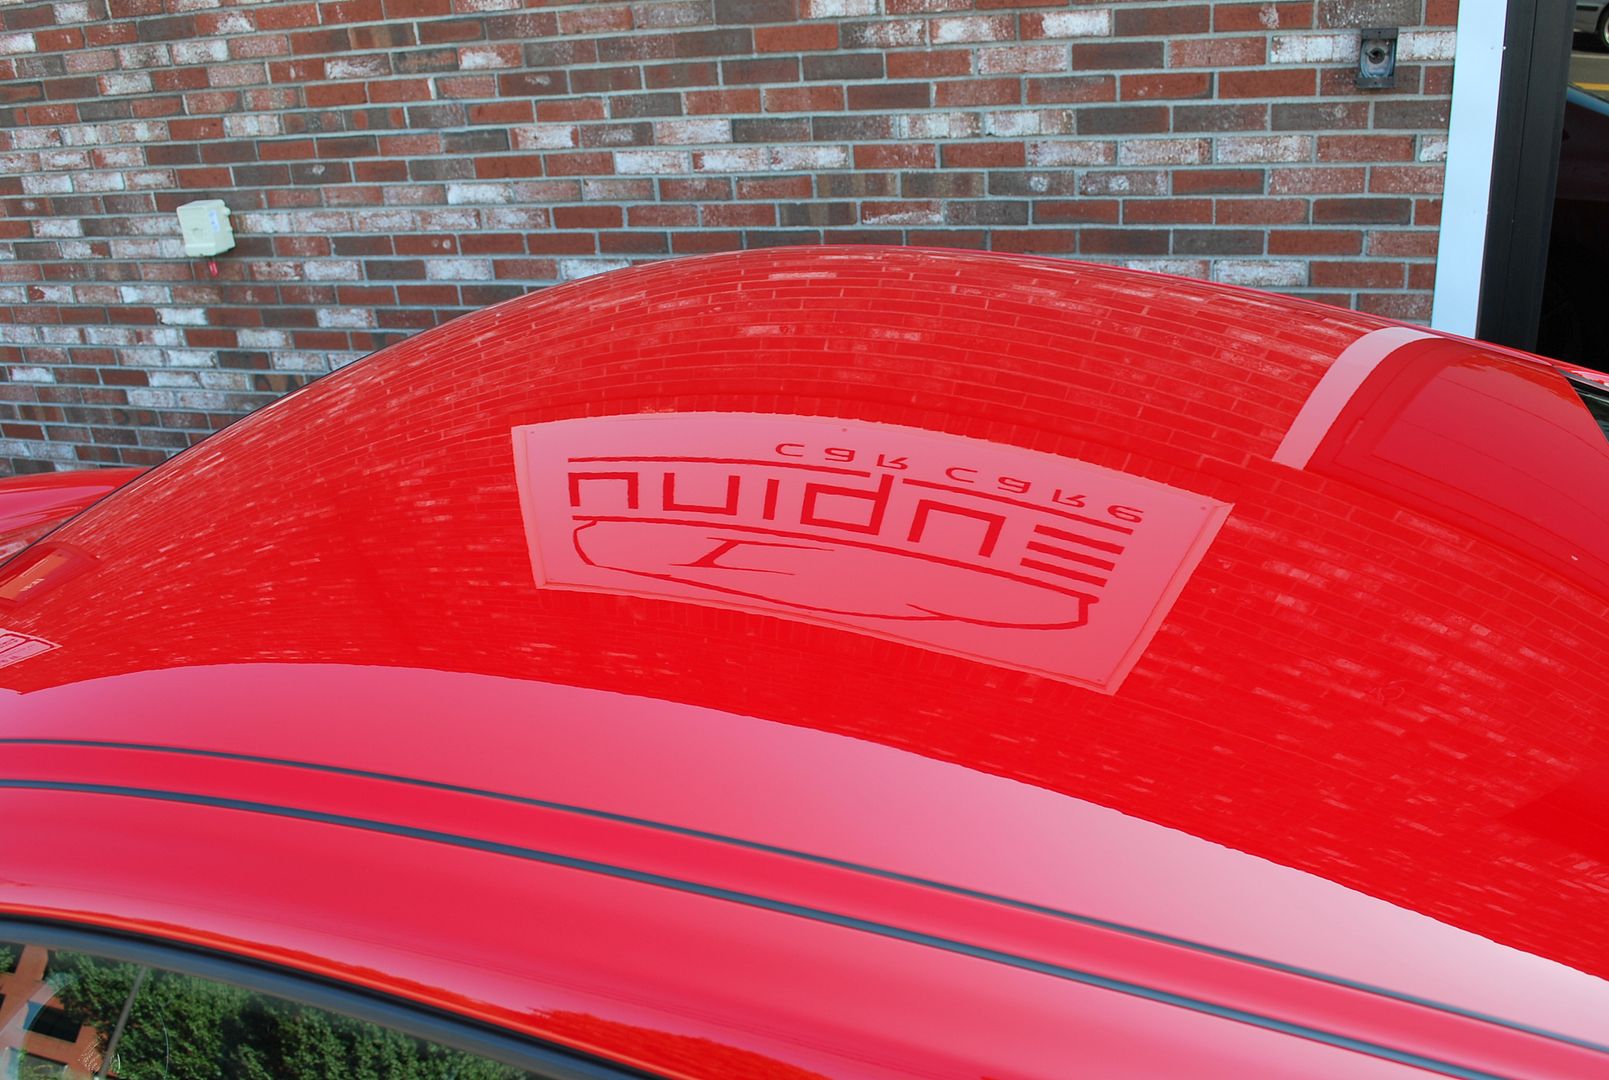
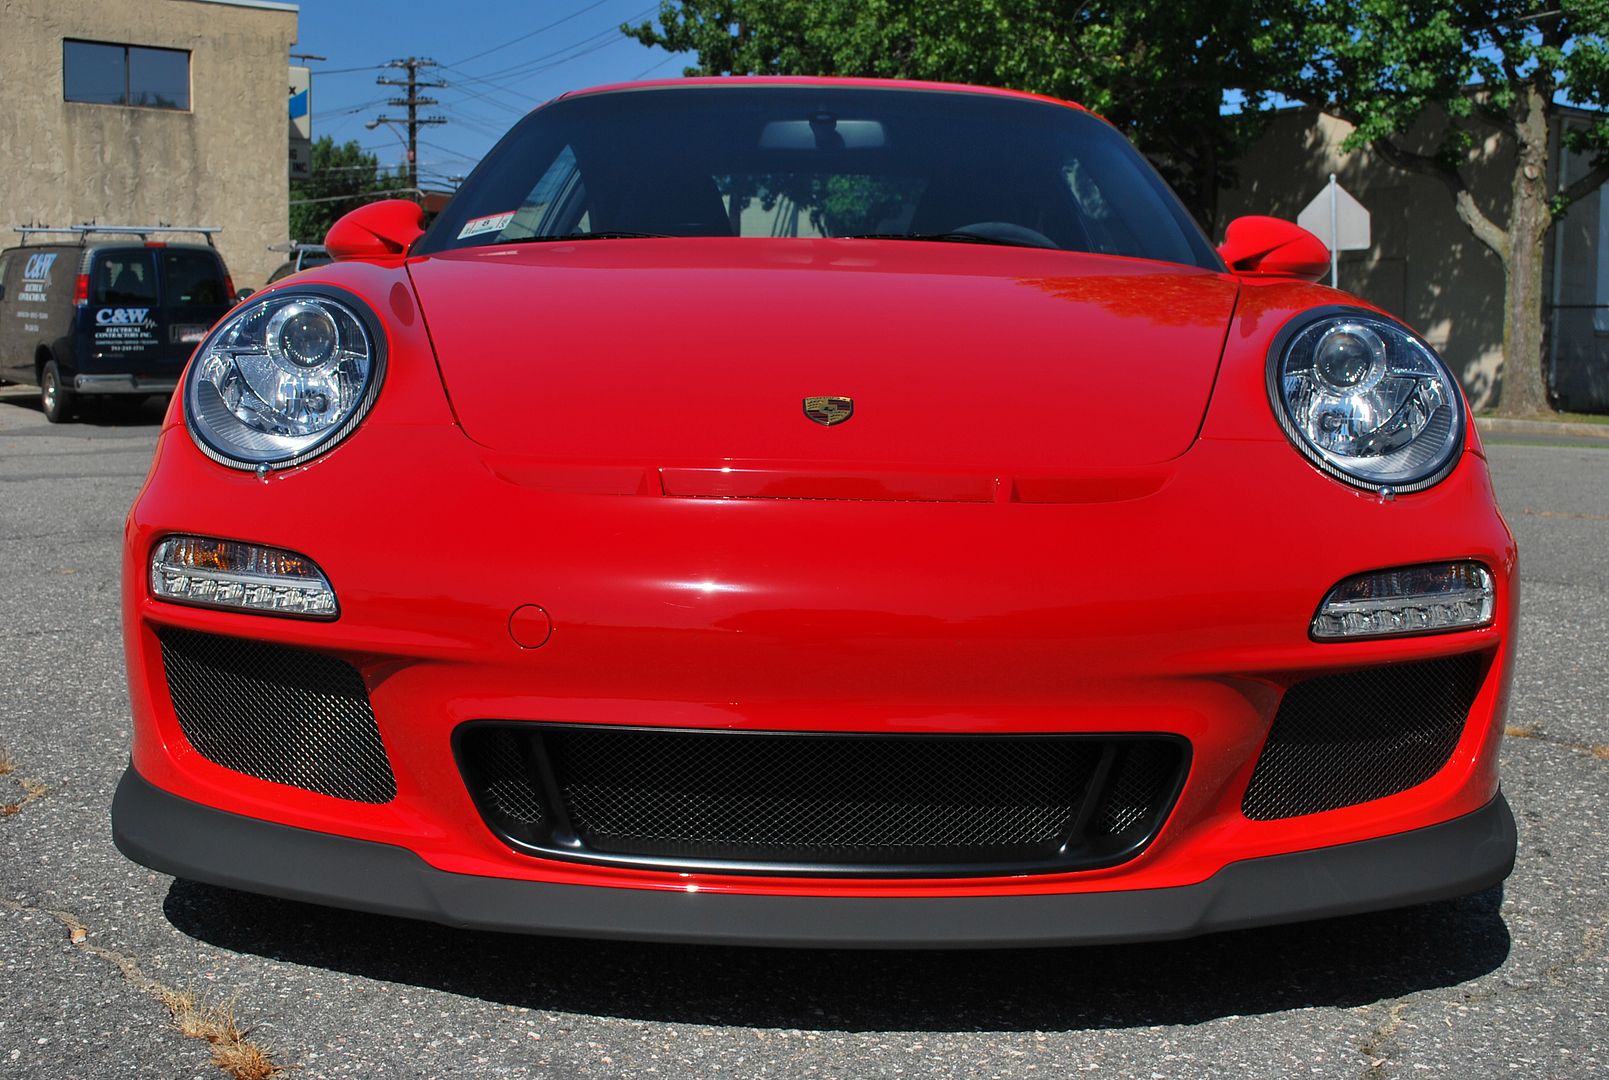
Partial hood & complete front bumper covered in film…
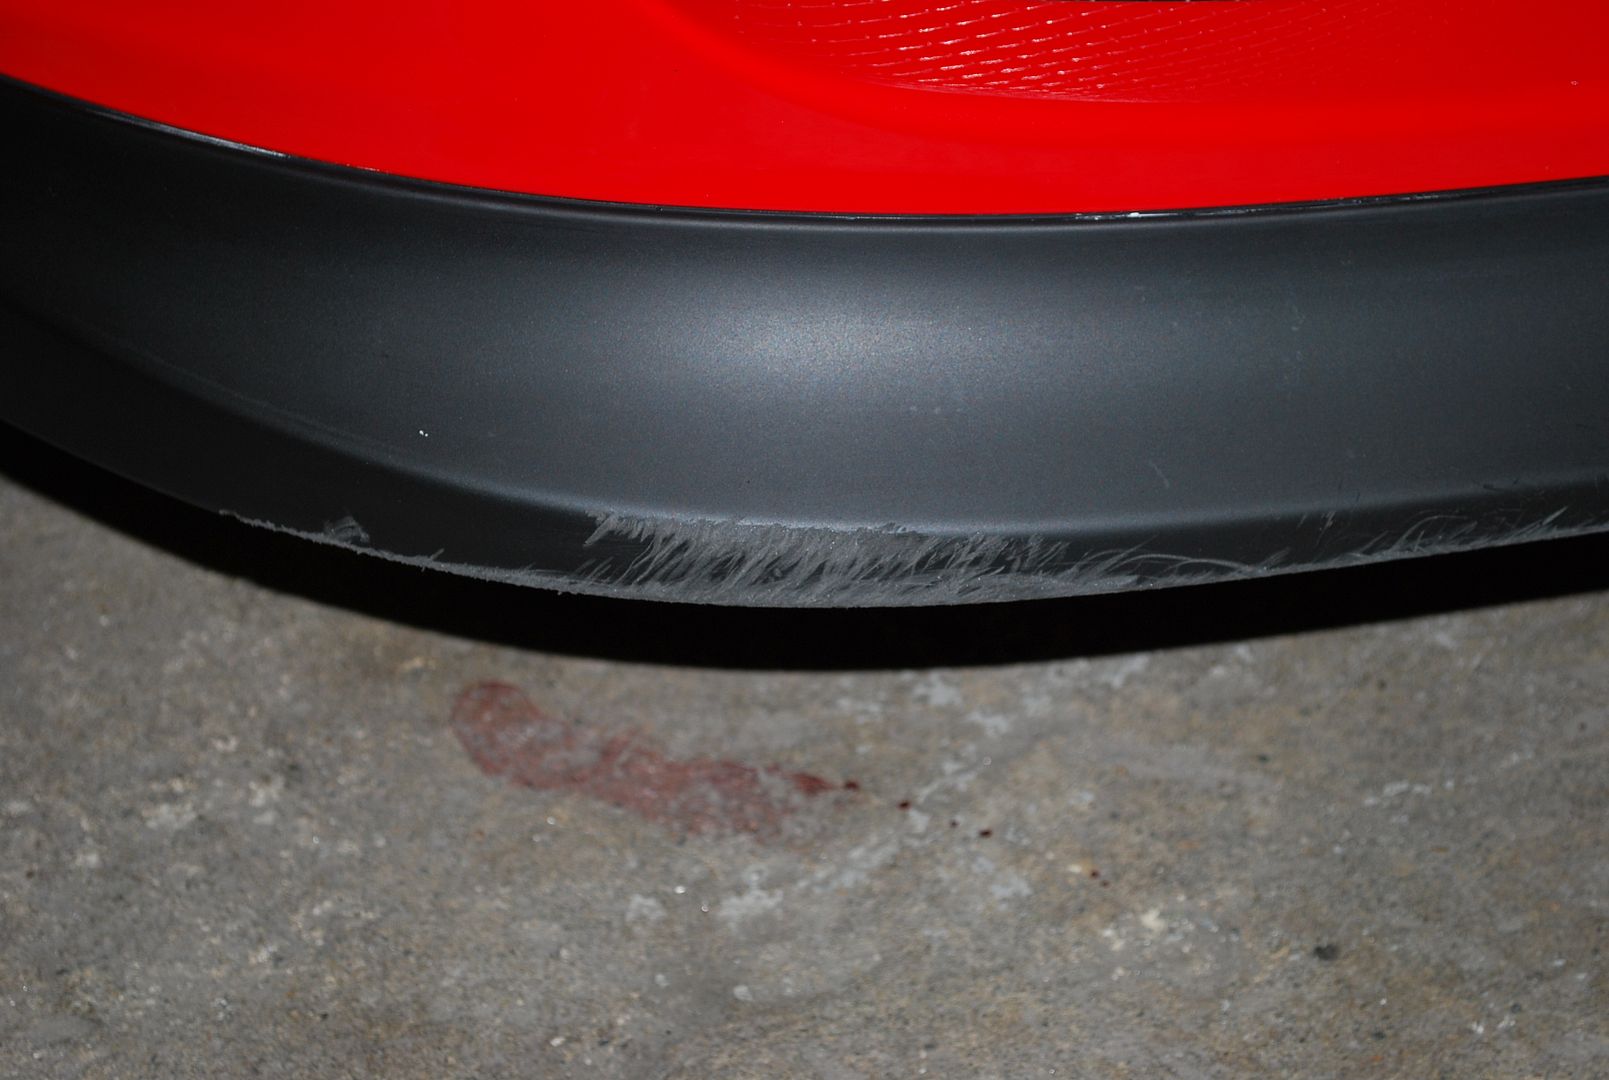
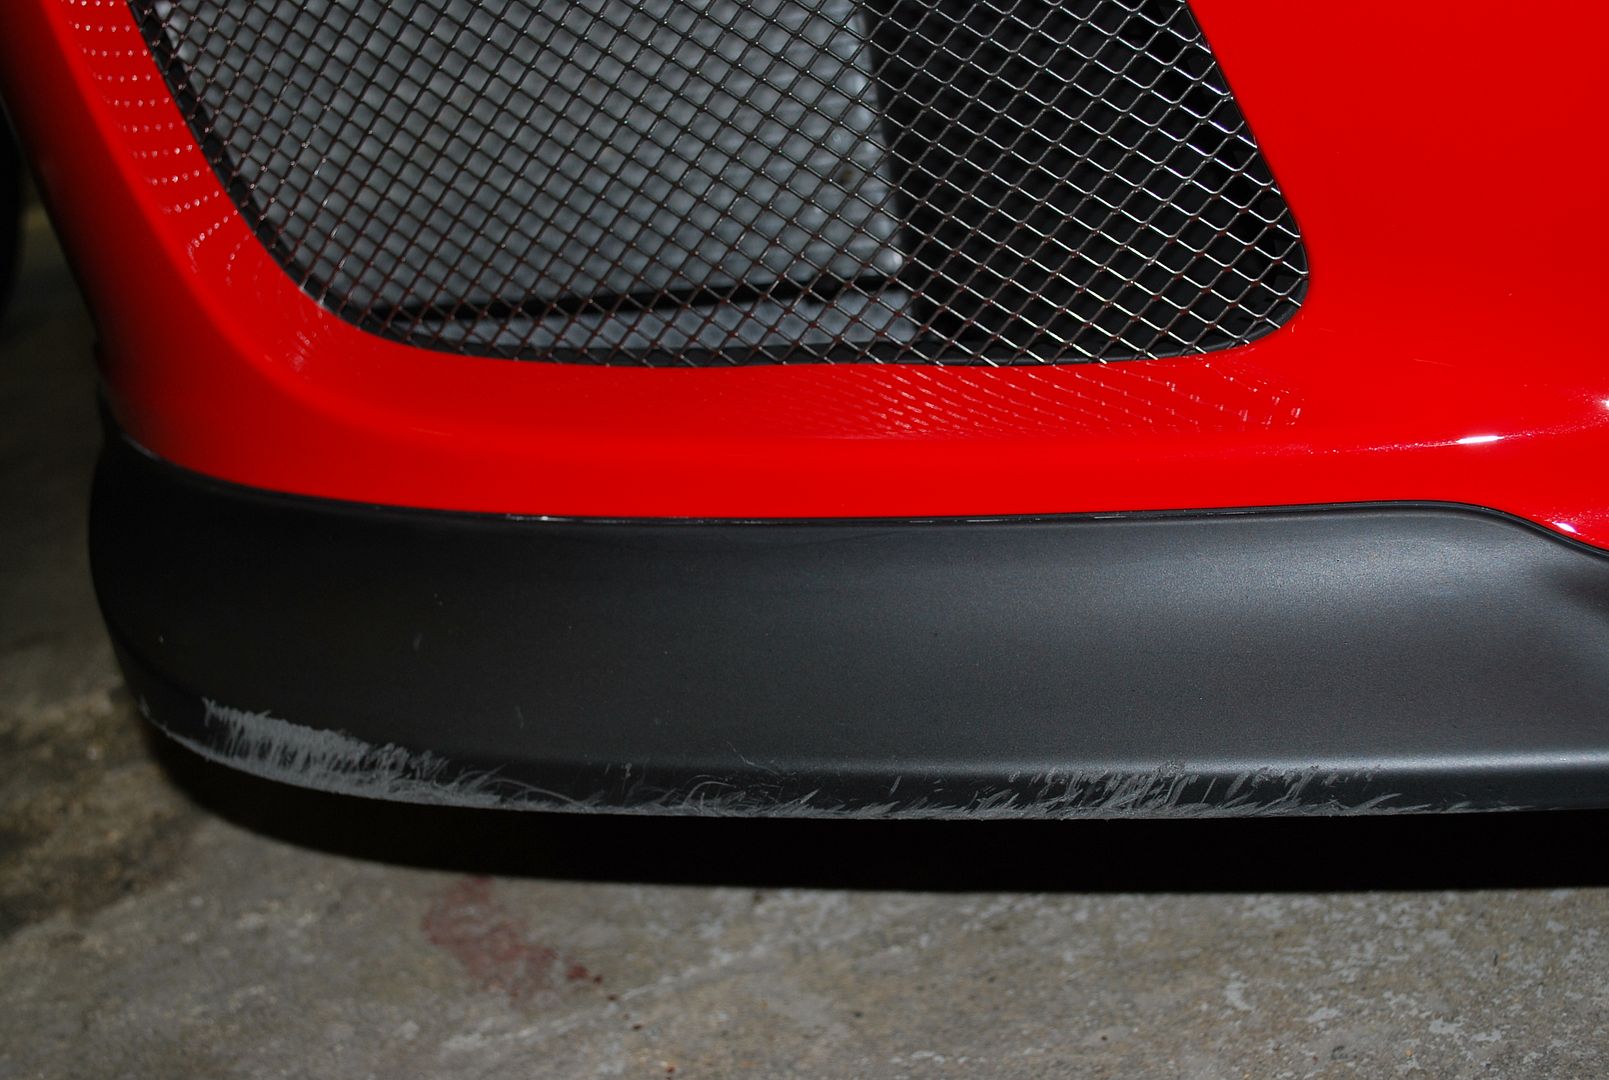
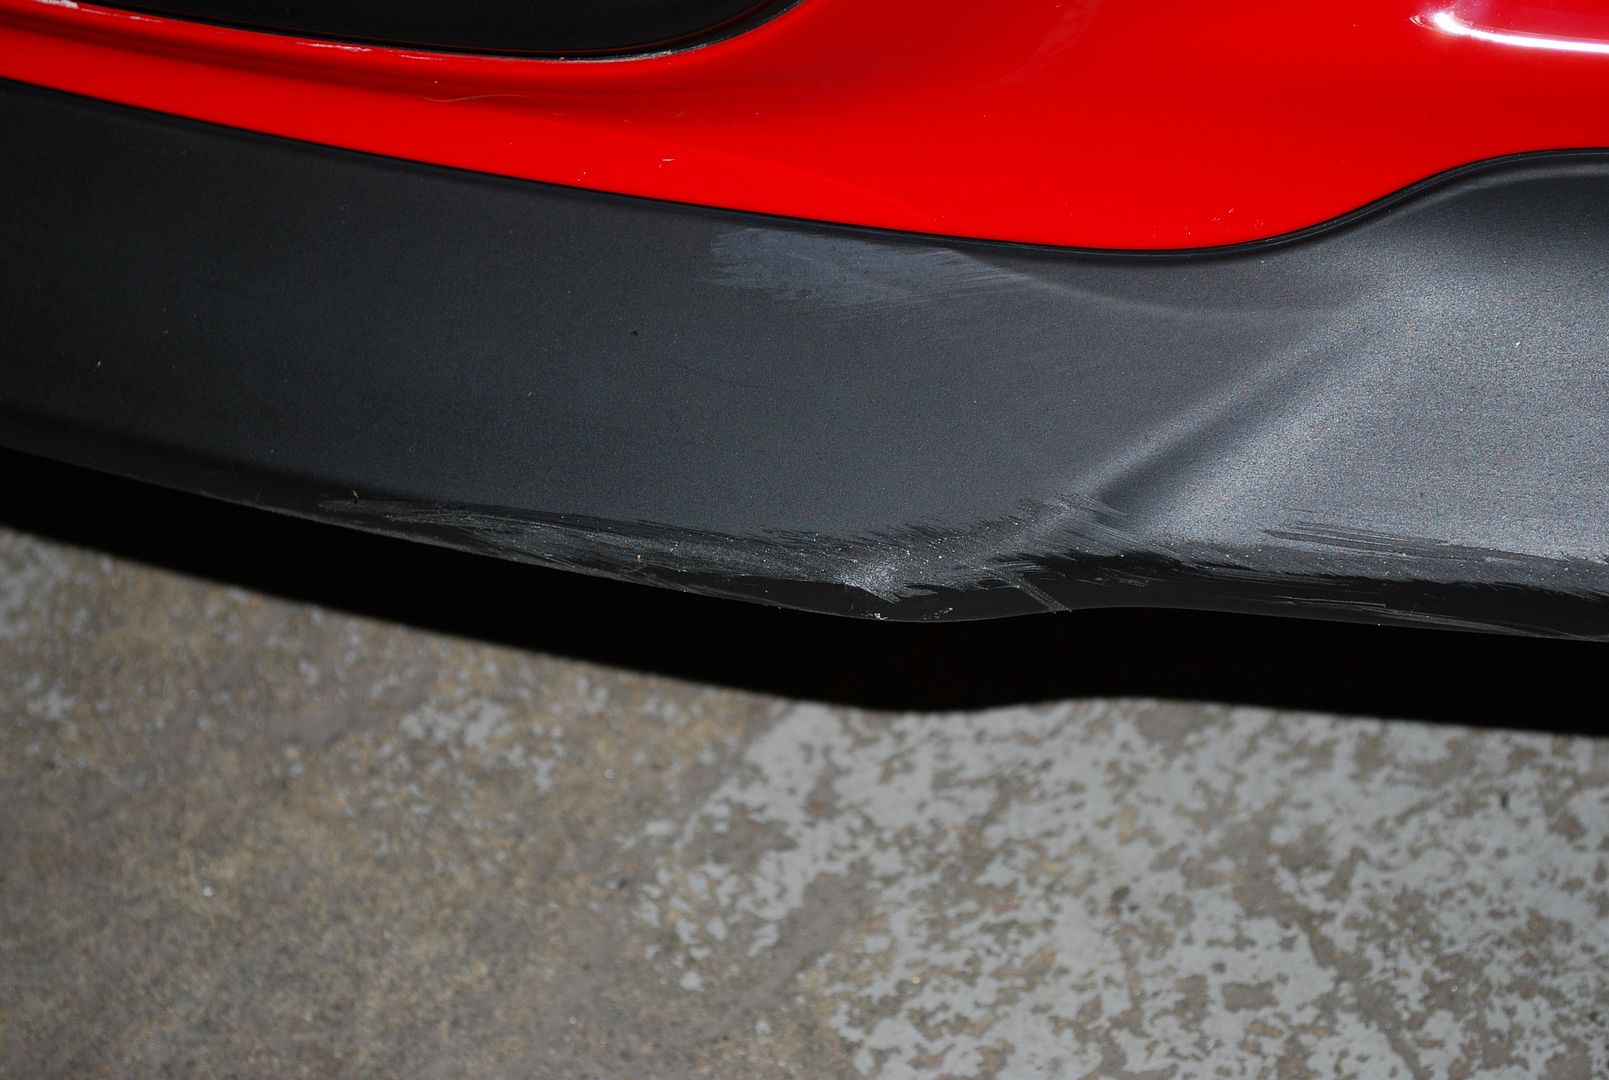
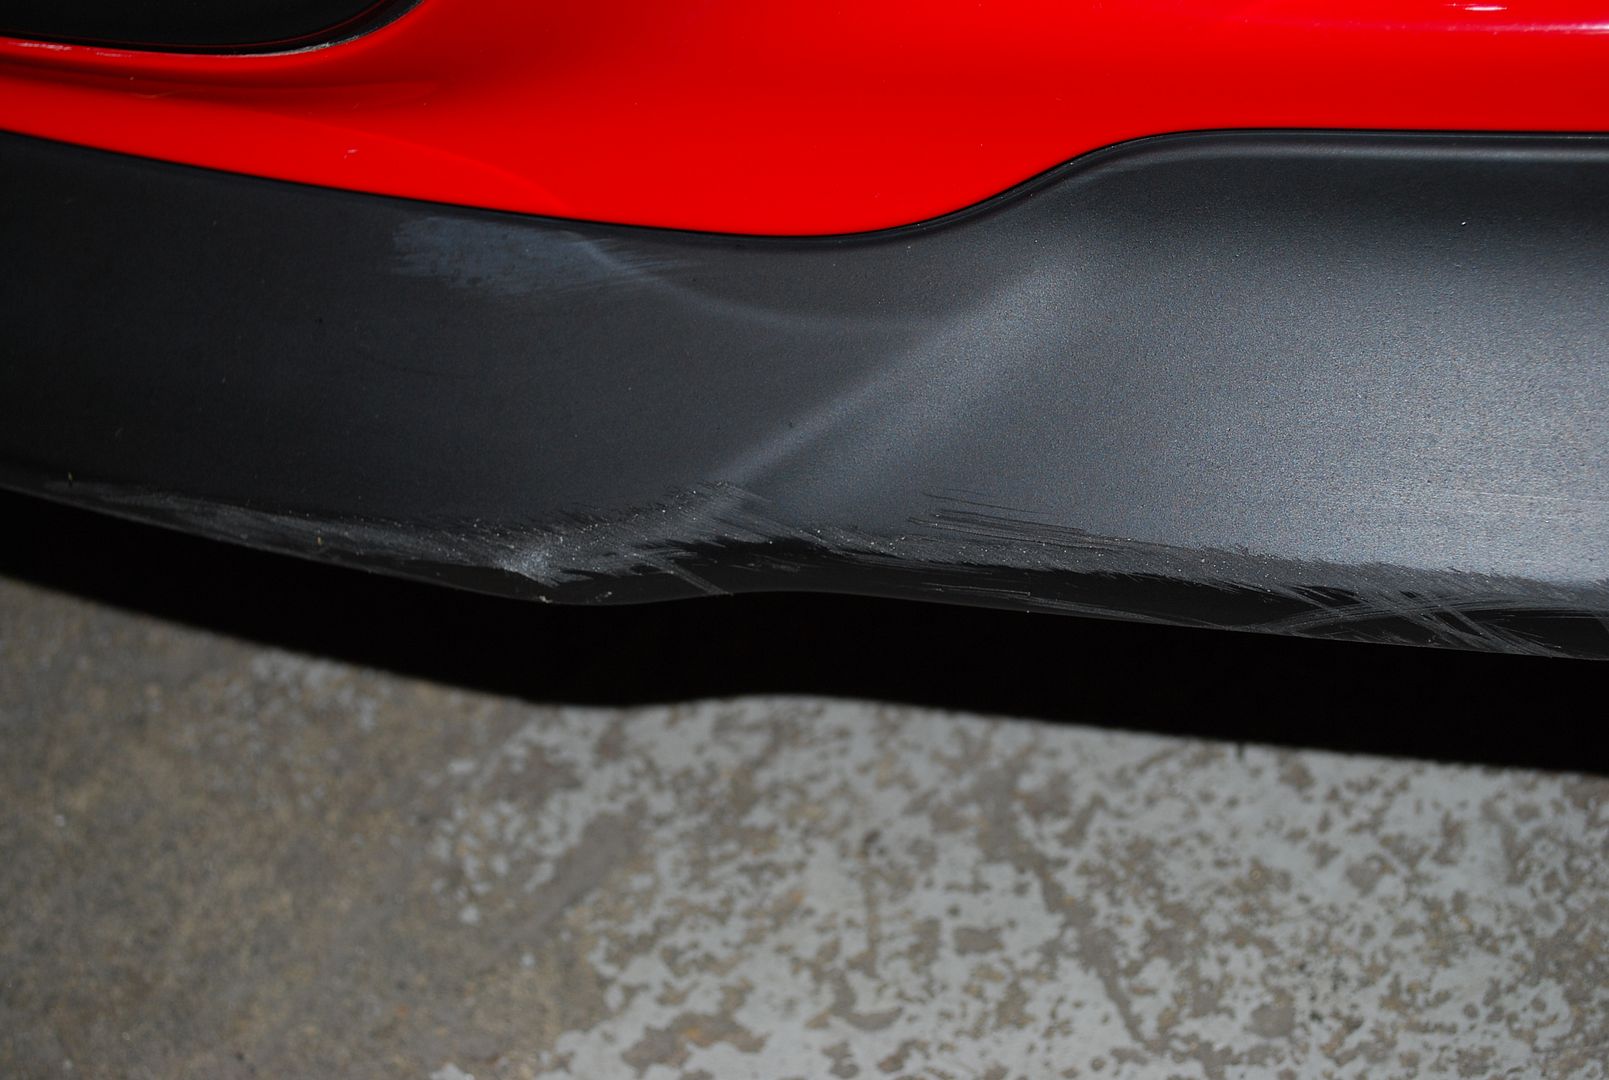
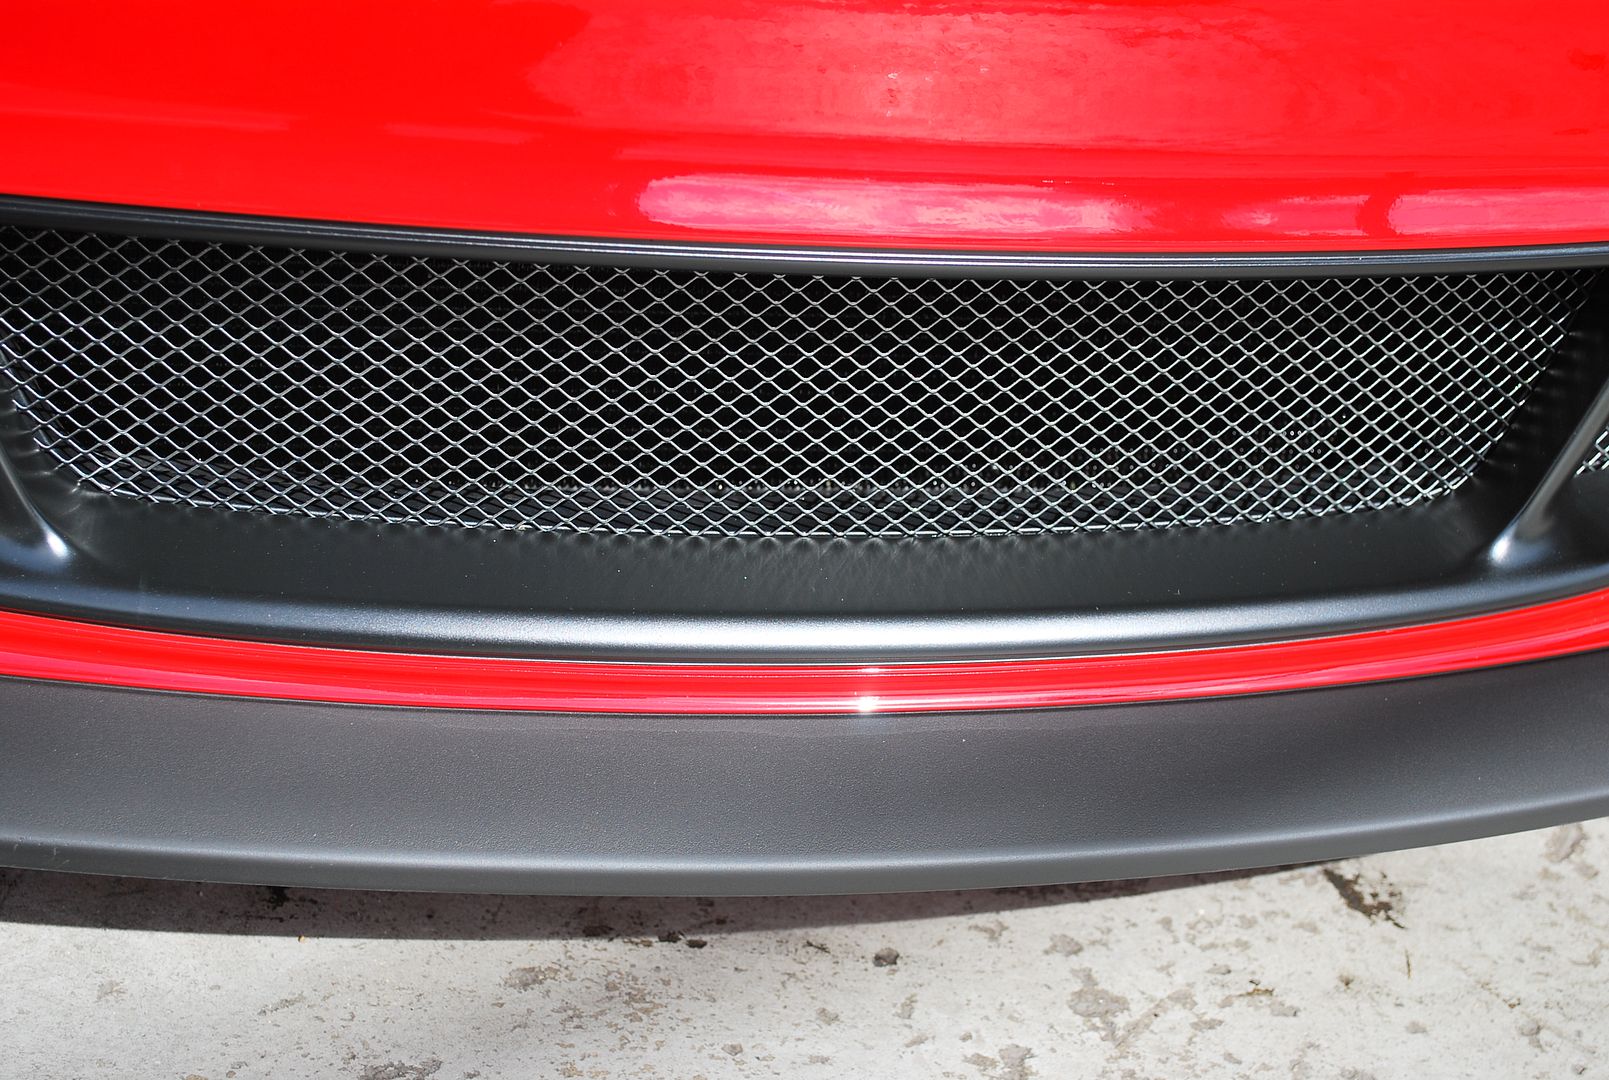
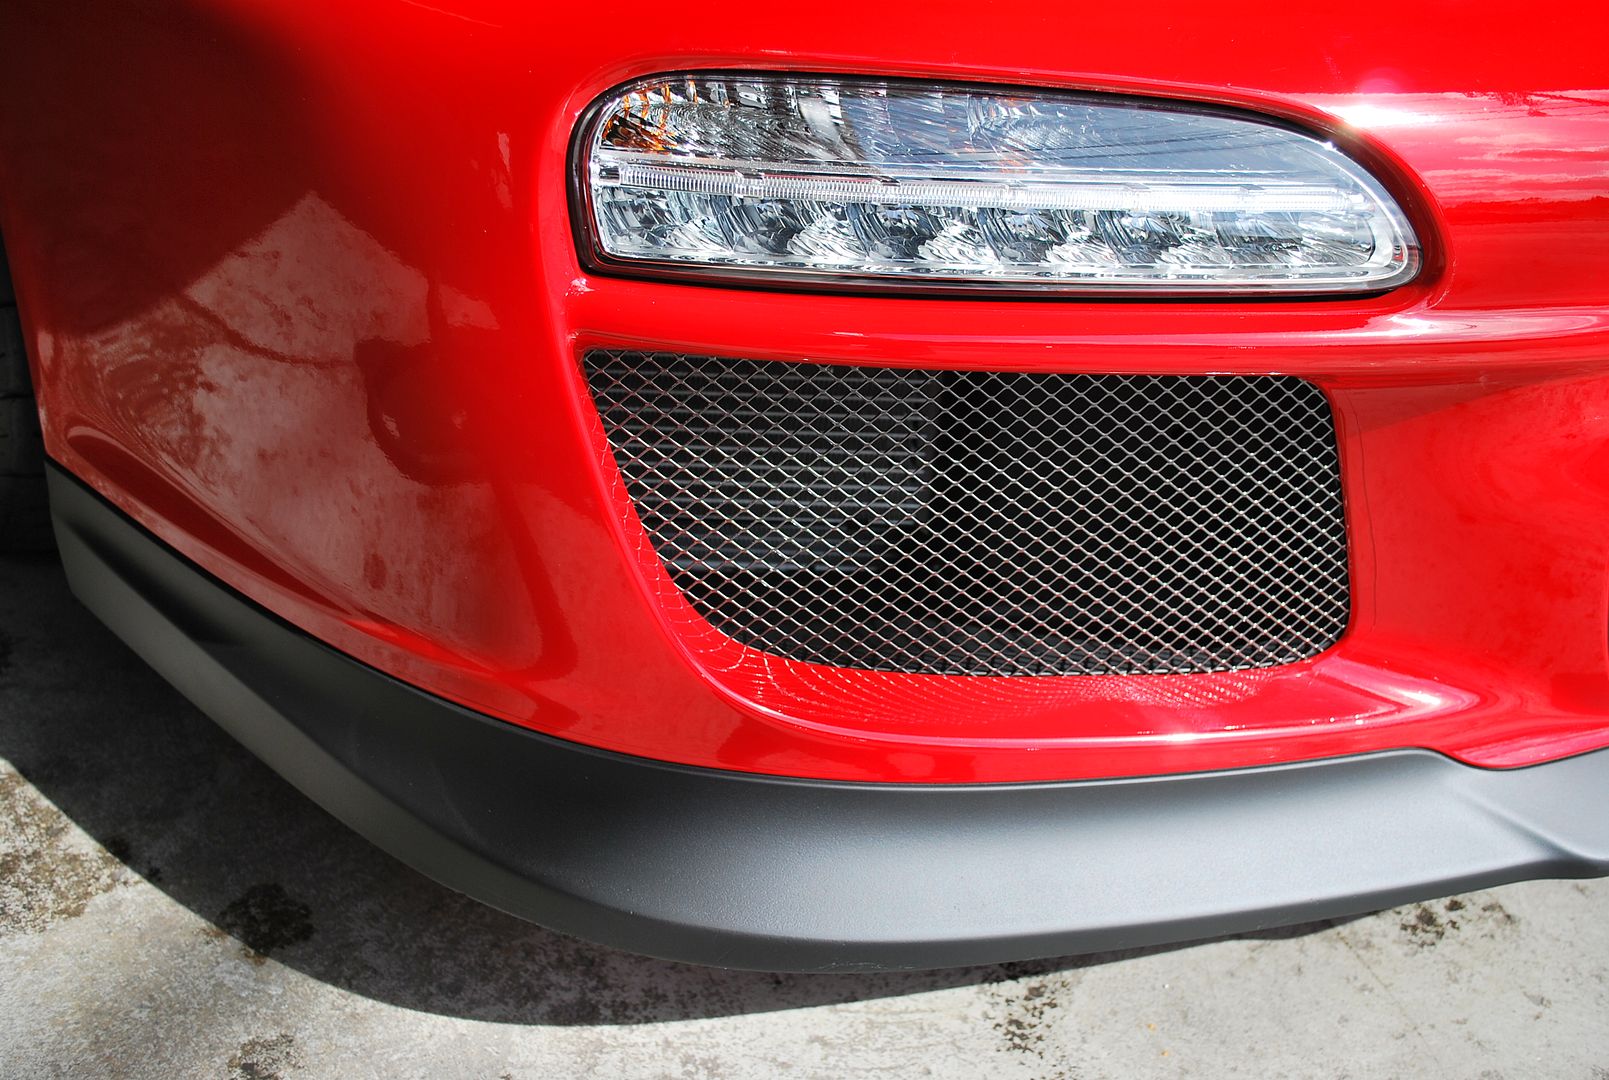
Once the clear-bra install was complete, I inspected the damage to the front spoiler to see what supplies would be needed in order to make it look new again. Below is the extent of the damage…

I took a ride to the local body shop supply store to pick up the necessary supplies to complete the repair. I asked them what products would yield the best results for a factory look. They recommended that I sand the spoiler with 400 grit sandpaper, clean the surface with prep solvent, then apply multiple coats of SEM Black Texture Coating.
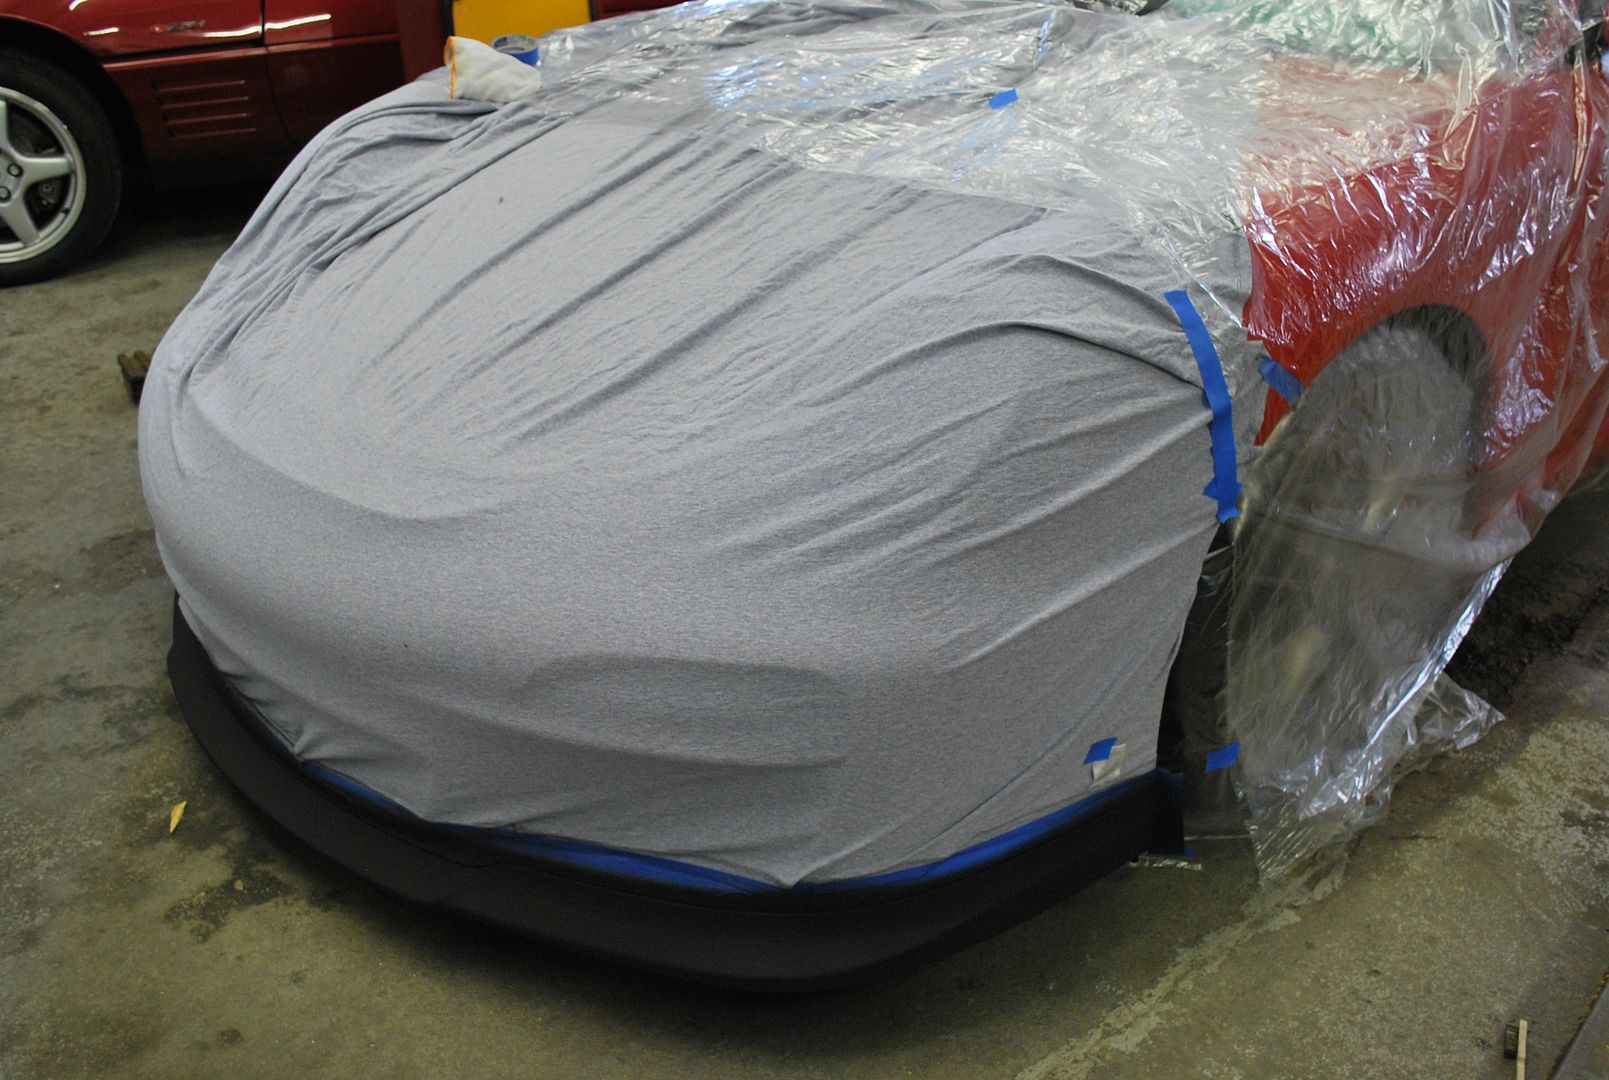
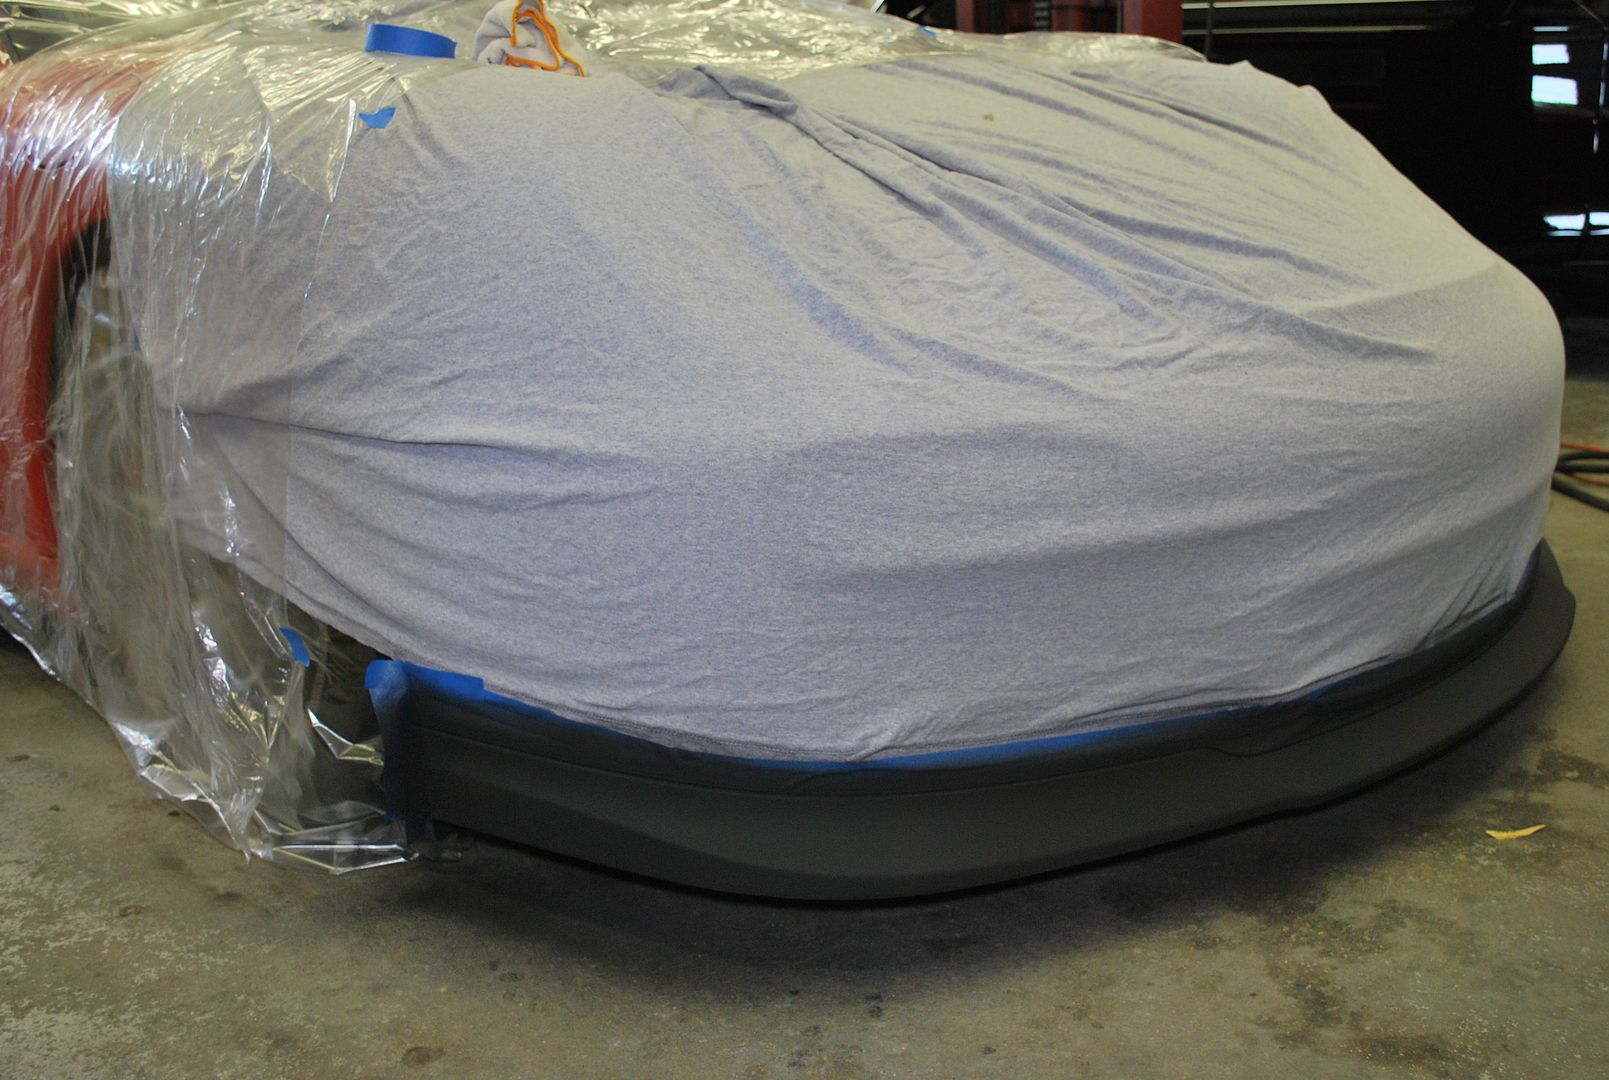
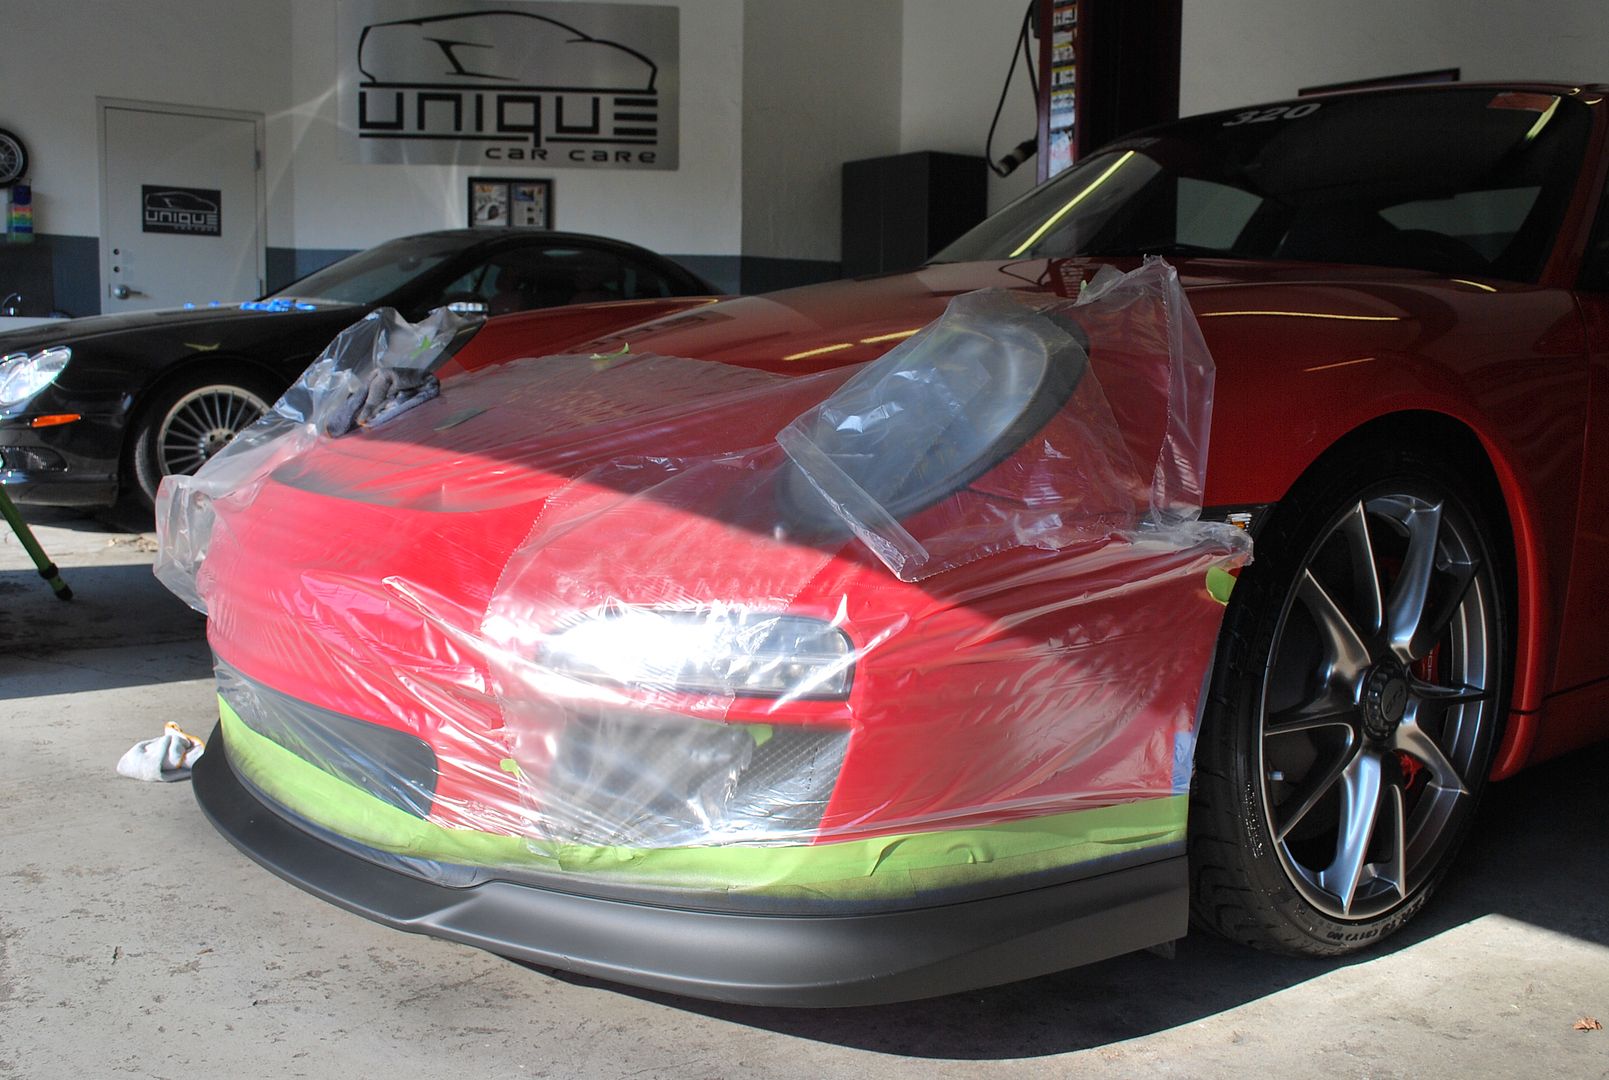
Before attempting the repair, I carefully masked off the spoiler with masking tape and covered the rest of the car to make sure no overspray made its way onto the paint. To save a little time, I sanded out the defects using my pneumatic sander using Micro Surface sanding discs.
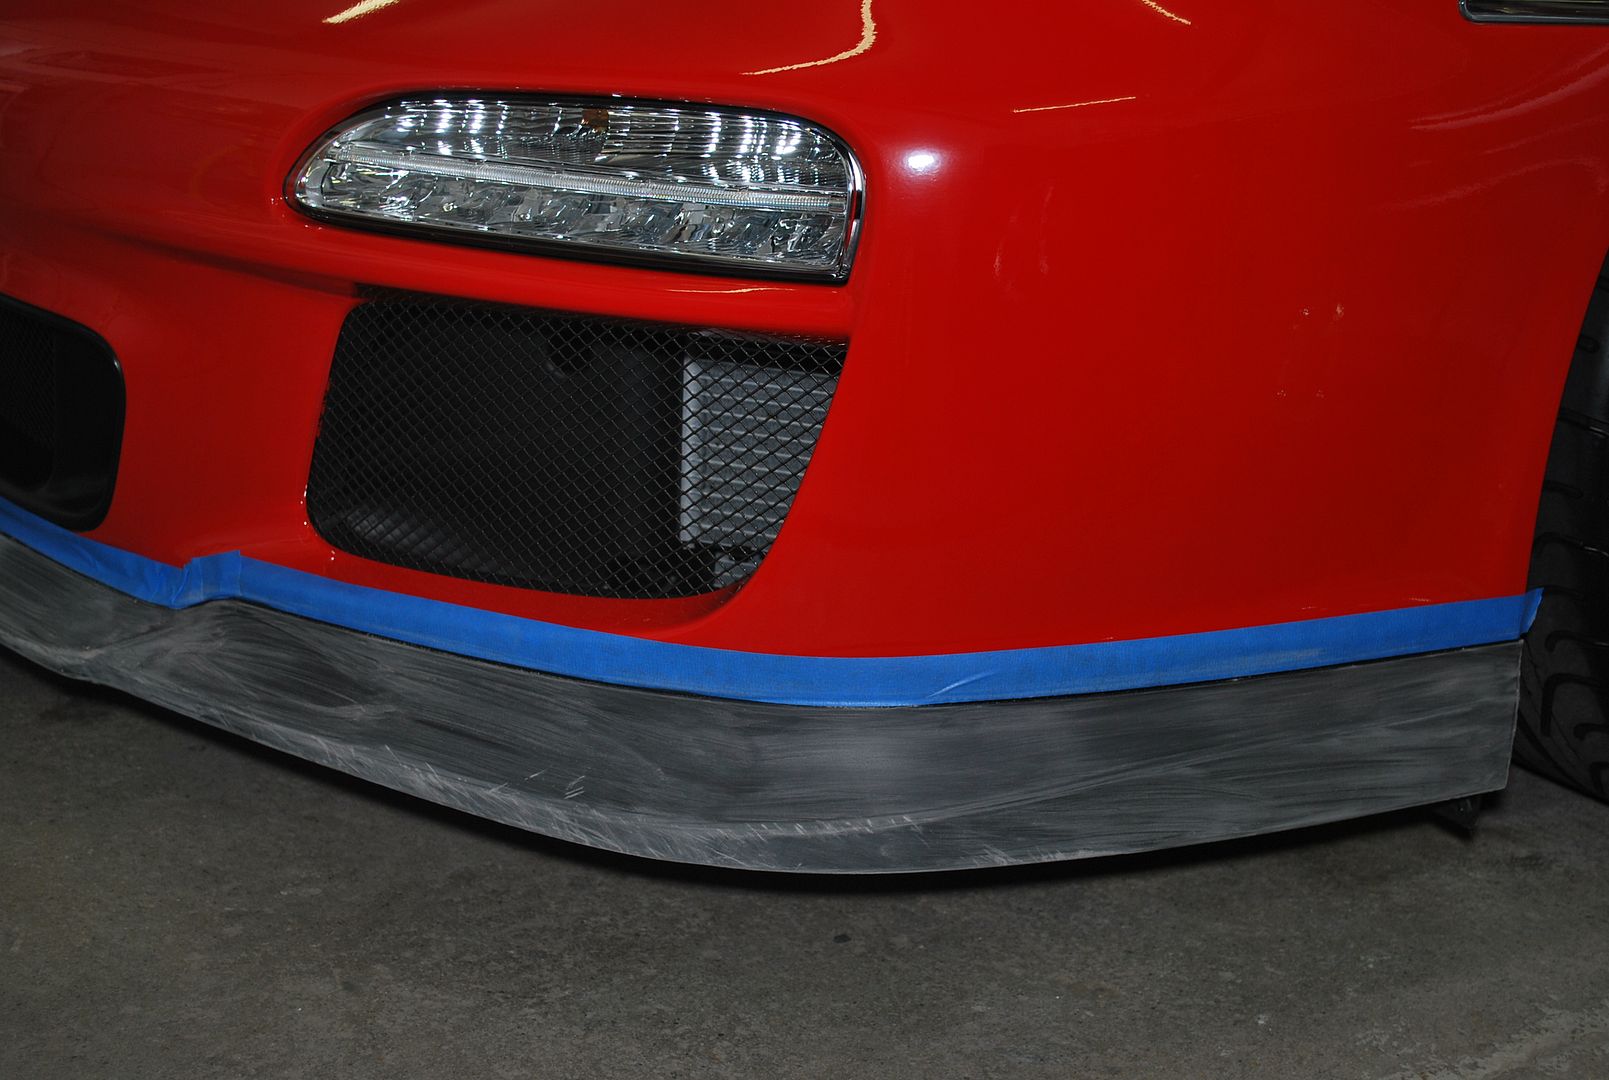
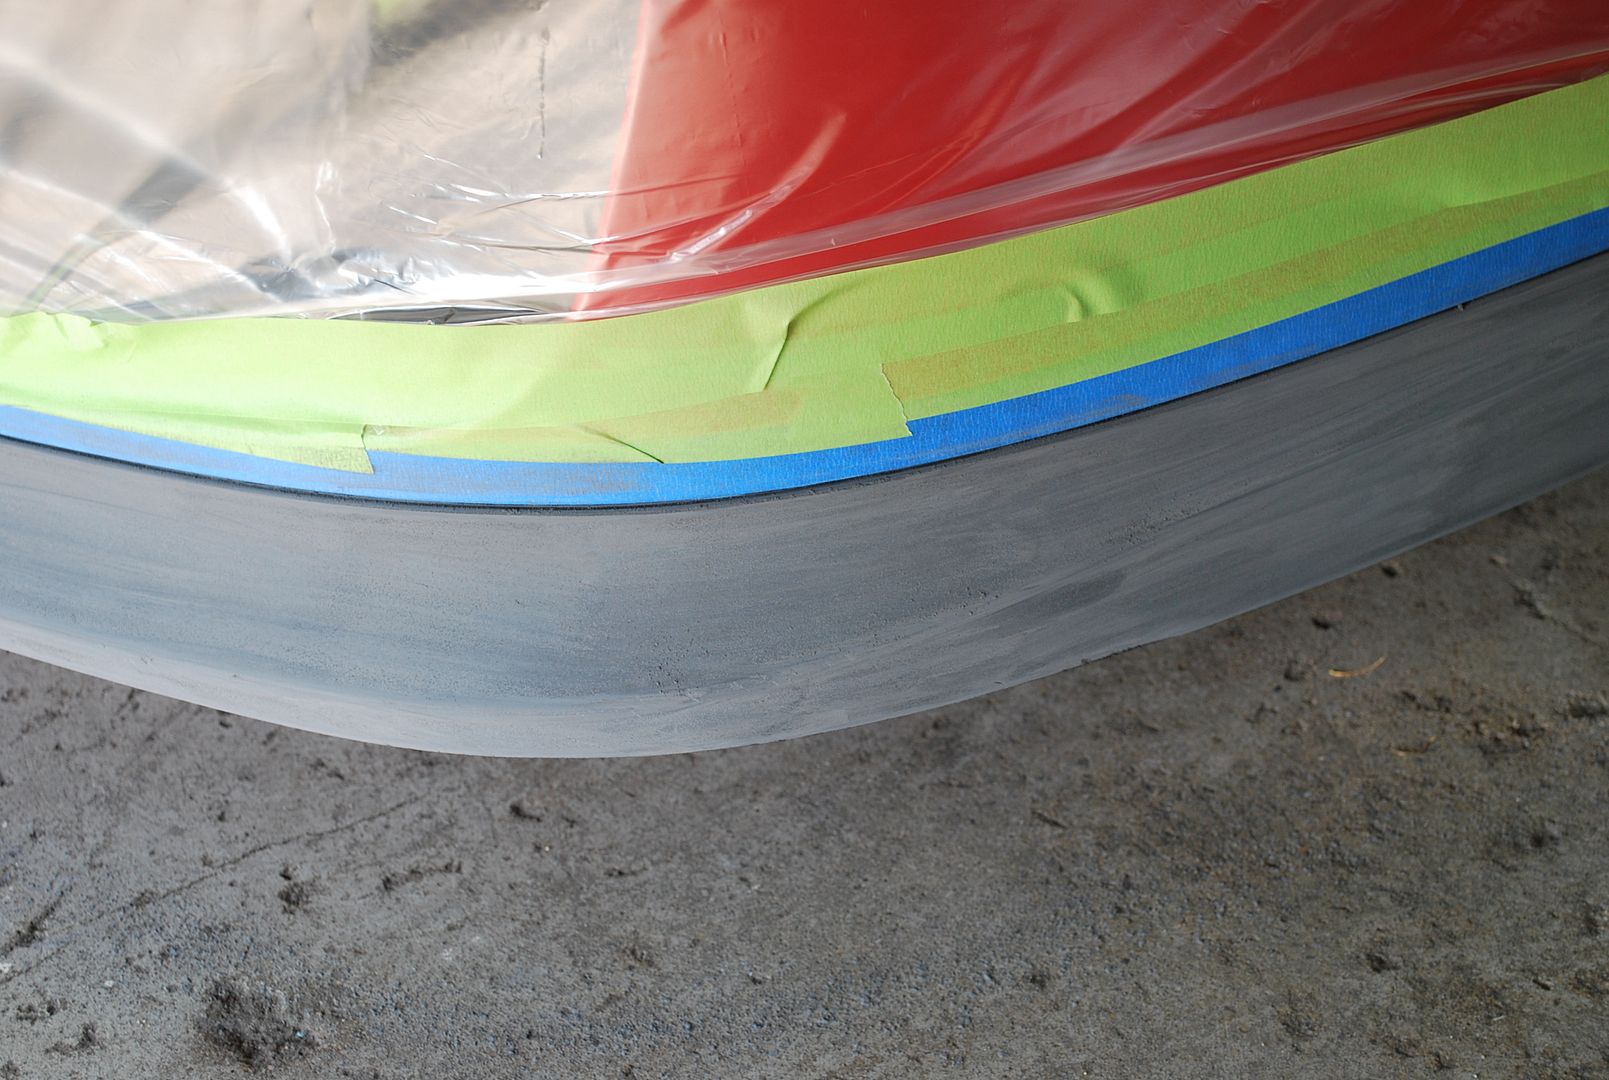
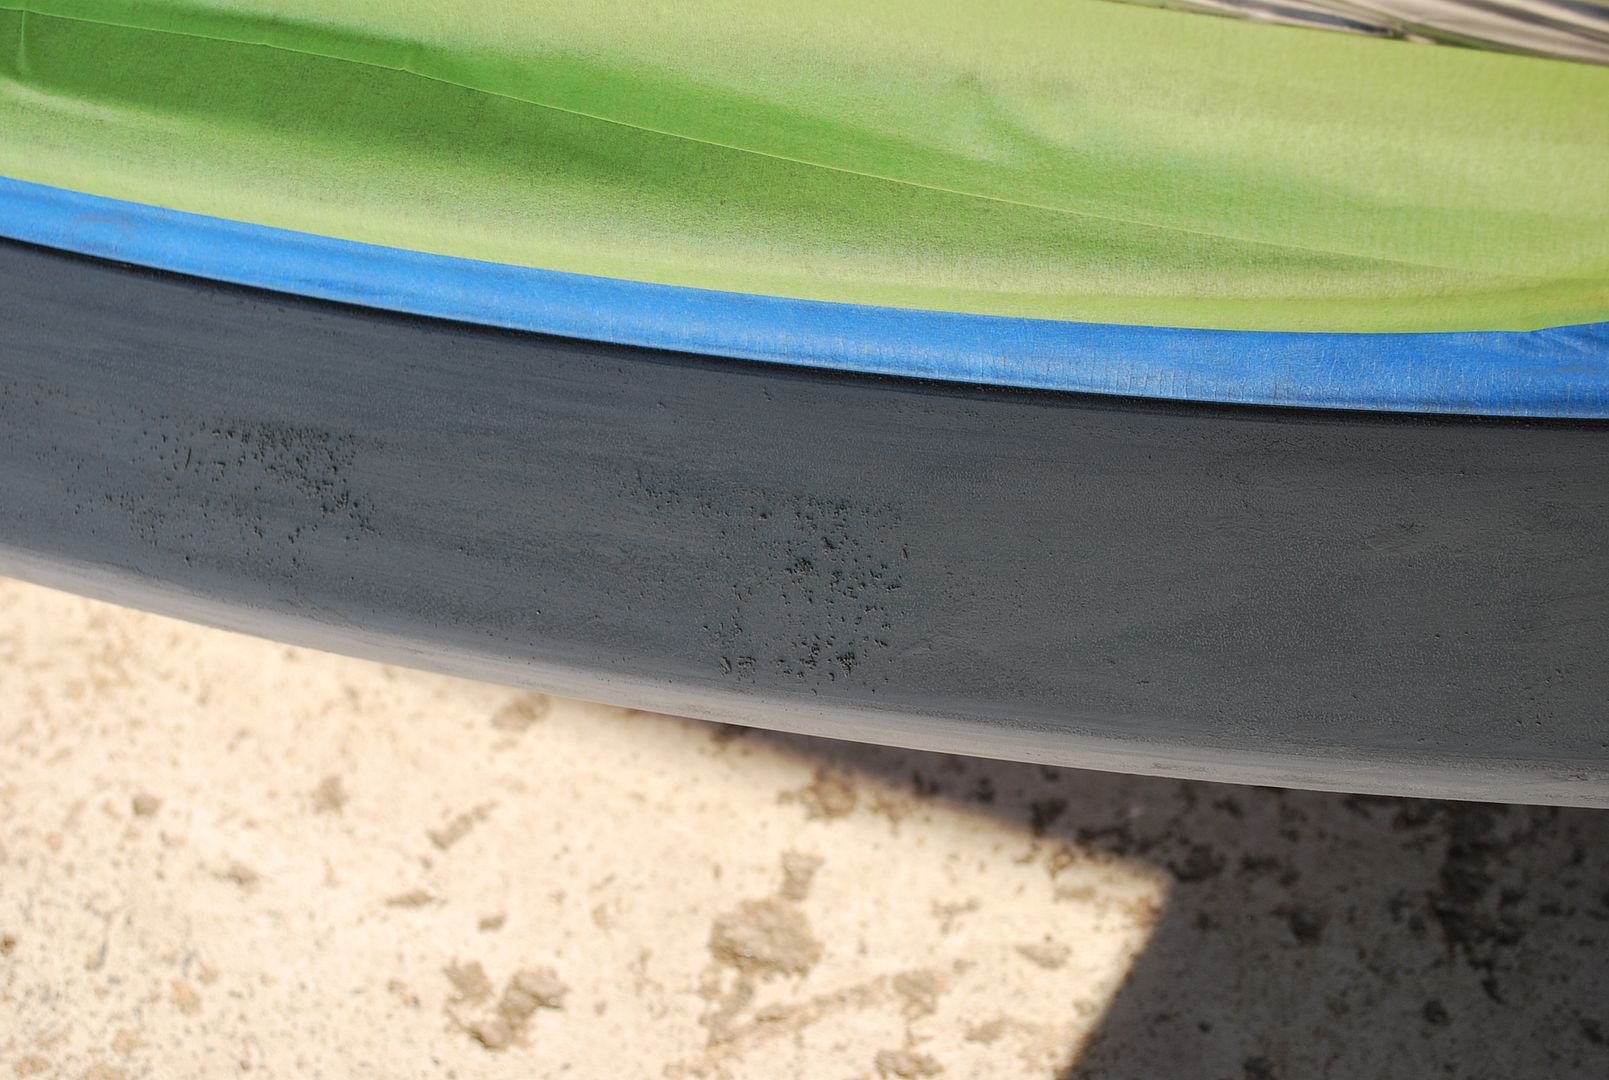
After most of the defects were removed by machine, I sanded the spoiler a second time by hand using 400 grit sandpaper. Since the car is going to be driven at the track often, I decided to go easy on the sanding to make sure there is plenty of surface left if it needs to be repaired again in the future. I decided to leave some minor defects, which I was hoping would be filled in by the coating. Here is the spoiler after sanding out the major defects…
Once all of the sanding was complete, I wiped the surface clean with prep solvent to ensure a perfectly clean surface. I applied 3 thin coats to the spoiler with about 5 minutes between coats. It went on very nice and gave the spoiler a flat black look. To be honest, it was not the look I was after (I wanted a satin finish), but decided to leave it because the owner needed the car the following day.
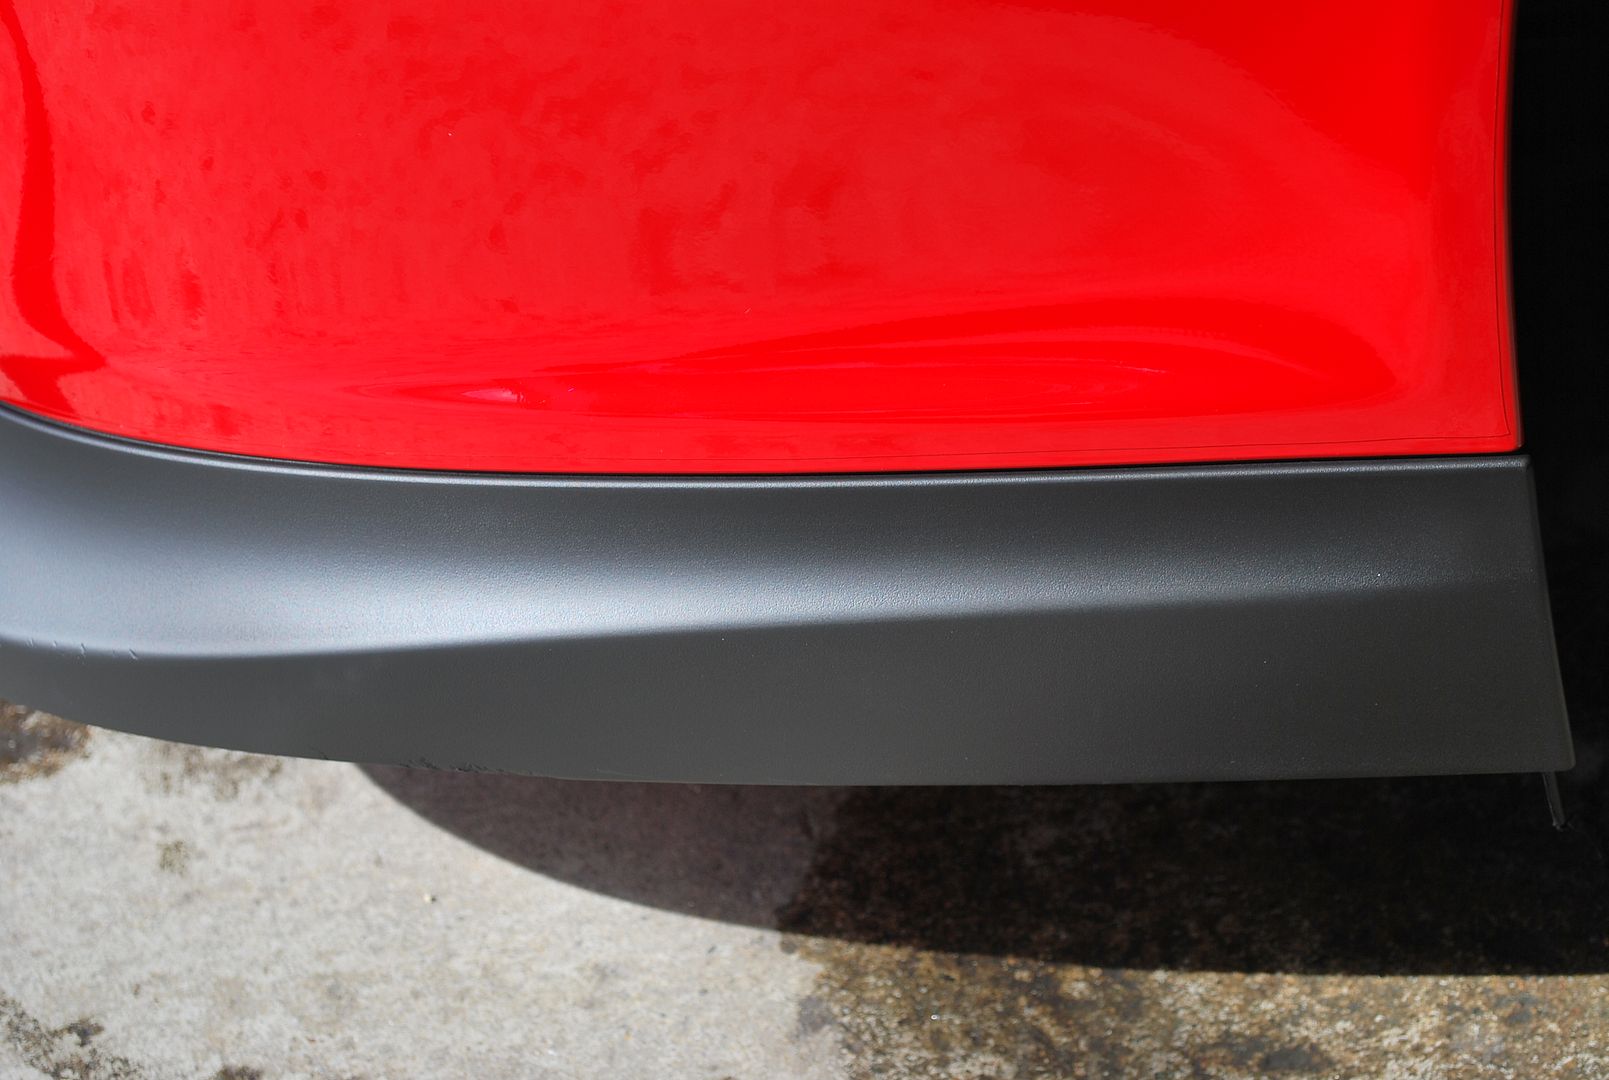
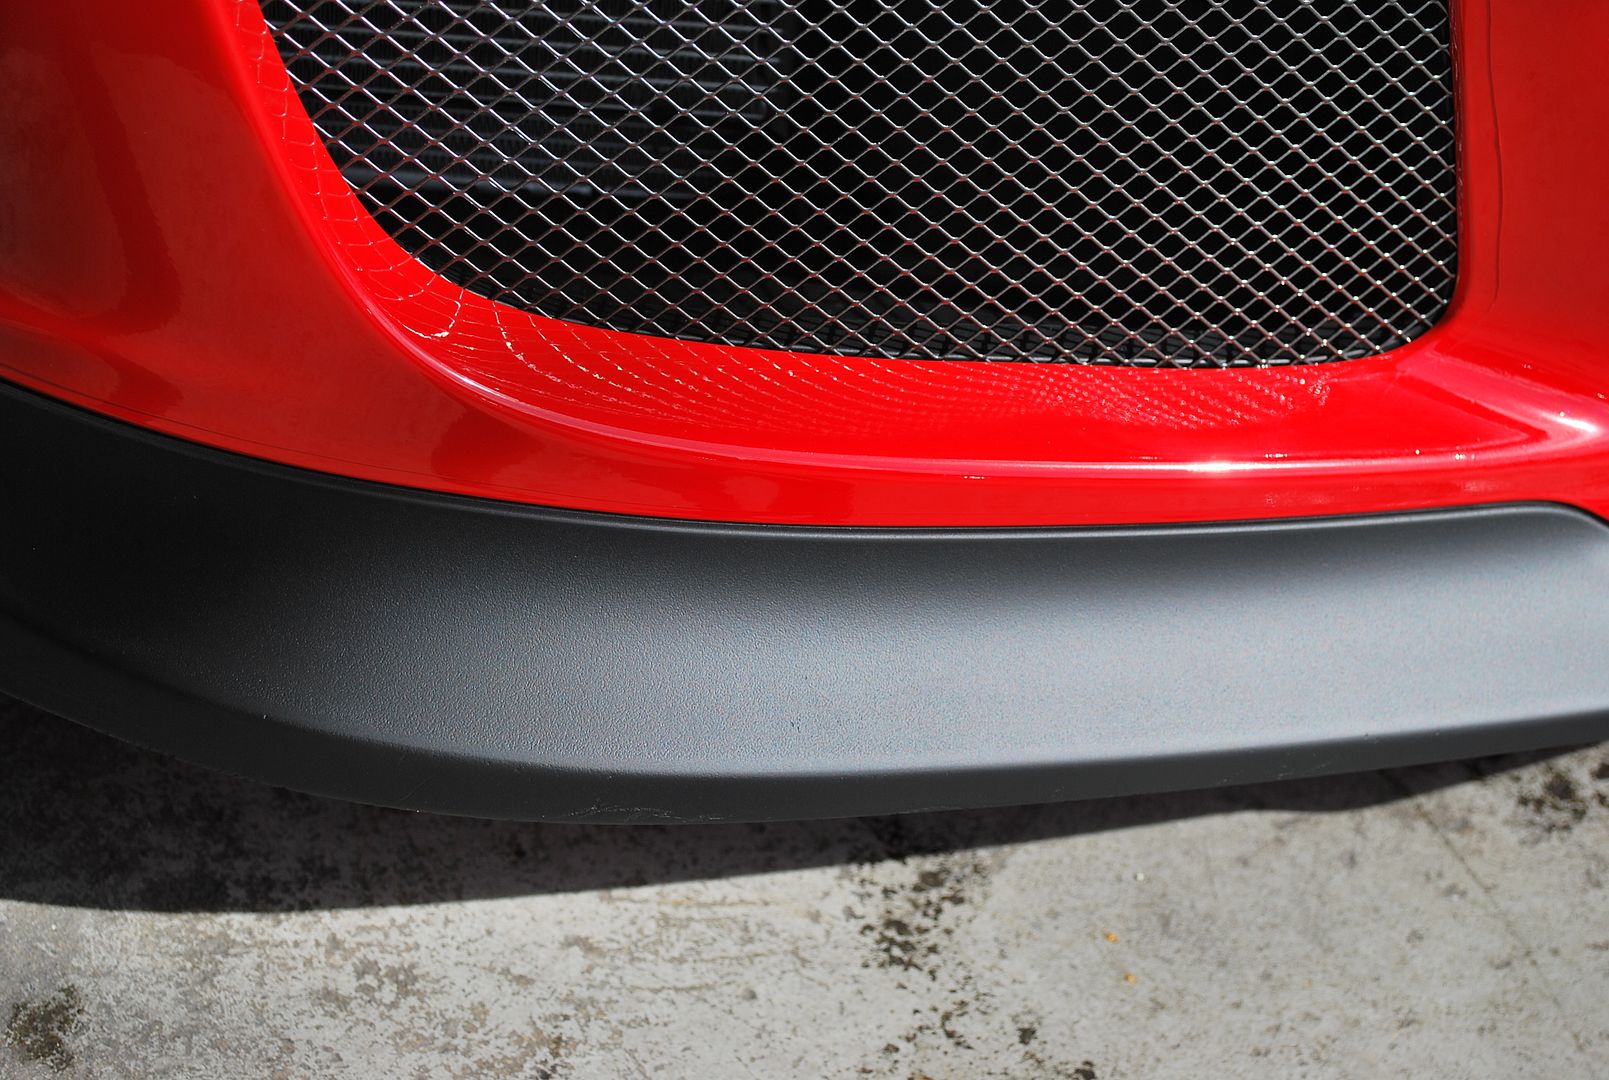
Here is what it looked like after the repair…

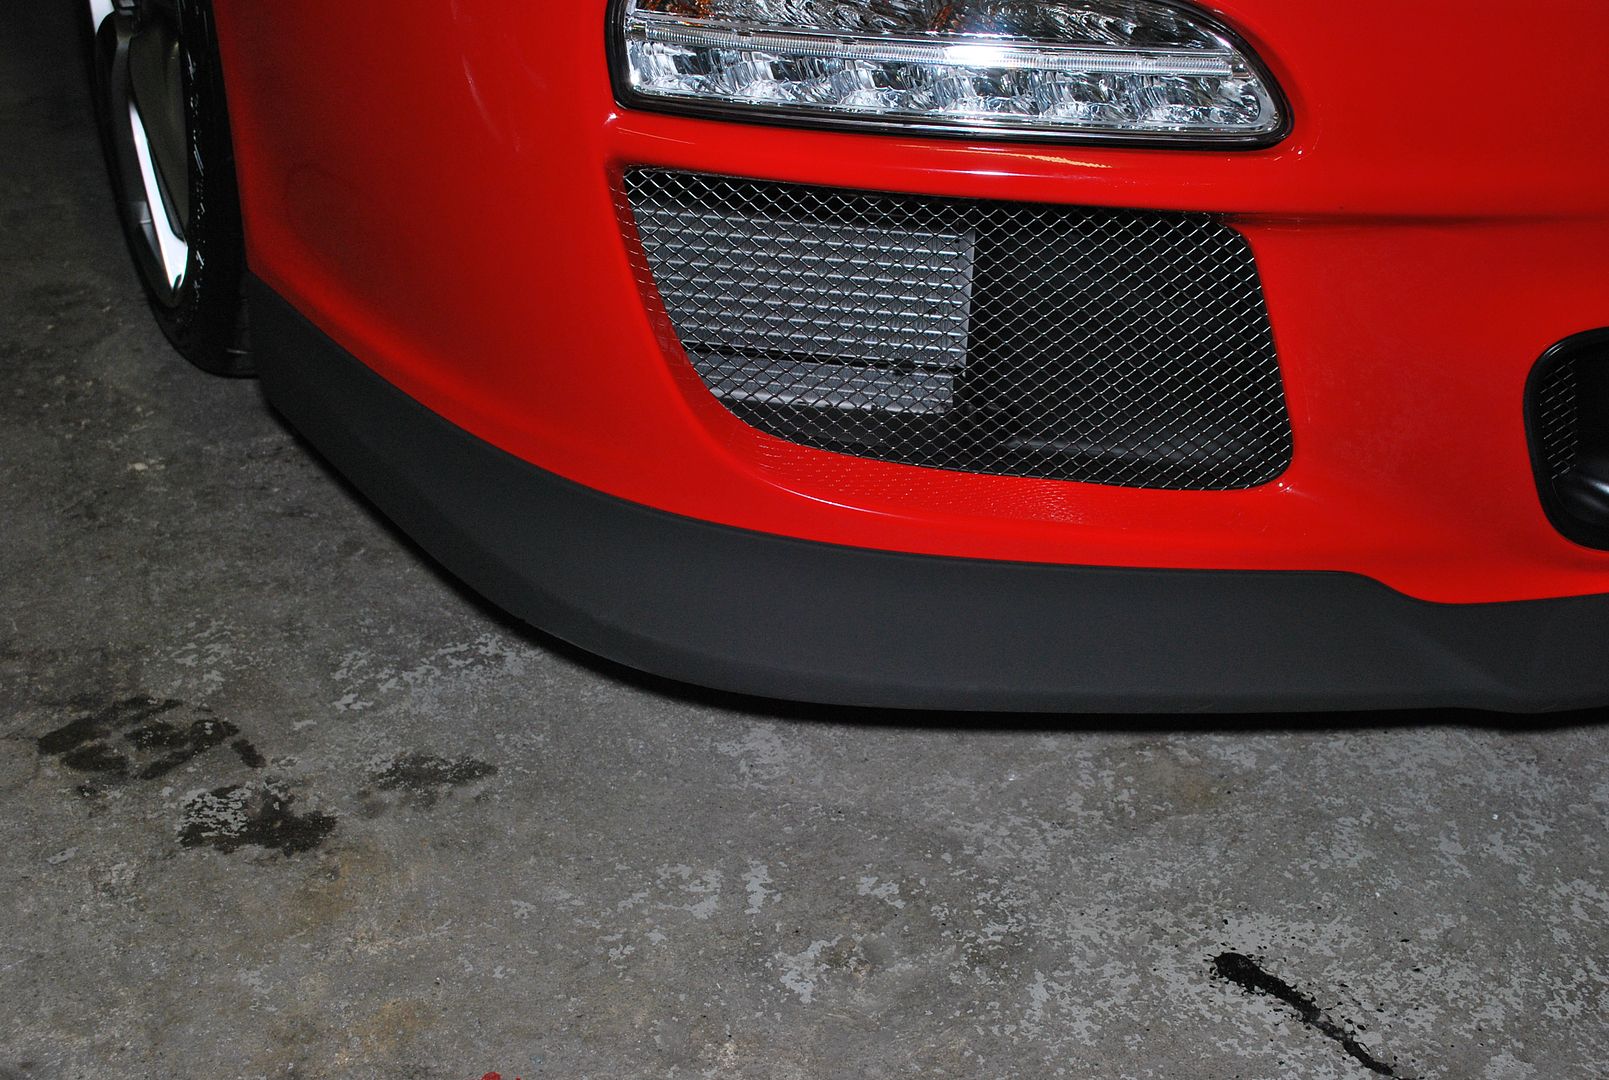
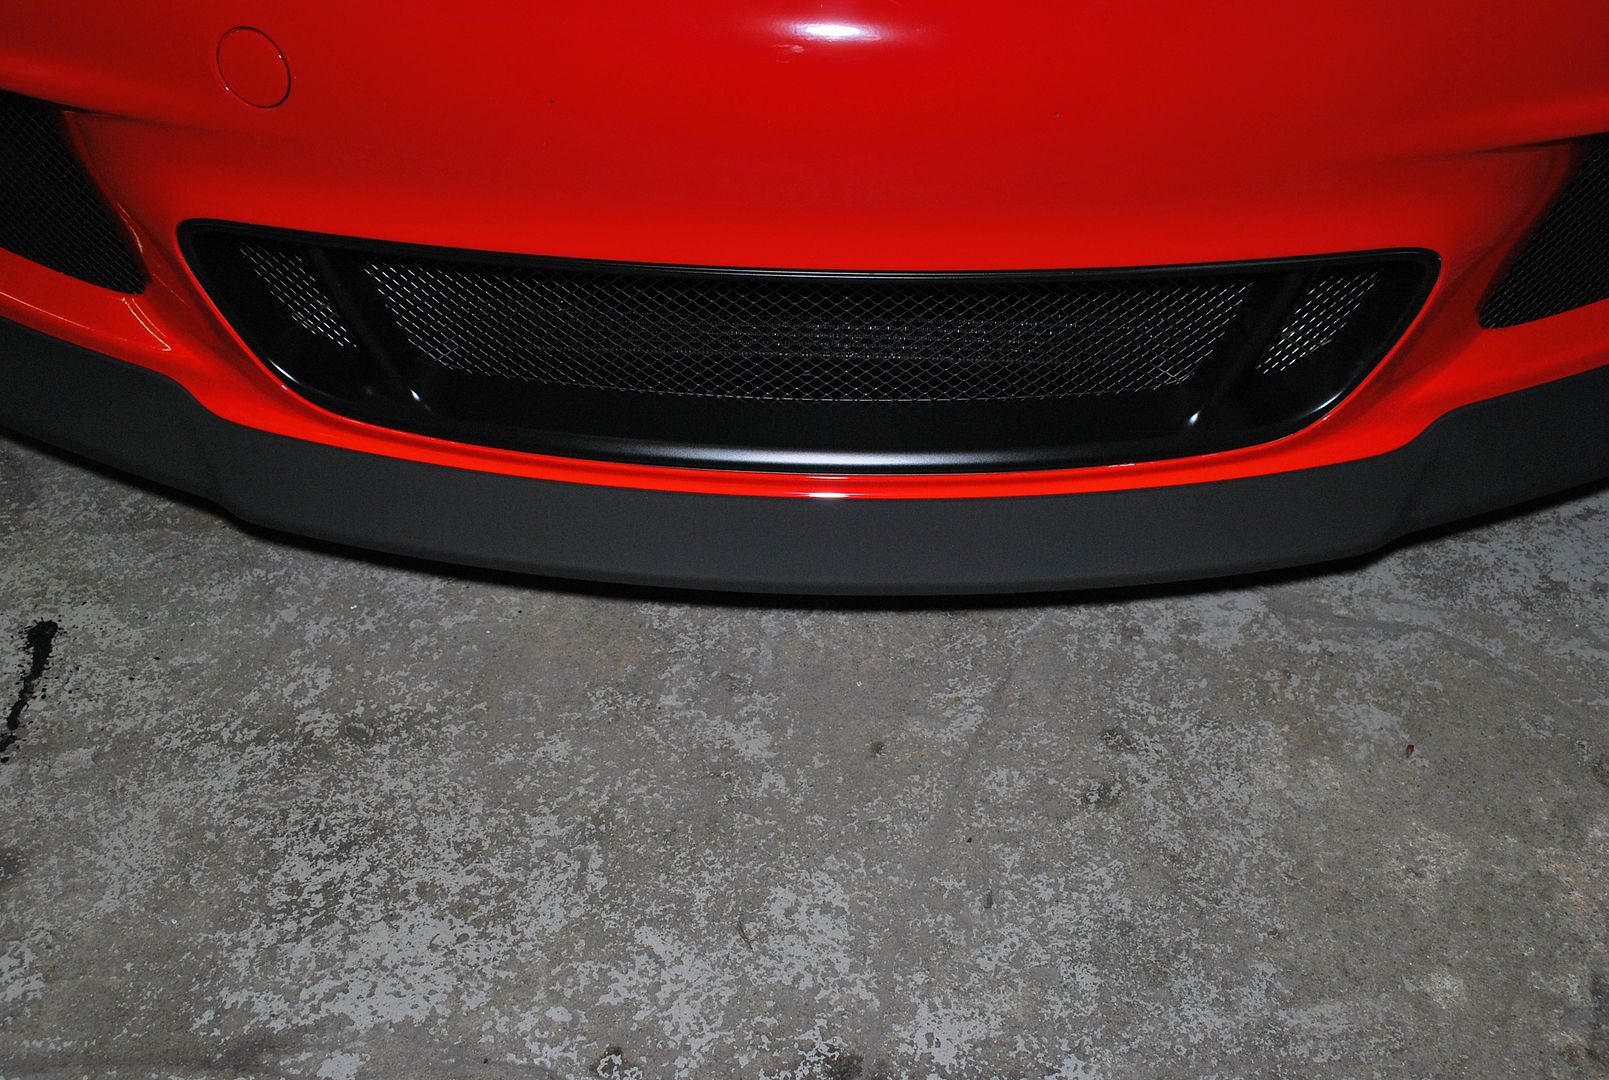
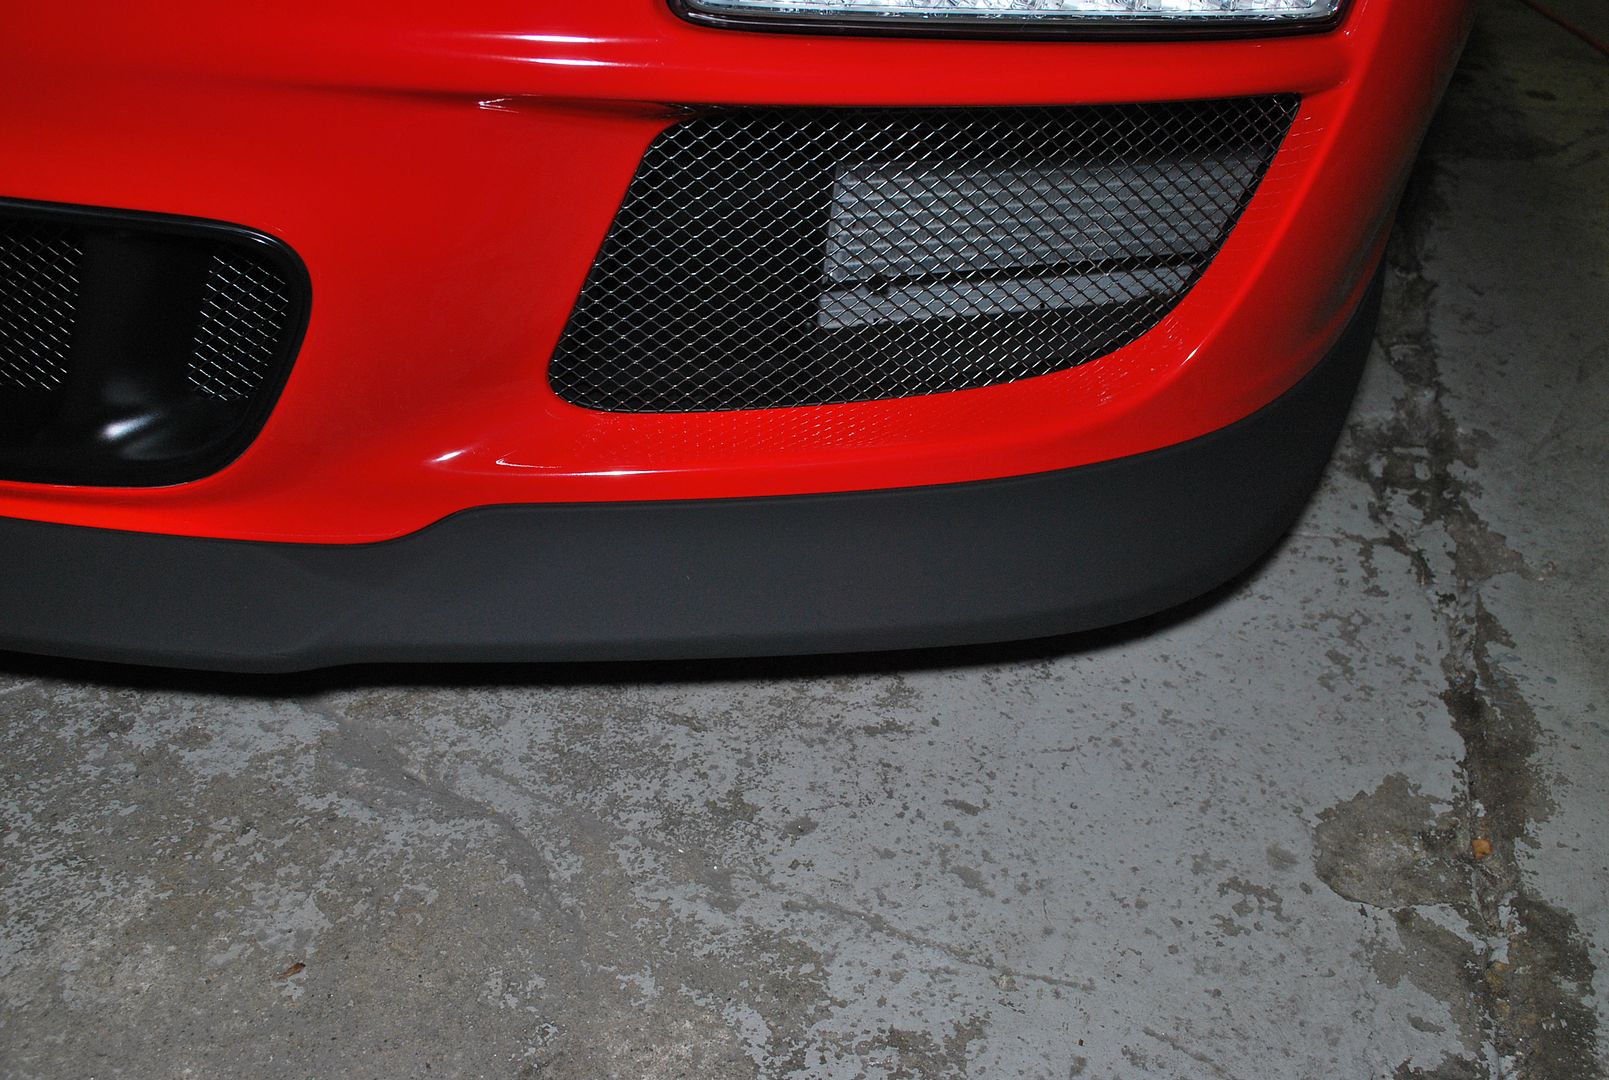
As you can see, the repair came out great, but I was not happy with the sheen of the coating. I decided to leave it for the time being and told the owner I would give it another shot the next time the car was in for a detail.
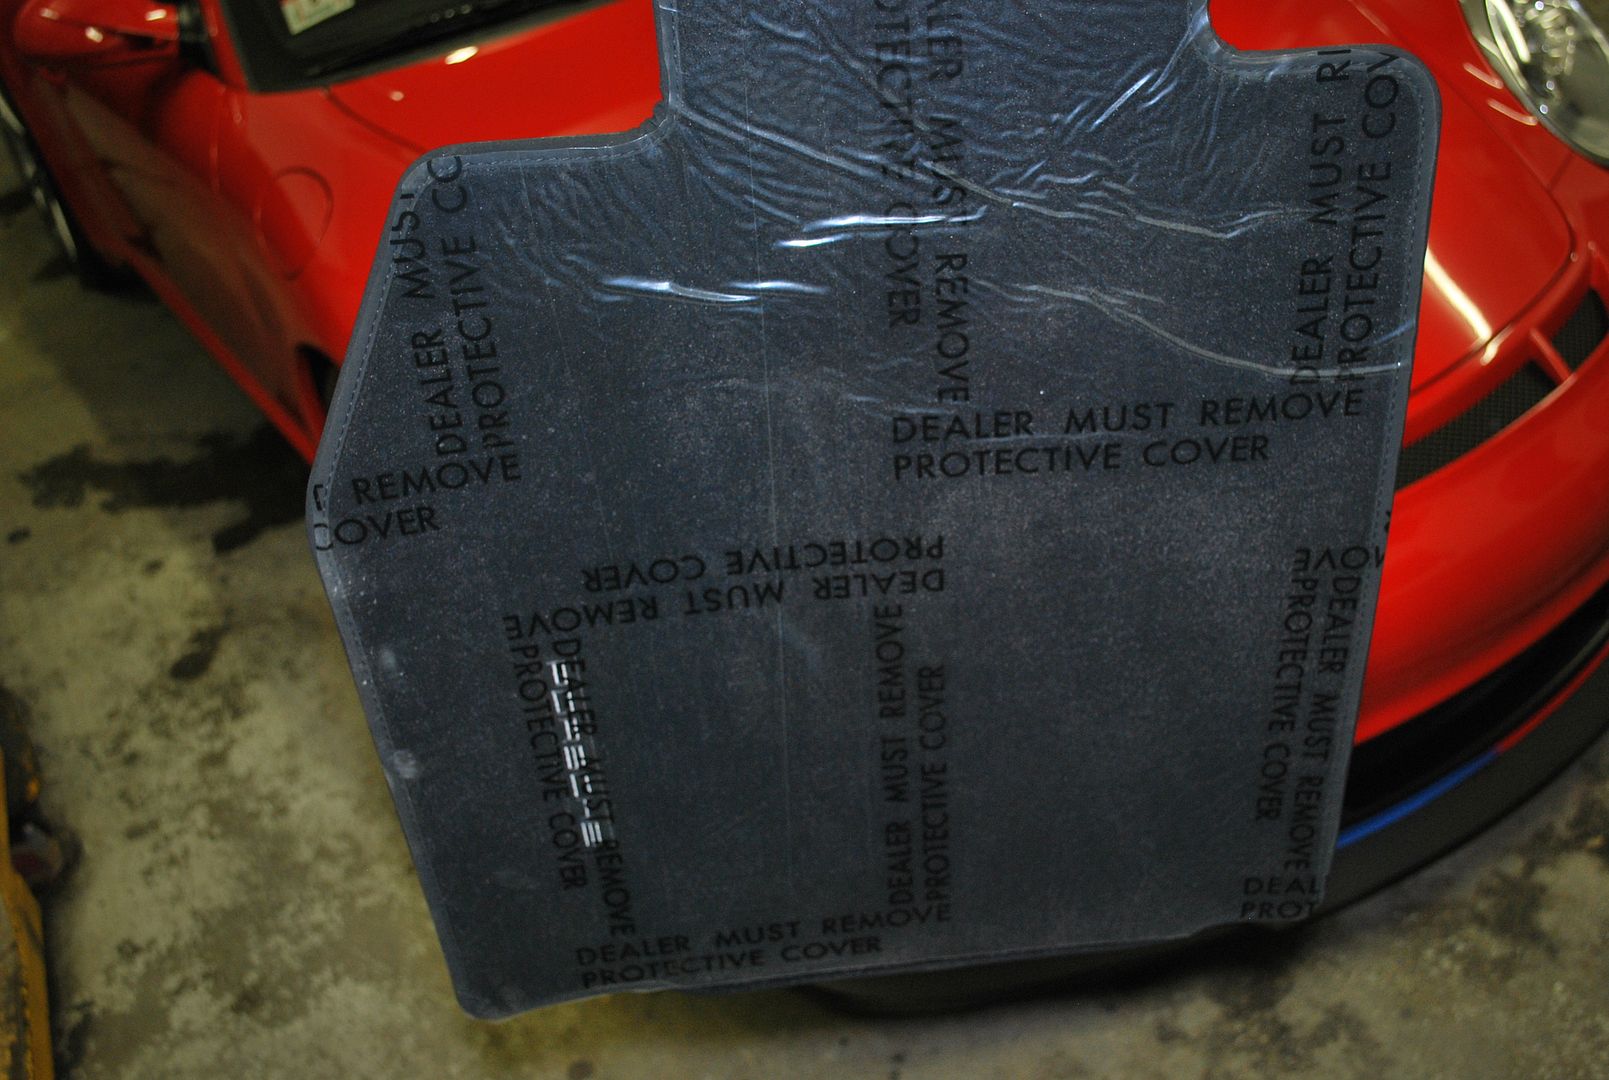
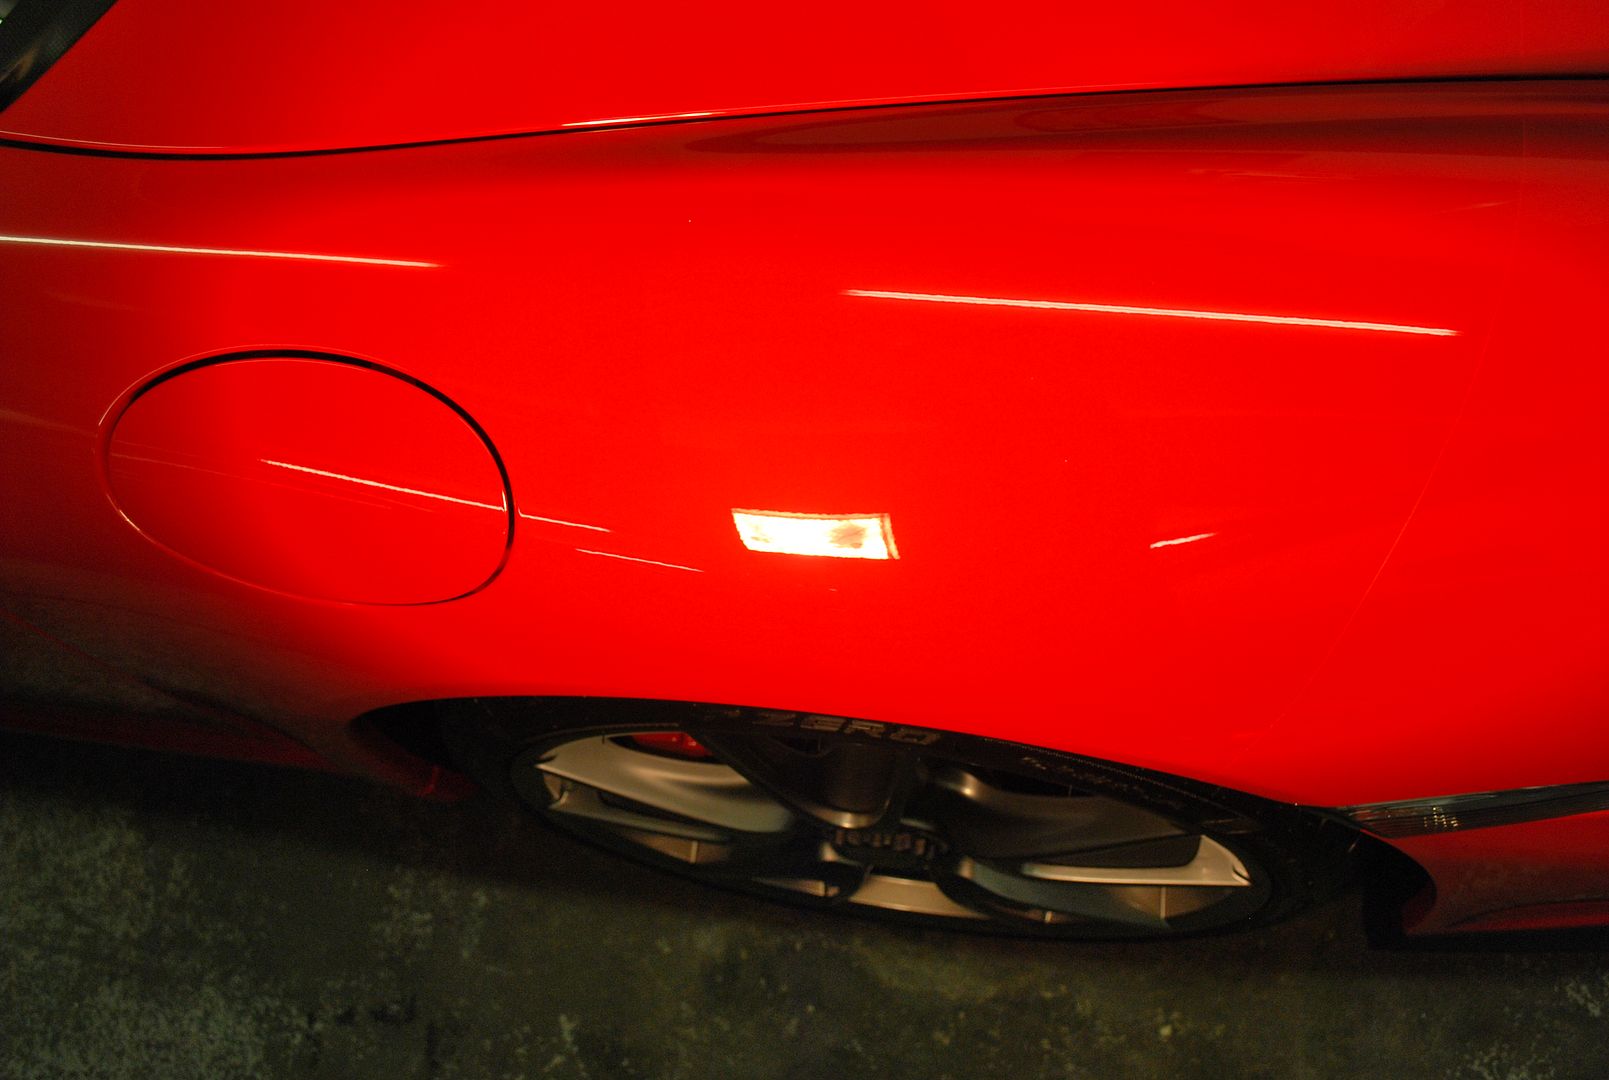
After the spoiler repair was complete, I inspected the rest of the car for any imperfections before the application of a paint sealant. I discovered some leftover cosmoline residue on some of the panels, which the dealer forgot to remove as you can see below. To remove the adhesive, I used a microfiber towel saturated with acrylic solvent, which worked great.
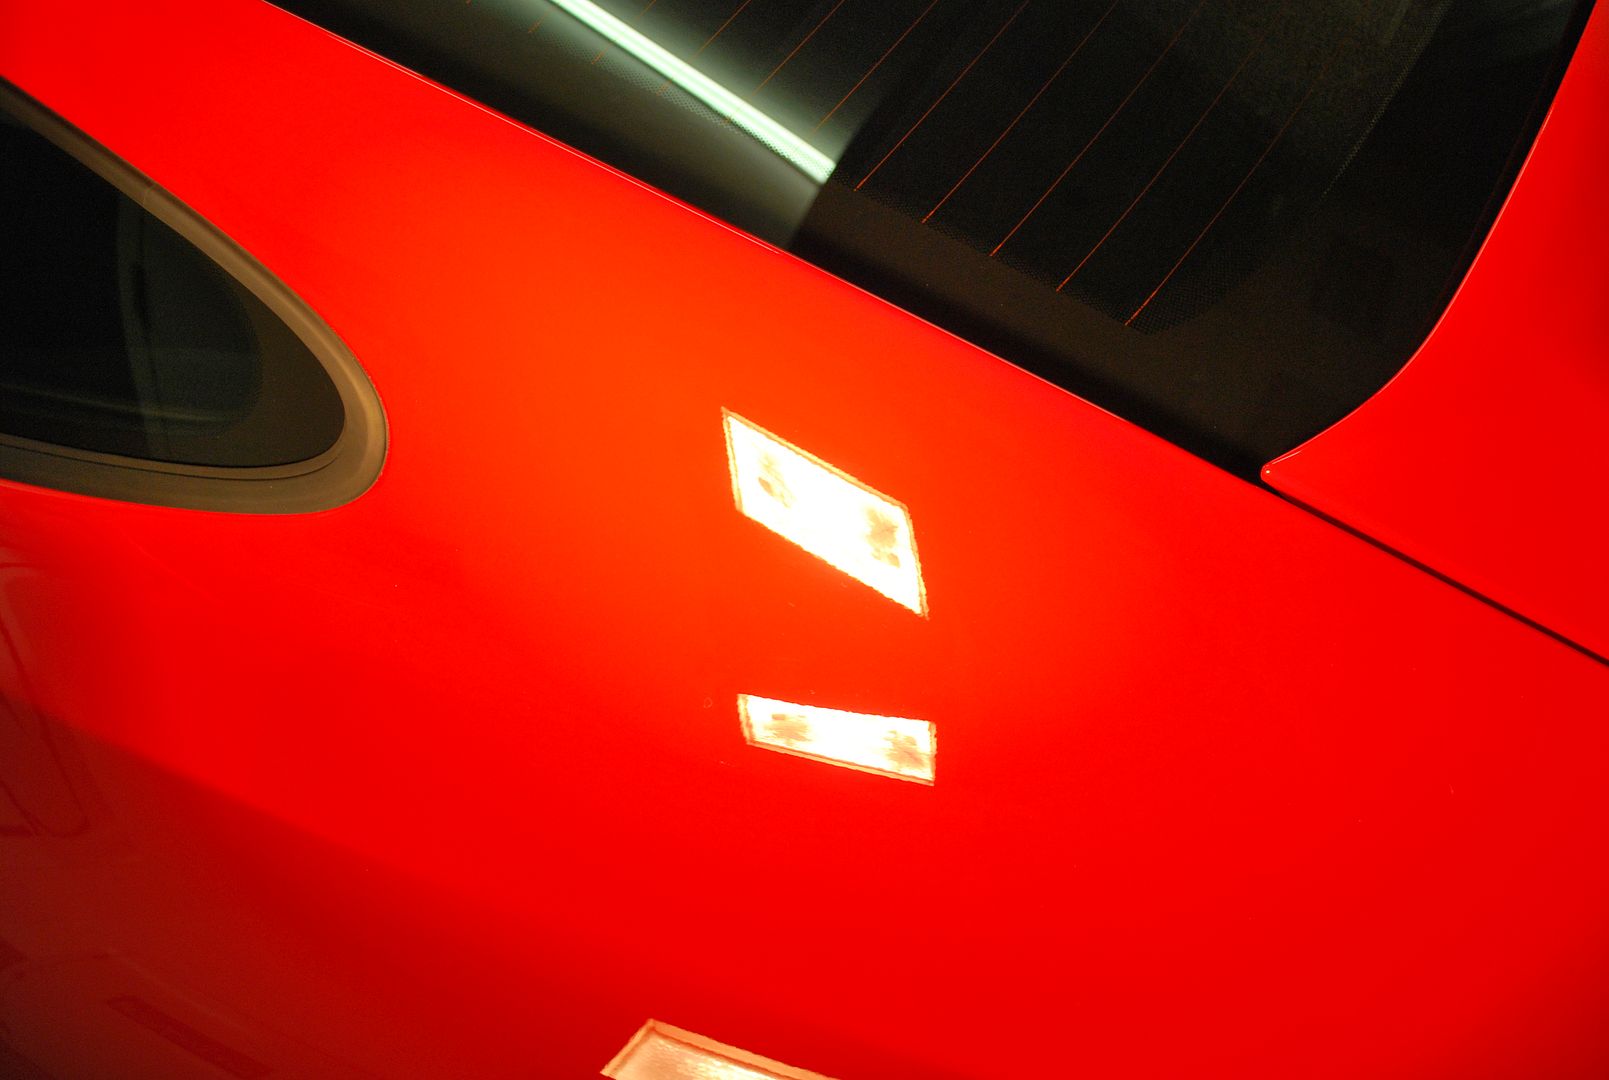
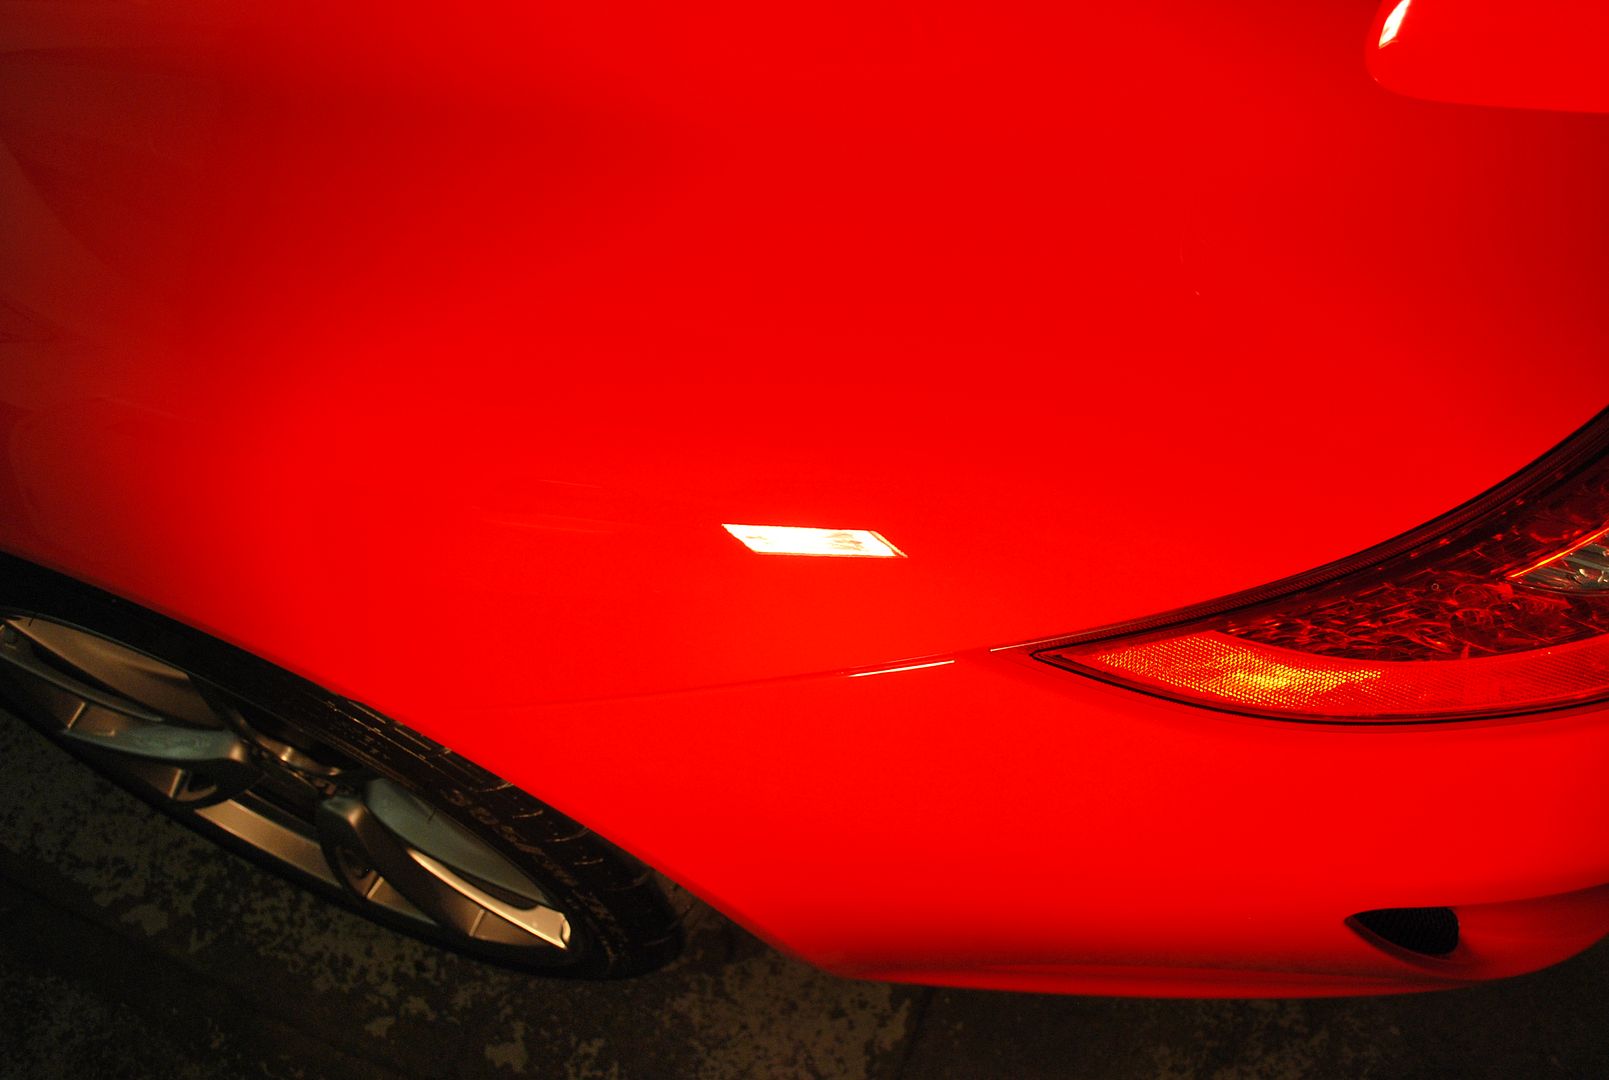
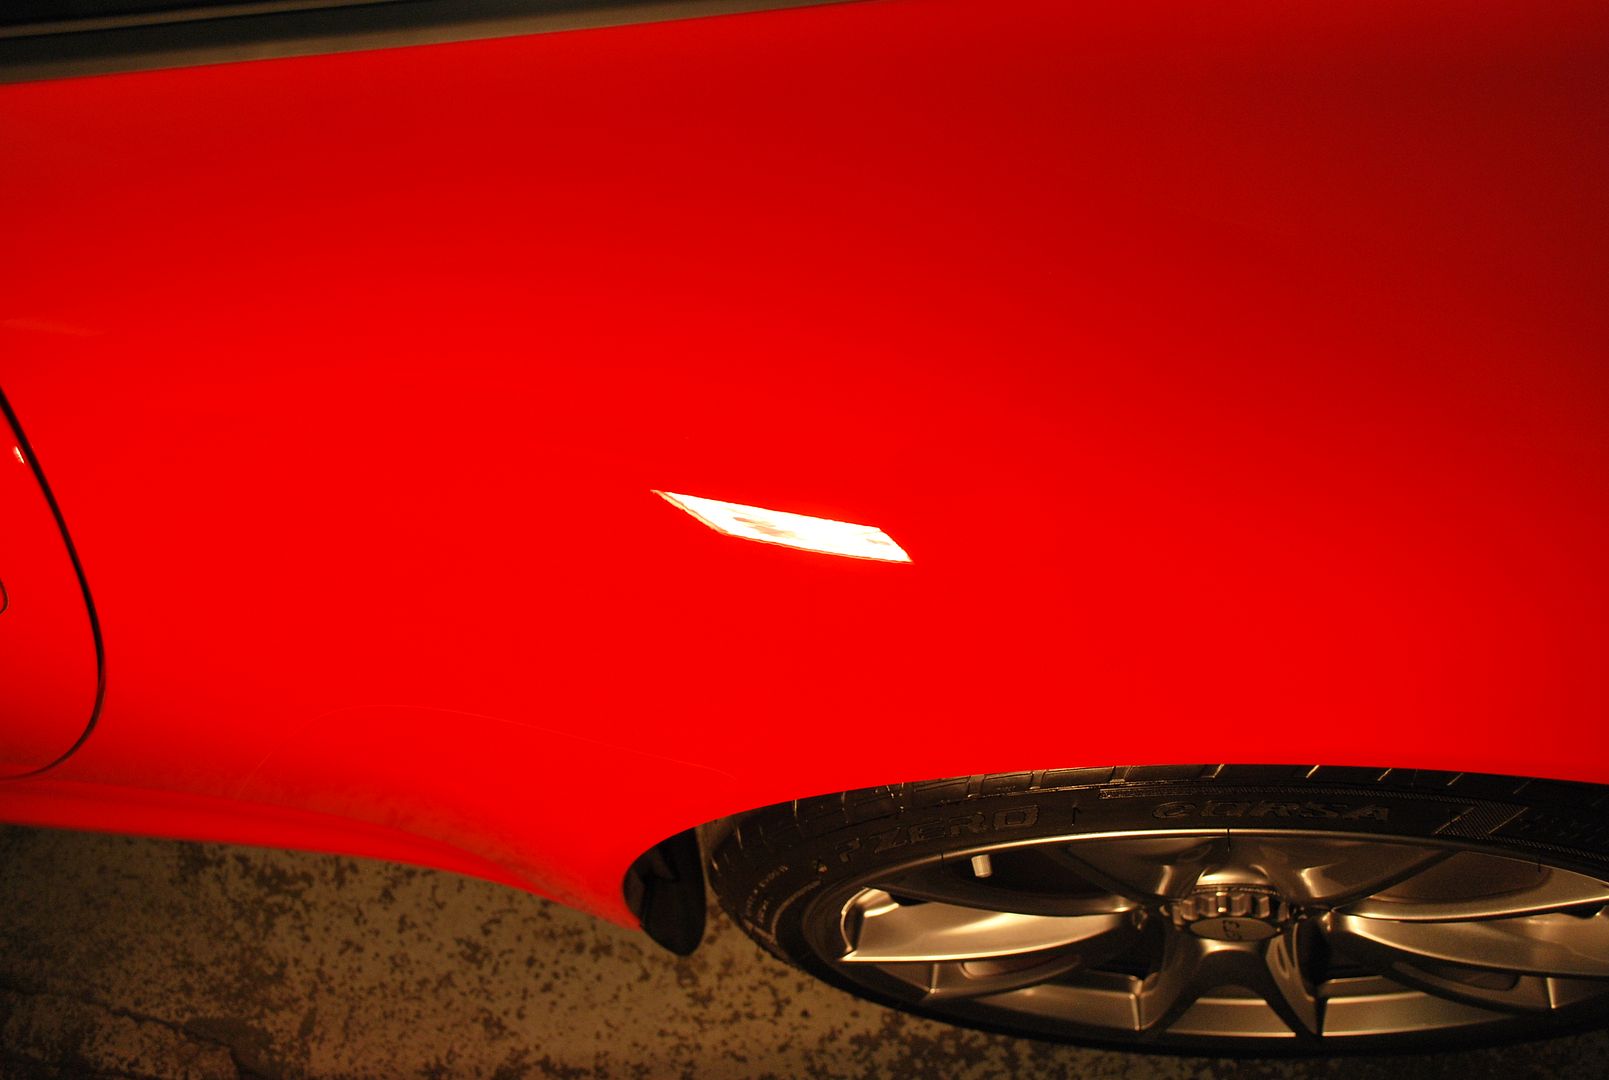
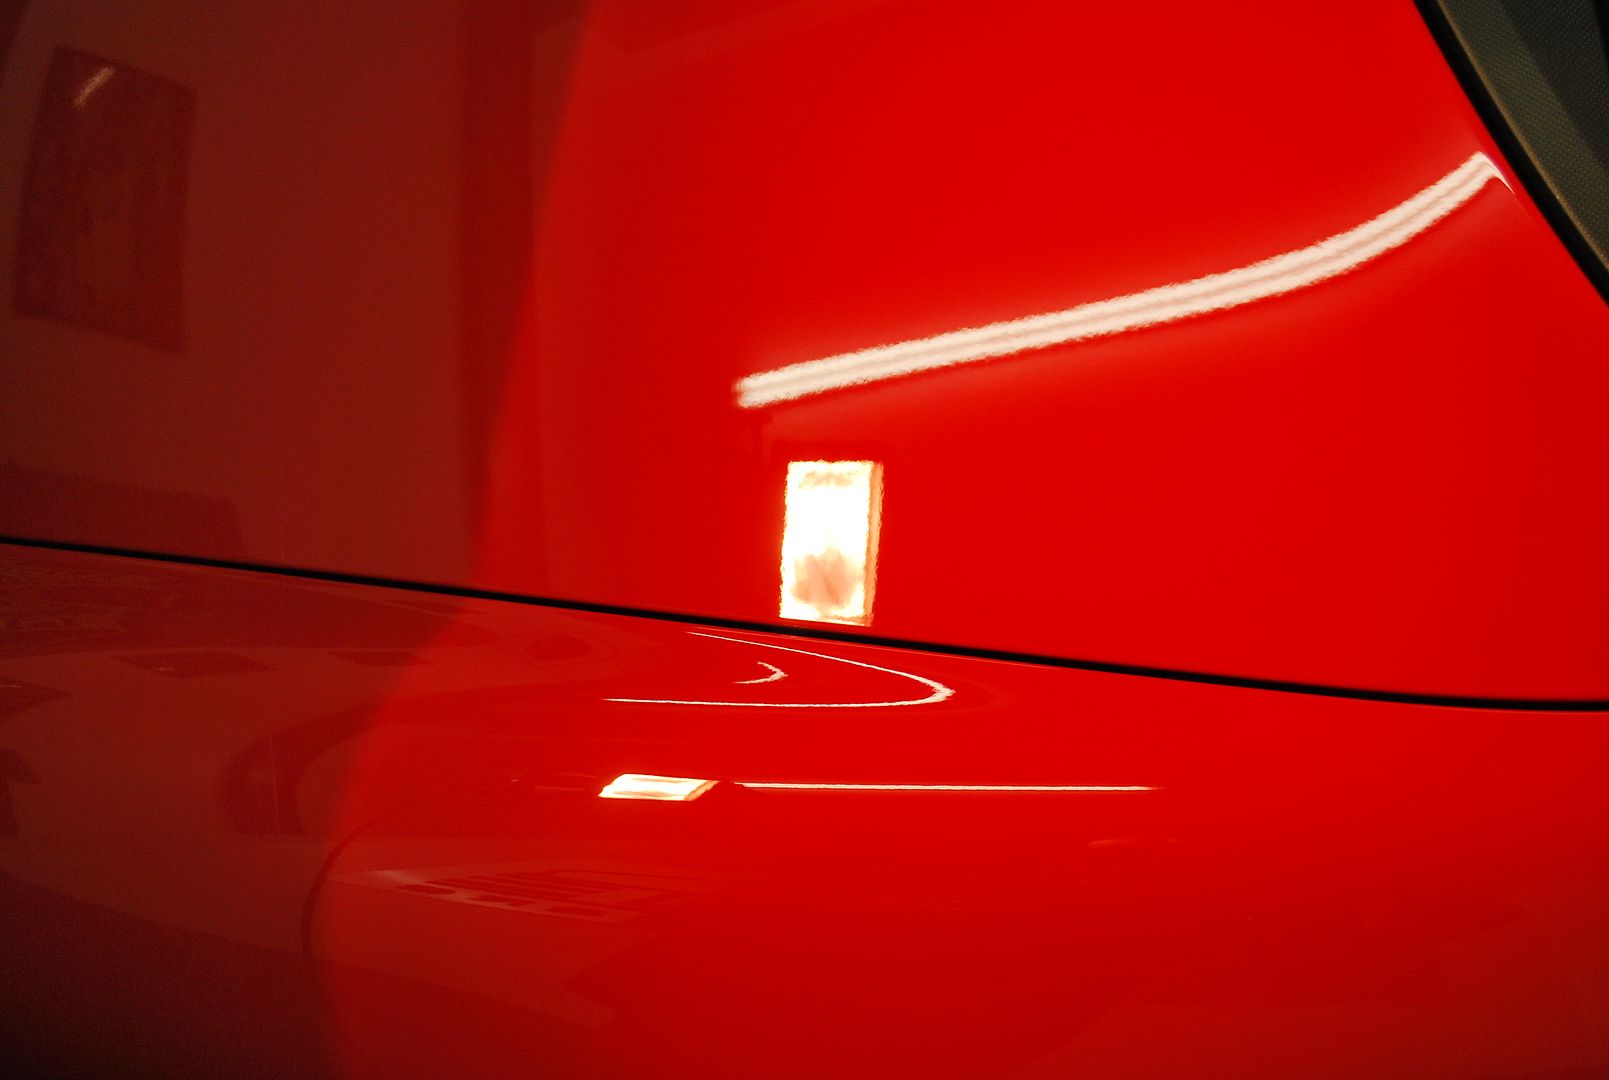
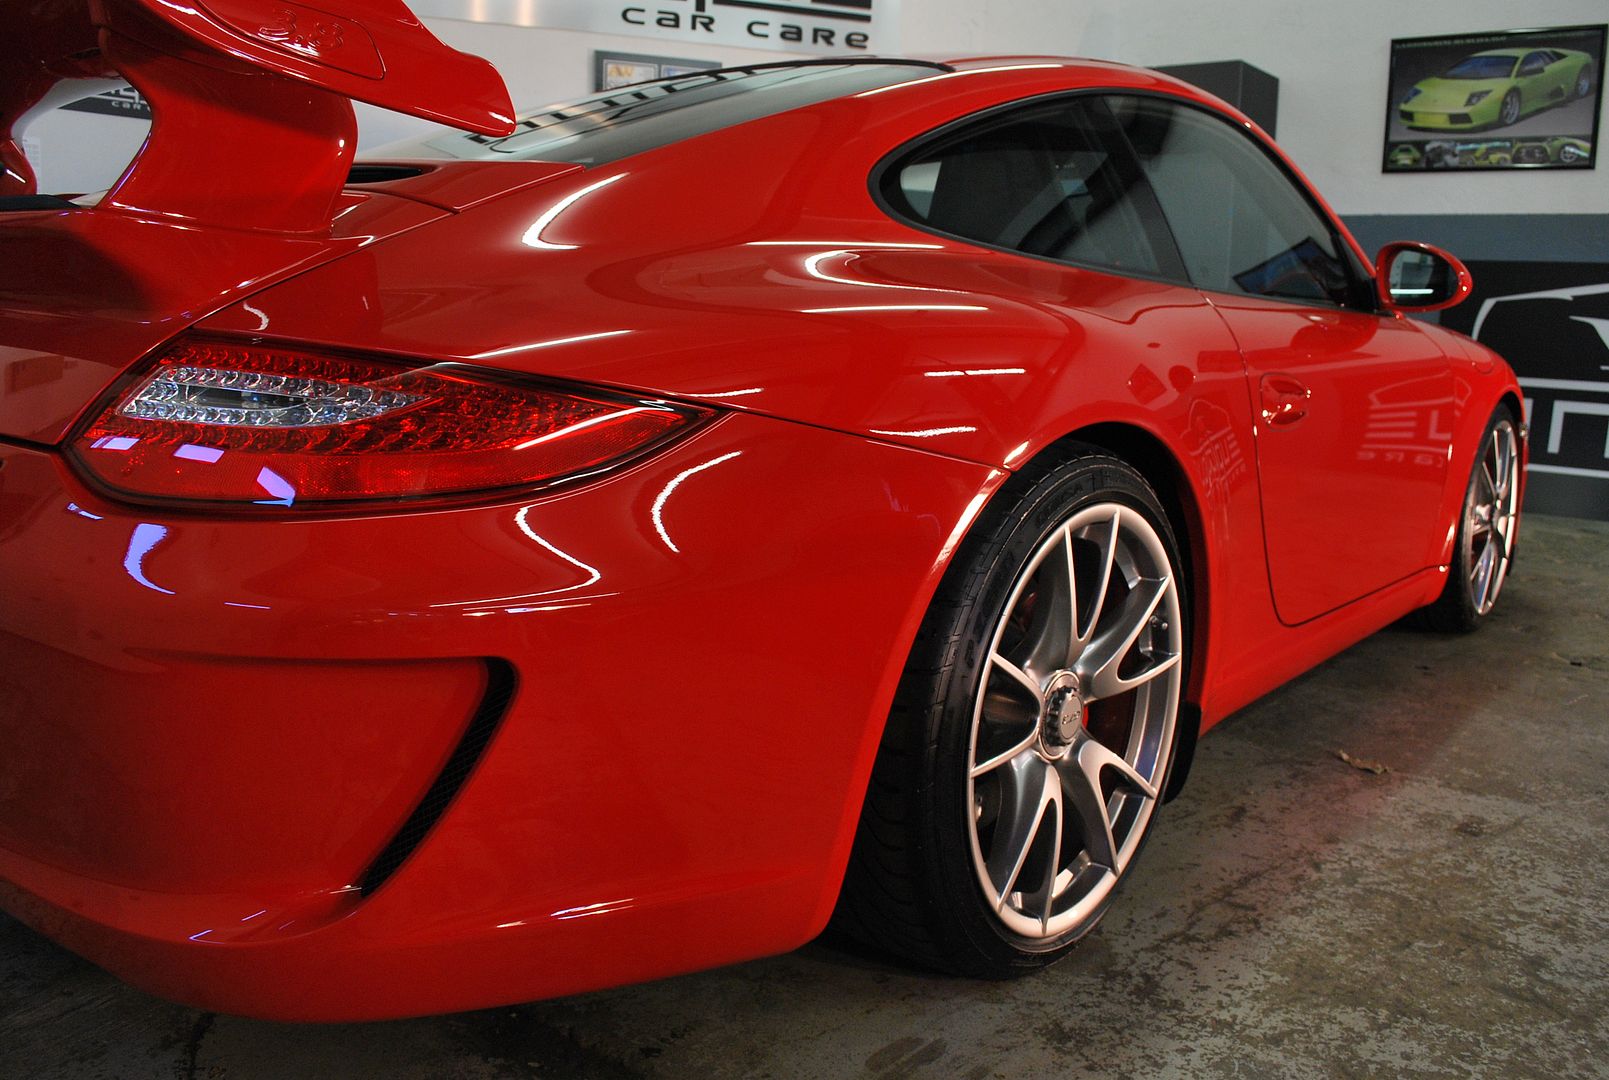
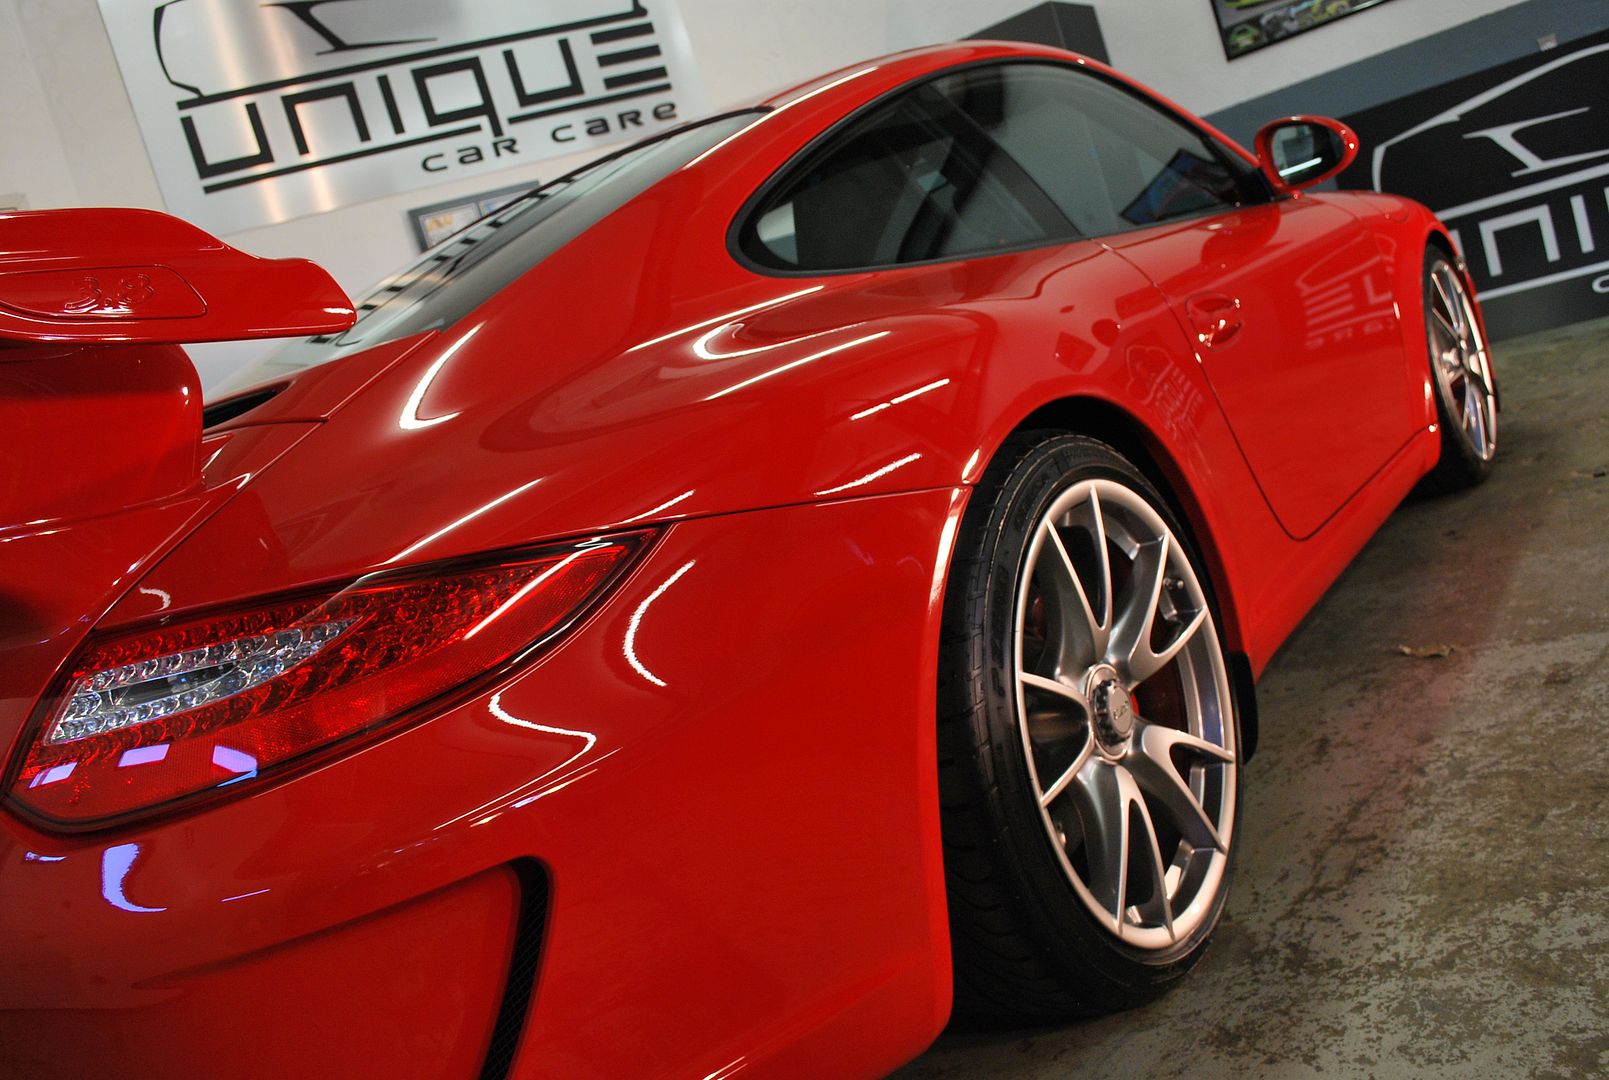
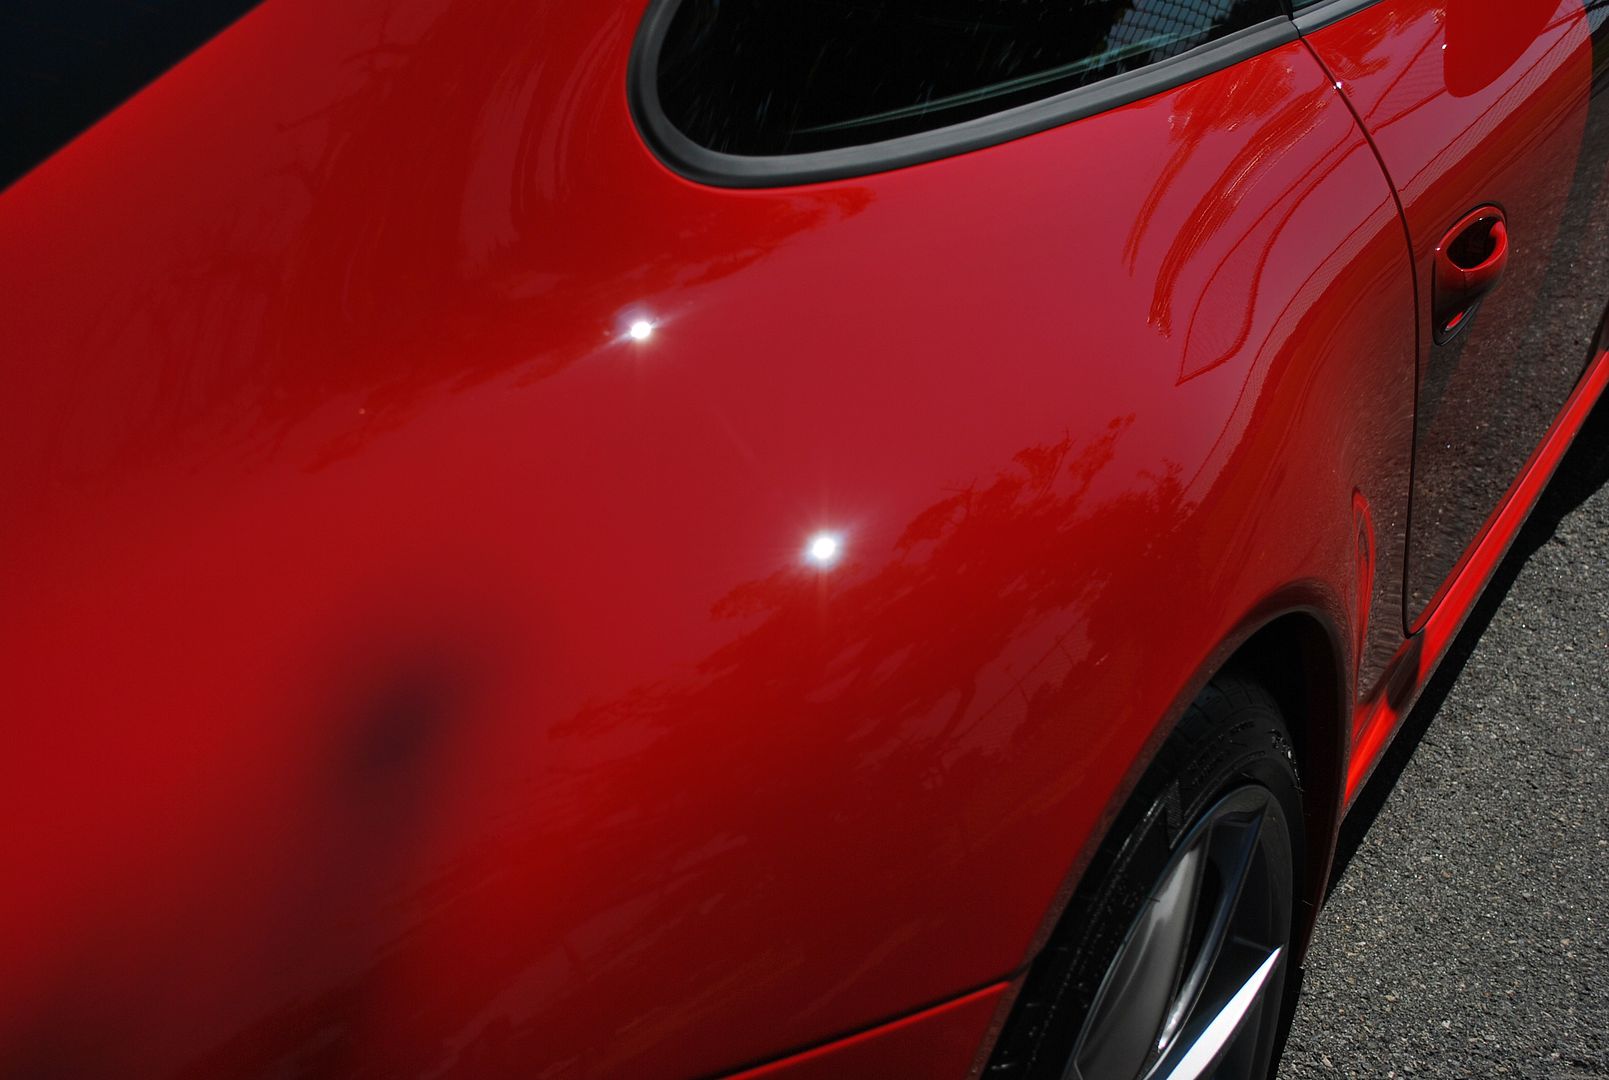
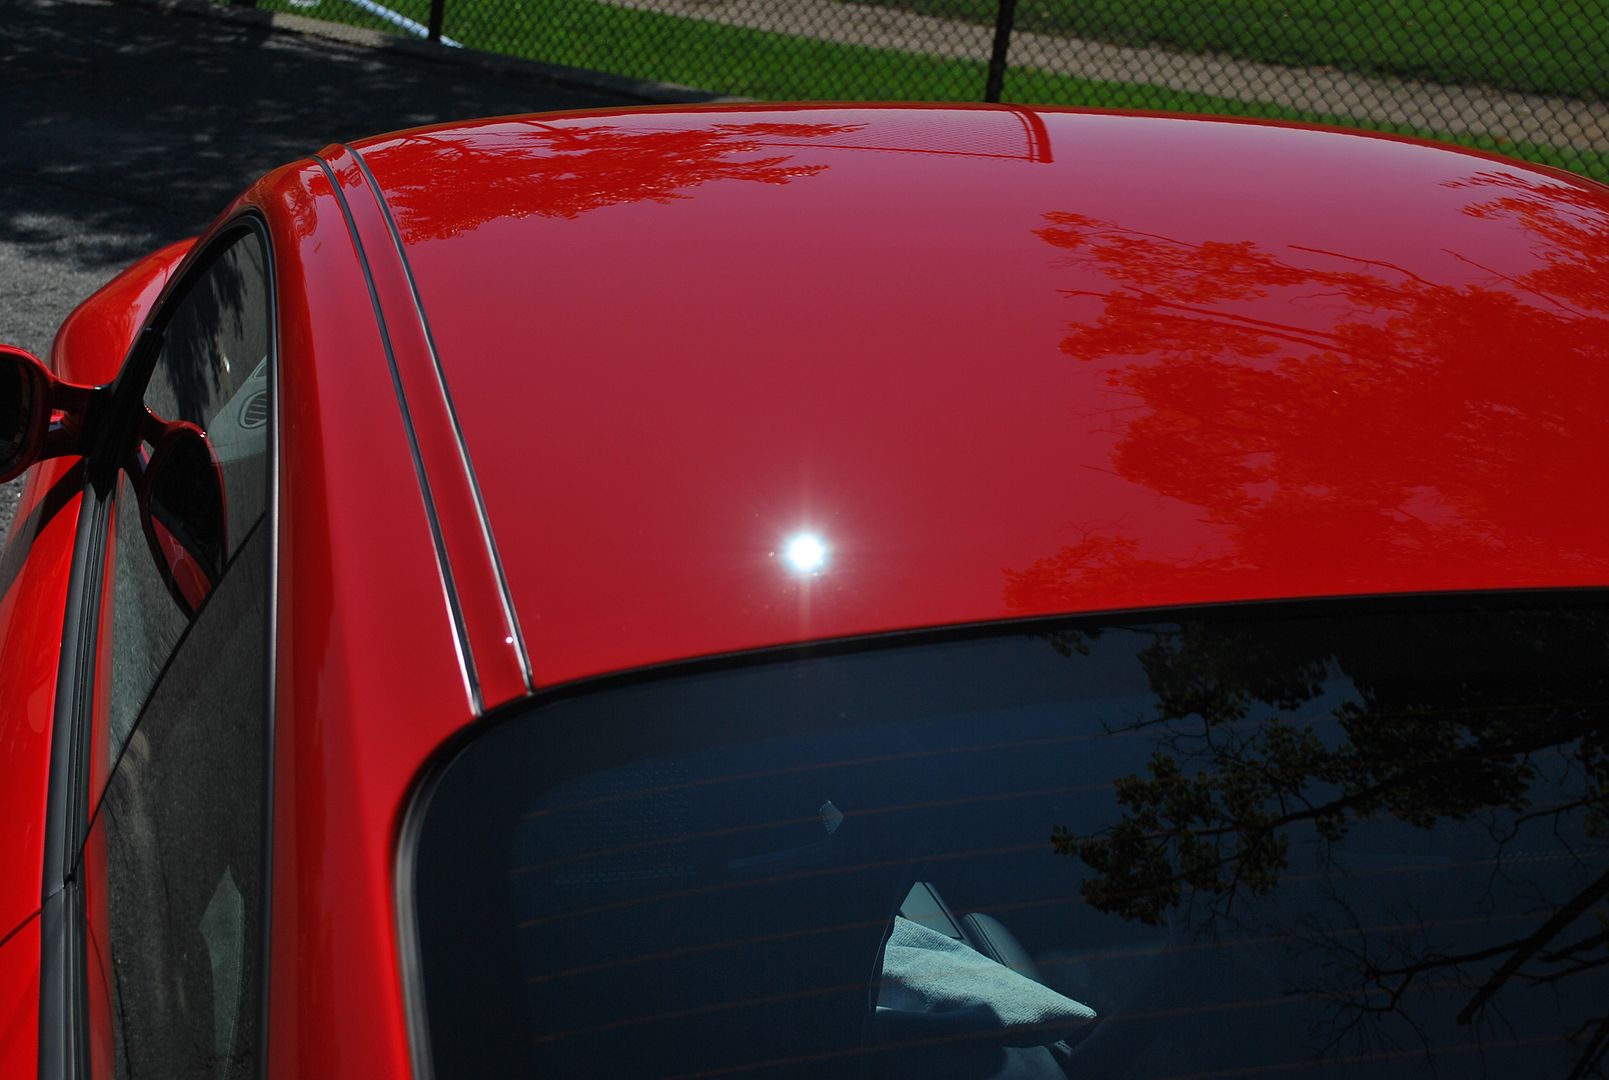
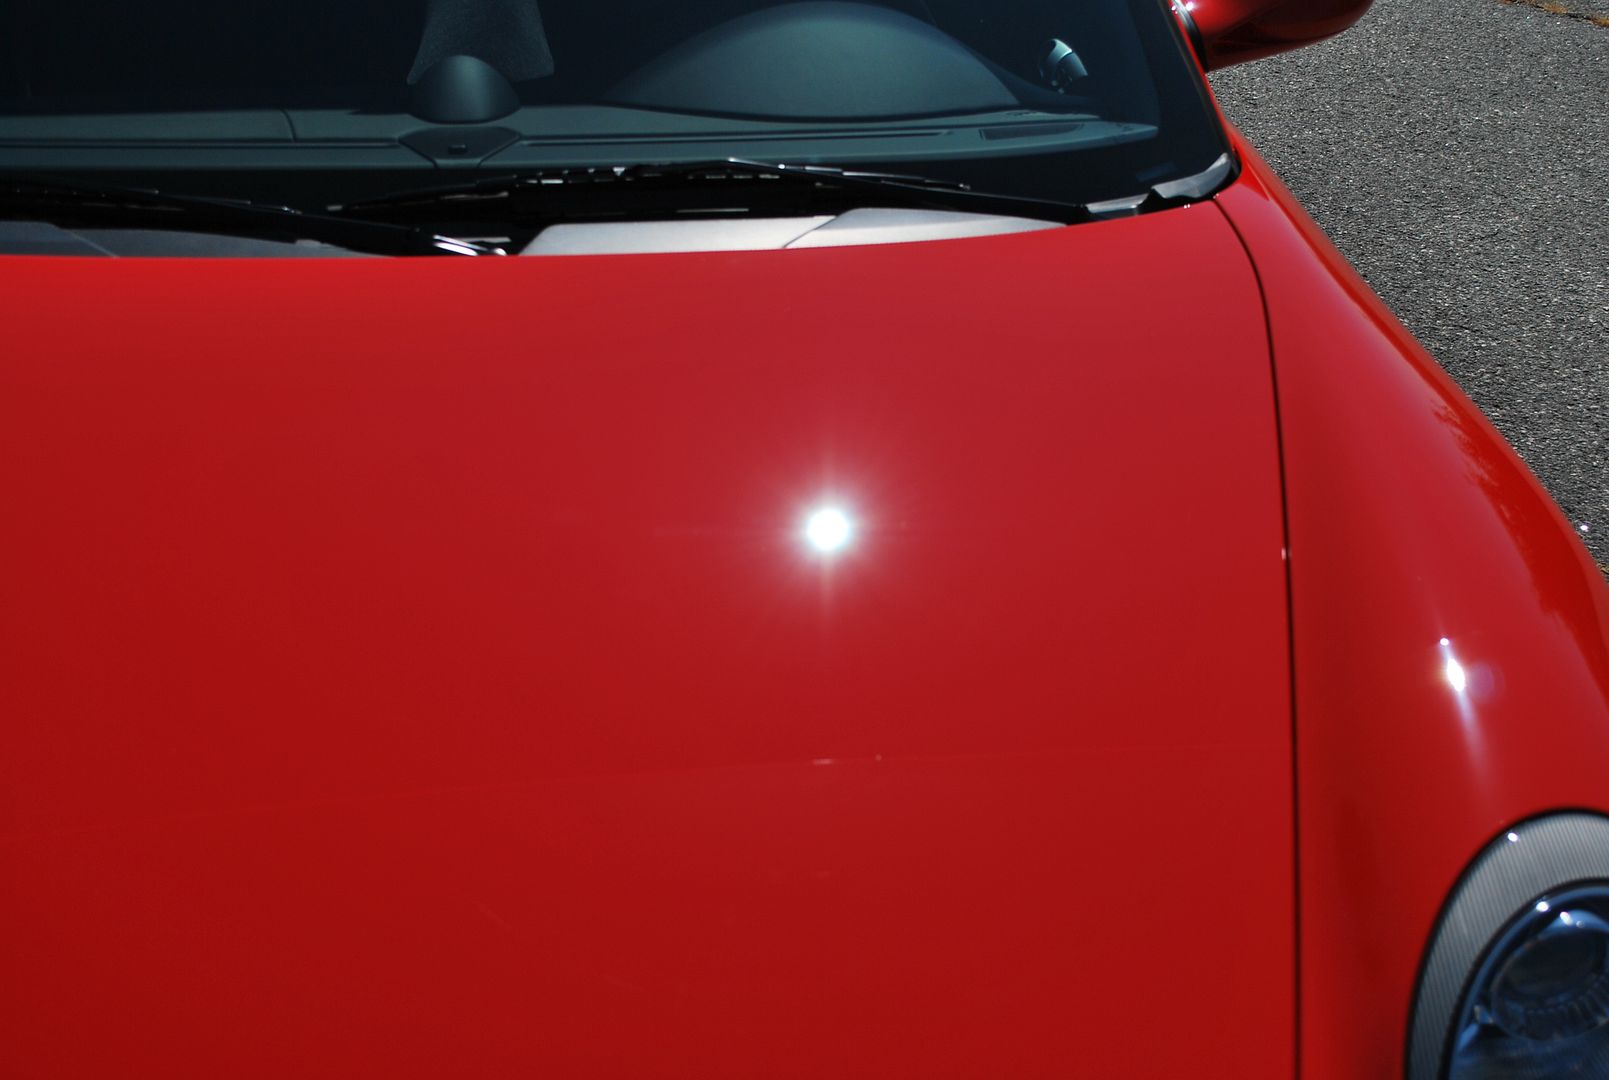
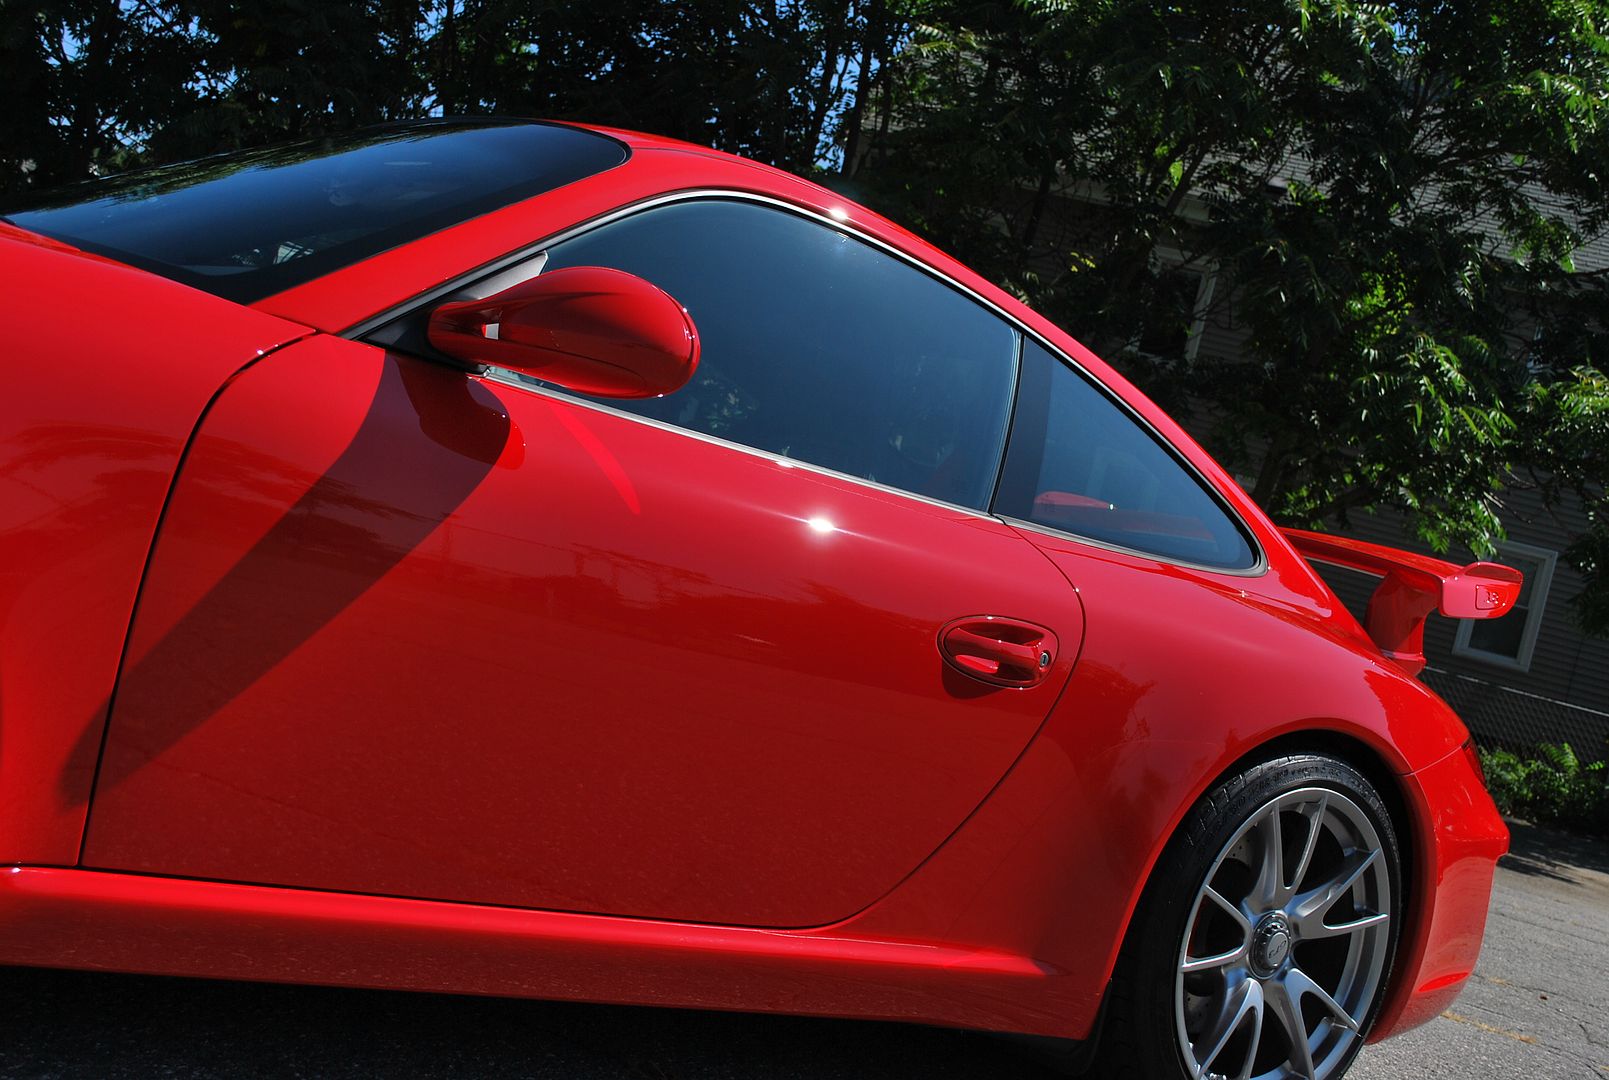
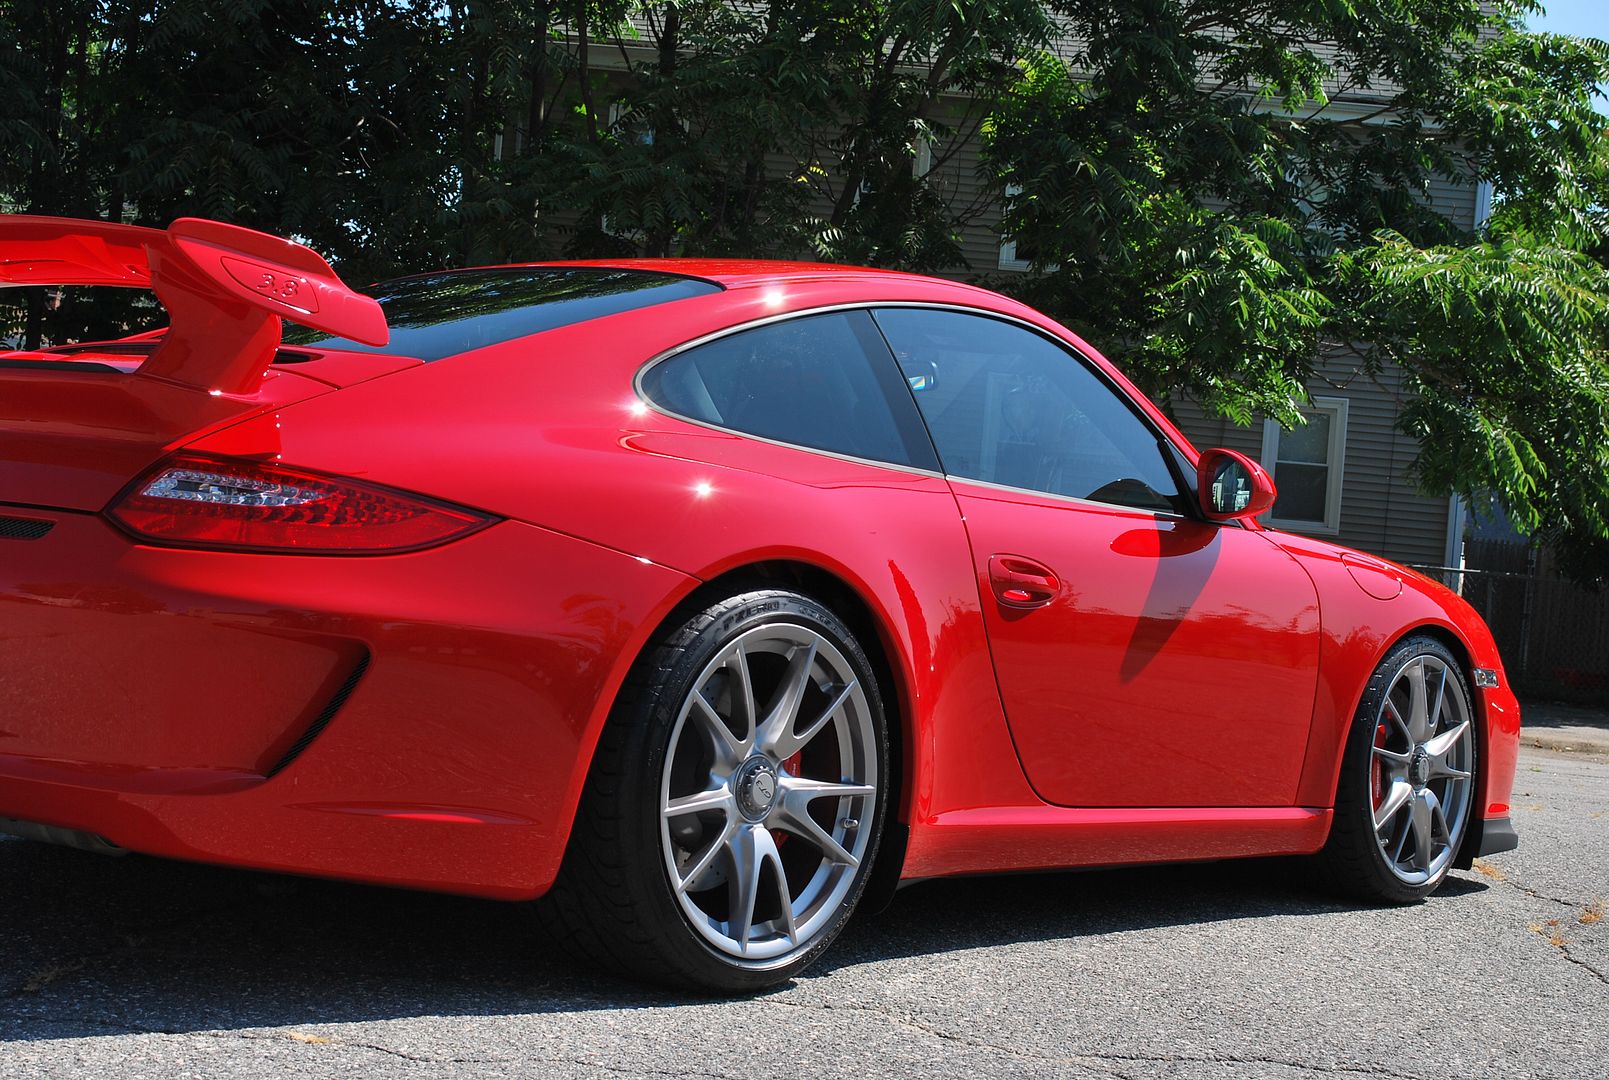
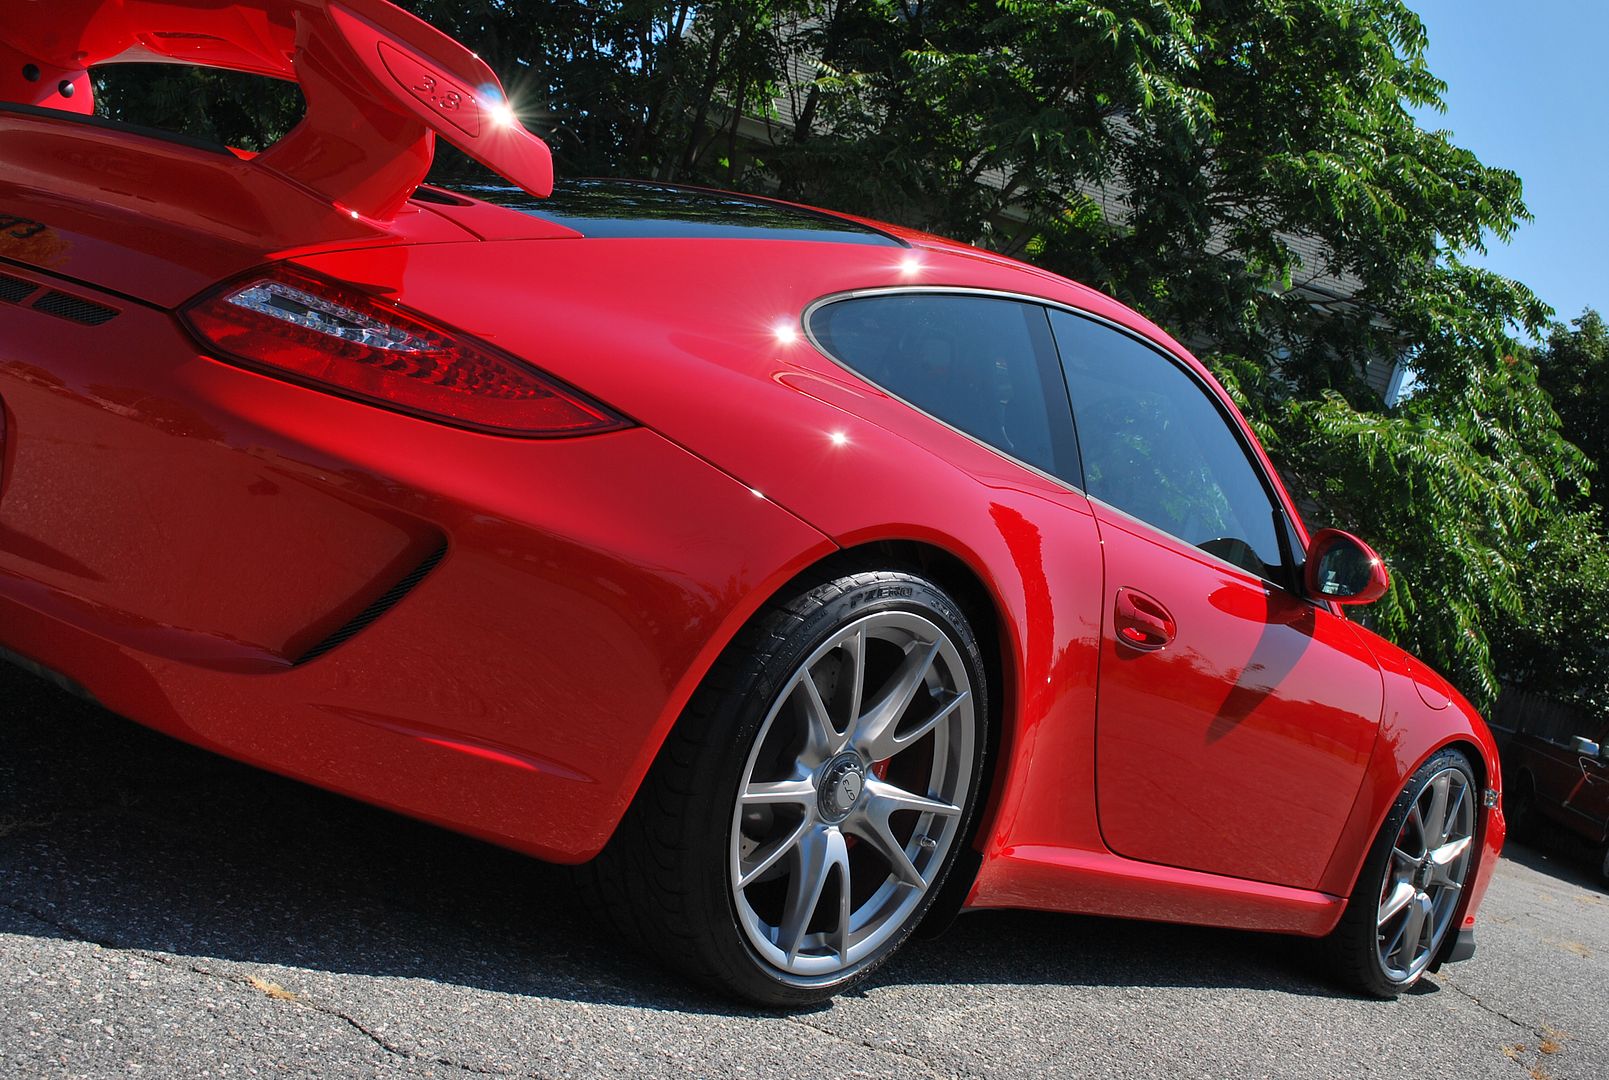
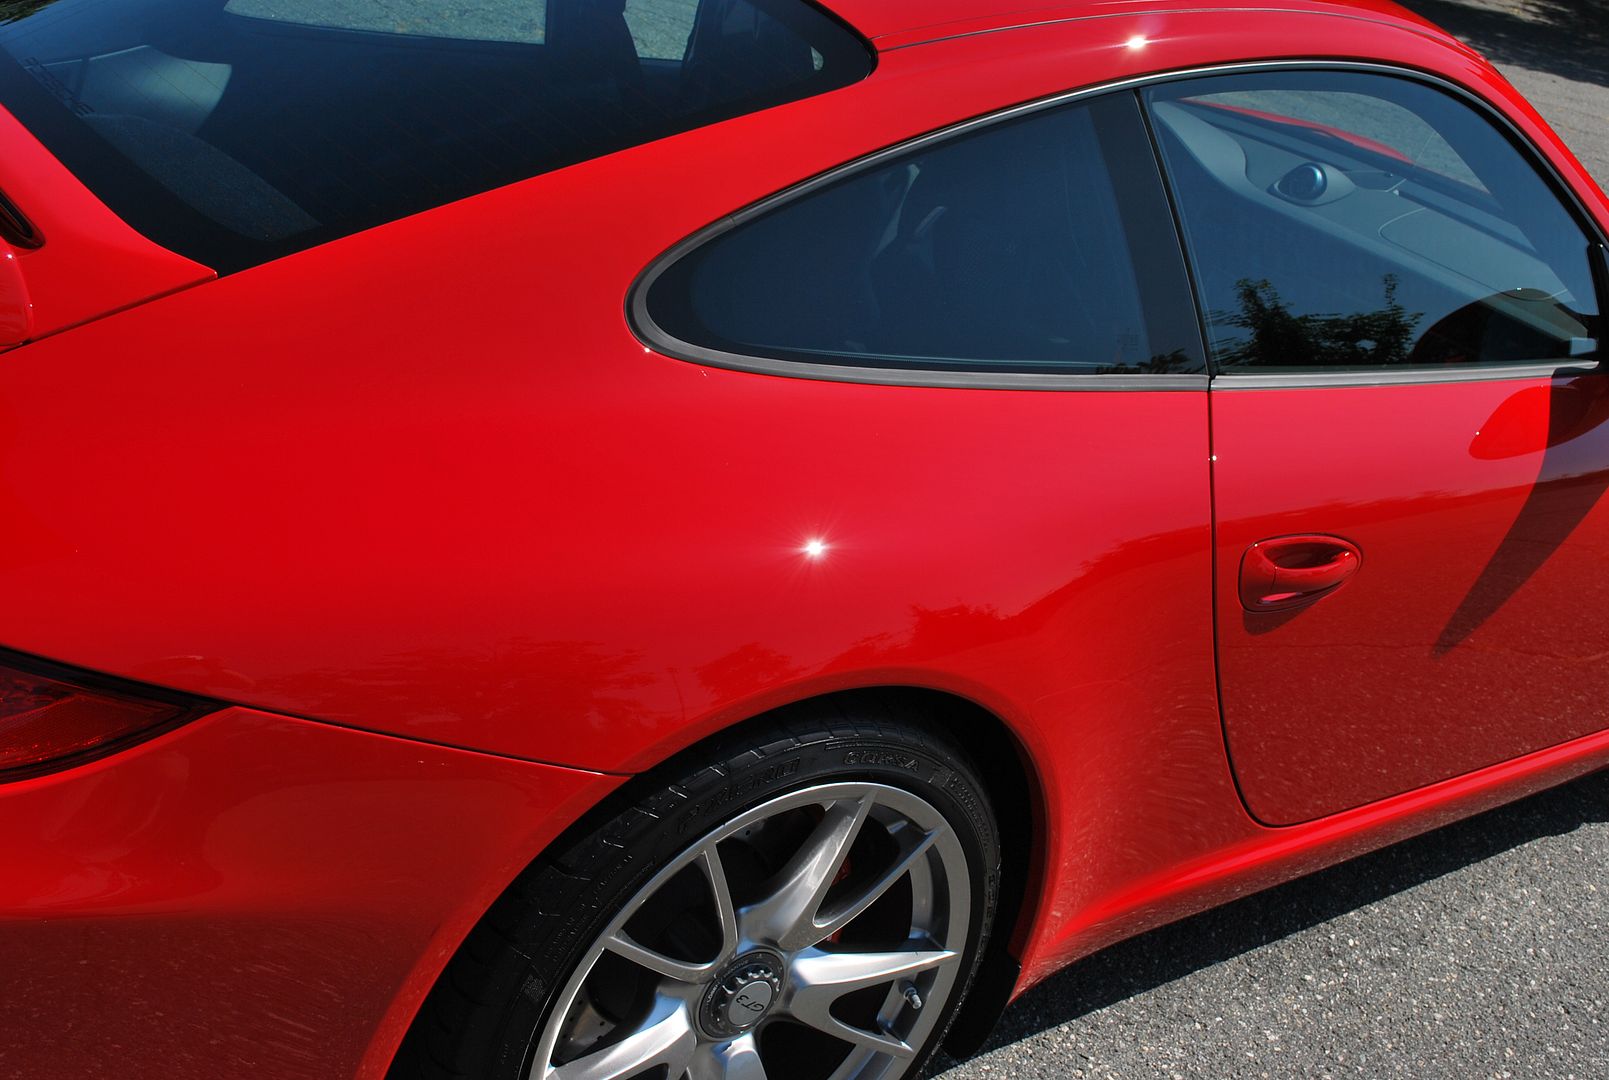
Now that the paint was free of any defects and all of the cosmoline residue was removed, I applied a thin coat of Blackfire Wet Diamond paint sealant to the entire exterior, including the clear-bra using a gold CCS concours pad.
I let the Wet Diamond set up for about 20 minutes before removing with a fresh microfiber towel. Next, I sealed the wheels and exterior glass with Opti-Seal, then dressed all tires & wheel wells with Super Blue tire dressing.
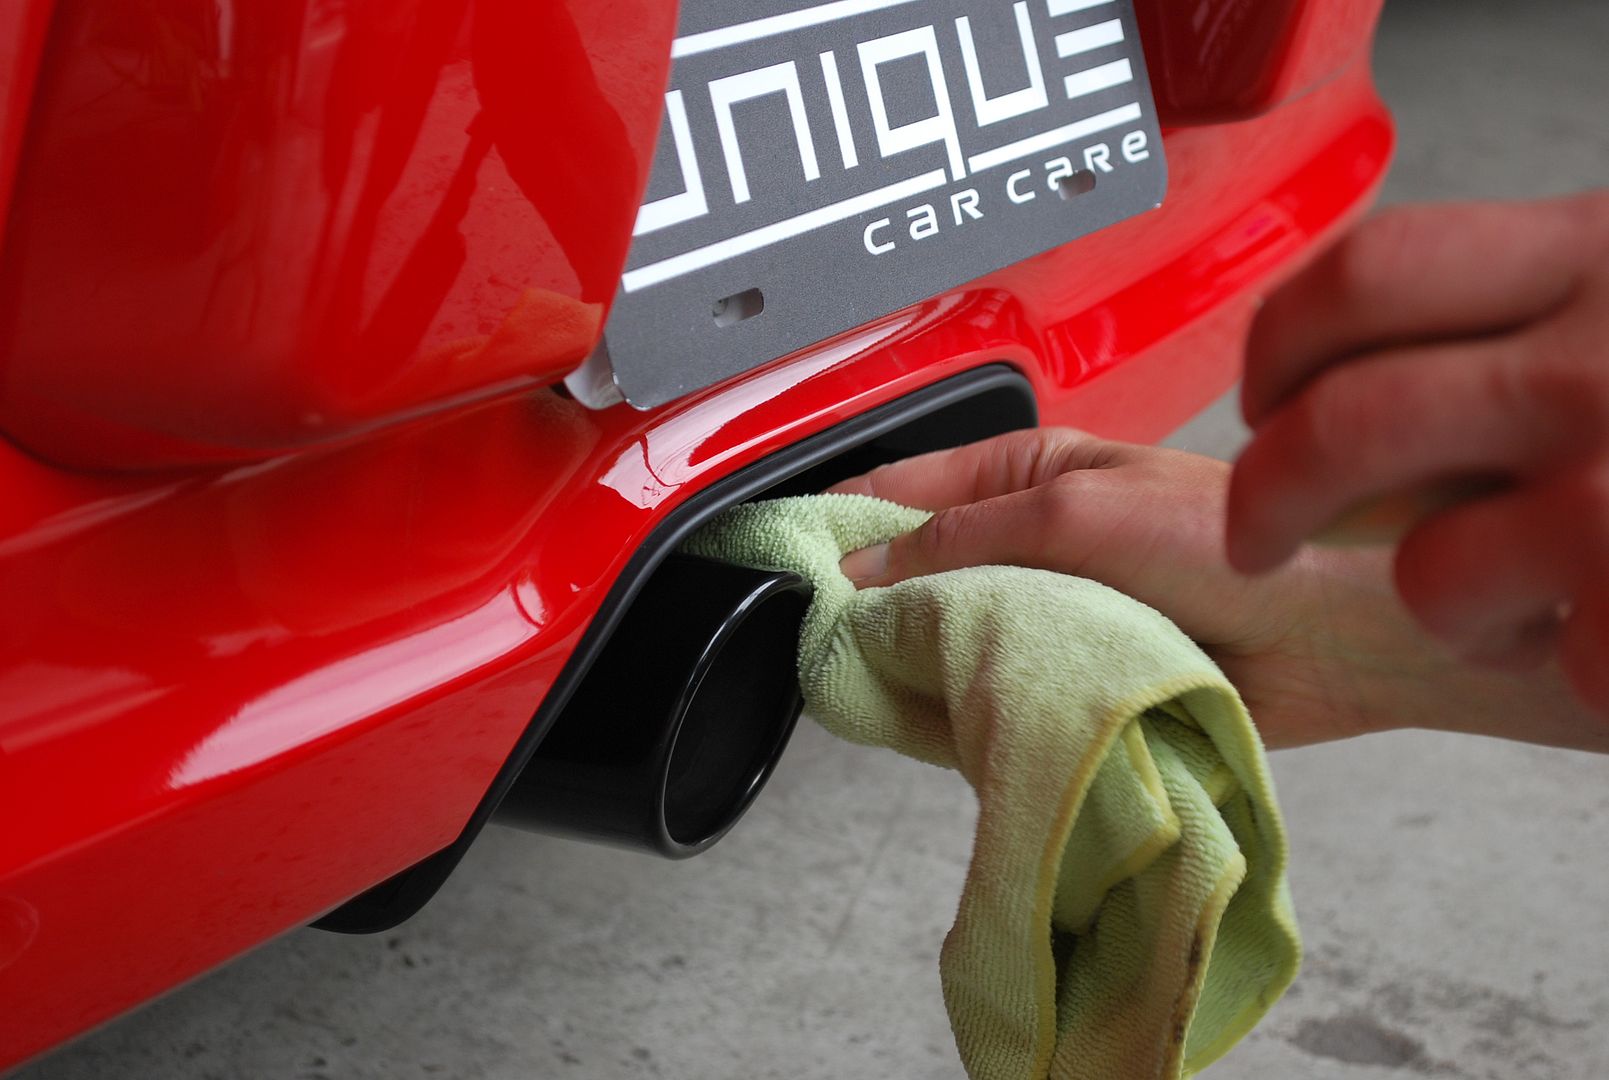
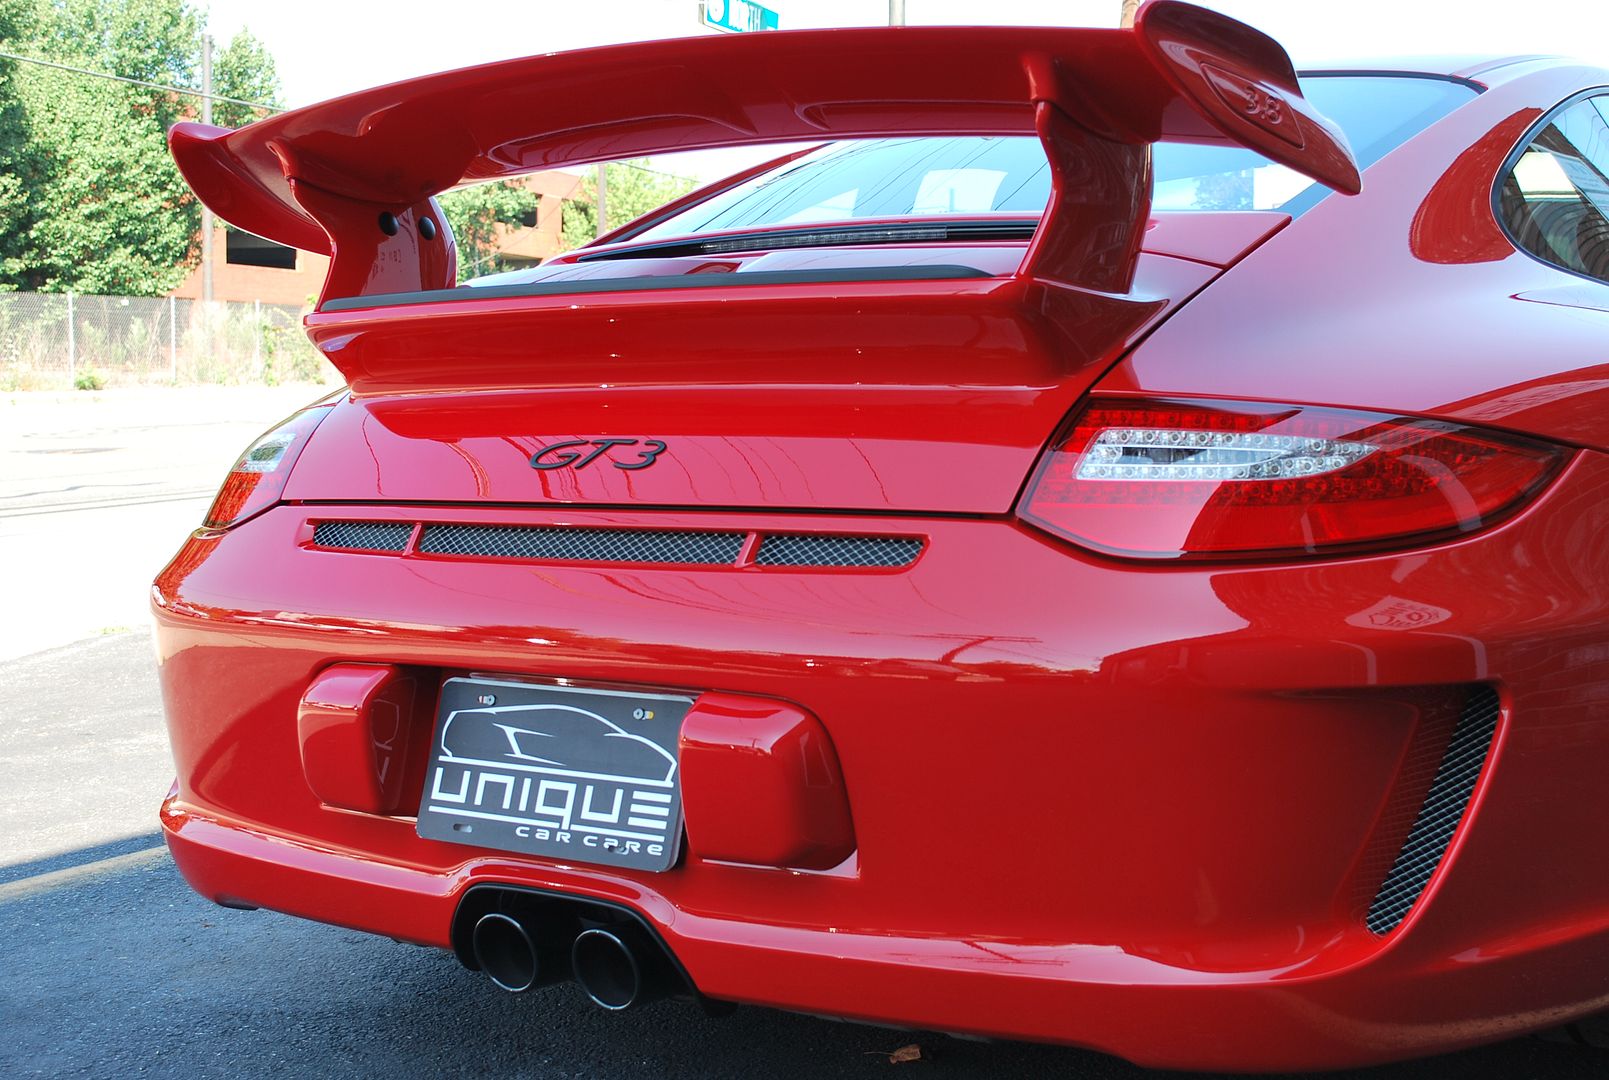
The exhaust tips were black and were looking a little dirty…
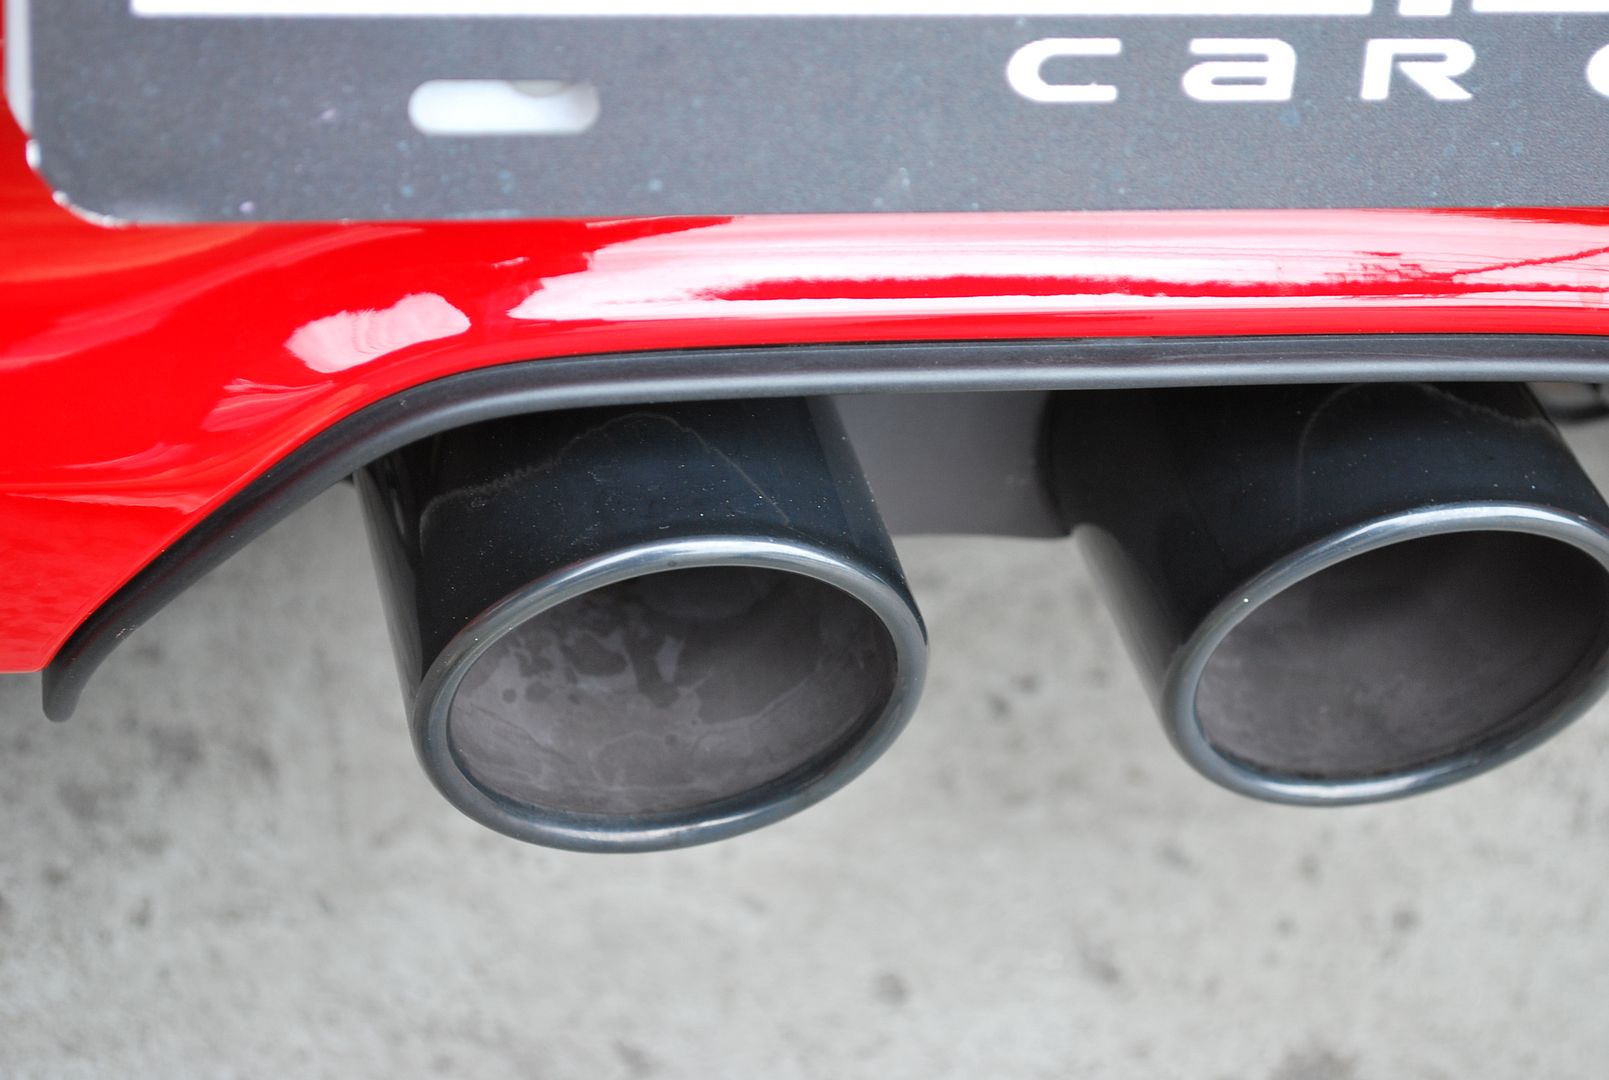
I sealed them with some Bilt Hamber Auto Balm…
Upon arrival, the car was already in great shape, which is expected being a new car. I started by giving all of the wheels, tires & wheel wells an extensive cleaning.
All tires and wheel wells were cleaned with Kleens degreaser and agitated with a soft bristle wheel brush as seen below.
The wheels were treated with P21S wheel cleaner and agitated with various brushes to get every square inch of the wheels spotless.
Once I completed the steps above, I gave the exterior a thorough rinse, paying special attention to all of the cracks & crevices where sand and dirt usually accumulate.
Once the vehicle was rinsed free of all loose dirt and contaminants, I soaked the car in foam using a Gilmour Foammaster II foam gun. I mixed a bit of degreaser in with the soap to help strip away any protection that may have been present.
By allowing the foam to dwell on the surface for several minutes, it helps loosen any grime that is on the surface and reduce the chance of marring the paint when performing the wash. After allowing the foam to dwell for several minutes, the exterior was rinsed for a second time with lots of pressure to remove as much contamination as possible.
Next, the exterior received a hand wash to prep the paint for the clear-bra install the following day.
After the wash was complete, all surfaces were dried and all door, hood & trunk jambs were wiped clean with a microfiber towel. In addition, all cracks & crevices were blow with compressed air to remove any excess water that was hiding…
Now that the paint was clean, I carefully inspected the paint to make sure it was absolutely perfect before the clear-bra install. Although this car was brand new, I did notice some sanding tracer marks on the front bumper, which were overlooked by the factory.
I masked off the front spoiler with blue painters tape and polished all areas being covered with the clear film using Menzerna PO203S on a white foam LC polishing pad, followed by Menzerna PO85rd using a black foam LC finishing pad. After all polishing was complete, the surface was wiped clean with 91% alcohol to ensure that all carrier oils left from the polish were completely removed. This did a great job clearing up any imperfections and left the surface ready for the clear film install the following morning.
Because the owner planned on using the car the way it’s supposed to be, he opted to have a custom kit installed to the front of the car as well as the bottom rocker panels, behind the front & rear wheels, door jambs and the back of the carbon fiber seats. This is a very smart idea, since the car would be visiting the track often and will protect the super soft Porsche paint from getting chipped up.
Door jambs covered in film…
Carbon fiber seats covered in film…
Partial hood & complete front bumper covered in film…
Once the clear-bra install was complete, I inspected the damage to the front spoiler to see what supplies would be needed in order to make it look new again. Below is the extent of the damage…
I took a ride to the local body shop supply store to pick up the necessary supplies to complete the repair. I asked them what products would yield the best results for a factory look. They recommended that I sand the spoiler with 400 grit sandpaper, clean the surface with prep solvent, then apply multiple coats of SEM Black Texture Coating.
Before attempting the repair, I carefully masked off the spoiler with masking tape and covered the rest of the car to make sure no overspray made its way onto the paint. To save a little time, I sanded out the defects using my pneumatic sander using Micro Surface sanding discs.
After most of the defects were removed by machine, I sanded the spoiler a second time by hand using 400 grit sandpaper. Since the car is going to be driven at the track often, I decided to go easy on the sanding to make sure there is plenty of surface left if it needs to be repaired again in the future. I decided to leave some minor defects, which I was hoping would be filled in by the coating. Here is the spoiler after sanding out the major defects…
Once all of the sanding was complete, I wiped the surface clean with prep solvent to ensure a perfectly clean surface. I applied 3 thin coats to the spoiler with about 5 minutes between coats. It went on very nice and gave the spoiler a flat black look. To be honest, it was not the look I was after (I wanted a satin finish), but decided to leave it because the owner needed the car the following day.
Here is what it looked like after the repair…
As you can see, the repair came out great, but I was not happy with the sheen of the coating. I decided to leave it for the time being and told the owner I would give it another shot the next time the car was in for a detail.
After the spoiler repair was complete, I inspected the rest of the car for any imperfections before the application of a paint sealant. I discovered some leftover cosmoline residue on some of the panels, which the dealer forgot to remove as you can see below. To remove the adhesive, I used a microfiber towel saturated with acrylic solvent, which worked great.
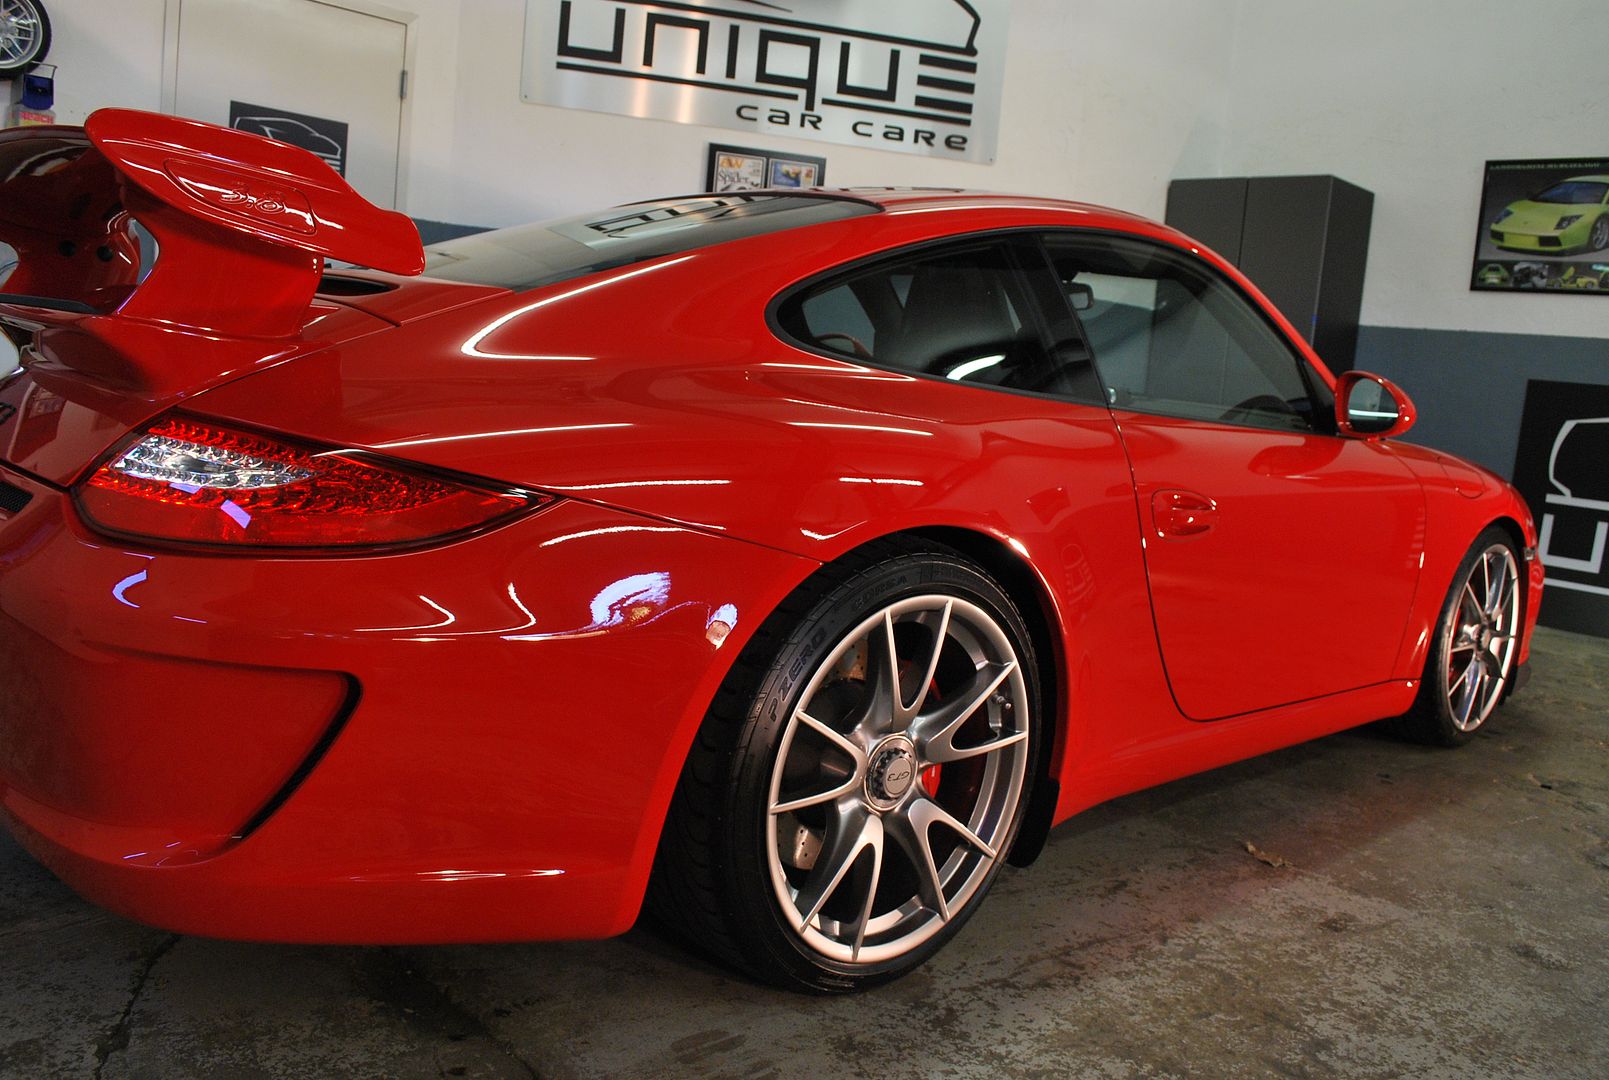
Now that the paint was free of any defects and all of the cosmoline residue was removed, I applied a thin coat of Blackfire Wet Diamond paint sealant to the entire exterior, including the clear-bra using a gold CCS concours pad.
I let the Wet Diamond set up for about 20 minutes before removing with a fresh microfiber towel. Next, I sealed the wheels and exterior glass with Opti-Seal, then dressed all tires & wheel wells with Super Blue tire dressing.
The exhaust tips were black and were looking a little dirty…
I sealed them with some Bilt Hamber Auto Balm…


")