Barry Theal
New member
Today I present to you a 2010 Porsche Boxter S. This was one was done here at Presidential Details about a week ago. Its been sometime since I did a write up and I thought this was a nice little car to do one on. This Boxter came in with 3,000 miles on the clock and was a real nice treat to work on. As with most of the Porsche’s I had the pleasure of working on the paint was on the softer side. This allows for a real nice correction. Prior to me this Boxter suffered a real bad dealership compounding. From my experIuld tell they gave this one an improper polishing and glazed it to mask the defects. It had some serious holograms and lots of wool pad caused marring.
The car had to be 100 percent due to fact that we layed paint protection film on the entire front end as well as lights, mirrors, and a few small spots. Total man hours on this project went into about 25 or more between both Bill and I.
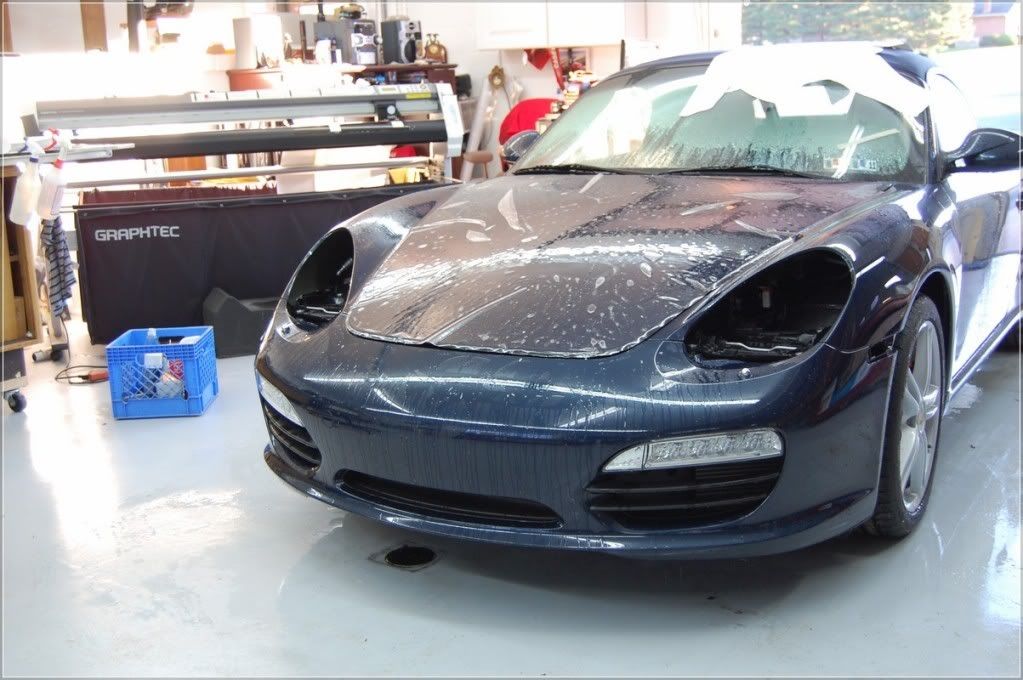
As the car arrived.
The car was actually quite clean. It just came in almost directly from day 1 of the purchase.

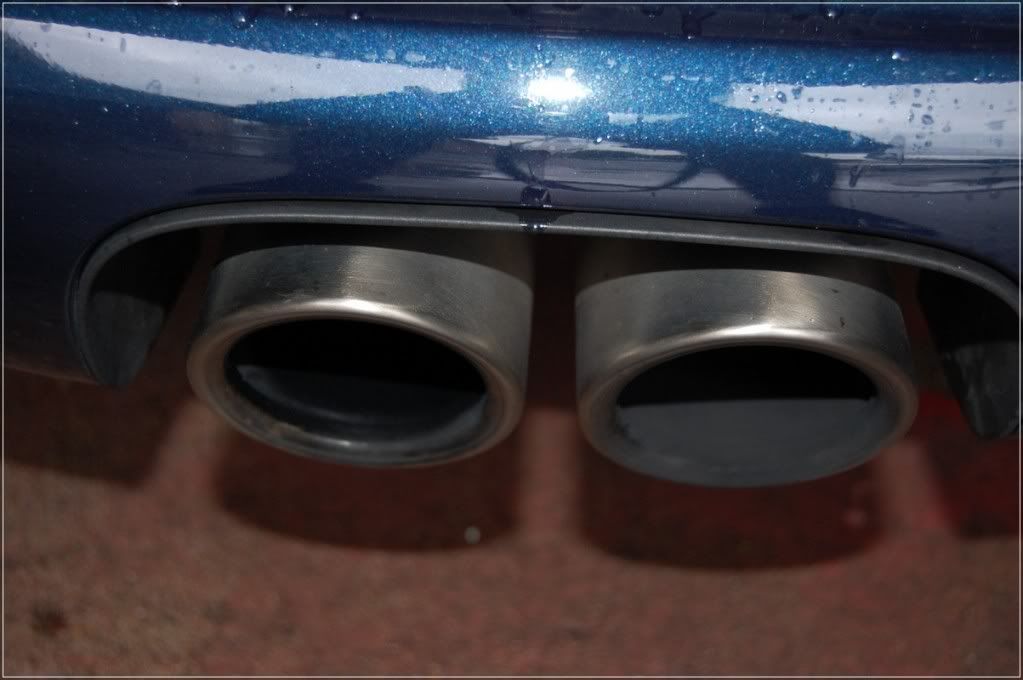
The exhaust tips were filthy.
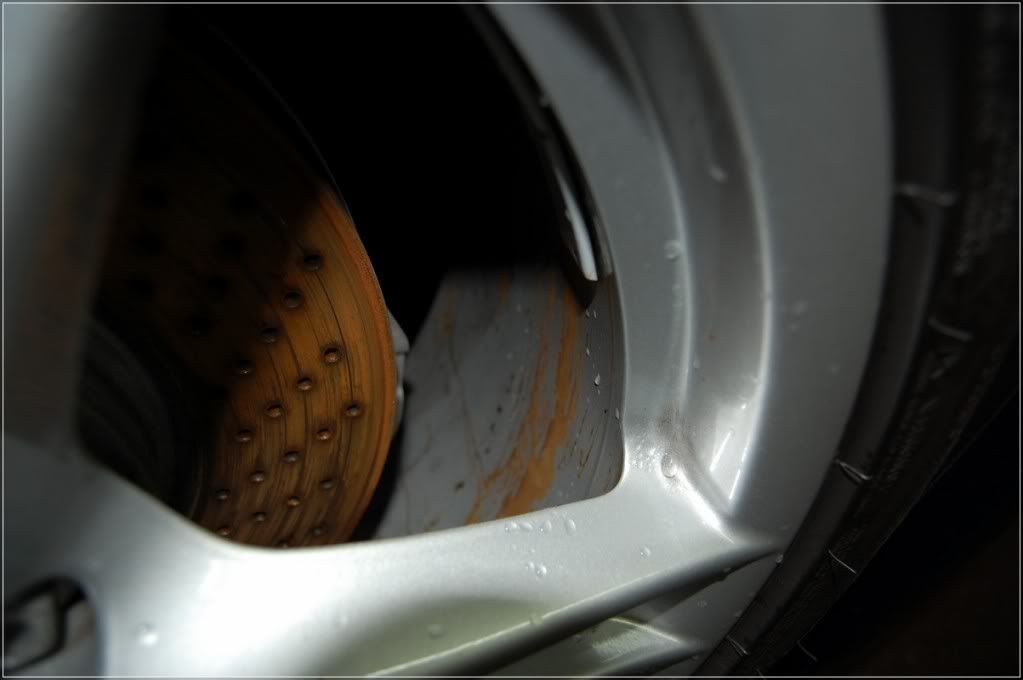
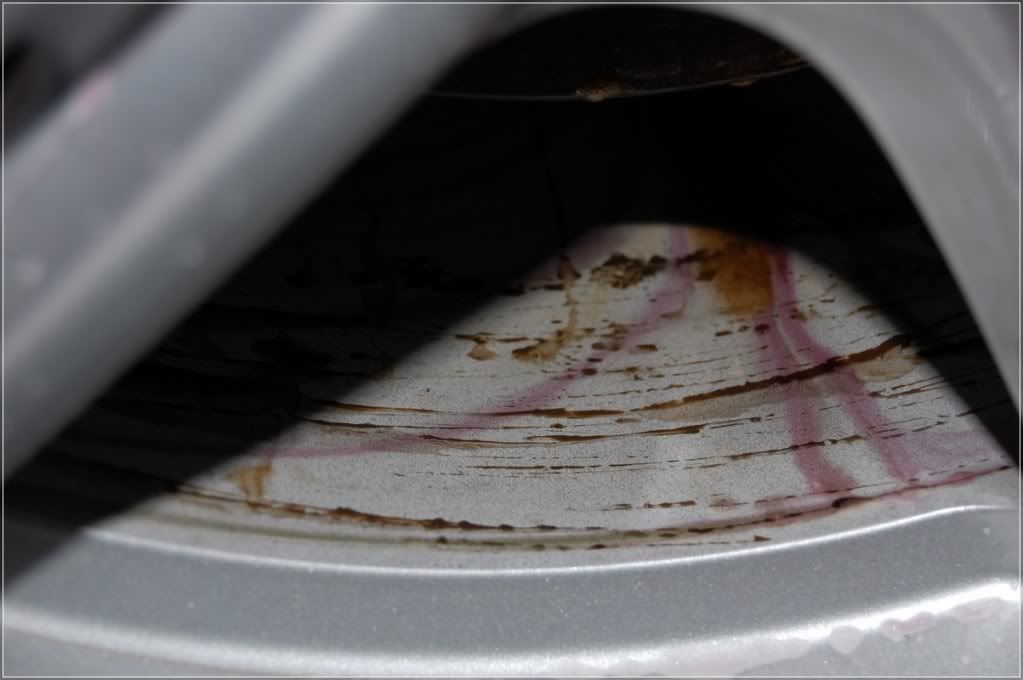
Obvious evidence here that the dealership used a harsh acidic based cleaner to clean the wheels. Rust was all over everywheel.
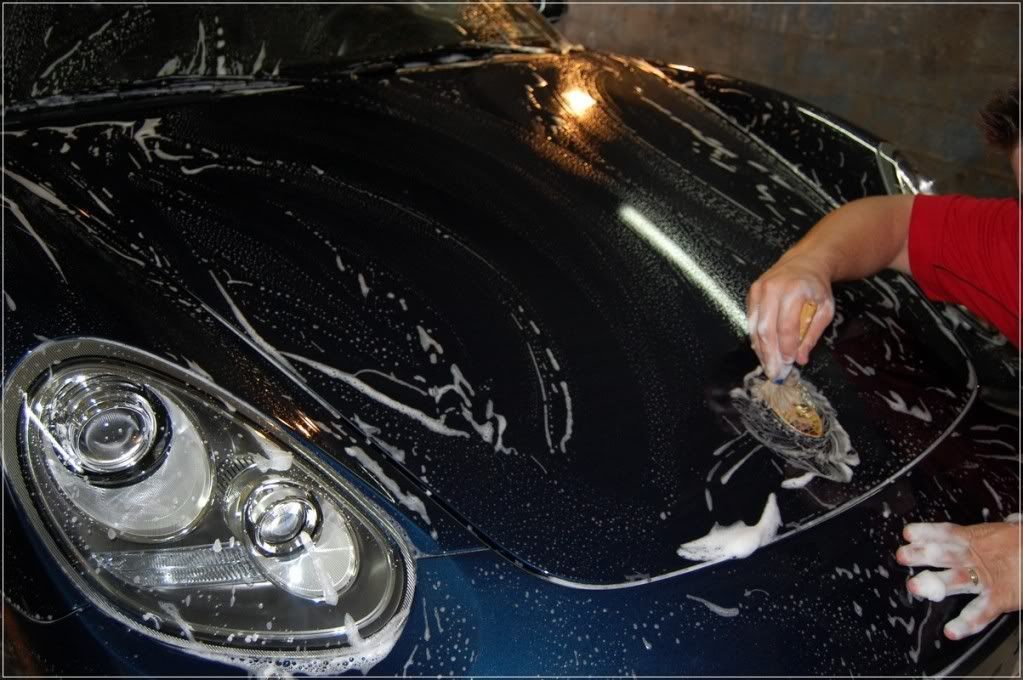
Anyways I got to work. First step was to completely strip all previous wax and products off the paint. A citrus based cleaner was used, purged threw a foam cannon. This gave for proper dwell time to allow the product to work.
Once completed I moved to the wheels.
First cleaning the actual wheel itself. I started with Wolfs Chemicals Wheel Cleaner. This was the first time using it. It has the effect similar to Sonax wheel cleaner. Once sprayed as the products begins to work it changes colors and you can see the full effect.
Here it is braking down the contaminants on the wheel.
Time to agitate and get them clean!!

After all wheels were clean after a 180 degree rotation. I cleaned all the wheel wells and tires utilizing the the citrus based cleaner and then moved onto flushing the paint.
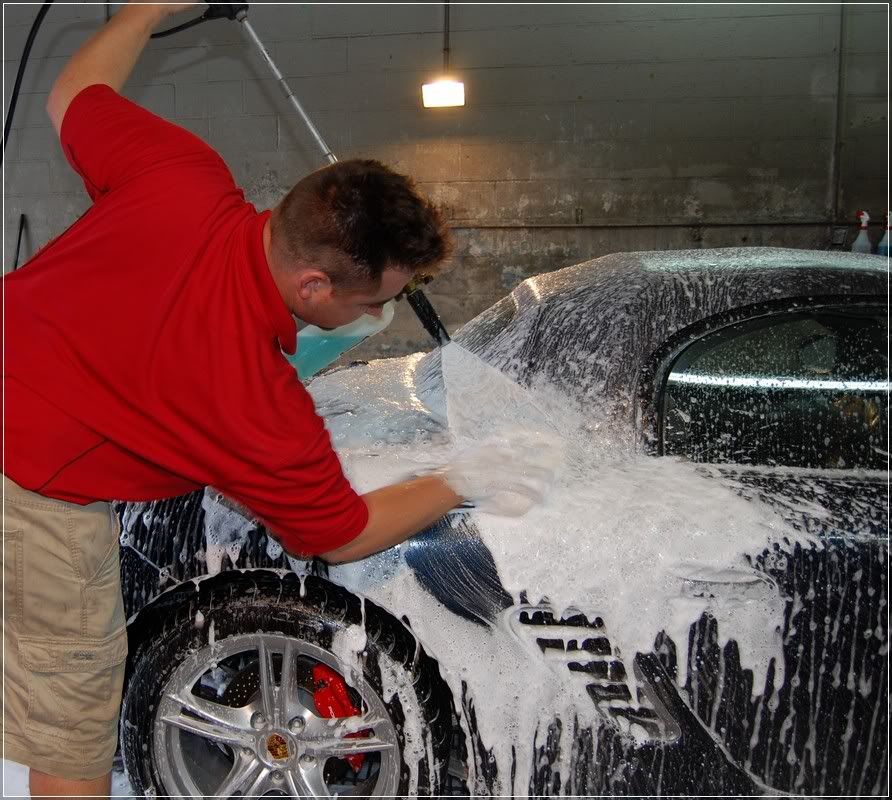
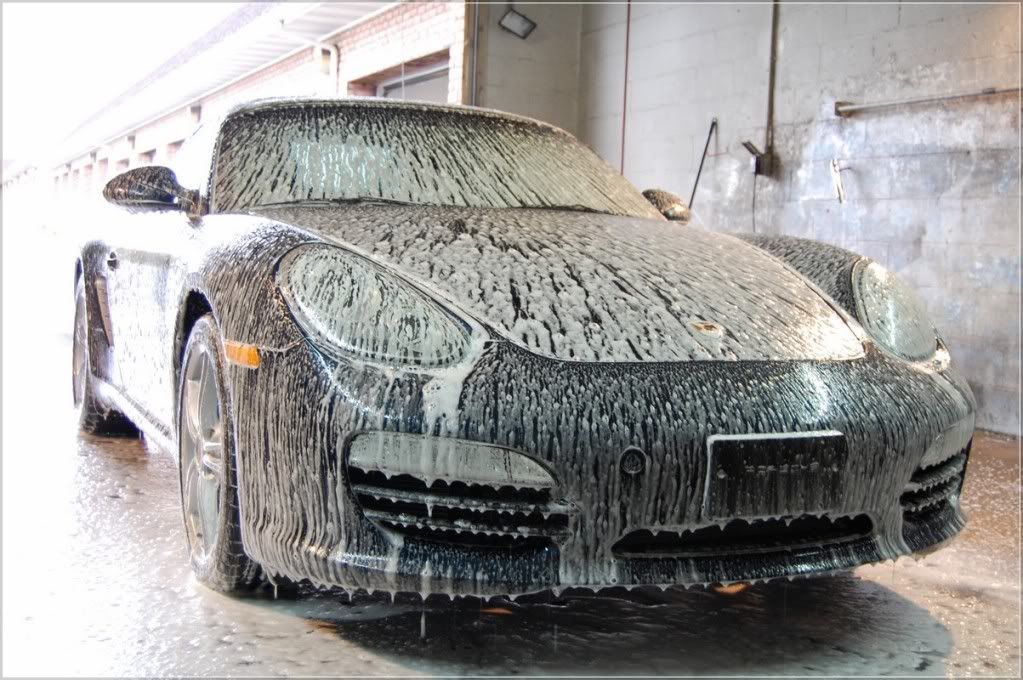
Flushing the paint would be to use direct foam as a lubricant between the Sponge and paint. This is a great way to go threw soap rather quickly, but it allows a nice barrier between the sponge and paint. I start from the top and work my way down.
Next I rinsed down th car and foam one last time. It was now time to pay attention to all the cracks and crevices and anywhere that wax hides.
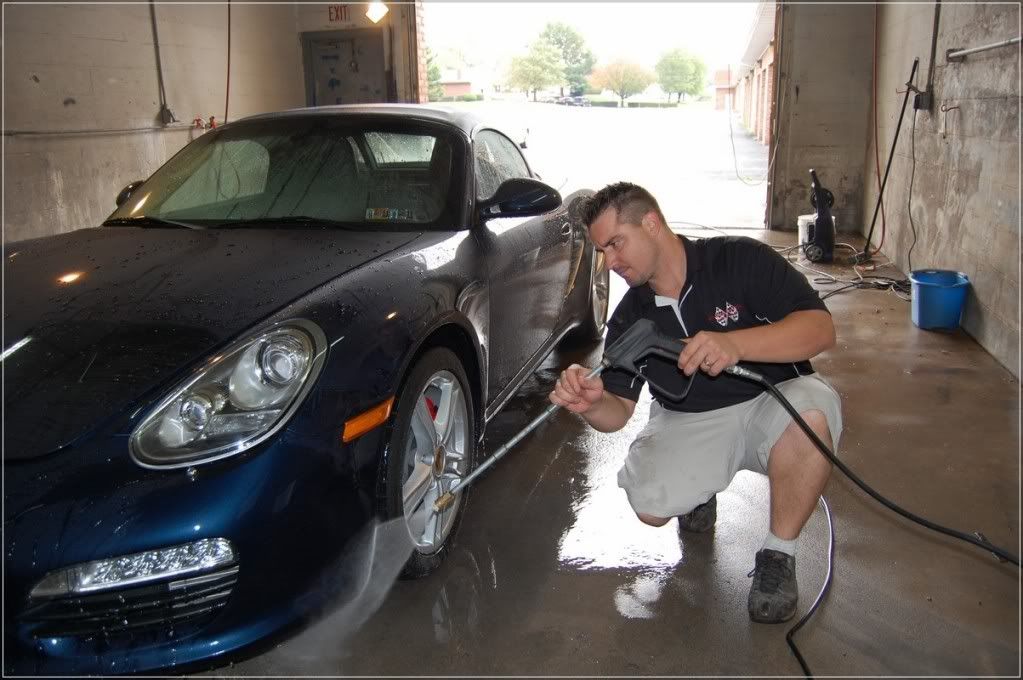
After the final rinse, the car was pulled out of the decontamination bay and into the detailing section. It was dried using purged air and waffle weave towels.
The car really didn’t have to many embedded contaminats, but I clayed to play it safe and taped everything up. Once taped and masked I wiped the entire car down with Prepsol and moved to the paint inspection process. This car was bad. There were some heavy holograms all over the place. Marring was bad to.
Here are a few before shots.
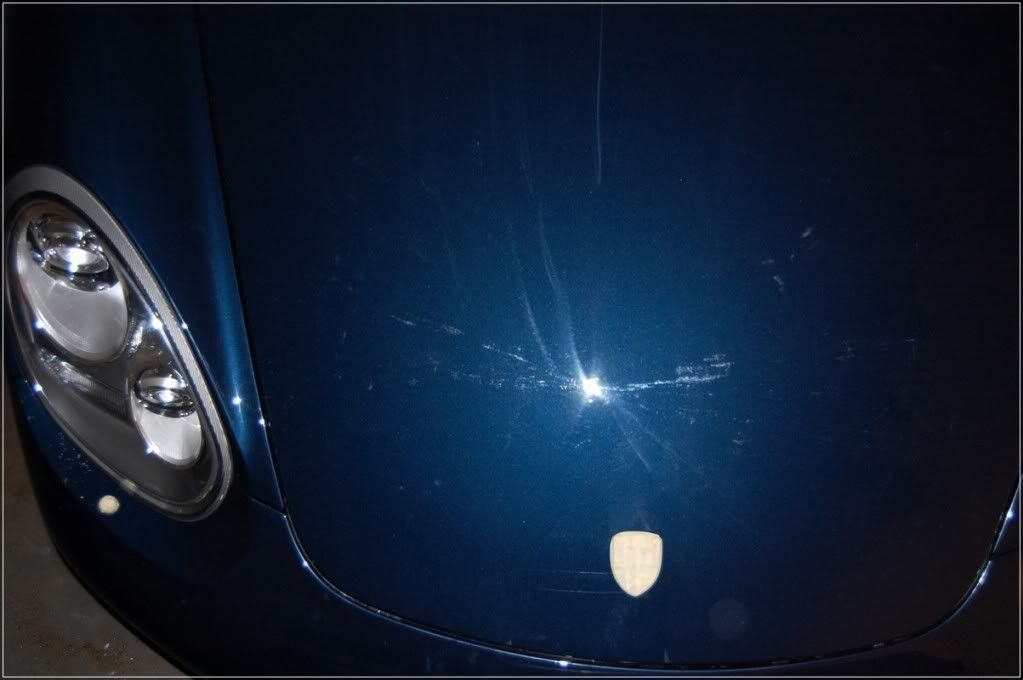
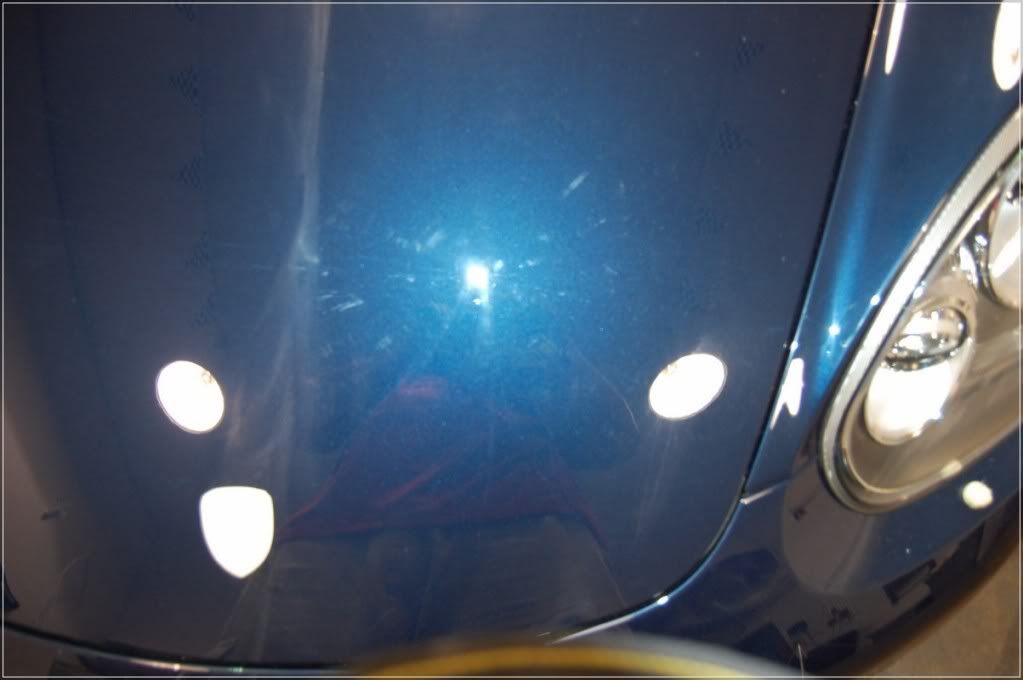
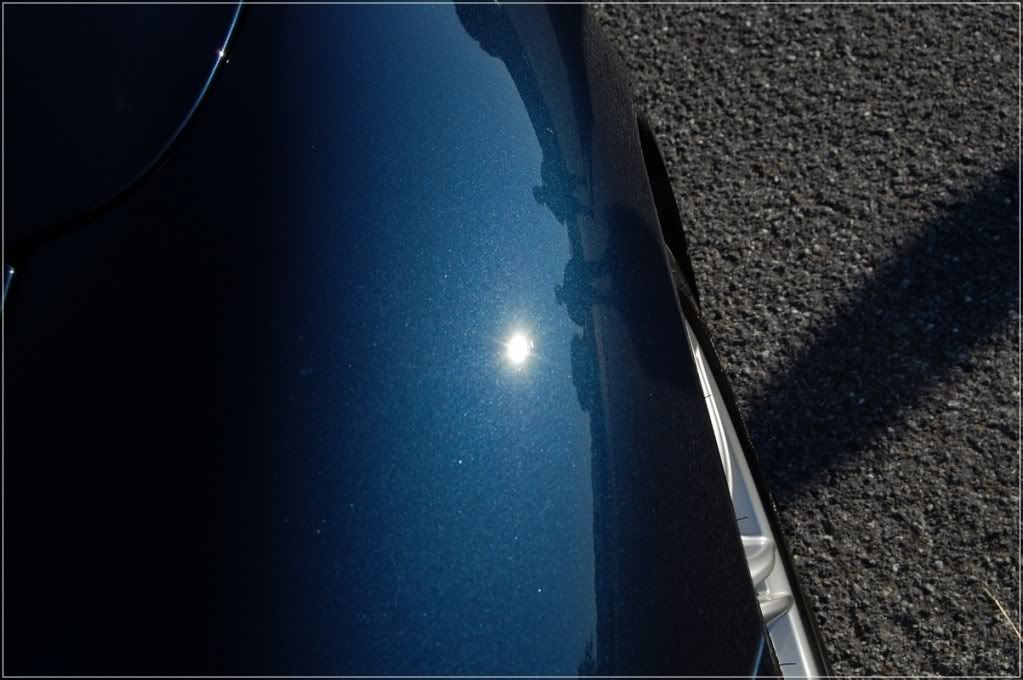
Here you can really see the holograms in the hood from the camera flash.
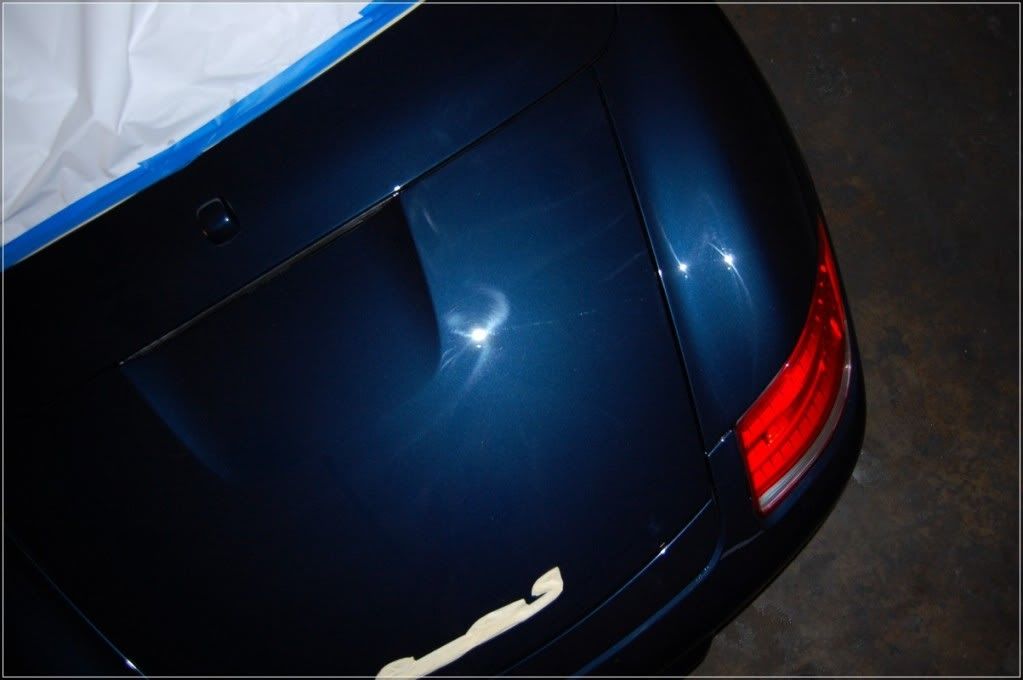
The Decklid was quite severe as well
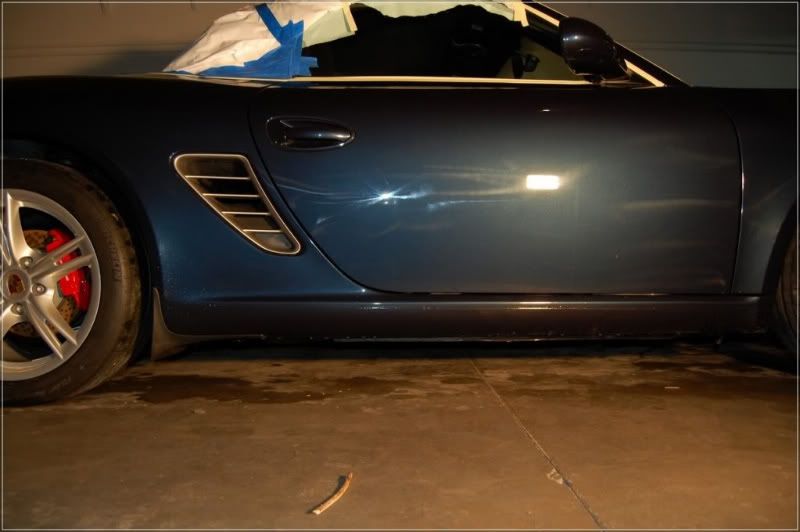
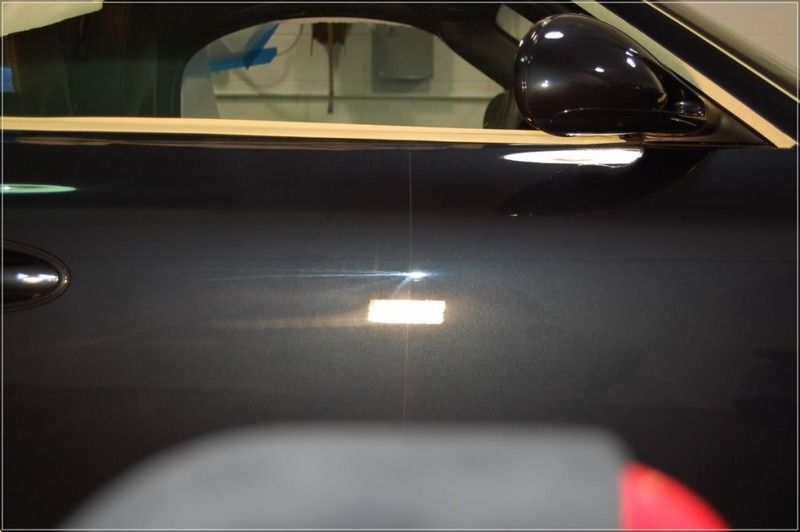
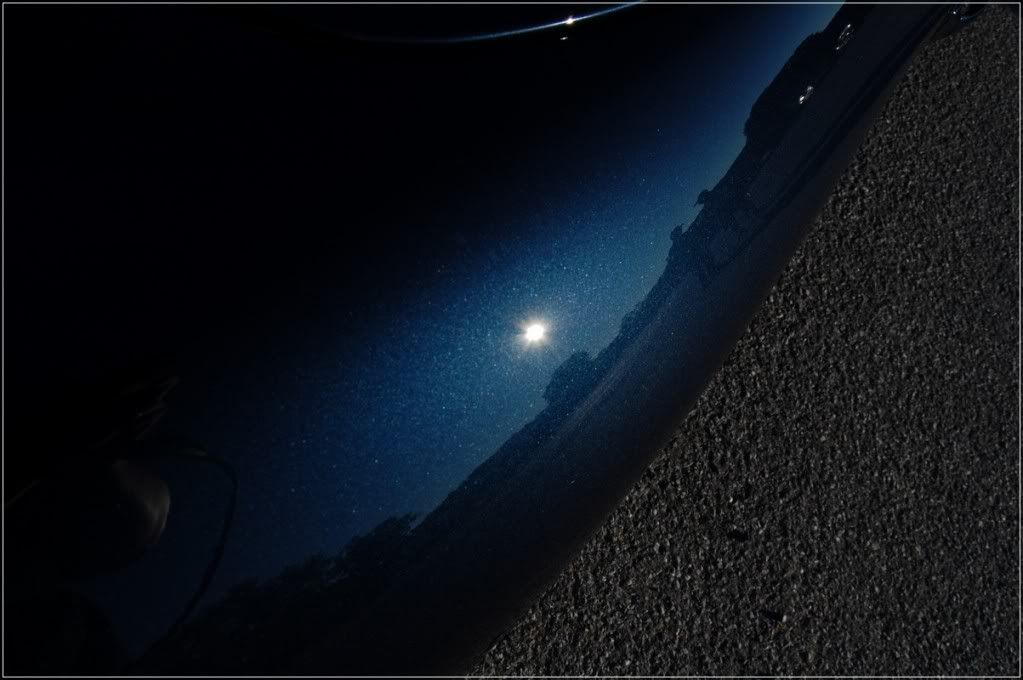
The sides of the vehicle were really bad. I used a 500 watt halgen lamp to show the hollograms and swirls.

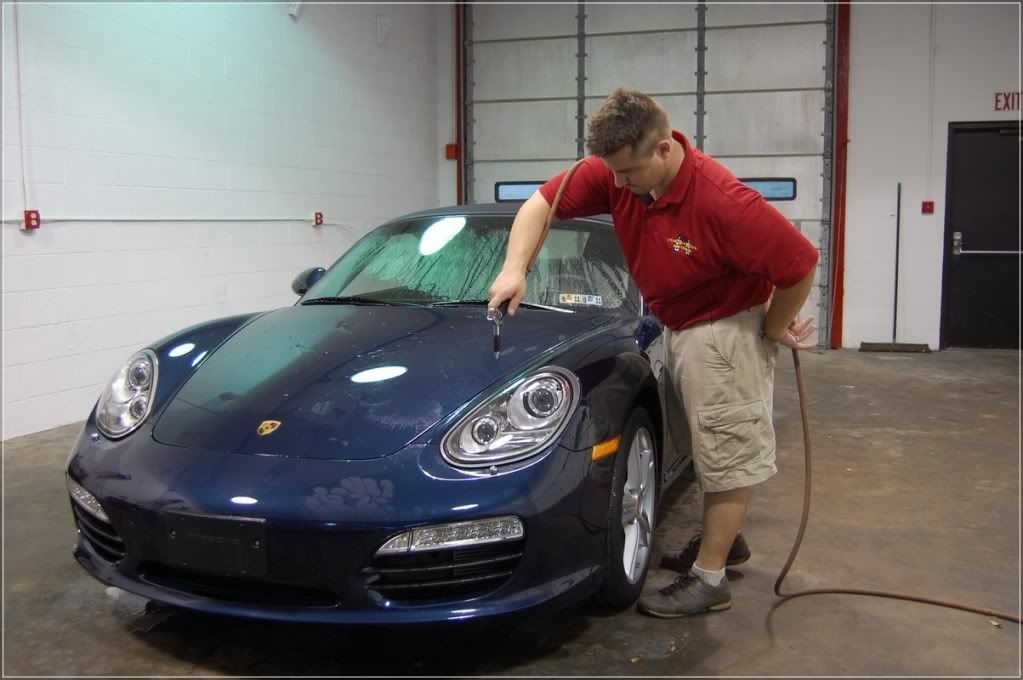
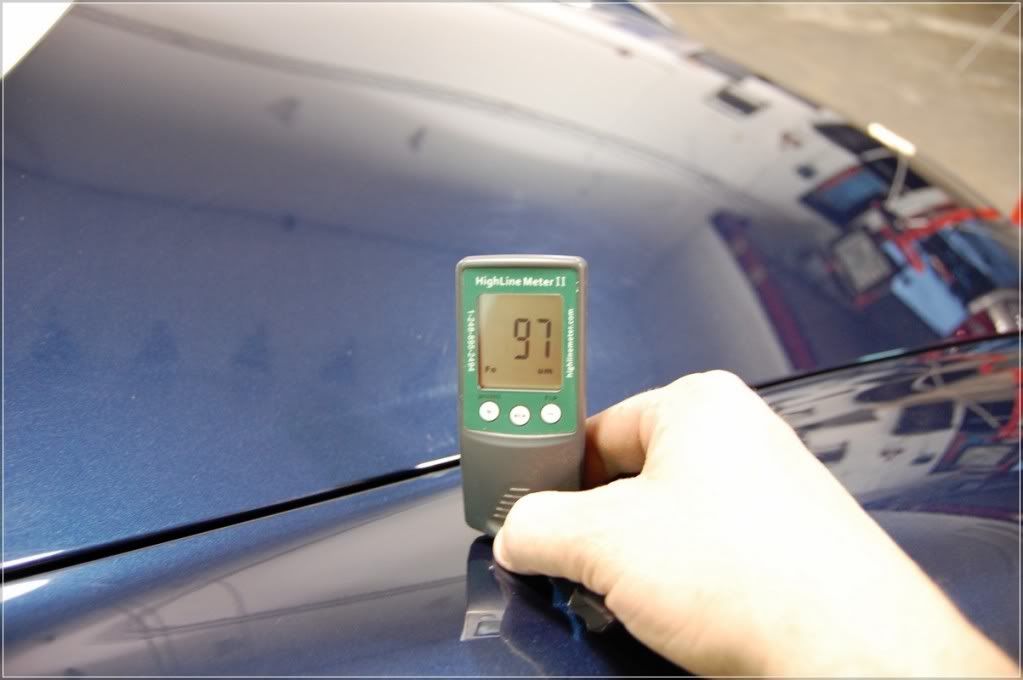
Once the paint was inspected, I checked various area’s with a paint thickness gauge to ensure I had some room to work with. This is a 2010 Porsche and was already compounded pretty hard. This is why paint thickness gauges are important. A brand new car and it came in 97 microns. A little on the low side. So extra caution was taking when correcting this one.
Now onto the correction. I choose to go about it with a random orbital machine. Utilizing the Porter Cable 7424 XP and Meg. M105 with a Meg. Maroon 6.5 inch pad for the leveling. I then followed up with Menzerna 85rd and a blue Lake Country Pad.
This side of the hood is uncorrected
This side is corrected. This is after the leveling stage only. No polish at this point.

Here is a 50/50 of the Door
Here is a video showing the door correction after the leveling stage. Again no final polishing was done.
<object width="480" height="385"><param name="movie" value="http://www.youtube.com/v/IsAND_5nX1Y?fs=1&hl=en_US"></param><param name="allowFullScreen" value="true"></param><param name="allowscriptaccess" value="always"></param><embed src="http://www.youtube.com/v/IsAND_5nX1Y?fs=1&hl=en_US" type="application/x-shockwave-flash" allowscriptaccess="always" allowfullscreen="true" width="480" height="385"></embed></object>
Once competed I rinsed everything down to remove all compounding and polishing residue.
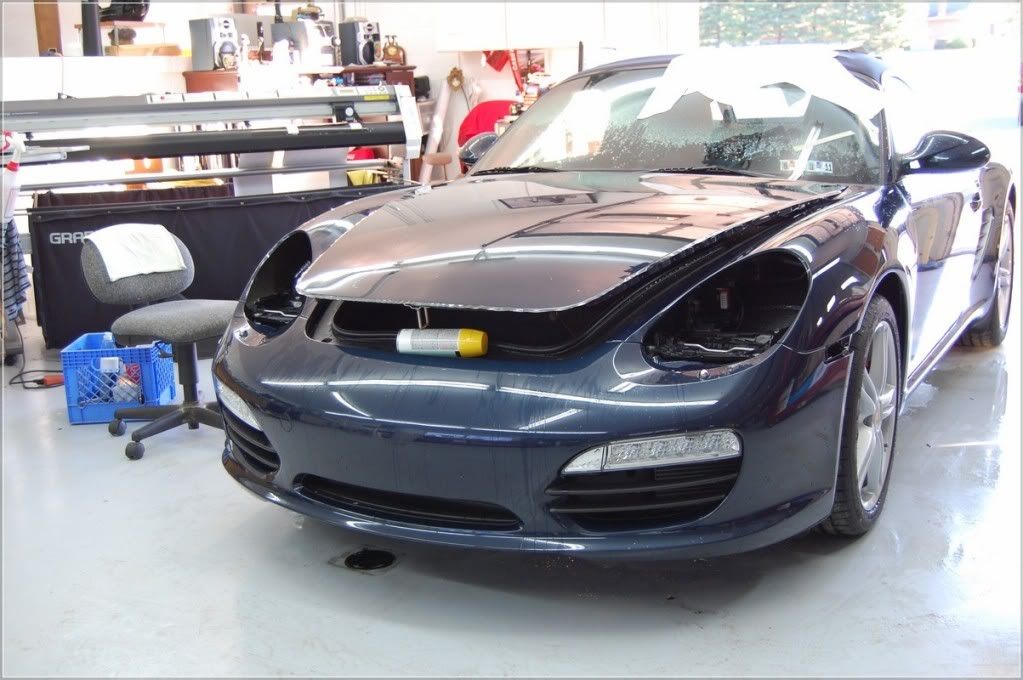
Then at this point I called it a night after taking the car over to the other side of the building. Bill was ready to install the clear bra.
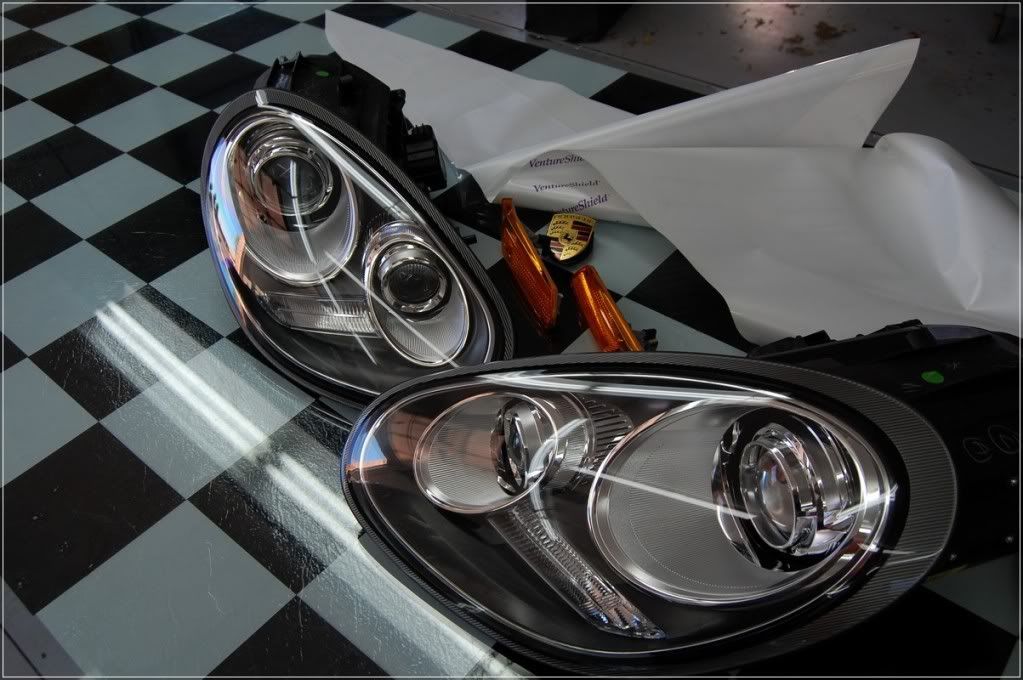
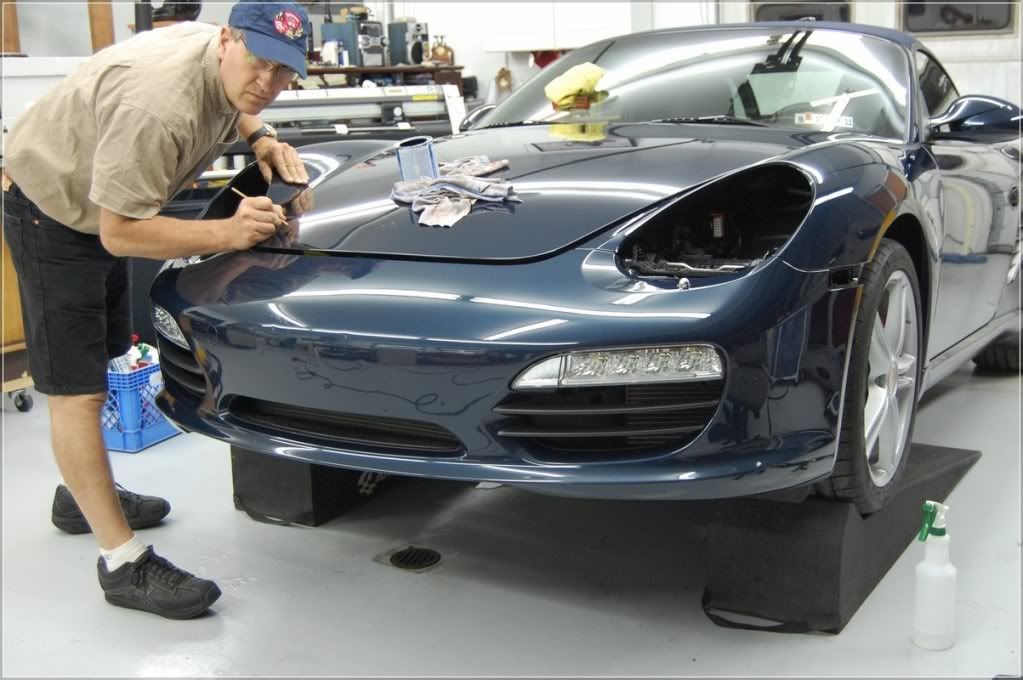
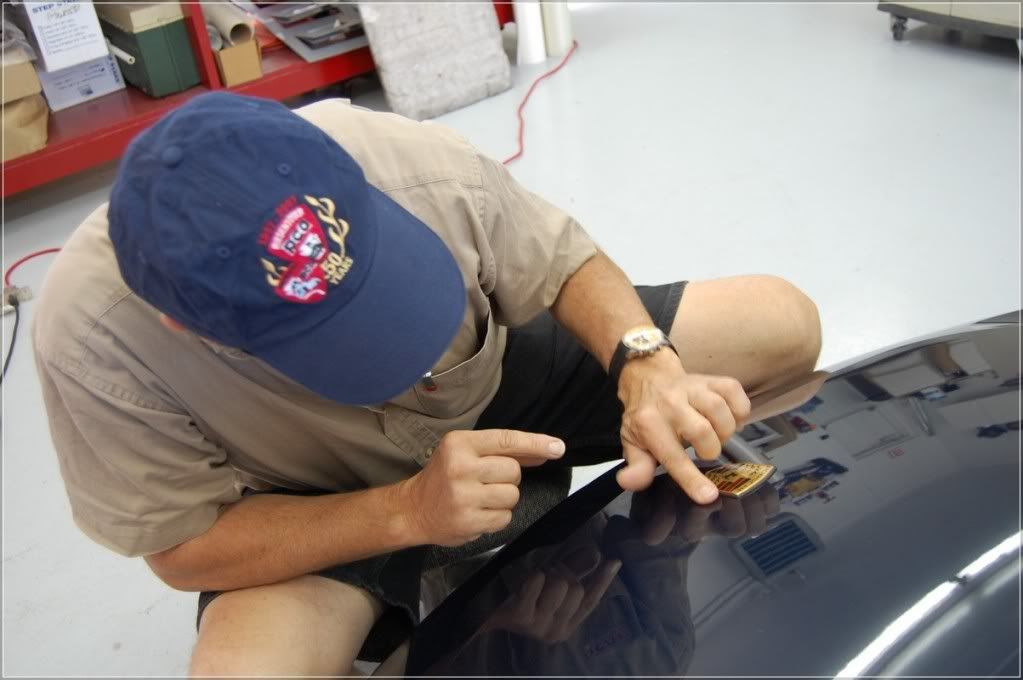
Bill removed all badges , head lamps, and side marker lights to ensure the edges were wrapped tightly and hidden. I thought this was a cool shot that I had took. 3M Ventureshield was used.
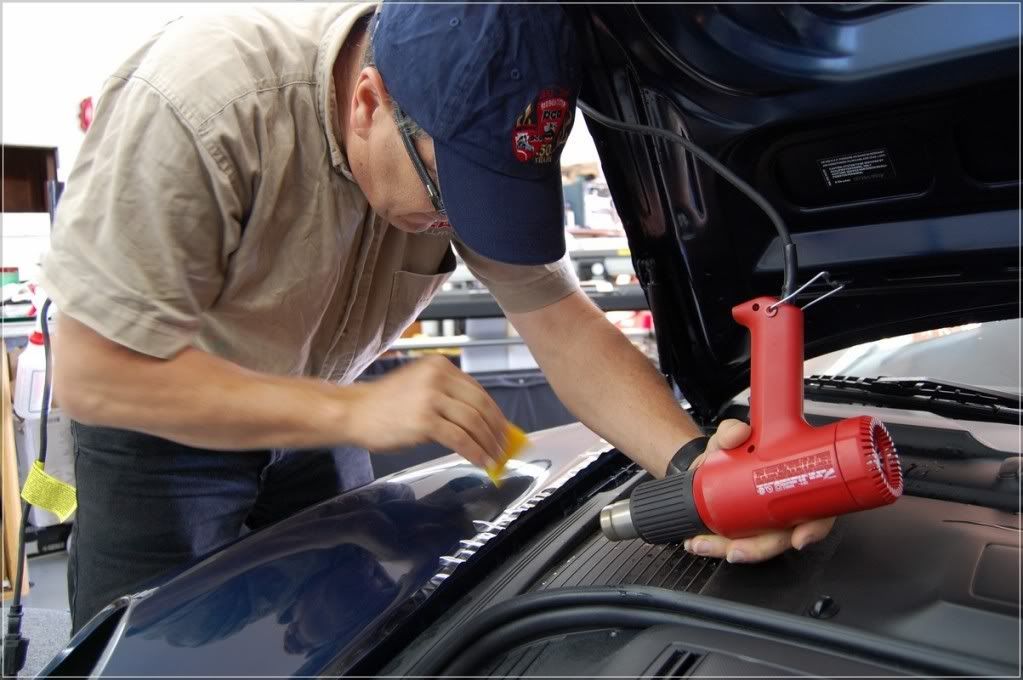
Bill did some minor touch up and began to lay down the clear bra.
I thought this was a rather unique shot. You can see how Bill Lays down the film. Its already layed down, but the edges are still not folded in. It gives you a good look of how the clear bra lays under the hood so its seemless with no edges. I’m lucky to have Bill here. His talent for laying the perfect clear bra come from experience. He has been doing it since they came out. You got to love the old timers!!
Bill working on the fender. Here in this photo you can see how the Paint Protection film will be layed behind the light to ensure no edges.

Finally getting things Back together!
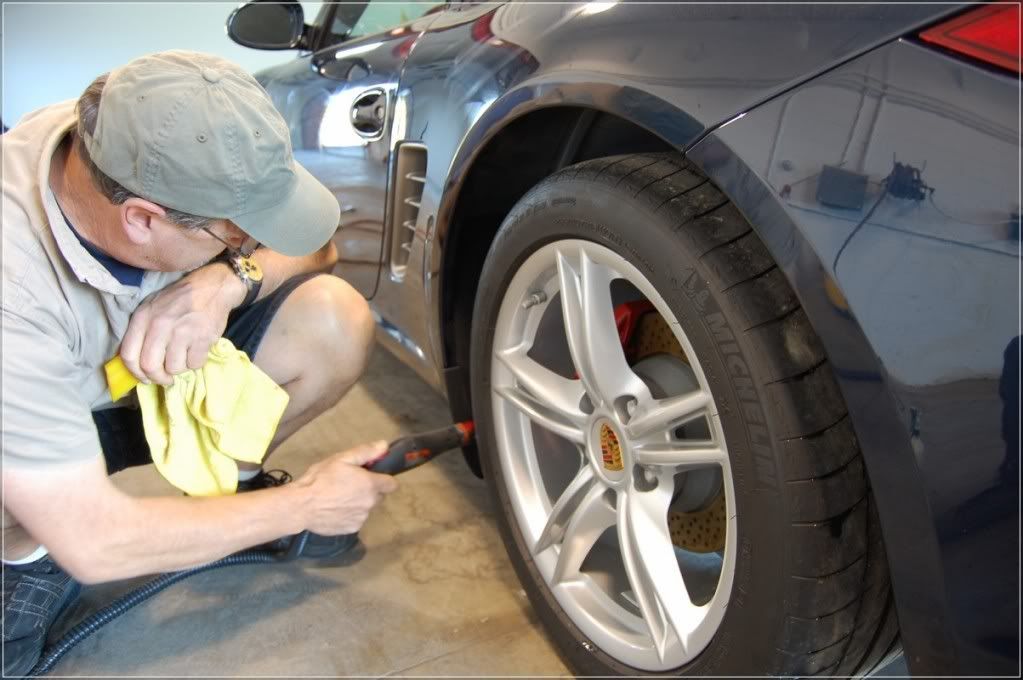
Once Bill got completed we were against the clock now. Owner was coming in a few hours and we need to get this waxed and detailed. I layed down a nice Carnuba and Bill Began to steam the wheels and wheel wells to ensure all was spotless and clean from moving it around in the shop.
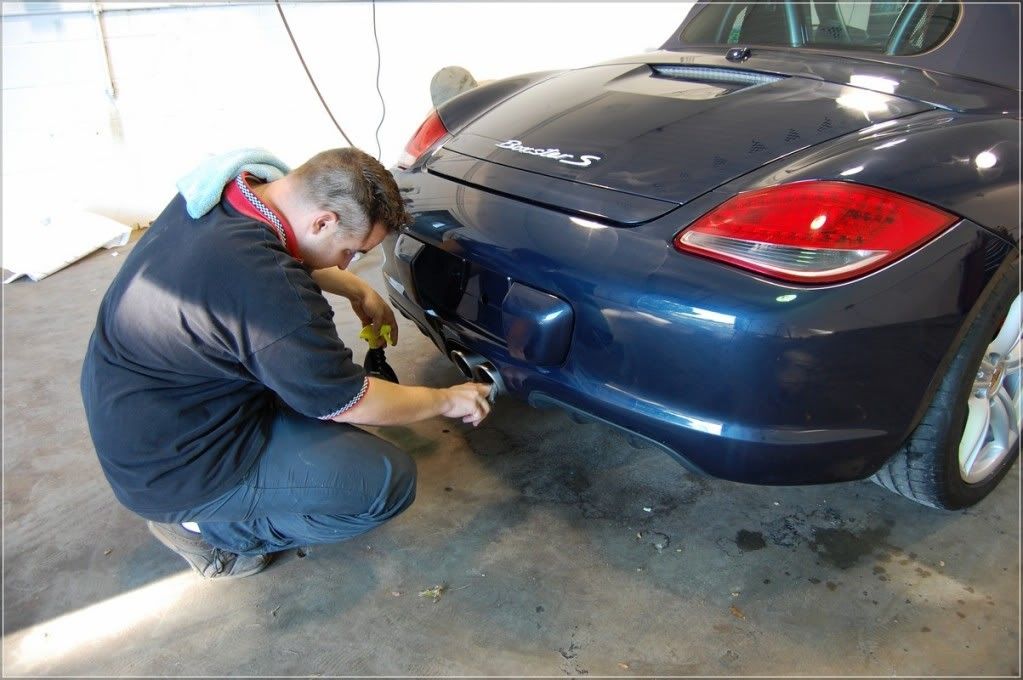
Cleaning the exhauts tips. it’s the small things that count when the larger picture is shown!
The tires being treated nicely!

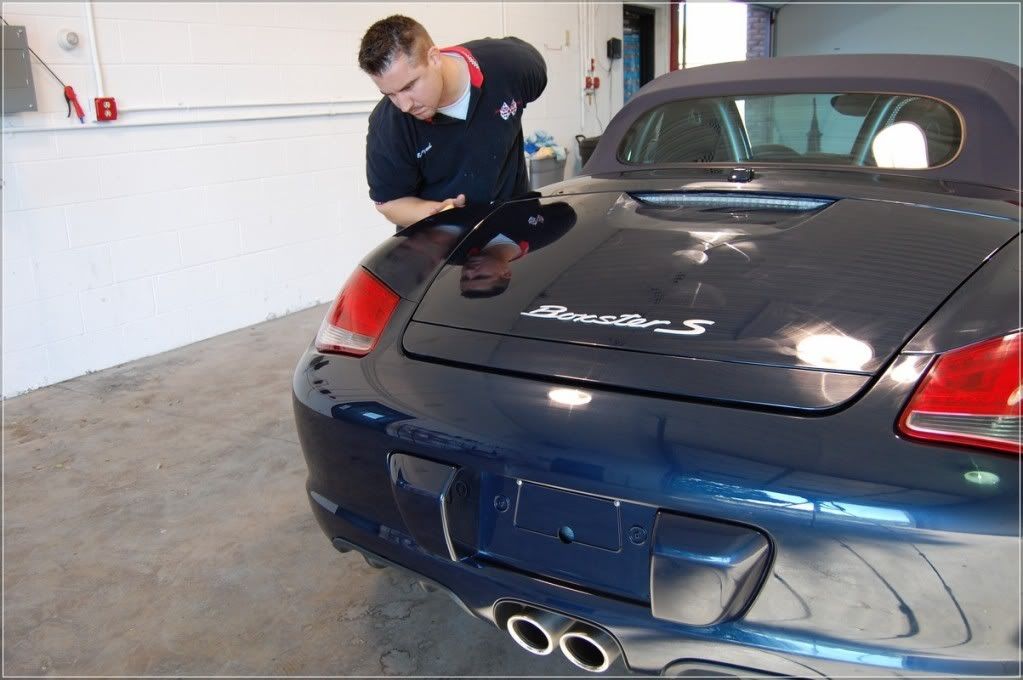
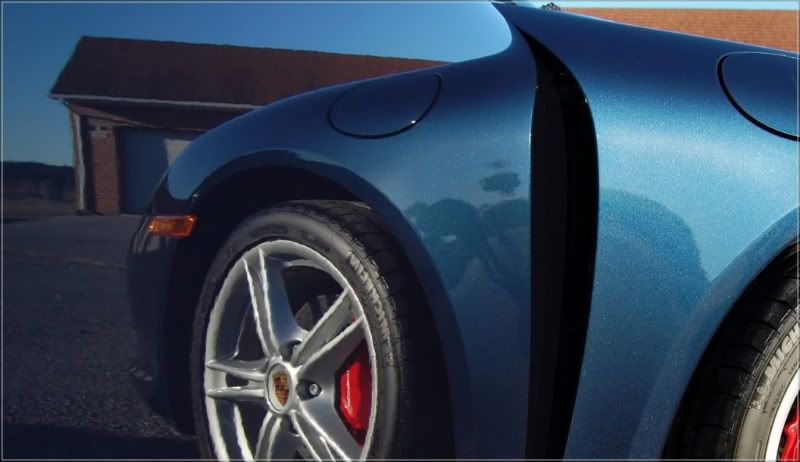
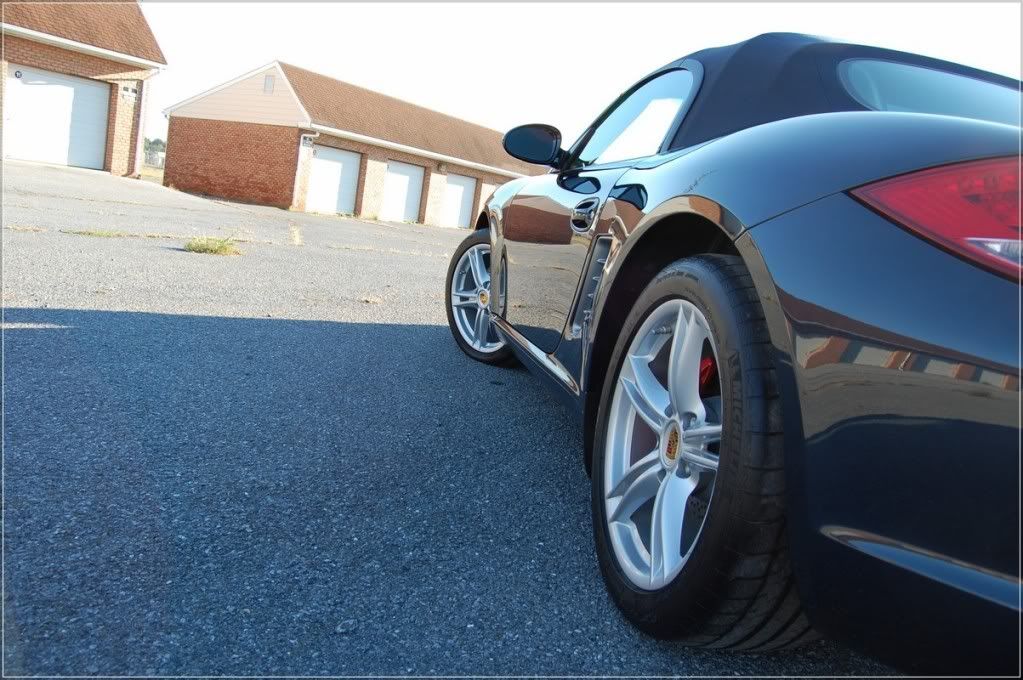
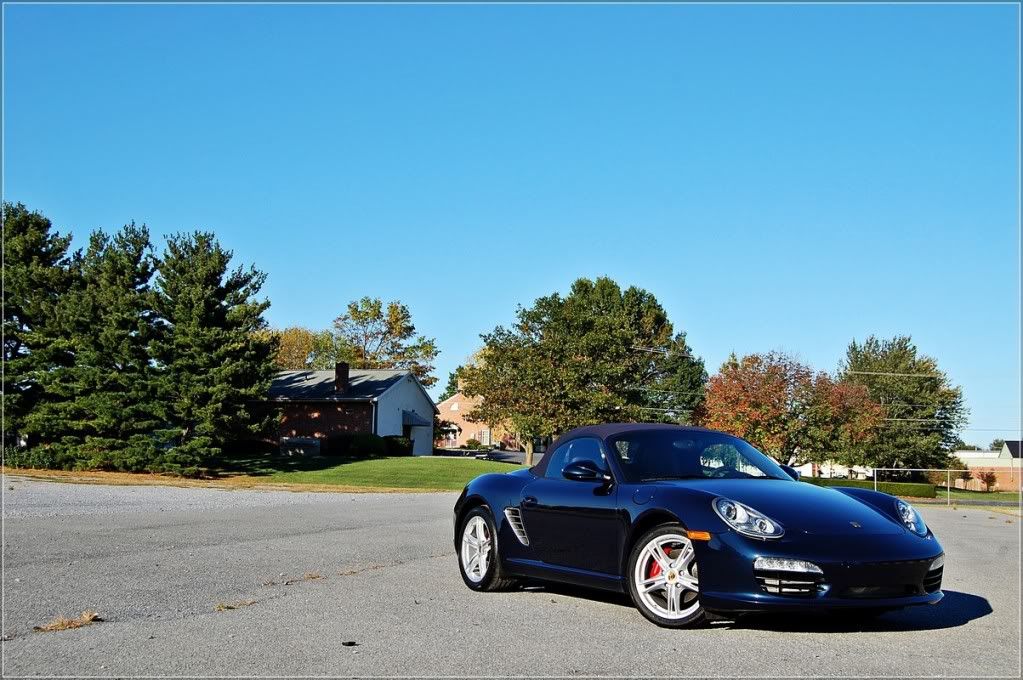
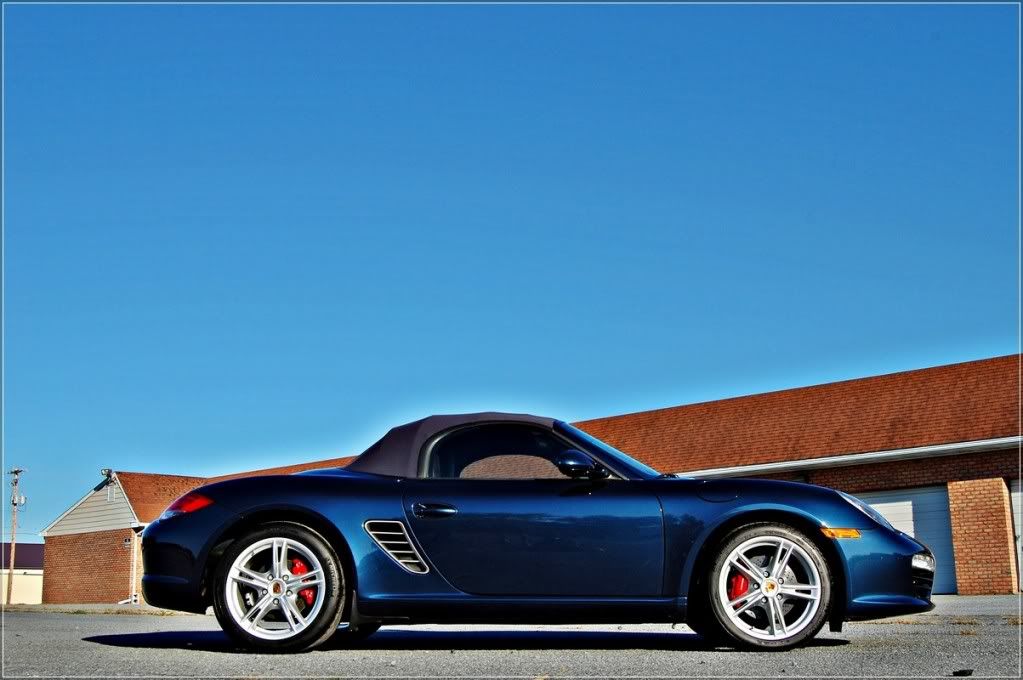
Once we got thing all finished I pulled the car outside and took some photo’s of the completed project. Here she sits cleaned, corrected, and protected. This car turned out great. It was nice to deliver a car the way it should look.
The car had to be 100 percent due to fact that we layed paint protection film on the entire front end as well as lights, mirrors, and a few small spots. Total man hours on this project went into about 25 or more between both Bill and I.
As the car arrived.
The car was actually quite clean. It just came in almost directly from day 1 of the purchase.
The exhaust tips were filthy.
Obvious evidence here that the dealership used a harsh acidic based cleaner to clean the wheels. Rust was all over everywheel.
Anyways I got to work. First step was to completely strip all previous wax and products off the paint. A citrus based cleaner was used, purged threw a foam cannon. This gave for proper dwell time to allow the product to work.
Once completed I moved to the wheels.
First cleaning the actual wheel itself. I started with Wolfs Chemicals Wheel Cleaner. This was the first time using it. It has the effect similar to Sonax wheel cleaner. Once sprayed as the products begins to work it changes colors and you can see the full effect.
Here it is braking down the contaminants on the wheel.
Time to agitate and get them clean!!
After all wheels were clean after a 180 degree rotation. I cleaned all the wheel wells and tires utilizing the the citrus based cleaner and then moved onto flushing the paint.
Flushing the paint would be to use direct foam as a lubricant between the Sponge and paint. This is a great way to go threw soap rather quickly, but it allows a nice barrier between the sponge and paint. I start from the top and work my way down.
Next I rinsed down th car and foam one last time. It was now time to pay attention to all the cracks and crevices and anywhere that wax hides.
After the final rinse, the car was pulled out of the decontamination bay and into the detailing section. It was dried using purged air and waffle weave towels.
The car really didn’t have to many embedded contaminats, but I clayed to play it safe and taped everything up. Once taped and masked I wiped the entire car down with Prepsol and moved to the paint inspection process. This car was bad. There were some heavy holograms all over the place. Marring was bad to.
Here are a few before shots.
Here you can really see the holograms in the hood from the camera flash.
The Decklid was quite severe as well
The sides of the vehicle were really bad. I used a 500 watt halgen lamp to show the hollograms and swirls.
Once the paint was inspected, I checked various area’s with a paint thickness gauge to ensure I had some room to work with. This is a 2010 Porsche and was already compounded pretty hard. This is why paint thickness gauges are important. A brand new car and it came in 97 microns. A little on the low side. So extra caution was taking when correcting this one.
Now onto the correction. I choose to go about it with a random orbital machine. Utilizing the Porter Cable 7424 XP and Meg. M105 with a Meg. Maroon 6.5 inch pad for the leveling. I then followed up with Menzerna 85rd and a blue Lake Country Pad.
This side of the hood is uncorrected
This side is corrected. This is after the leveling stage only. No polish at this point.
Here is a 50/50 of the Door
Here is a video showing the door correction after the leveling stage. Again no final polishing was done.
<object width="480" height="385"><param name="movie" value="http://www.youtube.com/v/IsAND_5nX1Y?fs=1&hl=en_US"></param><param name="allowFullScreen" value="true"></param><param name="allowscriptaccess" value="always"></param><embed src="http://www.youtube.com/v/IsAND_5nX1Y?fs=1&hl=en_US" type="application/x-shockwave-flash" allowscriptaccess="always" allowfullscreen="true" width="480" height="385"></embed></object>
Once competed I rinsed everything down to remove all compounding and polishing residue.
Then at this point I called it a night after taking the car over to the other side of the building. Bill was ready to install the clear bra.
Bill removed all badges , head lamps, and side marker lights to ensure the edges were wrapped tightly and hidden. I thought this was a cool shot that I had took. 3M Ventureshield was used.
Bill did some minor touch up and began to lay down the clear bra.
I thought this was a rather unique shot. You can see how Bill Lays down the film. Its already layed down, but the edges are still not folded in. It gives you a good look of how the clear bra lays under the hood so its seemless with no edges. I’m lucky to have Bill here. His talent for laying the perfect clear bra come from experience. He has been doing it since they came out. You got to love the old timers!!
Bill working on the fender. Here in this photo you can see how the Paint Protection film will be layed behind the light to ensure no edges.
Finally getting things Back together!
Once Bill got completed we were against the clock now. Owner was coming in a few hours and we need to get this waxed and detailed. I layed down a nice Carnuba and Bill Began to steam the wheels and wheel wells to ensure all was spotless and clean from moving it around in the shop.
Cleaning the exhauts tips. it’s the small things that count when the larger picture is shown!
The tires being treated nicely!
Once we got thing all finished I pulled the car outside and took some photo’s of the completed project. Here she sits cleaned, corrected, and protected. This car turned out great. It was nice to deliver a car the way it should look.
 Great color though, huh? That must've been kinda fun to work on.