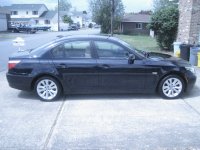
I didn't have the time to do a full correction until August when I have a week off from work. In the mean time I wanted to at least get my interior clean to the fullest extent that I could and glaze and wax my 2008 BMW 535xi.
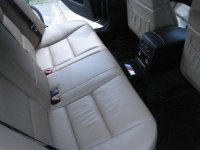
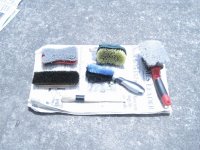
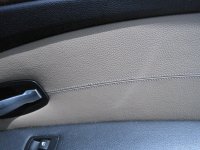
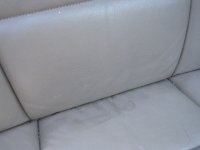
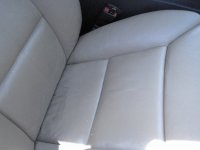
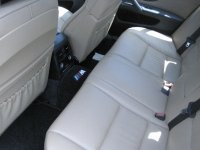
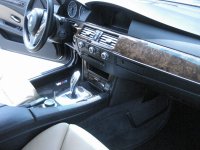
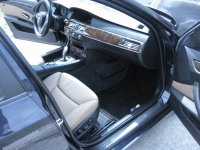
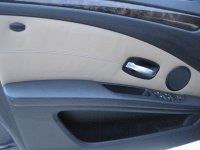
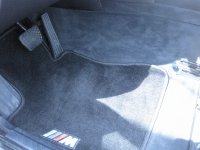
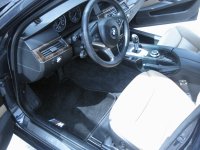
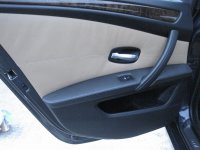
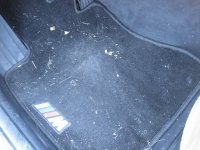
I did all the leather in my car with Meg's Leather Cleaner and the porter cable with upholstery attachment and it came out like new! After only two passes with the machine it got out the dirt, grime, and oils that were imbedded there for years. I finished off the plastic with Meg's quick interior detailer.
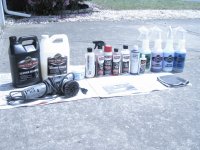
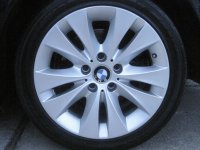
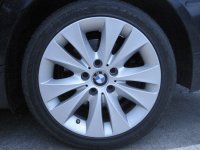
Meg's glass cleaner on all the glass and mirrors, Meg's all purpose cleaner and Wheel Brightener on the wheels and tires.
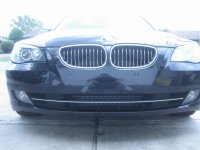
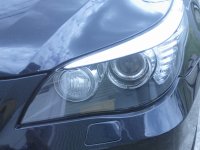
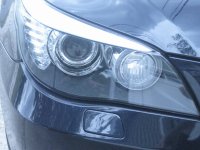
I wet sanded the headlights that were starting to get slightly hazed over, used 1000 grit, 1500 grit, 2000 grit in a cross hatch pattern then compounded with M101 then 205. Protected with Meg's Plast X, Wolfgang sealant 3.0 and Adam's spray sealant. Also put a coat of Natty's Blue over them when I waxed me car.
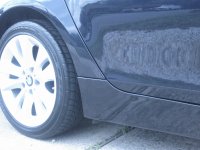
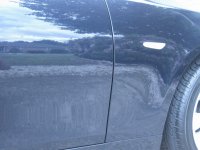
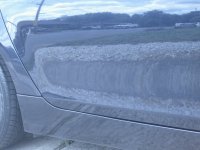
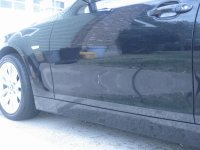
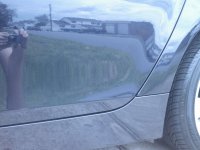
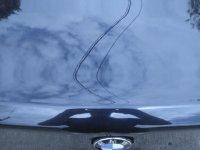
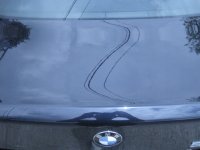
For the paint I two bucket washed, Iron X trixed, clay barred with the speedy prep towel.
After that I used Adam's revive polish to really cleanse the paint and then I used my favorite product I have used on my car to date, Poorboy's Black Hole.
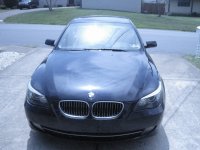
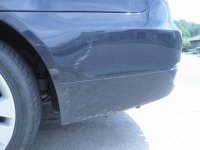
Since I didn't have enough time for a full paint correction and I just wanted to cover up my swirls, scratches, and rock chips the black hole REALLY impressed me. I applied it using the porter cable with a WHITE pad and I can't say enough good things about it. I have been impressed by products in the past but never BLOWN AWAY by a product until now. All the rock chips that I had going up my rear quarter panel disappeared, only the large rock chips on the front bumper and hood weren't filled and tons of my swirls and scratches aren't able to be scene anymore. Shout out to Ronkh on the recommendation of Black Hole, it worked GREAT! for me, thank you.
After I glazed with black hole I put a coat of Poor Boy's Natty's Blue it looks great! My only complaint about Natty's blue is it was a little difficult to remove.
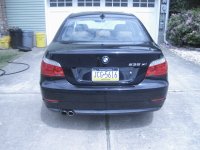
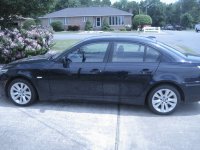
All in all I am really happy how it turned out, my interior is like new again and my exterior looks great and has some protection until I have the time to do a proper paint correction.
I did all the leather in my car with Meg's Leather Cleaner and the porter cable with upholstery attachment and it came out like new! After only two passes with the machine it got out the dirt, grime, and oils that were imbedded there for years. I finished off the plastic with Meg's quick interior detailer.
Meg's glass cleaner on all the glass and mirrors, Meg's all purpose cleaner and Wheel Brightener on the wheels and tires.
I wet sanded the headlights that were starting to get slightly hazed over, used 1000 grit, 1500 grit, 2000 grit in a cross hatch pattern then compounded with M101 then 205. Protected with Meg's Plast X, Wolfgang sealant 3.0 and Adam's spray sealant. Also put a coat of Natty's Blue over them when I waxed me car.
For the paint I two bucket washed, Iron X trixed, clay barred with the speedy prep towel.
After that I used Adam's revive polish to really cleanse the paint and then I used my favorite product I have used on my car to date, Poorboy's Black Hole.
Since I didn't have enough time for a full paint correction and I just wanted to cover up my swirls, scratches, and rock chips the black hole REALLY impressed me. I applied it using the porter cable with a WHITE pad and I can't say enough good things about it. I have been impressed by products in the past but never BLOWN AWAY by a product until now. All the rock chips that I had going up my rear quarter panel disappeared, only the large rock chips on the front bumper and hood weren't filled and tons of my swirls and scratches aren't able to be scene anymore. Shout out to Ronkh on the recommendation of Black Hole, it worked GREAT! for me, thank you.
After I glazed with black hole I put a coat of Poor Boy's Natty's Blue it looks great! My only complaint about Natty's blue is it was a little difficult to remove.
All in all I am really happy how it turned out, my interior is like new again and my exterior looks great and has some protection until I have the time to do a proper paint correction.
Attachments
-
 IMG_0380.JPG506 KB · Views: 6
 -
 IMG_0389.JPG720.9 KB · Views: 2
 -
 IMG_0388.JPG599.2 KB · Views: 6
 -
 IMG_0387.JPG413.8 KB · Views: 4
 -
 IMG_0386.JPG460.5 KB · Views: 3
 -
 IMG_0385.JPG595.2 KB · Views: 4
 -
 IMG_0384.JPG471.5 KB · Views: 3
 -
 IMG_0383.JPG502.4 KB · Views: 3
 -
 IMG_0382.JPG523 KB · Views: 3
 -
 IMG_0381.JPG593.5 KB · Views: 4