2006 Hummer H3 Massive Paint Correction By Barry Theal

Barry Theal

New member
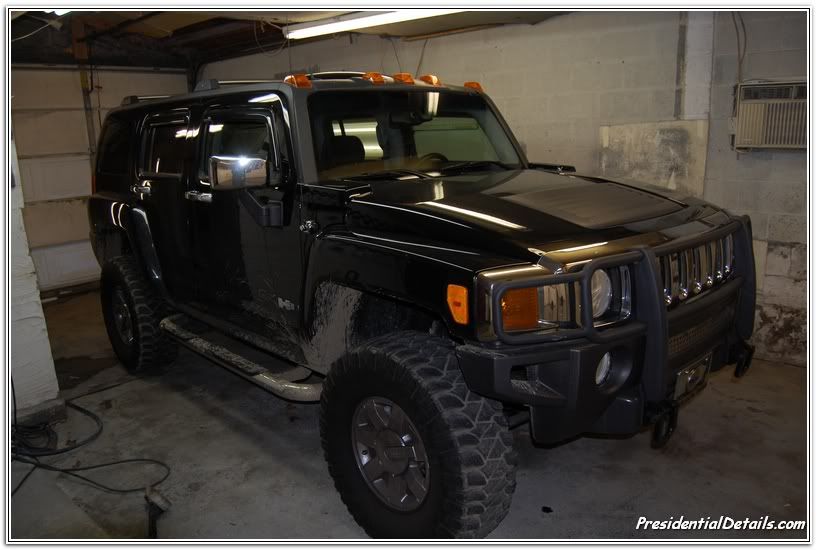
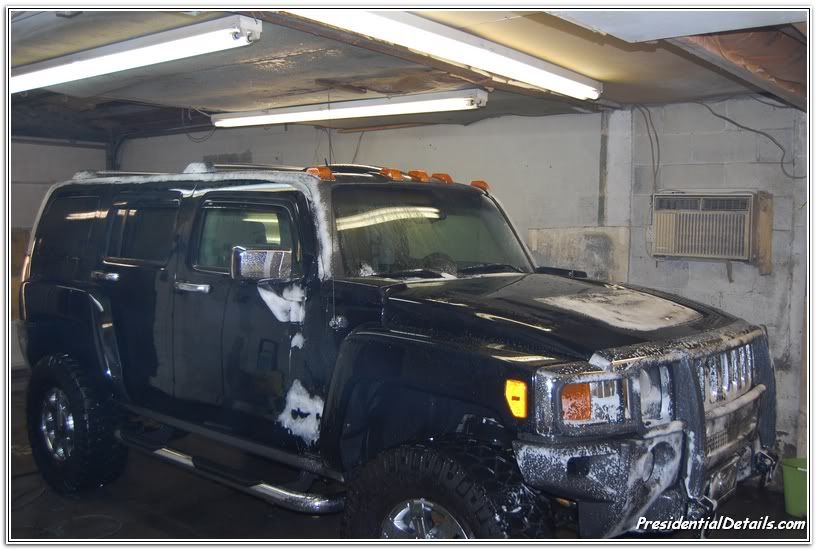
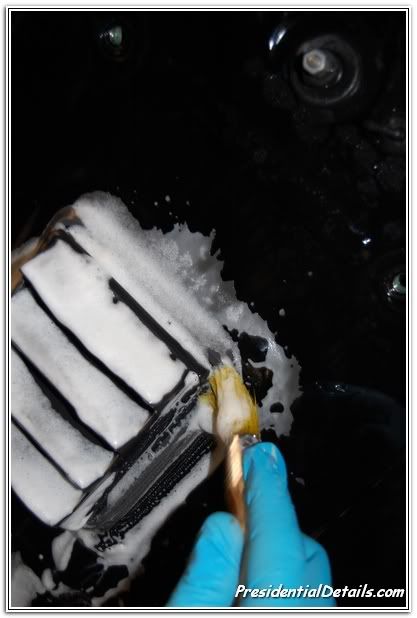
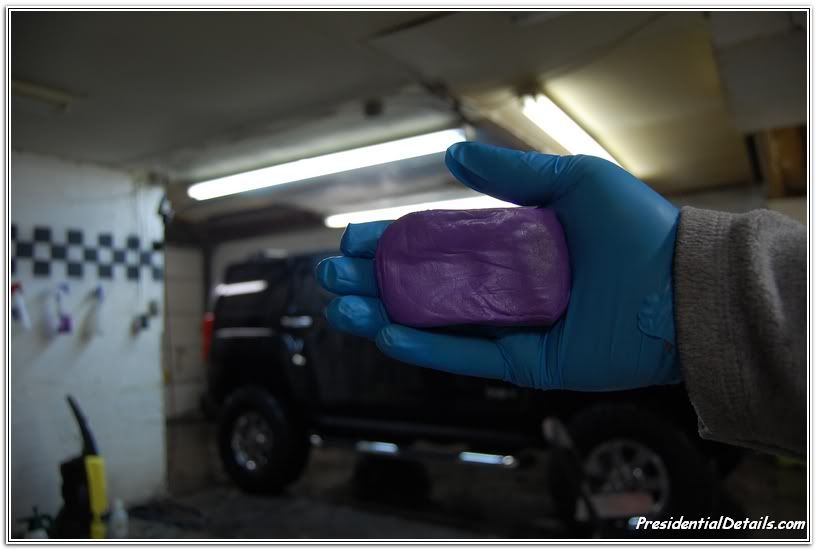
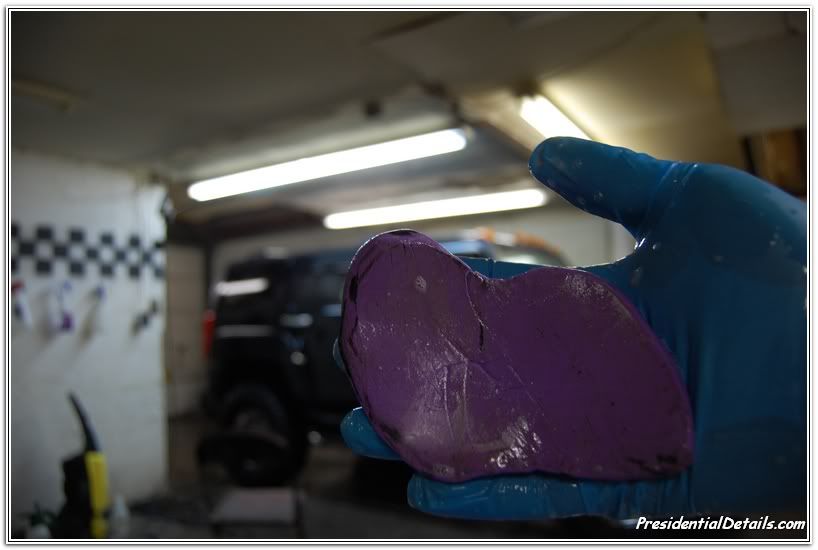
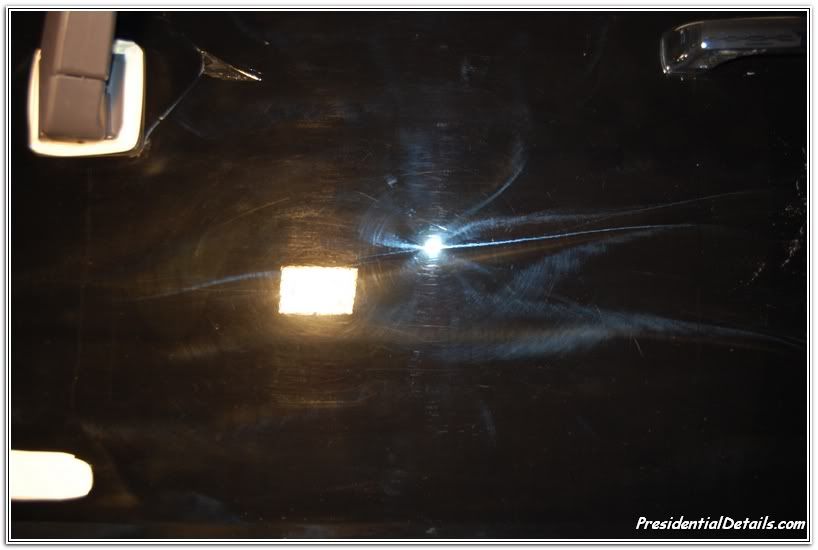
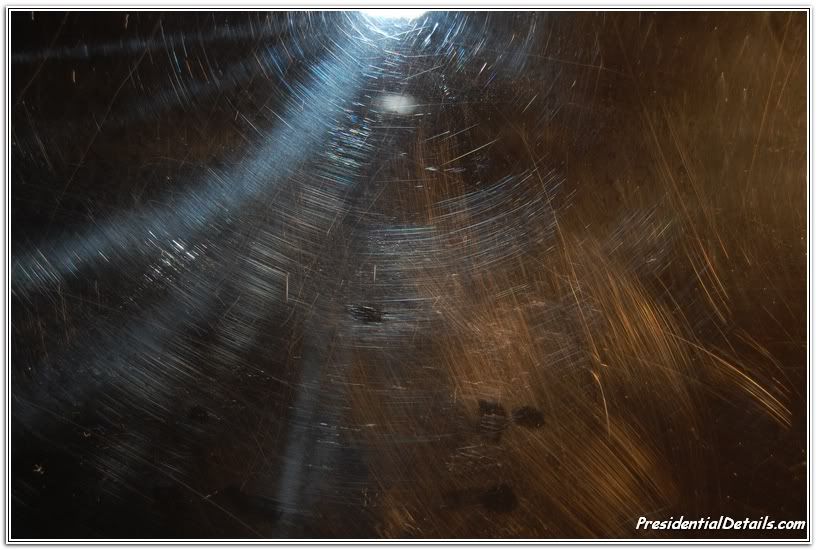
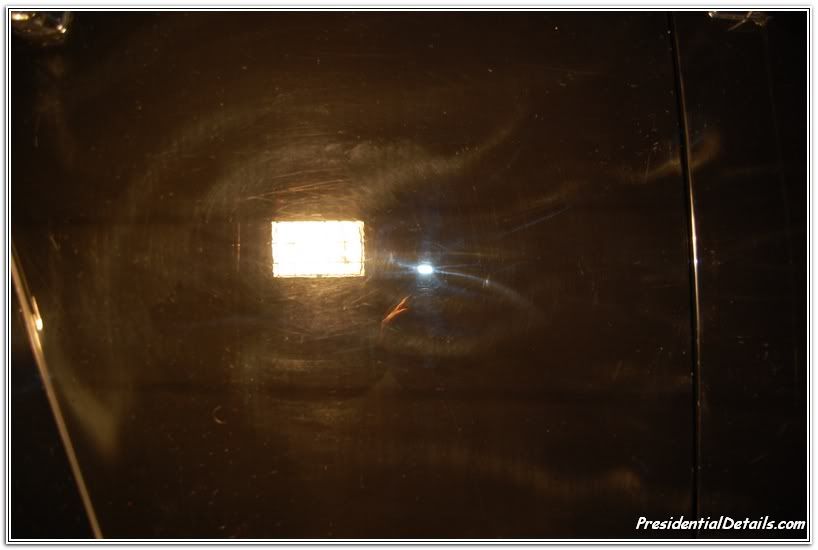
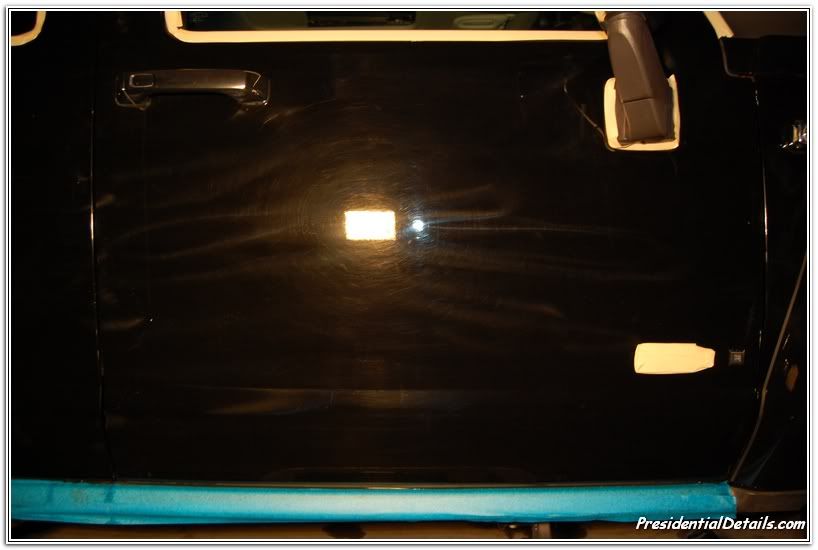
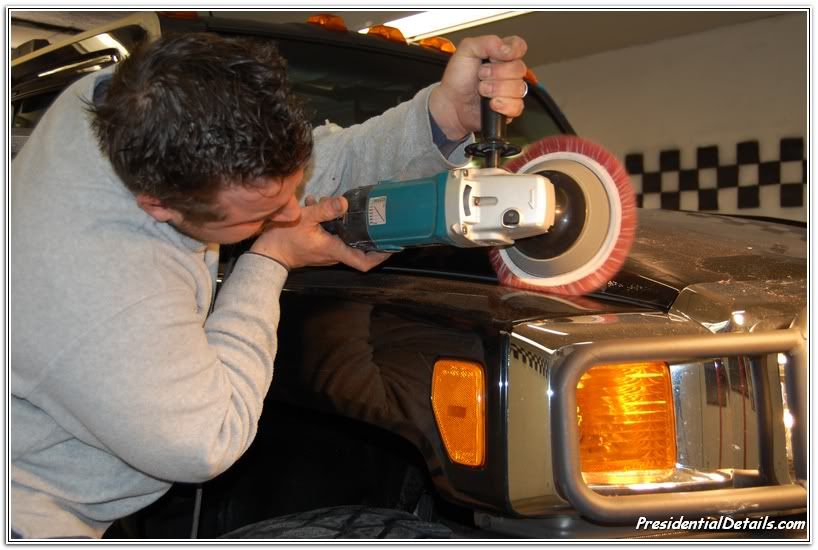
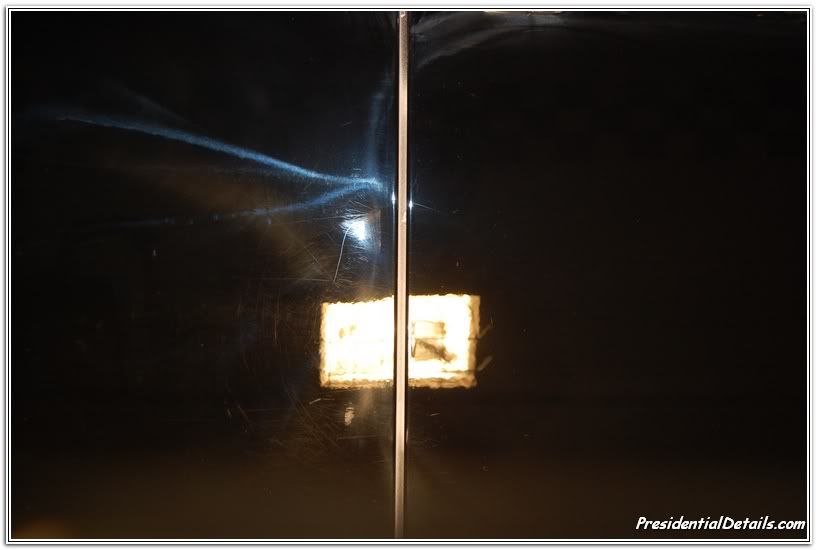
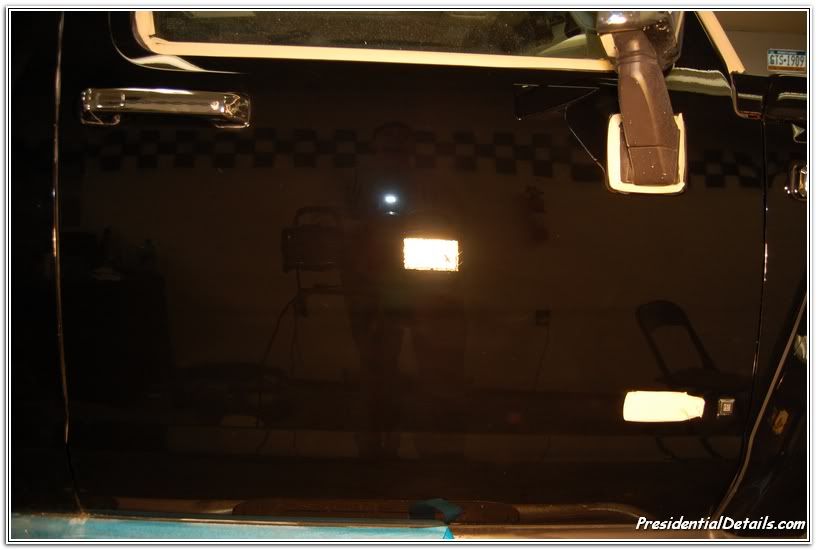
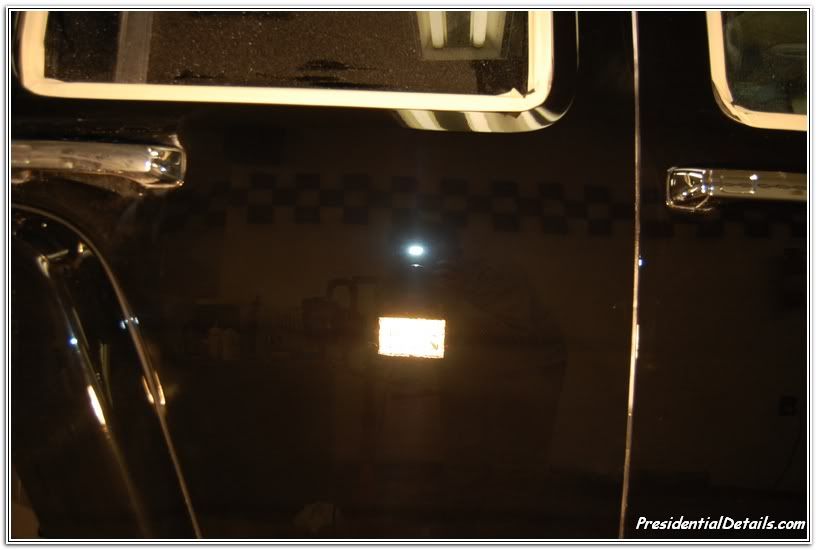
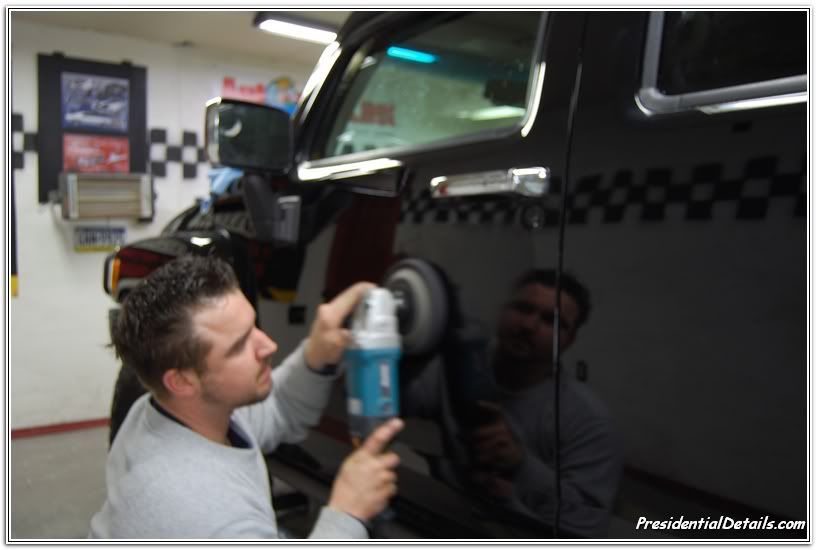
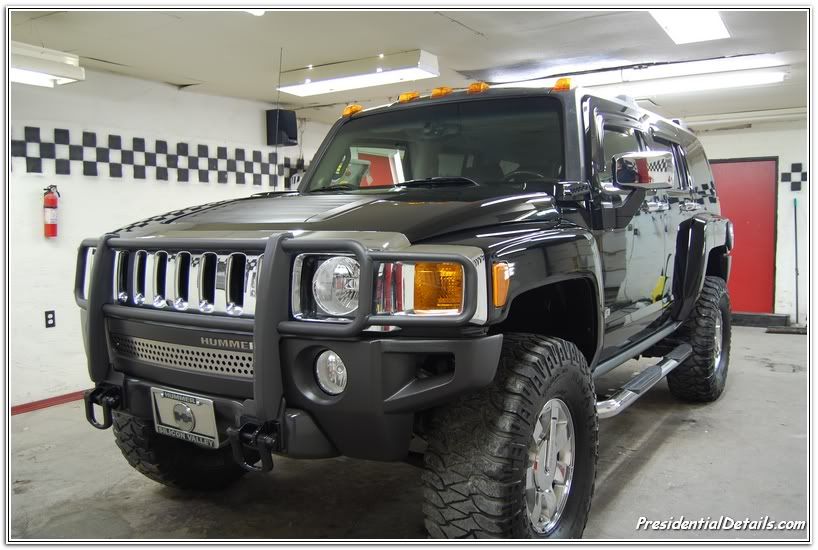
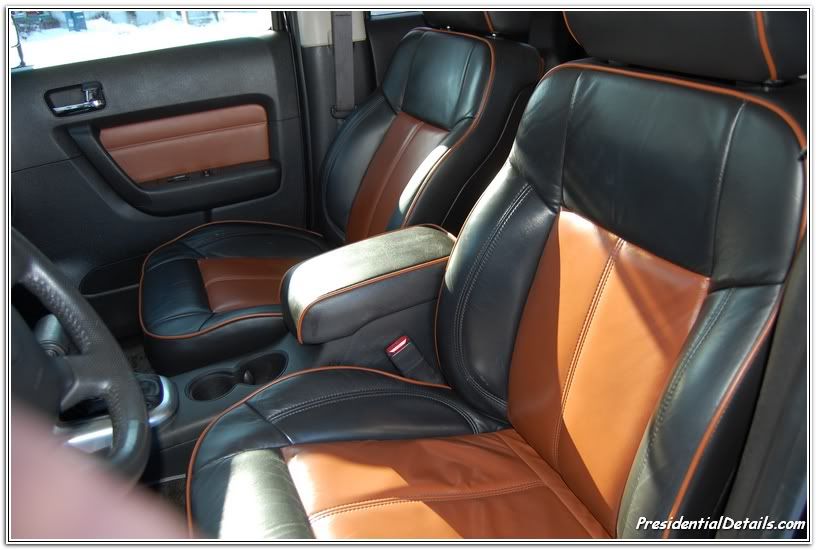
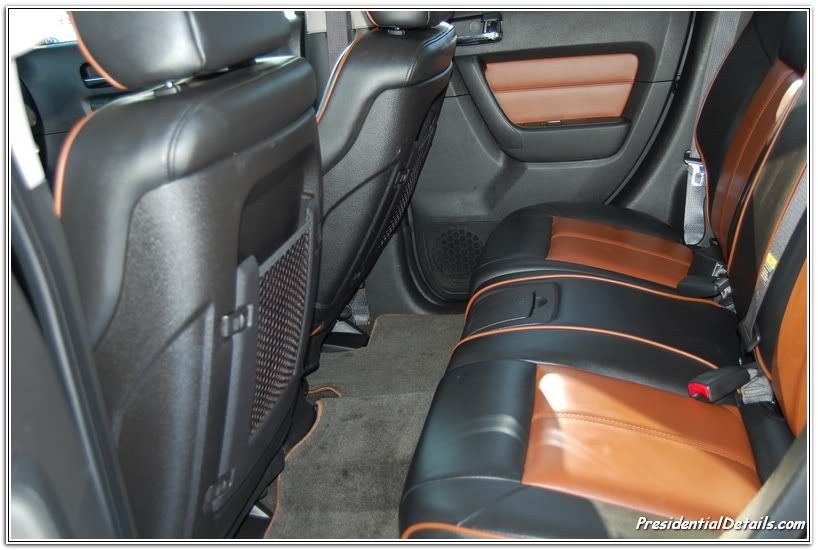
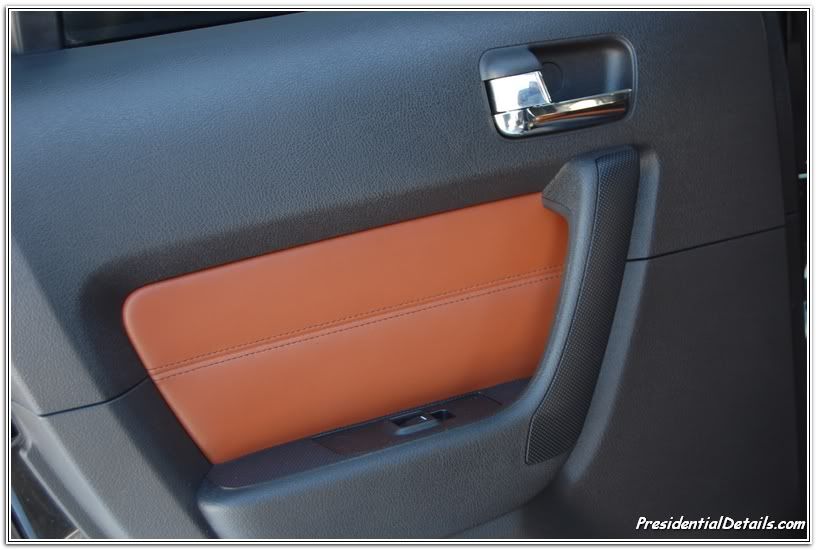
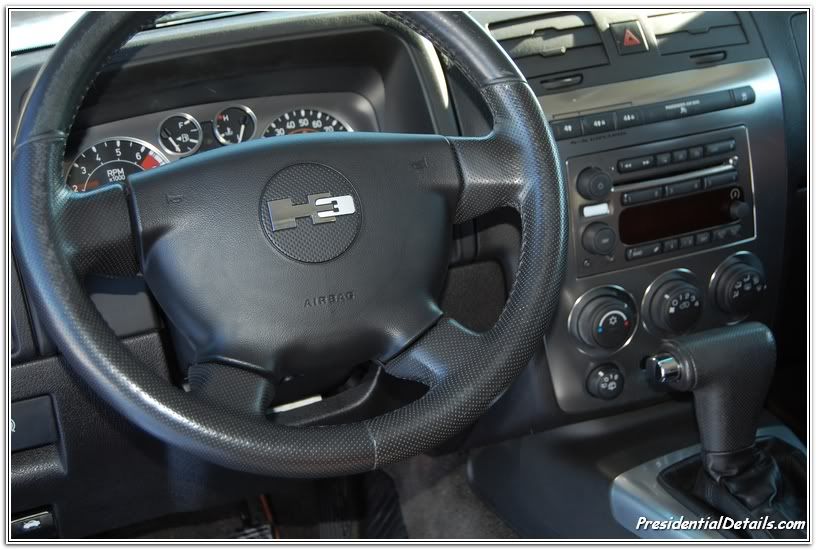
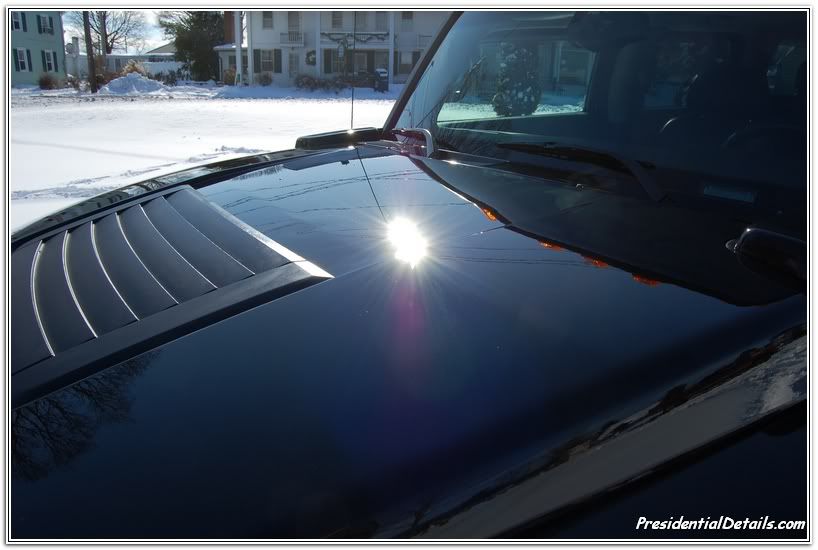
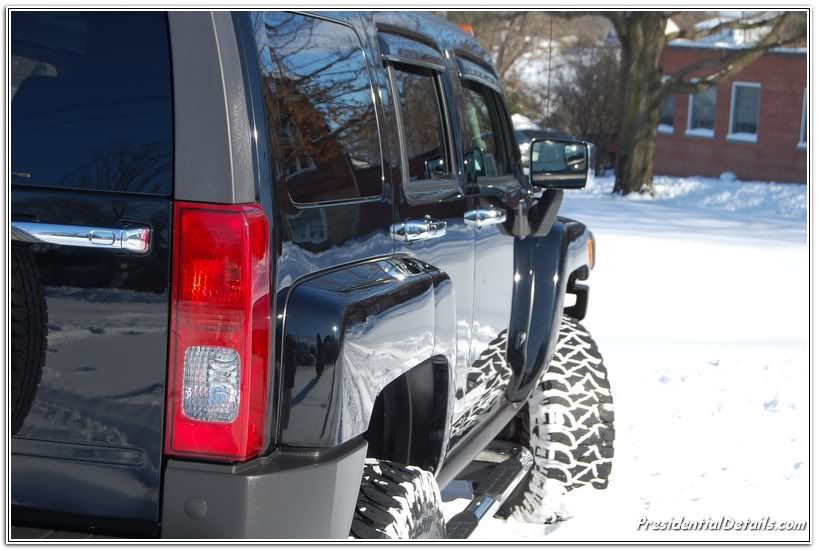
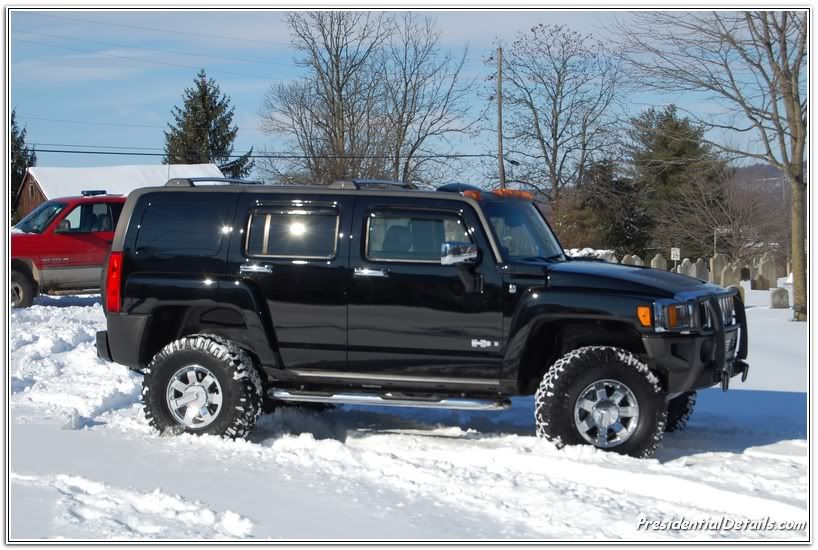
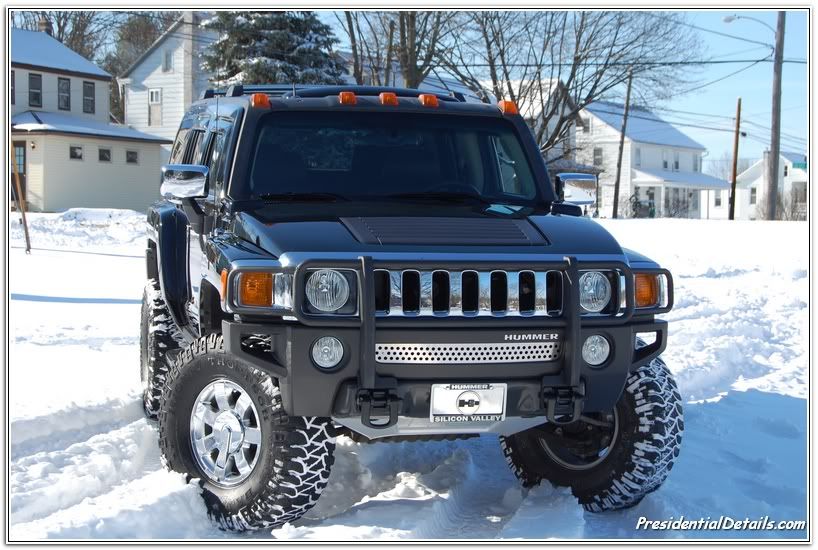
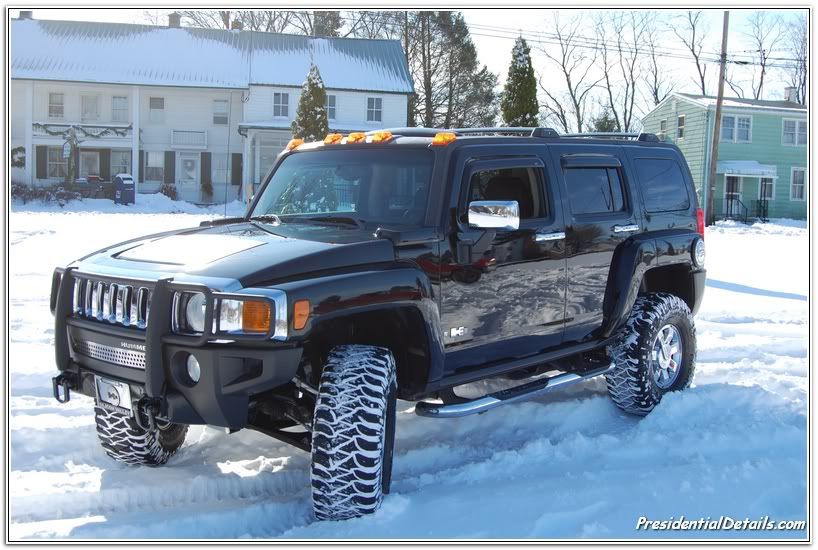
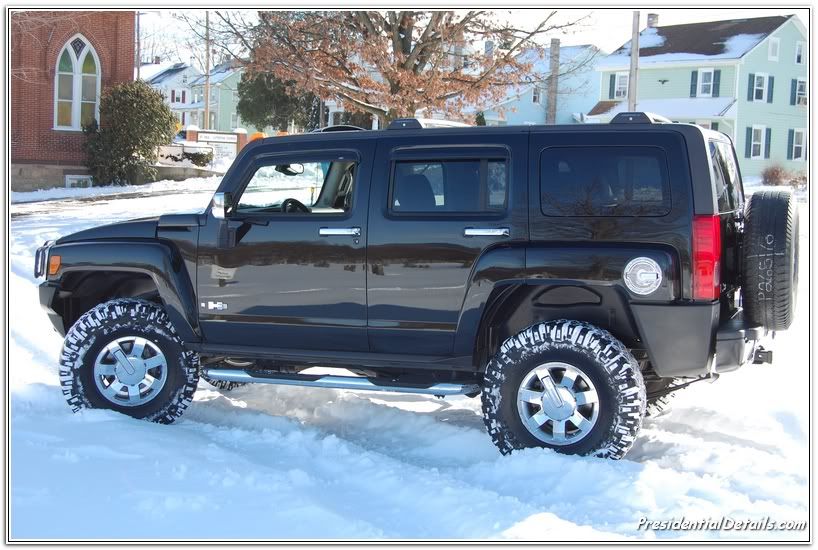
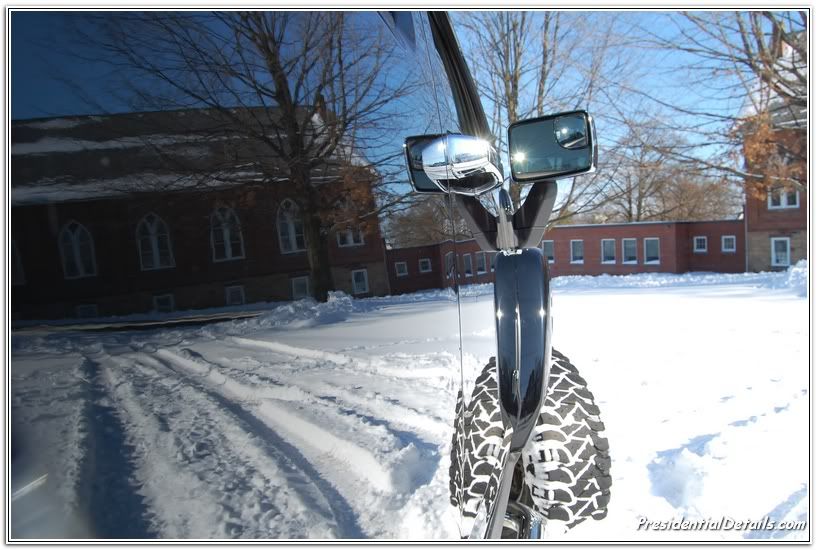
This 2006 hummer was a in for a major paint correction. This car was just detailed a month ago and has been driven since. Upon contact from the vehicle owner his discussed his concern with me about how the car looked. He said that over the course of the last month the paint quickly started to look ugly. I explained to him a few things and told him that I would gladly take a look at the hummer and see what could be done. I couldn’t be my eyes as I began to inspect the car. I got to warn you that some of these before pics may hurt your eyes. A lot of time and effort went into the vehicle. The exterior was my main focus. The interior wasn’t that bad. The owner asked me just to give the interior a quick once over. Nothing major was done to the inside. Upon my initial inspection once at the shop. You can tell the car has been driven a lot since the last detail, but I never expected this once I got all the ugly fillers of the car. There was compound in every crack as well. Anyways here is how the car came.


DSC_0001.jpg


DSC_0003.jpg


DSC_0004.jpg


DSC_0004.jpg


DSC_0007.jpg


DSC_0008.jpg


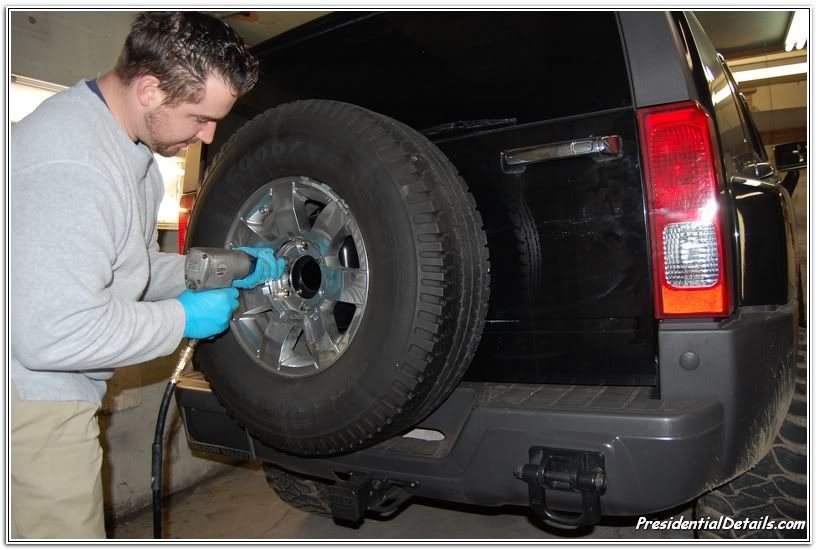
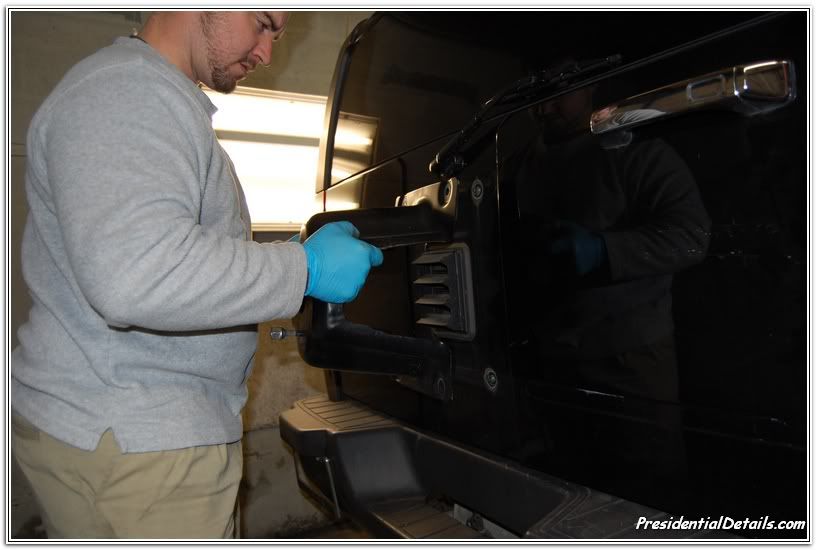
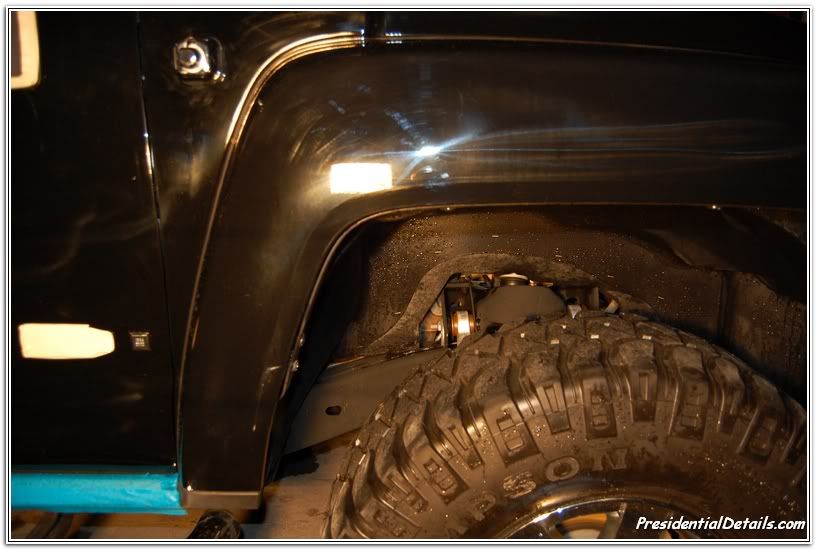
There wasn’t to much of a dismantle process on this thing. I removed the Spare tire, Spare tire bracket, rear wiper and the radio antenna. I try to remove this stuff to gain access to all the paint. These things make it a lot easier later.


DSC_0018.jpg


DSC_0021.jpg


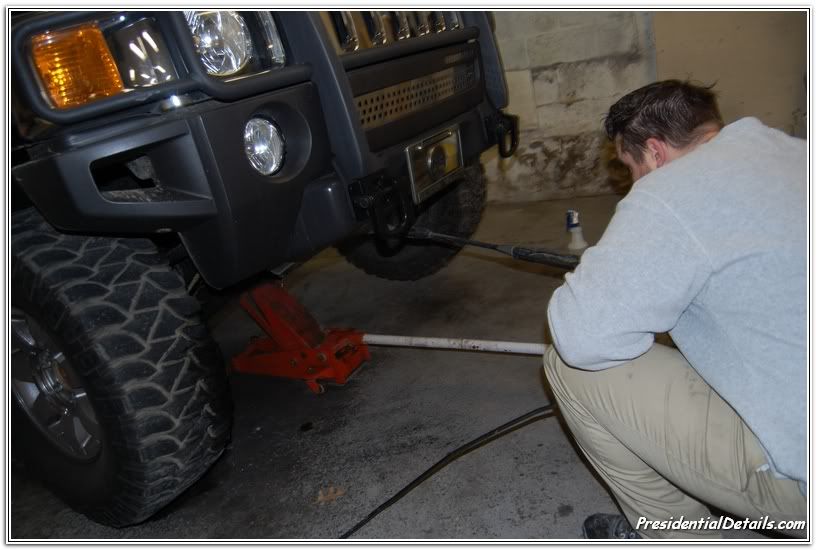
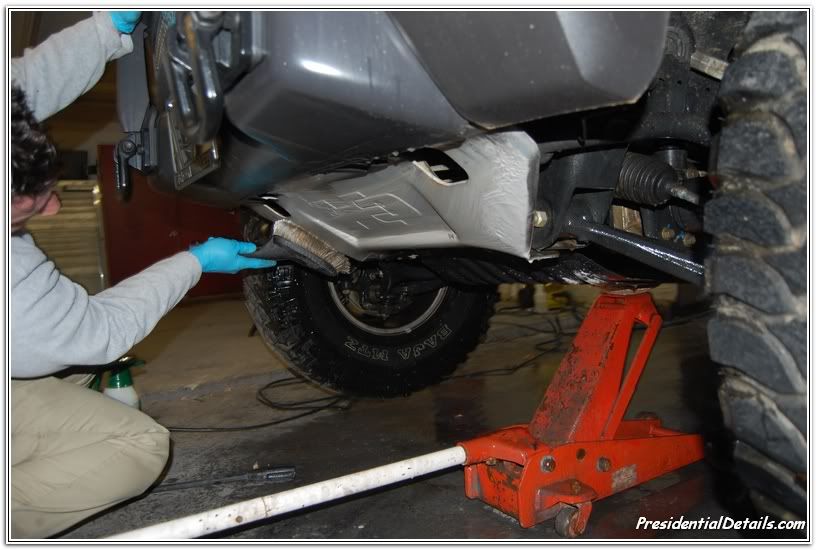
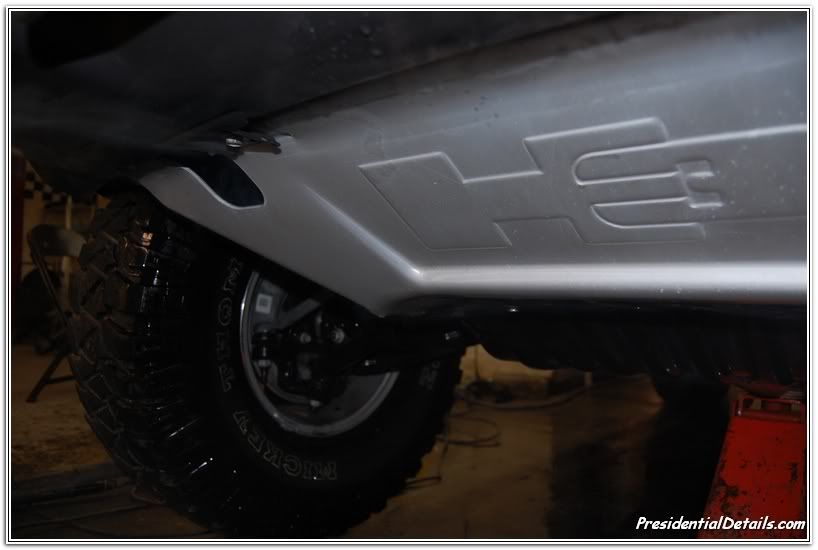
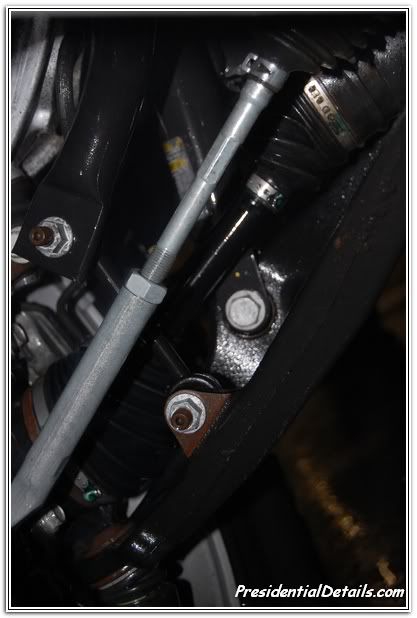
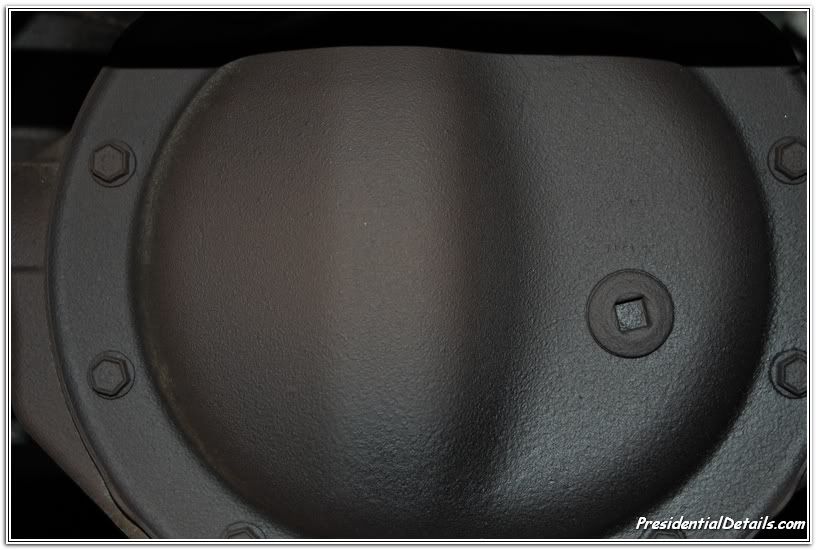
The Hummer was raised with a floor jack which allowed me to access the lower suspension and it also made for cleaning the in arches easier.


DSC_0030.jpg


DSC_0026.jpg


DSC_0032.jpg


DSC_0038.jpg


DSC_0039.jpg
 
After a few washes and wheel cleaning and so on. I noticed that still not all the compound was not removed from the previous detailer, so I hit all plastic and tight area’s where compound has a tendency to build with a citrus foam degreaser and agitated as needed.


DSC_0072.jpg


DSC_0076.jpg


DSC_0077.jpg


Here is a picture of the clay bar after the half of the hood. This was a brand bew clay bar. Here you can see what a clay bar can really do!


DSC_0084.jpg


DSC_0085.jpg


Once I got the vehicle all decontaminated and degreased I taped it up for the initial correction.

Here is what I was looking at. I warn you , your about to see some serious holograms and really deep swirls caused by some gun slinger with a rotory!! These buffer swirls were deep! It took a lot of work to get the paint level.


DSC_0099.jpg


DSC_0108.jpg


DSC_0121.jpg


Here in the next two pictures can you tell how the buffing pattern went? Lmao.


DSC_0129.jpg


DSC_0130.jpg


DSC_0131.jpg


I began to work the paint with Ardex 1000 with a meg. Maroon Wool pad. Then later followed with m205 and a yellow foam pad from Meg. Once leveled the paint really didn’t look to bad.


DSC_0157.jpg


Here is the best 50/50 I got. I really didn’t take to many pictures.


DSC_0158.jpg


After a IPA wipedown to remove all polishing oils I inspected the paint and here is how it looked.


DSC_0185.jpg


DSC_0189.jpg


DSC_0209.jpg
 
Incase you forgot here are two before and afters for you.


BEFORE


DSC_0130.jpg


AFTER


DSC_0192.jpg


BEFORE


DSC_0129.jpg


DSC_0201.jpg


Once all was inspected I burnished the paint with 3m Ultrafina and meg. Black finishing pad.


I even made a video for ya! Over the few months I’m gonna be working on a lot how to videos and this was a practice run so I thought I would share it with ya. My goal in the future is to have a complete video set from start to finish on every step.


Paint Burnishing video By Barry Theal from Presidential Details.com Located in Lancaster PA.


[ame=http://www.youtube.com/watch?v=HoguwvgFSn4]YouTube - Paint Burnishing.wmv[/ame]


DSC_0226.jpg


Burnishing paint nicely leaves you with a great finish like this!


DSC_0248.jpg


The undercarriage was undercoated as well using 3m undercoating spray.


DSC_0255.jpg


Some interior shots. I think this is a custom two tone. Im not exactly sure though.


DSC_0286.jpg


DSC_0287.jpg


DSC_0288.jpg


DSC_0289.jpg


Here are some final pictures, Hope you enjoy this thing took a lot of work!


DSC_0290.jpg


DSC_0293.jpg


DSC_0295.jpg


DSC_0297.jpg


DSC_0298.jpg


DSC_0299.jpg


DSC_0307.jpg


DSC_0309.jpg


Thanks for Looking and god bless! Hopefully everyone has a great and safe Holiday. :D
 
LOL Thomas I usally don't get that ? from guys. :nana: I'll assume you mean for the detail. About 18 - 20 total man hours. Thanks man. I got your pm about the 350 as well thanks for the heads up!
 
That paint looks M A J O R !!


You need to get a glossmeter to prove how off the charts the gloss is on that truck, cuz I know I can't believe my eyes!!! :up
 
Very nice work as usual. I know you're slammed with work, but with that gut you should think about picking up some fast cash as a department store Santa Claus. :spit:


DSC_0021.jpg
 
tssdetailing said:
orange peel free. unusual considering it' GM paint!


I hear ya there!


EliminatorXP said:
Awesome work !!!


Primitive Pete the polisher tore that Hummer up, nice job bringing it back to better than new specs......


Thanks man. Yea its was bad.


D Tailor said:
That paint looks M A J O R !!


You need to get a glossmeter to prove how off the charts the gloss is on that truck, cuz I know I can't believe my eyes!!! :up


Thanks David.. I hope your busy. Have a good Holiday.


David Fermani said:
Very nice work as usual. I know you're slammed with work, but with that gut you should think about picking up some fast cash as a department store Santa Claus. :spit:


DSC_0021.jpg


Thanks David! You owed me that one!!!!!:2thumbs:
 
The Hummer came out incredible, Barry!


The white snow reflecting off the black paint makes for some great pictures!


Looks perfect!
 
Great work Barry. Only thing, I wouldn't jack one of those from under the skid plate. If that skid cracks the jack pad is going right through the oil pan. Use the front crossmember :)
 
Fantastic work Barry. The video was awesome. I really look forward to some others you are thinking of putting together.
 
Back
Top