2006 Honda CRV (56K Warning)

xtremeclean

New member
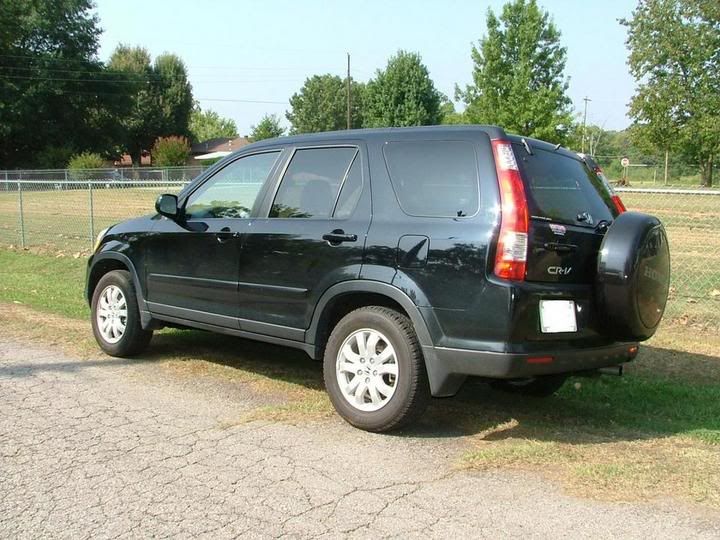
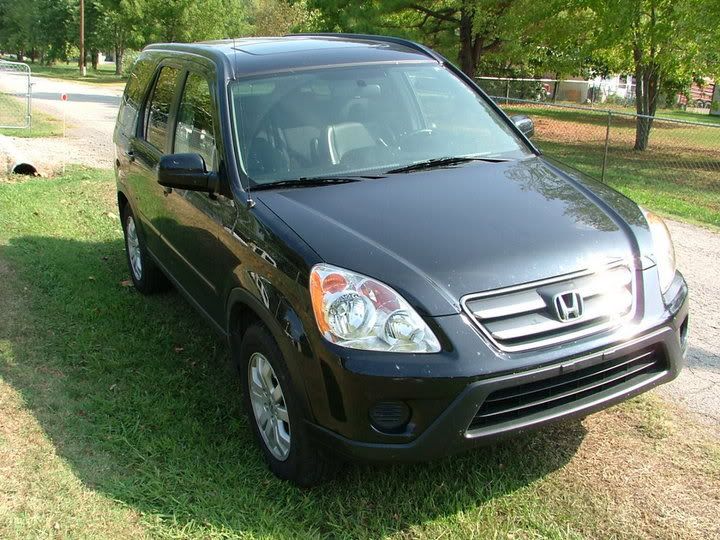
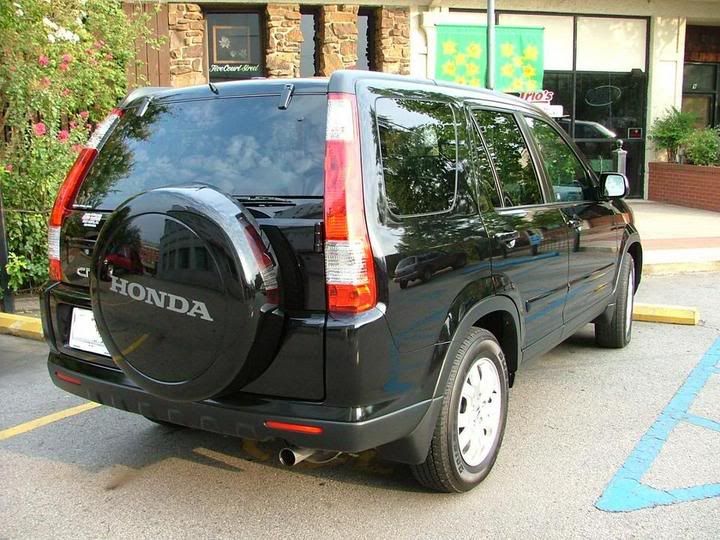
This one was not near as dirty as the first one I posted, but it was a challange because of the color.

This one also had some scratches that the owner wanted me to address. I was able to remove about 95% of the defects on this one.

Process:

1. Wash

2. Clay

3. Hi-Temp EC orange cyclo pad buffed off by hand

4. Color X applied with green cyclo pads buffed off by hand

5. NXT applied with white cyclo pads buffed off by hand

6. Dressed tires, wheel wells, trim, etc..

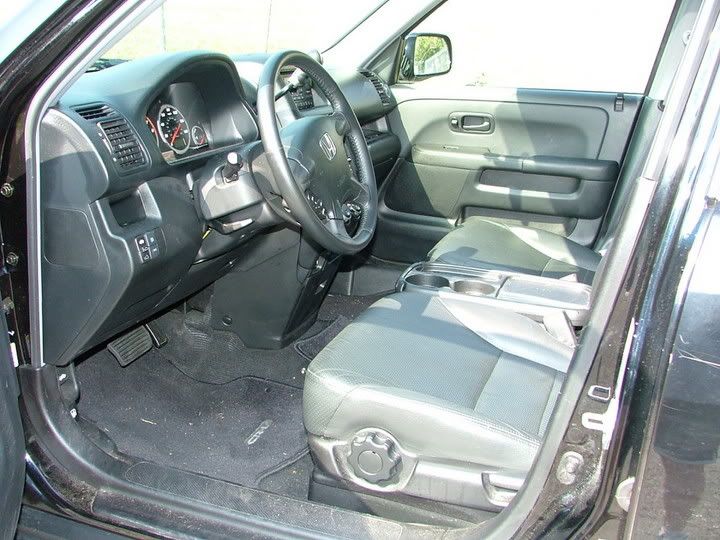
7. Cleaned dressed interior

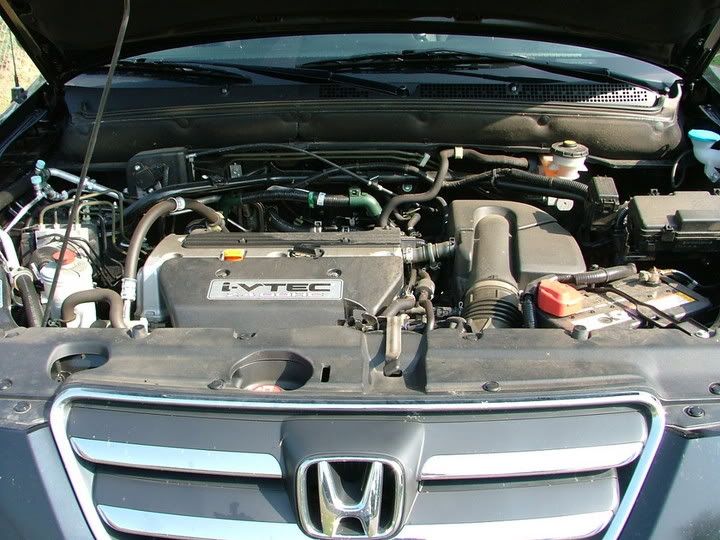
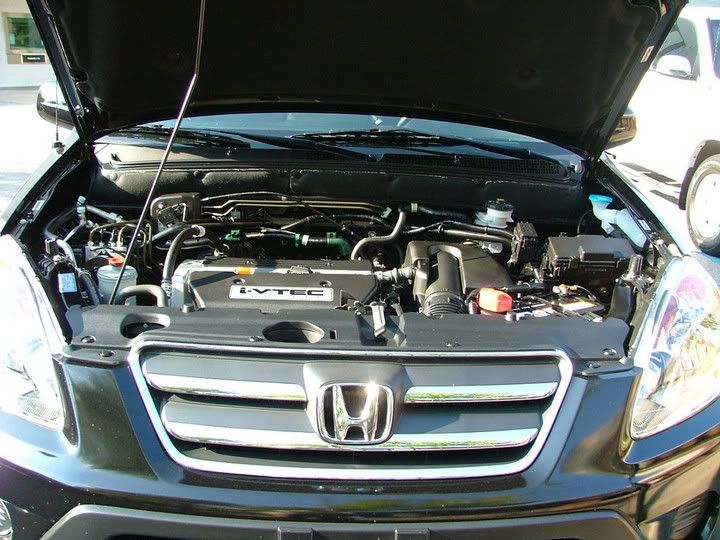
8. Cleaned engine bay

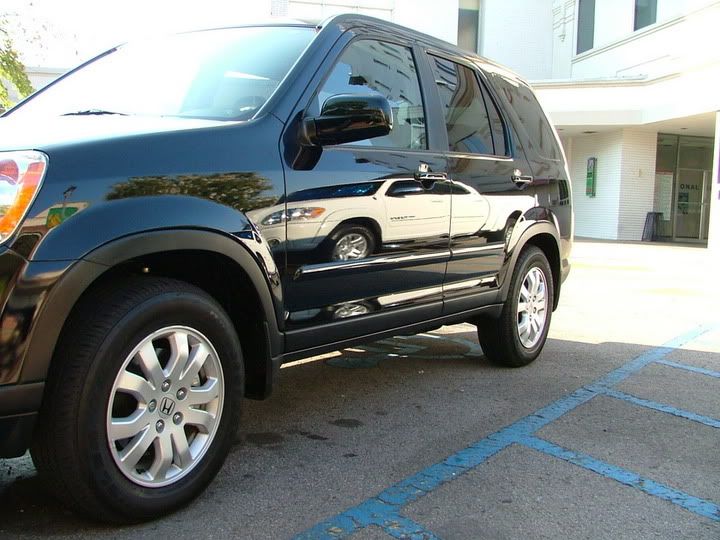
9. Spit shine as final wipe down.
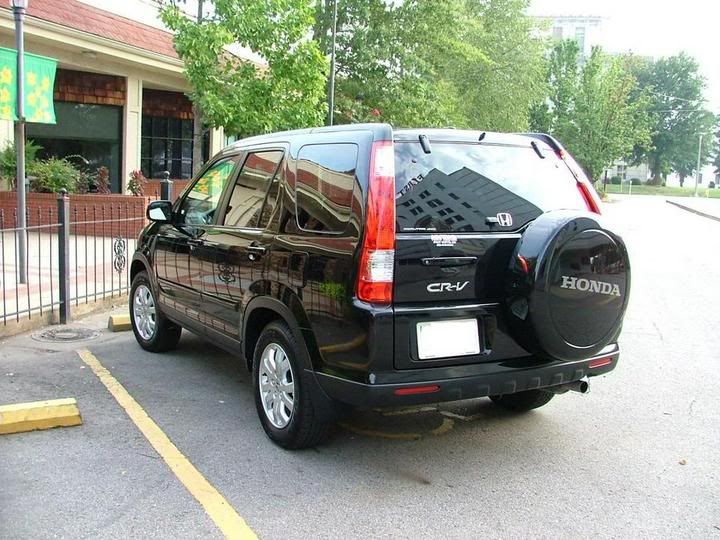


Before

2006_0904Image0002.jpg


2006_0904Image0007.jpg


2006_0904Image0004.jpg


2006_0904Image0006.jpg


After

2006_0904Image0053.jpg


2006_0904Image0046.jpg


2006_0908Image0005.jpg


2006_0908Image0007.jpg


2006_0904Image0050.jpg


2006_0908Image0010.jpg
 
Nice job! Looks brand new again. My wife has an 06 CR-V that I am going to be tackling the engine bay also on in a few weeks. Can you tell me you process and products for this engine detail you did. What did you cover and what cleaner did you use? What protectant did you use and how did you apply it, and did you have to cover the belt? etc...... thanks for the help
 
SR77 said:
Nice job! Looks brand new again. My wife has an 06 CR-V that I am going to be tackling the engine bay also on in a few weeks. Can you tell me you process and products for this engine detail you did. What did you cover and what cleaner did you use? What protectant did you use and how did you apply it, and did you have to cover the belt? etc...... thanks for the help


Once the engine was warm to the touch, it was sprayed down with an apc from Top of the Line. Here is the link to the product used. This was mixed 5 parts apc to 1 part water or 5:1. Nothing was covered when the engine was detialed, just make sure you are careful around the electrical connections and you should be okay. The apc was left on the engine for about 5 min to allow it to do its job and then it was washed off with a pressure washer on low pressure. The underside of the hood was washed with high pressure. Once this was done, the hood was closed to allow the heat from the motor to dry the engine bay. About 10 min later the excess water was wiped off and the entire engine bay sprayed with a OTC tire foam. This was allowed to dry for about 45 min or so and then a final wipe down of the entire engine bay to even out the finished looked. The underside of the hood was wiped with a spray wax around the edges. The actual work involved in cleaning this engine bay was only about 15 to 20 minutes.


Hope this helps, if you have any more questions, feel free to ask.
 
Thanks for the comments.


Scottwax a comment like that means a lot coming from you. I was thinking about some of your threads that I have read when I was taking the full sun shots. The ones where you are requesting full sun shots of the vehicle. Like it has been said "Full sun shots shows you have nothing to hide." thanks again.


The owner was blown away with the results and his comment was "I did not know black could look that good."
 
Maybe I missed something xtreme, but I don't see any after shots in the sun..Usually there are some in the sun or with a light to show swirl/scratch removal. In any case, the car looks good! (I don't really consider those SUV's lol)
 
xtremeclean said:
The owner was blown away with the results and his comment was "I did not know black could look that good."


I always like reading the owner's reaction in Click&Brags...I could just imagine how blown away they were upon final inspection. Especially with the paint coming out like that....it's stupifyingly ridiculous how glassy it looks.
 
Back
Top