Anthony O.
New member
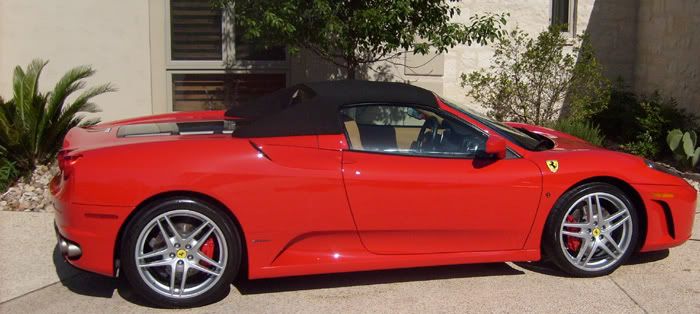
This is an 06 red Spyder with tan interior 430 that was chipped up pretty bad on the front end. So he wanted a detail plus chips repaired and then a clear bra installed on the bumper.
The bad thing about chip repair, especially the amount of chips I had to fill in on this one, is that many times it's not permanent. As the bra was being applied many of the repairs basically fell off so if doing a good number of chip repairs give them plenty of time to dry and bond before doing any work in those areas.
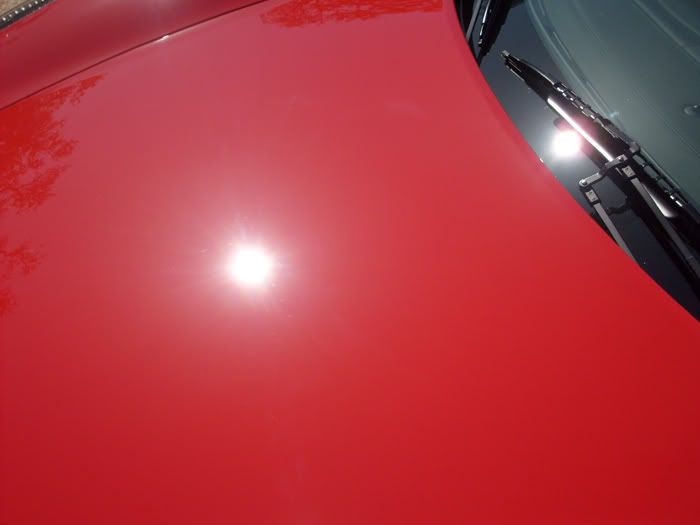
The paint had moderate swirls and a fair amount of halo-scratches but nothing too severe.
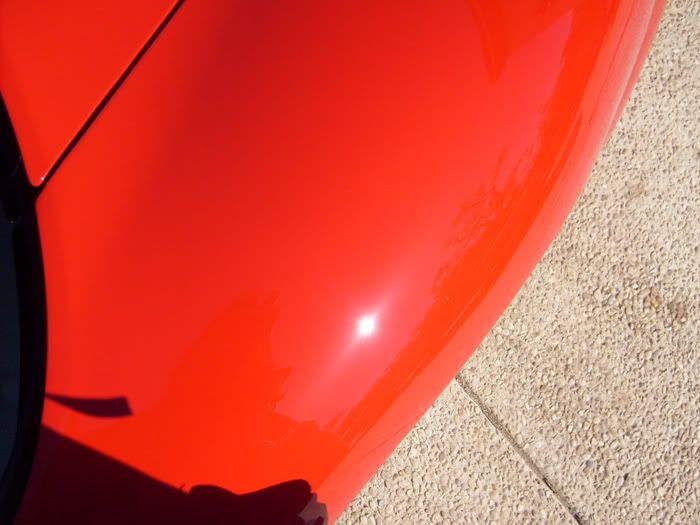
Here are some of the chips.
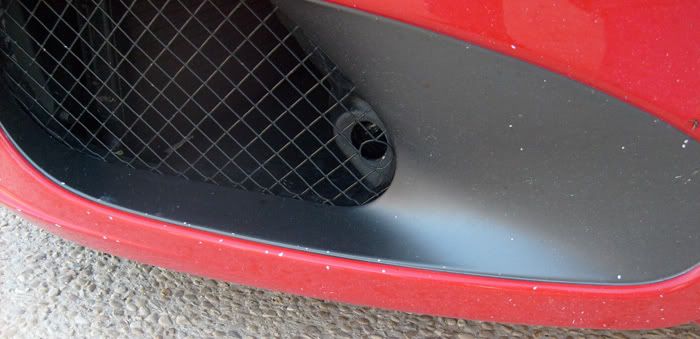
After some filling (matching the color was the real pain!), polishing and then applying the clear bra.
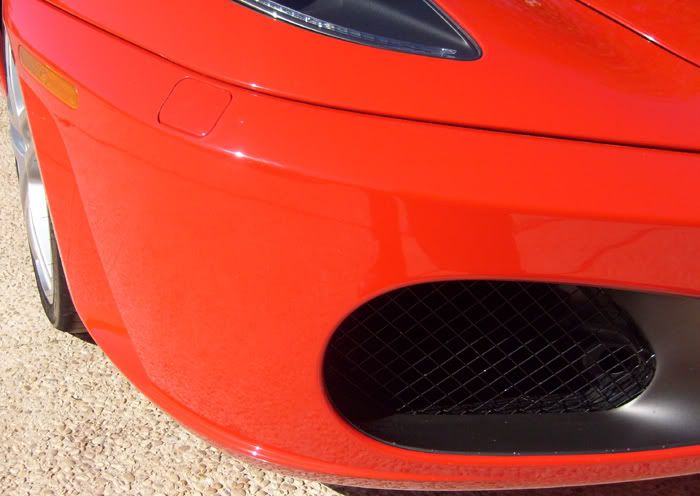
The black vent areas were touched up after this photo was taken.
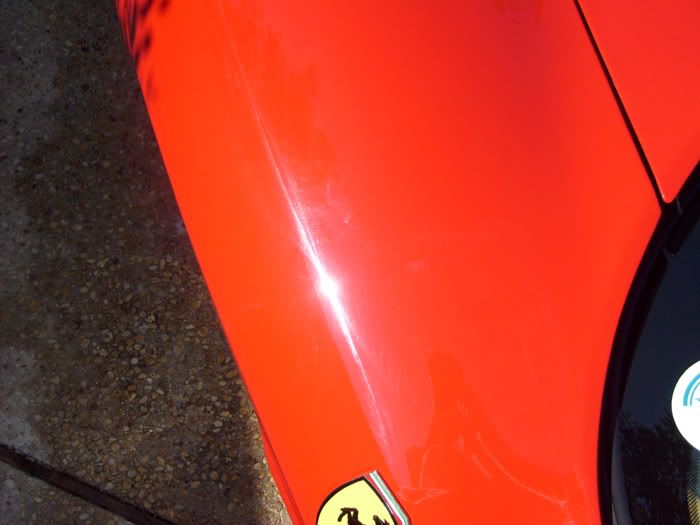
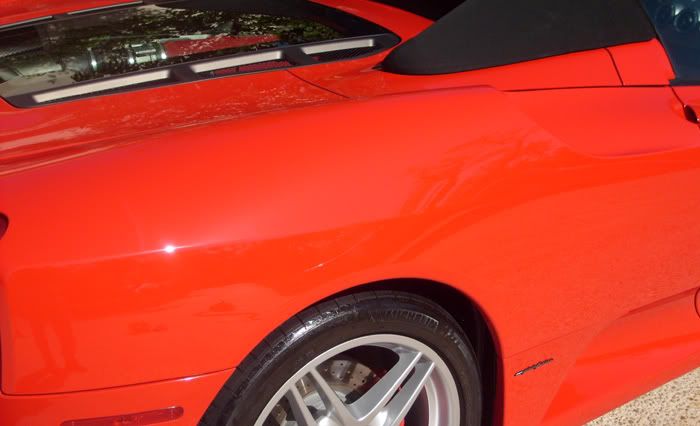
Here is a picture of the fender before being worked on.
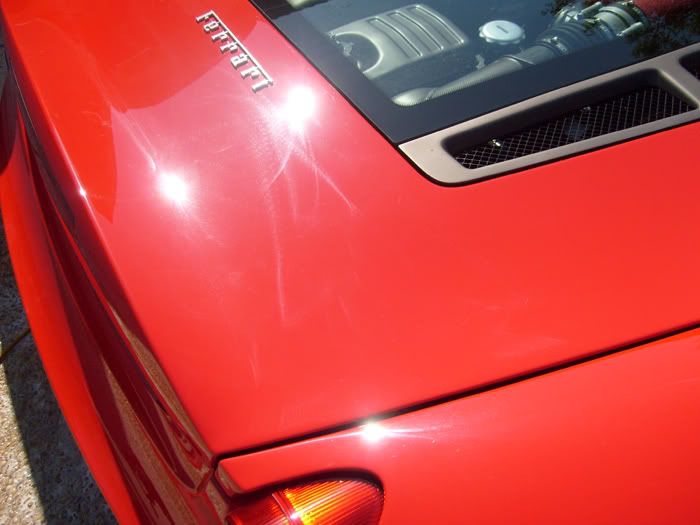
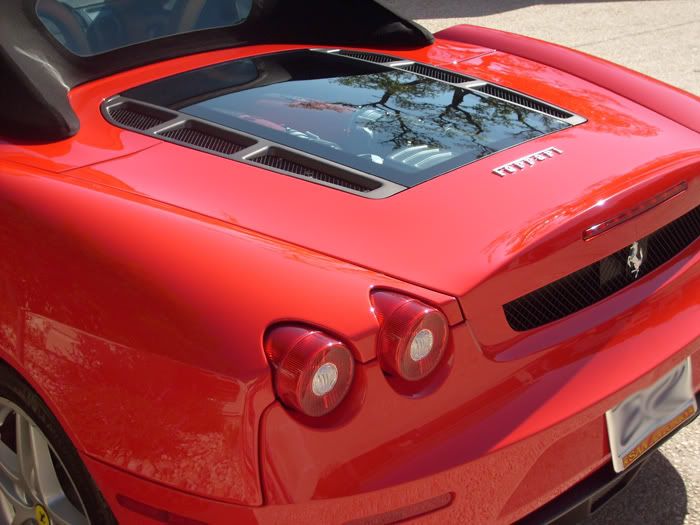
On the rear lid area.
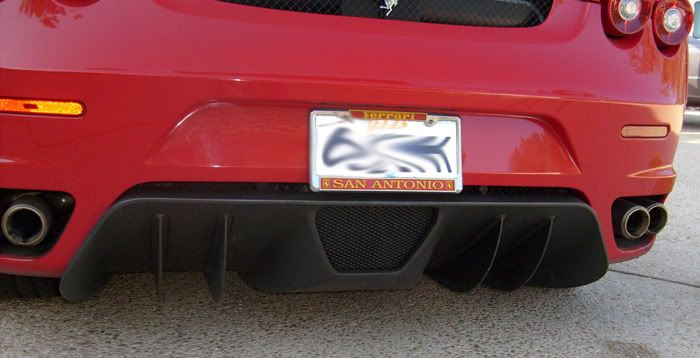
The rear diffuser area with its usual grime and exhaust stains.
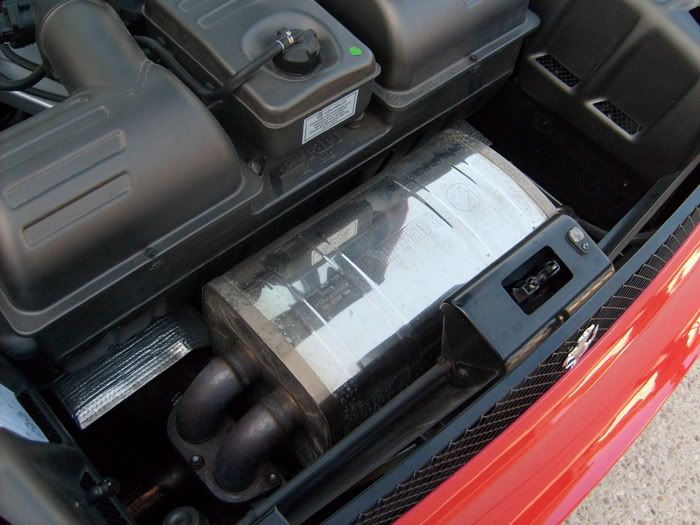
And exhaust.
Ron and I tackled this one together, he taking one side and I the other. Rotaries with LC white pads using 105 to cut and level and then an LC white pad with OP to smooth things over. Looking back we should of used wool for the cutting step, would've saved us a great deal of time.
Finishing step was with rotary and a black pad and a beta finishing product from Optimum. Then gone over once more with the Dynabrade, white finishing pad and FPII.
We hand applied a beta paste beauty wax from Victorias. It's a very nice wax with sharp visual qualities. Durability we never really tested.


Interior was pretty easy. Vacuum and steam seats and carpet.
Thanks for viewing,
Anthony
The bad thing about chip repair, especially the amount of chips I had to fill in on this one, is that many times it's not permanent. As the bra was being applied many of the repairs basically fell off so if doing a good number of chip repairs give them plenty of time to dry and bond before doing any work in those areas.
The paint had moderate swirls and a fair amount of halo-scratches but nothing too severe.
Here are some of the chips.
After some filling (matching the color was the real pain!), polishing and then applying the clear bra.
The black vent areas were touched up after this photo was taken.
Here is a picture of the fender before being worked on.
On the rear lid area.
The rear diffuser area with its usual grime and exhaust stains.
And exhaust.
Ron and I tackled this one together, he taking one side and I the other. Rotaries with LC white pads using 105 to cut and level and then an LC white pad with OP to smooth things over. Looking back we should of used wool for the cutting step, would've saved us a great deal of time.
Finishing step was with rotary and a black pad and a beta finishing product from Optimum. Then gone over once more with the Dynabrade, white finishing pad and FPII.
We hand applied a beta paste beauty wax from Victorias. It's a very nice wax with sharp visual qualities. Durability we never really tested.
Interior was pretty easy. Vacuum and steam seats and carpet.
Thanks for viewing,
Anthony
")