G35stilez
Ari Gold
:scared: :scared: :scared:
I thought the same thing...
I went and visited mgm2003 this weekend in Delaware. It was more of a leisure and post college planning visit, but he asked for my help on his friend's TL. It's a 2005 that hasn't been cared for well. He had to run inside for something and while doing so his young son decided to clear the snow off his TL with a steel snow shovel. John attached only 3 pictures when I heard about this but upon further review, this thing was cut up bad.
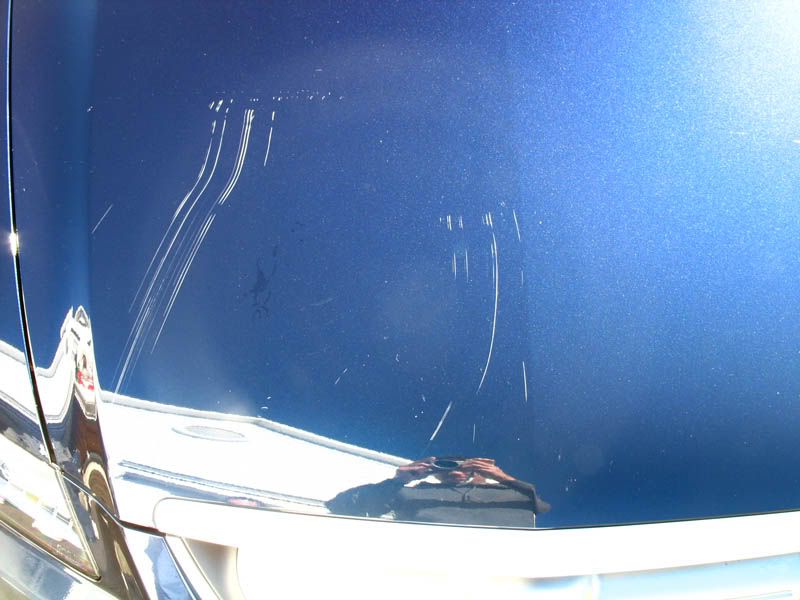
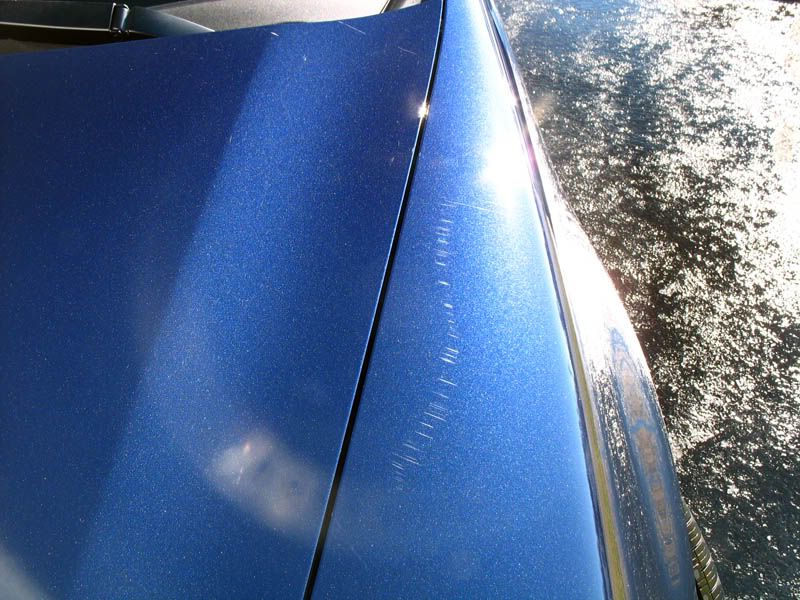
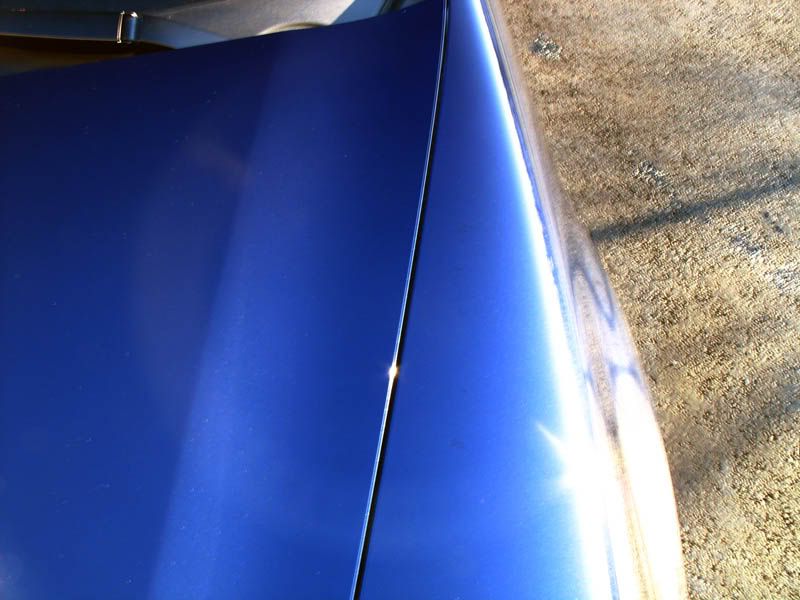
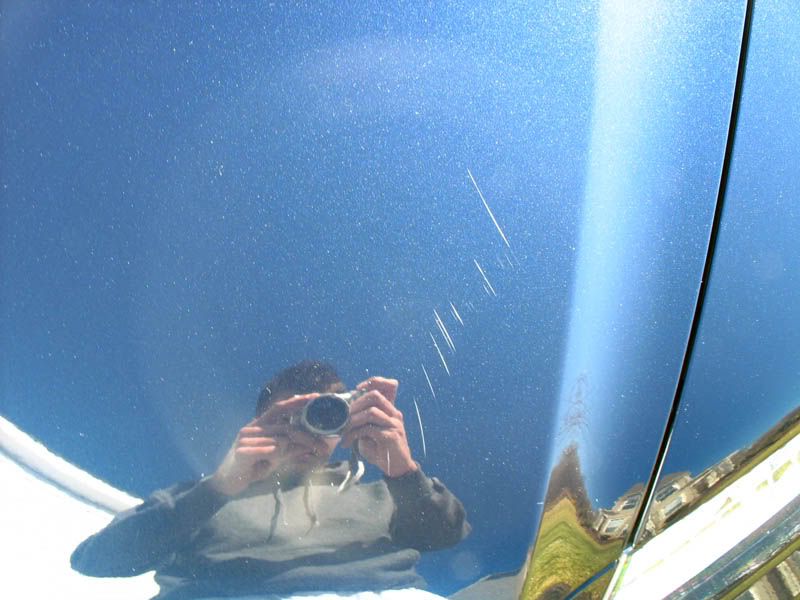
The hood, I was almost sure, would need a respray. He really took the paint with him on there. The fenders were both bruised nicely as were both the A-pillars, rear bumper, roof, and skirts. I didn't photograph every area as I wanted to get cracking on this one. I ended up touching up for about an hour straight! If I had to estimate, there were well over 50 R.I.D.S. and the ones on the hood were far longer than 6 inches.
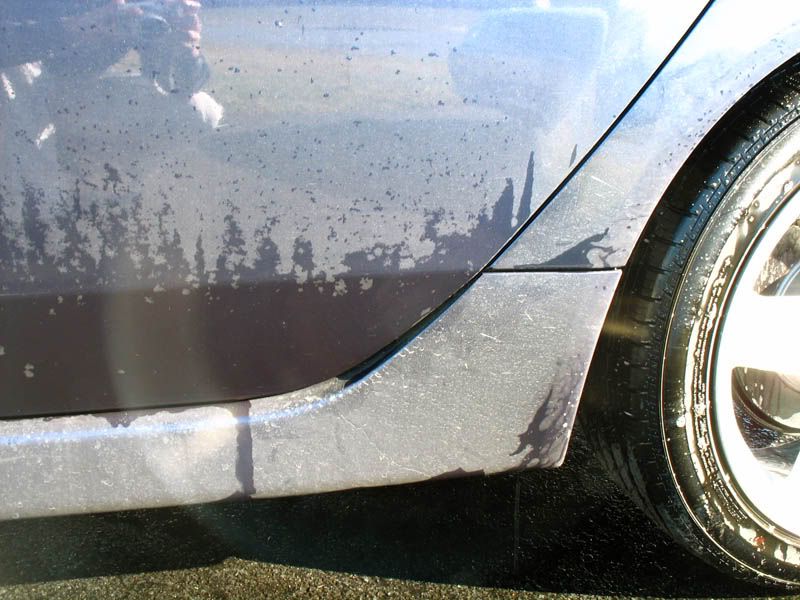
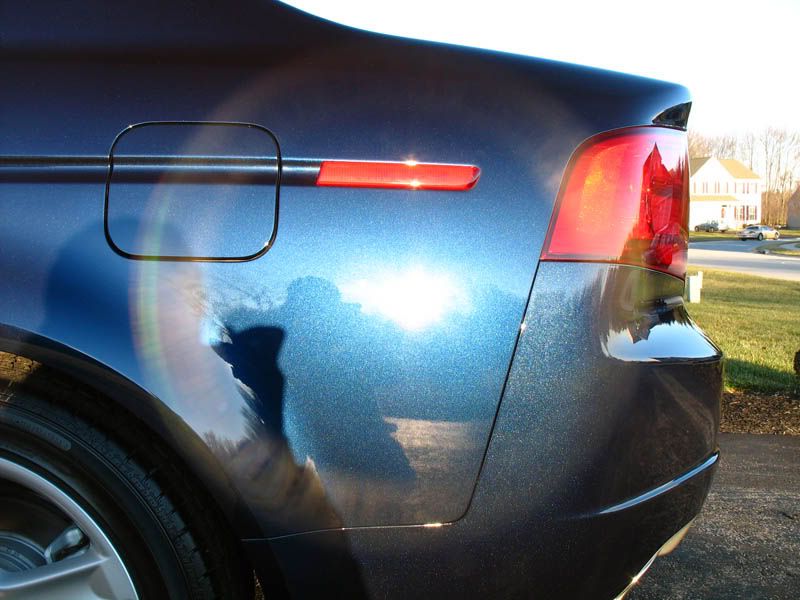
The rest of the vehicle wasn't too bad. The clay picked up a lot of junk on the rear bumper and was rather normal for the rest of the vehicle. All in all, not an Autopian owner . Here's what we did:
Cleaning
-Optimum Wash with vinegar pre-soak
-Optimum Clay
-Poorboy's Spray and Rinse on wheels
-Optimum APC on tires/wells
-Flitz on exhaust
-Natural Look on wells/tires
Scratches
-PrepSol wipedown on all scratches
-Touch up each scratch very gently with enough paint to allow a "blob"
-Allow to dry for 60-90 minutes in heated garage
-Sand with variations between 1000>2400 grit papers (3m and Micromesh)
-Menzerna Powergloss via rotary and LC Foamed Wool Cutting Pad @ 1500-1700 rpm x 2-5
These steps took about 3 hours in total
Polishing and Protecting
-Menzerna Final Polish II via PC @ 5 on vertical surfaces (John polishing)
-Menzerna Final Polish II via rotary and LC Finishing Pad @ 1500 rpm on horizontal surfaces (me polishing)
-IPA wipedown
-Z5 on paint, wheels, windows, and tailpipes
-Z8 final wipedown
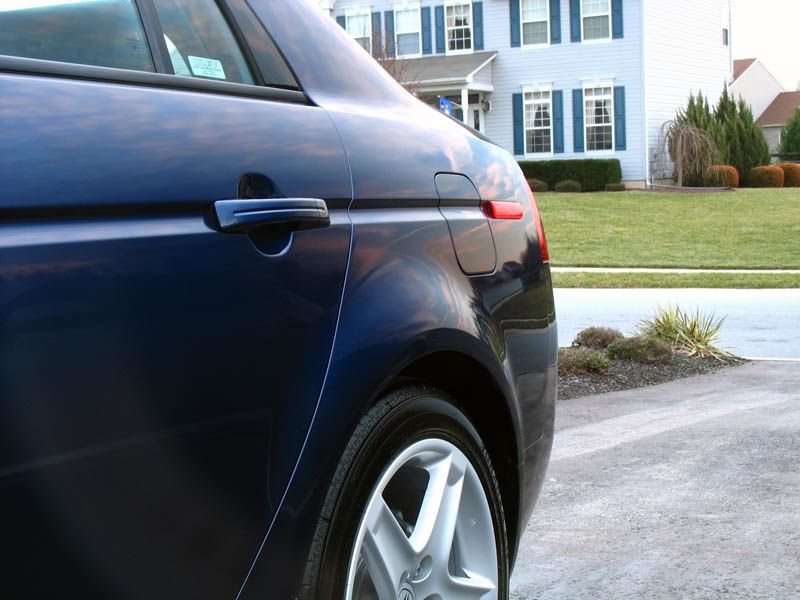
Before
Before :down
After
Before
After
Before
After

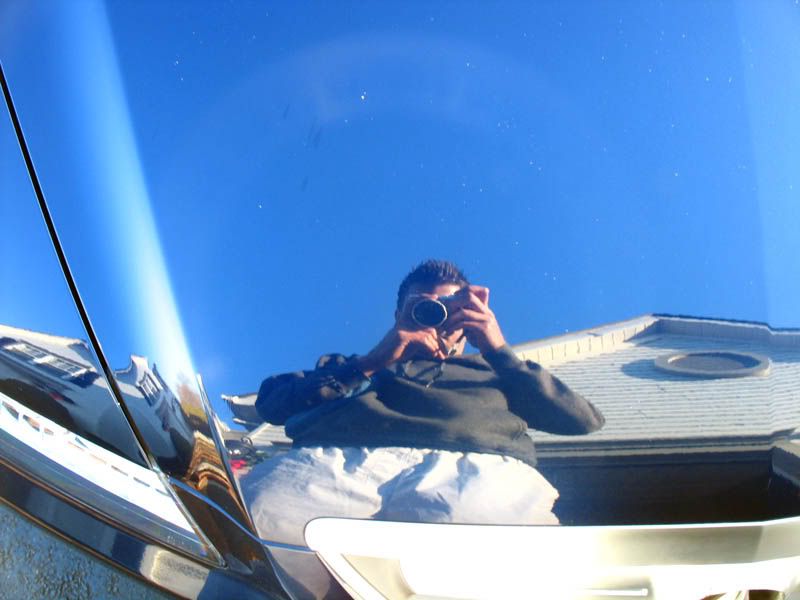
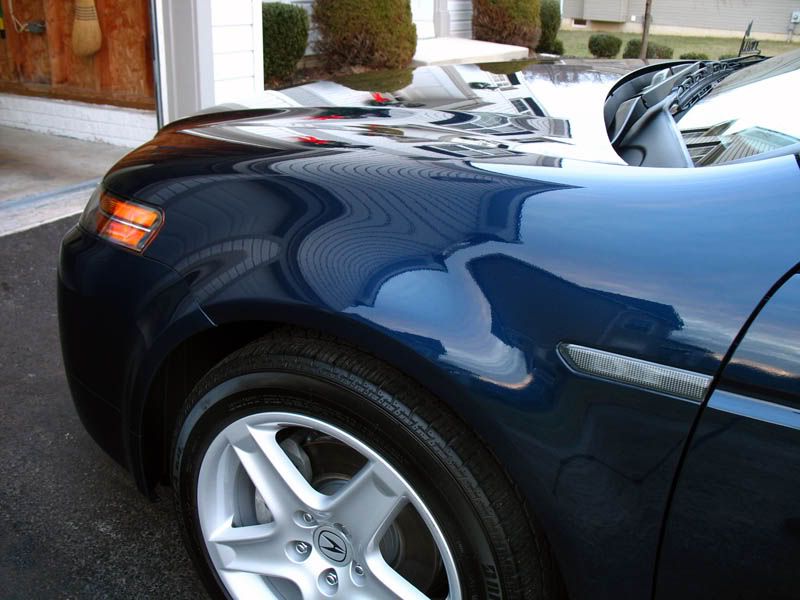
After polishing
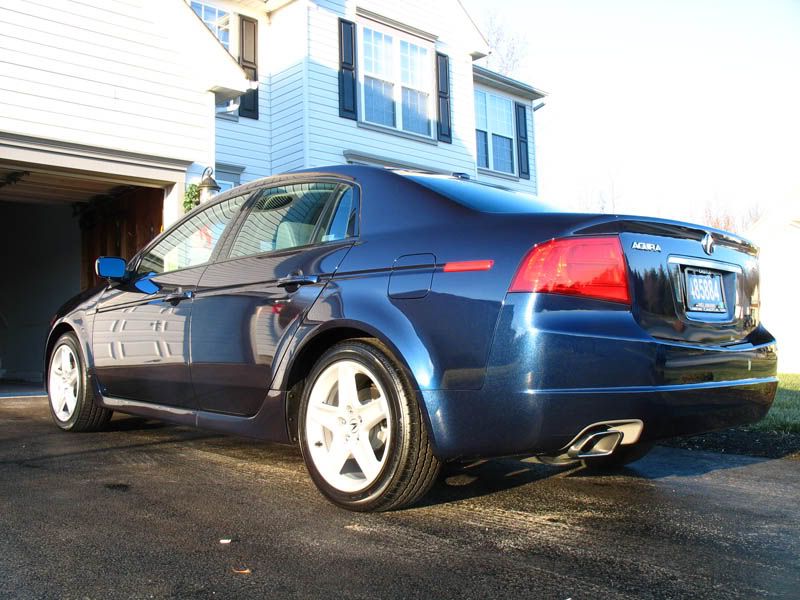
After Zaino
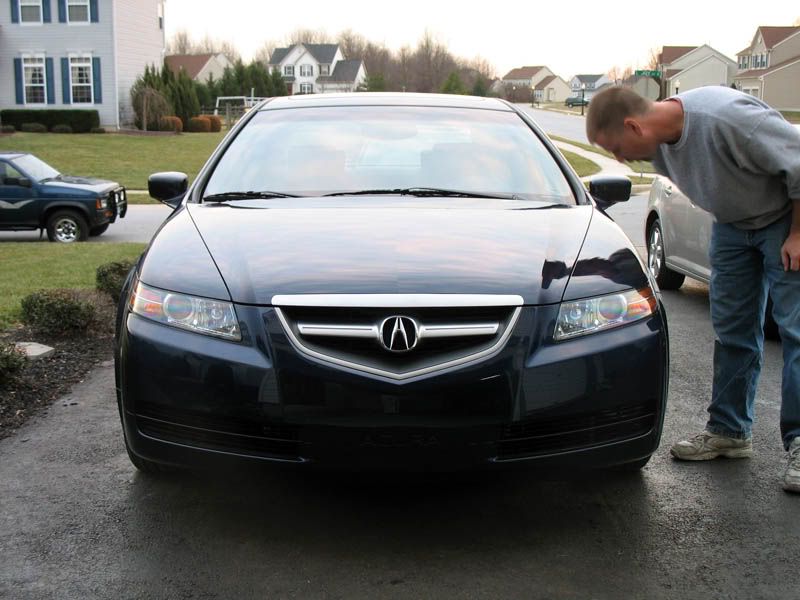
A critic :lol:
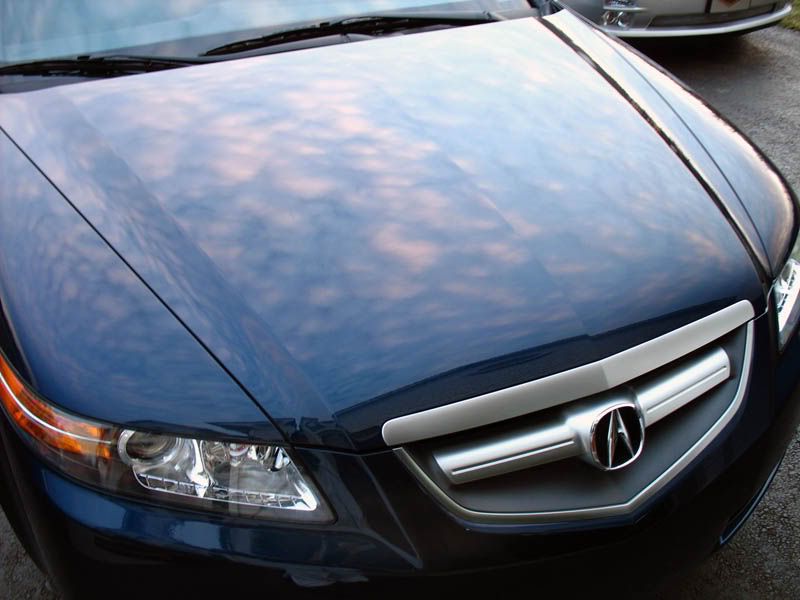
I want to thank John for this opportunity. While it was a lot of work, it was great practice for touching up and sanding. I became very confident over the course of this detail. On portions of the hood, I Powerglossed 4-5 times. The owner wanted it good enough that the dealer wouldn't notice when he turned it in for a lease. I'd say the scratches were 90% as new. You could see minor scarring on some spots of the hood but only up close and under certain lighting.
Questions/Comments, feel free.
I thought the same thing...
I went and visited mgm2003 this weekend in Delaware. It was more of a leisure and post college planning visit, but he asked for my help on his friend's TL. It's a 2005 that hasn't been cared for well. He had to run inside for something and while doing so his young son decided to clear the snow off his TL with a steel snow shovel. John attached only 3 pictures when I heard about this but upon further review, this thing was cut up bad.
The hood, I was almost sure, would need a respray. He really took the paint with him on there. The fenders were both bruised nicely as were both the A-pillars, rear bumper, roof, and skirts. I didn't photograph every area as I wanted to get cracking on this one. I ended up touching up for about an hour straight! If I had to estimate, there were well over 50 R.I.D.S. and the ones on the hood were far longer than 6 inches.
The rest of the vehicle wasn't too bad. The clay picked up a lot of junk on the rear bumper and was rather normal for the rest of the vehicle. All in all, not an Autopian owner
. Here's what we did:Cleaning
-Optimum Wash with vinegar pre-soak
-Optimum Clay
-Poorboy's Spray and Rinse on wheels
-Optimum APC on tires/wells
-Flitz on exhaust
-Natural Look on wells/tires
Scratches
-PrepSol wipedown on all scratches
-Touch up each scratch very gently with enough paint to allow a "blob"
-Allow to dry for 60-90 minutes in heated garage
-Sand with variations between 1000>2400 grit papers (3m and Micromesh)
-Menzerna Powergloss via rotary and LC Foamed Wool Cutting Pad @ 1500-1700 rpm x 2-5
These steps took about 3 hours in total
Polishing and Protecting
-Menzerna Final Polish II via PC @ 5 on vertical surfaces (John polishing)
-Menzerna Final Polish II via rotary and LC Finishing Pad @ 1500 rpm on horizontal surfaces (me polishing)
-IPA wipedown
-Z5 on paint, wheels, windows, and tailpipes
-Z8 final wipedown
Before
Before :down
After
Before
After
Before
After
After polishing
After Zaino
A critic :lol:
I want to thank John for this opportunity. While it was a lot of work, it was great practice for touching up and sanding. I became very confident over the course of this detail. On portions of the hood, I Powerglossed 4-5 times. The owner wanted it good enough that the dealer wouldn't notice when he turned it in for a lease. I'd say the scratches were 90% as new. You could see minor scarring on some spots of the hood but only up close and under certain lighting.
Questions/Comments, feel free.
") .
.

