This is our family car, and my dad's car to drive to and from work. Since I am still a student and living at home, I thought it would be a good vehicle to correct as a thank you for everything he has done for me.
I love the styling of this car and since it was released I had always wanted one. We purchased it in 2007 and have since added 55,000 miles to the clock. It was an early 2004 build and has gone the last 6 years without a paint correction, and without proper wax or protection in 100* swings from Michigan winters to summers.
Last October I decided to invest in a new hobby, detailing. It was my birthday and I pulled the trigger on a PC7424XP DA as well pads and polishes. I have since doubled my initial investment in products [many thanks to PAC!] After some very small practice spots on my personal vehicle, I was up to the spring challenge of working on the Magnum.
My mission statement was to complete the vehicle by Thursday night, return the original color to the paint, and present it to my dad for fathers day :thumbup:
This past week, starting on Monday, I spend all of my time after work on the car up until 1 am on Thursday morning. A total of probably 30 hours was invested, and due to time constraints, the engine bay and interior were not meticulously detailed. The wheels will be detailed in depth at a later date as well [Lug nuts are stripped from the dealer, waiting for new lugs].
The first step was stripping the prior waxes [that was done a month ago
HERE. After a few detergent washes, the waxes still remained on the hood.
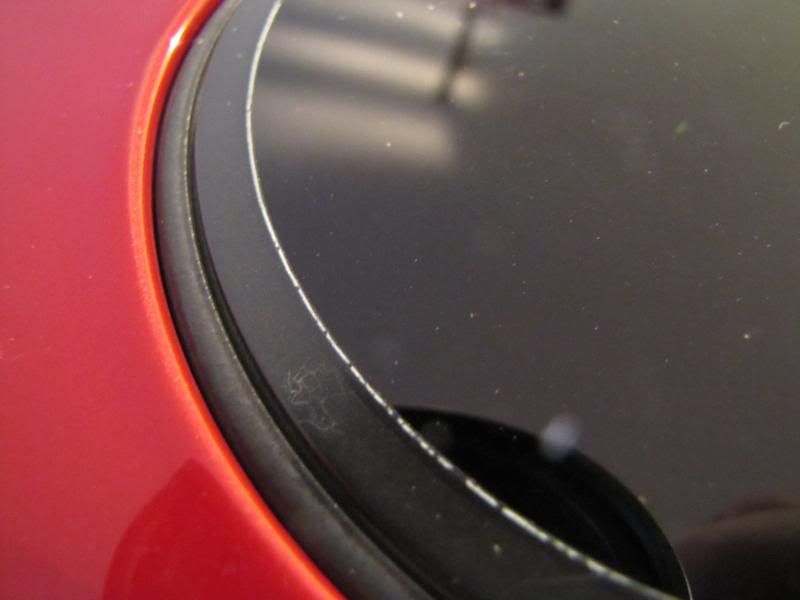
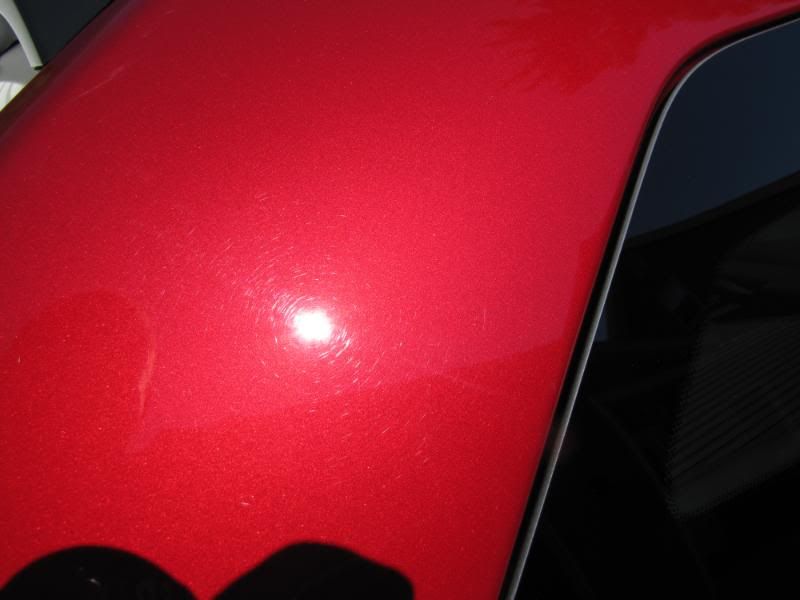
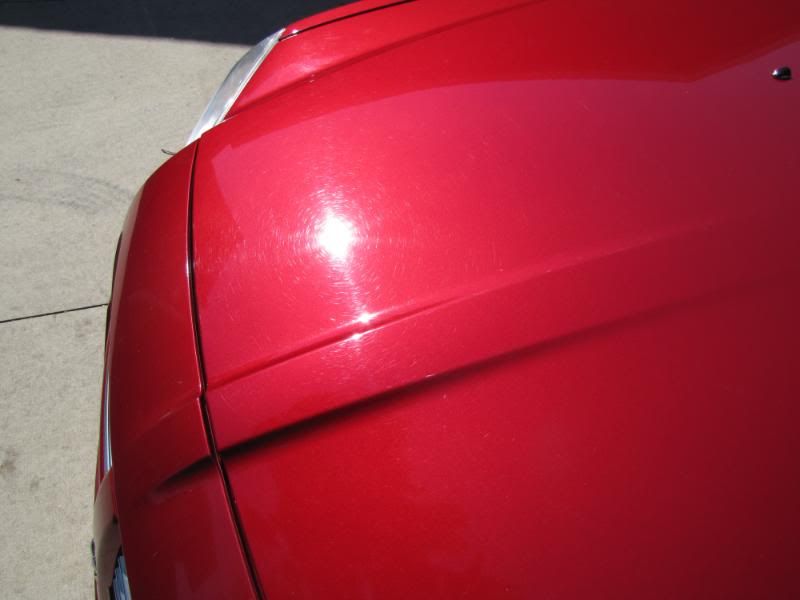
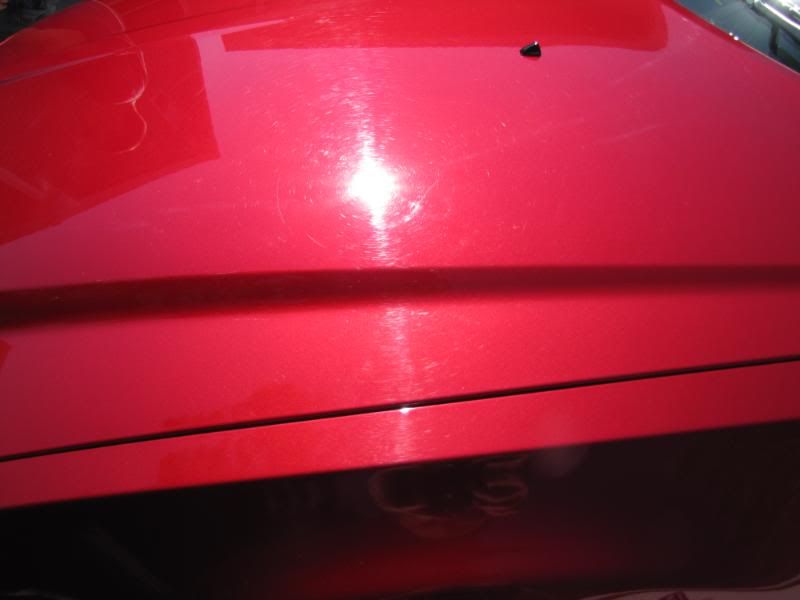
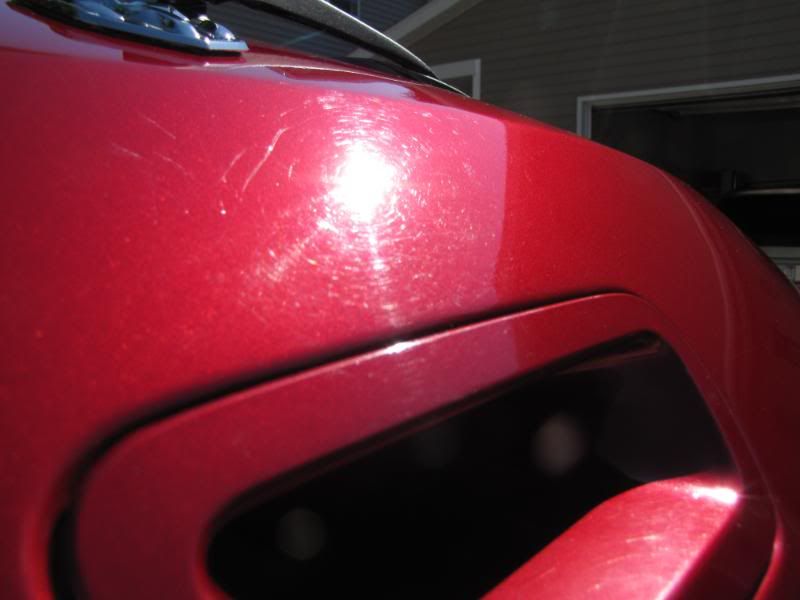
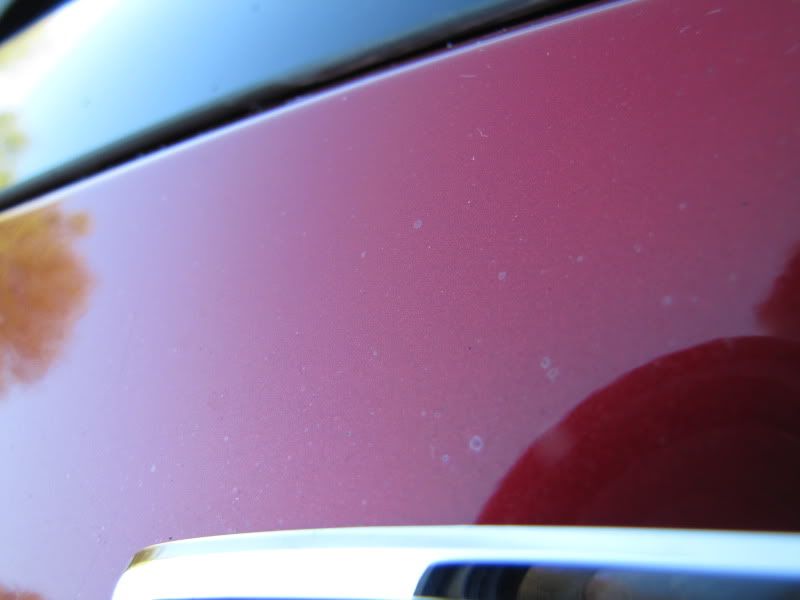
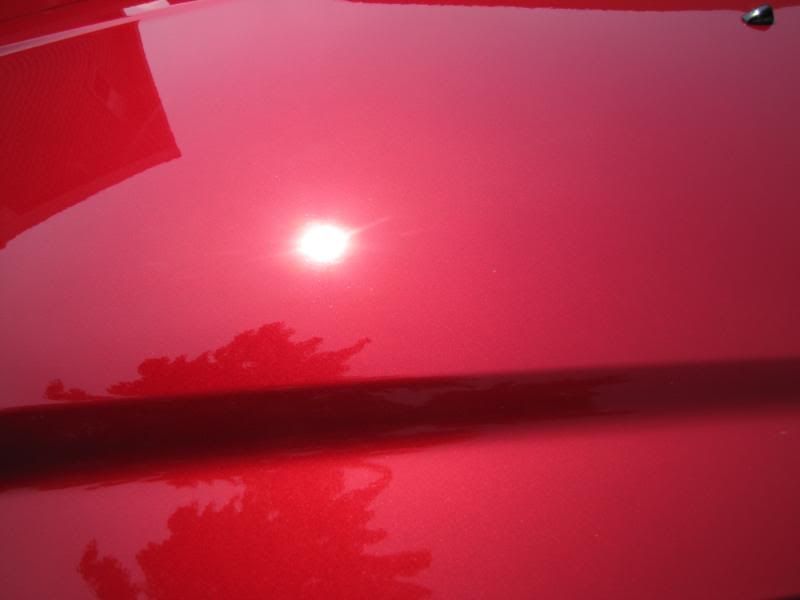
A few spots that needed to be cleaned were noted. When I said it had not been regularly protected, I meant it probably was waxed once a year with an over the counter Meguiars paste wax, then subsequently washed with dawn the next week :redface:
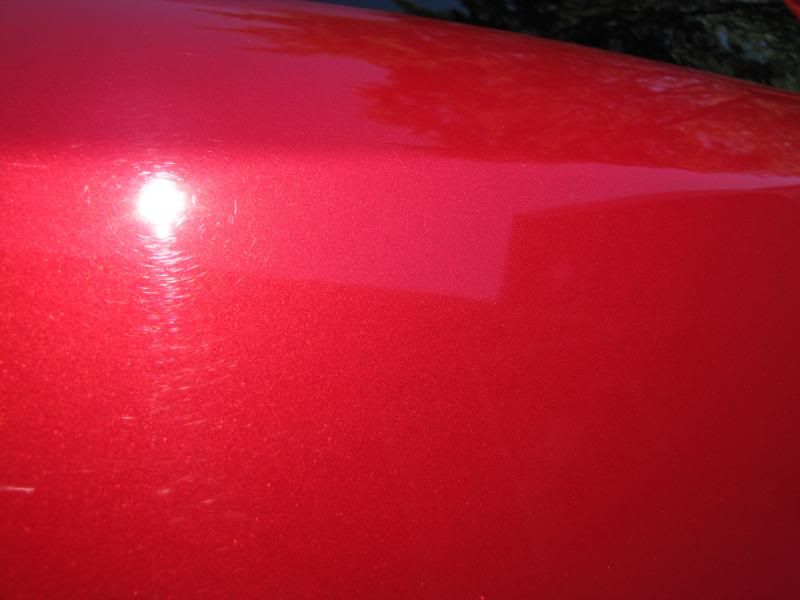
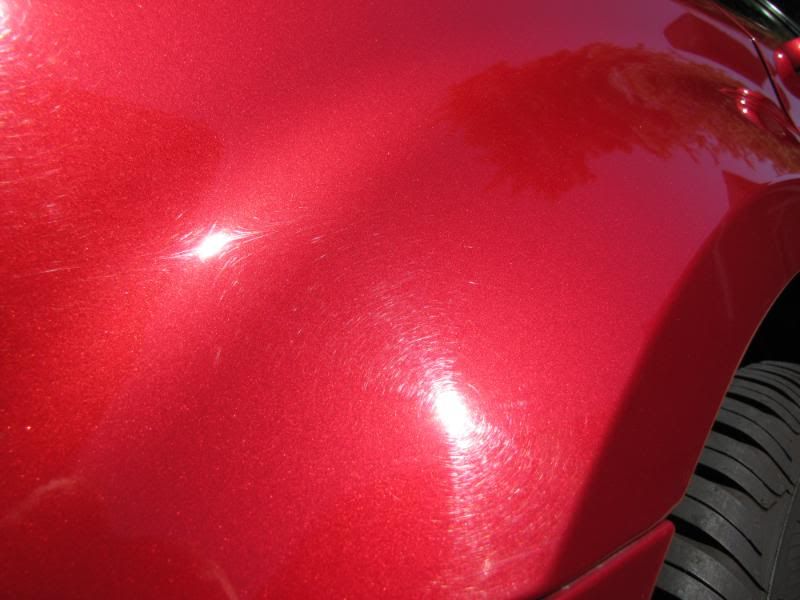
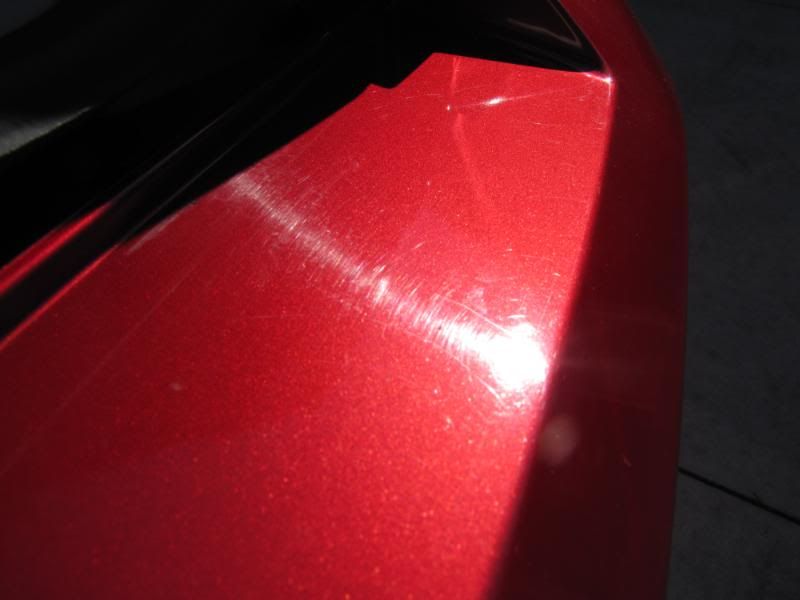
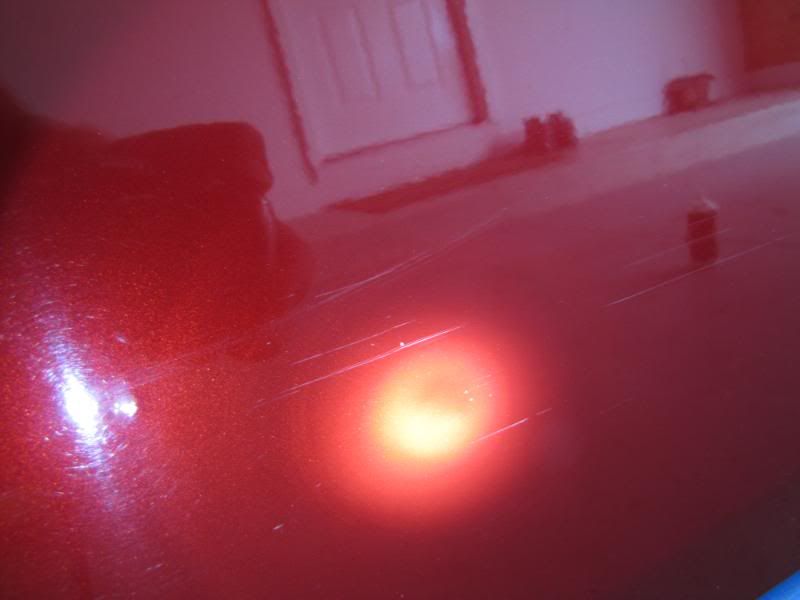
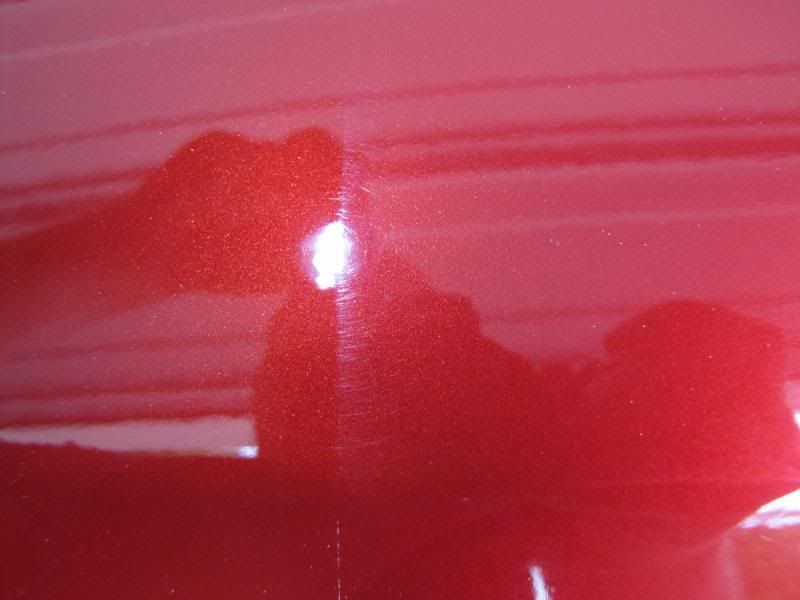
The paint was covered with scratches, swirls, and RIDS.
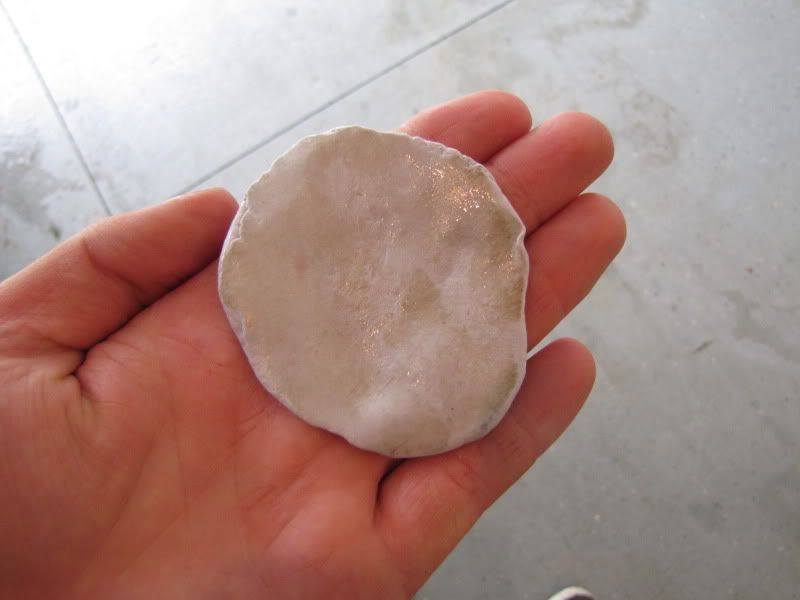
Polyclay was used, and after a 6" by 6" square, the clay looked like this :scared:
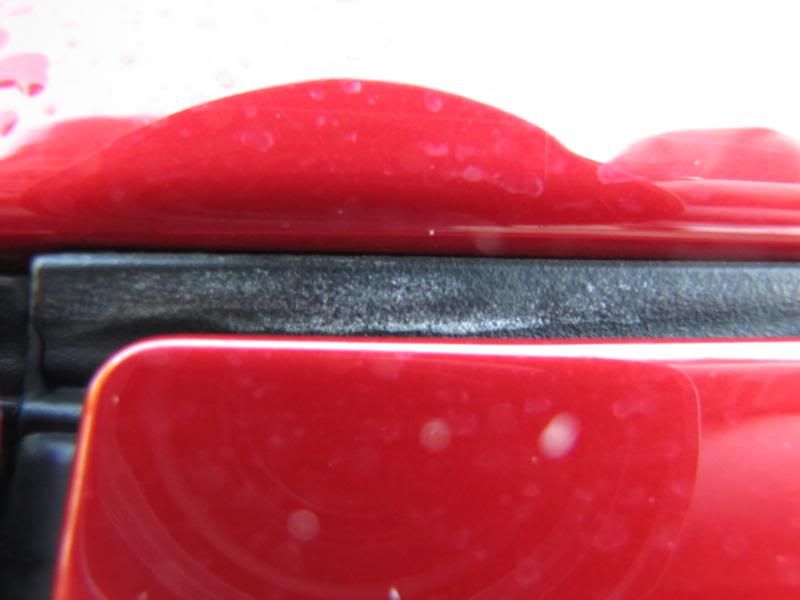
Rail dust on the hatch needed to be addressed as well
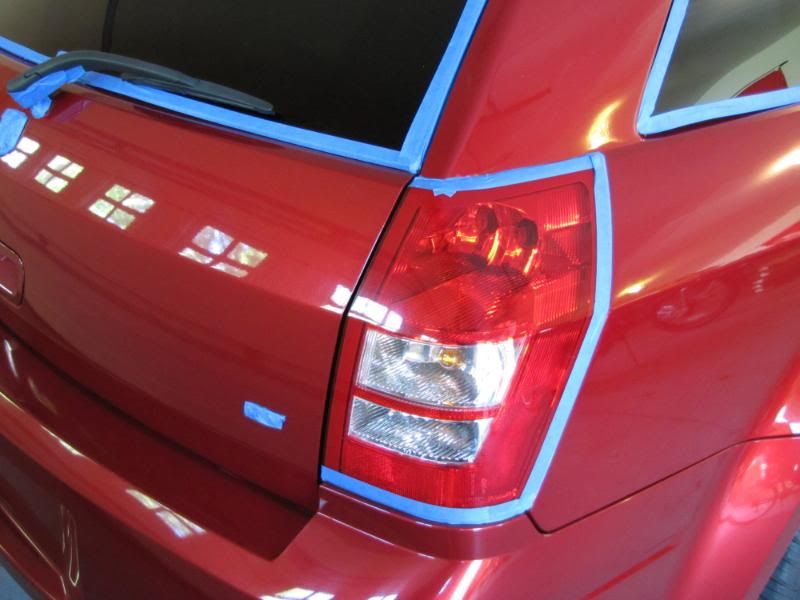
Enjoying the time consuming task of taping the vehicle

Meguiars M105 was used on Lake County Hydrotech Cyan 5.5" and 4" pads. Meguiars M205 was then used on Lake County Hydrotech Tangerine 5.5" and 4" pads. I considered following the Tangerine pads with M205 on a black finishing pad, but the Tangerine pads finished down great.
Here is the obligatory 50/50 on the hatch with just M105.
Due to time and lighting, that was the only shot taken during the correction.
After the finishing polish, all of the tape was removed from the molding and they were polished by hand or with the 4" pad. All paint surfaces were wiped down using 50% IPA until all of the oils were removed from the paint.
Collinite Marque D'Elegance Carnauba Paste Wax #915 was used as the LSP. I found this wax very easy to apply, and fairly easy to remove.
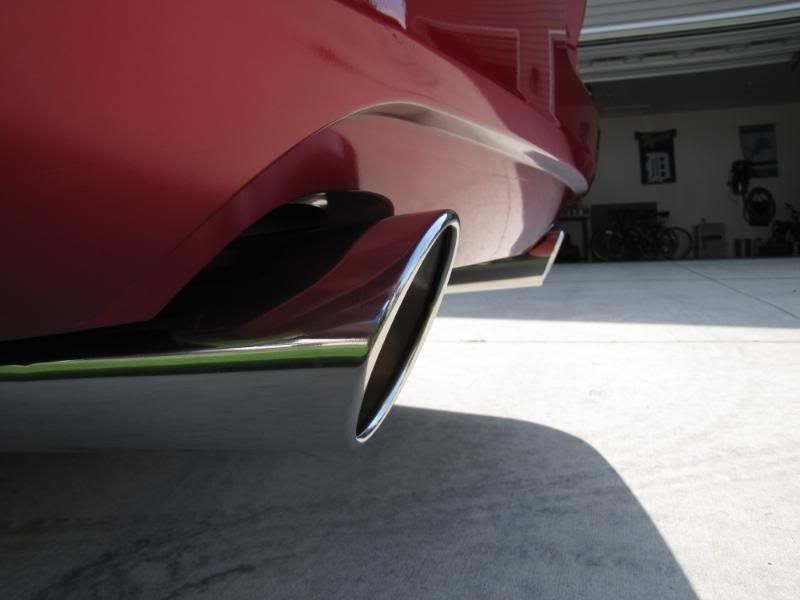
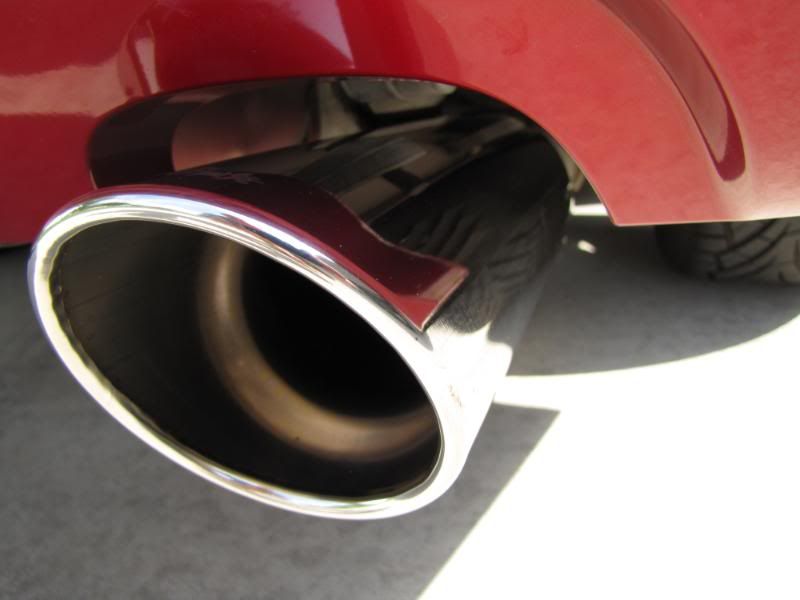
Collinite Metal Wax # 850 was used on the exhaust. The tips were fairly clean to begin with, but Megs APC+ and clay were used to clean them up prior to applying the metal wax.
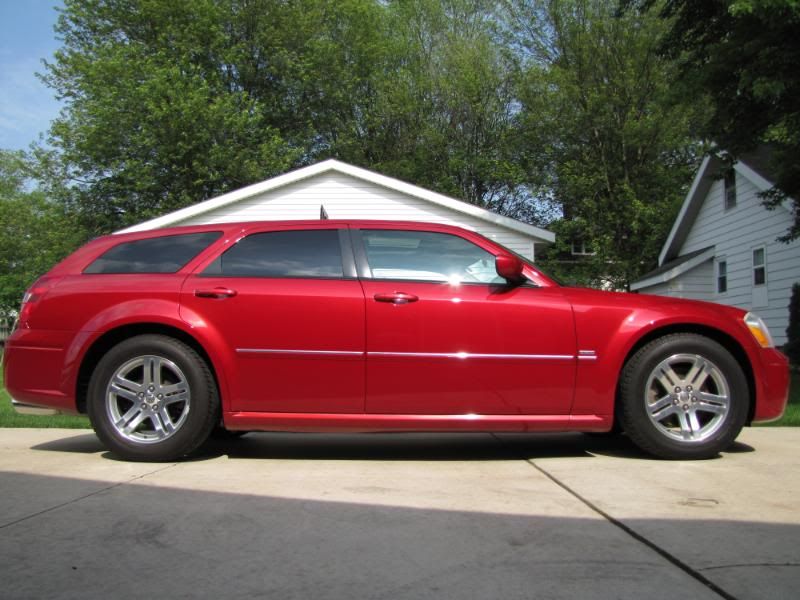
Finished pictures!
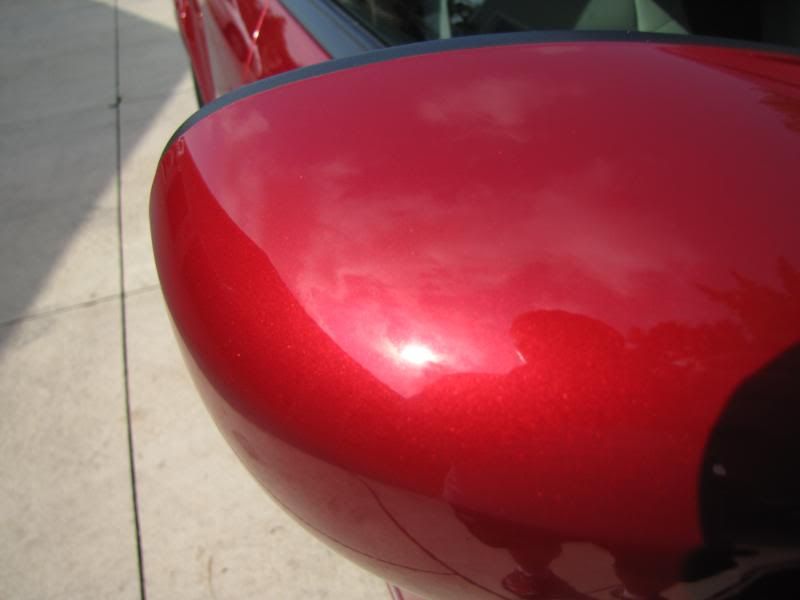
Mirror
Front Bumper
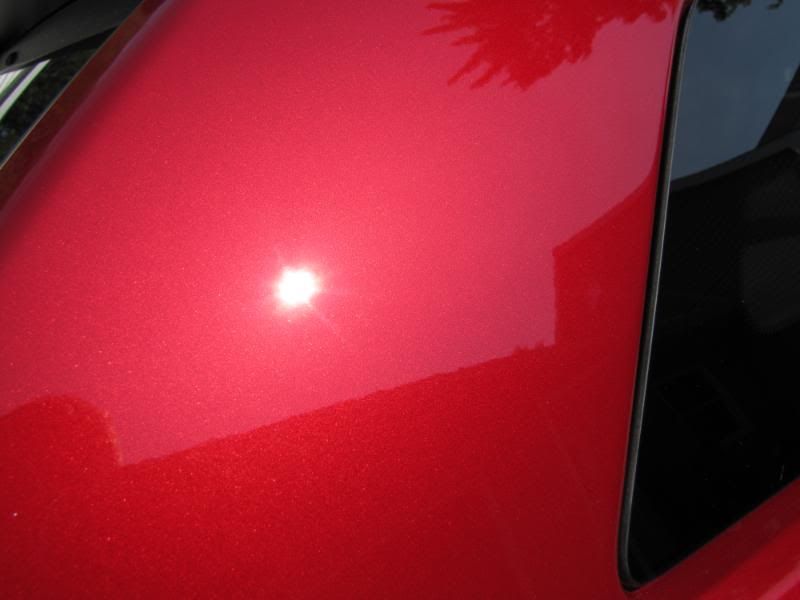
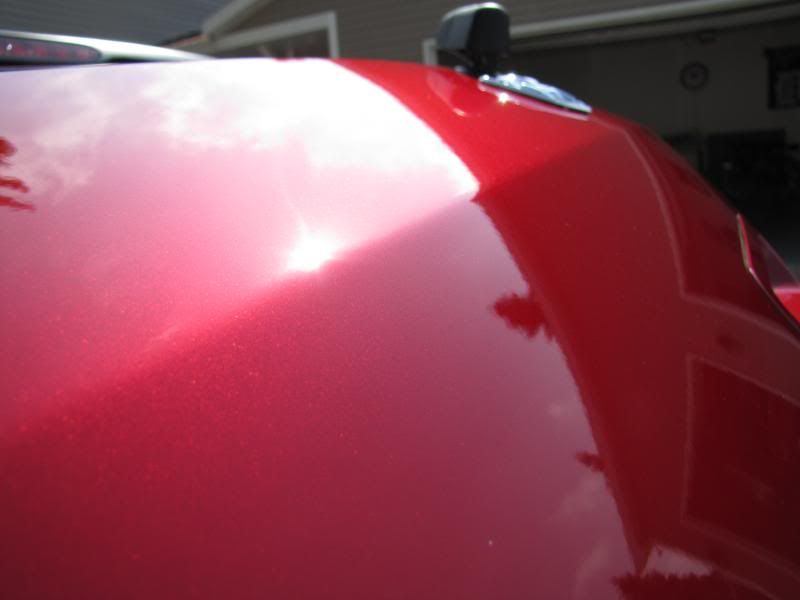
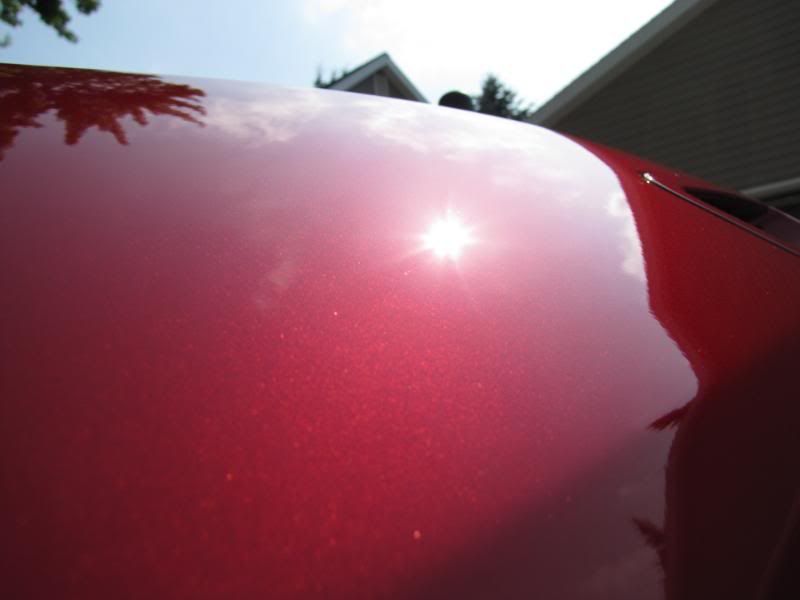
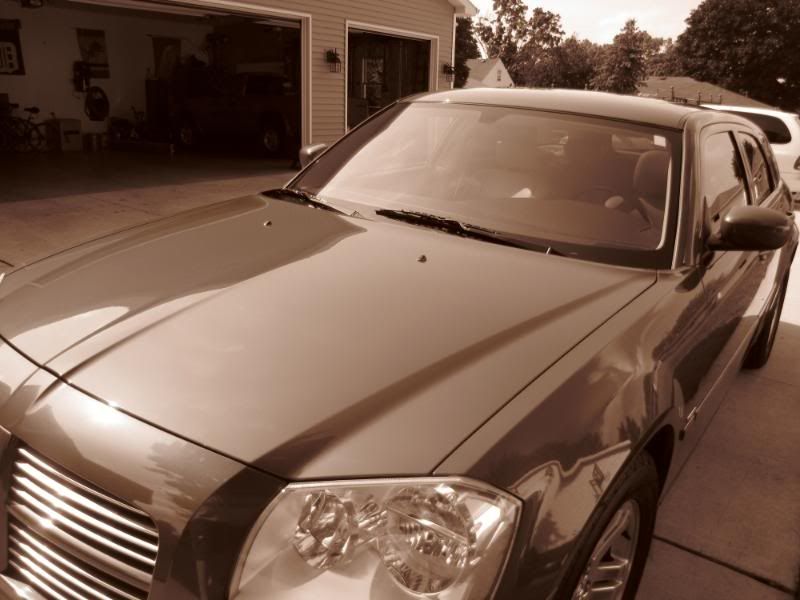
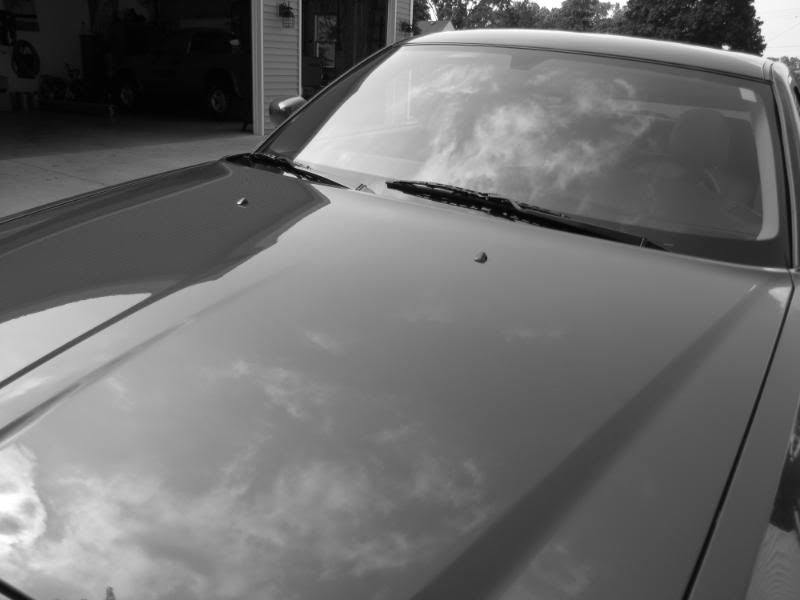
Hood
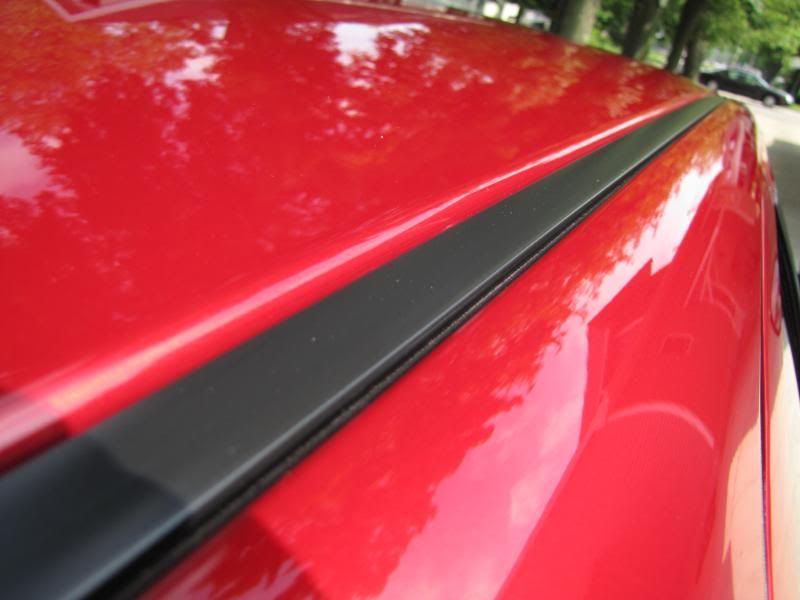
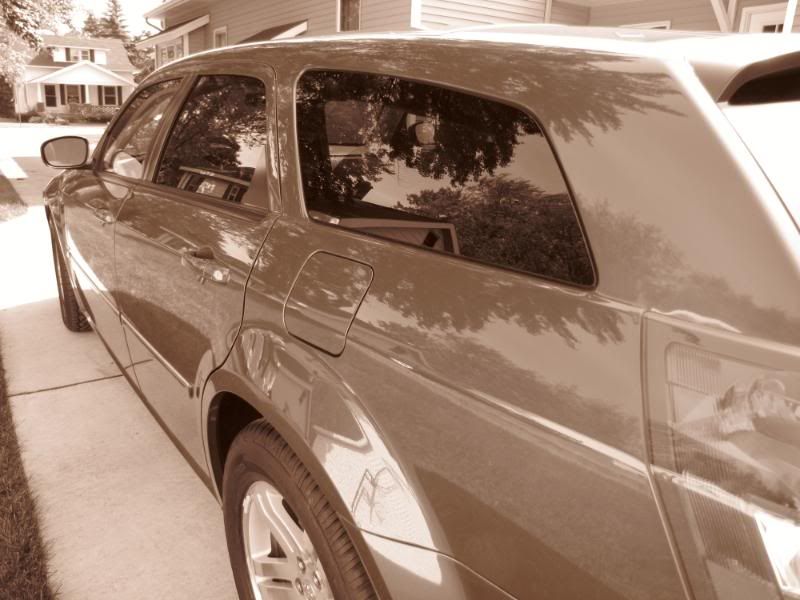
Rear pillar
Doors/Trim - Trim was cleaned with KAIO and protected with Collinite 845 Insulator wax, which does not stain, but gives lasting protection.
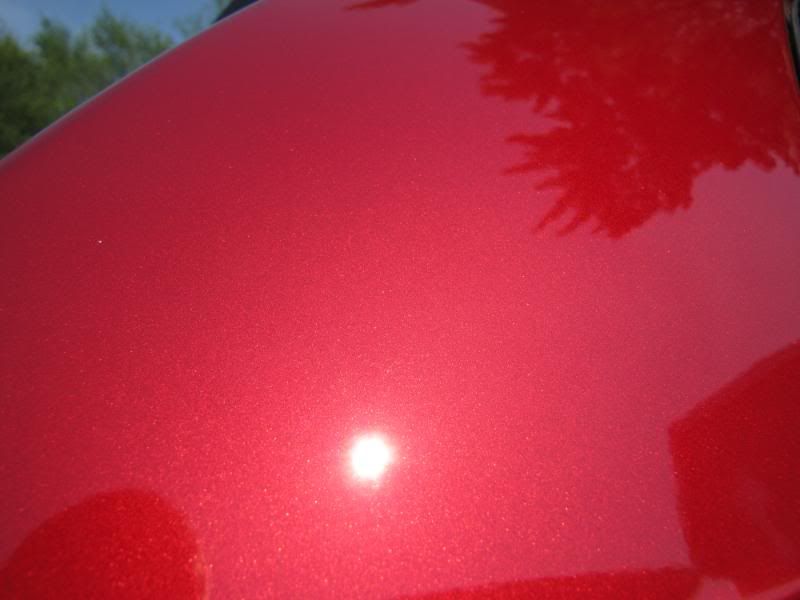
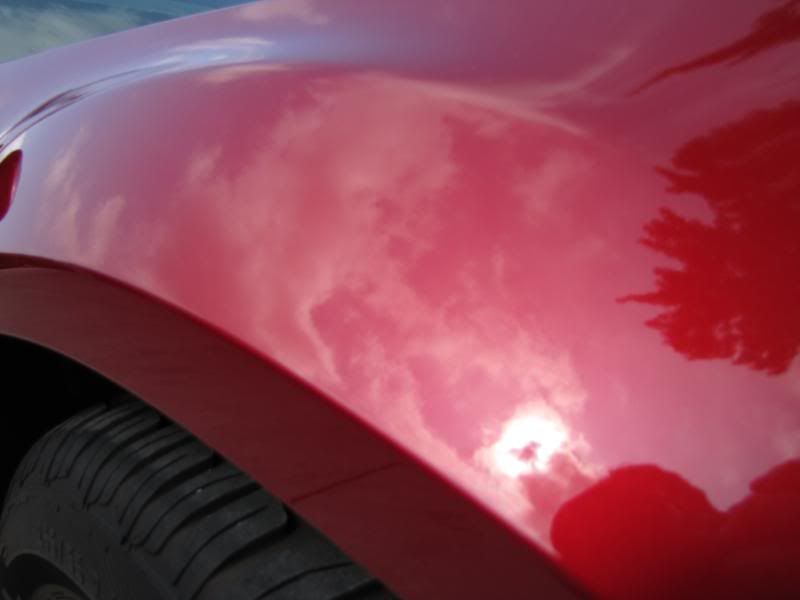
Fender gloss
Hatch
Exhaust
Polishing the lower bumper really livened up the rear end
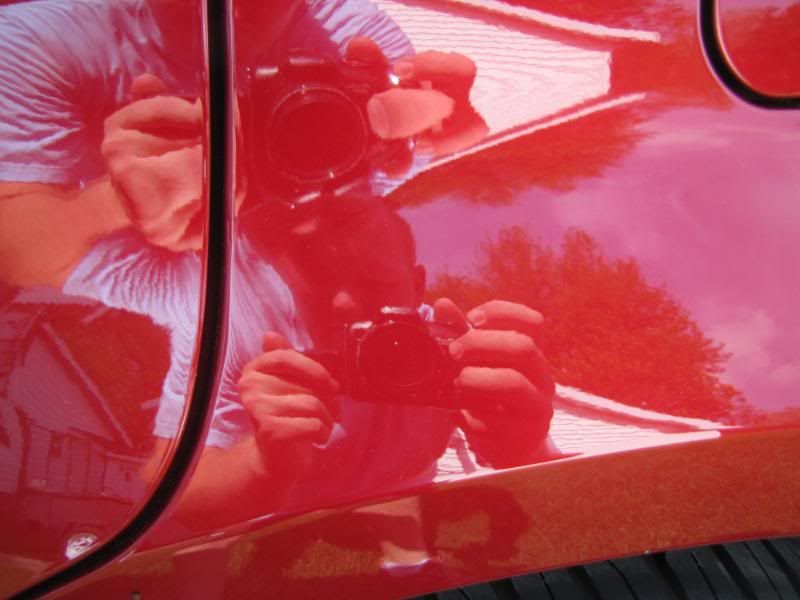
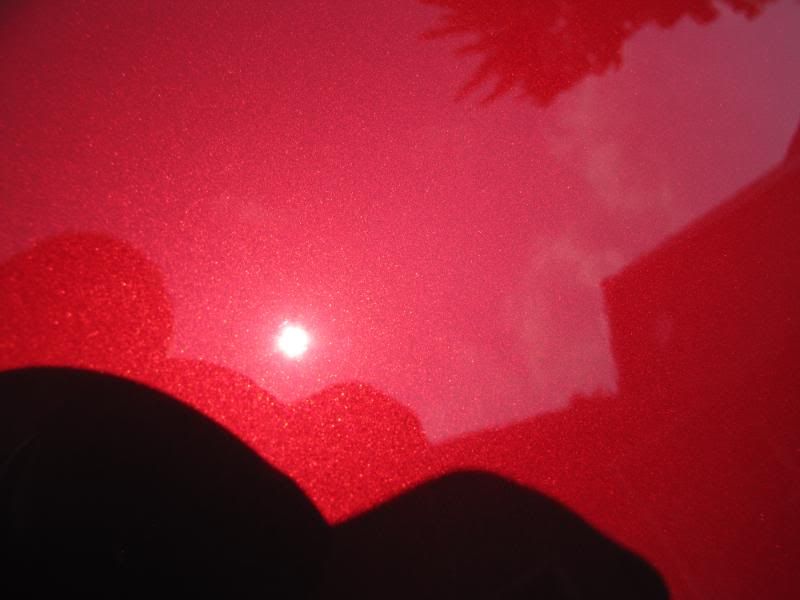
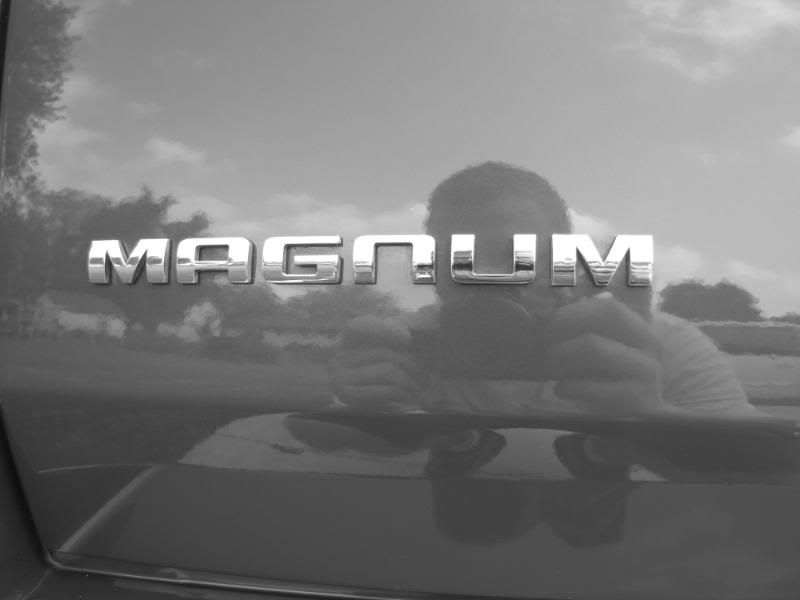
Reflection shot of my mug
Thank you for looking! I was pleasantly surprised how well the paint came out. Before the detail, the red paint was almost pink from all of the swirls and sun it had seen. Safe to say, the paint was returned to its original color :clap:


")
")