dschribs
Active member
So I figured it was time to show a little love to my daily driver. It's an '03 Pathfinder that has never really been cared for properly. I've done a few vehicles in the past with the Meg's 83/80 combo but this was my first time using the 105/205 twins. I have to say, I was very impressed. Work time was much shorter and I was very impressed with the outcome.
This is my first real "Click & Brag" so all pointers would be welcome!!!!
PROCESS
Wash/Clay/Wells:
Meg's NXT Car Wash
Lowes Grout Sponge
2 Buckets with grit guard in rinse bucket (because I only have one)
Griots Clay w/ Meg's Final Inspection as clay lube
Wheel wells - Megs APC 4 to 1 - Dressed with Armour All prior to polishing
Correction:
PC 7424
Meg's 105 on Orange Uber 5.5" pad
Meg's 205 on Green Under 5.5" pad
LSP:
RMG
Natty's RED
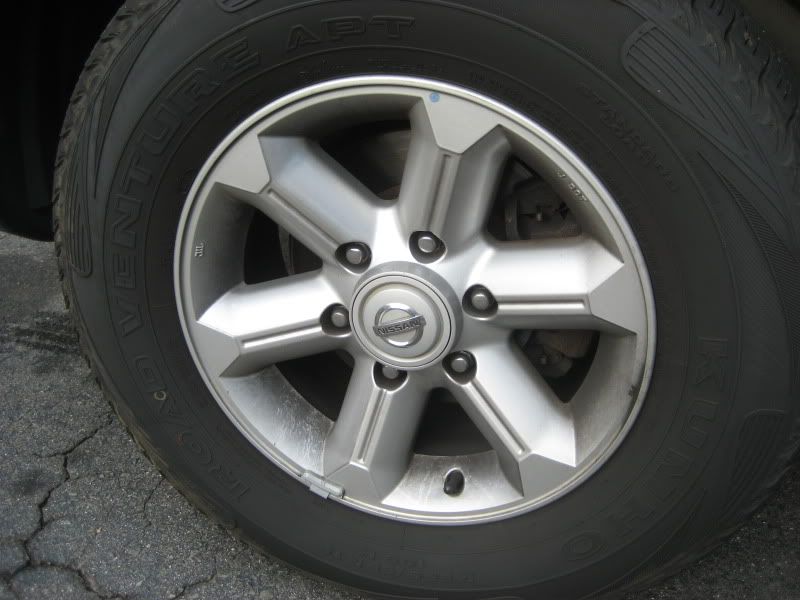
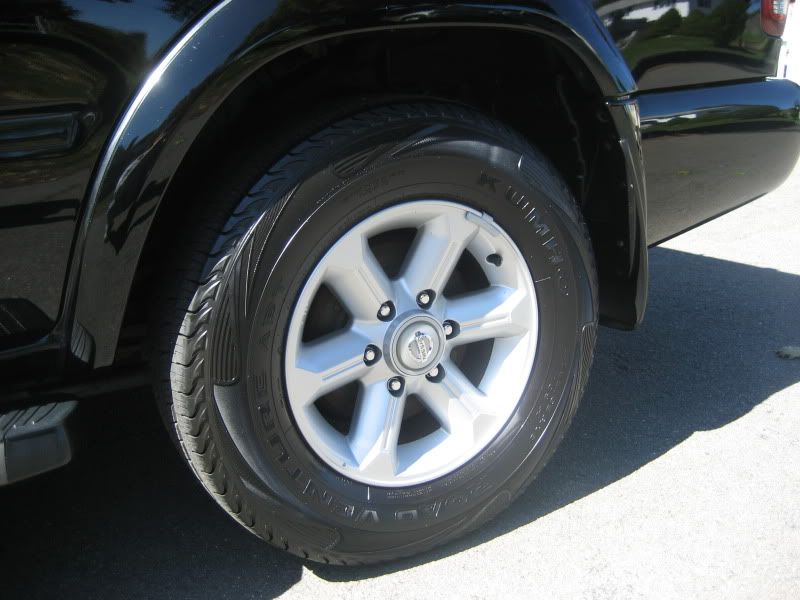
Trim/Tires/Wheels:
Trim got cleaned with GR-40 Trim Cleaner followed by PB's Trim Restorer
Tires got cleaned with Eagle One A2Z followed by Megs' All Season Dressing
Wheels got cleaned with Megs Wheel Brightener
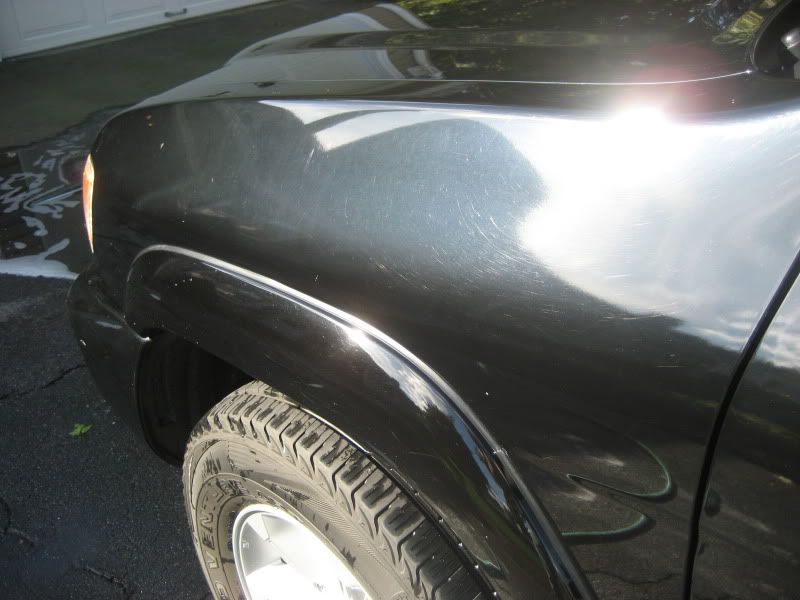
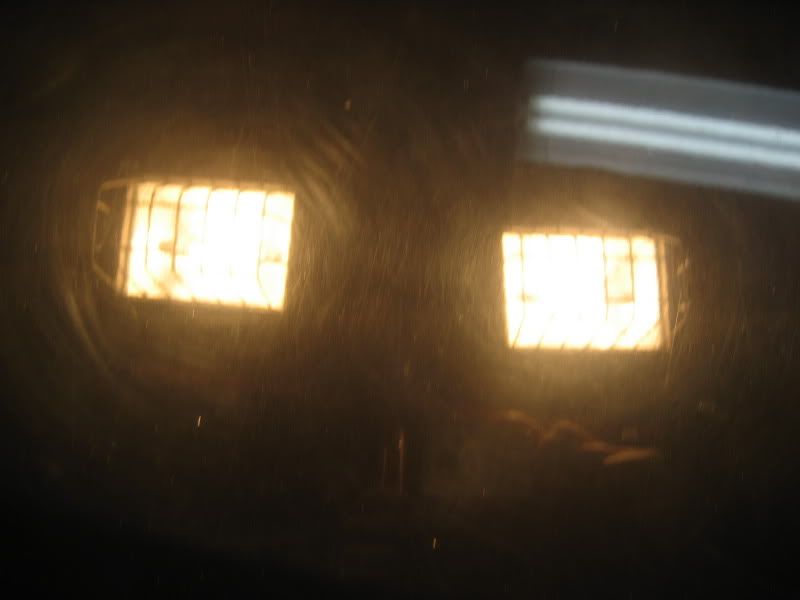
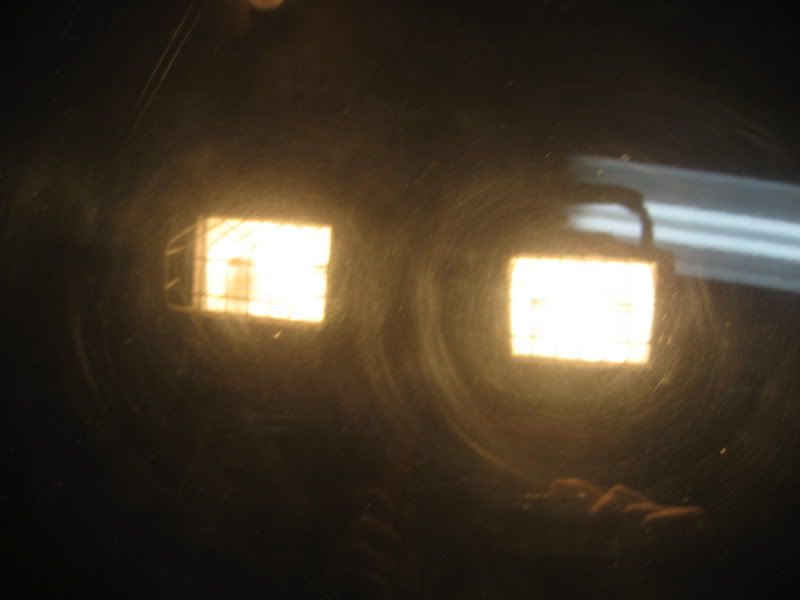
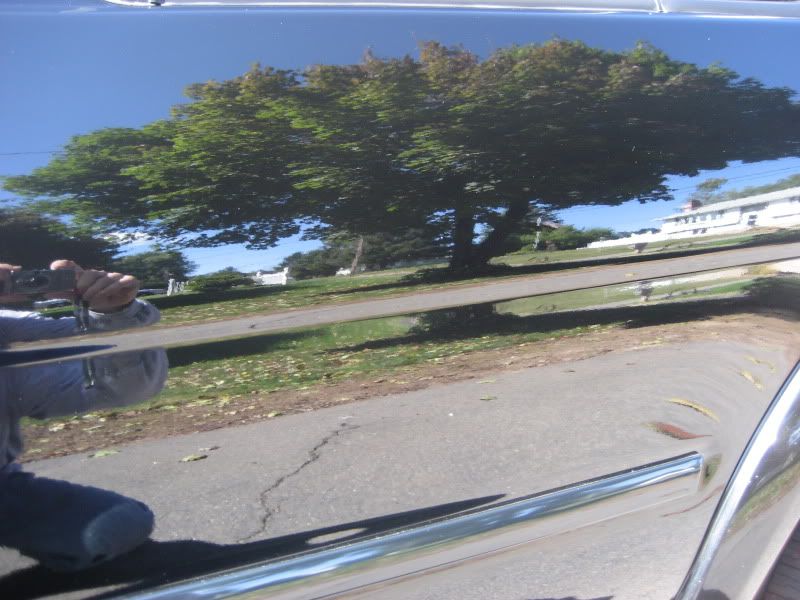
Here's some befores so you know exactly what I was dealing with. Warning - it's not pretty...


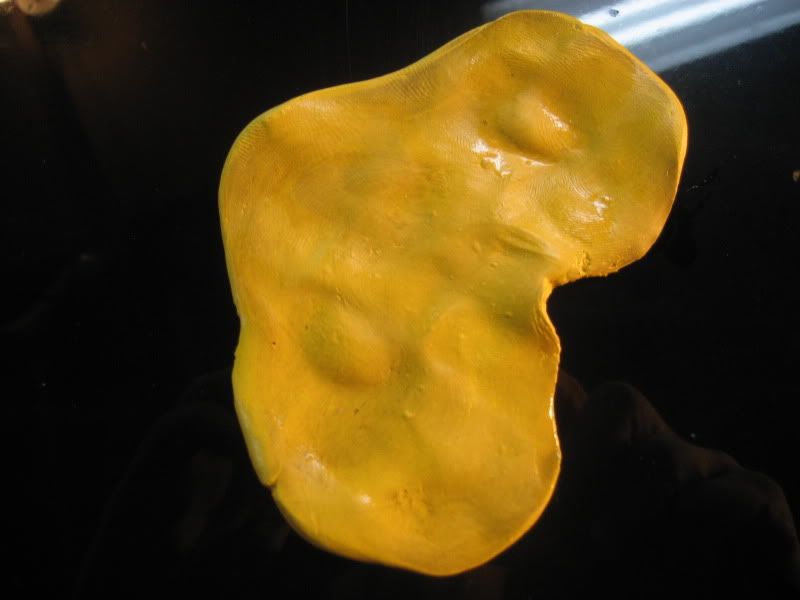
Clay after 1/4 of the hood:
In the process of taping (PIA):

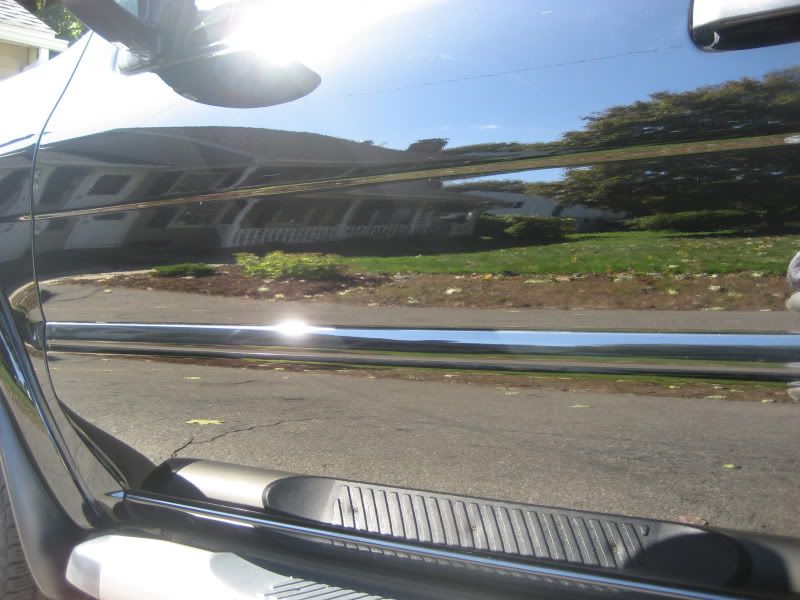
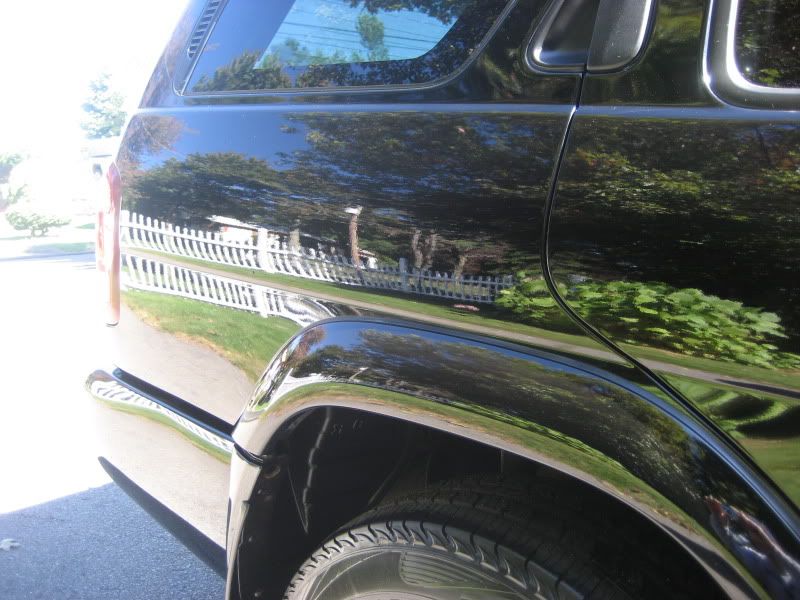
And some afters:


Like the bumper sticker says, My Other Car is a....

Most of my stash:

Things I learned:
1. Taping is a huge PIA but worth it.
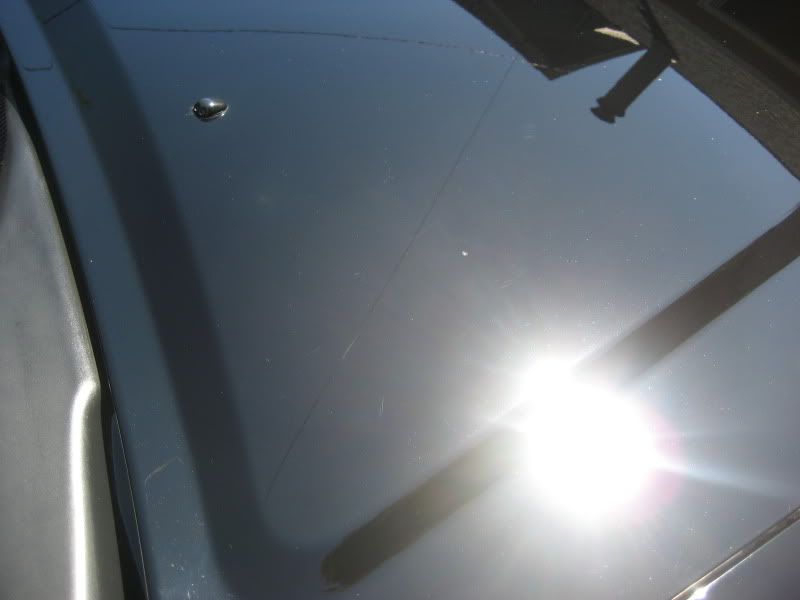
2. There's only so much you can do to bring back a black hood with thousands of tiny stone chips.
3. Importance of a test spot. I started out with 105 on a green Uber pad and it just wasn't taking off enough of the defects. Switched to a Uber orange and that helped dramatically. I could have gone with a more agressive pad for the hood. I have to look into what most people are using because I need one step up in tersm of pads.
4. RMG looks awesome on black
5. It will rain heavily the day after I detail my car (for those of you in CT, you know what I'm talking about in terms of the weather today)
6. No way I could have even come close to these results without what I learned from this site
7. Priming the pad with product is SUPER important with 105/205
8. Don't use a pad that's even remotely wet with these products. You will lose cut big time. I had to wash my cutting pads because I didn't have enough and learned the hard way. Thanfully the dryer helped me out.
9. I need more cutting pads. (See number 8)
10. Four Rockstar's in 12 hours will not kill me
11. My next car will be Silver
Hats off to you guys that do this for a living. I work out four days a week at a gym and all in all consider myself to be a pretty healthy guy. This project just wiped me out - plain and simple.
This is my first real "Click & Brag" so all pointers would be welcome!!!!
PROCESS
Wash/Clay/Wells:
Meg's NXT Car Wash
Lowes Grout Sponge
2 Buckets with grit guard in rinse bucket (because I only have one)
Griots Clay w/ Meg's Final Inspection as clay lube
Wheel wells - Megs APC 4 to 1 - Dressed with Armour All prior to polishing
Correction:
PC 7424
Meg's 105 on Orange Uber 5.5" pad
Meg's 205 on Green Under 5.5" pad
LSP:
RMG
Natty's RED
Trim/Tires/Wheels:
Trim got cleaned with GR-40 Trim Cleaner followed by PB's Trim Restorer
Tires got cleaned with Eagle One A2Z followed by Megs' All Season Dressing
Wheels got cleaned with Megs Wheel Brightener
Here's some befores so you know exactly what I was dealing with. Warning - it's not pretty...
Clay after 1/4 of the hood:
In the process of taping (PIA):
And some afters:
Like the bumper sticker says, My Other Car is a....
Most of my stash:
Things I learned:
1. Taping is a huge PIA but worth it.
2. There's only so much you can do to bring back a black hood with thousands of tiny stone chips.
3. Importance of a test spot. I started out with 105 on a green Uber pad and it just wasn't taking off enough of the defects. Switched to a Uber orange and that helped dramatically. I could have gone with a more agressive pad for the hood. I have to look into what most people are using because I need one step up in tersm of pads.
4. RMG looks awesome on black
5. It will rain heavily the day after I detail my car (for those of you in CT, you know what I'm talking about in terms of the weather today)
6. No way I could have even come close to these results without what I learned from this site
7. Priming the pad with product is SUPER important with 105/205
8. Don't use a pad that's even remotely wet with these products. You will lose cut big time. I had to wash my cutting pads because I didn't have enough and learned the hard way. Thanfully the dryer helped me out.
9. I need more cutting pads. (See number 8)
10. Four Rockstar's in 12 hours will not kill me
11. My next car will be Silver
Hats off to you guys that do this for a living. I work out four days a week at a gym and all in all consider myself to be a pretty healthy guy. This project just wiped me out - plain and simple.