Gurge
New member
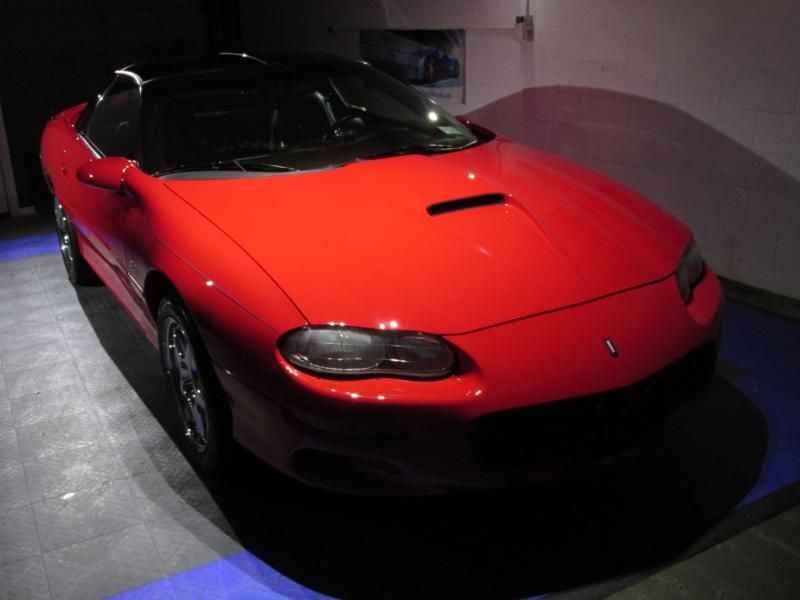
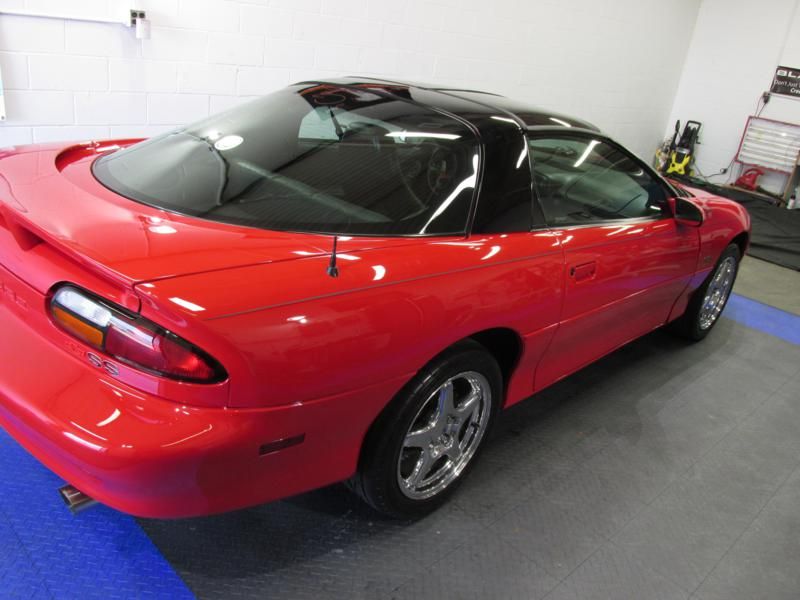
Client stopped by the shop a month ago looking to do something special for his son graduating college. Junior drives a 2000 Chevy Camaro SS which was mechanically in great shape, but pretty swirled up. I did some test spots on the spoiler to demonstrate what a 1 or 2 step correction was capable of (yes I did the rest of the spoiler for him so it looked uniform).
After thinking things over, a few weeks later I got the call and we booked a 2 step correction. Goal was 90% correction or better
Getting started....
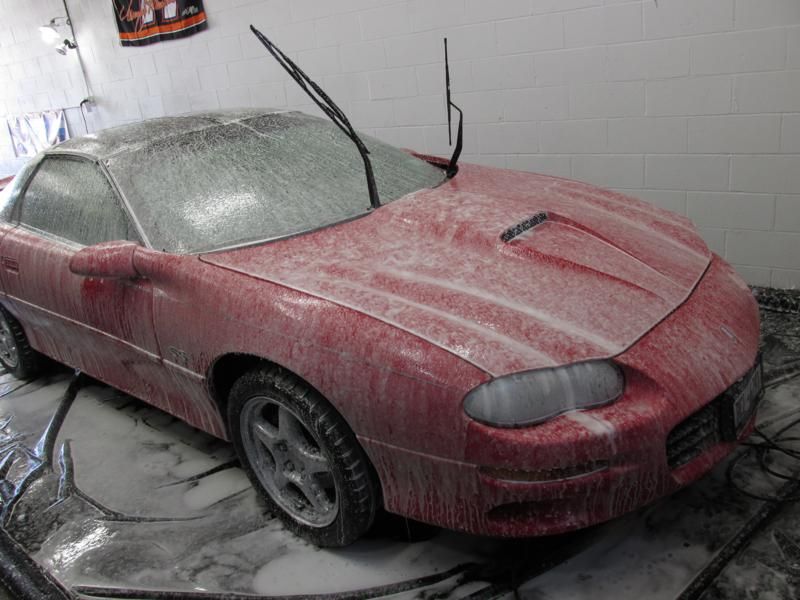
The ever popular covered in foam photo
Decon with CarPro TRIX and Speedy Prep Towel (med)
Vehicle was dried, and much tape applied. All the plastic trim, some edges, and of course the pinstriping running the length on both sides. Had to use the fine line tape on those.

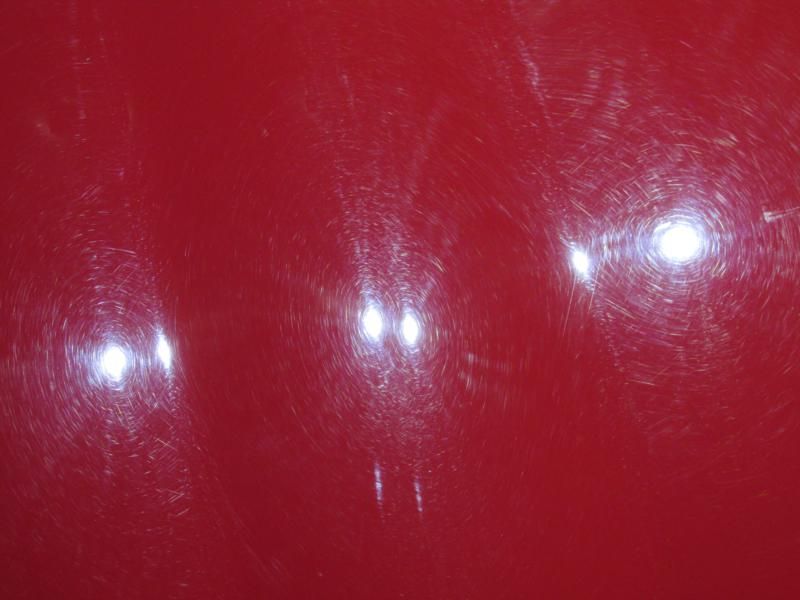
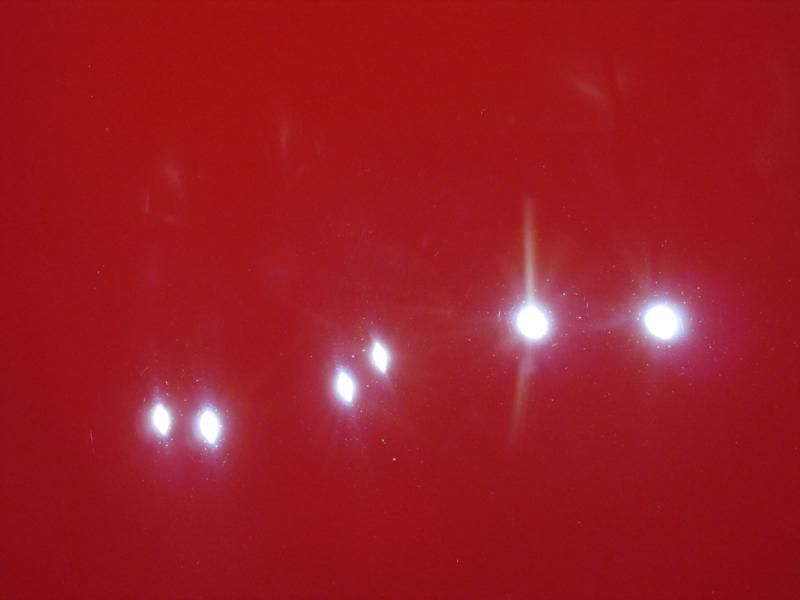
Prepare yourselves. Inspection under LED lighting.
Did some test spots and decided I was going to do what we'll call a 2 1/2 step
Makita rotary + LC Purple Foamed Wool + Megs M100
residue left on the surface followed my
Rupes or Flex + Megs MF pads + M100
Rupes or Flex + LC Tangerine + M205
Basically cutting the surface twice with m100 just refining things a bit on that second pass with the less aggressive pad / tool
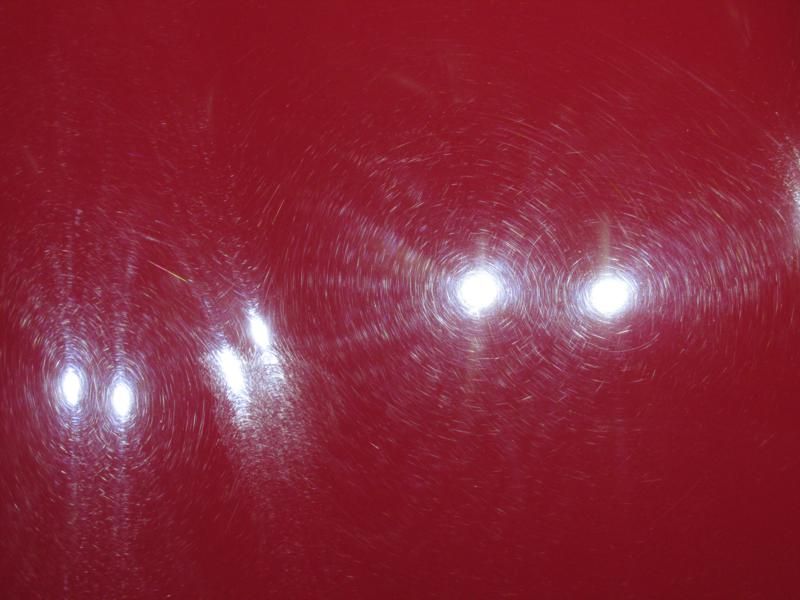
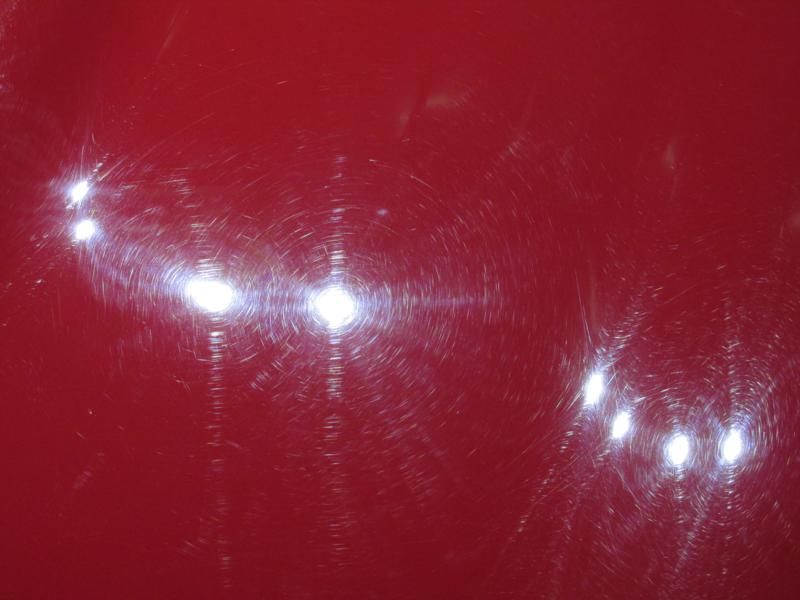
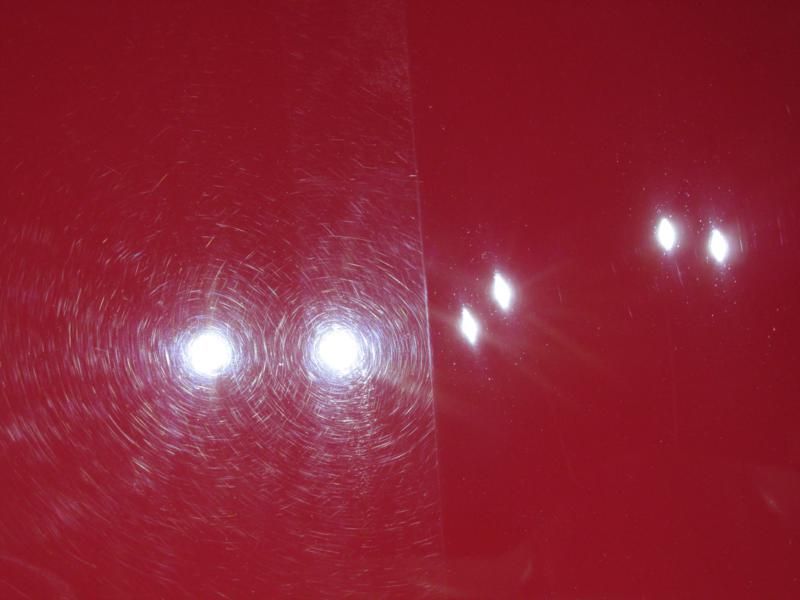
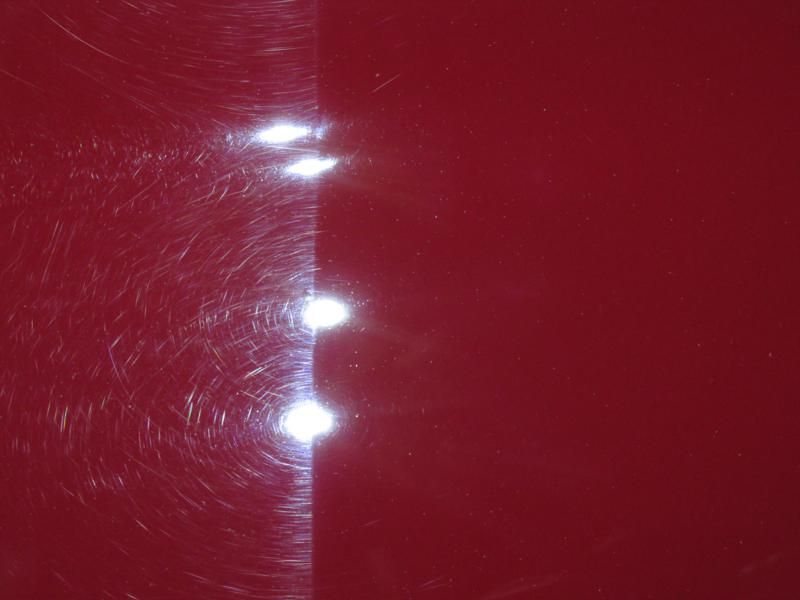
Some looks at the test spots (shooting for 90% or better - there were some leftovers that resisted all of the above polishing)

Fender before
Fender After
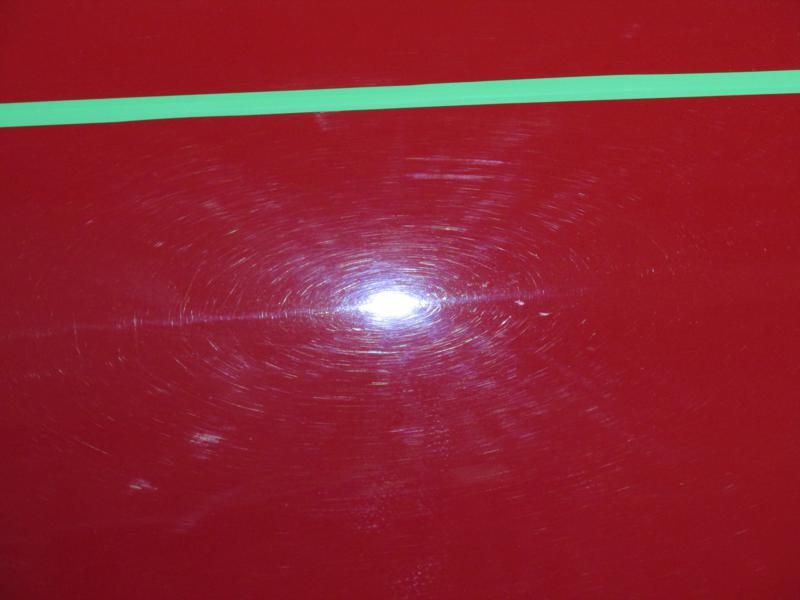
Here I am polishing paint in the most glamorous fashion. You can also see how the pinstriping really broke up the panels and forced me to use 3in pads in a lot of areas (PC was used with the 3in pads)

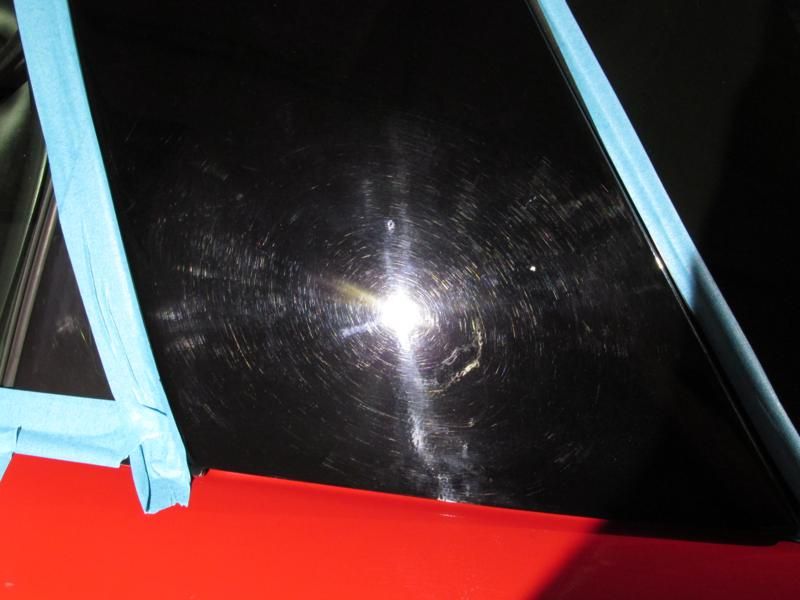
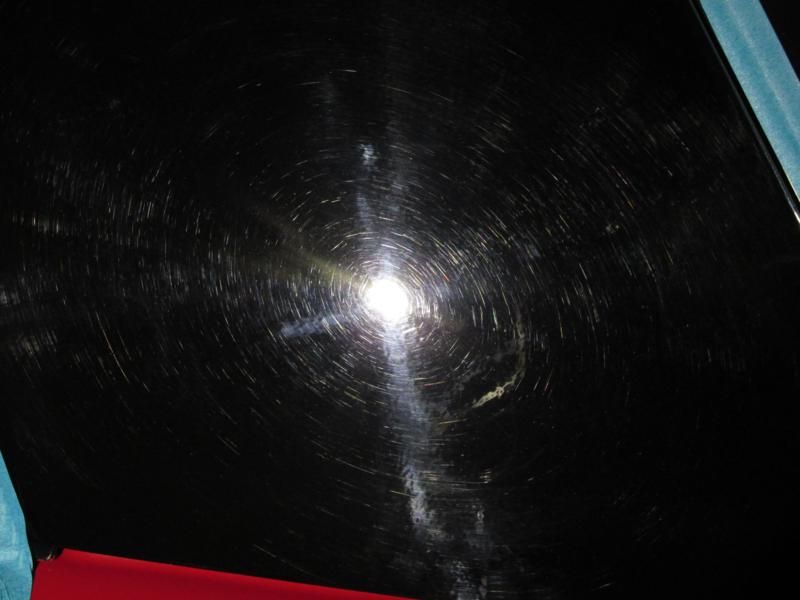
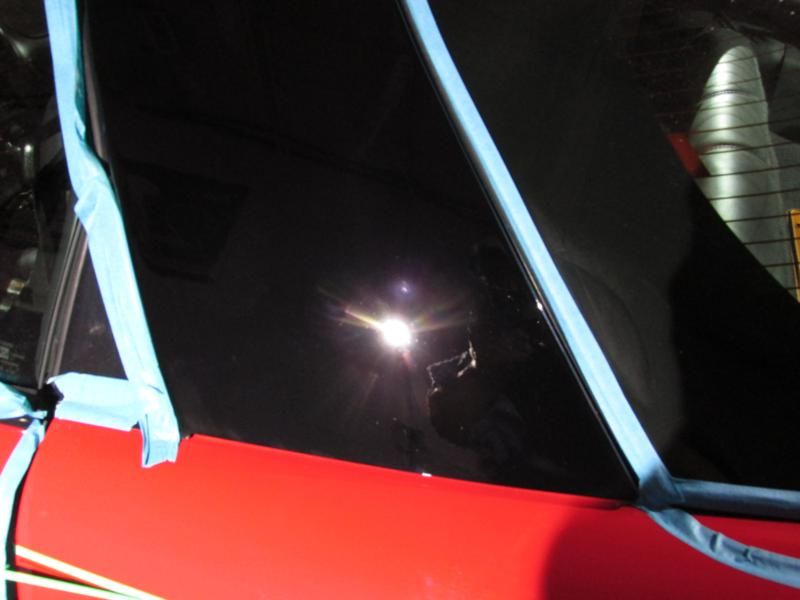
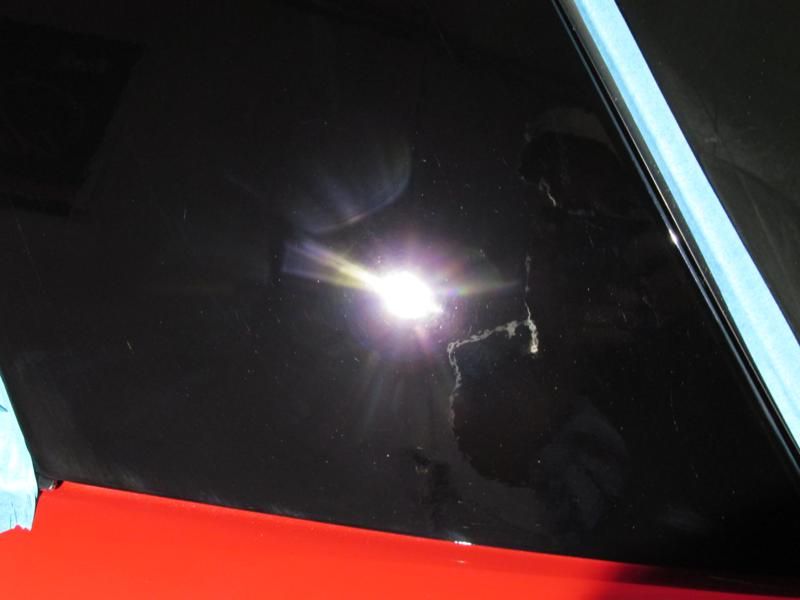
There was also a black painted area running along the roof
before
after
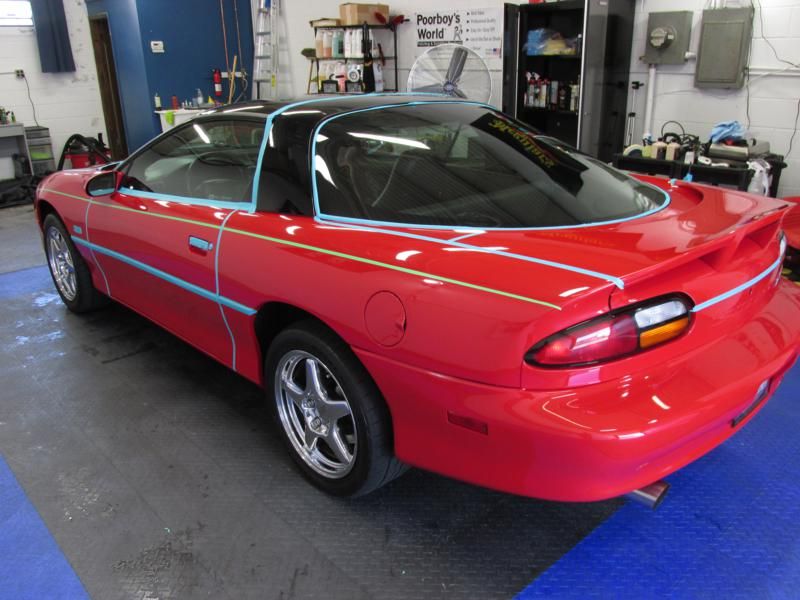
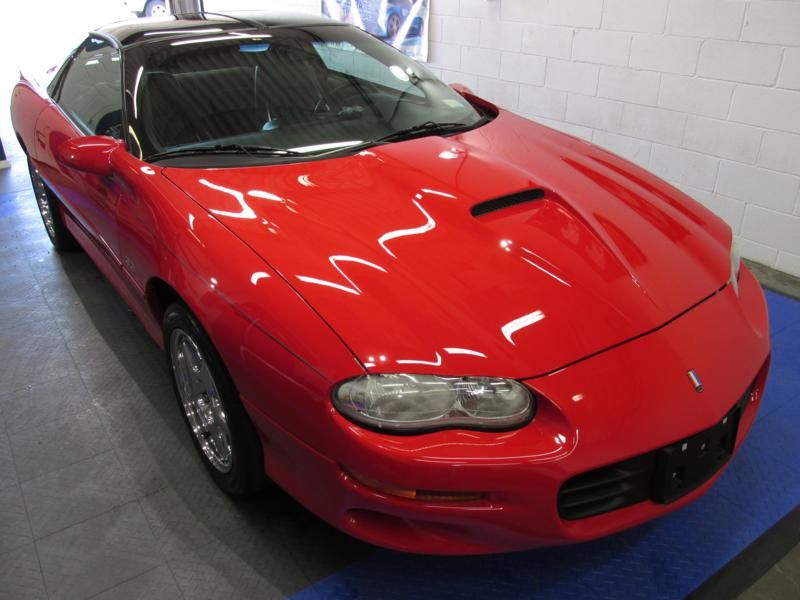
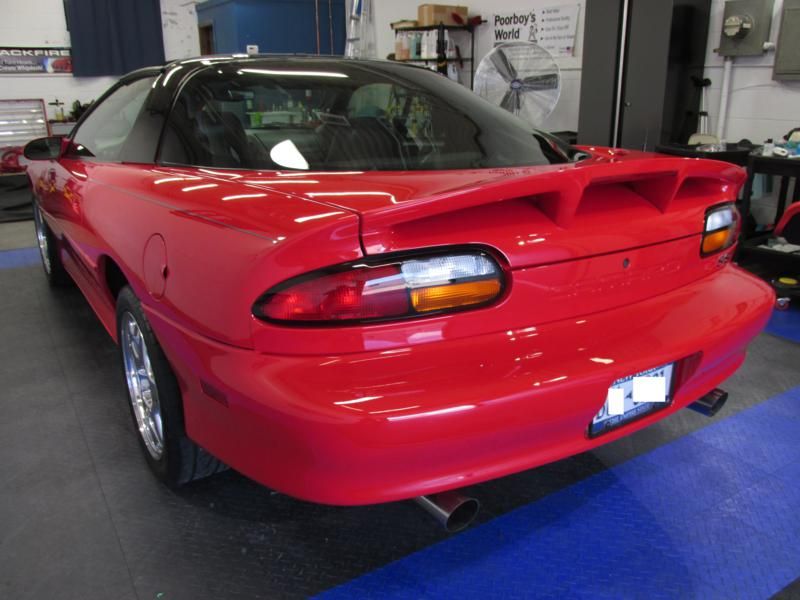
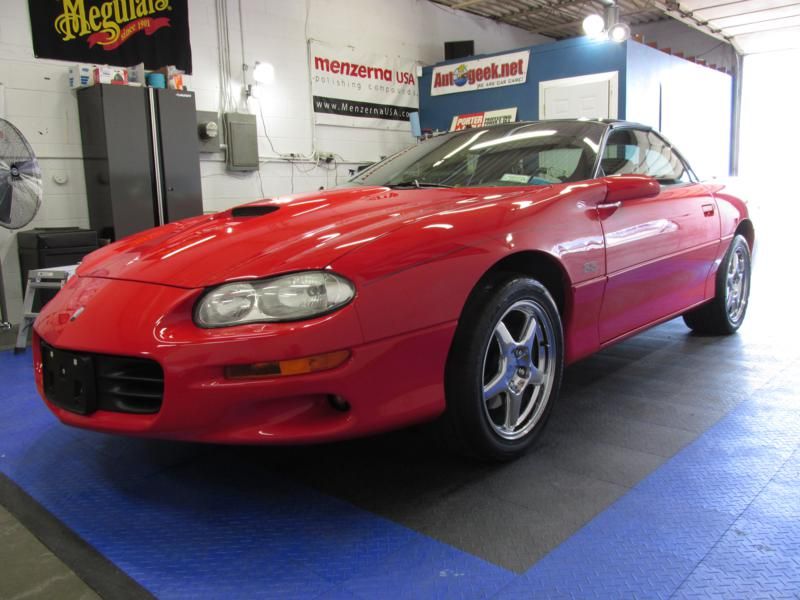
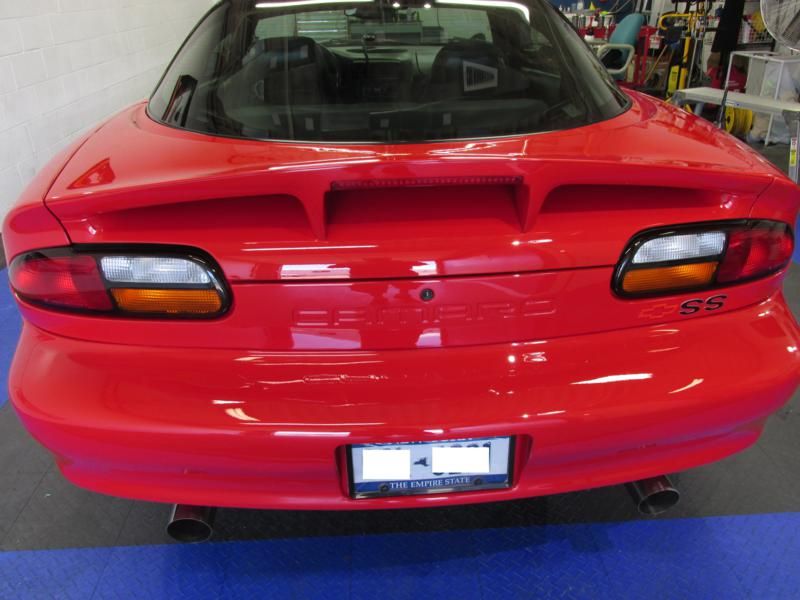
Car was pretty dusty after all that. So it was washed again, then protected with Blackfire Wet Diamond sealant
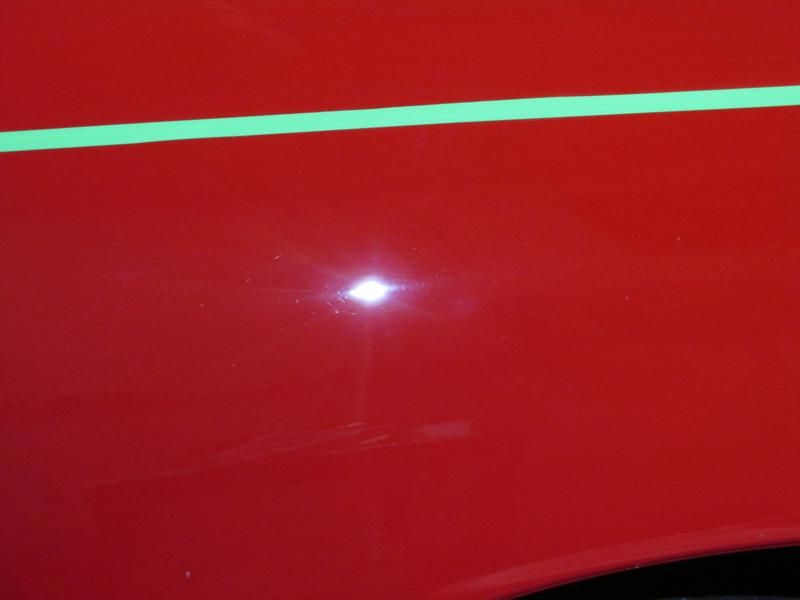
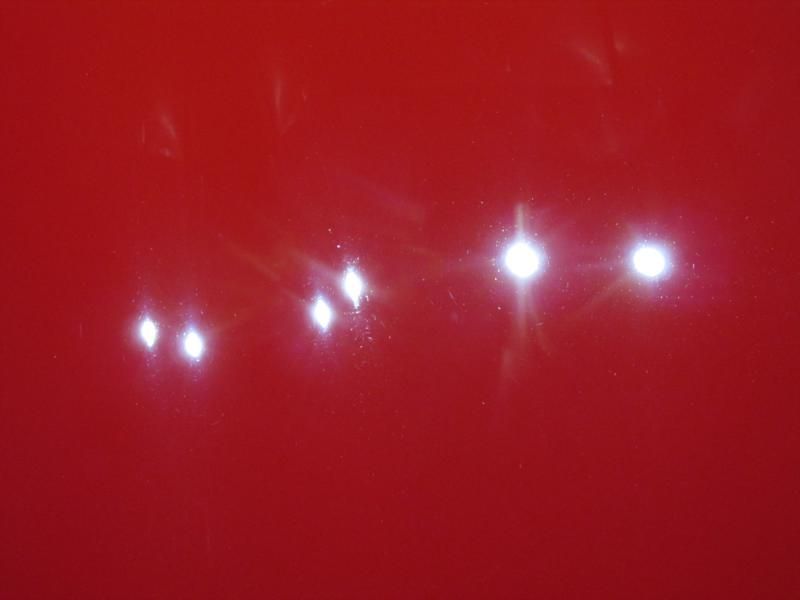
The weird hood reflections with swirls removed
Couple more for good measure
Long Island's top choice for paint correction...
Mr. Sparkle Detailing.com
On Instagram I'm straight flexin' @mrsparkledetailing
After thinking things over, a few weeks later I got the call and we booked a 2 step correction. Goal was 90% correction or better
Getting started....
The ever popular covered in foam photo

Decon with CarPro TRIX and Speedy Prep Towel (med)
Vehicle was dried, and much tape applied. All the plastic trim, some edges, and of course the pinstriping running the length on both sides. Had to use the fine line tape on those.


Prepare yourselves. Inspection under LED lighting.


Did some test spots and decided I was going to do what we'll call a 2 1/2 step
Makita rotary + LC Purple Foamed Wool + Megs M100
residue left on the surface followed my
Rupes or Flex + Megs MF pads + M100
Rupes or Flex + LC Tangerine + M205
Basically cutting the surface twice with m100 just refining things a bit on that second pass with the less aggressive pad / tool
Some looks at the test spots (shooting for 90% or better - there were some leftovers that resisted all of the above polishing)


Fender before

Fender After

Here I am polishing paint in the most glamorous fashion. You can also see how the pinstriping really broke up the panels and forced me to use 3in pads in a lot of areas (PC was used with the 3in pads)

There was also a black painted area running along the roof
before


after


Car was pretty dusty after all that. So it was washed again, then protected with Blackfire Wet Diamond sealant


The weird hood reflections with swirls removed


Couple more for good measure


Long Island's top choice for paint correction...
Mr. Sparkle Detailing.com
On Instagram I'm straight flexin' @mrsparkledetailing