1992 500SL ----- Loads of Pics, Please No 56K

Bill D

Hooked For Life
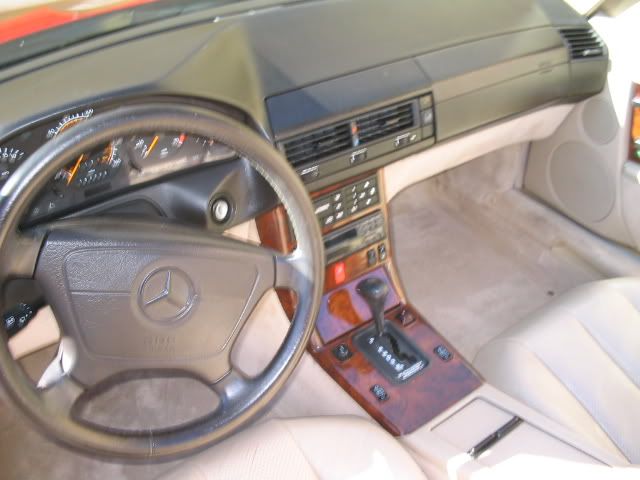
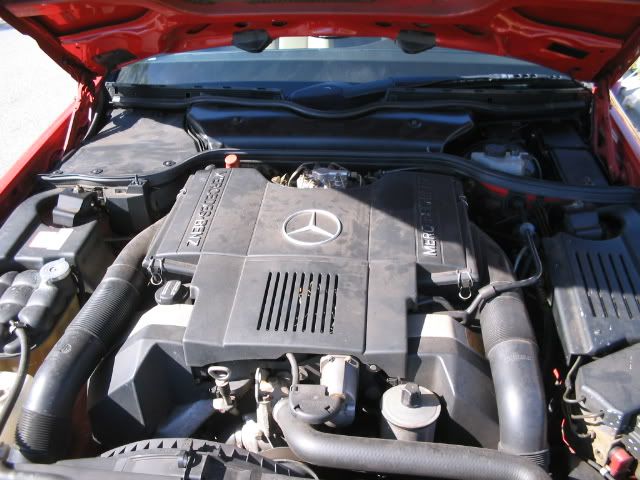
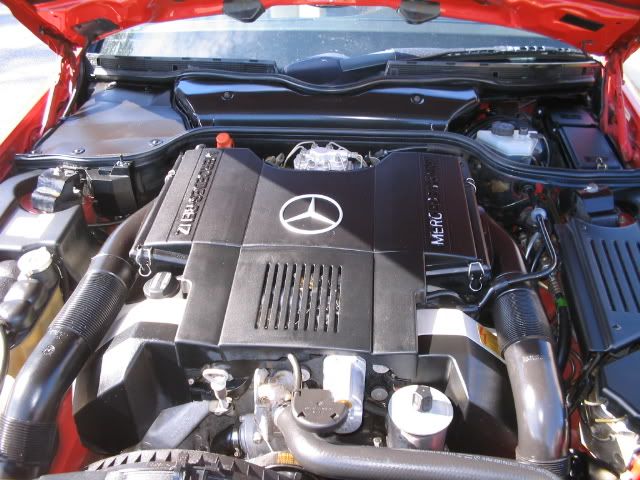
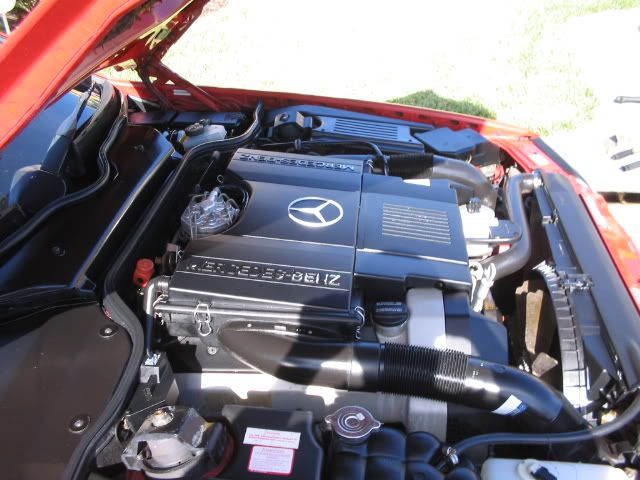
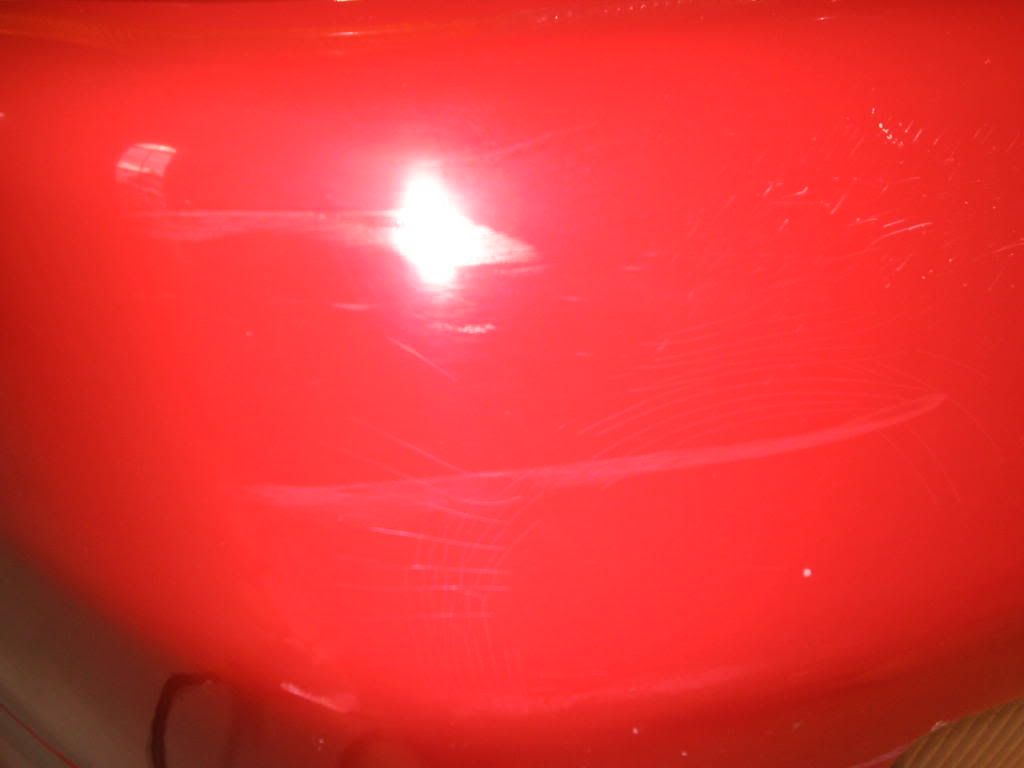
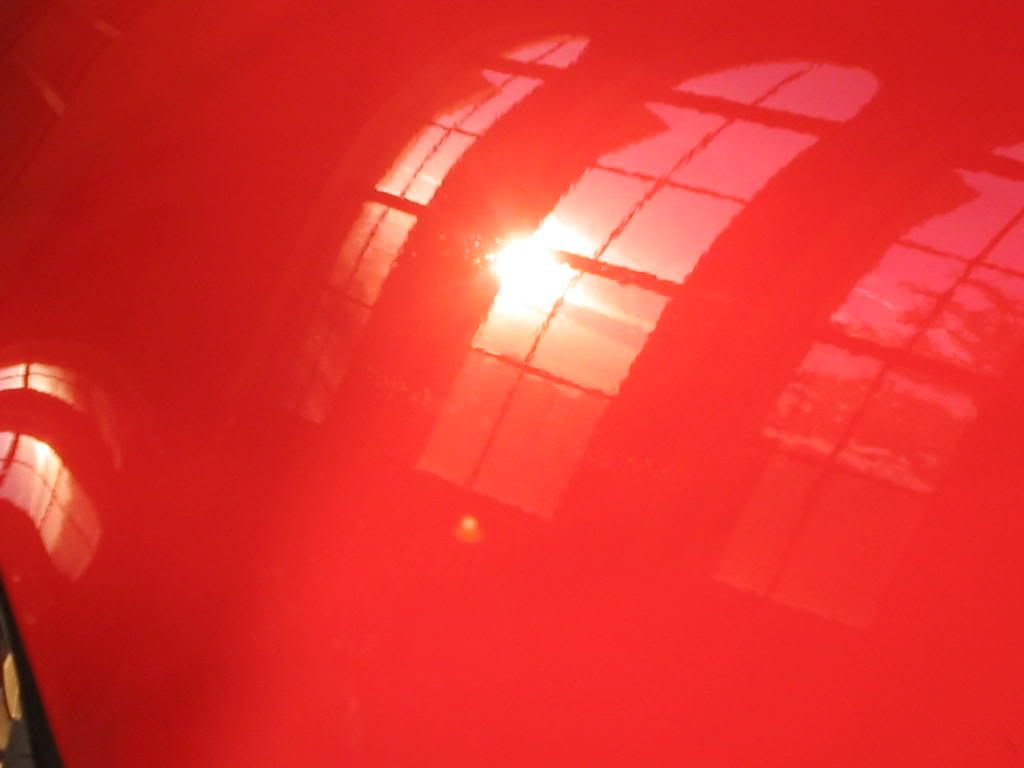
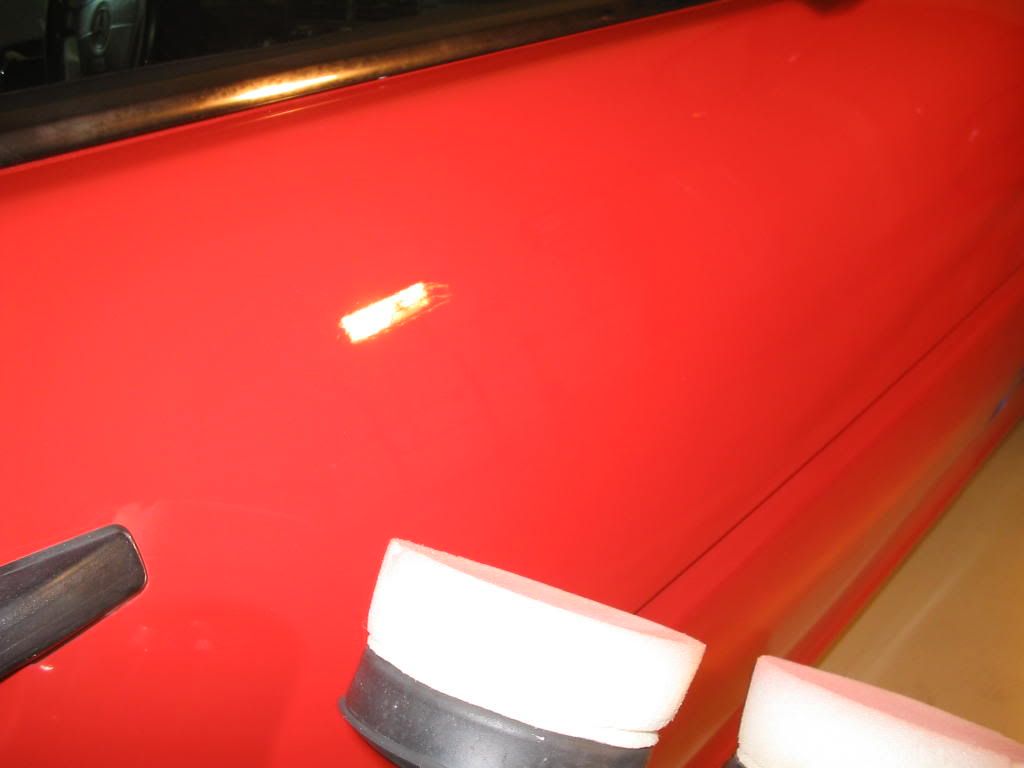
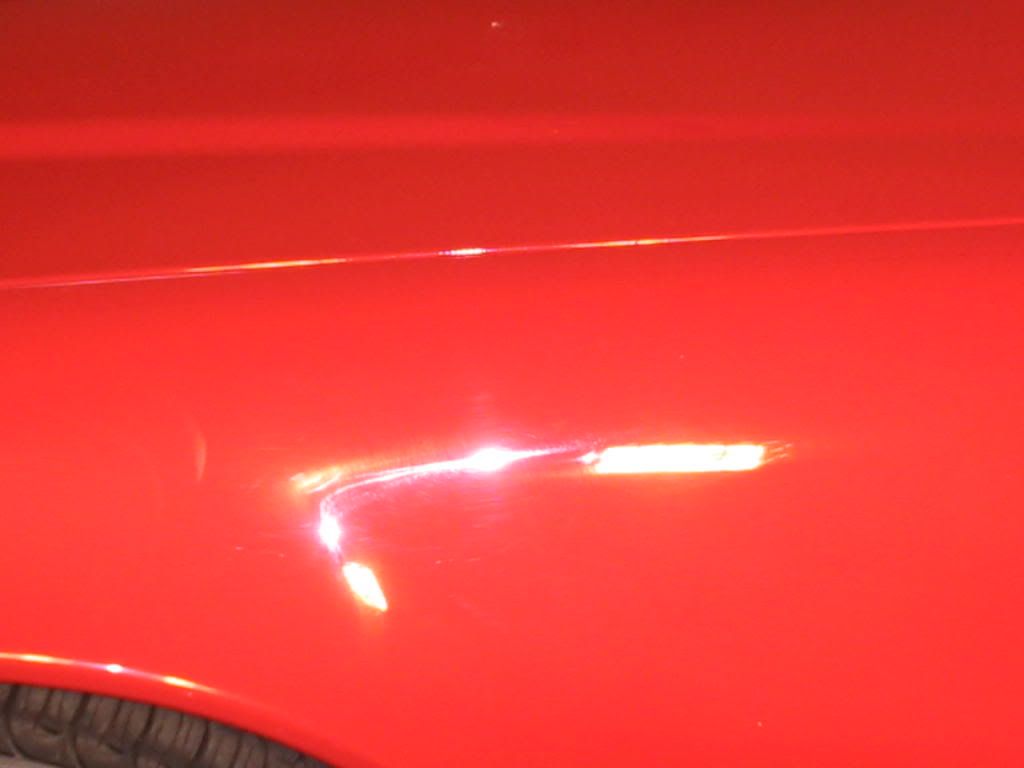
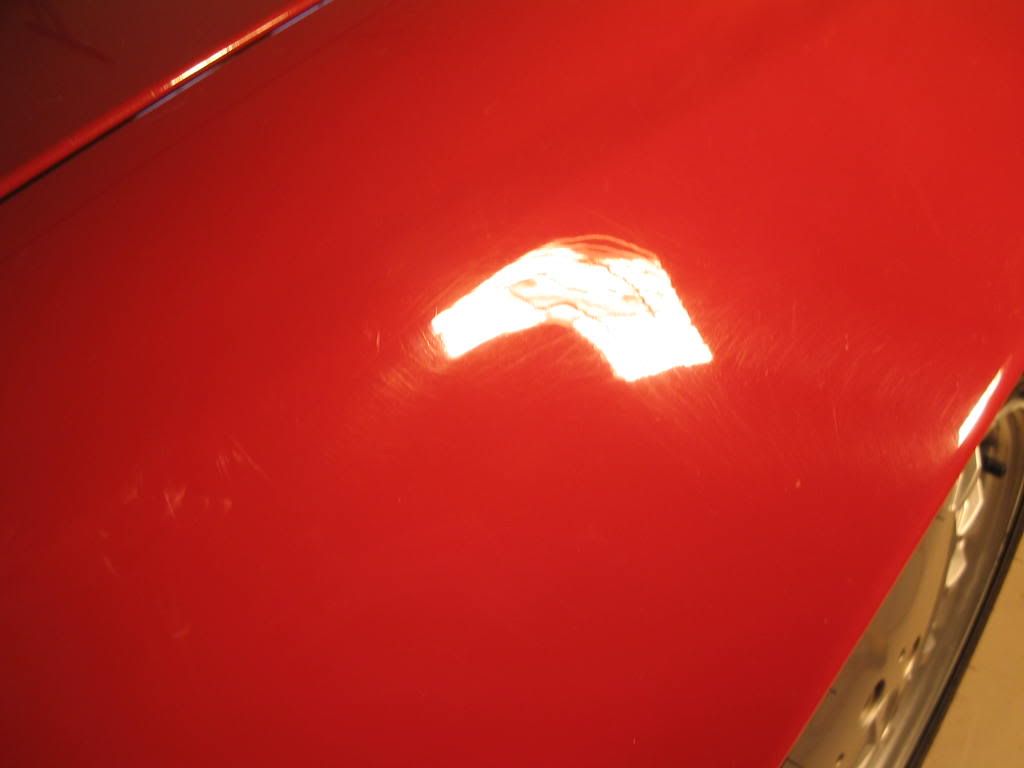
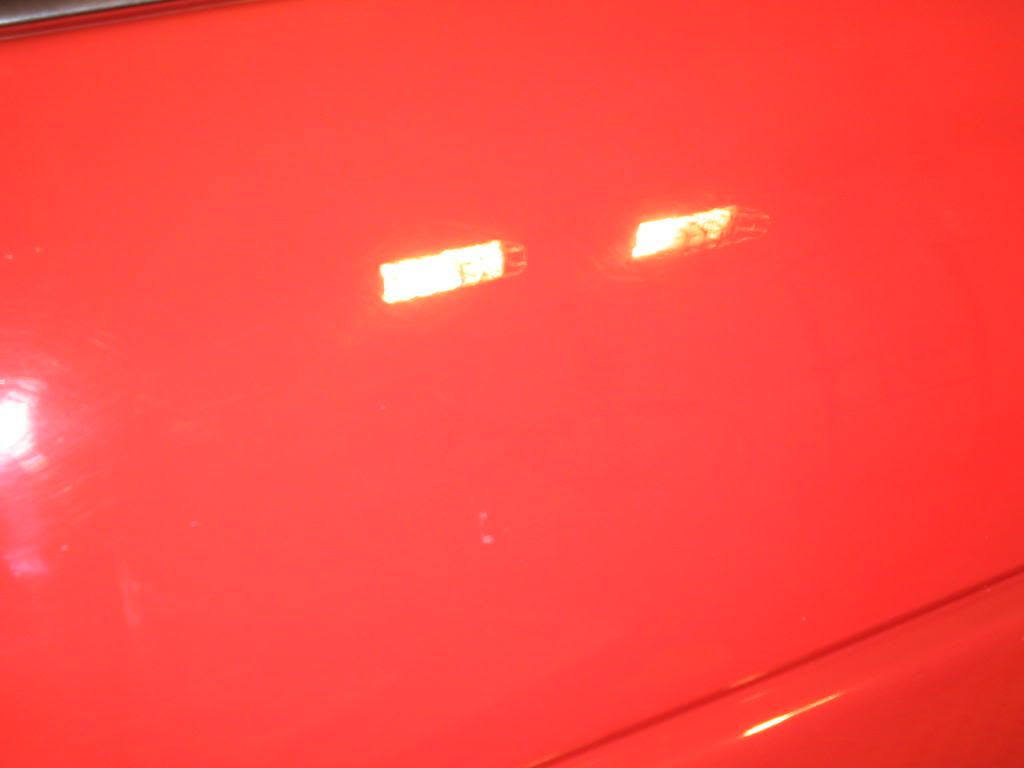
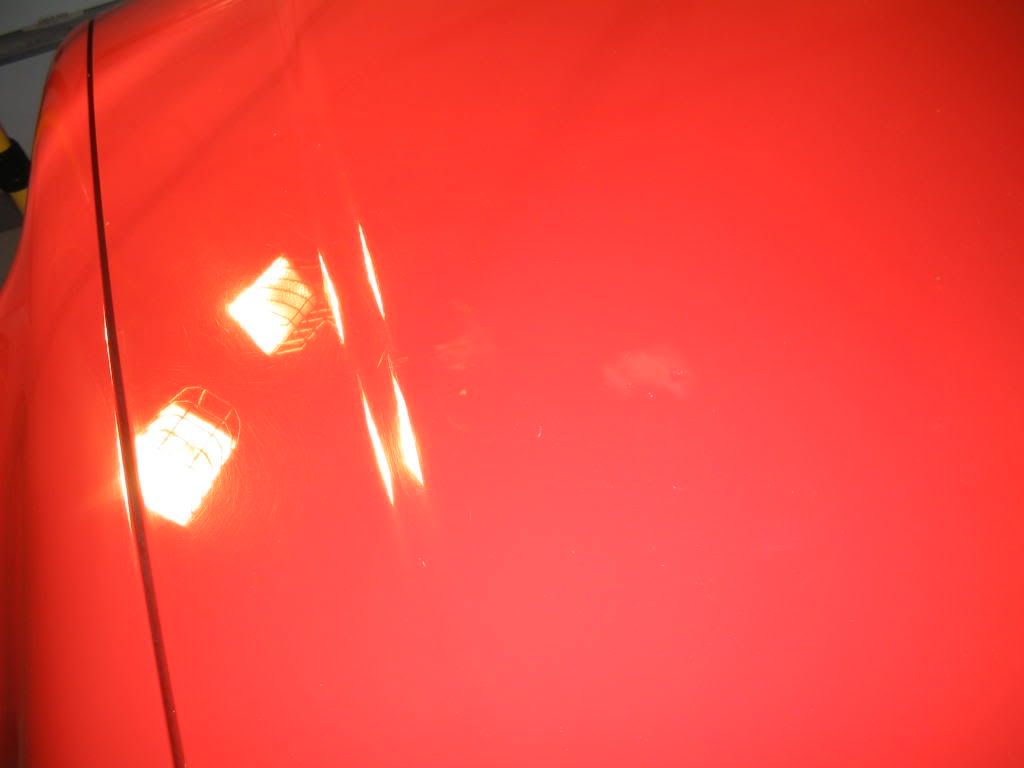
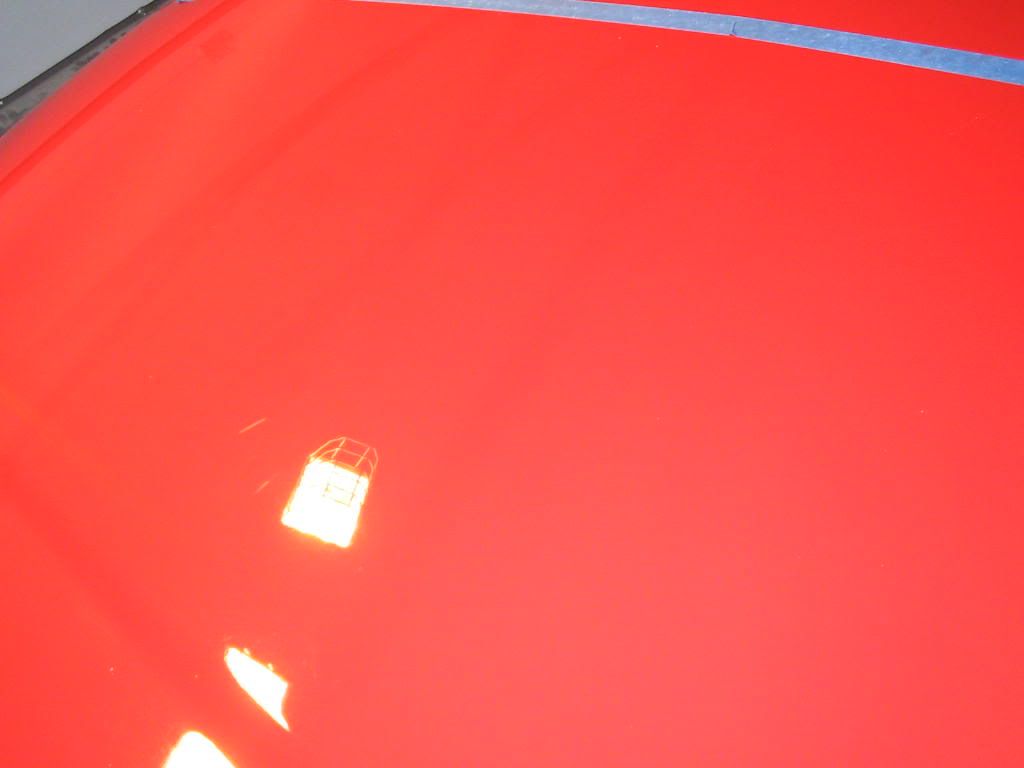
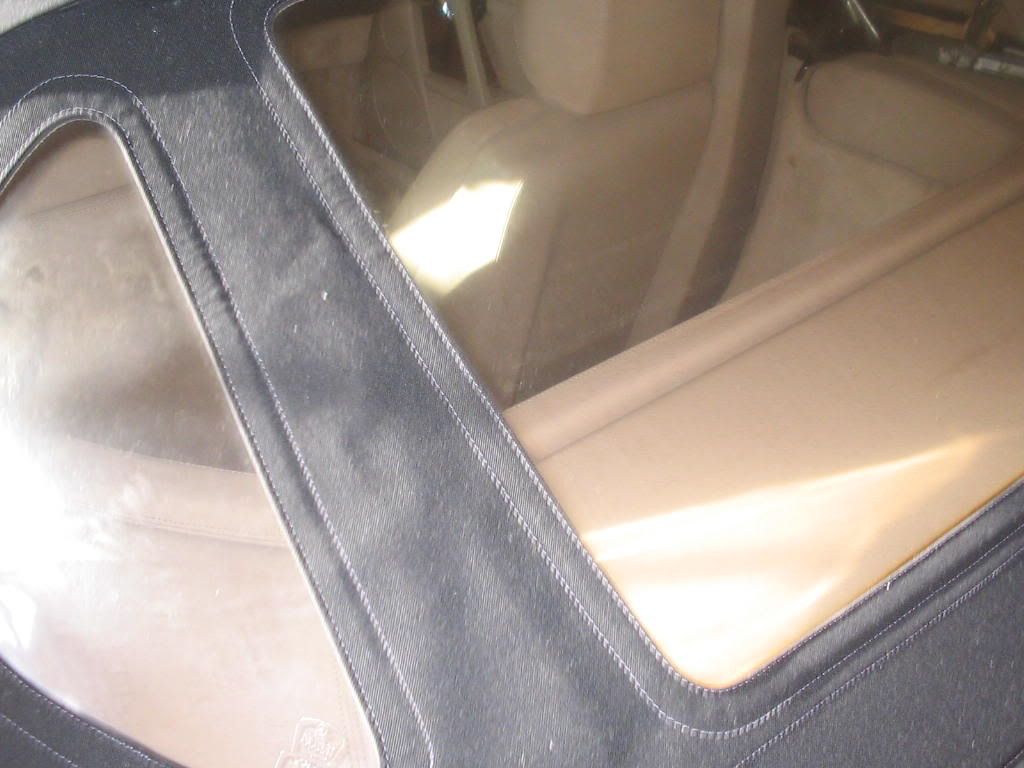
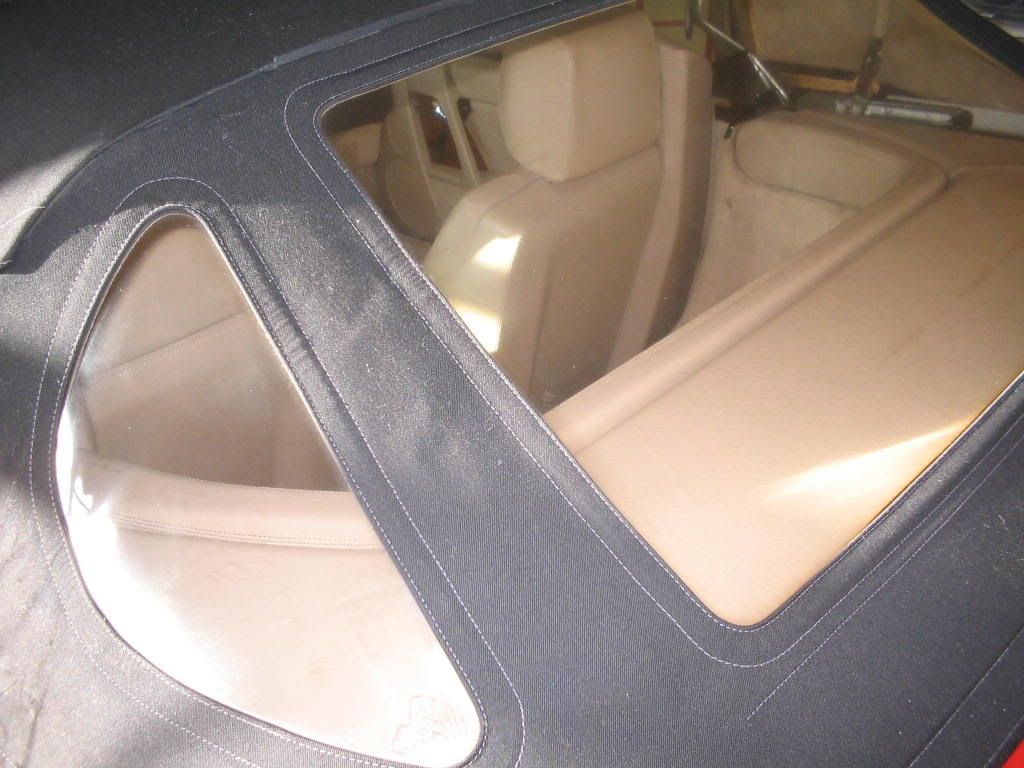
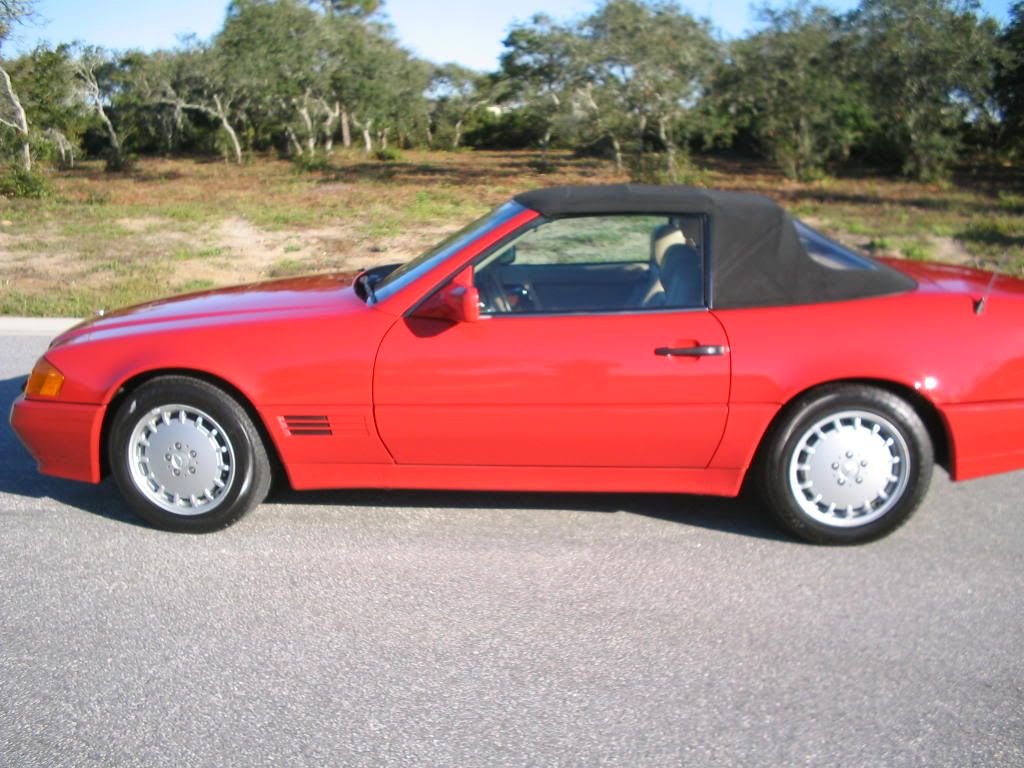
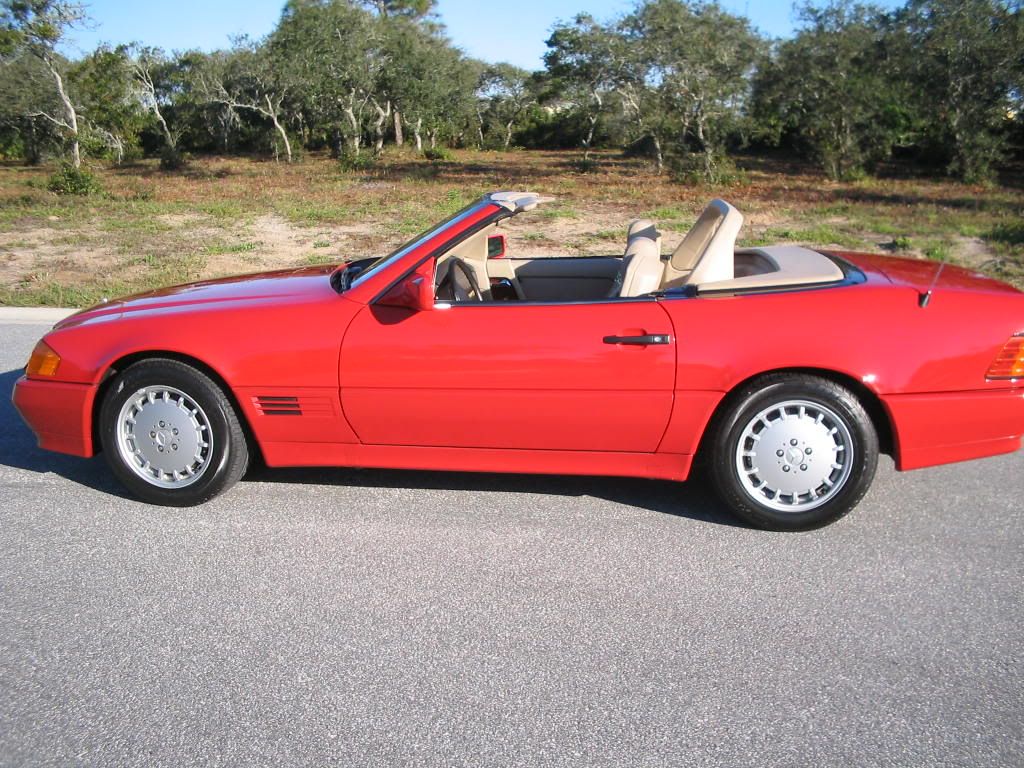
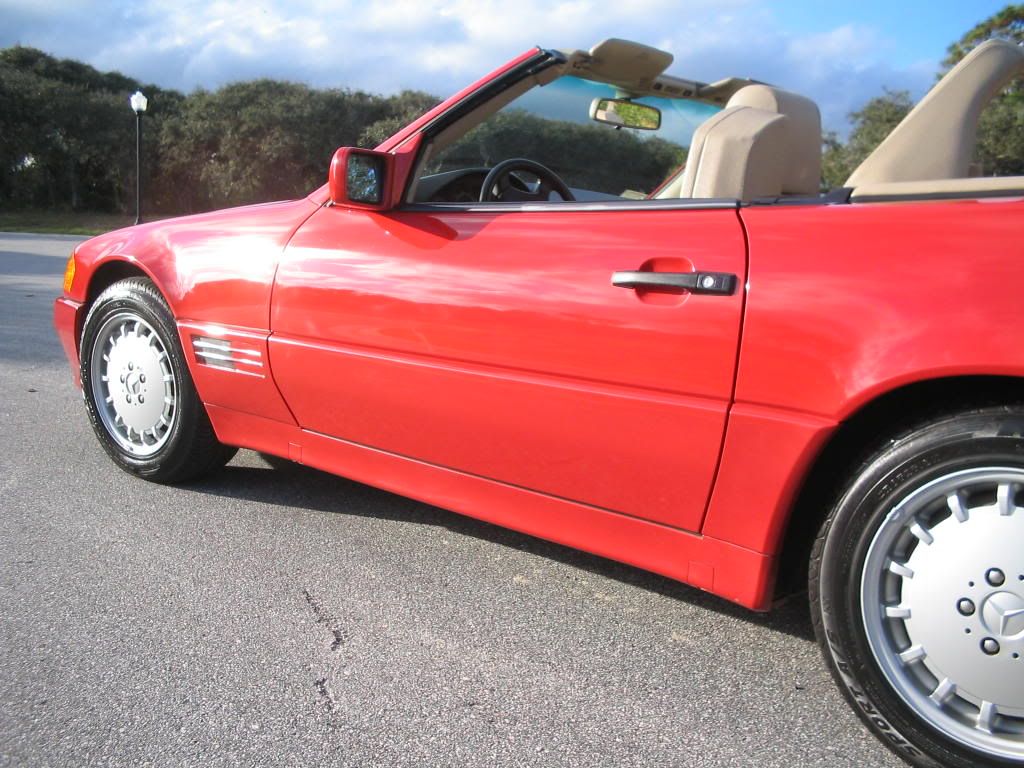
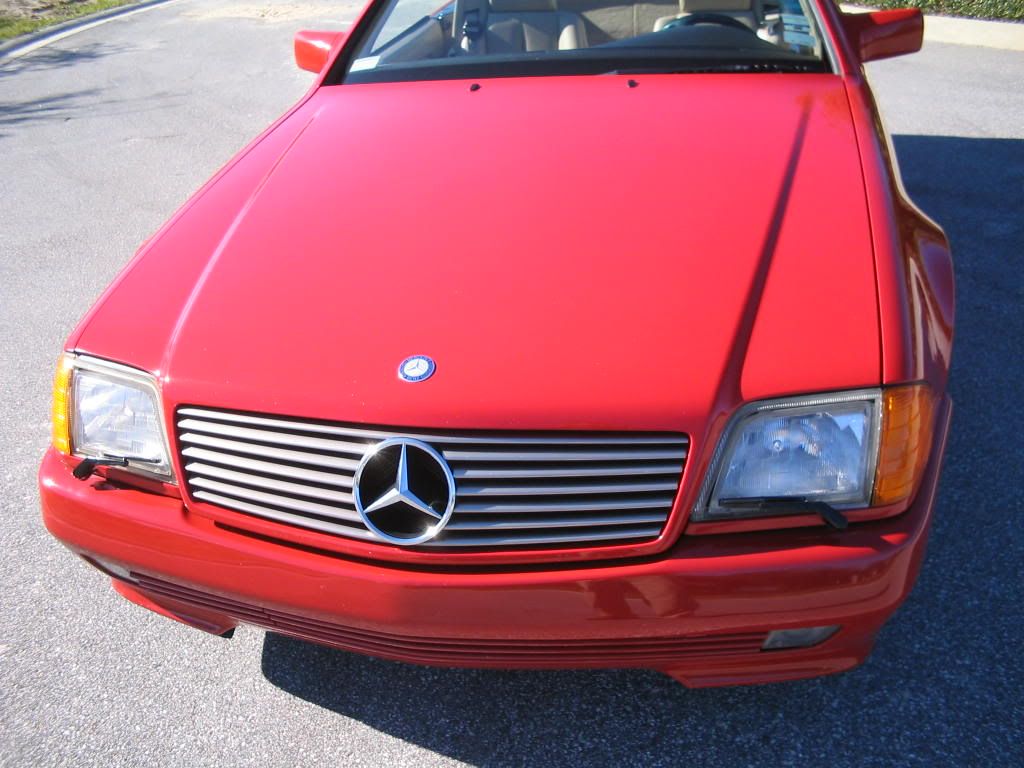
This 13-year-old Mercedes belonged to the client’s mother and is considered a family heirloom. However, it was in need of a comprehensive detail. The paint has lost its ideal, rich luster and was suffering from deep marring and random isolated scratches. Under 30X magnification the paint was sprinkled with numerous micro chips which fortunately aren’t really visible under “normal viewing conditions�. However, there are several noticeable chips and one or two deep scratches that only a touch paint application can correct. The interior required a thorough cleaning. The engine needed a good detail. The wheels and wheel wells called for power washing. The client plans on eventually getting new wheels, under hood insulation, and some interior parts that are broken and cracked.


This was the first semi concours detail I conducted over a period of days. I had all of my equipment with me on hand to really “go to town� on the car.


** This detail was done at a relaxed pace over the course of several days. It is by no means intended to be “compared against� details that are completed in one day which can yield equal, if not better results.
 
Products and Equipment Used


For the Interior


Leatherique Pristine Clean

6:1 Water:Woolite solution

Meguiar’s APC+

Mr. Clean Magic Eraser bars

Folex

Novus #1

303

Leather Master Leather Conditioner

Leather seat bristle brush

Upholstery scrub brush

Glass Wizard

Terry towels

Steam Buggy

Assorted mini detailing brushes and swabs


For the Paint and Exterior


Castrol Super Clean

Mother’s Tire and Rubber Cleaner

Duragloss 901 Car Wash via foam gun

4 Eurow sheepskin mitts

Stoner Tarminator

Blue Clay Magic


De Walt 849 rotary buffer

Cyclo polisher

Porter Cable 7336 DA polisher

( aka The Trinity :D )


6.5� yellow Lake Country cutting pad

6.5� white Lake Country polishing pad

4� white Lake Country Cyclo polishing pads

(also used one via rotary and one 4� cutting pad via rotary)

6� black Lake Country finishing pad


Micromesh 4,000, 6,000, 8,000, and 12,000 grit sandpaper (certain defects and fog lights)

Valugard Cerious Compound

3M Perfect It III Rubbing Compound

Optimum Polish

Menzerna Final Polish II

50:50 Isopropyl alcohol: distilled water solution (also for glass)

AIO

Wolfgang

Valugard Final Finish (courtesy, Ketch)


English Custom Polish Showman’s Polish (grille and trim)


Meguiar’s Engine Kote (wells)

303 (tires and engine)

Novus #1,2,3


* Three products used are now discontinued : Meguiar’s APC+, Meguiar’s Engine Kote, and 3M Perfect It III Rubbing Compound


Surgical huck towels (glass)

Assorted Pak Shak MFs ( polishing, buffing ,drying)

Meguiar’s Even Coat applicators

Assorted brushes,sponges, and swabs

Large Evercare Rolling Lint Remover


1000 Watt Halogen Stand

300 watt incandescent light

Brinkmann dual xenon hand held light

30X lighted magnifier

ETG-A paint thickness gauge
 
The Process


It’s been a while now since I’ve detailed a SL, this vintage in particular, but the pleasure of doing so quickly returned J


This interior needed a thorough cleaning. The seams of the seats had grounded in dirt, the carpets had random stains, and the dash had a film. Upon blowing out the interior with my mini car dryer blower, I spend a good deal of time vacuuming and then inspecting the condition of the interior. The seats really needed TLC so first using a Mr. Clean Magic Eraser, then the Woolite:water mix, THEN Leatherique Pristine Clean, allowing each o to dwell and then agitated with the leather brush, improved them. I also cleaned the seats with Pristine Clean in conjunction with my steamer. I did see left over gunk and soap ooze out of the pores of the leather. These seats are very good candidates for the full Leatherique treatment during warm weather. I anticipated my work on the mats and carpeting to provide limited results because I don’t have an extractor. I spot sprayed the mats with Folex, allowing it to dwell and then sprayed them down with APC+. I allowed this to dwell for about 3 –4 minutes and then agitated with the scrub brush. The mats were sprayed down with a hose and allowed to dry outside for 24 hours. I followed a similar procedure with the carpet, using fewer products and blotting the emulsified stains with old towels. Afterward, I used the Steam Buggy to enhance the appearance of the carpet and blotted again. I do not have any fabric guard. When the mats were dry, they also were steamed. The results were a significant improvement. The backs of the mats are toast though, with the black backing material disintegrating on contact. I highly recommended the owner get new ones.


APC+ cleaned up the dash and the interior panels in conjunction with the steamer and a spritz of Novus #1 brightened up the gauge and controls plastics. I masked off the dash with the cardboard backs of legal sized note pads and cleaned the interior windshield with a Glass Wizard. I followed with the surgical huck towels. 303 on the seals and vinyl and plastic components, AIO on the interior burled walnut panels, along with Leather Master conditioner on the seats finished up the job.


The final touches included polishing the door sills and door jam components with English Custom Showman’s Polish with a MF.


I spent an ungodly amount of time on the interior, and the whole car for that matter. :eek: because there was no rush/deadline to get it done and it sure needed a make over.

Unfortunately, I do not have any full “before pictures� of the car but I do have some of the interior and engine. I only have a few “before� and “after� shots of some panels along the way. I’m no wiz with a camera but I tried to capture the marring before the paint correction process and the improvement later.


104_0437.jpg


104_0448.jpg
 
I used an electric Karcher power washer to wash the undercarriage upon spraying it down with Castrol Super clean and agitating with one of those telescoping wash brushes non Autopians may use to wash their paint! :soscared: The wheel wells needed a second blast to remove some stuck on crud. Yuck.


The wheels were still pretty laced with grime even though the owner has brake dust shields installed between the brakes and the wheel. ( I worry about excess heat and warped rotors with those things) I washed the wheels with car wash soap mixed in a spray bottle and an Oxo brush. I clayed each groove of the wheels. The owner is interested in getting newer, late ‘90s style wheels to replace these tired originals.


There was random baked on tar under the doors and quarter panels. Tarminator with a bug sponge removed some but I did have to clay to get it all off in many instances. The door jams were in good shape and so I “normally addressed� them during the wash. Applied to Q-tips, APC + cleaned up the key latch mechanism on the doors as well.


My objective was to degrease and dress the engine. It looked like it was a long time since anyone had opened the engine and so there was an accumulation of grime, grease, and dust . :eek: I continued to vacuum and pick away pieces of the disintegrated engine insulation I noticed during the formal evaluation. Even after the complete engine detail, pieces of disintegrating insulation continue to fall L so the owner needs to replace it ASAP. I made several applications of APC+ agitated with an Oxo wheel brush and rinsed everything off to get the engine back into acceptable shape. I immediately used my mini electric car dryer to blow away water and prevent any pooling. I shut the hood and ran the engine and then it was ready for the dressing. 303 applied with sponges and foam paintbrushes refreshed the appearance.


104_0441.jpg


104_0443.jpg


104_0442.jpg
 
I washed ,dried, and clayed the car. The convertible roof was in good shape so I washed it only with car wash and a fresh brush during the washing procedure.


104_0452.jpg


I recorded the initial paint thickness readings beforehand with my ETG-A. I was a little surprised the hood and deck lid had less paint than the sides of the car. I was careful to keep this in mind while using the rotary.


After the wash, I inspected the finish for a second time with my 30X lighted magnifier. I didn’t see anything that couldn’t be at least dramatically improved. I proceeded to mask off the car and prep it for rotary polishing.
 
It was finally paintwork time! I used plenty of 3M blue painter’s tape, old bed sheets, and assorted rags and old towels. Every piece of trim and emblem in danger of coming in contact with the rotary was taped off. I like to focus on a panel at a time, working from the start of the polishing process right down to LSP application. So where applicable, I start off by taping off the particular panel at a time and then starting the polishing process.


I began on the deck lid with the rotary and Optimum Polish and the white LC pad at 1500 RPMs. When I judged the product was worked in long enough, I stopped, wiped off the excess with a Pak Shak MF and sprayed down some IPA:water. I let it sit briefly,wiped again, and inspected for left over defects. I quickly learned this clear is rather hard ( I seem to be a magnet to that :wall) and that a yellow LC cutting pad and OP would be needed first for everything.


Throughout the detail, I tried to get a little more “oomph� in the cutting stage so I tried Valugard Cerious Compound in one instance and 3M Perfect It III Rubbing Compound in another. Both perform well but the good ol’ 3M did the best job at leveling. I followed with the Optimum.(IPA:water wipe down all along the way and in conclusion) So the regimen worked out to be PI III RC and a cutting pad @ about 1500 RPMs, followed by Optimum Polish via polishing pad @ about 1200 and working my way down to 1000 RPMs. Then, I completed with FPII via Cyclo and polishing pads before AIO via PC and finally sealant application. There were a few nicks along the passenger side door I was able to somewhat improve by using Micromesh 4,000 to 12,000 grit sandpaper dry. I followed with the rotary and completed as usual. I repeated this procedure on a bad scrape on the corner of the passenger side front bumper. It improved somewhat but I was reluctant to push the envelope on it given its delicate location.


104_0461.jpg


104_0462.jpg


In all honesty, I could not make the finish ideal, Autopian perfect, as in the standards I am used to with my own over-the-top pampered vehicles. I was fretting over minor remaining marring under my halogens. :mad: 
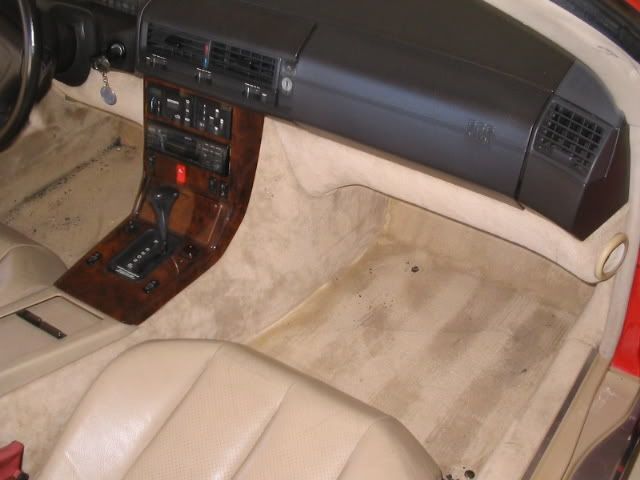
I’m confident more skill than I possess and/or Optimum, 3M, or whatever compound with a wool pad could’ve led closer to near or total elimination of the marring in the end. I am not comfortable using wool pads so that was not an option for me. It would take much getting used to on several beater cars before I would be prepared to use them in a serious detail job like this.
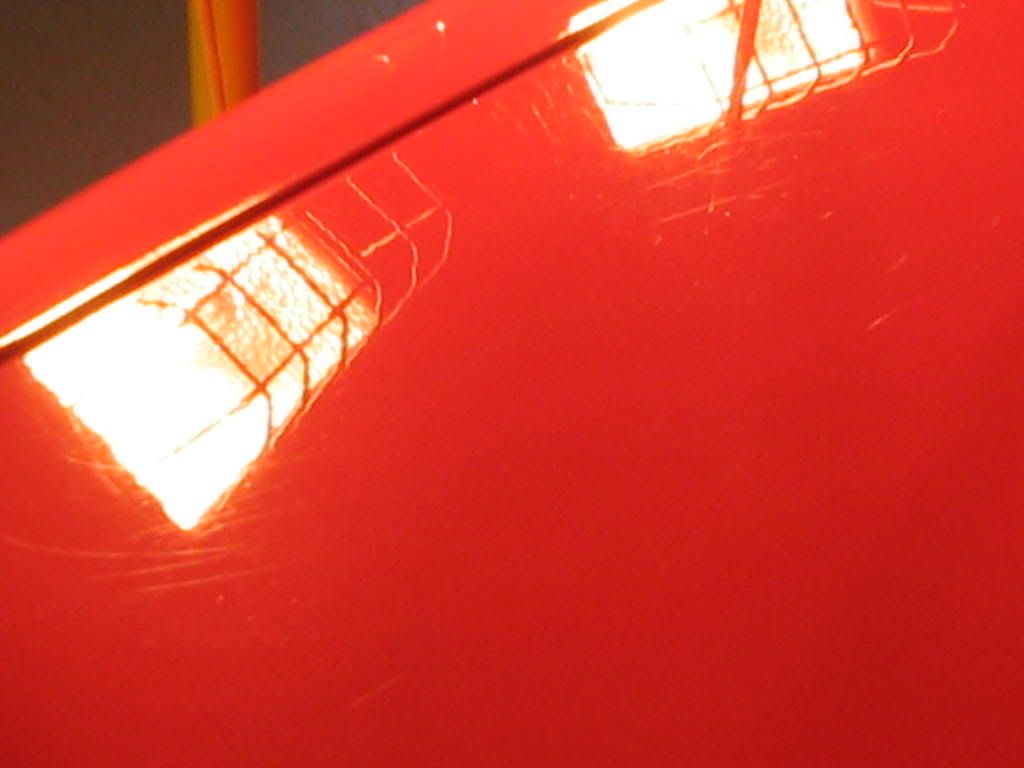


Nevertheless, in the same breath, things were still coming along nicely! I continued the process until I completed panel after panel along the way taking thickness readings, for (exaggerated) safety. The amount of clear stayed “healthy� for the entire detailing session.
 
104_0453.jpg


104_0454.jpg


104_0455.jpg


104_0458.jpg


104_0459.jpg


I scrutinized the paint using the three lighting sources to assist me. I moved on to the Cyclo with the goal of improving any marring the best I possibly could and to really burnish this beautiful red finish. The process was complete by first pulling the car outside for a final inspection in the sunlight. I repeated this with each panel I did. Then, I was ready to apply AIO via PC and the black LC pad on Speed 3, removing with a MF and proceeding to apply Wolfgang by hand with the Even Coat applicator. I removed the Wolfgang with the Cyclo and suededed MF bonnets. I had enough time to get in 2 coats of Wolfgang .
 
Other exterior detailing included a quick run of AIO on the plastic convertible windows in and out. The fog lights, in particular, needed attention. I used some 4000-8000 grit Micro Mesh sandpaper on them to improve the clarity. I followed up with some Novus #3 and #2 and topped with AIO. I can’t say the Novus polishes really did anything to enhance the fog lights. I believe these polishes are best reserved for softer, thinner, more delicate plastics. The metal trim received English Custom Polish Showman’s Polish. Nice gloss without an incredible amount of effort.


104_0456.jpg


104_0457.jpg


I tried to improve the minor wiper blade marring in the windshield with Cerious Compound and a polishing pad @1000RPMs. I think the overall appearance of the glass improved but the marring remained. Later I followed with AIO on all of the glass. When the glass needed cleaning, I used a brand new sponge soaked in IPA:water, agitated and dried with surgical huck towels.


I made a final evaluation of the convertible roof. I went over it with my large Evercare adhesive roller. It removes all of the lint and provides that final, ultimate clean look to convertible tops. I no longer have Raggtop protectant.
 
On the final day, I conducted the finishing touch, most pleasurable details. I dressed the wheel wells with (the old) Meguiar’s Engine Kote, dressed all the seals and tires with 303, and went over the entire finish and the wheels with Valugard Final Finish. This is a spray sealant product much like OCW.


104_0476.jpg


104_0477.jpg


104_0471.jpg


104_0479.jpg


Not bad, I think, for a 13 year old vehicle with 105,000 miles :)
 
Here’s a shot of “neighbor hood visitor� admiring the car :chuckle: Hey Tort, you must’ve been stopping by! ;)


104_0470.jpg


As for next steps in addition to what is already planned for this car, I would recommend the owner get some quality (Wurth, equivalent) undercoating for some random spots on the undercarriage where the old undercoating has worn thin and have a top notch paint chip expert with all of the expensive equipment, tend to the chips and those deep nicks. A new metal trunk lid metal trim strip and license plate frame would really finish it off very nicely. After that, this car would be quite spectacular!


I’d like to thank Anthony Orosco for his continual rotary help and advice. :wavey


For additional photos, click here
 
Wow...I think that was the longest C&B post I've ever read :).


Excellent write-up and pictures. I thoroughly enjoyed it all.


The car came out exceptional, to say the least. I'm sure the owner is ecstatic :).
 
Bill D- Yeah, great job and a great write-up! That must've been fun and satisfying. Glad to see you're getting comfortable with the rotary. Heh heh, not surprised at how well the PI-III RC worked ;)


I *am* a little surprised at how much you apparently used the 30X magnifier during your inspection(s). I find that thing a bit too high-mag for my taste, good for individual items but not really suitable for inspecting large areas.


Bet it was fun to shine up a bright red car for a change :D
 
Dang, Bill. That write-up is bananas! Great job on the detail and the write-up :cool: Very impressive and thorough work.
 
Accumulator said:
I *am* a little surprised at how much you apparently used the 30X magnifier during your inspection(s). I find that thing a bit too high-mag for my taste, good for individual items but not really suitable for inspecting large areas.


Bet it was fun to shine up a bright red car for a change :D


Hey Accumulator,


I used that 30X magnifier on isolated spots more so than complete panels. I monitored particular "problem areas" here and there and used it more before I narrowed my process down to using PI III RC for the cutting stage.


Yeah, black or bright red , along with white, seem to be my "specialties"


Everyone,


Thanks, the write up was almost as fun as the detail!
 
Bill D said:
I used that 30X magnifier on isolated spots more so than complete panels. I monitored particular "problem areas" here and there...


OK, gotcha. I probably use my 30X more for inspecting the edges of cutlery than I do for inspecting stuff on the vehicles; just a bit much for me but it *is* indispensable when you need it.


That write-up makes me want to get going on some of my projects!
 
Bill, that has to be the best write-up I have seen in my 4 years here. Thank-you for taking the time thoroughly explain your product choice and process, along with the reasoning.


The car came out really nice and I wouldn't worry about 'Autopian standards' and not meeting them. I guarantee none of us have daily drivers that are completely without flaws. I know my car will never be perfect.


Awesome job all the way around. :)
 
Back
Top