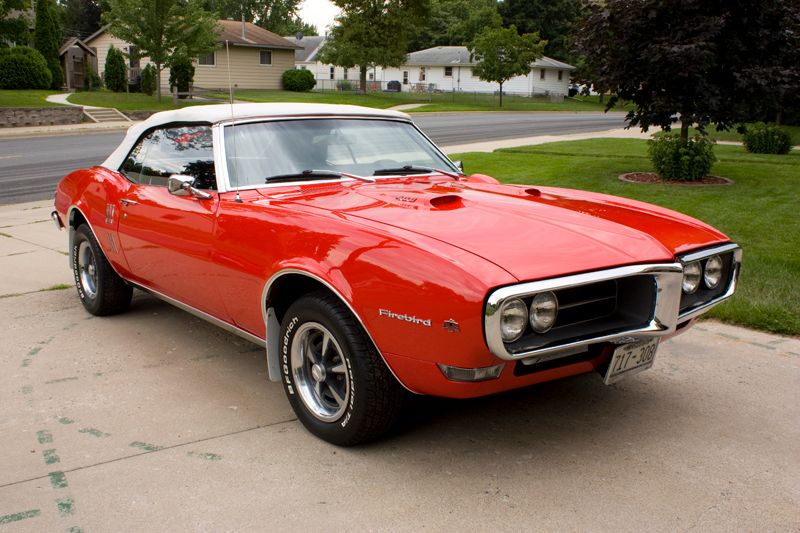
1968 Firebird, Exterior correction and engine touch up.
So about twenty years ago I took a job at a local high volume detail shop. The supervising manager there at the time, unbeknownst to me, would end up being one of my greatest influences on both my work ethic, and my eye for detail. Today that same individual is now of my best friends and for him to entrust one of his most prized possessions with me really says a lot. This 1968 Firebird was purchased when he was 15 years old and he worked his tail off to save up the money to restore it into the condition you see here. It has been over twenty years now since it underwent that restoration and IMO is still in excellent shape. He is a very busy and hard working individual and 99% of the time he just has one of his employees wash the car since he doesn?t have the time. Now we all know high volume shops don?t all use the 2BM, so I wasn?t at all surprised to see a fair amount of swirling/marring in the paint. Either way, it has been a few years since it was last polished and he wanted me to give her a little love.
")
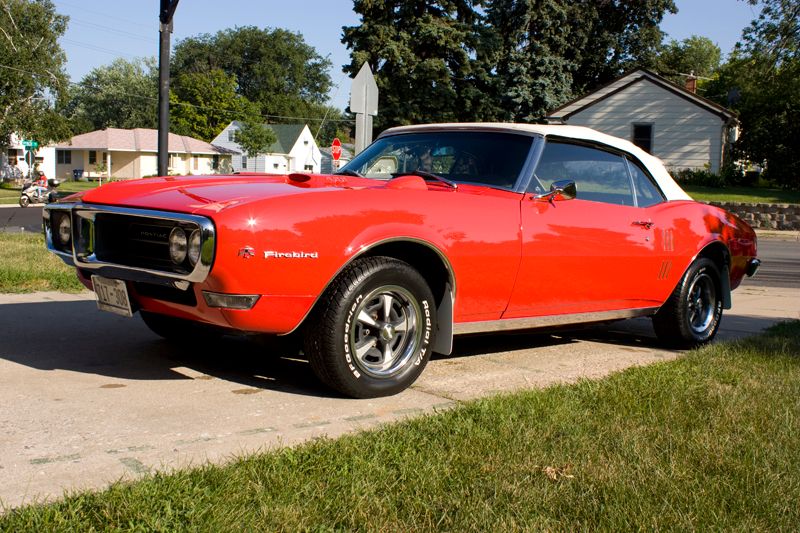
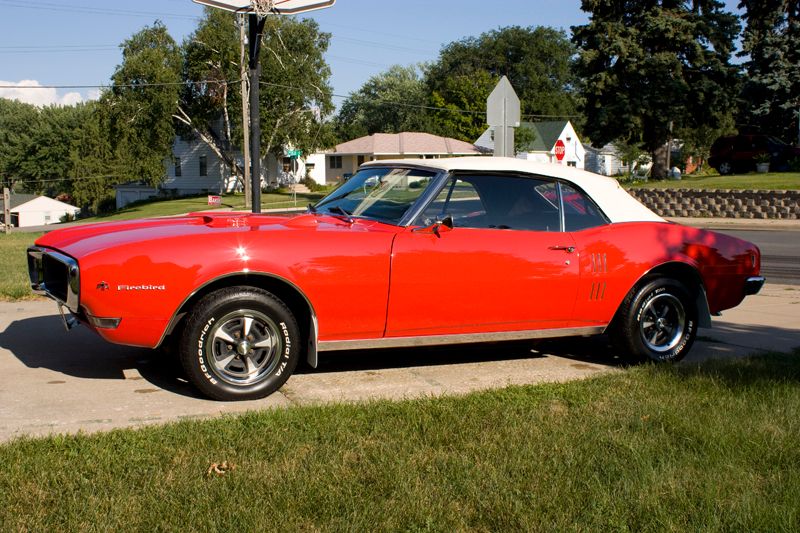
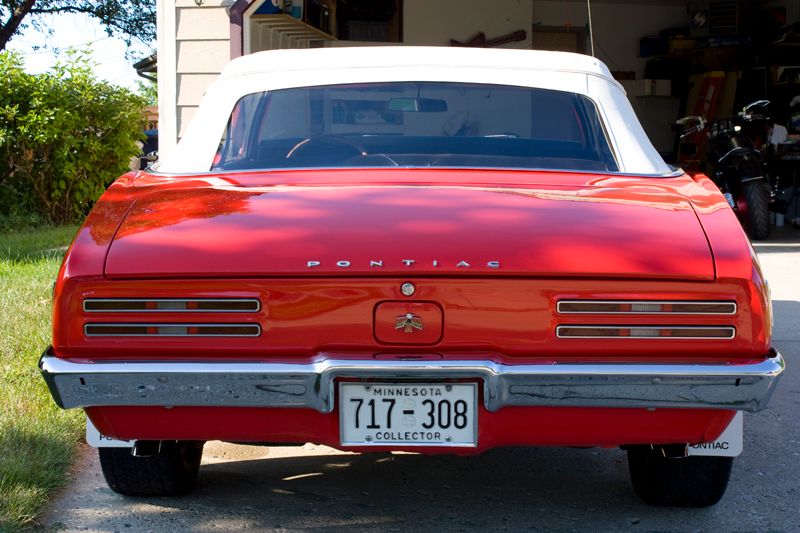
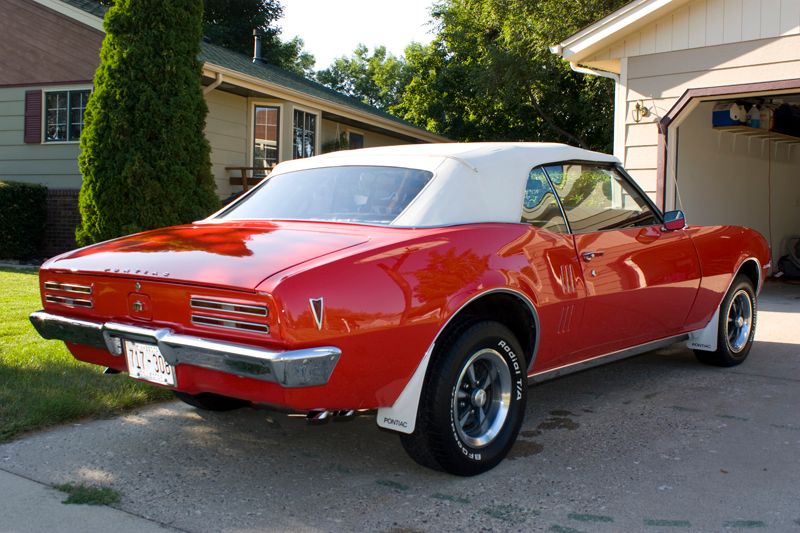
Car as it arrived
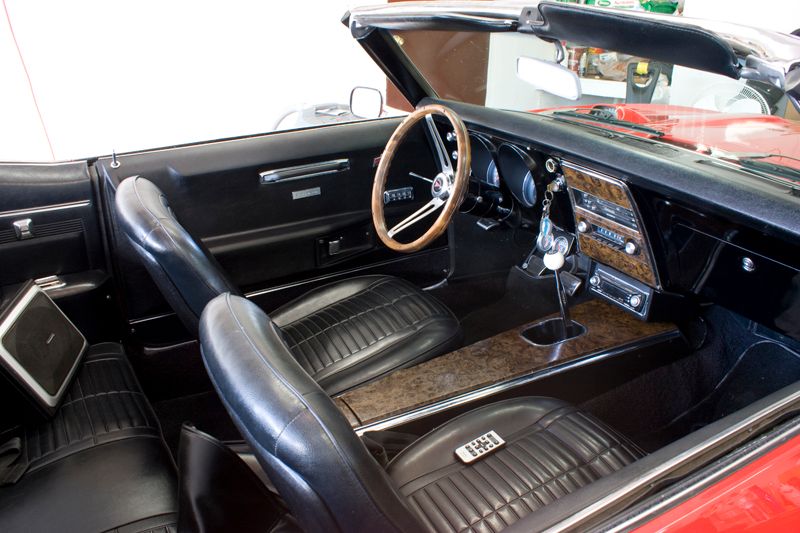
Quick shot of the interior, though all I did was vacuum it out.
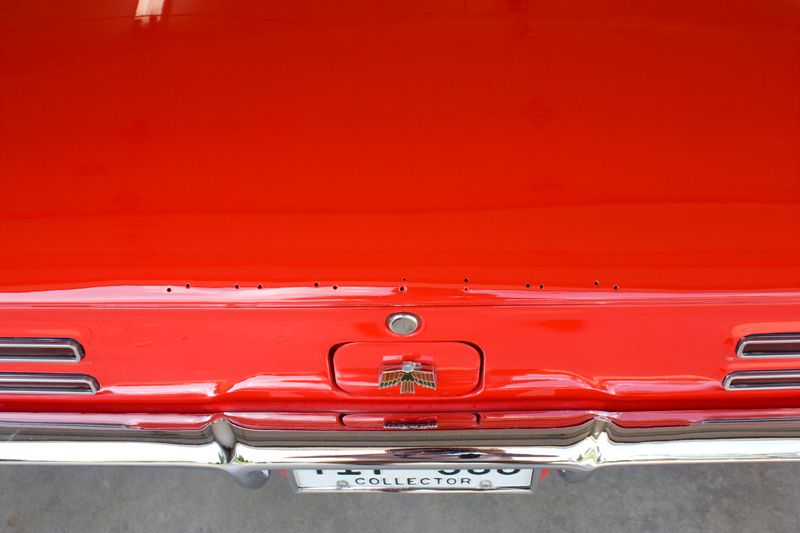
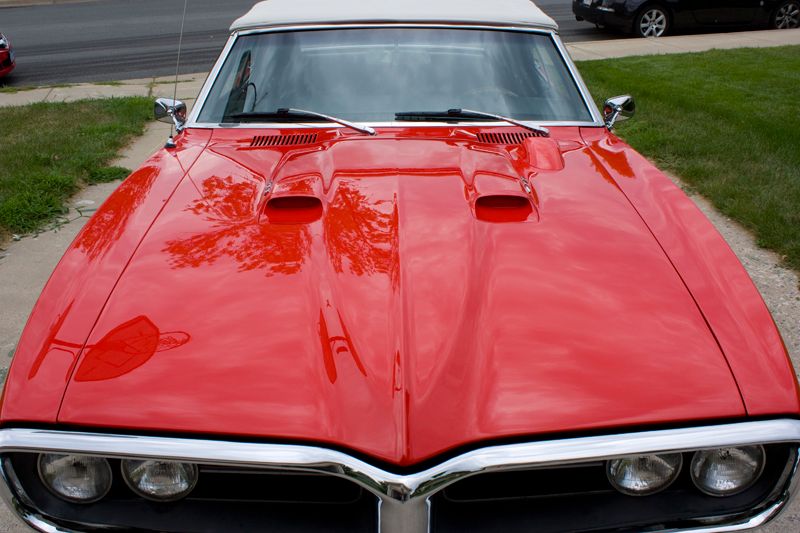
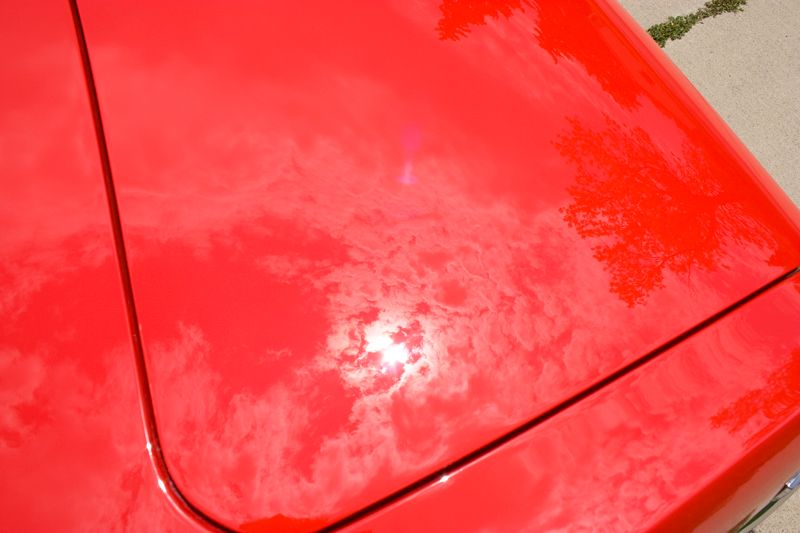
Marring in the paint
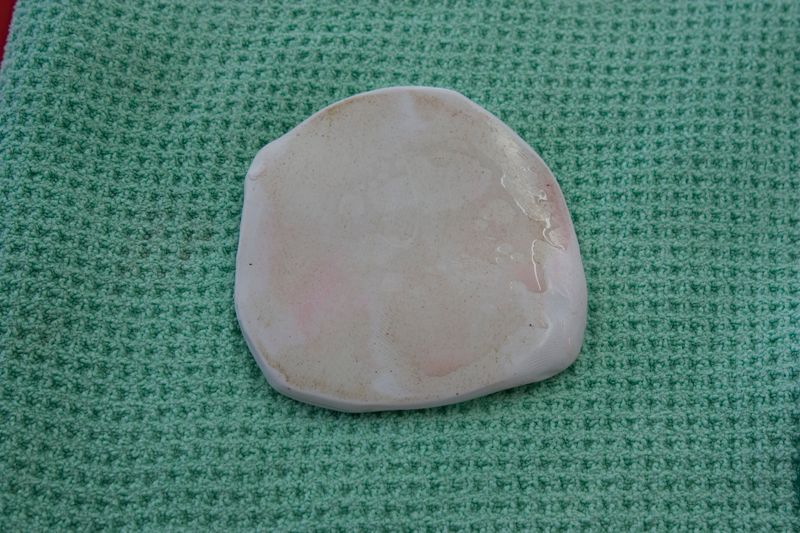
Claying of the hood showed a fair amount of bonded surface contaminants
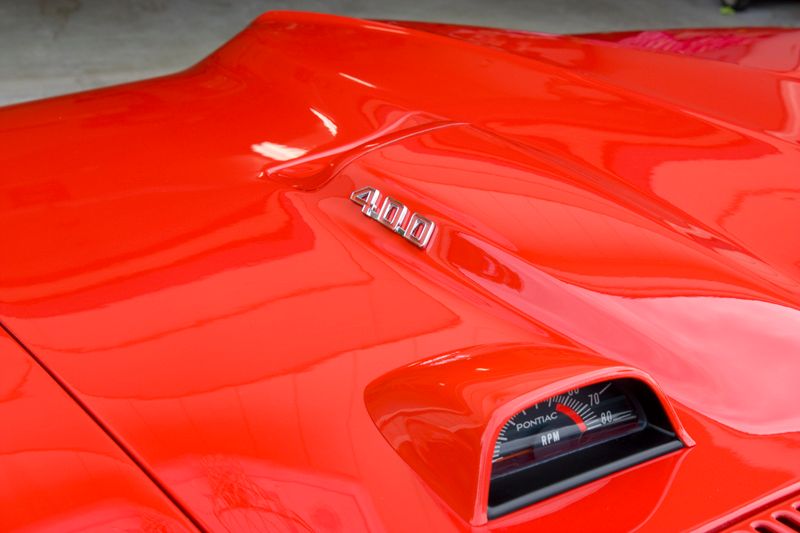
I decided to remove some of the emblems for easier buffing and I also removed the tach and hood scoop inserts. The tach had recently been replaced and the painter never wet sanded it. The scoop inserts had never been sanded from day one and I wanted to make them better match the rest of the car.
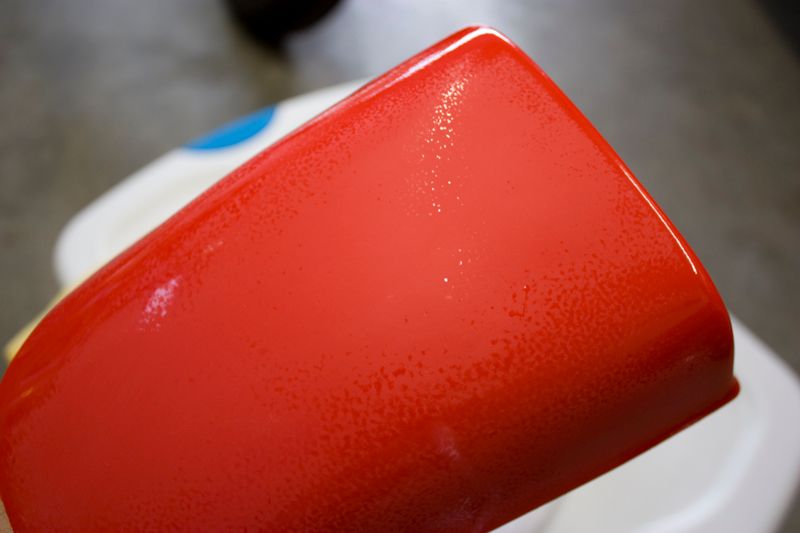
As you can see the orange peel on these pieces was horrible
Sanding and polishing was done by hand with 1000 and 2000 grit papers.
Here you can see I have a way to go as we want to knock down all the high points.
This is how it should look once it?s all leveled?(sorry pic is a little out of focus)
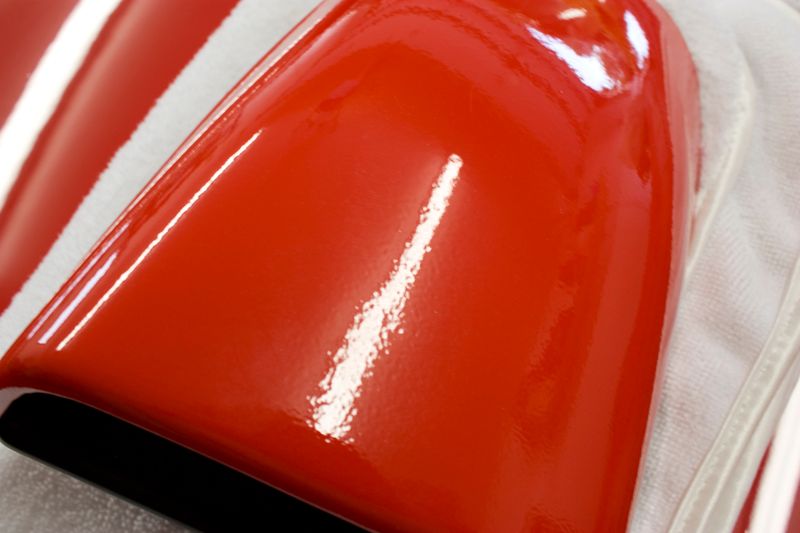
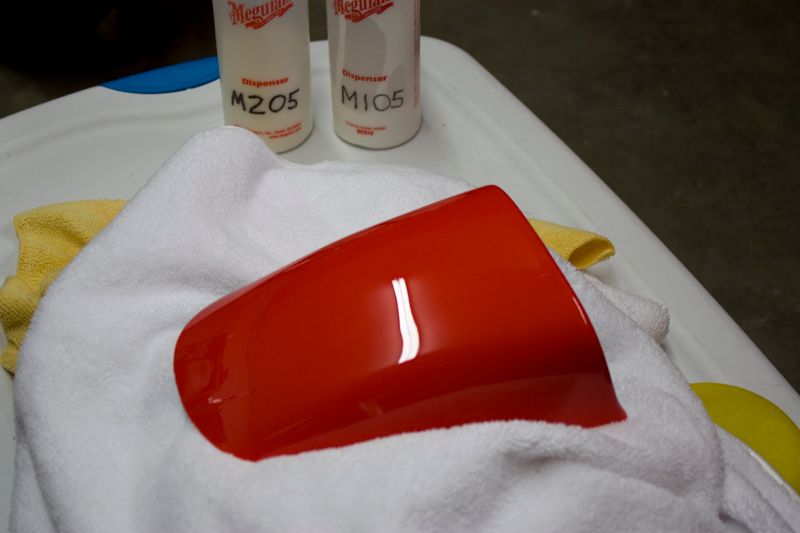
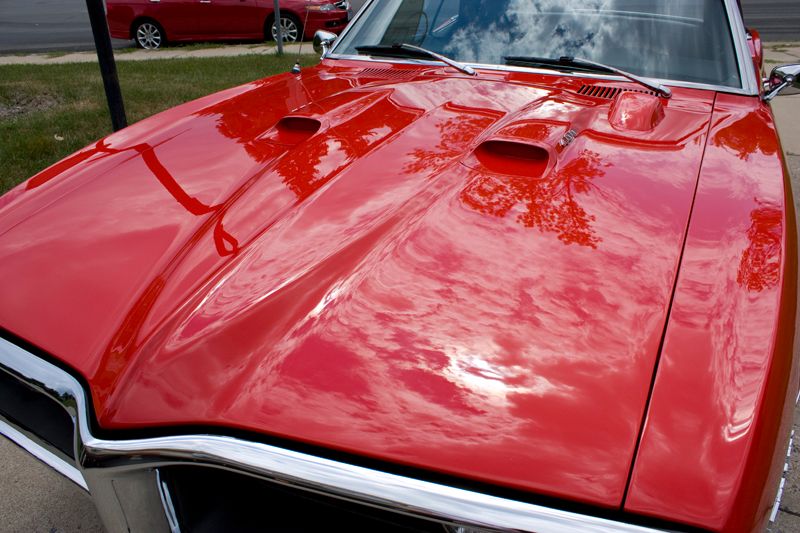
All buffed out using M105 and M205
")
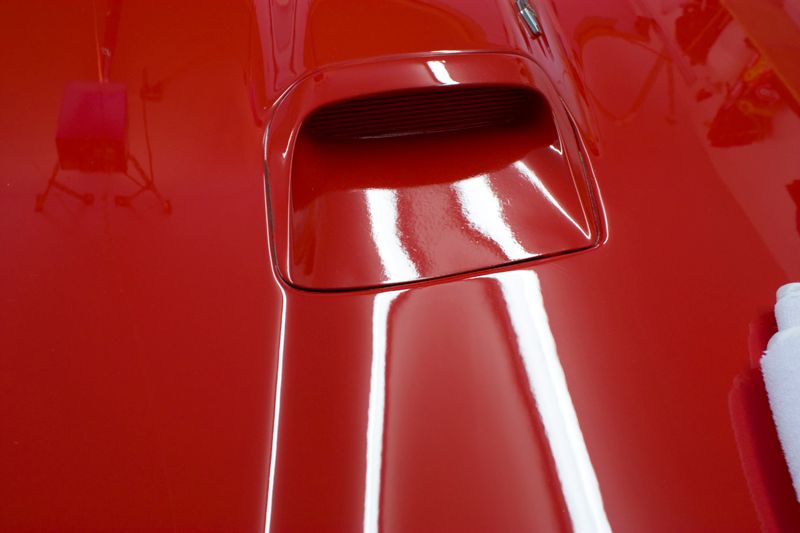
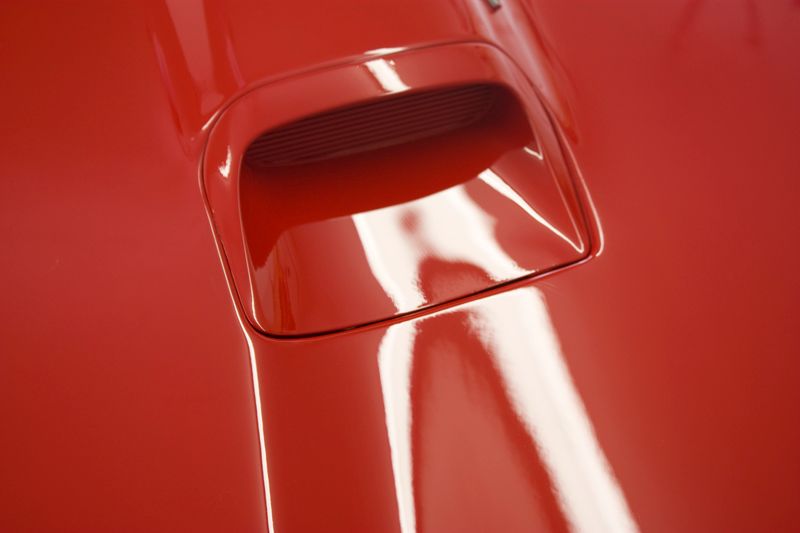
The hood scoops were a little harder to buff so I didn?t get to crazy with them. You should still see an improvement though.
Engine before was not too bad, just a little dusty.
The process for paint correction was as follows:
- Meguiar?s M105 via PCXP with LC Cyan Hydro pads (Speed 6)
- Meguiar?s M205 via PCXP with LC Tangerine Hydro pads (Speed 6)
- Menzerna PO85RD via rotary with LC Crimson Hydro pads (900-1500-900rpms)