Richard@BlackWOW
New member
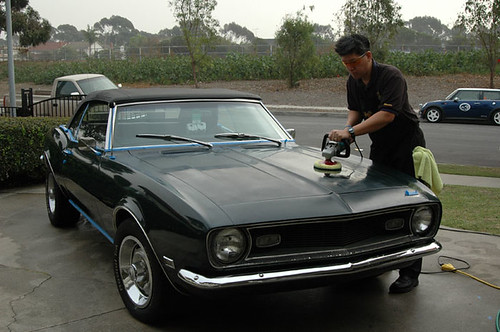
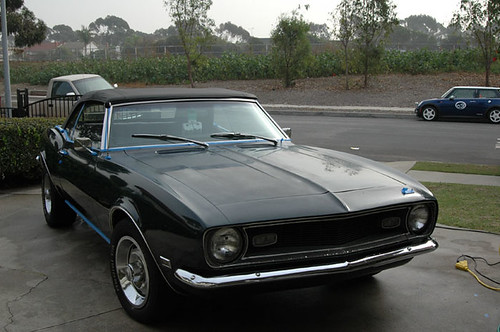
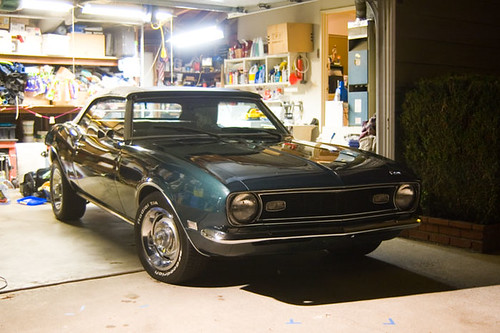
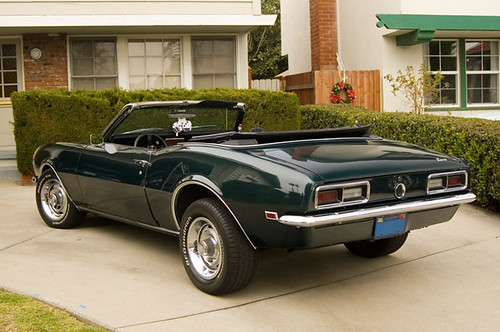
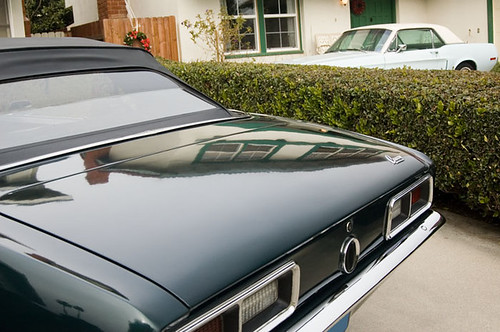
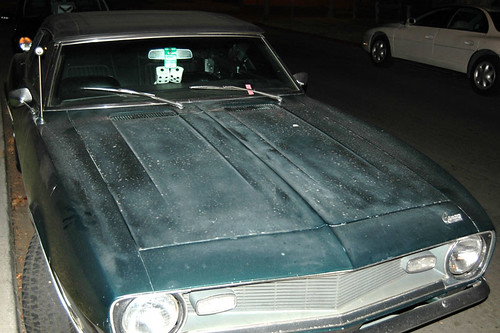
Since it seems my my last detail, the 1965 Red Mustang was so popular, I thought I'd bring over my 1968 Camaro that I restored previous to this Mustang.
We scheduled a full day for buffing. I estimated around 11 hours of work needed. In hindsight a second day really could have been utilized.
Day #2
Start Time: 8:30AM
Finish Time: 8:45PM
1 Hour Break for son's Christmas party at daycare
Products: (All Meguiar's)
STEP 1
Wheel Brightener
NXT Car Wash
Endurance High Gloss
STEP 2
Quik Clay System
STEP 3
Makita Rotary Buffer 9227c with Meguiar's backing plate and foam pads
M80 Speed Glaze
G-100 PC
6" Yellow Foam Pad
6" Burgundy Foam Pad
6" Tan Foam Pad
Microfiber Bonnets
Supreme Shine Microfiber
High Tech Applicator Pad
ScratchX
STEP 4
M21
STEP 5
Tire & Trim Dressing Gel
M39 Heavy Duty Vinyl Cleaner
Vinyl & Rubber Cleaner/Conditioner
NXT Glass Cleaner
NXT All Metal Polysh
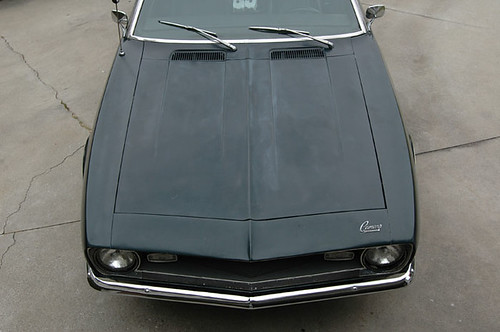
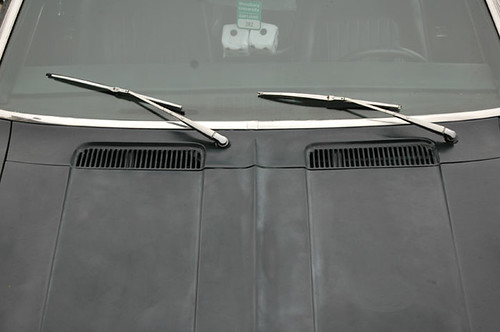
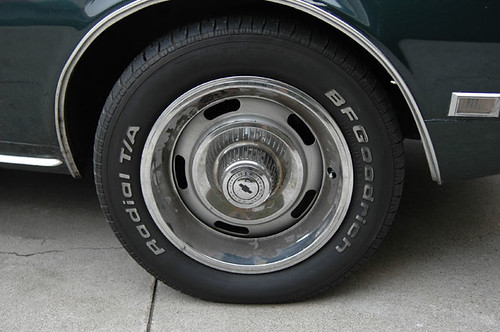
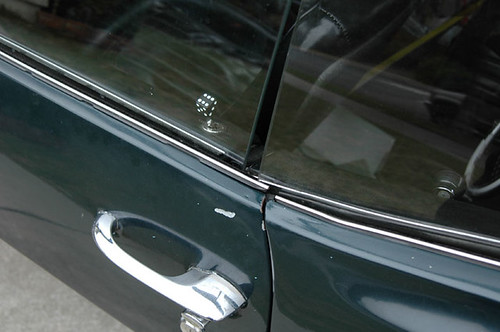
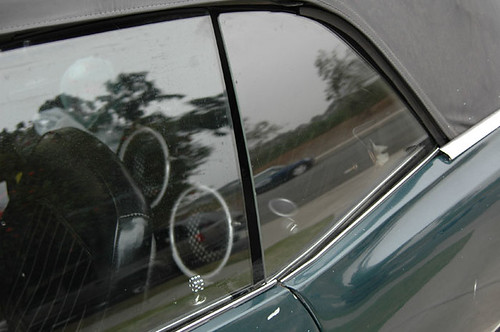
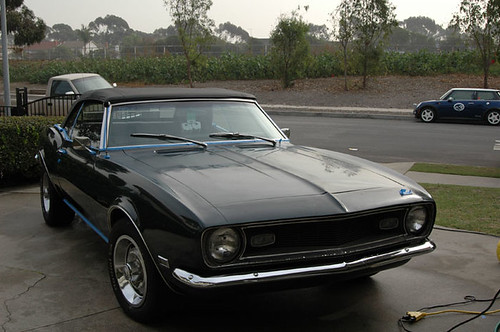
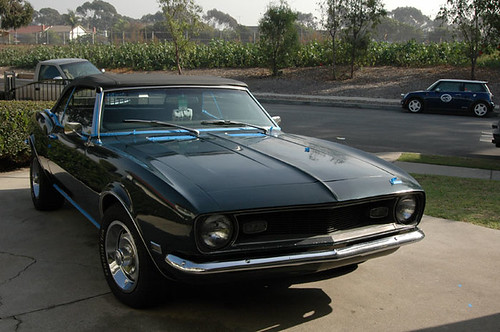
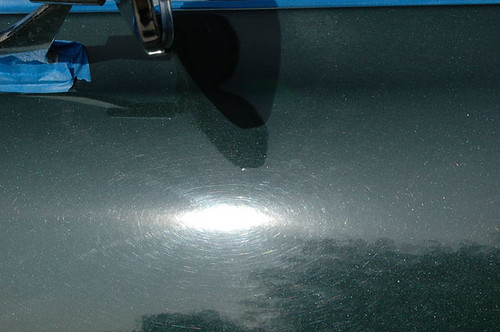
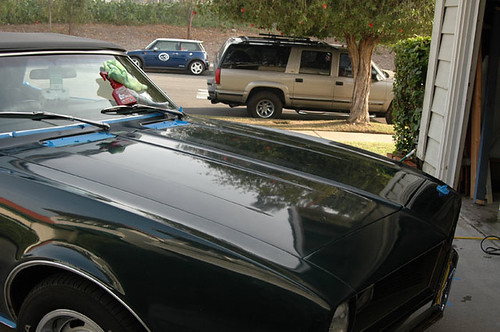
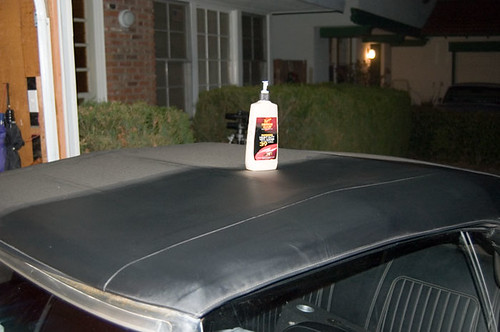
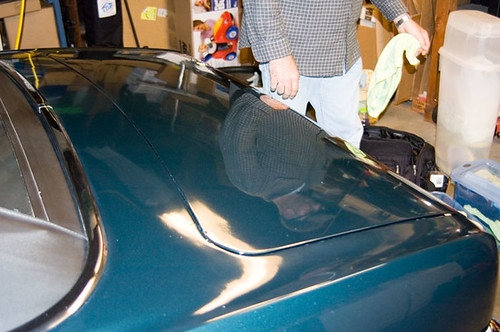
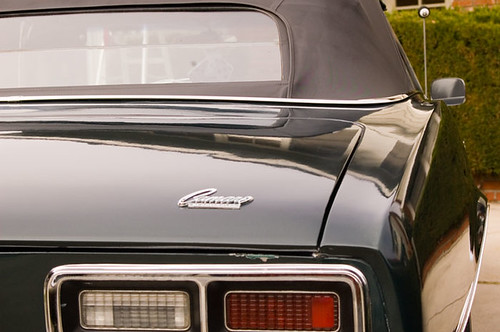
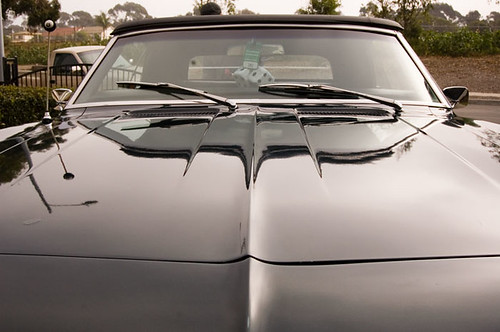
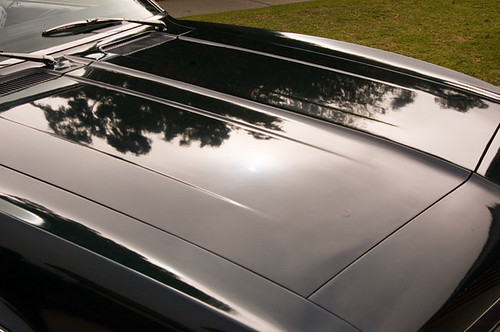
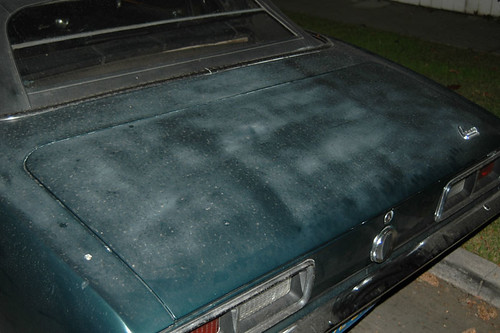
It's a great looking car. My initial inspection showed a lot of potential issues. Sharp body lines and high points meant rotary work had to be taken with extreme care. Deterioriating rubber seals and a door that doesn't close fully meant that consideration had to be made to prevent water from entering these cracks. Chrome was oxidized, so that would need to be treated. Wheels were delicate--painted areas were flaking. All top surfaces were hazed and cloudy. Side panels were in better condition, but swirled. Vinyl top would need cleaning and treating as well. Interior needed vacuuming. So I made a mental checklist and prioritized them putting painted surfaces as highest, chrome second, interior as last. However, sitting in a clean environment--clean glass, clean carpet, and clean seats really improves the overall experience, so I made notes to do that as a minimum.

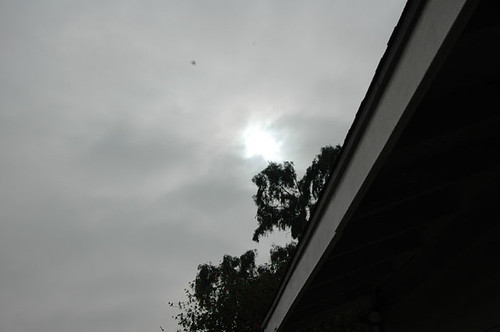
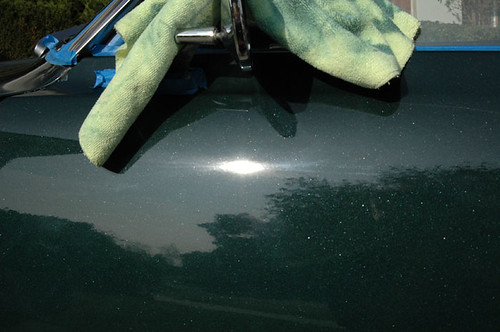
The day was just about perfect for working. Cloudy and overcast.
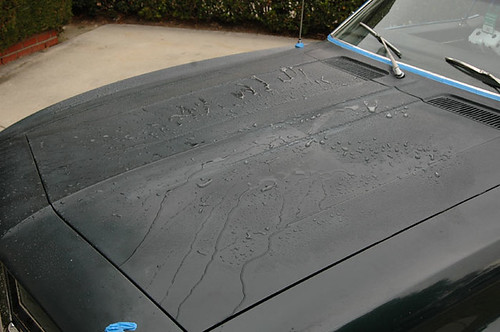
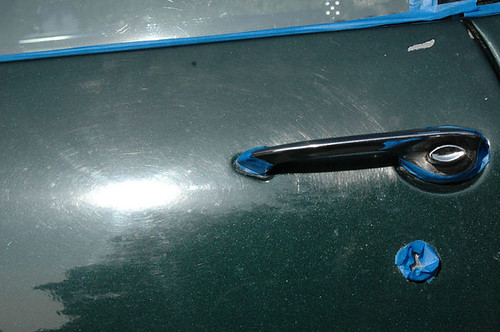
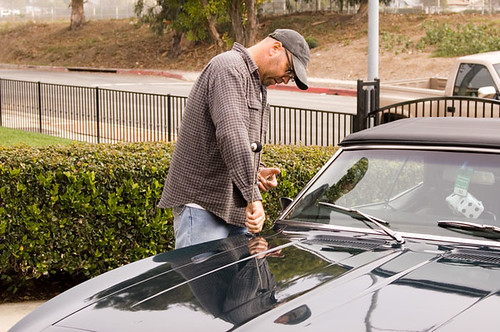
I gently watered down the finish with my pressure washer on low. If you'll note, I normally would tape off a car AFTER it's been washed, but in this case, there were lots of areas I didn't want water to be, so I used the tape to seal them off. In hindsight, a cloth bed sheet may have been a better solution. The tape worked well, but lost it's tackiness, not to mention held some water.
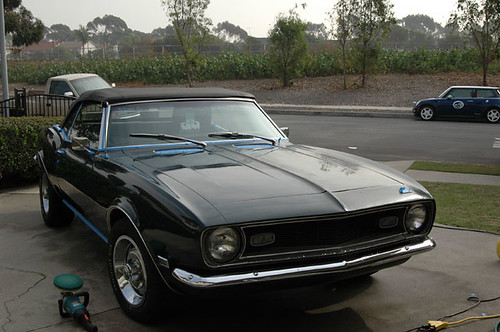
I sprayed on the NXT Car Wash on low
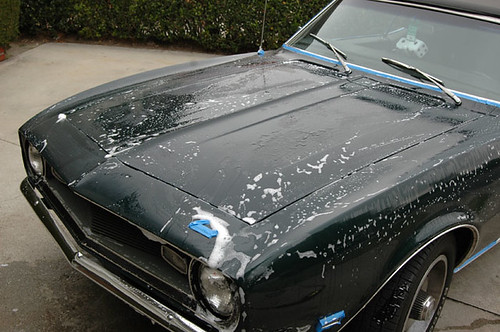
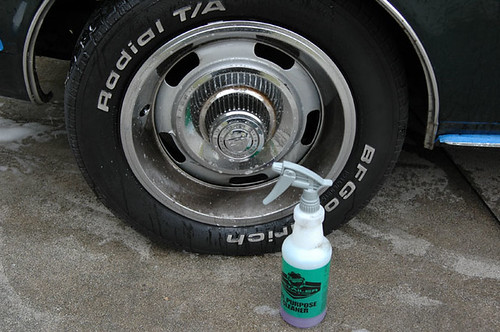
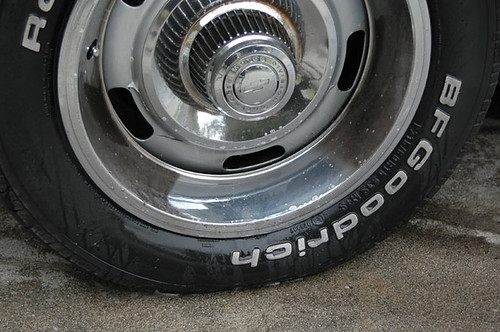
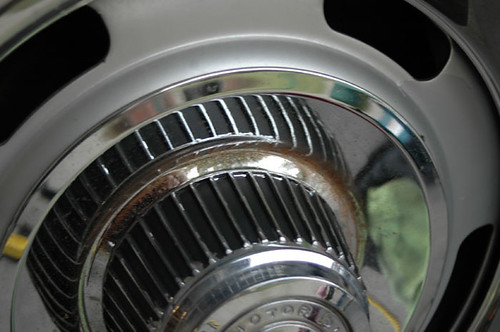
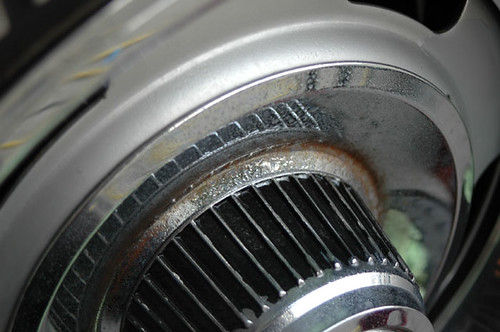
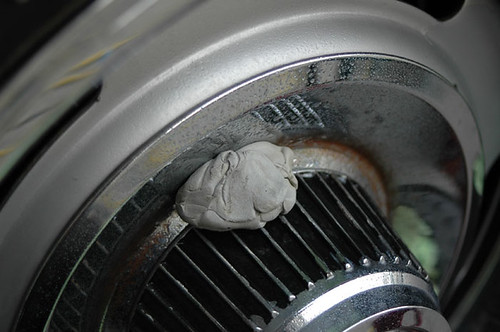
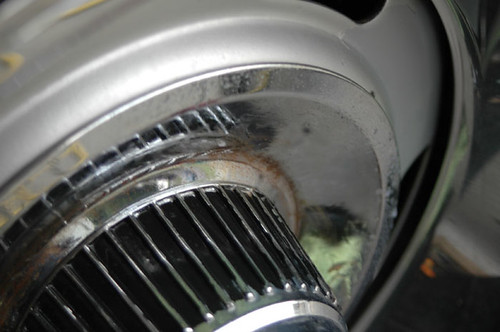
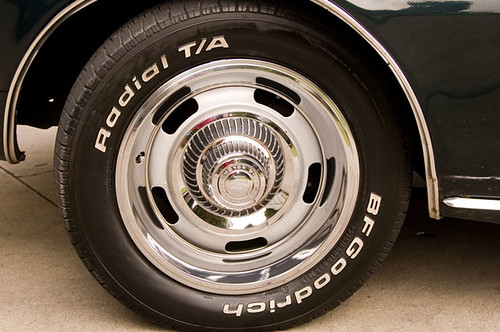
The front wheels were dirty, so some Wheel Brightener from the Detail Line solved that pretty easily. Ignore the sprayer bottle (APC), it's the correct product in the wrong sprayer bottle.
We scheduled a full day for buffing. I estimated around 11 hours of work needed. In hindsight a second day really could have been utilized.
Day #2
Start Time: 8:30AM
Finish Time: 8:45PM
1 Hour Break for son's Christmas party at daycare
Products: (All Meguiar's)
STEP 1
Wheel Brightener
NXT Car Wash
Endurance High Gloss
STEP 2
Quik Clay System
STEP 3
Makita Rotary Buffer 9227c with Meguiar's backing plate and foam pads
M80 Speed Glaze
G-100 PC
6" Yellow Foam Pad
6" Burgundy Foam Pad
6" Tan Foam Pad
Microfiber Bonnets
Supreme Shine Microfiber
High Tech Applicator Pad
ScratchX
STEP 4
M21
STEP 5
Tire & Trim Dressing Gel
M39 Heavy Duty Vinyl Cleaner
Vinyl & Rubber Cleaner/Conditioner
NXT Glass Cleaner
NXT All Metal Polysh
It's a great looking car. My initial inspection showed a lot of potential issues. Sharp body lines and high points meant rotary work had to be taken with extreme care. Deterioriating rubber seals and a door that doesn't close fully meant that consideration had to be made to prevent water from entering these cracks. Chrome was oxidized, so that would need to be treated. Wheels were delicate--painted areas were flaking. All top surfaces were hazed and cloudy. Side panels were in better condition, but swirled. Vinyl top would need cleaning and treating as well. Interior needed vacuuming. So I made a mental checklist and prioritized them putting painted surfaces as highest, chrome second, interior as last. However, sitting in a clean environment--clean glass, clean carpet, and clean seats really improves the overall experience, so I made notes to do that as a minimum.
The day was just about perfect for working. Cloudy and overcast.
I gently watered down the finish with my pressure washer on low. If you'll note, I normally would tape off a car AFTER it's been washed, but in this case, there were lots of areas I didn't want water to be, so I used the tape to seal them off. In hindsight, a cloth bed sheet may have been a better solution. The tape worked well, but lost it's tackiness, not to mention held some water.
I sprayed on the NXT Car Wash on low
The front wheels were dirty, so some Wheel Brightener from the Detail Line solved that pretty easily. Ignore the sprayer bottle (APC), it's the correct product in the wrong sprayer bottle.

")
 That’s unbelievable!