

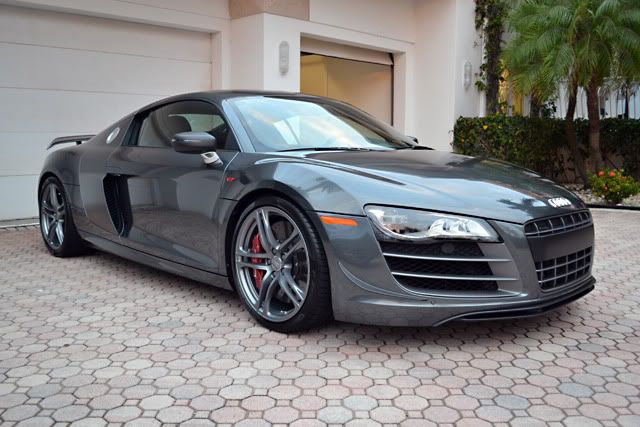
The Audi R8 GT is Germany`s full out blitzkrieg on Italian exotic car dominance. Featuring a tweaked, 570 HP V10, flat (light weight) carbon trim, and race inspired suspension tweaking, this Audi promises to deliver at the track. And in true, German engineering, promises to do all of this while maintaining reliability and driver comfort.
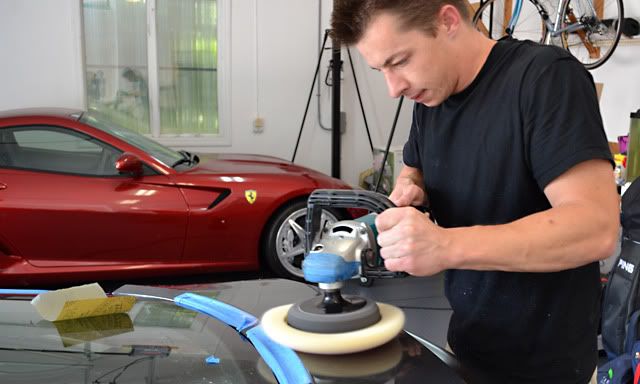
That`s fine and dandy, but my job was to make it shine as well as it performs. With my good friend David F set to move back to Michigan, I loaded up some new BLACKFIRE in inconspicuous bottles, and got to work. This R8 belongs to a client of ours, so we where happy to do this final detail on his Audi together.
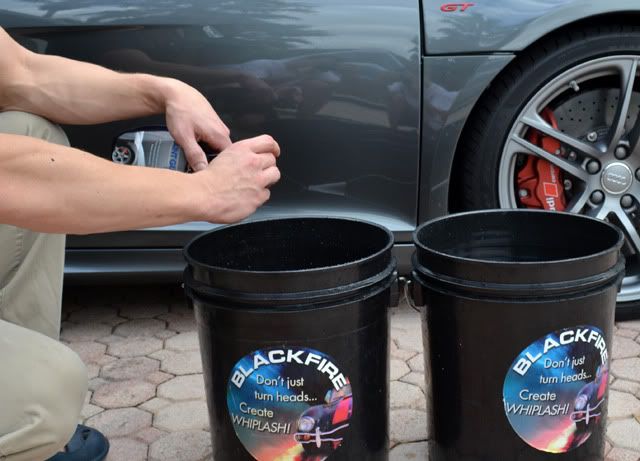
The first step we did was to rinse the Audi of any loose dirt and mix up two buckets to thoroughly wash the exterior.
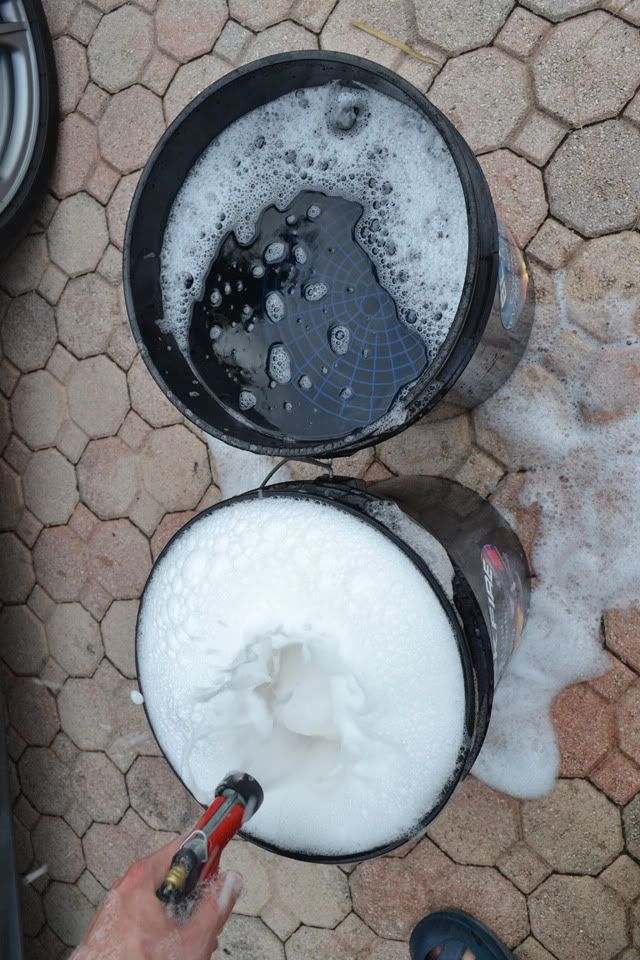
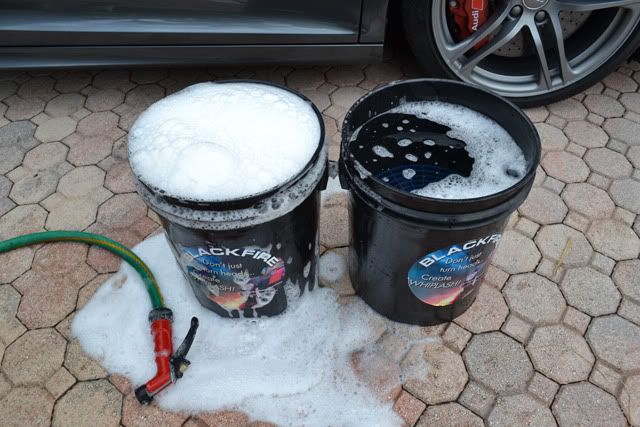
I started by mixing Ultima Paint Guard Wash into the BLACKFIRE wash bucket. We used two buckets, using a method popularly referred to as the "two bucket method" to ensure we didn`t scratch or mark the paint while removing dirt. To further protect the paint each bucket was loaded with a Grit-Guard trap.
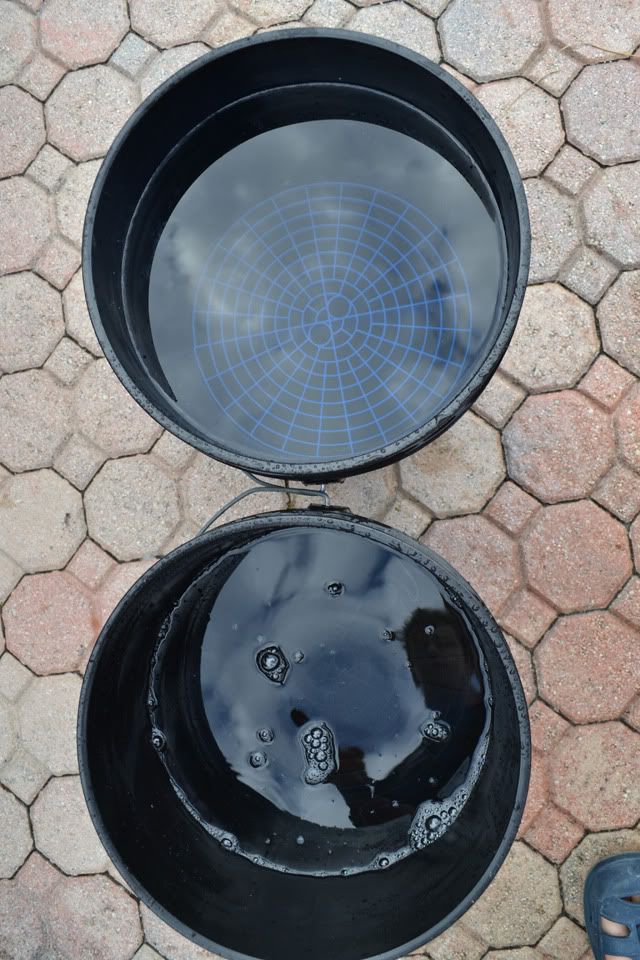
Quick Tip: It is best to fill the bucket mostly full of water first before adding the soap. If you add the soap too early you are left with a bucket of suds, and while they are pretty (and serve some purpose) it is the soap slick soap solution that is most valuable.
Soap added....
A short blast of water is all that is needed to mix the Ultima Paint Guard Wash and activate a mountain of suds.
We all have a favorite method of doing things. In general I will start washing a car with the wheels first, then move onto the smaller detail items (such and body seams, door jambs, etc) then finally the body, using a separate soap solution for each. Given that it was heavily overcast this particular morning and David and I have done so many automobiles together we have a great work flow we decided to change it up slightly.
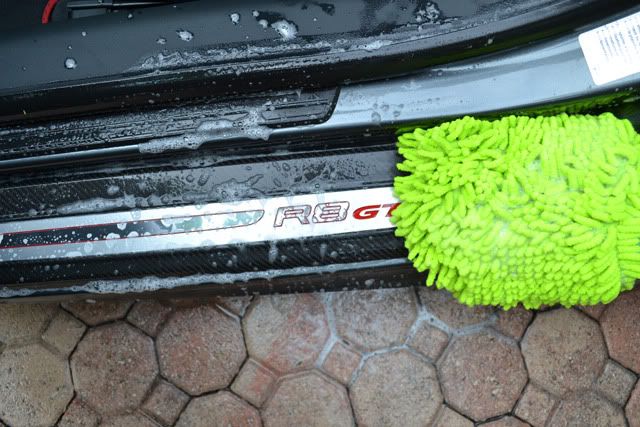
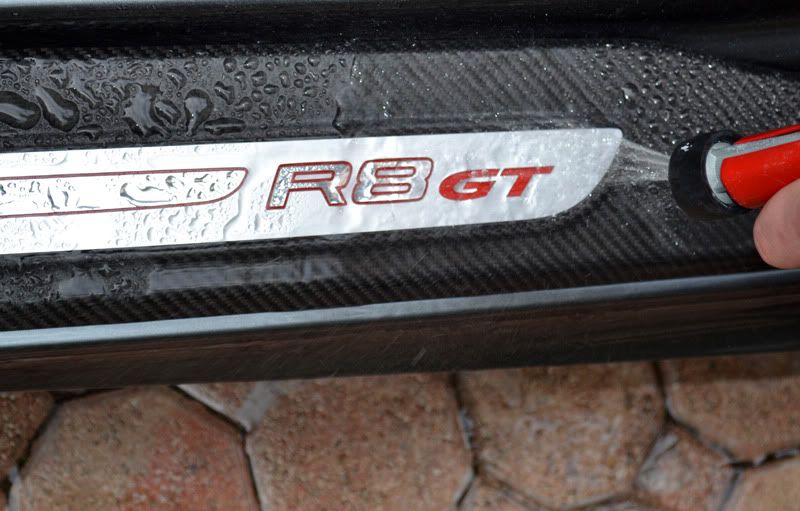
We started with the body, focusing first on the detail areas, such as the door shuts. Here David washes the shuts using Cobra Microfiber Chenille Wash Mitt.
I prefer to wash and rinse door shuts just like the exterior, although if the door shut is heavily soiled (sharp particulate like sand and heavy grime) or the automobile is older I will use other methods. Use a controlled mist to rinse away the soap solution with out getting spray into the interior.
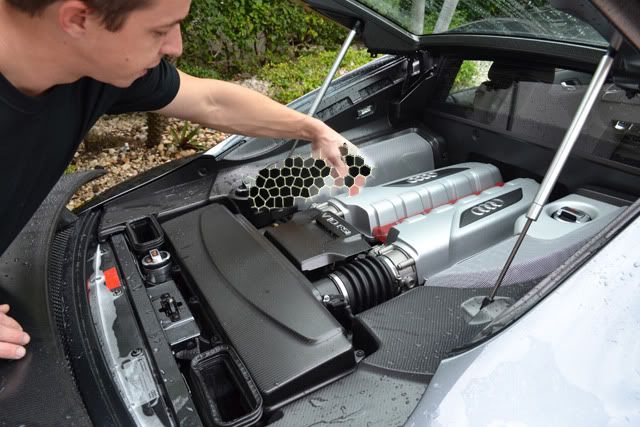
With the door shuts and front trunk bonnet clean, we turned our attention to the beautiful V10 engine compartment. It was lightly soiled with just a touch of engine grime.
I used a new, gentle-yet-powerful, prototype cleaner to release and stubborn grime or grease.
The engine compartment on the Audi R8 GT V10 is really a thing of beauty. To avoid marking the surfaces of the aluminum, flat carbon, or anodized trim I used a Montana Original Boar`s Hair Wheel Brush to lightly agitate the cleaning solution. The more mature boar`s hair fibers offer improved cleaning power, but this thing is soft. (I washed my car with it on a bet and it didn`t inflict one swirl mark!).
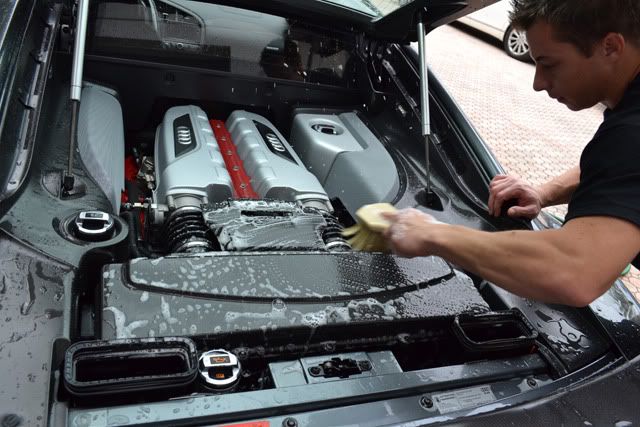
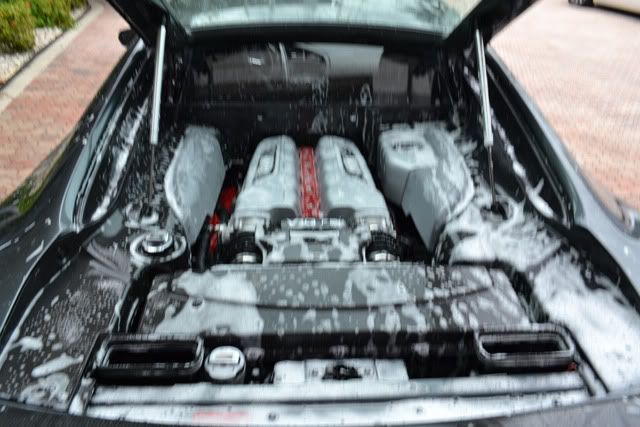
David and I washed the engine carefully, including under the engine lid. Leave it to me to take a blurry photograph to ruin our hard work. We seriously deserved this picture.
The engine was then rinsed thoroughly and blown dry.
Quick Note: Detailing an engine and using running water to rinse it presents some "enter at your own" risk. Car should be taken to avoid direct spray onto electrical components, ignition and computer systems, and engine air intakes. If you are unfamiliar with what these parts are then you are better off misting and wiping the engine with cleaners until you achieve the desired result. This will take longer, but it is always better to be safe-than-sorry. If you rinse our engine be sure to blow as much standing water out of every possible crevice then run the motor and allow to warm up to operating temperature to burn off any additional moisture.
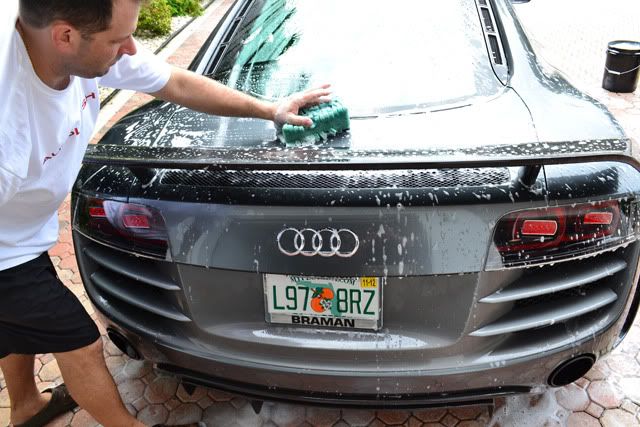
With engine looking good it was time to wash the exterior of the R8. David used a Lake Country Foam Wash Sponge while I followed behind rinsing. Rinsing is the far easier job, and if you have the opportunity to choose, I would recommend this. David was also in desperate need of a shower so I frequently (accidentally) hit him with a stream of water.
Then again with the rich lather of suds provided by Ultima Paint Guard Wash perhaps David was the one having more fun.
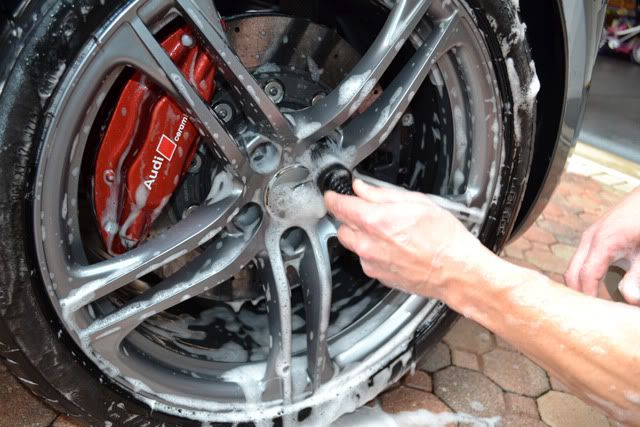
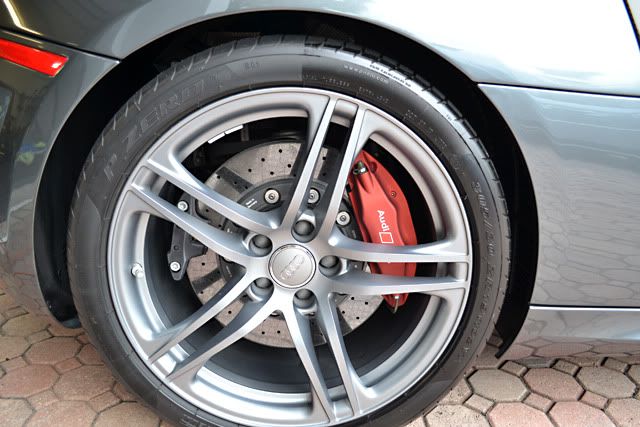
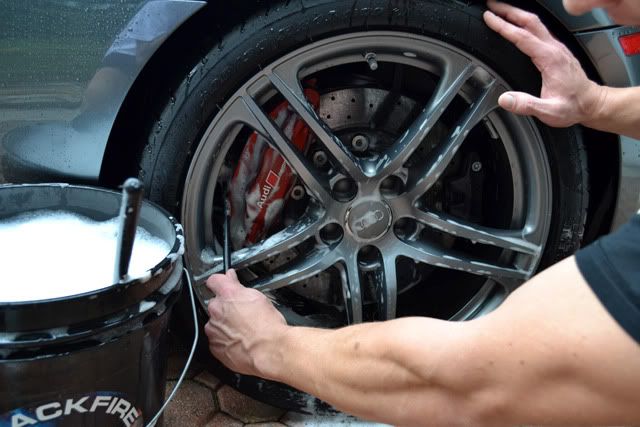
With the paint completely (and thoroughly) washed off any grime we turned our attention to the wheels.
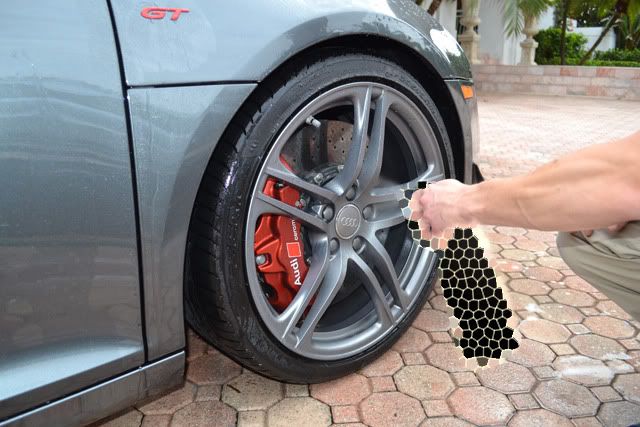
Again I started with the new prototype cleaner, lightly misting it over the wheels, wheel barrels, anodized brake calipers, and wheel wells.
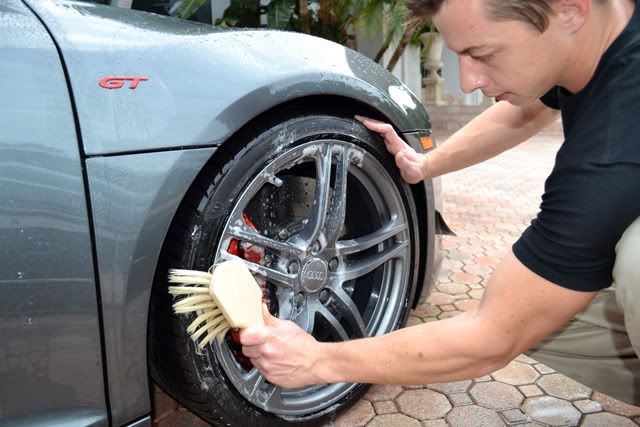
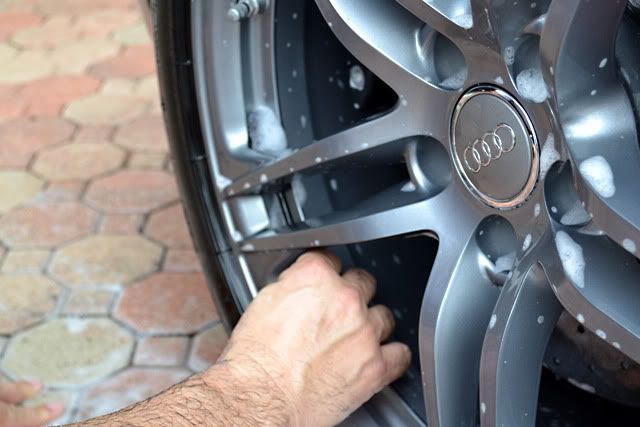
The Montana Boar`s Hair Original Wheel Brush and a little soap did a great job of removing any grime from the GT "flat" wheels.
Wheel Woolies, to me, are an invaluable auto detailing tool. They come in three sizes, and the thick handle allows to you to really apply pressure to clean any surface.
The larger (19 inch long) 3 inch thick Wheel Woolie is perfect for cleaning deep into the barrels of the wheel, while the lamb`s wool mop head holds a huge amount of soap solution and doesn`t not scratch.
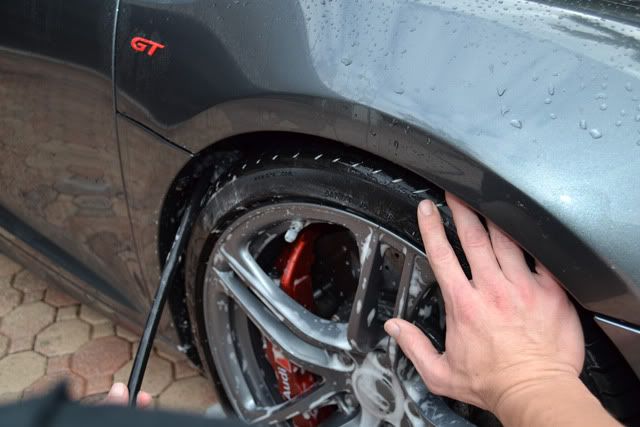
It is also a perfect tool for cleaning wheel arches if their is enough clearance to fit.
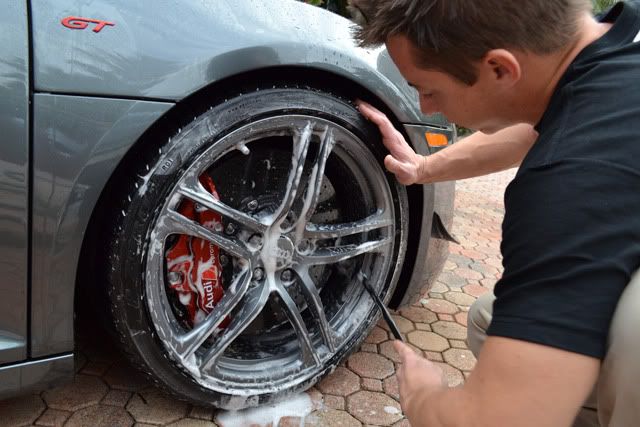
The medium sided Wheel Woolie (12 inch long, 2 inch wide) was perfect for cleaning the barrel between the larger rotor and wheel.
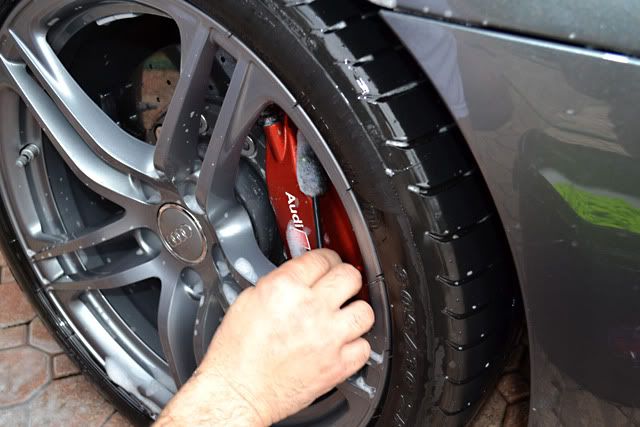
And the small Wheel Woolie (8 inch long, 1 inch wide) made easy work of the detail areas behind the spokes and the caliper.
Lastly a lug brush was used to clean the lug recesses.
Results 1 to 15 of 40
-
12-11-2011, 12:02 PM #1Just a regular guy


- Join Date
- Feb 2009
- Location
- Oviedo/Stuart Florida
- Posts
- 15,278
- Post Thanks / Like

Detailed: Audi R8 GT V10- Testing some new BLACKFIRE (60 pics +)
-
12-11-2011, 01:16 PM #2Just a regular guy
- Join Date
- Feb 2009
- Location
- Oviedo/Stuart Florida
- Posts
- 15,278
- Post Thanks / Like
Re: Detailed: Audi R8 GT V10- Testing some new BLACKFIRE (60 pics +)
Finally we rinsed the wheels and gave the exterior a final (sheeting) rinse.
The second phase of the Autopia 5 Step Paint Care Cycle is to decontaminate the paint.
Even though the Audi had less than 1000 miles on it, it was born in Germany and shipped over sea, transported by rail train, and likely had not been pampered along the way as it`s owner though it deserved. It is not uncommon for factory fresh cars to have contamination on the paint surface, regardless of age or marquee.
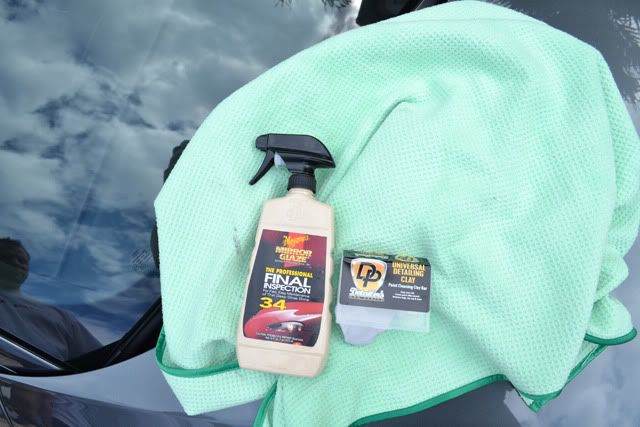
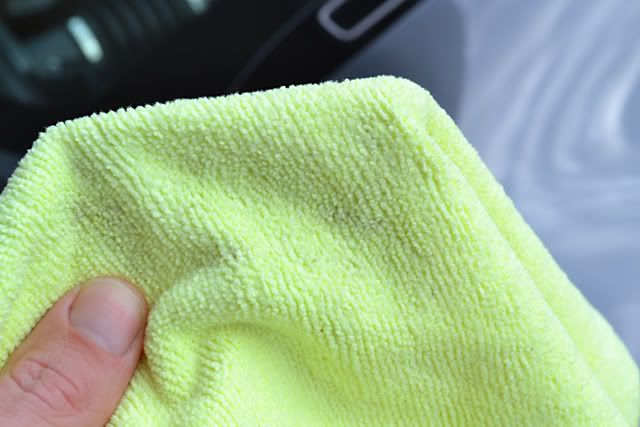
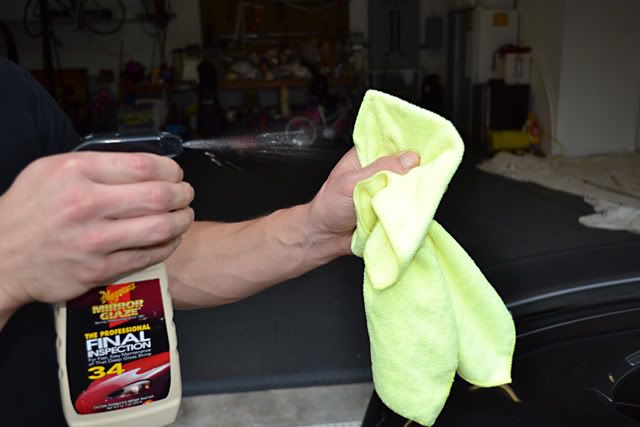
Detailer`s Pro Series Universal Clay was used to deep clean the paint. Meguiar`s M34 Final Inspection was used as a lubricant. An Ultimate Cobra Guzzler was used to carefully dry the Audi completely and remove any lubricant afterward.
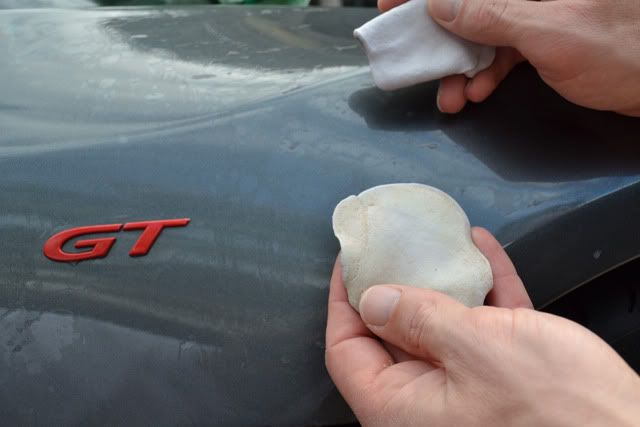
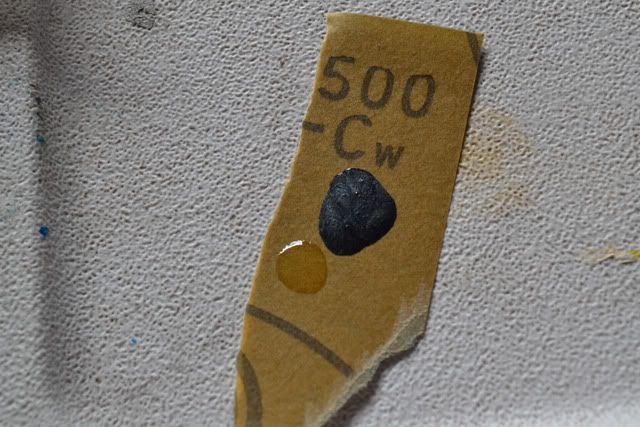
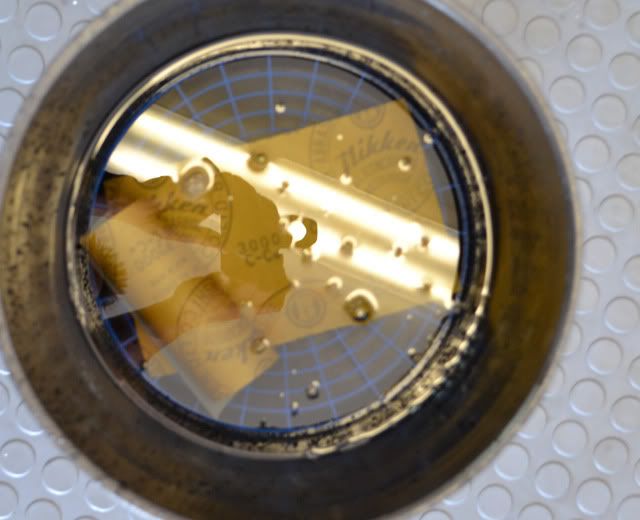
Even though the Audi was very much new, there was still a light covering of brown contamination on the surface. Here is a picture of the clay after being used on 1/2 of the front bonnet. The fresh clay is in the background.
The next step was to prepare the Audi for a light, two-step machine polishing; also known as surface enhancement. This is the third phase in the Autopia 5 Step Paint Care Cycle.
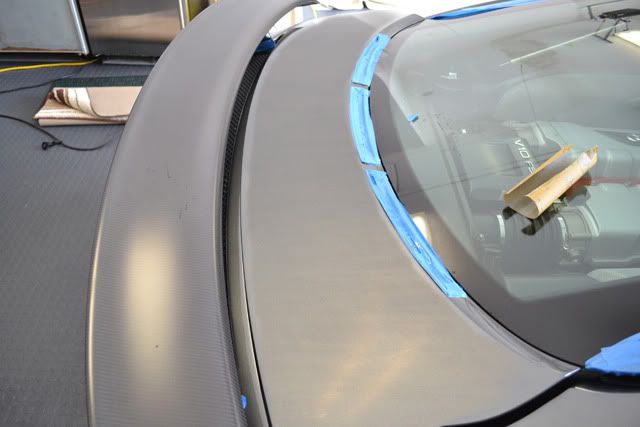
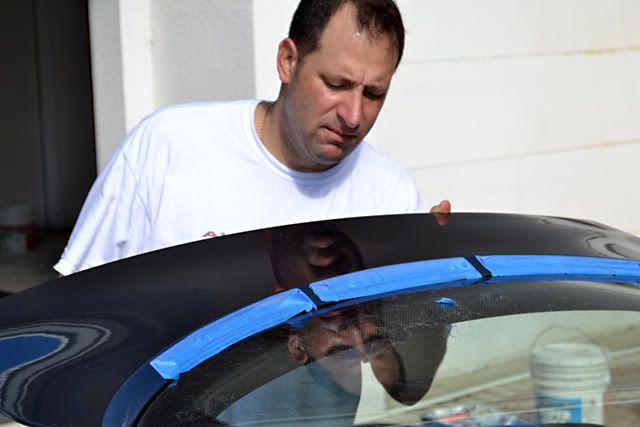
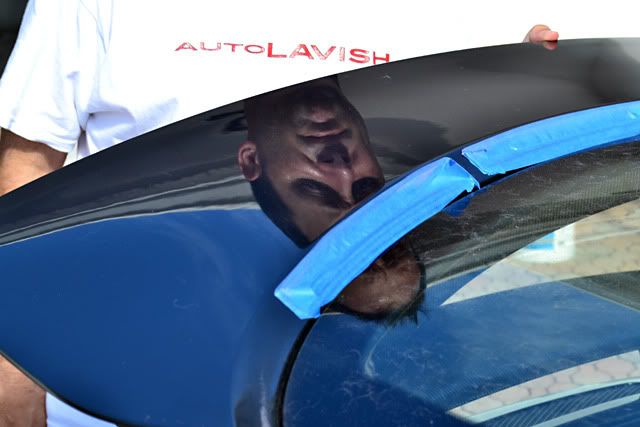
Before enhancing the surface it is wise to protect any areas of the automobile that should not be subjected to polishing. Flat trim, such as the flat carbon fiber on this R8 GT, is particularly sensitive polishing (and certain waxes).
David and I masked off the trim using 3M low tack tape.
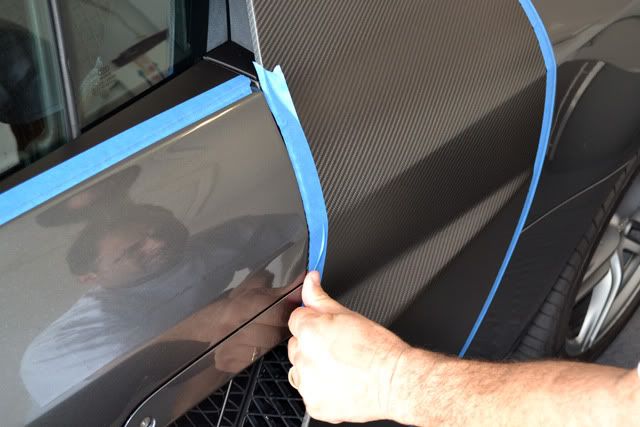
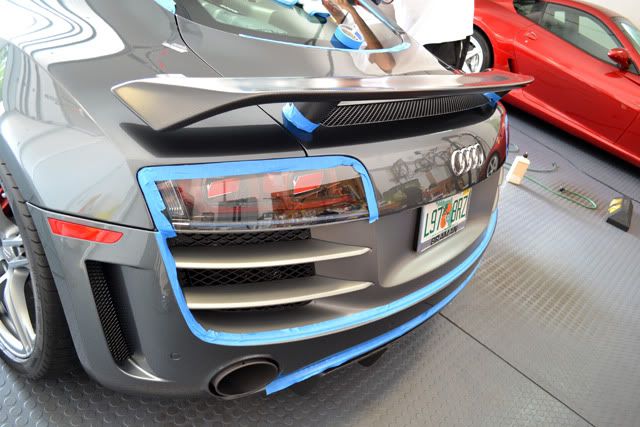
The Audi`s flat carbon side `blades` were of particular concern.
The finish on the Audi R8 was in very good shape, minus some paint texture miss match on the carbon fiber engine lid. While there was some wash-induced swirl mark marring on the hard paint, BLACKFIRE`s polishing twins promised to make quick work of this and increase the shine to beyond factory standard.
BLACKFIRE Scratch Resistant Compound was choosen as the first step due to the Audi`s scratch resistant hard paint and the polishes ease-of-use. We decided to apply the the BLACKFIRE Scratch Resistant Compound with an Optimum Cutting Pad (coming soon!). Here is a picture of the pad next to the Optimum Polishing Pad.
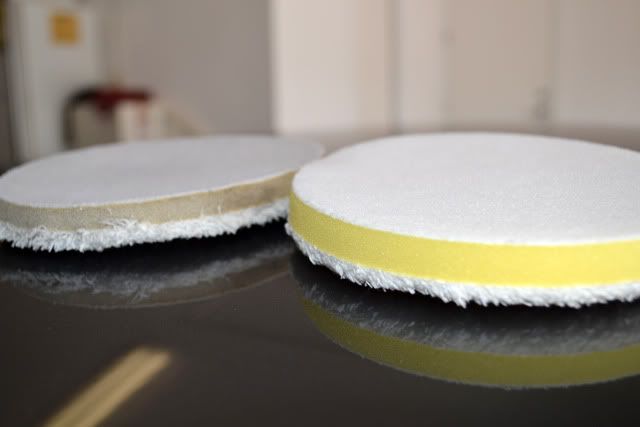
The Optimum Cutting Pad loaded on the Griot`s Garage 6 inch polisher.
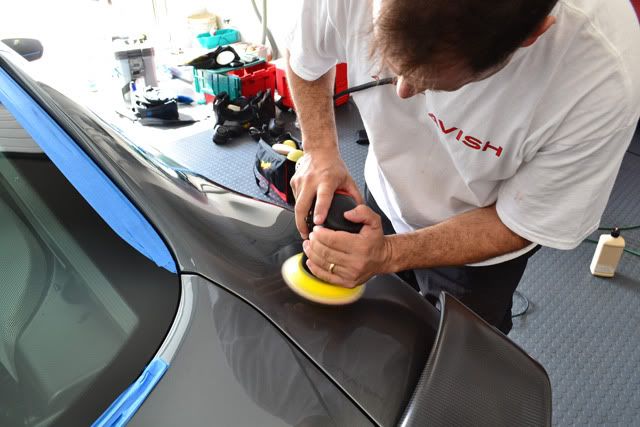
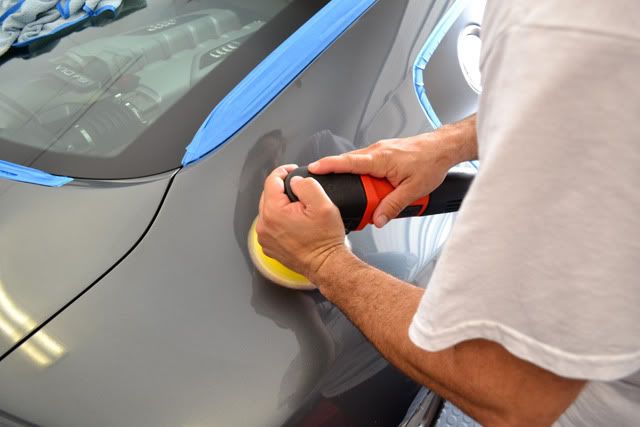
While David worked, polishing away marring and swirl marks, I addressed several areas of concern on the R8.
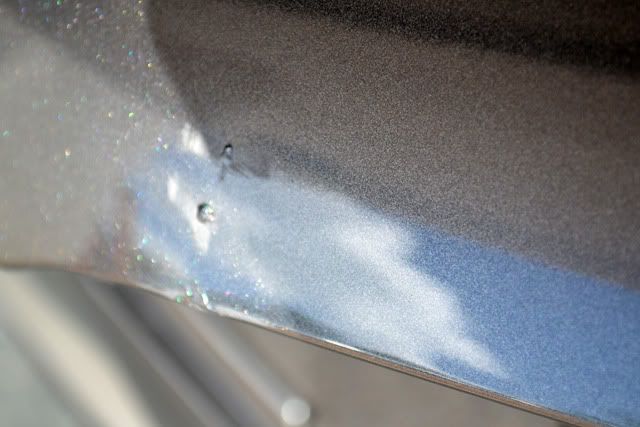
First there was some rock chips on the front bonnet. I started by lightly sanding these with areas (knocking down any high spots from the paint, which blisters slightly on the rim of the chip) with Meguiar`s 1500 Unigrit sanding paper.

Then I mixed up the owner supplied touch up paint, 4 parts paint to 1 part hardener...
And applied several light coats of paint until the it bubbled slightly above the surrounding area. Touch-up paint will shrink as it cures so it is important to allow adequate time for the paint to cure between coats and prior to sanding. After applying the last coat give a minimum of 4-6 hours before sanding and polishing the chips in order to blend them.
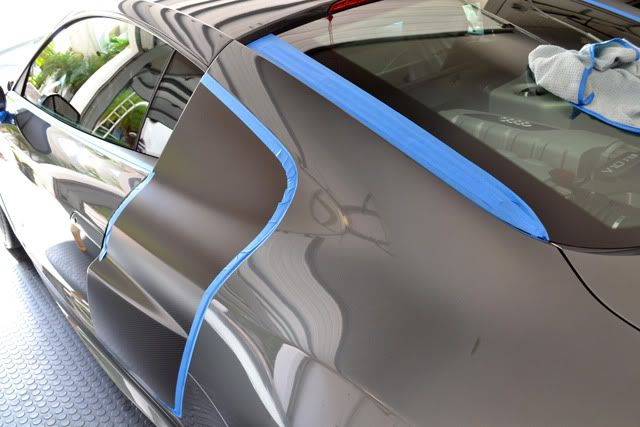
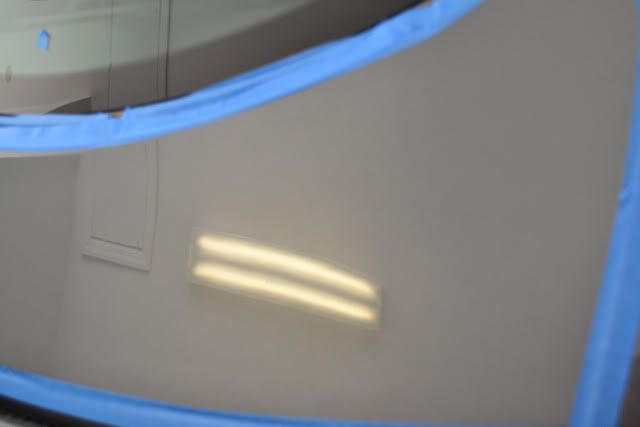
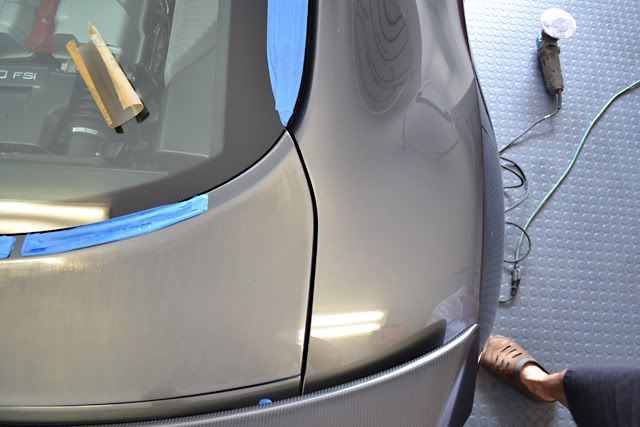
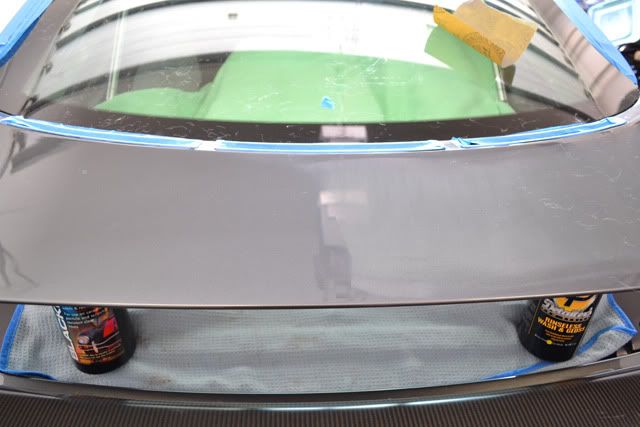
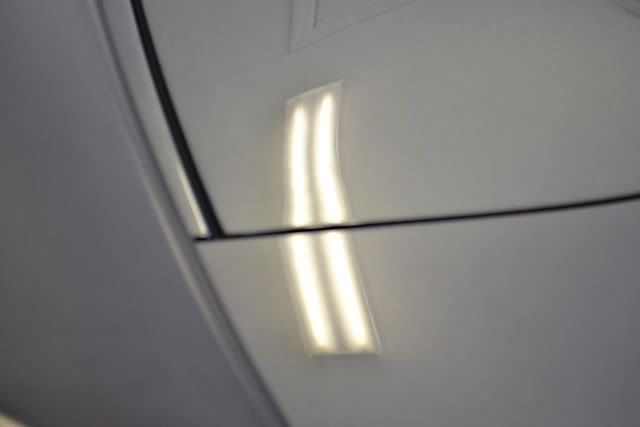
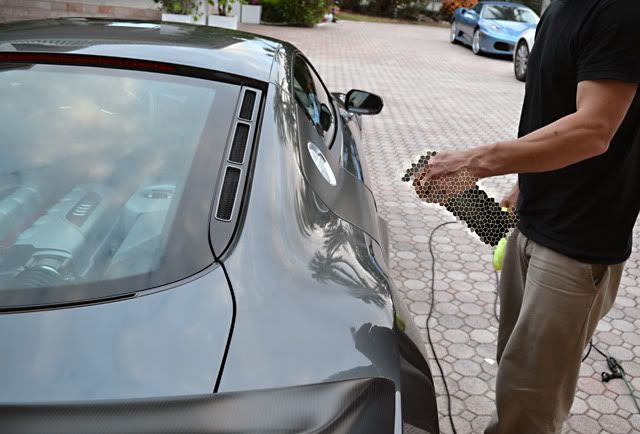
The second area of concern was the engine lid. It is made of carbon fiber and the texture of the paint showed a lot of shrinkage and some very fine DA sanding marks (also known as pig tails). This caused the the reflections to appear slightly blurred, particularly when compared to the adjacent quarter-panels.
Here is a picture of UV lights reflecting on the paint`s surface. Note the focus of the picture(the tape and seems are sharp, the camera is focusing on the paint`s surface).
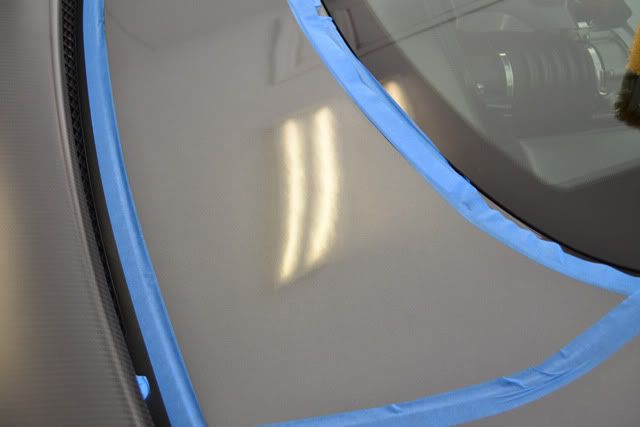
Even when focusing on the reflection the (note the attic cover reflecting off the paint is sharp but the tape and body lines are blurred) the light reflection still looks dull).
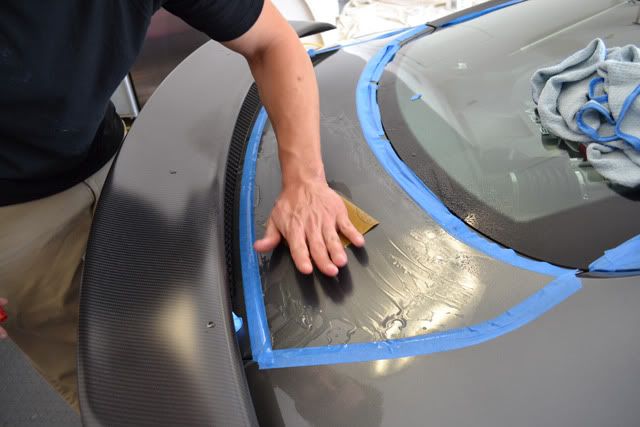
Blending the texture requires using fine grits of sand paper to level the surface and make it flatter.
I started by allowing a sheet of Meguiar`s 2000 Ungrit and a sheet of Meguiar`s 3000 Unigrit papers to soak for 15 minutes in a bucket of water. A small amount of Dodo Juice Super Natural Shampoo was added to soften the water and aid in lubricity.
In general it is recommended to use a sanding block to when leveling paint. However, particularly on small areas that have a concave curve, a sanding block may cause the edges of the paper to press into the paint unevenly. This can cause spots of high-pressure that create deep (hard-to-polish) scratches known as tracer marks.
Instead I opted to use an old body-shop technique and used the palm of my hand to sand. I started with 2000 grit to level the texture, wiping the surface clean and checking my work often.
Quick Tip: When sanding a small panel it is often wise to run a piece of tape along each side, close to the edge when doing the heavy cutting grit. This prevents sanding the edge too much. Edges do not have as much paint thickness and are more prone to burn-through when polishing.
I sanded in a cross hatch pattern, moving the 2000 grit left and right, and finishing with 3000 grit up and down. After completing the 2000 grit, I removed the guide tape and carefully sanding close to the edge with the finer 3000 grit.
The dull/sanded paint of the engine lid next to the shiny metallic quarter-panel.
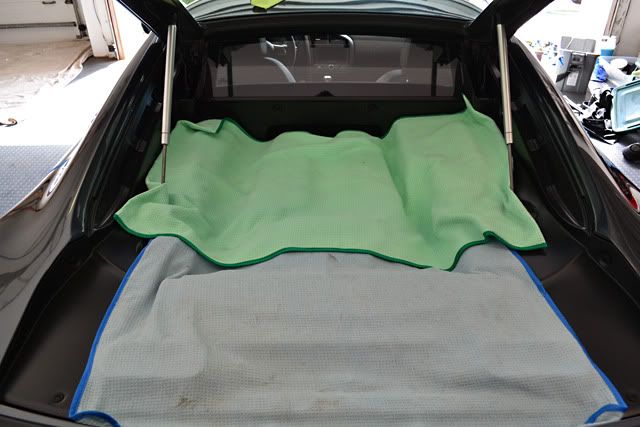
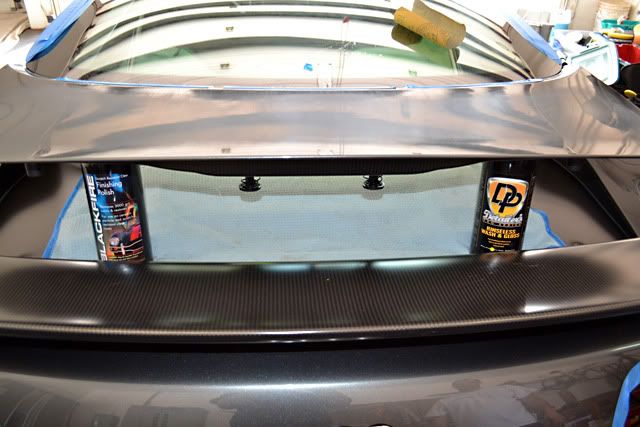
In order to be able to polish away the sanding scratches all the way to the edge of the engine cover (using a process called compounding or cutting) it is often easier to prop the engine lid. First we covered the clean (spotless) engine with microfiber towels to prevent any dust or wool fiber from ruining our work.
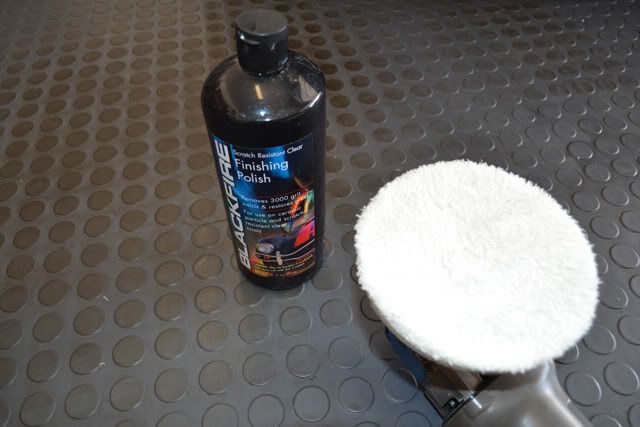
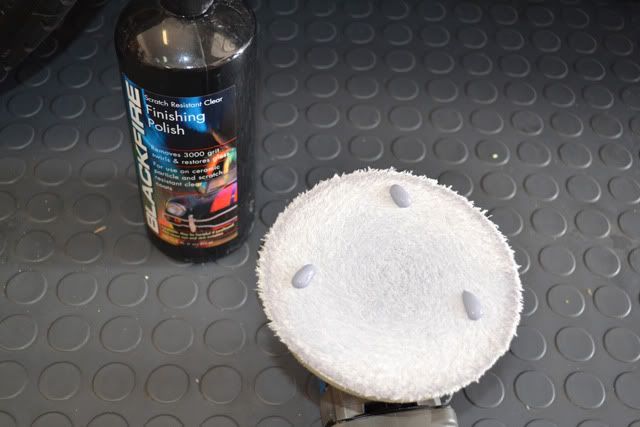
Then we used a bottle of BLACKFIRE Scratch Resistant Finishing Polish and Detailer`s Pro Series Rinsless Wash and Gloss to pro the engine lid slightly.
Cutting the paint after sanding can require fairly aggressive polishing. I elected to use a Makita rotary polisher in combination with a Meguiar`s So1o Light Cutting Wool pad. Meguiar`s D300 DA Compound provided enough cut restore the shine and completely eliminate and sanding marks from the paint.
Quick Note: Meguiar`s recommends using D300 DA Compound with their microfiber pad system and it excels in this usage. It was chosen in this case because of its low dusting formula which helped prevent dust from entering the engine compartment.
50/50 shot of the engine lid cut (gloss restored).
-
12-11-2011, 10:22 PM #3Just a regular guy
- Join Date
- Feb 2009
- Location
- Oviedo/Stuart Florida
- Posts
- 15,278
- Post Thanks / Like
Re: Detailed: Audi R8 GT V10- Testing some new BLACKFIRE (60 pics +)
Much to its credit, the combination of the Meguiar`s D300 DA Compound and So1o Light Cutting Wool pad did an admirable job restoring the gloss of the paint and eliminating the sanding scratches, although several spots required a second pass. David followed behind me with the Griot`s Garage Polisher armed with the Optimum Cutting Pad and Blackfire SRC Compound to eliminate and `buffer swirl` from the cutting step.
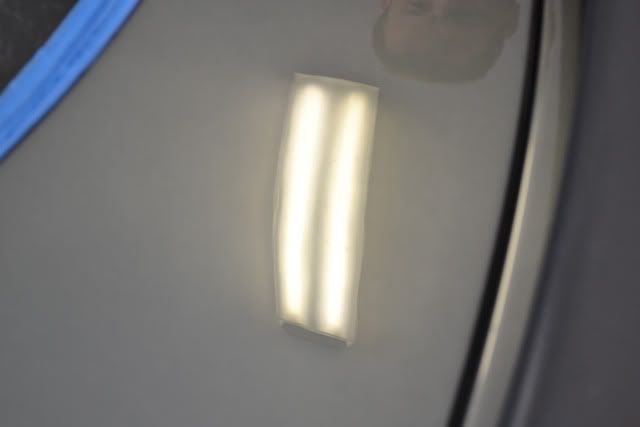
The after pictures of the engine lid:
The reflection of the light (when focused on the light) is much sharper than before.
More importantly, it now is even the adjacent panels. The goal wasn`t to make it perfect, but rather to make it even with the rest of the Audi R8. To make it perfectly imperfect if you will.
Camera focused on the surface of the paint (to show the texture match).
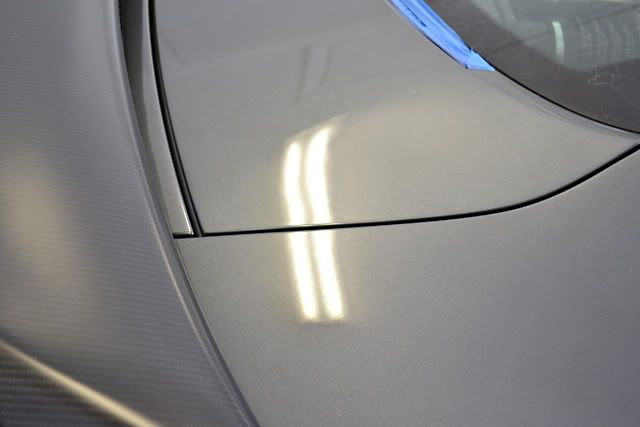
Camera focused on the reflection (to the show the equal clarity).
When doing heavy correction it is best to check your work in the sunlight. Winter equals short days, so David propped the engine lid to inspect the work. 100% sanding scratch removal and gloss restoration.
David`s reflection mean-mugging the paint would get a thumbs-down icon, if such one existed. The reflection (not the subject) looked great though.
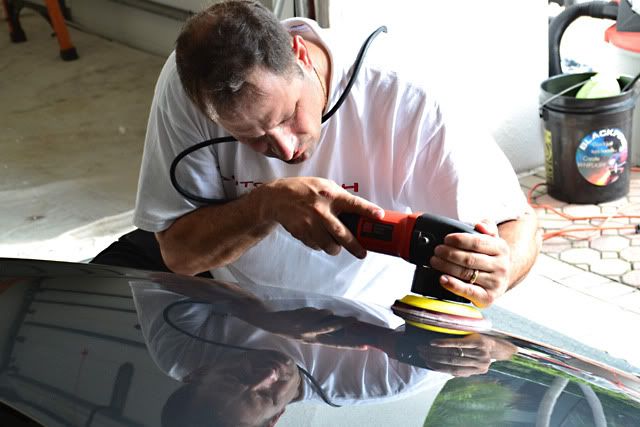
With that behind us I started to focus on the final polishing of the Audi R8 V10 GT. Arguably the paint looked great after the first step, with no visible swirl marks or marring, but heavy flake gray can had gloss-robbing defects. In order to amp the gloss and refine the finish I went with BLACKFIRE SRC Finishing Polish on an Optimum Microfiber Polishing Pad. A Porter Cable 7424 XP was used, making 4-6 passes on step 6, then an additional 2-3 passes on speed 4, per working section.
I am generally a huge fan of priming the pad (coating the entire pad with a thin layer of product) when it comes to DA polishing, particularly when it comes to heavy polishing. However the benefit is diminished when final polishing because you don`t need as many active abrasives working and you want to have space (area) for any polish that becomes contaminated to leech to.
For the first pass I used three large sized drops, about a quarter (that`s $.25 for those in the know) in diameter each.
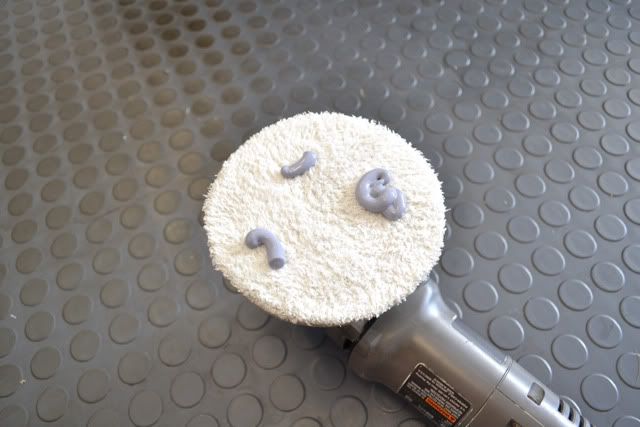
For all subsequent passes I used less product, approximately three dime sized amounts. The pad was blown out with compressed air after each application.
David switched from the Optimum Microfiber Cutting Pad to the Meguiar`s DA Microfiber Cutting Disk when polishing the bonnet. The firmer Meguiar`s DA Microfiber Cutting Disk seemed to offer more cut, as was needed on the deeper marks on the front end (on this particular paint).

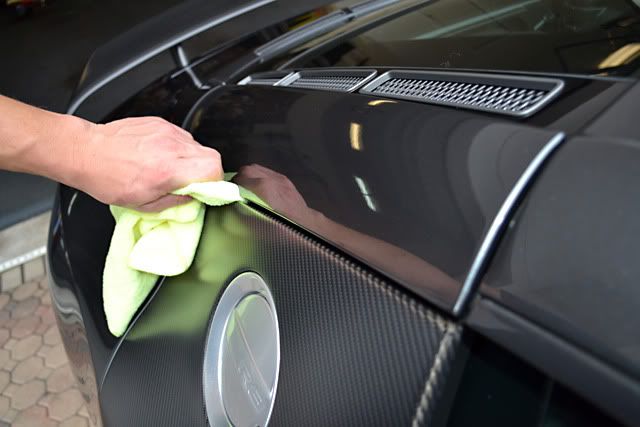
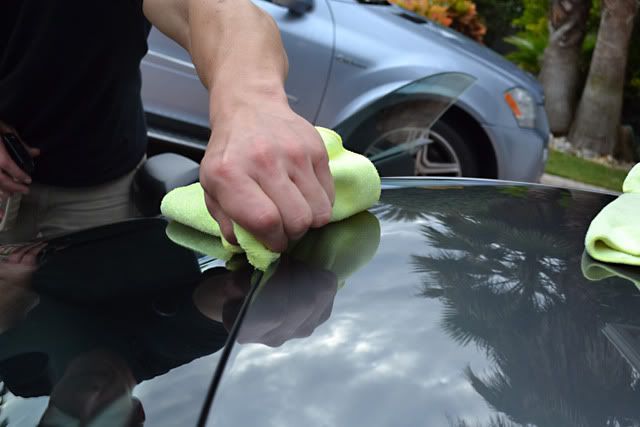
Both BLACKFIRE Polishes are low dusting, so the Audi R8 GT required minimal clean-up after being polished. I wiped then entire automobile down gently with Meguiar`s M34 Final Inspection and a soft Cobra microfiber.
In order to clean the edges, body gaps, and seams I used an old trick.
First take a general purpose microfiber towel and something similar to credit card (which is firm and thin).
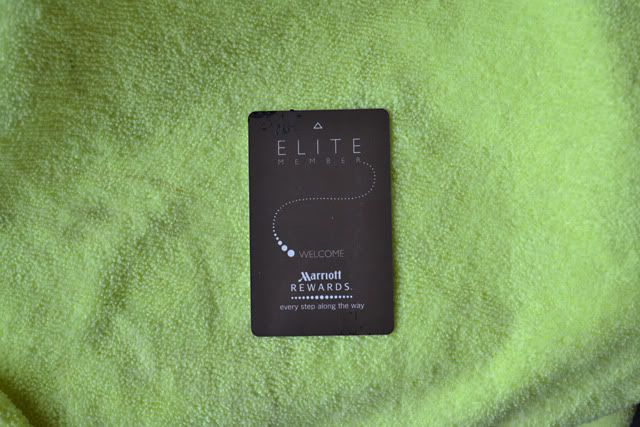
Wrap the microfiber around the card completely...
Mist a little quick detailer on the edge of the towel...
And use your new `crevice tool` to remove any polishing dust from impossible to reach areas...
With the paitn glowing as a result of the surface enhancement it was time for phase 4 of the Autopia 5 Step Paint Car Cycle: To coat the beautifully polished paint under some some glossy protection.
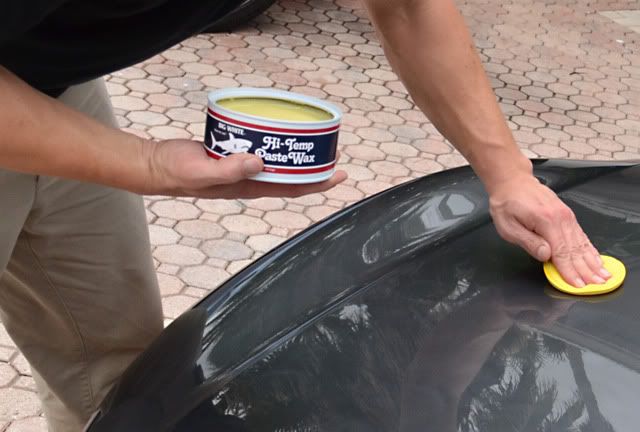
I normally reach for BLACKFIRE Wet Diamond, and for great reason, today I wanted to switch it (again, for good reason, at least to my mind). I wanted to test a new final carnauba spray on top of a different wax. I elected to start with a coat of Finish Kare 1000P Hi-Temp Wax, applied by hand, in a thin uniform coat.
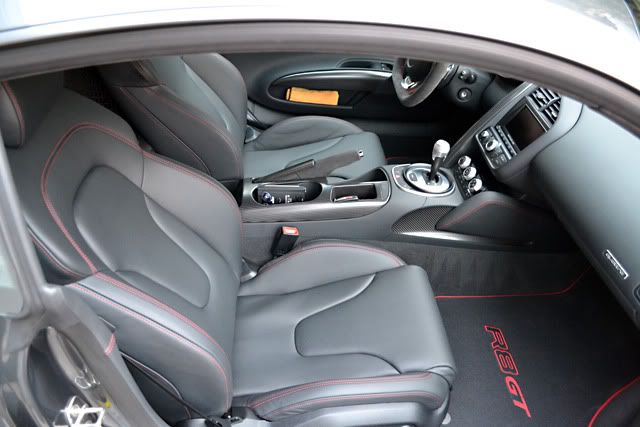
While the Hi-Temp Wax was curing, David went to work on the interior, using a combination of Optimum Power Clean and BLACKFIRE Hi-UV Leather Conditioner. The glass was cleaned with Meguiar`s Detailer Glass Cleaner.
After wiping off the Hi-Temp Wax (and with David doing his meticulous magic on the interior) I tested a new tire dressing.
Finally, a deep carnauba shine was applied to freshly sealed paint. I wonder what`s in my hand?!
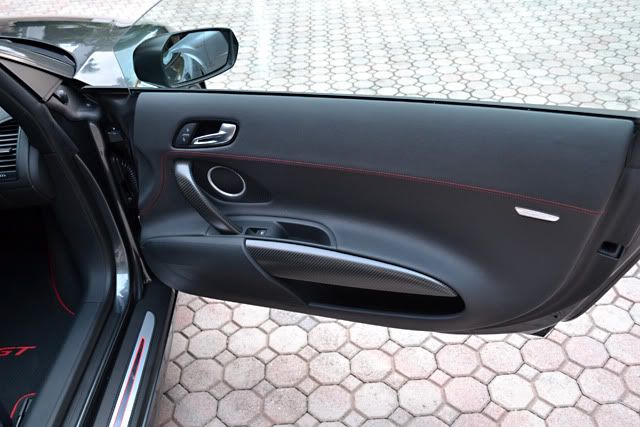
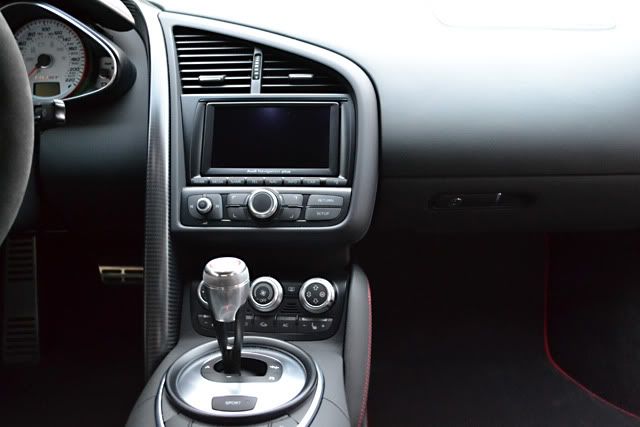
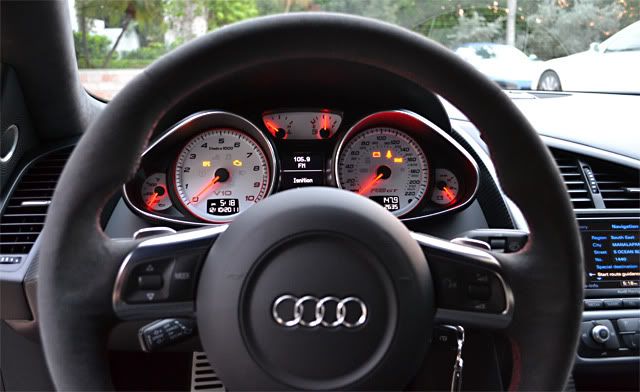
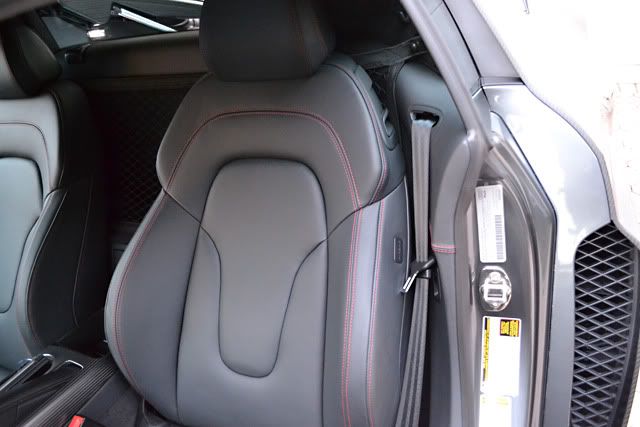
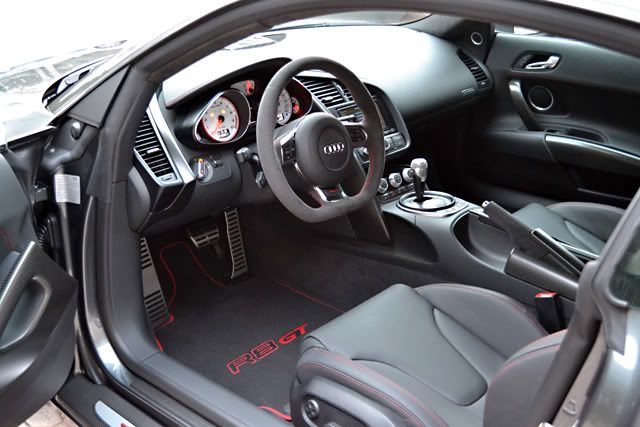
David`s meticulous interior detailer methods and quality products made the R8`s inviting interior perfect.
Finally some after pictures of the Audi R8 GT. Unfortunately the sun had started to dip on the horizon and day light was running out of time (that whole Earth-spinning in space around a giant cloud of nuclear gas thing again) so I was only able to capture a few afters. I hope you enjoy.


Finally one more the engine and the interior.

-
12-12-2011, 09:25 AM #4Just a regular guy
- Join Date
- Feb 2009
- Location
- Oviedo/Stuart Florida
- Posts
- 15,278
- Post Thanks / Like
Re: Detailed: Audi R8 GT V10- Testing some new BLACKFIRE (60 pics +)
Video to be added with in a week.
-
12-12-2011, 10:29 AM #5

- Join Date
- Oct 2009
- Location
- Charlotte, NC
- Posts
- 2,257
- Post Thanks / Like
Re: Detailed: Audi R8 GT V10- Testing some new BLACKFIRE (60 pics +)
Fantastic work and documentation Todd. That`s one sweet ride too.
I also enjoyed David`s T-shirt. He`s definitely ready for the move back to Michigan now.
-
12-12-2011, 10:40 AM #6

- Join Date
- Sep 2010
- Location
- AZ
- Posts
- 1,165
- Post Thanks / Like
Re: Detailed: Audi R8 GT V10- Testing some new BLACKFIRE (60 pics +)
Great job on the detail and amazing write-up Todd!!! I`m looking forward to the new Blackfire products!
I also do the same thing when washing the door jambs.
-
12-12-2011, 11:02 AM #7

- Join Date
- Oct 2009
- Location
- Just a little south of the Mason Dixon Line
- Posts
- 363
- Post Thanks / Like
Re: Detailed: Audi R8 GT V10- Testing some new BLACKFIRE (60 pics +)
Thanks for the crevice tool tip, have to try that out.
I think there might be something wrong with you`re camera. The bottles were obscured in some of the pictures.
-
12-12-2011, 12:56 PM #8

- Join Date
- Feb 2010
- Location
- Southern Illinois
- Posts
- 2,907
- Post Thanks / Like
I have been contacted by a potential client who owns one of these, and Im REALLY hoping things work out to where I get not only this car, but his entire collection. He described this one as "Audi`s version of a Lambo". Thanks for posting this, as it gives me an idea of what I may be working with. Great job btw. It turned out beautiful.

-
12-12-2011, 03:09 PM #9

- Join Date
- Jul 2011
- Posts
- 381
- Post Thanks / Like
 Re: Detailed: Audi R8 GT V10- Testing some new BLACKFIRE (60 pics +)
All details cared and worked for an incomparable finish.
Beautiful........!!!
-
12-12-2011, 03:41 PM #10AMG Classic Car Detailing

- Join Date
- Feb 2008
- Location
- Sunny Florida
- Posts
- 11,199
- Post Thanks / Like
Re: Detailed: Audi R8 GT V10- Testing some new BLACKFIRE (60 pics +)
Great write up Todd on these fine products, look out Michigan detailers David is heading back!
AutopiaForums is the place to be.
Remember to Shop Autopia-CarCare.com for your Detailing Needs!
-
12-12-2011, 05:44 PM #11

- Join Date
- Jun 2011
- Location
- Texas
- Posts
- 2,033
- Post Thanks / Like
Todd- I really appreciate the time and effort you put into your write ups. All of the pictures and details that you include are great.
The car looks amazing, I really love that color and the wheels really accent it all. I can`t wait to see these top secret products when they are introduced.
-
12-12-2011, 06:09 PM #12

- Join Date
- Jun 2011
- Location
- Rehoboth, MA
- Posts
- 1,802
- Post Thanks / Like
Re: Detailed: Audi R8 GT V10- Testing some new BLACKFIRE (60 pics +)
Todd,
An outstanding thread on how to detail Audi`s R8 SuperCar! It`s always a pleasure to read your threads as they`re very clear, organized, and chuck full of useful and valuable information.
I`m having a bit of trouble making out some of the products you`re using though......

BobbyG
-
12-12-2011, 06:20 PM #13Icon Detailing

- Join Date
- Mar 2009
- Location
- Phoenix area
- Posts
- 1,739
- Post Thanks / Like
Re: Detailed: Audi R8 GT V10- Testing some new BLACKFIRE (60 pics +)


Another job well done Todd. Love the R8.I hear voices in my mind and youre worried that youre the freak.
-
12-12-2011, 06:25 PM #14
- Join Date
- Sep 2010
- Location
- Granby, Massachusetts
- Posts
- 171
- Post Thanks / Like
Re: Detailed: Audi R8 GT V10- Testing some new BLACKFIRE (60 pics +)
These write ups inspire me to spend money (good for you) and take on better approaches (good for me). It takes a lot of time to write up reviews like this and fit everything else in life in, for this I applaud you!
I was wondering though, would the BF compound and polish combo work with the Meg`s MF pads?
-
12-12-2011, 07:22 PM #15

- Join Date
- Aug 2011
- Location
- SE Michigan
- Posts
- 1,683
- Post Thanks / Like
Re: Detailed: Audi R8 GT V10- Testing some new BLACKFIRE (60 pics +)
Great post Todd and thanks for the additional information and how-to`s on various products and techniques. Great to see you guys down there tackling yet another exotic.
David`s looking like a true Michigan man: reppin` the Michigan-based detailing company and sweating in the "heat" of Florida.
Marc Harris from AutoLavish Fine Automobile Care of Michigan


 Reply With Quote
Thread Information
Users Browsing this Thread
There are currently 1 users browsing this thread. (0 members and 1 guests)
Similar Threads
-
Testing with pics!
By Nixma in forum Auto Detailing 101Replies: 5Last Post: 07-20-2014, 05:50 AM -
My Brilliant Black 2001 Audi S4 - Finally detailed! (lots o` pics)
By JackalS4 in forum Click & Brag -The Detailers ShowcaseReplies: 10Last Post: 11-21-2009, 03:32 AM -
Testing Optimum polish (pics)
By DSVWGLI in forum Car Detailing Product DiscussionReplies: 22Last Post: 09-17-2005, 01:48 PM -
Blackfire and the Silver Audi... Bad for 56K
By 05Sleeper in forum Click & Brag -The Detailers ShowcaseReplies: 22Last Post: 05-02-2005, 07:08 PM -
I detailed my 3 years old 17" rims - photo gallery testing
By jgv in forum Auto Detailing 101Replies: 2Last Post: 08-26-2003, 04:09 PM
Bookmarks