

A month ago, I bought Lexol Cleaner and Conditioner and was disappointed with my first use. The cleaner got a lot of the dirt out thou. But after applying the conditioner, I really didnt notice too much difference at all.
Last night I applied Z10 Leather in a Bottle. When it goes on, it`s like an oil on the leather that gives it an immediant shine. The smell is also better than Lexol and this morning when I got into the car, it`s got the leather smell (although some may not like it).
I do have a question. Z10 instructions says to just apply, no buffing neccessary. Doesn`t this only have the oil and conditioner sit on top of the leather? Are we suppose to `massage` it into the leather like Lexol? any tips or suggestions?
From now on, i`m going to use lexol to clean and Z10 to condition
Results 1 to 11 of 11
Thread: 1999 Toyota Camry Detail
-
02-11-2002, 10:48 AM #1


- Join Date
- May 2009
- Posts
- 74
- Post Thanks / Like

-
02-11-2002, 12:46 PM #2
- Join Date
- Mar 2001
- Location
- NJ
- Posts
- 3,166
- Post Thanks / Like
I have found that Lexol produces a glossier shine on leather, but I prefer the low gloss, factory satin shine that Zaino Z10 gives.
Rub it into the leather till it disappears.....that is it! A little goes a long way.........
-
02-11-2002, 04:53 PM #3Guest
Do I have a bad bottle of Z10 or something! Where is my smell!!!!!!

-
02-11-2002, 05:22 PM #4
- Join Date
- Mar 2009
- Posts
- 287
- Post Thanks / Like
Don`t feel bad, Al - I feel your pain...
I finally caught up with a college buddy that uses all Zaino products, and I got a first hand whiff of Z10. Blech!
I don`t think I`ve smelled anything close yet. I almost got my hands on Ozium`s New Car Smell (didn`t want to wait on an outrageous checkout line).
-
02-11-2002, 05:26 PM #5
- Join Date
- May 2009
- Posts
- 74
- Post Thanks / Like
maybe you got to shake the bottle really well?
i mean, the smell isn`t a GREAT SMELL.
but its got that leather smell ...
and if ur car didnt` really smell that good before, this leather smell can really fool you...
and definitely your friends... as if you got a new car w/ fine new leather....
as for me, the lexol conditioner jsut didnt do much for my lexus leather seats, maybe its the first time i used it,, the leather didnt respond so well. but w/ Z10. it definitely improved... it gave me a refreshed leather look... the smell is better than b4 too...
all subjective thou...
-
02-13-2002, 07:40 PM #6
- Join Date
- Mar 2009
- Posts
- 3,133
- Post Thanks / Like
Al what happened the smell went away already?????
Curious is all?
-
12-28-2010, 02:29 AM #7
- Join Date
- Nov 2009
- Posts
- 120
- Post Thanks / Like
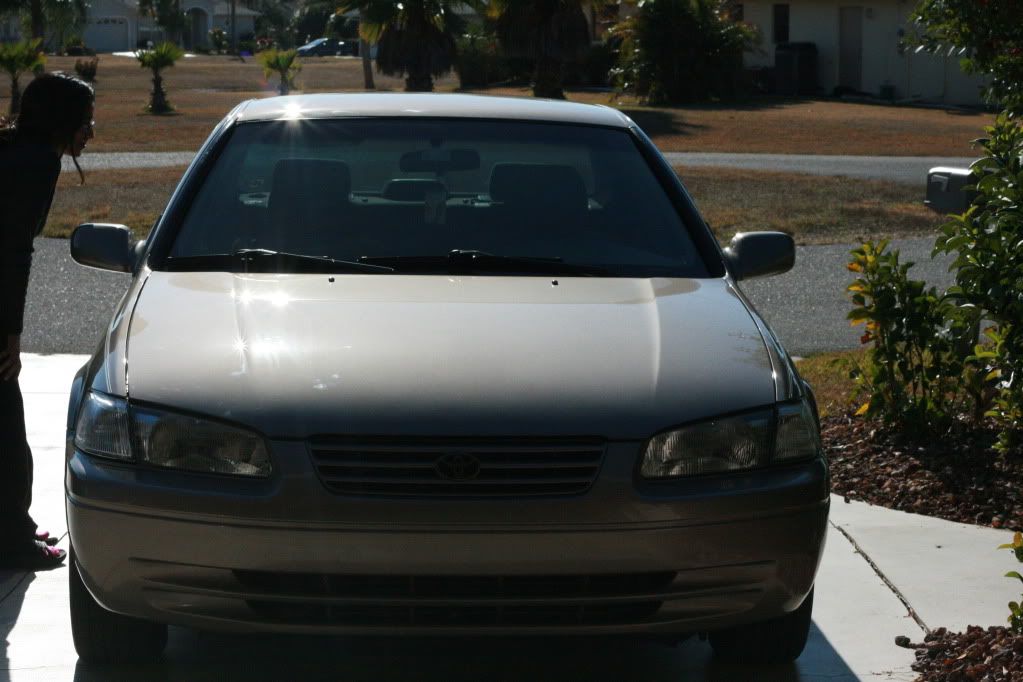
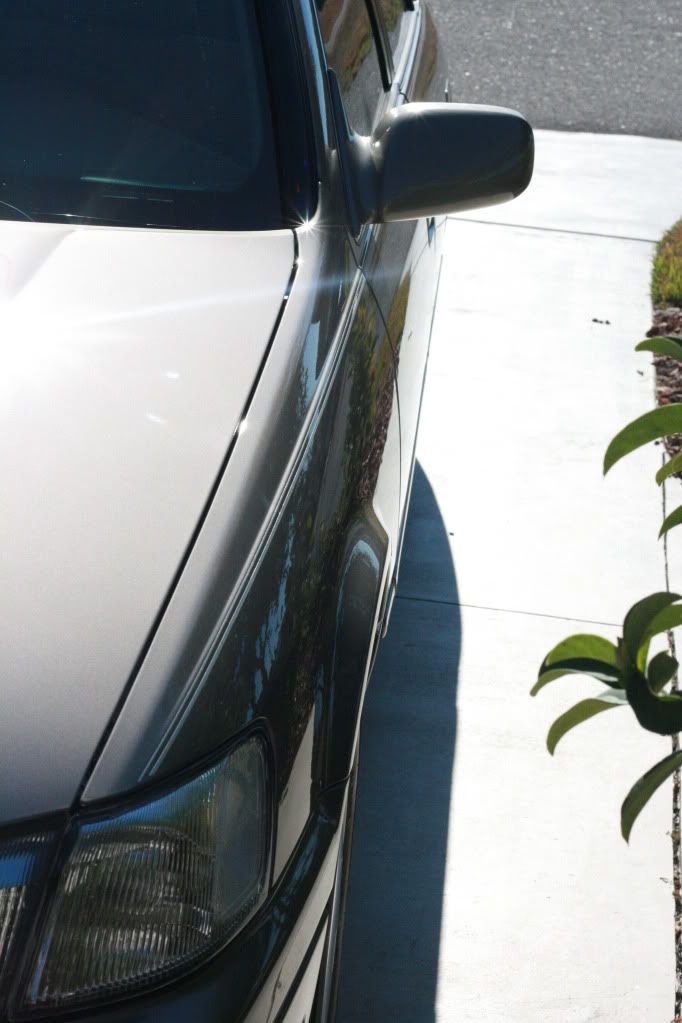
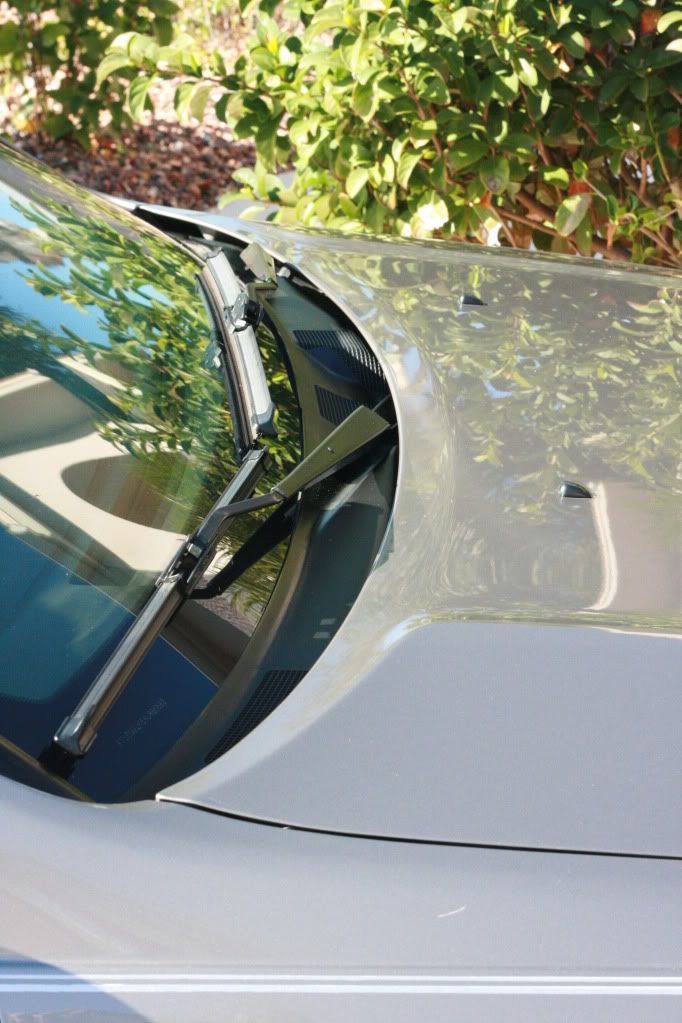
1999 Toyota Camry Detail
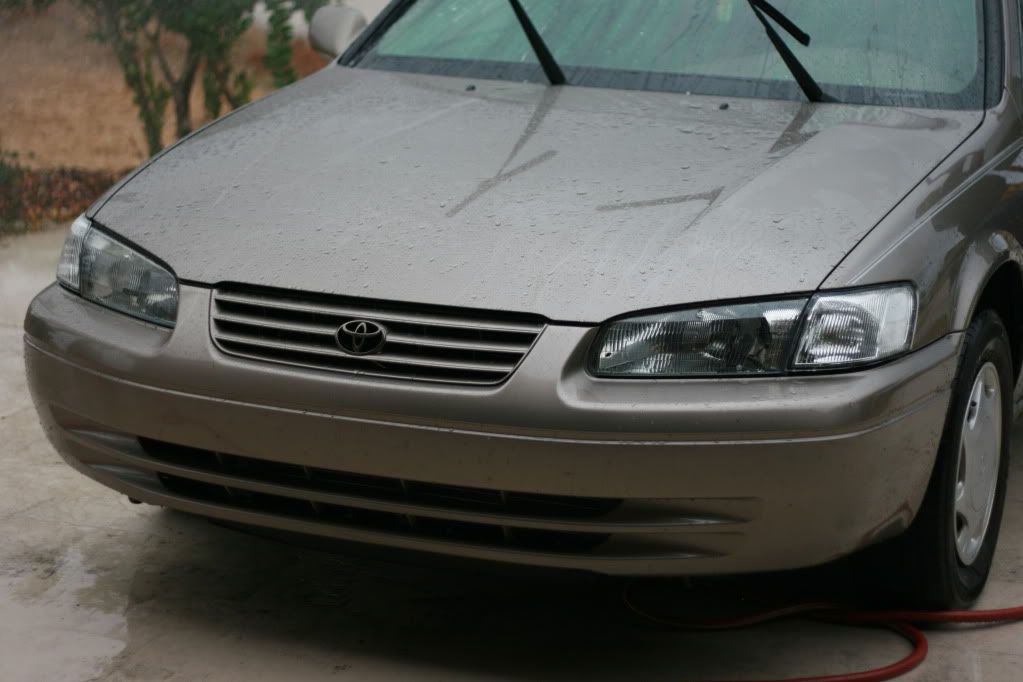
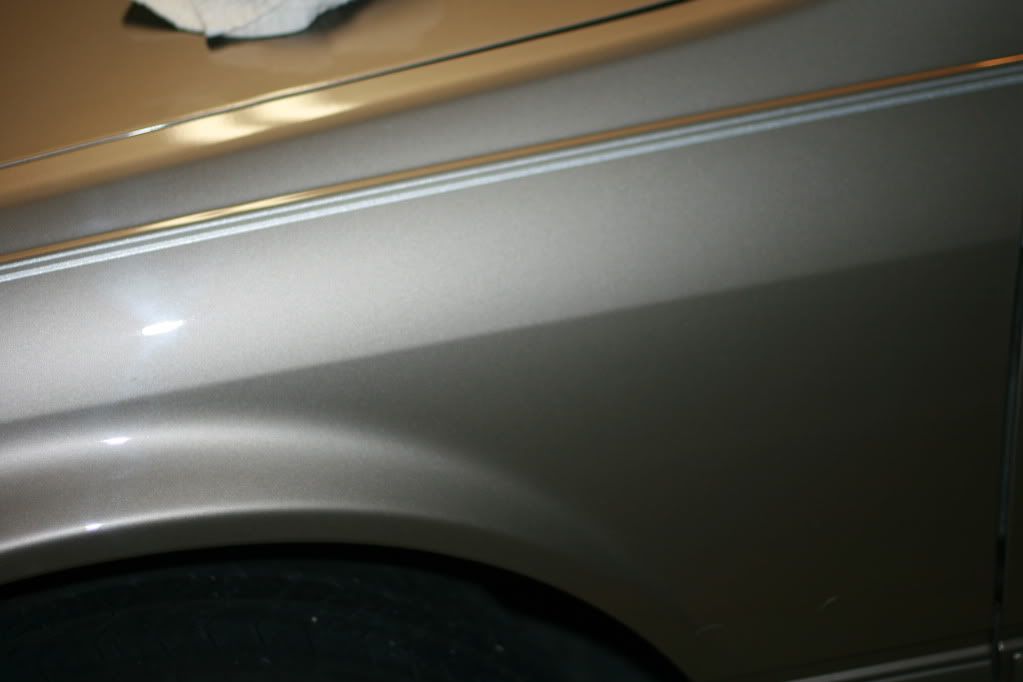
This detail was for my cousins 21st birthday present (while we were sober of course). He has asked me a few times to do it, but we never had time to do so because of school/work. Well I finally got around to it, the vehicle color is Sable Pearl and it has about 145,000 miles on the odometer. The front bumper was not perfect but better than before because of all the years and mileage it has been through.
Process
Washing
2BM
Meguiars Gold Class Shampoo
Grout Sponge
Big Blue Drying Towel
EZ Detail Brush
Purple Power APC diluted
Wheels/Tires
Soap/Water for Hubcaps
Purple Power APC diluted for Tires and wheel wells
EZ Detail Brush
Meguiars Endurance Tire Shine
Clay
Meguiars Detailing Clay
Meguiars Quick Detailer
Microfiber Towels
Trim
Purple Power APC diluted
Paint Brush
Toothbrush
Meguiars Ultimate Protectant
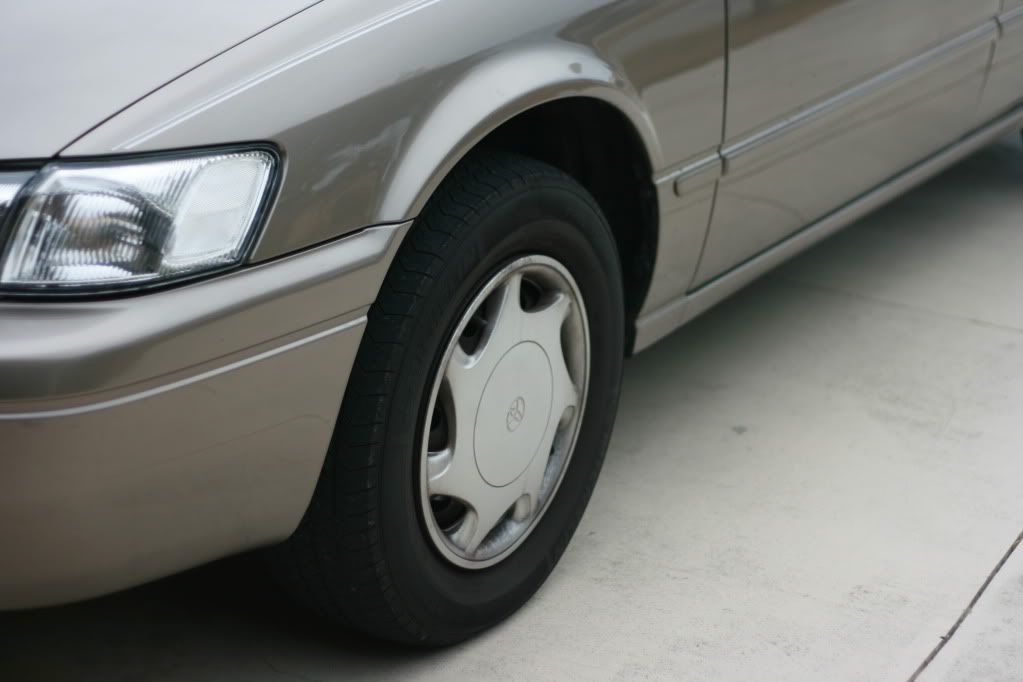
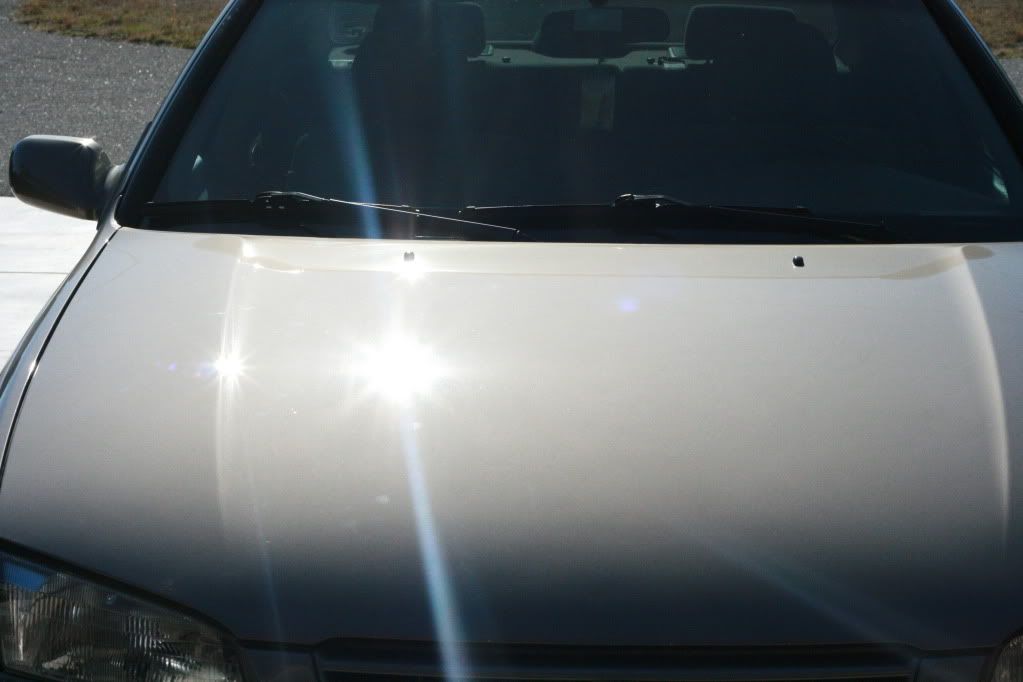
Polishing
PC 7424
M105
M205
3-LCC Flat Orange Pads
2-LCC Flat White Pads
Several Microfiber Towels
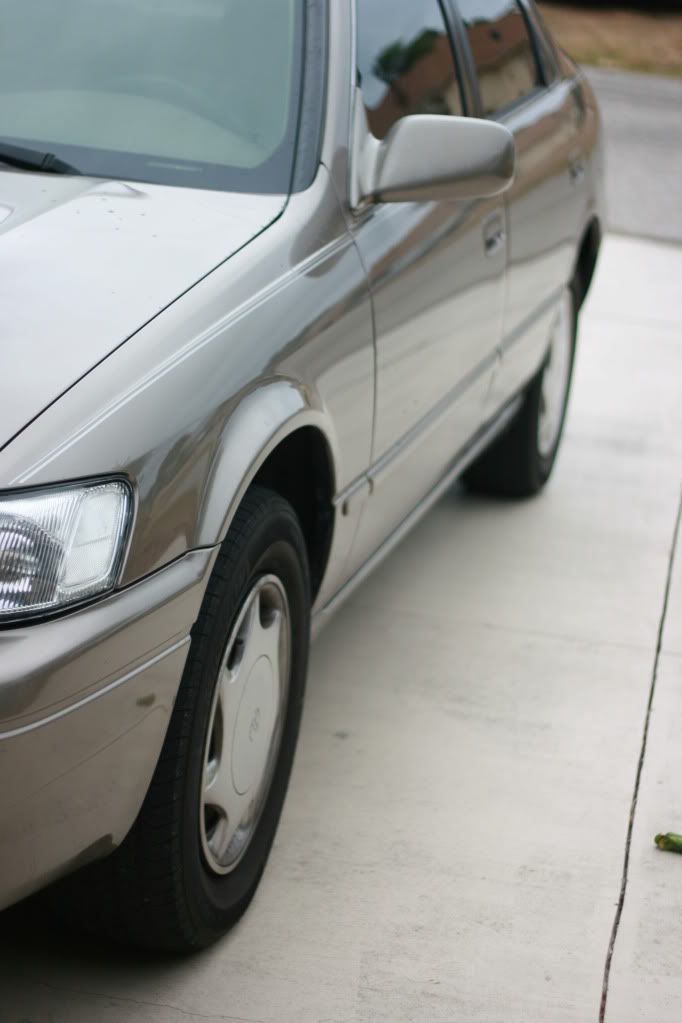
Protection
1 coat of BFWD
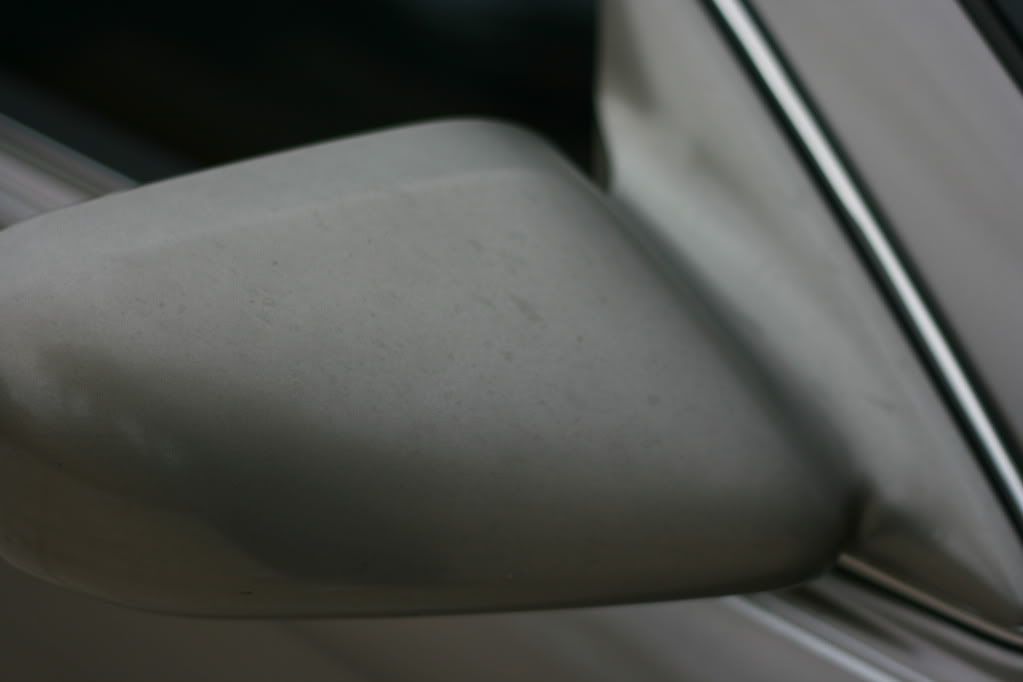
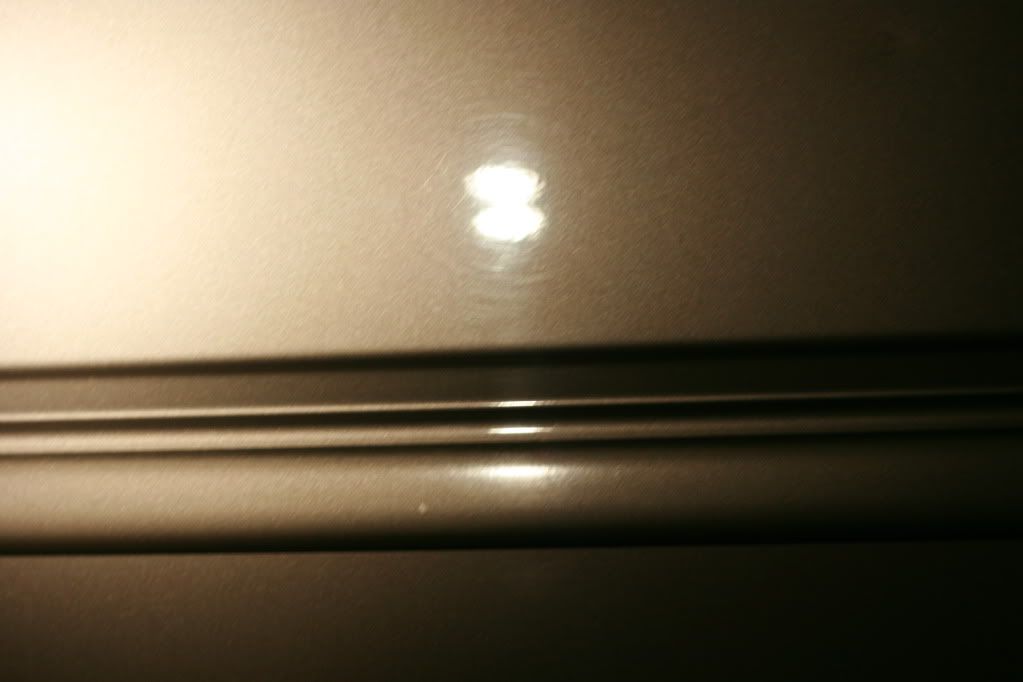
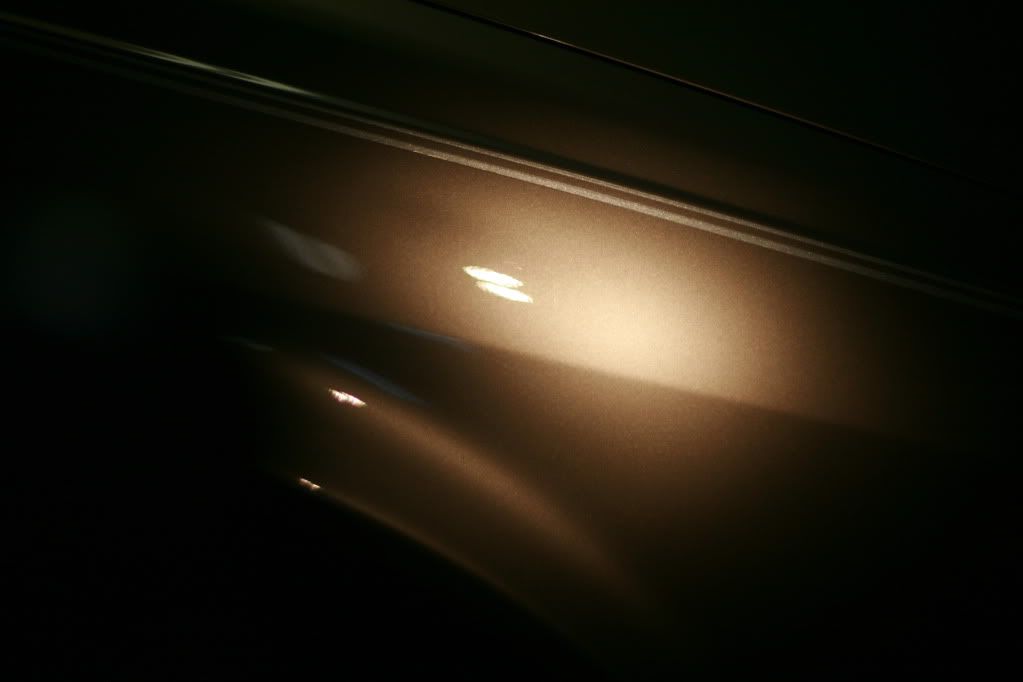
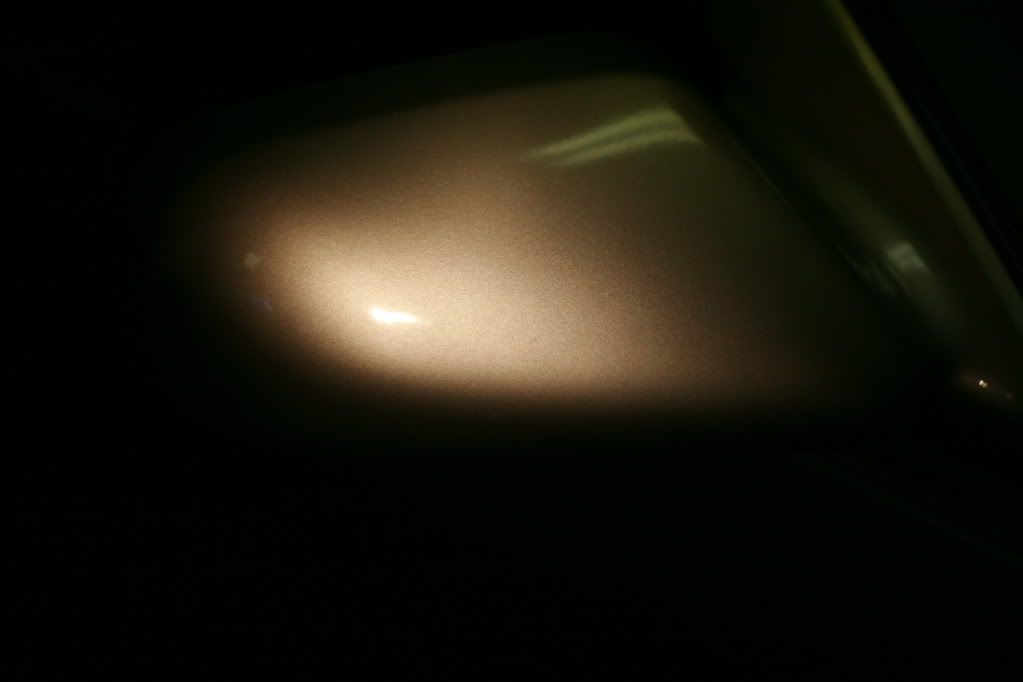
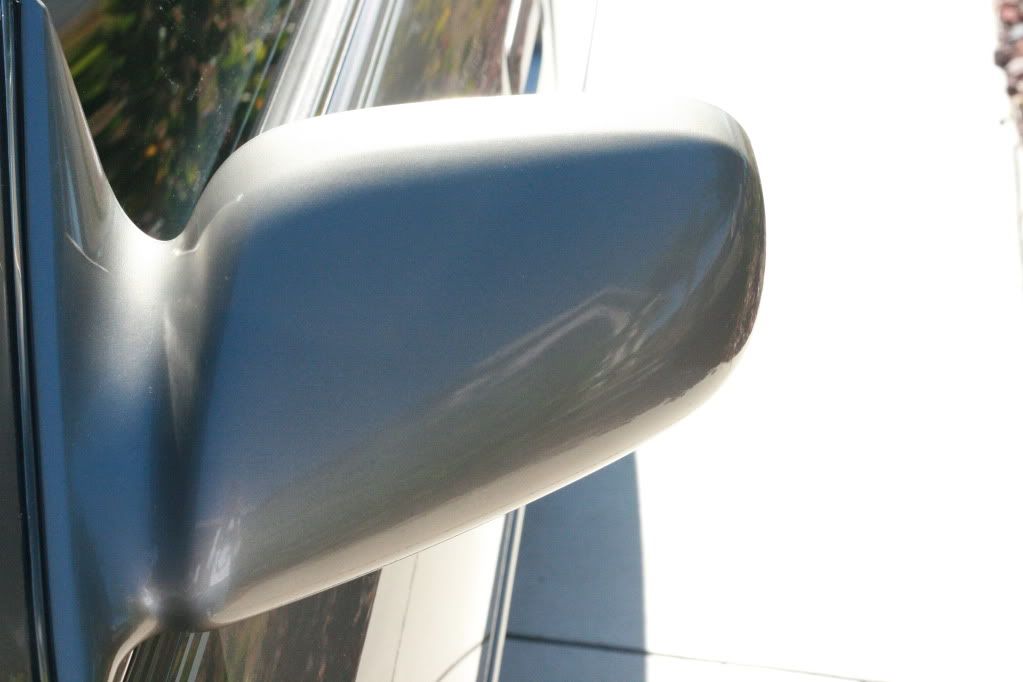
Before
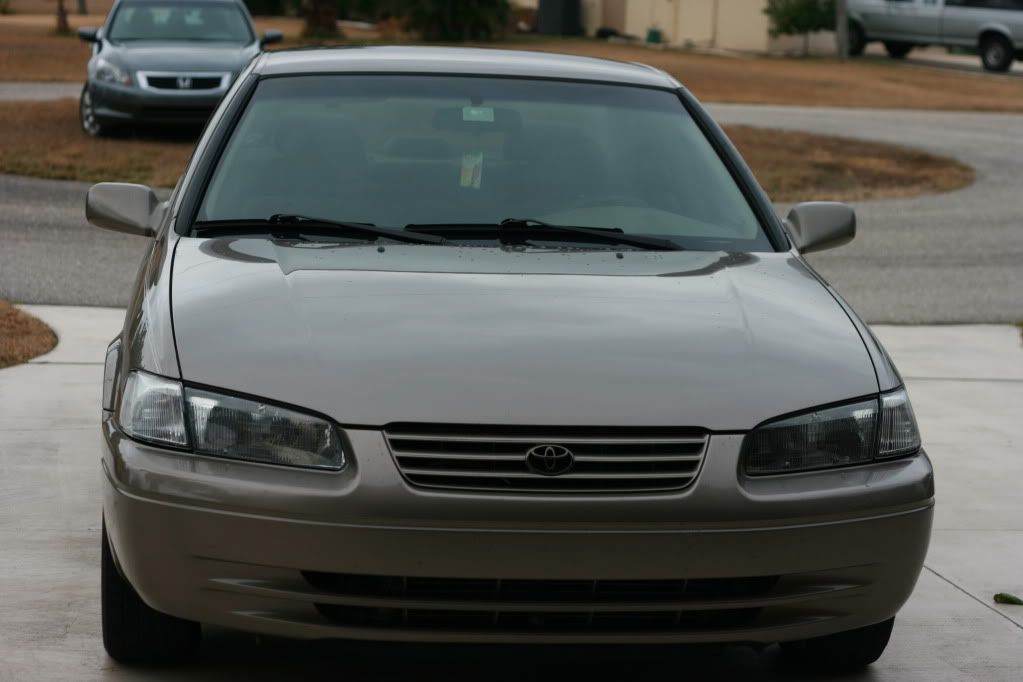

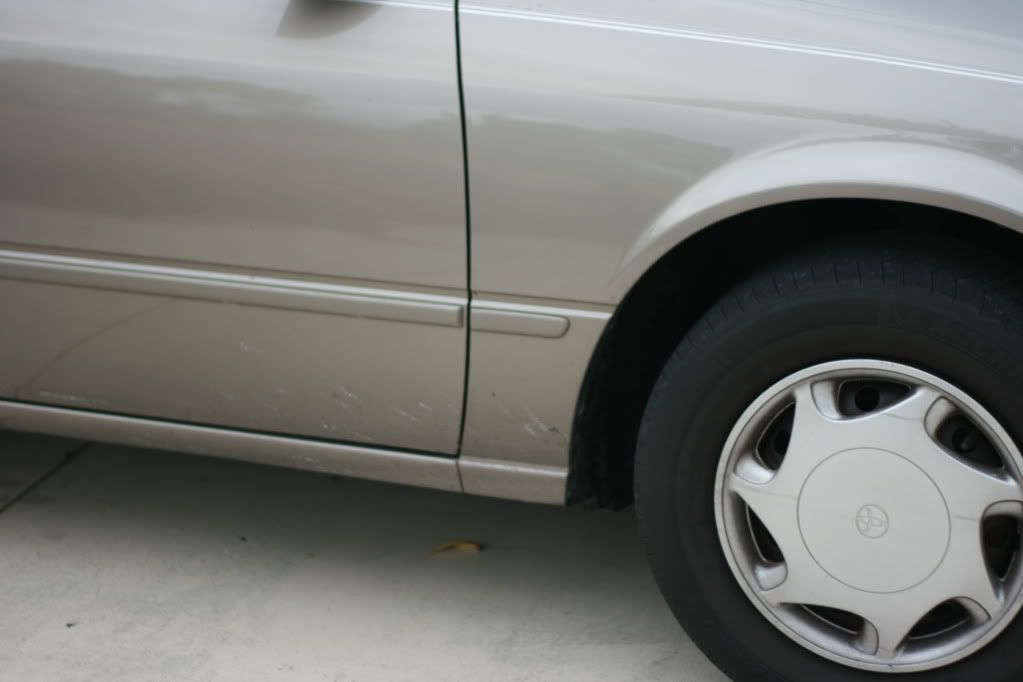
The side view mirror was extremely dull.
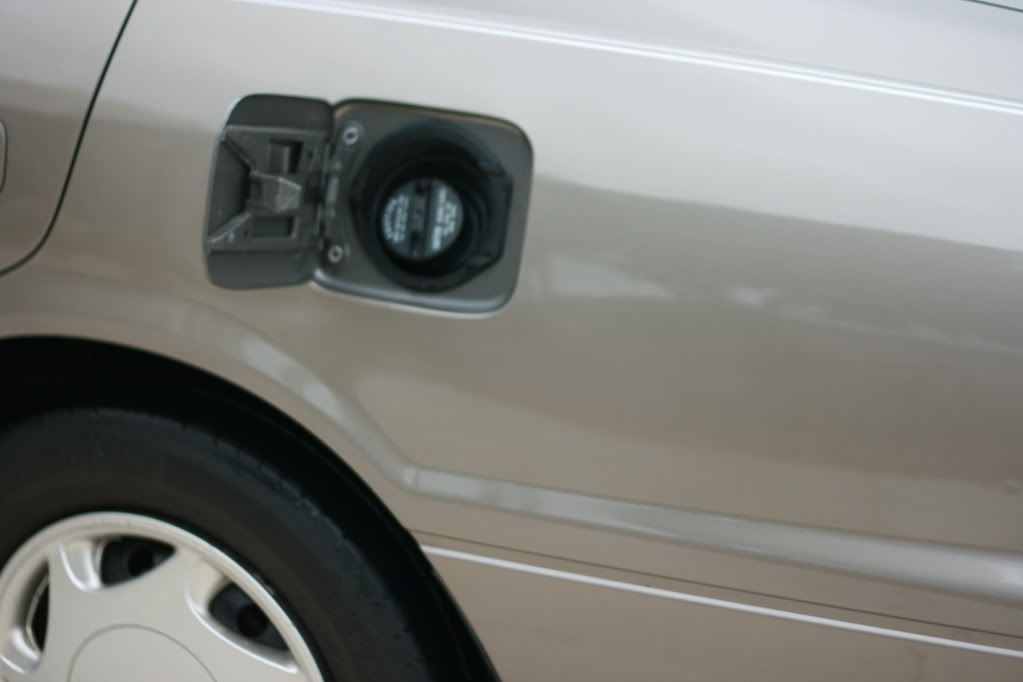
Washing
The gas cap area was filthy after 11 years, but looks really good after cleaning it up.
Polishing
The polishing pictures were done to the best of my abilities, hopefully it is good enough.


-
12-28-2010, 02:31 AM #8
- Join Date
- Nov 2009
- Posts
- 120
- Post Thanks / Like
....

Final
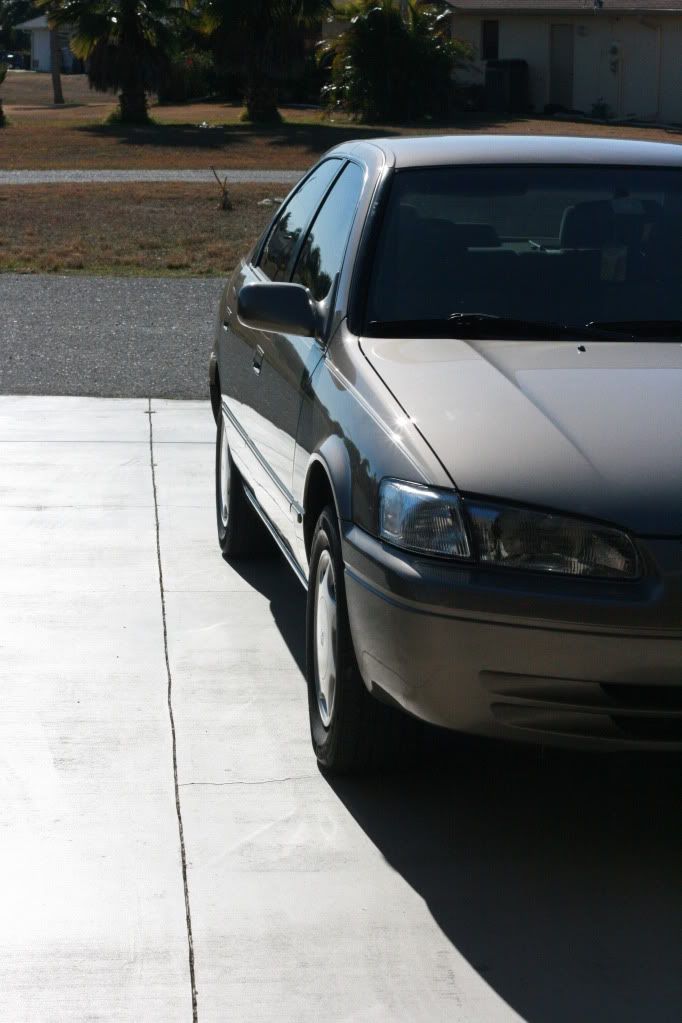
Please don`t mind my cousin in the corner, she wasn`t suppose to be there. lol
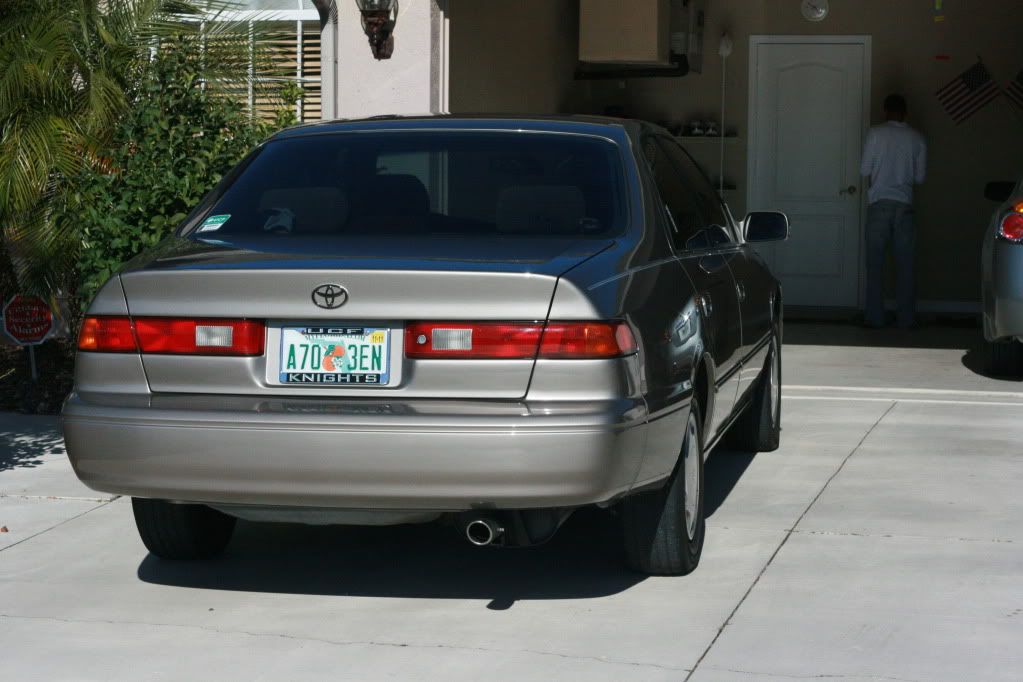


Thats about it, any comments welcome. This is my first time using M105, so I still have a bit to learn but not too bad for first time I think. My cousin learned a lot about the process and even finished off the car with M205.
-
12-28-2010, 09:18 AM #9

- Join Date
- Sep 2009
- Location
- Flanders, NJ
- Posts
- 3,124
- Post Thanks / Like
The car looks 100% better then it did before. You should be proud.:thumbup:
One thing you may or may not know about using M105. Make sure to prime the pad really well. Run a few circles of M105 around the pad, and rub it into the entire surface of the pad with your fingers. Allow it to penetrate for a few minutes, and then wipe off any excess with a MF towel or cotton terry towel. Add a few more drops onto the pad, and rub it over the small area that you will be working on. Turn the machine to speed 3 and spread the polish around. Once the polish has been spread around crank the polisher up to 5 - 6, and use plenty of downward pressure. Not enough pressure to stop the rotation, but enough to slow it down.
I hope you find this information useful.Barry Schultz
Detailed Elegance
-
12-28-2010, 10:00 AM #10
- Join Date
- May 2010
- Posts
- 350
- Post Thanks / Like
Nice work, the car looks much better. Taking pictures to capture everything is not easy, I still need to work on that too.
Like Barry said, priming the pad is one of the most important steps. Keep it up!
-Kody-
-
12-28-2010, 11:43 AM #11
- Join Date
- Nov 2009
- Posts
- 120
- Post Thanks / Like
Thanks! I did prime the pad, but probably should have used a little more M105 for the priming step. I also spread it as you mentioned, but I realized at first I wasn`t applying enough pressure at first but half way through it was going easily. Originally Posted by bmw5541

Thanks! It looks really nice especially being 11 years old and having 145,000 miles. Originally Posted by kakeuter

 Reply With Quote
Thread Information
Users Browsing this Thread
There are currently 1 users browsing this thread. (0 members and 1 guests)
Similar Threads
-
2005 Toyota Camry (Interior Detail)
By Lemonxxs in forum The Detailers ShowcaseReplies: 24Last Post: 01-26-2010, 09:41 PM -
michakaveli |1999 Toyota Camry - Vintage Red Pearl
By E300Diesel in forum Click & Brag -The Detailers ShowcaseReplies: 0Last Post: 08-03-2009, 08:36 PM -
AJ Auto Detail: Toyota Camry
By ajnavo61490 in forum Click & Brag -The Detailers ShowcaseReplies: 2Last Post: 03-25-2008, 02:26 AM -
AJ Auto Detail: Toyota Camry
By ajnavo61490 in forum The Detailers ShowcaseReplies: 2Last Post: 03-24-2008, 10:44 PM -
Ministry of Detail : 2008 Toyota Camry
By P1et in forum Click & Brag -The Detailers ShowcaseReplies: 11Last Post: 02-03-2008, 03:34 PM
Bookmarks