

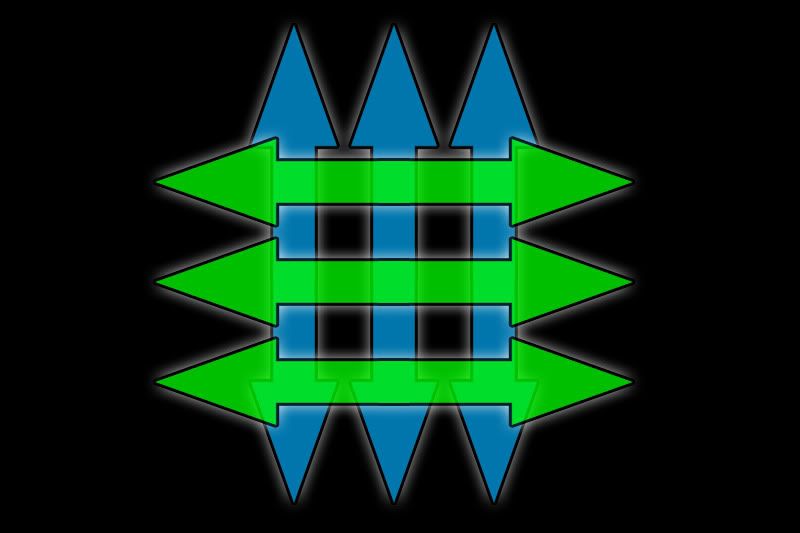
From About.com: Crosshatching is an extension of hatching, which uses is the use of fine parallel lines drawn closely together, to create the illusion of shade or texture in a drawing.
Crosshatching is the drawing of two layers of hatching at right-angles to create a mesh-like pattern.
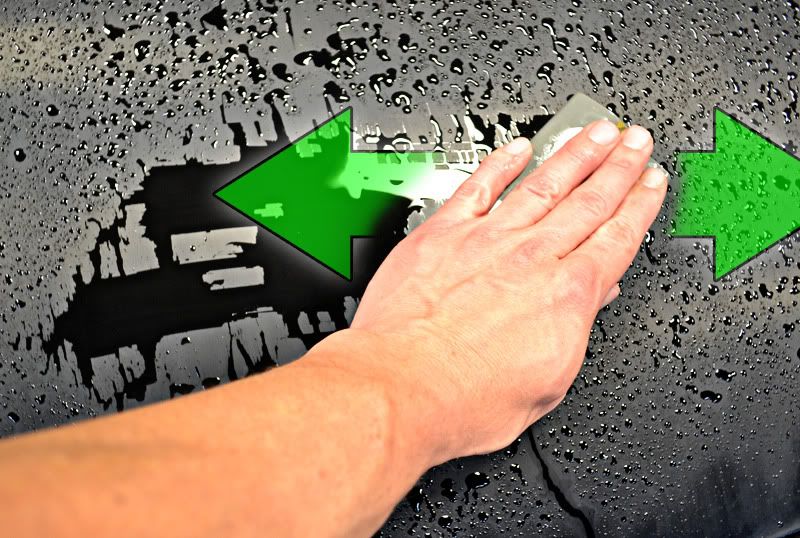
Cross Hatch Sanding is a method of sanding we subsequent grits of sandpaper (finer and finer) are used at right-angles to each other, which allows the user to gauge the progress they are using.
Cross Hatch Sanding offers several benefits to sanding in one direction:
- You can be assured that that all sanding marks from the previous (coarser) grit have been removed.
- Reduces the chance of creating a channel like texture in the paint.
- Prevents over sanding the panel.
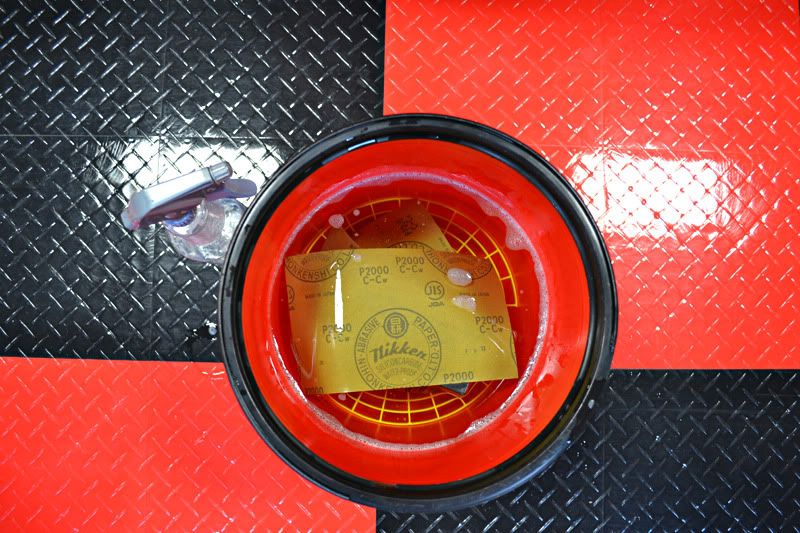
To demonstrate Cross Hatch Sanding I started by placing three sheets of Meguiar`s Unigrit Sand Paper (1200, 2000, 3000 grits) in a bucket of soapy water. A couple of drops of Pinnacle XMT Gel Shampoo & Conditioner in the water reduces surface tension and provides more lubricity. A spray bottle was filled with the same mixture. With Meguiar`s Unigrit paper it is important to let them soak for 5-10 minutes prior to use.
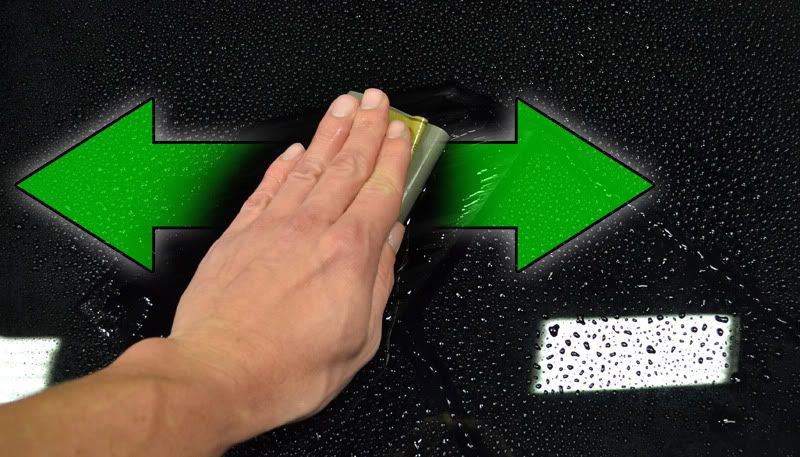
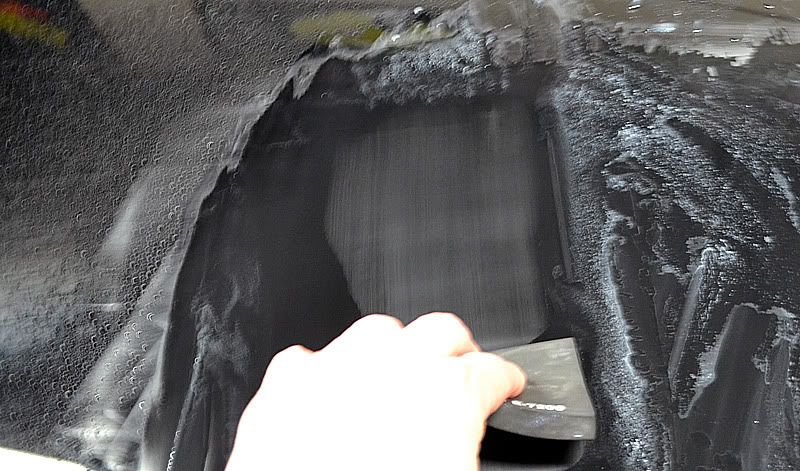
For the first pass, the leveling pass, I will used Meguiar`s 1200 grit Unigrit Sand Paper wrapped around a Meguiar`s Sanding Pad. All polishing was done in a East and West motion relative to the hood.
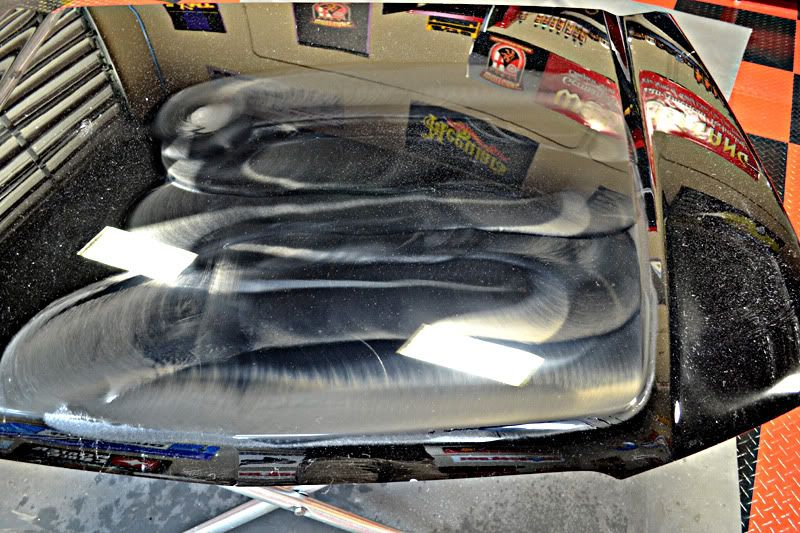
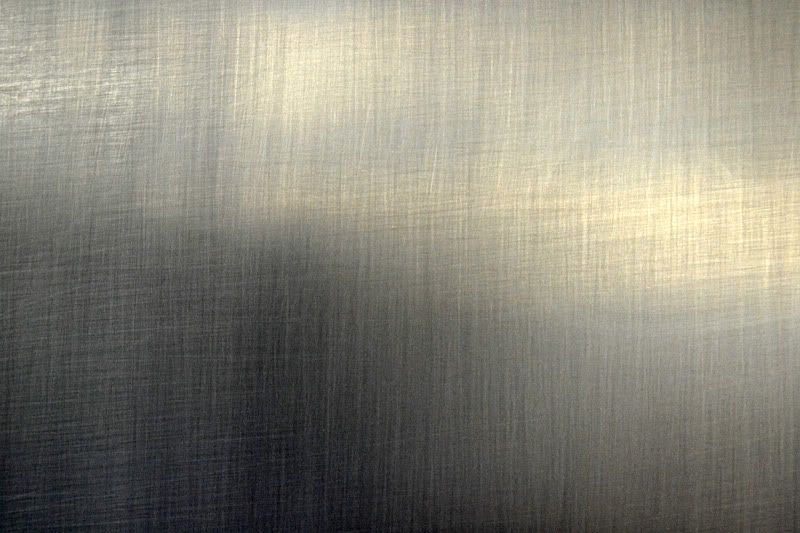
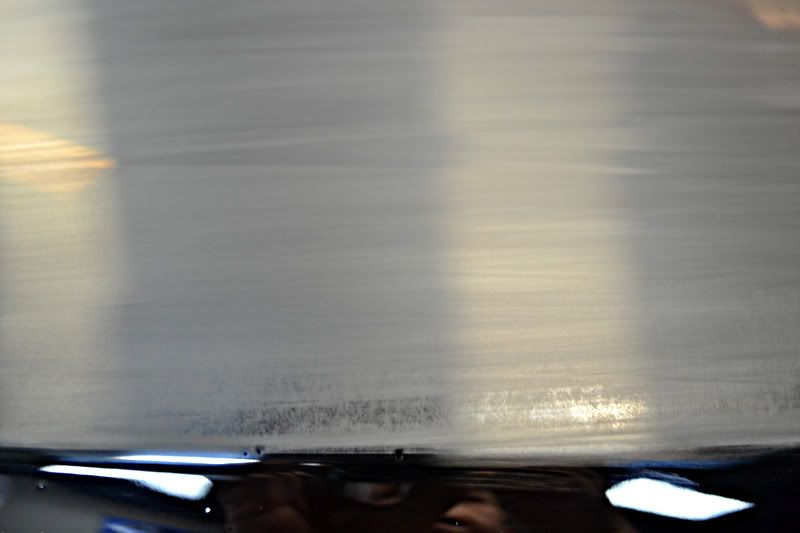
Wiping away the water revealed the a dull surface where the sanding scratches were in one direction.
A closer view.
For the second pass, using a finer 2000 grade of Meguiar`s Unigrit, I used a North and South direction. If were to continue sanding in the same direction as before it would be very difficult to gauge my progress.
The Meguiar`s Sanding Pad also doubles as a squeegee. It is important when Cross Hatch Sanding to ensure that all of the previous lines have been removed. Frequently checking your work not only guarenettes results but it prevents sanding to much. Your process becomes more efficient by eliminating the guess work.
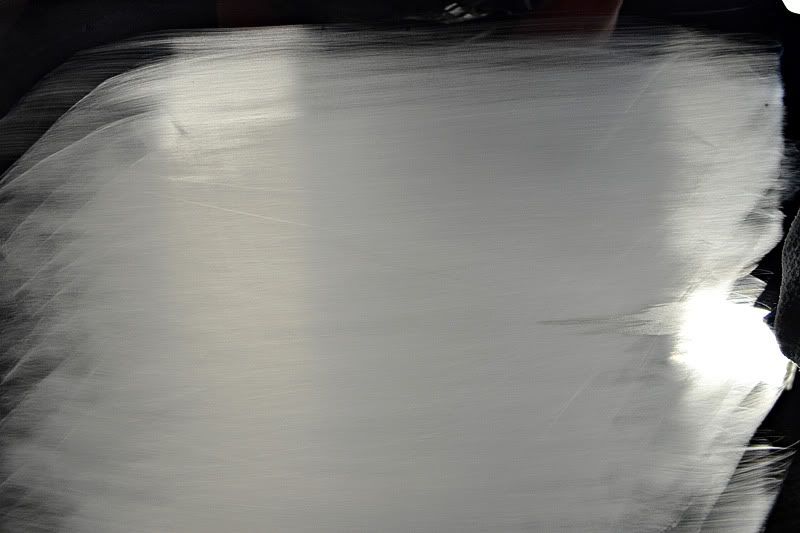
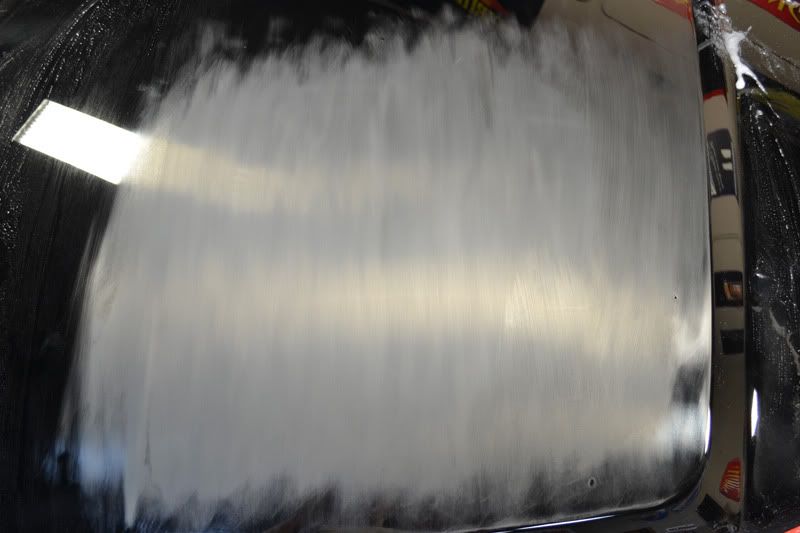
I lightly rubbed the 2000 grit (North and South) over the area then inspected. You can clearly see that not all of the 1200 grit marks have been removed as vertical (East and West) lines are still visible. Failure to completely remove the 1200 grit marks will make machine polishing the area extremely difficult as the non-removed marks will appear as scratches (also known as tracers).
I continued sanding with 2000 grit in a North and South movement until all of the East and West 1200 grit lines were removed.
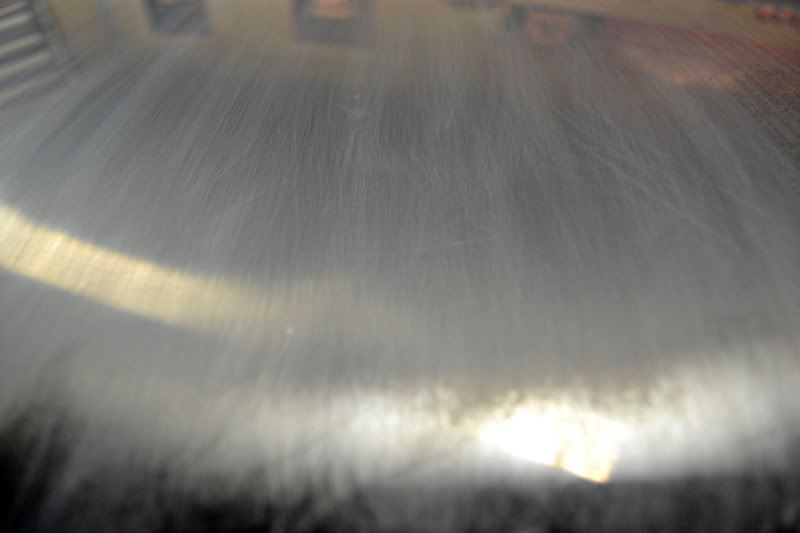
Close up of the sanded area.
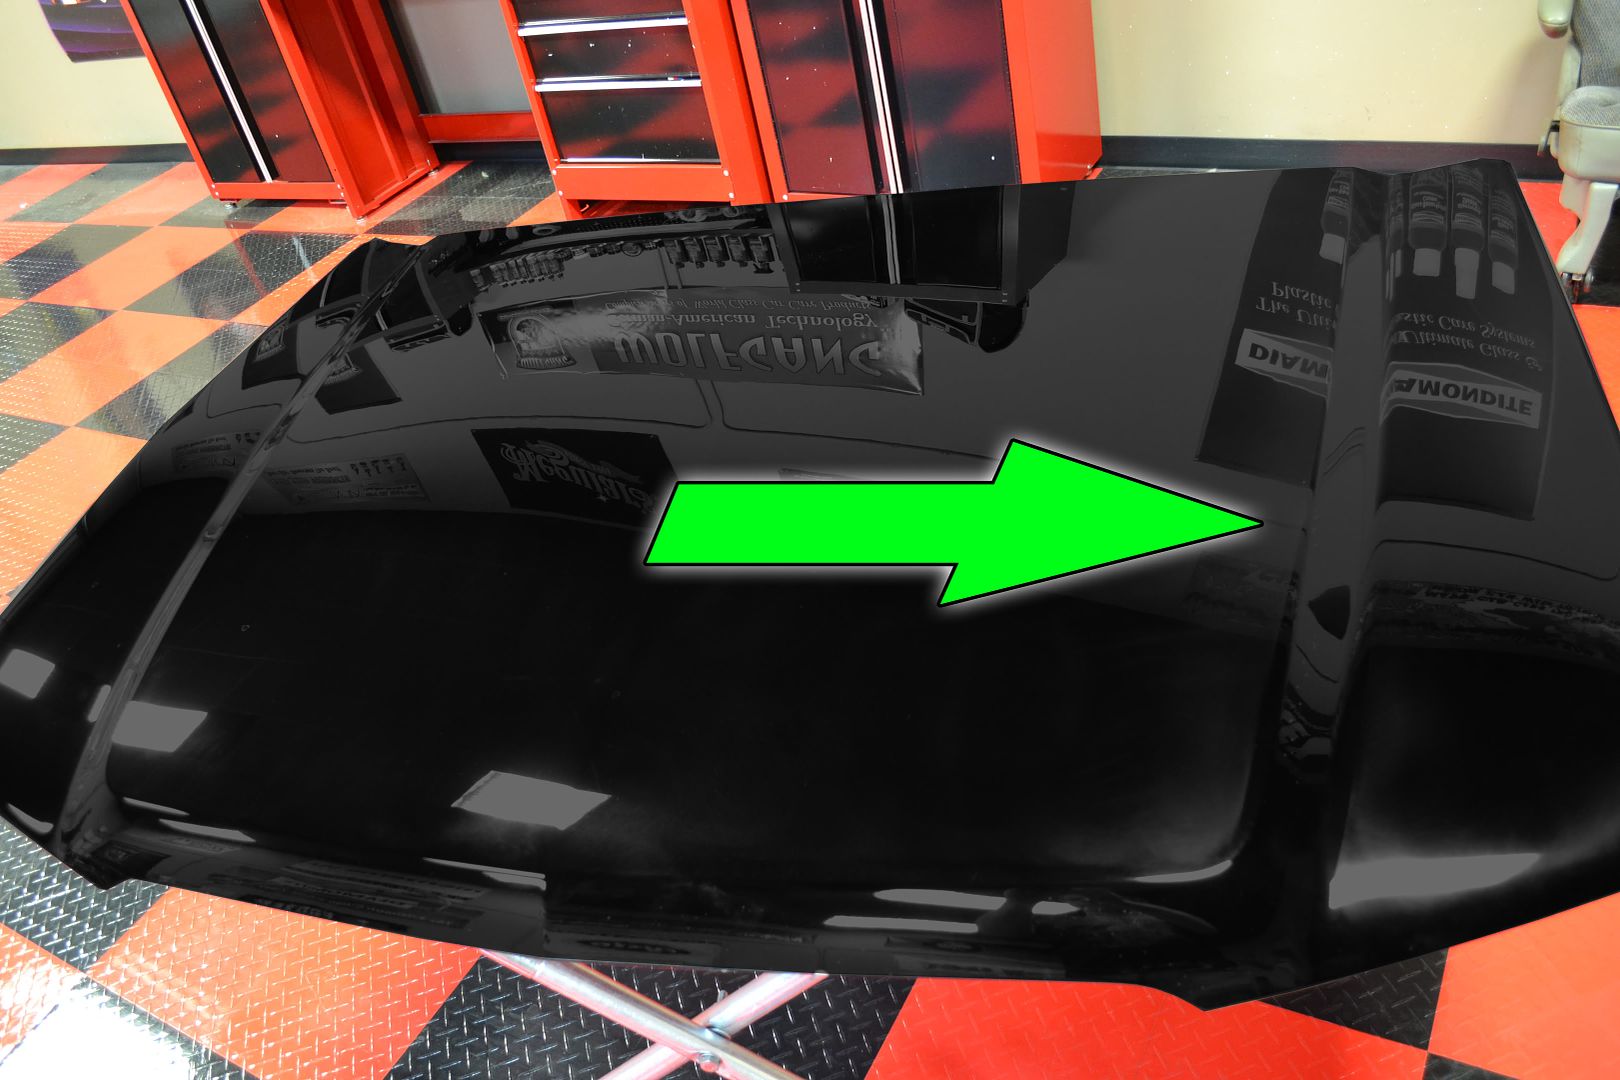
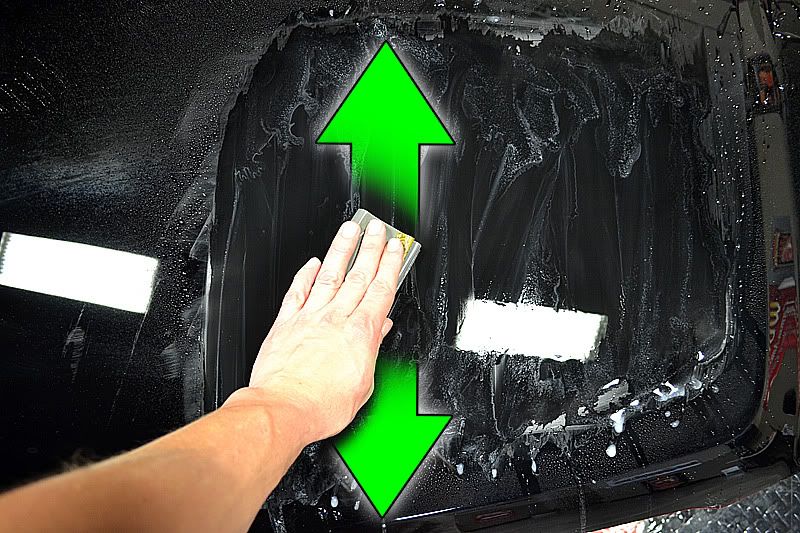
For the final pass I am going to use 3000 grade Meguiar`s Unigrit Sandpaper, against returning to the East and West direction.
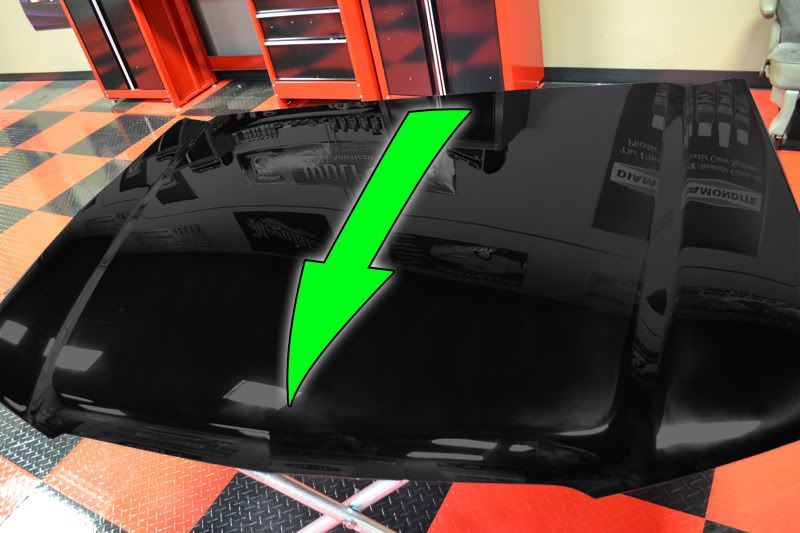
The final result is a completely flat and uniform surface that will be easy to polish and no hidden surprises like tracer scratches.
Other uses of cross hatching.
Many people like polish in a cross-hatch pattern to ensure uniform material removal from the paint`s surface.
Results 1 to 15 of 19
Thread: Cross Hatch Sanding
-
02-16-2012, 03:05 PM #1Just a regular guy


- Join Date
- Feb 2009
- Location
- Oviedo/Stuart Florida
- Posts
- 15,278
- Post Thanks / Like

Cross Hatch Sanding
-
02-16-2012, 03:31 PM #2

- Join Date
- Jul 2011
- Posts
- 381
- Post Thanks / Like
 Re: Cross Hatch Sanding
Fabulous explanation Maestro Todd!!!!!
With this proper technique and
Meguiar`s Unigrit sandpaper an uniform pattern
can be achieved over the sanded surface.
Results are second to none when it comes
for the search of those brilliant sharp reflections
and surface correction.
Great info!!!!

-
02-16-2012, 04:13 PM #3Rasky's Auto Detailing

- Join Date
- Mar 2009
- Location
- Eden Prairie, MN
- Posts
- 5,011
- Post Thanks / Like
Re: Cross Hatch Sanding
Nice thread Todd! This method is great for large flat panels but I often find it doesn`t lend well to the more complex ones.
-
02-16-2012, 05:08 PM #4

- Join Date
- Jul 2011
- Location
- Gardiner, NY
- Posts
- 285
- Post Thanks / Like
Re: Cross Hatch Sanding
Thanks for the great write up Todd! I will be trying wet sanding soon on my sisters car.
-
02-16-2012, 05:53 PM #5

- Join Date
- Jun 2011
- Location
- Rehoboth, MA
- Posts
- 1,802
- Post Thanks / Like
Re: Cross Hatch Sanding
Superb thread Todd!!

Cross hatch wet sanding lends itself well to leveling resulting in a uniform flat surface.
Foam Pads & Sanding Blocks
An additional tip is to always use a foam sanding pad or rubber sanding block. Sanding using only your hand or fingers result in pressure or point concentrations beneath the fingers and much less where the papers unsupported. Foam pads conform nicely to the surface contours sanding evenly and uniformly.
Sanding Solution & Tips
Keep the surface wet. Use plenty of clean water and add about an ounce of liquid car wash to 3 gallons will increase the solutions lubricity.
Check Your Sandpaper
Occasionally check the sanding surface for pickup as it has a tendency to scratch the finish creating additional work to correct it.
BobbyG
-
02-16-2012, 05:55 PM #6
- Join Date
- Jun 2011
- Location
- Rehoboth, MA
- Posts
- 1,802
- Post Thanks / Like
Re: Cross Hatch Sanding
Ryan you dawg you!! Test your wet sanding skills on someone else`s car!! Originally Posted by rider9195


BobbyG
-
02-16-2012, 07:00 PM #7
- Join Date
- Jul 2011
- Location
- Gardiner, NY
- Posts
- 285
- Post Thanks / Like
Re: Cross Hatch Sanding
I plan on getting a junk panel as well. But her car is a great candidate being it has received the gas station "wash brush" treatment. I`ll take it easy though. Originally Posted by BobbyG

-
02-17-2012, 08:55 AM #8Just a regular guy
- Join Date
- Feb 2009
- Location
- Oviedo/Stuart Florida
- Posts
- 15,278
- Post Thanks / Like
Re: Cross Hatch Sanding
I would always recommend starting with a siblings car prior to sanding your own car! Originally Posted by rider9195
-
02-17-2012, 10:05 AM #9
- Join Date
- Apr 2004
- Posts
- 500
- Post Thanks / Like
Re: Cross Hatch Sanding
No doubt or a junkyard panel! Originally Posted by Todd Helme
-
02-17-2012, 12:43 PM #10Auto Detail & Restoration

- Join Date
- Aug 2010
- Location
- ohio
- Posts
- 2,501
- Post Thanks / Like
Very nice post! Your informative posts with visuals helps set the bar for this site. I know they give members the opportunity to make a sound decision before starting or learning a process.
-
02-20-2012, 04:56 PM #11Just a regular guy
- Join Date
- Feb 2009
- Location
- Oviedo/Stuart Florida
- Posts
- 15,278
- Post Thanks / Like
Re: Cross Hatch Sanding
Thanks John, I truly appreciate the compliment! Originally Posted by Concours.John
-
02-24-2012, 04:22 PM #12

- Join Date
- Dec 2011
- Posts
- 40
- Post Thanks / Like
Re: Cross Hatch Sanding
I think this is not totally recommended for japanese cars that has soft paint? Apology for being obviously newb, but what is the real indication of doing this prior to polishing/compounding. Any paint type? Paint thickness? How deep the swirls/scratches/wide RIDS in one panel?
Soft paint ~ is similar to ~ thinner paint? Thanks in advance.
-
07-25-2012, 04:29 PM #13Just a regular guy
- Join Date
- Feb 2009
- Location
- Oviedo/Stuart Florida
- Posts
- 15,278
- Post Thanks / Like
Re: Cross Hatch Sanding
Don`t apologize for a "newb" question! Autopia Forums exists to help anybody who shares our crazy passion, regardless of experience and skill level. Snobs are not allowed! Originally Posted by ponzy
Wet Sanding is not something that is recommended for the novice to attempt as their is a risk of removing too much material (paint) or causing damage when attempting to polish out the sanding marks completely.
For the sake of general discussion, wet sanding gives the experienced user the ability control the material removal precisely and allows the user to flatten (level) the surface. This can be done to remove deep scratches, water etching, orange peel, nibs (dust stuck in the paint during the painting process).
Soft paint is a term that is generally used to describe paint that scratches easily and is difficult to keep perfect.
-
07-25-2012, 08:46 PM #14

- Join Date
- Jul 2011
- Location
- Land O Lakes, FL
- Posts
- 5,395
- Post Thanks / Like
Re: Cross Hatch Sanding
i am still amazed that after wet sanding and the finish looks totally ruined, that you guys can simply polish it out and leave a glass like finish. to me, that`s mad skills.

-
07-26-2012, 08:13 AM #15Just a regular guy
- Join Date
- Feb 2009
- Location
- Oviedo/Stuart Florida
- Posts
- 15,278
- Post Thanks / Like
Re: Cross Hatch Sanding
Sanding is the easy part. The hard part is polishing away all of the evidence of the sanding. Originally Posted by tropicsteve
To that end restoring the shine (gloss) is fairly easy. Removing the sanding marks is the difficult part.


 Reply With Quote
Thread Information
Users Browsing this Thread
There are currently 1 users browsing this thread. (0 members and 1 guests)
Similar Threads
-
How to re-do a teak deck hatch?
By silvereagle in forum Motorcycle, Marine & RV DetailingReplies: 8Last Post: 06-18-2012, 01:07 AM -
Corvette hatch
By jb1 in forum Car Detailing Product DiscussionReplies: 12Last Post: 06-08-2008, 09:12 PM -
Championship White EK Hatch
By kaval in forum Click & Brag -The Detailers ShowcaseReplies: 5Last Post: 02-04-2008, 08:06 PM -
Polishing Aluminum (Touch Up) - All One Direction Or Cross Hatch?
By imported_SilverStallion in forum Car DetailingReplies: 1Last Post: 06-16-2006, 12:21 AM -
civic hatch
By shaunthebadboy in forum Car DetailingReplies: 1Last Post: 12-11-2004, 02:09 PM
Bookmarks