

Before I get going I want to thank Kevin Brown for taking the time to work with me via phone and sending me backing plates to try out. He is a real class act and one of the most genuinely nice guys in this industry. He was always willing to help and take my calls and answer my questions. He went above and beyond anything he needed to do for me. Also I want to thank Nick Chapman for mentioning his technique and piquing my interest enough to follow up with it more. I would also like the thank Dana (Asphalt Rocket) for reading it over for me.
This thread has been a work in progress for a semi-long period of time. It started with reading a review of the MF system by Nick Chapman. He mentioned a special technique he used with the system to get better cut.
He saidThis really intrigued me so I would dabble with it here and there. I would occasionally run into a scratch where I would try the edging and it would literally vanish before my eyes.I`m a bit different then most detailers out there. I don`t work an area x amount of passes, then move onto the next area. I tend to work things inch by inch, using the outer edge of the pads surface. Then when I`m satisfied with the cutting results, I`ll lay the pad flat and do a couple of light passes across the area I just worked, without using anymore product.
Later on I would reach out to Kevin Brown. I was reading his stuff and on one car I wasnt getting the system to finish out. Kevin was nice enough to work with me via phone to try and trouble-shoot the issues.
I then started to ask Kevin more and more questions and mention the edging technique. So we talk about that for a while and Kevin asked if I would do a write up about it. Most dont know this technique because we are always taught to keep the pad flat with a traditional DA. This might not be new to some of you but others like me it was/will be a game changer thus why I wanted to share it with others.
The science behind it:
As I was discussing it with Kevin he put it very simply and really sums it up best. He said it boils down to pressure and area. If you think about it when you edge the pad you cut the area of the pad doing the work down drastically and then you increase the pressure so you have a concentrated swirl killing machine. Kevin could go much more in-depth than I could in this but this is a quick short version.
Implementation:
How I do it is when I come across a scratch or RIDS that needs a little more than the correction I am getting from the normal pass I edge the pad. I properly prime the pad (Very Important IMO) and then start to work. I apply compound to my pad like normal and start to work and I would on a normal section doing a normal pass. Now that I have the product over the paint I lift or tilt my pad concentrating it on the scratch. I work back and forth keeping the pad moving (arm speed) slow but always moving. I keep an eye on the defect and most of the time I can see it practically vanish in front of my eyes. As far as speed, sometimes I leave it at the normal setting but on tougher defects I crank the speed up to 6 on my G110 and use more pressure. I dont have a hard fast rule on when I alter the speed I just do it by feel. After the defect is removed I take the DA back to the normal working speed and finish the section with a few traditional passes to remove any hazing from the edging.
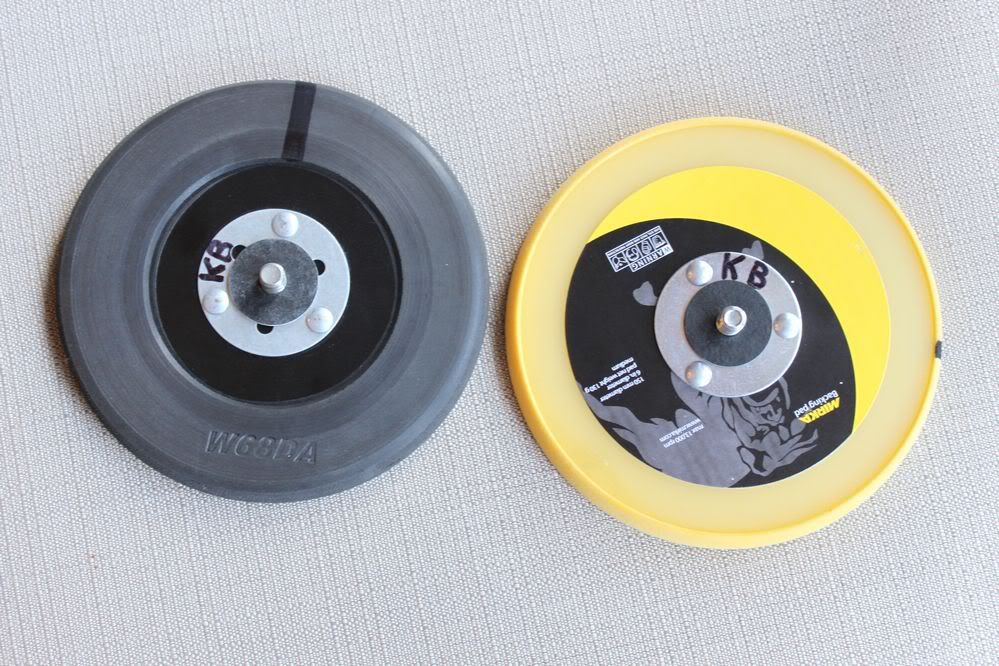
Now here is where Kevin came in (again) and was talking about taking the backing plate all the way to the edge of the pad. This will create even pressure across the entire pad which should produce more consistent results and also increase the effectiveness of the pad and liquid. Kevin was nice enough to send me the backing plate that he personally cut down to the exact size of the pad. This was a blessing for me because I could never cut a backing plate down and have it look as nice as he made it.
Below in the various cars you will see both the normal backing plate and the cut down backing plate so I will also be comparing these in this write-up.
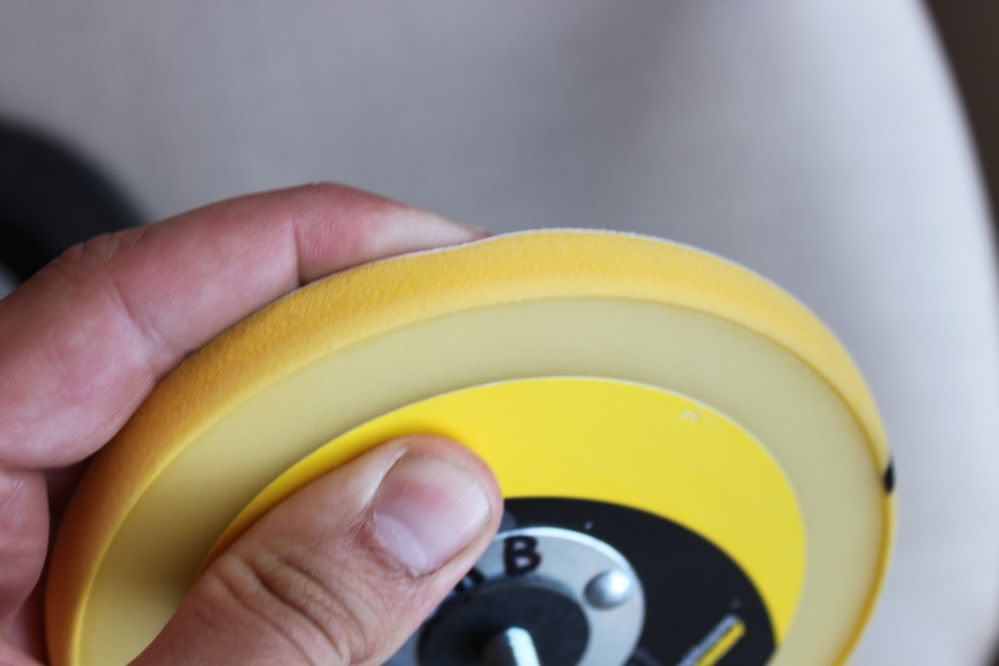
The Mirka BP is very firm
The Megs BP is more flexible
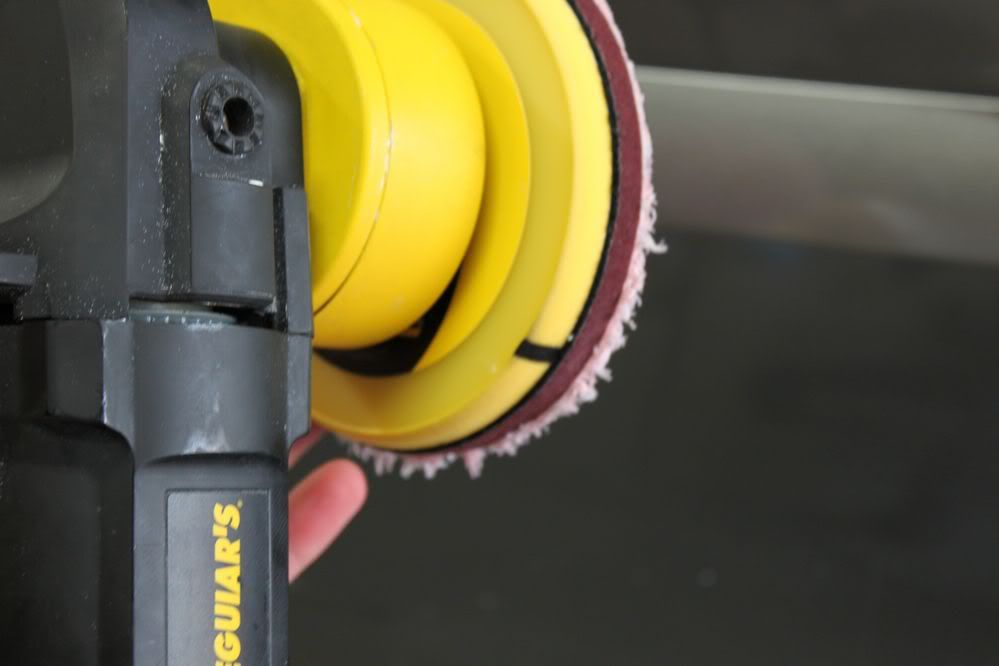
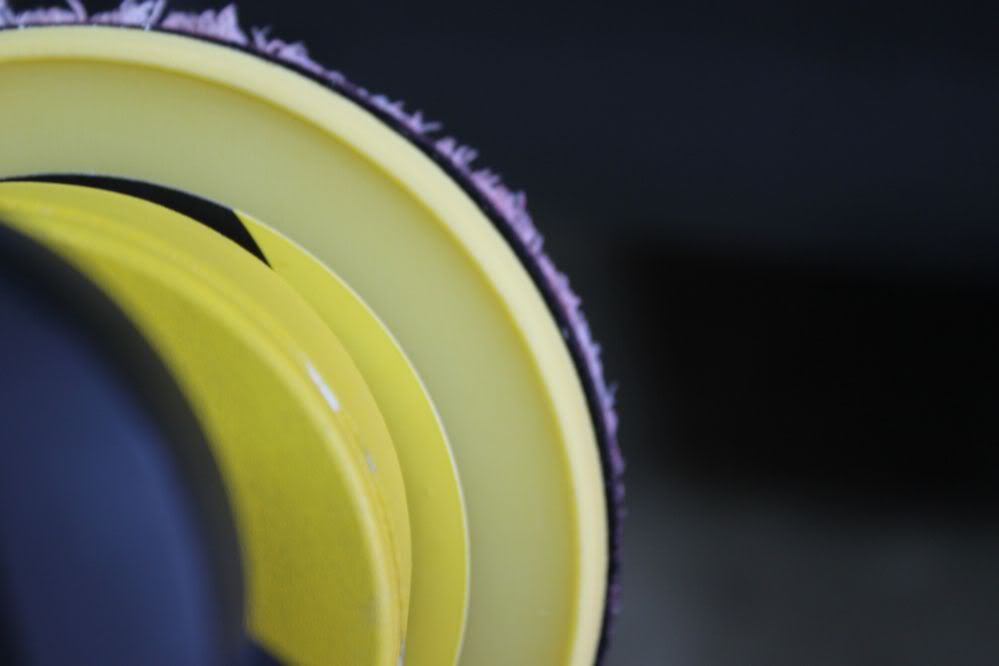
Here is the Mirka on a MF cutting disc
It was about 4pm on a Friday and the mail man (oh how I love the mail man these days Santa is losing his job) dropped off a package with two backing plates Kevin sent me. You can see the difference between the two. By 5:30 that night I had the sanding discs on a car and testing the new backing plates.
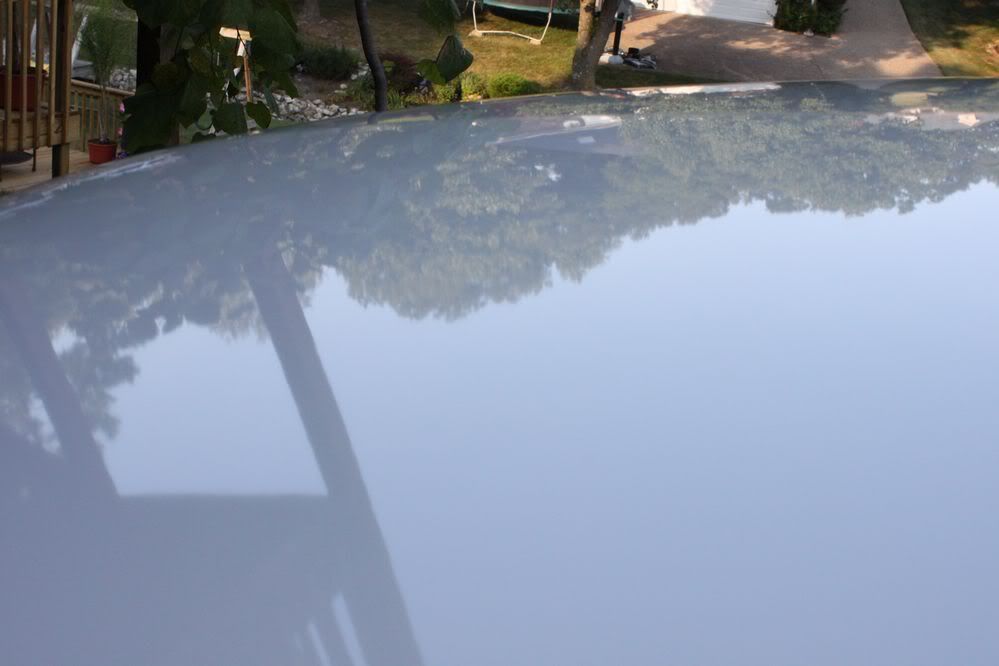
You will see I was working on a suburban that had the whole passenger side repainted. The body shop didnt do the best at finishing it I dont think they did anything at all. The orange peel was bad and the reflection was just poor so out comes the sand paper and MF system.
The Mirka BP that Kevin cut goes right to the edge of the pad and is very firm. This promotes even pressure and firm pressure on the discs giving the pads more cut and better finishing. I could absolutely tell a difference between the recommended backing plate and the one that goes to the edge.
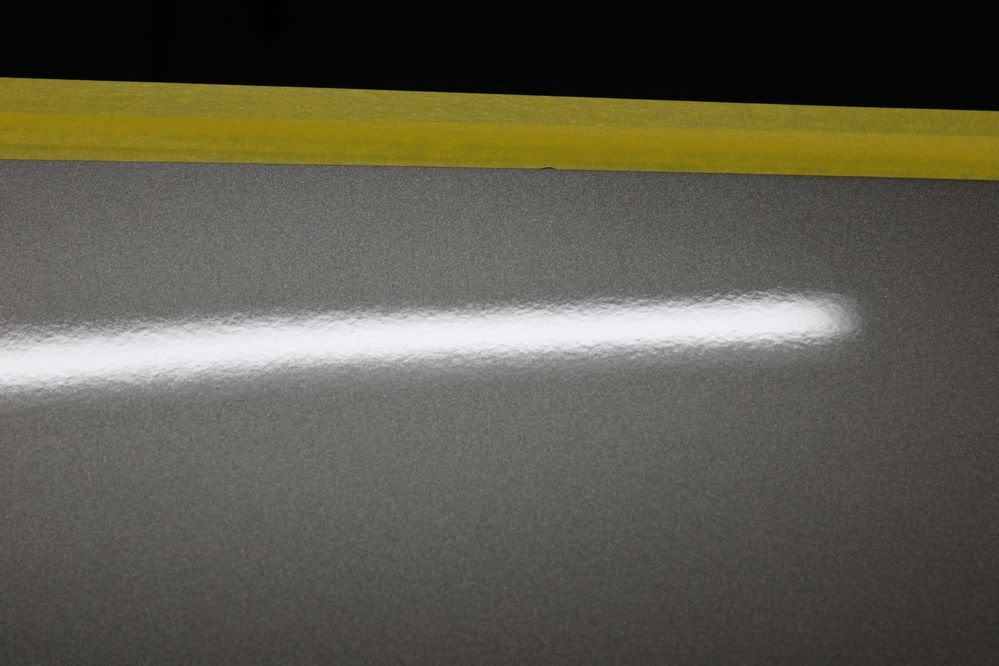
Orange Peel before:
During (with only 1500 grit discs and removed via MF system:
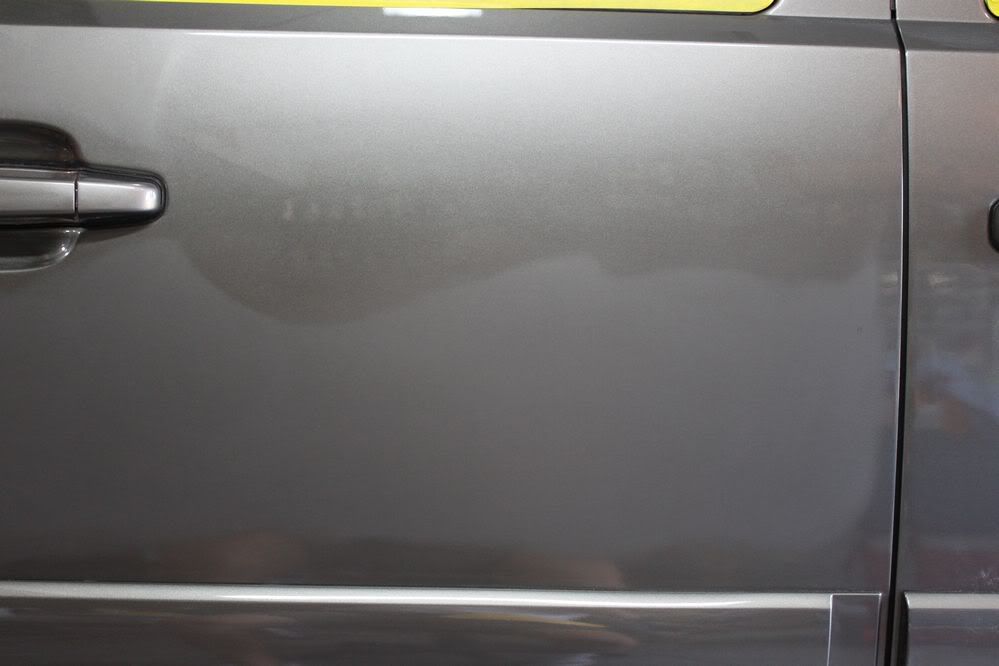
After Sanding and Compounding:
The next test subject is a White Lincoln MKX. I took paint readings of the car and it had healthy amounts of clear on it so I knew I would be safe to scrape the hood with some 800 grit sand paper.
Before:
Now Afters:
It was really hard to get pictures on the white paint but I assure you they came out. 85% of the defects came out in the first pass, but there was just a little residual marking left which required a second pass.
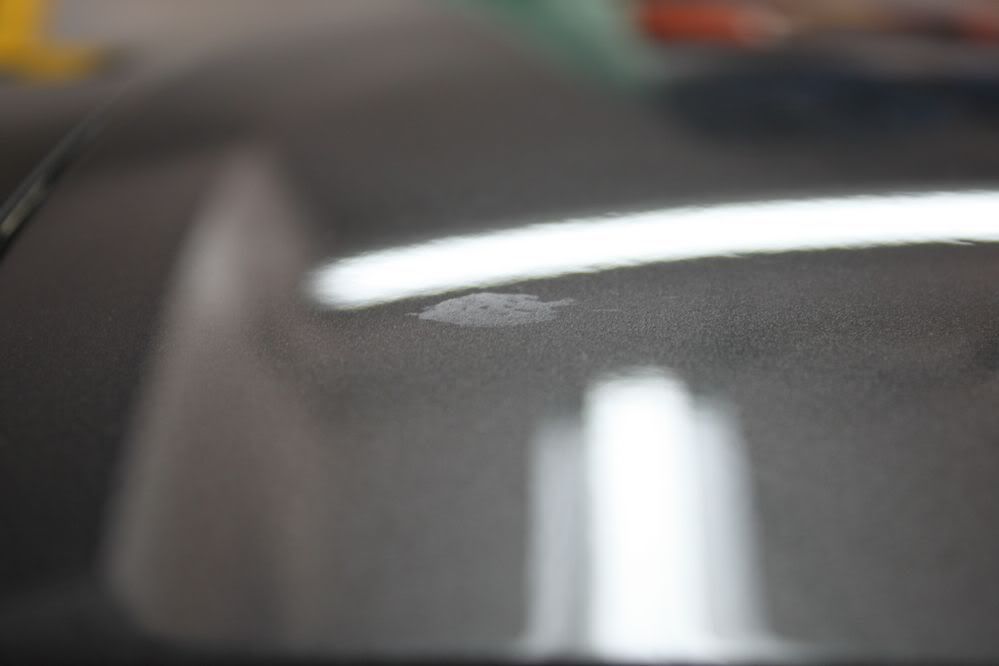
1000 grit dry sand marks on Toyota Highlander:
After Removal:
Bird Poop Etching on Lexus:
Gone:
In conclusion, this new technique IMO can really narrow the correction gap between the DA and the Rotary. I have had amazing success with this and think that most with polishing experience can quickly learn this as well. I also think that changing up the buffing between D300 and 105 can really help maximize the cutting potential. I strongly urge those with the MF System to try this and see for yourself. I know I was amazed with it and I think you will be too.
If you have any questions, comments, or criticisms please throw them out there. I know this paper isnt perfect, there are many things that I would have liked to have in here but I will try to update it as more things come across my path. I want as much feedback as possible from everyone here.
Results 1 to 15 of 21
Thread: Edging the DA... A Game Changer
-
08-10-2011, 11:38 PM #1


- Join Date
- Oct 2009
- Posts
- 358
- Post Thanks / Like

Edging the DA... A Game Changer

"I can do all things through Christ who strengthens me."
Jon Leidgen
-
08-10-2011, 11:46 PM #2

- Join Date
- Nov 2010
- Posts
- 1,207
- Post Thanks / Like
Re: Edging the DA... A Game Changer
Very interesting read! Good post!!
-
08-11-2011, 05:45 AM #3Detailing Gnosis


- Join Date
- Jul 2007
- Location
- Hillsborough, NC
- Posts
- 8,305
- Post Thanks / Like
Re: Edging the DA... A Game Changer
This seems to just say if you work a smaller area with a smaller pad it will correct faster or the same idea as using a 4-in pad - great correction when you stay in a small work area -- except now you use the edge of the pad with the pad edge supported by the backing plate. You just do not have to use a 4-in pads.
I had used 5-in pads (ones sold by Danase were really 5-in pads) and a 4.75 backing plate so you got good backing plate coverage on all the pad with the increased risk of the backing plate hitting something since it was at the edge.
Al
The Need to Bead
-
08-11-2011, 08:01 AM #4Auto Detail & Restoration

- Join Date
- Aug 2010
- Location
- ohio
- Posts
- 2,501
- Post Thanks / Like
Re: Edging the DA... A Game Changer
This makes total sense. I ordered my MF as a kit. The BP of course is much smaller. I like what I`ve seen so far but being use to a rotary for correction it seemed to lack. I`ll definitely give this a shot. I try to use as big of a plate I can with foam. I tried my foam plate but the pads were difficult to remove. They feel like I`m going to pull them apart even though lifting from the bottom. So I stuck with the supplied BP. Do you find that the Mirka BP has similar "bite" to the pad as the Megs?
Thanks for posting this.
-
08-11-2011, 08:11 AM #5

- Join Date
- Feb 2010
- Location
- Western, PA
- Posts
- 156
- Post Thanks / Like
Re: Edging the DA... A Game Changer
Thanks for the write up. I have really enjoyed using the new Microfiber System from Meguiar`s the couple times that I have used it so far. I will have to give this new edging technique a try.
So Kevin cut both the Mirka as well as the Meguiar`s backing plates down to the same diameter as the microfiber pads? I don`t know how he did it, but they look great. I see that you used the Mirka in your pictures above. Did you use the Megs plate at all? Maybe I missed it, but I did not see any pictures of the Megs plate with the microfiber pads attached.
Thanks
-
08-11-2011, 08:26 AM #6
- Join Date
- Oct 2009
- Posts
- 358
- Post Thanks / Like
Re: Edging the DA... A Game Changer
Thank you Originally Posted by Dr Oldz

You are correct, like Kevin said it boils down to pressure and area. What is nice about this method is you dont have to change backing plates or machines. You can use it as you go so to speak. Originally Posted by Bunky
The cut backing plate is great and can really help maximize cut but it is not absolutely necessary. You can use this method with the normal Megs BP and get great results. Originally Posted by Concours.John
Thank you, the new system is great and definitely give this technique a shot. Let everyone knwo how it works for you too! Originally Posted by Mister B
Yep Kevin cut both plates for me. I have used the Mirka alot but havent used the Megs as much. I will grab some pics of it on a pad and give it a proper review as well and post it here. I know this write-up isnt as thorough as I would have liked it to be but I wanted to get the info out and add more as I went.
"I can do all things through Christ who strengthens me."
Jon Leidgen
-
08-11-2011, 11:59 AM #7

- Join Date
- Jun 2011
- Location
- Texas
- Posts
- 2,033
- Post Thanks / Like
Re: Edging the DA... A Game Changer
This is pretty interesting. This was with the MF system only correct? Can it be done with foam pads too?
-
08-11-2011, 12:17 PM #8
- Join Date
- Oct 2009
- Posts
- 358
- Post Thanks / Like
Re: Edging the DA... A Game Changer
All of the results here were with the MF system, but that does not mean you cant do it with foam. I havent really tried it so Ill have to get back to you on how it works for me. If you try it let everyone know how it works for you. Originally Posted by Rocket
"I can do all things through Christ who strengthens me."
Jon Leidgen
-
08-11-2011, 12:23 PM #9
- Join Date
- Jun 2011
- Location
- Texas
- Posts
- 2,033
- Post Thanks / Like
Re: Edging the DA... A Game Changer
I might try it this weekend.
Do you worry about breaking or damaging the backplate? Seems like it would put pressure where the BP screws on the DA. I`ve seen a BP fail and the guy put some nice gouges in the paint but I don`t know how he cared for or used his equipment. I`ve never had any issues
-
08-11-2011, 12:31 PM #10
- Join Date
- Oct 2009
- Posts
- 358
- Post Thanks / Like
Re: Edging the DA... A Game Changer
No I never really did worry. I guess it is something to be aware of but you arent throwing your whole body into it. You want the backing plate moving so you cant throw too much pressure on it. Just use common sense with it and I think you will be fine. I havent seen any wear and tear on my equipment or pads. But proceed as you feel comfortable.
"I can do all things through Christ who strengthens me."
Jon Leidgen
-
08-11-2011, 12:55 PM #11Just a regular guy

- Join Date
- Feb 2009
- Location
- Oviedo/Stuart Florida
- Posts
- 15,278
- Post Thanks / Like
Re: Edging the DA... A Game Changer
Kevin Brown changed the way I look at paint polishing and the way many others do.
Thanks for sharing.
-
08-11-2011, 01:46 PM #12
- Join Date
- Oct 2009
- Posts
- 358
- Post Thanks / Like
Re: Edging the DA... A Game Changer
He did the same for me as well. I have really enjoyed picking his brain and getting to know him. Originally Posted by Todd Helme
"I can do all things through Christ who strengthens me."
Jon Leidgen
-
08-11-2011, 05:13 PM #13
- Join Date
- Aug 2011
- Posts
- 32
- Post Thanks / Like
Re: Edging the DA... A Game Changer
y not just use a smaller pad like the 3 inch disk???? the bearing on these machines were not designed for the operation like this. by tilting the machine, you are dynamically making a smaller pad. applying 20 pounds of force on a smaller pad (either use smaller pad or tilt machine) will give greater cut (in most case) than 20 pounds on a large pad.
-
08-11-2011, 10:14 PM #14
- Join Date
- Oct 2009
- Posts
- 358
- Post Thanks / Like
Re: Edging the DA... A Game Changer
Sure you can use some 3in discs to improve cut. There is nothing wrong with doing that if you feel more comfortable with it. I personally would rather tilt my 5" pad. The nice part about tilting is that you are not constantly changing from 5" to 3" for each deeper mark that needs more attention. Originally Posted by qaz393
As far as machine wear and tear I havent been doing it long enough to really say but so far there is no issues with my machine or my backing plates.
Thank you for your input.
"I can do all things through Christ who strengthens me."
Jon Leidgen
-
08-12-2011, 03:56 AM #15

- Join Date
- Jul 2011
- Posts
- 653
- Post Thanks / Like
Re: Edging the DA... A Game Changer
Congratulations on your first, in-depth, out of the box write-up, Jon.

Your excitement comes through loud and clear.
If you are going to do more write-ups like this... what else can we send you to write about?!
I sure appreciate all the nice things you wrote about me. I am always happy to help a guy that wants to learn.
For those of you that wish to try these things Jon has written about (and more than a handful of guys have been doing the tilt thing for years).... take ownership of your results, and be ready to smile REAL BIG if all goes as planned!
Your write-up actually discusses two things:
1. An "edging" technique.
2. A backing plate modification that can really affect polishing performance.
Edging.
This is nothing new to the rotary guys. Whereas we typically read that we need to keep our pads completely flat (or parallel to the surface) while we buff mainly to minimize swirling and excessive heat generation, most rotary guys buff most of the time using a certain amount of tilt.
When the machine is tilted (and consequently the buffing pad), it is almost always done to change the amount or way the pad is contacting the paint. If the goal is to concentrate applied pressure onto a smaller area, then the machine is applying all of its polishing power onto that smaller area. Unless a guy adjusts the pressure he is applying (which he usually does), he`s going to heat the paint in a hurry, all the while grinding paint away.
A guy that uses a rotary tends to learn this right away or the other way, which is the hard way!
In regards to the inevitable "safety" or "tool abuse" or "damage" questions, such as:
Originally Posted by qaz393
Anyone worth his salt needs to be sensible when venturing out of the "norm" in terms of how manufacturers recommend we use their products. He should take ownership of the fact that if he shreds a buffing pad or disc, or bends a backing plate shaft, or melts the Velcro® on the backing plate... he was probably overdoing it. Personally, I have not yet roasted the Velcro on a backing plate, nor broken a plate, nor burnt up a machine. I say this not at all to brag; instead, I am fully aware that should these things occur, it is of my own doing. It will be my fault. Originally Posted by Rocket
2. Backing plate modification.
Watch out for areas such as mirrors and curved areas, such as plastic bumper cladding. The closer you match the backing plate and microfiber disc diameters, the more likely you are to have a problem if you`re not careful. Fortunately, the Meguiar`s DA Microfiber Discs are very easy to control, and are predictable in terms of how they move across a surface. This is especially true if you are using middle-of-the-road speeds, and a random orbital.
If you plan on cutting down the squishier W68DA Backing Plate, you may want to cut it a bit smaller and flare the edge because as it bends, you`ll notice that it will protrude past the edge of the disc. Flare-cutting the edge will give it a lower profile, and it`ll be less likely to bump a mirror or a curved body part (such as a bumper, or spoiler).
Originally Posted by Bunky
There is another BIG advantage to using a larger diameter pad to do the work of a smaller diameter pad. Originally Posted by qaz393
As written in this post:
June 4th, 2009 TID - Griot`s DA and 6" MF pads?? Post 15
From the post:
4. Procedure plays a big part in the choice of pads. For example, if you tend to tilt the machine in order to focus applied pressure or machine motion (or polishing energy), then you`d have to tilt the machine more in order to create the same sized footprint upon the paint as a smaller disc would. In fact, you don`t even need to tilt the pad for this dynamic to occur. A panel featuring even a modest curve or bulge would net a similar effect.
Note: I think that tilt is one of the reasons some guys aren`t too keen on using the Flex XC 3401VRG with the Meguiar`s Microfiber Discs. After all, the discs don`t use overly squishy foam, so machine motions are transferred through the foam to the microfiber material very efficiently. When the machine is tilted even a little, the concentration of pressure and the machine`s forced rotation tries to rotate the pad like a tire, taking the polishing guy along for the ride.
And then this:
June 4th, 2009 TID - Griot`s DA and 6" MF pads?? Post 21
From the post:
And if you tilt the machine so that a majority of pressure is on a smaller catseye-shaped portion of the disc... you get the benefit of a small footprint such as the small disc offers, with the edge speed of the large disc. Or, you could feasibly donut hole a pad until you mimic the surface area of the smaller disc, yet polish as you normally would with a large disc.
I place the disc onto the plate, trace the diameter onto the backing plate. I use masking tape to wrap the threads of the backing plate stud, then clamp it into a handheld drill. Put my safety glasses on, set the drill on a solid surface (like a table) to stabilize, spin the plate at a moderately slow speed, and push an X-Acto blade through the marked line. I`ve gotten to the point now of just measuring and marking the backside of the pate, as it is easier to get a straight cut pushing through the foam versus pushing through the Velcro® first. Originally Posted by Mister B
Then, I use 80 a file to shaped the plate if it needs to be trimmed a lot. Otherwise, I use an 80-grit sanding disc to shape, and then finish off with 180-grit. To sand, just spin the plate using the drill, and sand using the other hand.


 Reply With Quote
Thread Information
Users Browsing this Thread
There are currently 1 users browsing this thread. (0 members and 1 guests)
Similar Threads
-
Want to up my game...
By gimmeAlighter in forum New Autopians Introduce YourselfReplies: 3Last Post: 11-07-2012, 10:25 PM -
A game changer for my detailing arsenal and beyond?
By The Gloss Boss in forum Interior Car CareReplies: 20Last Post: 11-15-2011, 06:03 AM -
Edging the DA... A Game Changer
By PAR Detailing in forum Machine Polishing & SandingReplies: 9Last Post: 08-22-2011, 07:28 PM -
QUestion about adding a cd changer to a `93 Mercedes
By starwolf39 in forum Body Shop & Mechanical ModificationsReplies: 4Last Post: 04-25-2002, 01:33 PM -
amplifier cd changer mounting
By jump23 in forum Car Interior & ElectronicsReplies: 2Last Post: 02-13-2002, 07:42 PM
Bookmarks