

Optimum Opti-Coat 2.0: How To
NOTE: Video added to end of post. 7/27/12
Opti-Coat 2.0 offers a high-gloss protective clear resin coating, similar to the clear coat that already exists on your vehicle, only better! Optimum Opti-Coat 2.0 can be applied to all exterior surfaces. Unlike wax and sealant coatings which will wash and wear away, Opti-Coat 2.0 provides superior protection that lasts-wash after wash- day after day- year after year.
Optimum Opti-Coat 2.0 can be applied to the following exterior surfaces:
- Painted (both single stage and clear coat)
- Headlights
- Wheels
- Bumpers
- Aluminum & Chrome Surfaces
- Trim
Much like clear coat protects the paint underneath (which in turn protects the primer that protects the body material), Optimum Opti-Coat 2.0 provides protection for the clear coat. Opti-Coat 2.0, when fully cured, is extremely hard and scratch resistant. The thin layer of Opti-Coat 2.0 itself is highly resistant to UV rays, acidic and caustic compounds, and resists surface attachment by foreign material. Your car will enjoy the following benefits:
- More resistant to surface scratches such as swirl marks and wash marring
- Much greater resistance to acid damage from polluted rain, bird bombs, and insect residues
- Improved resistance to light abrasions such as fine rock chips and road blast
- Release and shed dirt, grime, and road pitch much easier, making washing easier
- Resists contamination reducing the need for claying
- High levels of UV protection to reduce sun fade
Optimum Opti-Coat 2.0 was modified slightly from the original professional formula. (The pro version is still available under the Opti-Guard name.) Optimum Opti-Coat 2.0 cures more slowly, which gives you more time to apply the coating correctly.
Directions:
- Prepare paint by cleaning, claying, and polishing to remove any paint defects. Once Opti-Coat 2.0 has cured you will not be able to polish any defects that remain unless you remove the Opti-Coat 2.0 first.
- Clean the surface with a paint cleanser such as a 15% or stronger solution of Isopropyl Alcohol (IPA) or dedicated stripping agent.
- Prime the applicator by making an X pattern across the pad. Only a few drops will be needed for each subsequent application.
- Wipe Optimum Opti-Coat 2.0 onto a single panel at a time in a thin layer using two directions, in a circular or front to back direction.
- Within 5 minutes, inspect the panel with adequate lighting looking for any thick areas (high spots) that have not flashed away to clear.
- Use the foam applicator or a paint safe microfiber (A Gold Plush Jr. Microfiber is included in the Opti-Coat 2.0 Kit) to even out any areas where you see thick areas or streaks. Note: This step is key, as any spots not leveled will have to be polished if allowed cure. Panels will feel a bit tacky and will be self-leveling during cure time, so avoid any unnecessary touching, wiping, or contact to produce the best results.
- Repeat steps 1-6 for each panel where application is required.
- Allow to cure for 24 hours with out exposure to the elements.
Surface Prep
Since Opti-Coat 2.0 forms a permanent coating over the surface (that can only be removed by abrasion such as paint polishing) any paint defects will be sealed in after the coating cures. Wash and dry carefully, then clay thoroughly to remove any bonded contamination that could affect surface bonding. Take your time and polish the paint to remove any paint defects. Make sure that you are satisfied with the paint condition before moving forward with application.
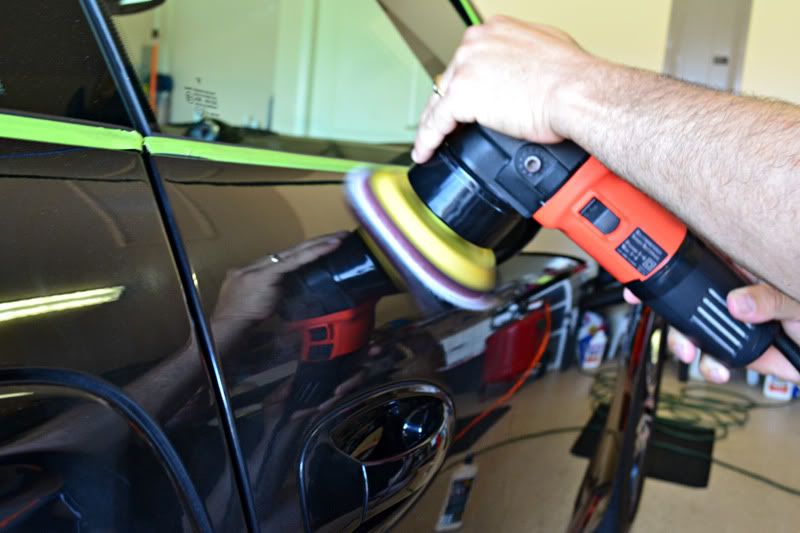
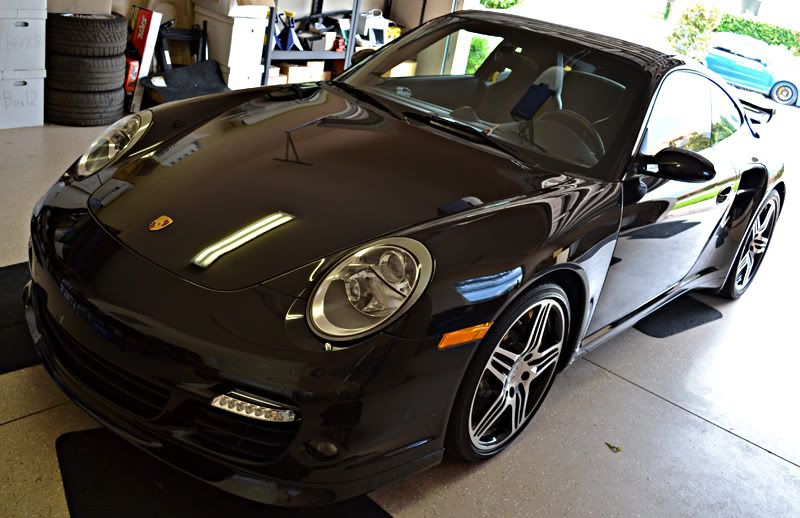
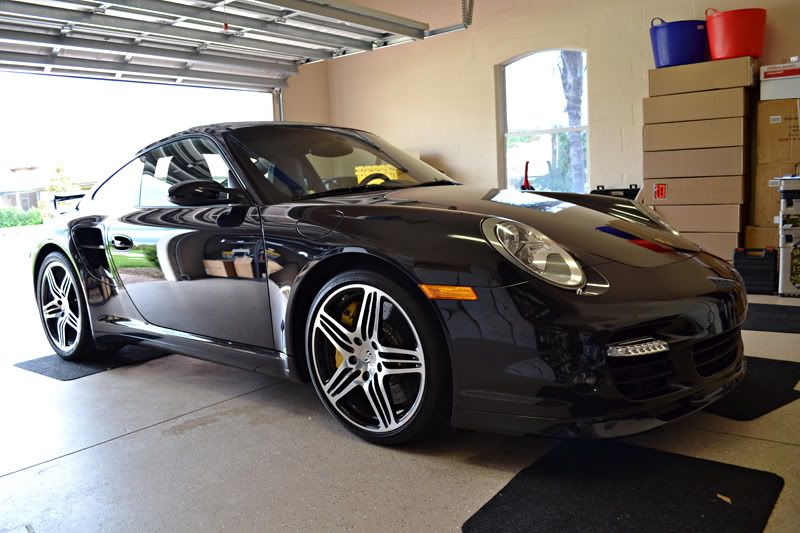
To prepare this Porsche 911 Turbo the paint was carefully washed with Optimum Car Wash and clayed with Pinnacle XMT Speed Clay. Then it was polished using Optimum Hyper Compound Spray using a Meguiars Microfiber Cutting Disc with a Griot`s Garage 6 Inch Orbital Polisher. This aggressive polishing step was repeated until we were happy with the surface condition. Then the paint was polished with BLACKFIRE SRC Finishing Polish using a 5.5 Inch Lake Country Hydro-Tech Crimson Pad, again with the Griot`s Polisher until gloss was maximized.
Clean
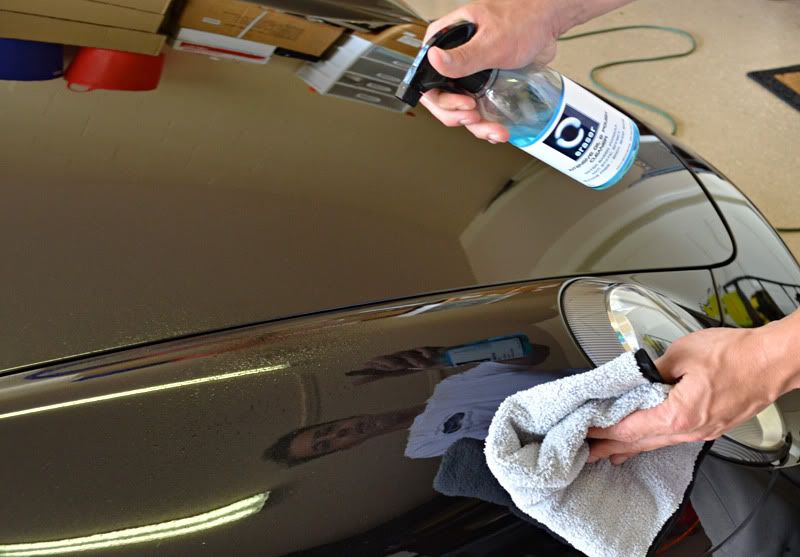
Machine polishes, clay lubes, and almost any product that touches of the surface of your paint (including your finger tips) contain oils or lubricants that may interfere with Opti-Coat 2.0`s bonding. In order to ensure the best results and easiest application the paint should be free of all chemicals. You can use diluted IPA or a chemical stripper.
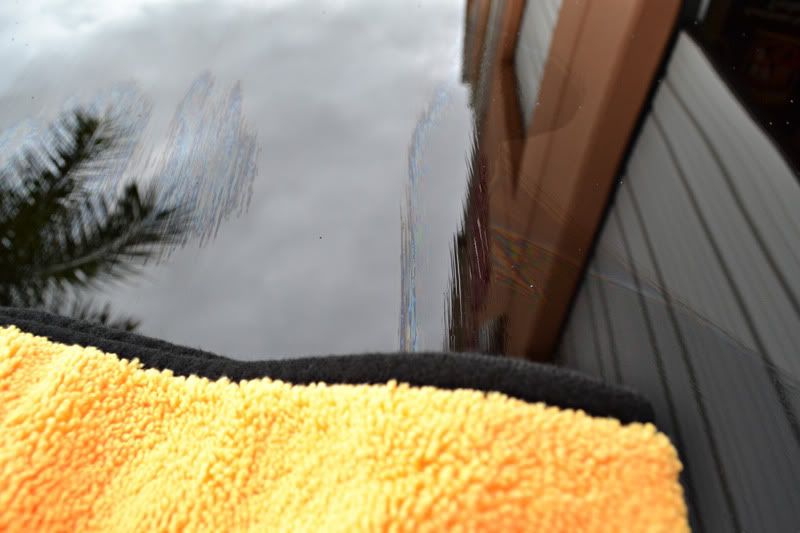
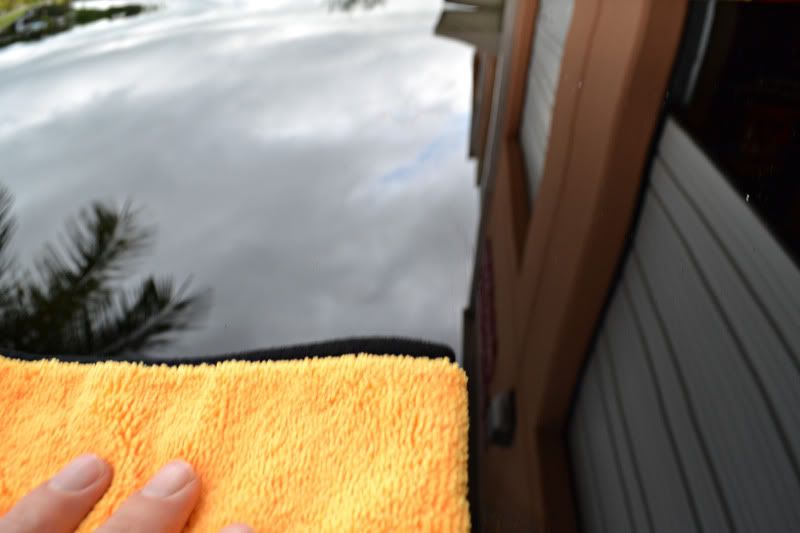
I prefer CarPro Eraser Intense Oil & Polish Cleanser. It is a blend of slow flashing alcohol and surfactants that make it easy to remove any offending oils with out streaking. Mist CarPro Eraser on the panel, spread with a soft microfiber cloth, then immediately flip the cloth over and buff dry before any residues can re-deposit. Because CarPro has a long-flash time it is more forgiving then traditional alcohol, plus the added lubrication adds some protection against accidental marring.
Setting Up
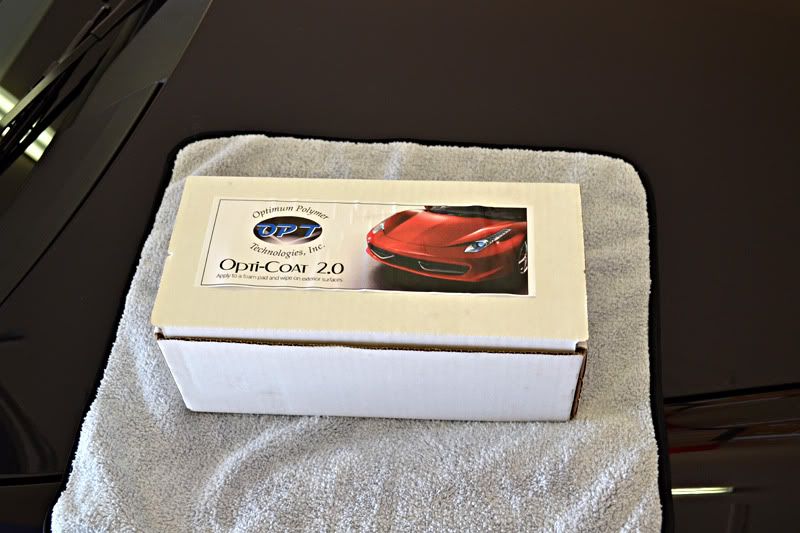
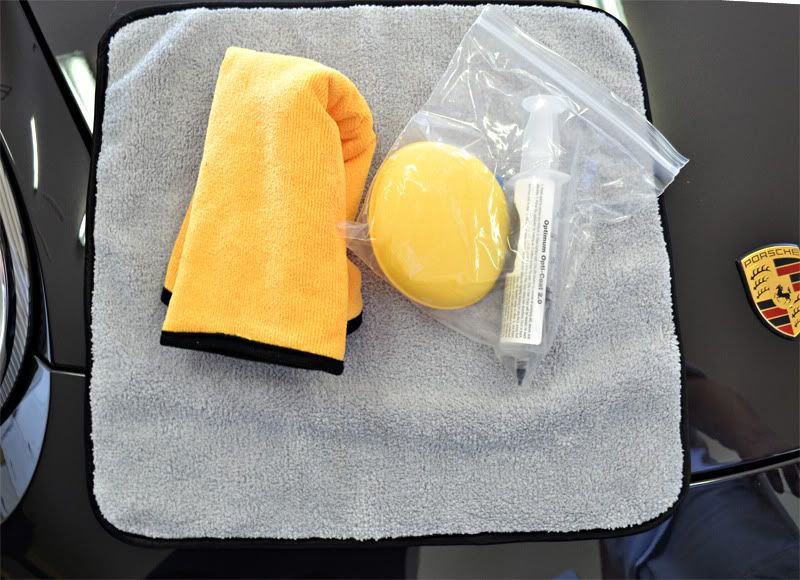
Optimum Opti-Coat 2.0 ships in a package that includes:
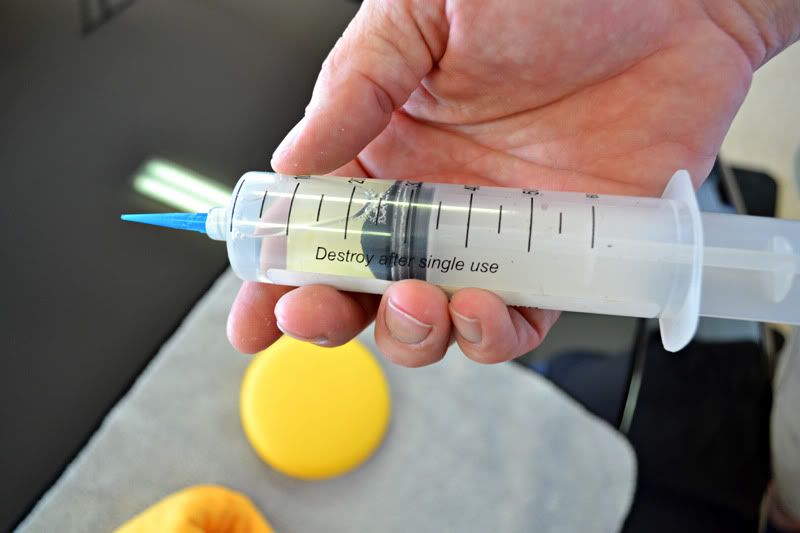
- 20 cc`s Optimum Opti-Coat 2.0 in a syringe (enough for several cars)
- Syringe Tip
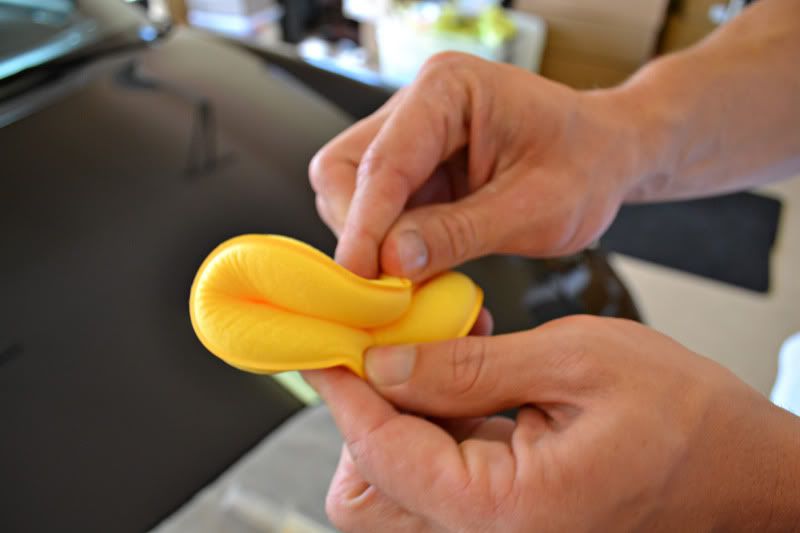
- Foam Applicator
- Gold Plush Jr. Microfiber Towel
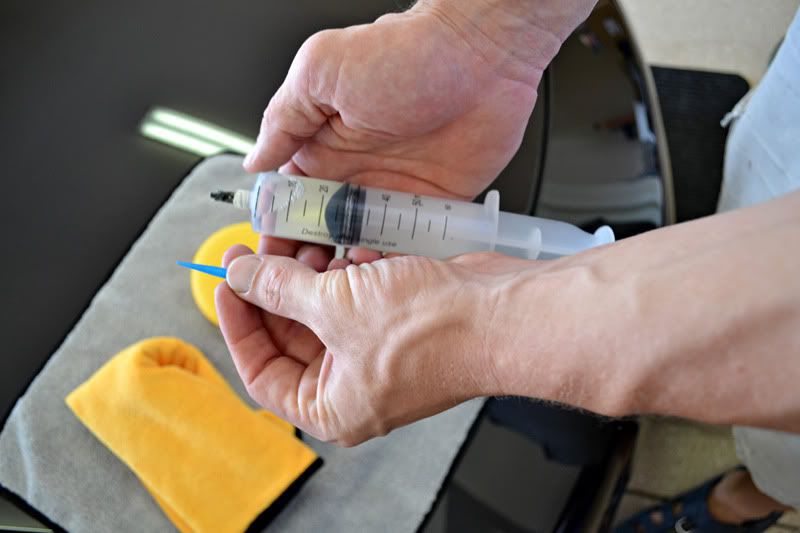
Start by unscrewing the black cap from the Opti-Coat 2.0 syringe. Don`t loose the cap as it you will need it to re-seal the Opti-Coat when you are done. (There is enough product supplied to fully coat 2 or more vehicles.
Screw on the supplied blue Syringe Tip.
Application
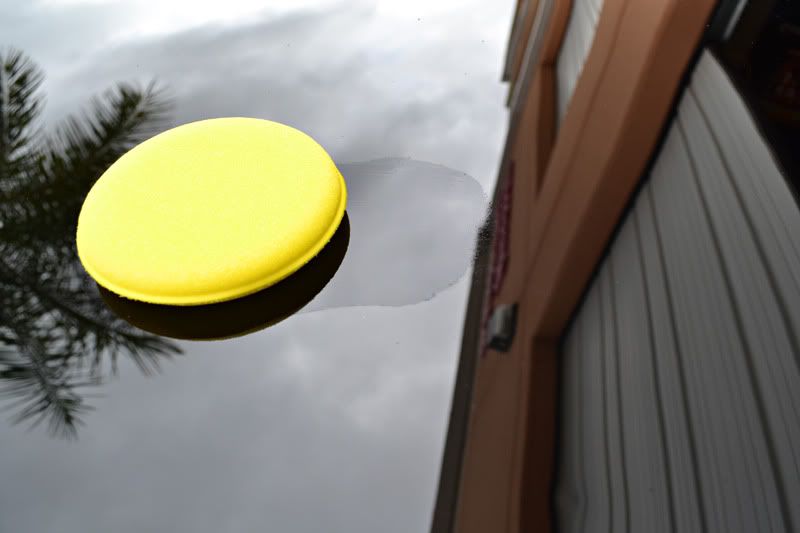
Apply Opti-Coat 2.0 to the foam applicator by pressing on the plunger in the syringe. For your first panel draw a thin X across the pad. For subsequent panels apply a few drops.
After applying an X, I like to fold the applicator on itself and spread product to as much of the bare foam as possible.
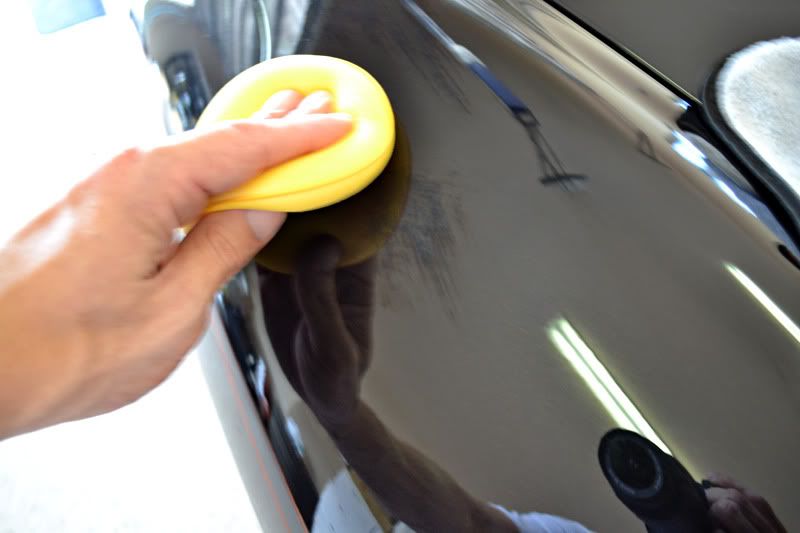
Now wipe on the panel in two directions, spreading a very thin coat over the panel. For example apply up and down, then side to side, or in a circular pattern followed by side to side. Note: Larger panels such as hoods should be split into halves.
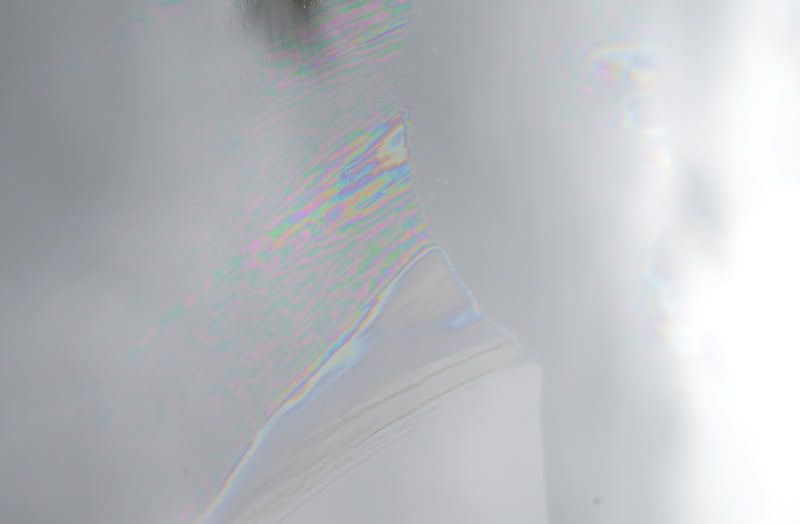
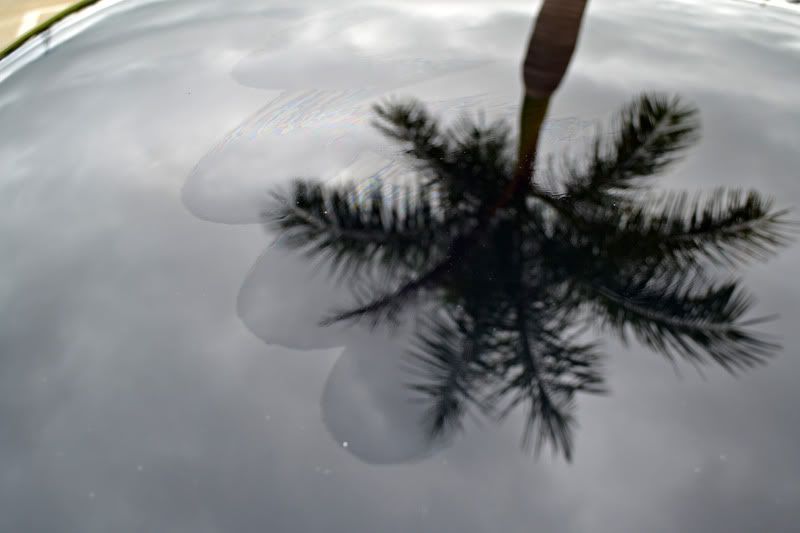
Opti-Coat 2.0 will initially leave a fine film of product behind. Note: Optimum Opti-Coat 2.0 should be applied indoors; the following pictures where taken outside are for reference only. (The outside lighting better shows the application)
Optimum Opti-Coat 2.0 will look oily upon application.
It will quickly begin level, appearing to `melt` into the paint as it flashes off. These pictures are taken 5 seconds apart.
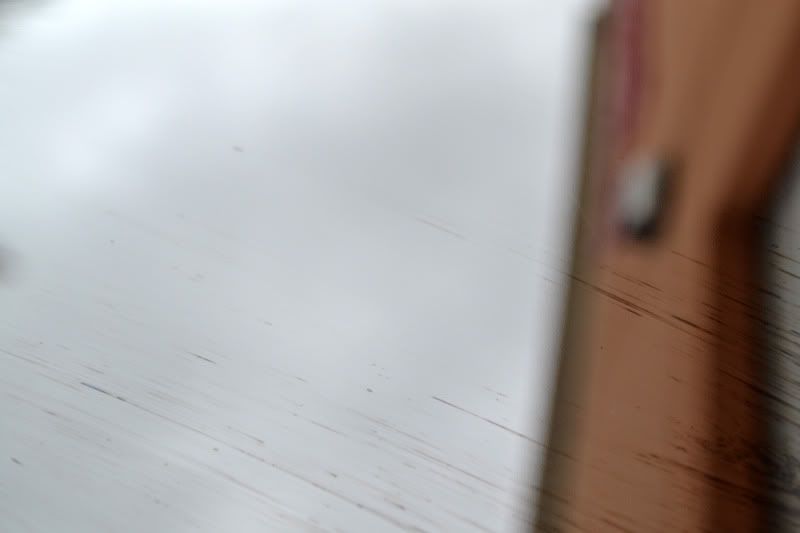
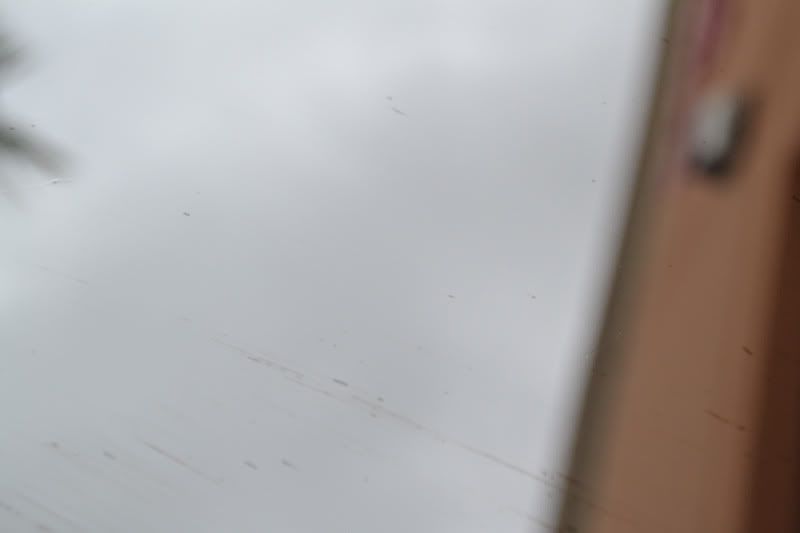
High Spots
As you can see from the above pictures, Opti-Coat 2.0 is self-leveling and very easy to apply. However some areas may have thick areas of product that appear as dark splotches or streaks. These high spots must be removed before Opti-Coat 2.0 fully cures.
Inspect the paint in adequate light 5 minutes after application, looking for any areas that have not self-leveled during this time period. In the pictures below I purposely over-applied the product to create visible high spots.
You have up to 20 minutes to remove high spots from the paint. Lightly buff them away with a microfiber towel or smooth them over with the foam pad.
Repeat the previous steps, applying Opti-Coat 2.0 to, and removing high spots from, a panel at a time until the entire vehicle is coated. Remember you can apply Opti-Coat 2.0 to wheels, trim pieces, coated & uncoated metals, and headlights. Avoid direct exposure to the elements for 24 hours if possible.
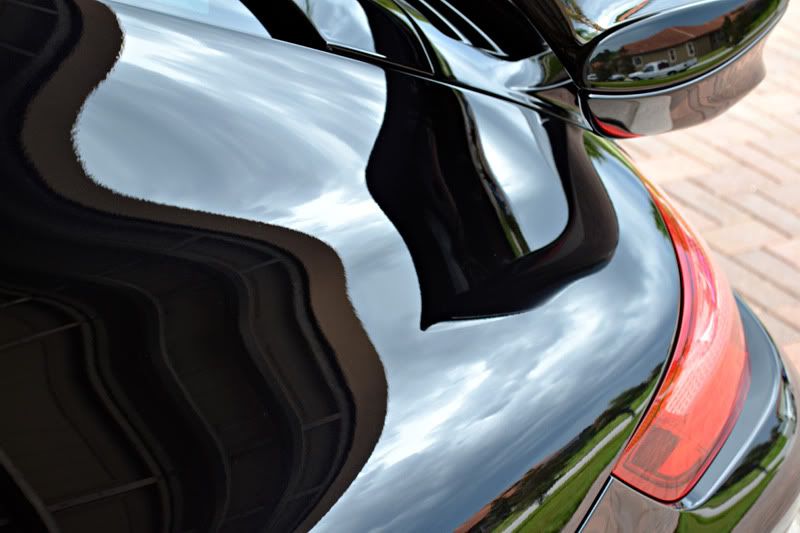
Here are pictures of the black Porsche 911 Turbo after Opti-Coat application.
After Care
Optimum Opti-Coat 2.0 is like a wax, paint sealant, and clear coat on “performance enhancing supplements”. It excels at increasing your paint`s resistance to chemical, environmental, and sun damage while increasing it`s dirt shedding ability. However it is not the end-all be-all of paint care. In order to keep your paint looking great you should still care for it.
Follow the following tips to keep your Opti-Coat 2.0 and thus your paint looking great.
- Opti-Coat 2.0 dramatically increases your paint`s resistance to acid rain, bird bomb damage, bug damage, and chemical spills, however it is not impervious to them. If something is strong enough to chemically eat into and damage paint it will likely damage or remove the micro-thin Opti-Coat 2.0 (given enough exposure time). While you may have considerably more resistance (and thus time) to remove harmful chemicals from the paint, care should still be taken to do this.
- Wash your car carefully, using the two bucket method, a quality wash mitt, and dry with a soft microfiber drying towel. Opti-Coat 2.0 will dramatically increase your paint`s resistance to wash induced marring but it will not make it impervious. The increased hardness offered by Opti-Coat may completely eliminate wash induced marring if the safest techniques are used.
- Opti-Coat 2.0 still needs to be clayed, just far less frequently then cars that use traditional waxes and paint sealants. The contamination will also be much easier to remove with a mild clay bar due to Opti-Coat 2.0`s contaminate shedding ability.
- While you can wax or add a paint sealant over Opti-Coat 2.0. the reason for doing so would be aesthetics only. For the same reasons that contamination has a hard time sticking to Opti-Coat 2.0, so does waxes and paint sealants. There is very little microscopic texture for waxes and paint sealants to grip onto. Applications of Optimum Instant Detailer & Gloss Enhancer or Optimum Car Wax will keep the Opti-Coat slick and looking great for a long time.
Questions or Comments on Opti-Coat 2.0 application encouraged.
[ame="http://www.youtube.com/watch?v=nvj80cB2HLc"]Opti-Coat 2.0 Application - YouTube[/ame]
Results 16 to 30 of 44
Threaded View
-
06-27-2012, 04:46 PM #1Just a regular guy


- Join Date
- Feb 2009
- Location
- Oviedo/Stuart Florida
- Posts
- 15,278
- Post Thanks / Like

Comprehensive Opti-Coat 2.0 Application Guide
Last edited by Jesse@Autopia; 05-12-2015 at 10:50 AM.


 Reply With Quote
Thread Information
Users Browsing this Thread
There are currently 1 users browsing this thread. (0 members and 1 guests)
Similar Threads
-
VIDEO: Opti Coat Application
By imported_SilverLexus in forum Auto Detailing 101Replies: 11Last Post: 06-05-2011, 04:28 PM -
Opti Coat 2.0 Application Question
By imported_BretFraz in forum Waxes, Sealants, and LSP'sReplies: 17Last Post: 05-31-2011, 11:56 PM -
My Guide on How to Apply Opti-Coat
By Sirslap2 in forum Auto Detailing 101Replies: 22Last Post: 03-31-2011, 05:43 PM
Posting Permissions
All times are GMT -5. The time now is 04:00 PM.
 Copyright ©, 2002-2015, Autopia Forum - All Rights Reserved
4.2.2
Sponsored by Autopia-CarCare.com
Bookmarks