

My client brought this beautiful Low mileage Porshe in the Trademark Garage for inspection.
He is a fire fighter who always dreamed of owning this car. Cliff wanted to get it looking proper. While the car did look great to the average person he knew there was room for improvement. After our consultation He opted for a 1-Step paint correction package with a sealant.
Let`s get started!
Wheel Wells/Tires
For the wheel wells/tires I mixed up a bottle of McKee`s 37 Hi-Intensity APC @ 4:1. With this Detail Bottle it makes it easy to mix up your chemicals to the proper dilution ratio.
Step 1: Fill up Your Bottle with Hi-Intensity APC @ the 1-4 Marker.
Step 2: Fill the rest of the bottle with water (Note: Do not try to fill up from the hose this will cause foam)
Step 3: Spray the wheel wells and tires with the APC and let it dwell.
Step 4: Agitate Tire with stuff Tire Brush.
Step 5: Use a brush to clean/agitate Wheel Wells.
Step 6: Hose off / For heavier embedded dirt repeat if necessary.
Cleaning Wheels
Before you start cleaning the wheels remember to always ensure the wheel is COOL to the touch.
Step 1: Spray Xtreme Iron Remover Directly on the wheel.
Step 2: Let it dwell for a few mins (While you are waiting for it to dwell you can tackle the tires or wheel wells)
Step 3: Within a few mins if it will start bleeding red, This means it is dissolving the iron particles on the wheel.
Step 4: Fill up your bucket with a Shampoo, I added about 2oz`s of Xtreme Foam Formula to my wheel bucket and let all my wheel/tire towels soak.
Step 5: Clean your barrels with a Speed Master or Wheel Woolie wheel brushes. (Start from top to bottom)
Step 6: Use a wheel brush to agitate and clean the face of the wheels.
Applying Hydro Blue To Your Wheels
Step 1: After you cleaned your wheels/tires/wheel wells rinse off any remaining soap or wheel cleaner.
Step 2: Spray Hydro Blue DIRECTLY on your wheels, Including the face and the barrels.
Step 3: Rinse Off to a slick Hydrophobic Surface!
This is the easiest way to protect your wheels. Applying Hydro Blue to your wheels will make cleaning maintenance go alot smoother. It will also keep your wheels cleaner for a longer period of time.
Washing
For the washing process I added 3oz`s of Xtreme Foam Formula in my McKee`s 37 Foam Gun.
I added a few oz`s of Hi-Intensity APC along with Xtreme Foam Formula to my wash buckets to help strip any old waxes/sealants/tar/bugs.
We want to work on a perfectly blank canvas to start our polish and sealing process.
After I washed the entire vehicle and removed tar/bugs, I dried with a Waffle Weave Guzzler and pulled her in the Trademark Garage.
Clay Bar Process
Before we start any polishing or waxing, We need to make sure the paint is silky smooth and free of any bonded surface contaminants.
The Clay Bar is going to remove what we could not remove with just a normal wash. You do not want the bonded surface contaminants to be picked up in your polishing pad, This can have a negative effect in many ways such as scouring the paint you are trying to get perfect!
Step 1: Spray Plenty of Universal Clay Lubricant on the paint. (If the Clay Bar is fresh I like to mist a few sprays onto the clay bar itself before I start claying)
Step 2: Glide the Clay Bar across the paint in side to side motions (No Circle motions) North - South - East - West.
Step 3: Spray more product as needed.
Step 4: Use a drying towel to remove Clay Lubricant.
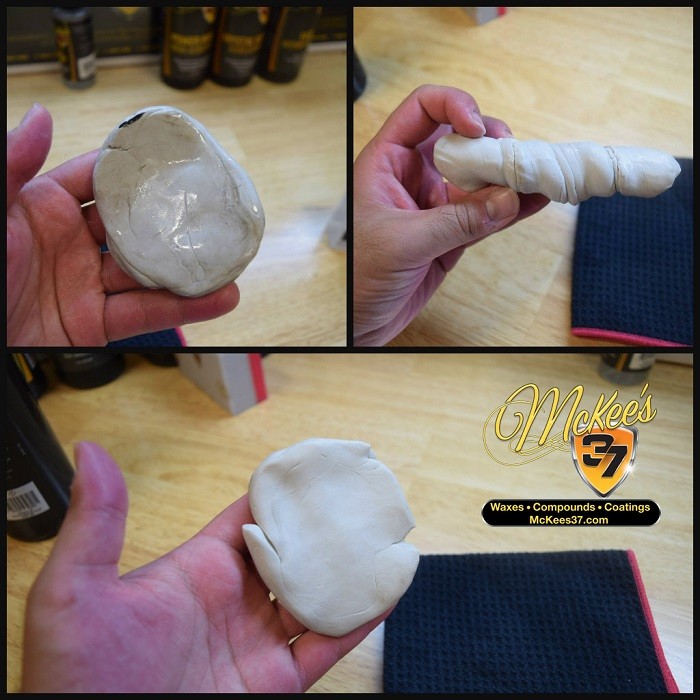
Before you move onto another section its important to "Knead" the Clay Bar to a clean section.
In the above photo you will see the the surface contaminants the clay bar picked up.
Step 5: Twsit/knead the clay and squish into a pancake to reveal a fresh clay bar!
Step 6: Work Panel By Panel till entire car is done.
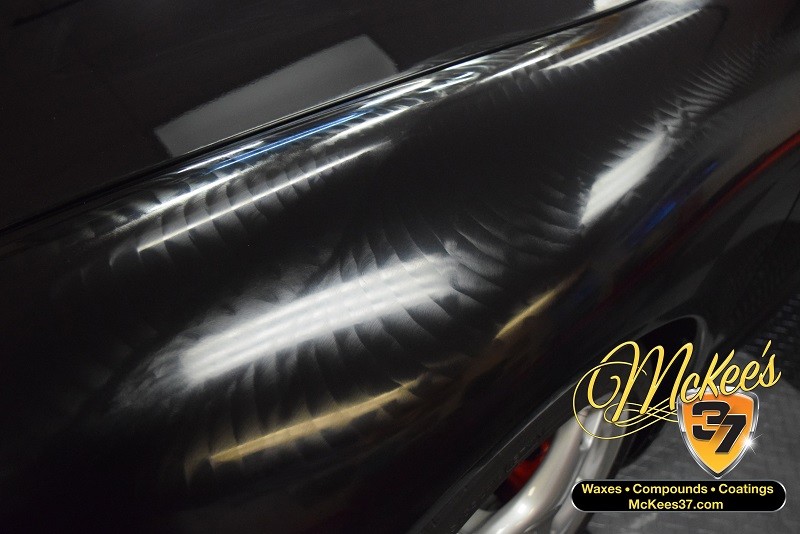
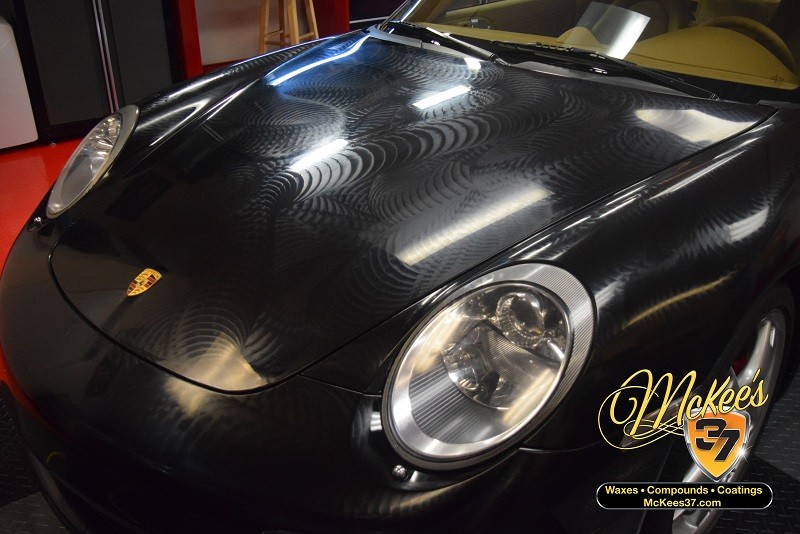
Paint Correction
The entire car was covered in etched in water spots, It also had a heavy case of swirl marks and scratches from improper wash methods.
For the paint correction process after some test spots I opted to use the following.
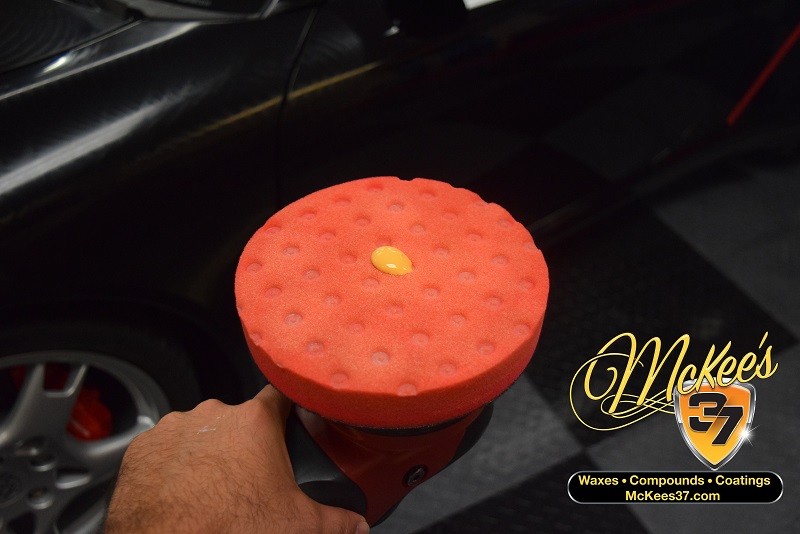
Flex 3401
5.5 Inch White Lake Country Polishing Force Pad
McKee`s 37 Fast Polish
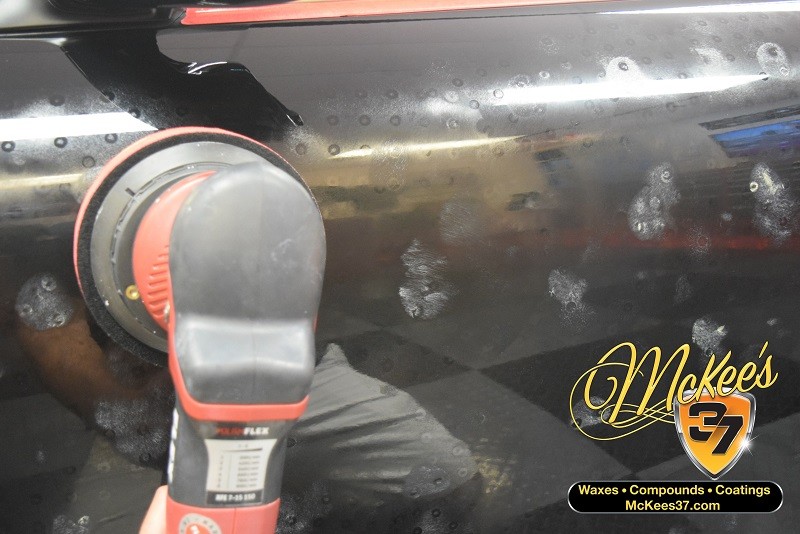
Technique: Speed 5 Heavy pressure first 3 passes, Last 2 little to no pressure.
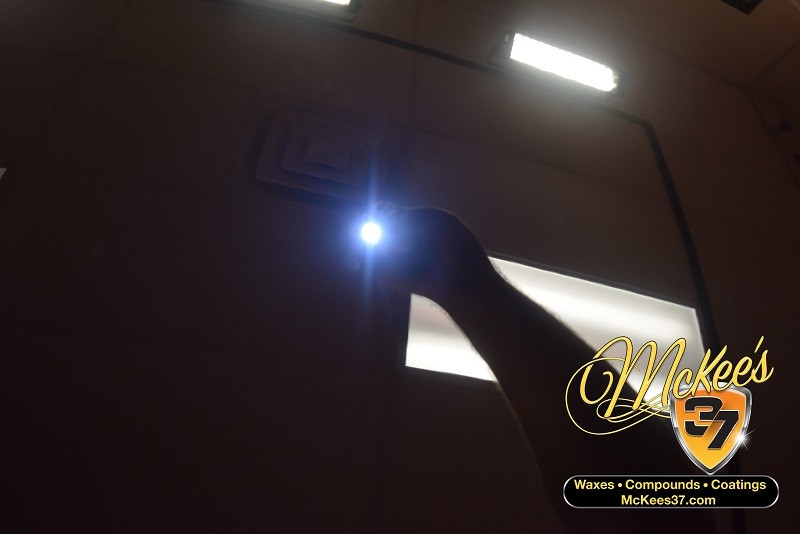
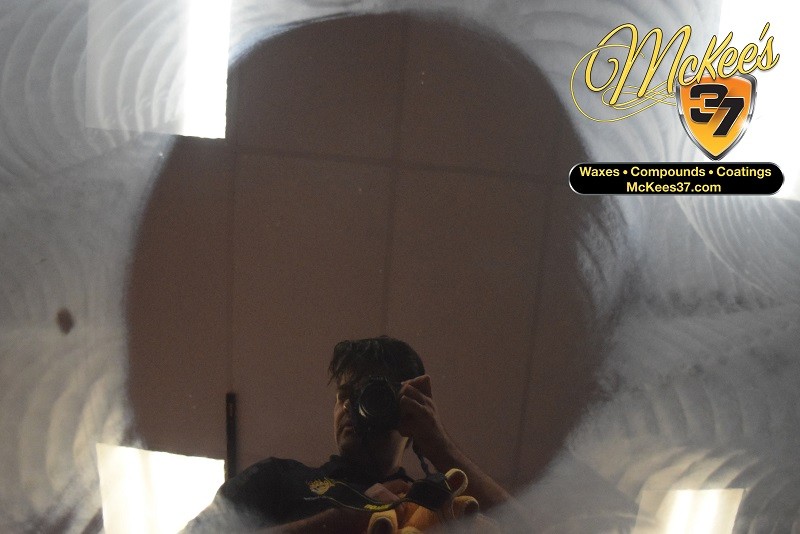
You can see the drastic difference in overall clarity, Fast Polish restored the paint finish in one buffing-cycle.
I taped off all the rubber trim, Not just to protect the rubber!
Buffing over trim is not a good idea, When your pad comes into contact with the rubber trim a residue will lift off the trim and embed onto your pad. You will now transfer that onto the paint scouring/hazing your finish.
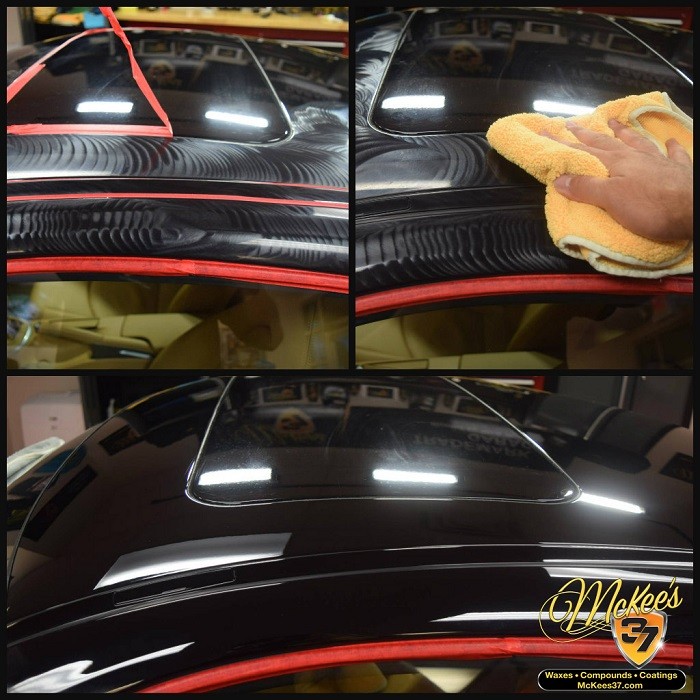
Tip: Fast Polish features an extremely easy buff off and long working time, Having that luxury means I can buff out the entire roof of the car before I wipe off! Trying to buff off the excess polish with a towel near tape is nearly impossible, It seems like your towel always picks up the adhesive from the tape causing the adhesive to go on your freshly polished paint.
I like to REMOVE the tape before I buff off the excess polish, That way I know I am not going to pick up any adhesive from the tape.
In the photo above you can see the difference between the roof and the painted sunroof cover.
Nice!
Buffing Out Pillars
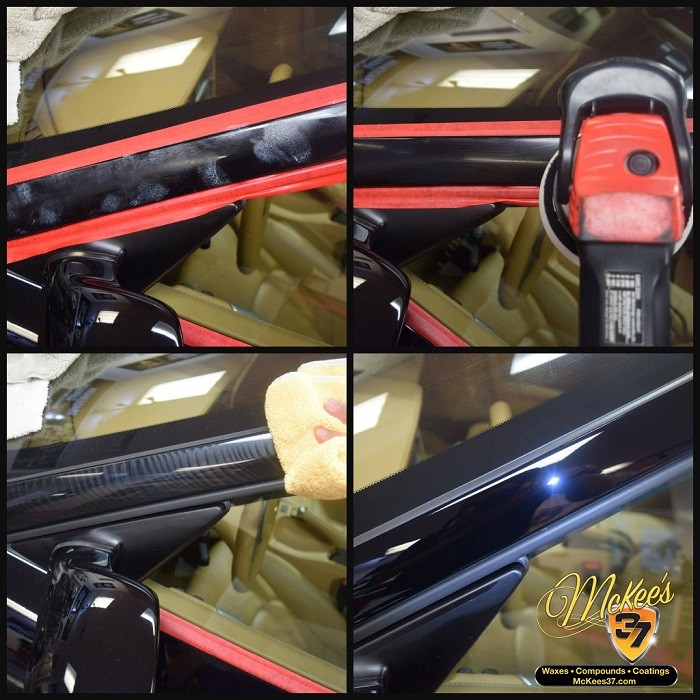
Using a Flex 3401 I am going to take complete advantage of the forced rotation drive, That means I am going to use this 5.5 inch pad to buff out this pillar. No need to swap to a 3 inch.
I am going to add my drops of product on the pad as normal, But I am going to smush them into the face of the pad before I dab the face of the pad on the pillar to spread the product. This will ensure I do not get build up in the cracks/seams.
The photo on the top left is an example of what you do not want to do!
The photo on the top right is the result of spreading the product before you buff on the panel, Notice how there is no residue, I spread the product without the product going in the cracks/seams.
Buffing out the rear engine "vents" I chose a pad the "flares" out This yellow Pad was the perfect choice to polish this area safely and effectively.
I always wait to buff the lower areas last, These areas have the built up grime/tar/bug etching. That even a clay bar wont remove.
Waxing/Sealing
This is a special time in the detailing process, when you wrap up your machine and clean up around you to start the waxing/sealing process!
I gave my client the option of a Showcar Wax like Trademark Paste Wax or High Def Paint Sealant. He decided to go with the sealant.
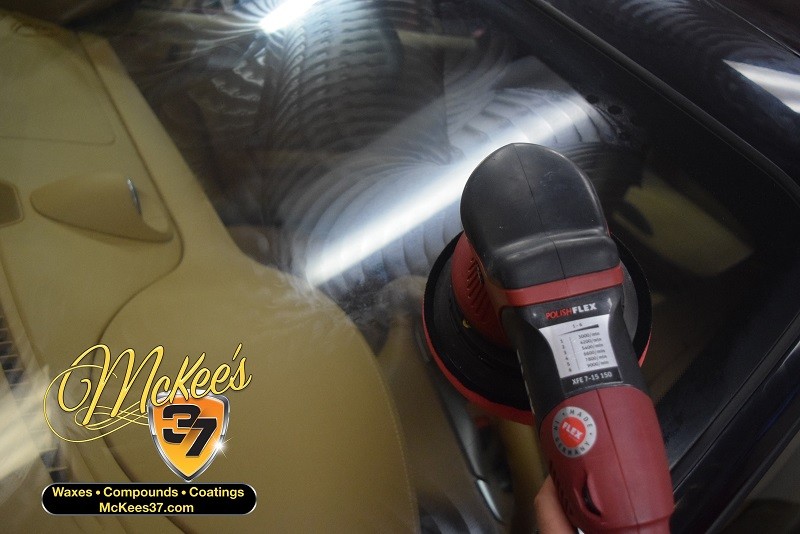
For the sealing process I opted for the Flex XFE 7-15 this is a free spinning dual action machine and is more ideal to apply your favorite wax or sealant.
The pad I am using is a red CCS Finishing pad.
Note: You can apply this sealant by hand or machine, I prefer using a machine due to even coverage, (It just so happens to be faster too!)
Because the pad is fresh I applied 5 drops of product.
I spread the product across the panel I am going to work.
I set the machine to speed 3 and applied the product with NO pressure.
You never want to apply any pressure applying a sealant/wax, The restoration process was done during the polishing stages, This is just to protect and enhance your polishing stages.
Now that you have done 1 panel, Your pad is already "primed" with product, You no longer need to apply 4-5 Drops, 1-2 pea size drops is all you need to seal an entire panel!
With that one drop we can seal this entire door.
I also apply the sealant to the glass!
This will make water bead right up when it comes into contact with your glass, Making it safer to drive under heavy rainfall.
You can let the High-Def Paint Sealant sit overnight or you can wait the minimum time of 15-20 mins. It is now time to wipe off the sealant.
BUT WAIT!
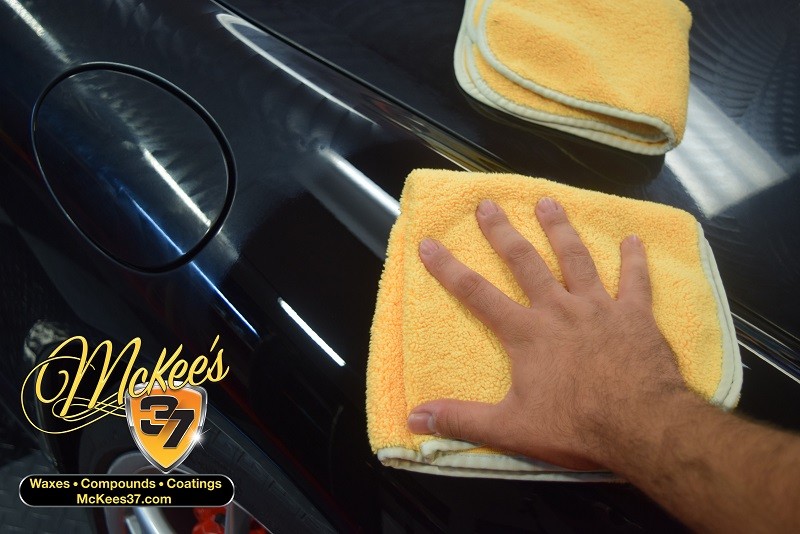
We just spent HOURS perfecting this paint, You don`t want to "drop the ball" this late in the game, Take the 2 mins and inspect your towel BEFORE you wipe off the sealant, Anything abrasive that might have got on the towel during washing or even in your storage can scratch the paint.
Drag your hand across the towel and if it "hurts" your hand it`s going to "hurt" your paint. This towel passed the test I am now ready to buff off the sealant.
The wipe off is effortless!
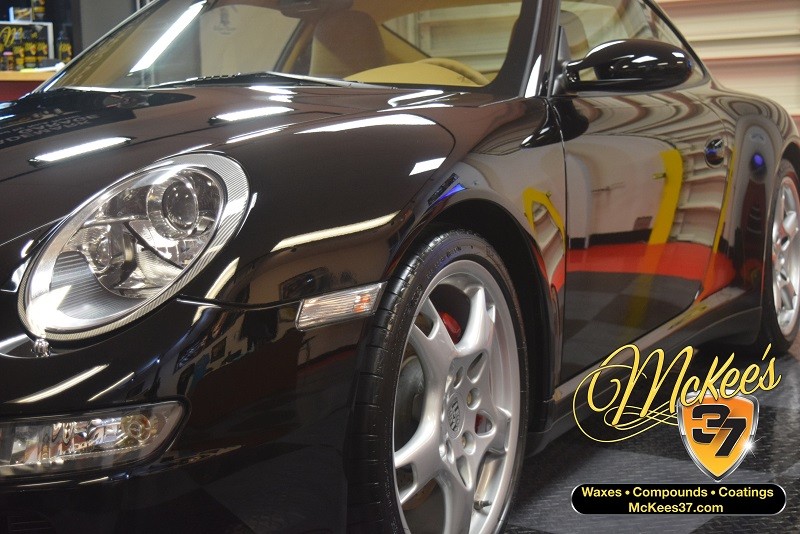
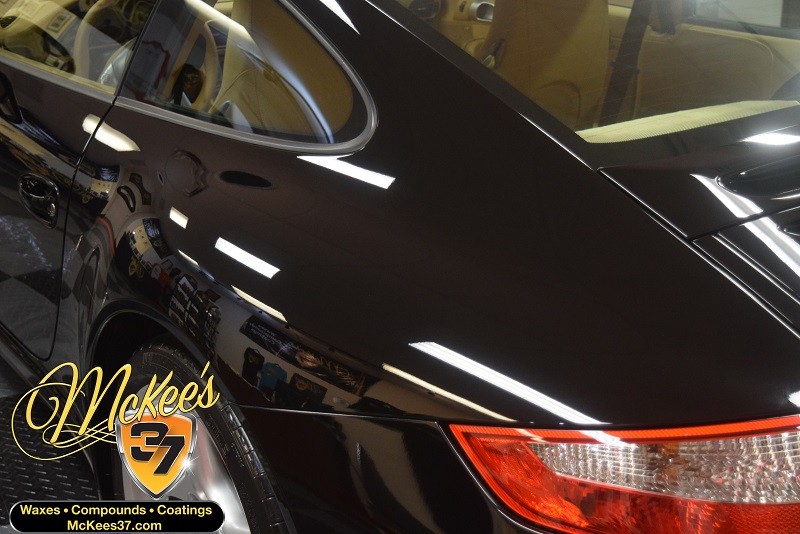
The After Shots
This moment is the reason Detailing is my profession, No matter how many cars I have polished, sealed, coated. There is nothing like stepping back 4 feet and just glare at shine you have created.
It makes your soar back, legs, and arms feel alot better when gazing upon your soaking wet finish.
Product List:
Xtreme Foam Formula
Xtreme Iron Remover
Fast Polish
Hi-Intensity APC (With Detail Bottle)
Krystal Vision Glass Cleaner
Gloss Tire Gel
Universal Clay Lubricant
Clay Bar
Hydro Blue
Flex 3401
Flex XFE 7-15
Lake Country CCS Red Finishing Pad 6.5 Inch
White Lake Country Force Polishing Pad 5.5 Inch
Foam Gun
Upon pickup the owner was teary eyed, He was genuinely so excited about the end result, He actually gave me a bear hug!
I am a very blessed person to say that I get paid to do what I naturally love to do, And seeing my clients reaction just makes my "job" even more pleasant.
Thanks for reading!
-Joe Metlow
Next Level Auto Detail
Results 1 to 7 of 7
-
11-27-2017, 03:33 PM #1McKee`s 37 Rep


- Join Date
- Mar 2017
- Posts
- 53
- Post Thanks / Like

McKee`s 37 Vs Black Porsche - Step By Step Guide
-
11-27-2017, 05:55 PM #2Wax Waster


- Join Date
- Mar 2008
- Location
- SwFL
- Posts
- 27,090
- Post Thanks / Like
Re: McKee`s 37 Vs Black Porsche - Step By Step Guide
Nicely done.
Formerly the "Best Detailer", now just Super Wax Waster Man. Not necessarily tactful, but normally right. It`s good to be da King !!!
-
11-28-2017, 08:40 AM #3

- Join Date
- Dec 2009
- Location
- Fort Lauderdale
- Posts
- 1,173
- Post Thanks / Like
Re: McKee`s 37 Vs Black Porsche - Step By Step Guide
Beautiful result!!! I can see why he was excited....
-
11-28-2017, 07:10 PM #4
- Join Date
- Mar 2012
- Location
- Reisterstown Md.
- Posts
- 3,075
- Post Thanks / Like
Re: McKee`s 37 Vs Black Porsche - Step By Step Guide
Nice work!
-
11-28-2017, 07:59 PM #5

- Join Date
- Apr 2012
- Location
- SW Florida
- Posts
- 3,197
- Post Thanks / Like
Re: McKee`s 37 Vs Black Porsche - Step By Step Guide
Excellent in all aspects: pics, write up, everything.
Scott Harle
www.autodermatology.com
Autodermatology
Serving Naples and SW Florida
Instagram: www.instagram.com/autodermatology
Facebook: www.facebook.com/autodermatology
-
11-29-2017, 10:14 AM #6Super Moderator

- Join Date
- Dec 2001
- Location
- Middletown, Delaware
- Posts
- 13,582
- Post Thanks / Like
Re: McKee`s 37 Vs Black Porsche - Step By Step Guide
Outstanding work Joe !!!
Sent from my iPhone using TapatalkOnly Z Best Detailing-Automotive Concours Detailing Services
http://ozbdetailing.com
https://www.facebook.com/ozbautodetailing
-
11-29-2017, 02:15 PM #7

- Join Date
- Jan 2005
- Location
- CT
- Posts
- 1,415
- Post Thanks / Like
Re: McKee`s 37 Vs Black Porsche - Step By Step Guide
Nice work!
Joe - Always look forward to your posts. There are always just enough pictures and your posts are nicely "detailed".


 Reply With Quote
Thread Information
Users Browsing this Thread
There are currently 1 users browsing this thread. (0 members and 1 guests)
Similar Threads
-
McKee`s 37 360 Vs Oxidized Toyota Tundra - Restoring Gloss In One Step!
By Joe Metlow in forum Click & Brag -The Detailers ShowcaseReplies: 1Last Post: 10-28-2017, 05:58 AM -
2003 Black Porsche Boxter S 2 Step with Opti-Guard - Garry Dean - Tampa, FL - Premium Custom Detailing
By Garry Dean in forum The Detailers ShowcaseReplies: 11Last Post: 07-21-2011, 08:47 PM -
Turning a 12 Years old E39 to show room condition, step by step guide by KC
By bbquer in forum The Detailers ShowcaseReplies: 7Last Post: 07-21-2010, 04:36 AM -
2007 MKV5 Step by Step Full Correction( 100+ pics)
By Nikku in forum Click & Brag -The Detailers ShowcaseReplies: 26Last Post: 11-23-2009, 04:35 PM -
Can someone explain to me step by step the process of properly preparing a finish (claying)?
By danondorf in forum Detailing Product ReviewsReplies: 21Last Post: 09-18-2008, 11:23 AM
Bookmarks