

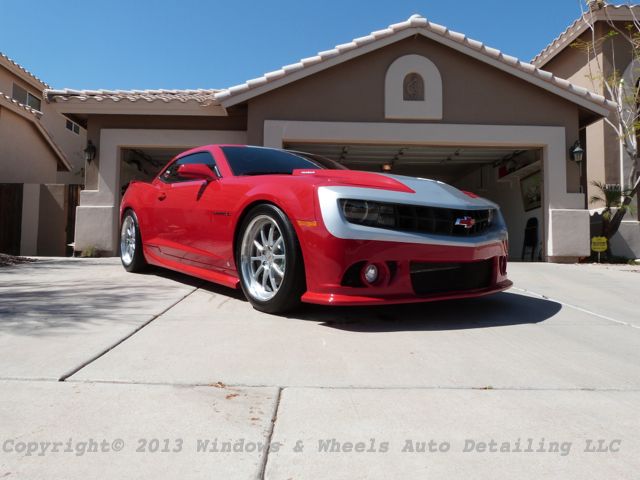
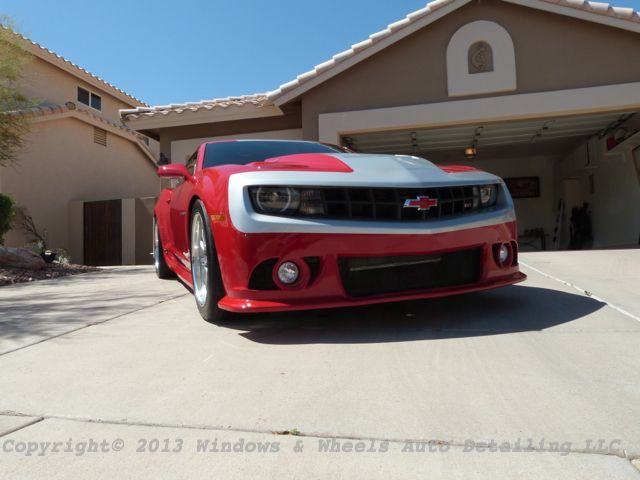
Hammered...thats what popped into mind when we first saw this car. That, and Hammerhead...because the paint job kinda made it look like a hammer head shark...all in though, this baby needed LOTS of love.
I`m going to apologize ahead of time because this post has over 100 photos, but we really wanted to document exactly what we started with....and what we ended up with...and help show how we got there.
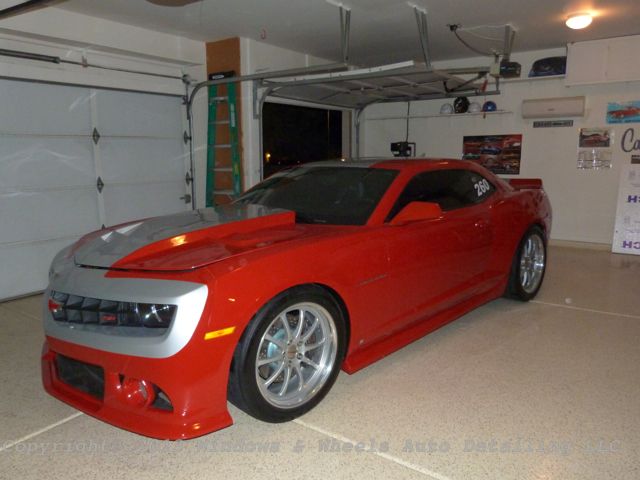
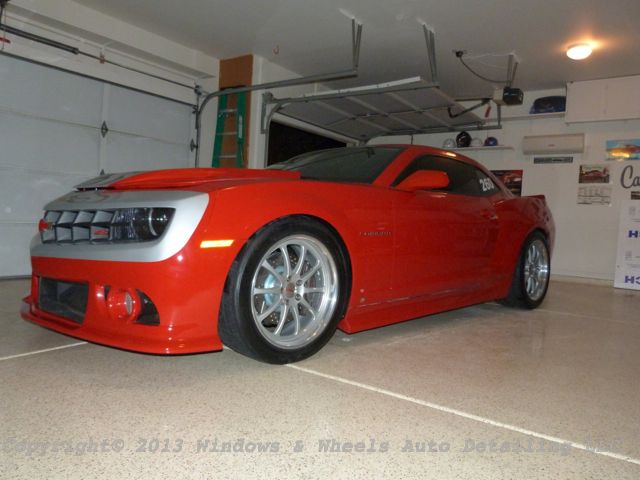
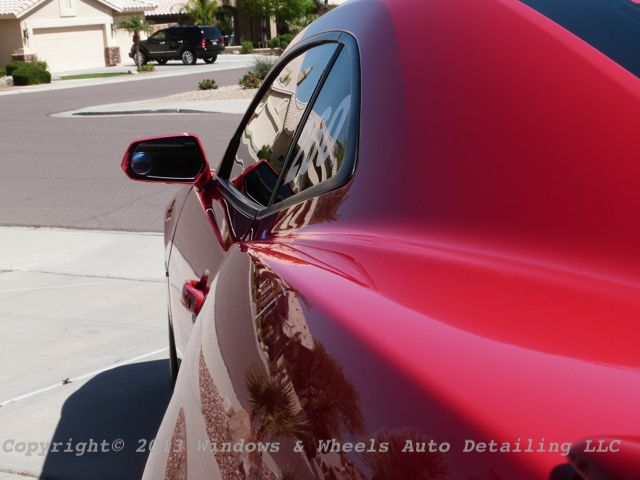
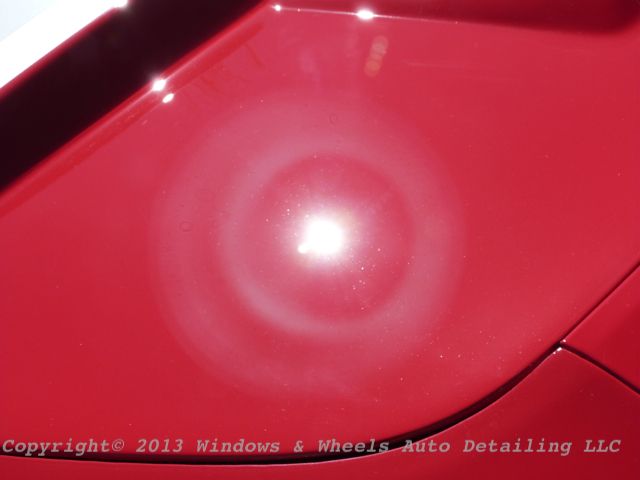
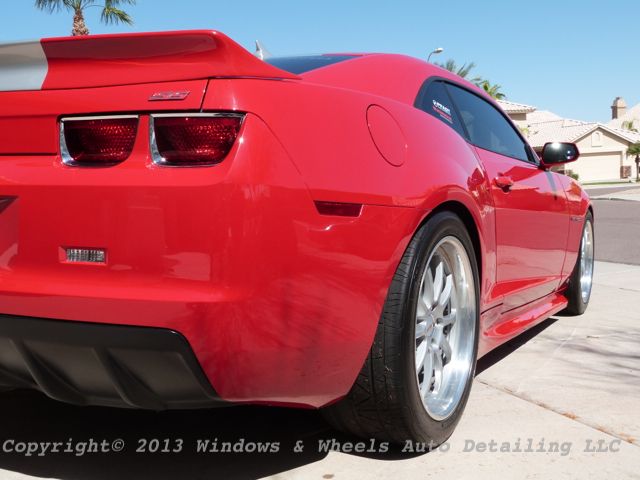
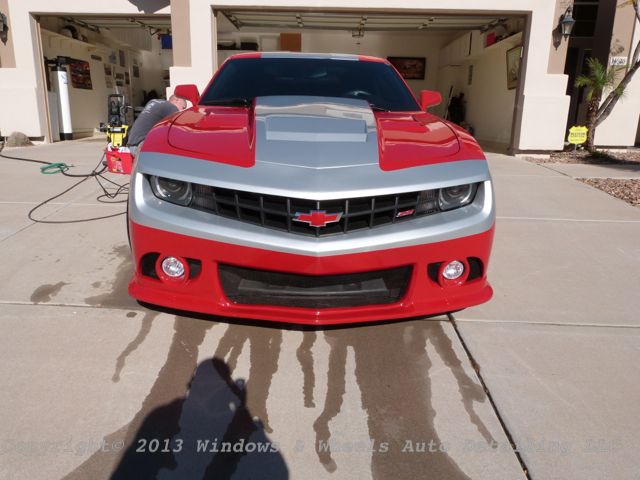
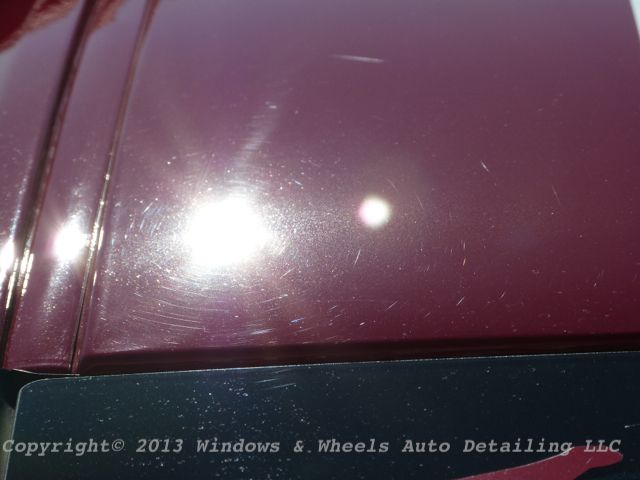
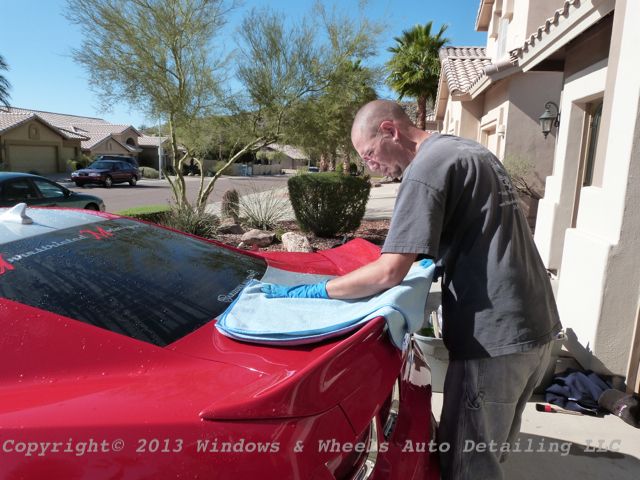
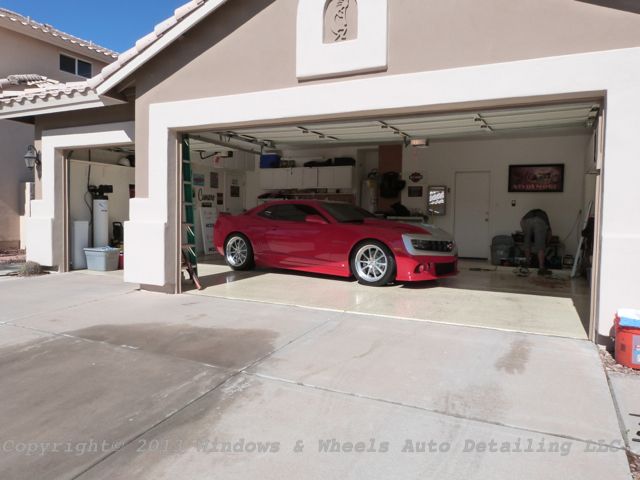
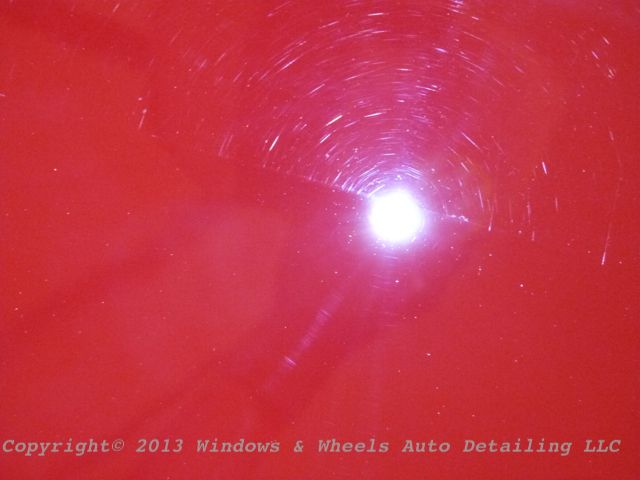
Yup, there she is....lookin pretty damn nice from certain angles. We went out to give the owner a quote....we took one look at a panel in the sun and knew we had some work ahead of us. We explained it needed a multiple step polish-out...serious compounding would be needed to cut the swirls and then final polishing to remove the haze from compounding and brighten the paint up to top notch quality. I told the owner I would send him a link to a write-up I had done so he could put a visualization to what i was describing to him.
After seeing the write up, he said he wanted us to take photos like that of his car and document the work like we had in the write up I sent...my response...of course! A car like this deserves to be documented...and a turn around like this surely does as well! He also opted for the Opti-Coat upgrade to help keep her in good shape.
He was going to have us detail it and then have a SuperCharger installed along with a few other upgrades....but Rick, the man who`d be doing the install...and also a customer of ours, suggested that he have the SuperCharger installed FIRST...and have the detail done second...that way there would be no chance of and swirls etc being put back into the paint AFTER we had polished it....that was fine by us
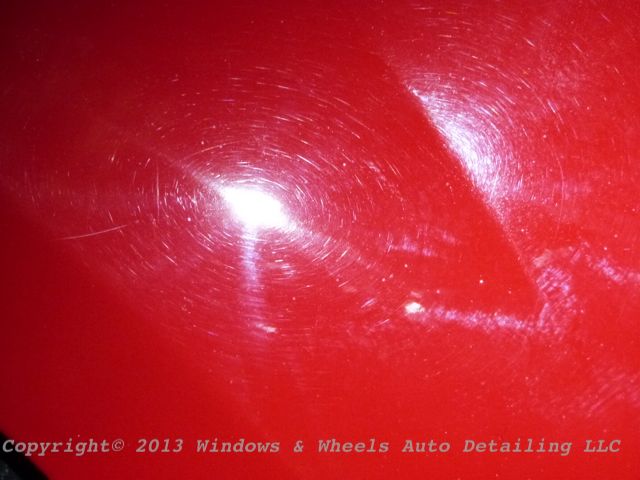
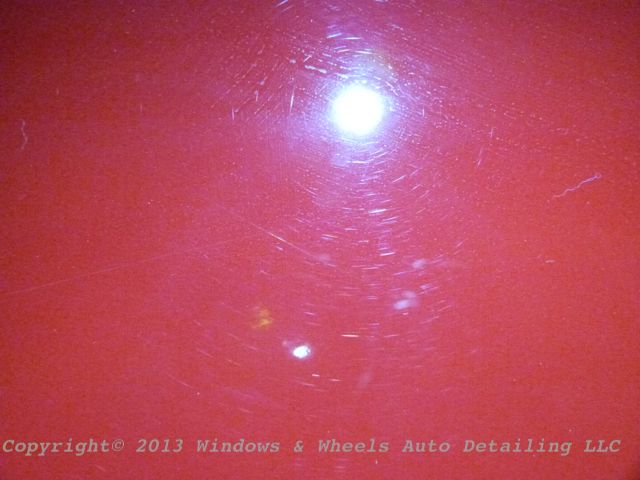
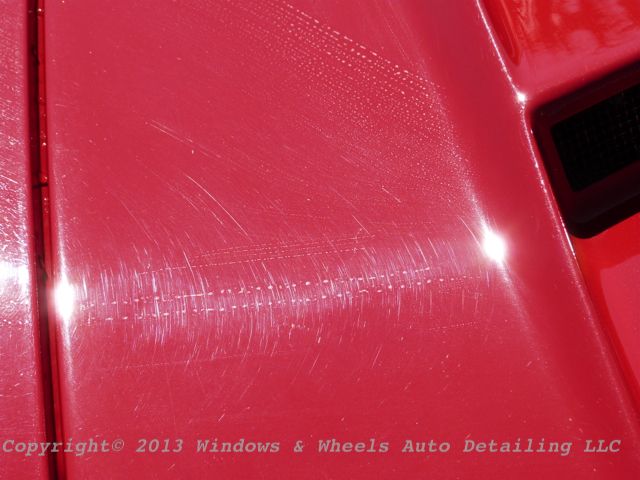
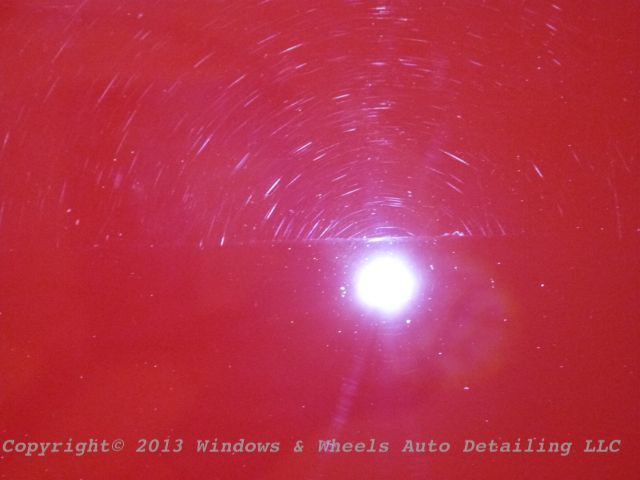
Now, back to the swirls I was talking about....
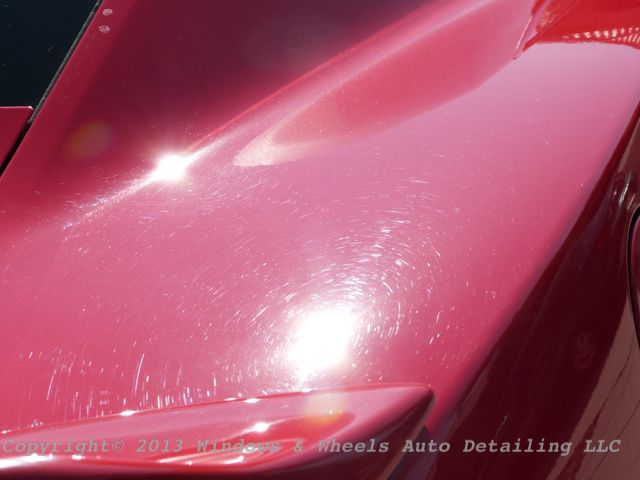
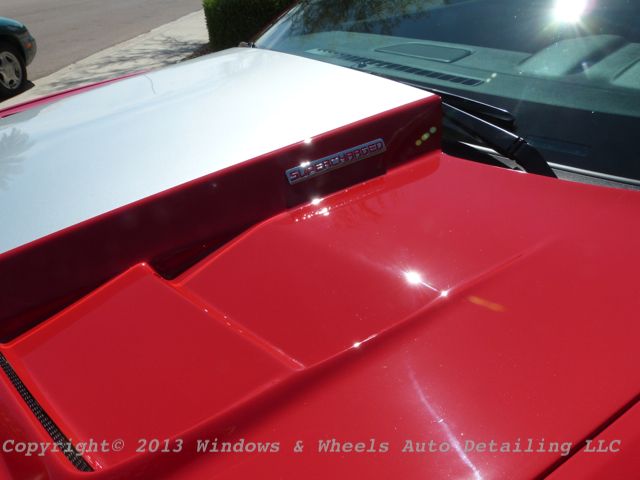
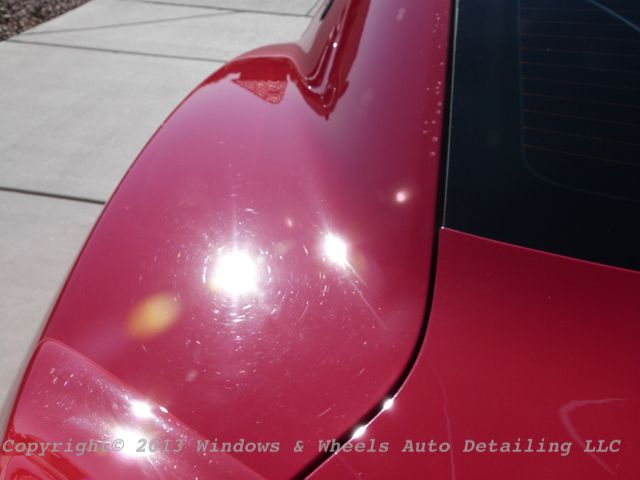
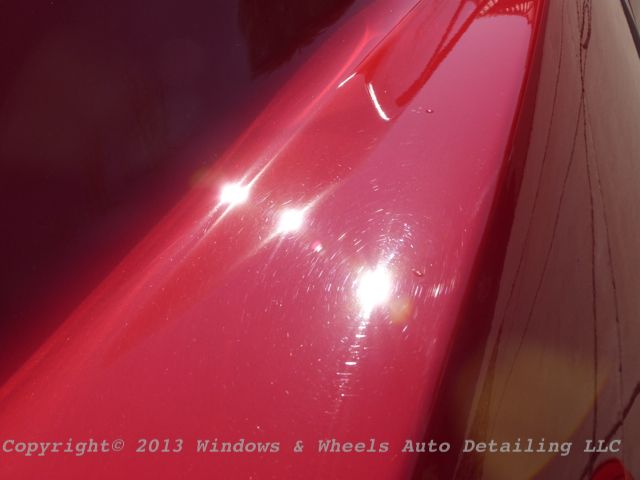
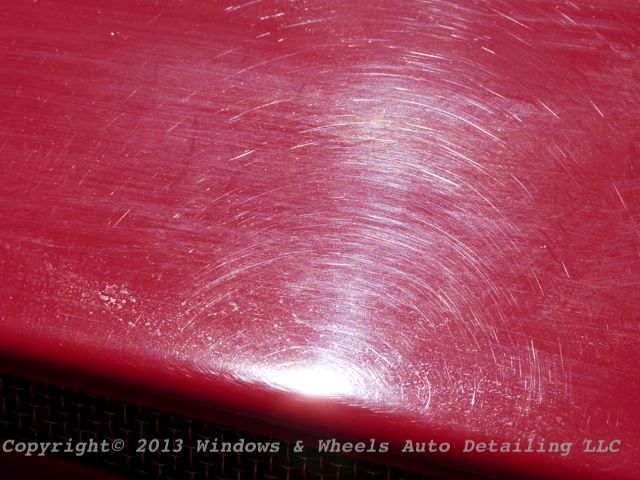
She`s got hips and she`s got swirls on her hips!
There is a quick taste of what we`d be working with, don`t worry though, more is to come
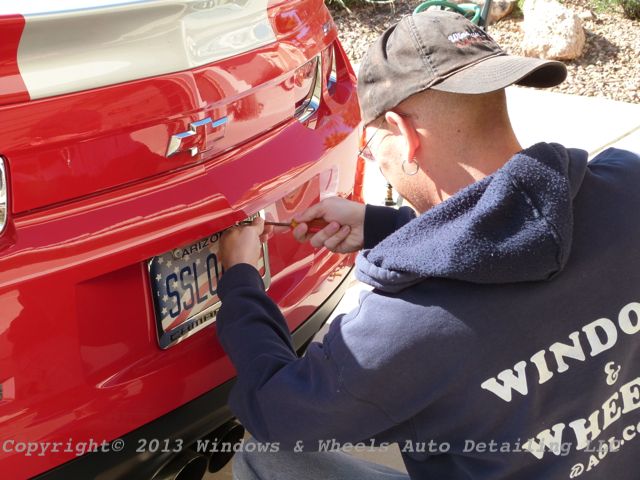
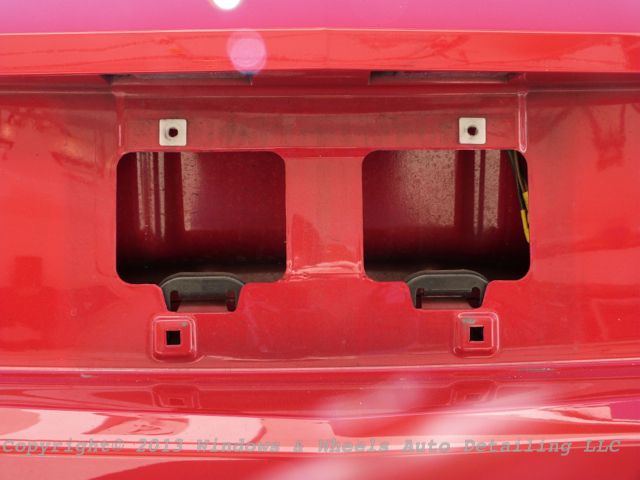
First though, we had to wash this baby...so...off with the license plate:
Always some good grime hiding behind there:
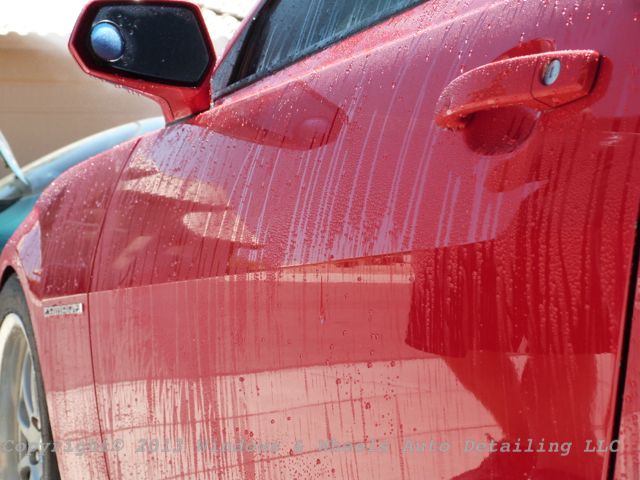
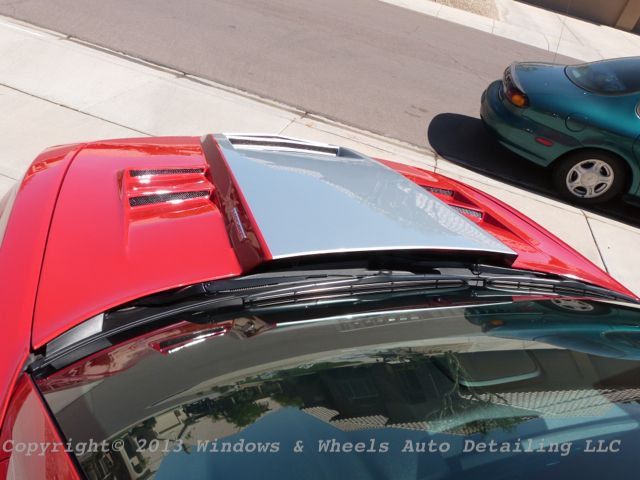
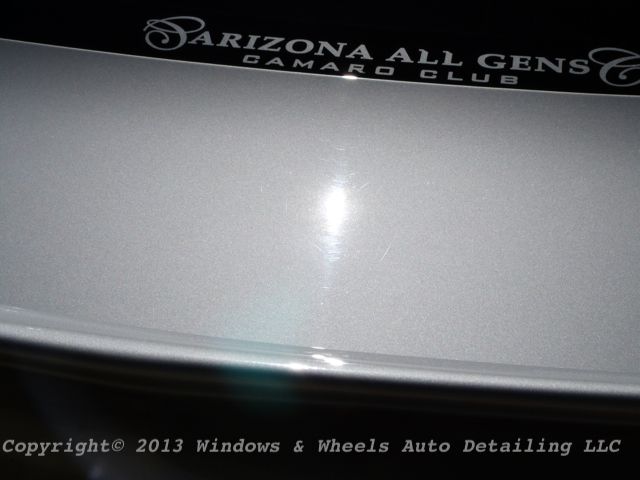
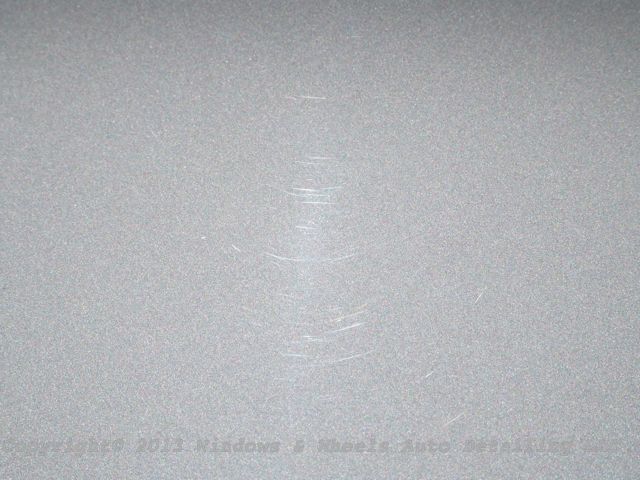
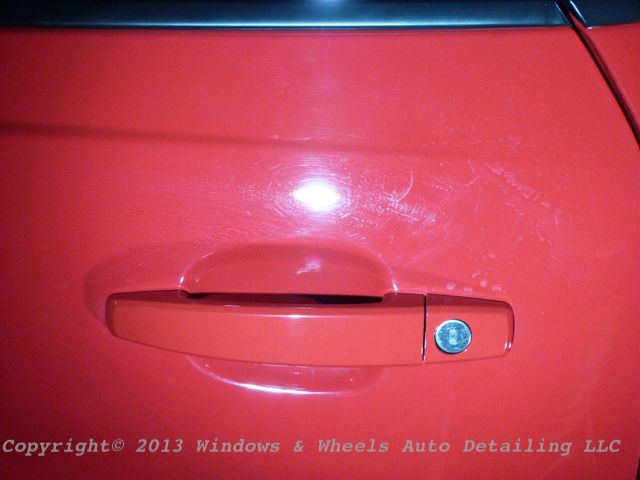
The swirls were also in the silver but, were much more difficult to see (as usual, damn light colors hide everything so well!)
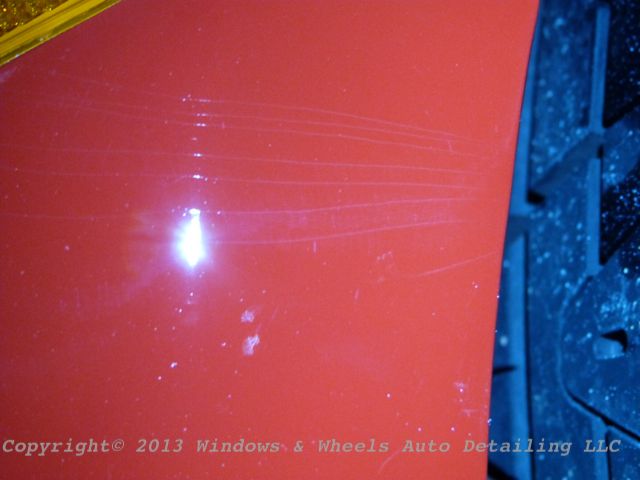
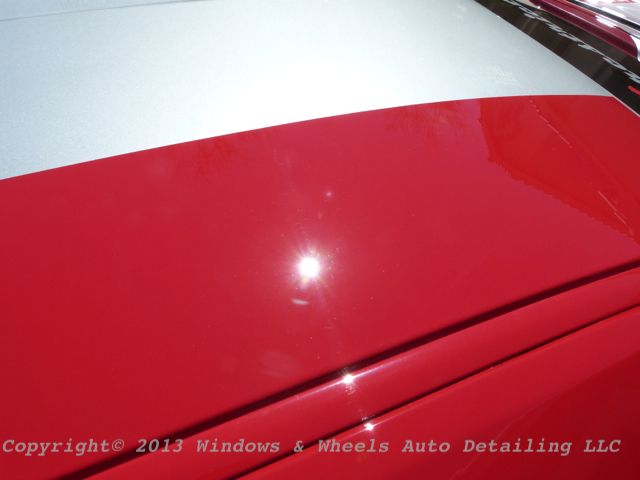
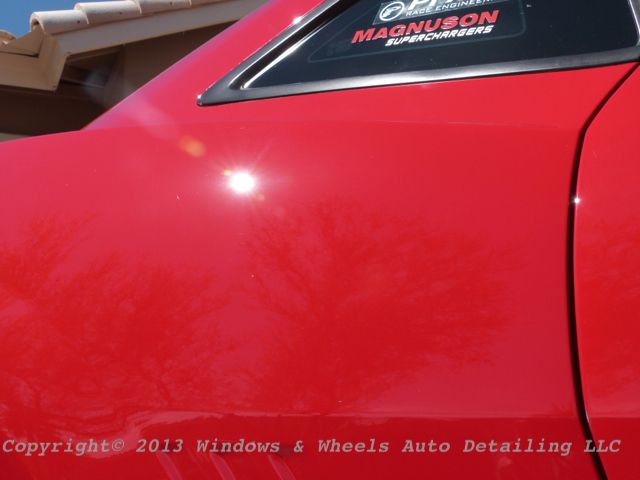
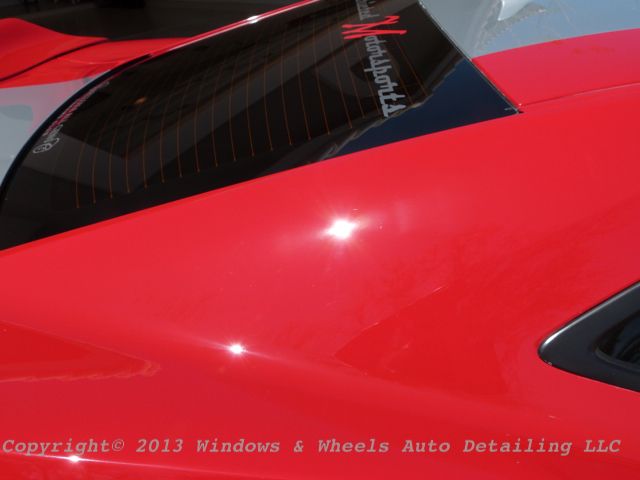
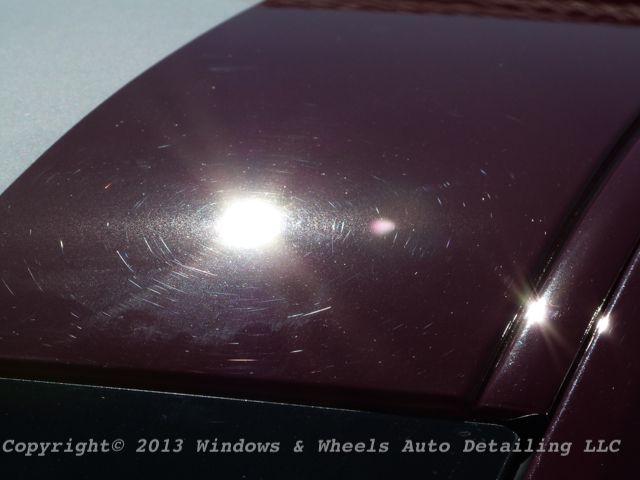
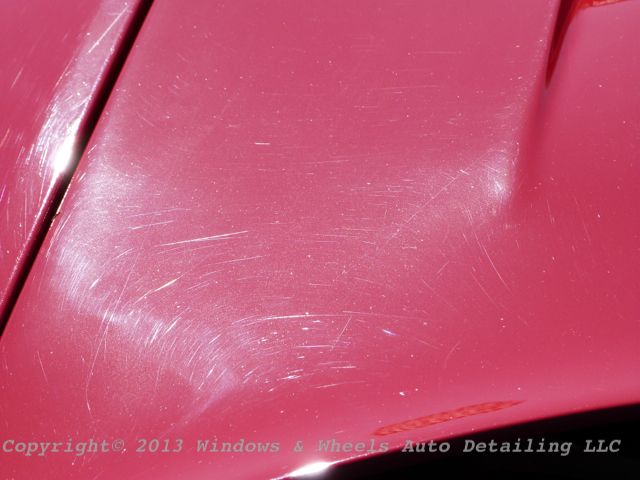
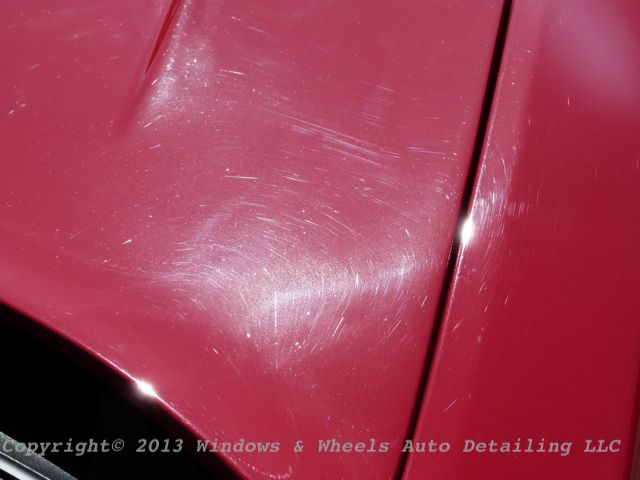
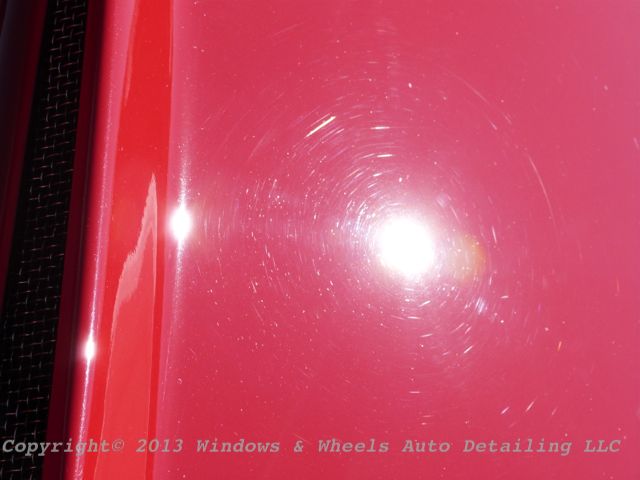
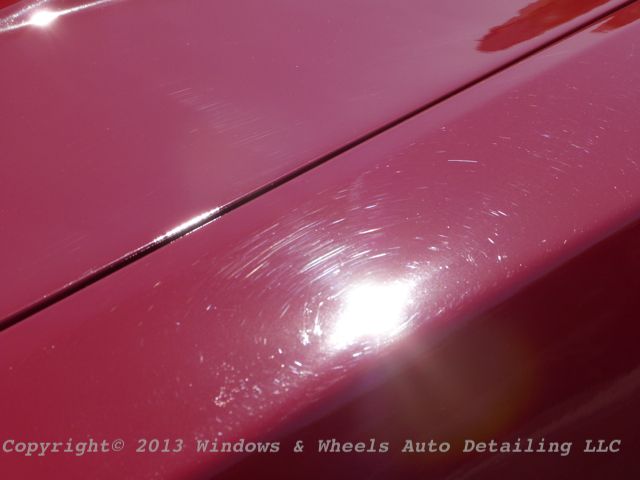
The red however...showed every little flaw:
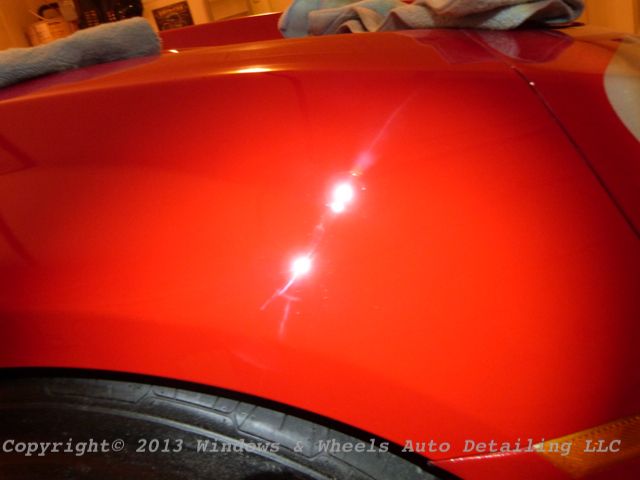
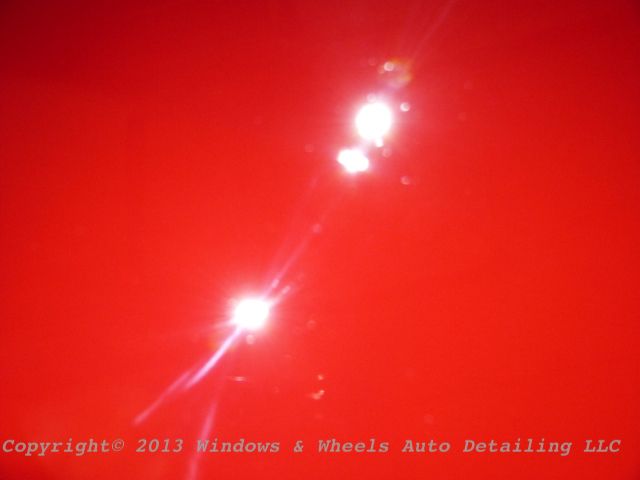
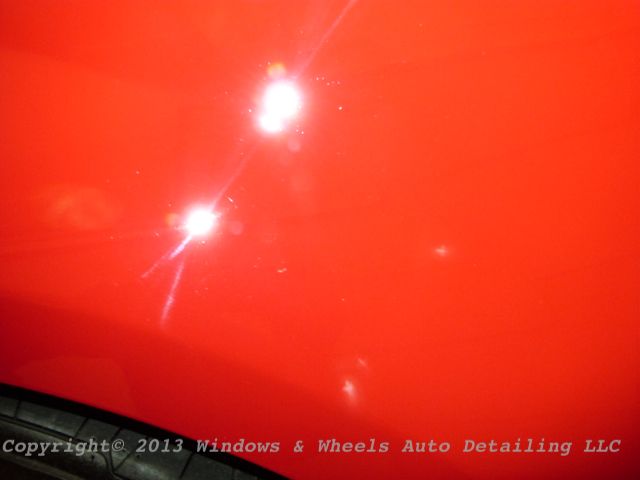
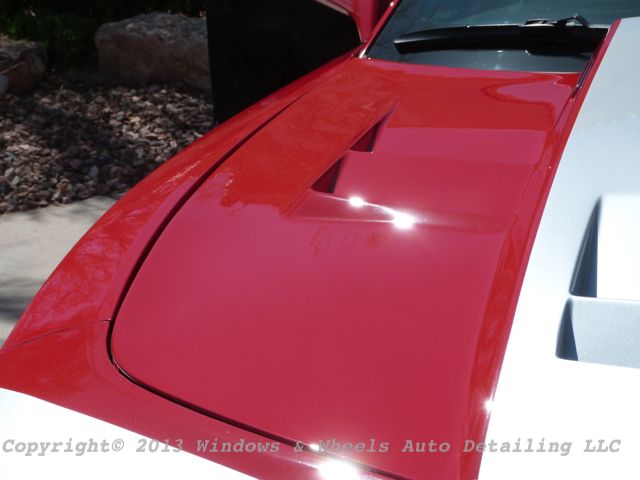
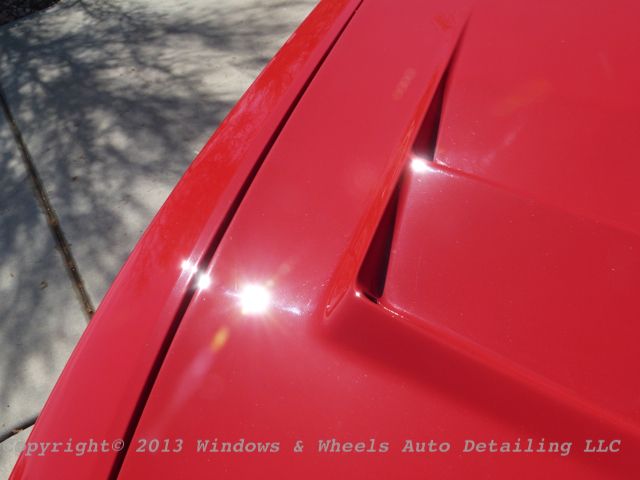
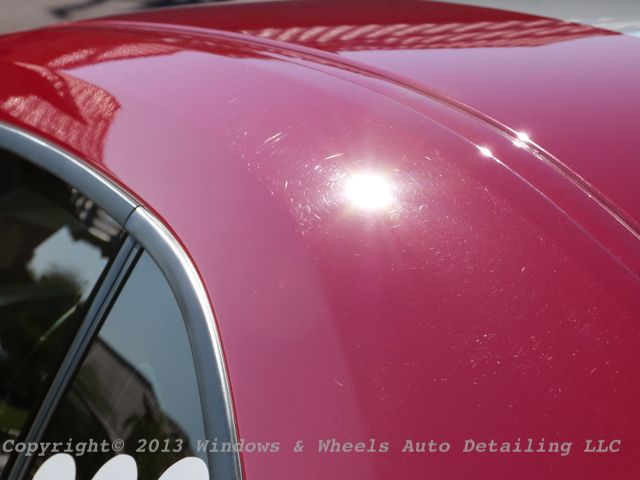
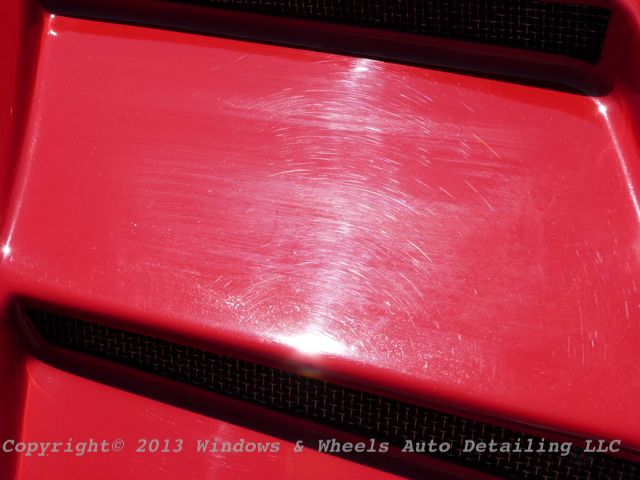
Some nice ones were on the hood:
Even the side mirrors got in on the swirled action:
Front quarter panels told the same story:
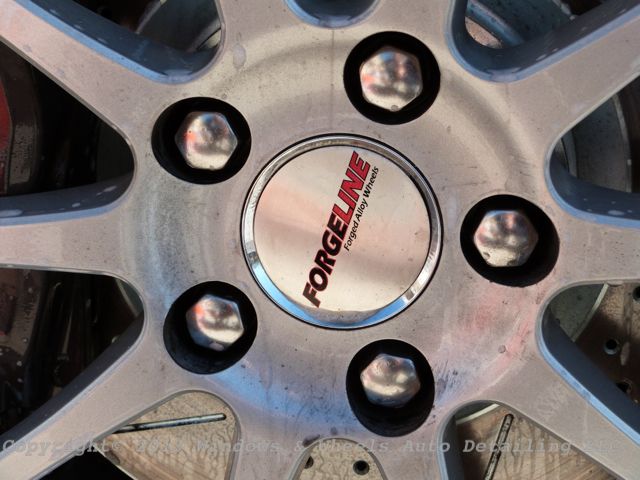
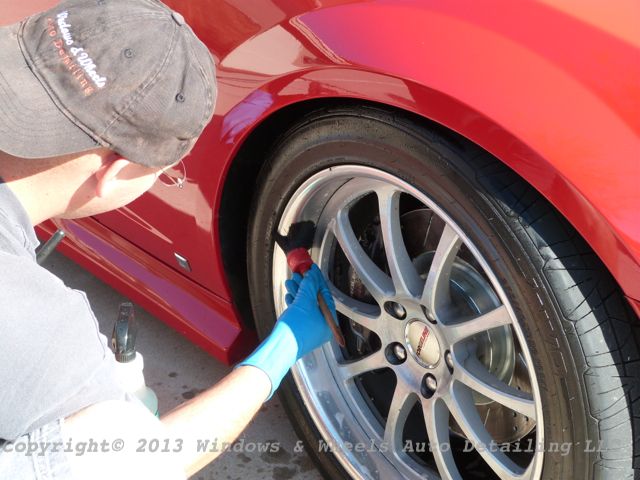
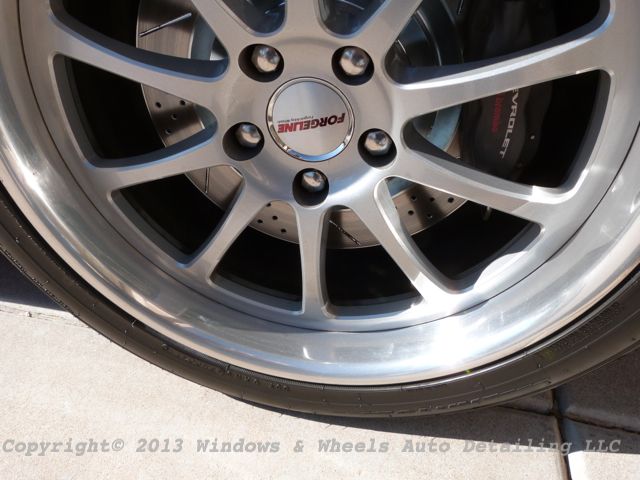
Onto the cleaning! The wheels had a nice amount of grime on them:
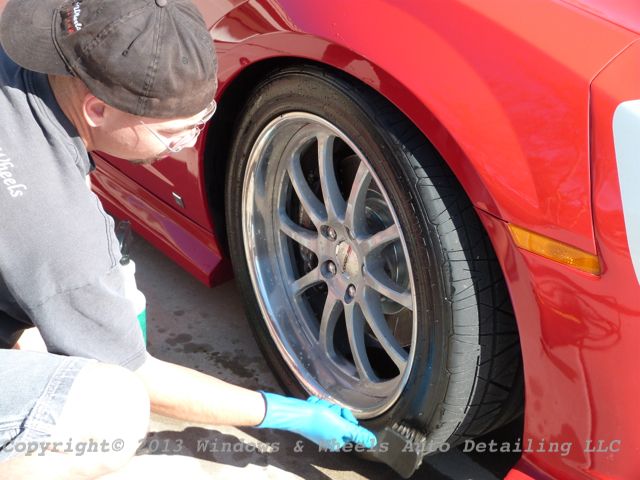
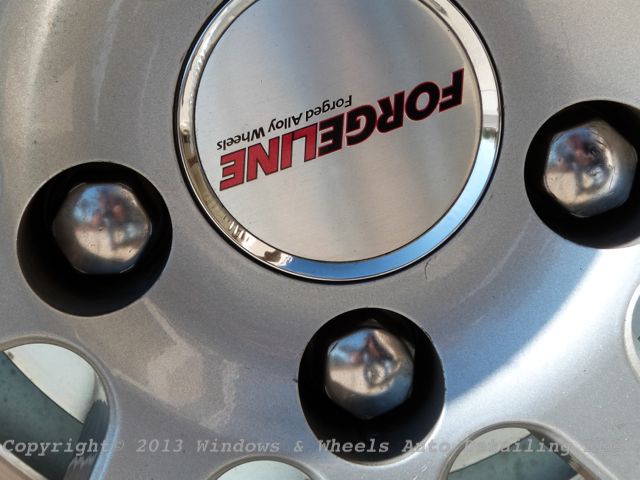
Nothing we weren`t use to though...some cleaners...wheel woolies and a few brushes and we were ready to get to work:
Not bad huh?
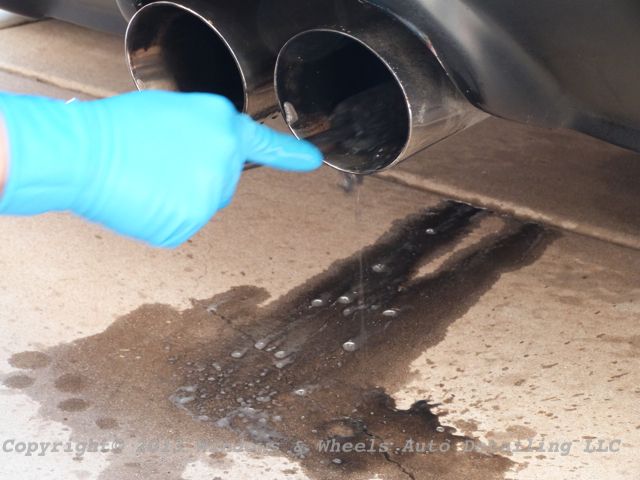
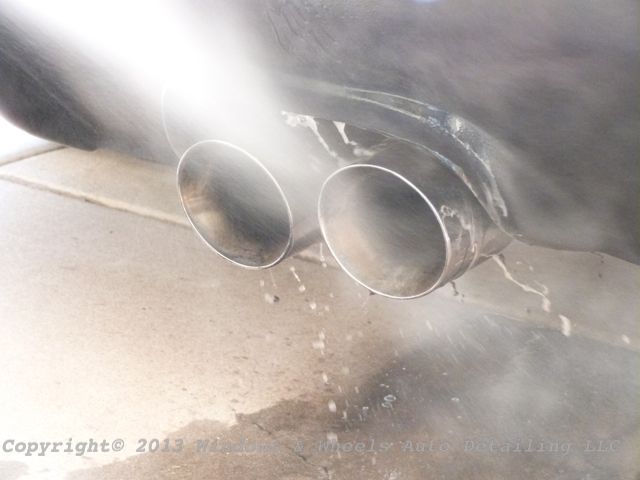
Exhaust tips needed some love too:
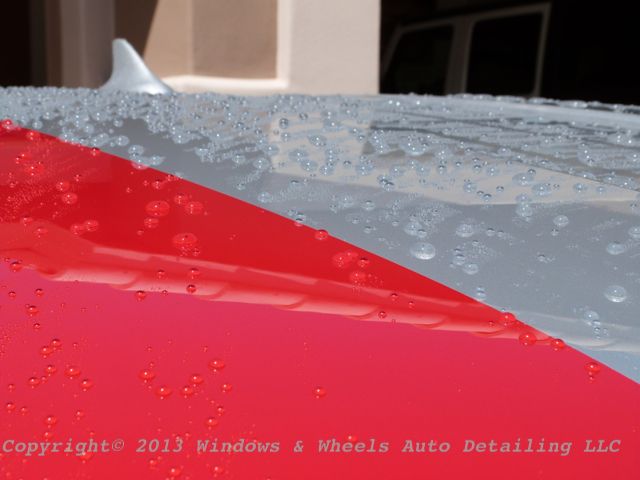
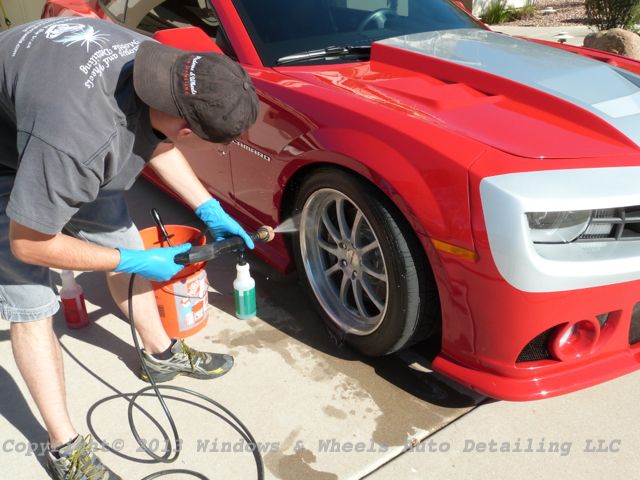
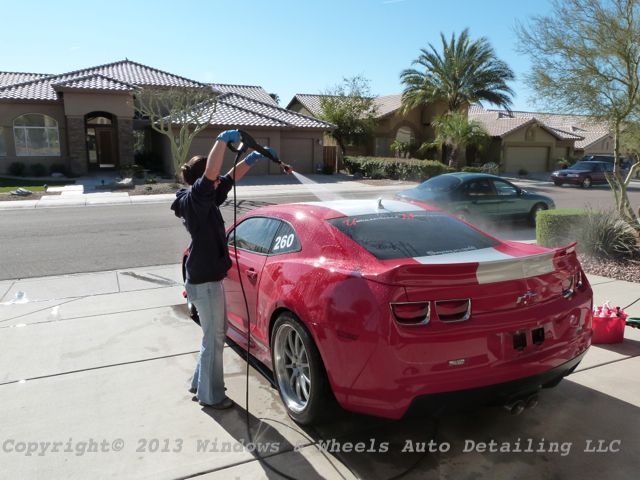
Then it was time to rinse off the dirt, there wasn`t a ton...but there was definitely some wax or sealant on the paint..water beaded up quite well...but this also meant there was a possibility of even MORE swirls that we just could`t see because the sealant or wax was filling it. We`d find out either way...it was time to strip it down to bare paint:
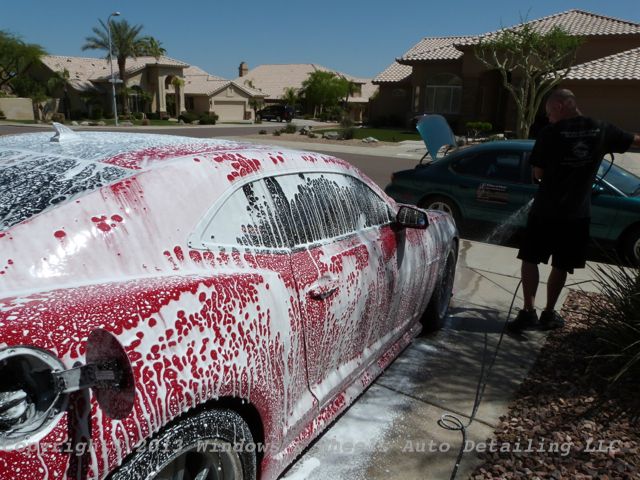
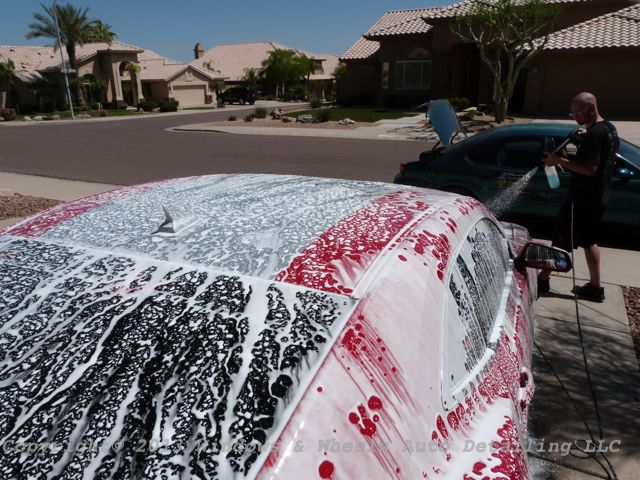
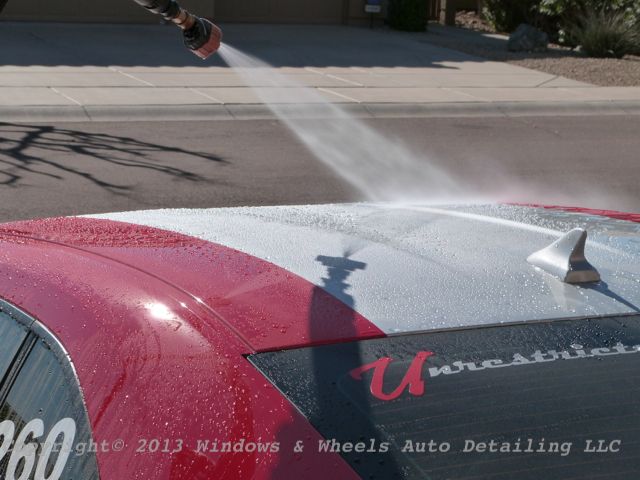
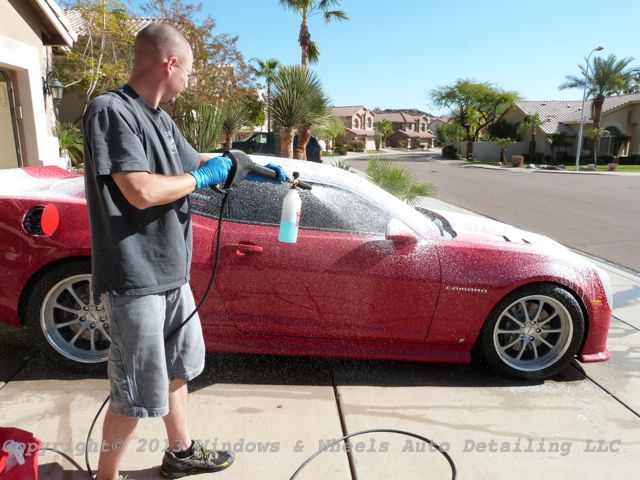
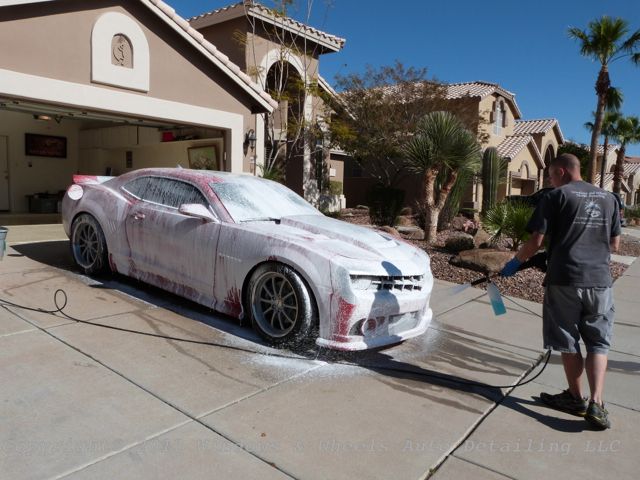
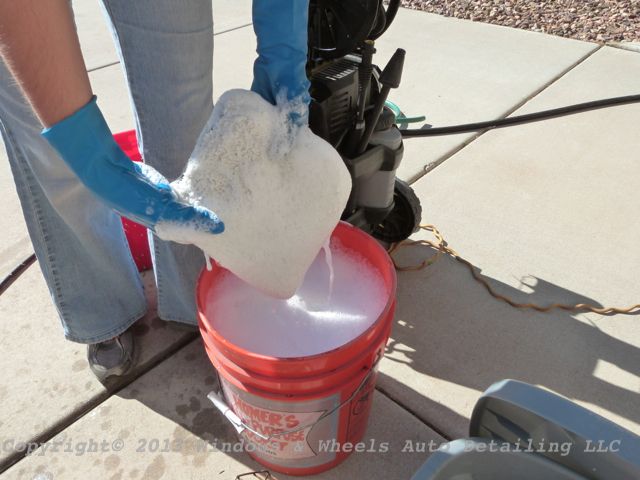
Time to foam her up:
Now shes a great white instead of a hammerhead hehe
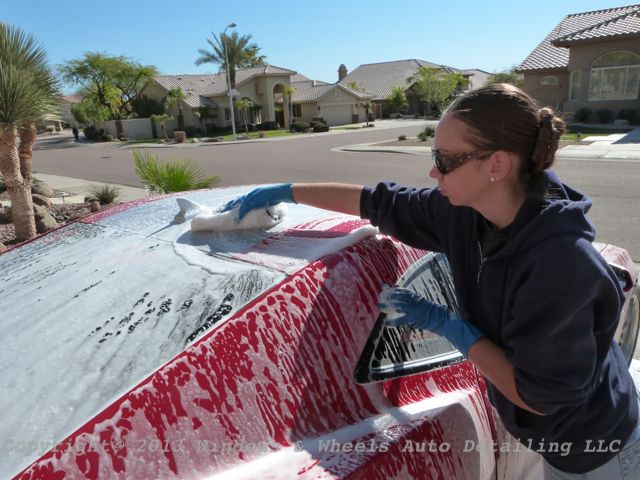
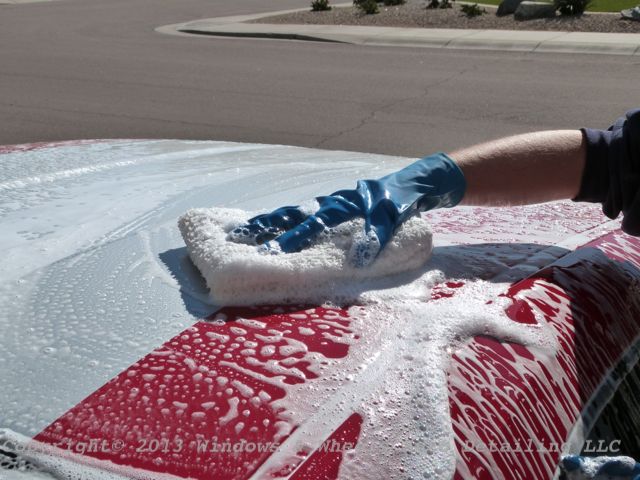
Then we got to washing ...nice and gentle...but thorough:
Got sudds?
A quick dry to get the bulk of the water off and then we were heading into the garage:
Before we pulled in...we took note of how the paint looked after the prep wash:
Not so nice still! Some areas maybe just seemed worse but, it was hard to tell:
The owner pulled it in the garage for us and was kind enough to allow us all 3 garage bays to work in...check this out !
Awesome...lots of space and very clean.
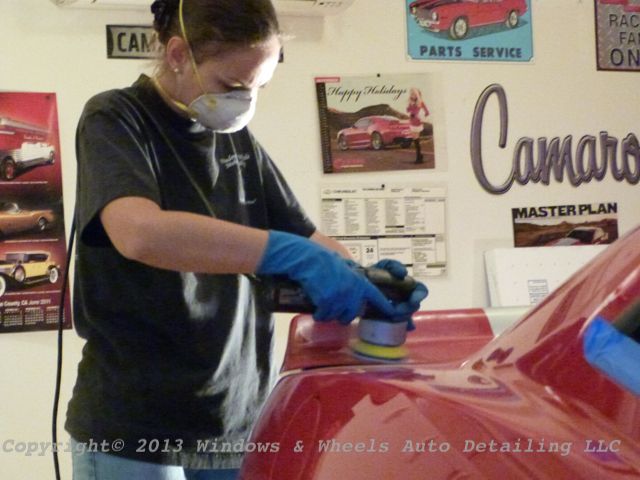
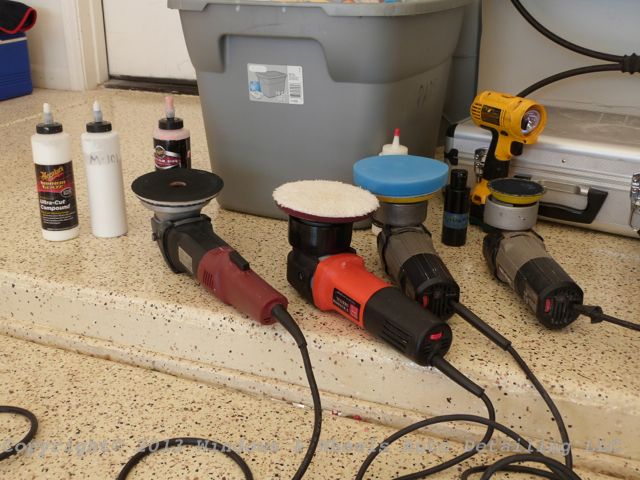
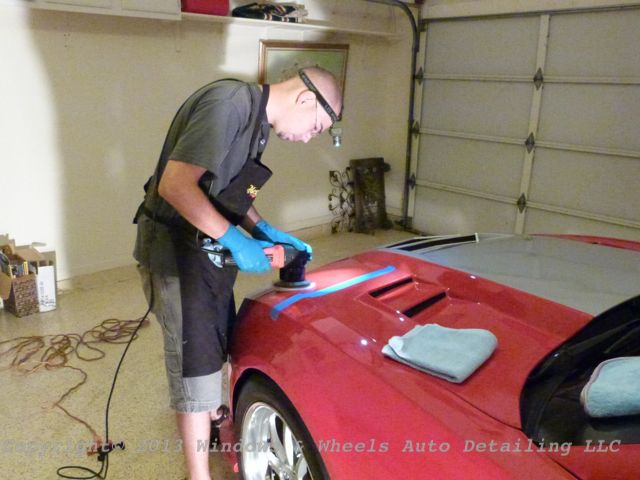
Next we set up our equipment to get ready to go to battle:
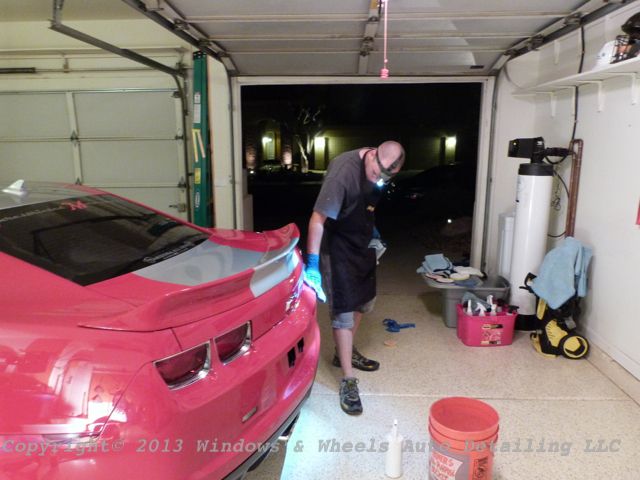
Light em up....we closed down the doors...had a nice dark garage to work in and had our lights to be able to see what we were working with in a controlled environment:
The paint was pretty smooth feeling...but we did clay it anyway just to be safe:
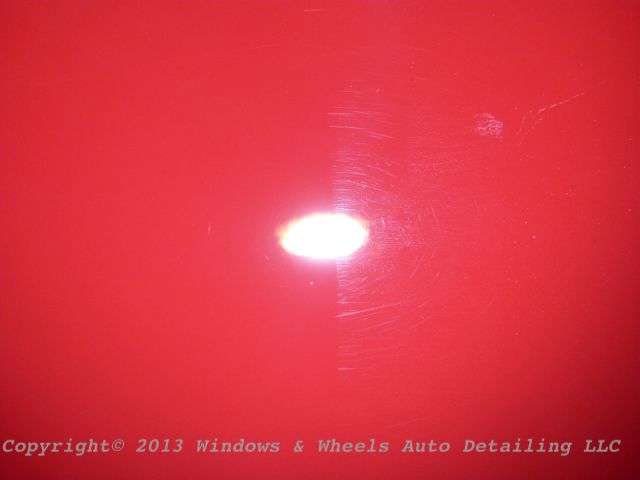
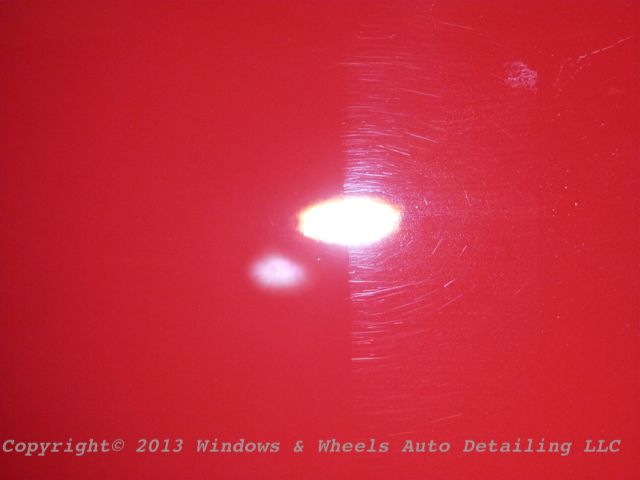
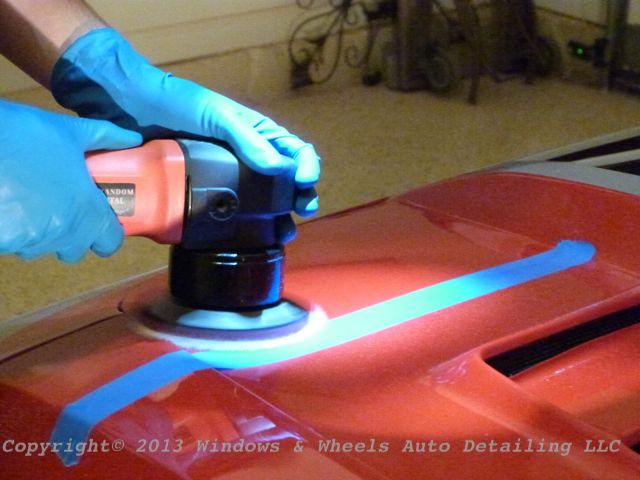
Then it was time to do a test spot and figure out what combo we`d be using...put a tape line down...compound and polish one side and compare it to the other:
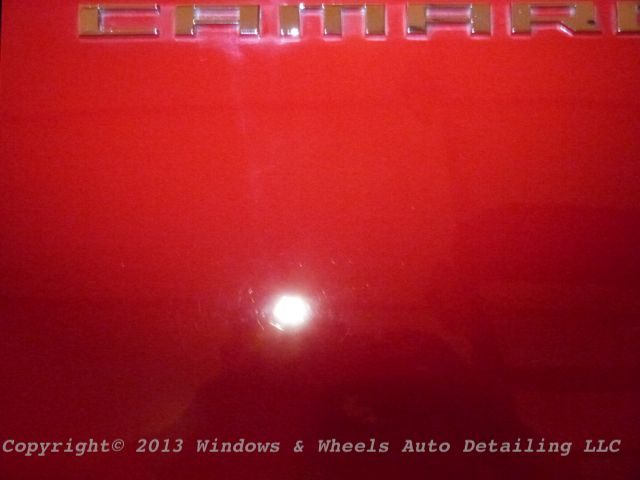
This is what we started with :
Then, after compounding with a microfiber cutting disc, Meguiars 105 with a little D300 mixed in to help extend working time...we ended up with this:
Swirls were gone, but micro marring was left....which was expected. These types of marks easily polished out with some 205 Finishing Polish and a polishing pad.
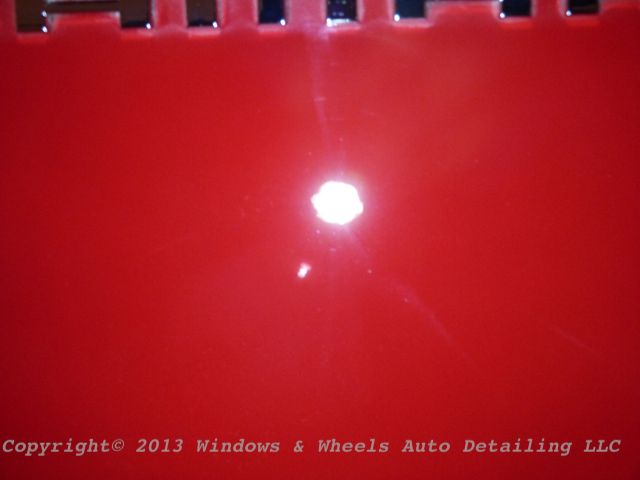
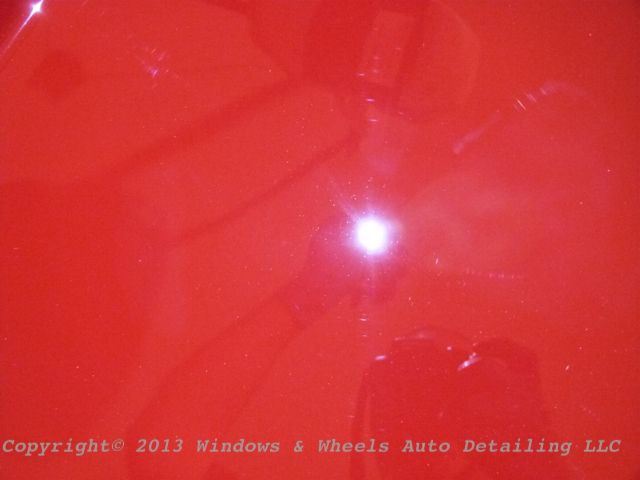
After the 205 polish, we were looking pretty sharp:
A nice close up of the tape line showed us exactly how much improvement we had made...not too shabby:
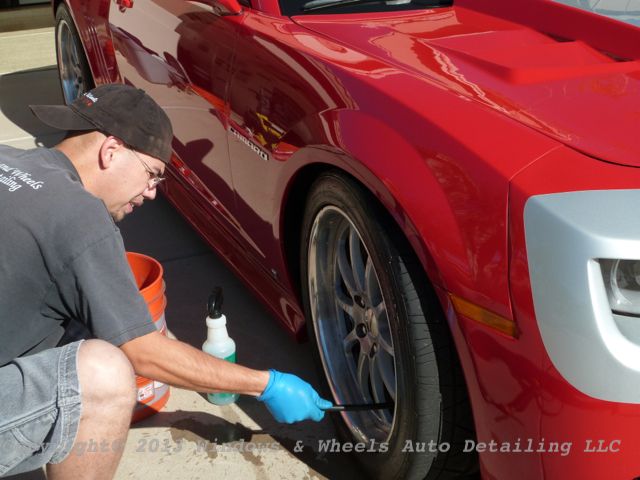
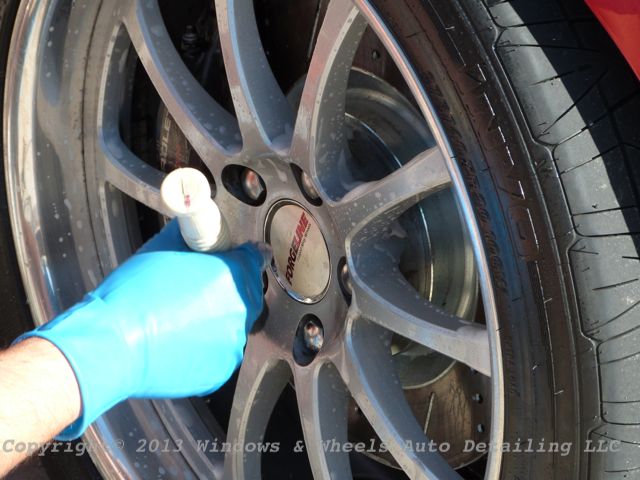
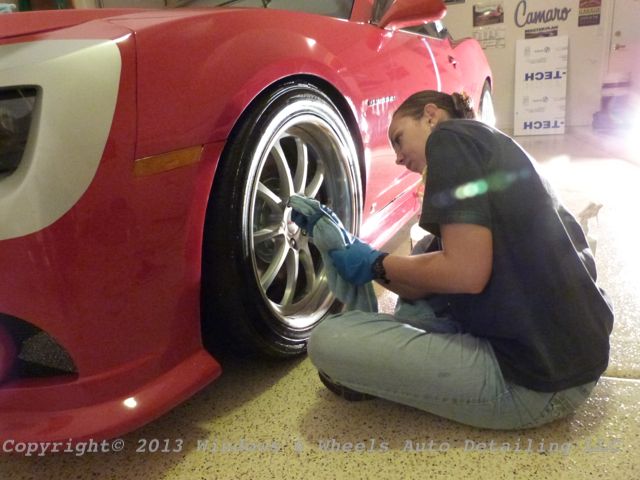
While it looked quite good and was a huge improvement, there were still some deeper ones i was able to see and wasn`t happy with...so i re-compounded the area to see if i could get some improvement. Dani in the mean time was working on the rimes...getting them cleaned and doing an IPA wipe down on them...as well as dressing the tires and wheel wells:
We`ve found that where usually we`d do tires, wheels and wheel wells last...it really wasn`t something we`d look forward to after HOURS of polishing! So, recently Dani has been knocking that out first while i dial in the polishing combo that we need. Most times I can get about a whole panel or so done (usually the hood) by the time she`s finished cleaning the wheels, dressing the tires and wheel wells and then coating the wheels with Opti-Coat.
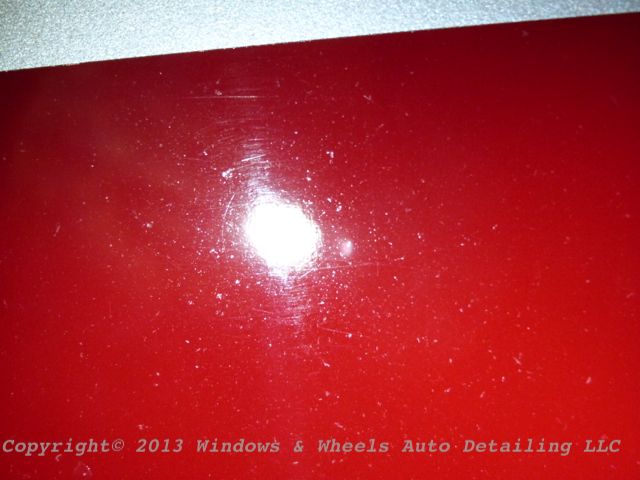
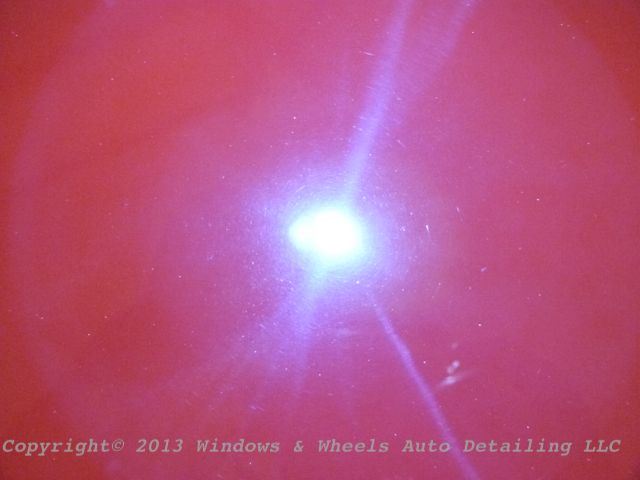
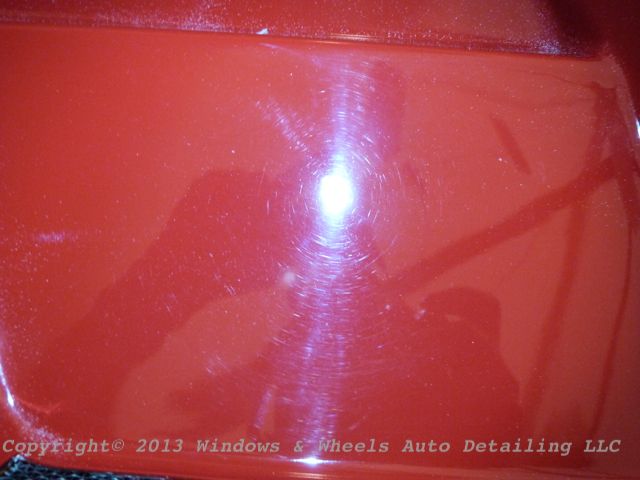
In this case, we weren`t so lucky...i was done with only about 1/2 of the hood when she finished...why? Because every section looked like this:
We were just seriously surrounded by LOTS of DEEP swirls...and to top it off...this paint wasn`t exactly buffer friendly, it was definitely on the hard side...so the cutting/compounding process was very slow and made you work for ever defect removal. I upped to Meguiars 101 to help with the cut....it did make things work better but man, it was still a SLOW process.
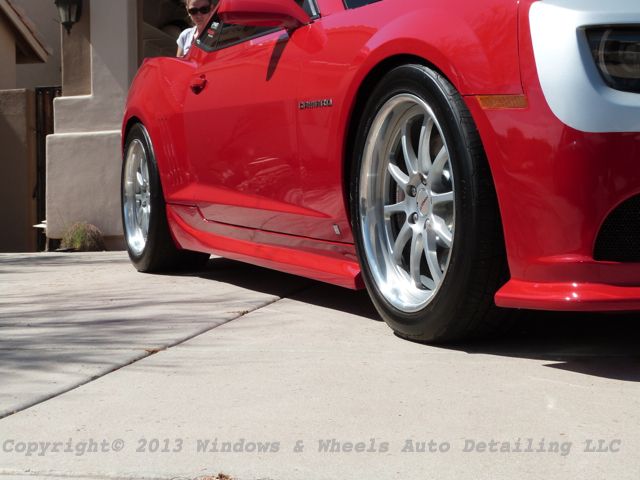
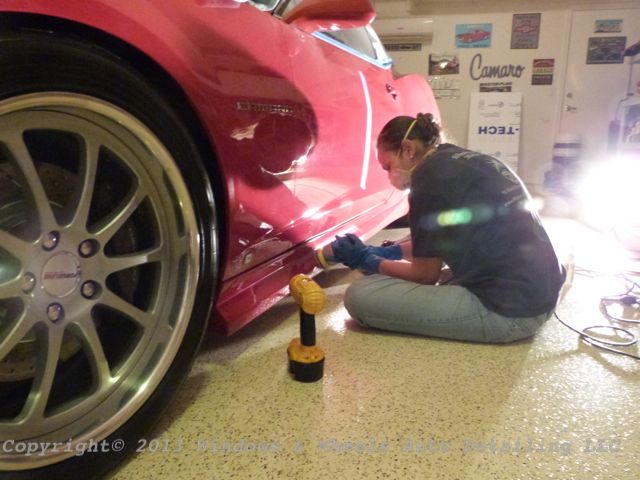
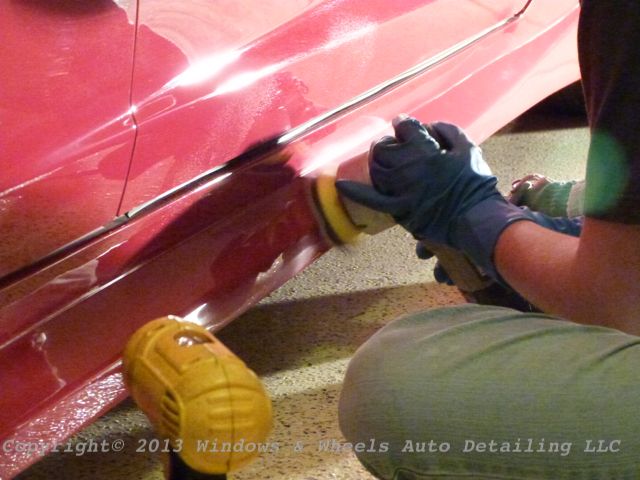
After Dani finished the wheels, she snagged the PC and a 3" cutting pad and started doing the trimming and edging for me. Rockers, mirrors, pillars etc...all the tight areas that required a small pad and concentrated cut, she attacked:
Again, a lot of people don`t realize just HOW MUCH time this kinda work takes...doing a very small section like with a small pad can often times take up as much time as a larger panel with a larger pad. It ALL takes time to do right...and trust me time and patience was exactly what was needed for this car.
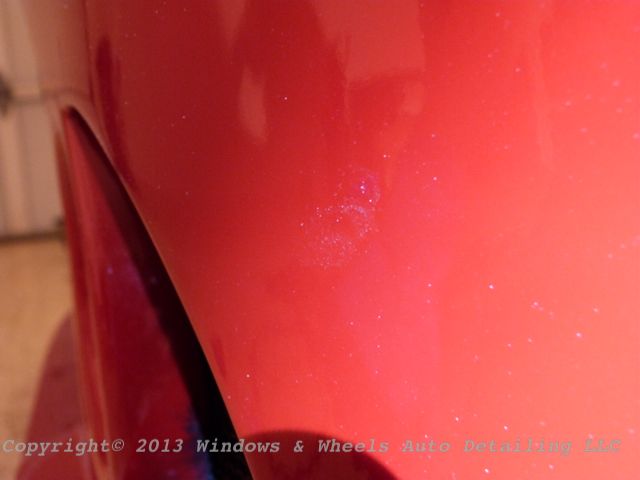
We found some areas we beyond or repair...specifically, the front bumper. The owner had a SS...and now a SuperCharger....and he USED them. Tracking a car surely shows...one thing we saw was some paint crinkling on the from driver side:
Results 1 to 15 of 24
-
04-02-2013, 10:37 PM #1


- Join Date
- Nov 2009
- Posts
- 555
- Post Thanks / Like

-
04-02-2013, 10:47 PM #2
- Join Date
- Nov 2009
- Posts
- 555
- Post Thanks / Like
Then of course, rock chips....LOTS and LOTS of rock chips:
We told the owner about Dr. Color Chip ...he ordered some while we were still working lol.
The quarter panel was just wow....just like the rest of the car
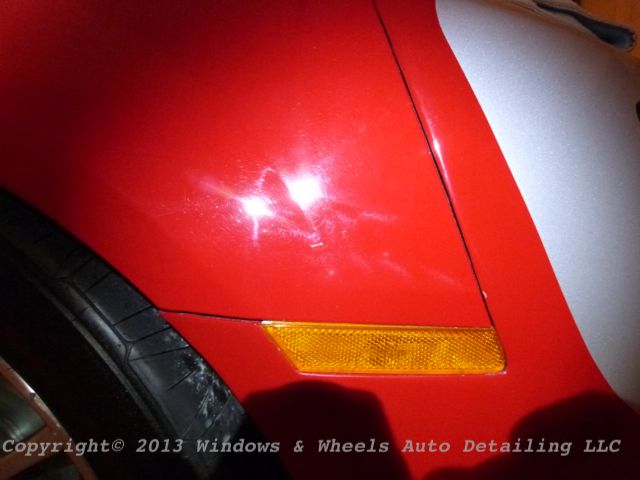
With certain areas like this...where i had a little more space to work with...i eventually resorted to the rotary, a Lake Country Synthetic Wool pad and some 105. It helped speed up the cutting process...while many areas still required 2 or more compounding passes....it did help level them out:
When it came time to polish...a bit more pressure and slower passes seemed to help remove any holograms left from the rotary...it cleaned up pretty nice :
In the interest of honesty, there were some deep ones left. I still say we got well over 90% correction of the paint and we had to scratch and claw to get that. But compared to the bazillion-million trillion ones that were there to begin with...this was a pretty good outcome:
And Dani still cut away with the little 3"...man that sure saved me when it came time for me to compound...knowing the little areas were already done.
Panel after panel...more of this:
Turned into more of this:
The drivers door was no picnic as im sure you`ve all gathered by now! But, it did make for another sweet 50/50 photo:
We had arrived a little before 9 a.m...unloaded and started working right away....well...here we were 12 hours later...the sun was long gone...fast food places (except Filibertos!) were all closed down...and we were still polishing:
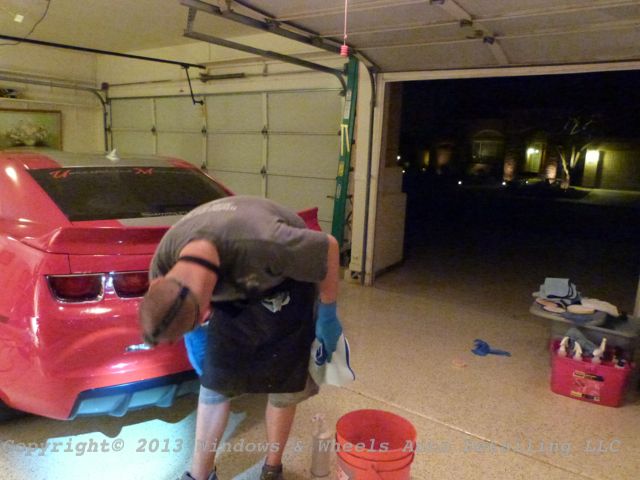
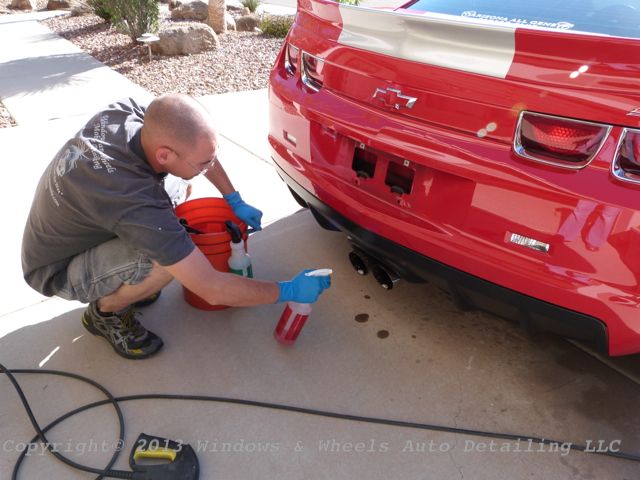
Finally...we got to the point to where the polishing was done....now the fun part...we had to wash the car again...do an IPA wipe down (I will now usually spray the panel with my IPA mix...then wash the panel with a rinseless wash...seems to leave less streaks and clean very thoroughly) ...get it dried and ready for coating:
The light helps to be sure no drips are left. And let me tell you..the back side of a Camaro is a DRIP HAVEN! Spoiler, inset back lights...trunk...just drips drips and more drips even with a rinseless wash!
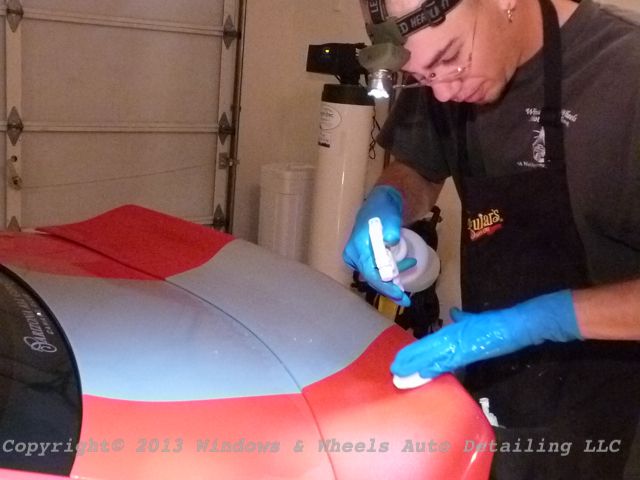
Finally, it began...the coating process:
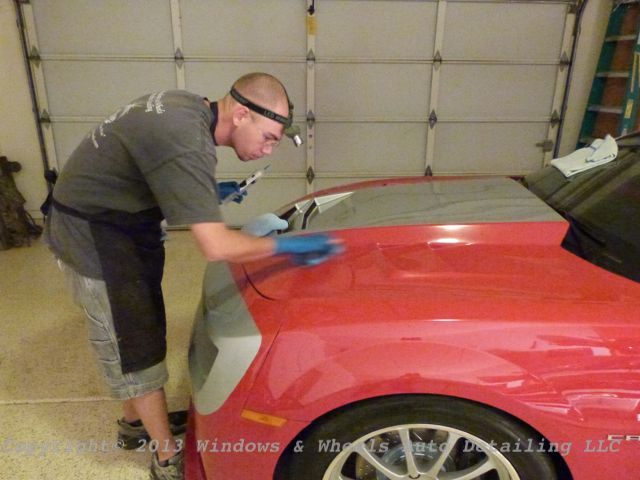
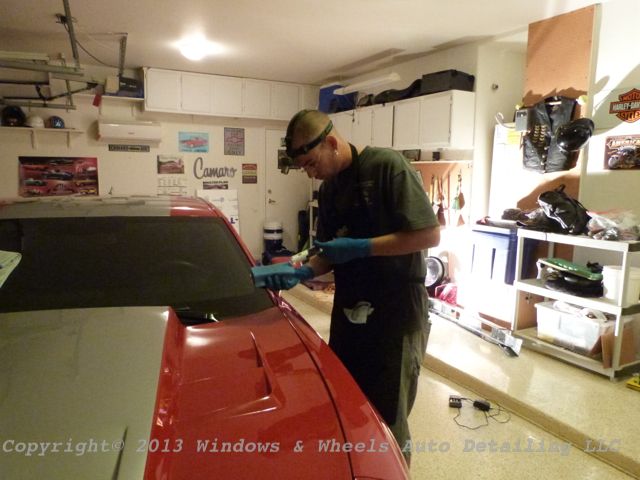
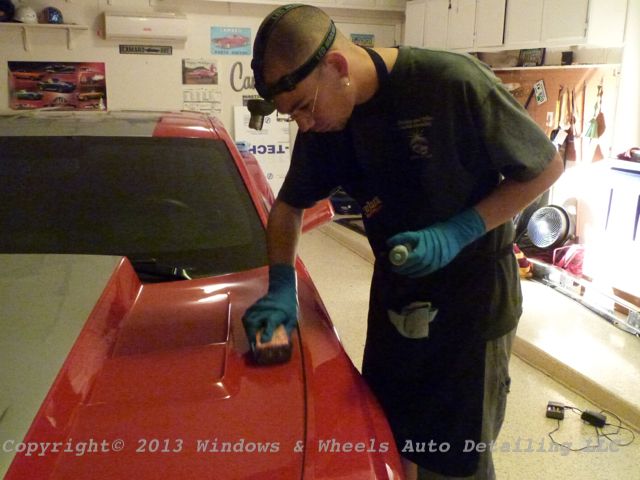
Many curves, sharp edges and tight corners were all over....in the vents on the hood, under side mirrors...the back end as mentioned before...and every inch had to have sufficient coating applied. Applying a thick amount of coating and NOT ending up with a high spot...is very difficult. We`re good, but we know we`re not perfect, which is why we always offer a free follow up wash AFTER any coating job we do. So, a couple of weeks after the job is done, we`ll go back..do a wash to insure the water beads up as it should (if the water runs flat, it means the area was missed with the coating...or the coating didn`t bond correctly) and also to check for high spots that may have been missed.
14 hours later...we had finished. When we got in the car to head home the clock read a few minutes after 11 pm. Whew...long day...but man did this baby look good!
We advised the owner to let it stay as is over night and to give it 12 hours to sit...and to not wash it or get it wet. We set a date a couple weeks in advance for a follow up wash.
When we showed up, it was a little dirty but...nothing crazy. We pulled it out into the sun to take a look at it (since the last time we had seen it, it was almost midnight!) Things were looking good...but we wanted to check to make sure the coating bonded correctly...so it was time to start washing.
First the tires and rims...the rims beaded up nicely:
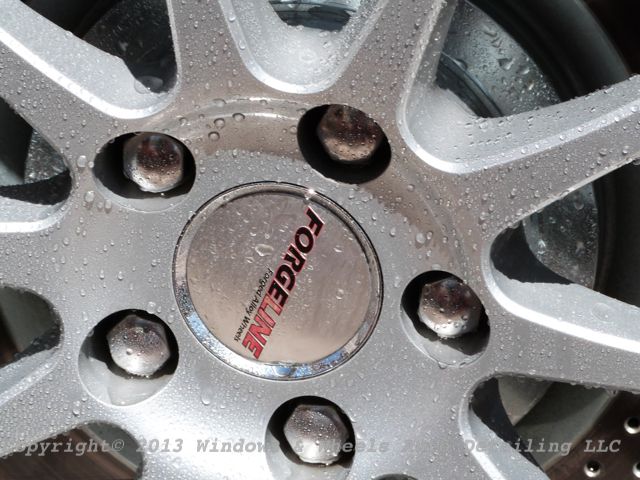
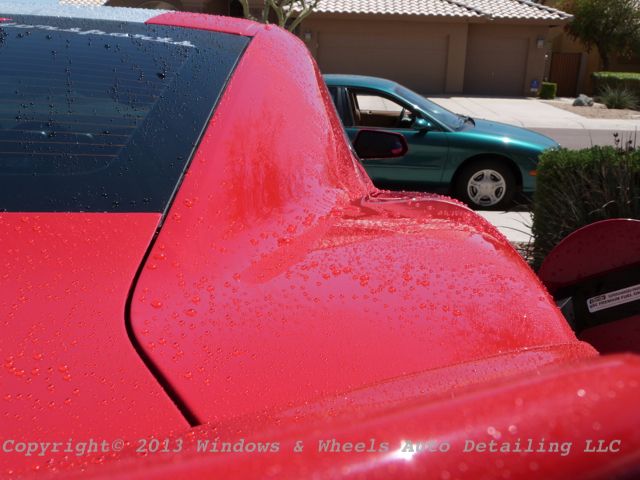
Then of course...the most important part...it was time to check the beading on the paint:
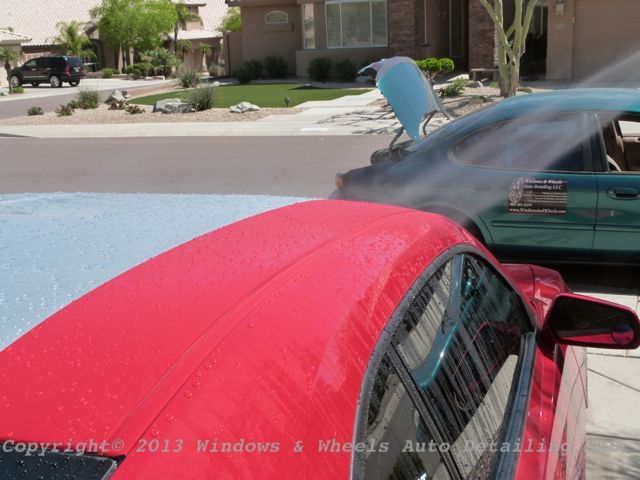
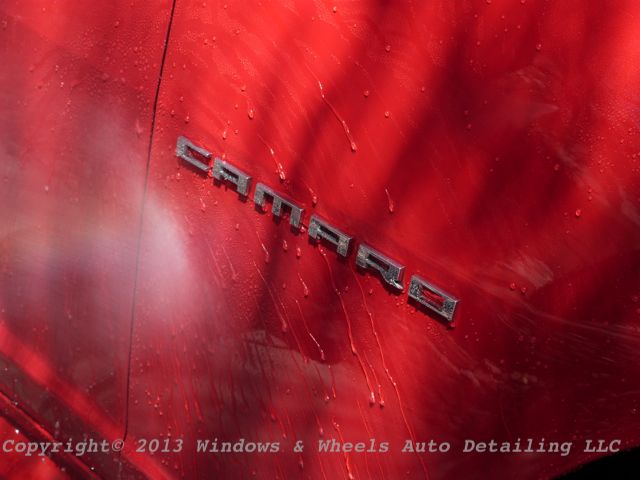
The water would just fly off lol. To us its actually FUN to wash Opti-Coated cars...just to see the water bead up and then fly off is just...wow, awesome.
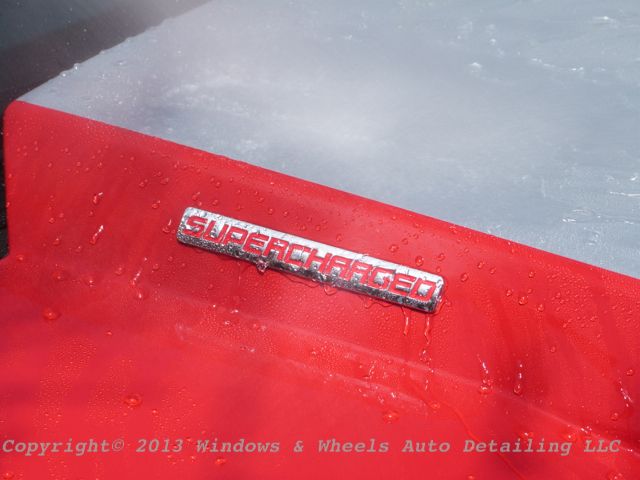
The owner had added a little something since we had last seen it...to help advertise what he had under the hood
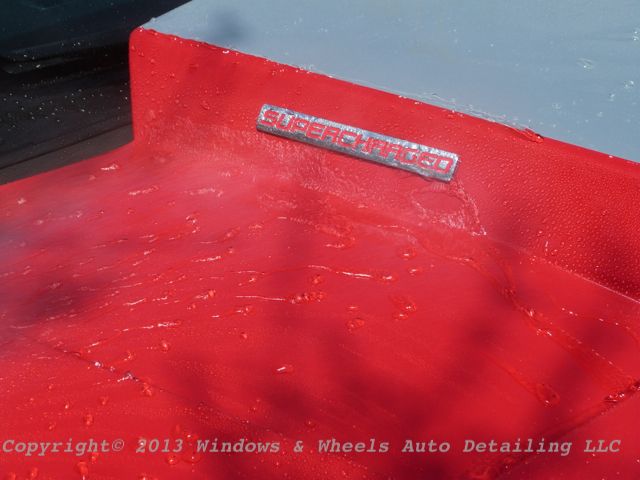
We thought it was a nice touch:
Serious beading:
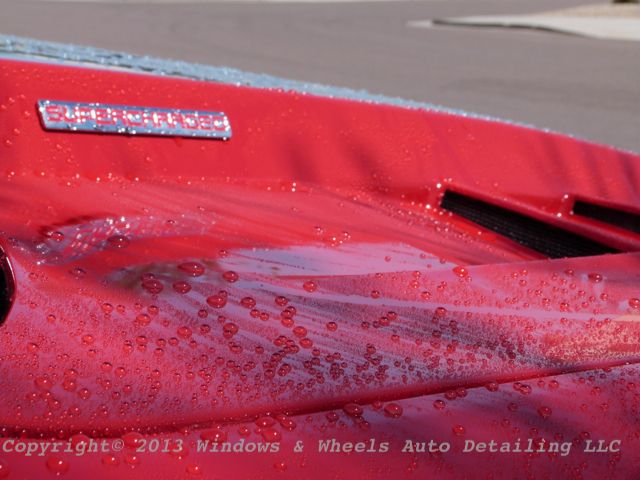

Sorry but i think this next picture is just sexy lol
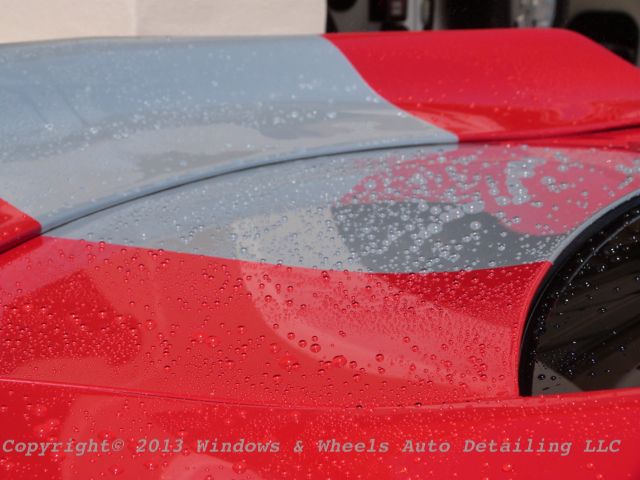
Remember how that foam clung pretty good to the paint in the initial prep wash...even though it obviously had a good coat of some sort of wax or sealant on it? Welllll....even the thick foam wouldn`t stick to the Opti-Coated paint:
I was spraying it just as thick as i had when we first did the car...and yeah, it just slides right the hell off lol:
We completed the wash...every panel beaded like crazy...then we used free flowing water to sheet most of the water off...used a blower to push water out of the tight spots...dried it and then inspected. The paint looked great...we found a few high spots that needed to be touched up real quick by hand, but other than that...magnifico!
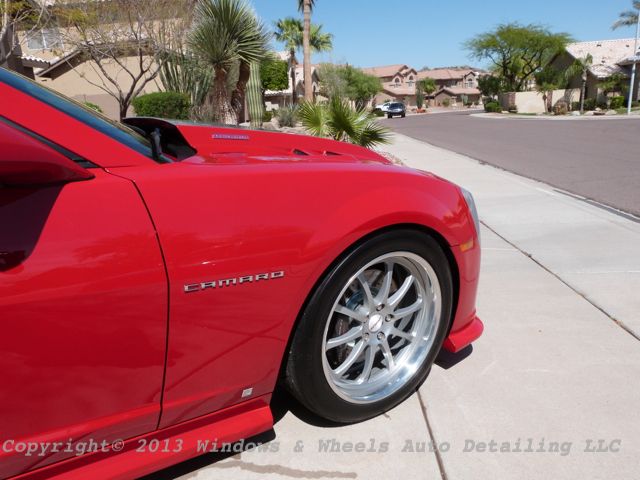
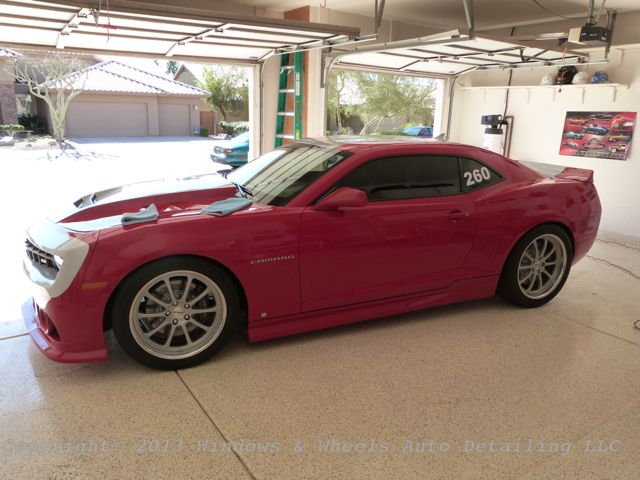
Now for the fun part...the after shots...I`ll let em` speak for themselves
Remember these???
No mas!!
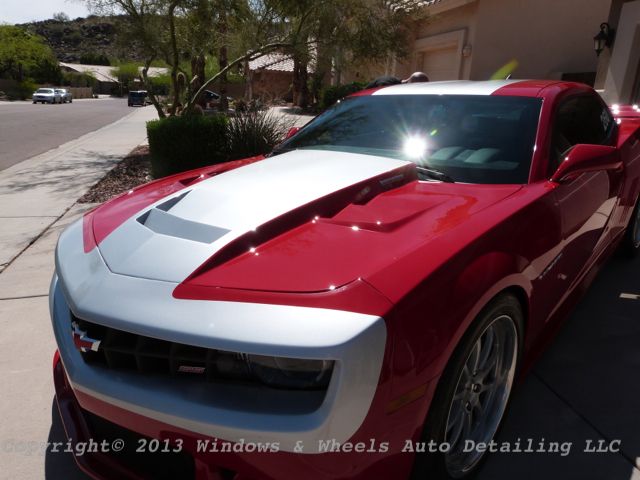
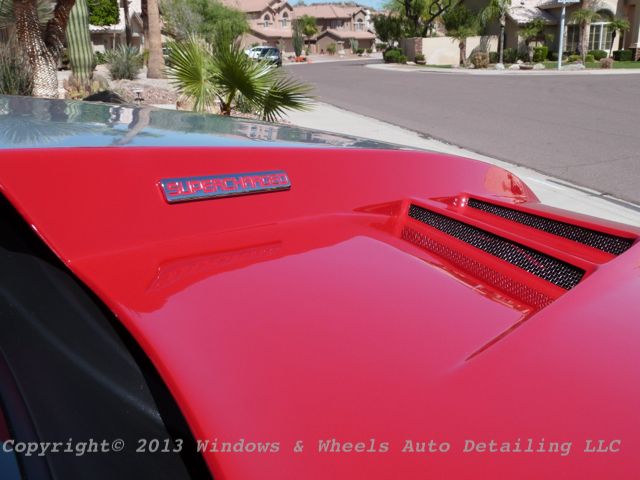
Its all good on the hood now!
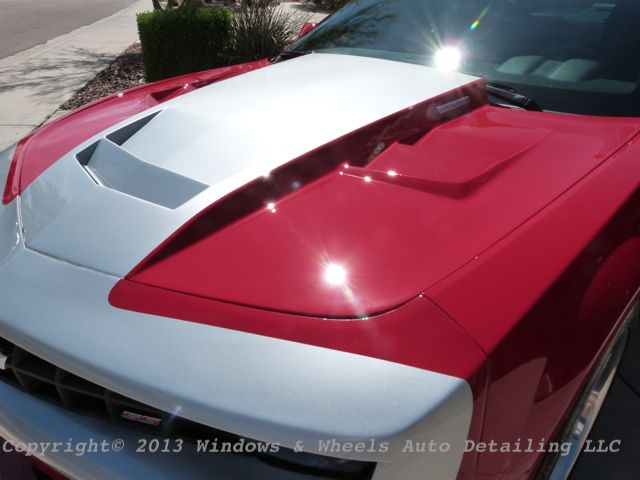
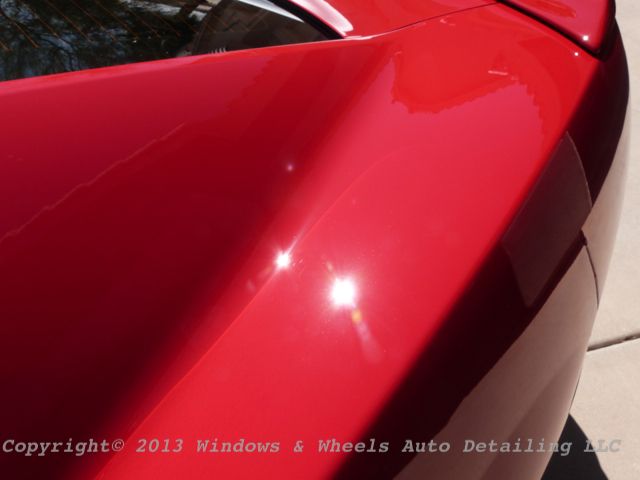
The reflection were killer:
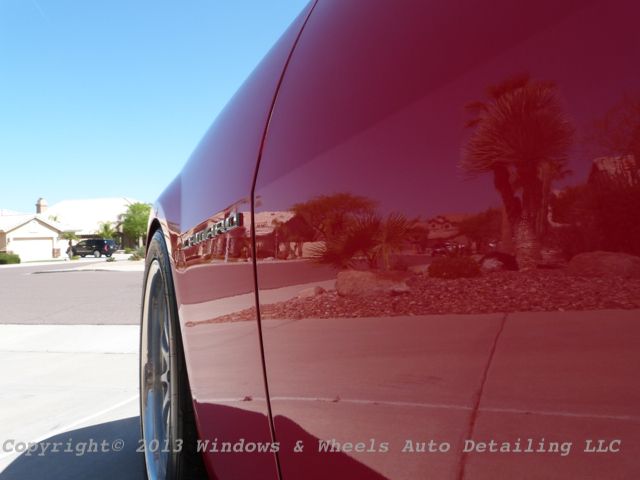
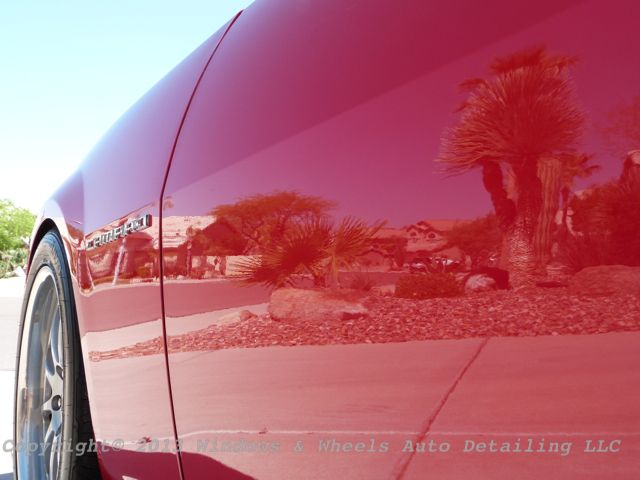
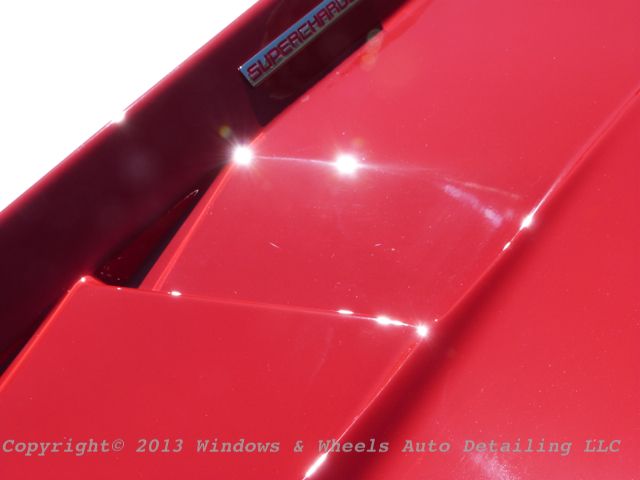
And remember those sexy but super swirled hips of the SuperCharged Super Sport (wow thats a lot of S`s!)
They too were beautified:
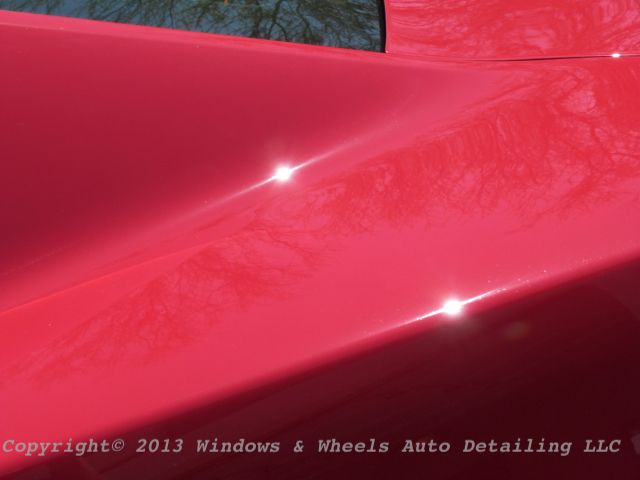
As I said before, there were a few deeper scratches that were left, but all in all...it was an amazing and hard earned transition:
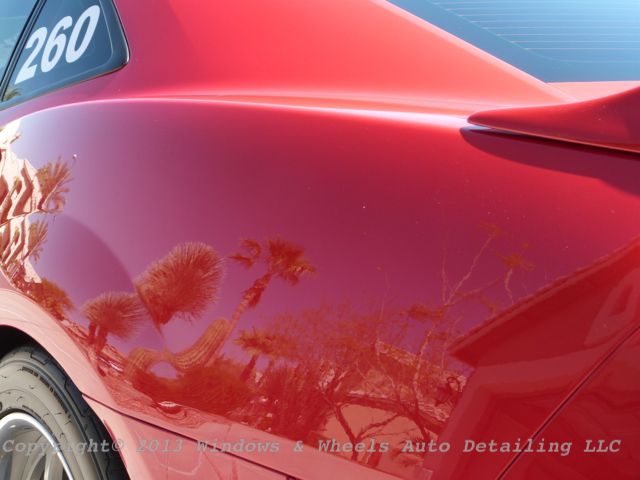
Love this shot:
Thank God for the 3" cutting discs...it took multiple compounding steps to knock down all those scratches in the vented areas....but the result was well worth the effort:
Got gloss?
I think our logo should be on the rear window too!
Now of course...time for the sexy beauty shots:
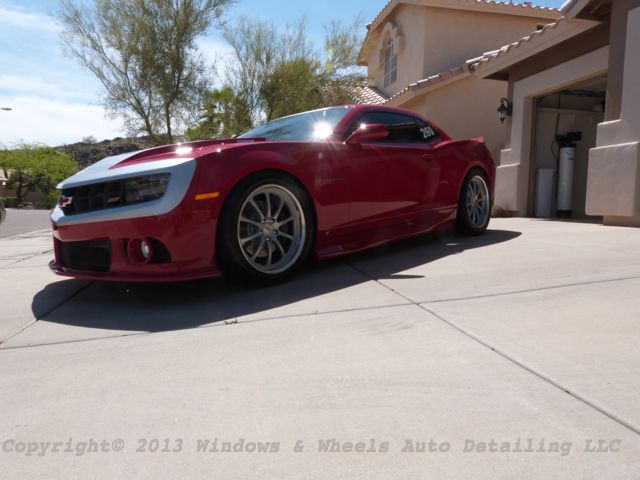
This was definitely one of our harder details...it did feel good to know that it ended with an awesome result and was protected with Opti-Coat. The owner said he would probably have us come out to do maintenance washes on it to help keep it in good shape. Of course since he likes to track it and drive it like it should be driven...it`ll get some wear and tear, but having careful wash jobs done to it is definitely one big step in the direction of keeping the paint looking stellar!
As always, appreciate you guys taking the time to read one of my long write up`s, but i hope you enjoyed it. Take care all!
-
04-02-2013, 10:50 PM #3Forza Auto Salon


- Join Date
- Aug 2004
- Location
- Troy, MI
- Posts
- 12,534
- Post Thanks / Like
Great work Wills! Keep it up!!
Metro Detroit`s leader in cleaning, preserving & perfecting fine automobiles!
-
04-02-2013, 11:49 PM #4
- Join Date
- Mar 2013
- Posts
- 13
- Post Thanks / Like
Yet another great save! Excellent work you two!
-
04-03-2013, 12:02 AM #5
- Join Date
- Nov 2009
- Posts
- 555
- Post Thanks / Like
 Originally Posted by David Fermani
Thanks Dave..we sure try to!
Originally Posted by CHALM
I think i know who this is ...thanks Nate
-
04-03-2013, 12:47 AM #6
- Join Date
- Oct 2001
- Location
- Arlington, TX
- Posts
- 34,077
- Post Thanks / Like
Nice work as always...and you can count on Filibertos if you are working late!
-
04-03-2013, 12:55 AM #7
- Join Date
- Nov 2009
- Posts
- 555
- Post Thanks / Like
Originally Posted by Scottwax
hahaha, heck yeah! Just hit em` up earlier today...99c taco tuesday
-
04-03-2013, 02:49 AM #8
- Join Date
- Sep 2009
- Posts
- 10,520
- Post Thanks / Like
nice work wills, both you and your sis didn`t dissapointment as usual... :2thumbs:
-
04-03-2013, 08:20 AM #9
- Join Date
- Apr 2009
- Posts
- 707
- Post Thanks / Like
Nice job! A Lot of TLC went into that one.
-
04-03-2013, 11:11 AM #10

- Join Date
- Mar 2009
- Posts
- 811
- Post Thanks / Like
Nice work as always guys! Your client made the right decision going with a full correction, it needed it! I find that doing the wheel wells during the wash and wheels/rims after drying works the best. Cover the wheels with woolies and polish away. If anything gets on the paint during the cleaning of the wheels it can be taken care of during the polishing. With you guys doing the washes it should stay looking this good for a long time!
-
04-03-2013, 01:58 PM #11
- Join Date
- Oct 2005
- Posts
- 986
- Post Thanks / Like
Nice work!
-
04-03-2013, 03:16 PM #12

- Join Date
- May 2003
- Location
- Hampton Roads
- Posts
- 117
- Post Thanks / Like
I can see why. Lookit dem sexy legs. Aww yeah. Originally Posted by Wills.WindowsAndWheels
Seriously though...what a turnaround. After owning a G8 for a little less than a year, I can empathize on the paint`s hardness. It made bonded contaminant removal nice since you can add a little extra pressure on the stubborn spots without worrying too much about clear coat degradation, but correction? Fuggedaboudit.
Now I`ve got butter-soft Honda paint and the rock chips make me a sad panda.2003 Honda S2000 Sebring Silver / Full Red | 2005 Honda Accord Hybrid Graphite Pearl
-
04-03-2013, 08:06 PM #13

- Join Date
- Oct 2009
- Location
- Charlotte, NC
- Posts
- 2,257
- Post Thanks / Like
Stellar job again guys! Incredible turnaround, I hope that car never returns to the shape you guys started with! It was wrecked! :nervous:
-
04-03-2013, 11:22 PM #14
- Join Date
- Sep 2007
- Location
- Sanford, Michigan
- Posts
- 75
- Post Thanks / Like
Great writeup and even better turnaround!
-
04-04-2013, 02:03 AM #15
- Join Date
- Oct 2001
- Location
- Arlington, TX
- Posts
- 34,077
- Post Thanks / Like
Originally Posted by Wills.WindowsAndWheels
3 times so far since we`ve been here. The one on Thomas near Scottsdale Road is full service.


 Reply With Quote
Thread Information
Users Browsing this Thread
There are currently 1 users browsing this thread. (0 members and 1 guests)
Similar Threads
-
2013 BRZ Corrected/Opti Coated Again
By Thomas Dekany in forum Click & Brag -The Detailers ShowcaseReplies: 13Last Post: 01-27-2014, 11:43 PM -
Black Camaro 1LE Corrected then Opti-Coated by Greg Gellas SignatureDetailing.com
By Greg Gellas in forum Click & Brag -The Detailers ShowcaseReplies: 3Last Post: 06-15-2013, 08:46 PM -
Black Camaro 1LE Corrected then Opti-Coated by Greg Gellas SignatureDetailing.com
By Greg Gellas in forum The Detailers ShowcaseReplies: 10Last Post: 06-15-2013, 03:16 PM -
2009 BMW M3 corrected and Opti Coated
By Thomas Dekany in forum Click & Brag -The Detailers ShowcaseReplies: 6Last Post: 05-27-2013, 02:31 PM -
2009 BMW M3 corrected and Opti Coated
By Thomas Dekany in forum The Detailers ShowcaseReplies: 10Last Post: 05-17-2013, 12:29 PM
Bookmarks