

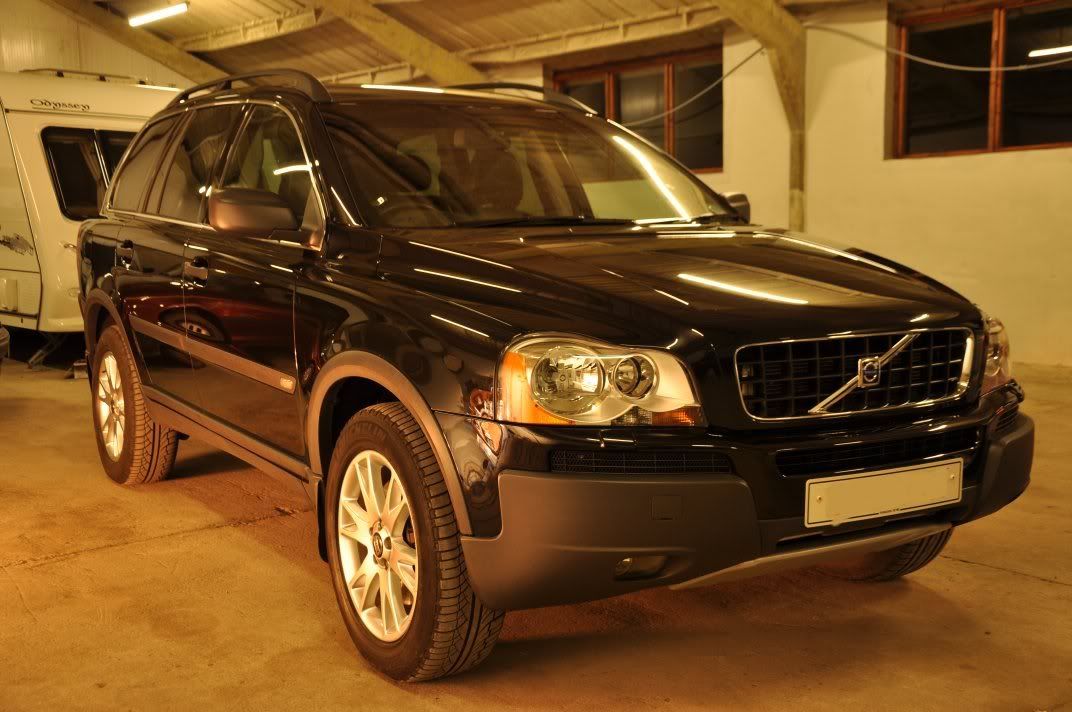
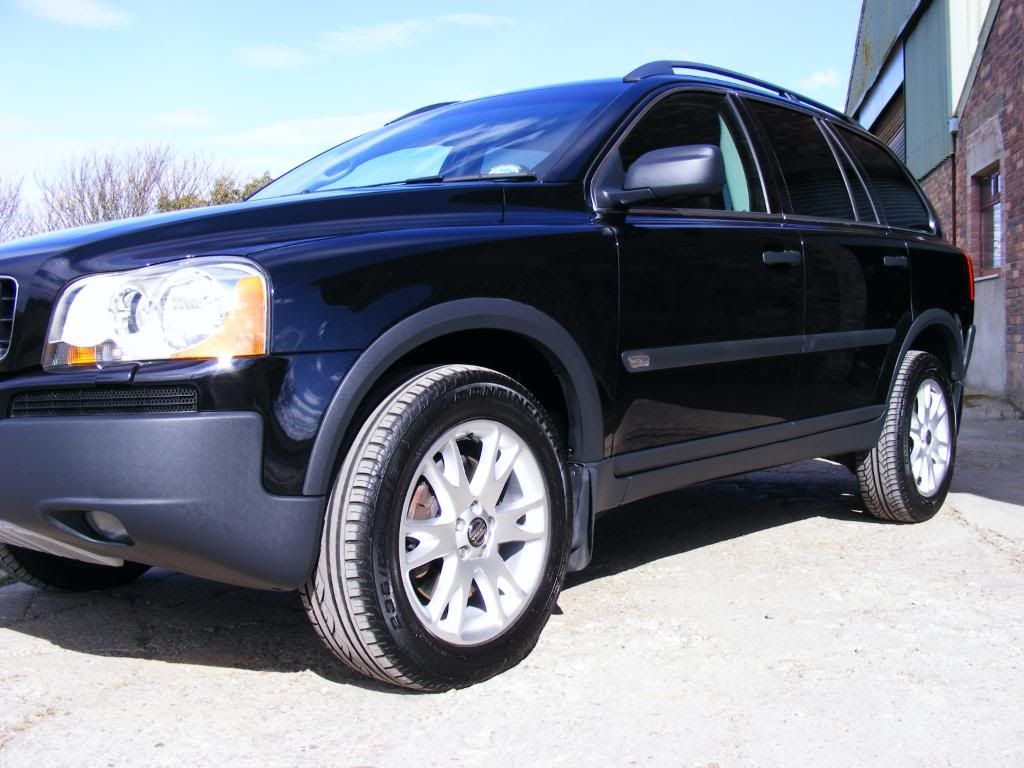
Familiar paint arrived in the unit on Friday afternoon - black sapphire Volvo (same as my own S60). Only much more of it on this car!!
Bryan worked on Friday to prepare this car for the paintwork correction stage with the washing, decontamination and claying stage... It was then readied for Saturday night night-shift for Stu and myself to correct and protect the finish
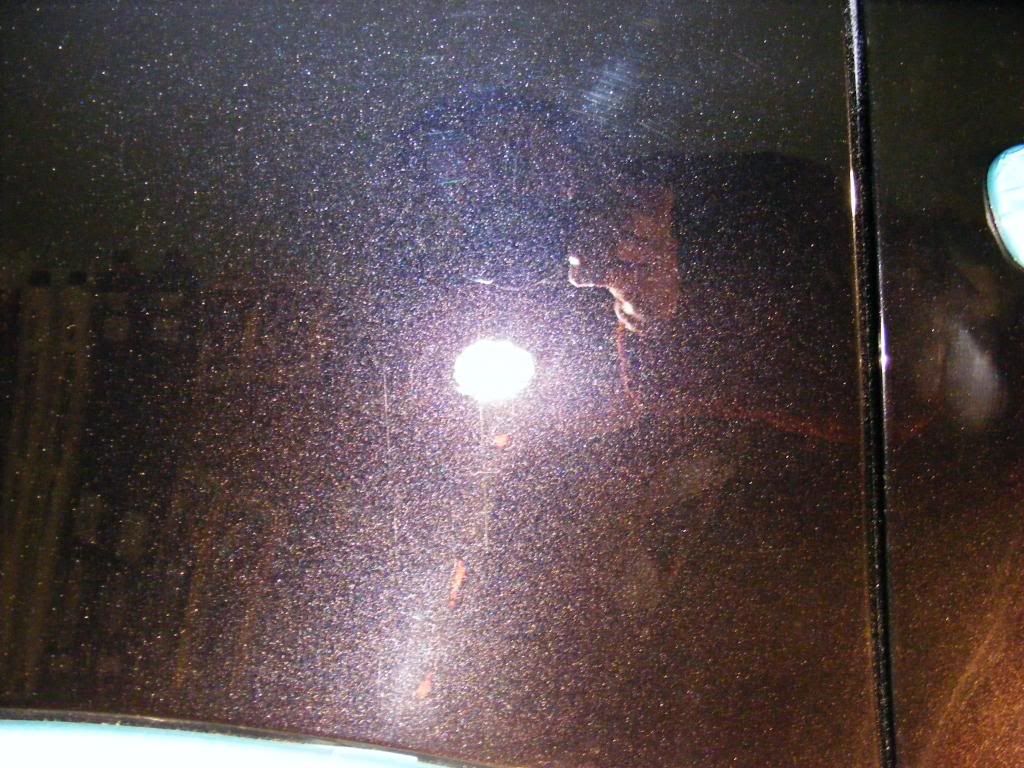
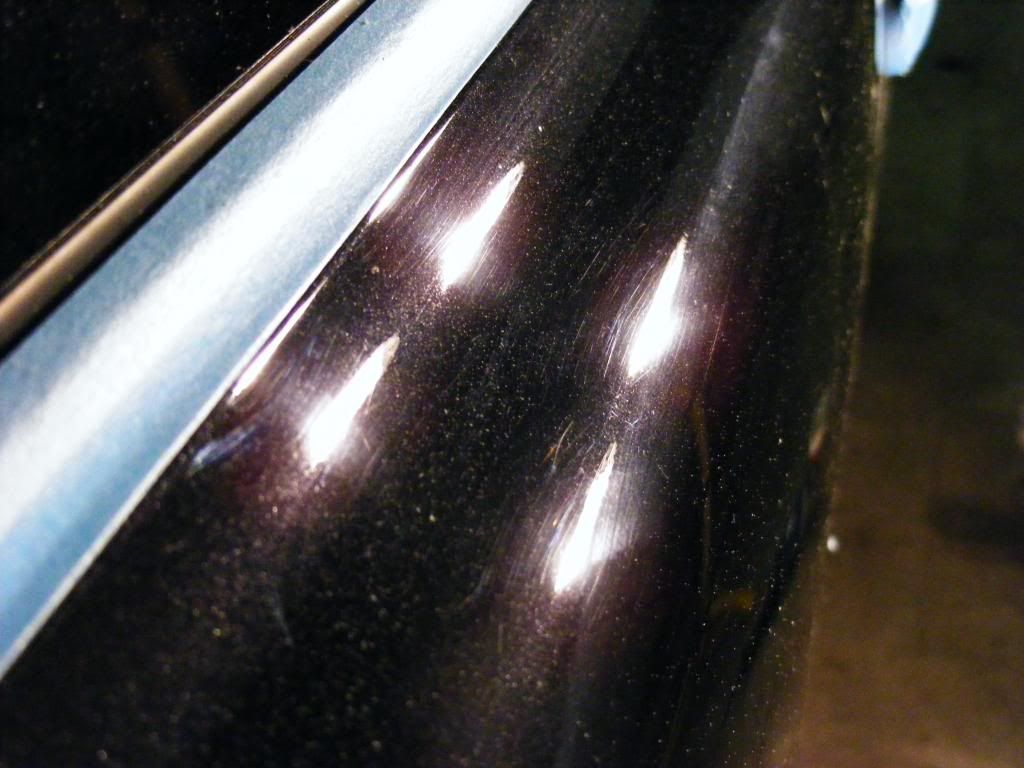
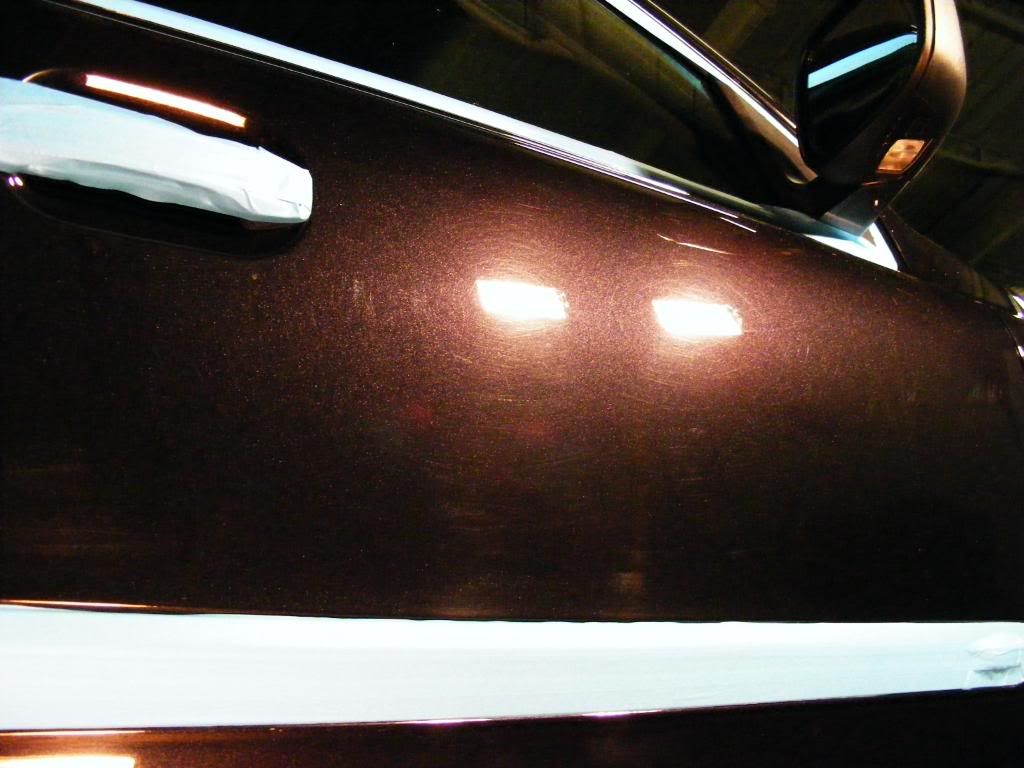
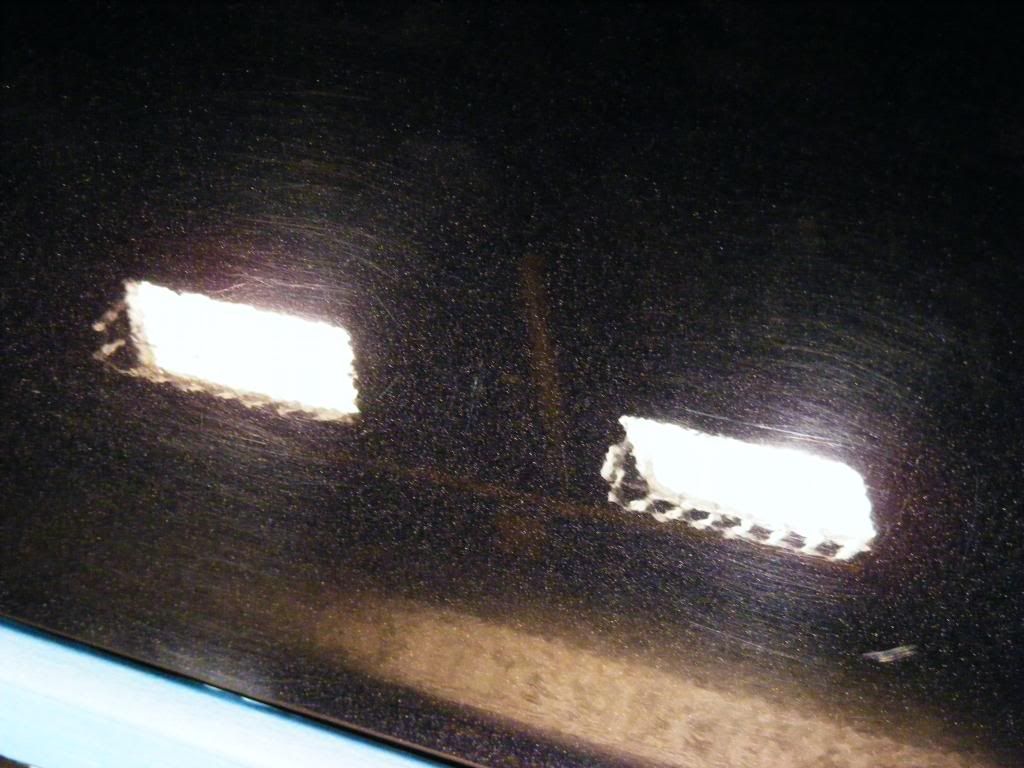
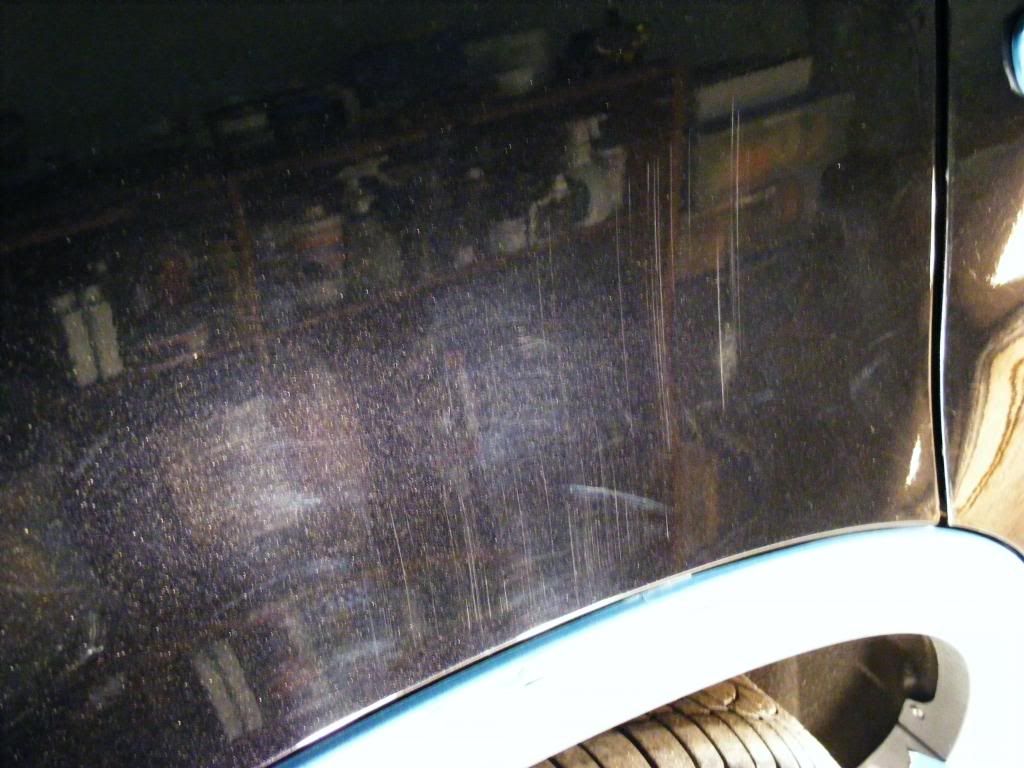
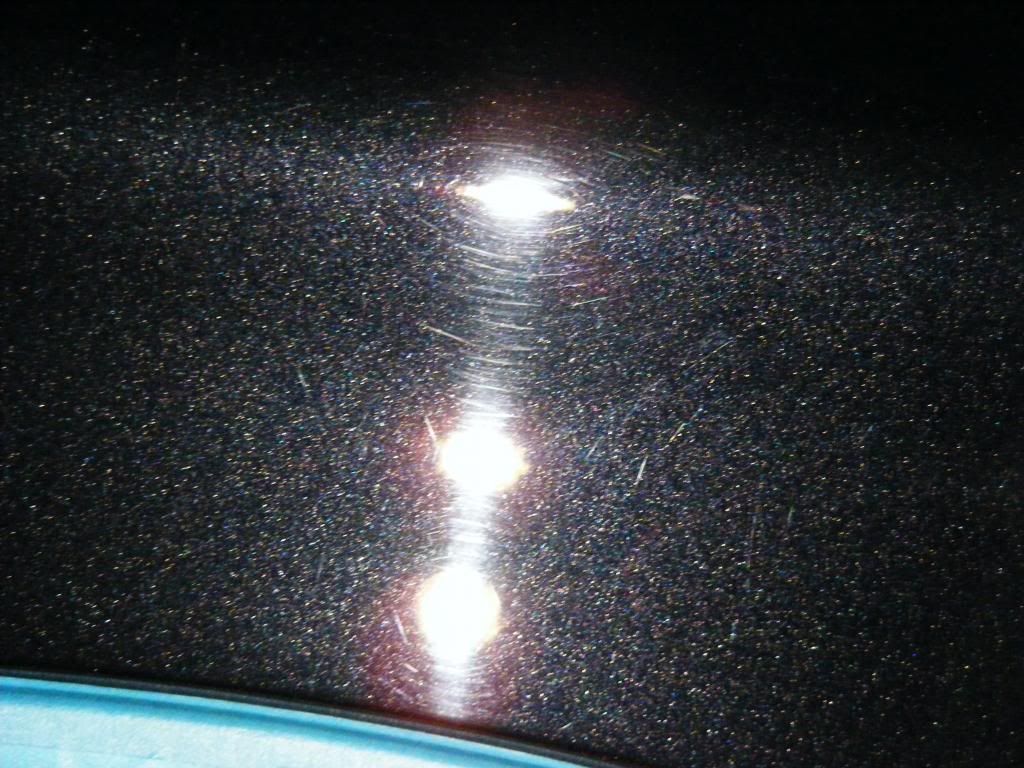
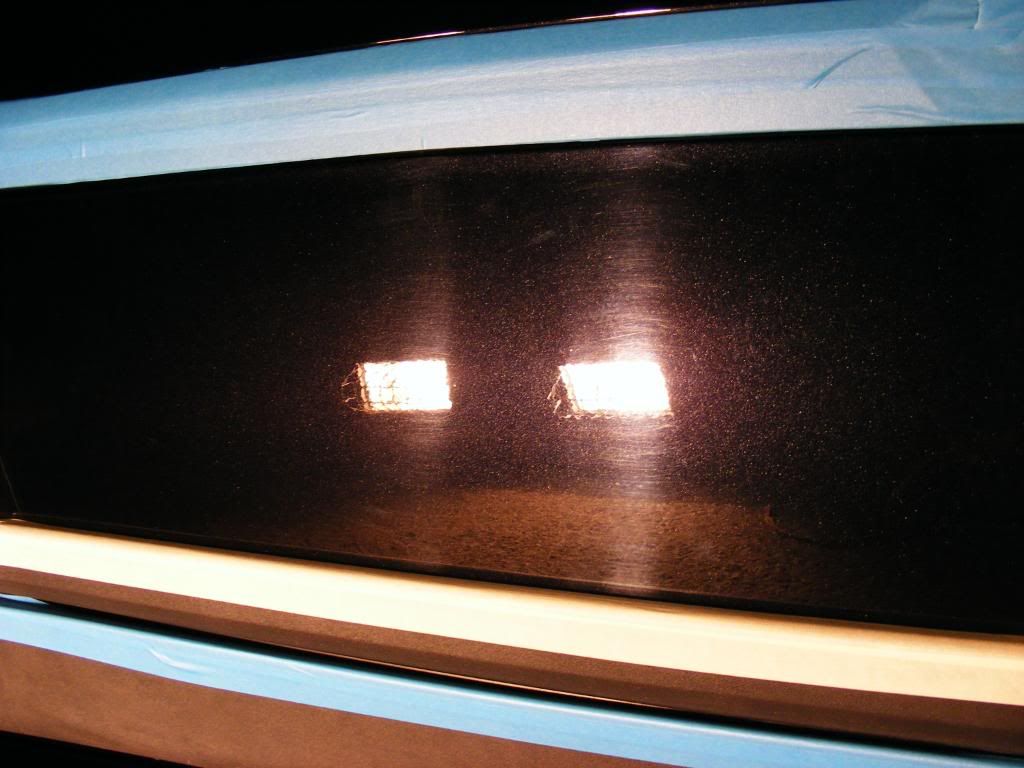
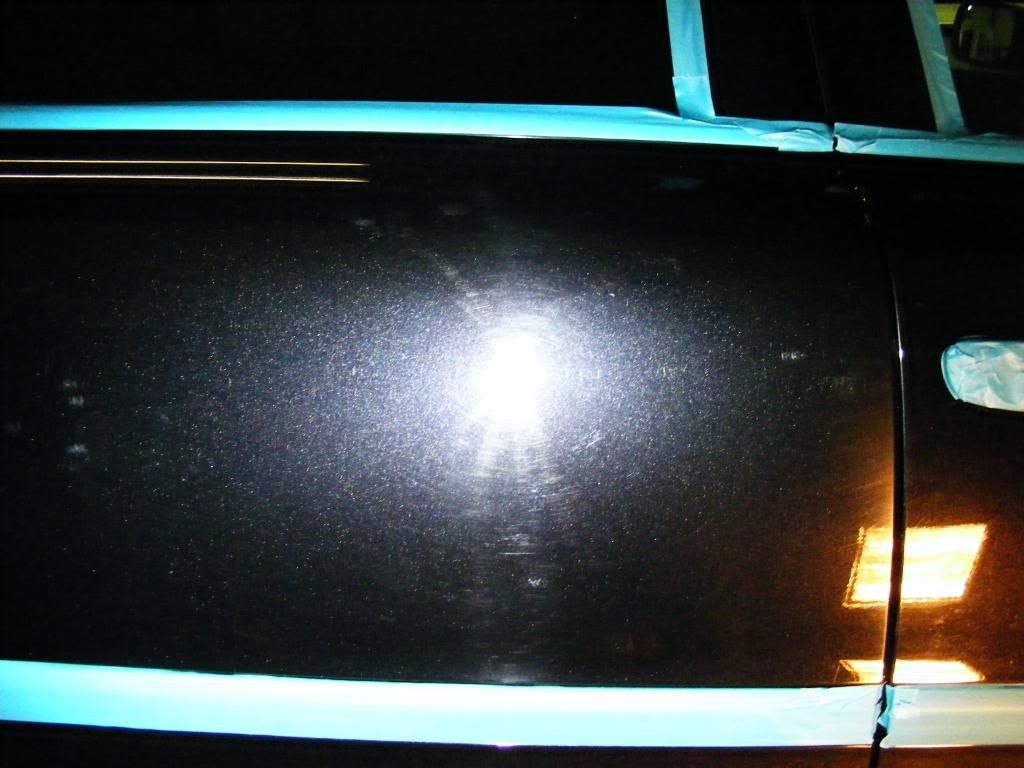
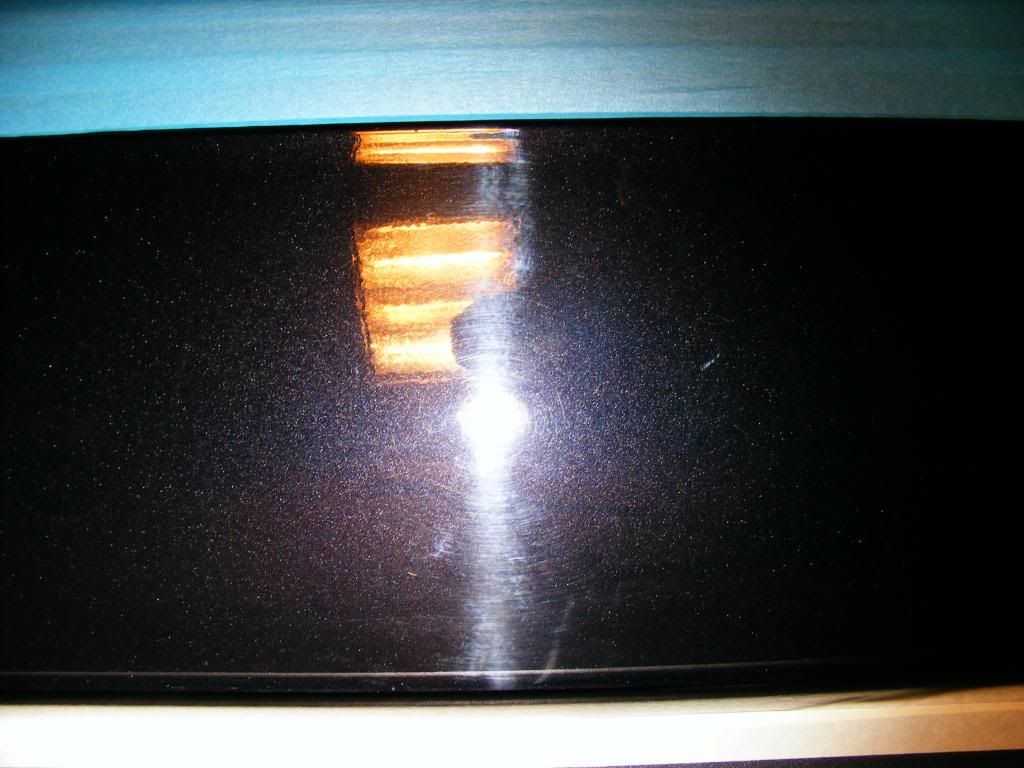
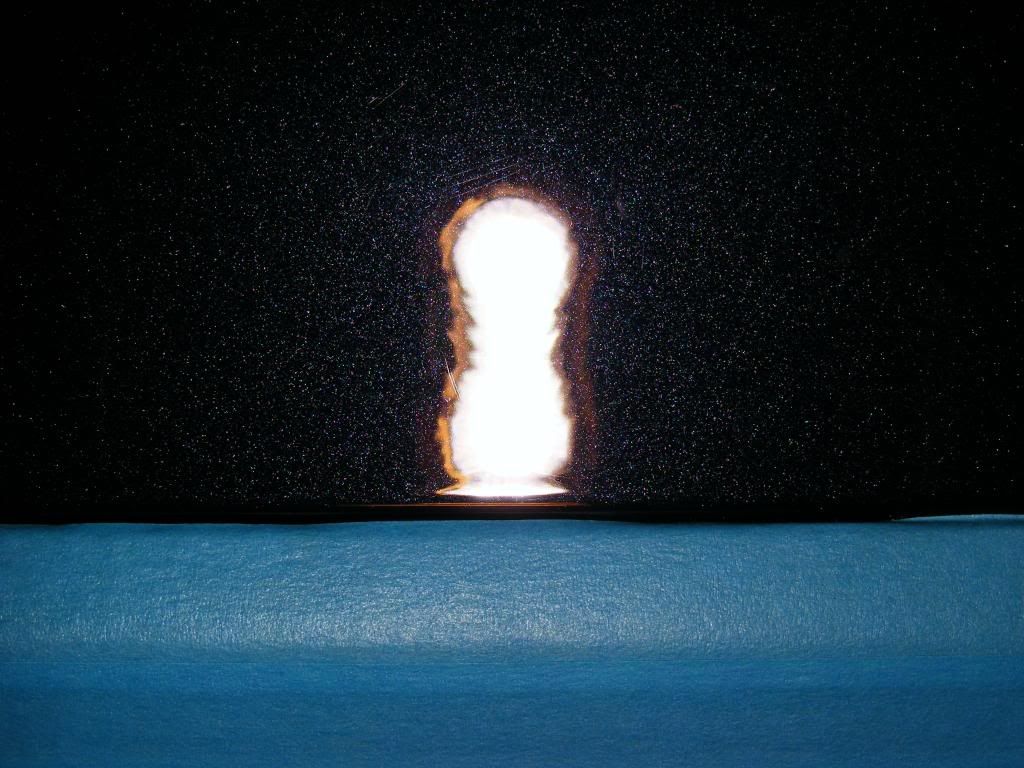
For a now four year old car, the paintwork was in pretty good condition with only really medium swirls and the odd deeper mark...
Also, some deeper scratches in select areas around the car requiring special attention...
Assessment of the paint thickness on this vehicle showed a consistent 110 - 140um of paint, normal for Volvo paint out of the factory on the Phase-2 generation of cars. Working up through the range of Menzerna polishes, assessing correction and paint removal, I settled on the new Menzerna PO203S Power Finish on a Meguiars W8006 polishing pad, applied using the classic Zenith Point technique as follows:
- Spread at 600rpm
- Begin working at 1200rpm, couple of passes
- Work at 1800rpm until residue goes clear
- Refine at 1200rpm for a couple of passes
- Burnish at 900rpm for a couple of passes
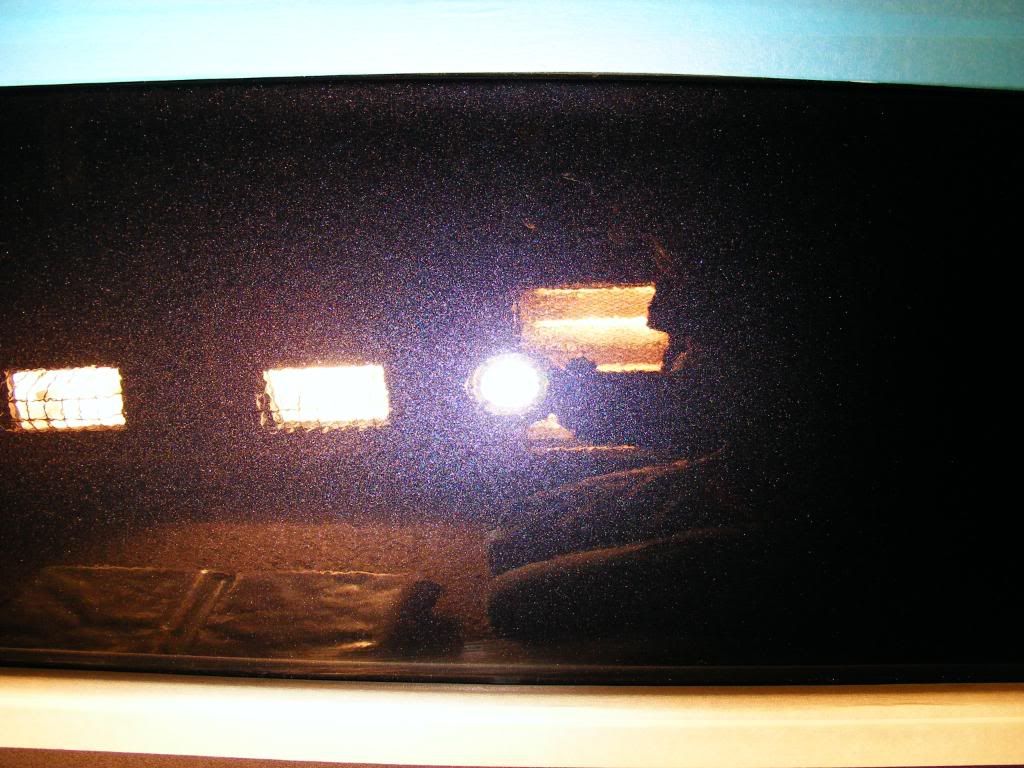
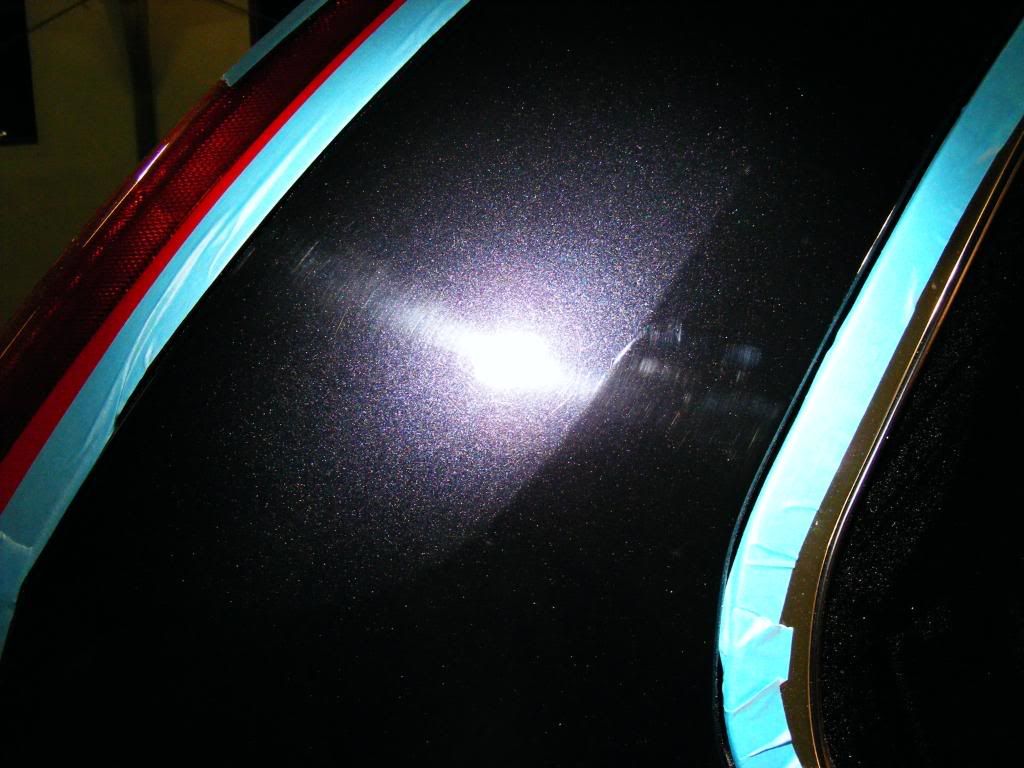
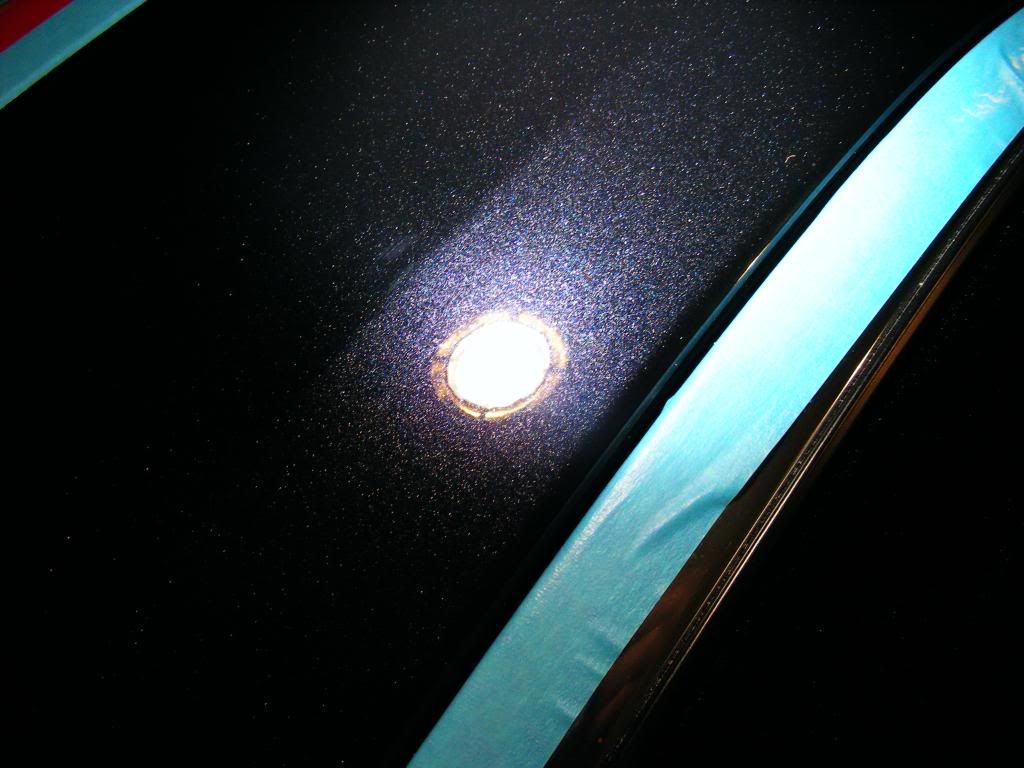
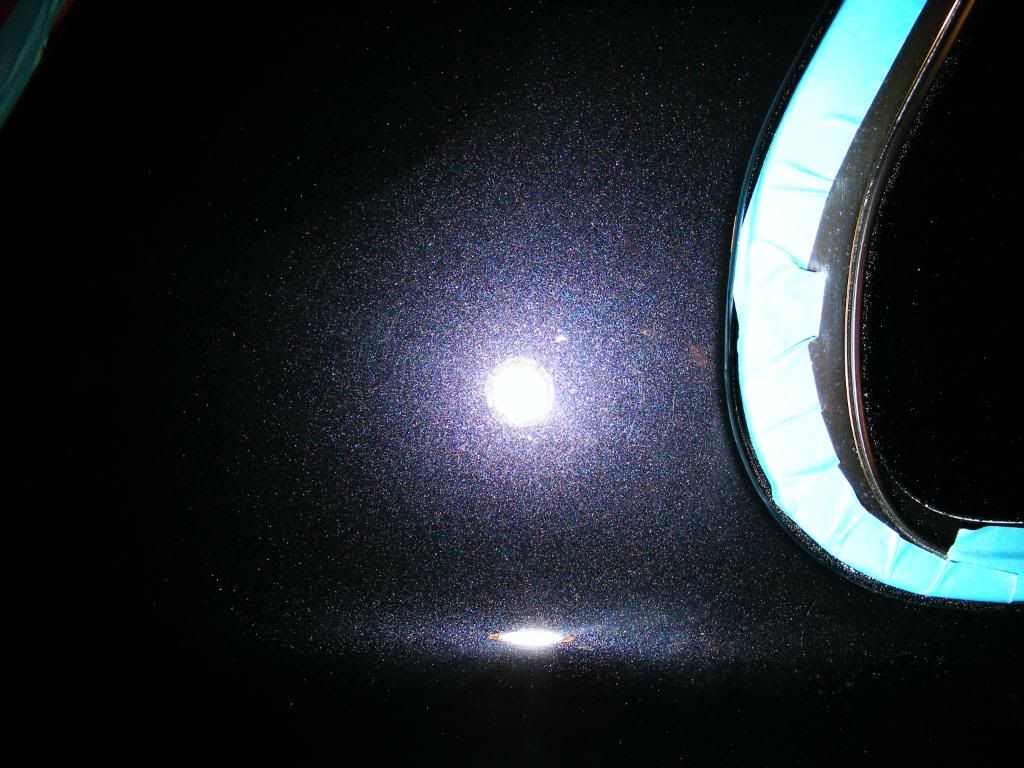
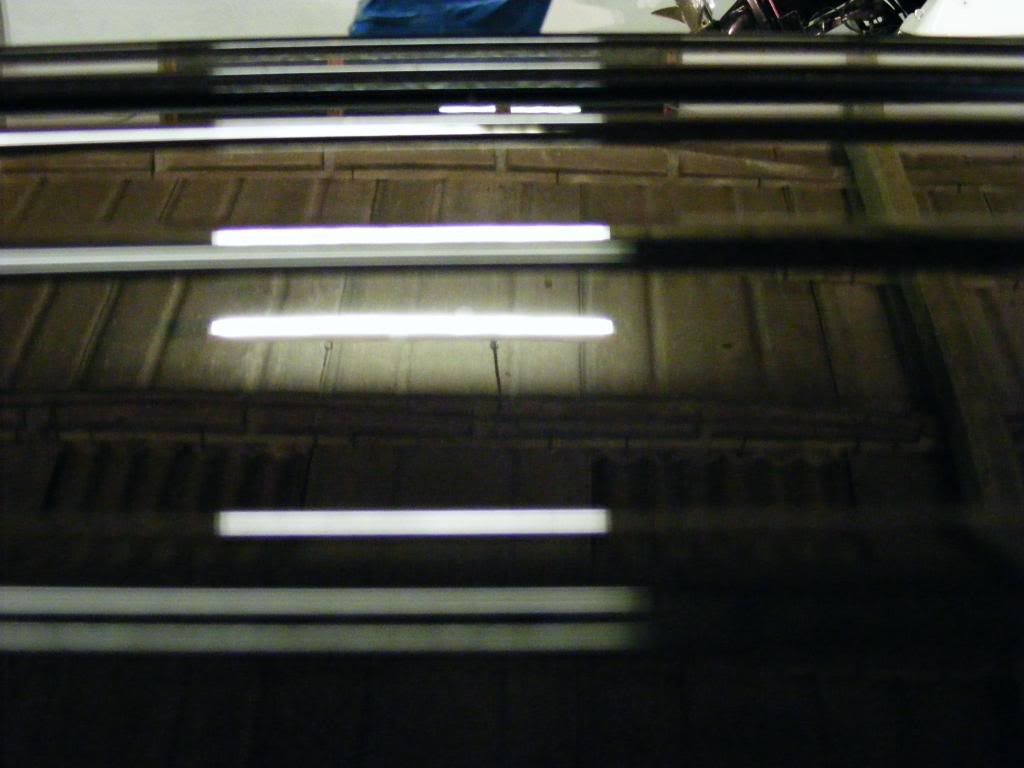
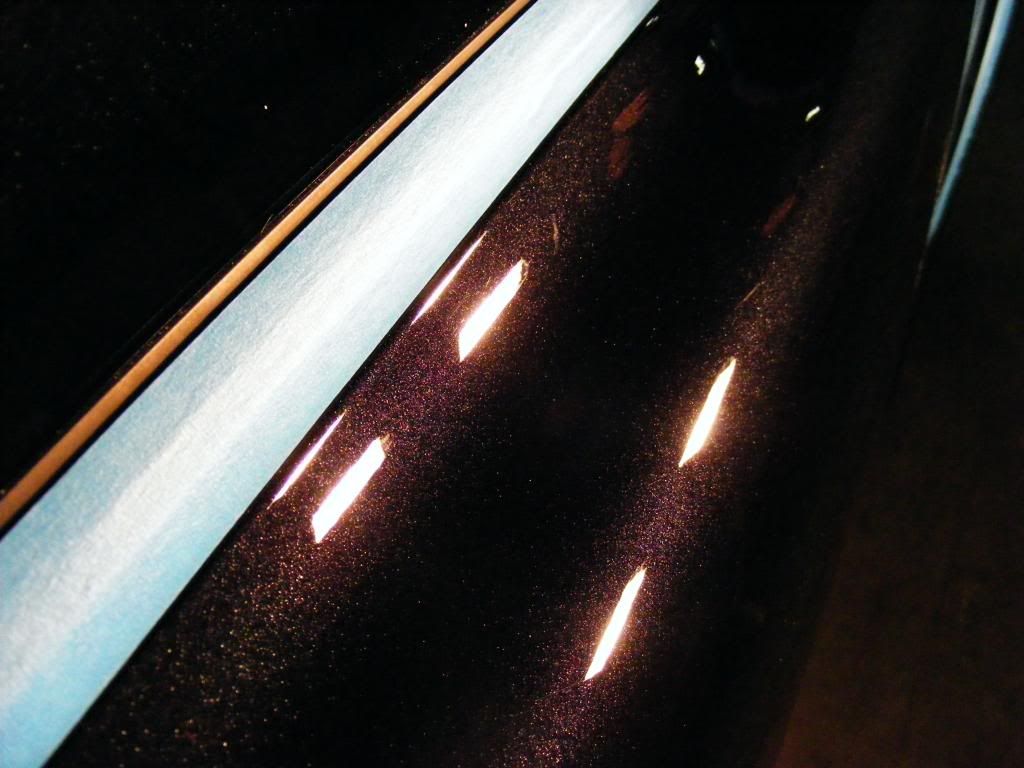
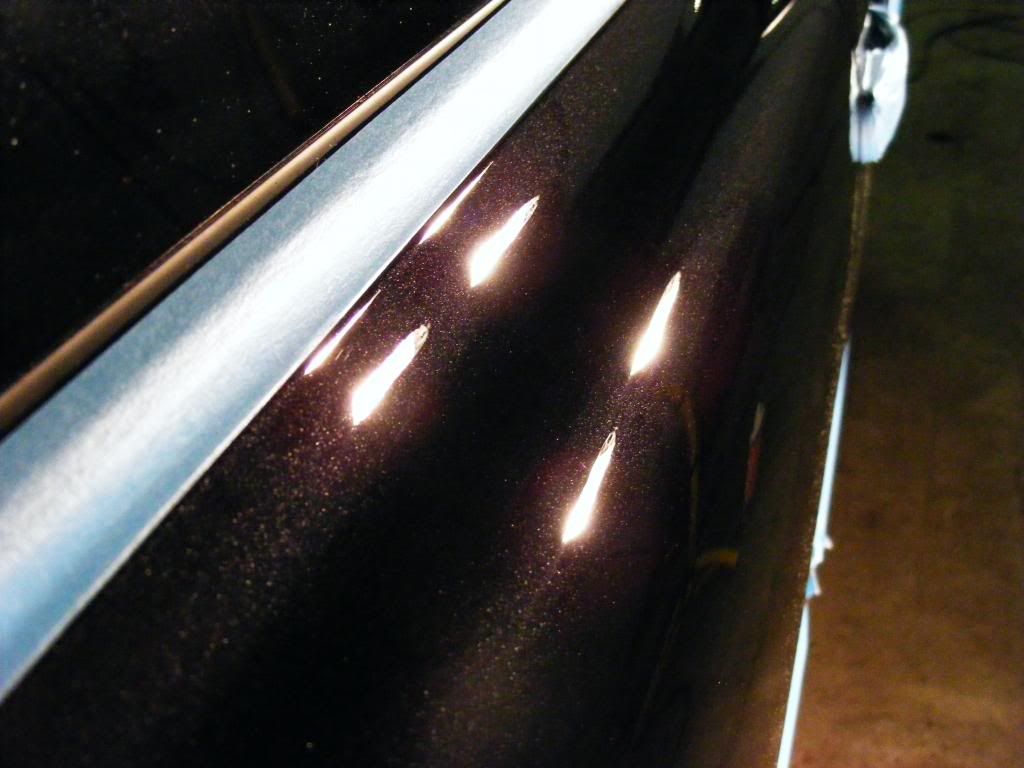
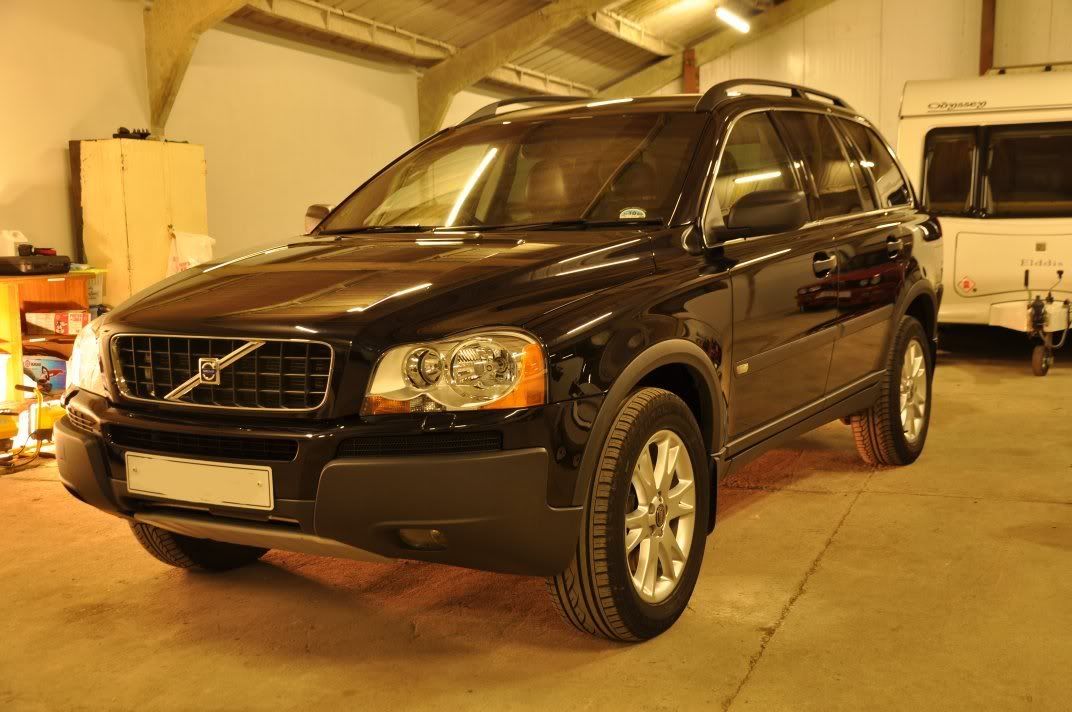
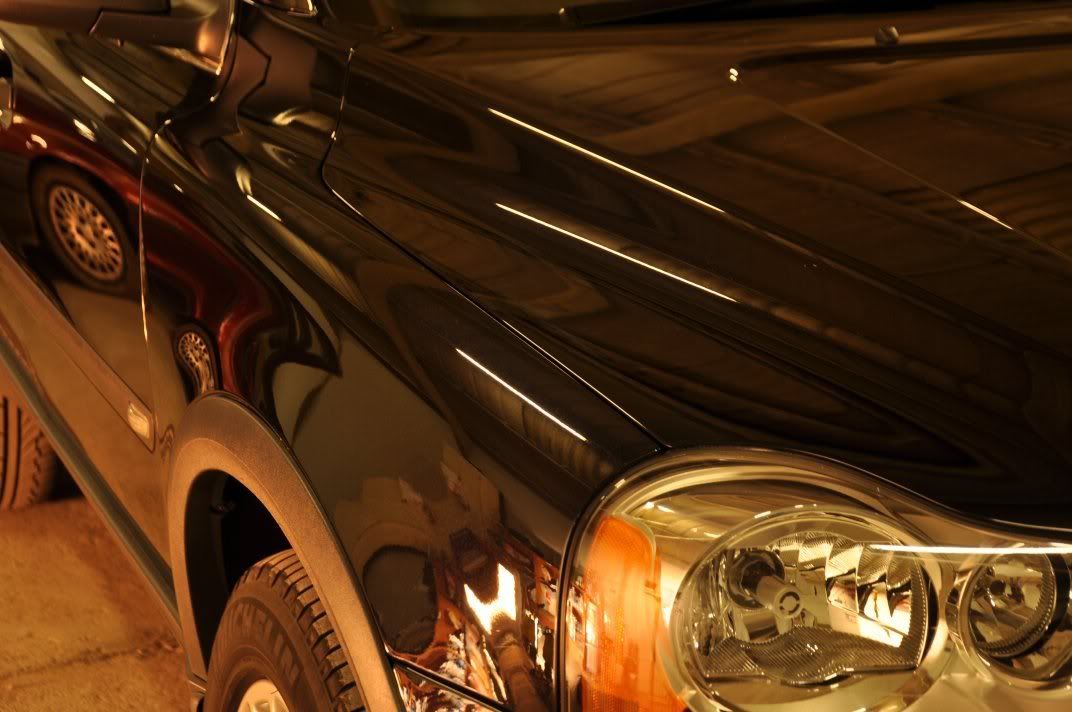
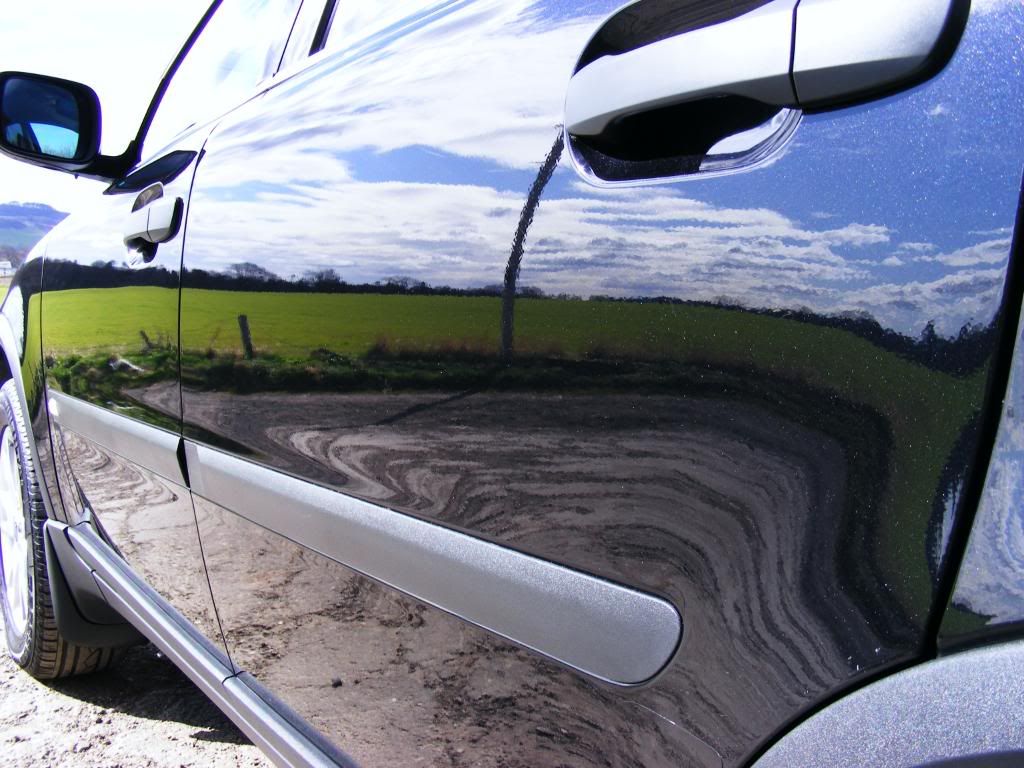
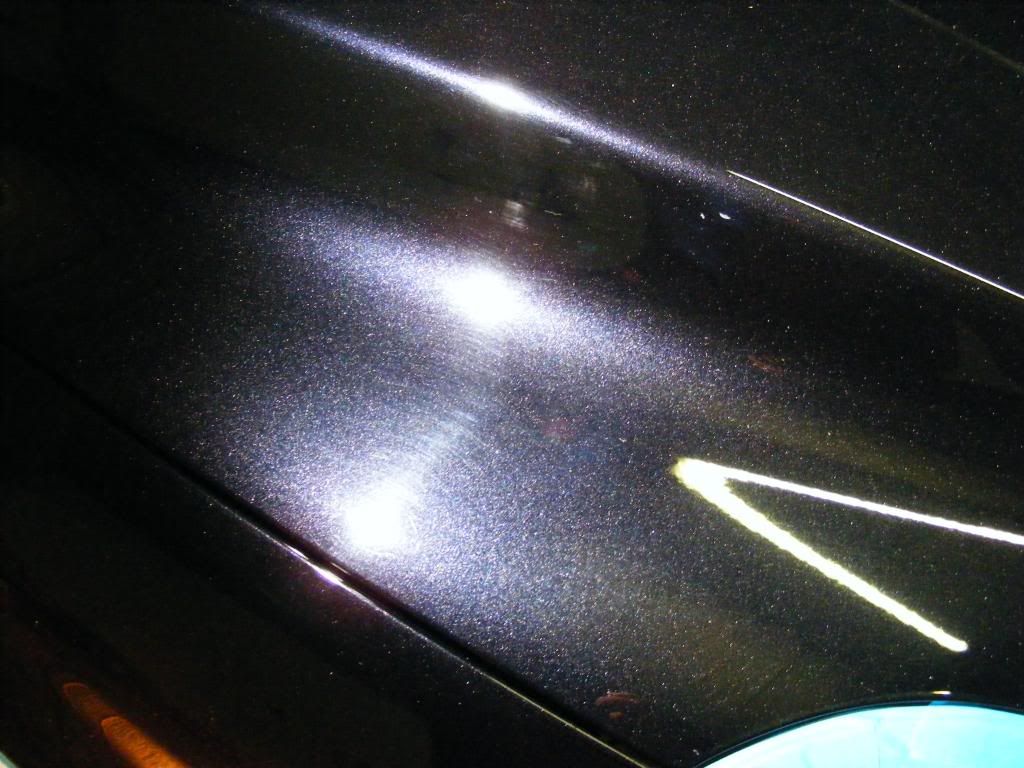
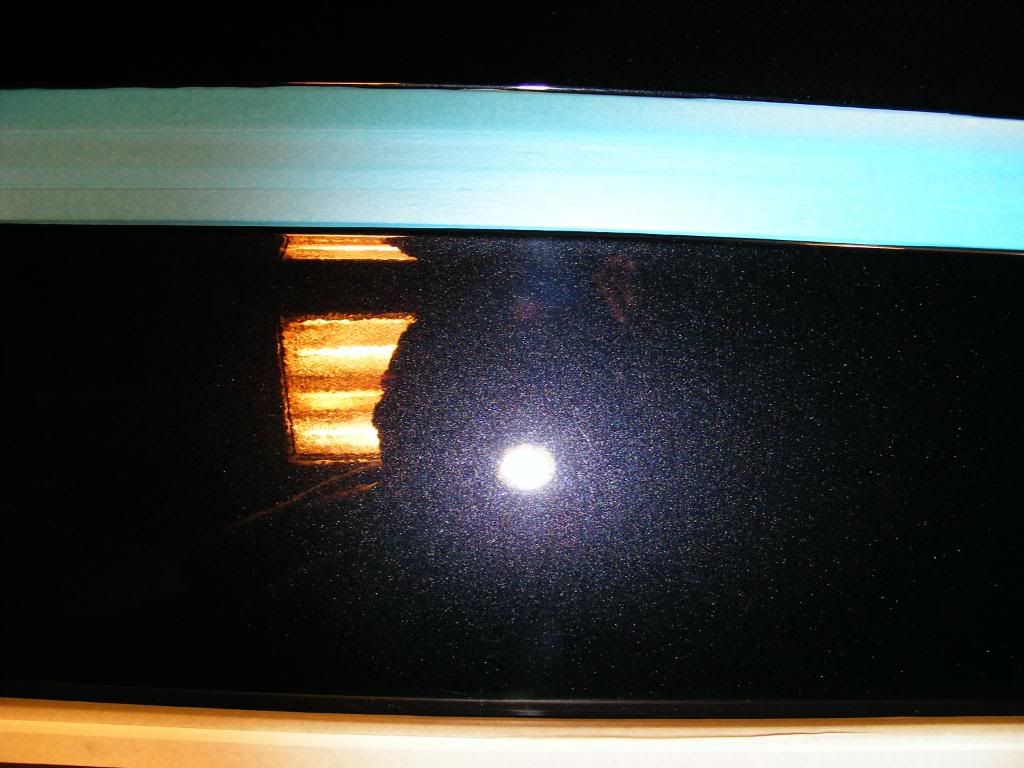
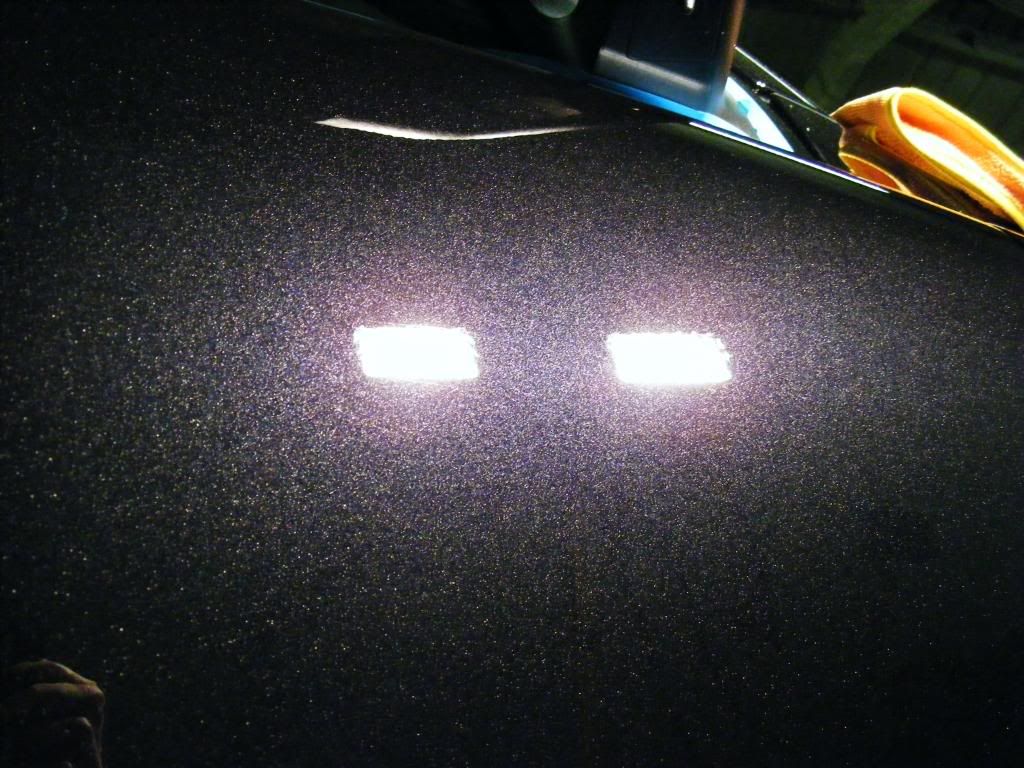
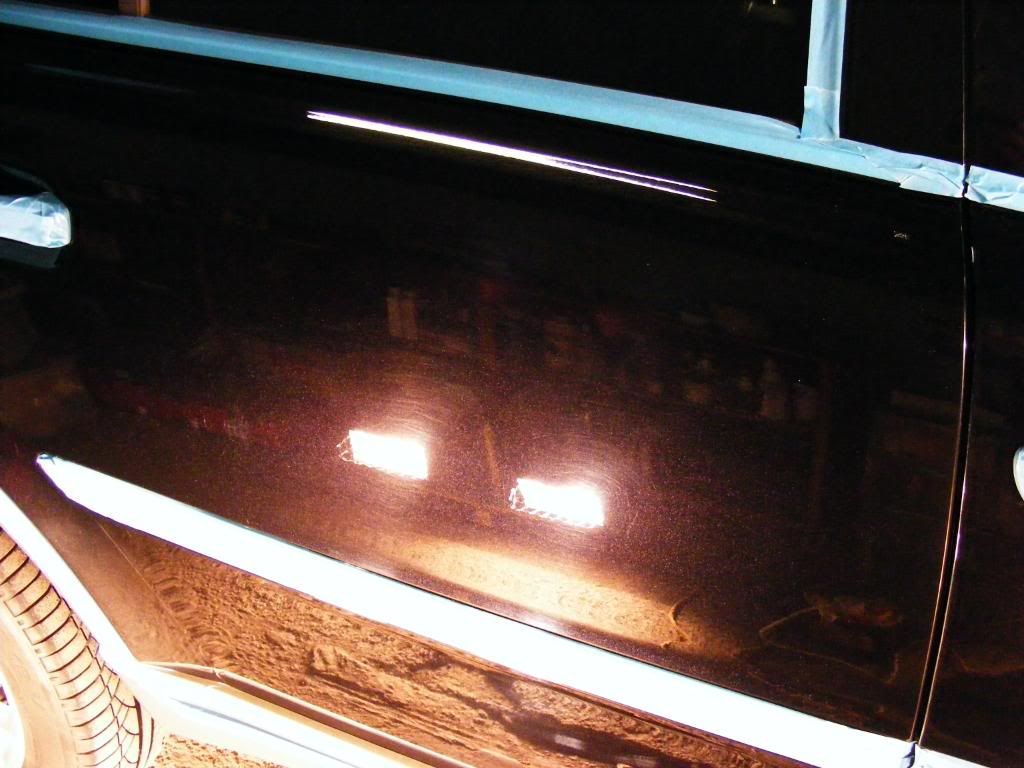
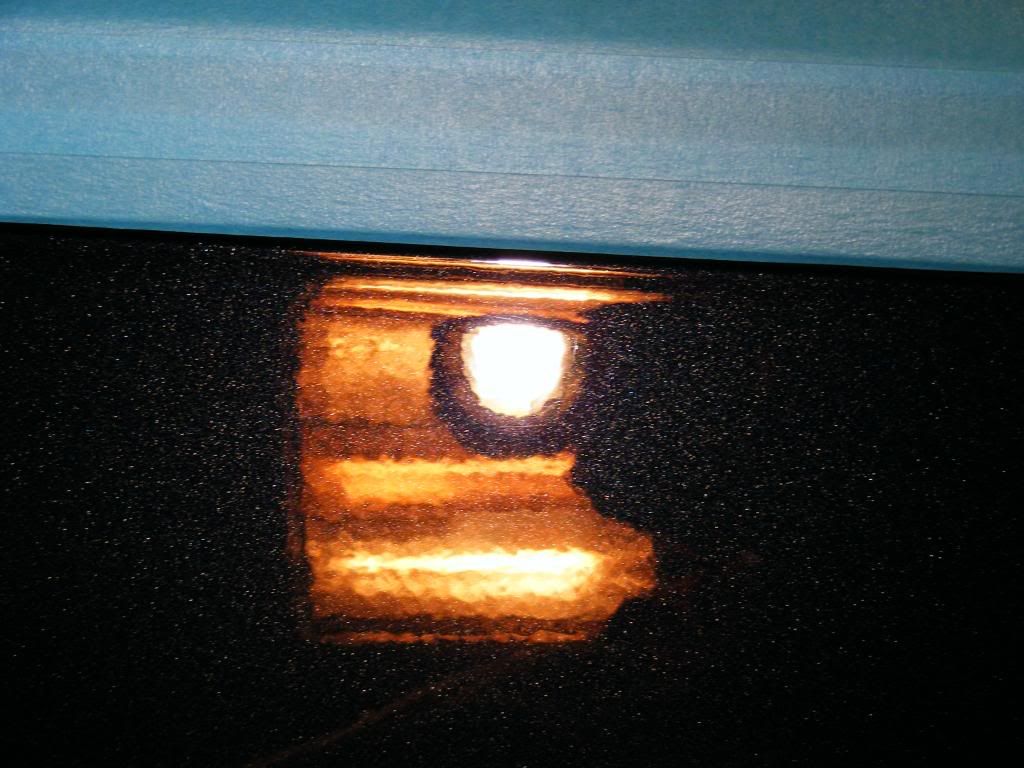
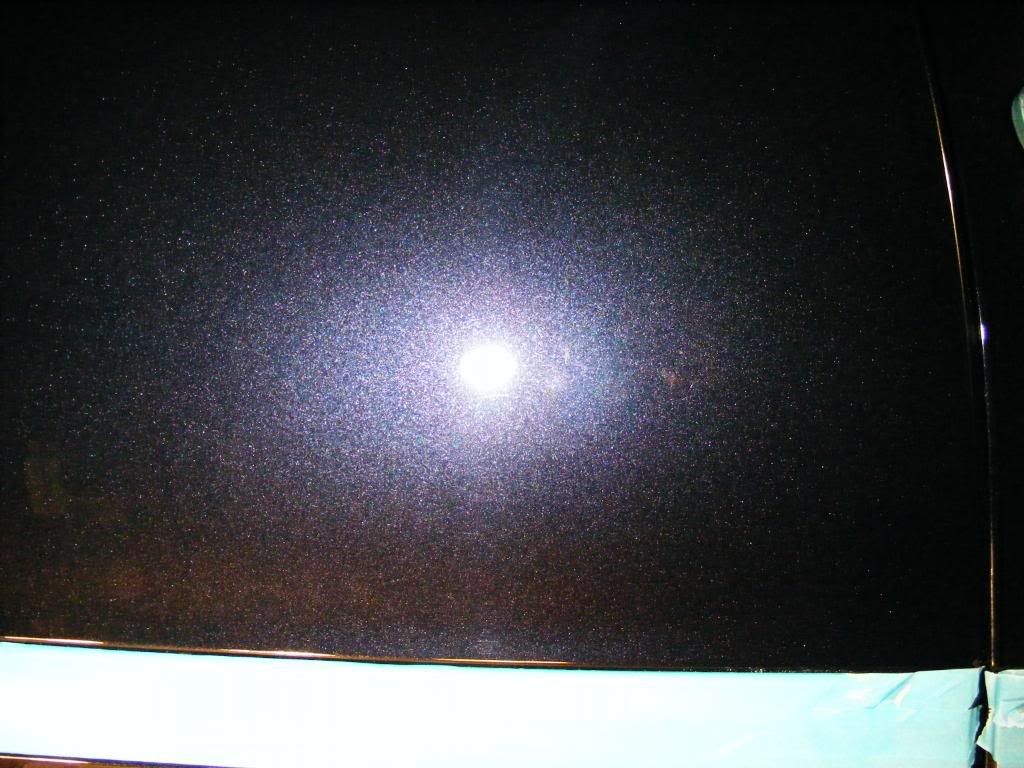
This generated the desired levels of correction and sharpness and clarity in the finish allowing the metallic flake to ping through beautifully:
Paint removal rates were assessed as follows:
- Find a "landmark" on the paint (stone chip, contour...)
- Measure approx 30 paint thickness readings over 1" square around the area and calculate average thickness
- Polish as above
- Repeat readings (approx 30) on same 1" square region, around landmark
- Subtract latter average from former average to calculate amount removed
Assessment was removal rates were between 2 and 3um of paint tops, inside the error of the gauge and certainly nothing to worry about on this car when considering the future life of the paint finish which to me is a crucial consideration as part of any detail. I prefer the above method to the laser pen spot method as the averages take into account variances across the region which a single reading does not account for.
Onto the more specific pictures...
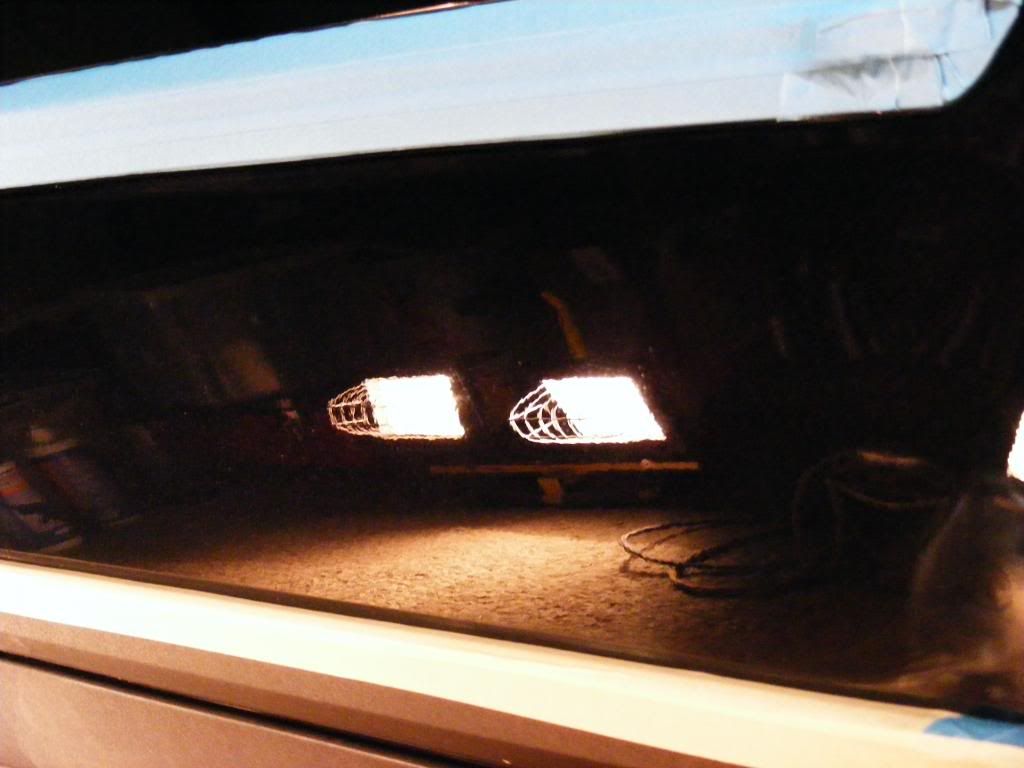
Before
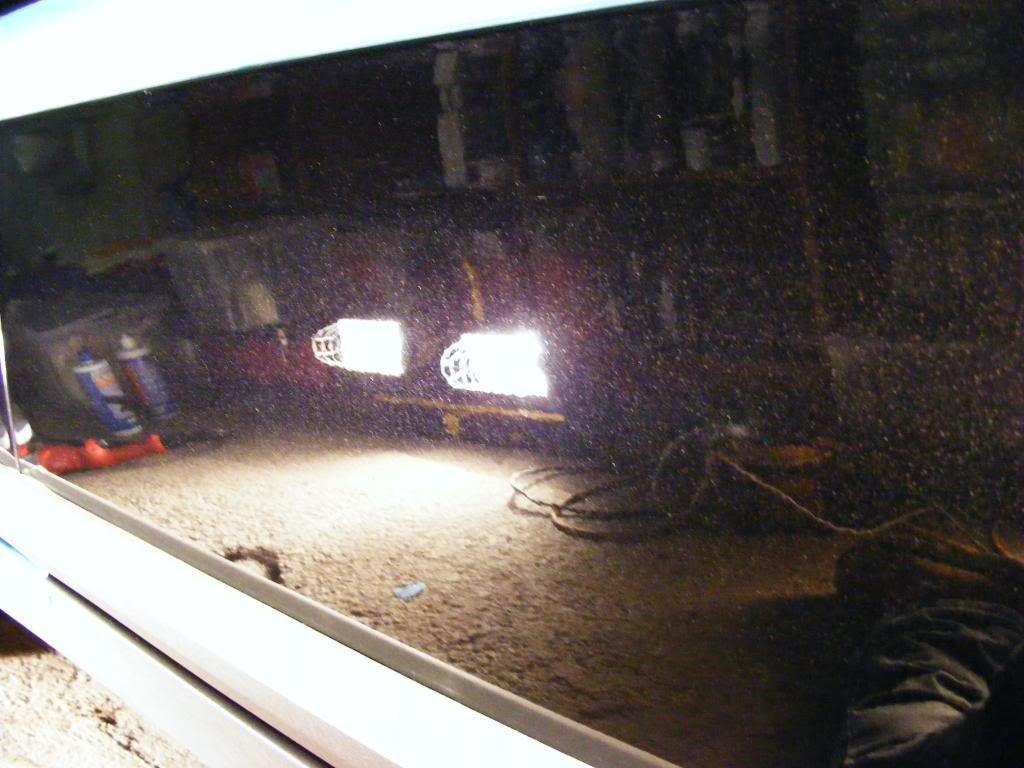
After
Results 1 to 4 of 4
-
03-30-2009, 07:03 PM #1


- Join Date
- Jun 2006
- Location
- Dundee, Bonnie Scotland
- Posts
- 1,159
- Post Thanks / Like

"A thing of beauty is a joy for ever: Its loveliness increases; it will never pass into nothingness; .... "
-
03-30-2009, 07:04 PM #2
- Join Date
- Jun 2006
- Location
- Dundee, Bonnie Scotland
- Posts
- 1,159
- Post Thanks / Like
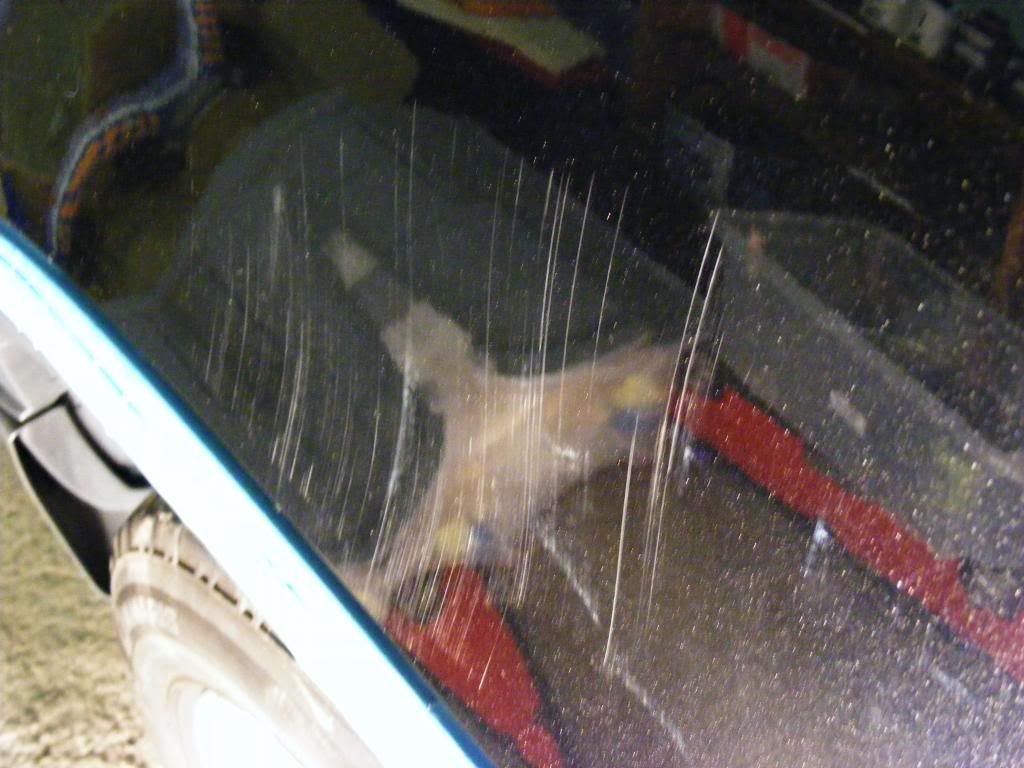
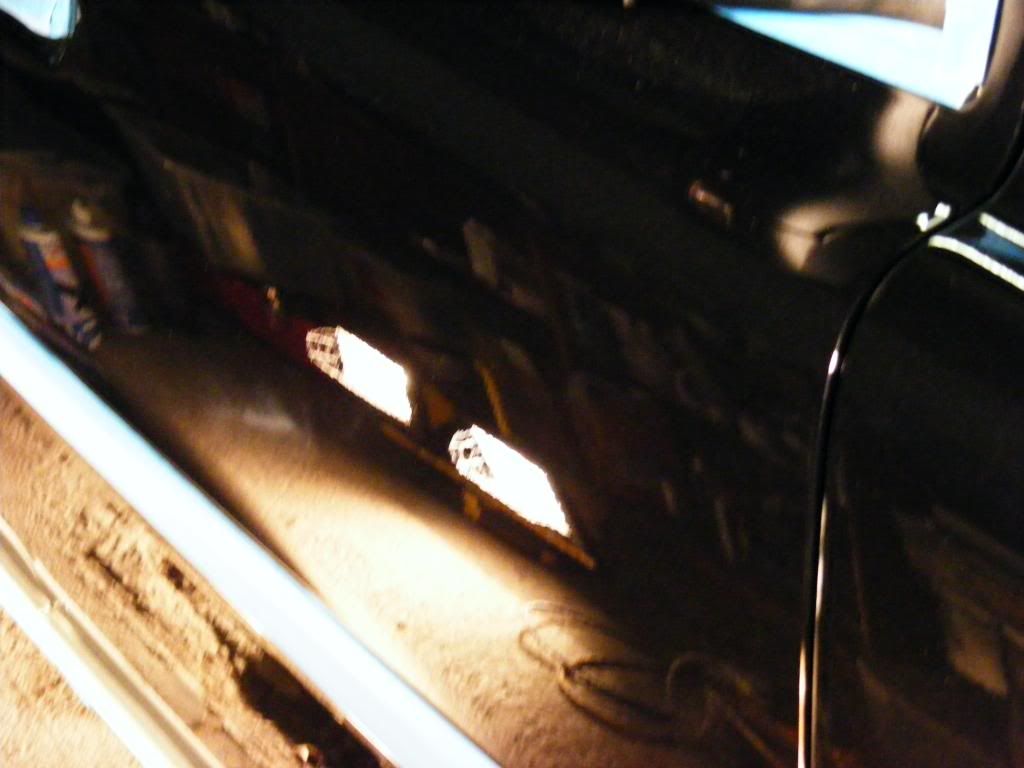
The deeper scratches here would require more detailed attention:
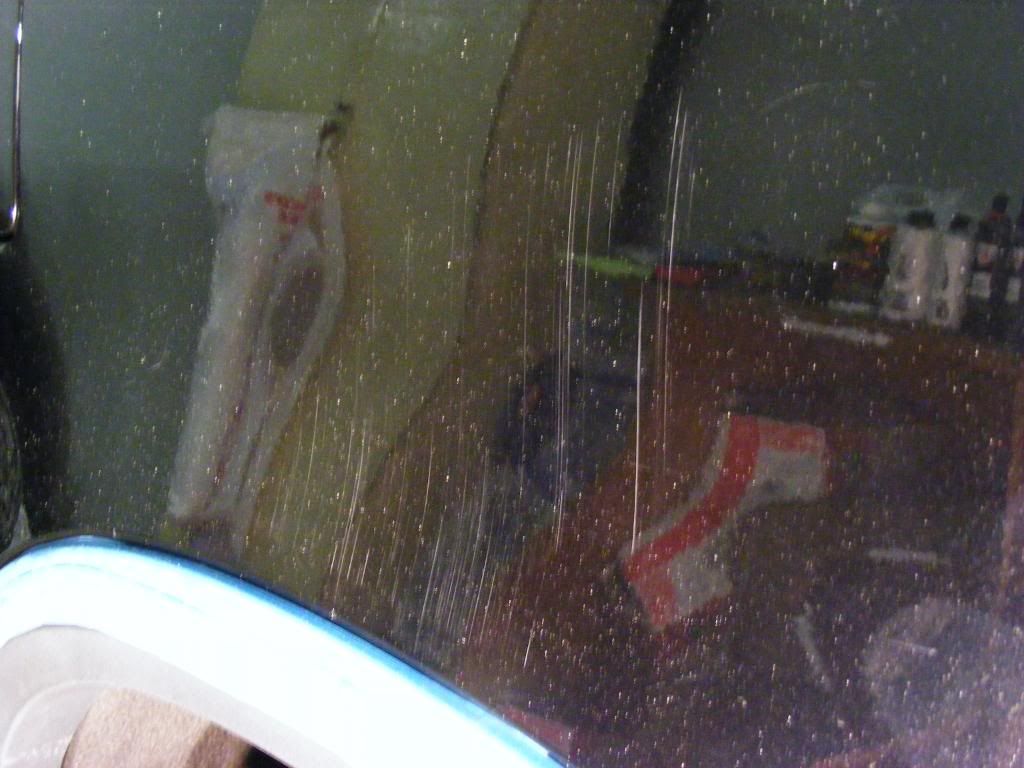
The owner wanted these removed. Assessing the paint thickness in the region saw readings from 120 - 140um: healthy, normal. The region was compounded by 3M Fast Cut on a compounding pad at 2000rpm, removing approx 10um of paint in this area (finished with Menzerna 85RD) and giving the following correction:
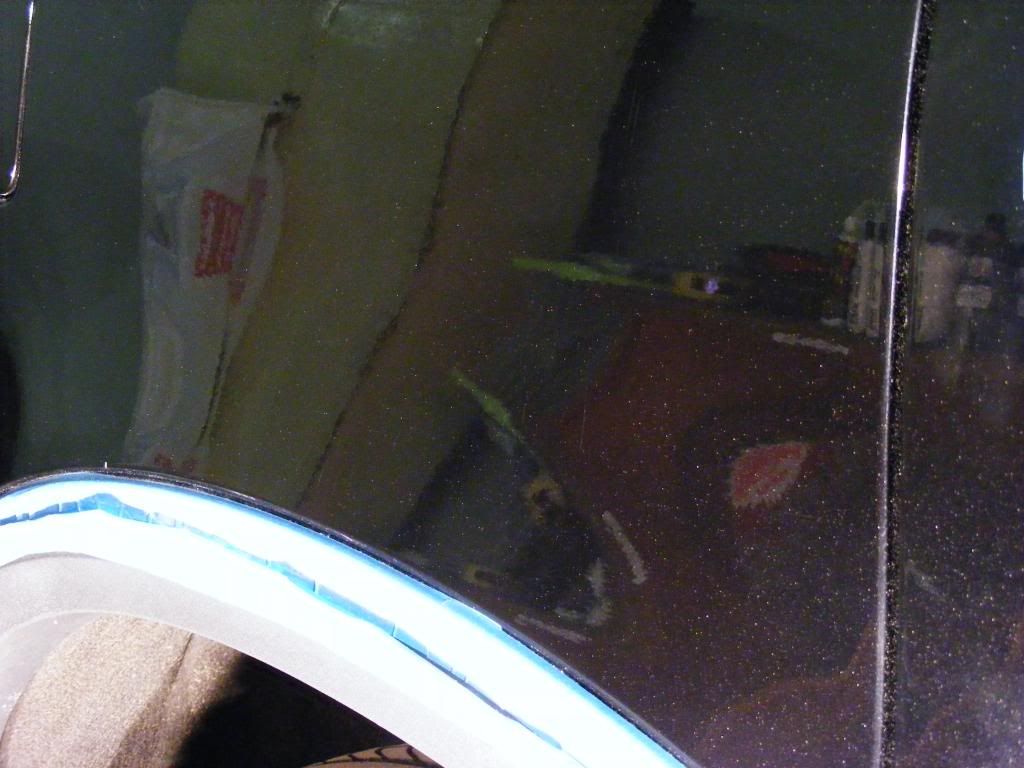
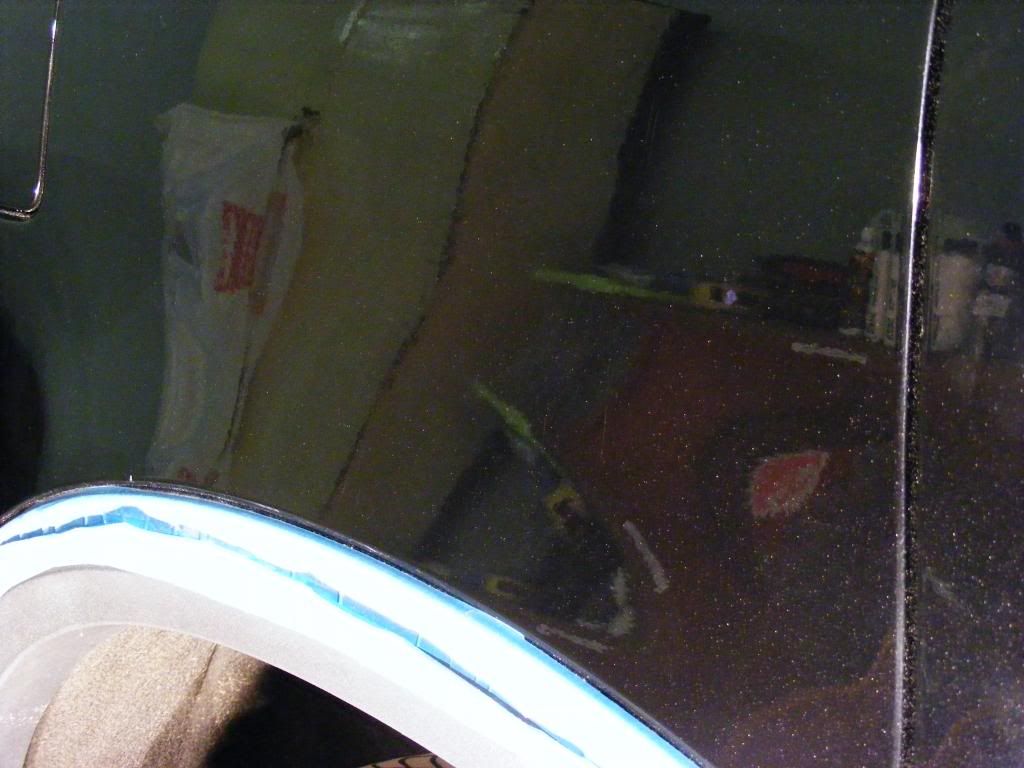

The marks were still slightly evident in places in the correct light, but given the paint removal to get to the stage above, it was decided to preserve the life of the clearcoat here as 95% or better correction was achieved and this car is an everyday car where one must consider the possibilities of requiring further polishing and more longterm the life of the paintwork with thinned clearcoat. Staying well within safe limits like this helps go a long way to guaranteeing the life of the clearcoat will not be adversely affected in the life scale of the vehicle and allows room for further polishing should it be required in years to come
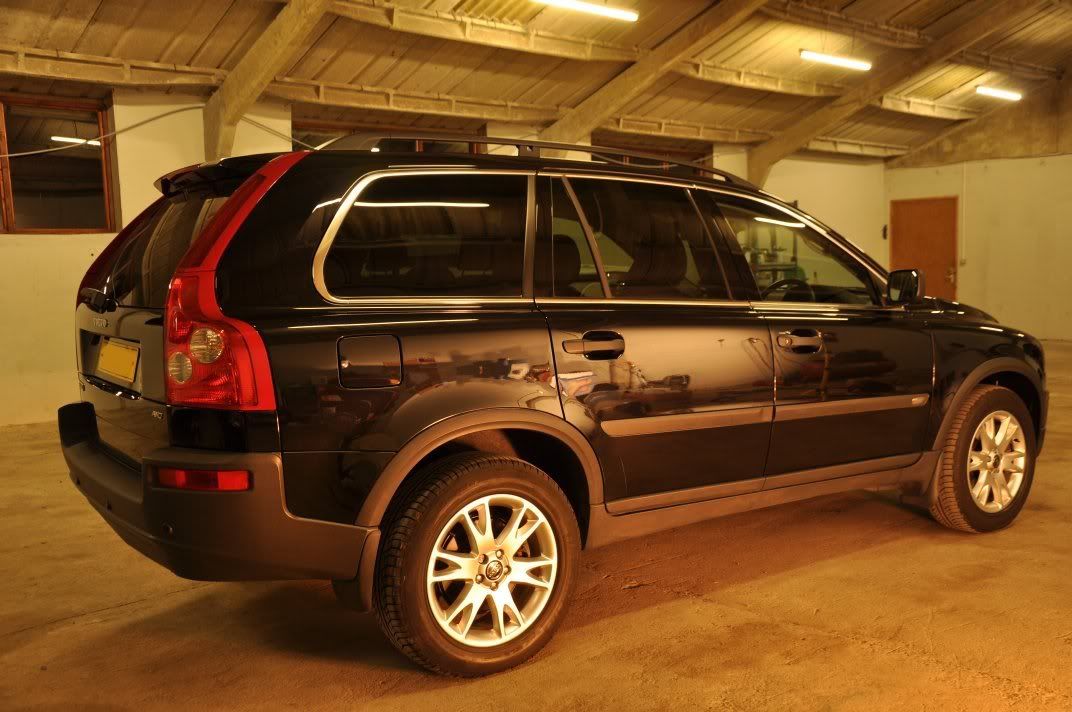
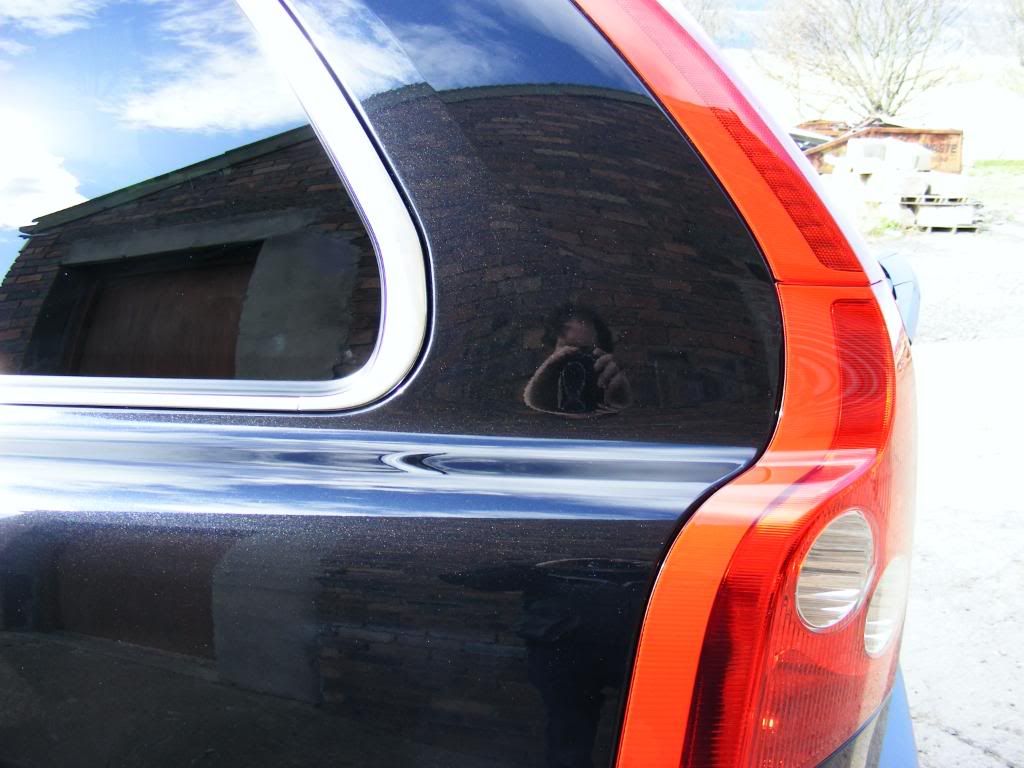
Rear 3/4 before:
after...
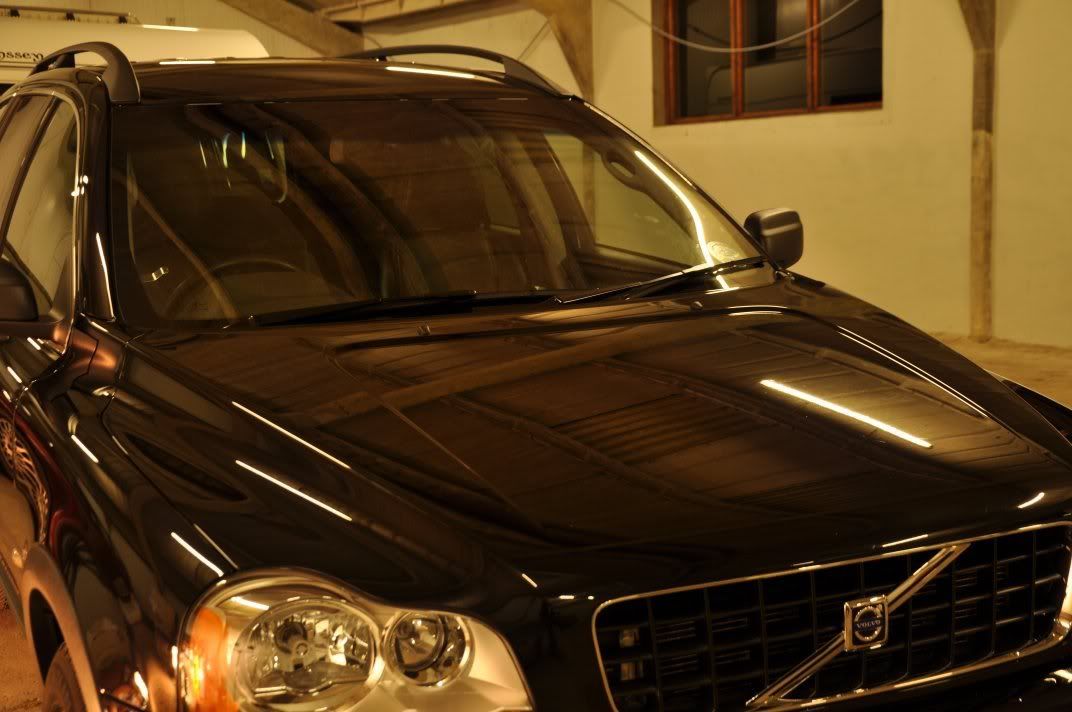
The roof was certainly high up for polishing!!
The shoulders of the car were corrected using a 4" pad:
Before:
After:
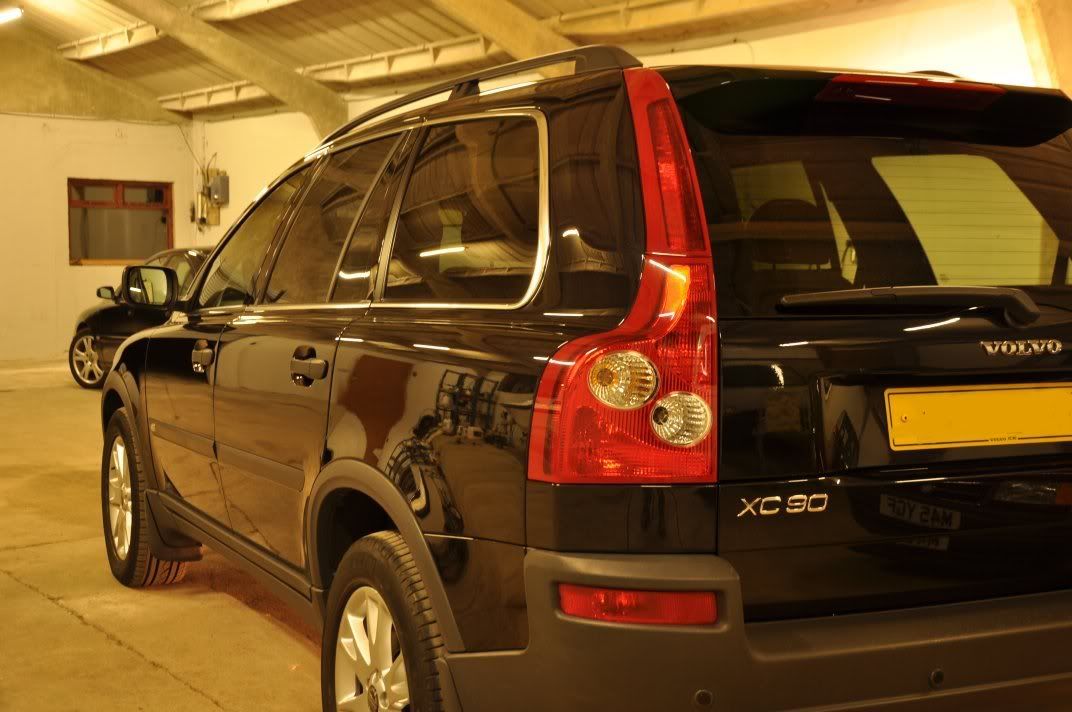
Once machined, the car was wiped down with IPA and the finish reassessed for quality before beginning the wax. LSP chosen here was Swissvax Best of Show, and the first layer was applied that night. After shots taken in the unit:
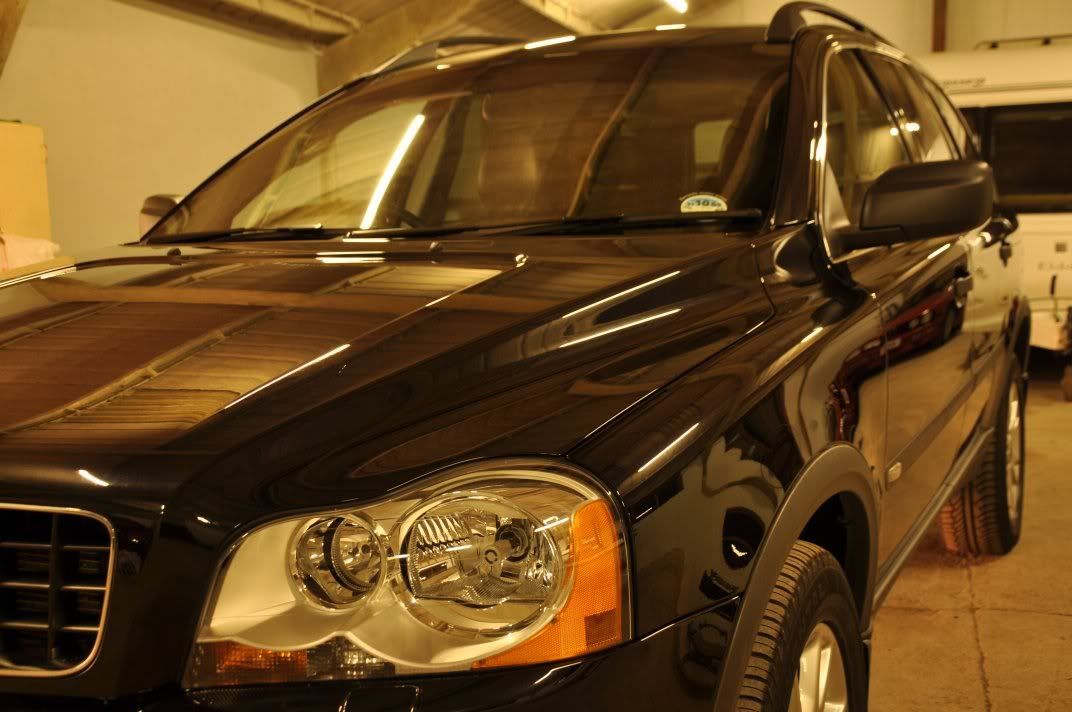
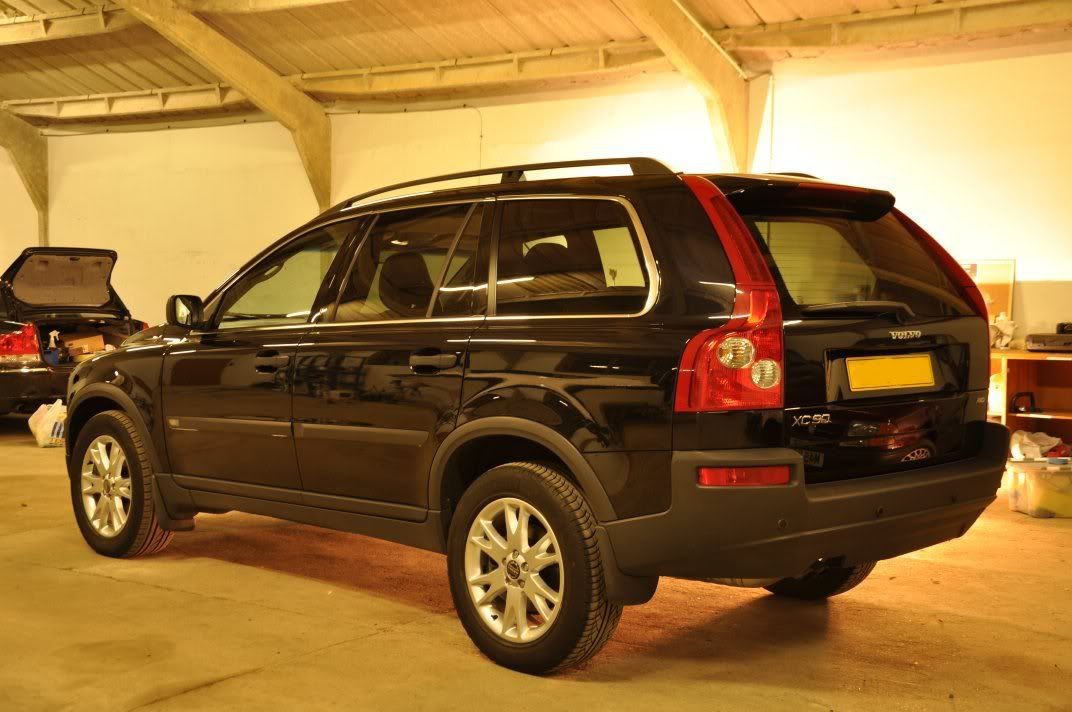

The following day, the car the received a second coat of BoS. Glass was cleaned, wheels waxes with Finish Kare 1000P, tyres with Meguiars Hot Shine and the acres of plastic with Meguiars All Seasons Dressing.
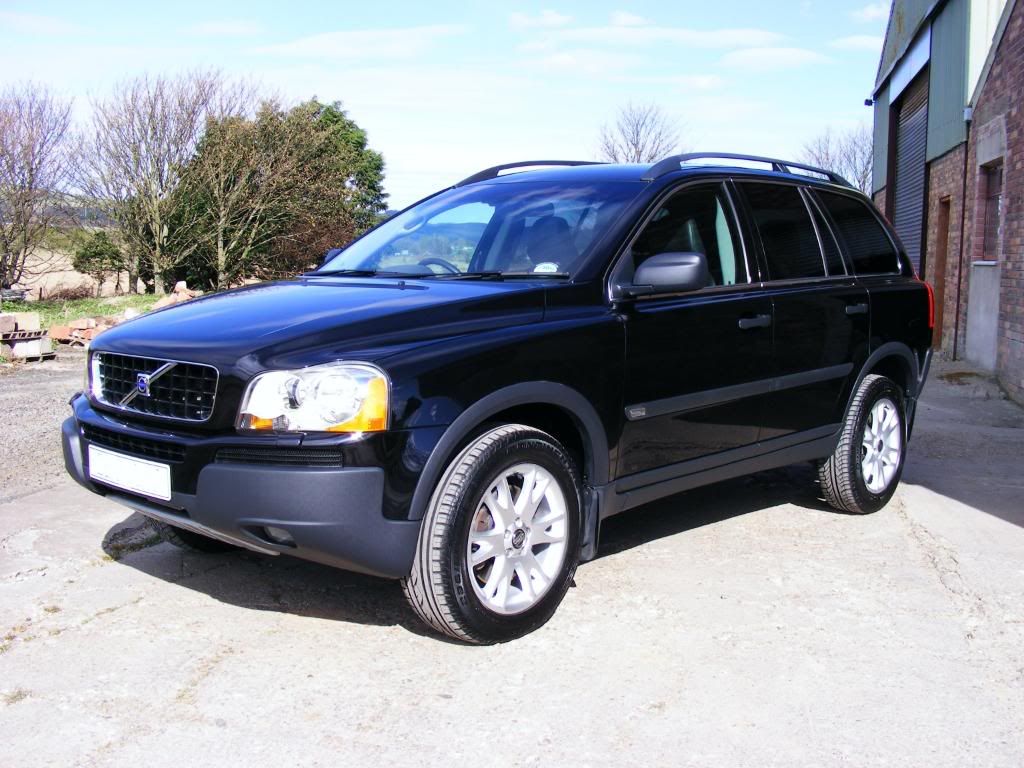
Afters in the sunlight (taken by Bryan, I was away working on a Ferrari on the Sunday):

 "A thing of beauty is a joy for ever: Its loveliness increases; it will never pass into nothingness; .... "
-
03-30-2009, 07:08 PM #3
- Join Date
- Jan 2008
- Location
- Chicago
- Posts
- 801
- Post Thanks / Like
looks great!
Supreme Clean Automotive Detailing, LLC
Owner
-
03-30-2009, 07:23 PM #4
- Join Date
- Mar 2008
- Posts
- 615
- Post Thanks / Like
always love your click and brags! good one


 Reply With Quote
Thread Information
Users Browsing this Thread
There are currently 1 users browsing this thread. (0 members and 1 guests)
Similar Threads
-
Detailer`s Domain: 2006 Volvo XC90 - Paint Correction, Engine, and Interior
By DetailersDomain in forum Click & Brag -The Detailers ShowcaseReplies: 1Last Post: 05-16-2012, 07:36 PM -
Volvo XC90
By b34tBoX in forum Click & Brag -The Detailers ShowcaseReplies: 5Last Post: 08-30-2011, 07:56 PM -
2008 BMW M3 & Volvo XC90
By imported_john1c in forum Click & Brag -The Detailers ShowcaseReplies: 3Last Post: 04-28-2008, 12:25 PM -
`06 Volvo XC90 : Wash & Wax
By P1et in forum Click & Brag -The Detailers ShowcaseReplies: 12Last Post: 04-02-2007, 12:15 PM -
Volvo XC90 T6
By VegasShawn in forum Click & Brag -The Detailers ShowcaseReplies: 5Last Post: 09-08-2004, 10:31 AM
Bookmarks