

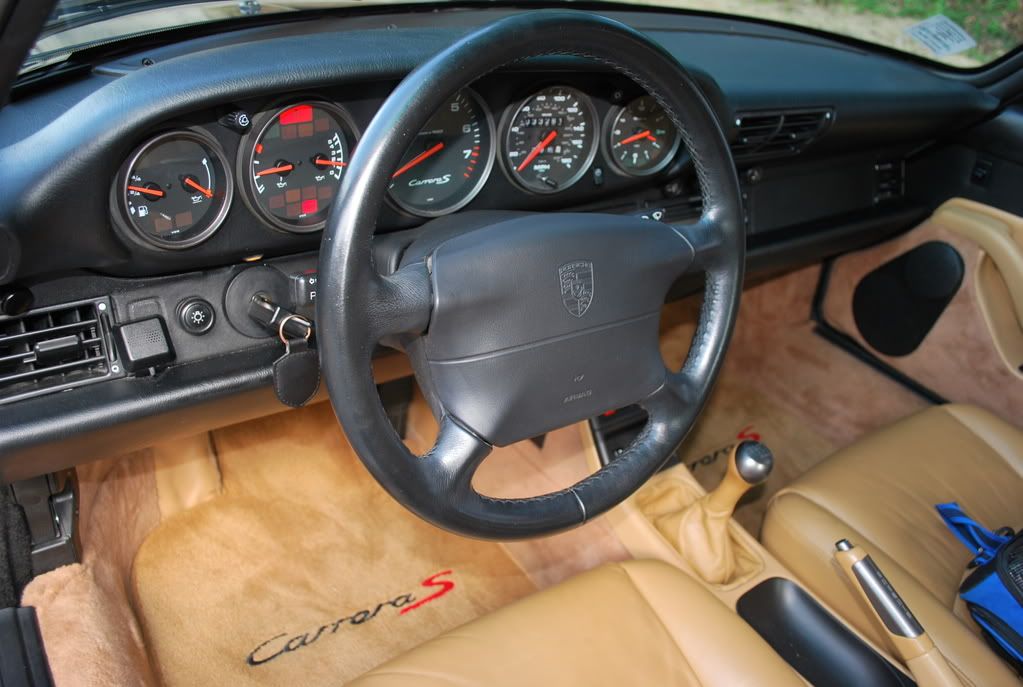
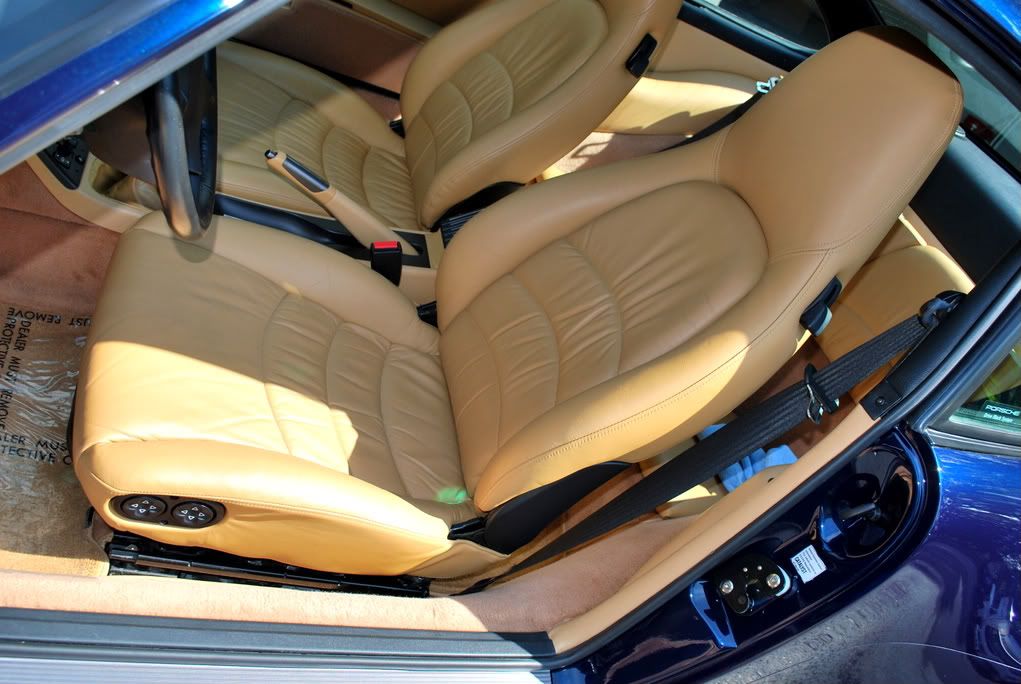
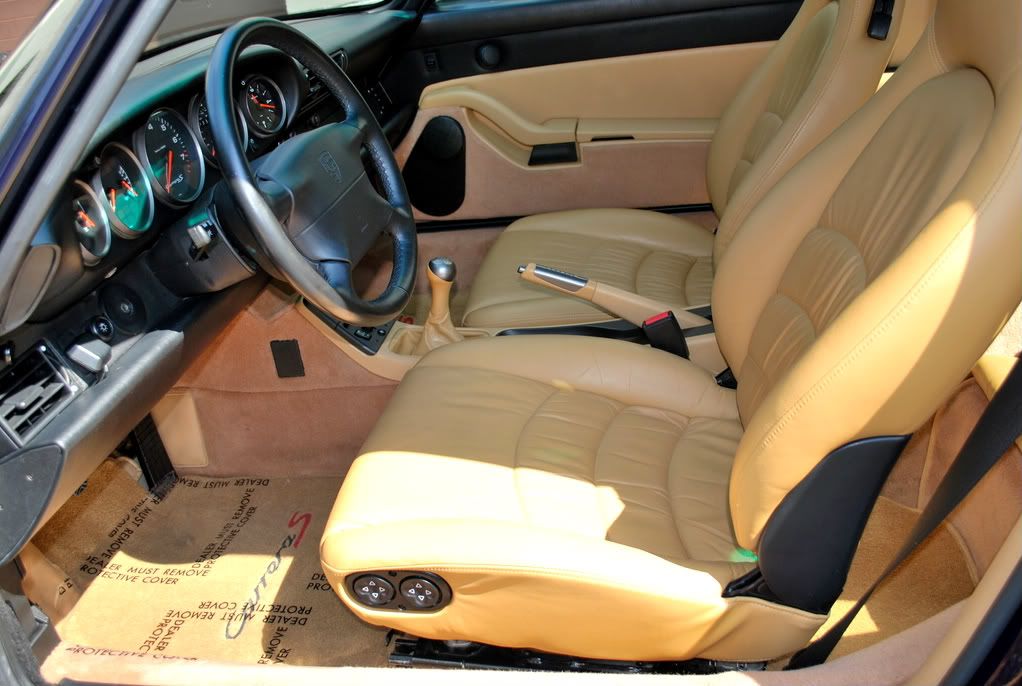
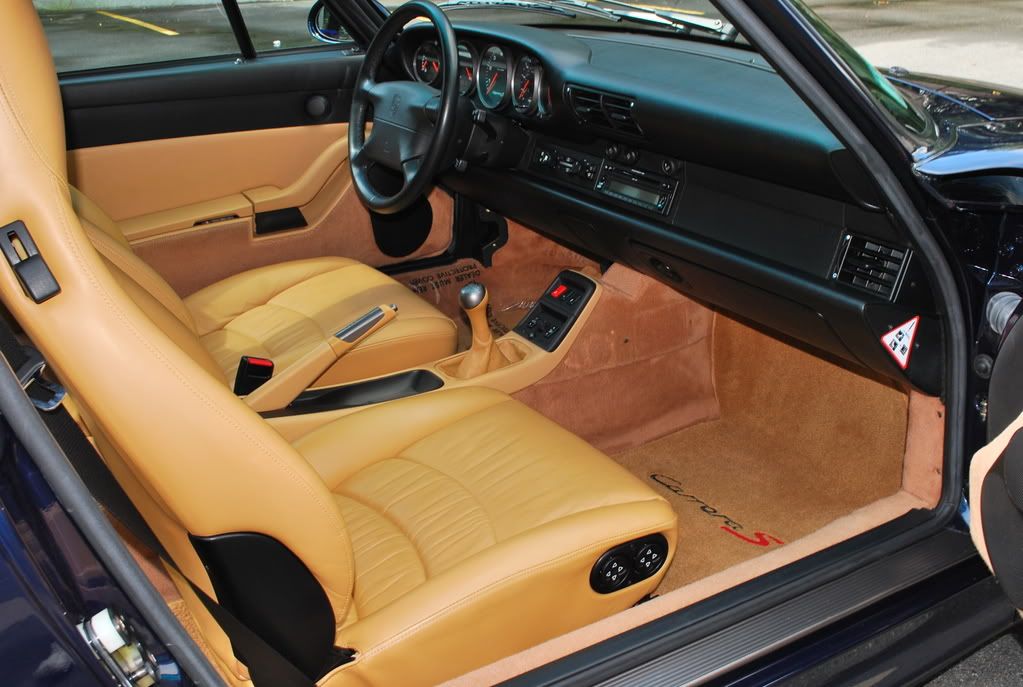
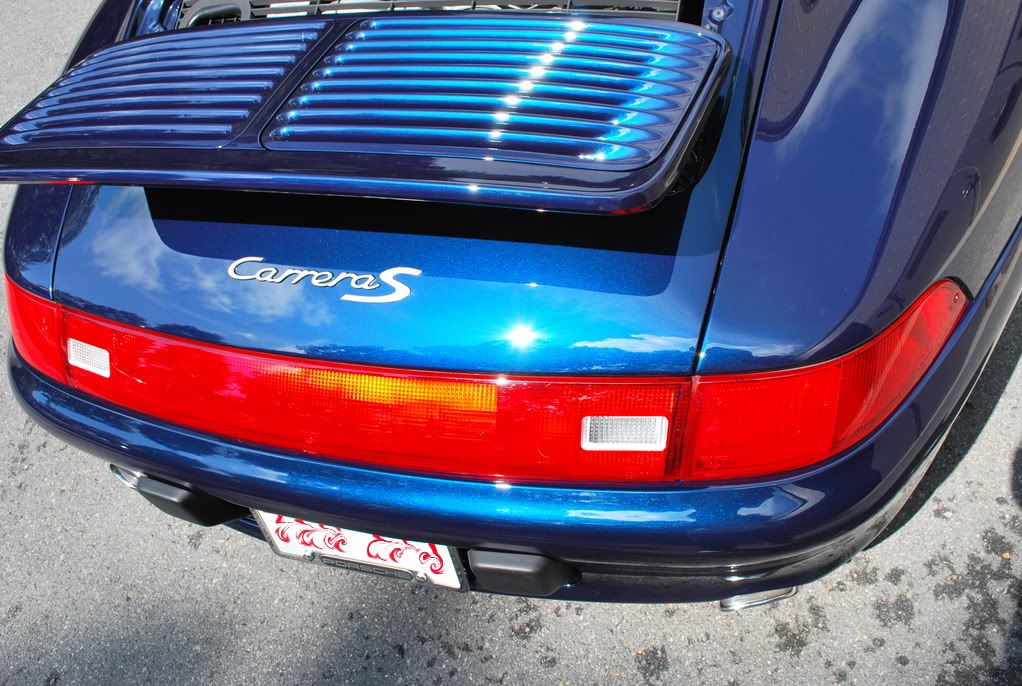
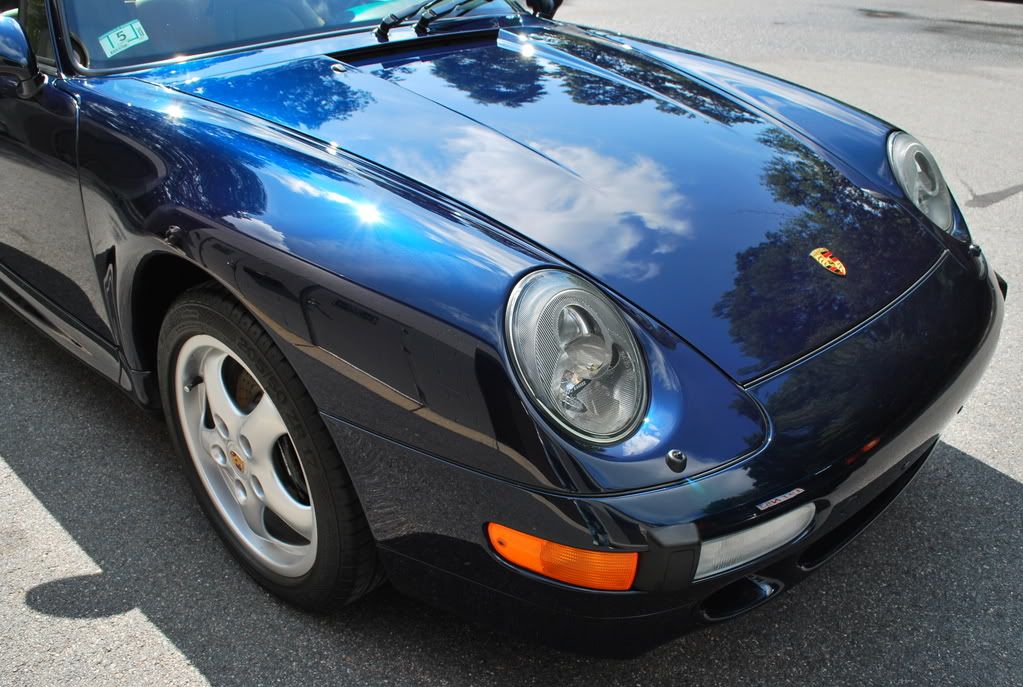
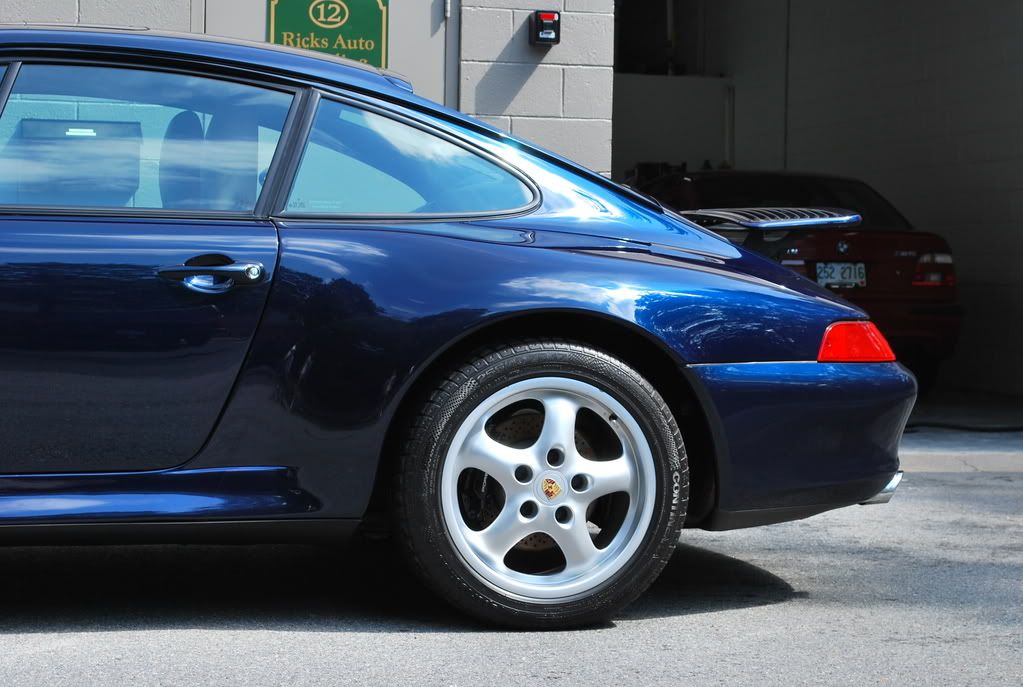
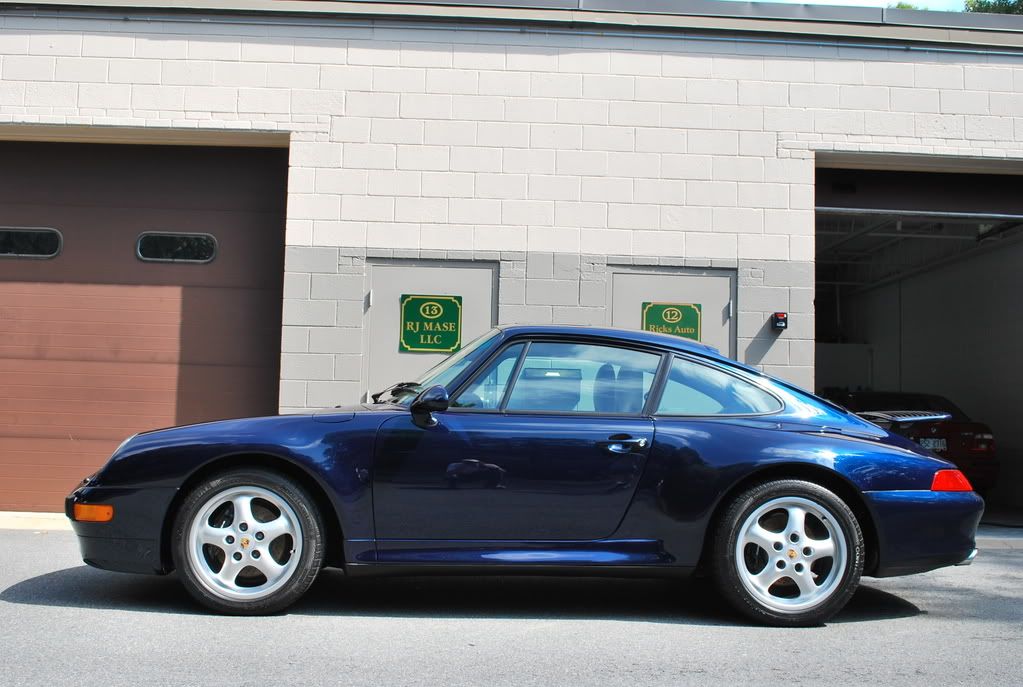
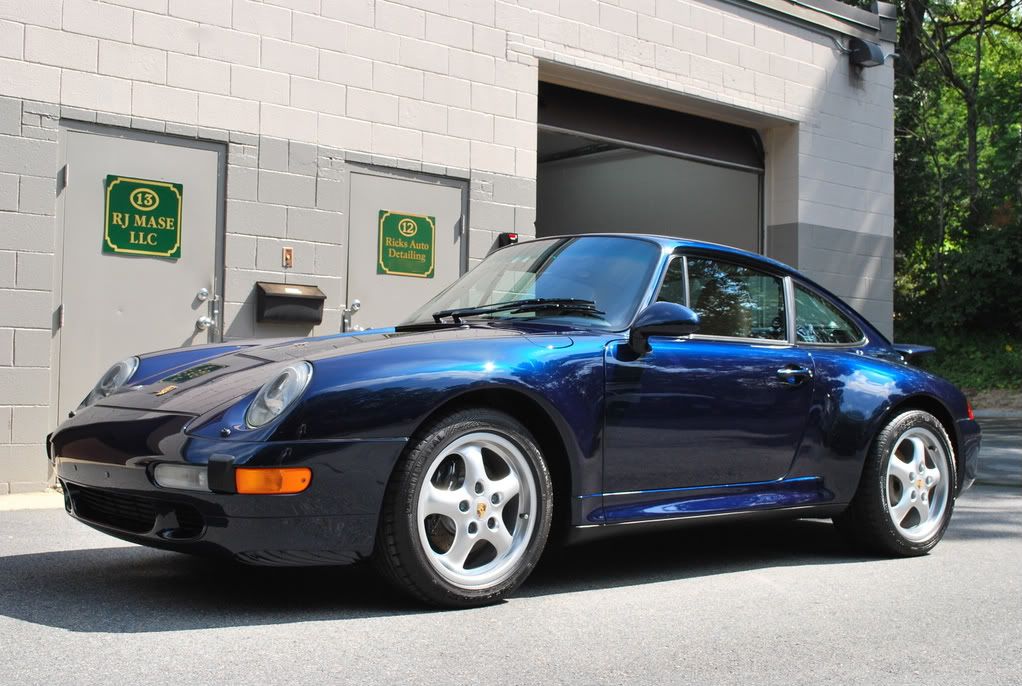
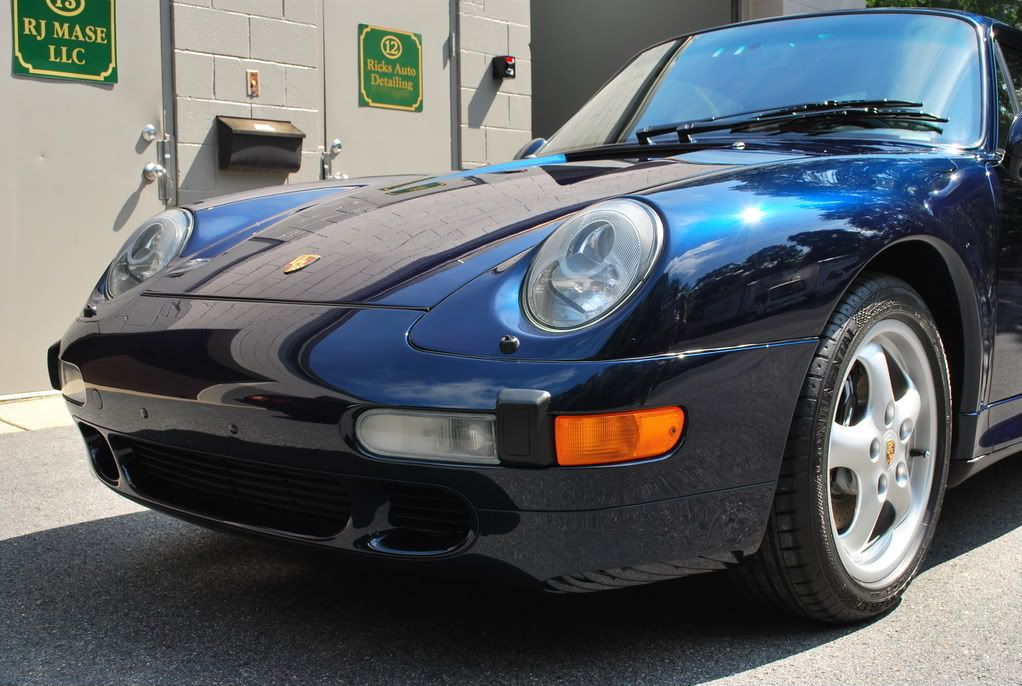
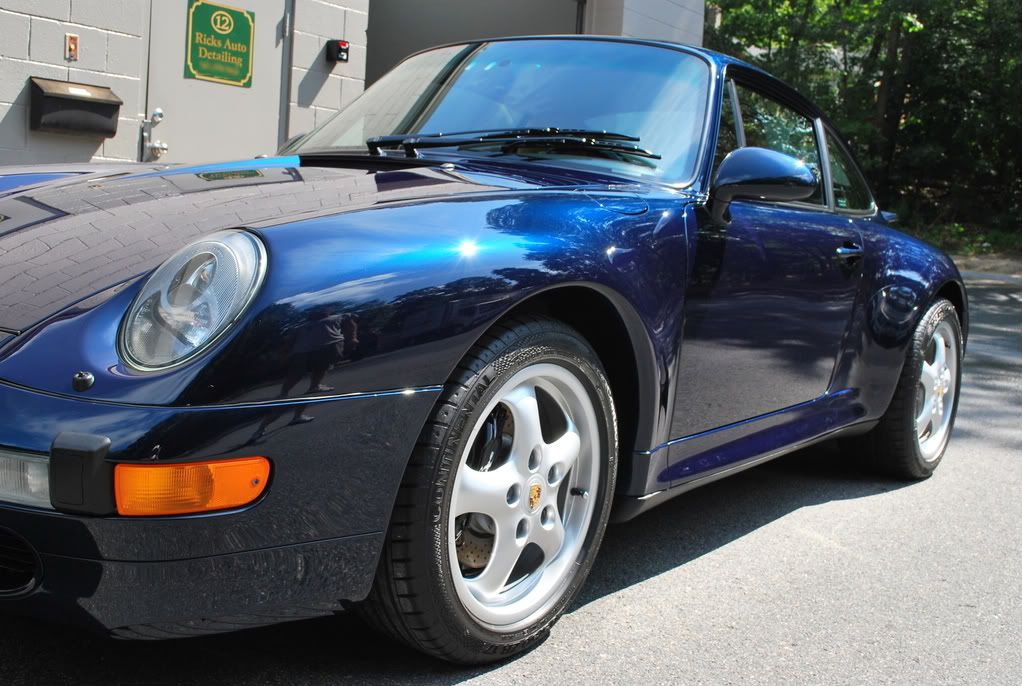
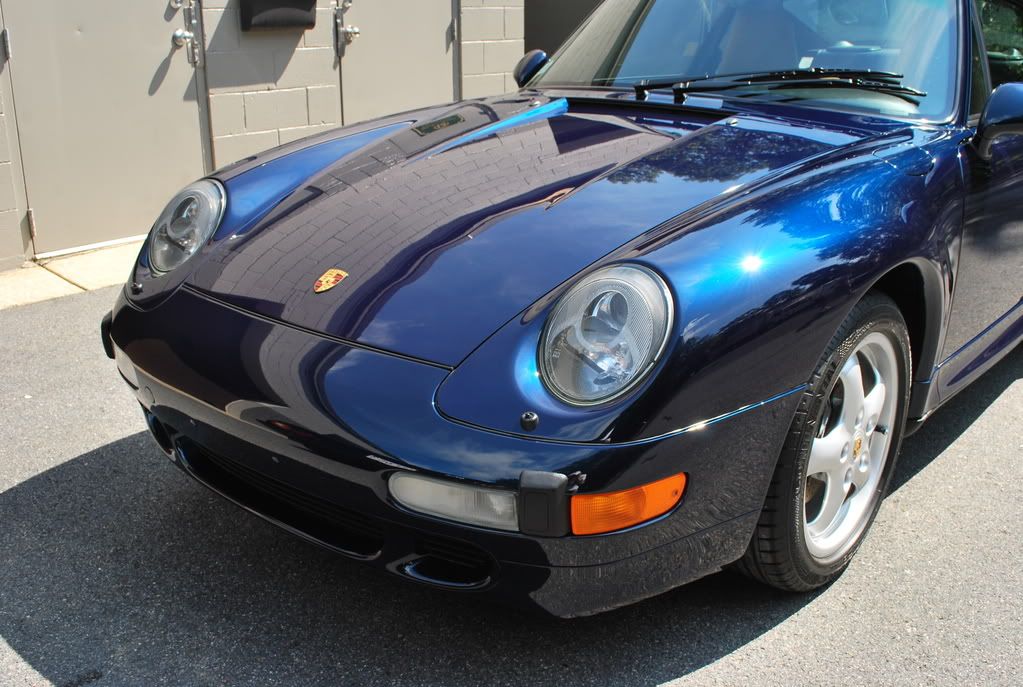
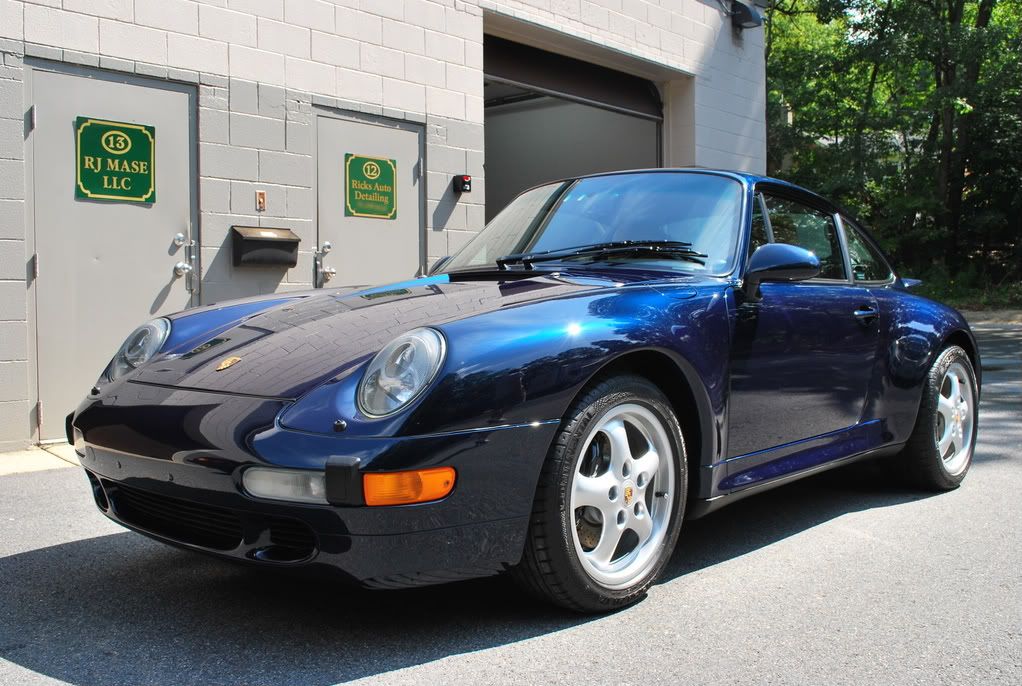
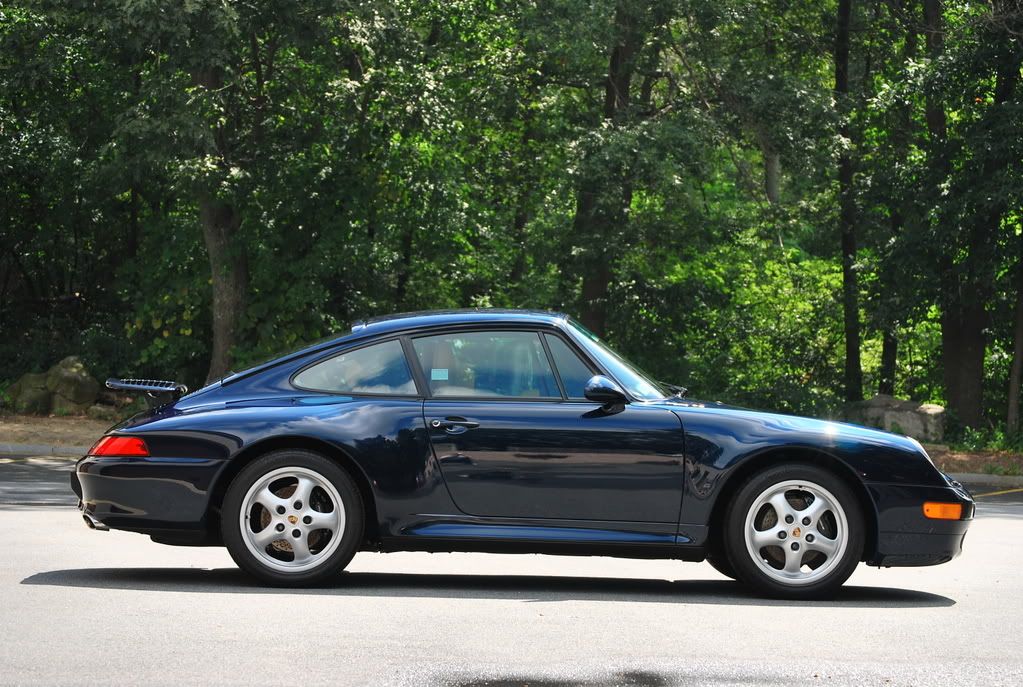
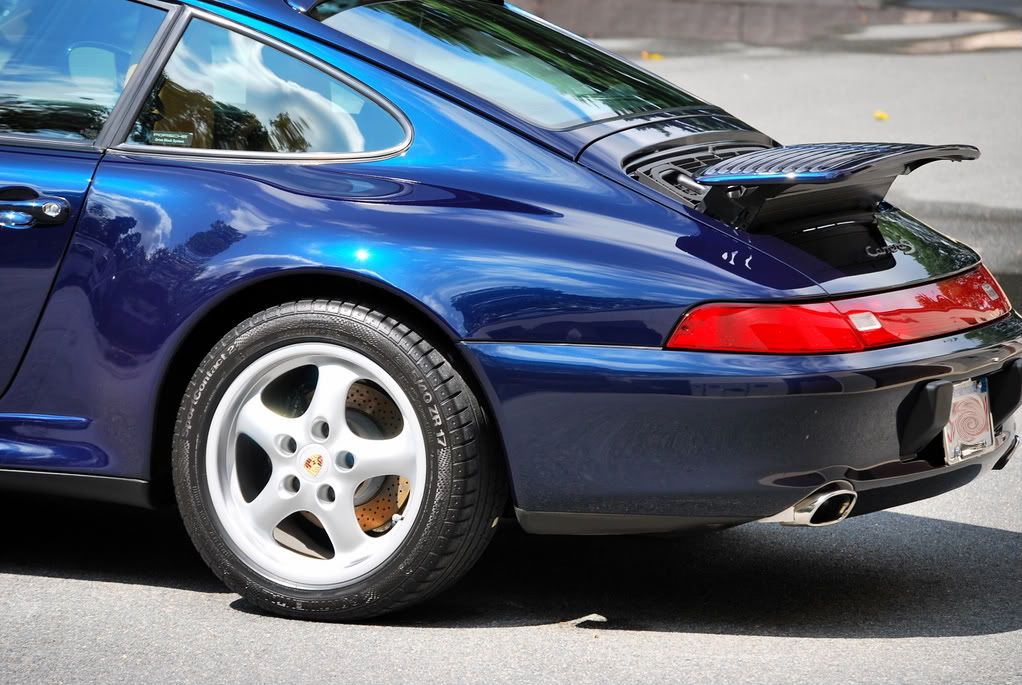
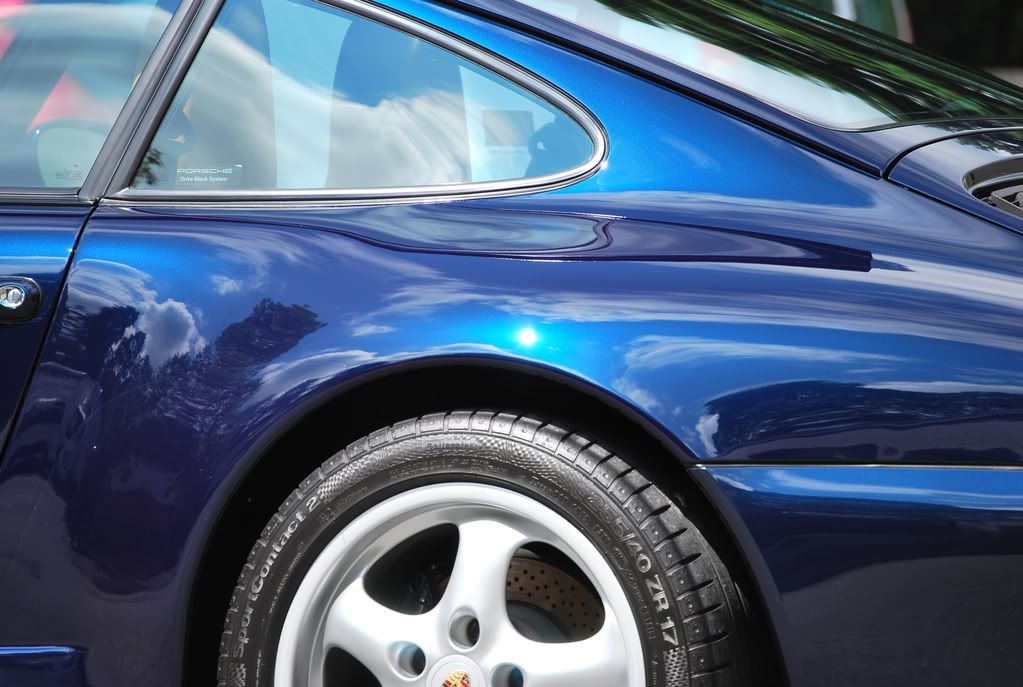
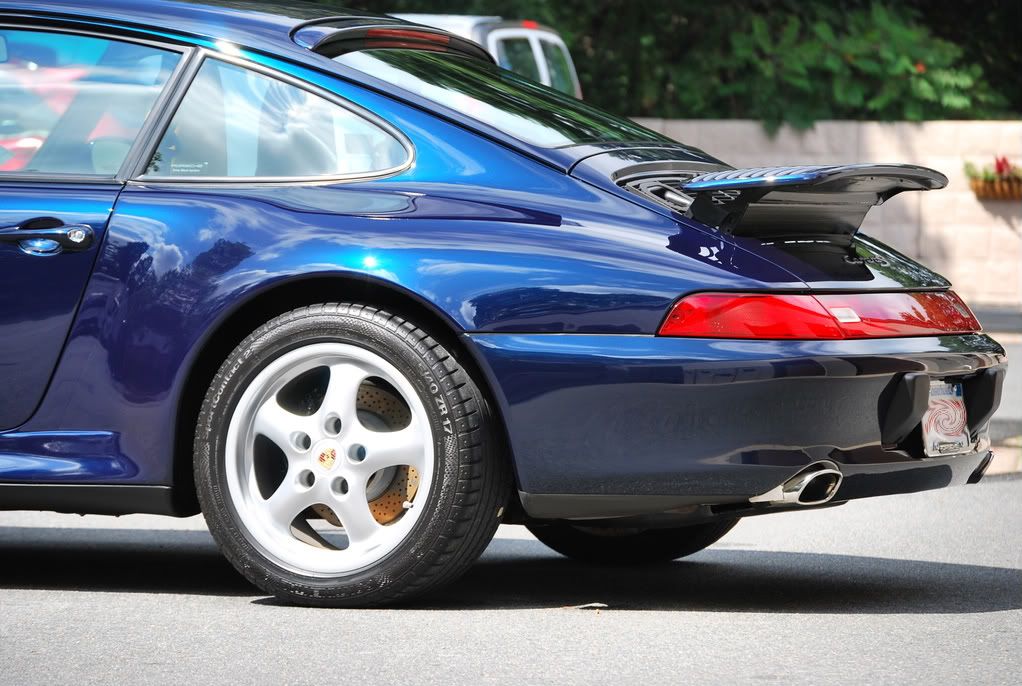
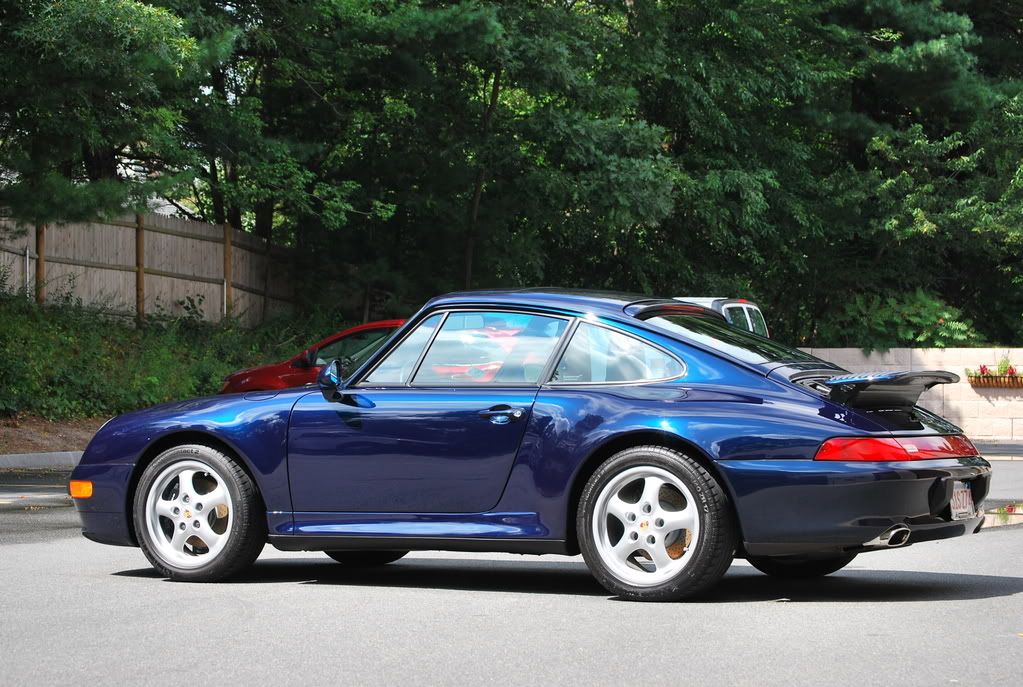
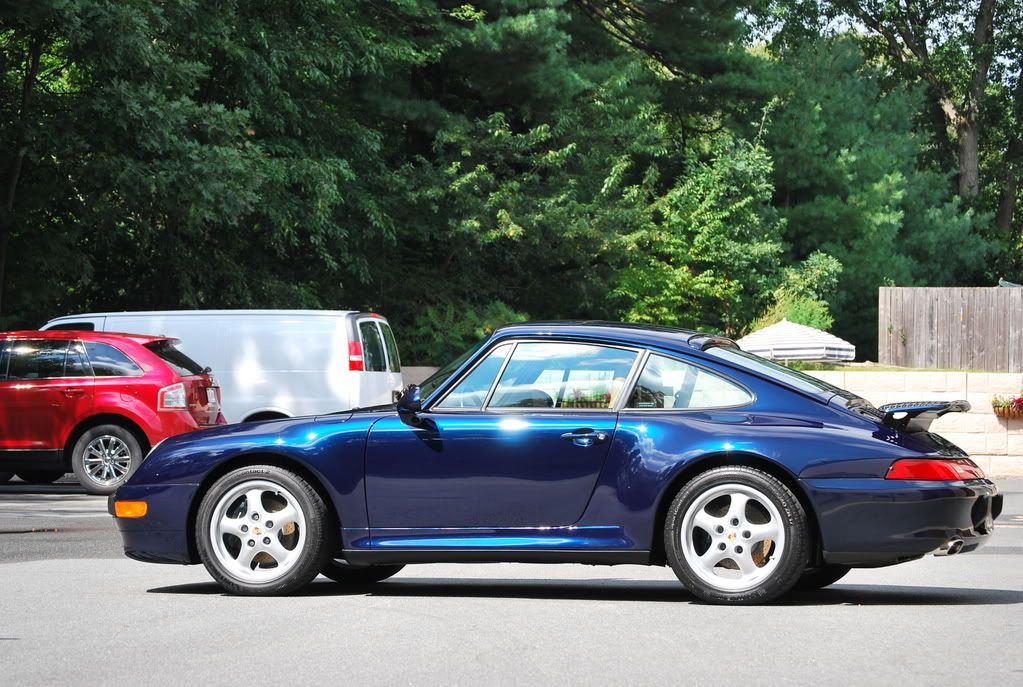
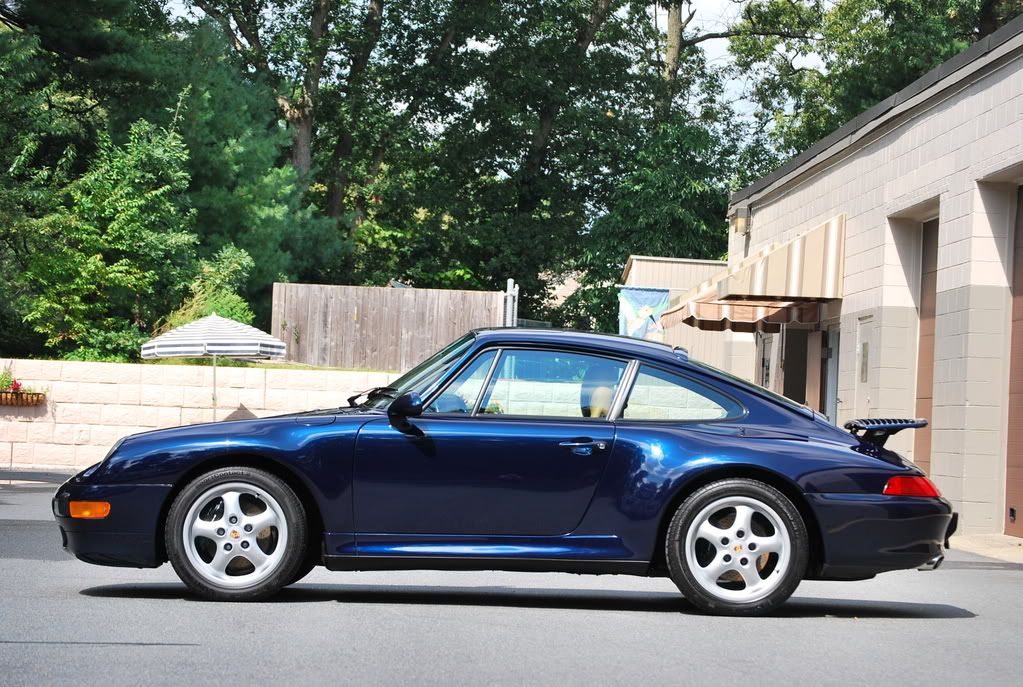
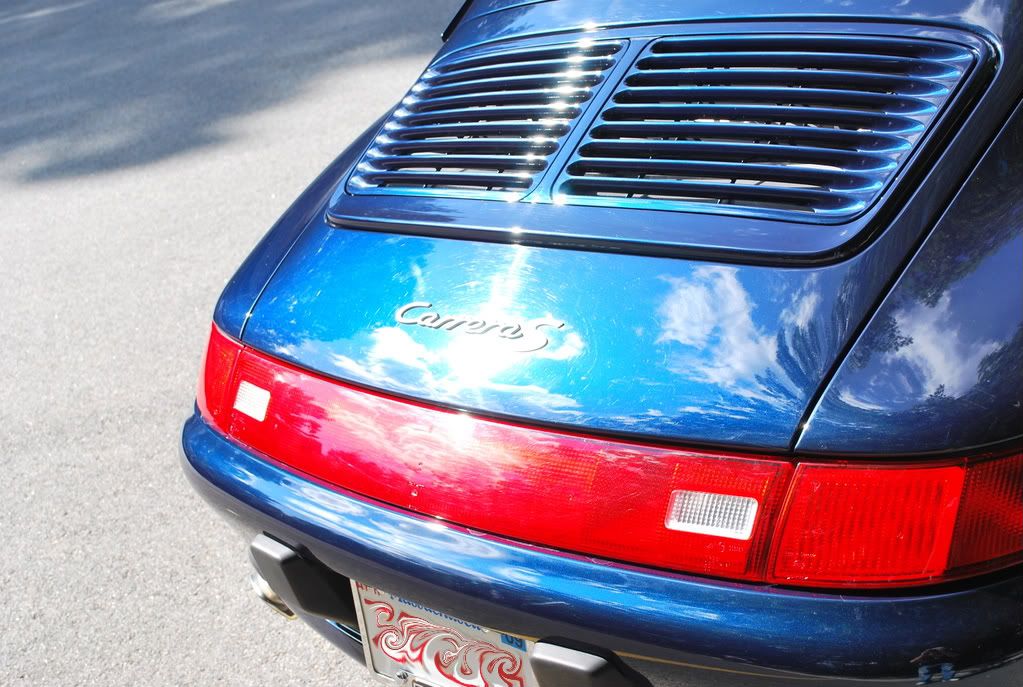
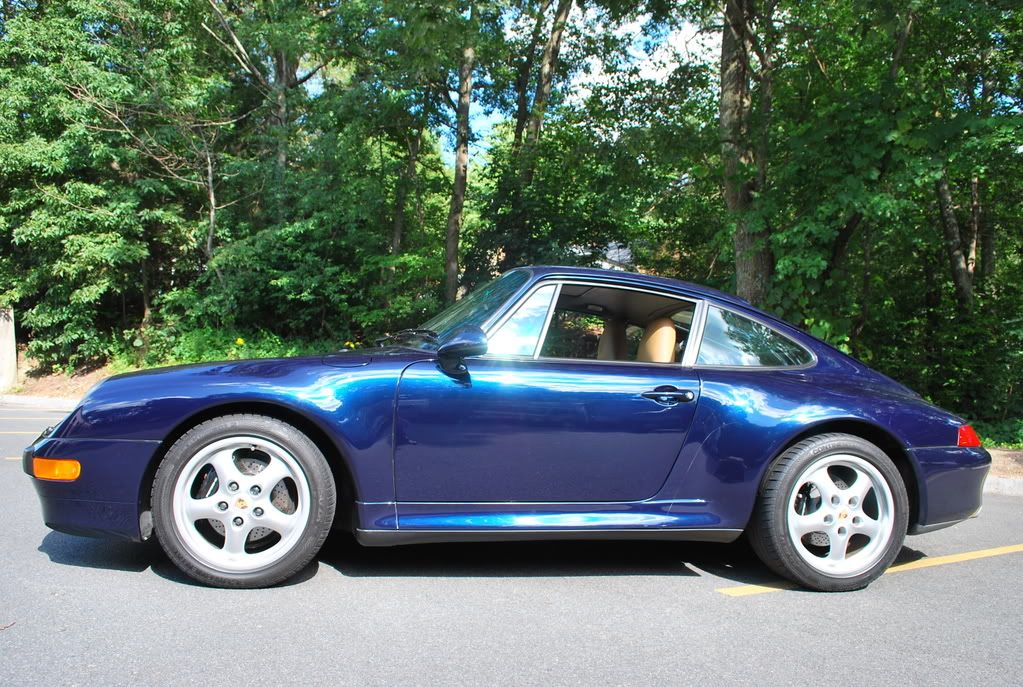
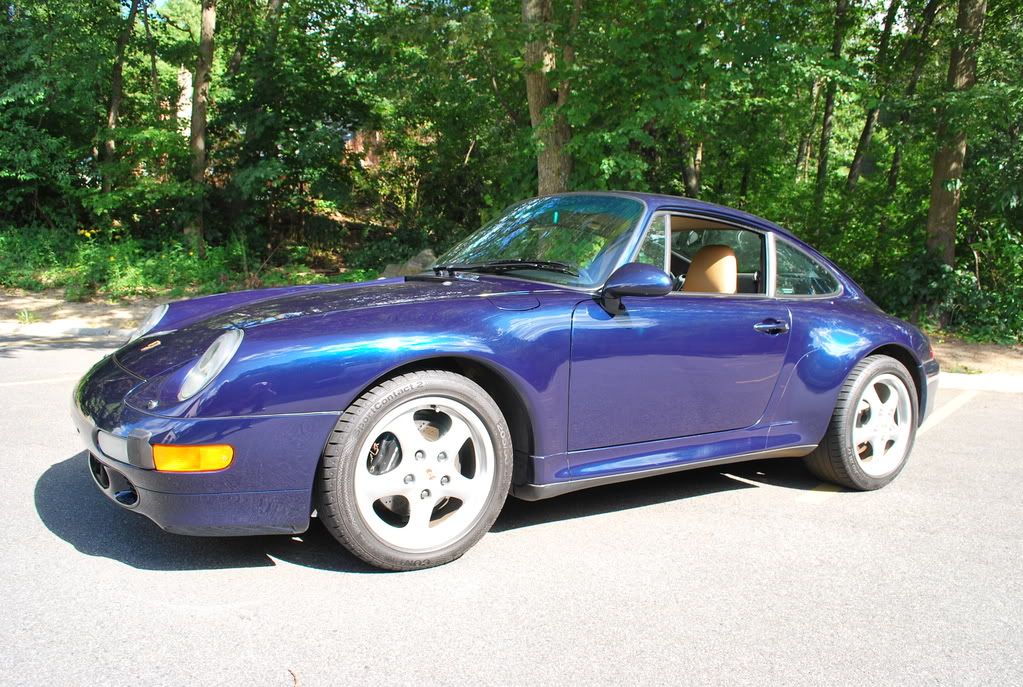
I am glad to share the extensive detail I performed on this 1997 Porsche 911 Carrera S in the rare and beautiful Ocean Blue Metallic over Cashmere leather interior. The 993 wide bodies are becoming difficult to find and this car is an excellent example. The gorgeous, deep Ocean Blue Metallic paint gives the car different looks depending on the lighting conditions and the Cashmere leather interior compliments the blue nicely. The Carrera S model offers a higher equipment level both inside and out. The nose section, side panels, and wide rear give the car its Turbo looks. The longer you look at this car, the more you fall in love with it`s beautiful styling.
Despite this car being kept in excellent condition over the last 11 years, it was in need of an extensive detail. I was contacted by the owner to see what type of services I offered. Besides wanting the entire vehicle completely detailed inside and out, he was concerned about some curb rash on one of the wheels and some bolster wear on the drivers seat. I assured him that I would arrange to have the issues taken care of while the car was at the shop, so we discussed pricing and set up an appointment. He opted to have the entire car completely rejuvenated and restored back to its original state, so the car was left for an entire week.
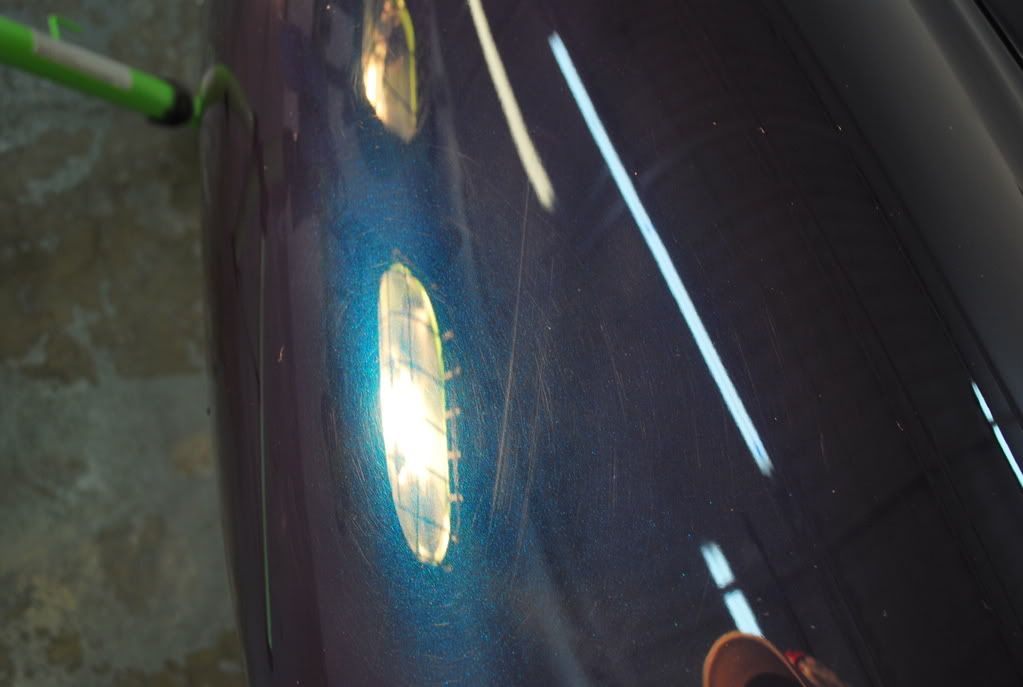
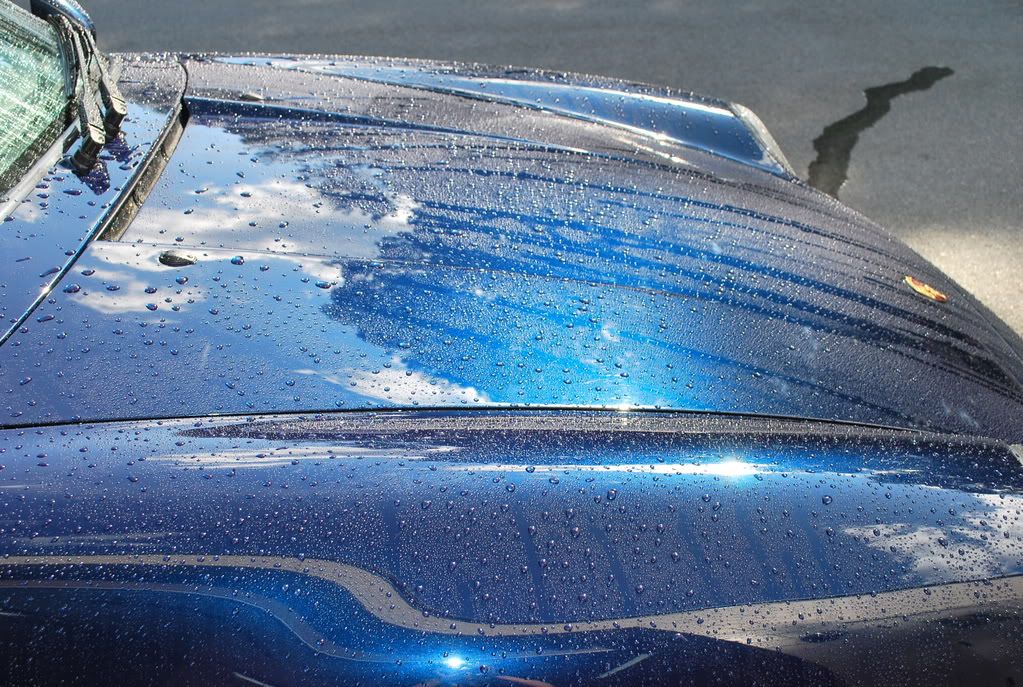
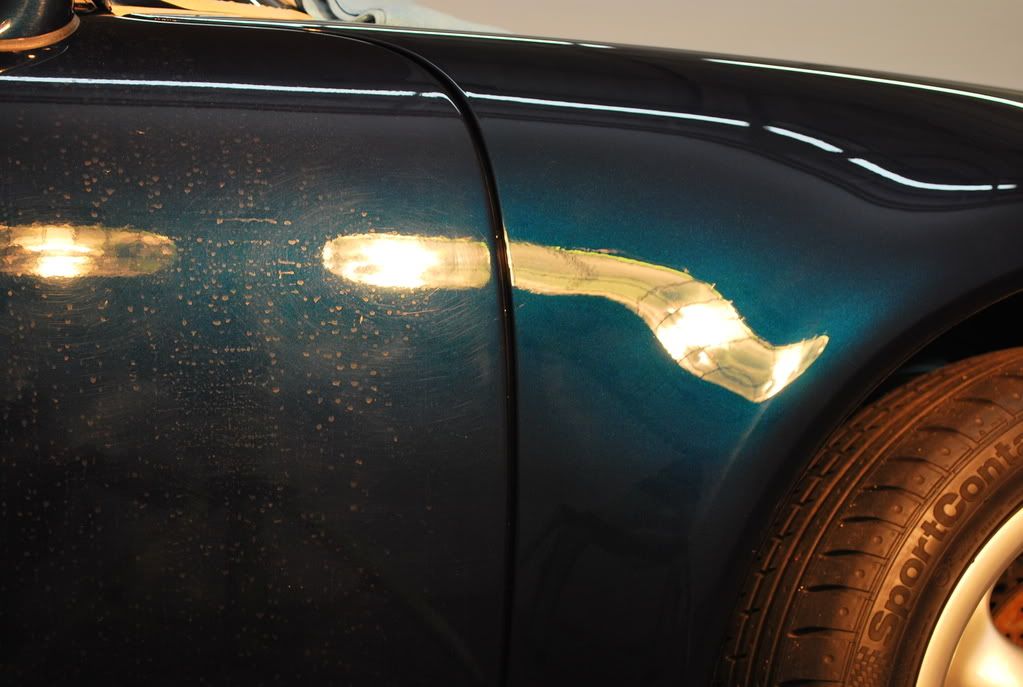
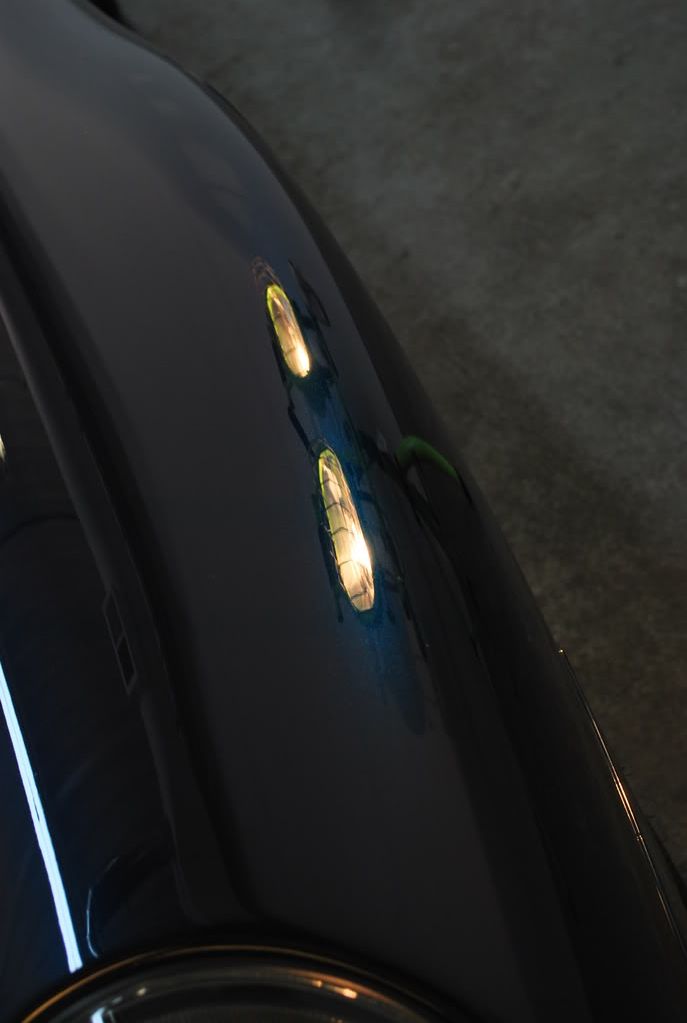
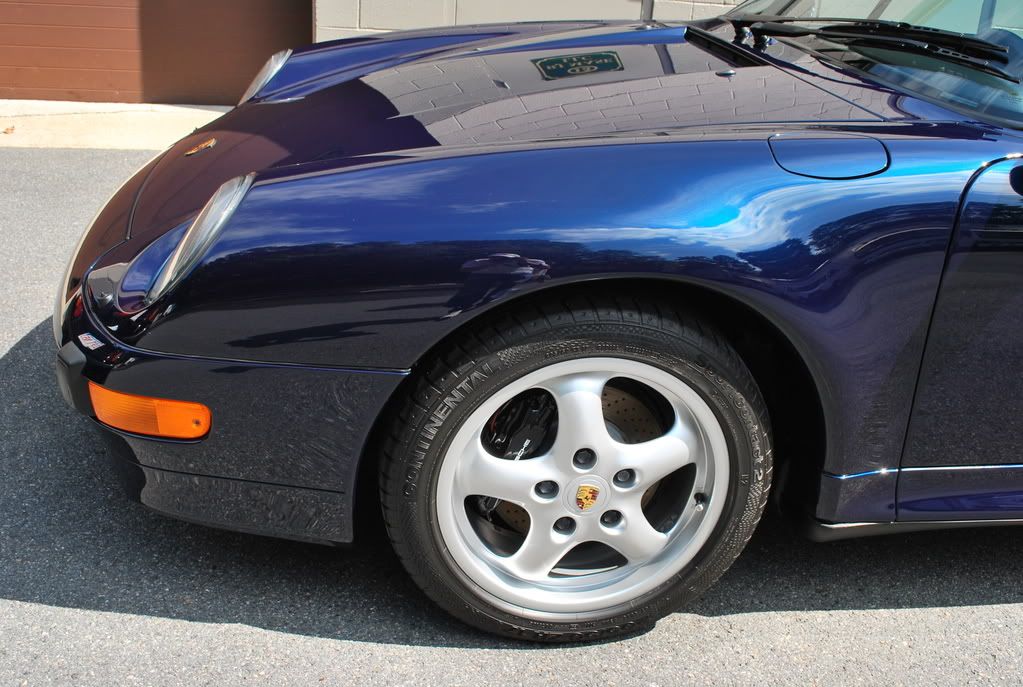
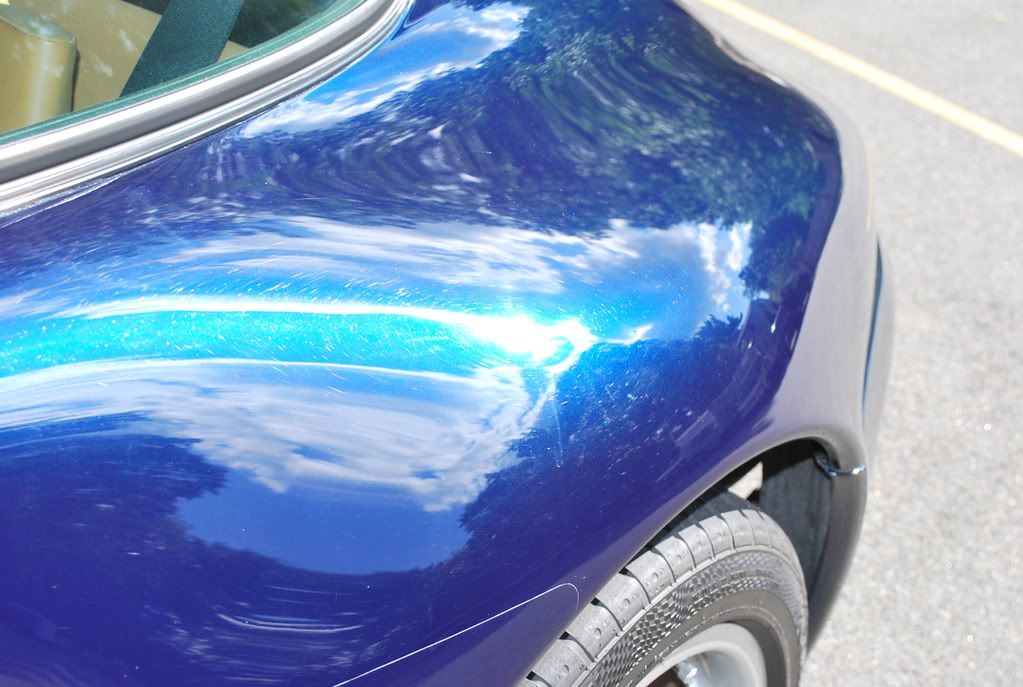
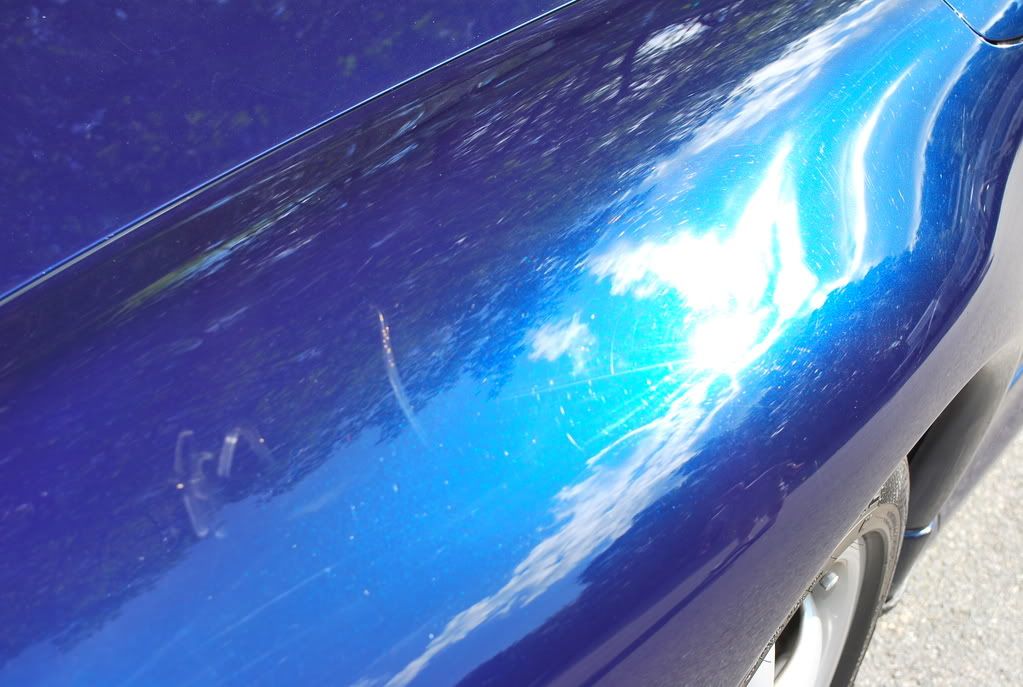
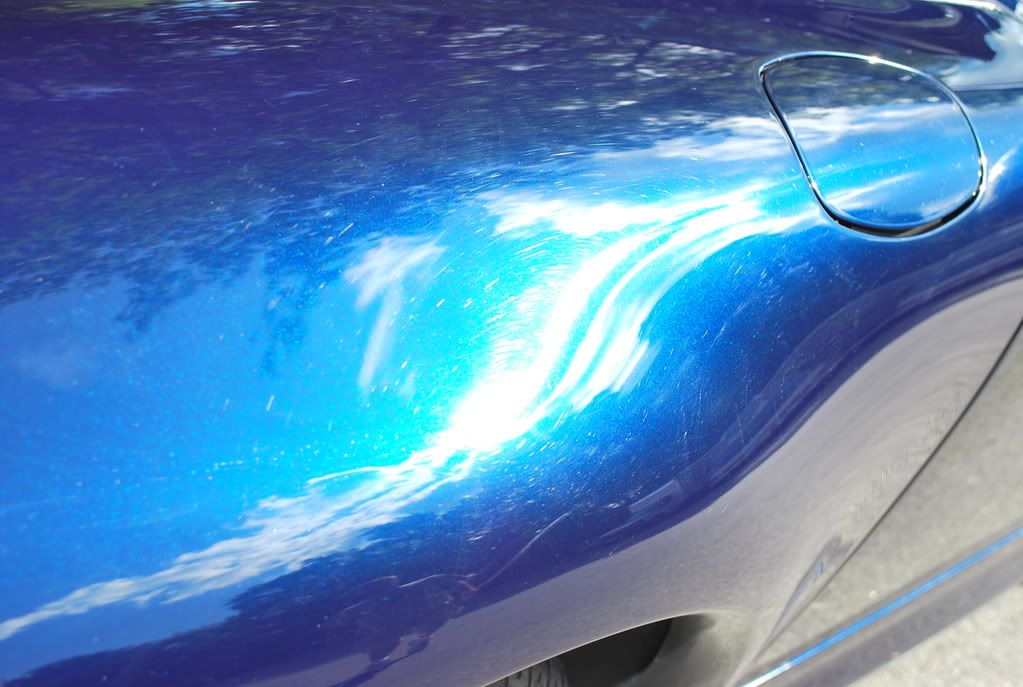
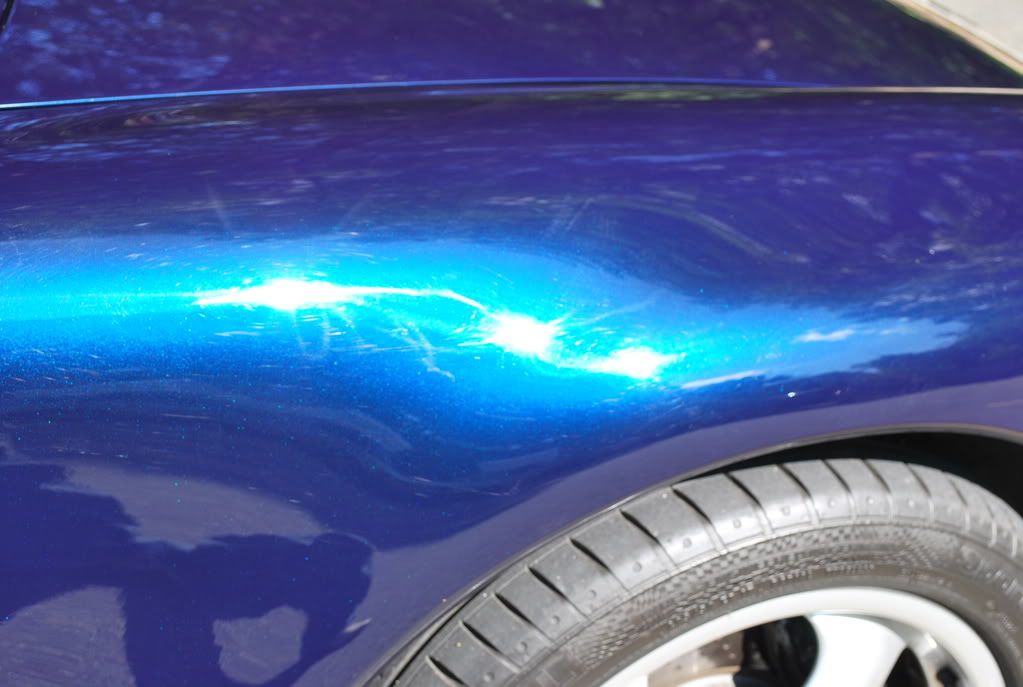
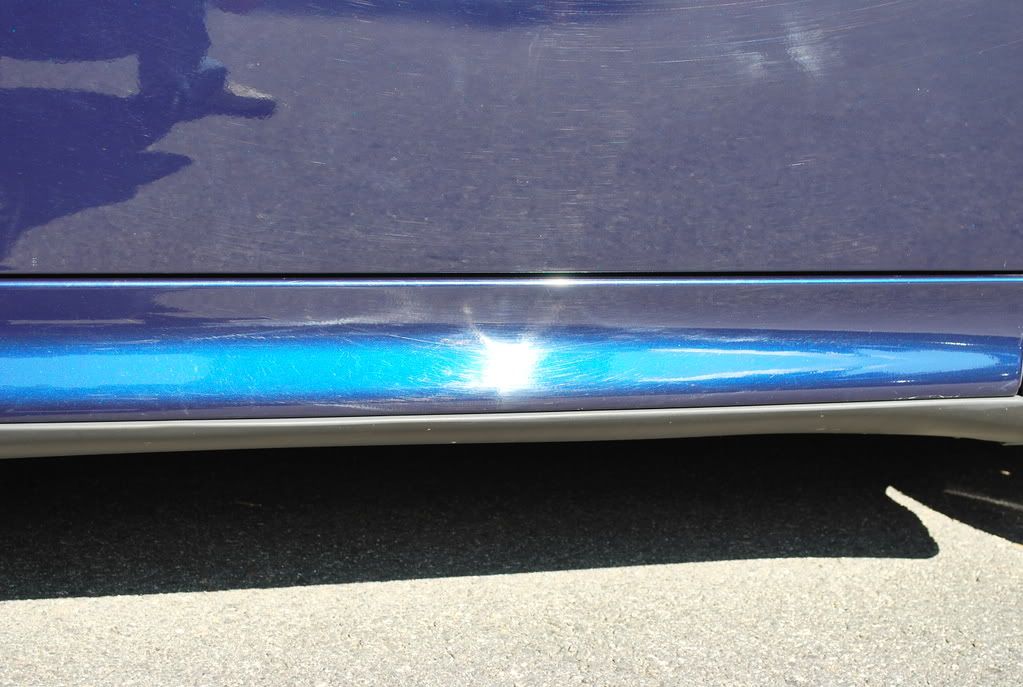
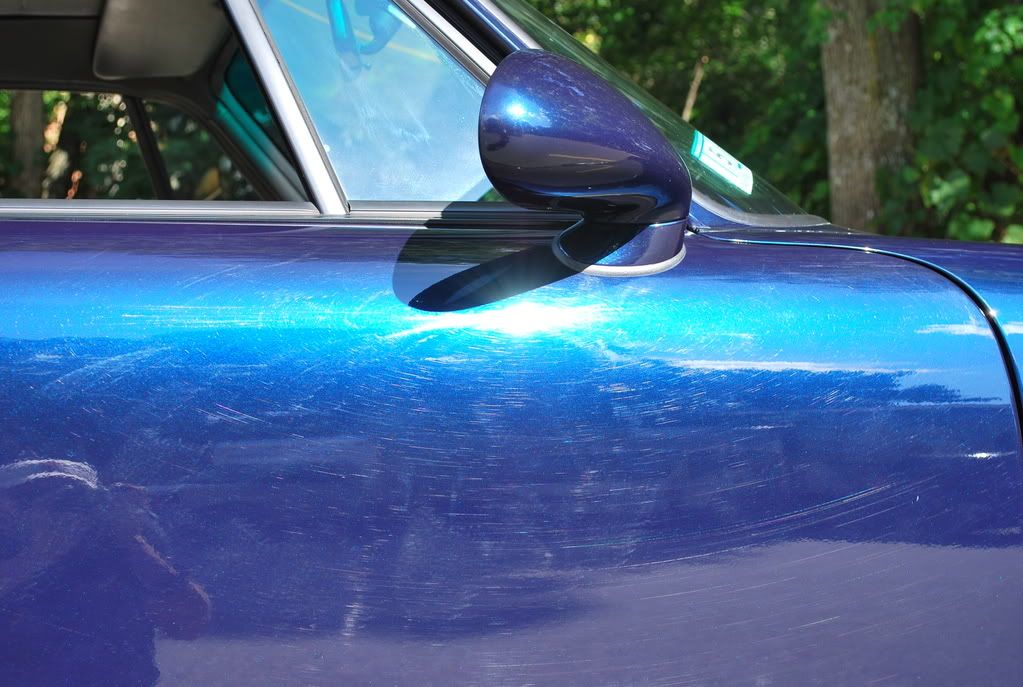
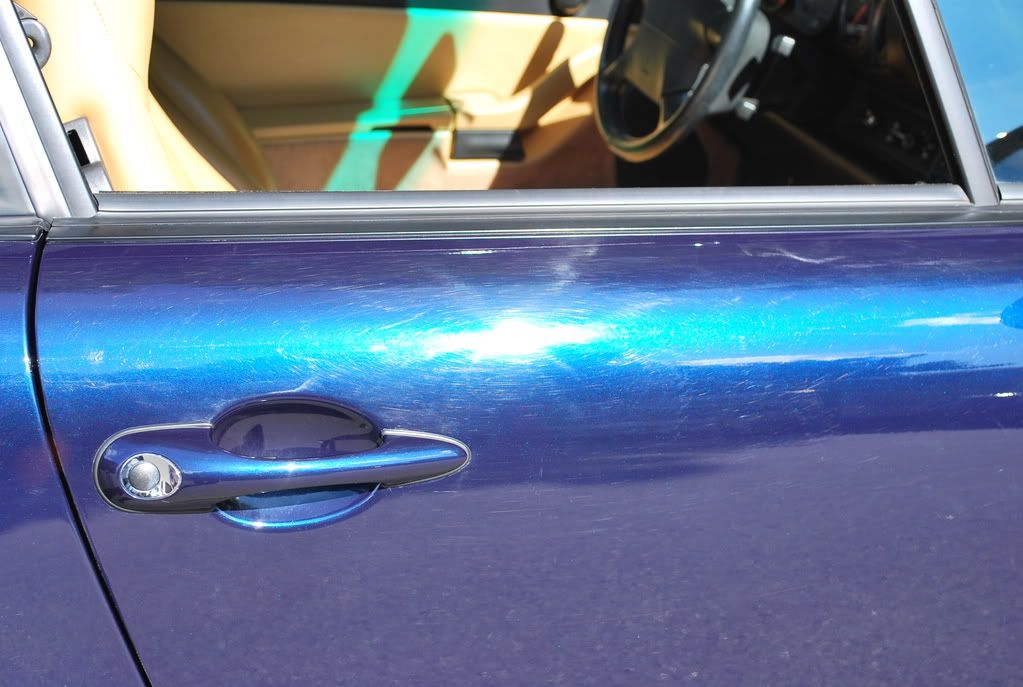
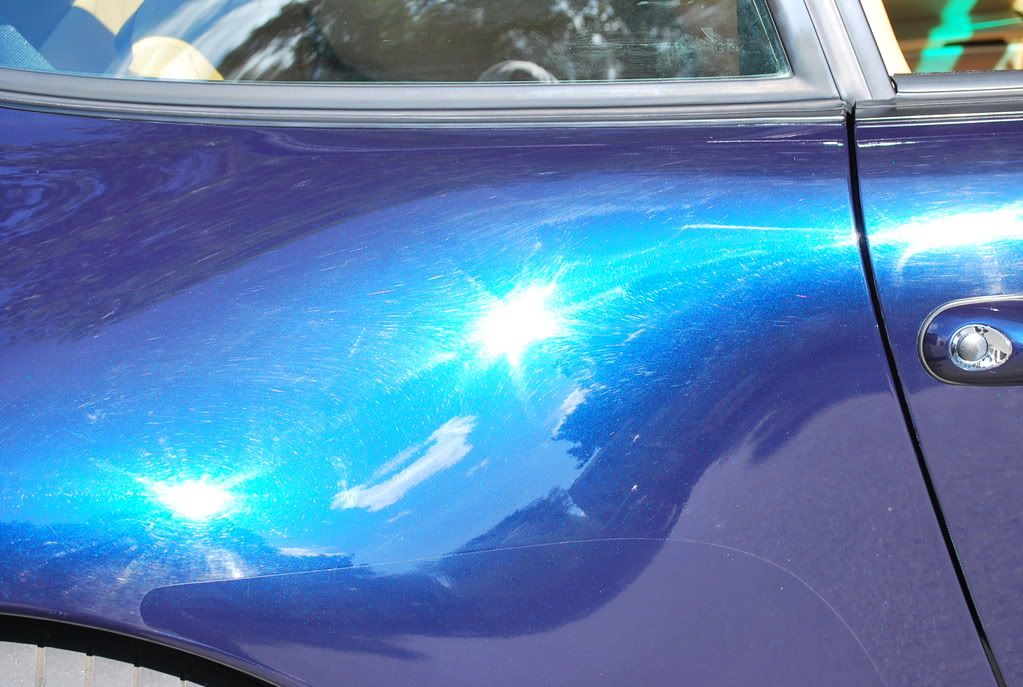
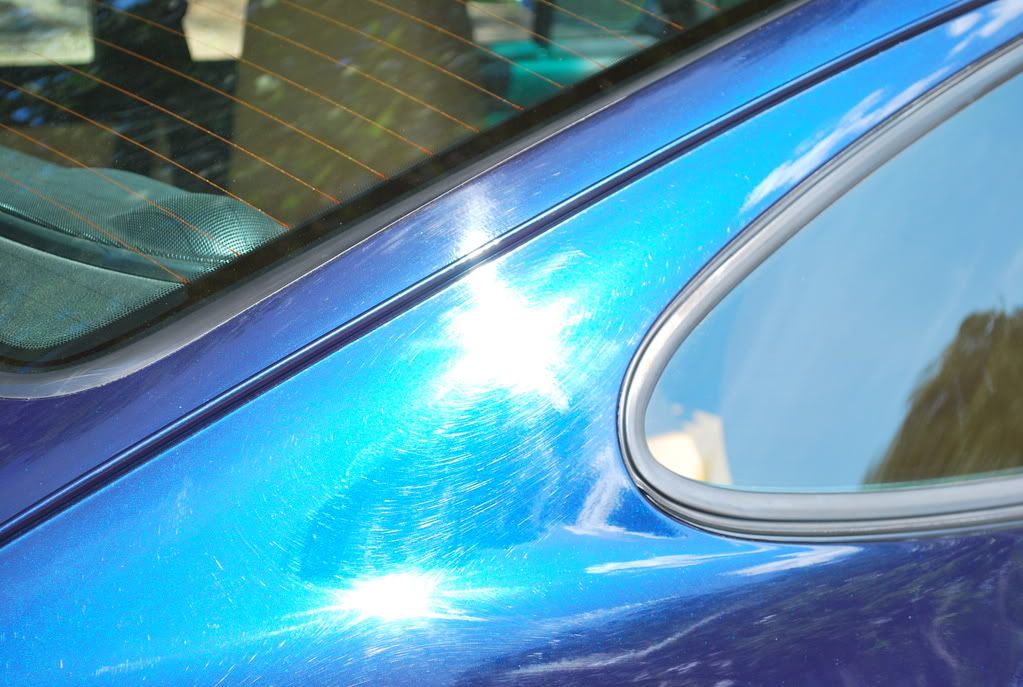
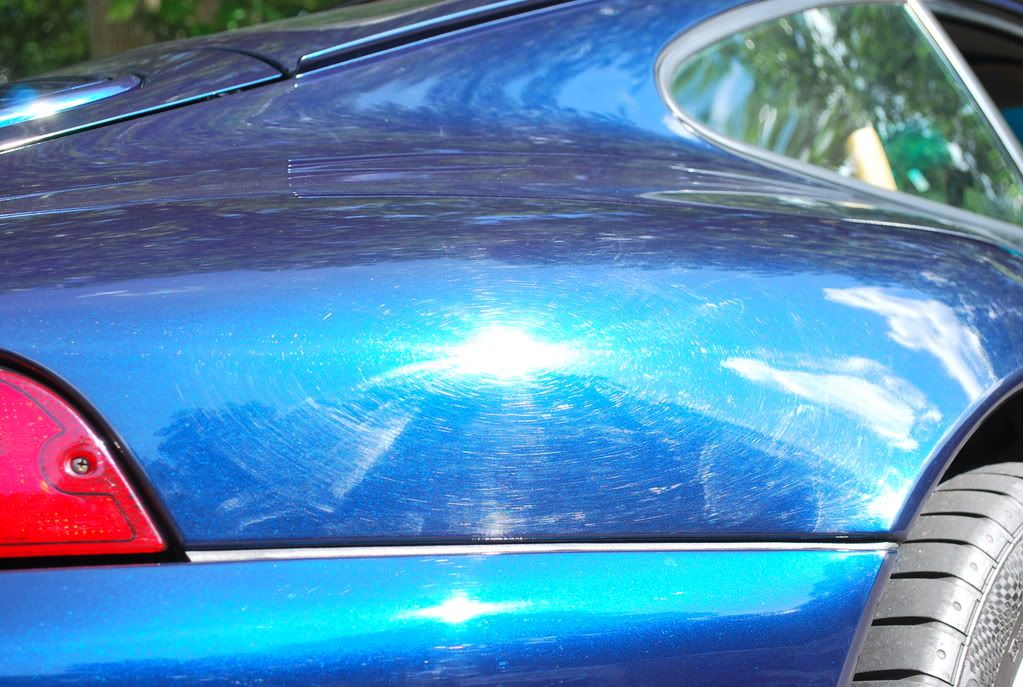
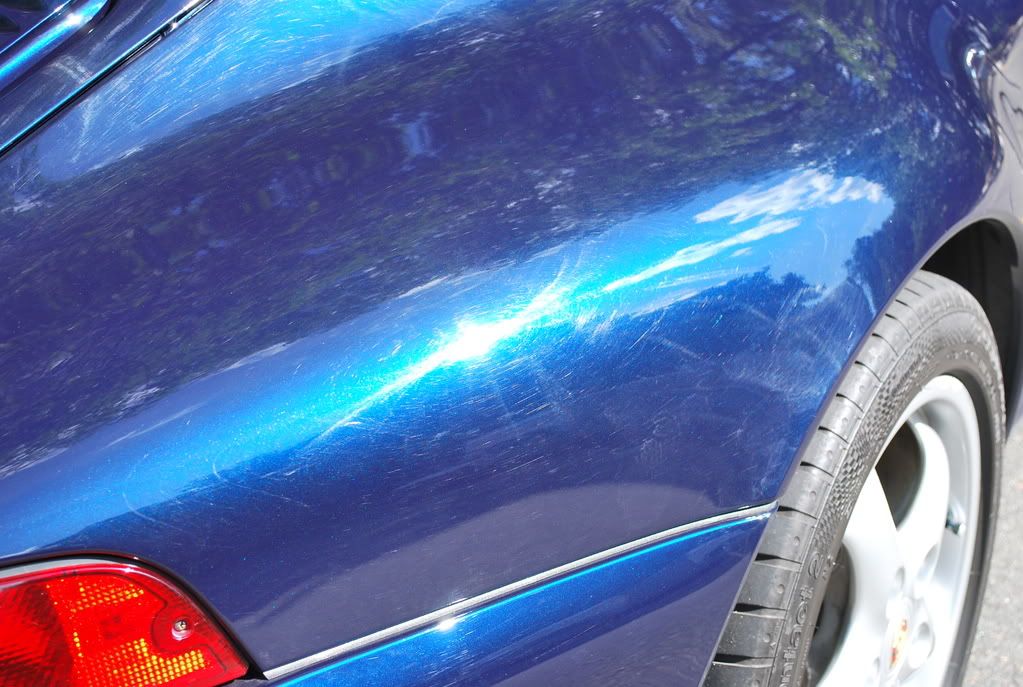
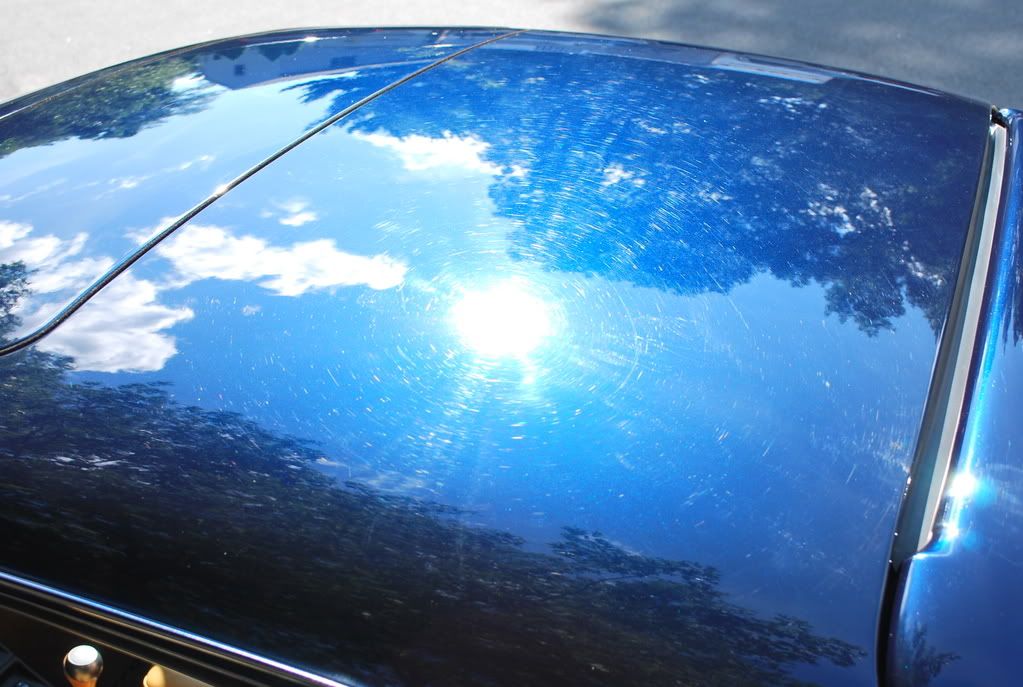
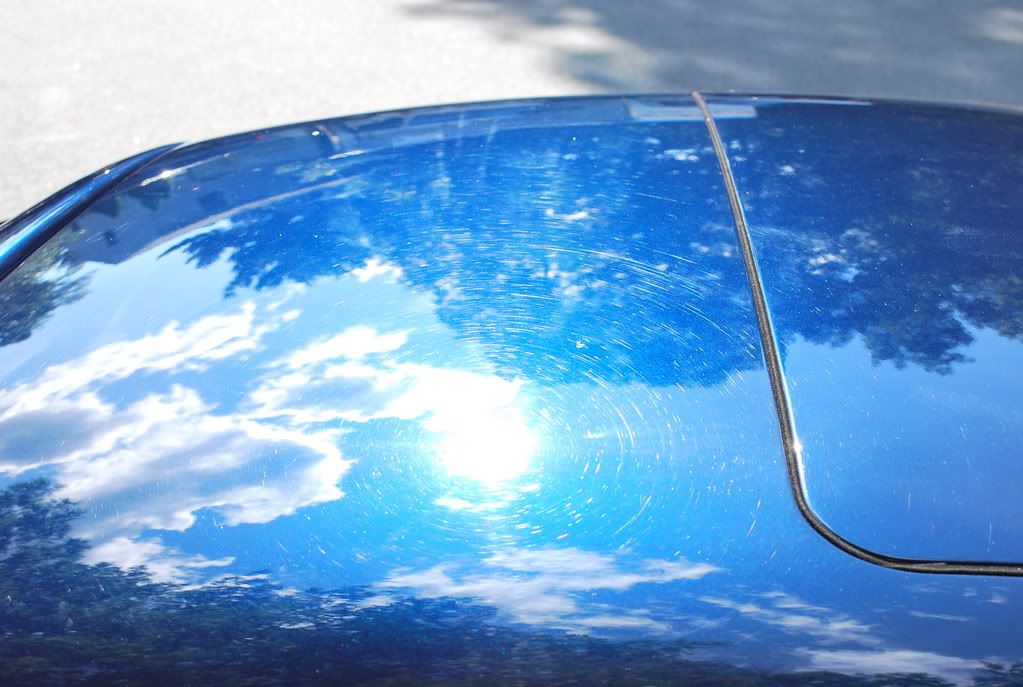
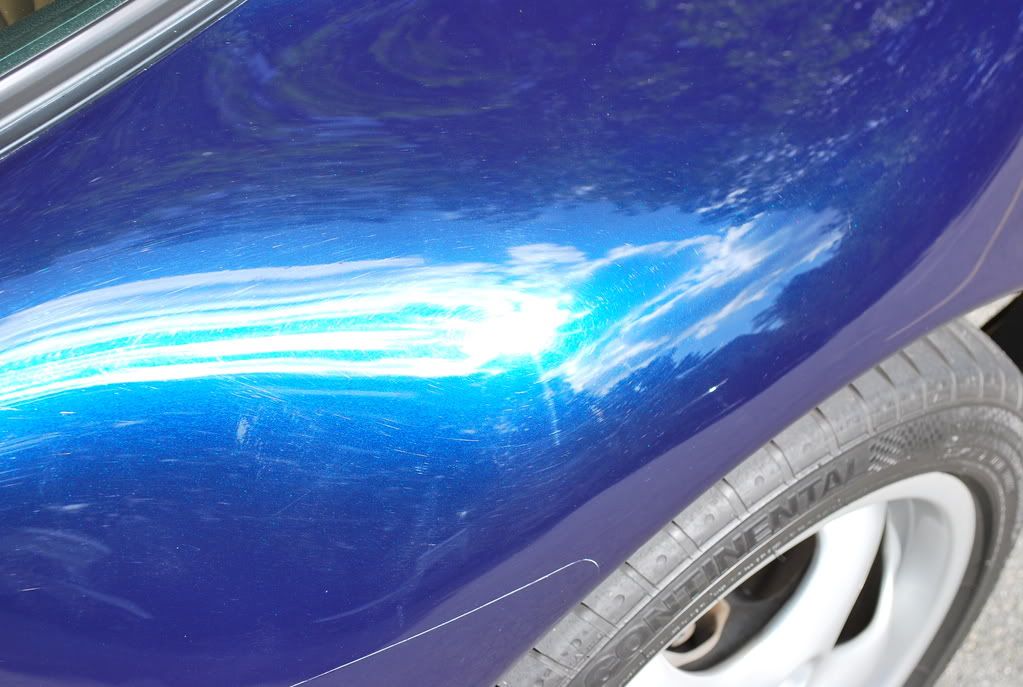
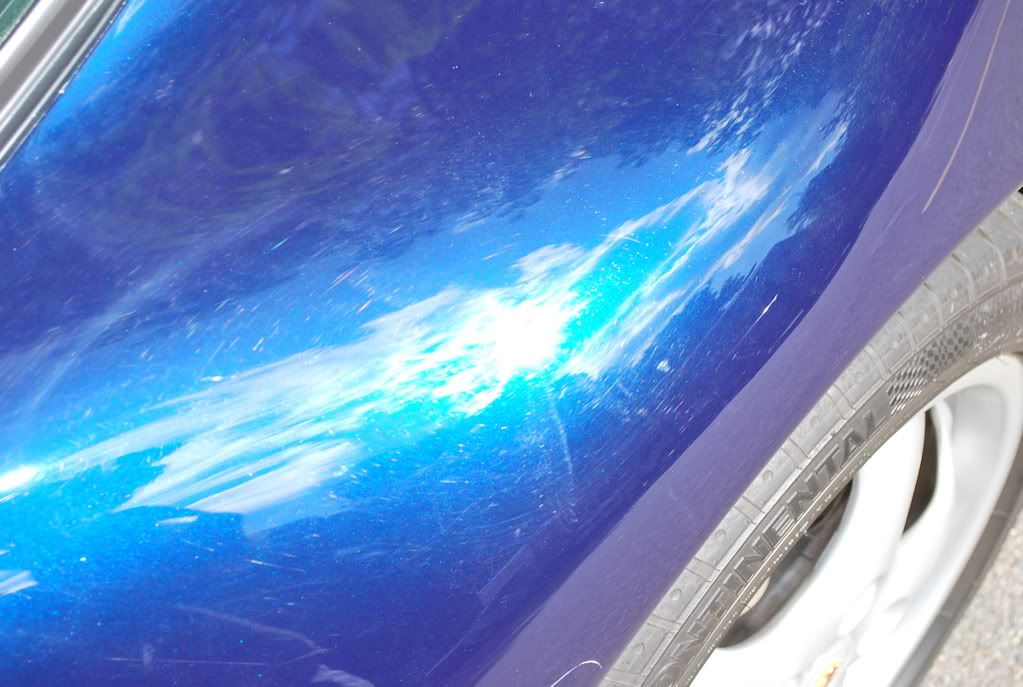
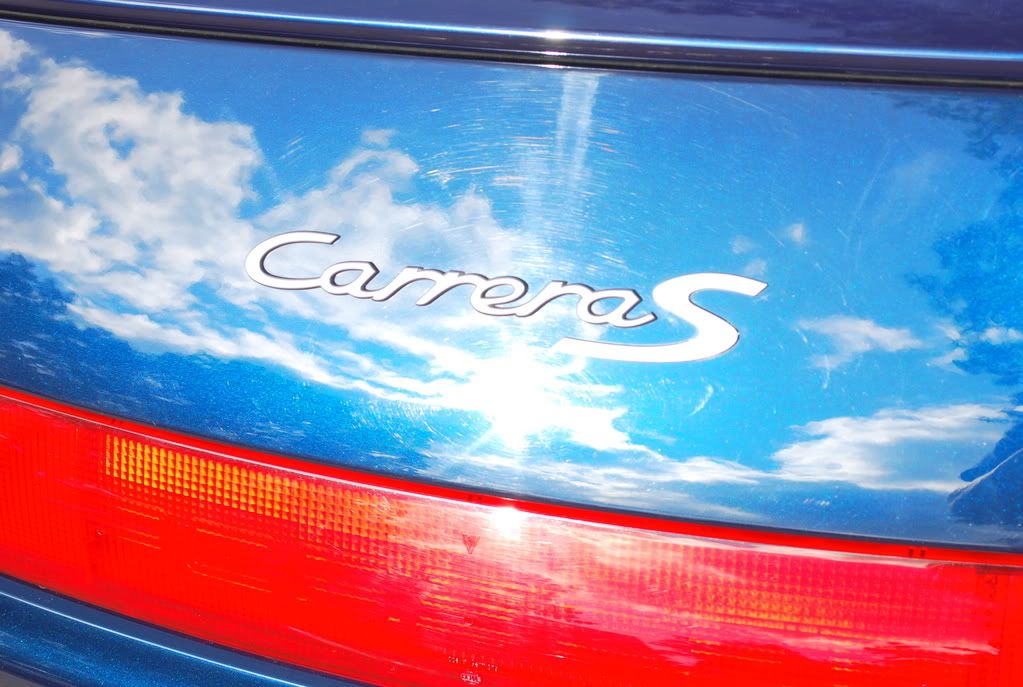
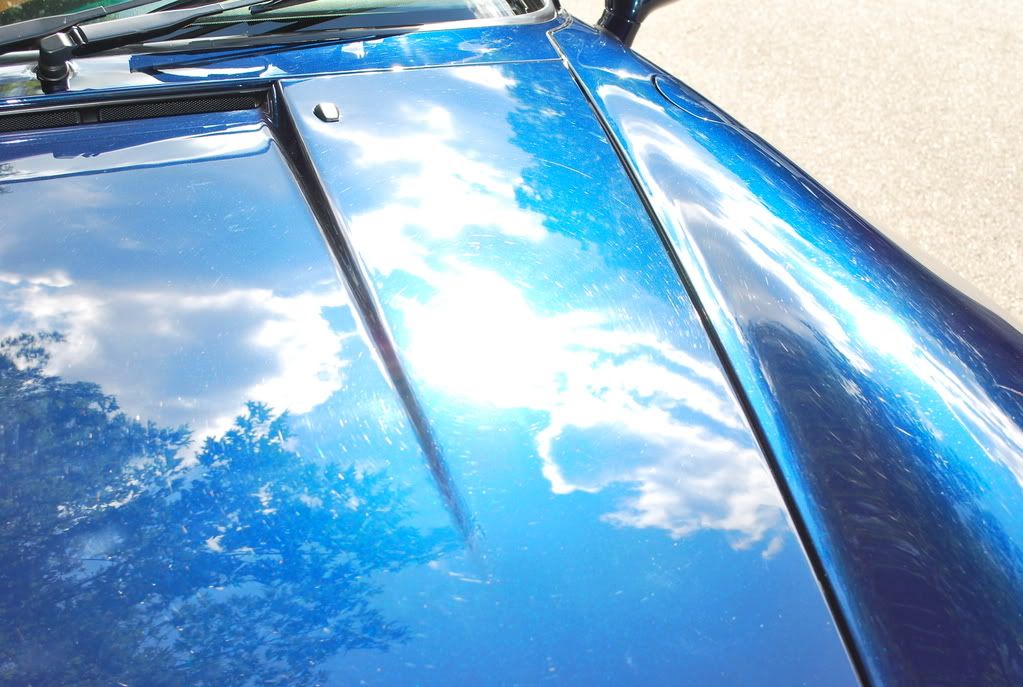
Upon arrival, the car appeared to be in very good condition for being almost 12 years old. Porsche`s are known for having extremely soft paint, so they are very prone to stone chips, particularly on the front end, mirrors and rear quarter panels. I was told by the owner that some of the car had been repainted for this exact reason, so there were very few stone chips present. Both the stock paint and repainted areas were in great shape and matched beautifully. It had its fair share of swirl marks, light to medium scratches, wax caked in the cracks, water spots on the hood, etc., which needed some attention.
Results 1 to 15 of 87
-
10-27-2008, 05:16 AM #1


- Join Date
- May 2005
- Location
- Wakefield, MA
- Posts
- 2,400
- Post Thanks / Like

-
10-27-2008, 05:19 AM #2
- Join Date
- May 2005
- Location
- Wakefield, MA
- Posts
- 2,400
- Post Thanks / Like
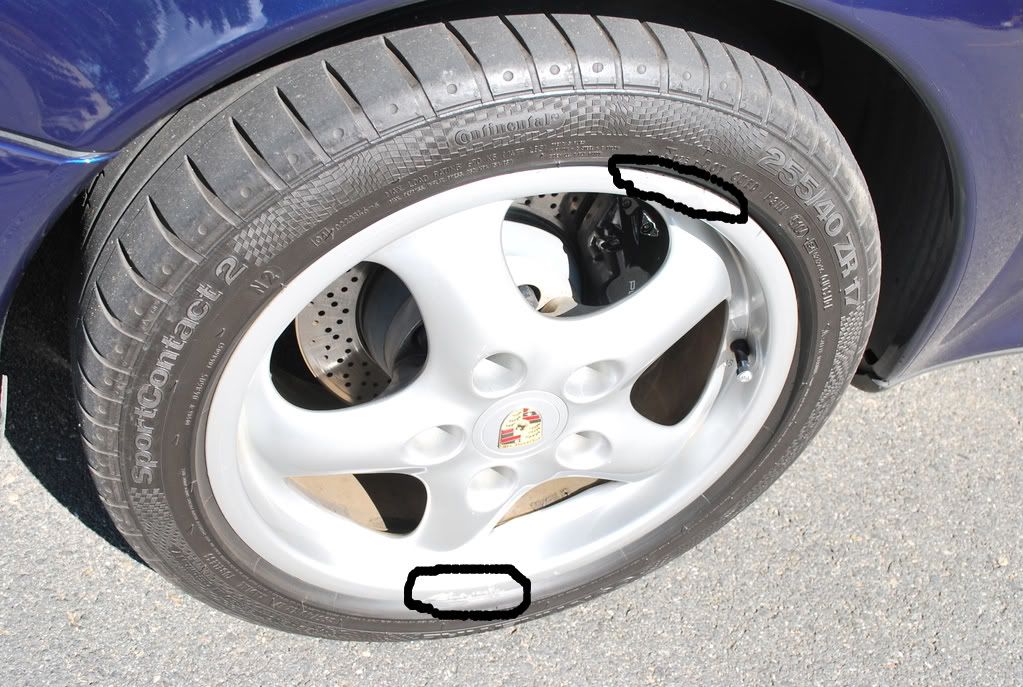
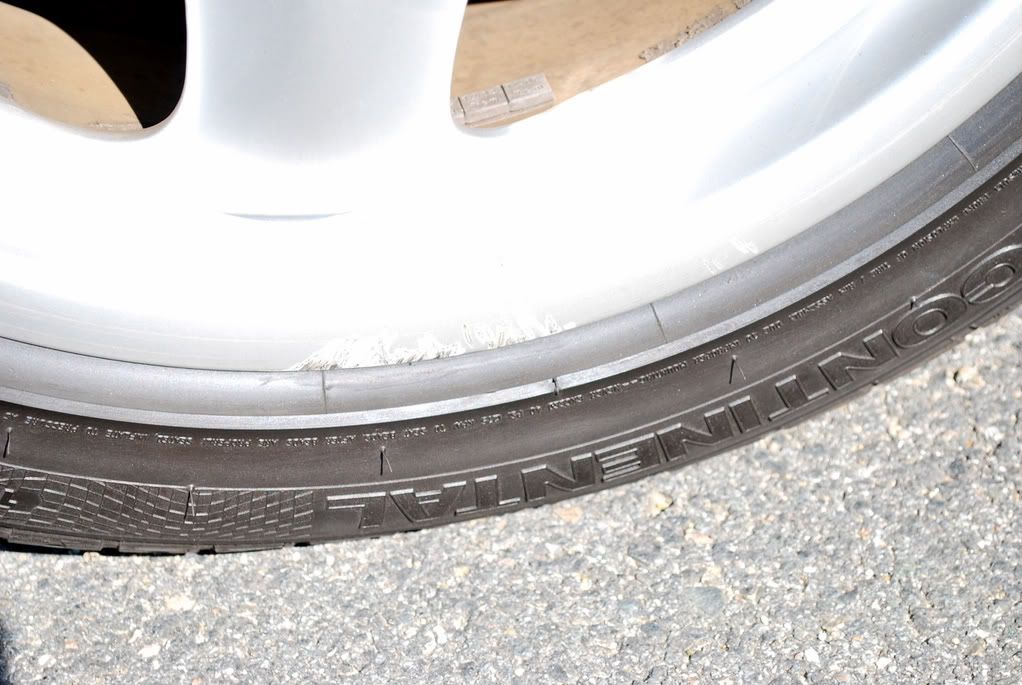
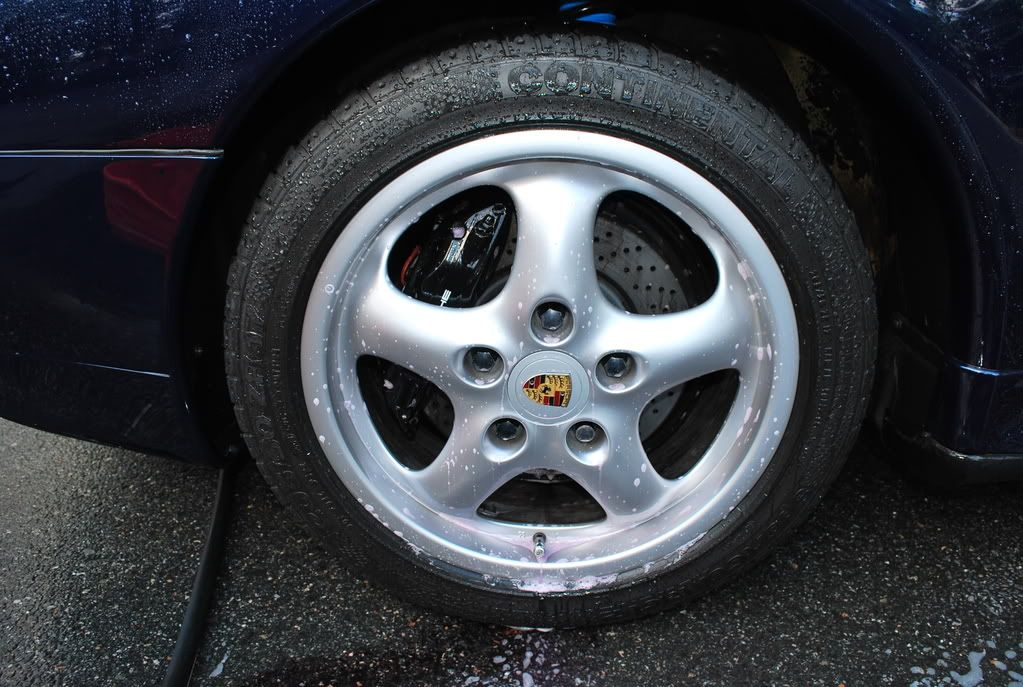
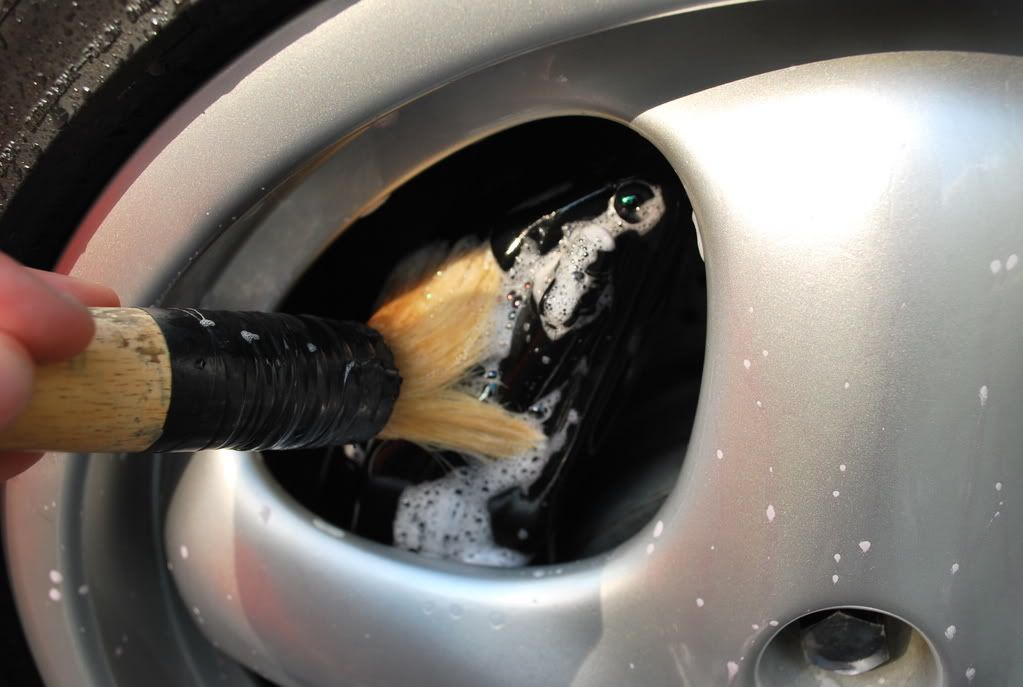
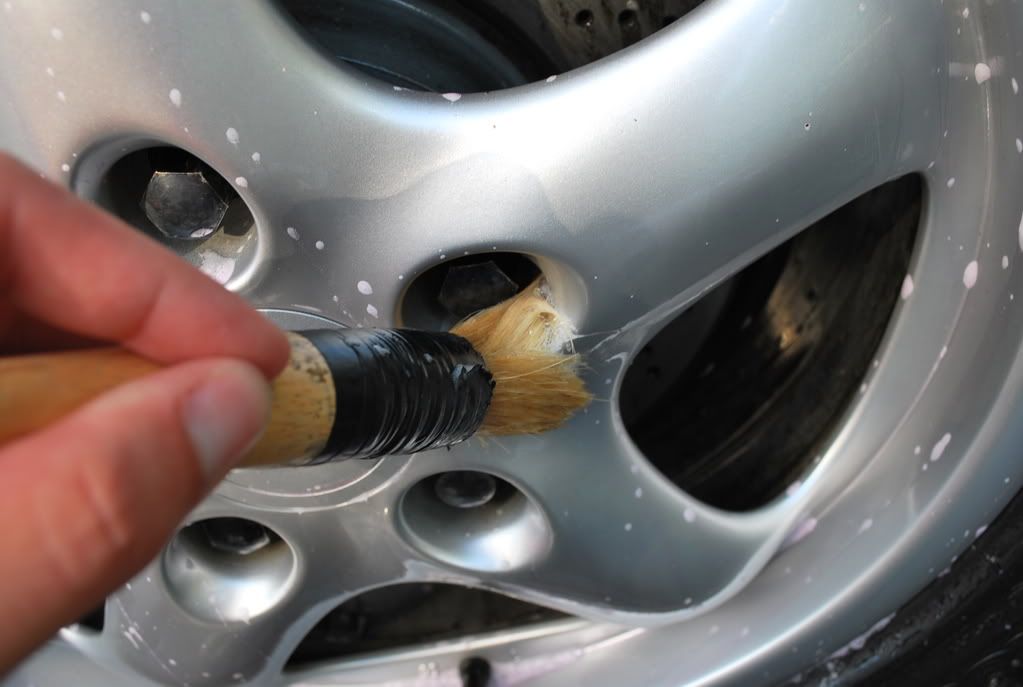
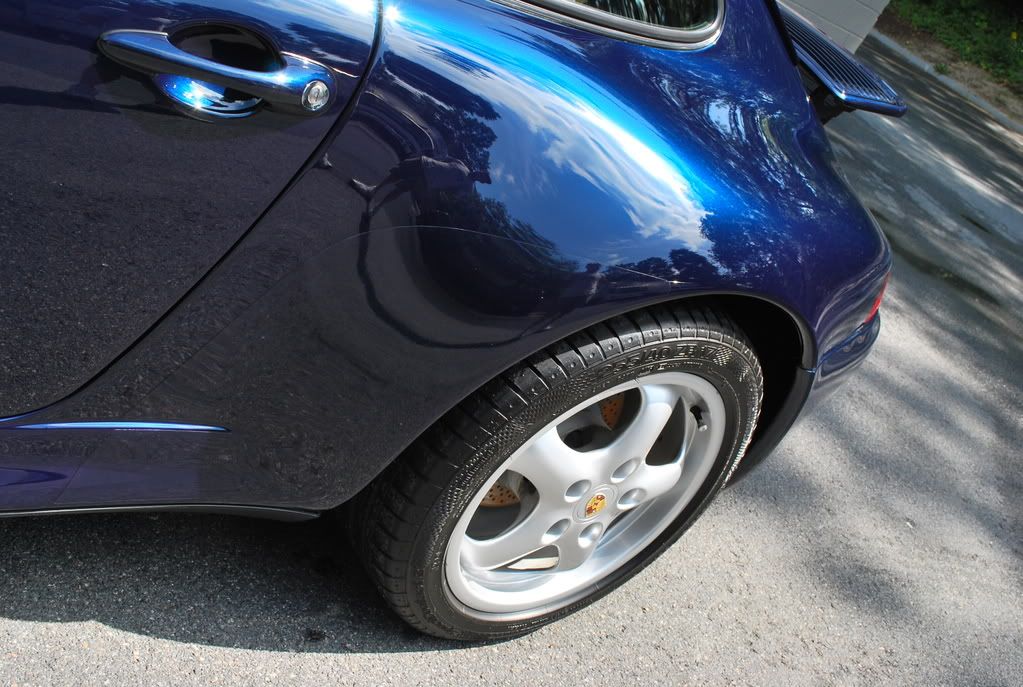
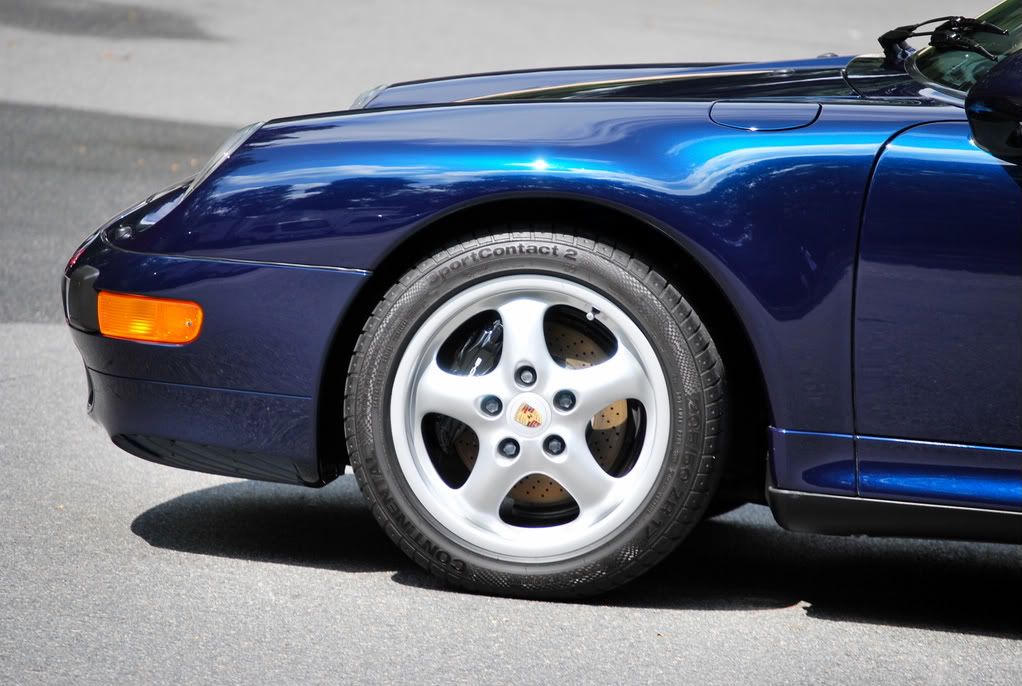
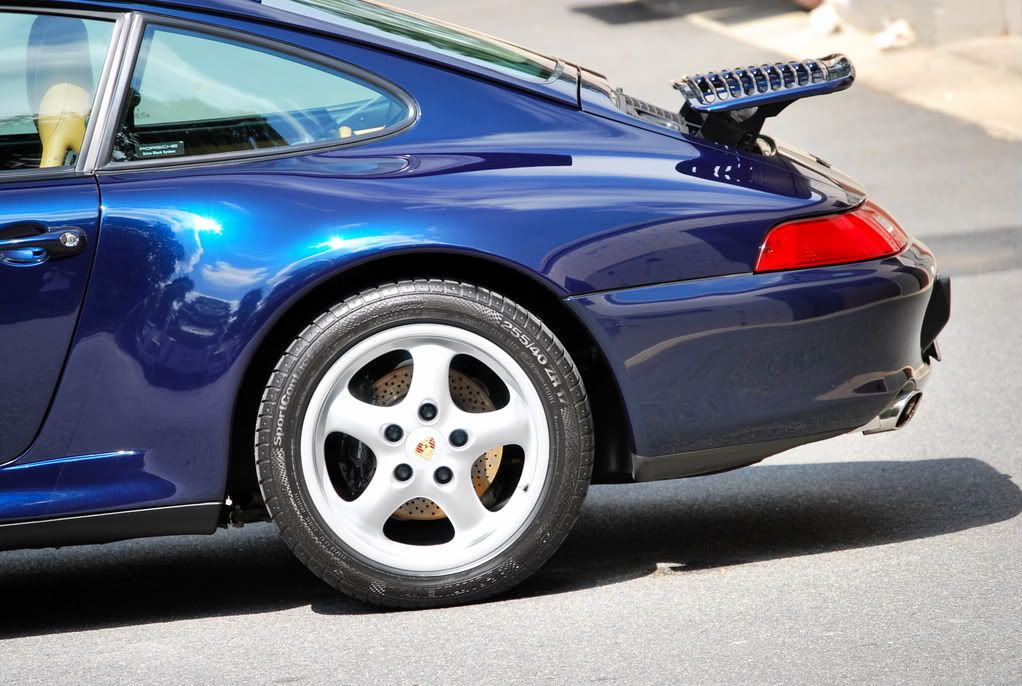
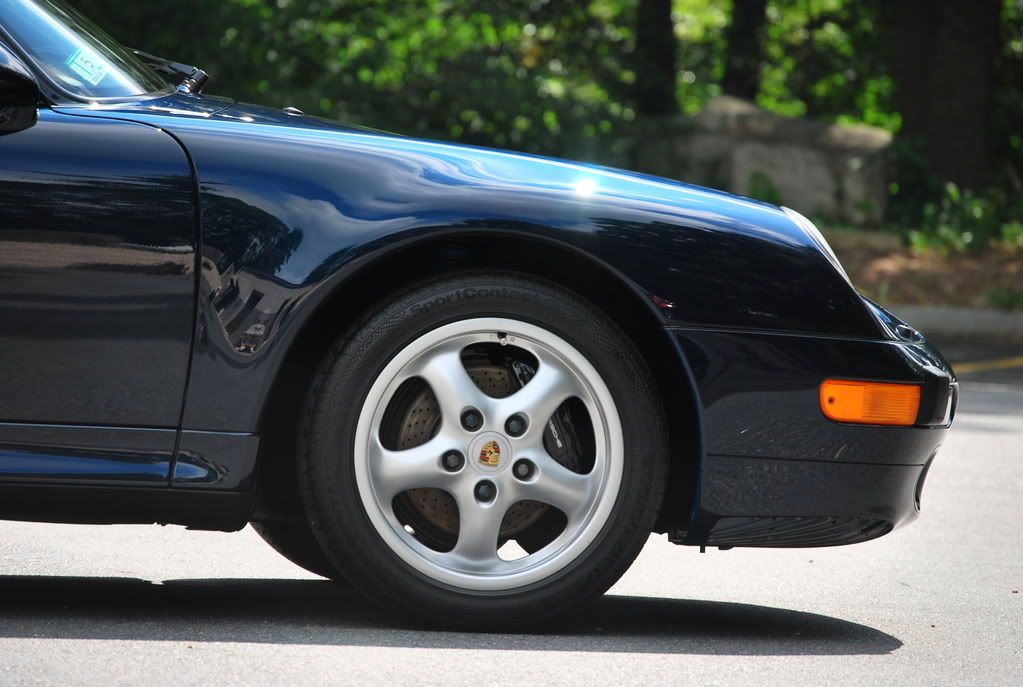
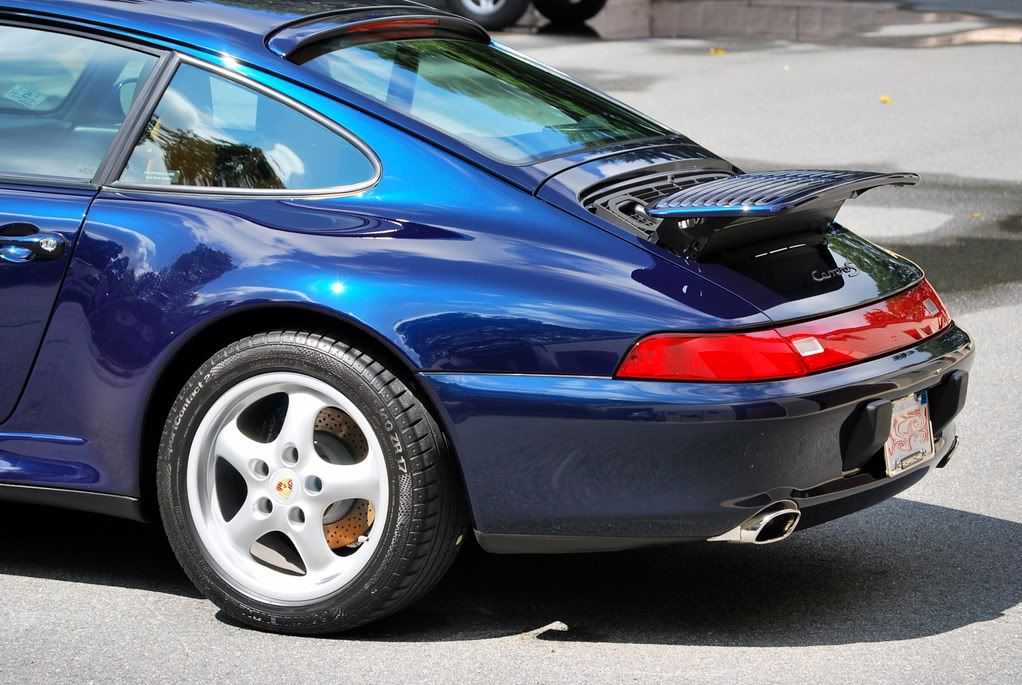
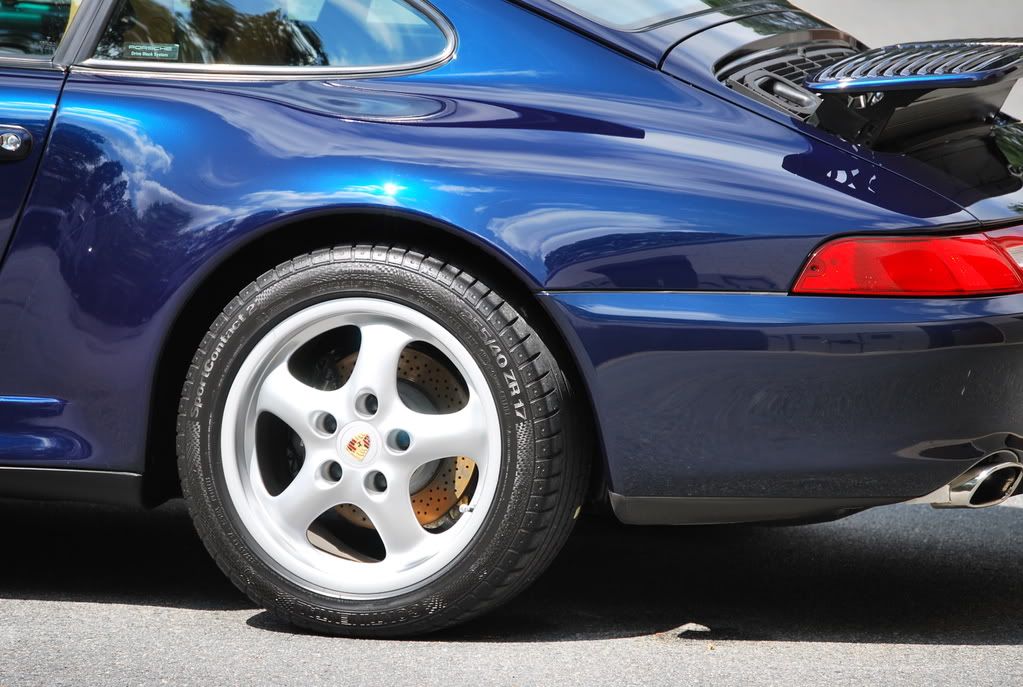
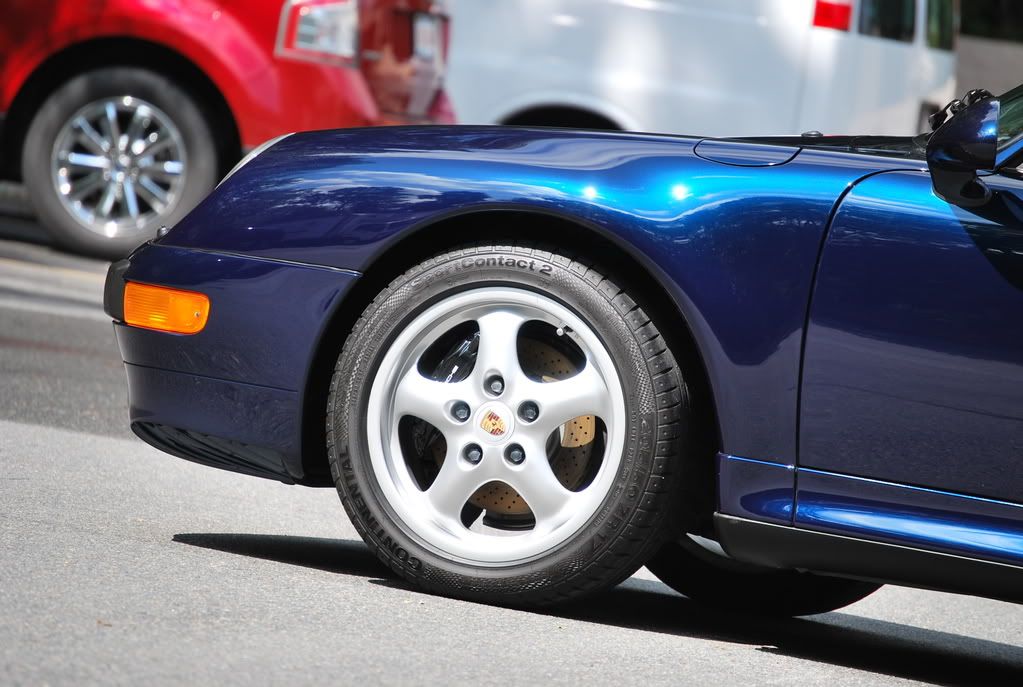
The wheels needed a good cleaning...
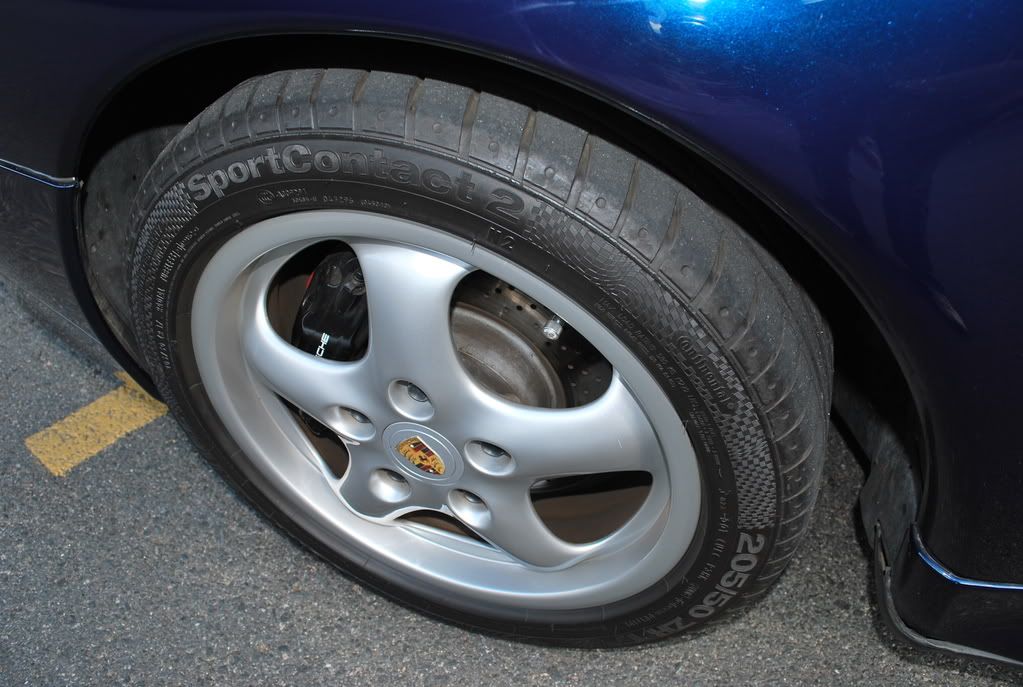
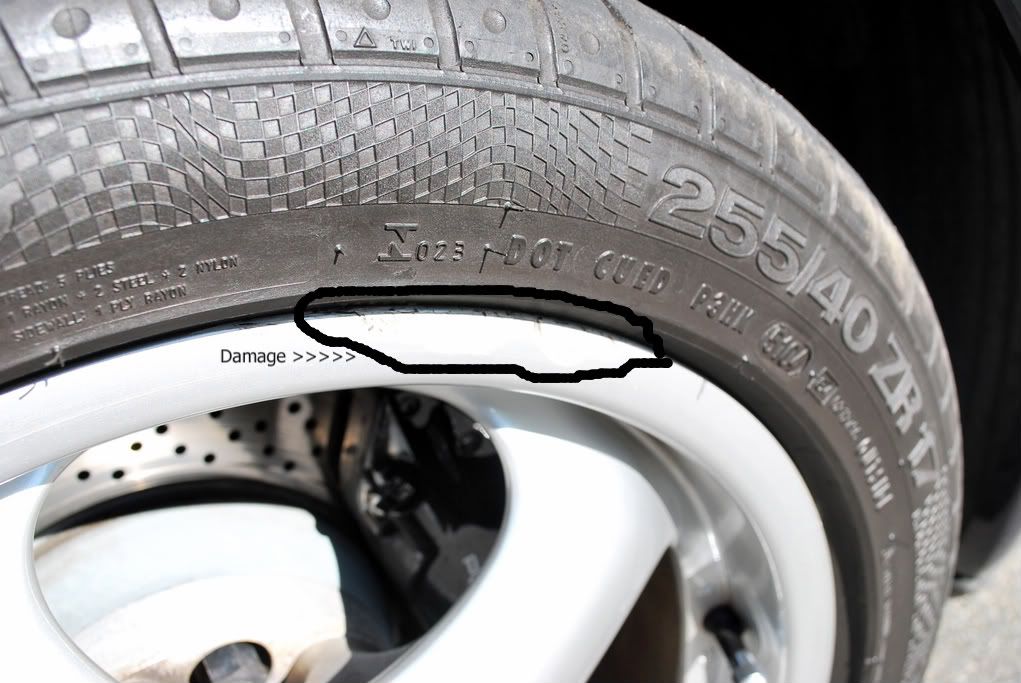
This wheel had some curb rash (Sorry, bad pictures)
Some areas had old, dried up wax caked in the cracks...
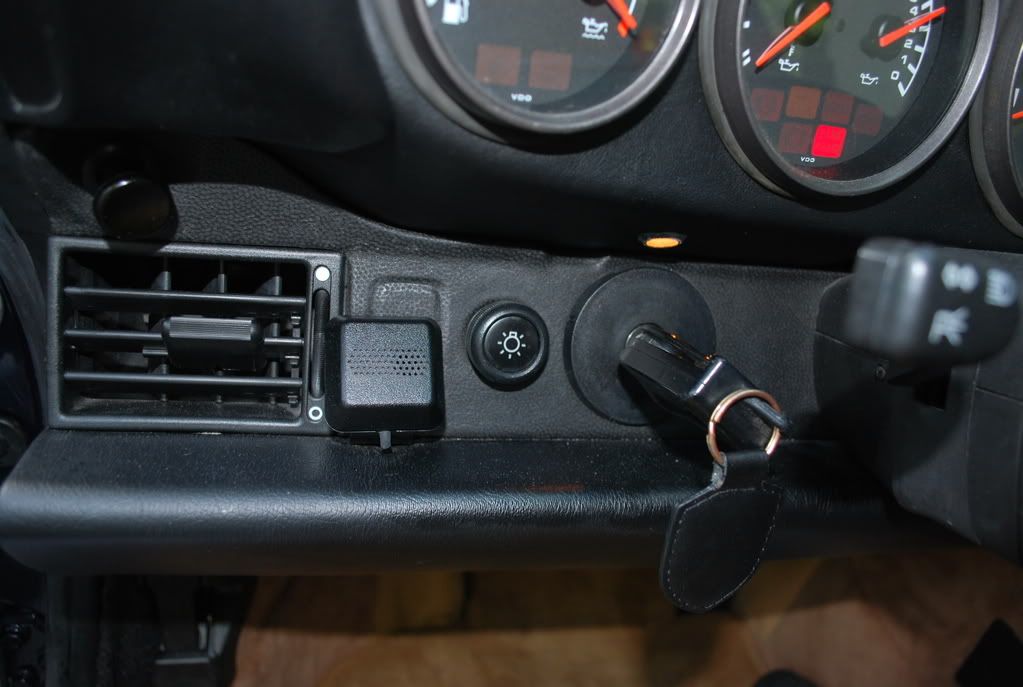
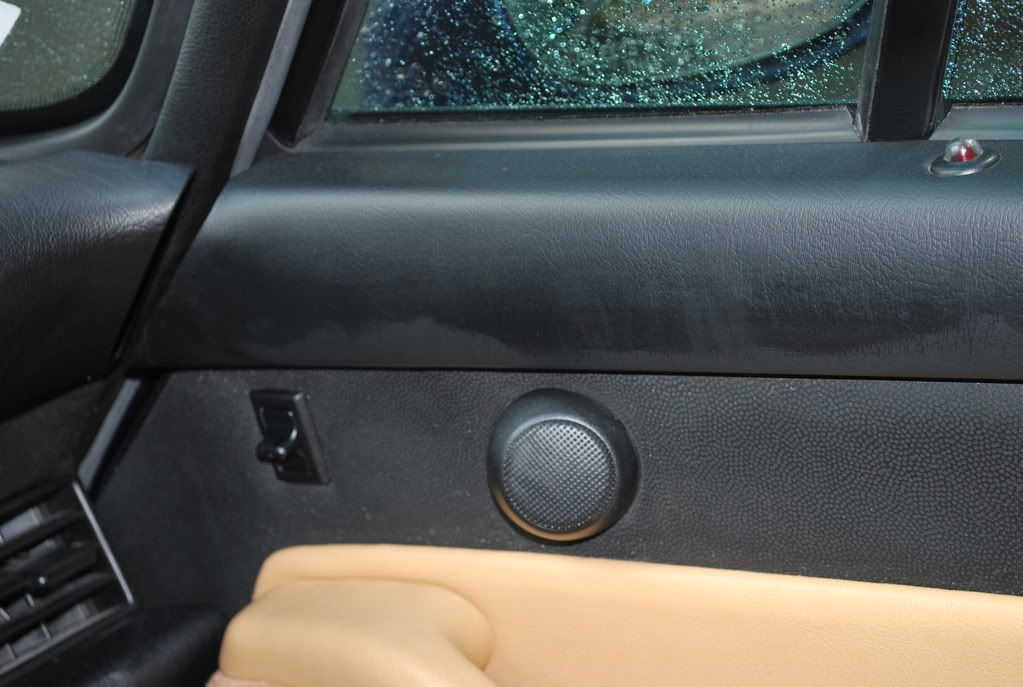
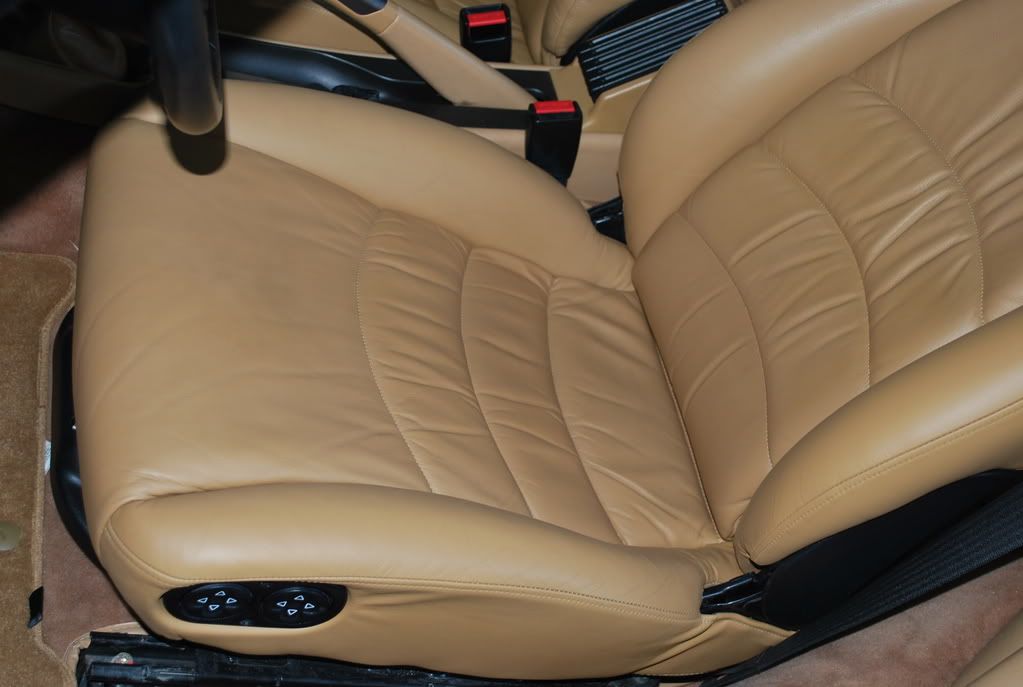
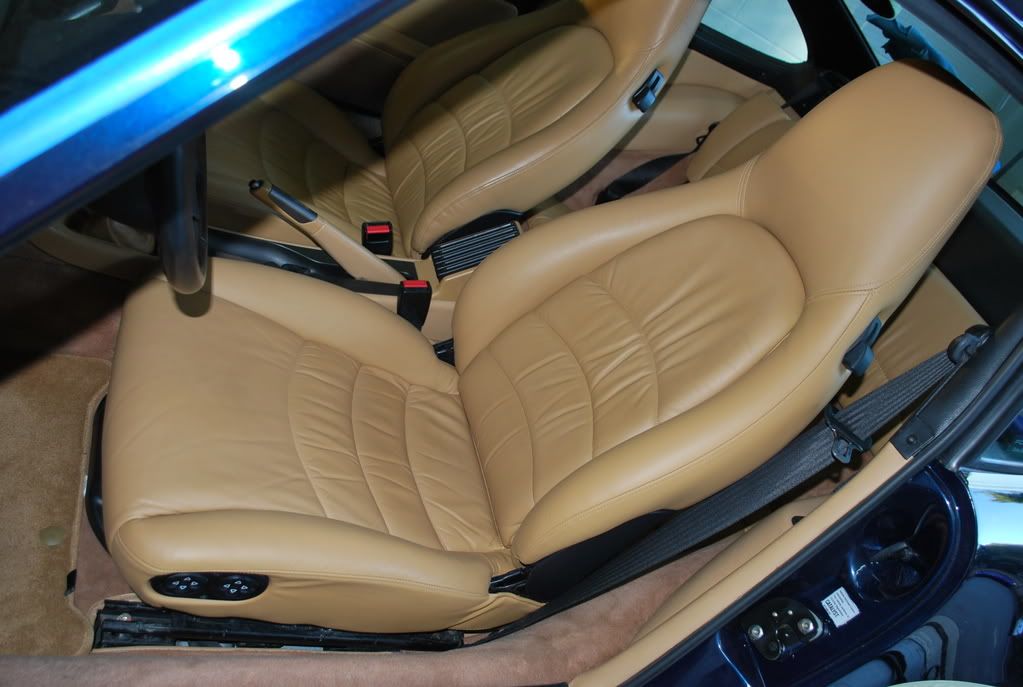
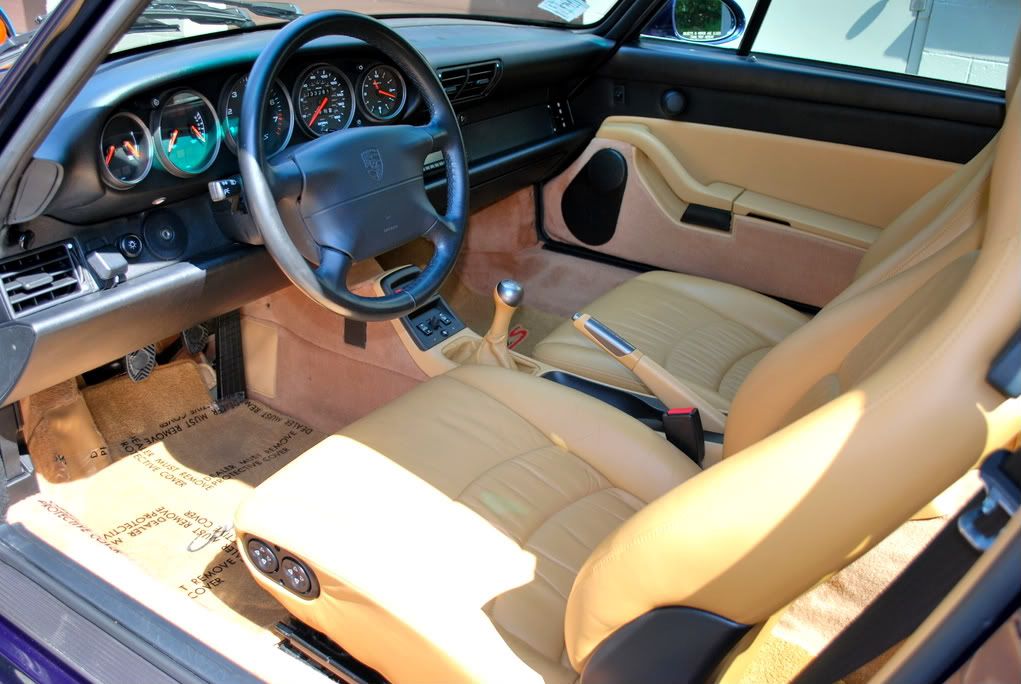
The interior was in great shape, but needed some attention...
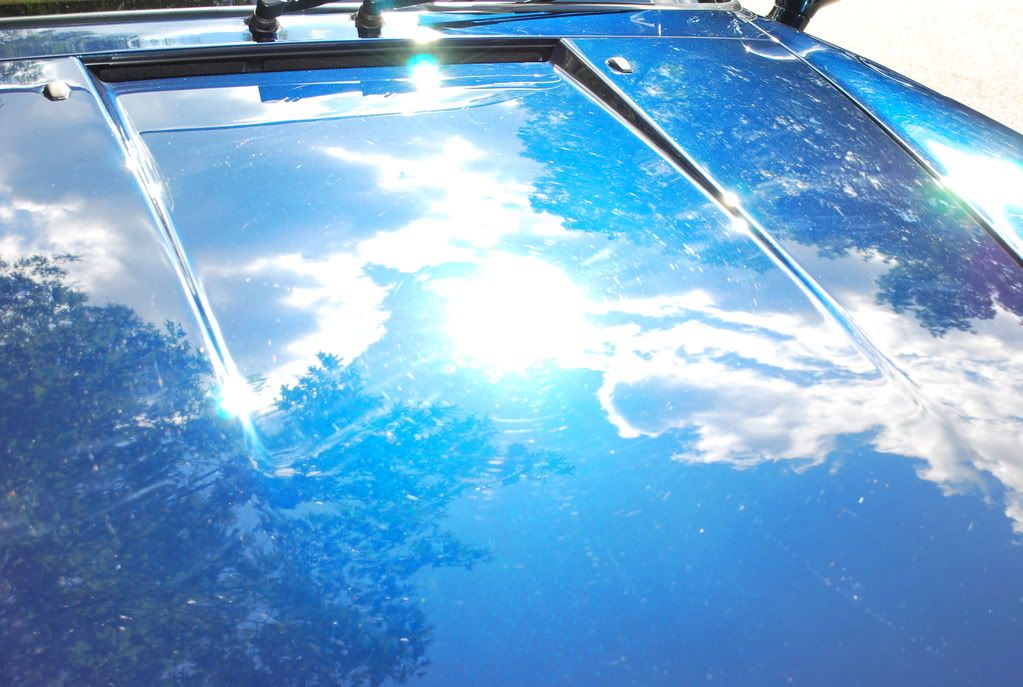
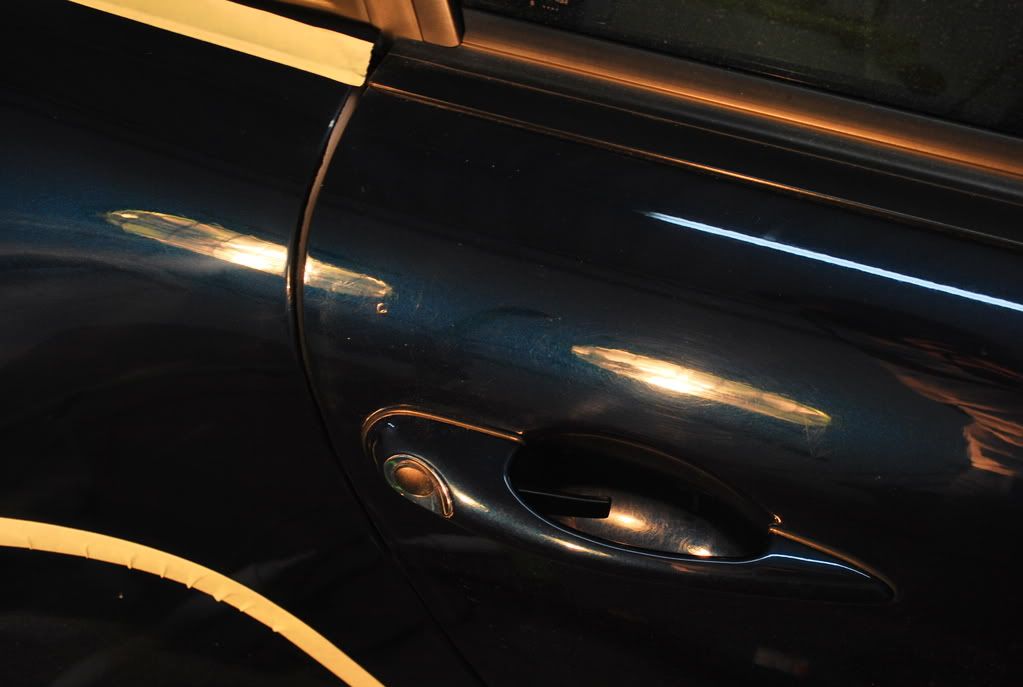
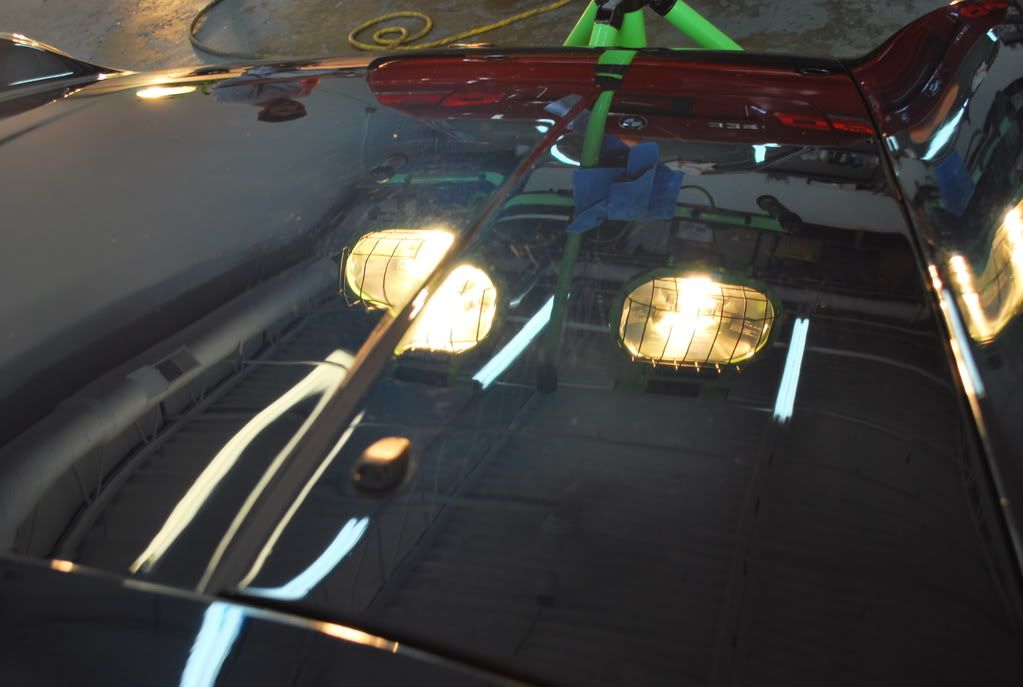
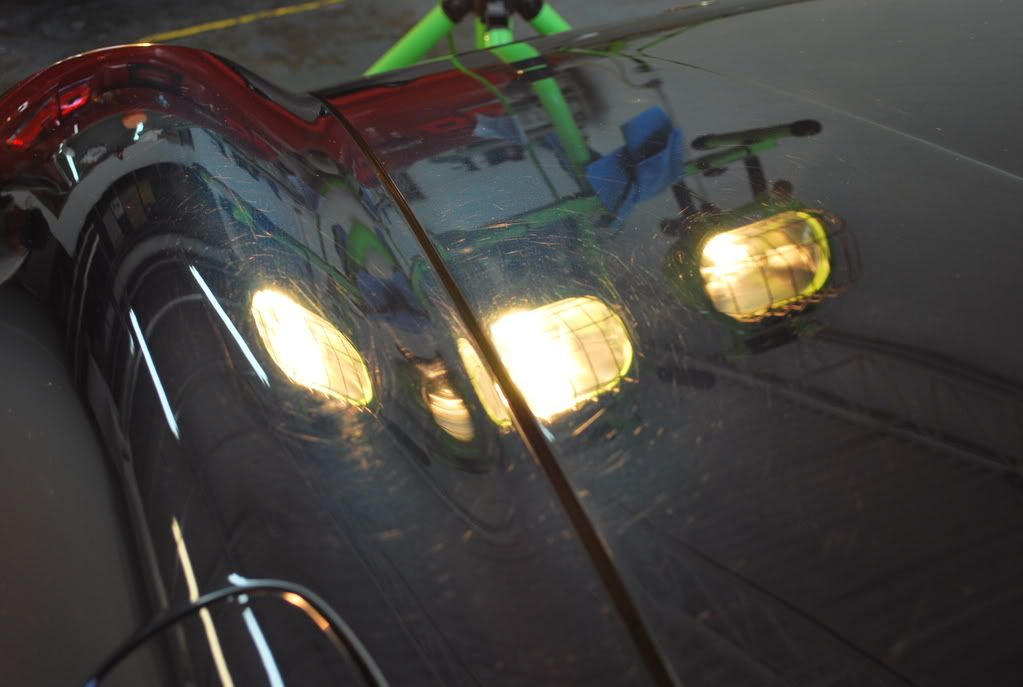
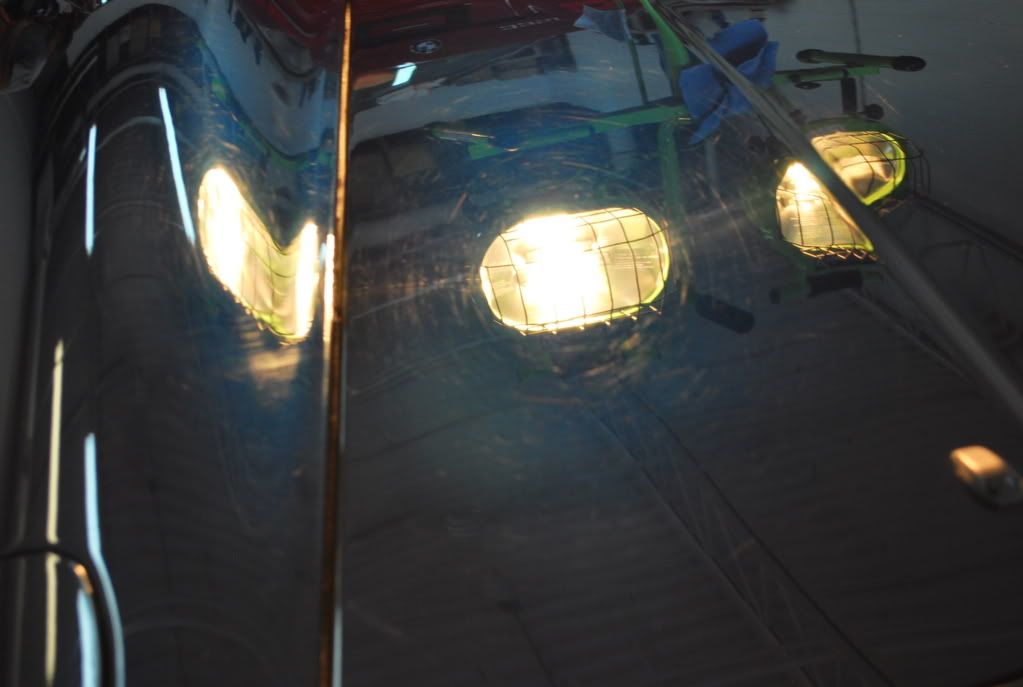
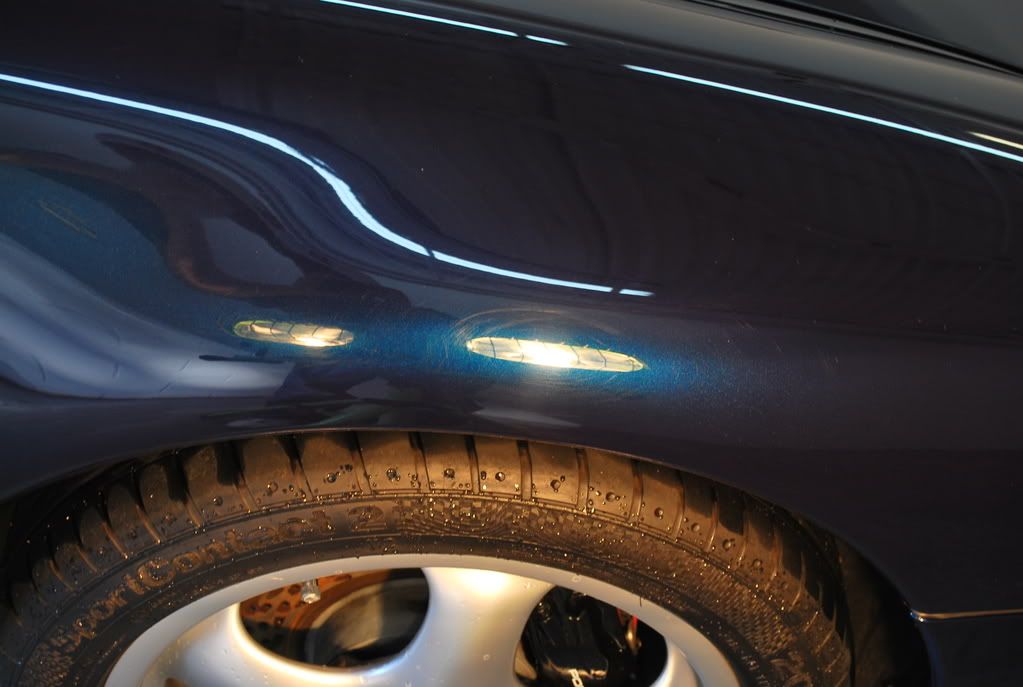
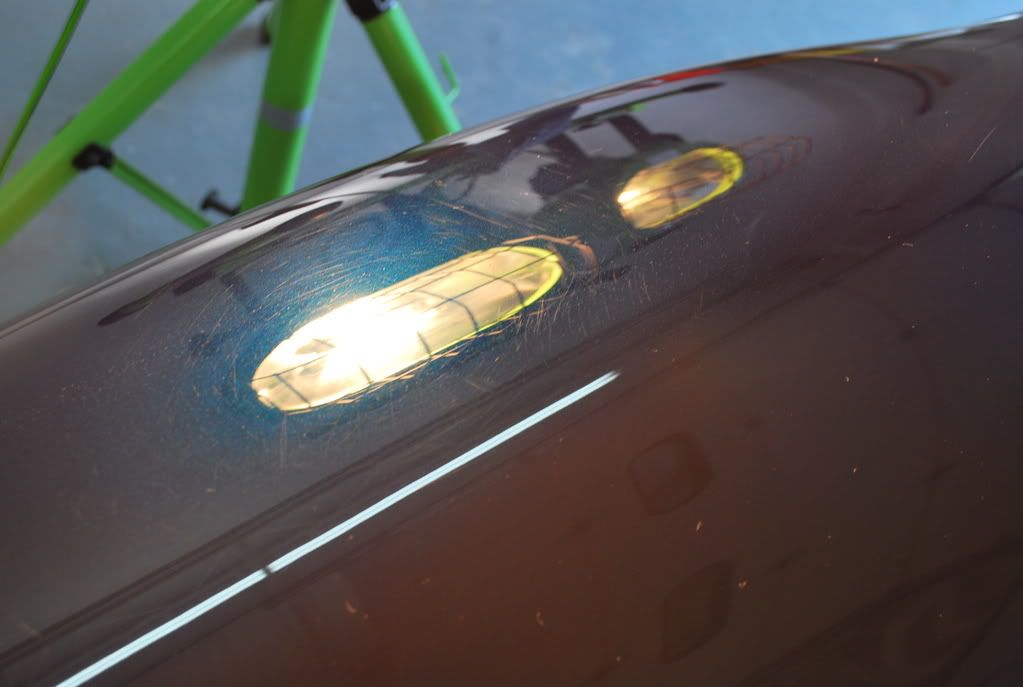
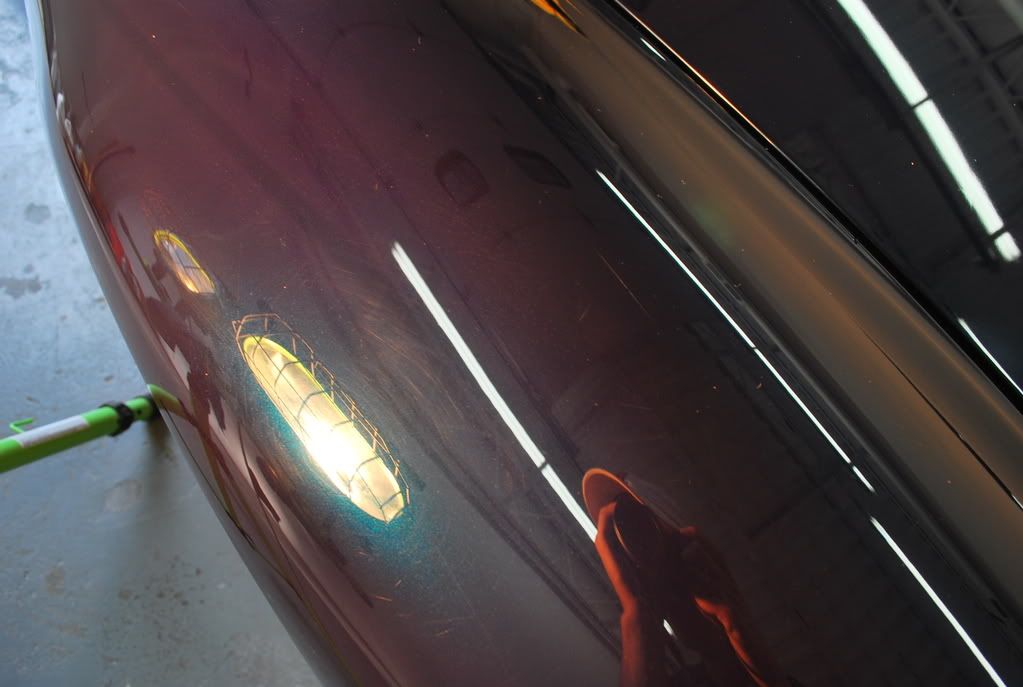
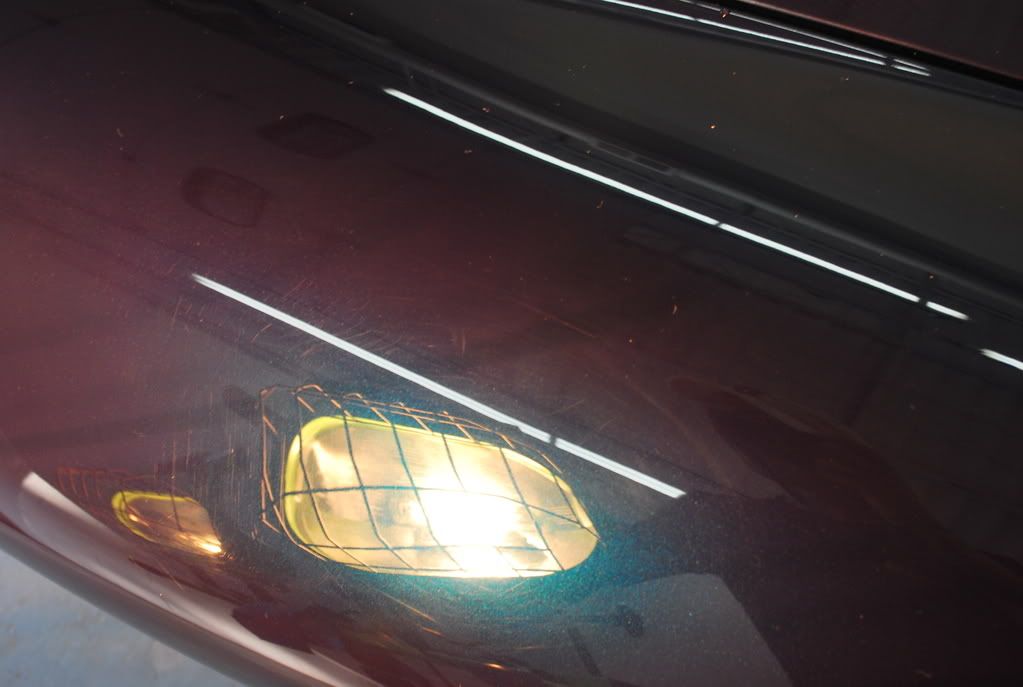
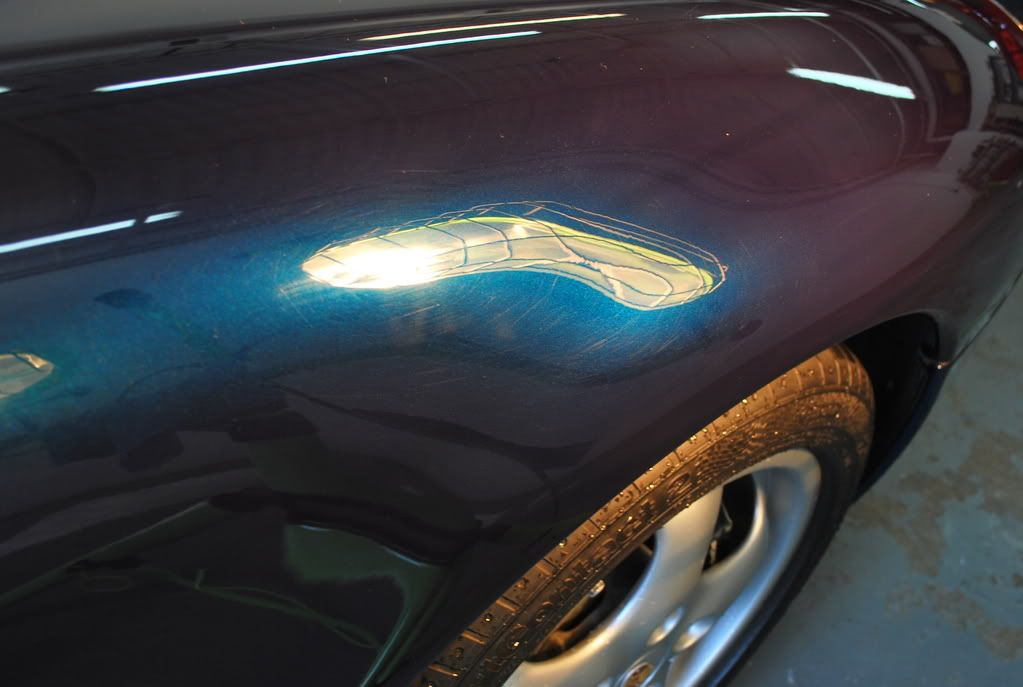
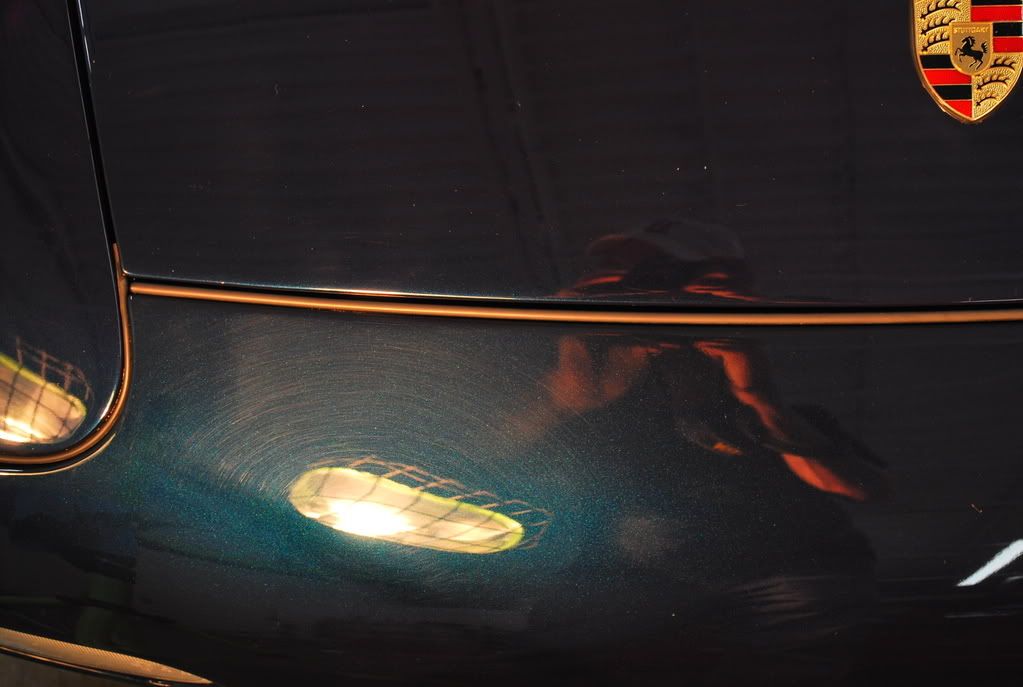
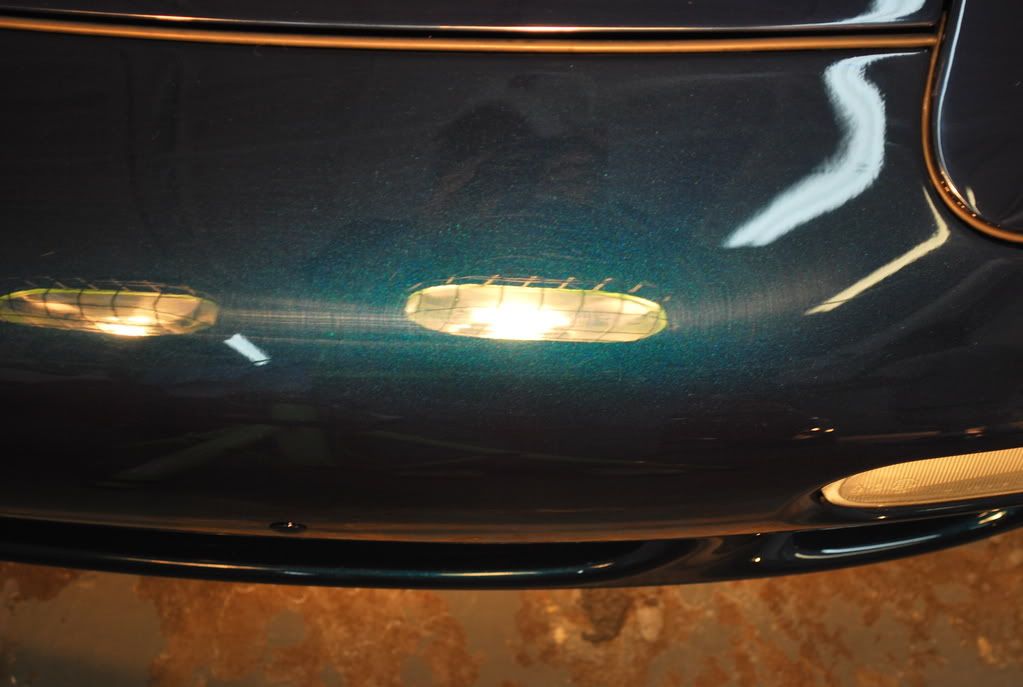
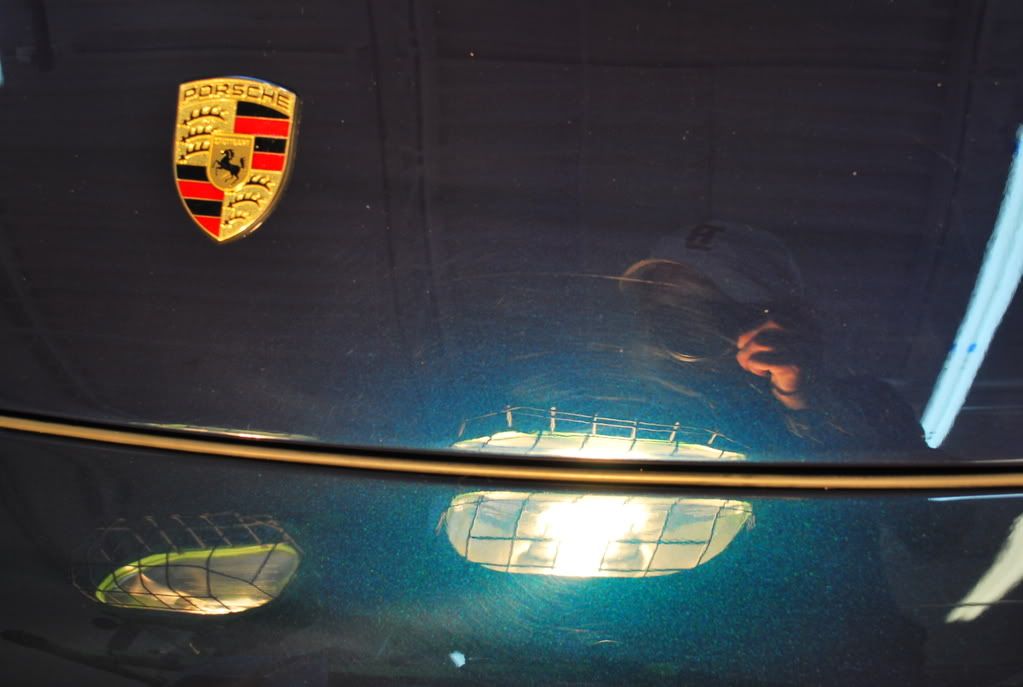
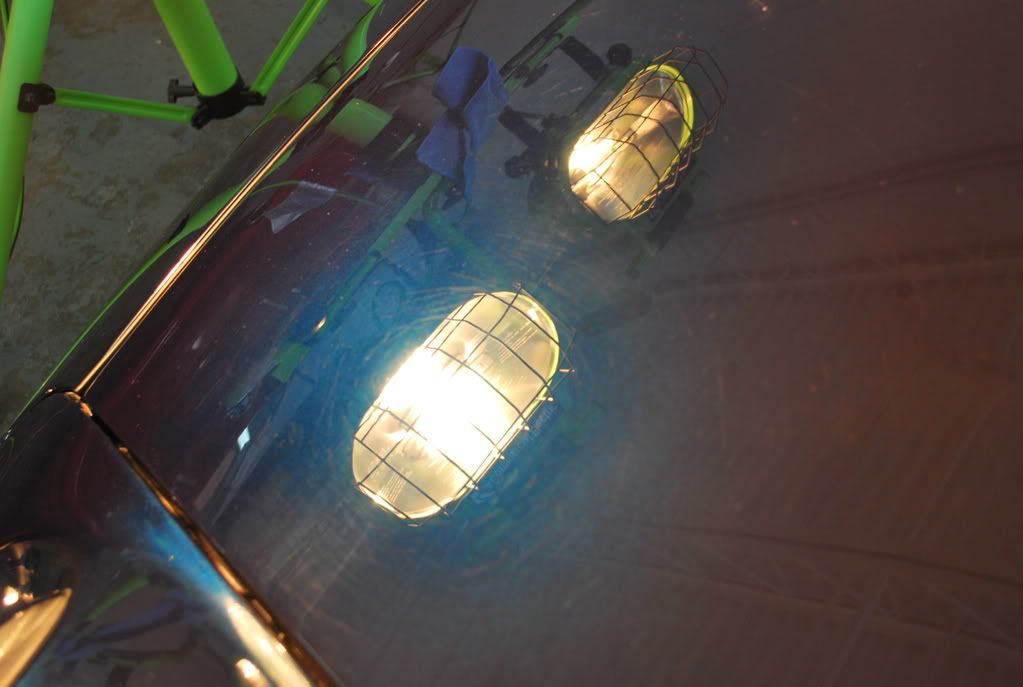
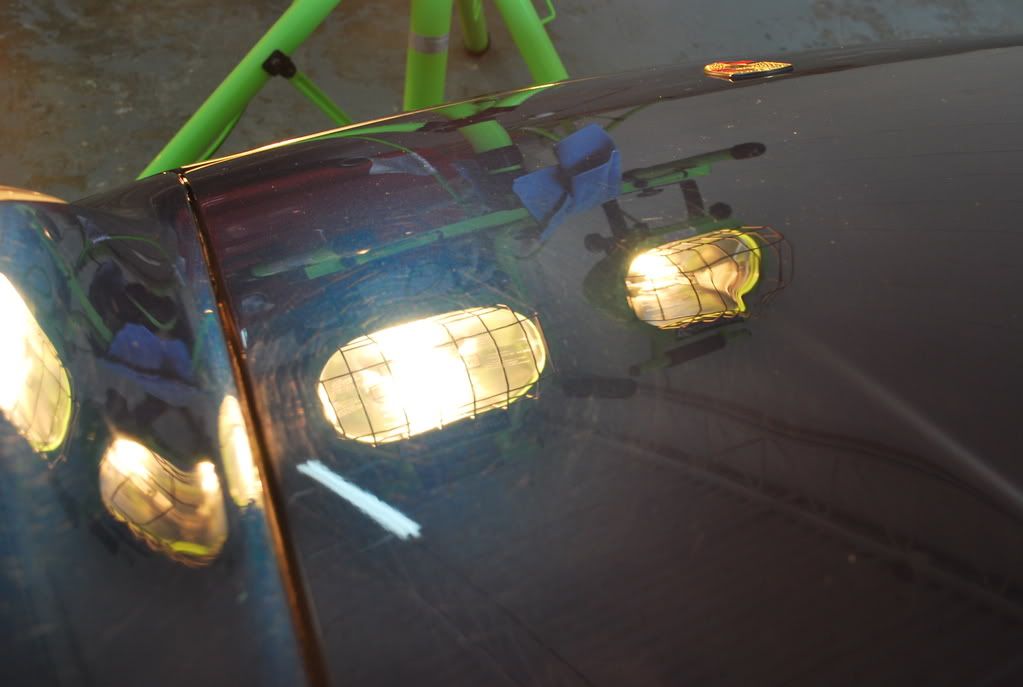
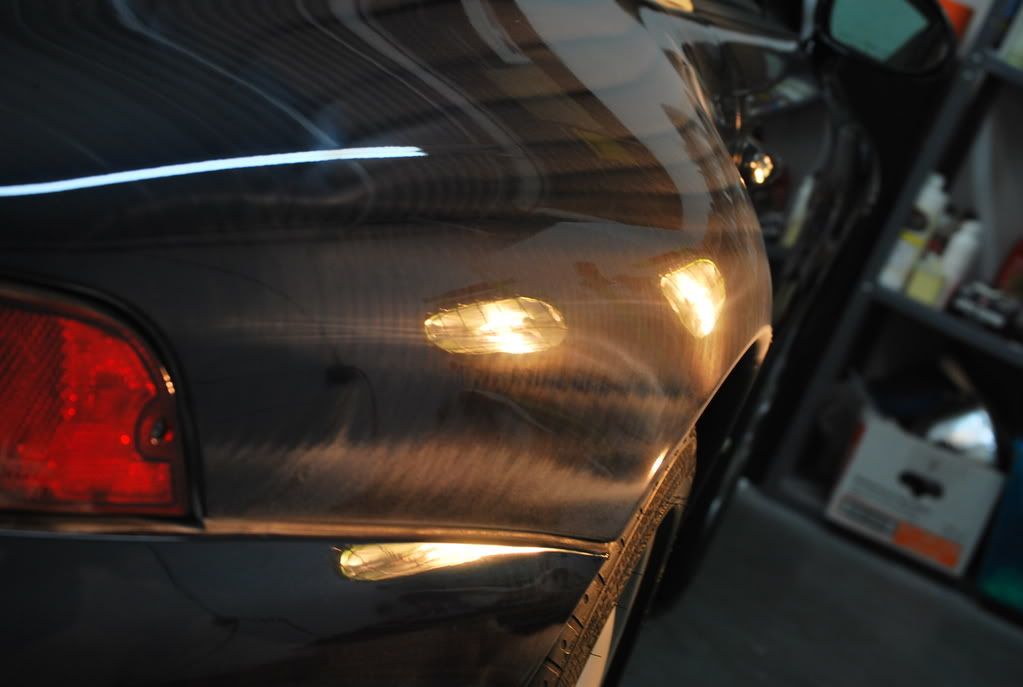
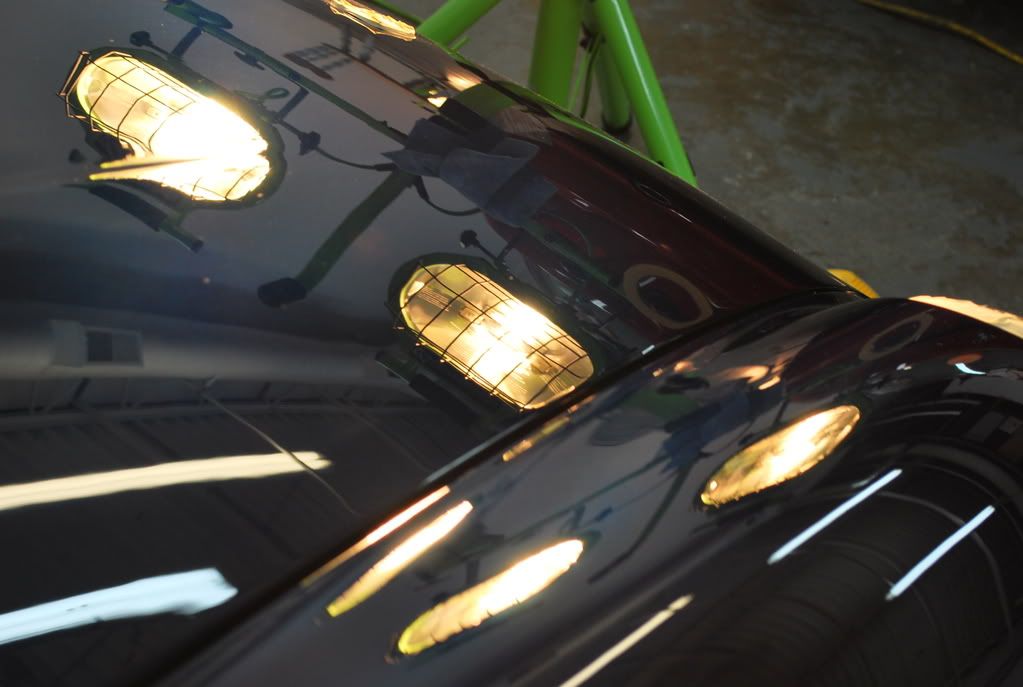
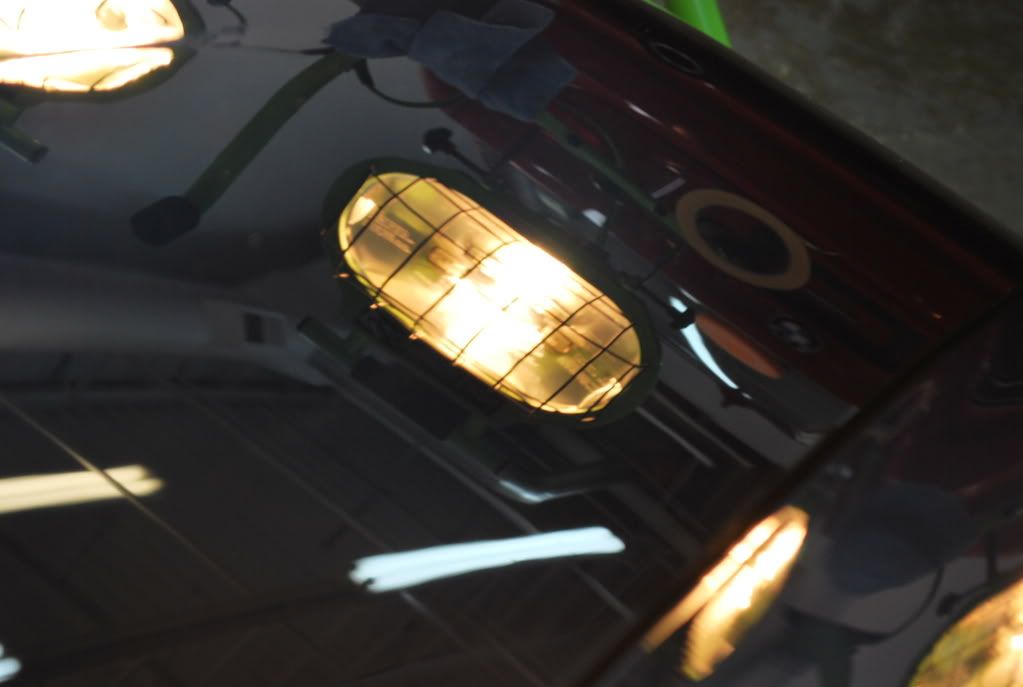
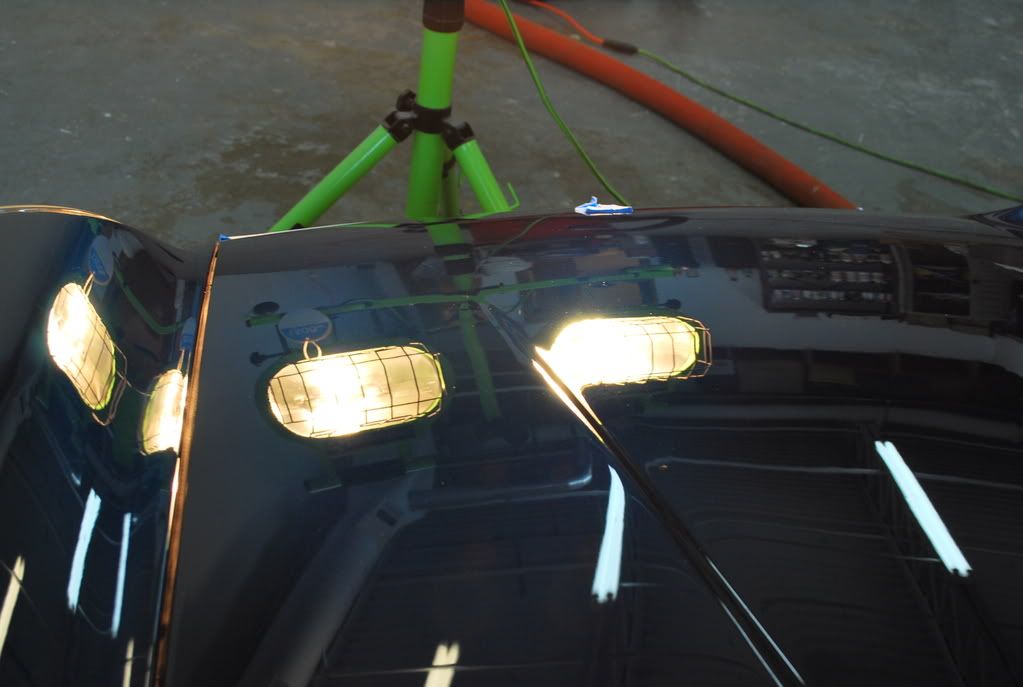
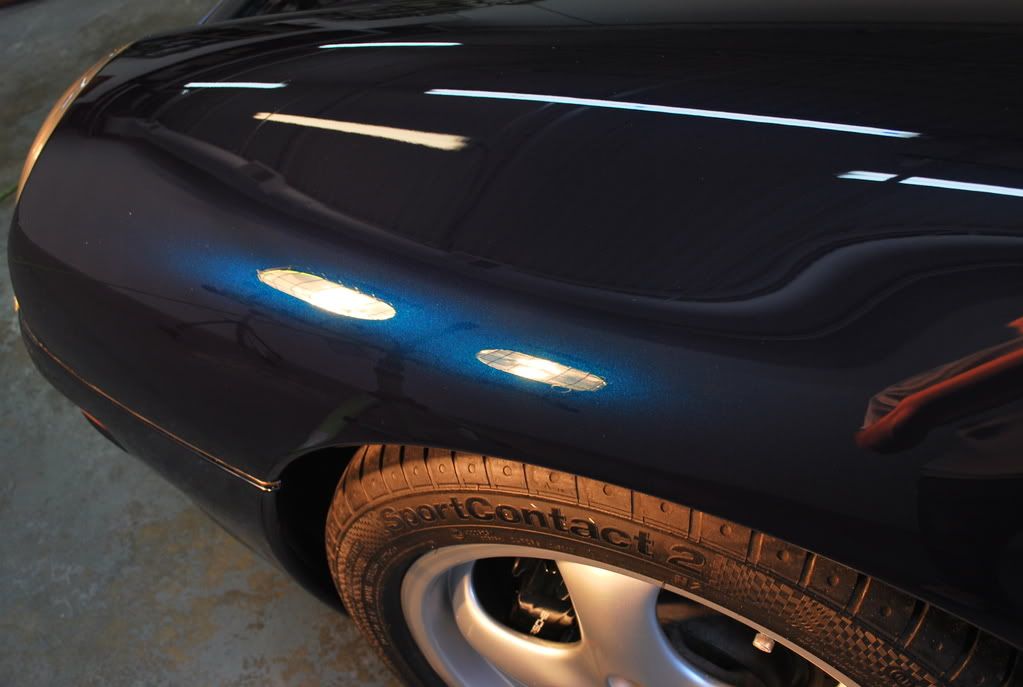
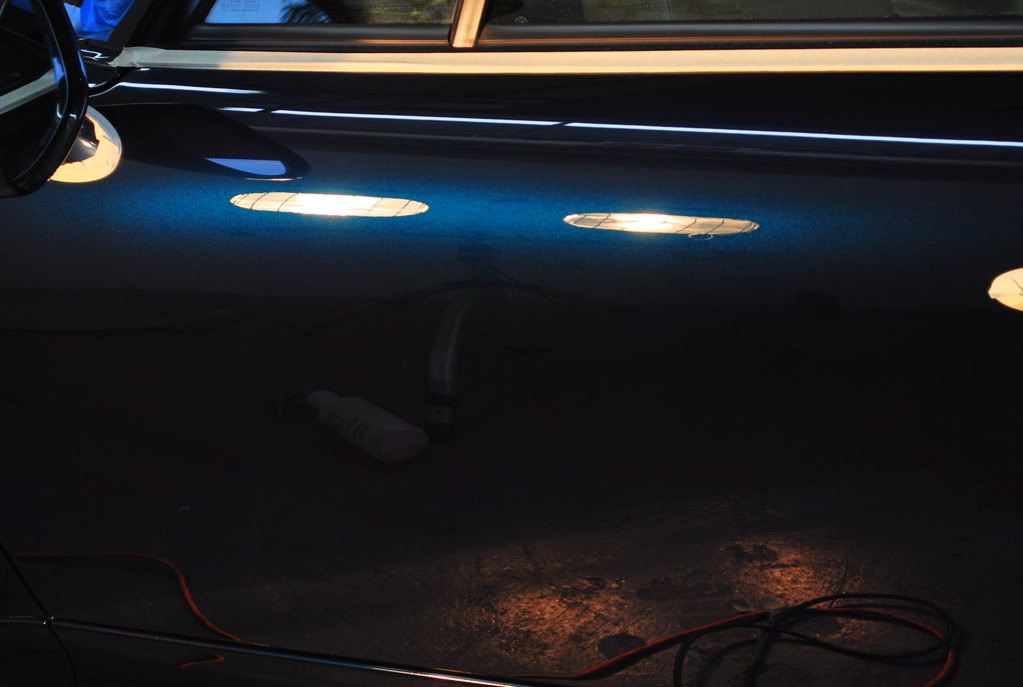
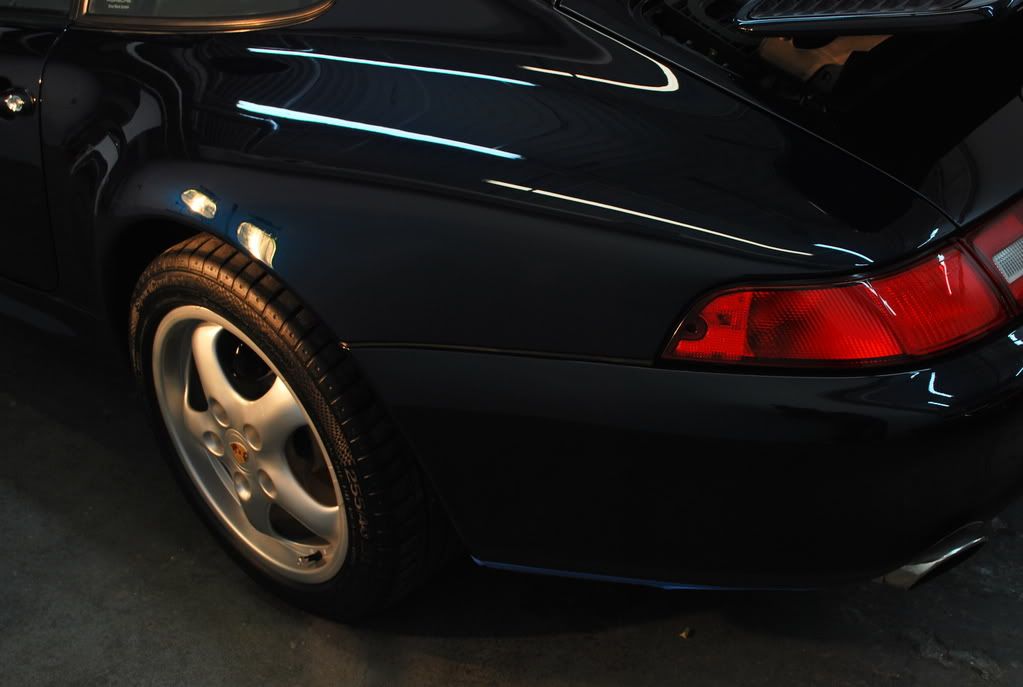
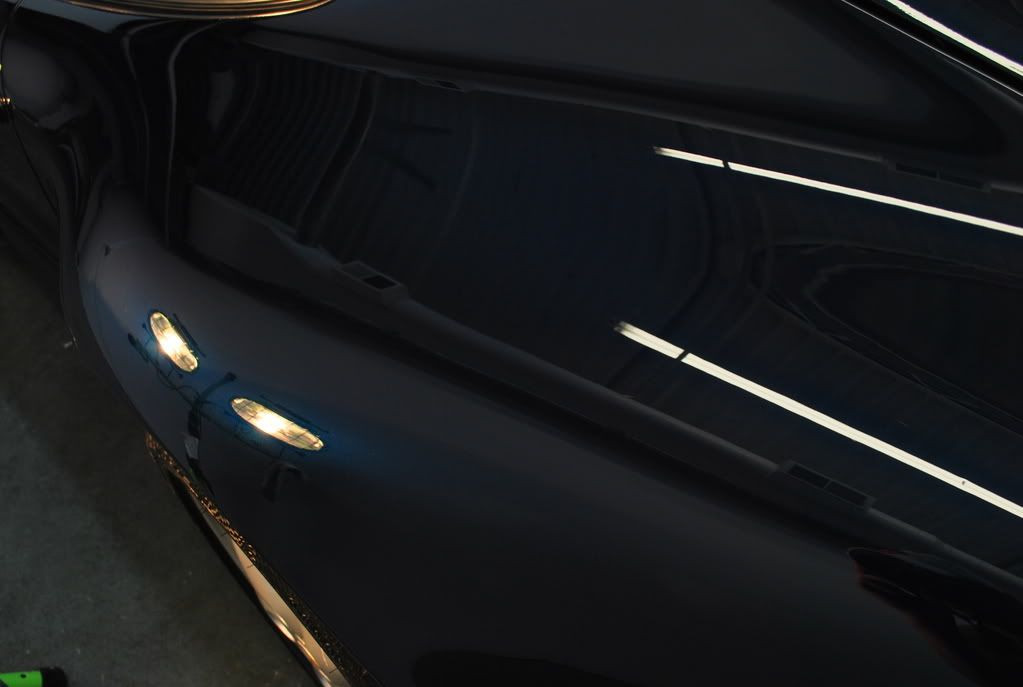
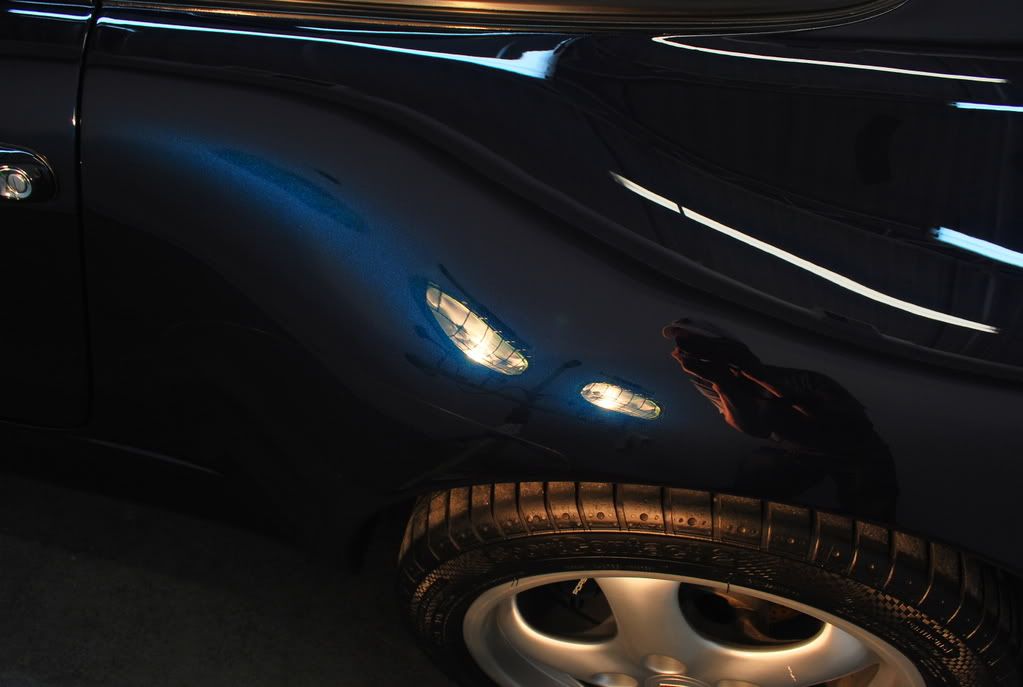
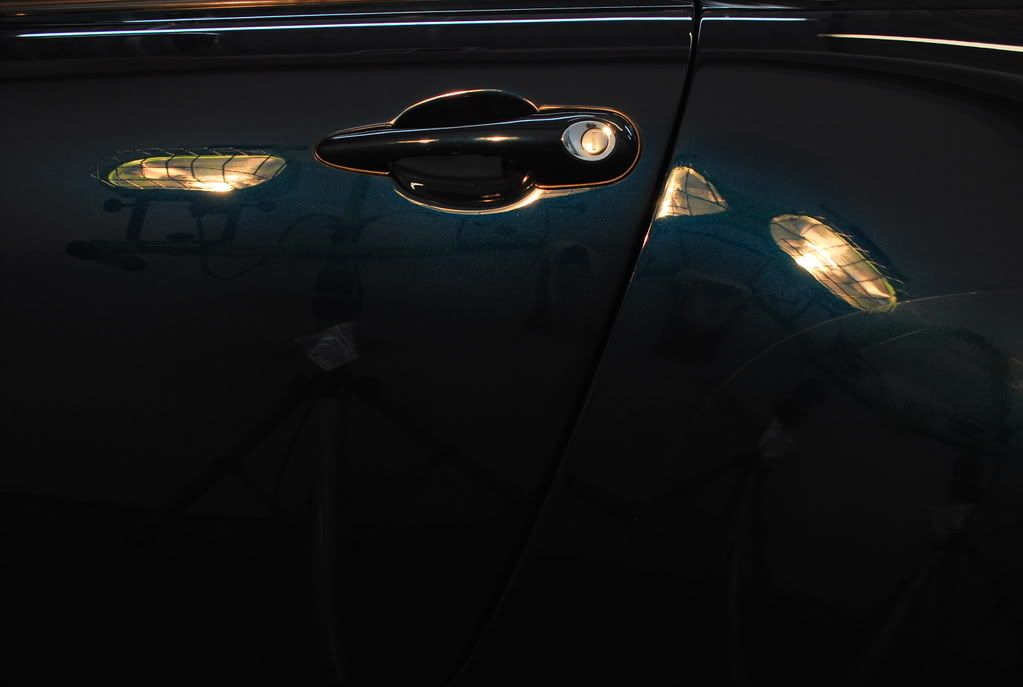
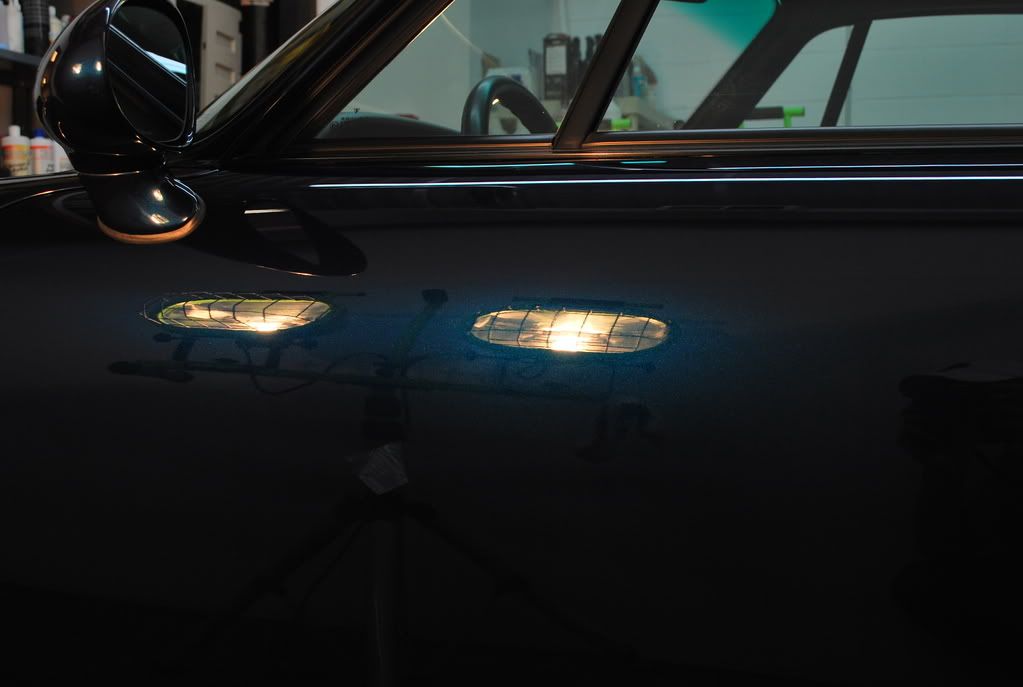
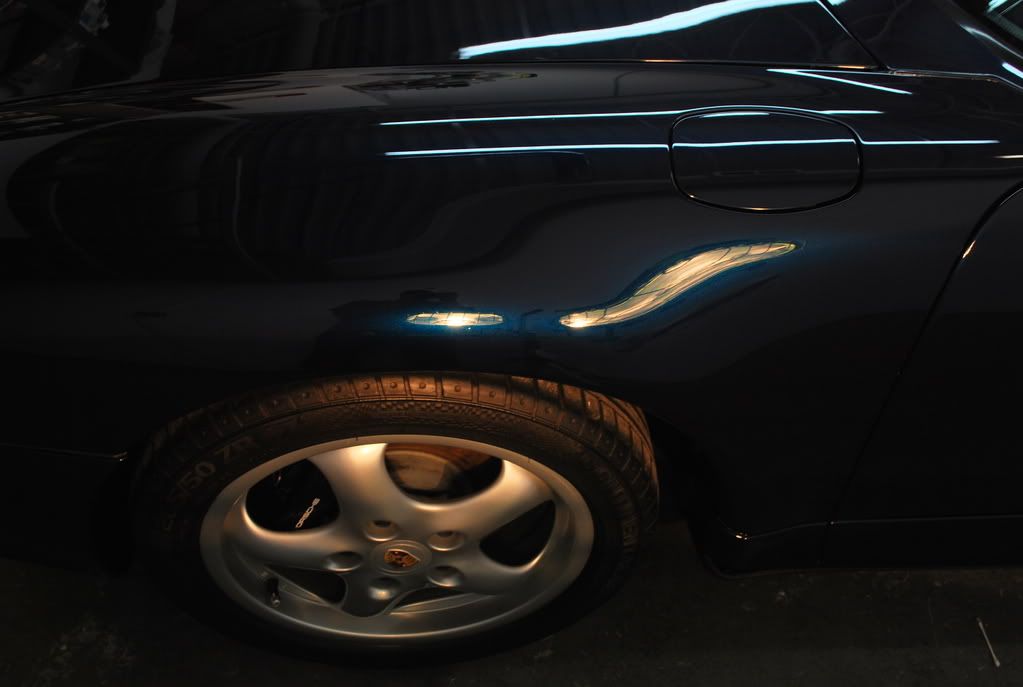
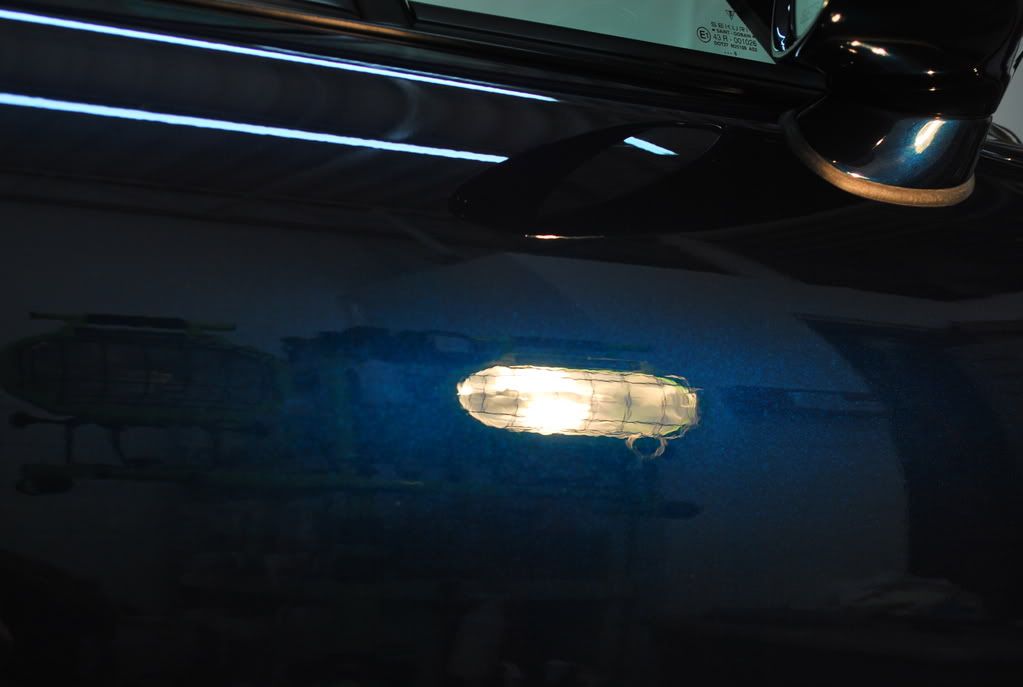
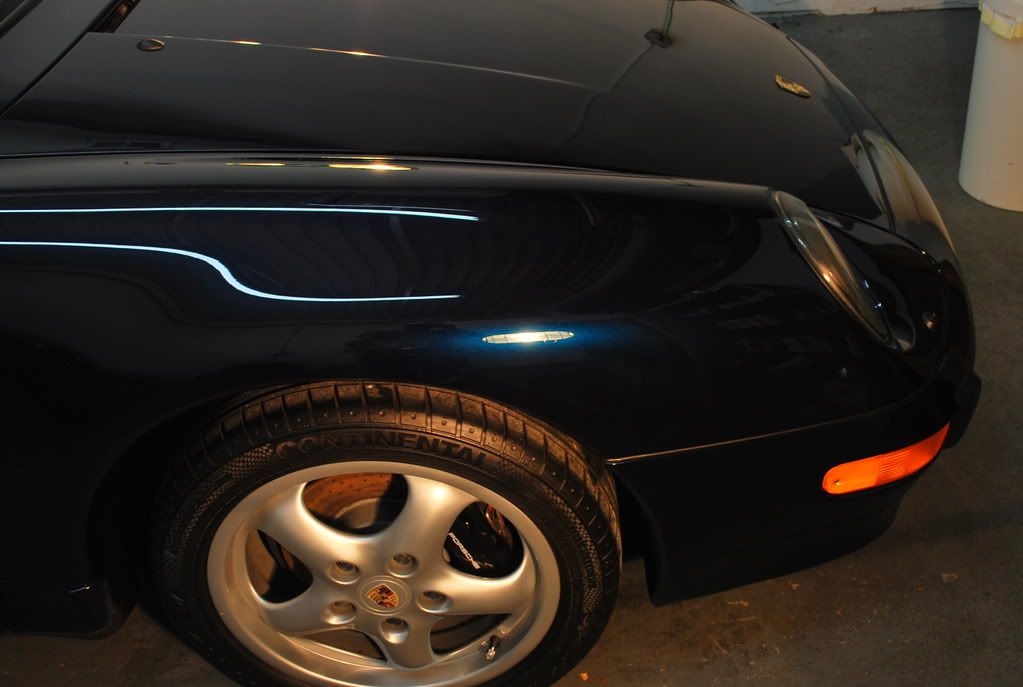
This is what the car looked like under halogen lighting...


-
10-27-2008, 05:22 AM #3
- Join Date
- May 2005
- Location
- Wakefield, MA
- Posts
- 2,400
- Post Thanks / Like


The first day of the detail consisted entirely of stripping the car down to remove all loose contaminants, including old polish & wax residue, dirt, grime, grease, oil and anything else that was on the paint that could interfere with the polishing process. As most of you know, if the previous layer of sealant or wax is not fully removed, it creates a barrier make it very difficult for any defects to be removed. Also, if the existing wax or sealant is not removed from the surface, you risk working that particular product into the paint, which can mask or conceal defects and give a false impression that the surface is perfect, when in reality it isn`t. Having perfectly bare paint makes things much easier and allows you to see exactly what you are working with while polishing.
I pulled the car outside to start washing it and as soon as I began rinsing the car down, it was beading water, which told me that it had some sort of sealant or wax on the paint.
I began by using Spray-Nine, which is an industrial strength antibacterial degreaser to strip the car free of all loose contaminants, wax, etc... I sprayed the cleaner directly onto a clean microfiber towel and scrubbed each panel thoroughly.
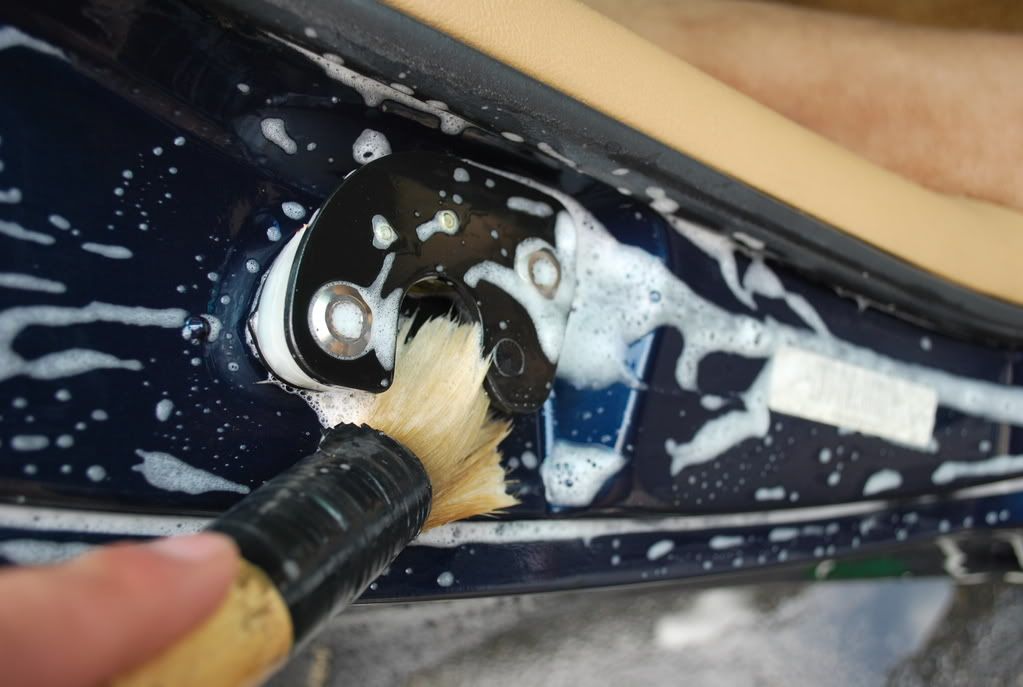
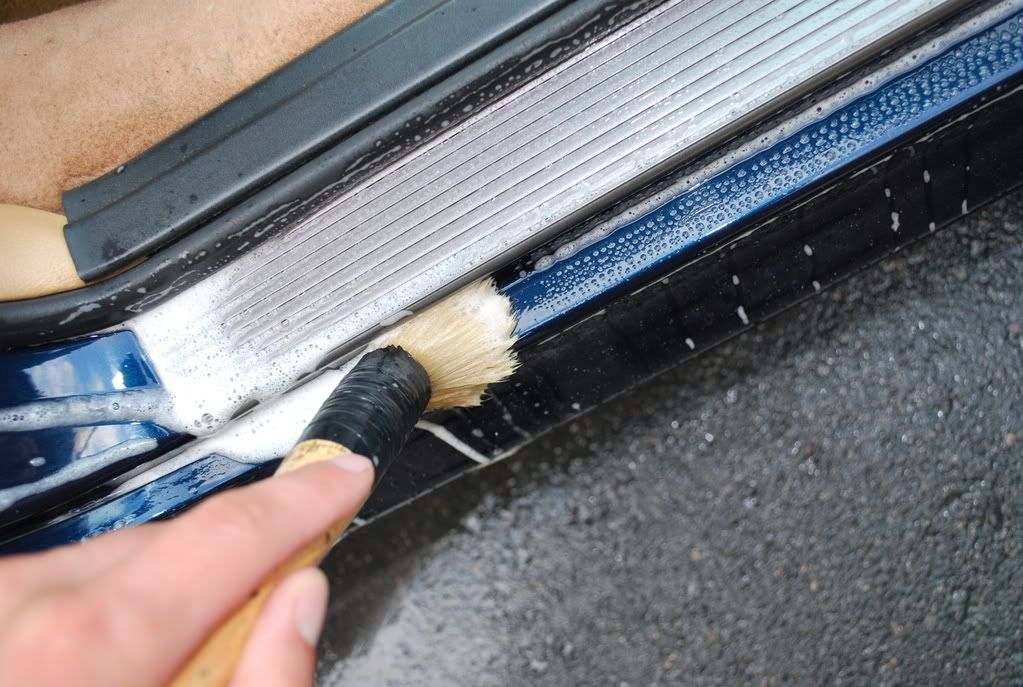
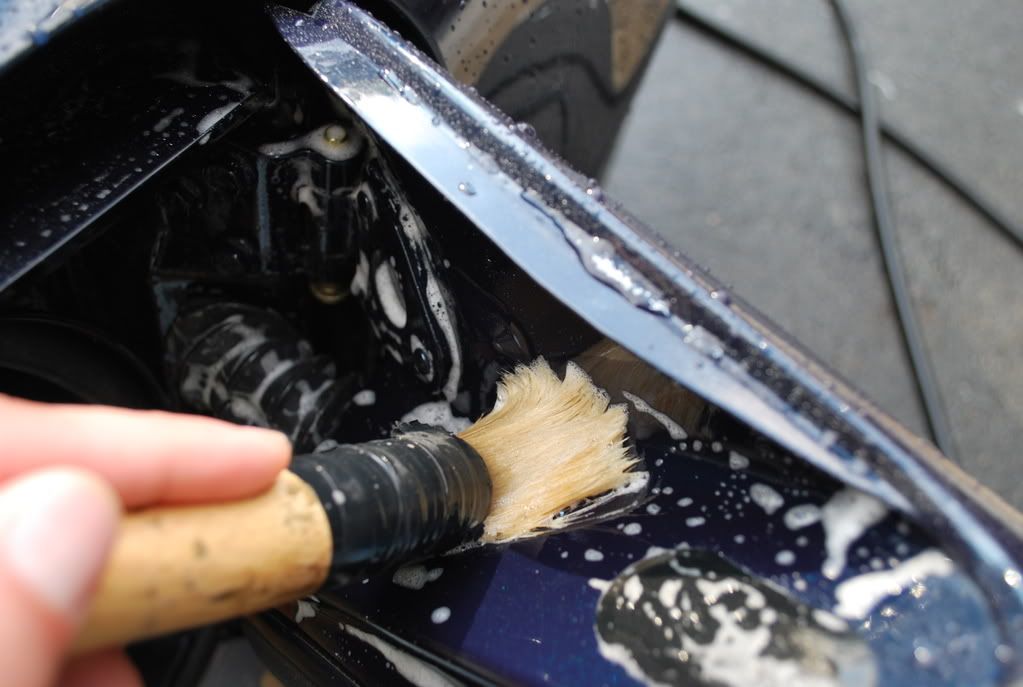
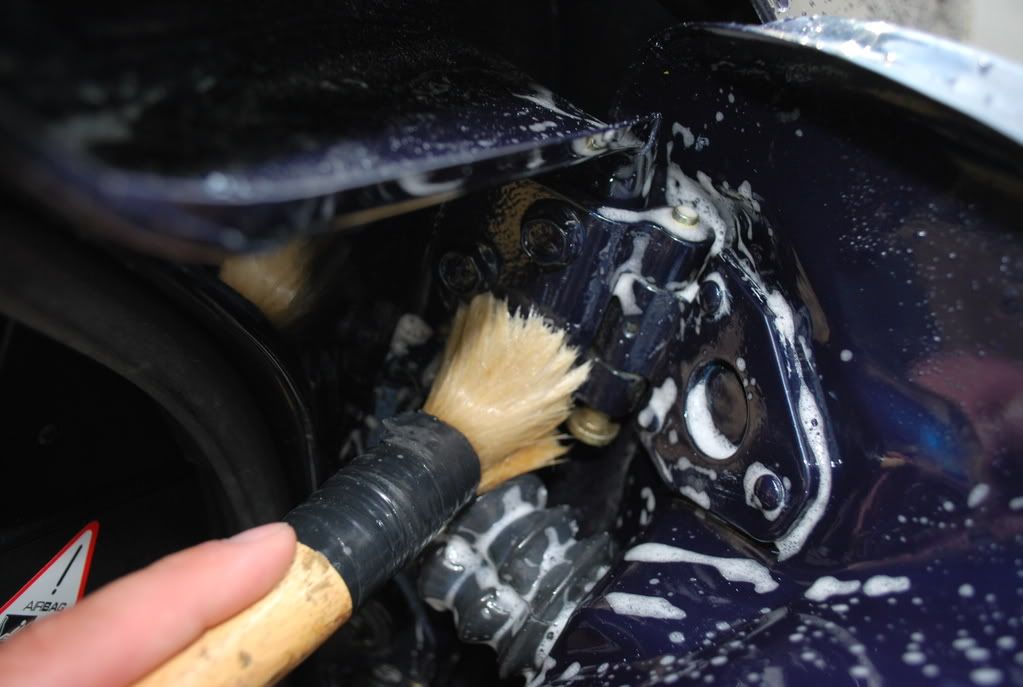
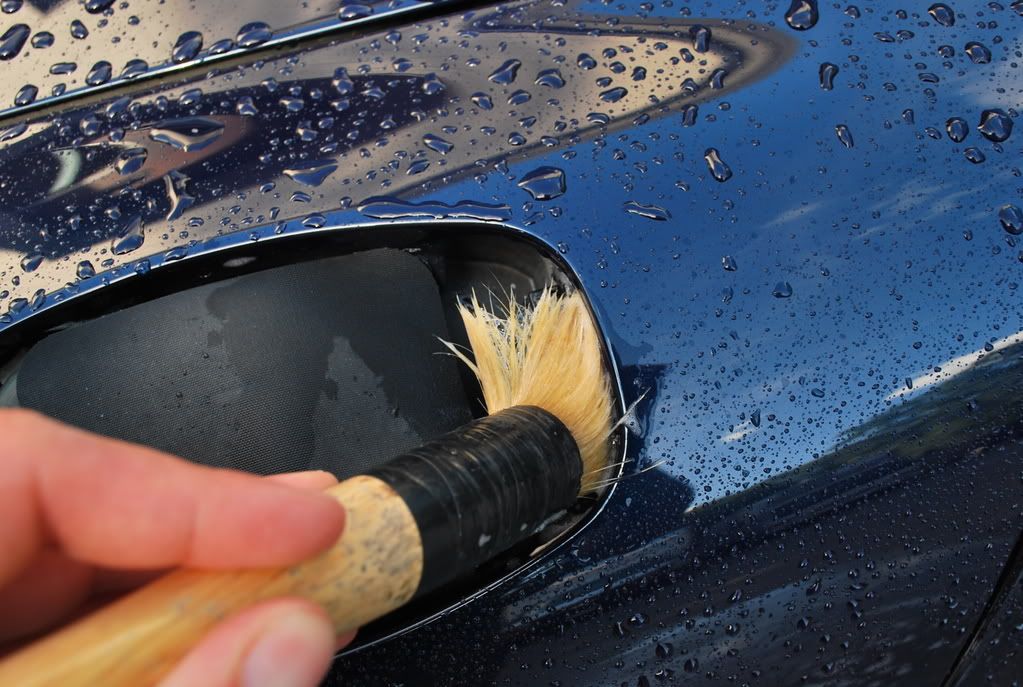
After stripping the body free of all contaminants, I used a variety of different brushes saturated with cleaner to clean inside all of the emblems, cracks, crevices, jambs, moldings, wheel wells and gaskets to remove all of dirt build-up in these areas.
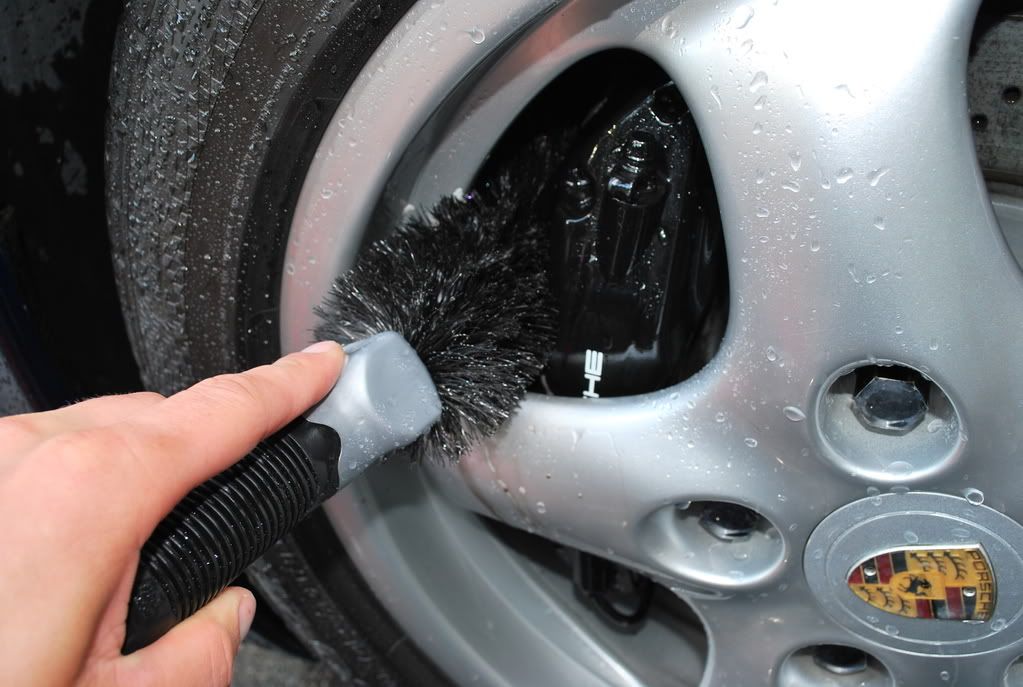
The wheels were cleaned with Sterling wheel cleaner using a variety of different brushes to get all areas sparkling clean. This includes the inner part of the rim, around the lug nuts and the brake calipers. The tires were cleaned and stripped of old dressing using Kleens degreaser agitated with a stiff bristle brush.
I cleaned the engine compartment by hand using a damp microfiber towel saturated with Kleens degreaser and used a variety of different brushes to get into some of the tighter areas.
Now that the car had been stripped of all loose contaminants, I soaked the car down in foam, let it dwell for a few minutes, clayed the exterior using Bilt-Hamber Auto Clay to remove any bonded contaminants and rinsed thoroughly.
I pulled the car back into the shop, dried the exterior and wiped the engine compartment & jambs dry with a clean microfiber towel. After I was done drying, I wiped every panel down with 91% alcohol to ensure the surface was 100% clean.
Before calling it quits for the day, I carefully masked off all rubber gaskets, emblems, plastic pieces, trim, paint protection film and other critical areas to ensure that they are protected when polishing.


On the second day, I had set up an appointment to have the wheel repair company come down to repair the passenger side rear wheel which had some moderate curb rash. The repair technician was able to repair the rim perfectly and didn`t even have to take the wheel off the car. Unfortunately, I was not present while the repair was taking place, so I do not have any pictures.
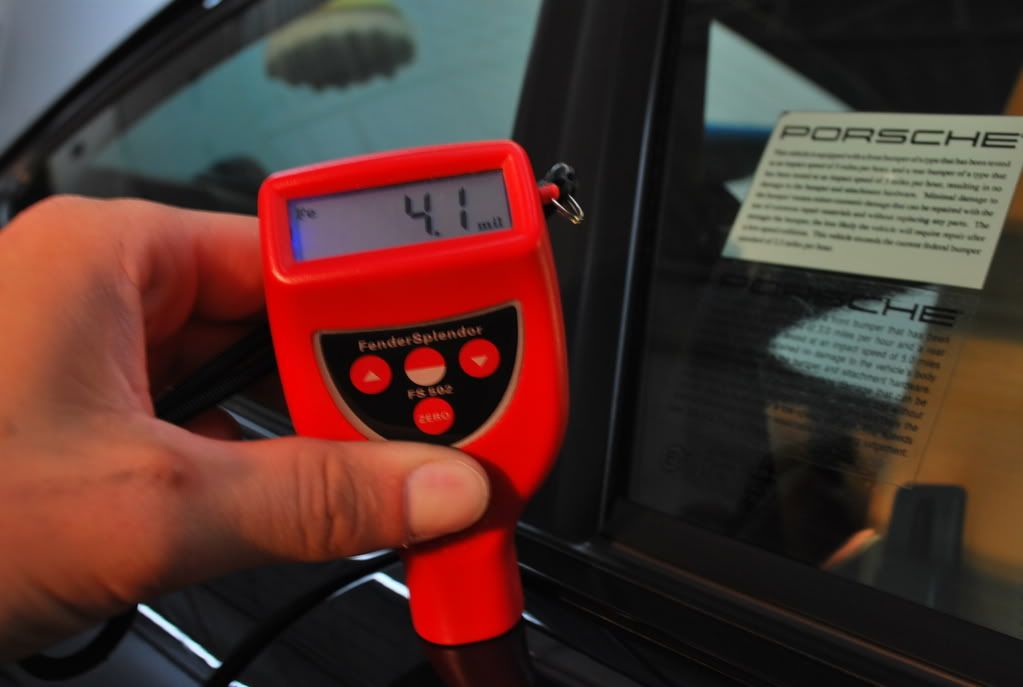
Before any polishing was taken place, I carefully measured the paint thickness of all body panels using a paint thickness gauge. The measurements varied slightly across the vehicle because some of the panels had been repainted before. I have a trained eye for spotting paint that is getting thin, so I just use the paint gauge as a guide more than anything. With some of the panels being a repaint, it is hard to tell how much clearcoat is actually present. The gauge just gives an overall measurement, which includes the factory primer, basecoat and clearcoat as well as the additional basecoat and clearcoat on the repainted panels.
The measurements ranged between 4.1 mils up to 8.7 mils in some areas.
Before getting started polishing, I decided to do a test panel to see what products/pads would gain the best results on this particular paint. After testing various polishes, compounds and pads, I decided to use Mark V MV350 compound with a black lambs wool pad to remove the defects and level the paint. I have been doing lots of testing over the past few months with this compound and really like it. It cuts very well and leaves a pretty decent finish for a compound. It spreads well and works a bit longer than most other compounds I have used, but can get a little dusty. I followed behind with 3M Extra Fine Compound (80349) using a white foam Sonus polishing pad, which worked great at bringing the paint back to life.
Here are the results of the test panel with no final polishing done...
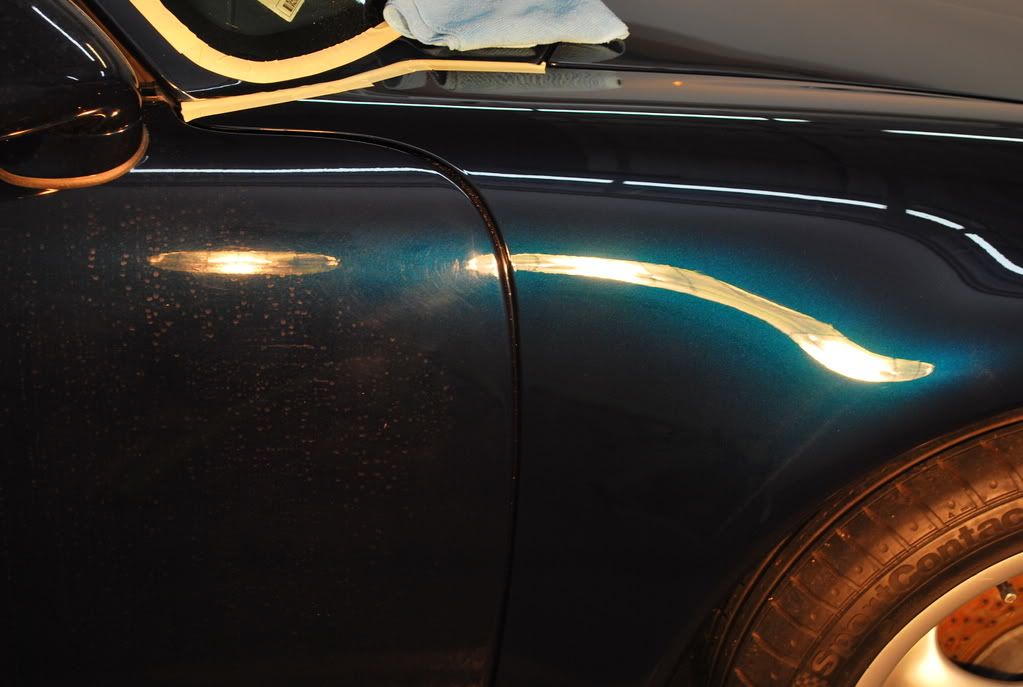
After inspecting the test panel, I continued to compound the rest of the car with MV350 using the black lambs wool pad. The paint was a little difficult to work with, so I took my time and only got about half the car done before calling it quits for the day.
.
-
10-27-2008, 05:23 AM #4
- Join Date
- May 2005
- Location
- Wakefield, MA
- Posts
- 2,400
- Post Thanks / Like

On the third day, I continued where I left off and finished all of the heavy compounding. For the compounding stage, I polished each panel using a black lambs wool pad until the product turned into a fine milled powder.
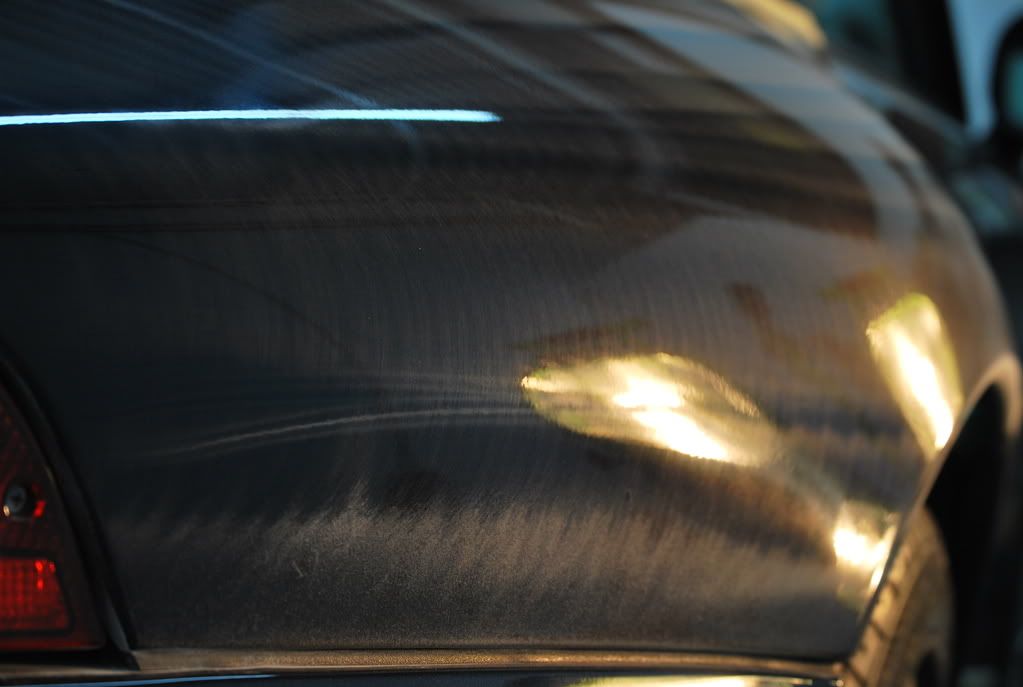
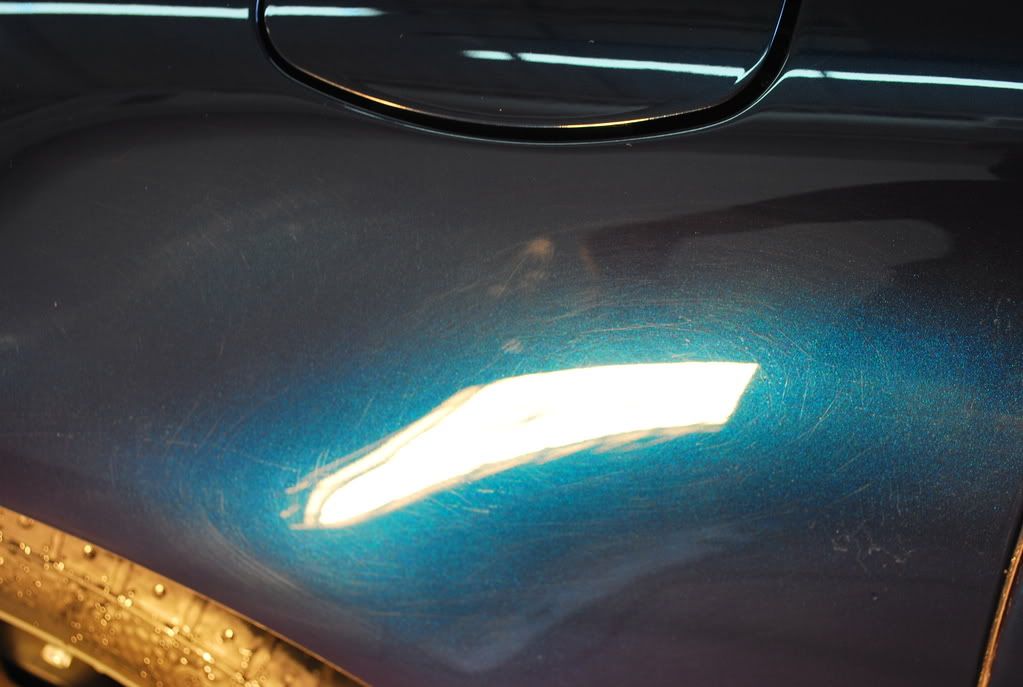
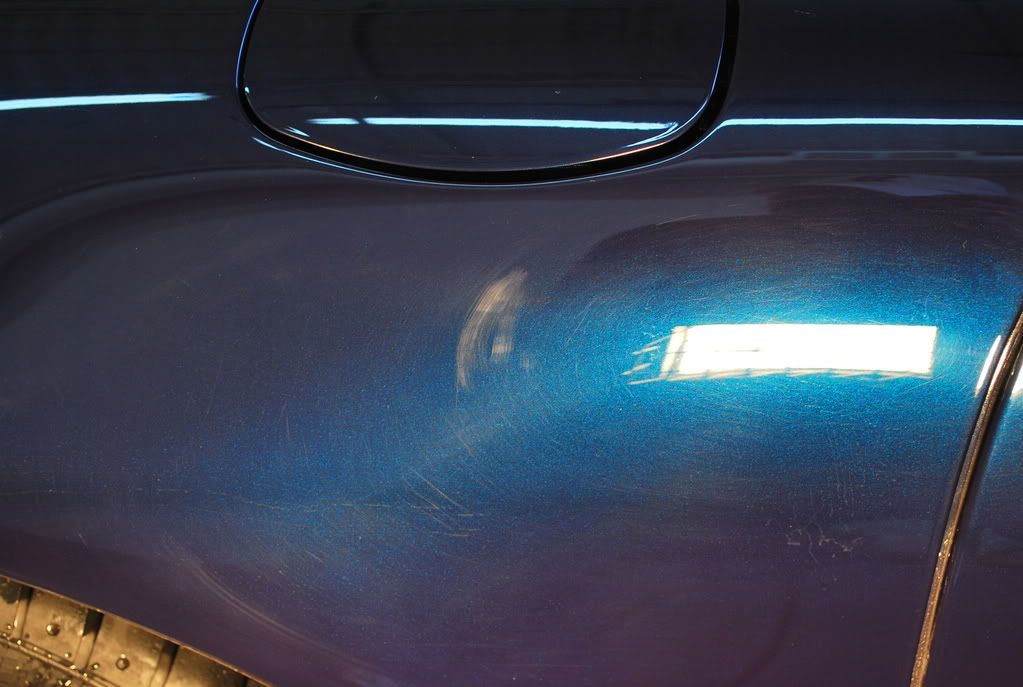
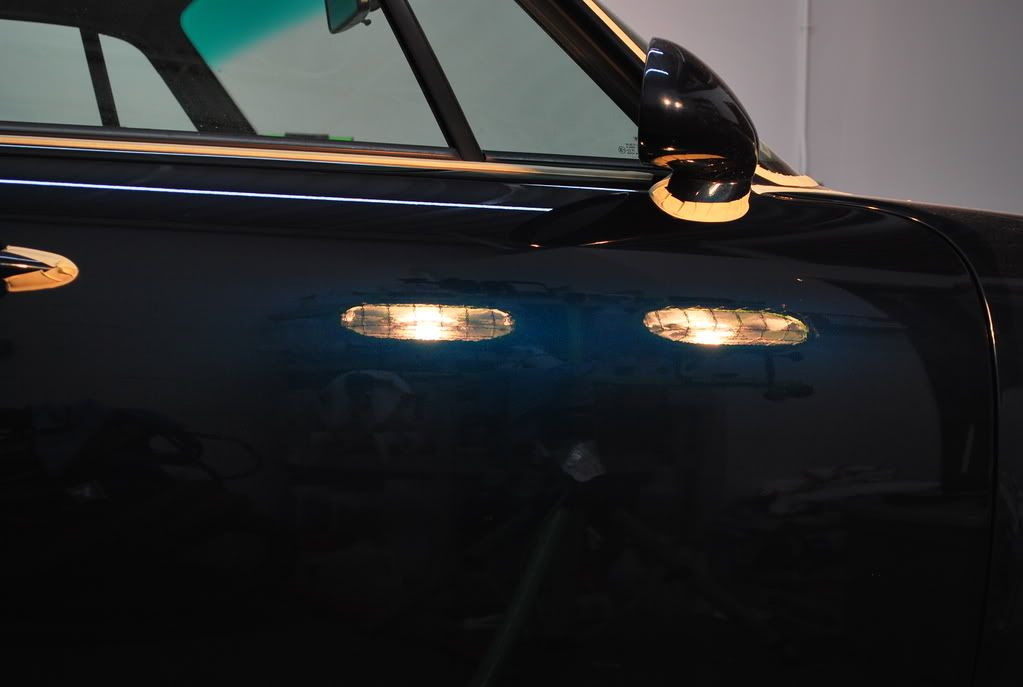
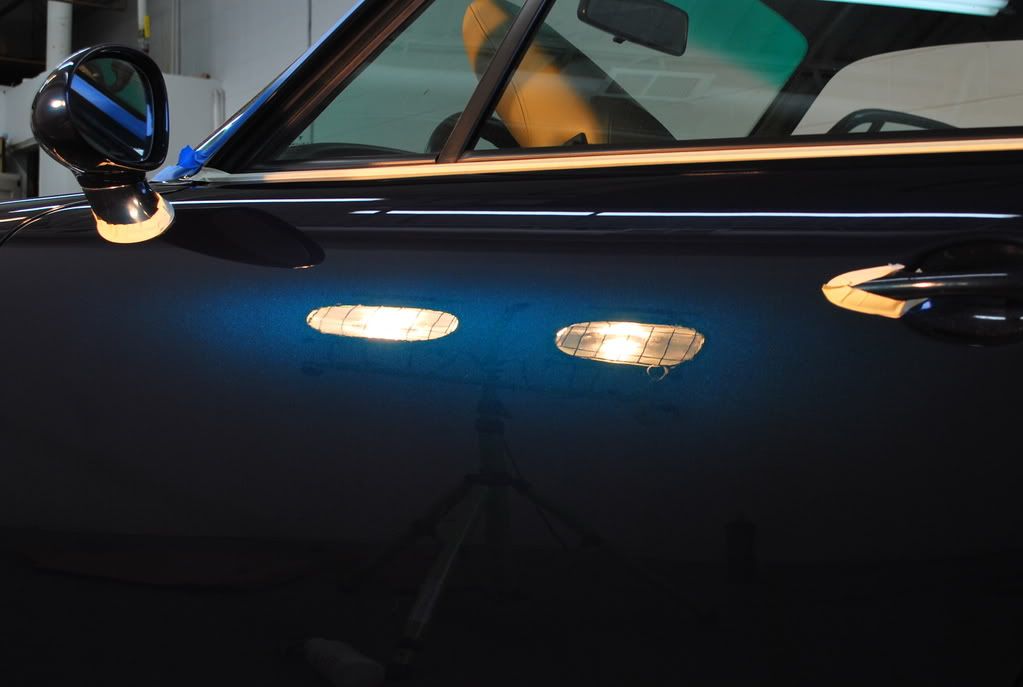
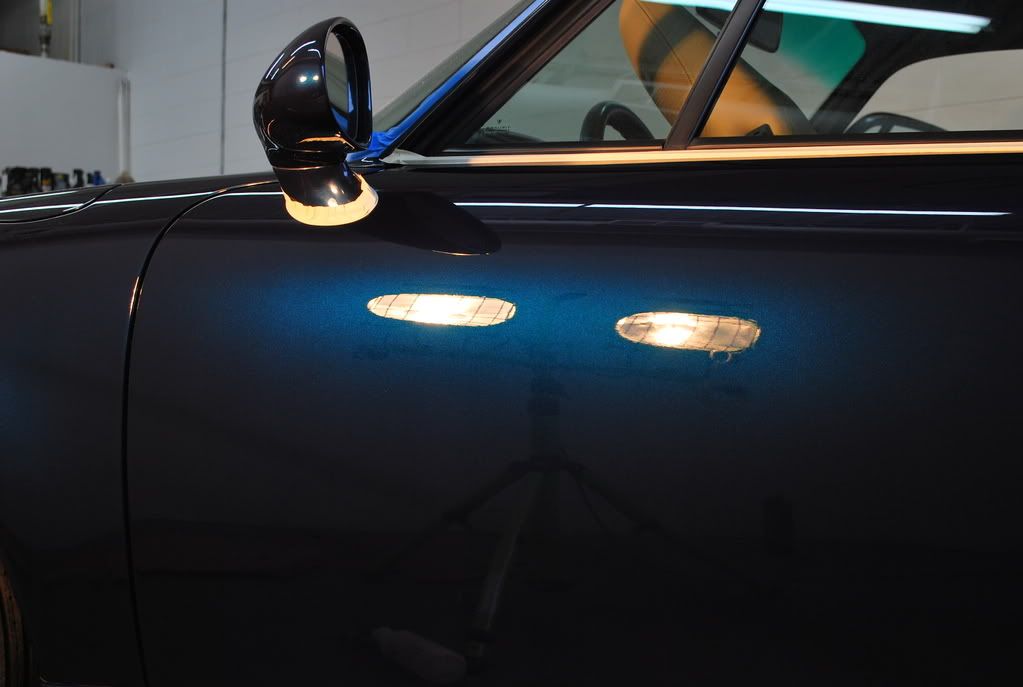
I decided to take before, during & after pictures of the right door to show the significant difference.
Door before...
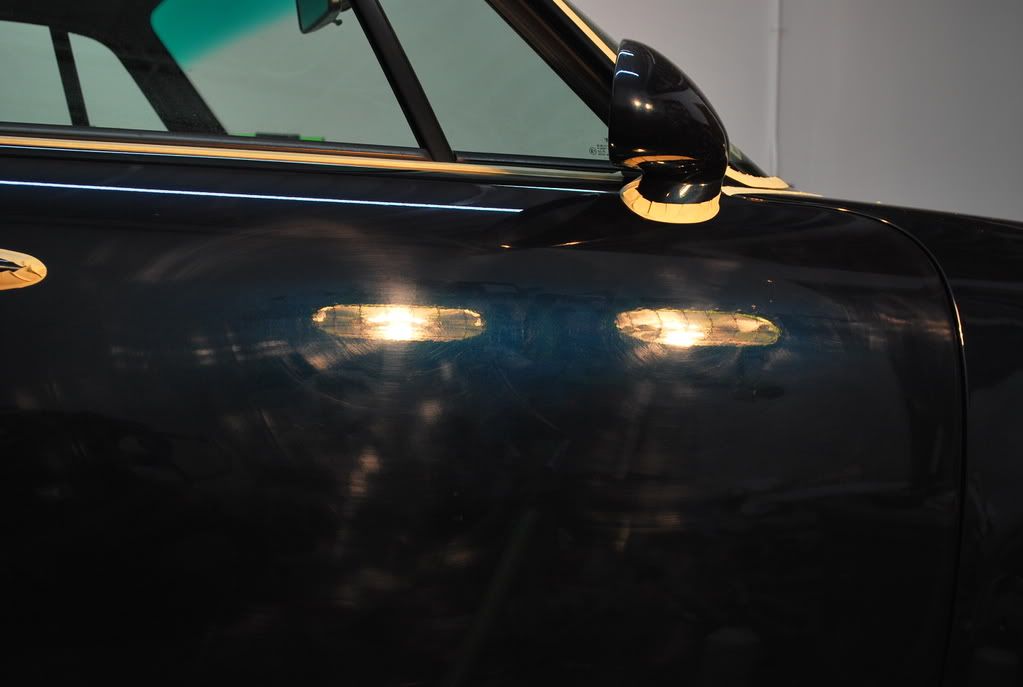
Door during compounding...

After door was compounded...
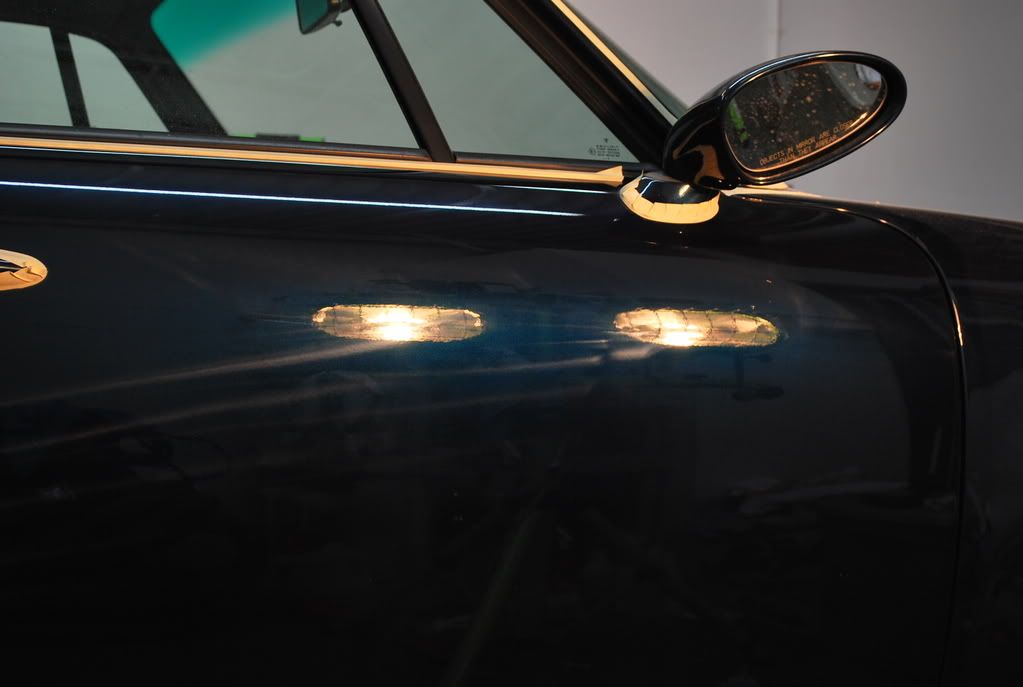
After 3M 80349, no final polish or wax...
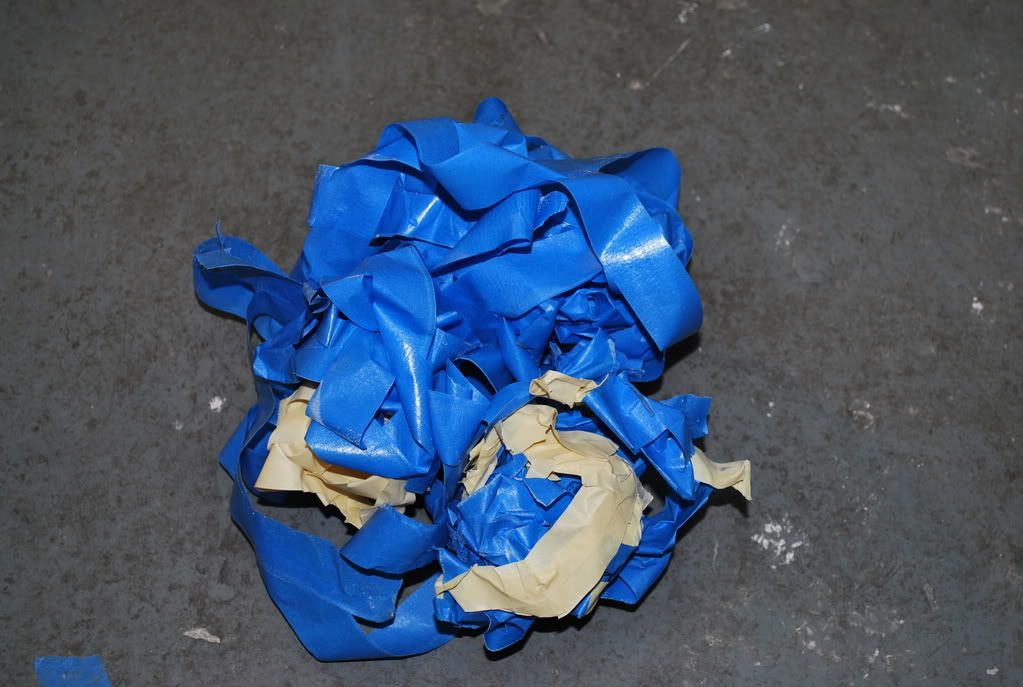
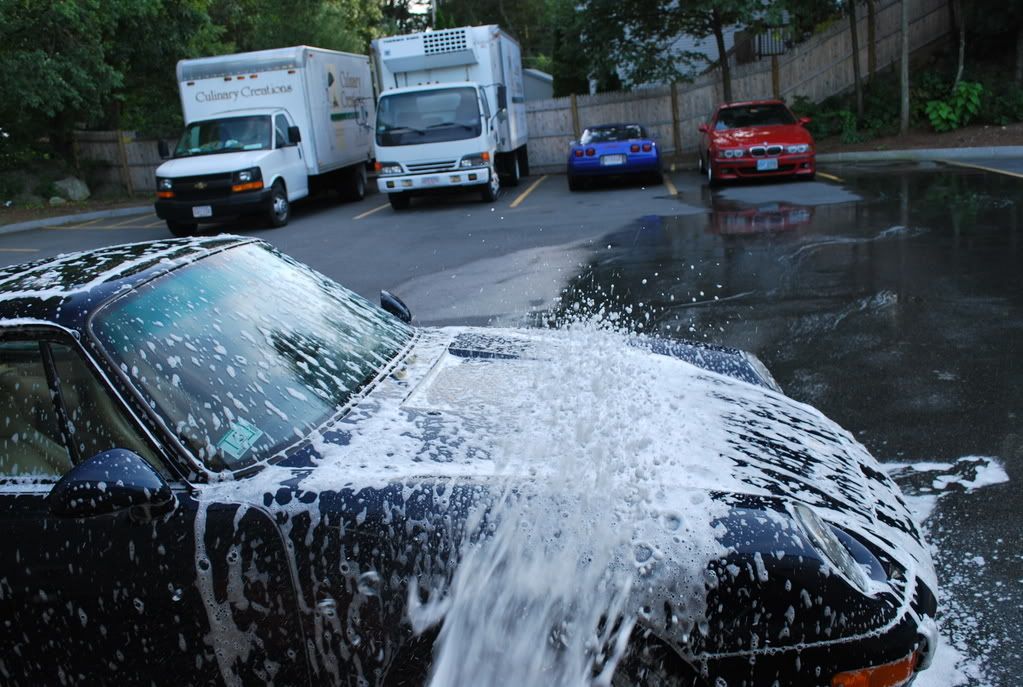
The compounding took quite a while and made a mess of the car, so I removed all of the tape, pulled the car outside and gave it a much needed wash. As you can see, I used lots of tape!!
I rinsed the car thoroughly, soaked it down using my foam gun and let it dwell for several minutes before rinsing again.
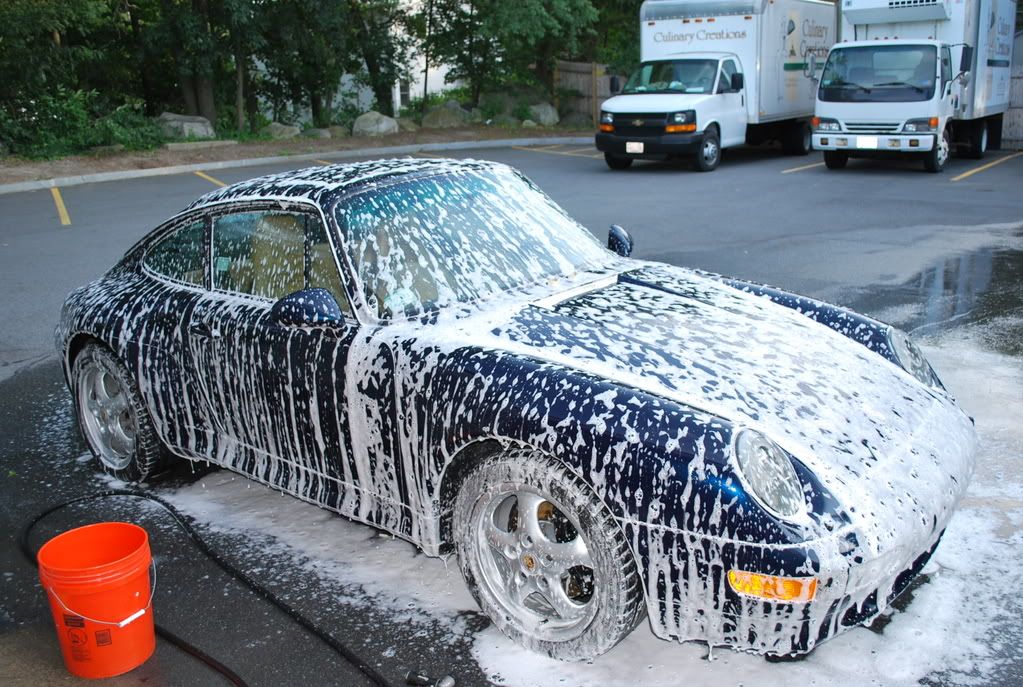
After the wash...
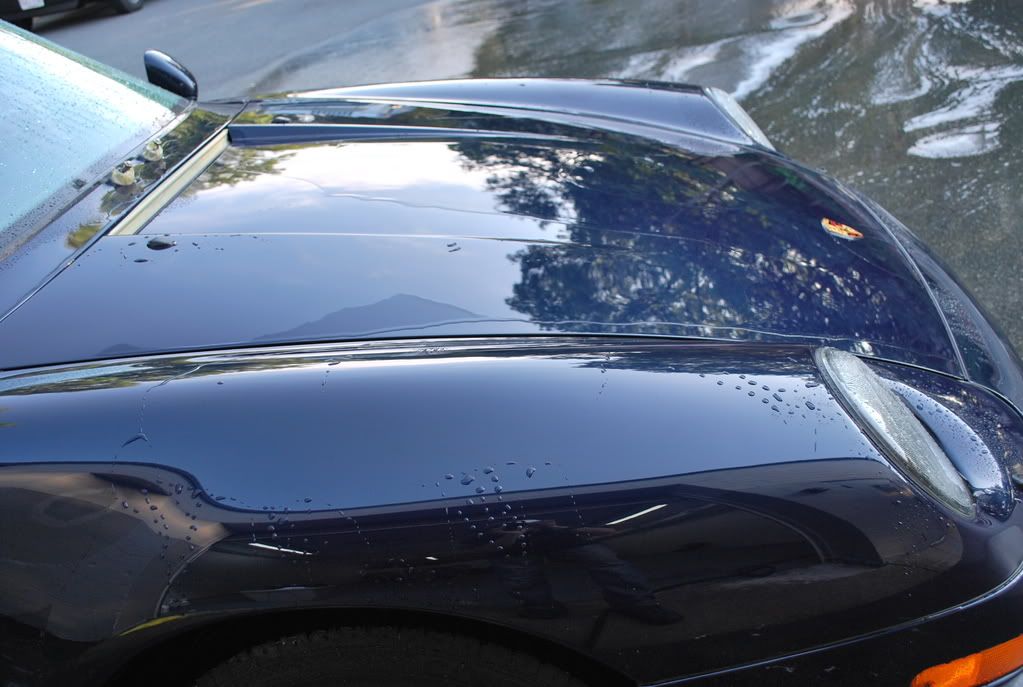
I dried the car, wiped down all of the jambs and parked it for the night.
.
-
10-27-2008, 05:25 AM #5
- Join Date
- May 2005
- Location
- Wakefield, MA
- Posts
- 2,400
- Post Thanks / Like

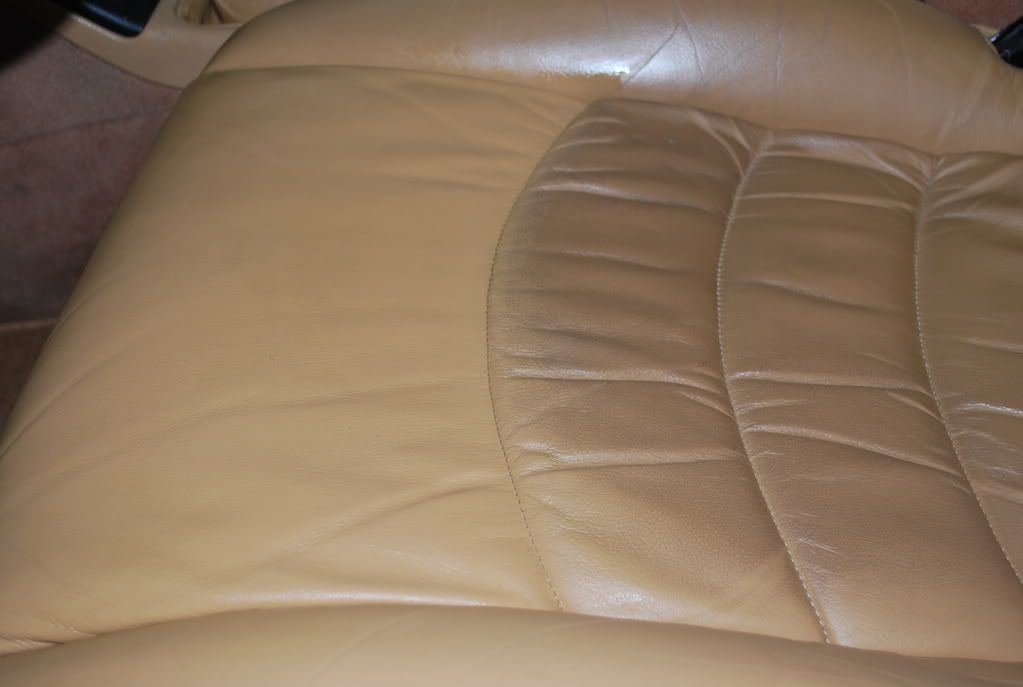
My goal for the fourth day was to get all of the medium polishing done and prep the interior drivers seat for the bolster repair the following day.
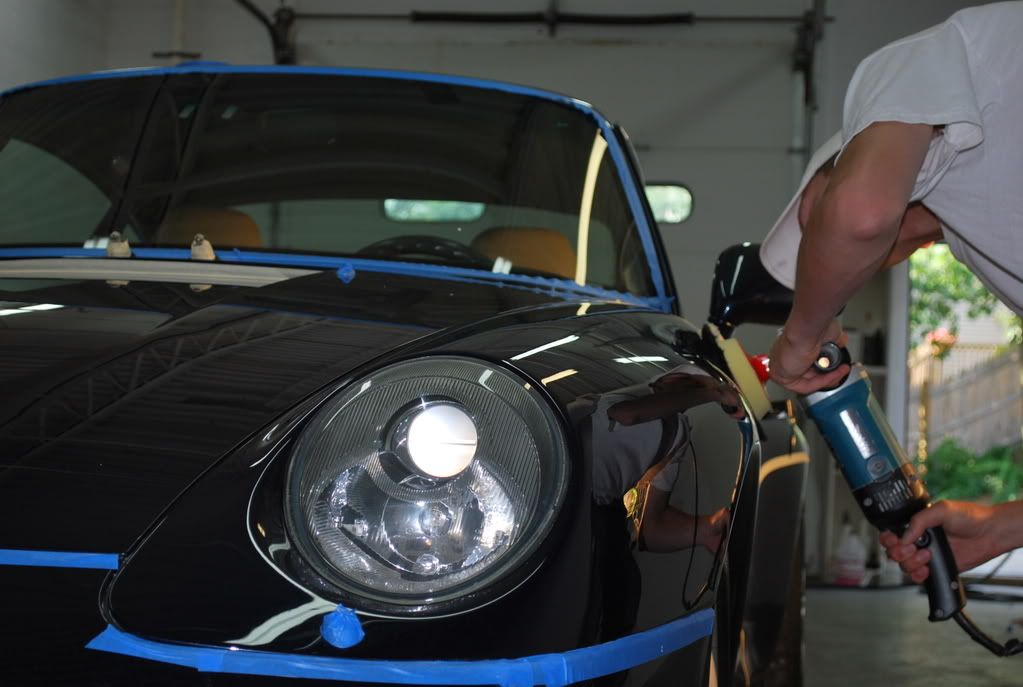
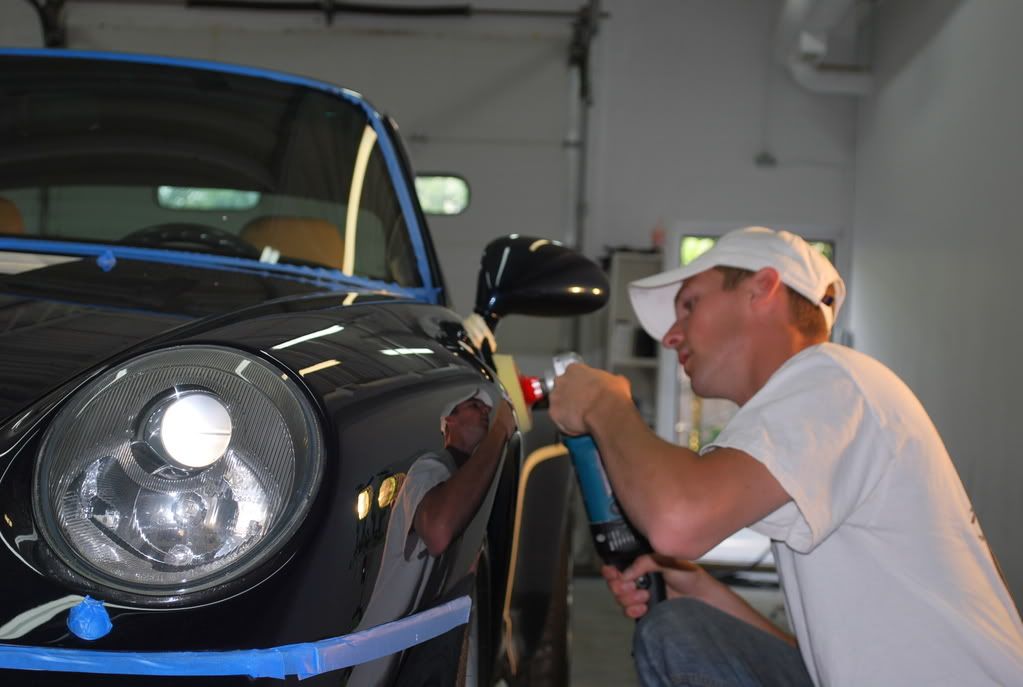
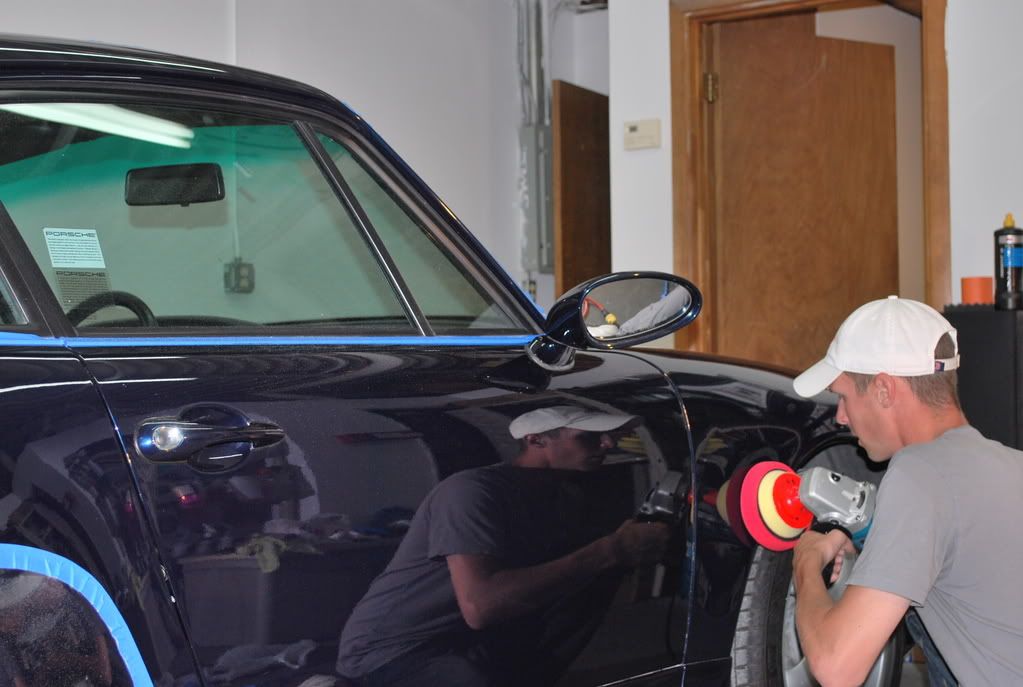
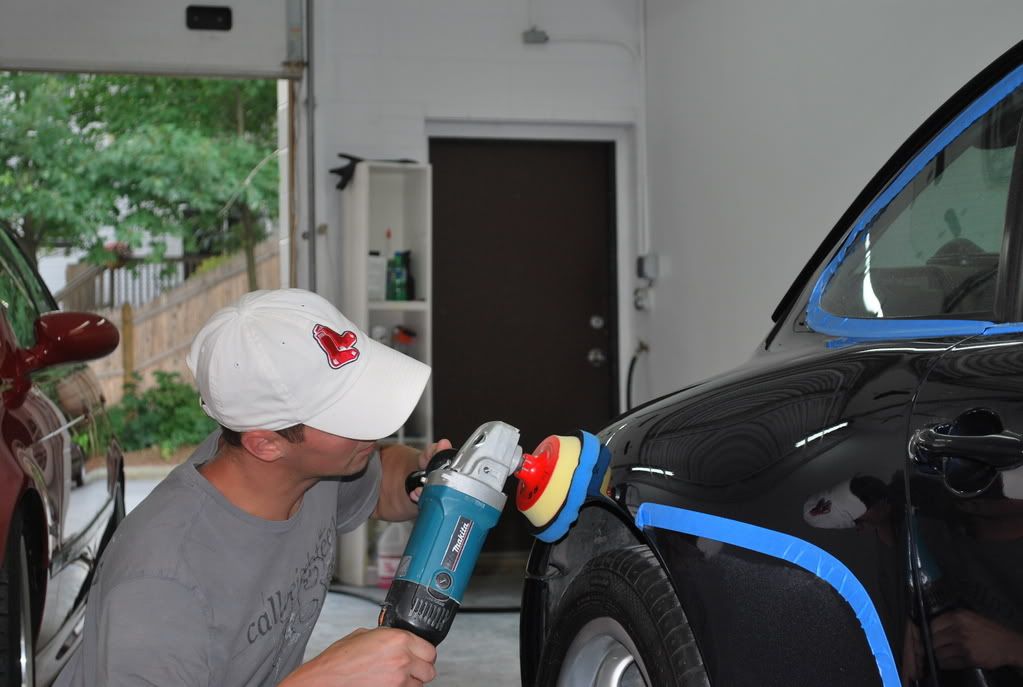
I began polishing the complete exterior with 3M Extra Fine Compound (80349) using a white foam Sonus polishing pad.
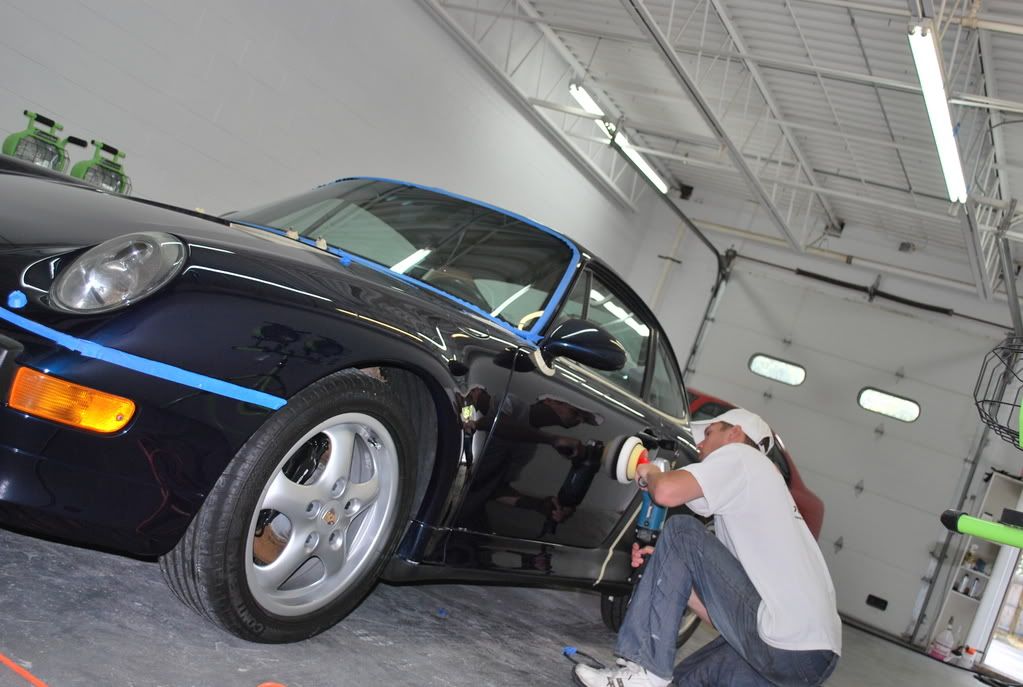
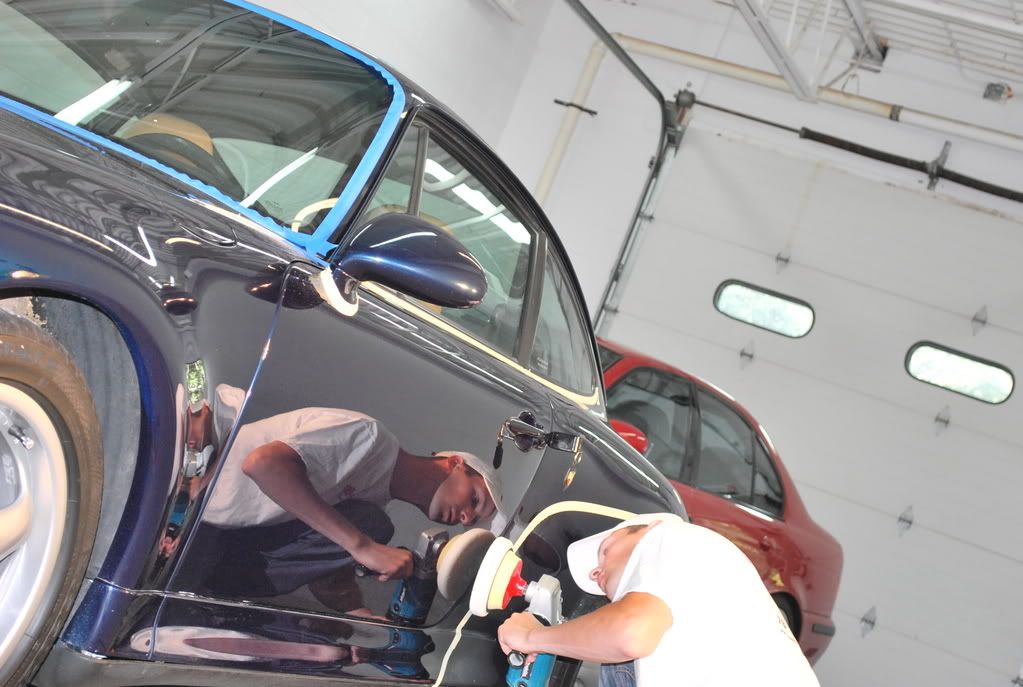
Below is a 50/50 shot after compounding and 3M 80349:
On some of the tighter areas, I used a variety of smaller spot-pads using and extension...
After all of the medium polishing was complete, I wiped down the complete exterior with 91% alcohol and inspected the paint under halogen and xenon light sources. I was happy with the results and saved the final polishing steps for the next day.
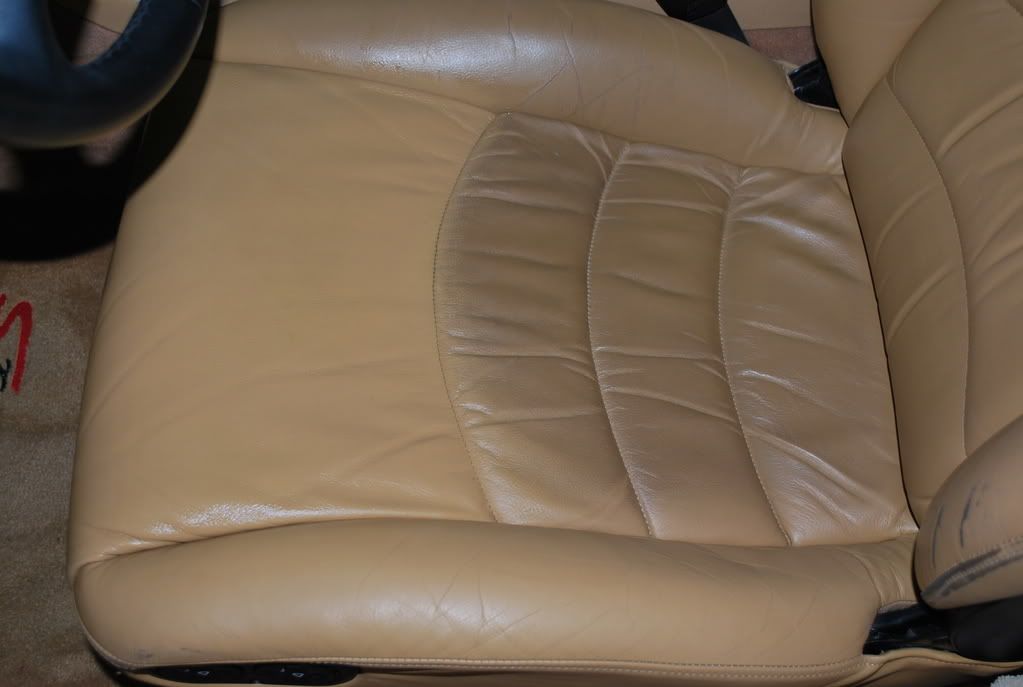
Before calling it quits for the day, I thoroughly cleaned the drivers seat for the following day. Both the top and bottom bolsters were beginning to show some wear, which is very common on these cars.
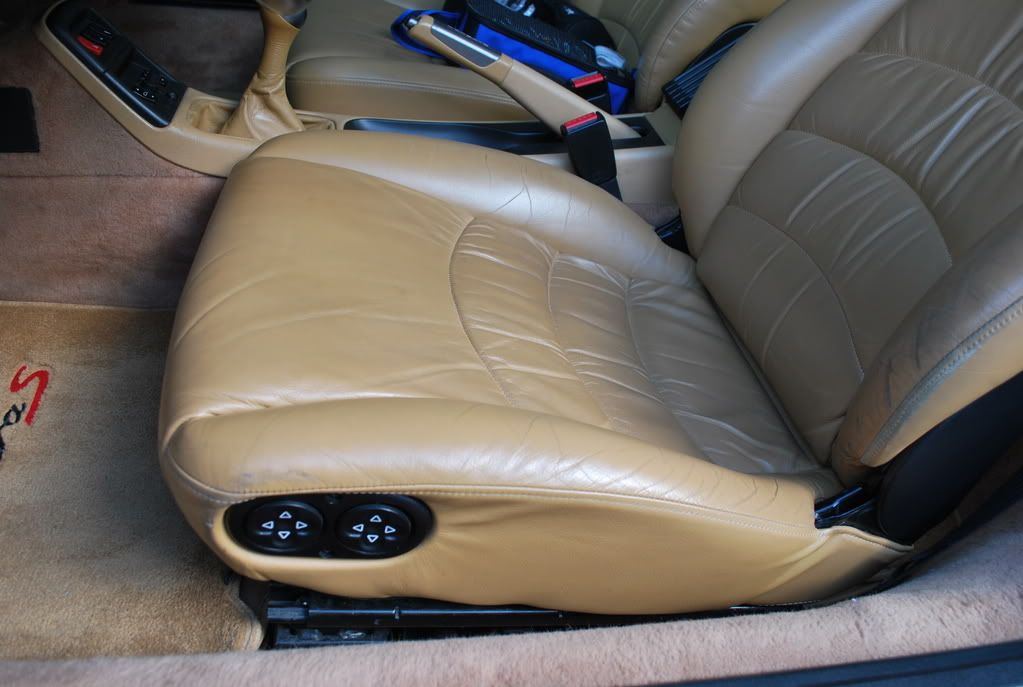
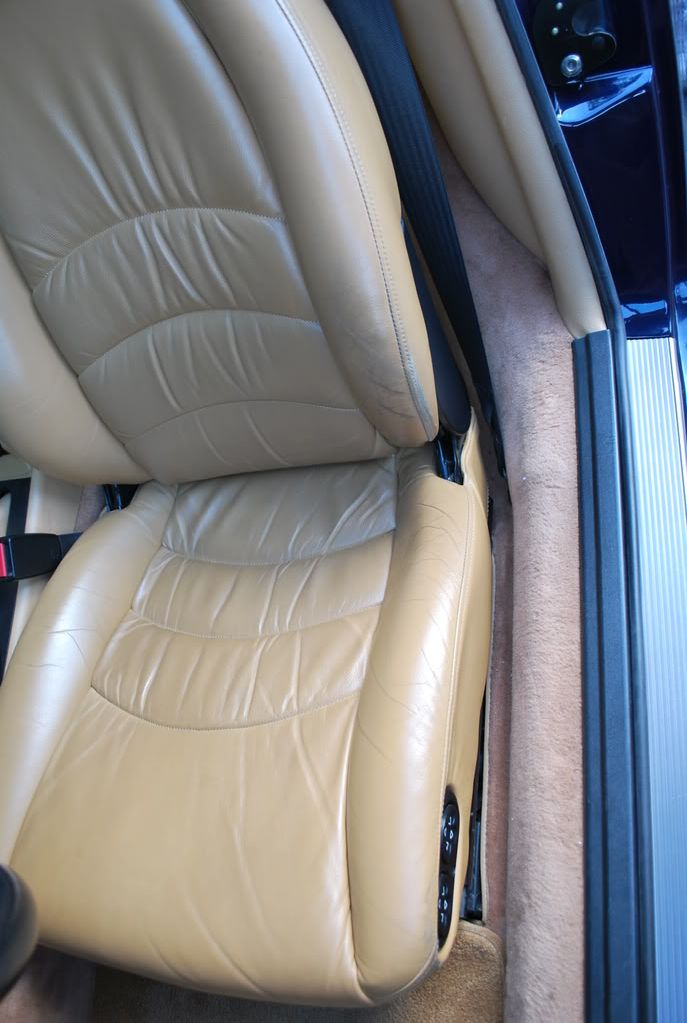
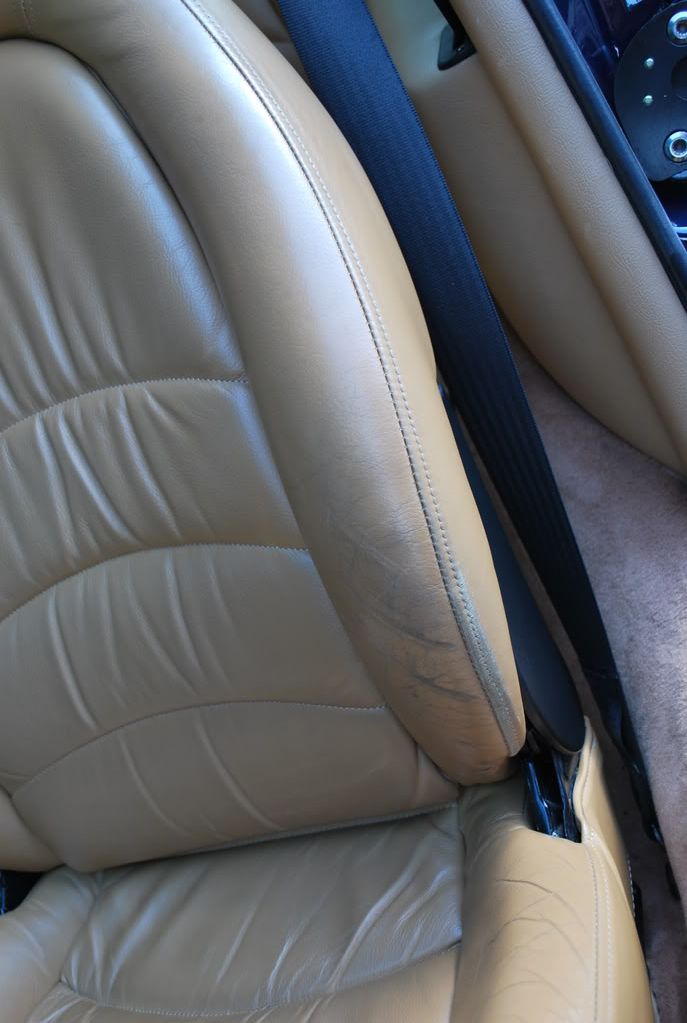
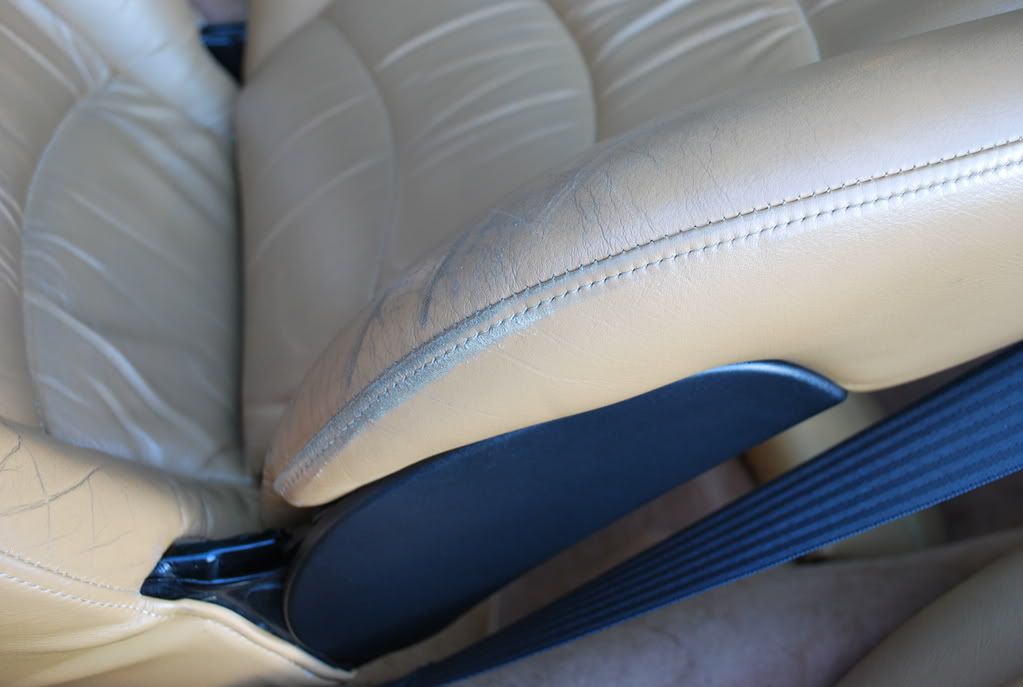
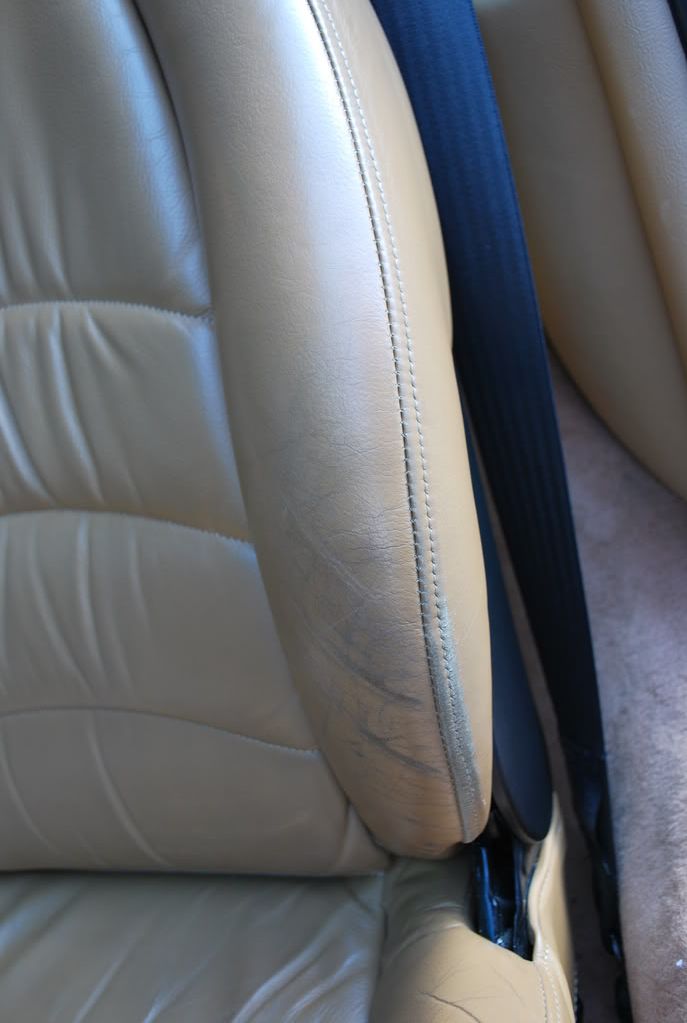
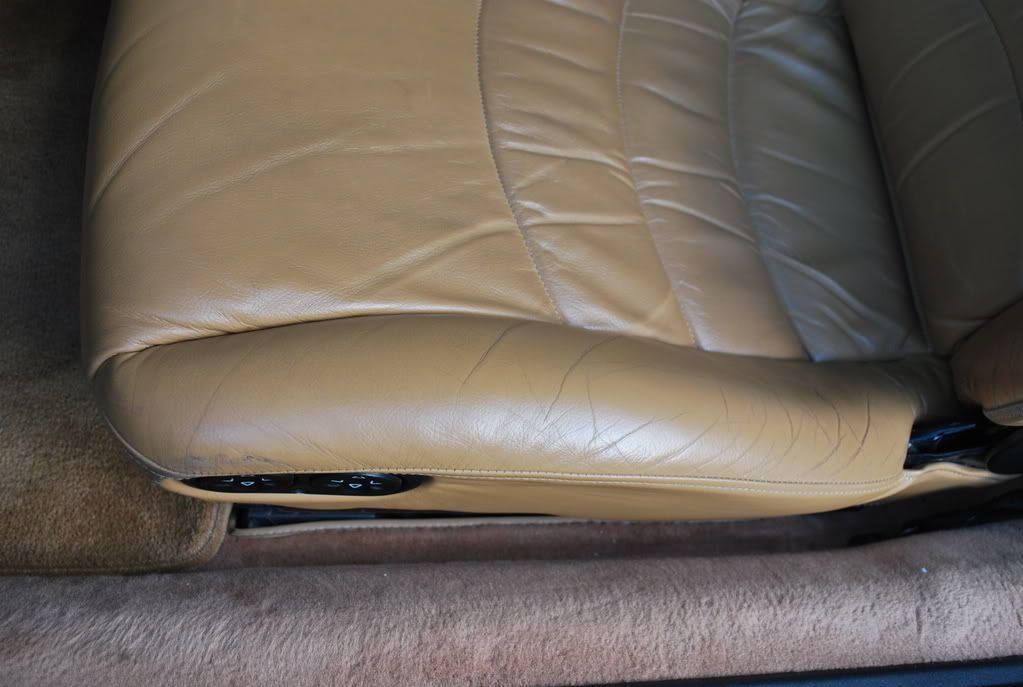
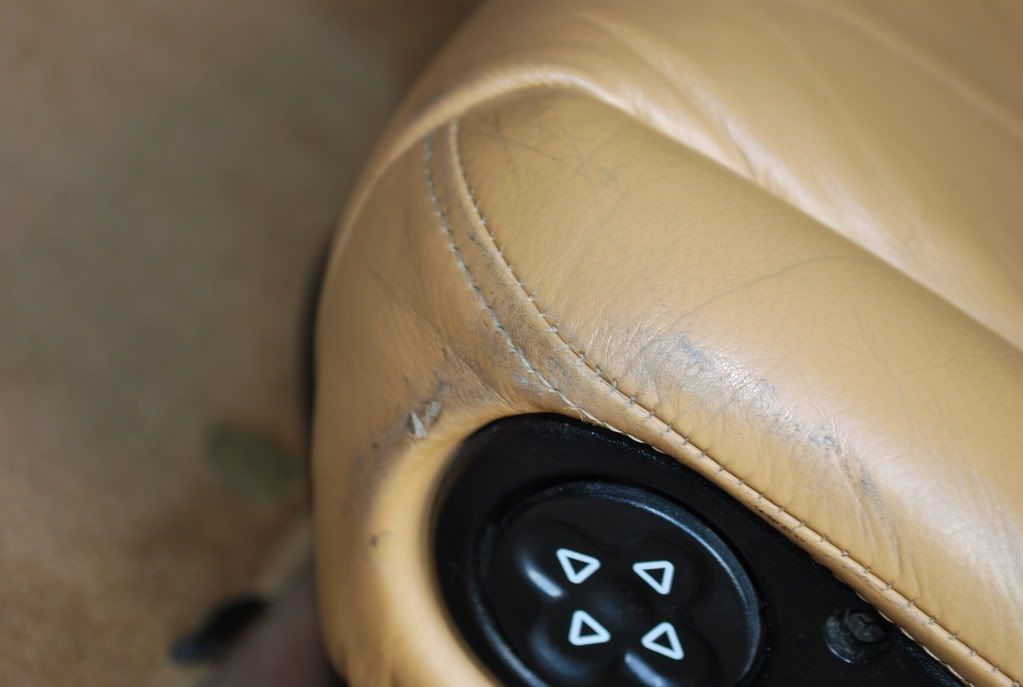
I started by cleaning the seat with Kar Kraft Super Kleen Interior Cleaner using a damp microfiber towel and a stiff bristle brush to get in all the crevices.
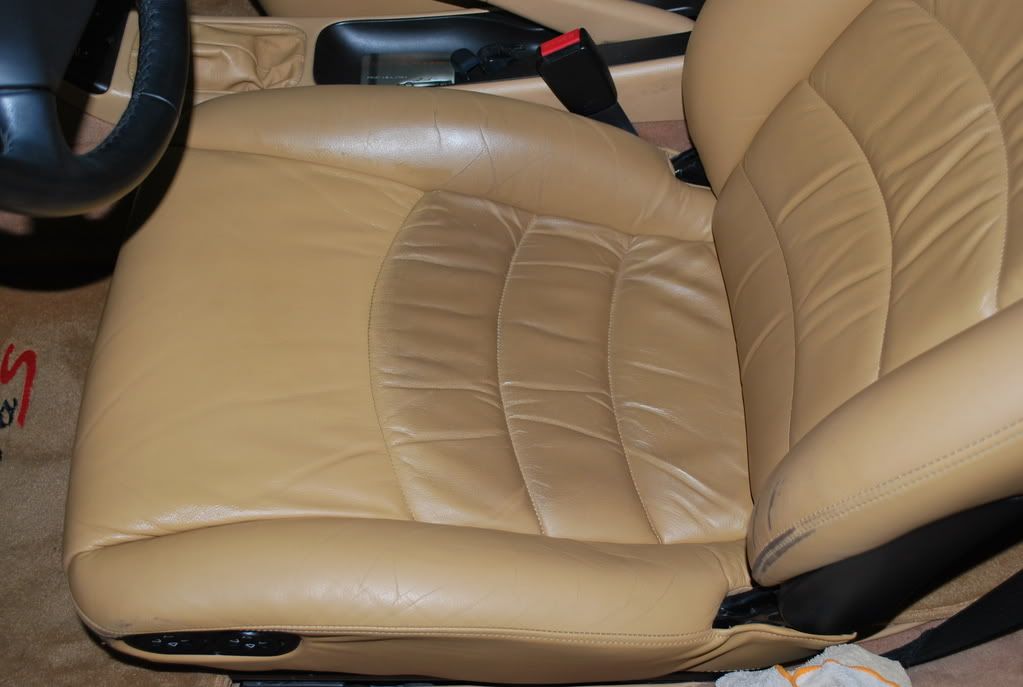
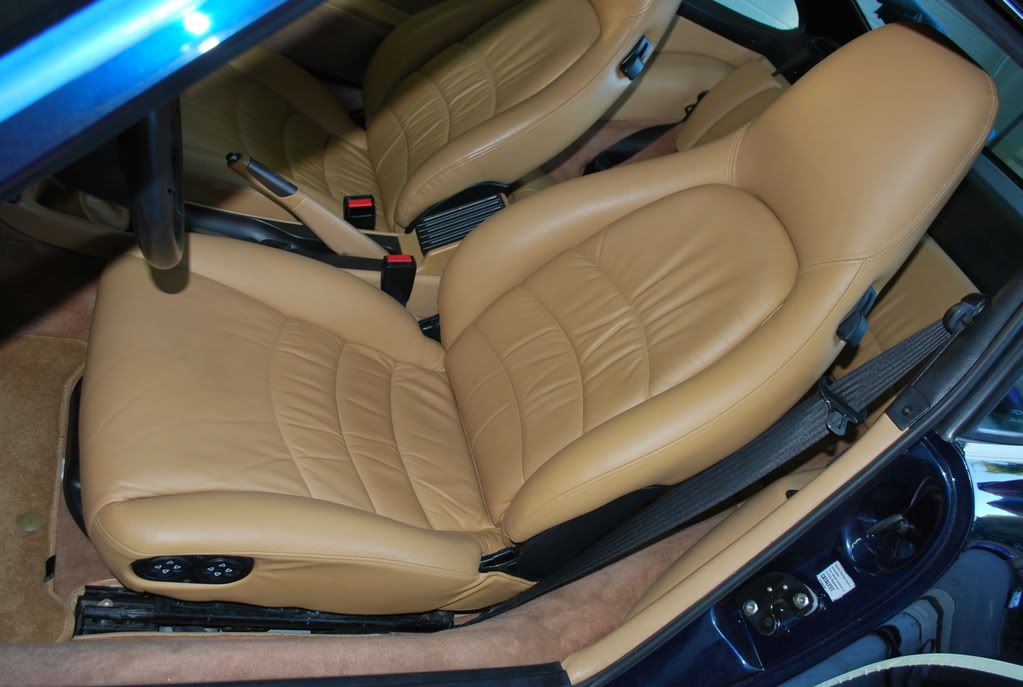
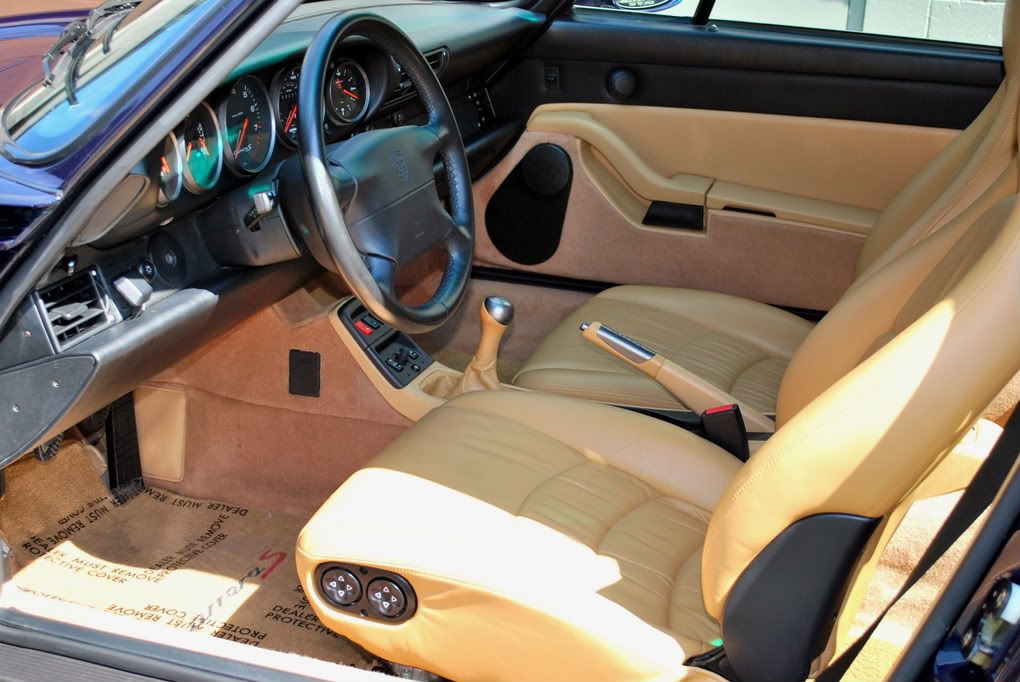
This made a huge difference and really brought out the true color of the interior...
-
10-27-2008, 05:27 AM #6
- Join Date
- May 2005
- Location
- Wakefield, MA
- Posts
- 2,400
- Post Thanks / Like

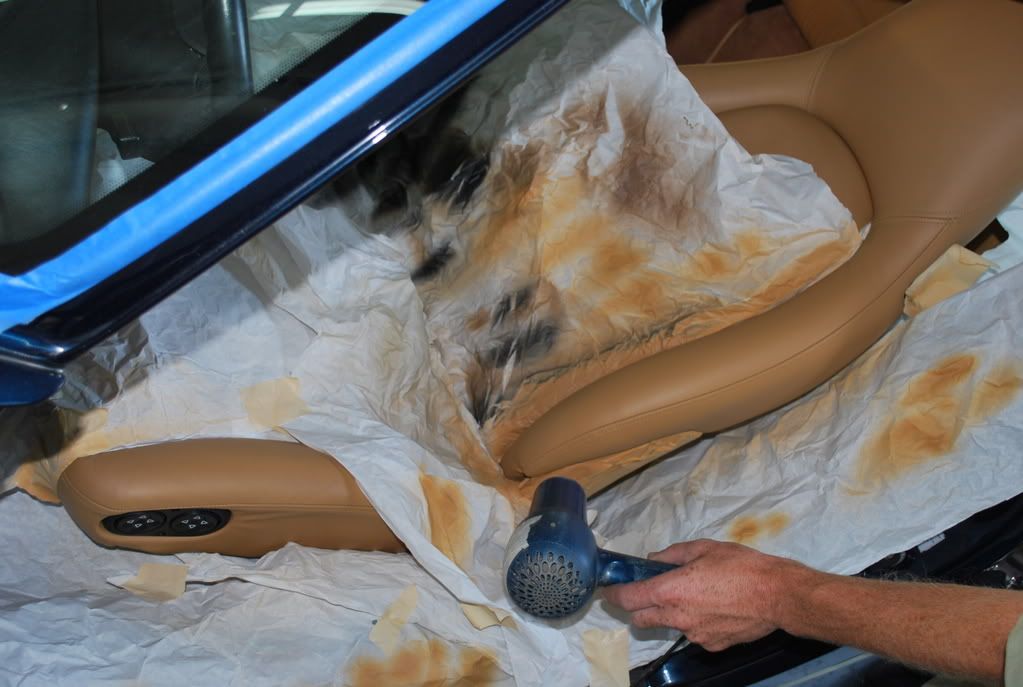
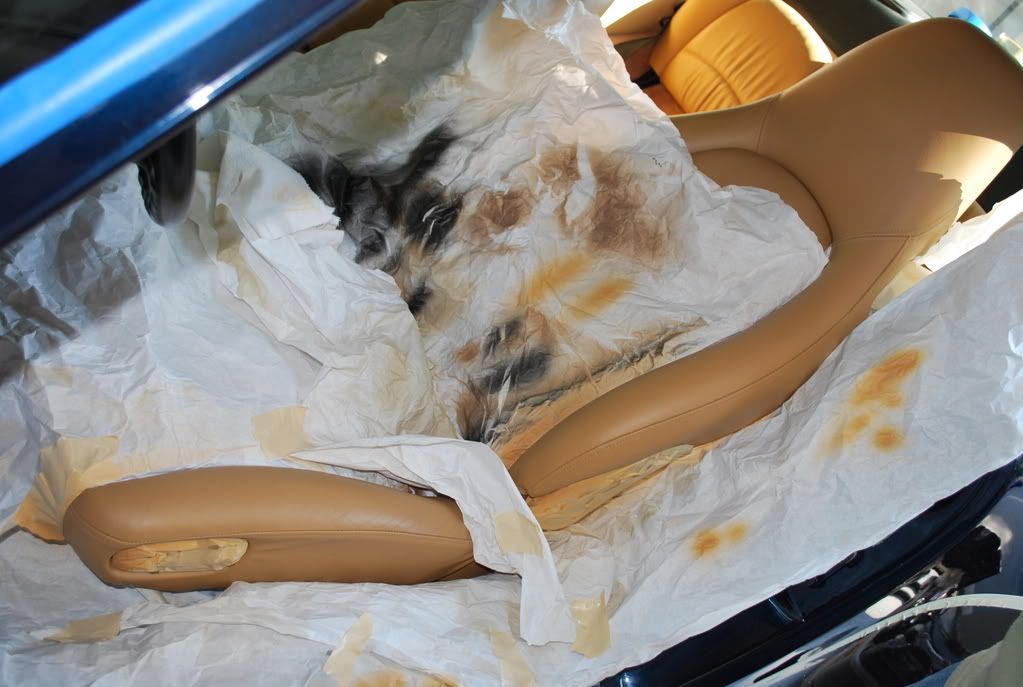
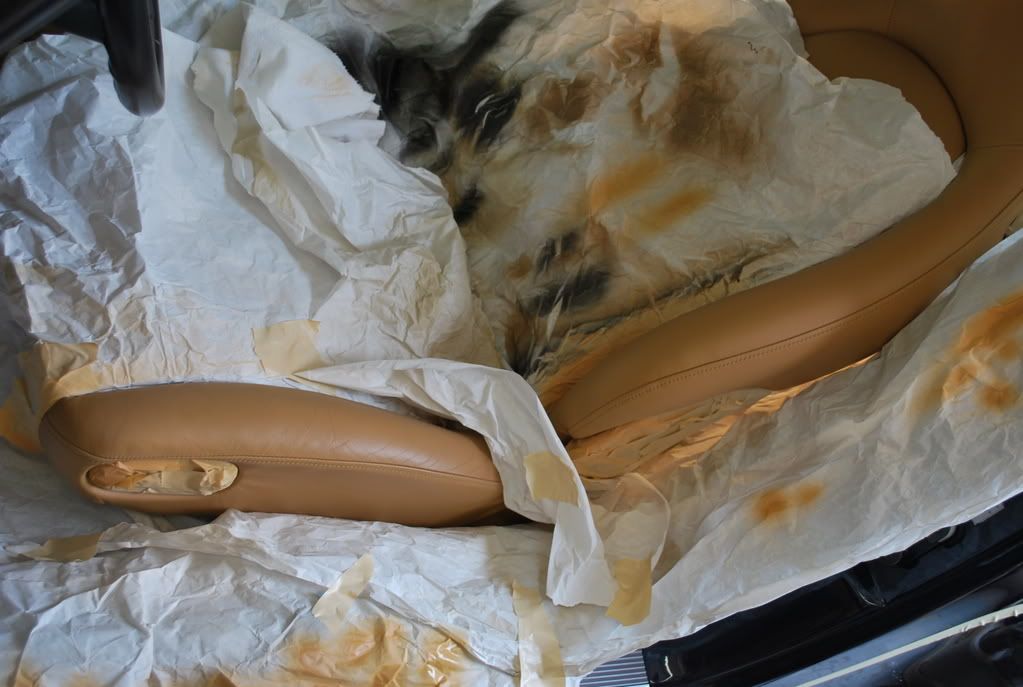
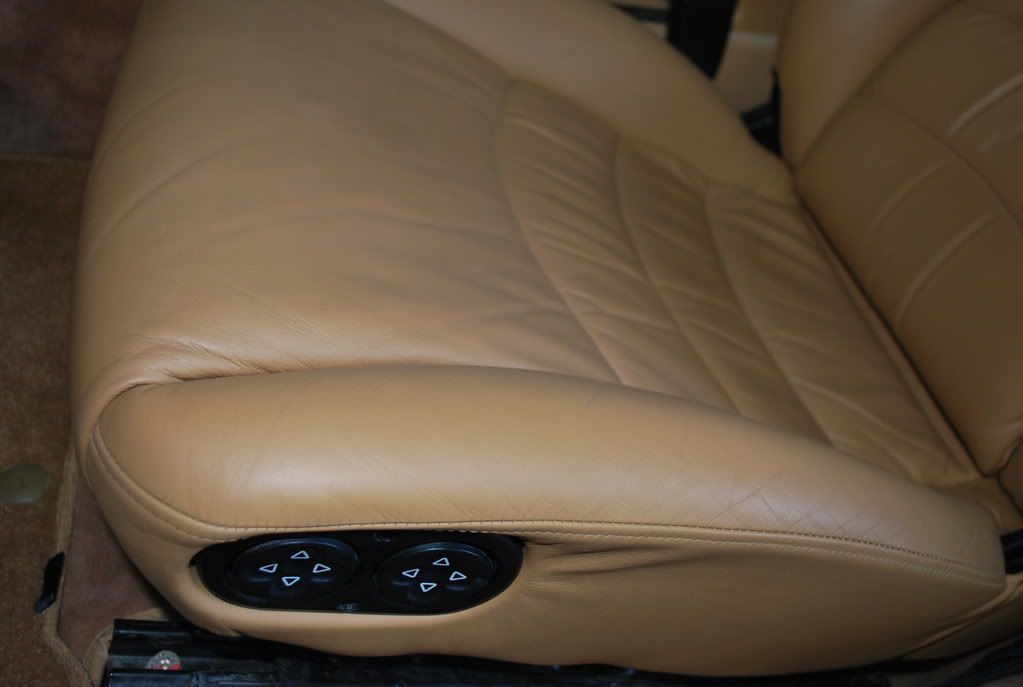
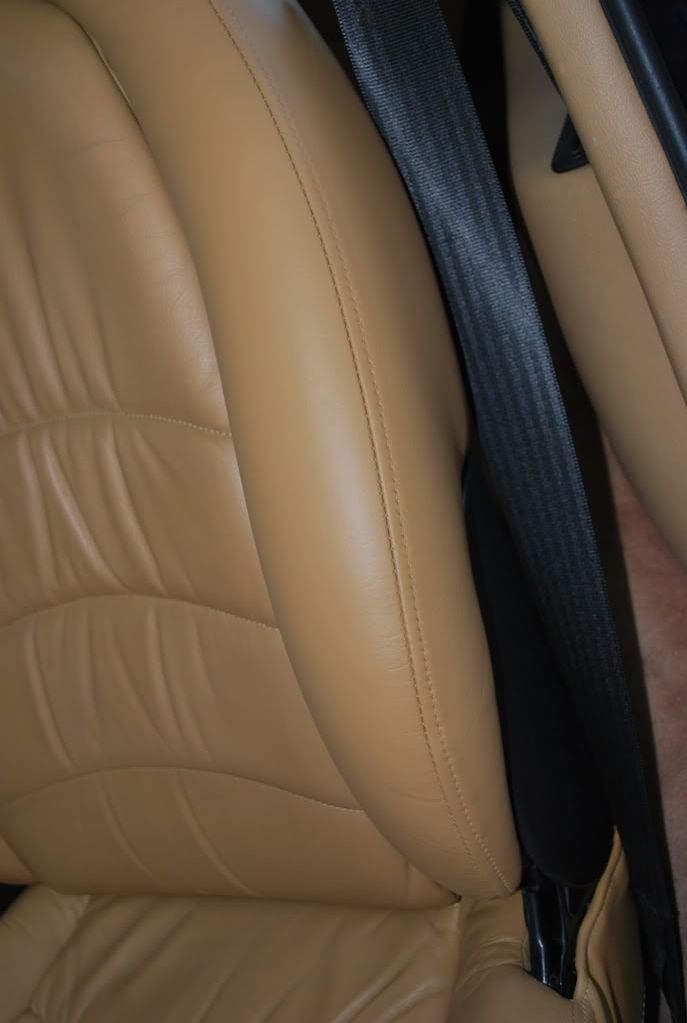
On the fifth day, the interior repair was done first thing in the morning and came out great.
Here are a few pictures during and after the repair...

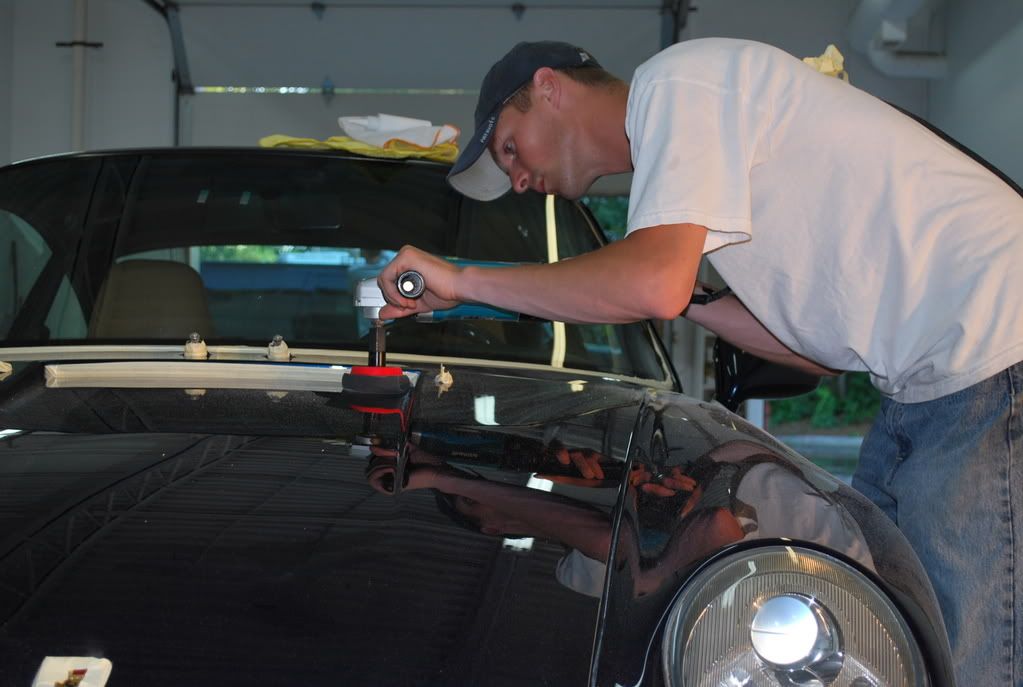
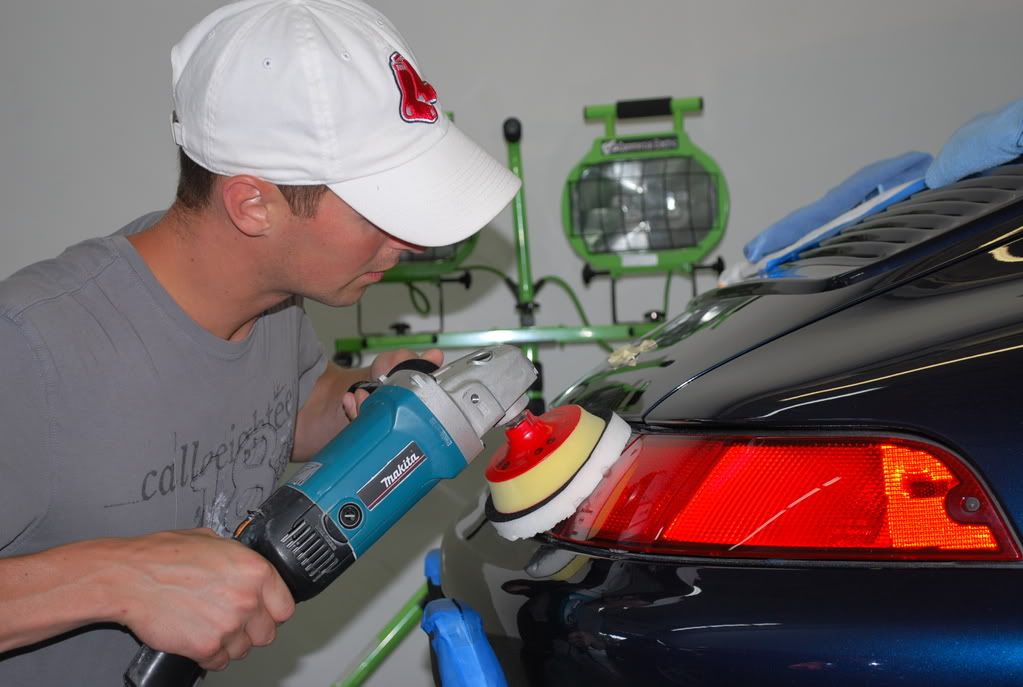
After the seat was repaired, I began polishing the exterior with Menzerna 106fa using a red Sonus foam pad...
All plastic taillights were polished with 3M 80349 using a white CCS foam pad...
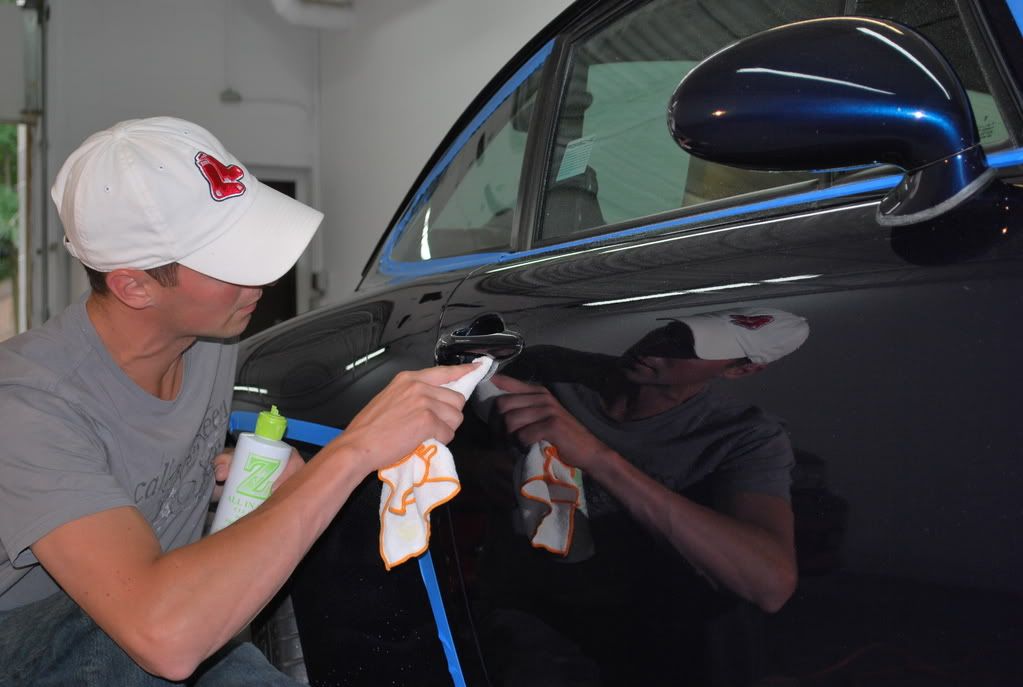
I polished all of the tight areas by hand, such as inside the door handles and the door jambs with Zaino All in One using a microfiber towel...
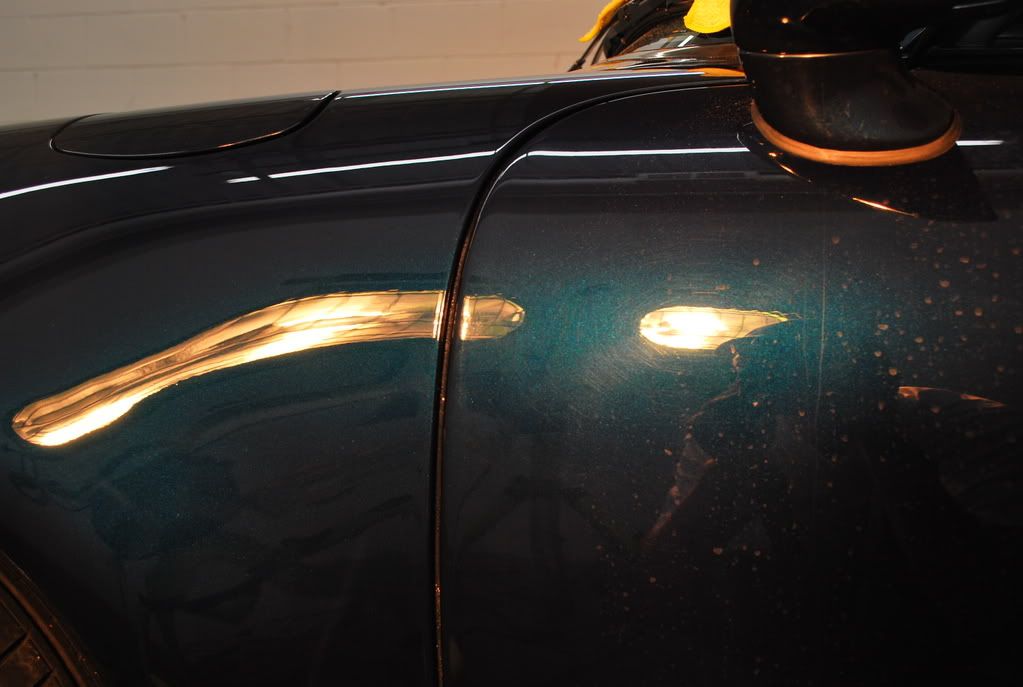
The finish looked great and the exterior was coming together nicely, but I decided to perform an additional polishing step to bump the gloss factor a bit further. I used Menzerna 85rd on a blue CCS pad to jewel the finish to an amazing gloss.
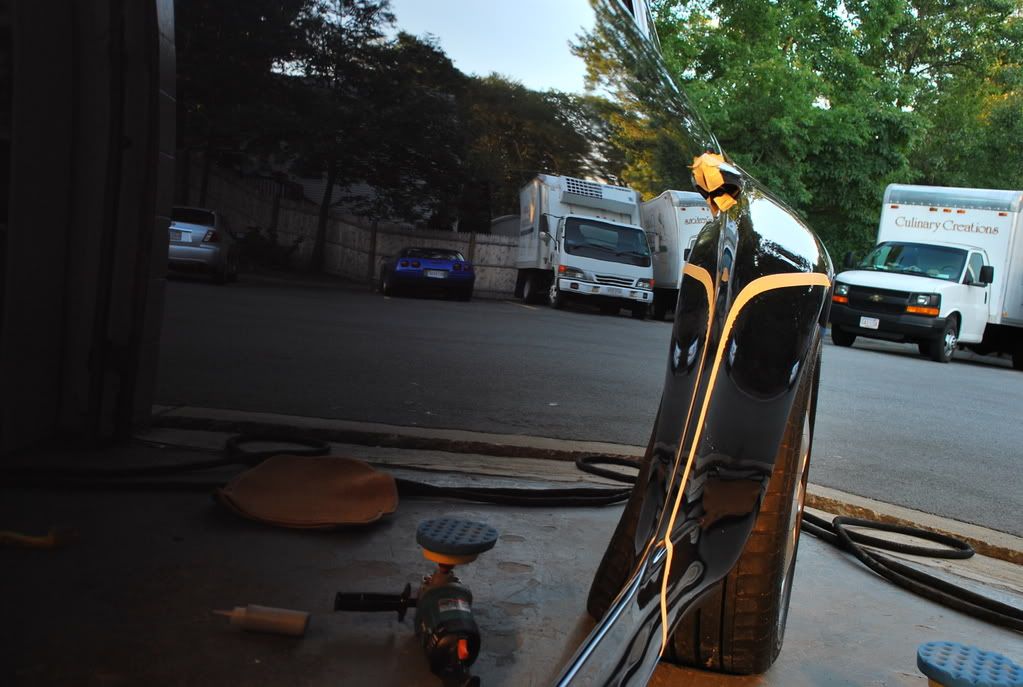
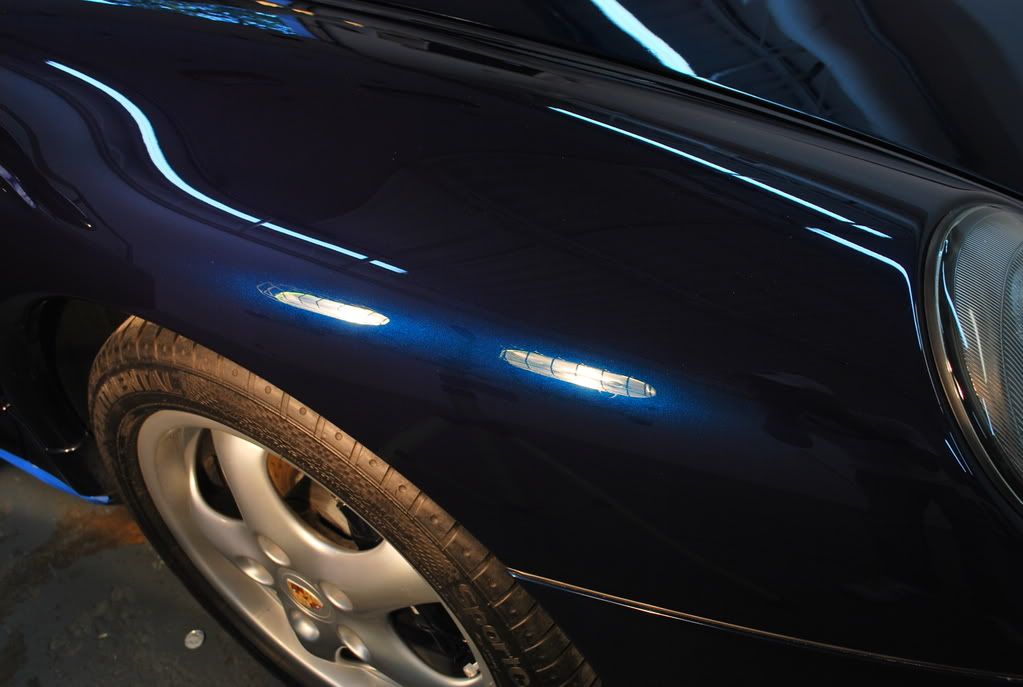
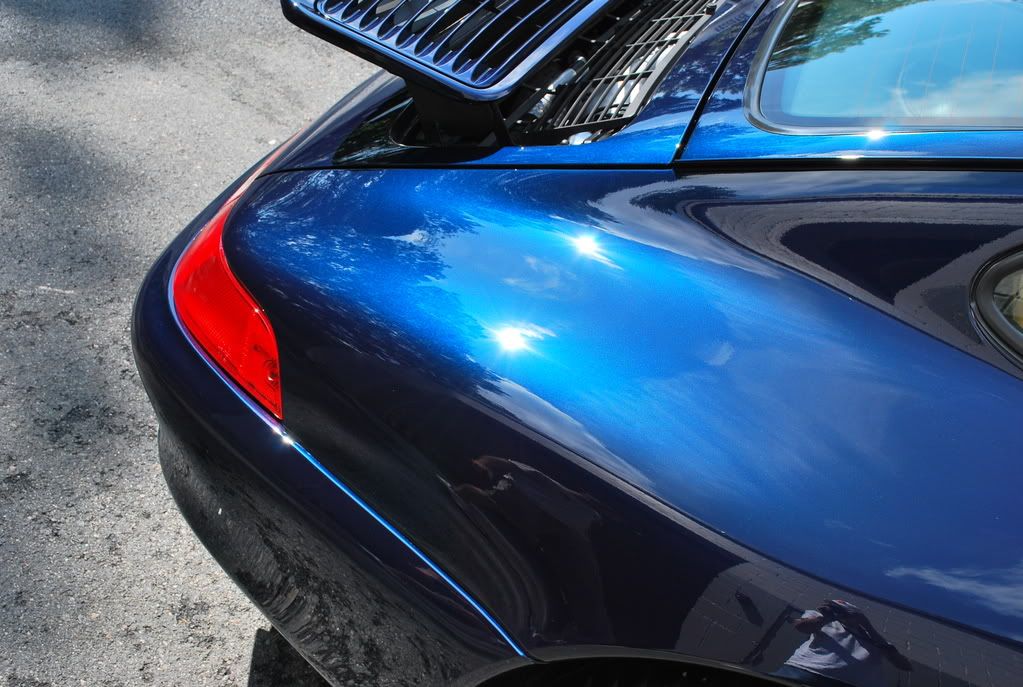
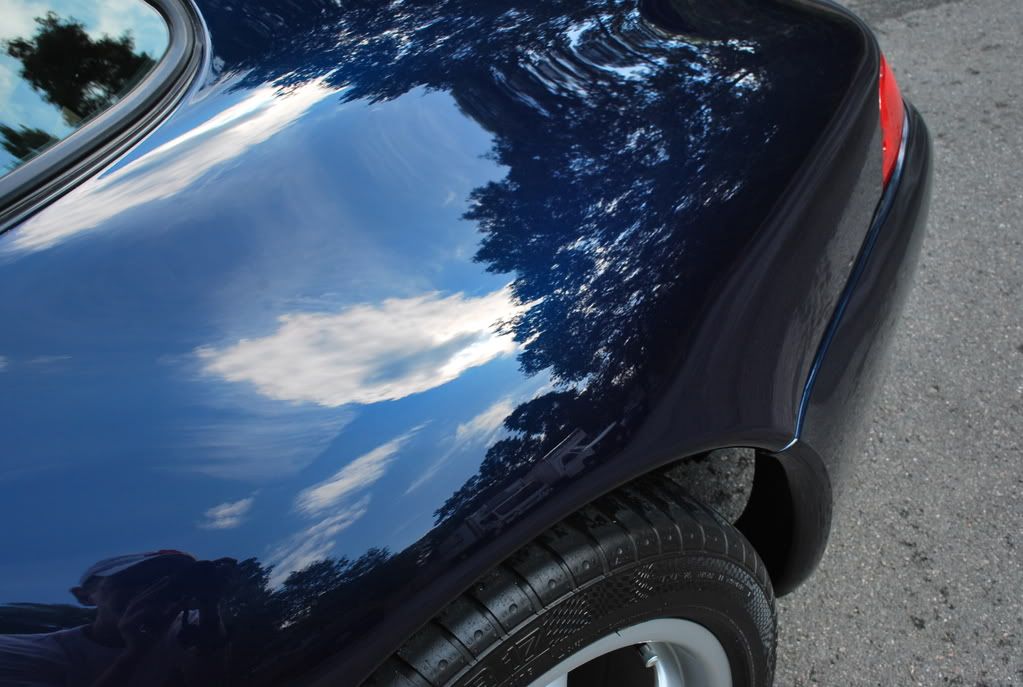
Below is how it looked after jewelling the finish with 85rd before any wax or sealant was applied. This step really added a multi-dimensional look to the paint and greatly improved the reflectivity...

I wiped down the exterior with 91% alcohol and wrapped things up for the night...
.
-
10-27-2008, 05:29 AM #7
- Join Date
- May 2005
- Location
- Wakefield, MA
- Posts
- 2,400
- Post Thanks / Like

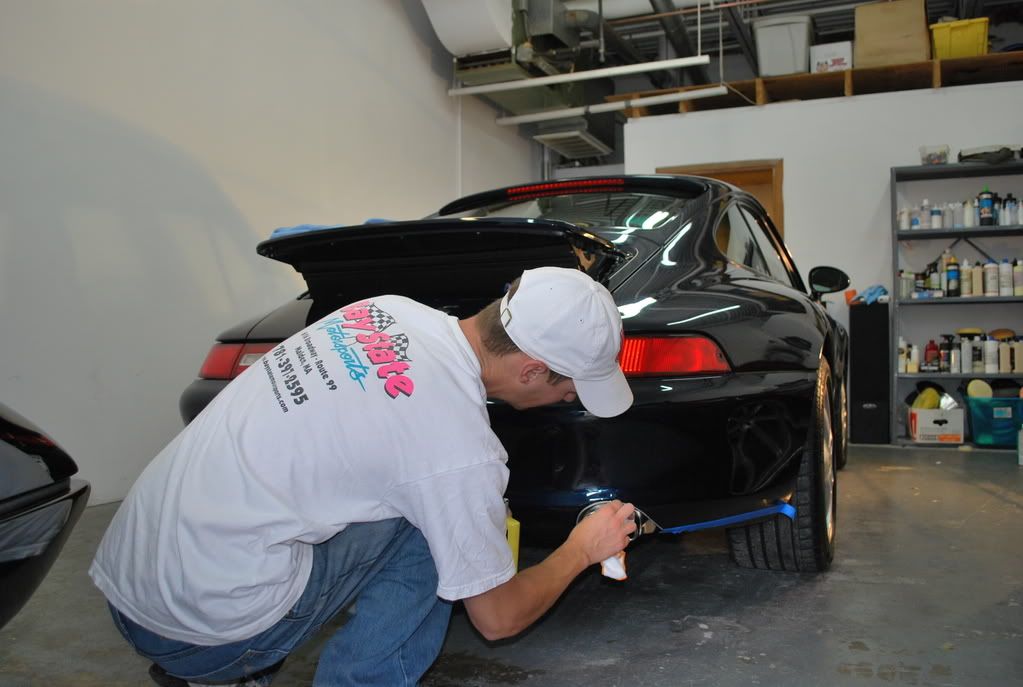
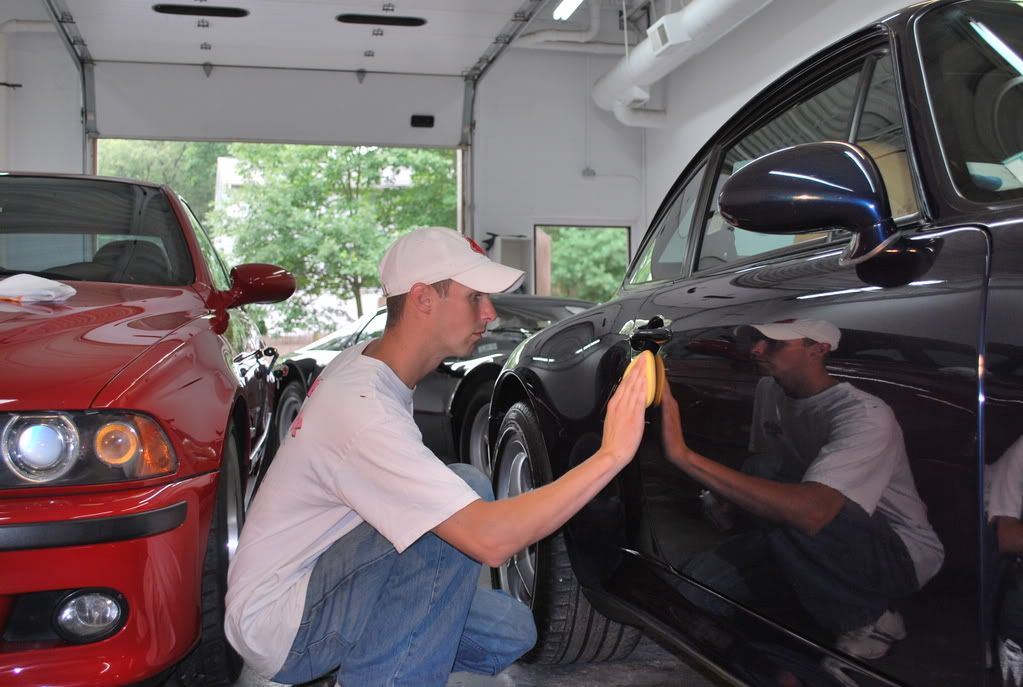
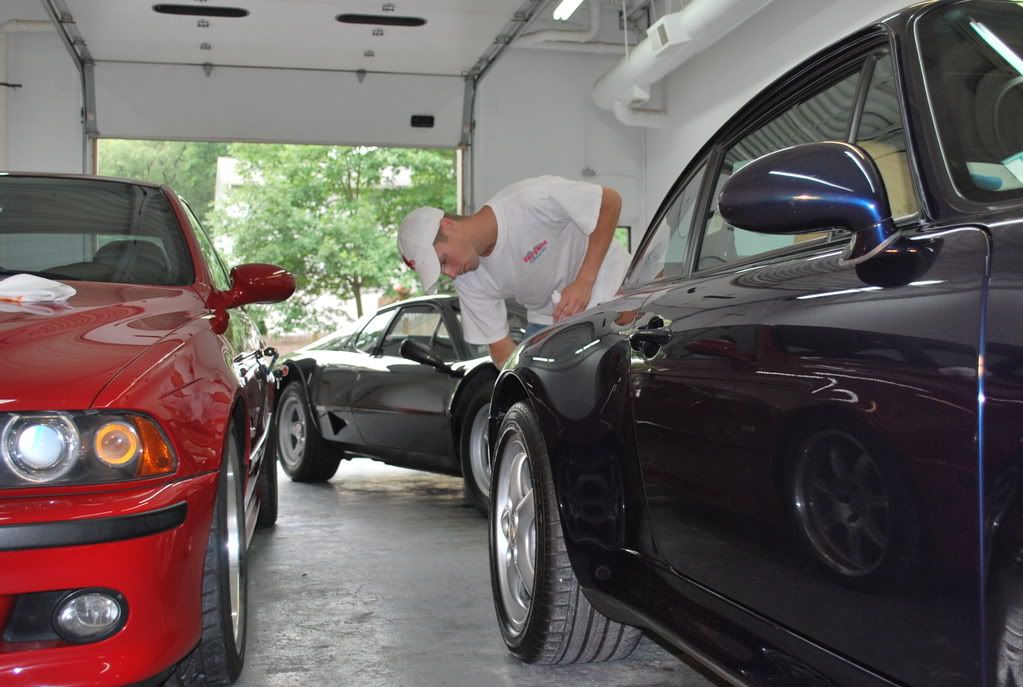
My goal for day 6 was to detail the interior and finish up the rest of the exterior. My brother Nathan helped me by detailing the interior, while I worked on the outside.
The chrome exhaust tips were dirty, so they were cleaned with fine steel wool, then polished with Deep Chrome metal polish...

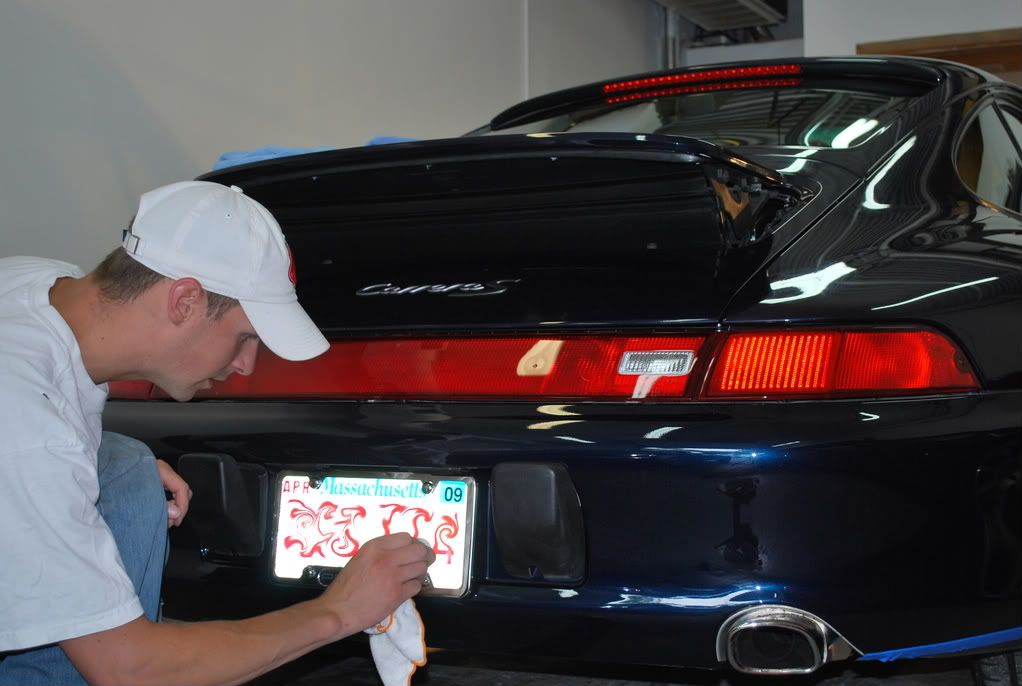
I even polished the license plate and plate frame by hand using Zaino All In One...
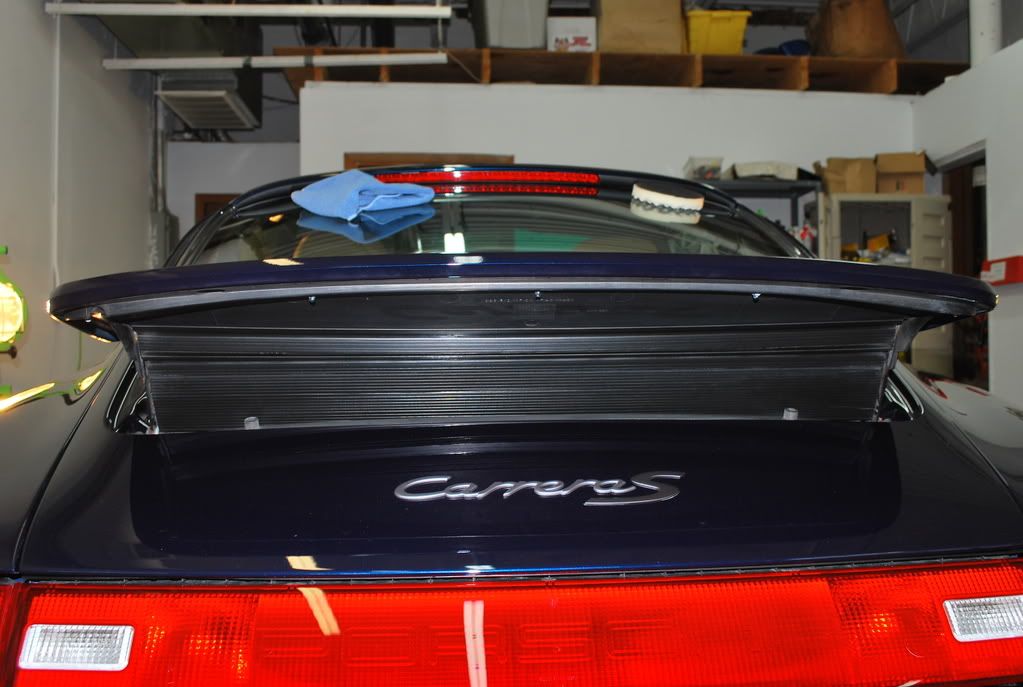
I cleaned the rear spoiler area with Super Clean and protected the plastic areas with Pro-Shine dressing...
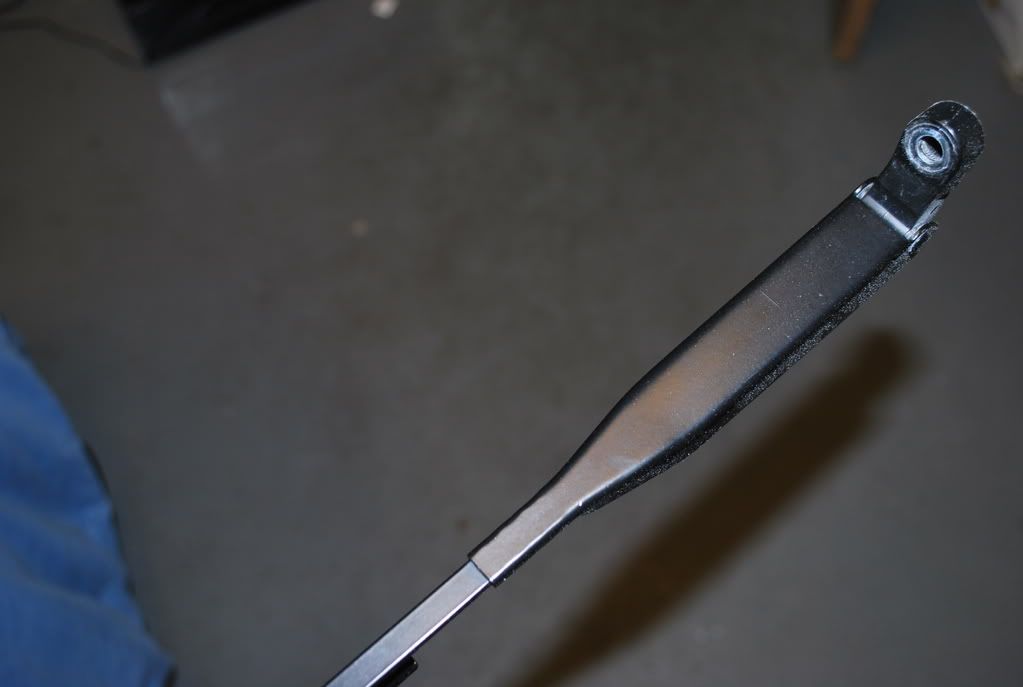
The wiper arms were dull, so I polished them with Zaino ZPC followed by Zaino All in One...
Before...
After my brother was finished cleaning the interior, It was time to apply the LSP. For maximum protection, durability and intense gloss, I decided to use Zaino Z5 as my LSP of choice. Before applying the Z5, I wiped down all exterior surfaces with Zaino Z6, which ensures a perfect foundation for the Z5 to molecularly bond and cross-link.
ZFX flash cure accelerator was added to the Z5 because multiple coats would be applied. ZFX is a cross-linking and acceleration additive which offers almost instant cure time and improves bonding to both paint and additional layers of Z5.
A thin coat of ZFX enabled Z5 was applied to all exterior surfaces by hand...
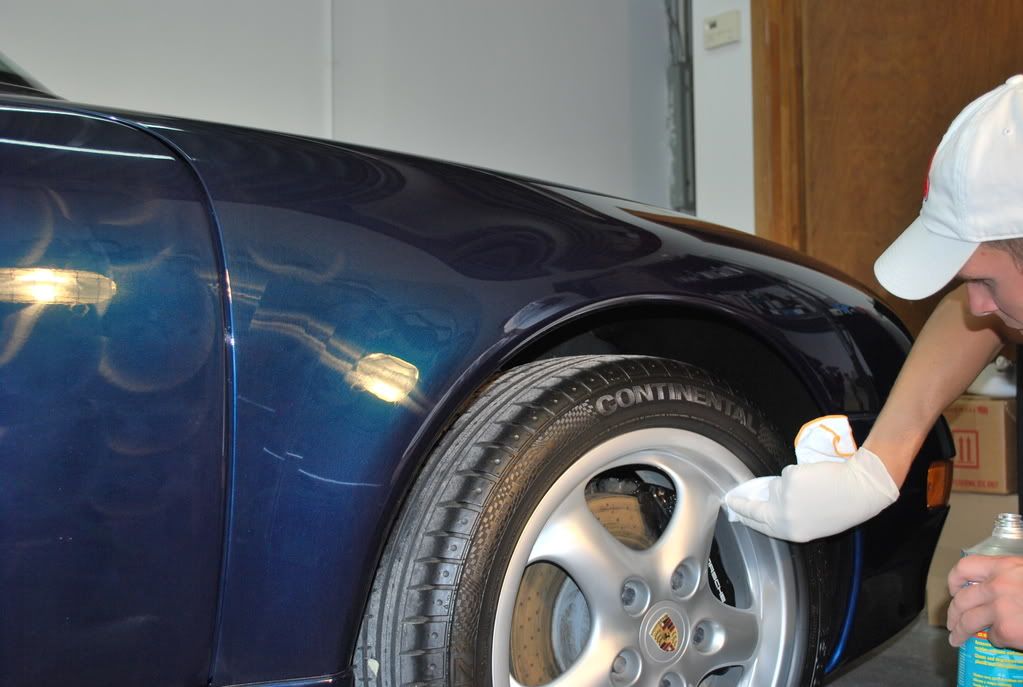
While waiting for the Z5 to dry, all of the wheels were wiped down with prep-sol, then polished with Zaino All in One, followed by a coat of Opti-Seal. All tires and wheel wells were dressed with Kar Kraft Super Blue dressing...
After about 20 minutes, I removed the Z5 using a new microfiber towel and sprayed each panel with a light mist of Z6 to buff away any remaining residue and enhance the gloss. A total of 3 coats were applied, with an application of Z6 in between each layer.
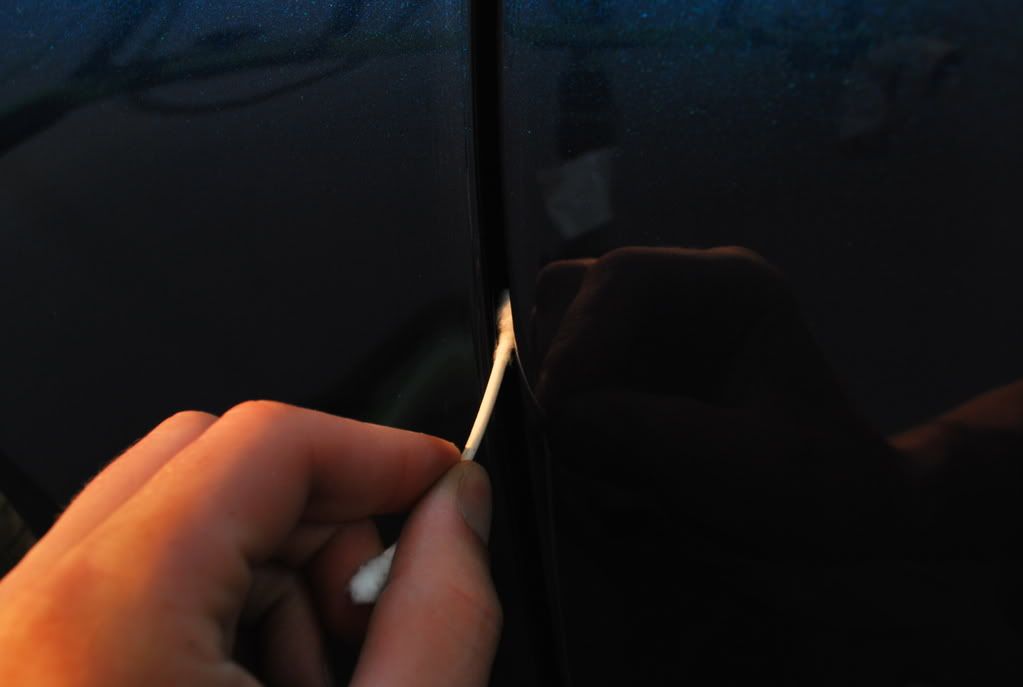
I carefully removed any excess wax and polish residue from all areas using a soft bristle horse hair brush. Q-tips were used in other hard-to-reach-areas.
All exterior glass was cleaned and treated with a hydrophobic solution (similar to Rain-X).
I did a final wipedown of Zaino Z8 Grand Finale Spray Sealant before taking any pictures.
.
-
10-27-2008, 05:31 AM #8
- Join Date
- May 2005
- Location
- Wakefield, MA
- Posts
- 2,400
- Post Thanks / Like
.


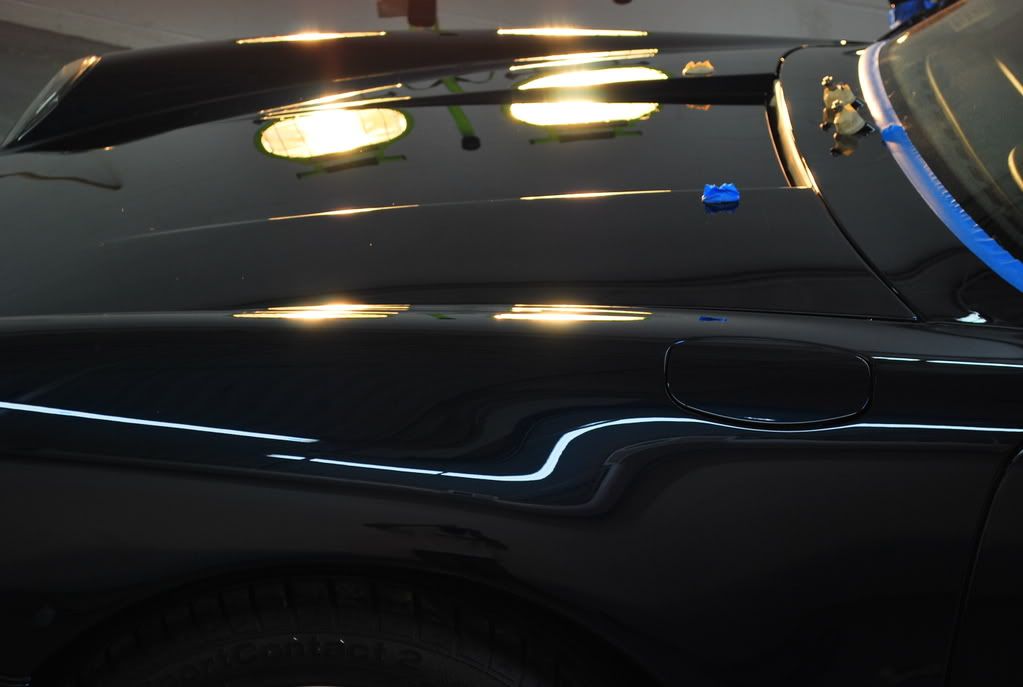
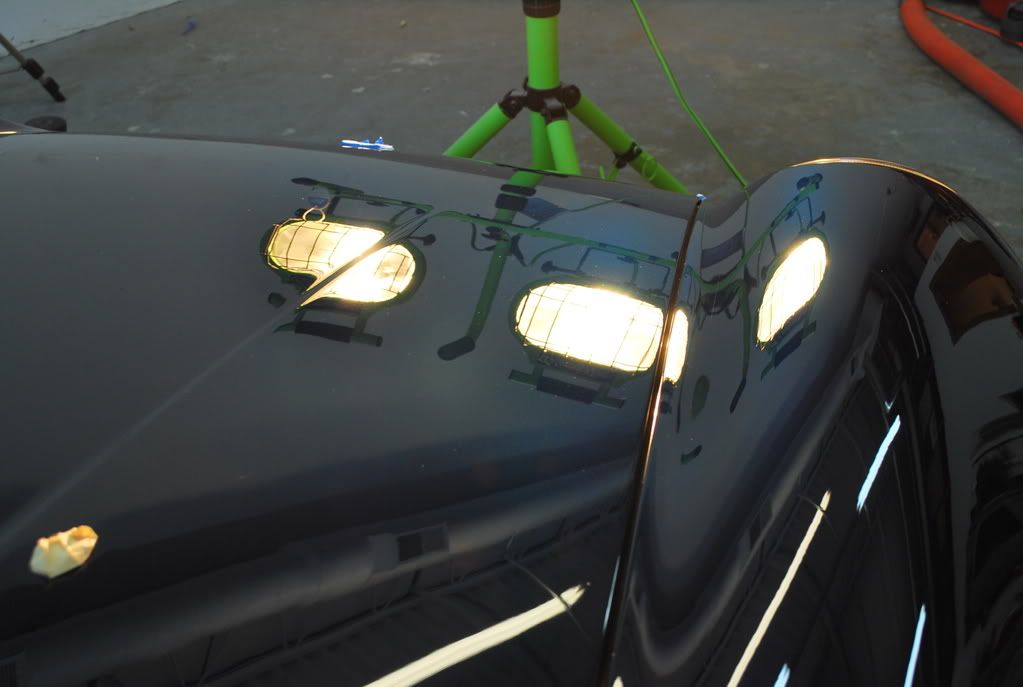
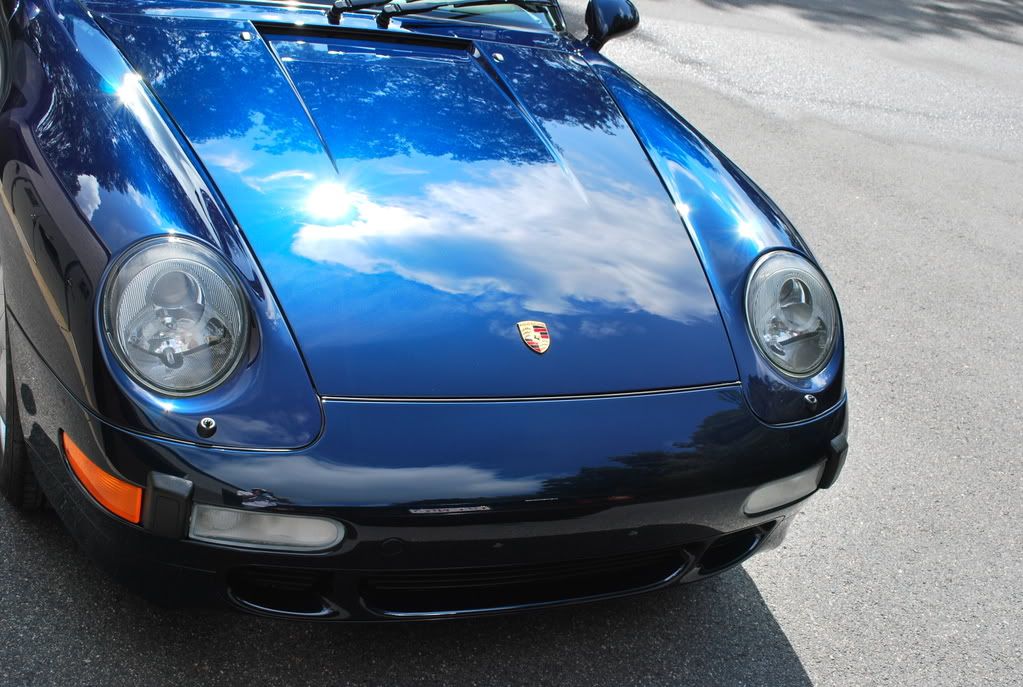
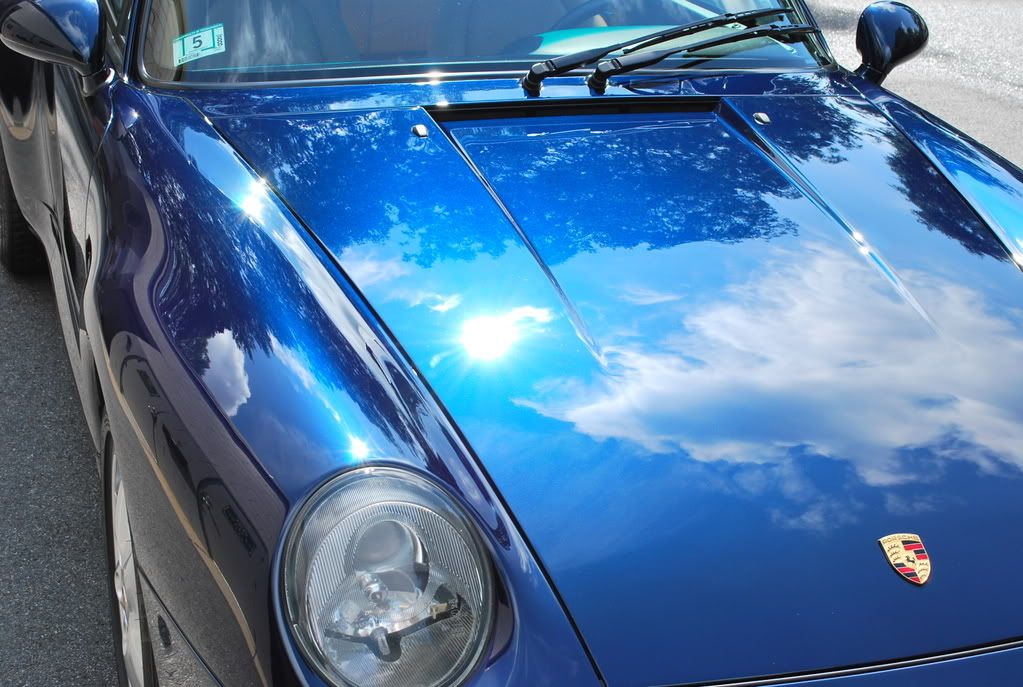
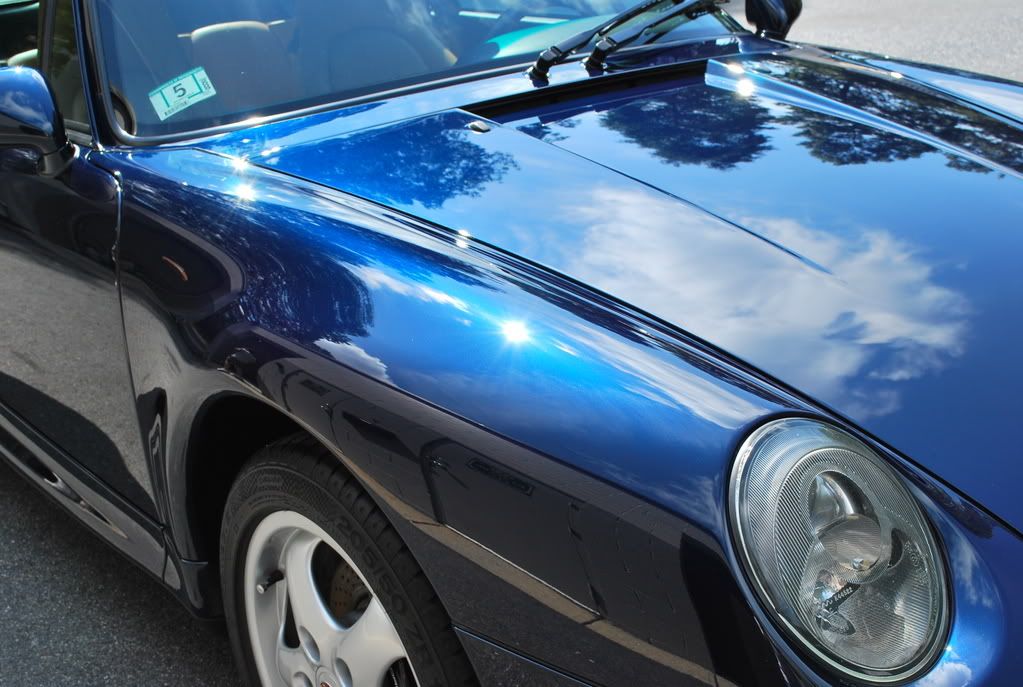
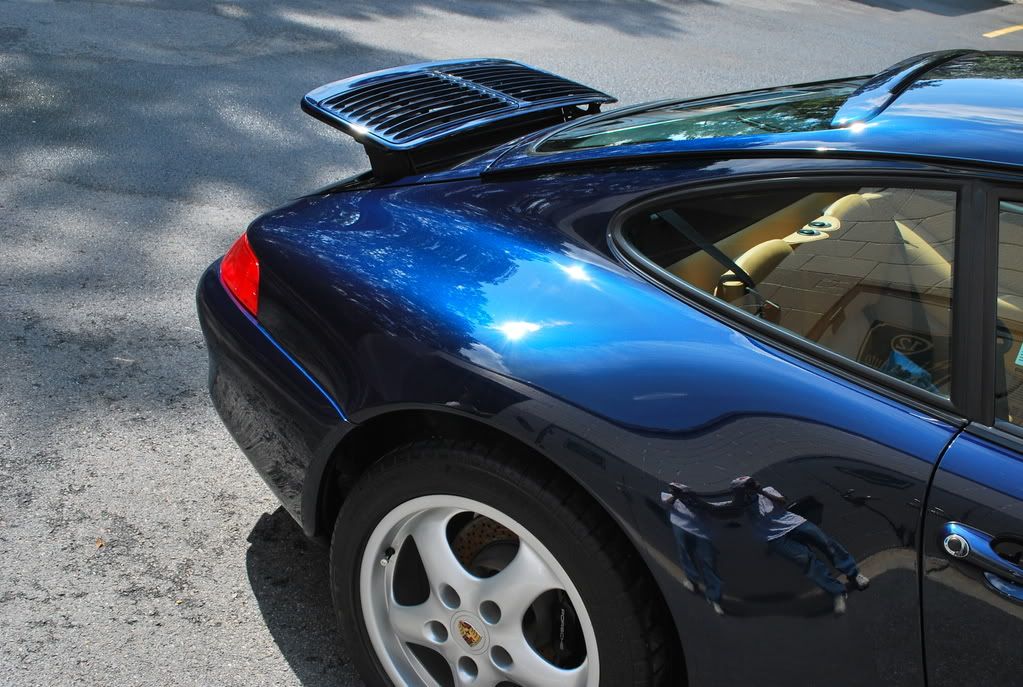
Some sun shots...


-
10-27-2008, 05:33 AM #9
- Join Date
- May 2005
- Location
- Wakefield, MA
- Posts
- 2,400
- Post Thanks / Like

-
10-27-2008, 05:37 AM #10
- Join Date
- Mar 2005
- Location
- Birmingham, AL
- Posts
- 81
- Post Thanks / Like
Wow Rick, unbelievable!!! The gloss and depth is amazing. Great work!
 Joe
Joe
2007 Nissan Xterra
1991 Nissan 300zx Twin Turbo Stage III SOLD
-
10-27-2008, 05:52 AM #11
- Join Date
- Sep 2004
- Location
- Columbus OH
- Posts
- 530
- Post Thanks / Like
Amazing Turnaround Rick. Outstanding work!!!
-
10-27-2008, 06:00 AM #12
- Join Date
- May 2005
- Location
- Wakefield, MA
- Posts
- 2,400
- Post Thanks / Like
GoFastTSI- Thanks Joe!
AudiOn19s- Thanks a lot!
-
10-27-2008, 06:07 AM #13
- Join Date
- Nov 2005
- Location
- Greenville, NC
- Posts
- 826
- Post Thanks / Like
Your write up is just as awesome as your restoration (detailing doesn`t describe what you did). Incredible job on a deserving automobile.

-
10-27-2008, 06:11 AM #14
- Join Date
- May 2007
- Location
- Charlotte, NC (actually Iron Station, NC)
- Posts
- 1,499
- Post Thanks / Like
Great Job Rick!!!
Ridding the world of swirls, one car at a time!
-
10-27-2008, 06:20 AM #15Super Moderator


- Join Date
- Dec 2001
- Location
- Middletown, Delaware
- Posts
- 13,582
- Post Thanks / Like
Simply amazing Rick. What an incredible write up....
Only Z Best Detailing-Automotive Concours Detailing Services
http://ozbdetailing.com
https://www.facebook.com/ozbautodetailing


 Reply With Quote
Thread Information
Users Browsing this Thread
There are currently 1 users browsing this thread. (0 members and 1 guests)
Similar Threads
-
2006 Black Porsche 911 Carrera S Complete Detail - Garry Dean - Tampa, FL
By Garry Dean in forum Click & Brag -The Detailers ShowcaseReplies: 3Last Post: 06-07-2012, 10:31 AM -
2005 Porsche Carrera S Paint Correction 45+ hours by Richie`s Custom Detailing
By Richie's Custom Detailing in forum Click & Brag -The Detailers ShowcaseReplies: 6Last Post: 08-11-2010, 02:51 PM -
2005 Porsche Carrera S paint Correction 45+ hours by Richie`s Custom Detailing
By jeff warden in forum The Detailers ShowcaseReplies: 22Last Post: 08-09-2010, 07:19 AM -
1991 Acura NSX Complete Vehicle Rejuvenation by DJ Mayo aka Got Leather - 83 pics
By imported_DJ Mayo in forum Click & Brag -The Detailers ShowcaseReplies: 43Last Post: 02-15-2010, 09:57 PM -
2 Day Makeover (complete vehicle rejuvenation)
By Rickrack in forum Click & Brag -The Detailers ShowcaseReplies: 91Last Post: 03-11-2008, 05:38 AM
Bookmarks