

A good client of mine recently purchased this vehicle and I was obviously excited to get the opportunity to get her looking better.... I had time on my side (a weekend, the evenings in the week that followed and then that weekend too) but unfortunately there is only so much you can do before a repaint is the only option, and so I was rather disappointed that I couldn`t have used that time to better effect.
Some of the car [the driver`s side the bootlid and both bumpers] had already been repainted , and as you will see, it was a really bad job.
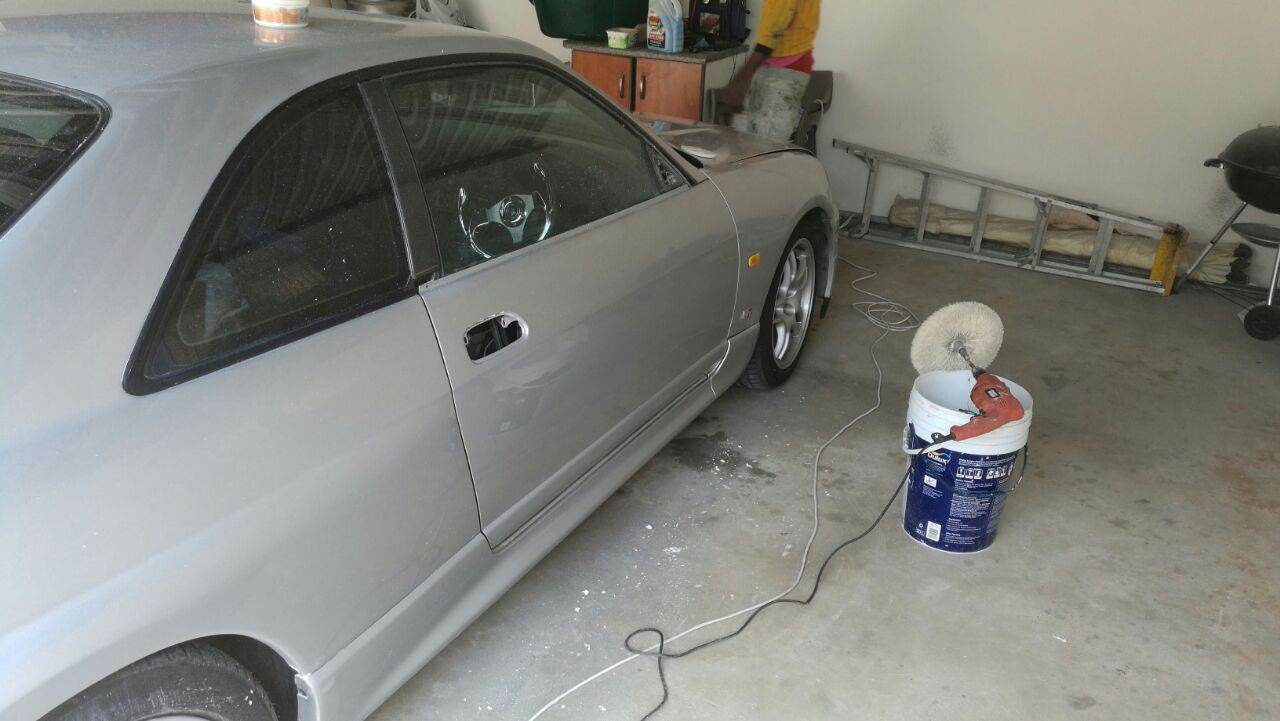
The polishing job was even worse.Not only were there plenty of sanding marks left for me to remove where the repaint was done, but the same aggressive combo (see pic below of the original repaint/polishing work being done - I just wanna cry) was also used on the rest of the OEM paint...which was much, much softer, and a lot thinner to start with... so the inevitable had happened and there were multiple [strikethrough]spots[/strikethrough] patches where the OEM paint had been polished right through (not hard to imagine with the limited control the tool used below would give) and so this further limited what I was going to be able to do to get the car looking presentable.


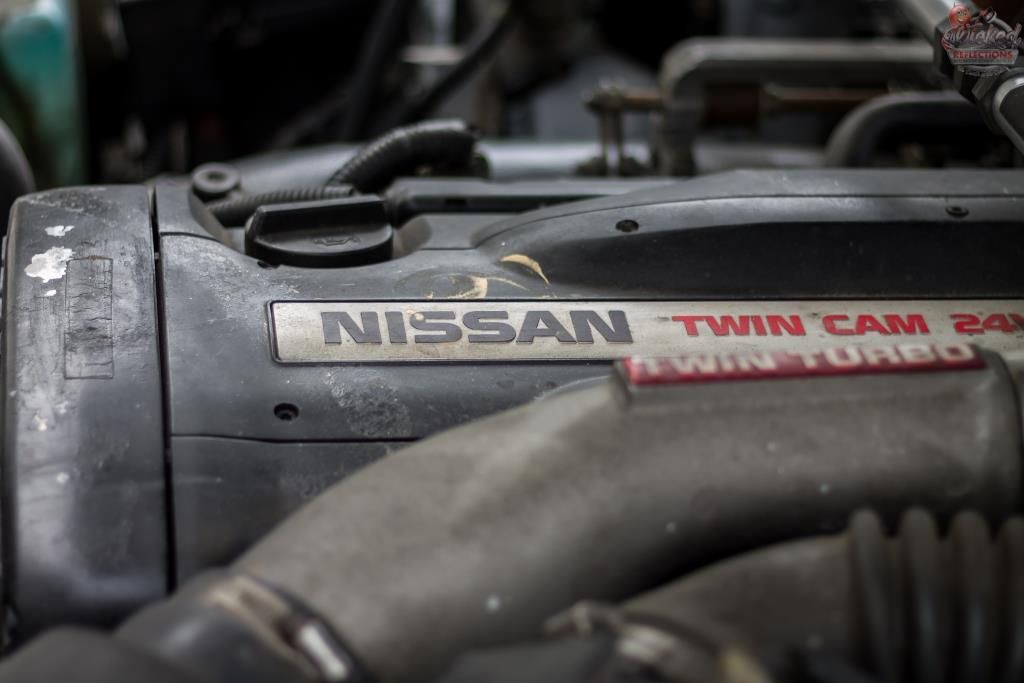
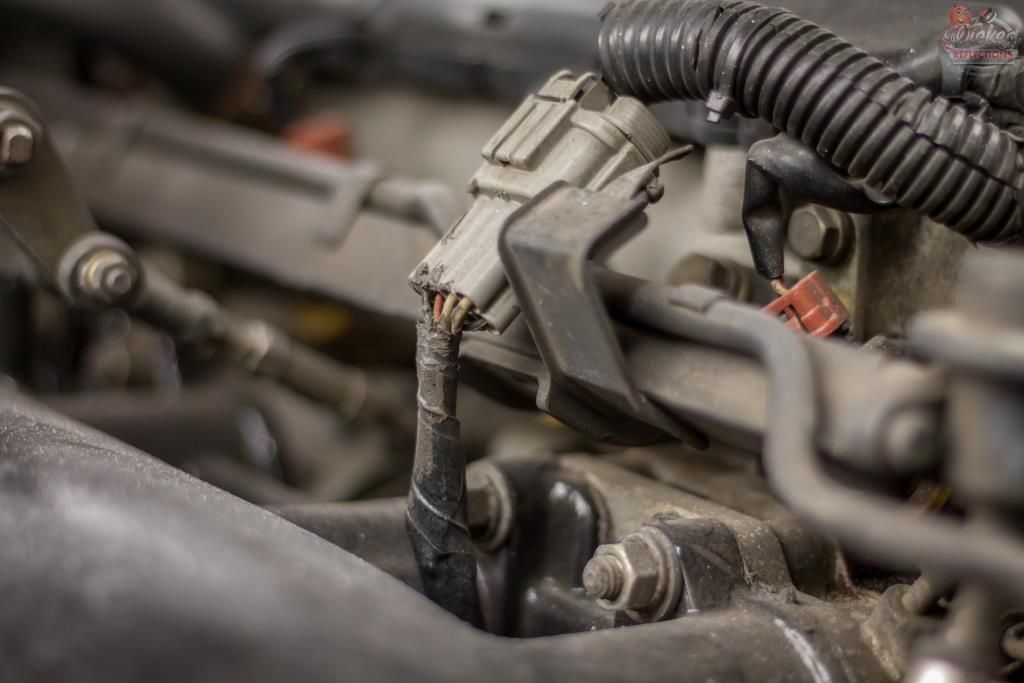
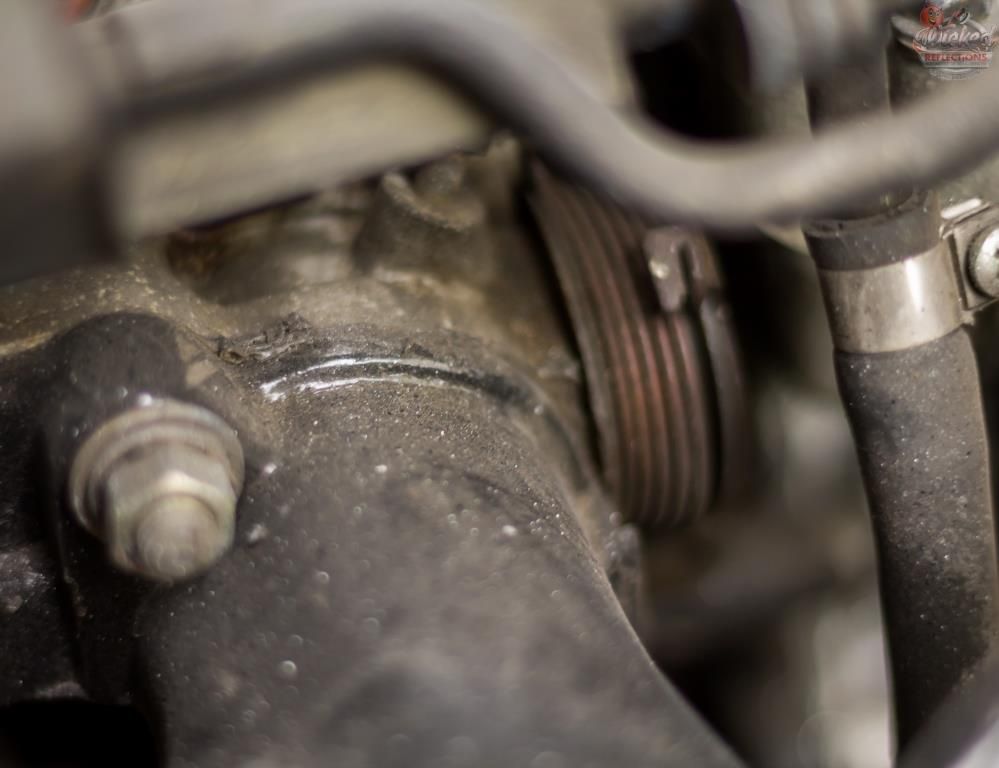
So anyway....as always I started with the engine bay, one with no big plastic panels to easily clean and dress - instead just lots of hard to get to places that really don`t show as dramatic a before and after as usual.
At this point the left half had been cleaned, mostly just using a steamer that I was trying out (a small Karcher one of a friend`s which seemed to work well enough but IMO was too `small` to handle something like and engine bay efficiently) and some MF towels. The painted surfaces were then sealed using Gyeon Cure.
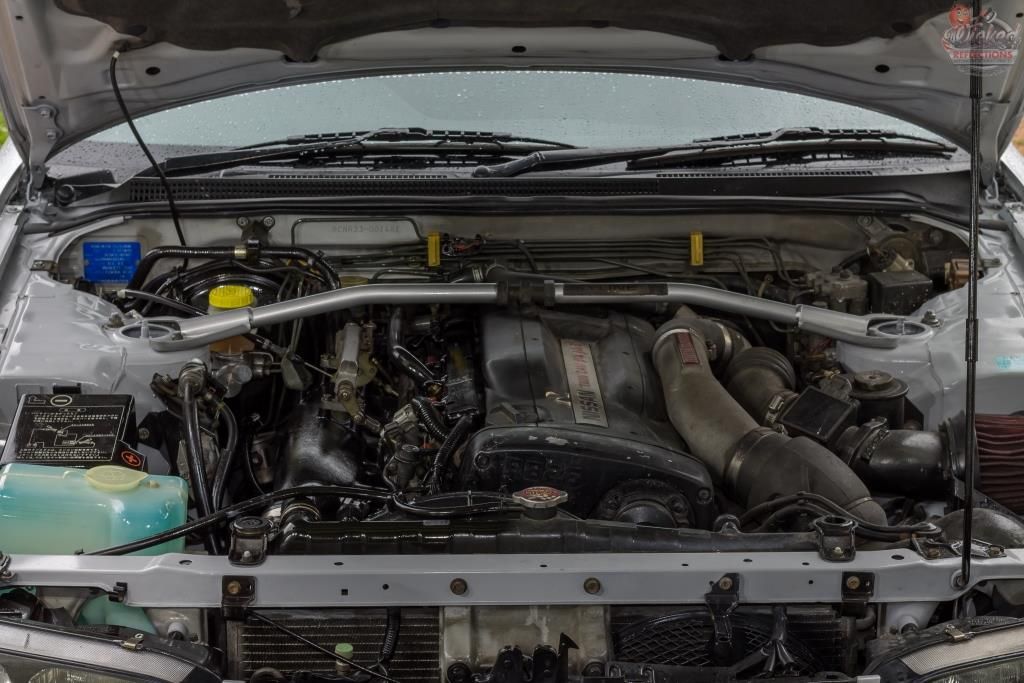
Here is the bay mostly completed. The painted surfaces on the underside of the bonnet would later be wiped clean with some Carchem APC and MF towels, followed by a damp MF towel and Gyeon Cure. The carpeted cover gently wiped clean with MF towels and Mothers Upholstery Cleaner.
As you can see from the windscreen it was raining, and it pretty much didn`t stop the whole time I had the car so there are no pics of the wash/decon stages. The fender liners were cleaned as usual using various brushes, a pressure washer and some Carchem APC. The tyres received the same treatment and were later dressed with Carchem Tyre and Trim Gel. The wheels themselves were about to be replaced so were only given a basic clean using Valet Pro Billberry - no iron or tar removal was performed.
The car itself was then cleaned and decontaminated:
Foam - Turtle Wax Hyperfoam
TFR - Valet Pro Citrus Prewash
2BM - Carchem Luxury Shampoo
Clay - Shield Heavy Duty Clay | ONR
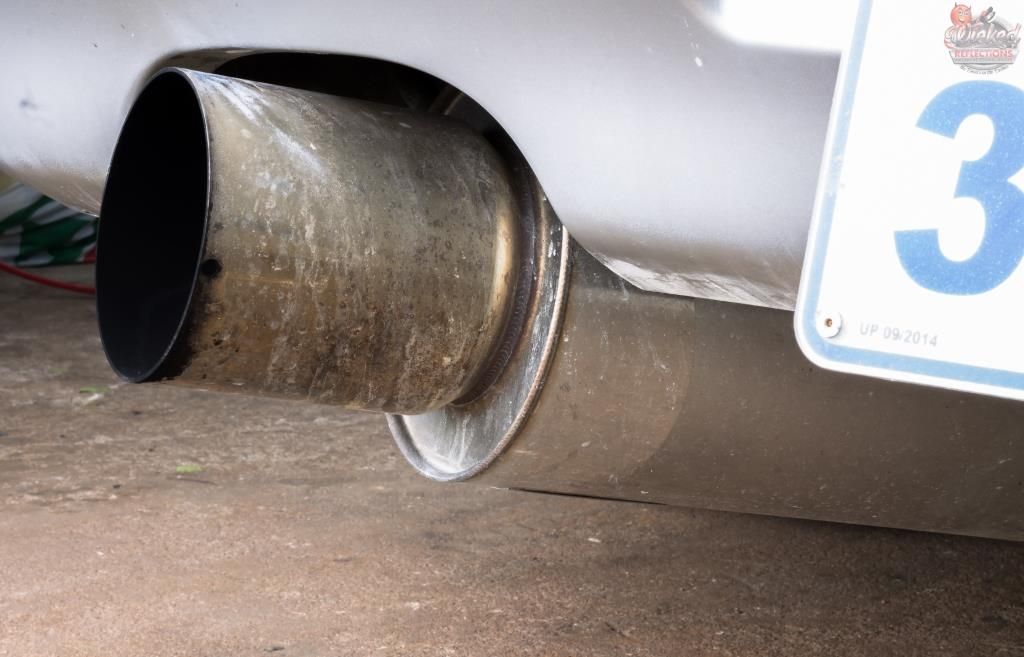
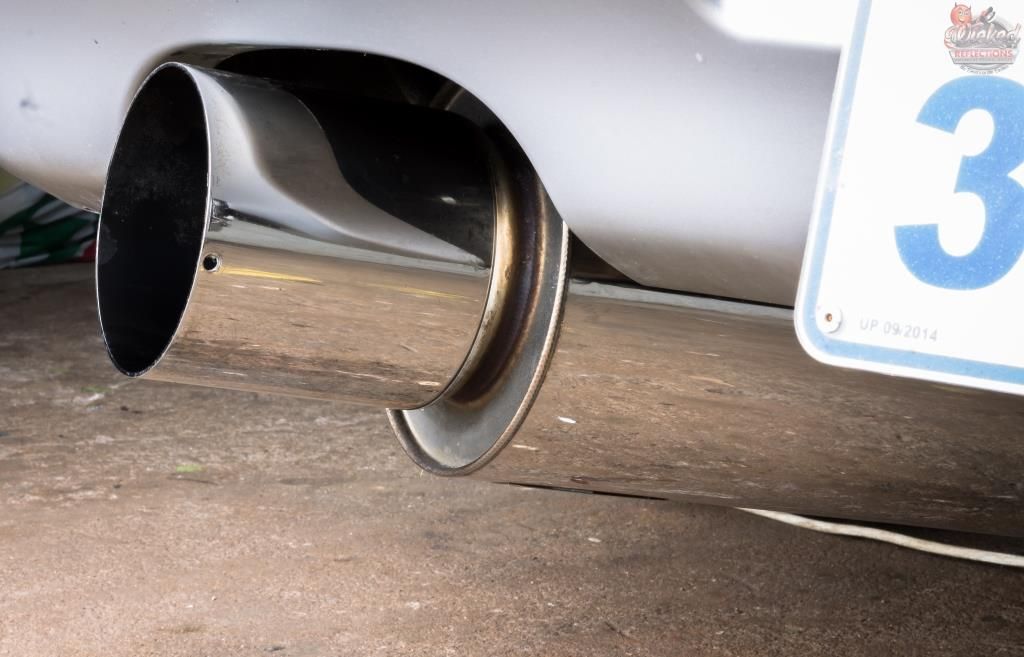
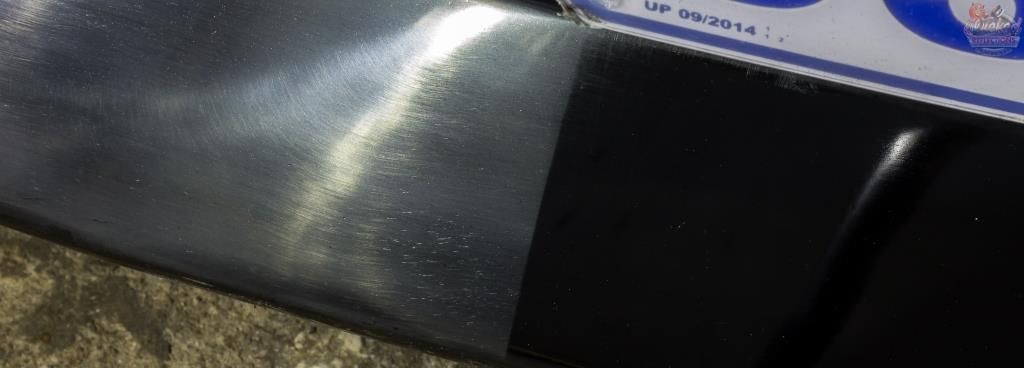
Then it was time to tackle the exhaust tip.
The inside and outside were cleaned using Carchem APC and dried. I then damp sanded using 3000 Trizact discs and followed that with an initial cut using Menzerna Polishing Cream on a (dedicated) Menzerna wool pad on the Flex 3401. This was followed with Mothers Mag and Aluminium Polish on a orange white foam pad on the Shield DA.
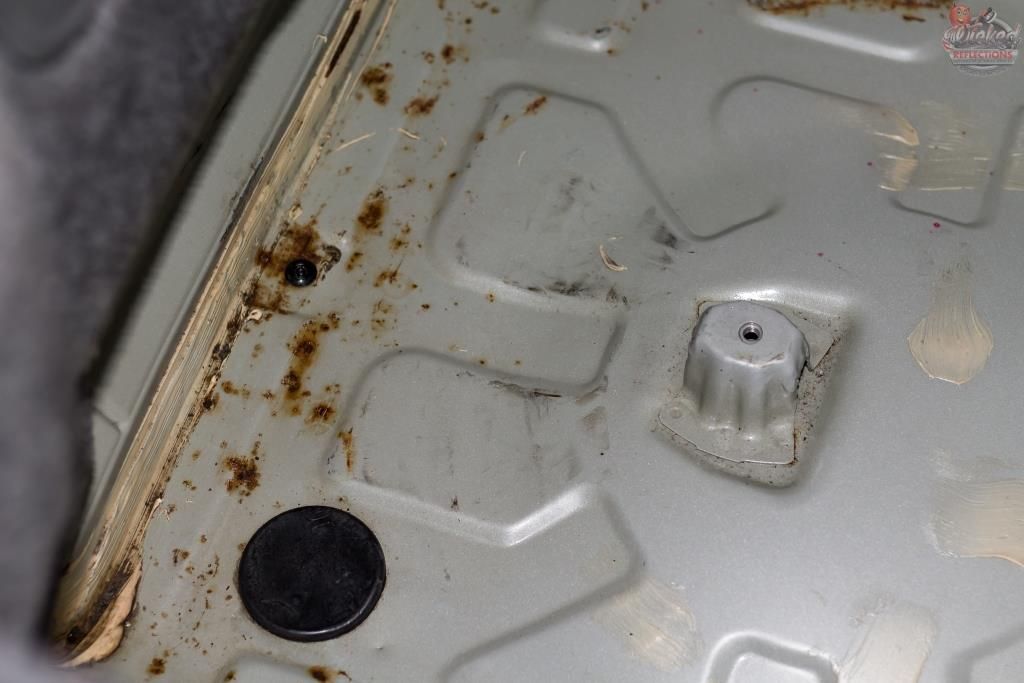
The boot was then emptied and unfortunately revealed a bit of a mess.
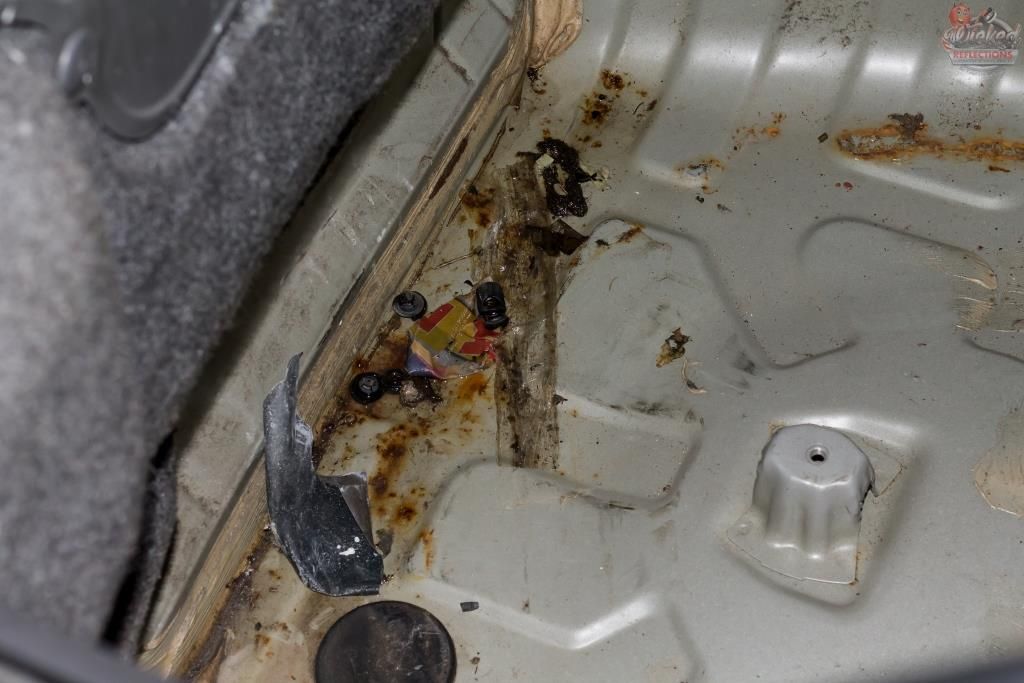
This was cleaned out as best as possible, but will need to be addressed by the owner.
All the rubbers were cleaned cleaned using Shield Vinyl and Rubber Cleaner and dressed using Carchem Rubber and Vinyl Protectant. The carpeted areas were brushed and vacuumed.
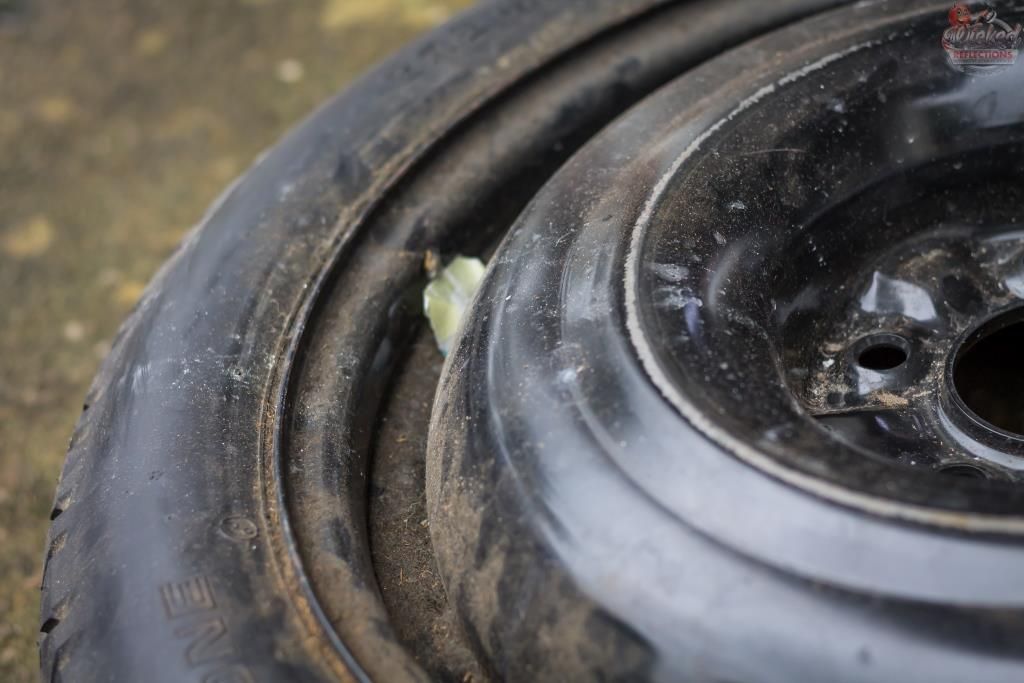
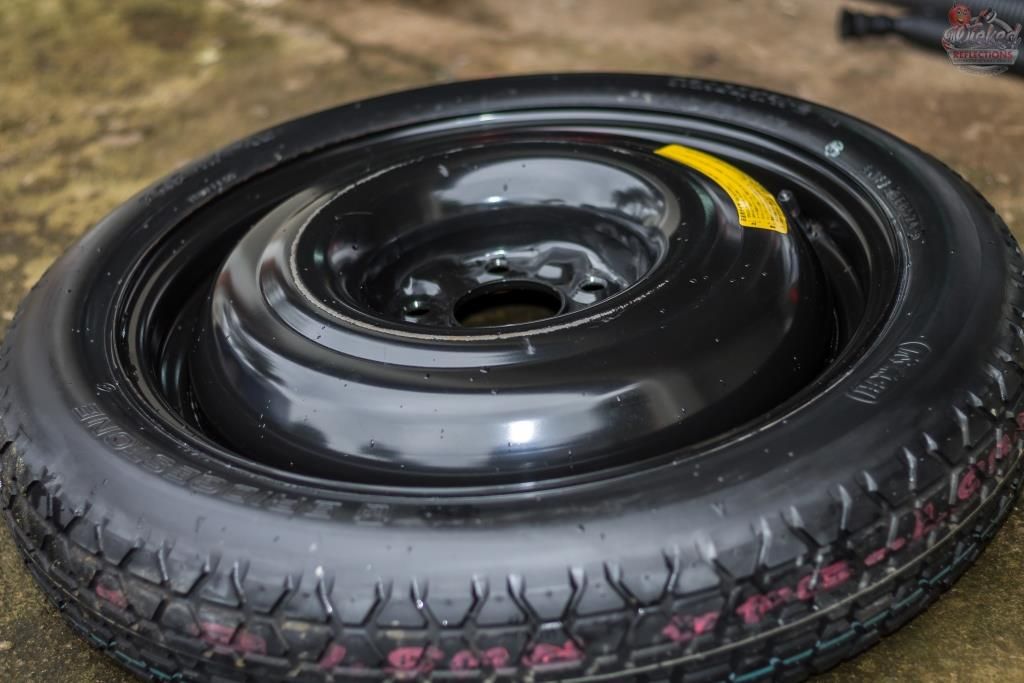
The spare wheel was looking rather sad too
So it got a clean (tested out the steamer again) and I then applied some Carlack Fast Detailer.
This left me with the paint to correct....
Starting with some of the OEM paint
Paint thickness: Min 79µ, Avg 94µ, Max 112µ, Sdev 10.2µ
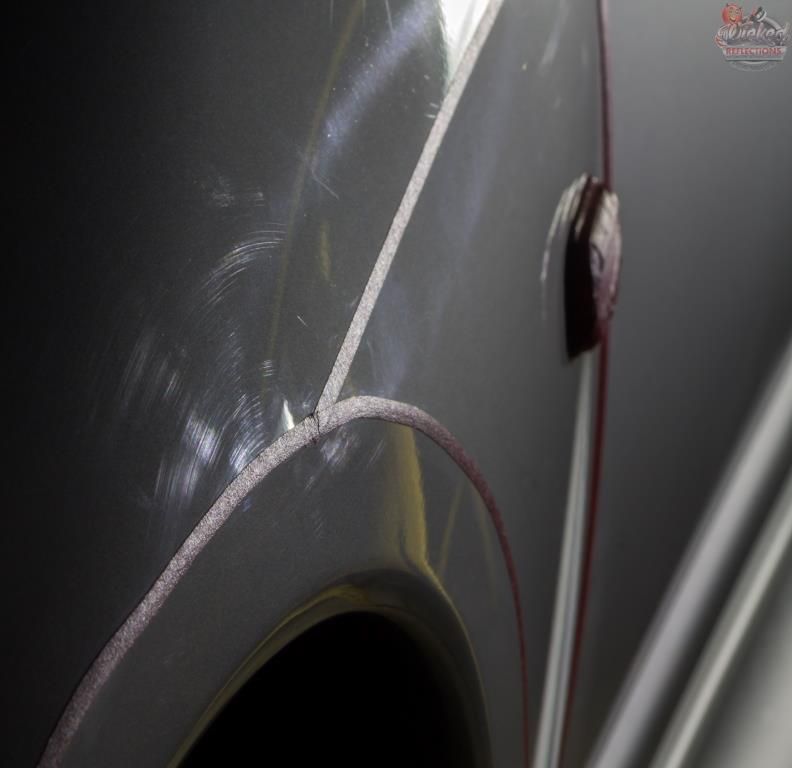
Taped are ready for polishing
Correction: Flex 3401, Menzerna SF4000, White Lake Country Hybrid pads
Paint thickness: Min 74µ, Avg 88µ, Max 106µ, Sdev 9.4µ
Correction: Flex 3401, Menzerna SF4000, White Lake Country Hybrid pads
Paint thickness: Min 72µ, Avg 93µ, Max 112µ, Sdev 12.8µ
Correction: Flex 3401, Menzerna SF4000, White Lake Country Hybrid pads
Similar paint readings were present over the rest of the OEM panels and the same approach was taken to correcting these areas.
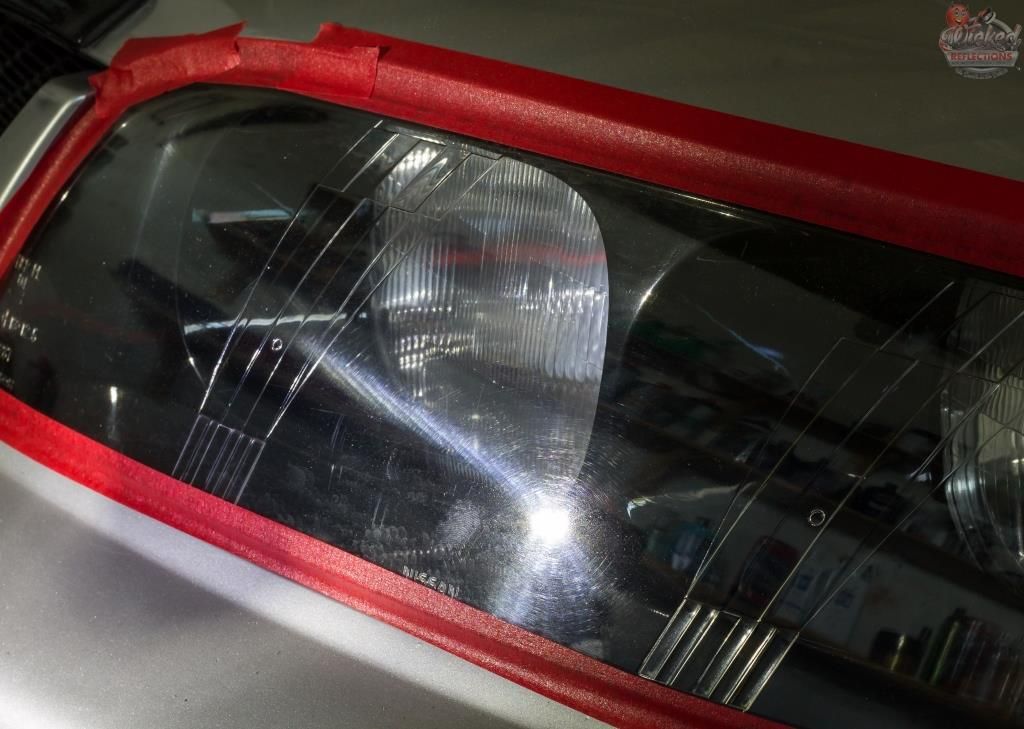
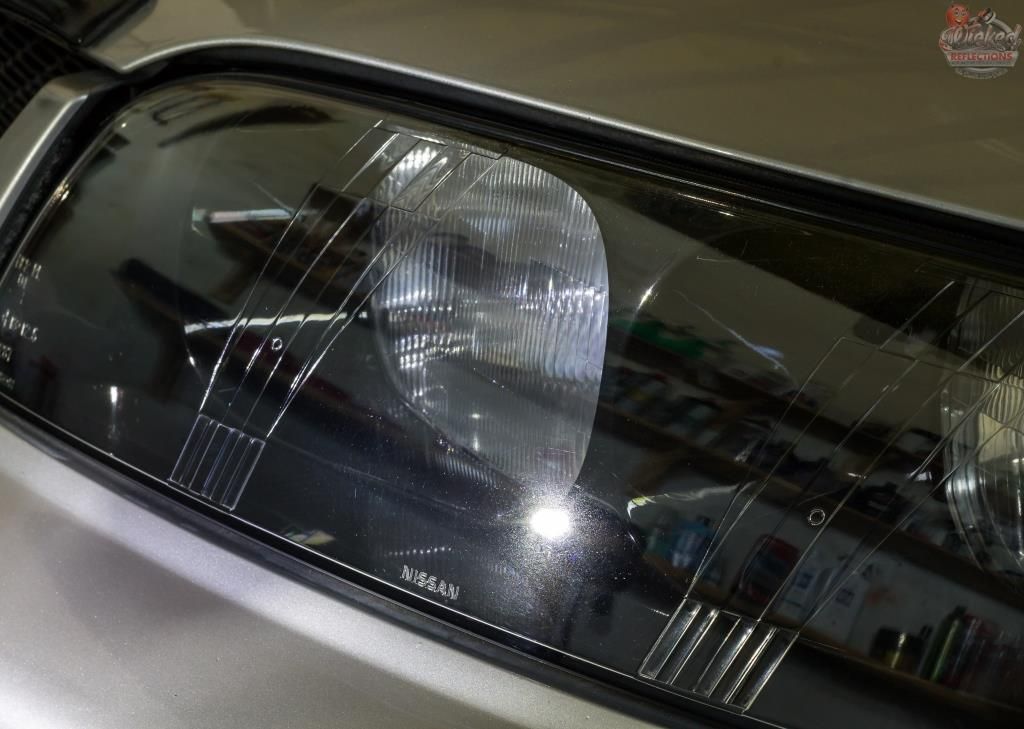
I then gave the headlights a quick polish using Menzerna PF2300 on White Lake Country Hybrid pads, wiped them down with Gyeon Prep and applied Optimum Optiseal to them.
And then started tackling the repainted/butchered panels.
Paint thickness: Min 249µ, Avg 437µ, Max 1120µ (yes, that is 1mm of paint), Sdev 225µ
Correction: Flex 3401, Menzerna FG400 + Orange Lake Country Hybrid pads followed by Menzerna SF4000 + White Lake Country Hybrid pads
The rest of the repainted panels were on average 220µ with a Sdev of 50µ, the exception being the roof which was a bit thinner at Min 100µ, Avg 122µ, Max 146µ, Sdev 14.6µ. The same method of correction was used, except for the driver`s side front door which required an initial cut with FG400 and a Foamed Wool pad to get rid of the sanding marks.
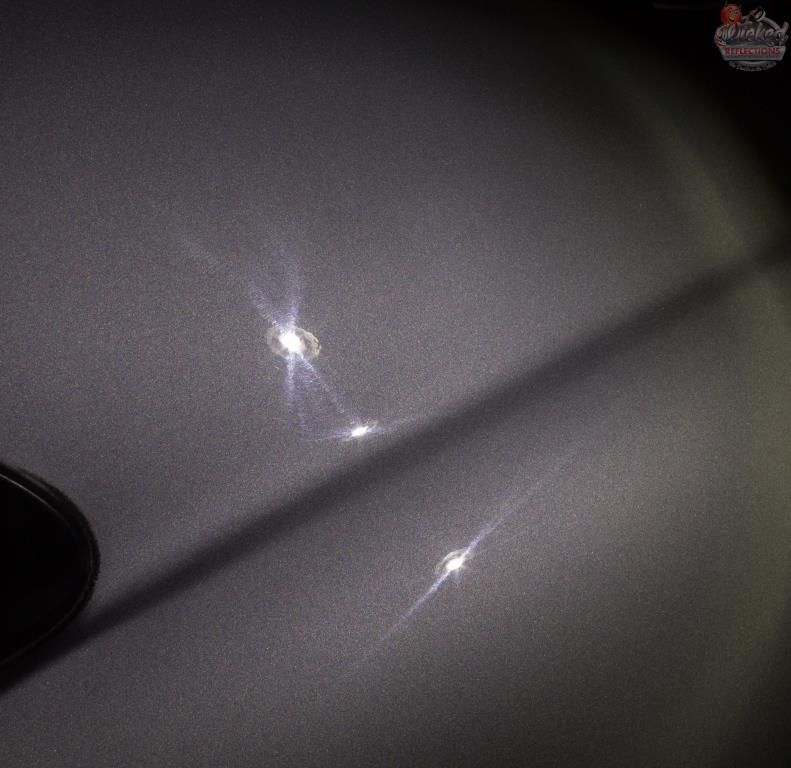
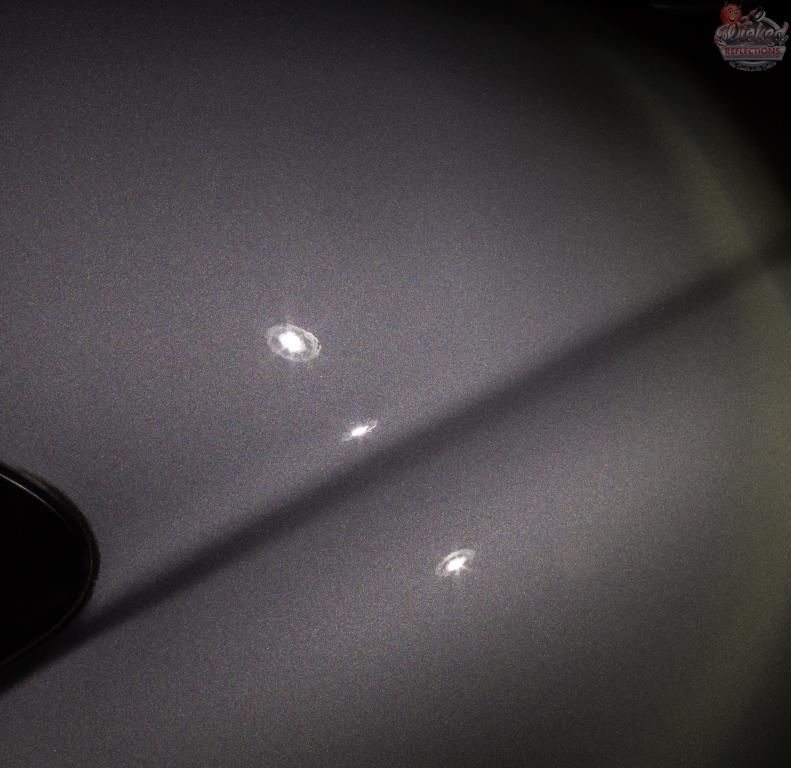
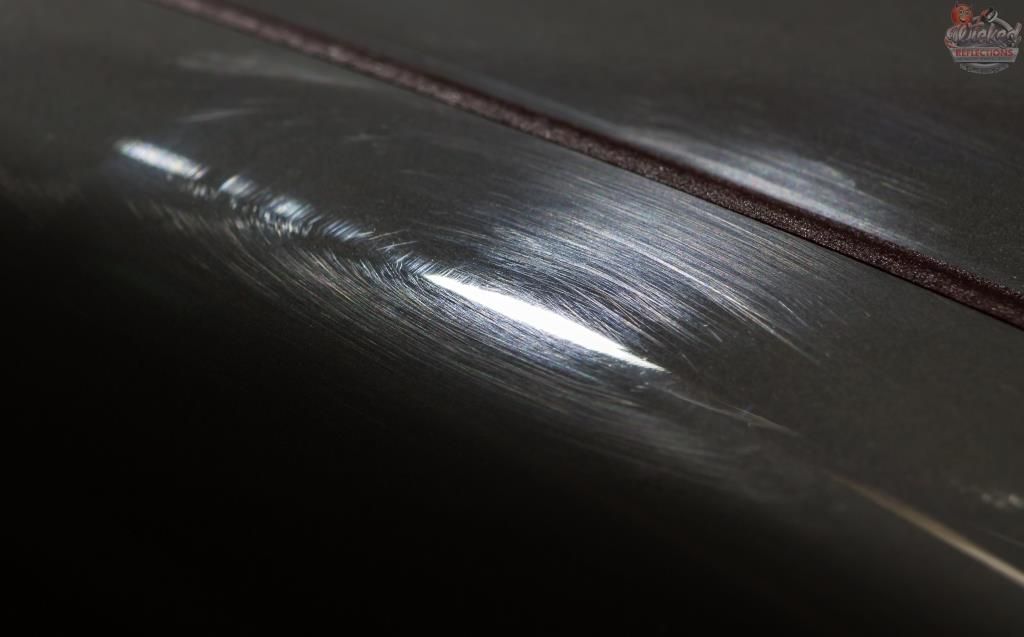
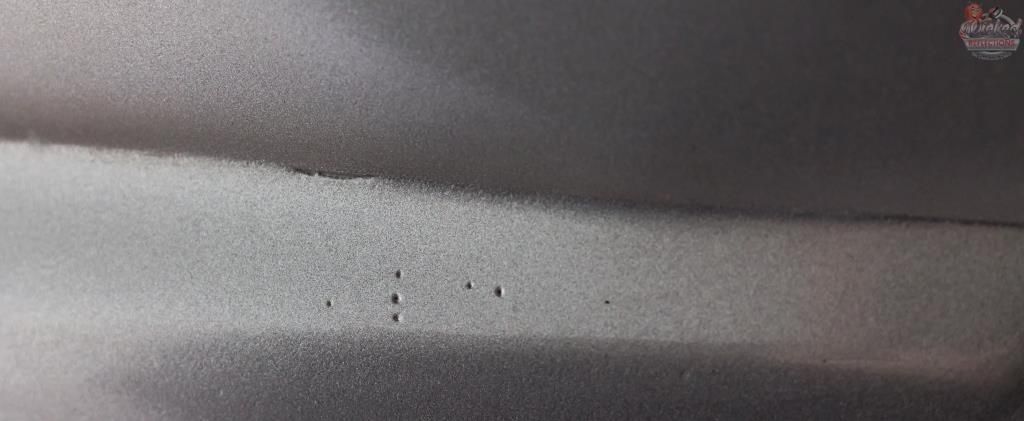
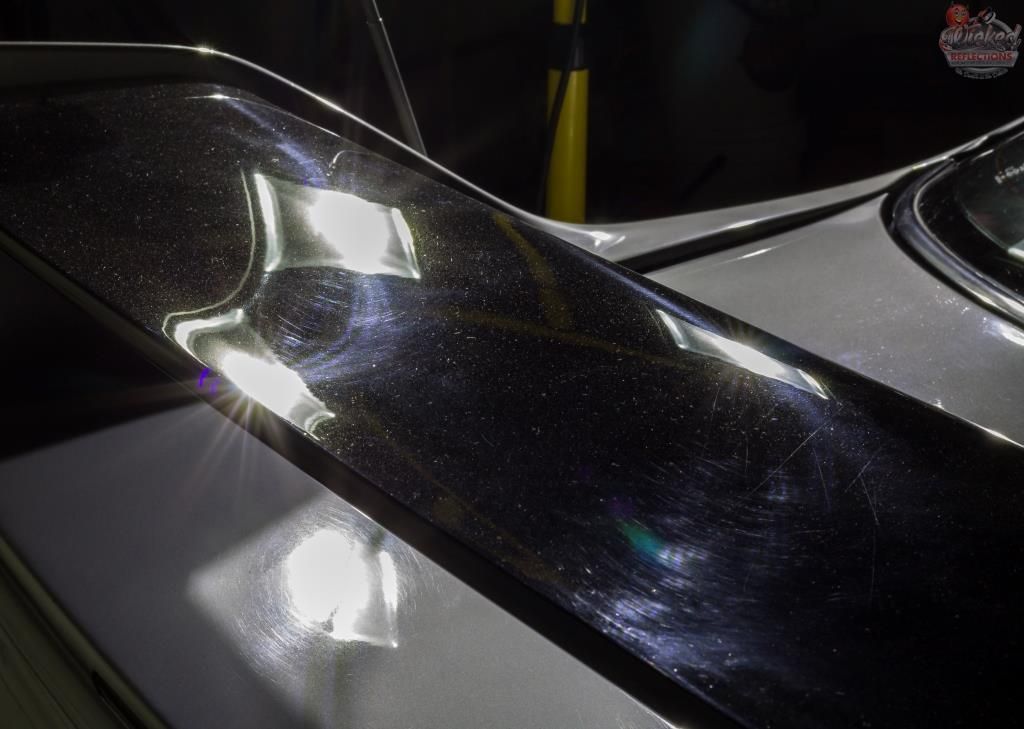
Here are a few shots of what I was dealing with... :fear:
One example of where he polished through the clear he had just laid down on the bootlid :bang:
I don`t even know what to say about this
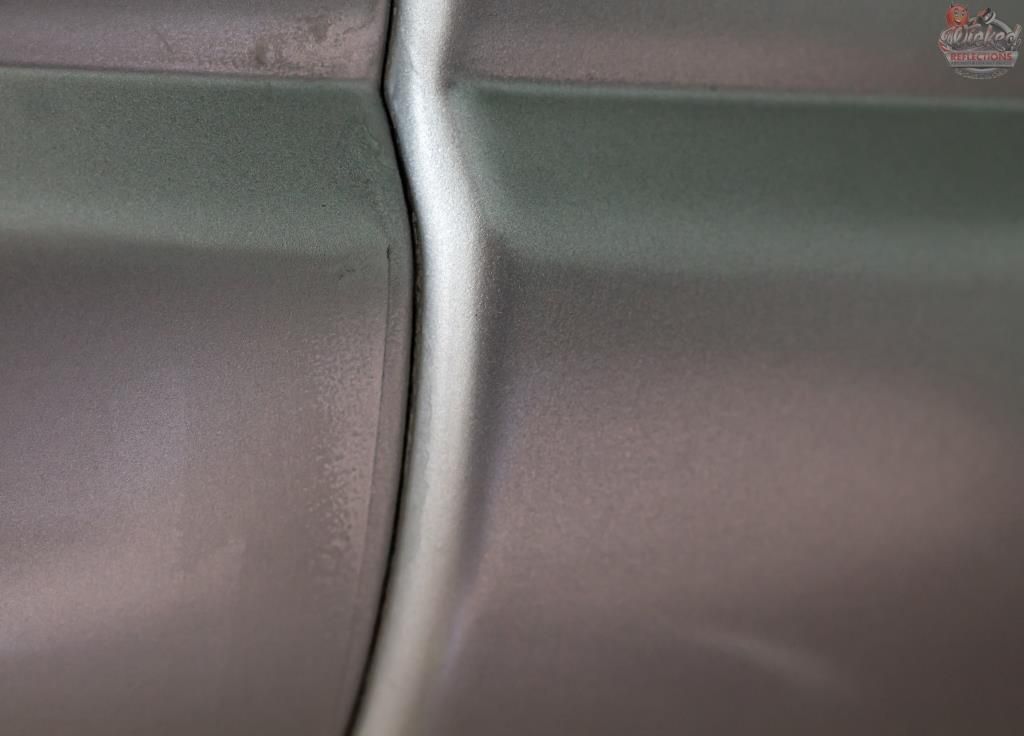
Or this...
This is the condition a repainted bumper was handed back in...it blows my mind
This was during some testing on the front spoiler - eventually settled on Menzerna FG400 on Orange Lake Country Pads followed by Menzerna SF4000 on black Lake Country Pads
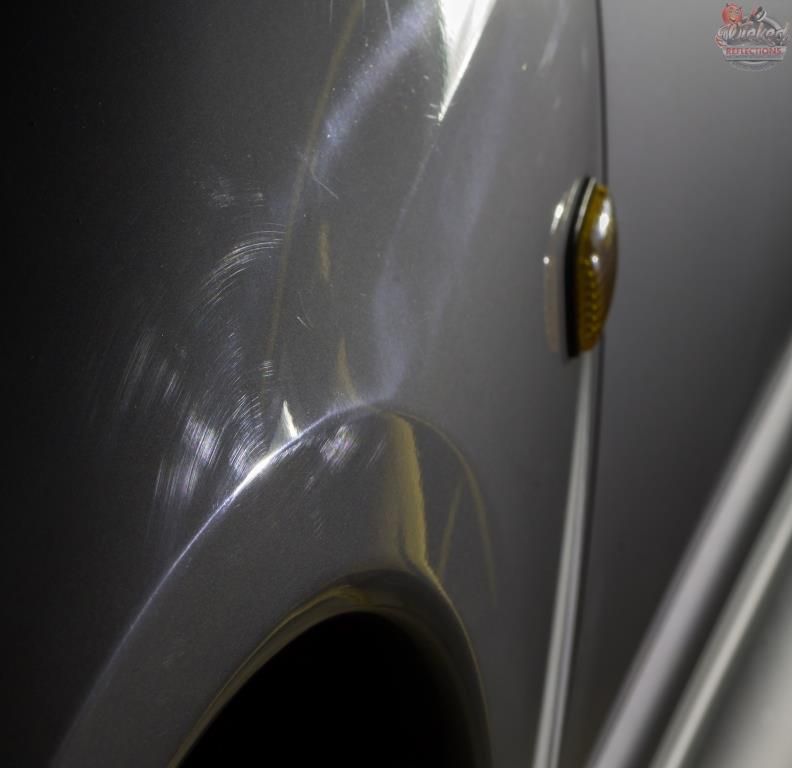
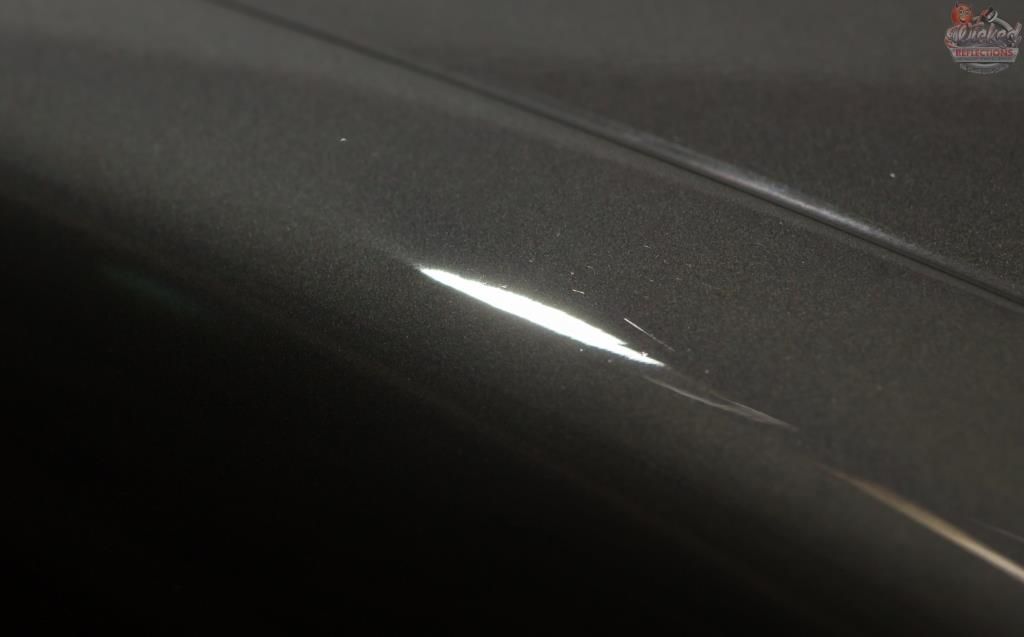
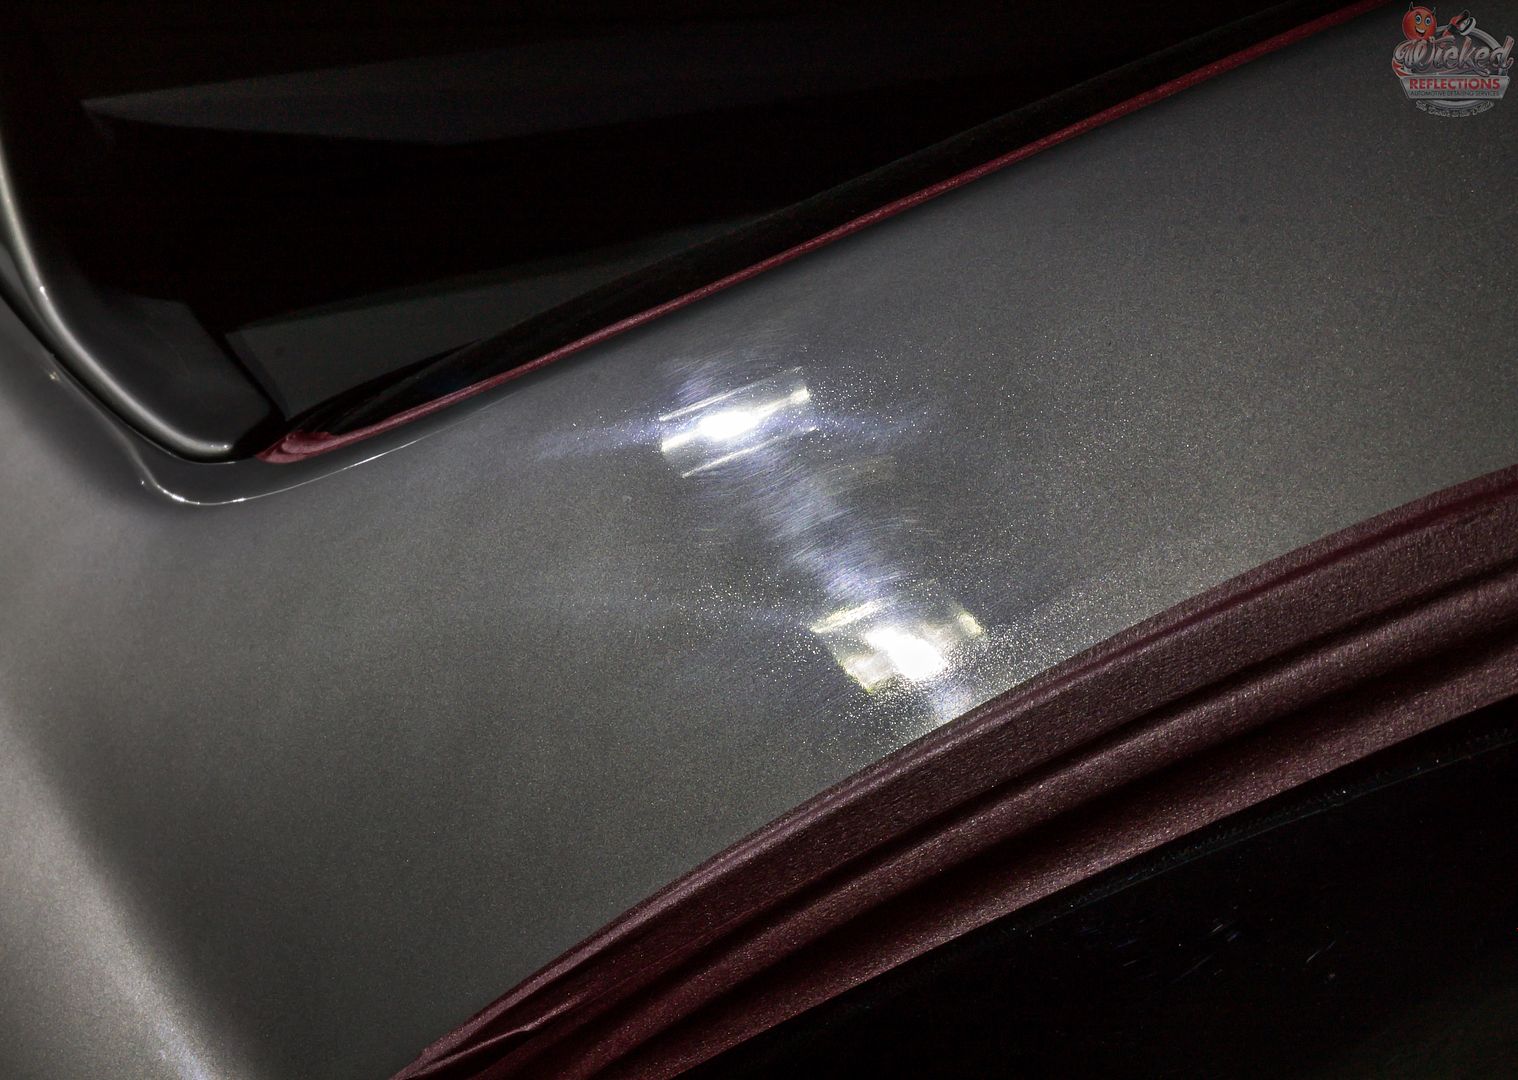
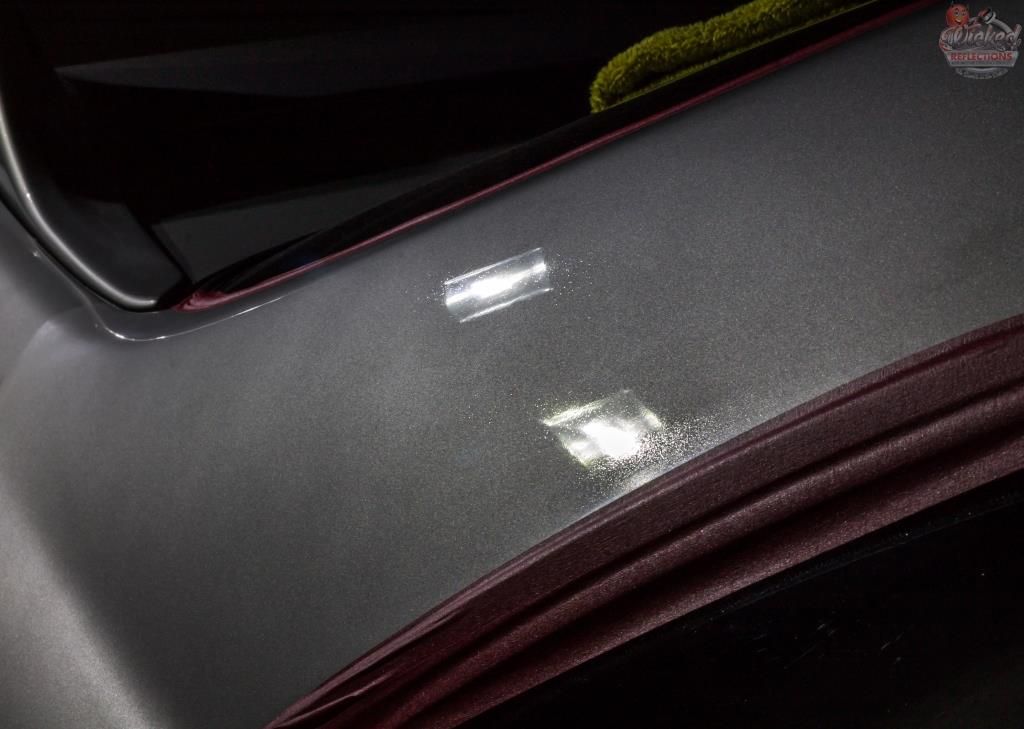
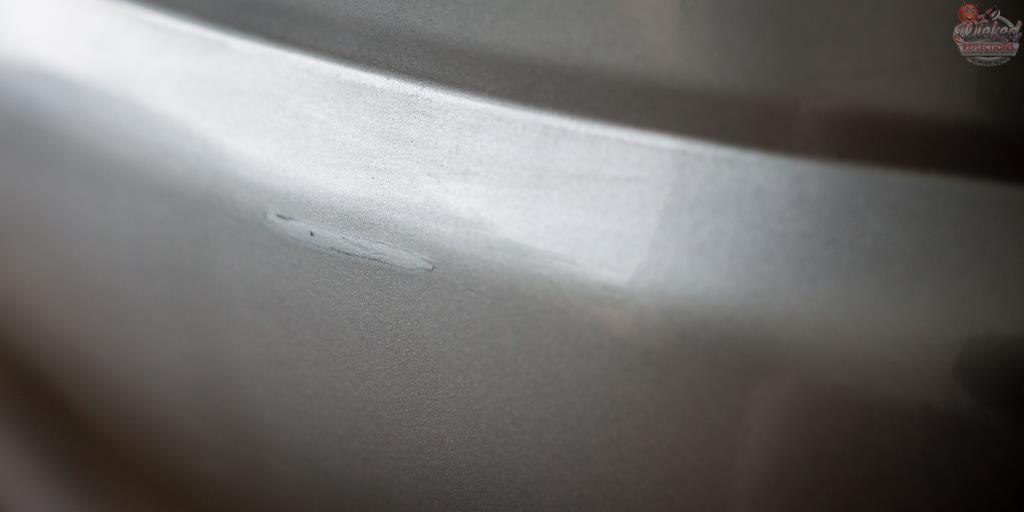
The wing before correction
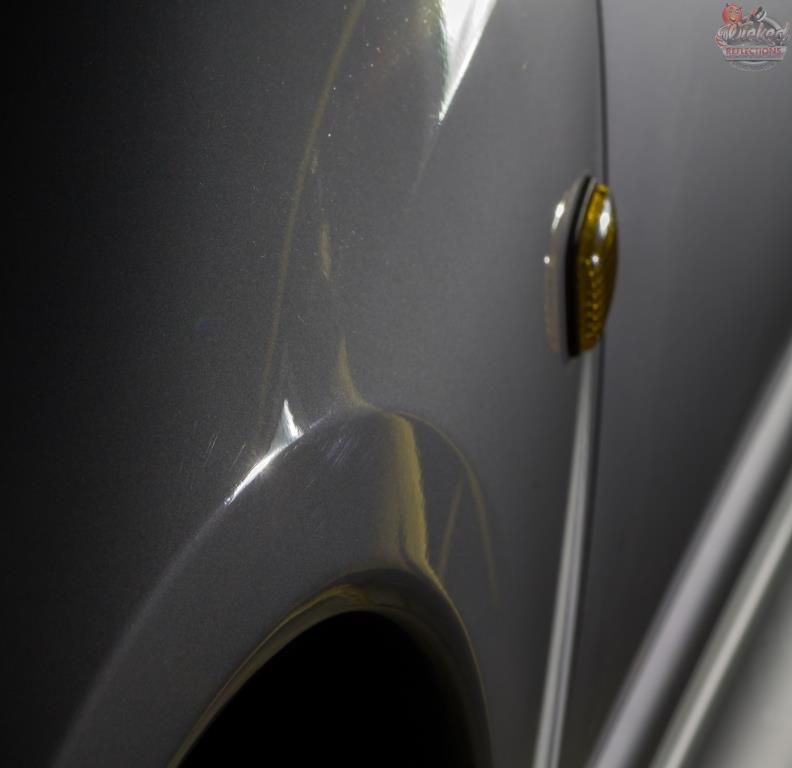
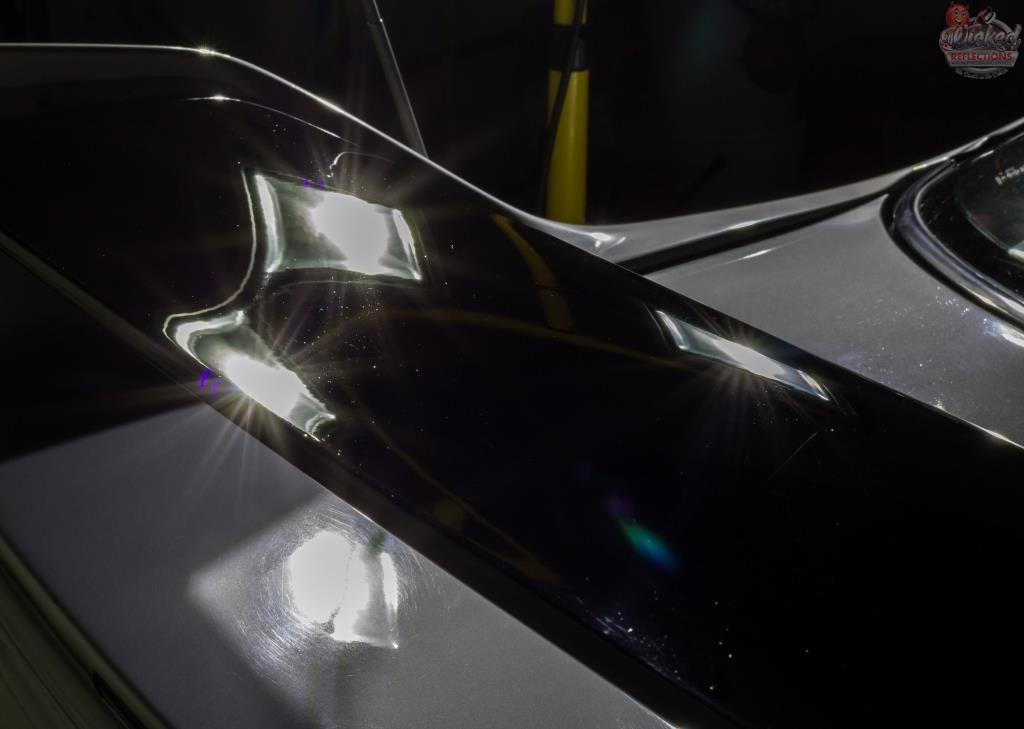
And after
With the paint corrected I applied Meguiars M80 on the repainted panels on the Shield DA using a 6" Menzerna Black pad, and protected the OEM paint using Dodo Juice Iron Gloss Sealant and later topped it with a coat of Chemical Guys Pete`s 53.
Results 1 to 8 of 8
Threaded View
-
10-14-2016, 06:51 AM #1


- Join Date
- Dec 2013
- Location
- Durban, South Africa
- Posts
- 277
- Post Thanks / Like

Spark Silver R33 Nissan Skyline GTR - Detailed by Lawrence


 Reply With Quote
Thread Information
Users Browsing this Thread
There are currently 1 users browsing this thread. (0 members and 1 guests)
Similar Threads
-
Titanium Silver BMW X3 - Detailed (3rd time) by Lawrence
By LawrenceSA in forum Click & Brag -The Detailers ShowcaseReplies: 5Last Post: 09-08-2016, 01:39 AM -
Silver Honda Jazz - Detailed by Lawrence
By LawrenceSA in forum Click & Brag -The Detailers ShowcaseReplies: 3Last Post: 05-26-2016, 07:12 AM -
Titanium Silver BMW X3 - Detailed (again) by Lawrence
By LawrenceSA in forum Click & Brag -The Detailers ShowcaseReplies: 3Last Post: 01-06-2016, 01:01 AM -
Titanium Silver BMW X3 - Detailed by Lawrence
By LawrenceSA in forum Click & Brag -The Detailers ShowcaseReplies: 0Last Post: 09-28-2015, 01:10 AM -
Solid Red Nissan GTR - Detailed by Lawrence
By LawrenceSA in forum Click & Brag -The Detailers ShowcaseReplies: 10Last Post: 06-17-2015, 03:34 PM
Bookmarks