

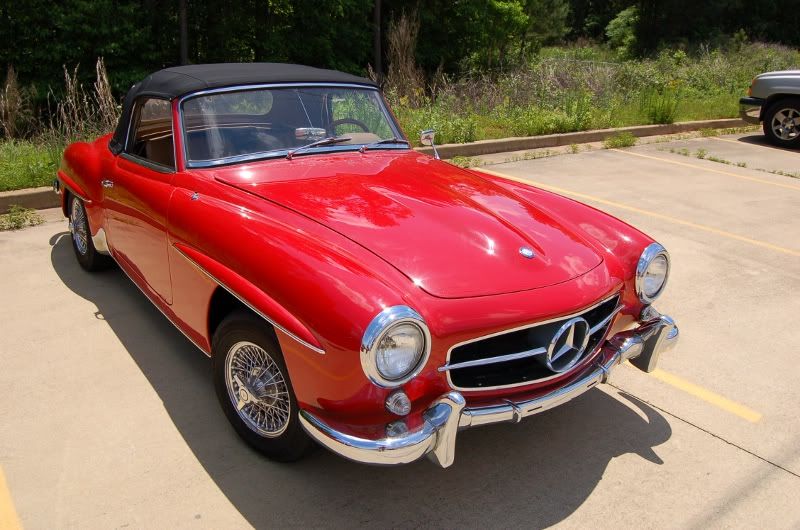
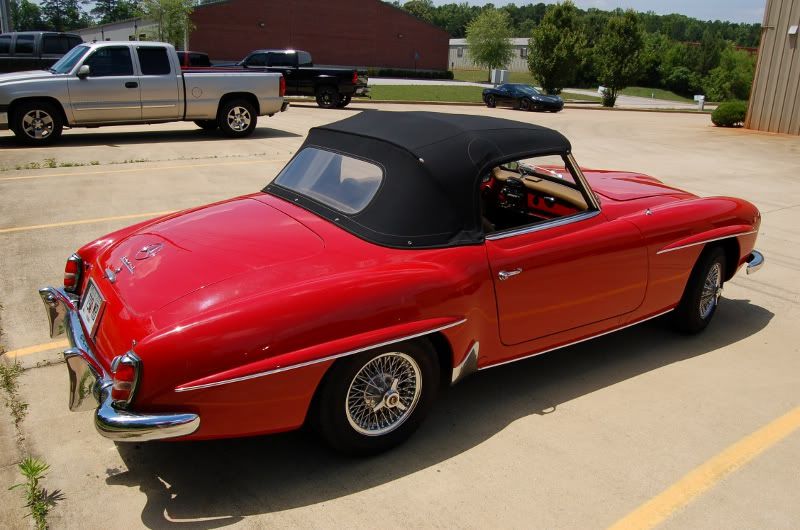
Another customer of Buds...owner saw the 280 I recently did and wanted his done to the same degree. Car was in great shape and a great turn around. Came out real well and paint really glowed after being completed.
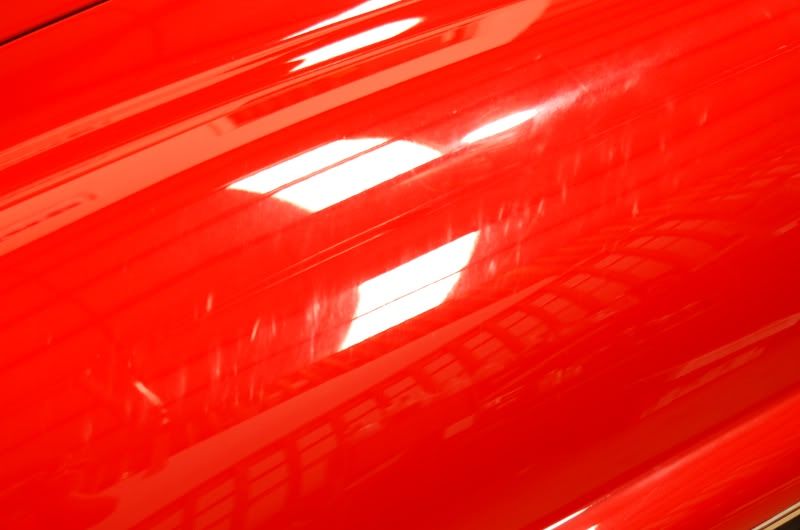
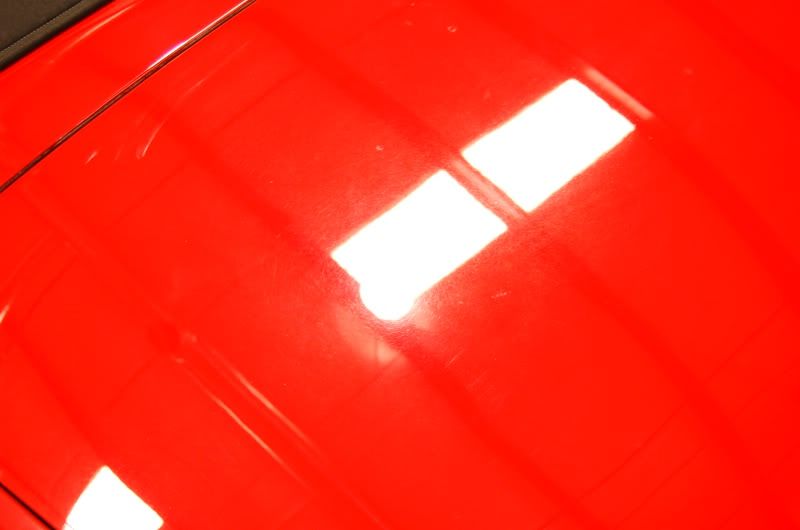
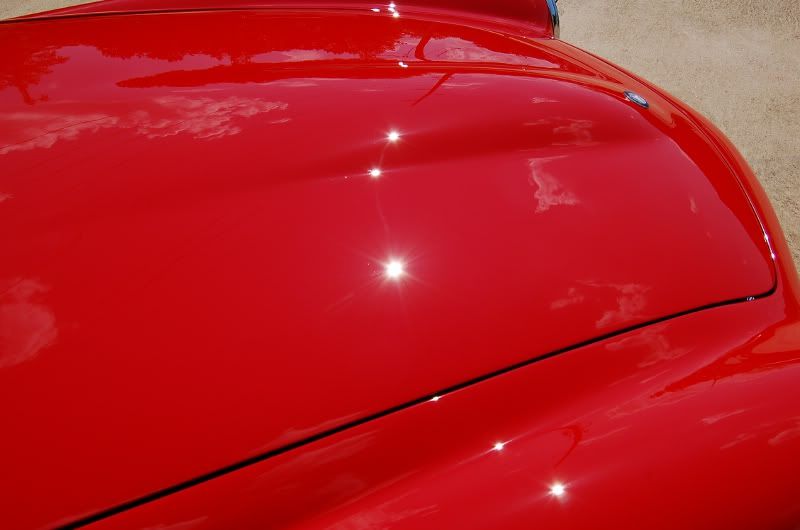
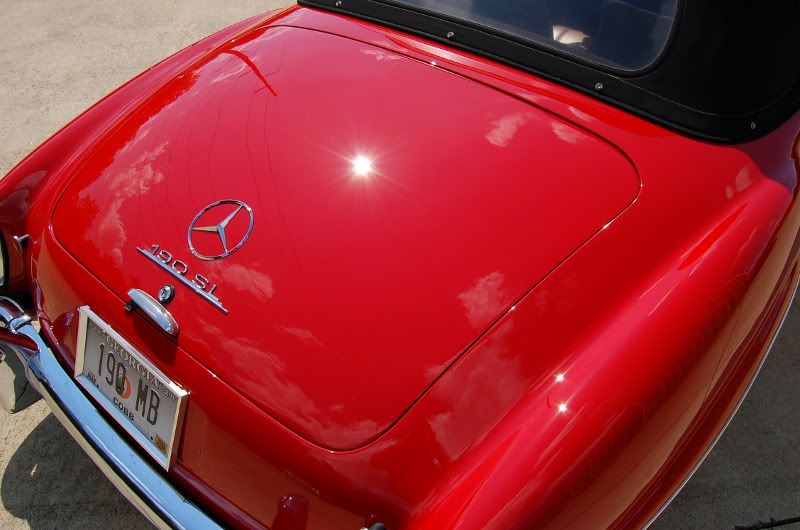
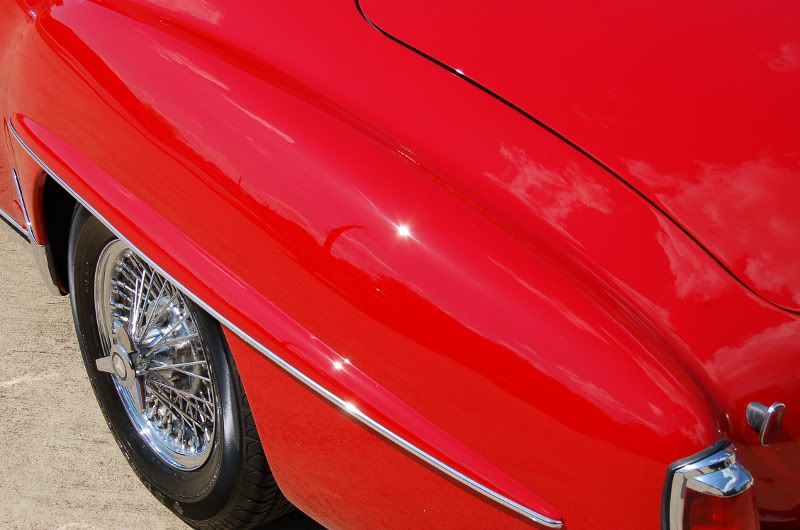
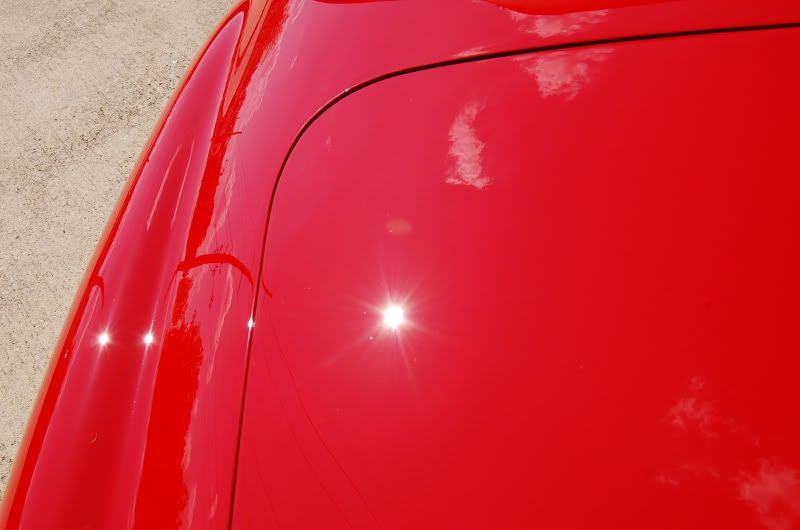
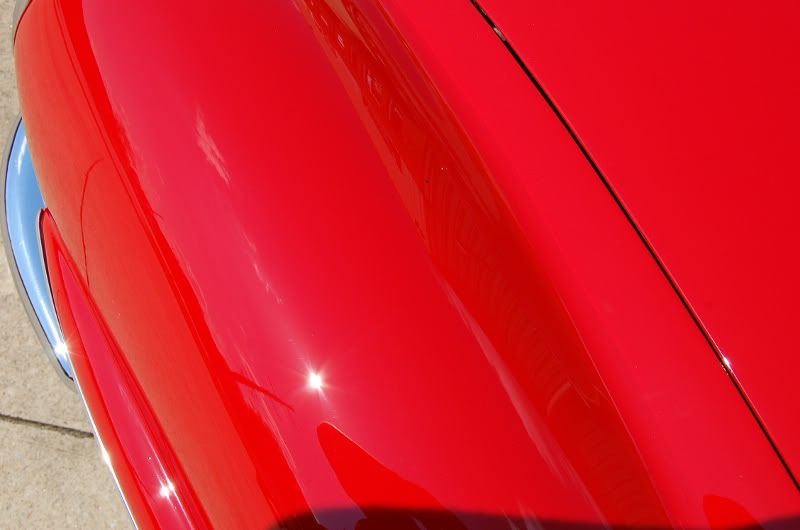
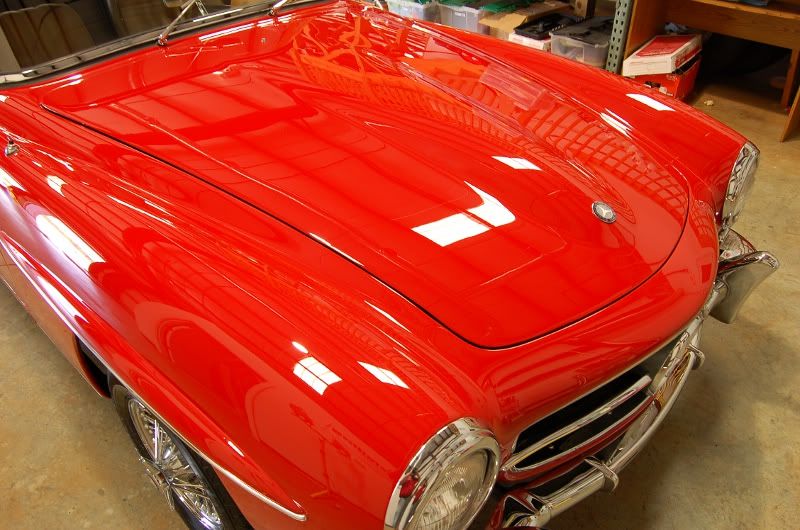
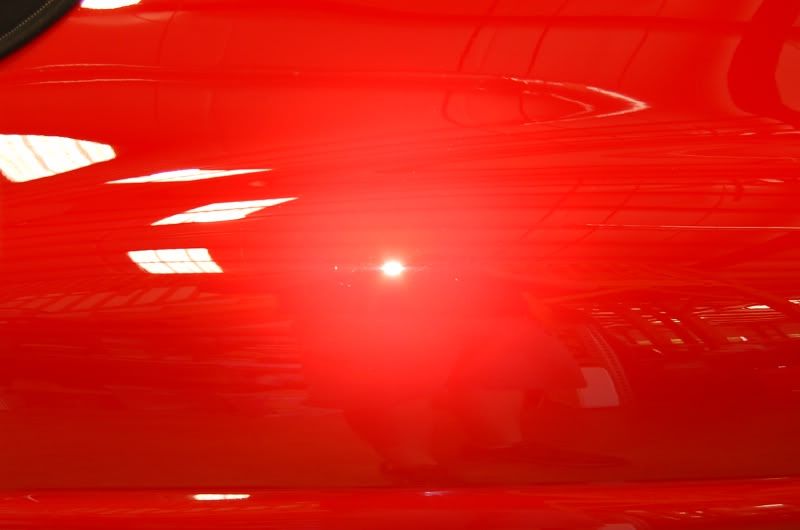
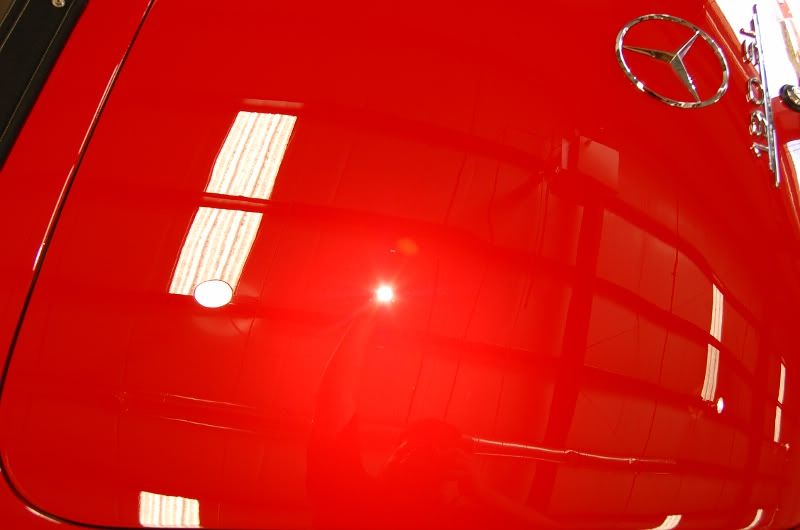
This paint was awesome to work with. 1-2 Rounds of 105/300 with the MF Cutting Pads knocked out upwards of 95-100% correction in most areas. Followed up with PO85RD and the trusty Dewalt and really brought the gloss out.
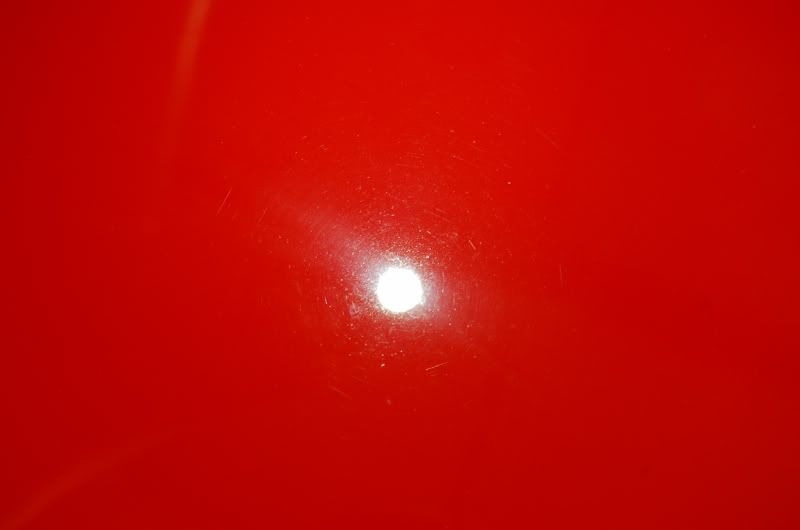
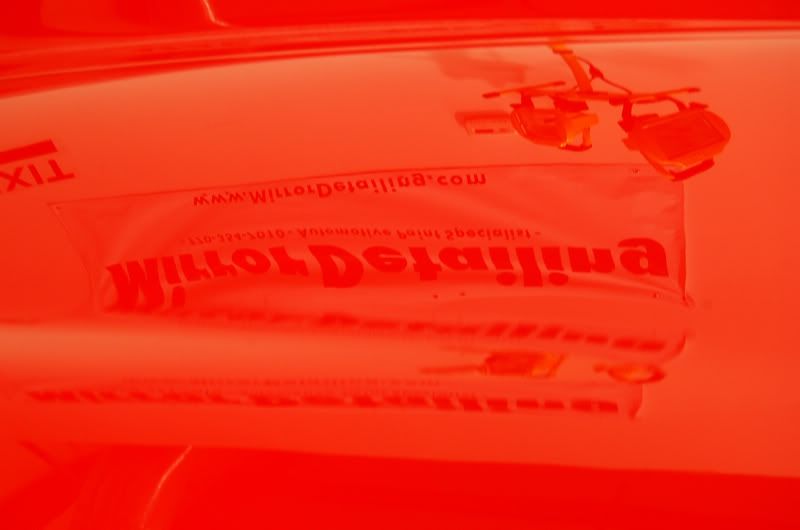
Before pictures when it was dropped off. Was a perfect day outside to really get the befores of the paint too see its condition.
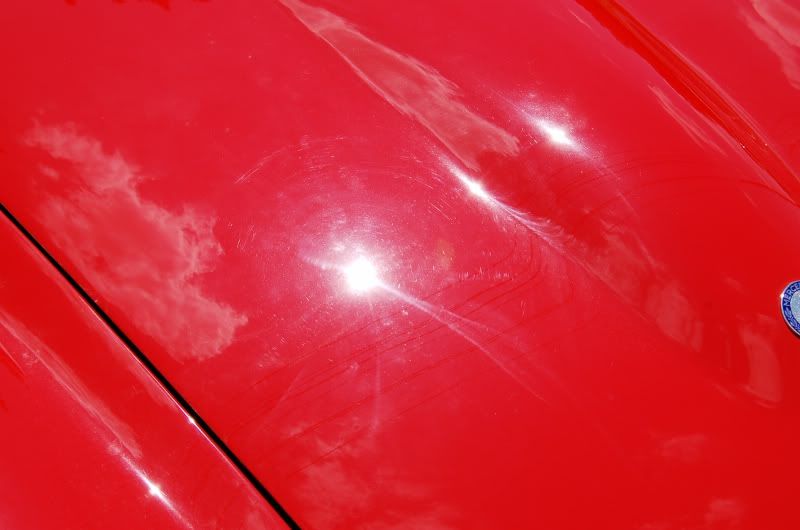
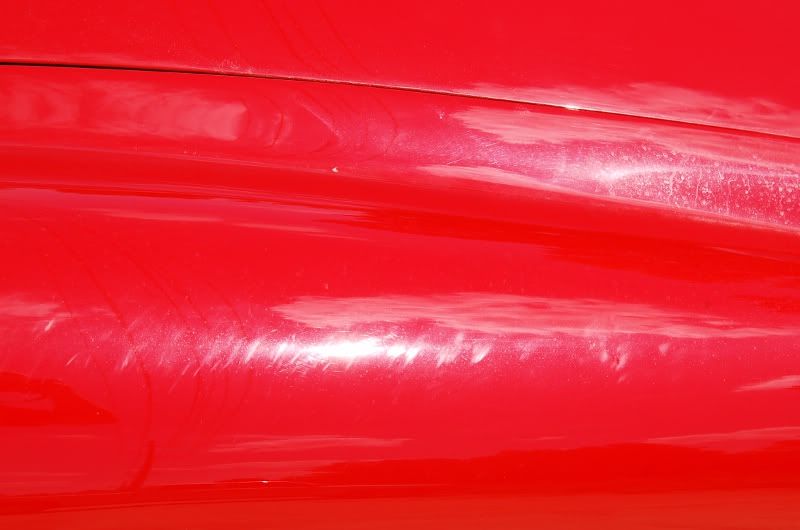
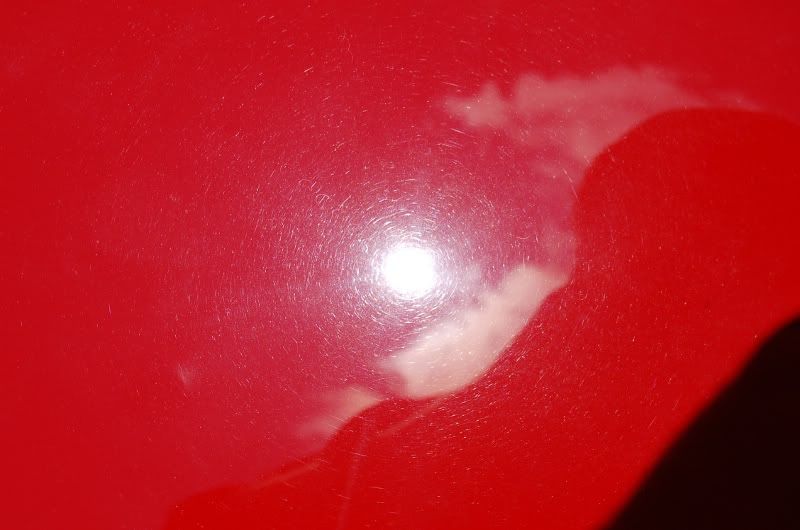
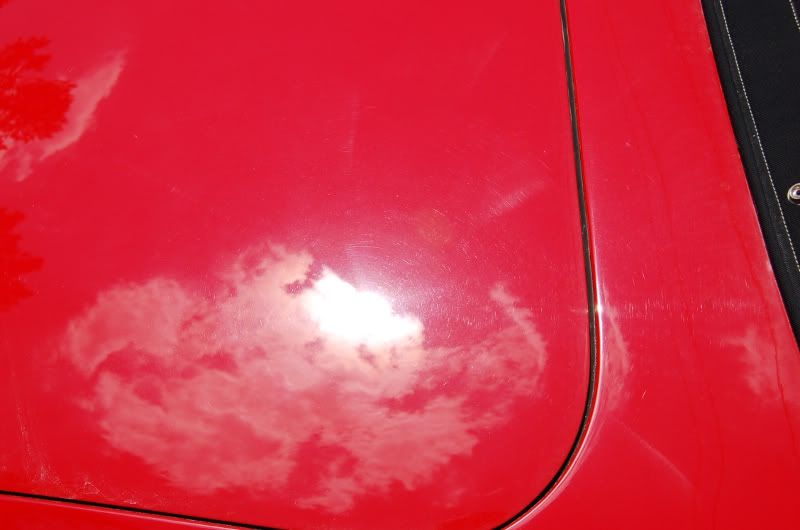
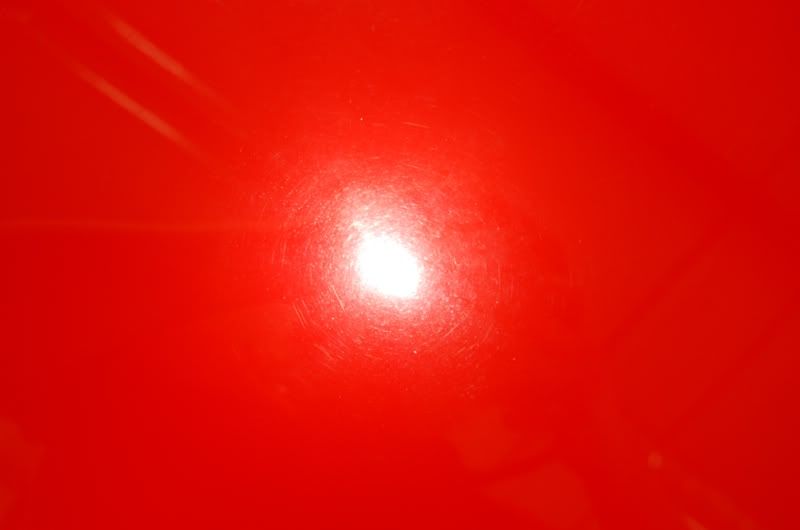
Befores. Car had been repainted years back and still had some of the sanding/DA marks in the paint and a lot of micro marring from either the sanding or buffing after being repainted.
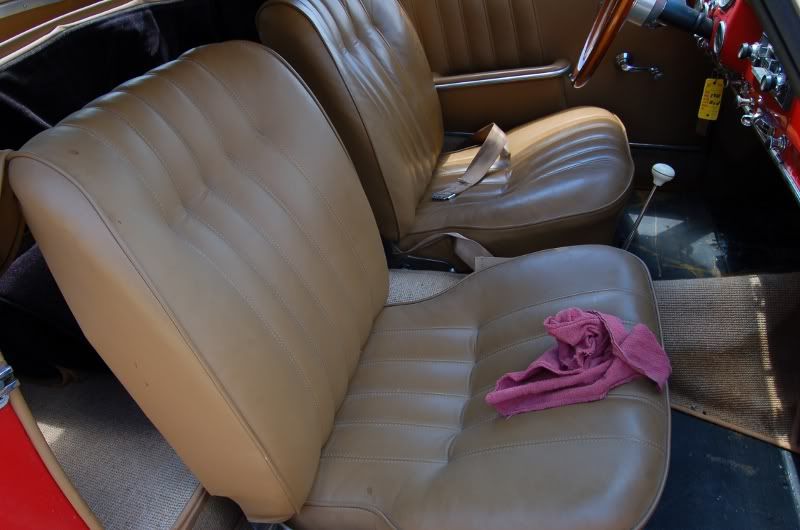
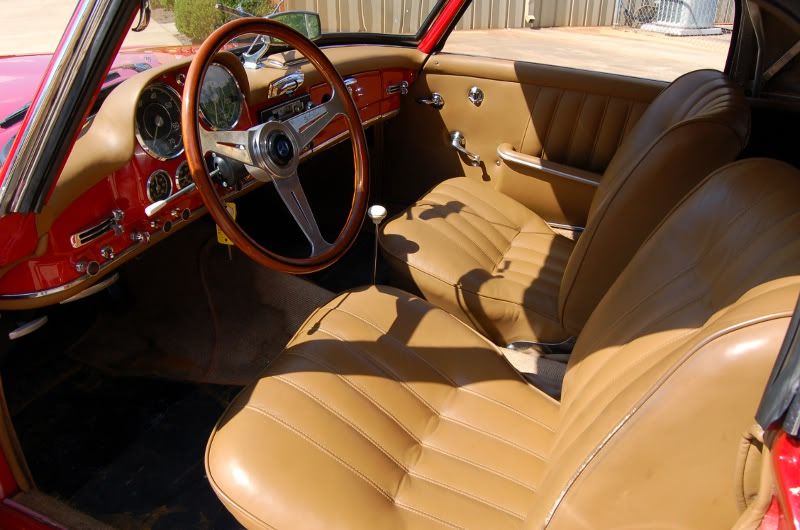
Interior was going to need some cleaning up...
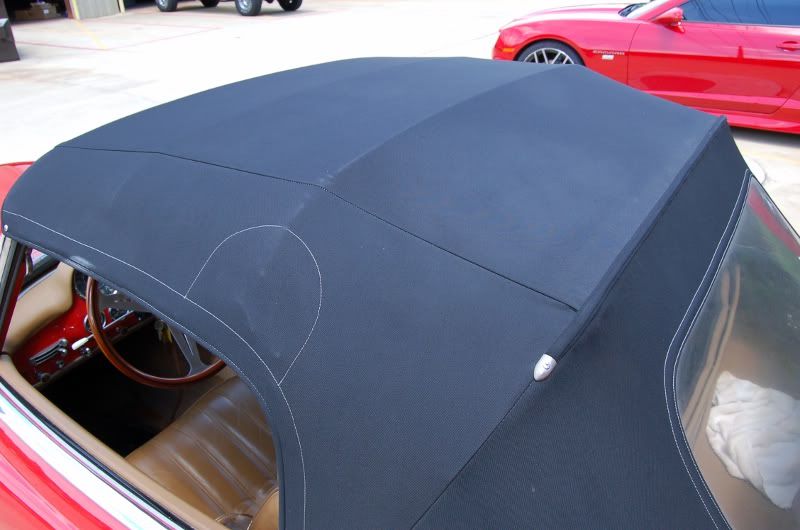
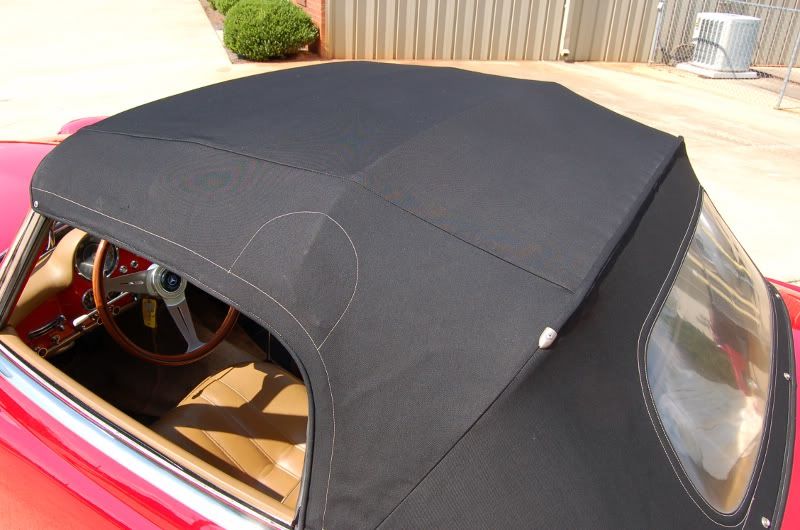
Top was looking a bit discolored and grimy..
After getting it inside...washed and clayed. Was able to see a better idea of the paint and get some pictures of it cleaned up prior to any correction work...
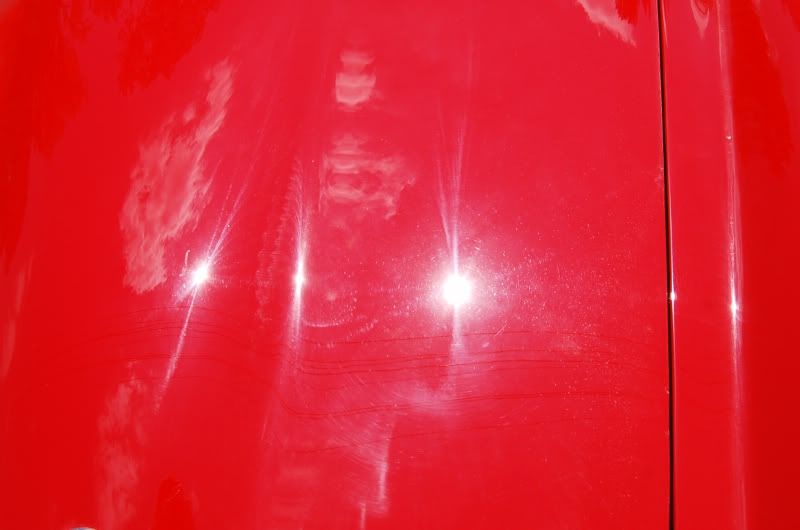
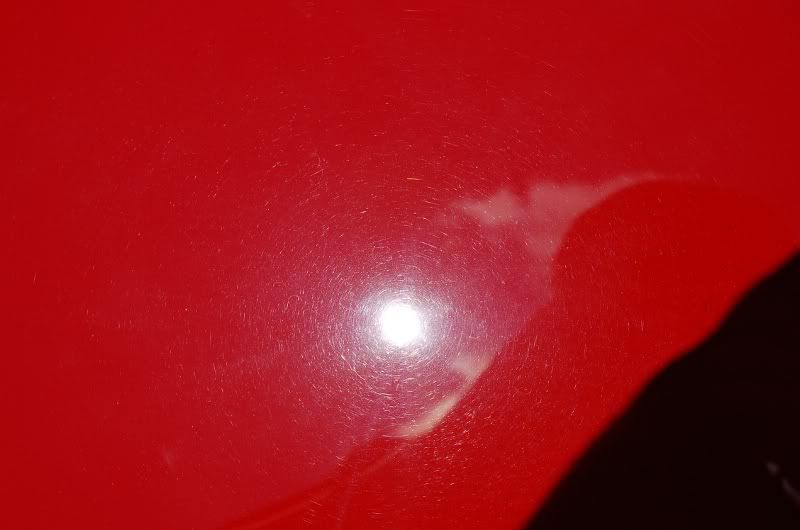
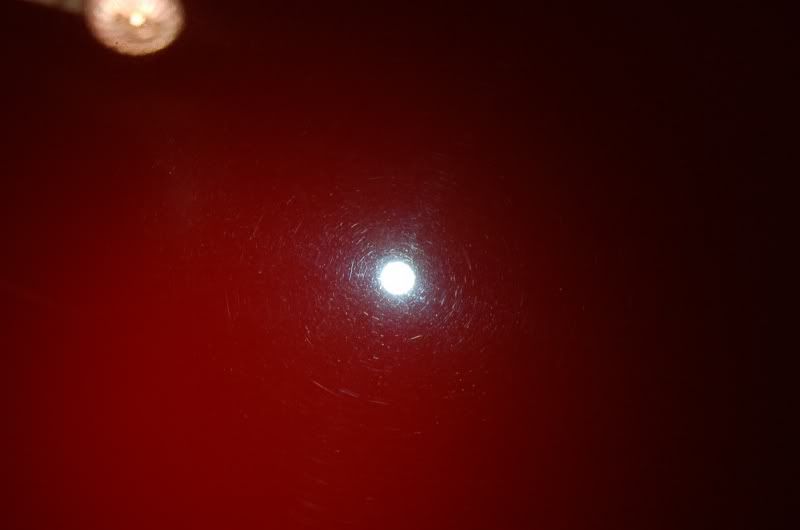
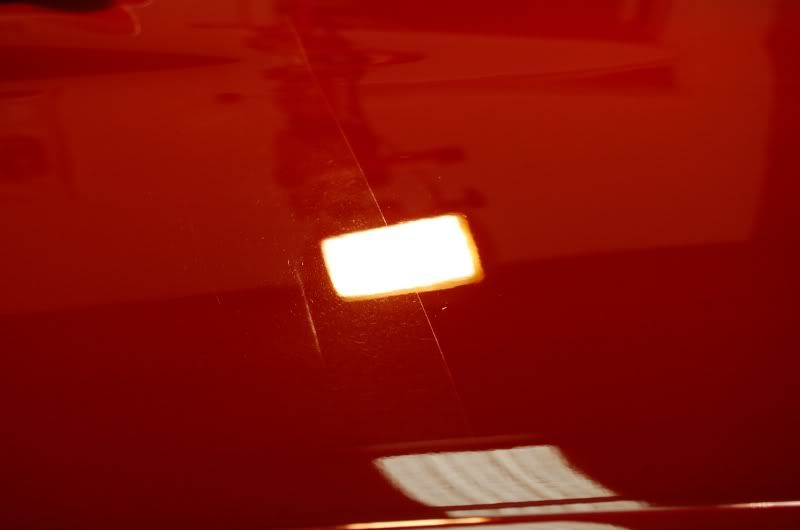
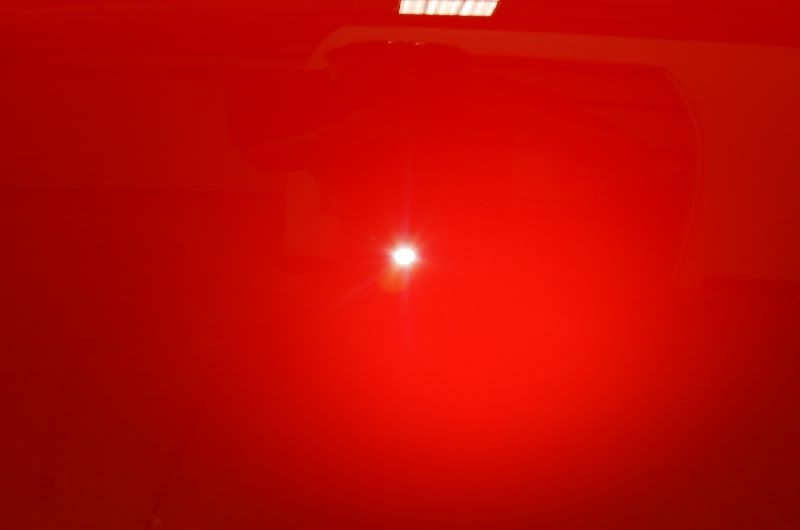
My test area before...overhead light and LED light...
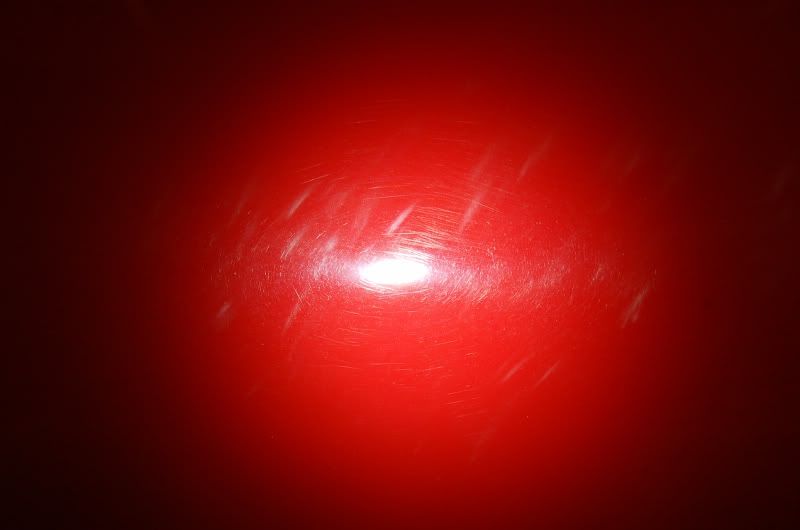
Half and Half...
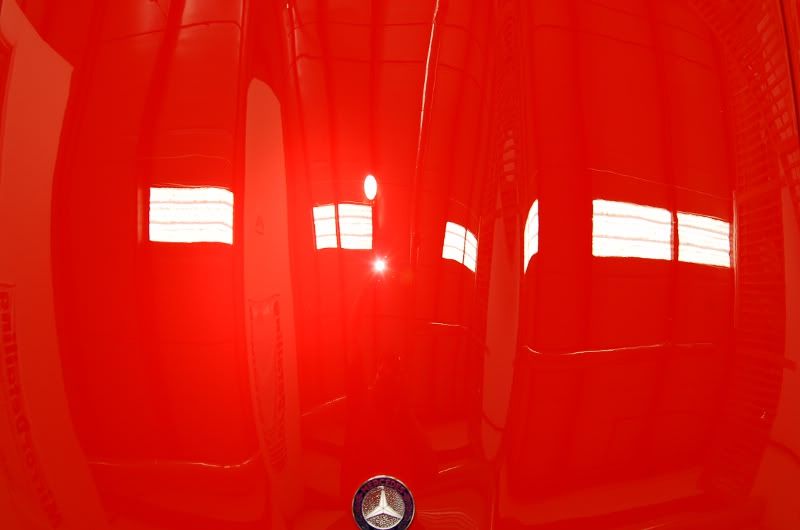
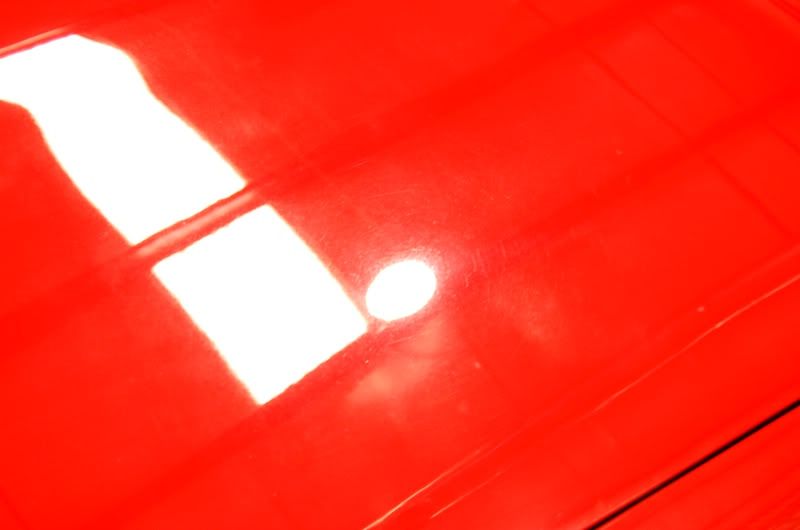
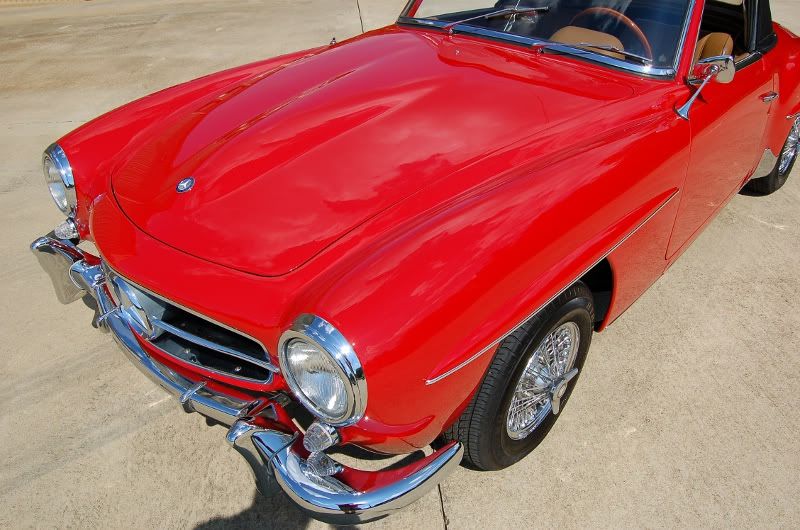
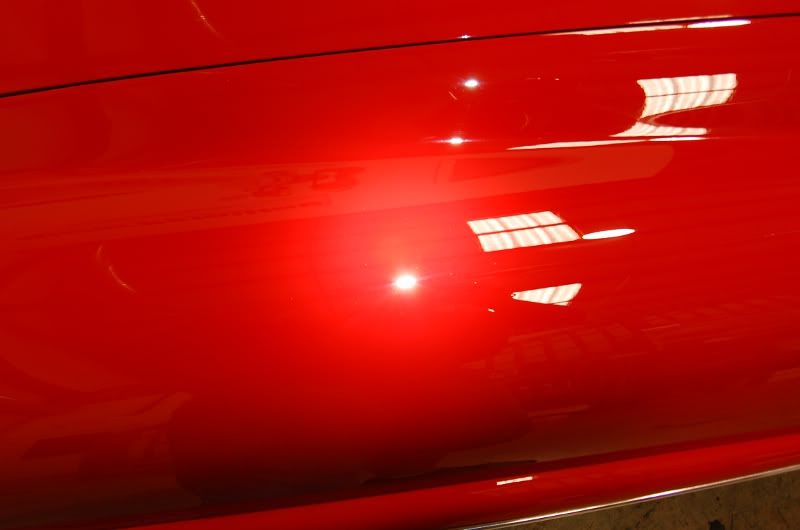
After...
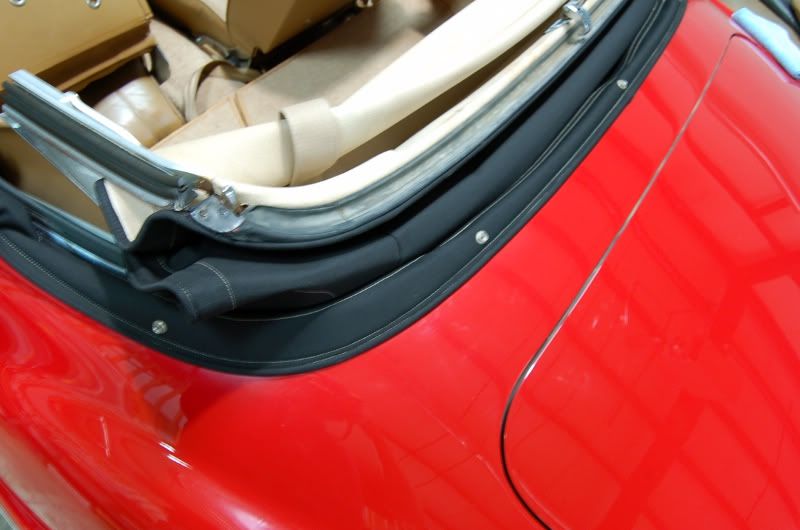
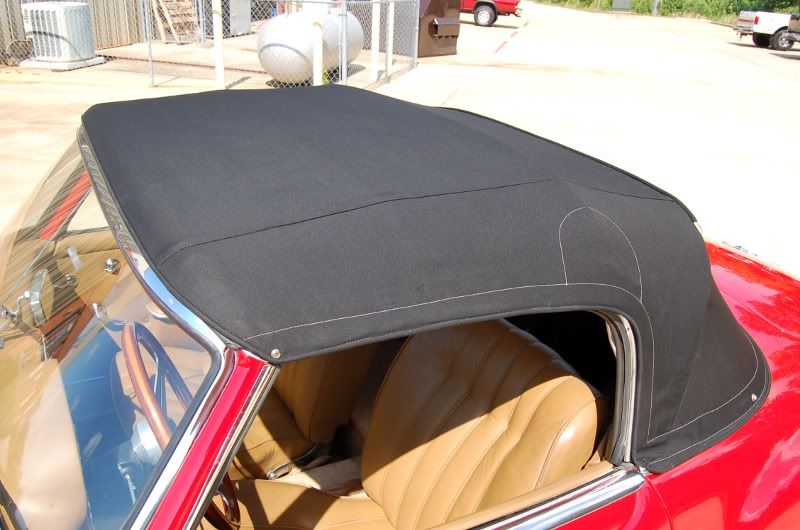
Now onto the top...after washing the grime off the top and before treating it, you can see the amount of stuff that came out of it. Raggtopp Convt Top Cleaner does an awesome job as always.
Also with the top, with a car like this you have to release the convt top fully into its storage area so you can work all the way up the edge. Good thing its rather simple with these old cars...lol
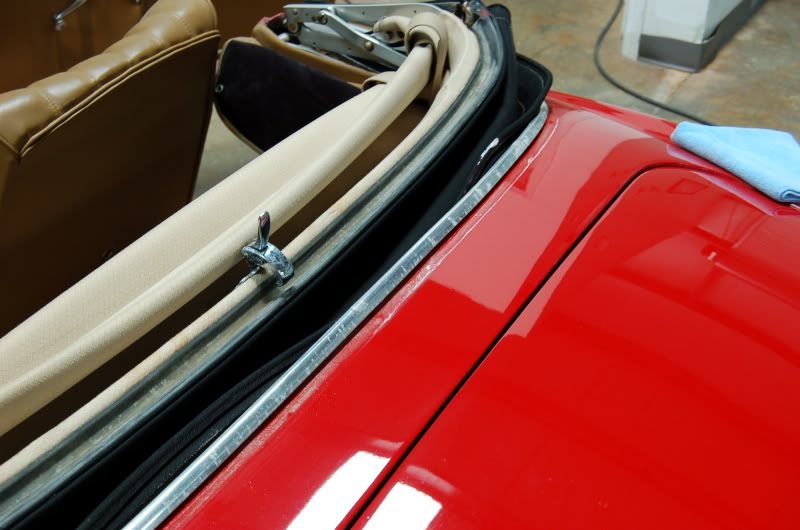
Before...
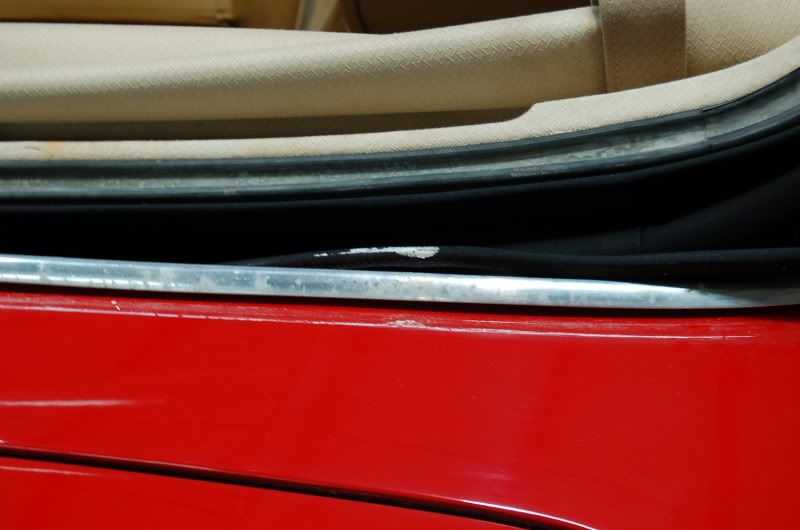
Removed...
And find things like this. A present from the previous detailer.
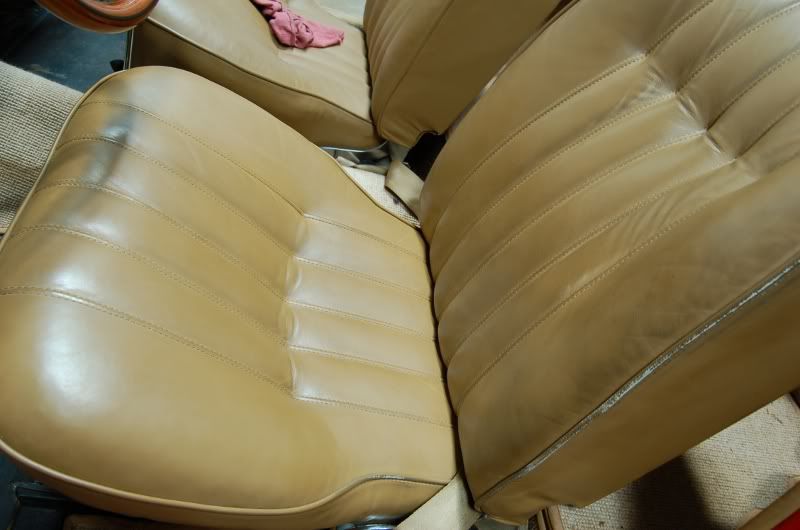
After finishing buffing...moved too the interior. Seats were pretty bad and took a lot of scrubbing to get years of grime out of them. Back of the seat untouched, bottom cleaned...
Both sides done...
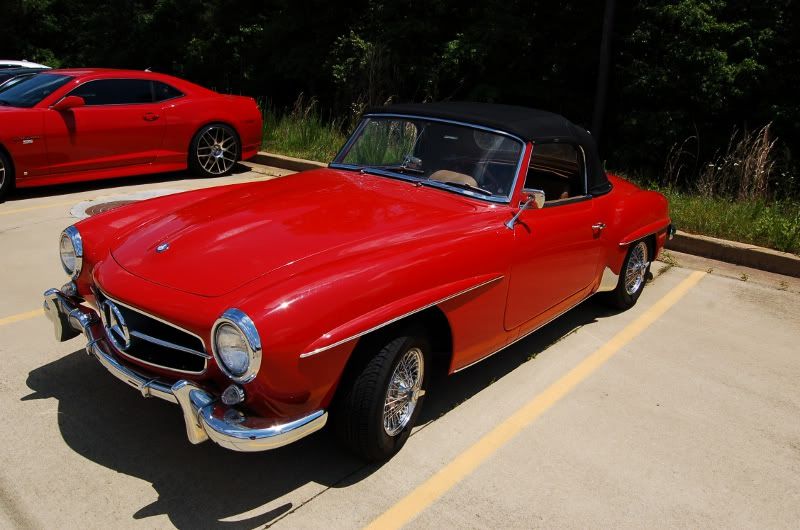
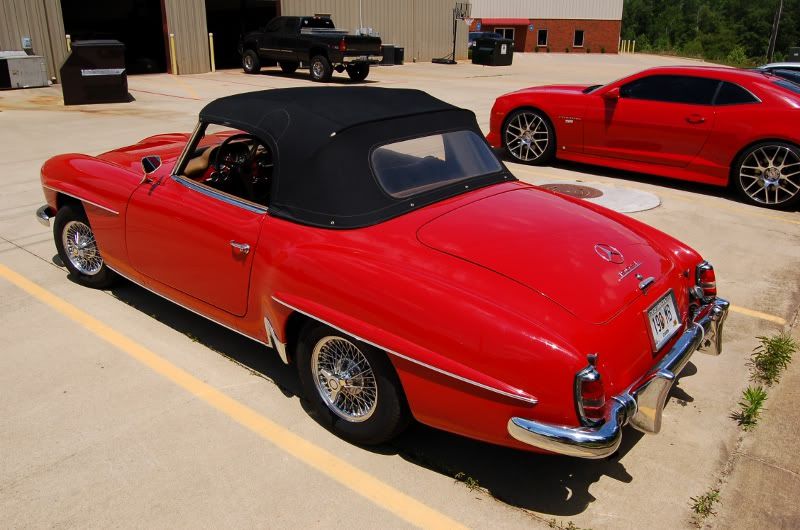
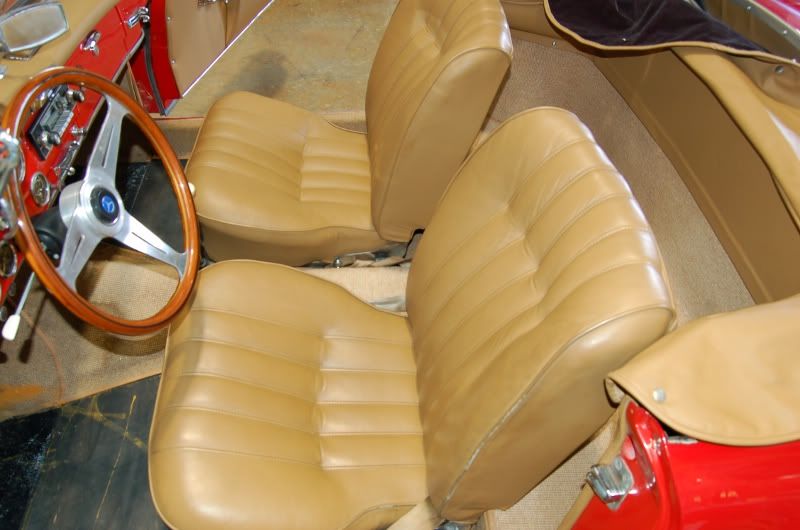
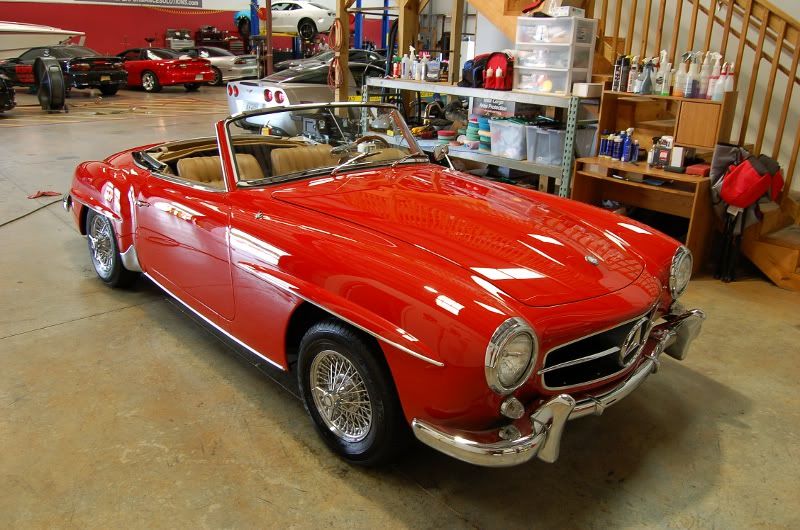
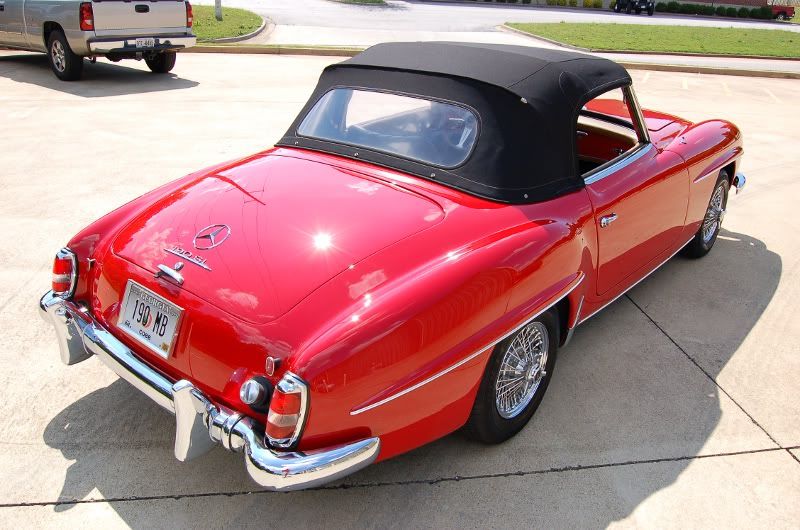
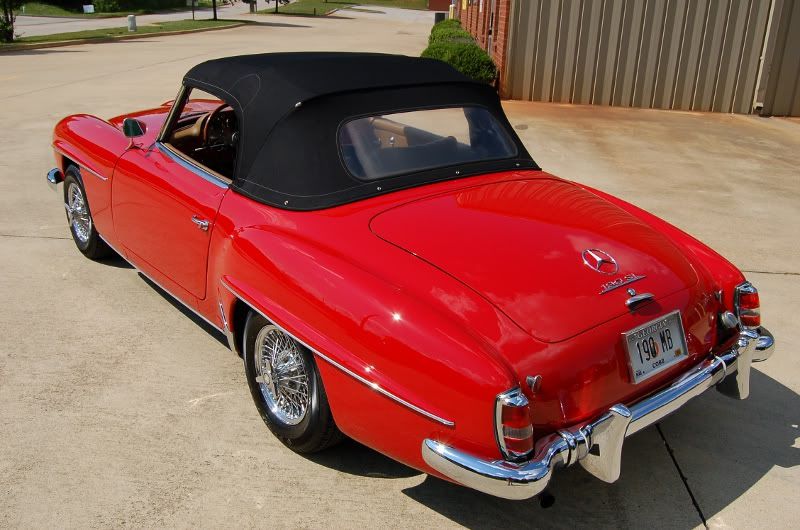
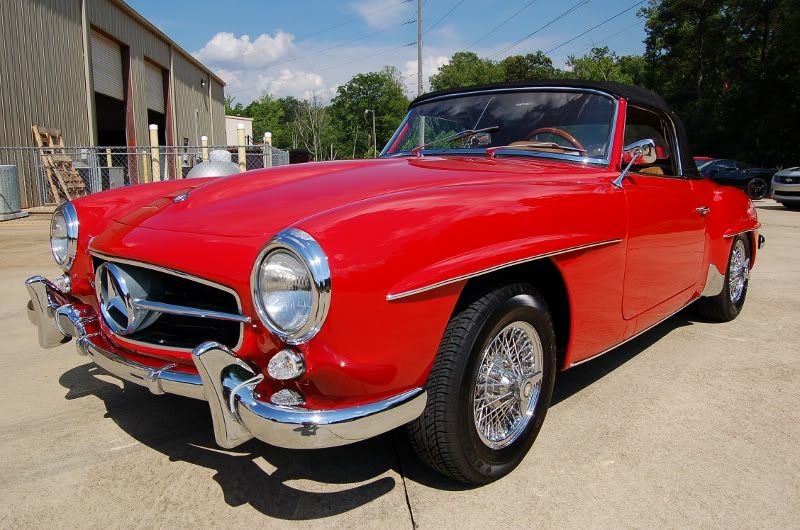
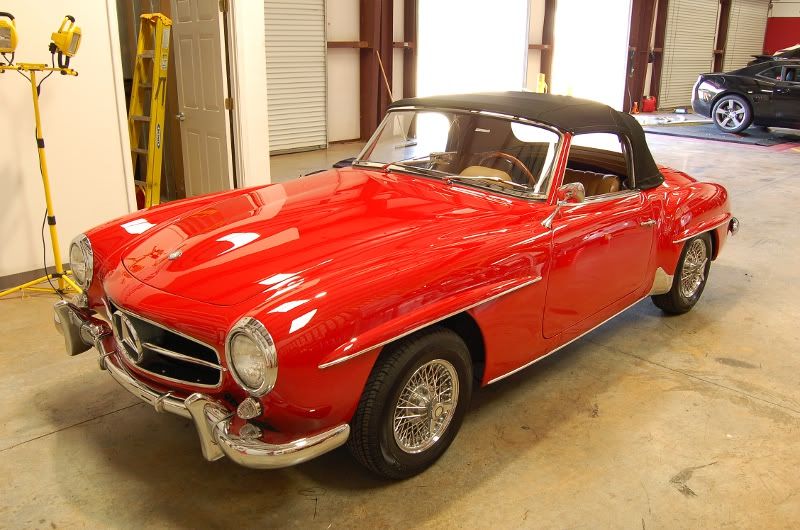
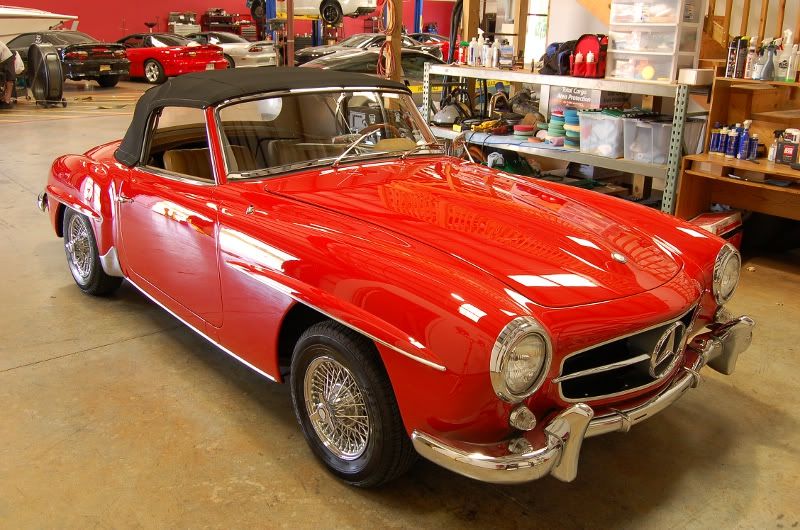
After getting everything done, got some pictures with the top down before I put it up and took it outside for afters...
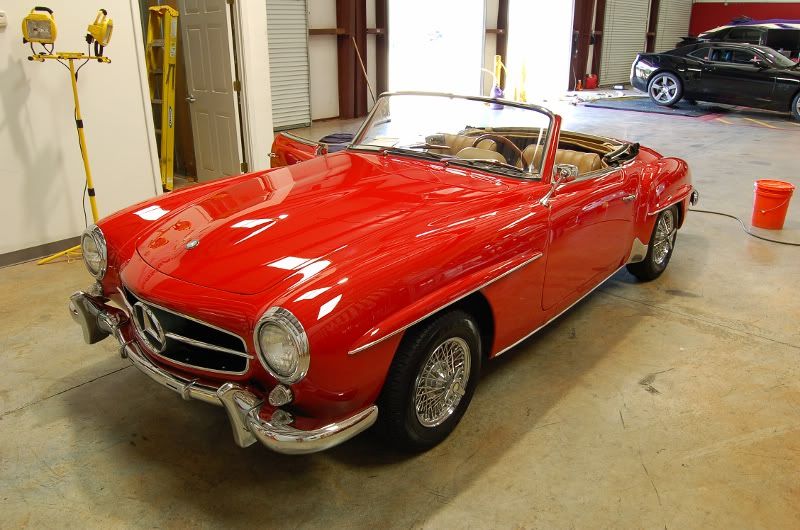
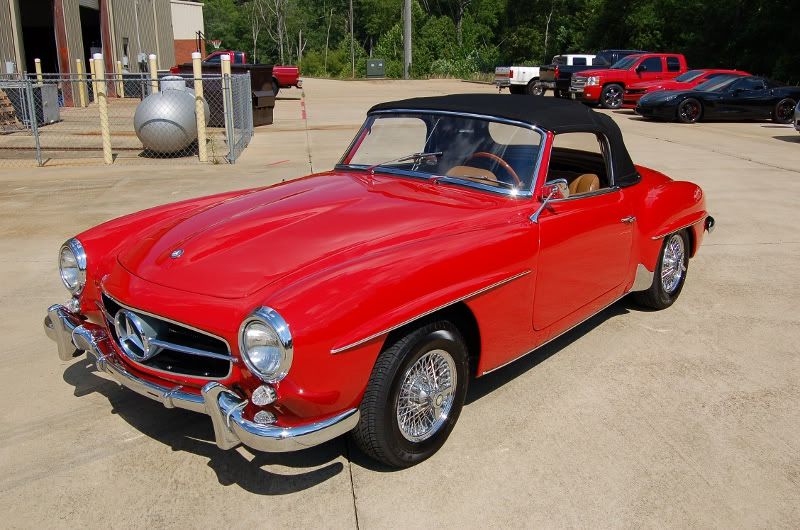
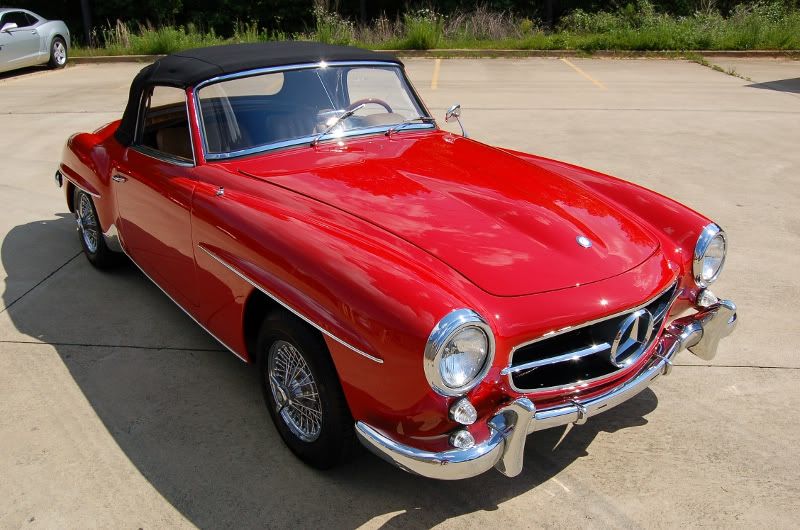
Now outside into the sun for the afters...
Now back inside and waiting on the customer. Figured I would get some more afters...
Results 1 to 11 of 11
-
05-18-2012, 09:08 PM #1


- Join Date
- Dec 2009
- Posts
- 565
- Post Thanks / Like

-
05-18-2012, 10:20 PM #2
- Join Date
- Mar 2010
- Location
- Nashville
- Posts
- 494
- Post Thanks / Like
awesome! the difference in the seats is amazing
-
05-18-2012, 11:13 PM #3
- Join Date
- Oct 2001
- Location
- Arlington, TX
- Posts
- 34,077
- Post Thanks / Like
Damn fine work!

-
05-19-2012, 07:17 AM #4

- Join Date
- Oct 2009
- Location
- Charlotte, NC
- Posts
- 2,257
- Post Thanks / Like
Very nice Mike! Especially the interior, that leather was gross. Great job man!:clap:
-
05-19-2012, 04:00 PM #5
- Join Date
- Dec 2009
- Location
- Montgomery AL
- Posts
- 456
- Post Thanks / Like
Nice work Mike!
-
05-19-2012, 05:15 PM #6
- Join Date
- May 2004
- Location
- Portland OR
- Posts
- 12,745
- Post Thanks / Like
Unreal result!!!
What was the protection you used?
-
05-19-2012, 08:32 PM #7
- Join Date
- Dec 2009
- Posts
- 565
- Post Thanks / Like
 Originally Posted by someidiot
Thanks.
Originally Posted by Scottwax
Thanks Scott.
Originally Posted by mikenap
Thanks Mike. Yeah....mildew grime from sitting under a convt top for 4 years with windows that had a slight air gap = nasty seats.
Originally Posted by dfazekas
Thanks Donald.
Originally Posted by thomasdekany
Thanks Thomas. The LSP was WGDGPS. I do not think there is a better lsp for bright reds. It is my go too lsp for any bright color red car.
-
05-19-2012, 08:36 PM #8
- Join Date
- May 2004
- Location
- Portland OR
- Posts
- 12,745
- Post Thanks / Like
:behindsofa: Ok! What`s that?
WGDGPS
-
05-19-2012, 08:44 PM #9
- Join Date
- Dec 2009
- Posts
- 565
- Post Thanks / Like
Originally Posted by thomasdekany
Wolfgang Deep Gloss Paint Sealant...thought everyone knew that one. lol
-
05-19-2012, 08:50 PM #10
- Join Date
- May 2004
- Location
- Portland OR
- Posts
- 12,745
- Post Thanks / Like
I see - haven`t used Wolfgang.
-
05-20-2012, 09:44 PM #11
- Join Date
- Aug 2012
- Posts
- 2,059
- Post Thanks / Like
Fantastic work. You completely turned that paint job. Looked like a lot of D.A. sanding marks in it before.


 Reply With Quote
Thread Information
Users Browsing this Thread
There are currently 1 users browsing this thread. (0 members and 1 guests)
Similar Threads
-
Mercedes 190SL by Metropolitan Detail
By JohnKleven in forum Click & Brag -The Detailers ShowcaseReplies: 5Last Post: 07-18-2012, 07:59 AM -
Mirror Detailing - `65 Mercedes 280SL Restoration Car & 2010 STI 1-Step
By MirrorDetailing in forum Click & Brag -The Detailers ShowcaseReplies: 8Last Post: 05-10-2012, 07:52 AM -
1962 Mercedes Benz 190SL Roadster *Worse Body Shop Work EVER*
By MirrorDetailing in forum Click & Brag -The Detailers ShowcaseReplies: 12Last Post: 04-19-2012, 07:42 AM -
`99 Viper GTS Paint Correction - Mirror Detailing -
By MirrorDetailing in forum Click & Brag -The Detailers ShowcaseReplies: 15Last Post: 04-02-2012, 10:35 PM -
1968 Mercedes 250SE - Mirror Detailing
By MirrorDetailing in forum Click & Brag -The Detailers ShowcaseReplies: 9Last Post: 12-04-2011, 07:36 PM
Bookmarks