

My buddy went off overseas for some years & upon return he found his pair of Xenon Head lamp
as they have too many cars but very less of shaded place
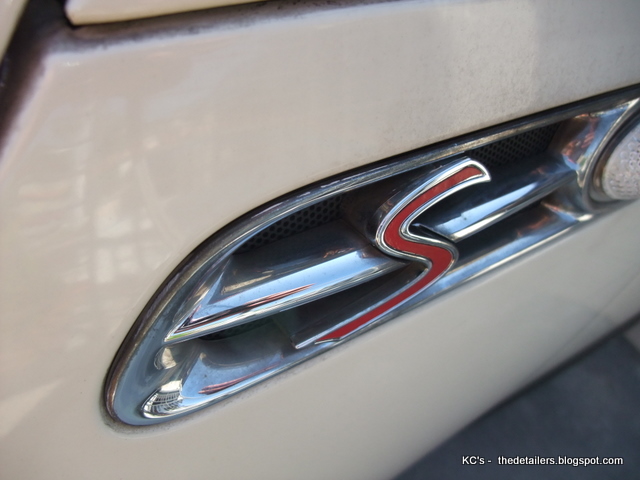
at my previous class, I taught about about restoring oxidized Head Lamp...due to car wash ...aggressive sanding by road side ..... due to wear & tear Car detailer: The complete car care / car detailing hands on clinic by Malaysia Car Detailing guru KC`s
2 factor contributing to such oxidations,
firstly the roadside foam wash (harsh chemicals & sponge use during washes) often this sponge soaked & filled with dirt, grim and sand that is not wash away became - TA DA sand paper) try to send for just one wash on just detail black car and check out the finishing
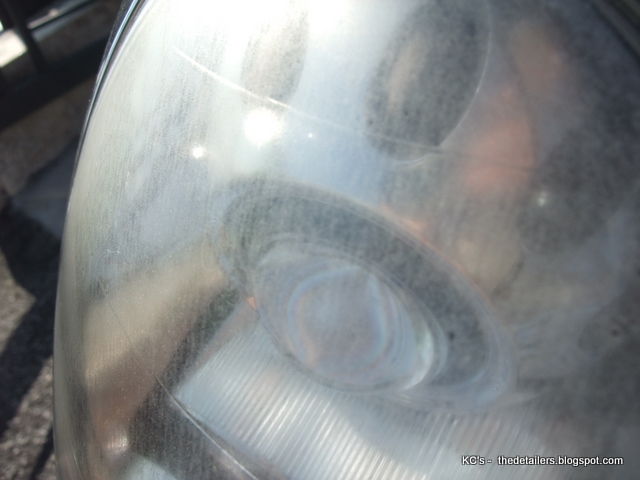
this is the 2 most thrased exterior part of the car (our halogen uses heat the filament to a greater degree create light during night use -Reflector optics) and sun during the day..and combine with the roadside sand paper wash..ta da.. it is just like scrapping off the UV resistance protector, worst still if it is Projector (polyellipsoidal) with a High-intensity discharge (HID) headlamps
BUT as for this pair.....it was hardly washed by others, hardly driven at night but still the damages
so, he went to check out this pair of replacement Xenon - it cost more than RM8k = USD 2600
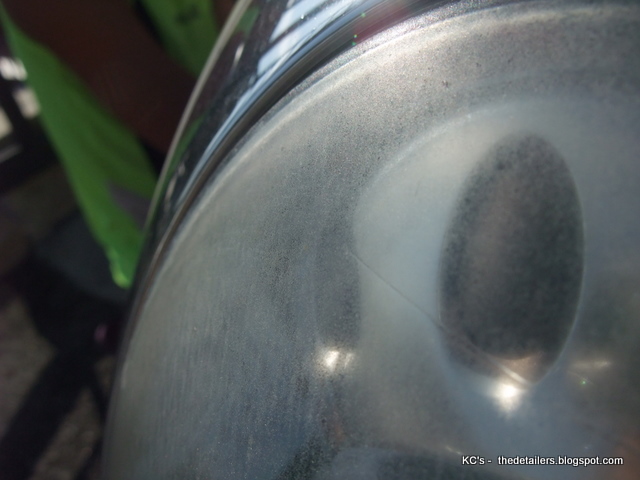
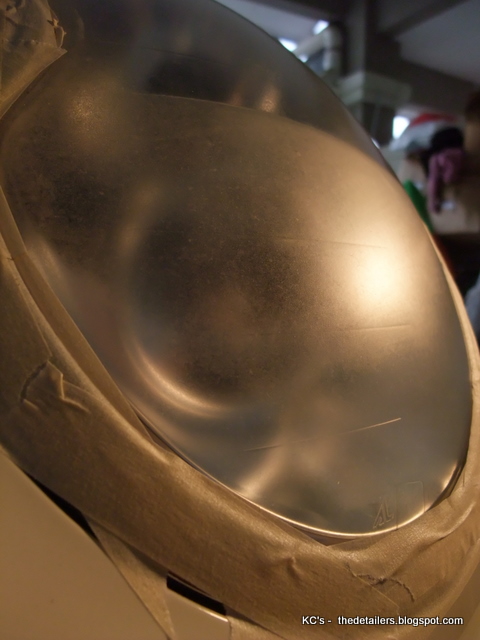
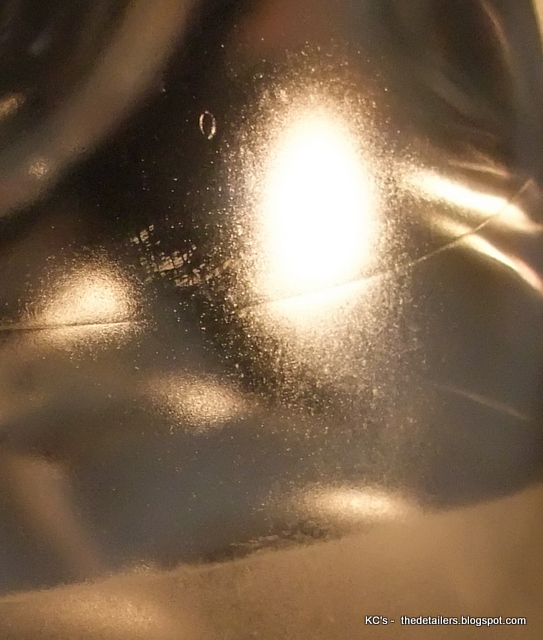
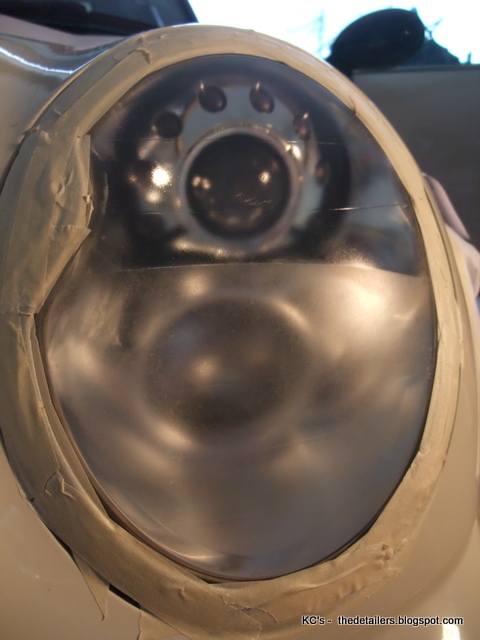
look at the extreme close up pic (was shot by a PAS camera)
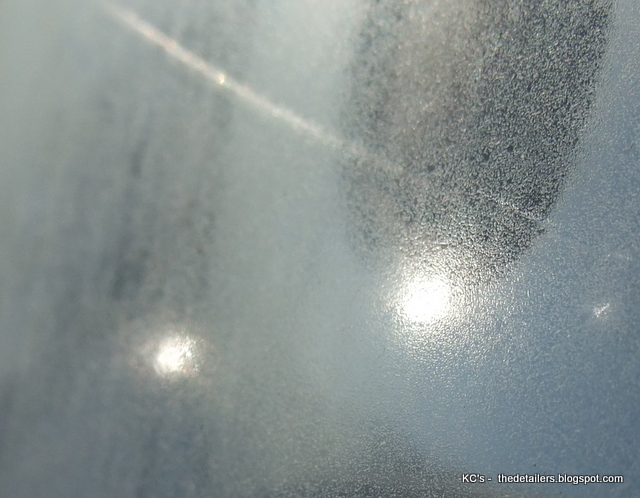
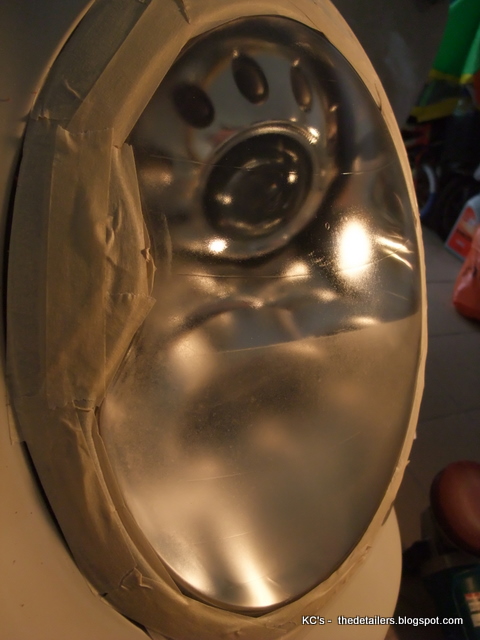
evenly chalked up by mother nature threads
completely washed out by Mother nature ( as we are in Tropical Rain forest - full with acid rains as well)
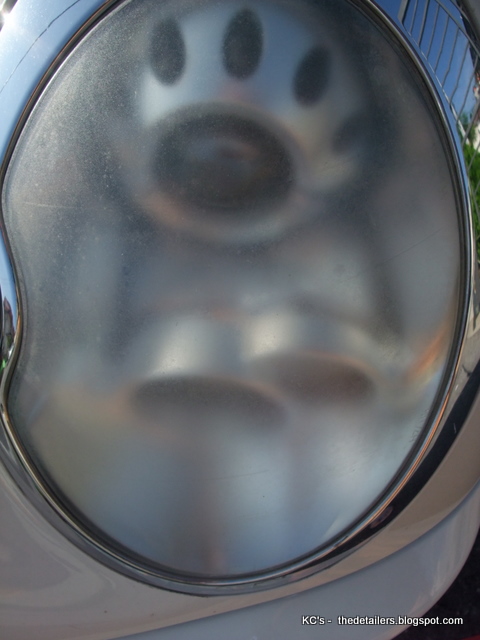
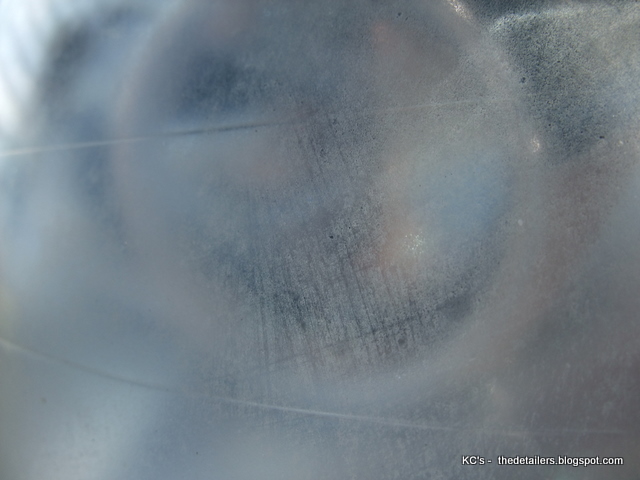
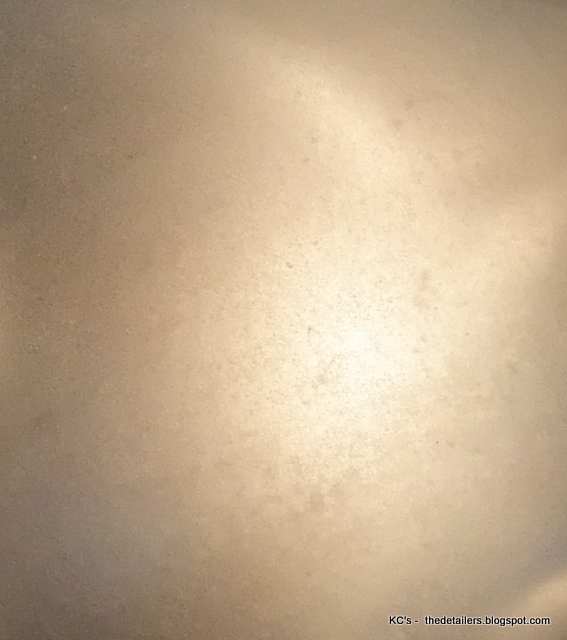
see again
extreme close up
-----------------------------------------------------------------------------------------
I always like to take up impossible task, as if I fail....no one can blame me....but If i succeed ...It must be the Higher hands
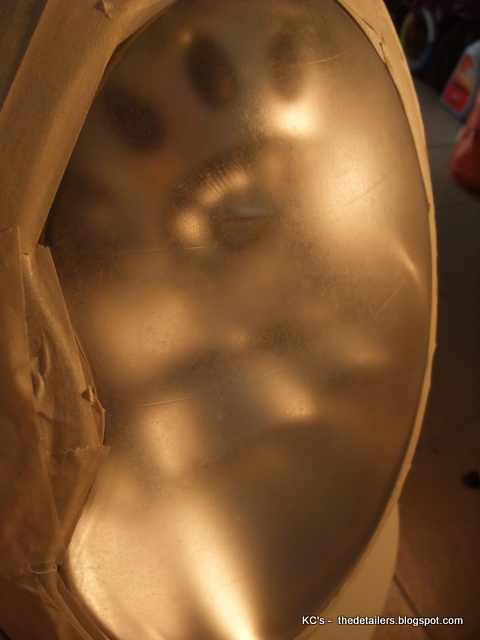
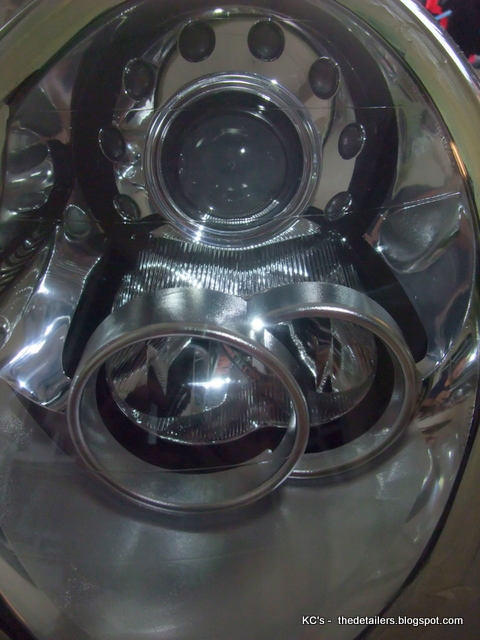
before pic
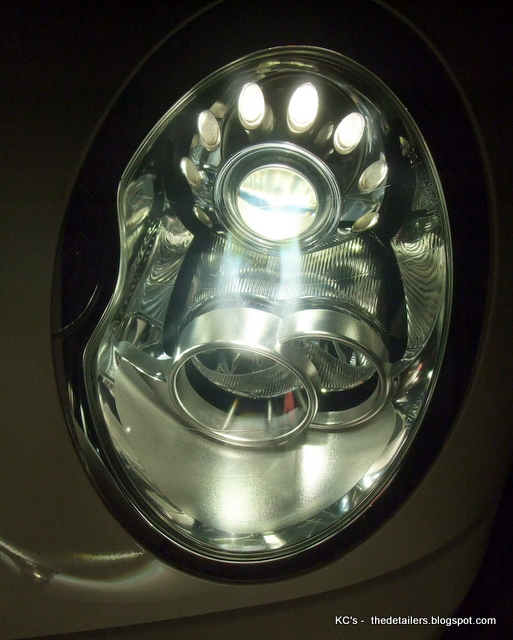
after polished with PlastX Clear Plastic with rotary, both wool & foam pad at 1500 rpm
close up
ta da
....isnt that a money shot????? convincing enough
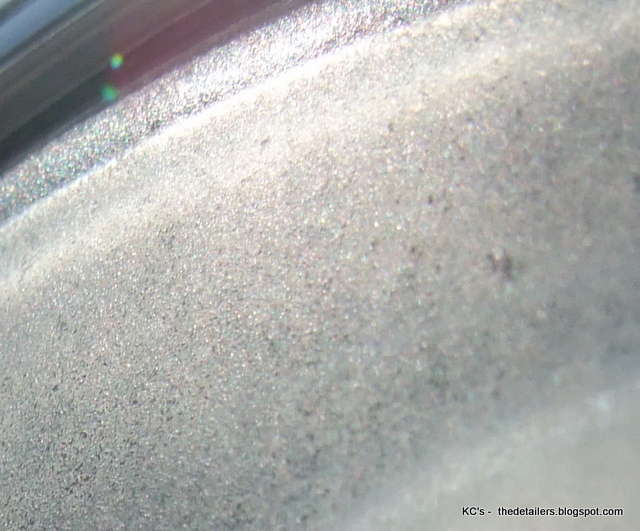
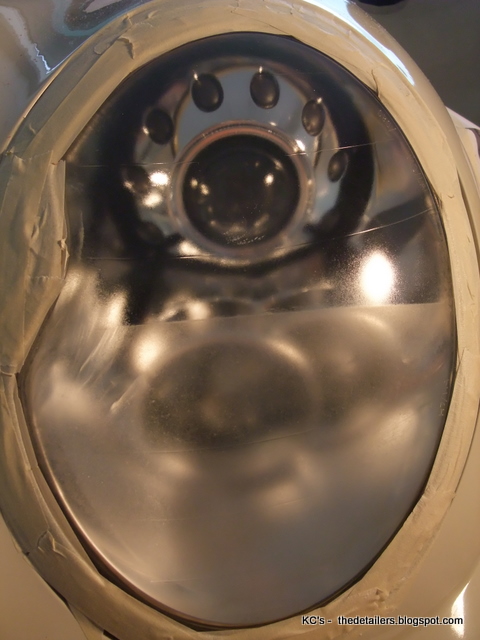
another extreme make over
close up shot
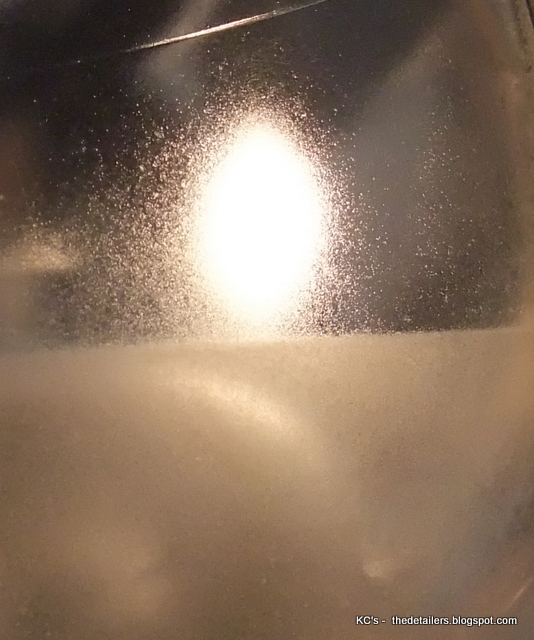
see again
close up
how can I just walk away (closing a blind eye) - although it only took me less than 30 minutes to get each side done.......
I CHOOSE NOT.... but FACING THE GIANT Facing the Giants - Wikipedia, the free encyclopedia
inspired and reminded by this movie......i took up the challenge
for the next 4 hours.....
taping the side of the paint & chrome parts.....ensuring it is protected when sanding take place - safety come first
1. after taping non affected area (3-4 ply of taping)
2. SANDING begin Lube with ONR (invest in a sanding backing plate - i trim in smaller for these curvy areas)
2a. Begin with - 1500 grit
2b. followed with - 2000 grit
2c. Finish off with -2500 grit
* use abundance of water - helps alot
an evenly sanded pic
[IMG][/IMG]
Restoration continues with polishing off
Compounded double side wool Pad then Step down to 3" wool pad @ 1500 RPM rotary
finishing off with polish - foam pad & 3" polishing pad @ 1200 rpm finishing at 600 rpm
from here
ta da
it was COATed for protection
tested with fire - xenon lighting
I could have save my time & effort by walking away.....
choose this day
to face or not to face......that thin line make a huge difference....
thanks for viewing again
cheerios
Results 1 to 4 of 4
-
02-13-2012, 07:28 AM #1


- Join Date
- Dec 2010
- Posts
- 734
- Post Thanks / Like

-
02-13-2012, 08:04 PM #2

- Join Date
- Mar 2006
- Posts
- 64
- Post Thanks / Like
Great job as always KC. Your client must be ecstatic that you saved him at least RM8K = $2600 USD!
-
02-14-2012, 03:49 AM #3
- Join Date
- Jan 2008
- Posts
- 154
- Post Thanks / Like
Looks awesome!
One thing I always do is make sure I have a good coat of sealant (I use UPGP) on my front and rear lights. I have plastic lenses over a bi-xenons in a car that has been parked outdoors for years and the UPGP has kept them looking brand new.
-
02-14-2012, 06:56 AM #4
- Join Date
- Dec 2010
- Posts
- 734
- Post Thanks / Like
 Originally Posted by fmodena
Thank fmodena
for your kind words.....thats alot of $$$, we actually restores the whole ride for 22 hours


stay tune for part 2 updates
Originally Posted by tmg19103
Thanks tmg
Yupp...noted on that tips....A little in a long way turn the car around


 Reply With Quote
Thread Information
Users Browsing this Thread
There are currently 1 users browsing this thread. (0 members and 1 guests)
Similar Threads
-
Bi Xenon Head lamp damaged by mother nature - The Detailien
By kc's in forum The Detailers ShowcaseReplies: 8Last Post: 02-14-2012, 06:47 AM -
Porsche 911 4S thrashed by starbucks, sand blasted oxidized Head Lamp
By KC@detailien in forum Click & Brag -The Detailers ShowcaseReplies: 5Last Post: 07-02-2011, 03:57 PM -
Porsche 911 4S thrashed by starbucks, sand blasted Head Lamp
By Sharkie in forum The Detailers ShowcaseReplies: 11Last Post: 06-27-2011, 09:29 AM -
You can`t bead better than mother nature can...
By mysteryan in forum Hot TubReplies: 12Last Post: 02-18-2008, 06:21 AM -
Mother nature hates me...
By Jngrbrdman in forum Auto Detailing 101Replies: 5Last Post: 03-26-2006, 01:38 PM
Bookmarks