

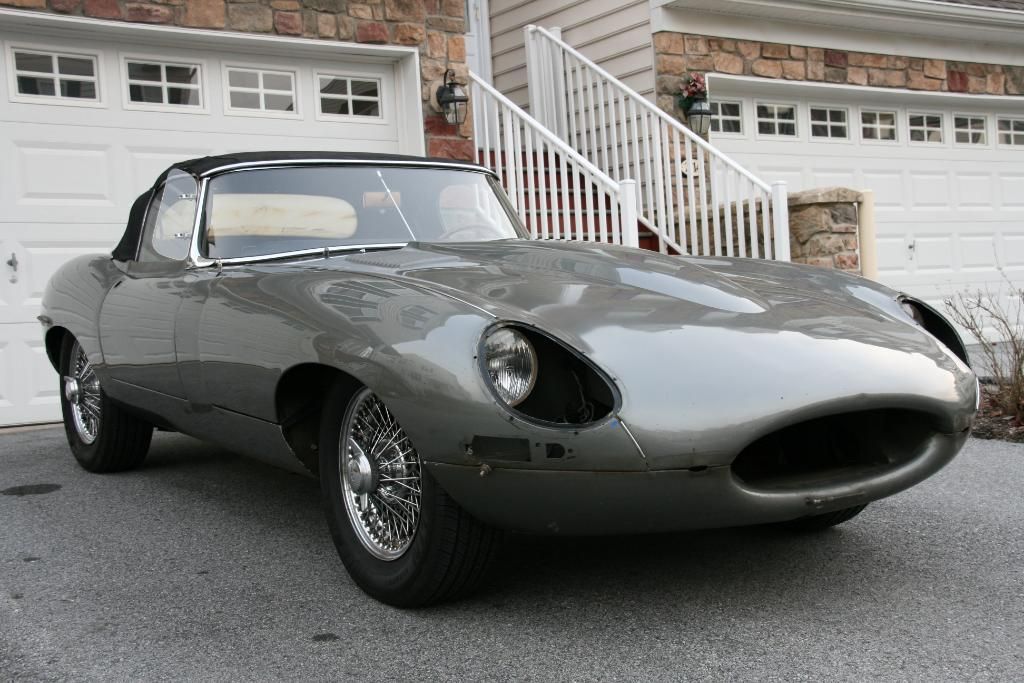
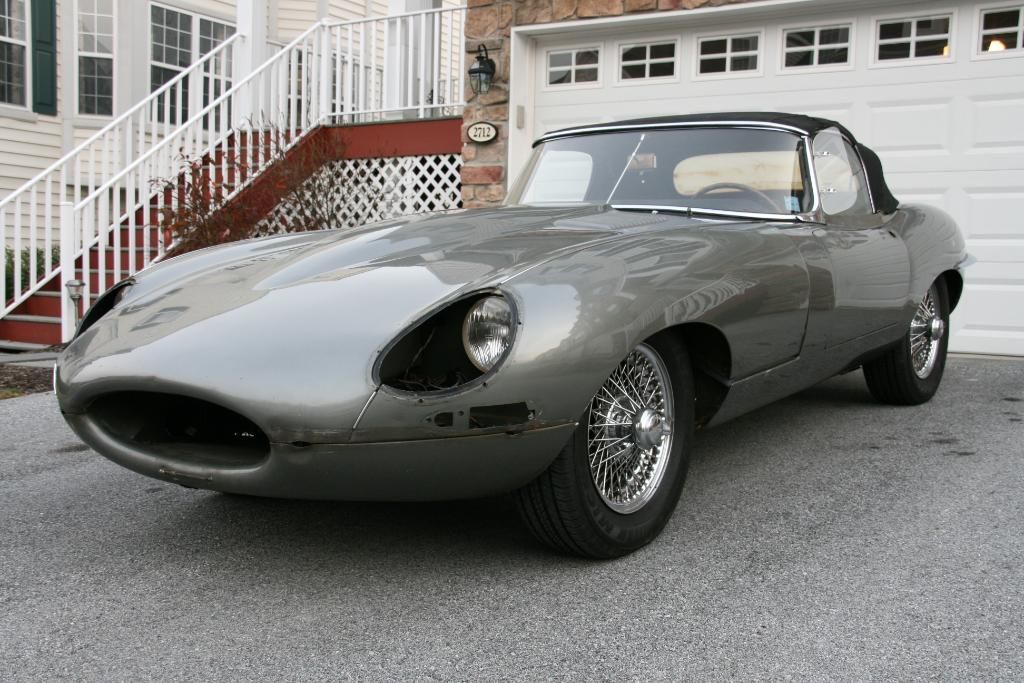
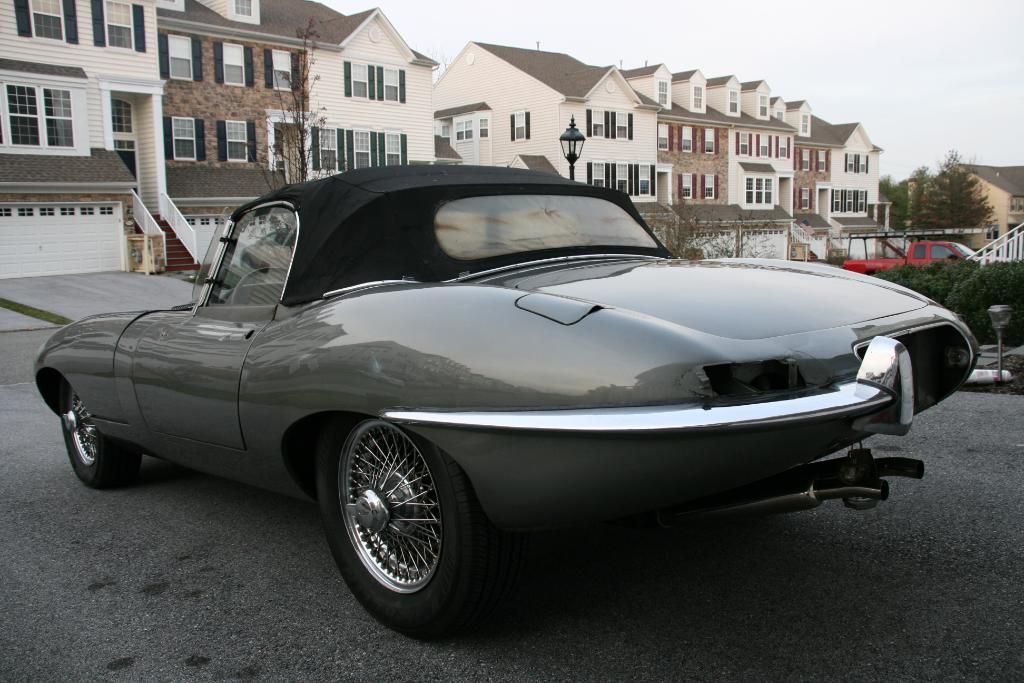
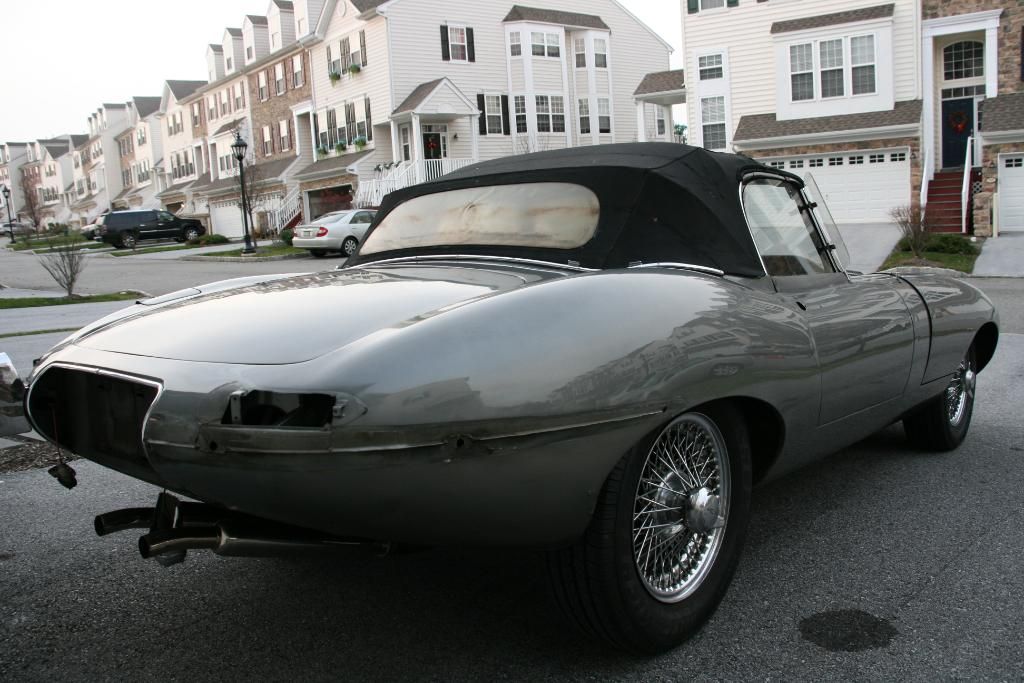
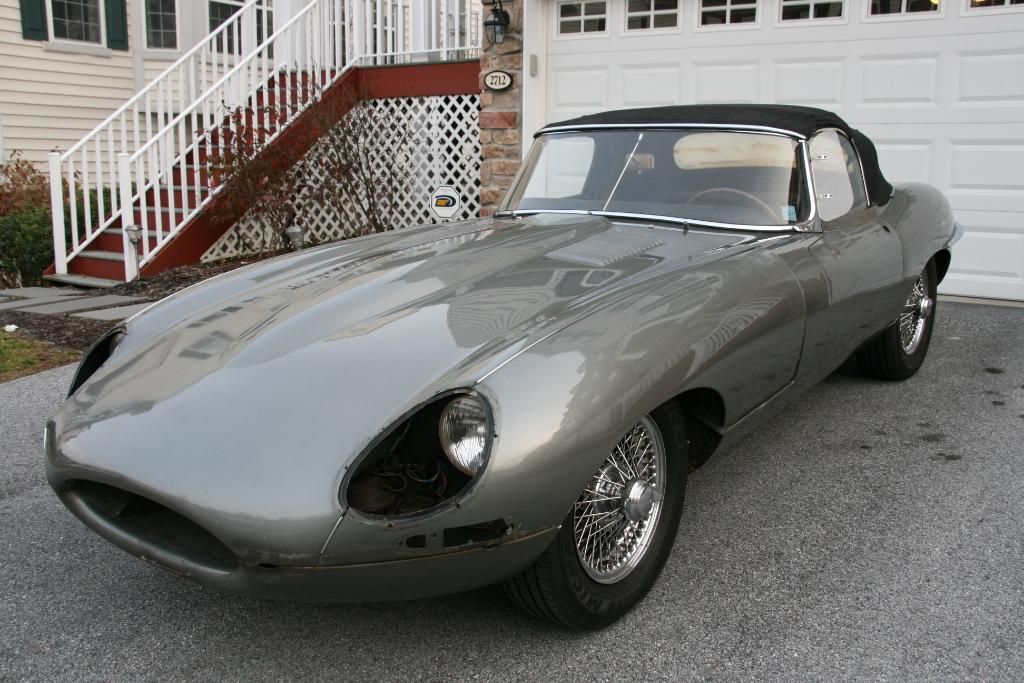
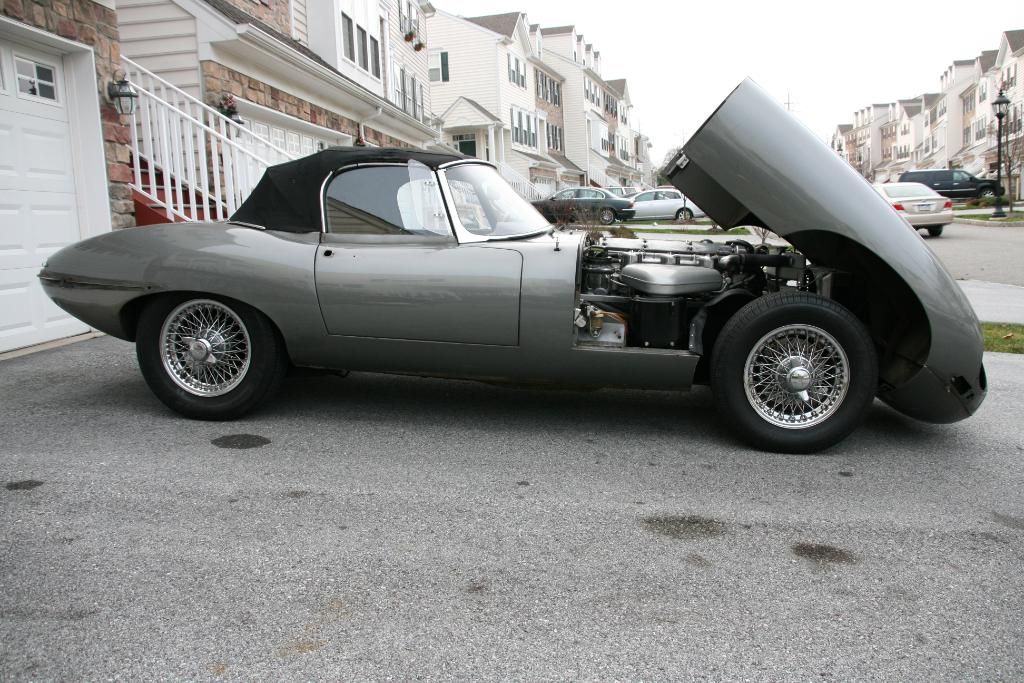
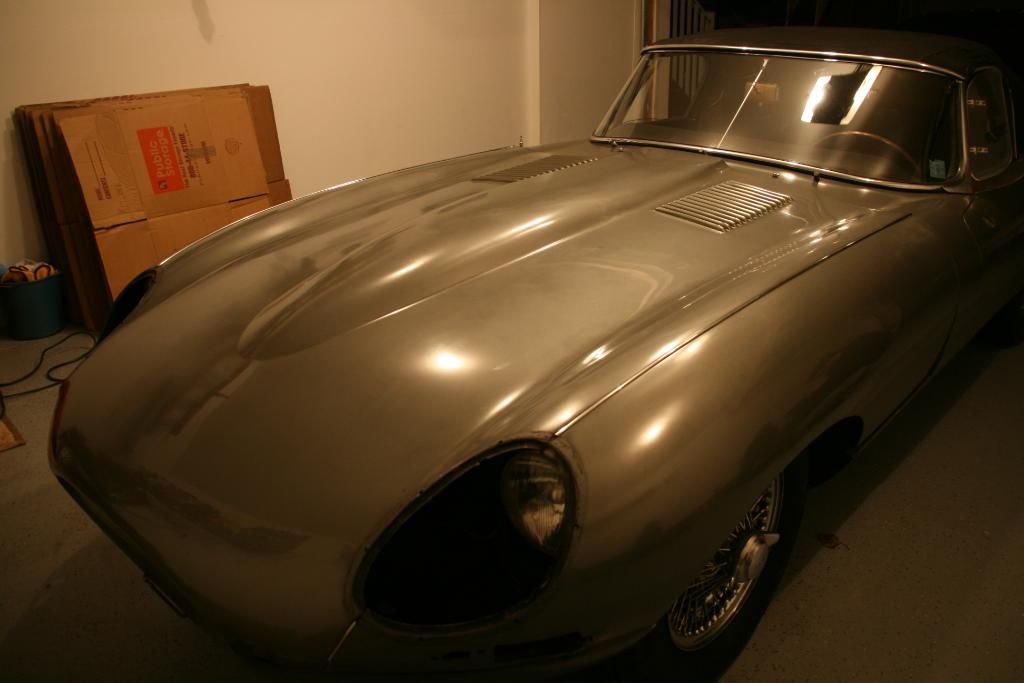
A paint corrective only detail of a 1963 Jaguar XKE-Type 3.8L Roadster with the ORIGINAL factory paint! This car came to me in hopes of reviving the factory paint on the car, as you can see in the before photos it was badly oxidized and in many portions of the car you couldn`t see yourself in the "reflection." The car first came to me to do a test panel to see if there was hope, or if a repaint was imminent, and obviously, revival was possible!
The owner then removed all the chrome trim pieces, bumpers, head and tail lights, door handles and mirror to maximize the benefit to the paint to all the edges. When the car returned we took paint readings through out the entire car, almost 3-4 inches apart once we learned how unlevel the paint was. The readings were from 60-157, and in some places up to 1900, due to lead being used in the seams. With those kind of unstable readings, we had to be extremely careful with the process of correction, and in some places, only light polishing was acceptable, and in some other areas, compounding was possible to help balance out the entire car.
I will try and be as descriptive as possible with the photos as this gray color does a good job of hiding a good bit in the photos. I will list the "process" as well, but it is not in order as different steps were used throughout the entire car.
Process:
Power Gloss - Purple Wool
Power Gloss - Yellow Foam
Menzerna 203 - Orange Foam
Menzerna 203 - Green Foam
Menzerna 106FF - Green Foam
Menzerna 106FF - White Foam
P21S Paint Cleanser
Menzerna FTG - Black Foam
BlackFire Wet Diamond Sealant - Blue Foam
Pure Carnuaba Wax - Hand
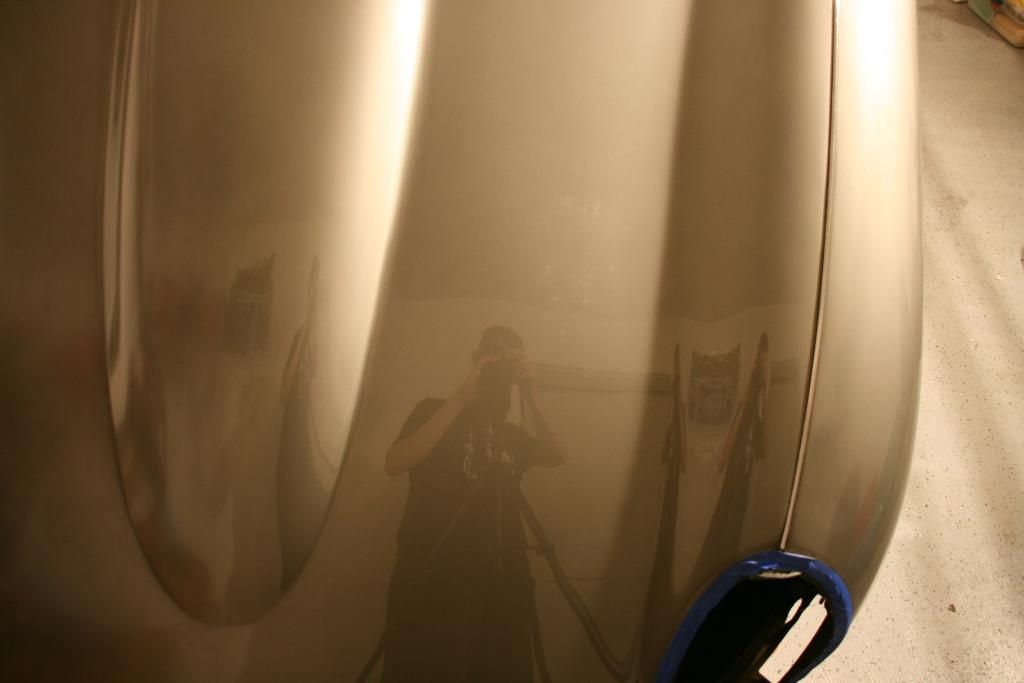
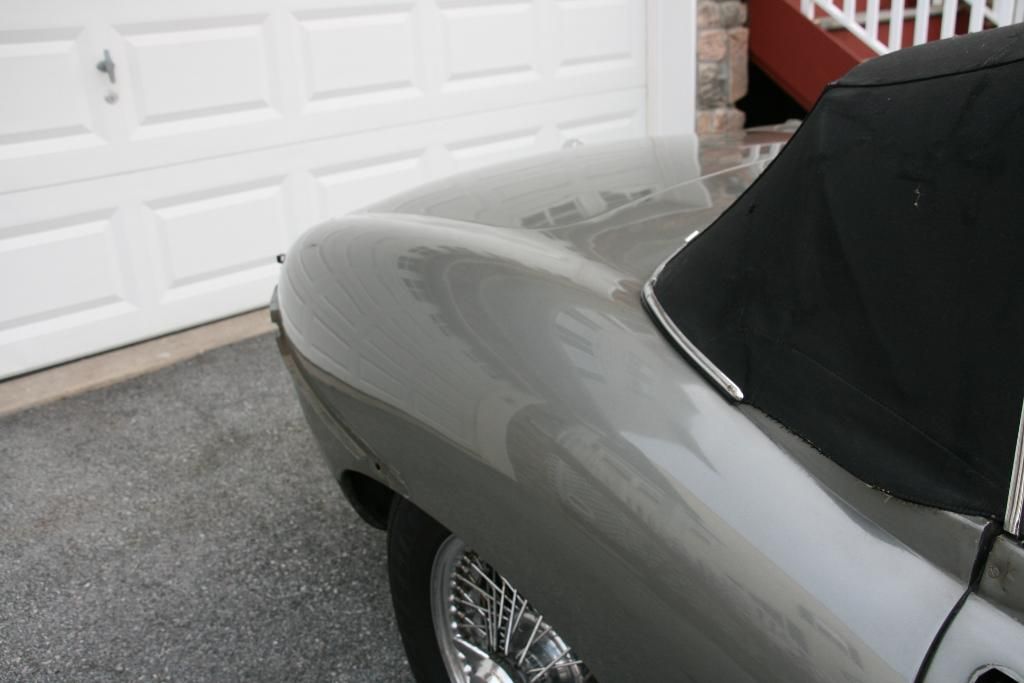
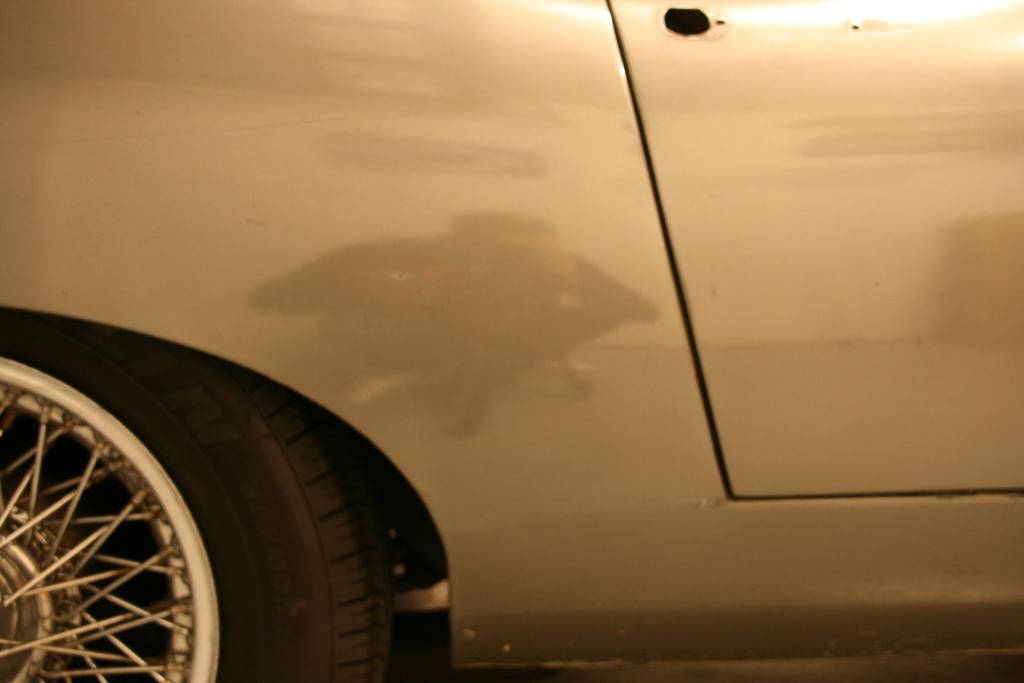
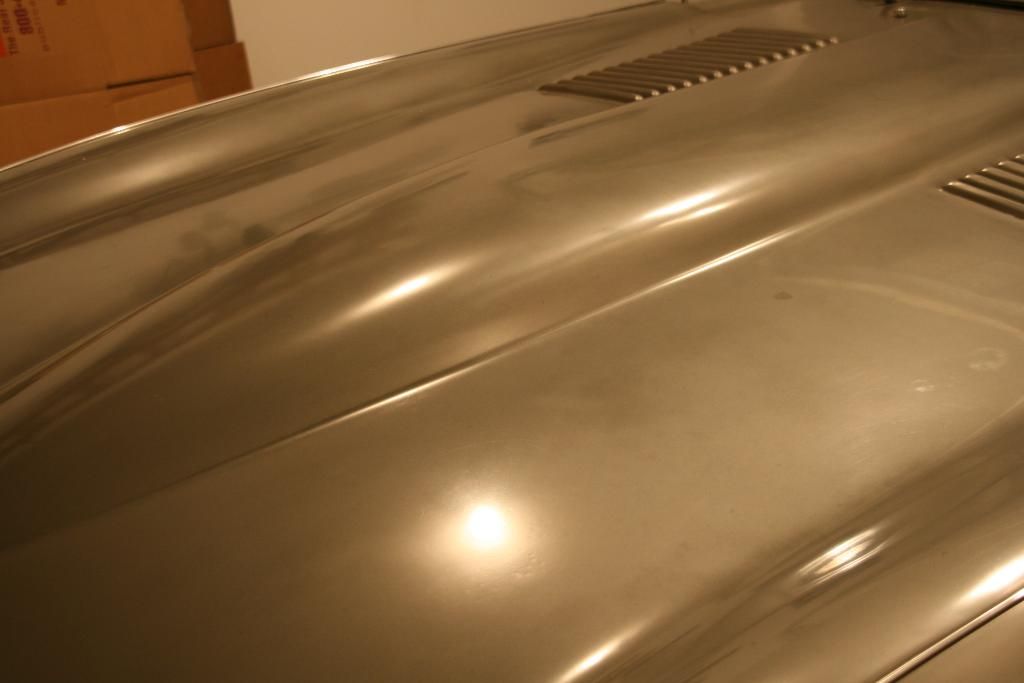
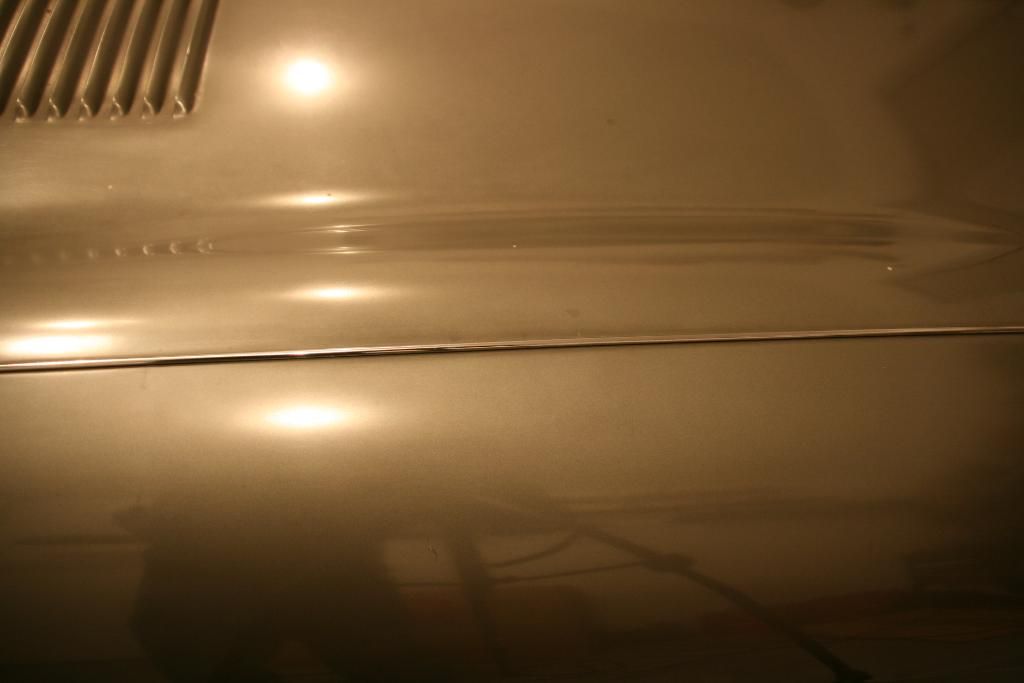
Before pictures: You can see that while there is some reflection in the paint, is very blurred and oxidized. Look directly at the light reflections in the paint to see how broad the light is dispersed, showing how unrefined the paint it.
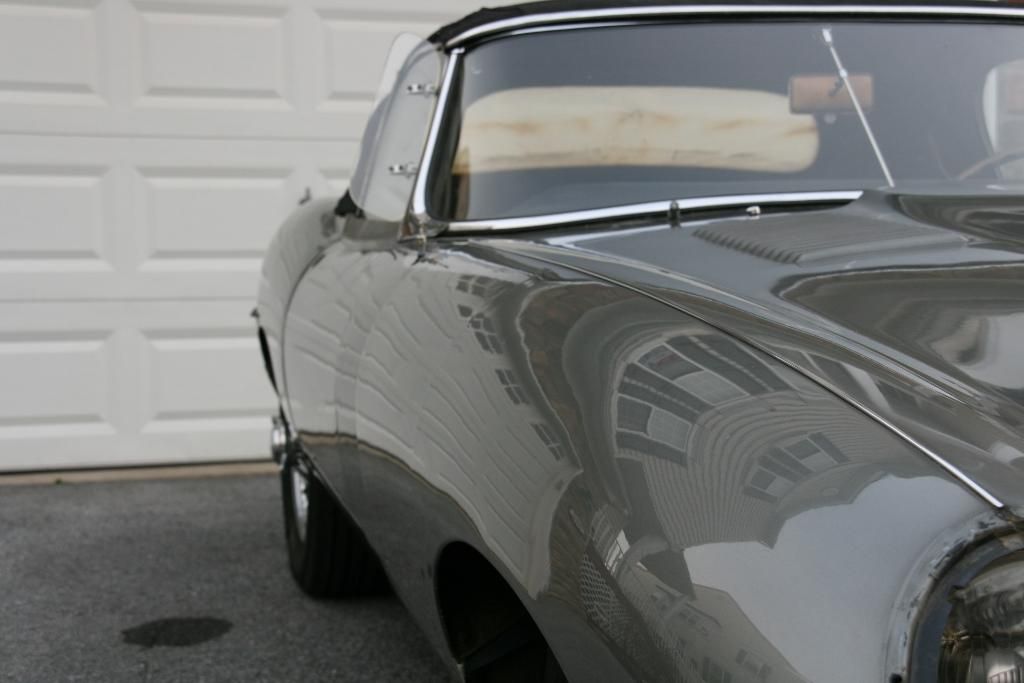
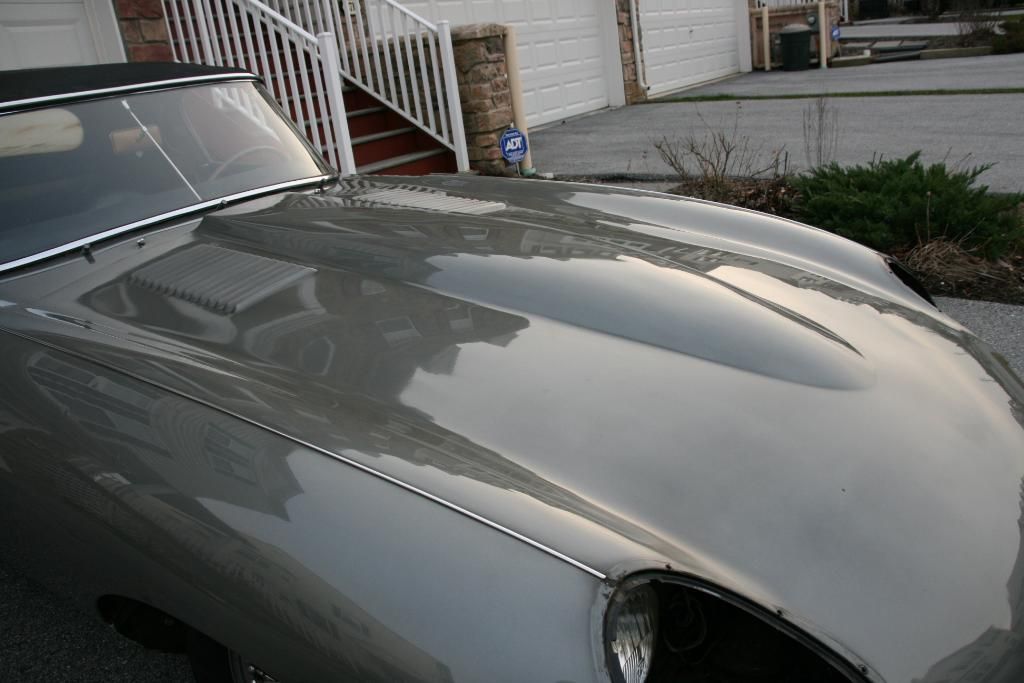
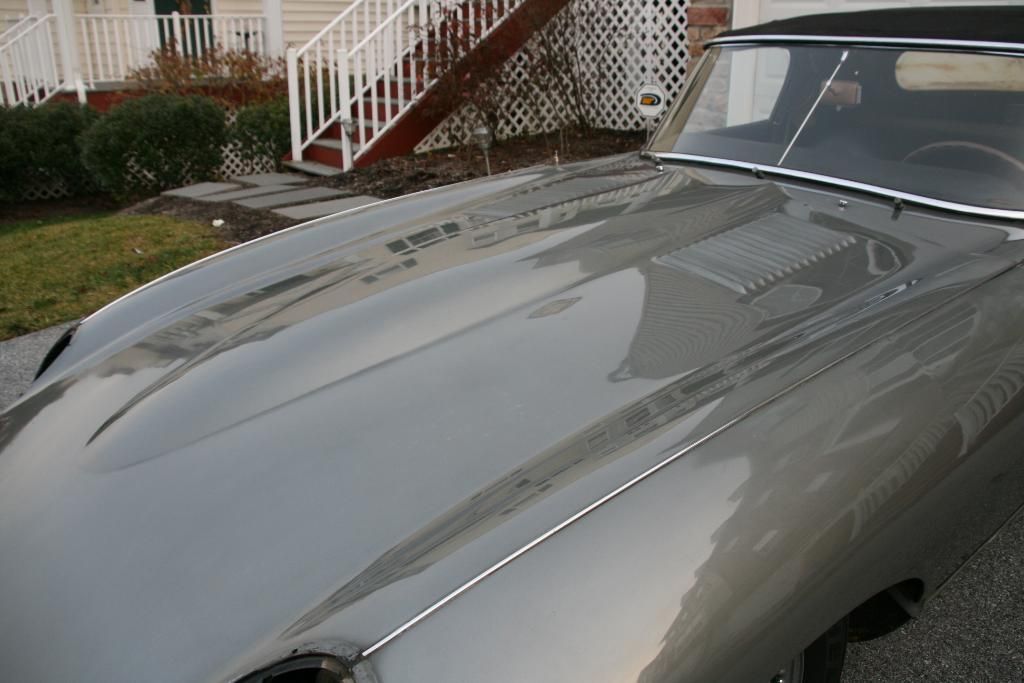
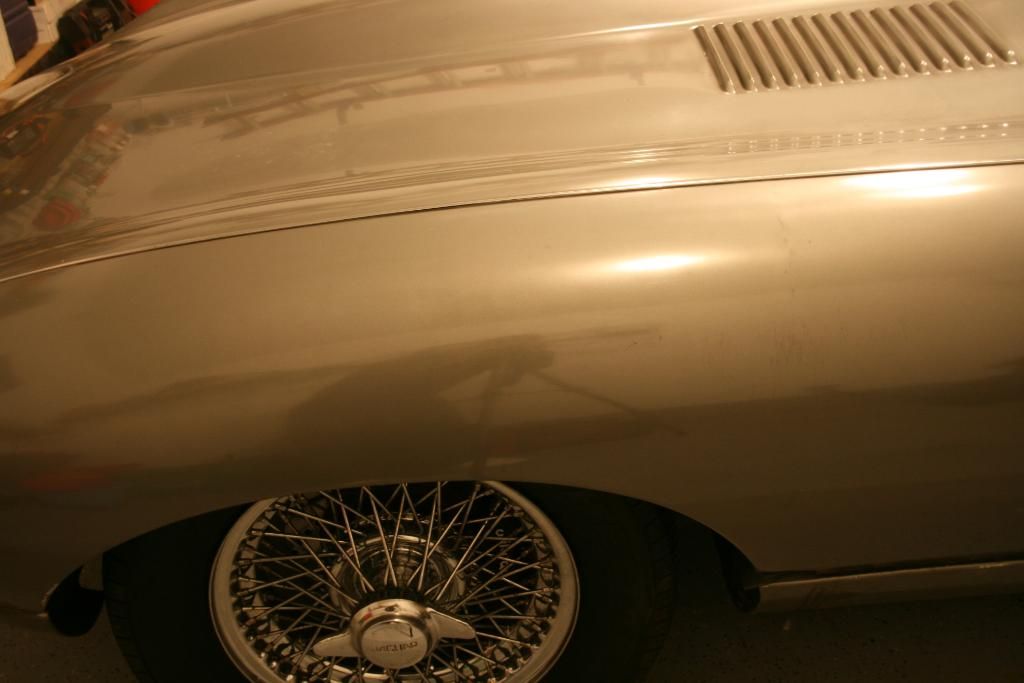
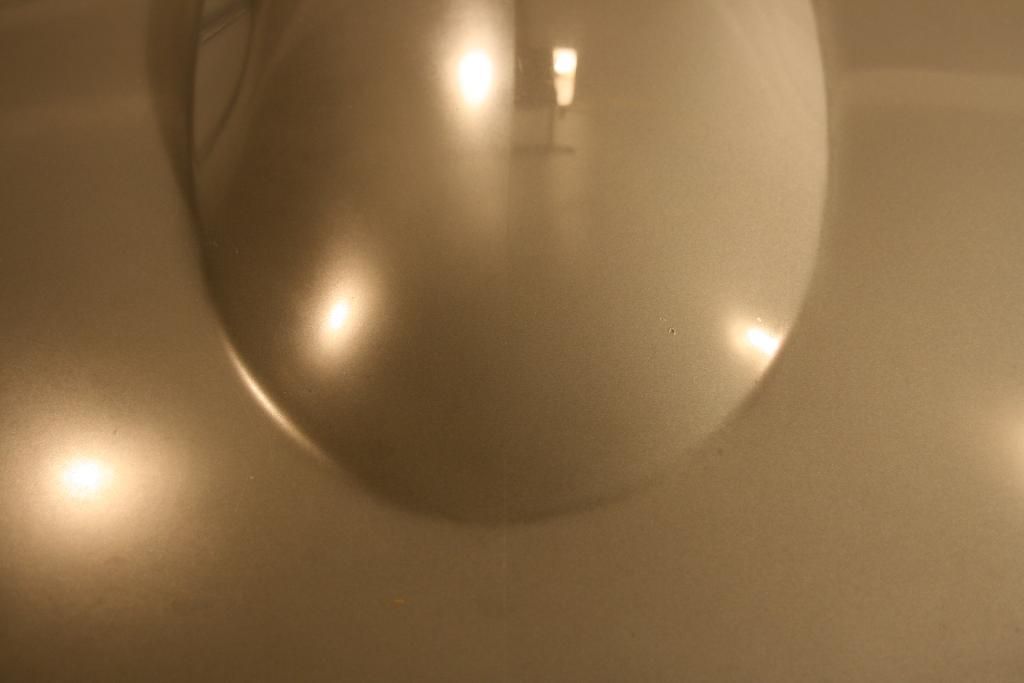
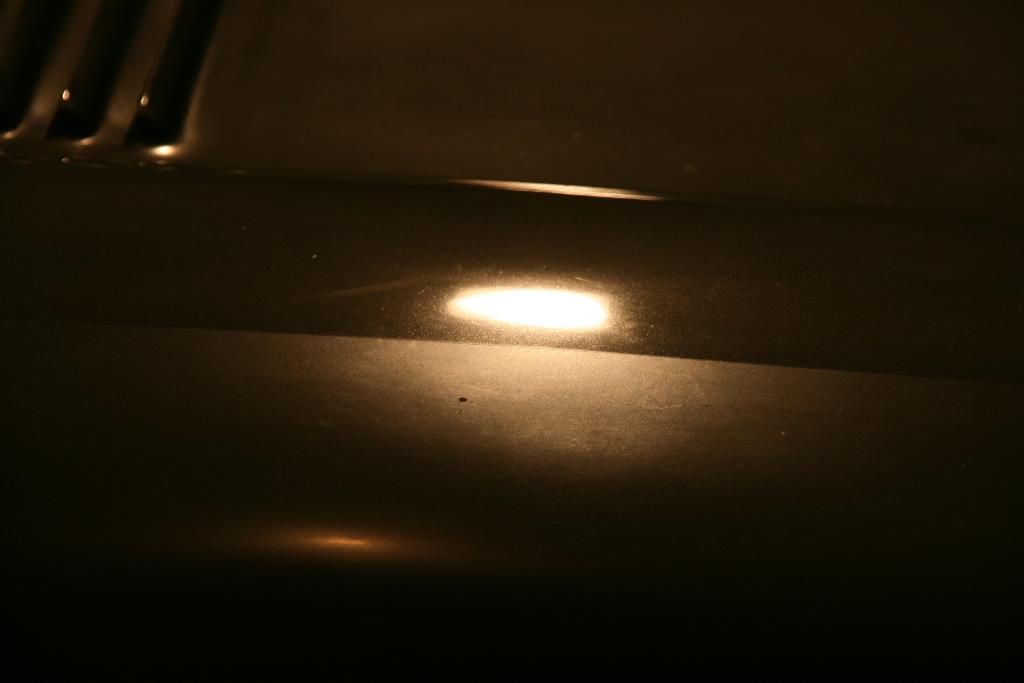
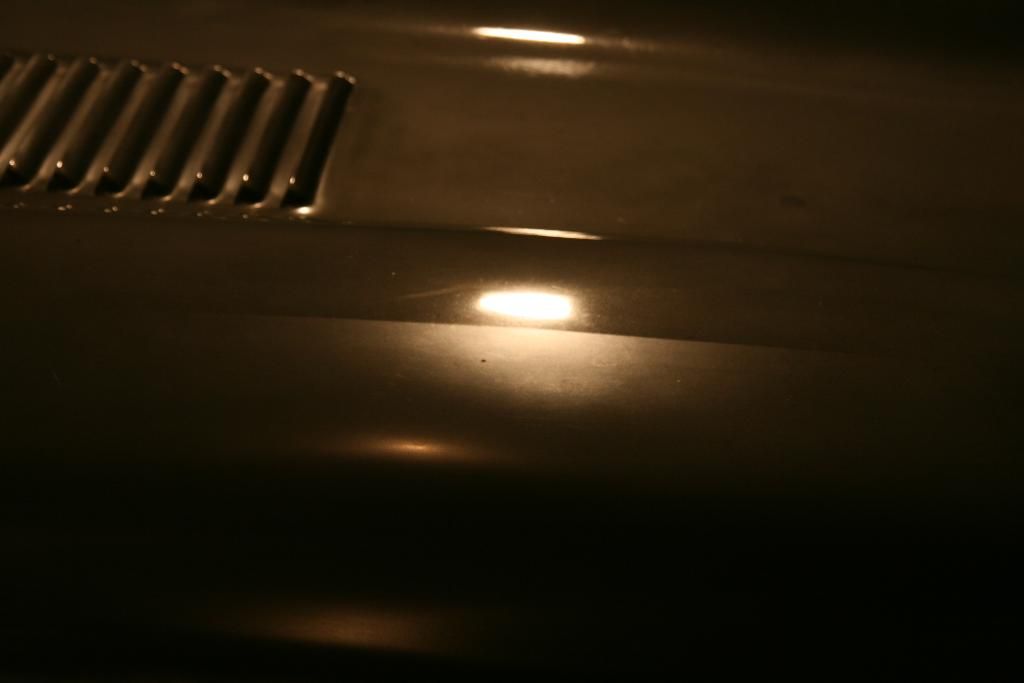
The following pictures are mainly 50/50 photos, it may be difficult to initially see the difference, but once again, look at the direct light points on each portion of the panels. You will see that on the uncorrected sides, the lights is just a blurred spot, on the corrected portions, you can actually see the outlines of the light bulbs and their fixtures.
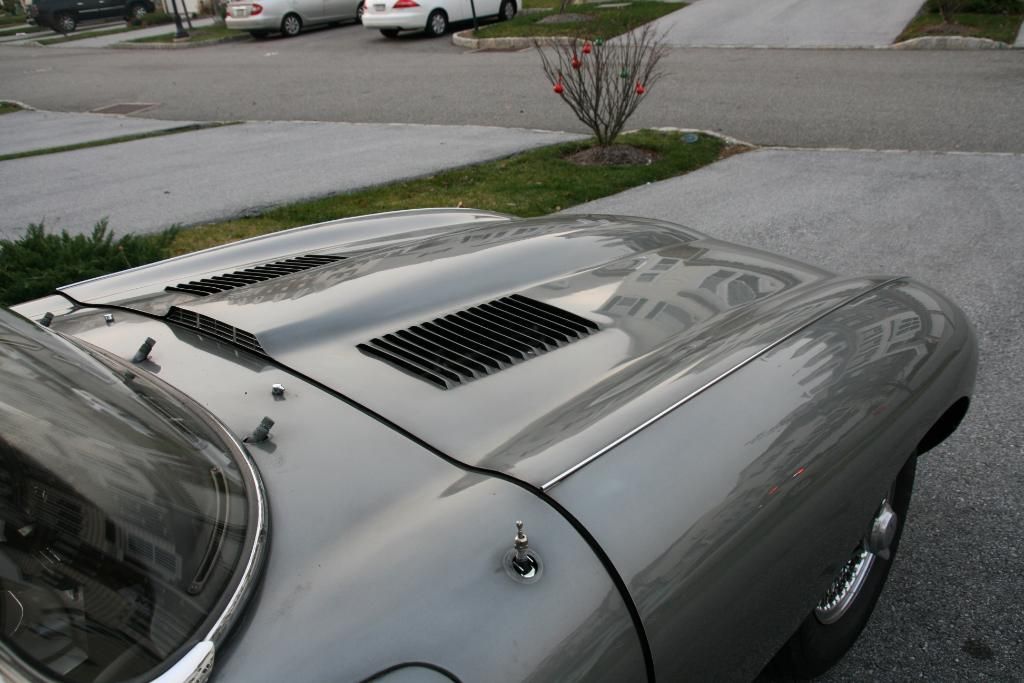
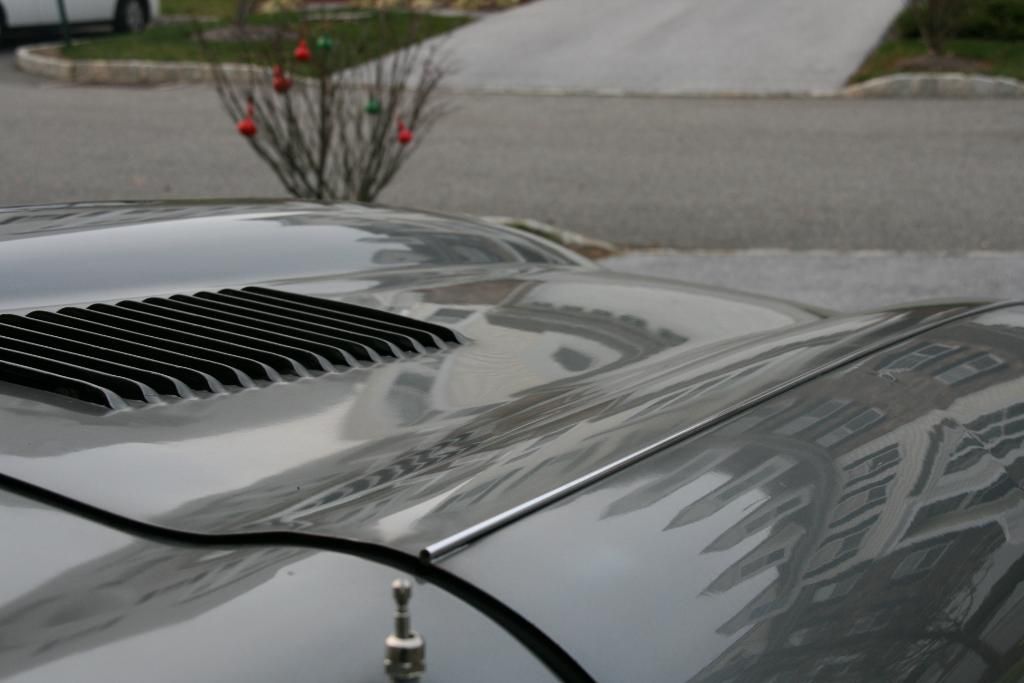
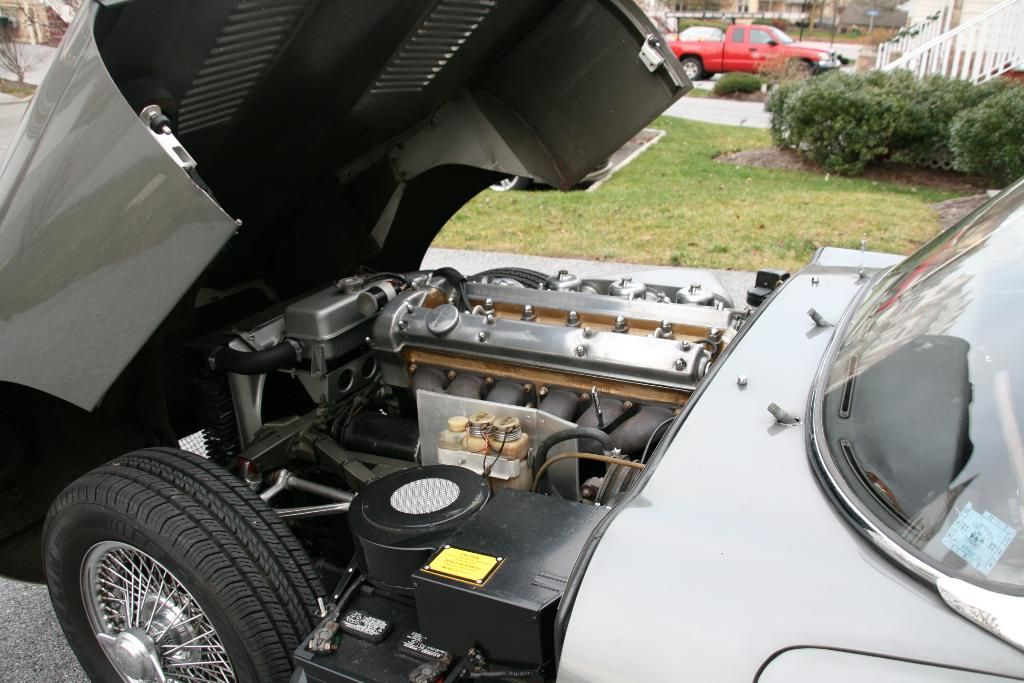
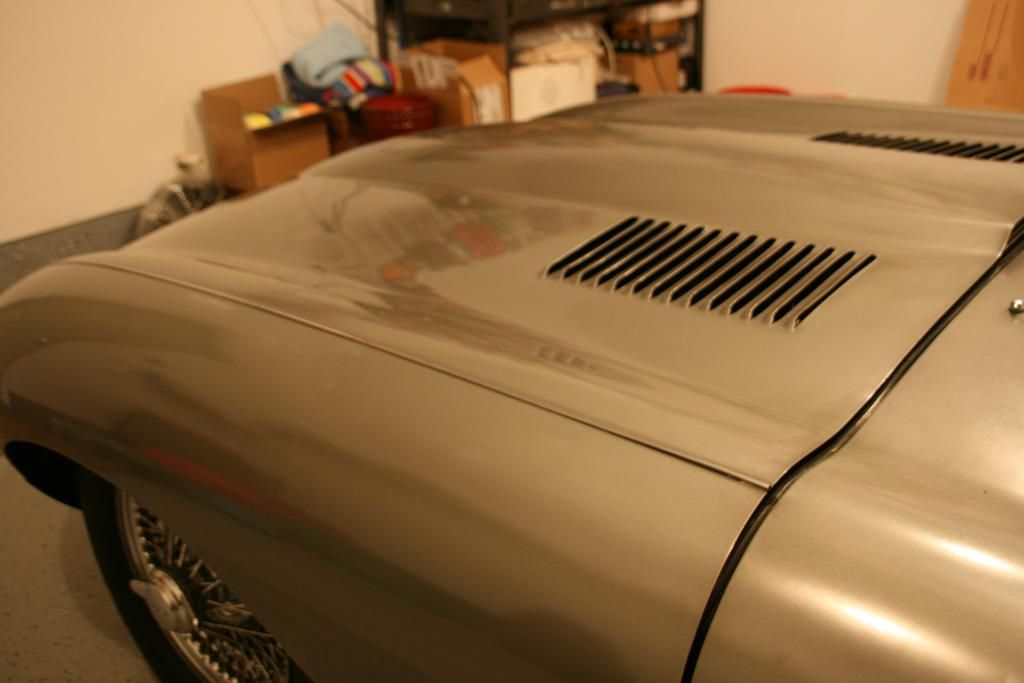
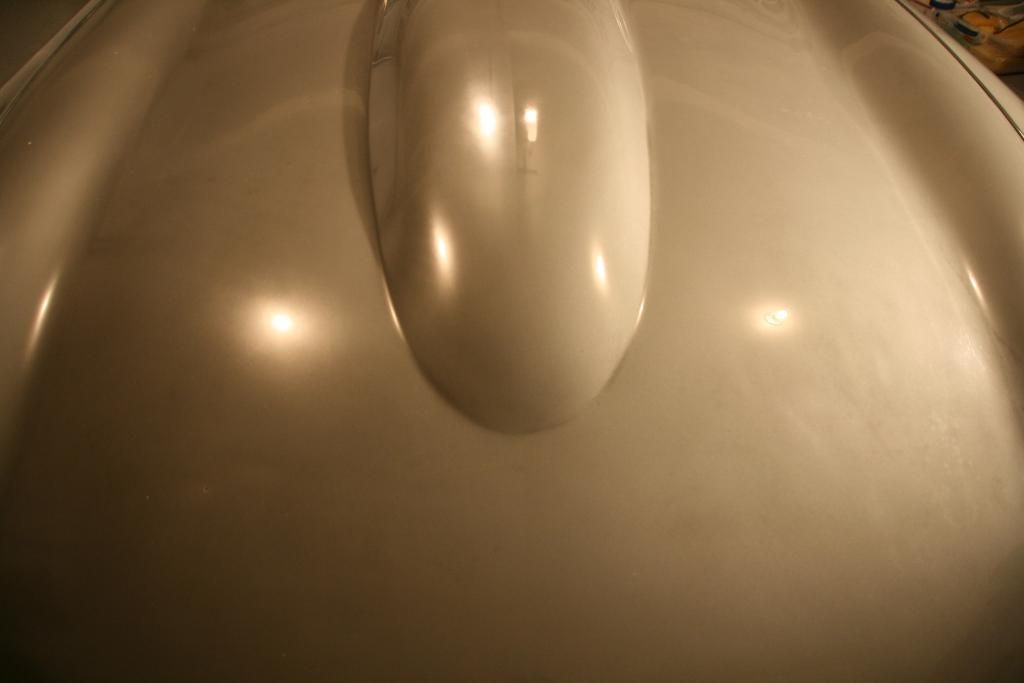
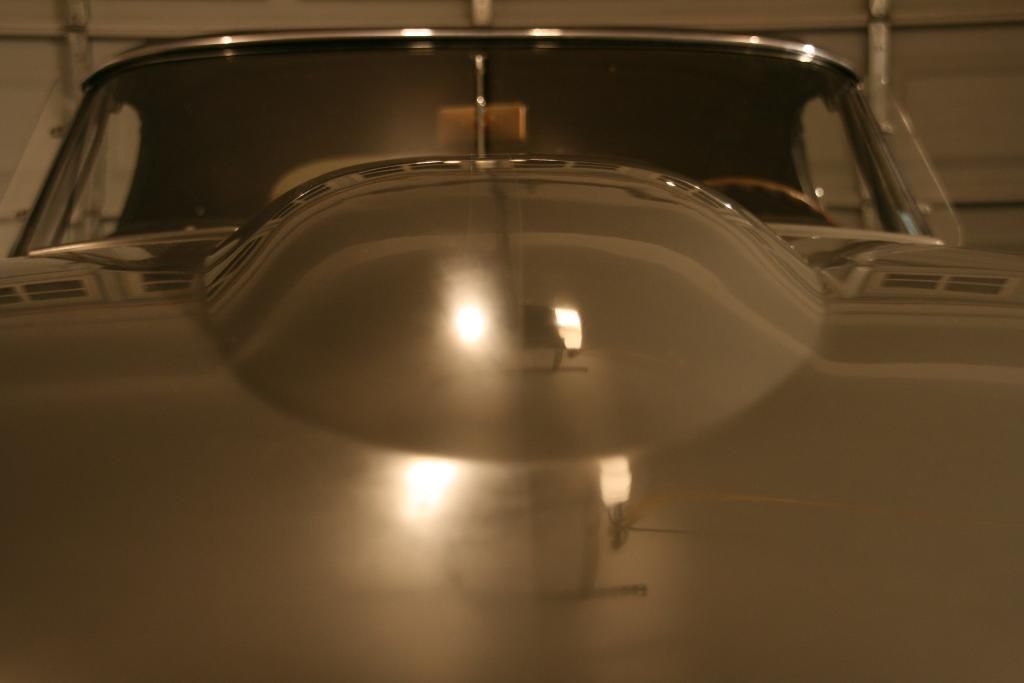
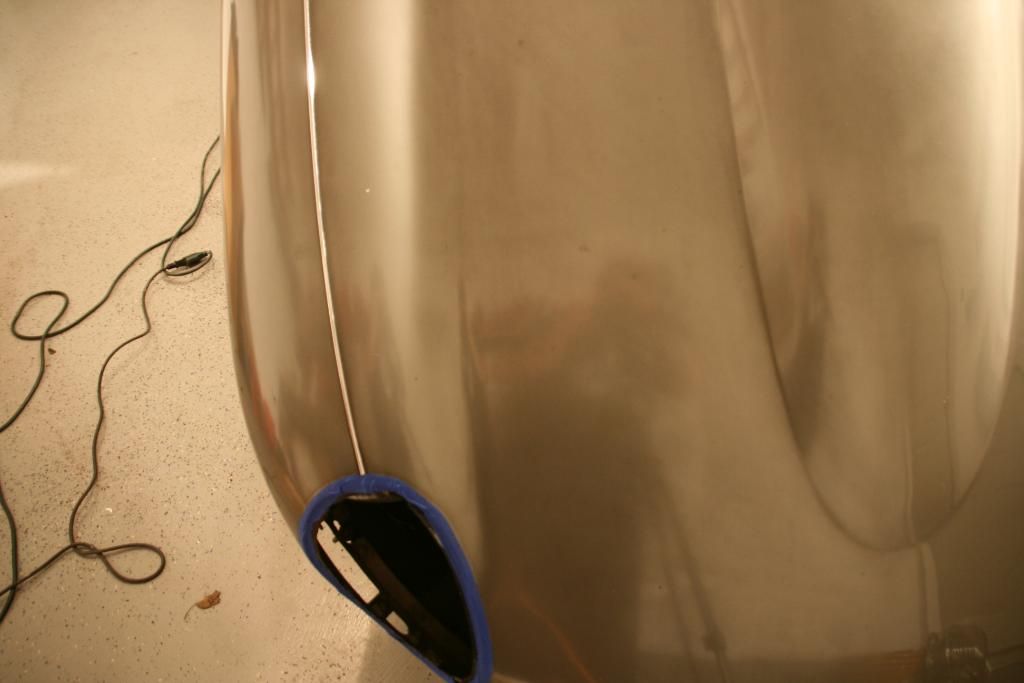
This picture shows the correction quite well, look directly at the garage door opener in the bulge of the hood as it is seperated by the oxidized and corrected paint
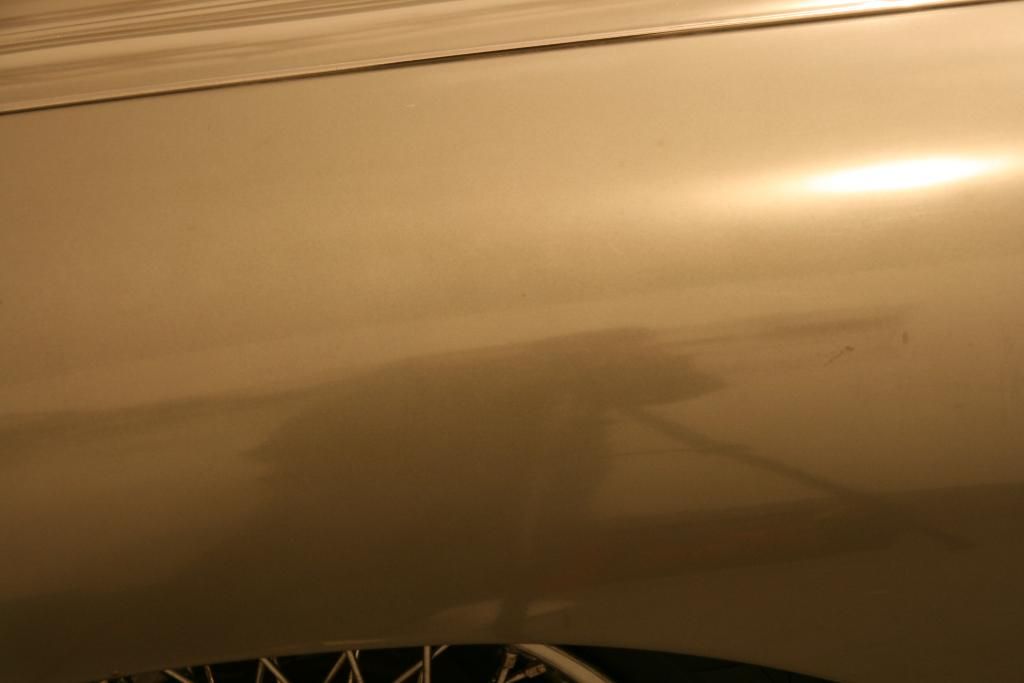
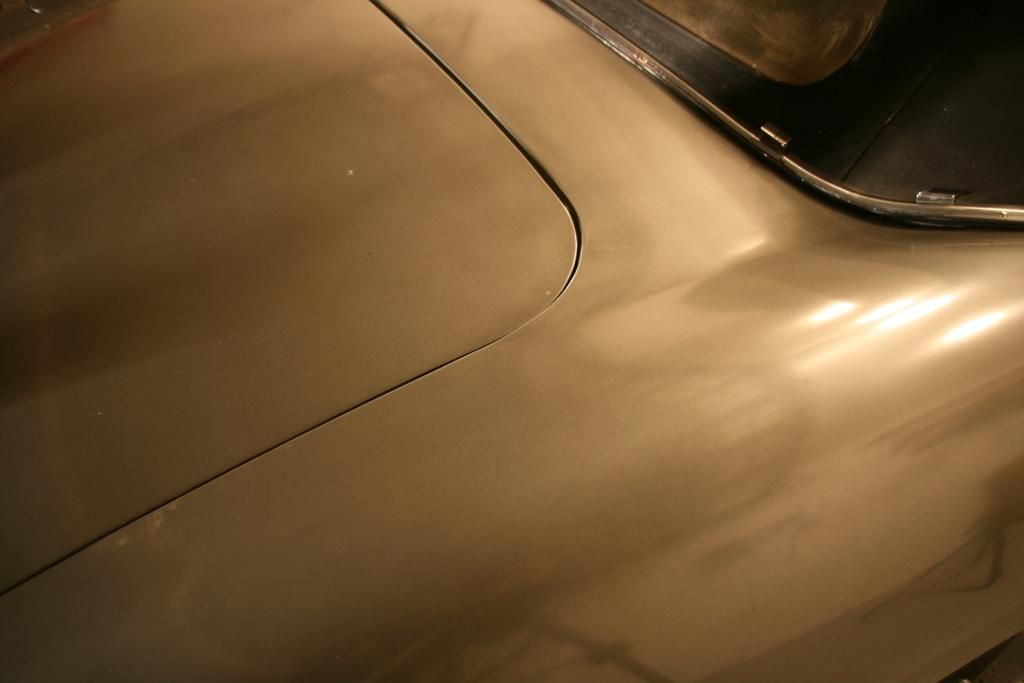
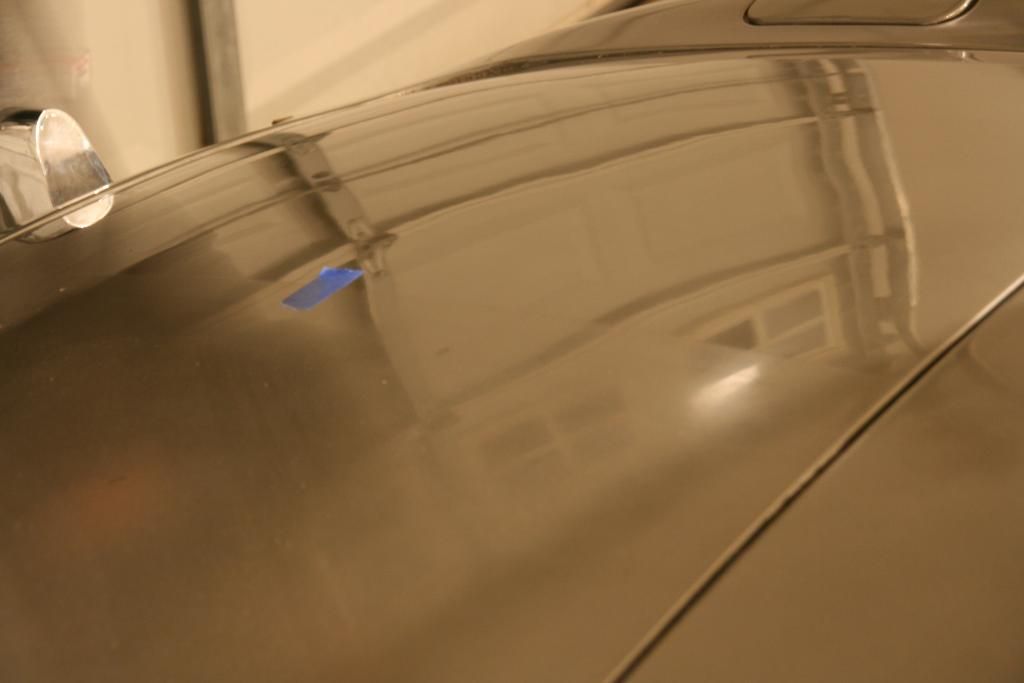
More 50/50 photos
This is the uncorrected side of the hood
... and here is the corrected side of the hood
Results 1 to 9 of 9
-
12-07-2009, 09:54 AM #1


- Join Date
- Jun 2009
- Location
- West Chester, PA
- Posts
- 489
- Post Thanks / Like

-
12-07-2009, 09:55 AM #2
- Join Date
- Jun 2009
- Location
- West Chester, PA
- Posts
- 489
- Post Thanks / Like
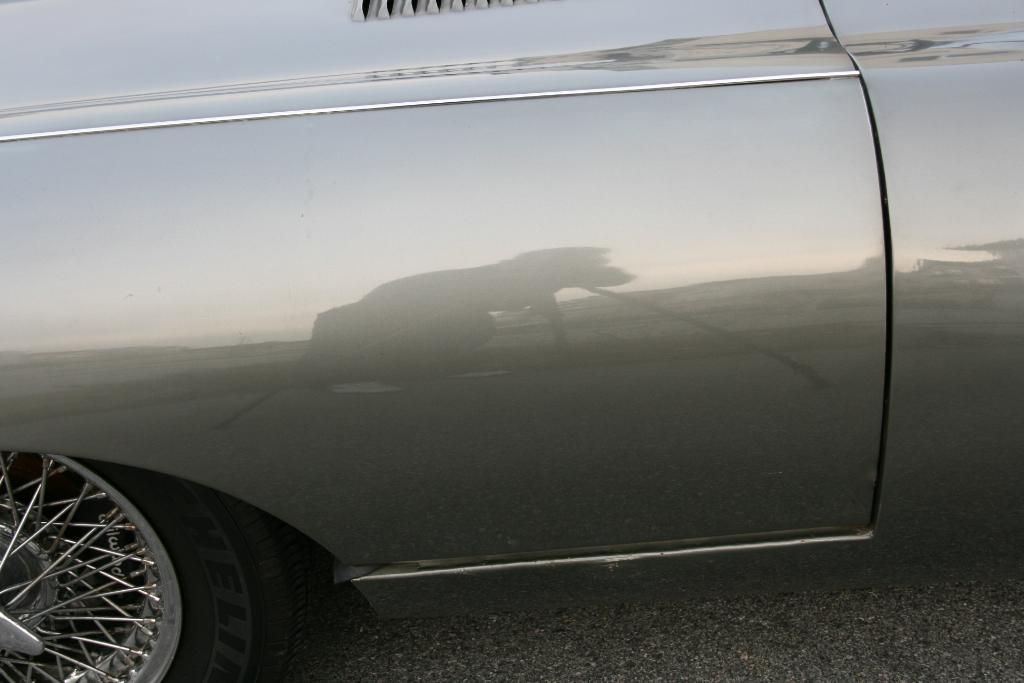
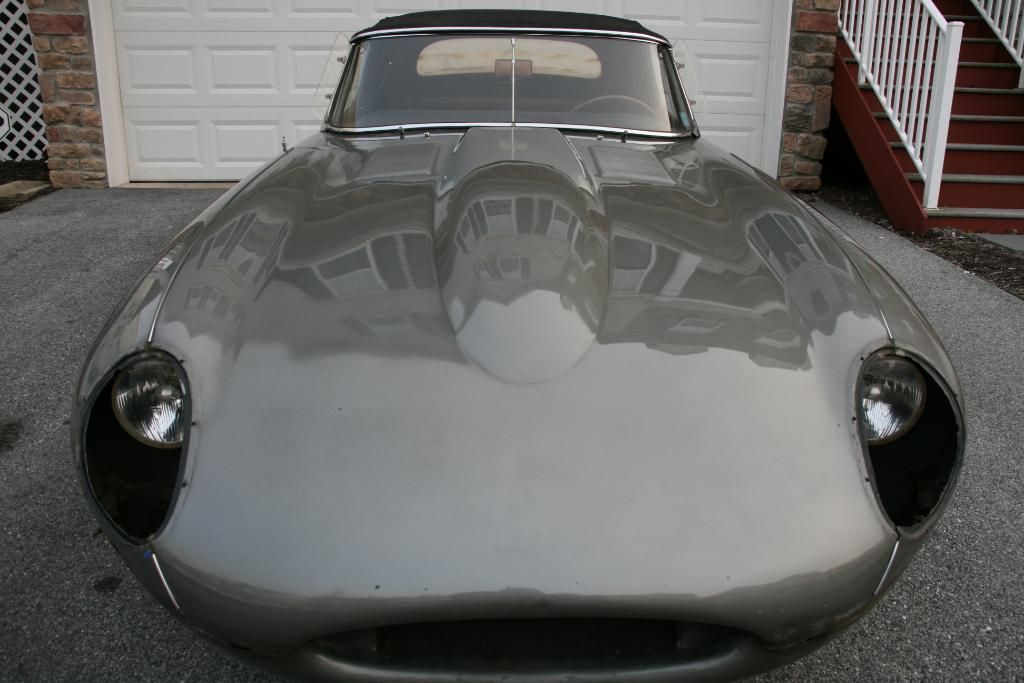
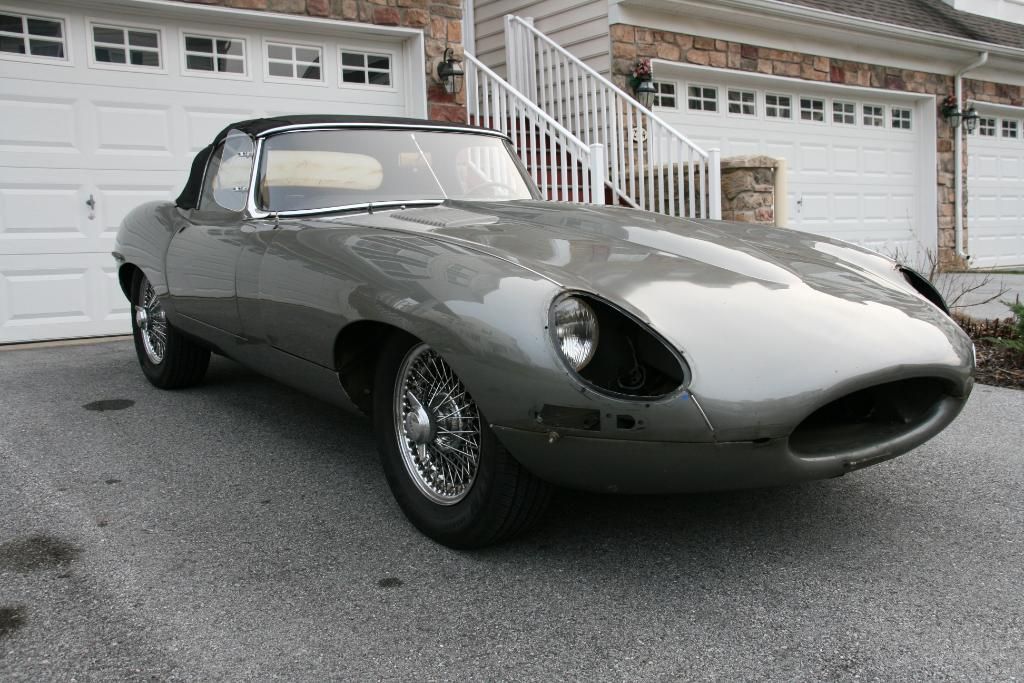
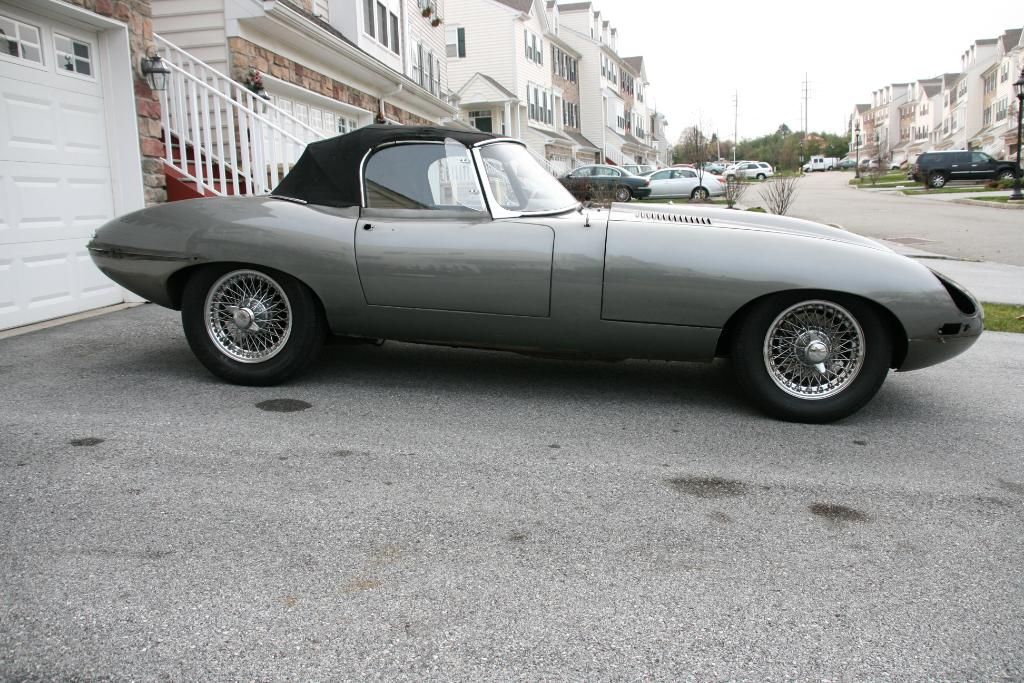
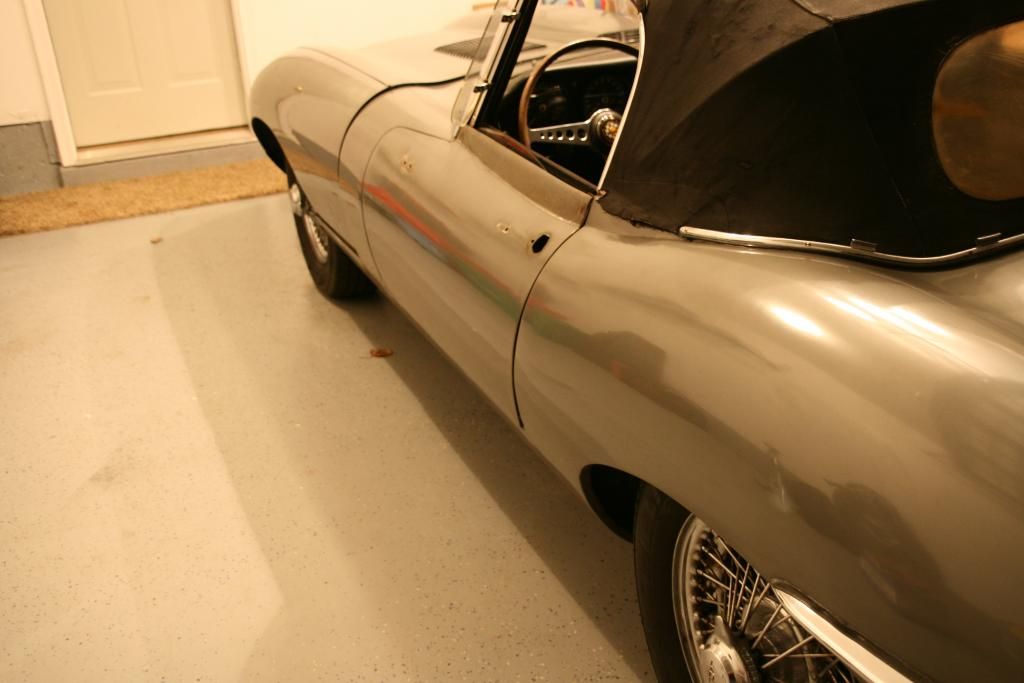
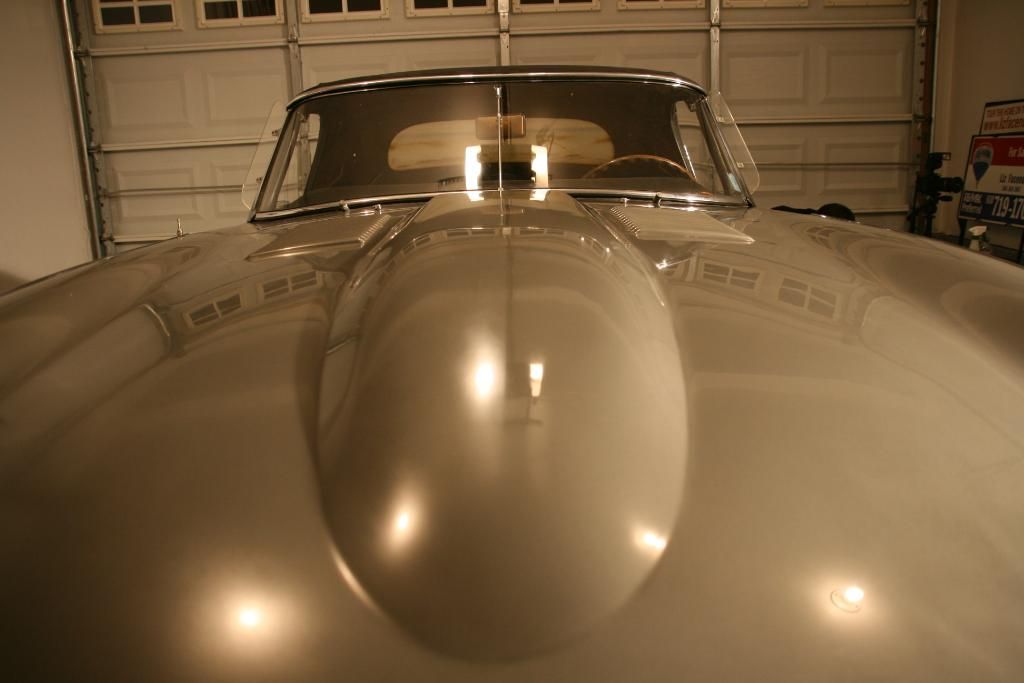
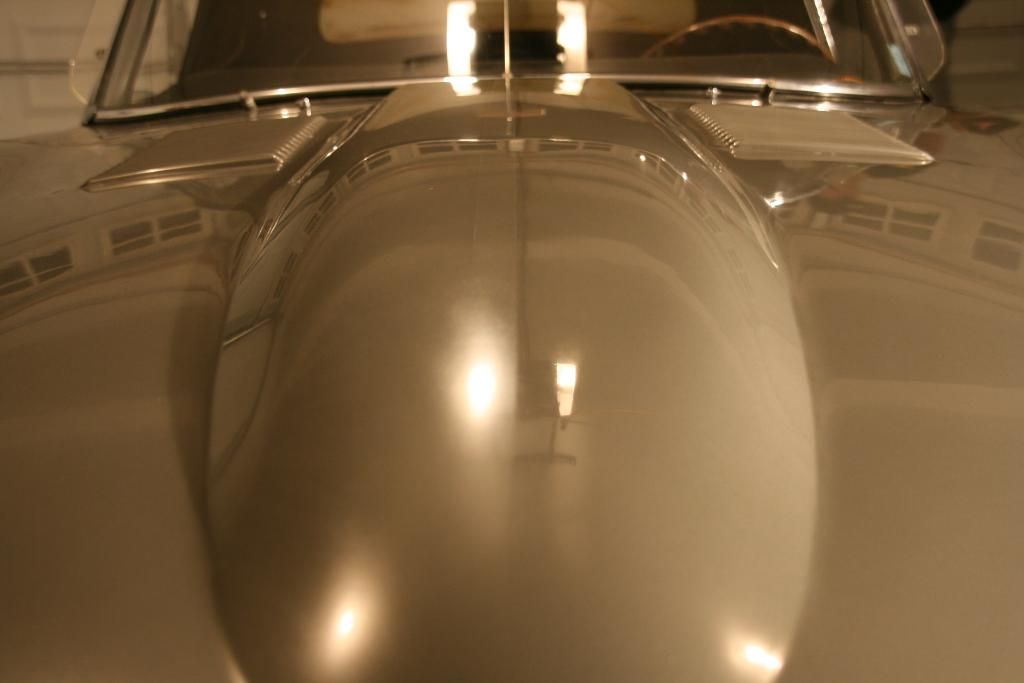
Finished reflection photos of the car, you can see much more clarity in the paint now.

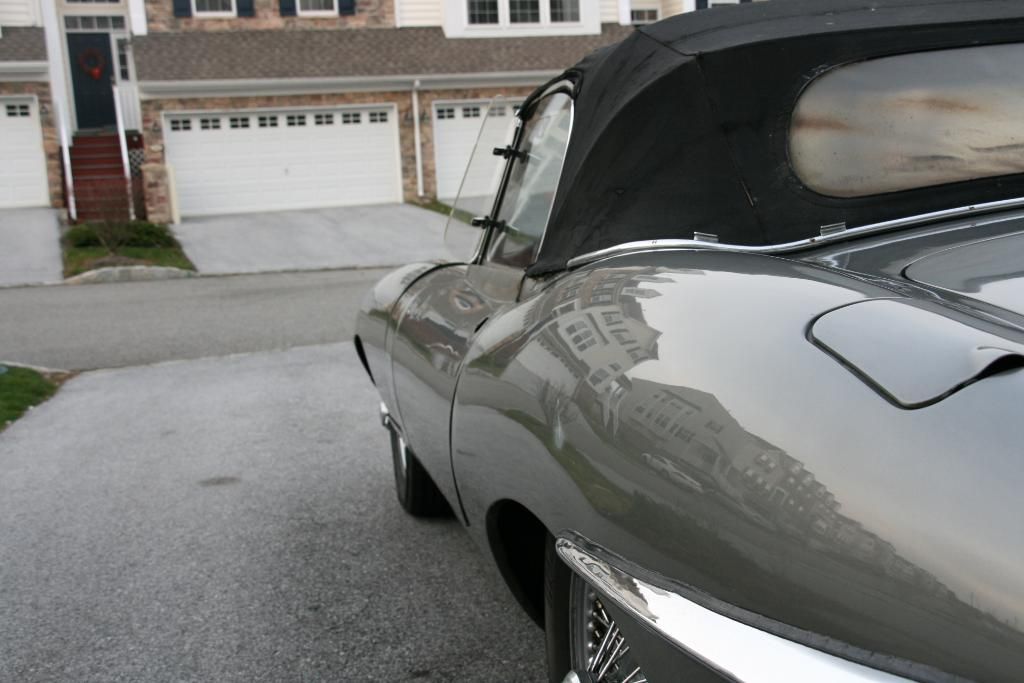
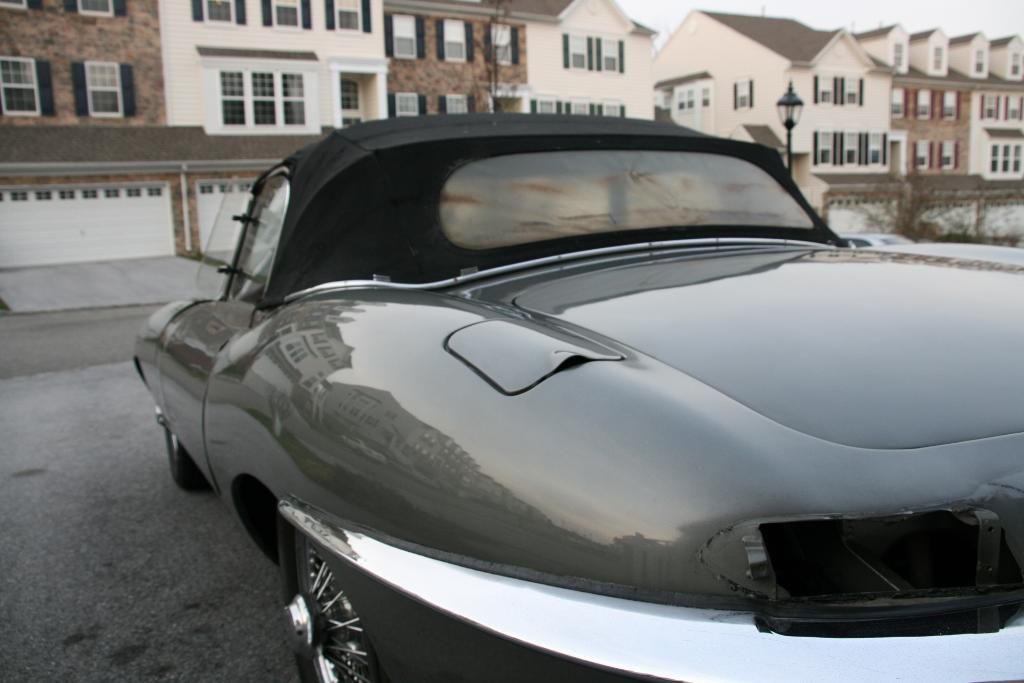


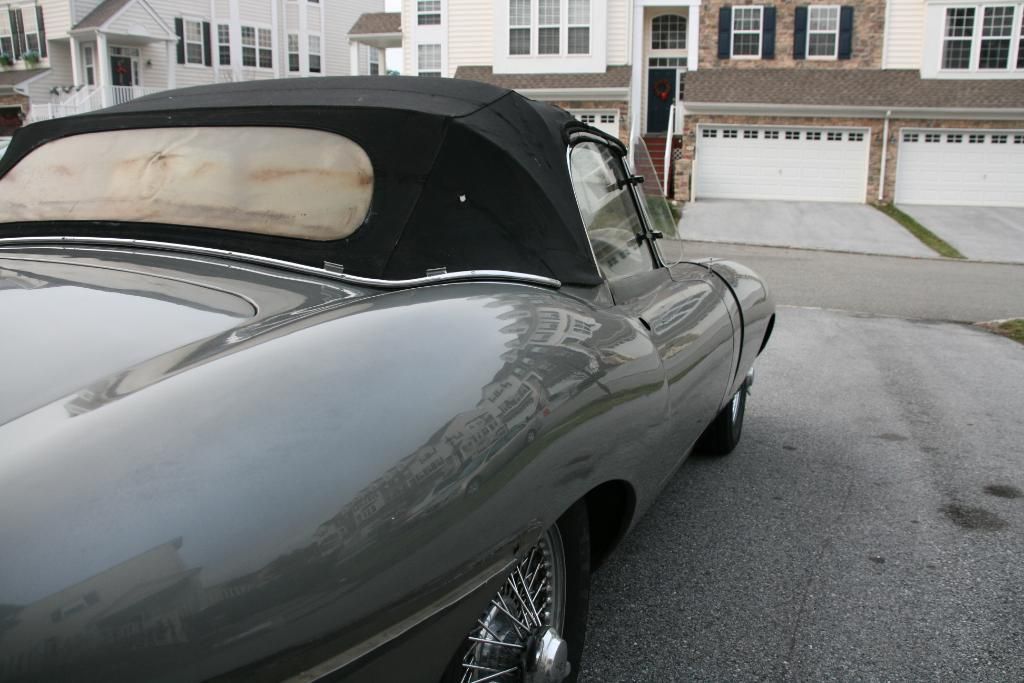

Full Finished photos of the car

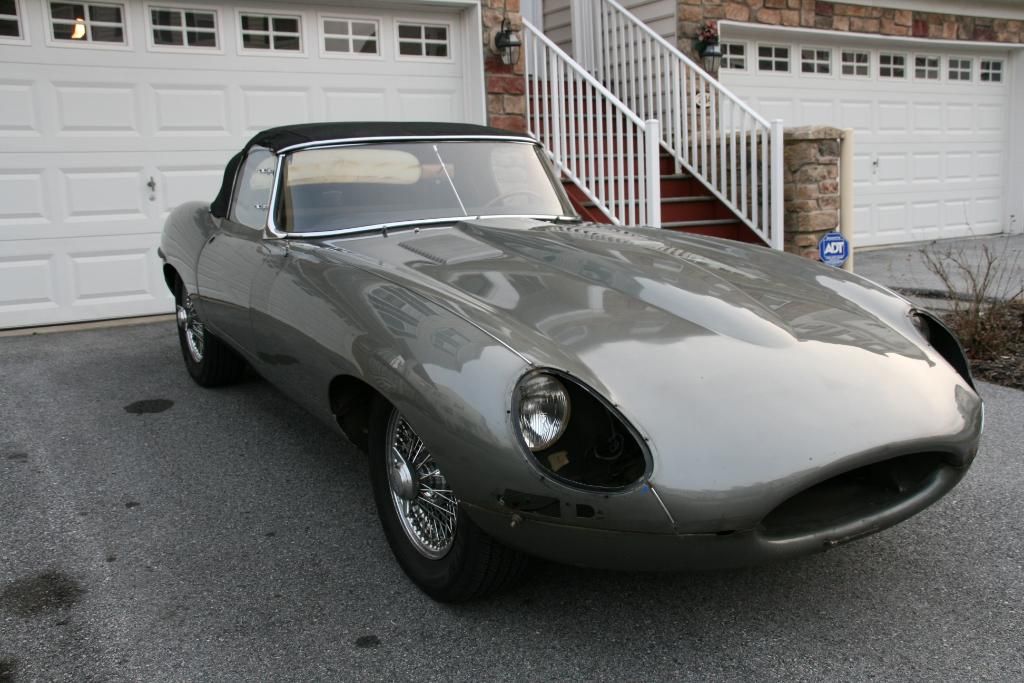
As always, Enjoy! Please feel free to comment!
-Oakes
-
12-07-2009, 11:31 AM #3

- Join Date
- Sep 2002
- Location
- NE Ohio
- Posts
- 86,995
- Post Thanks / Like
OakesDetail- Hey, I really enjoyed seeing this one! Nothing like an original paint Jag to get me all revved up

Good job, bet you had to be *very* careful in some places (I noticed that protective piece of tape on the bonnet).
Heh heh, Willwood brakes huh?
-
12-07-2009, 06:16 PM #4
- Join Date
- Jul 2006
- Posts
- 45
- Post Thanks / Like
It`s amazing how after almost 50 years the styling of the E Types still looks current!:brit
Nice work.2008 328i E90
-
12-07-2009, 06:28 PM #5Rasky's Auto Detailing

- Join Date
- Mar 2009
- Location
- Eden Prairie, MN
- Posts
- 5,011
- Post Thanks / Like
Awesome work Oakes! You can definitely see the deference, especially the out door after pics!
Thanks for sharing! :thx
-
12-07-2009, 07:44 PM #6
- Join Date
- May 2005
- Location
- Wakefield, MA
- Posts
- 2,400
- Post Thanks / Like
WOW!!!!
You can clearly see the difference between the before and afters...
Great work!!!
-
12-07-2009, 07:52 PM #7

- Join Date
- Jan 2010
- Location
- Babylon, NY
- Posts
- 173
- Post Thanks / Like
Great job on such an awesome classic!!
-
12-07-2009, 08:24 PM #8
- Join Date
- Jul 2009
- Posts
- 21
- Post Thanks / Like
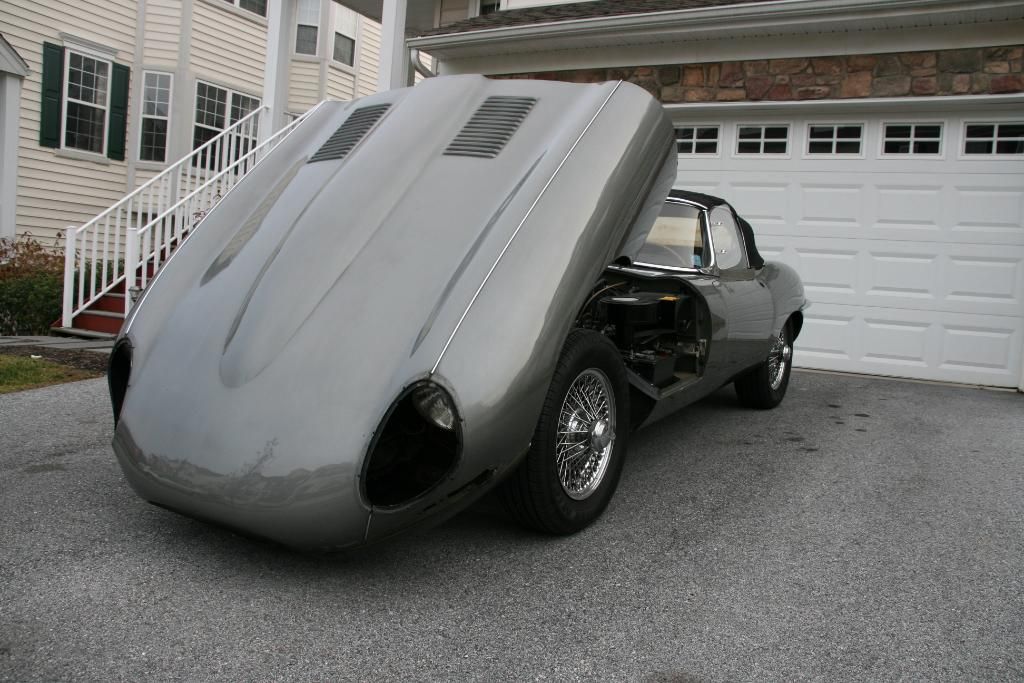
2nd to last pic was funny - looks like a massive hood!
-
12-21-2009, 08:15 AM #9
- Join Date
- Jun 2009
- Location
- West Chester, PA
- Posts
- 489
- Post Thanks / Like
Thanks guys! Appreciate the kind words, I really enjoyed this detail and saw the car driving a few days later, definitely benefited from the work!

 Reply With Quote
Thread Information
Users Browsing this Thread
There are currently 1 users browsing this thread. (0 members and 1 guests)
Similar Threads
-
1966 Jaguar XKE-Type - Oakes Detail
By OakesDetail in forum Click & Brag -The Detailers ShowcaseReplies: 7Last Post: 04-04-2011, 04:36 PM -
Oakes - Detailed: 2009 BMW 335i - Hack Job Recovery
By OakesDetail in forum Click & Brag -The Detailers ShowcaseReplies: 2Last Post: 03-15-2011, 12:42 AM -
Oakes - Detailed: 1964 Jaguar XKE-Type Coupe - Lady in Red
By OakesDetail in forum Click & Brag -The Detailers ShowcaseReplies: 17Last Post: 04-05-2010, 04:17 PM -
Bella Macchina 1974 Jaguar E-Type Roadster
By Todd@RUPES in forum Click & Brag -The Detailers ShowcaseReplies: 0Last Post: 05-12-2008, 07:04 AM -
1963 Jaguar E-Type
By Clean Dean in forum Auto Detailing 101Replies: 9Last Post: 12-01-2004, 09:35 PM
Bookmarks