

This is a vehicle that I had already fully color sanded the whole car about 2 months ago. The owner received a custom air-brush flame job from a shop that does great air-brush work, but they have no clue how to clear coat a vehicle. I had over 26 hours the first go around, and during my work I noticed the shop did not remove the mirrors, door handles and window trim when they clear coated the paint. I noticed the clear was already started to split and chip around the moldings so I mentioned this to the owner. He took the vehicle back and raised some heat and they agreed to pull off the items and re-clear the driver door and the passenger door. Again this shop does not know how to spray clear. I have never seen a clear job done this poorly in my 7 years as a professional detailer.
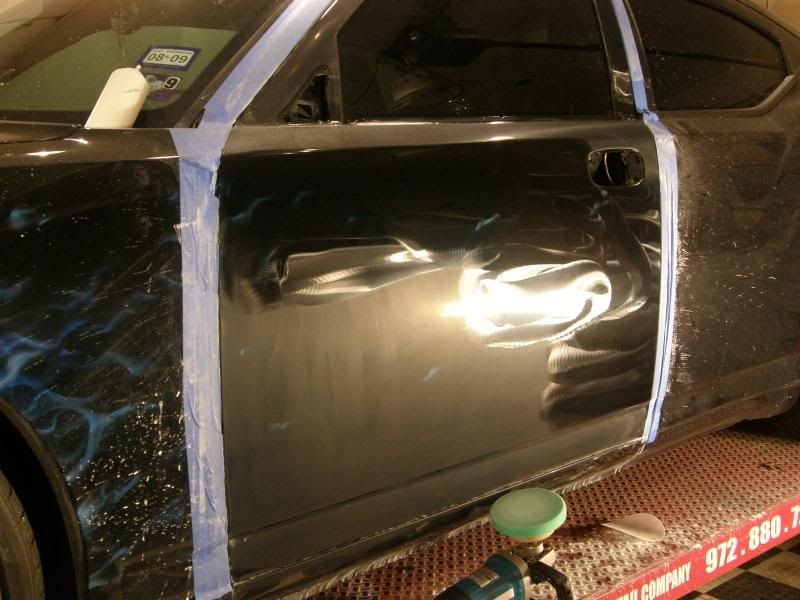
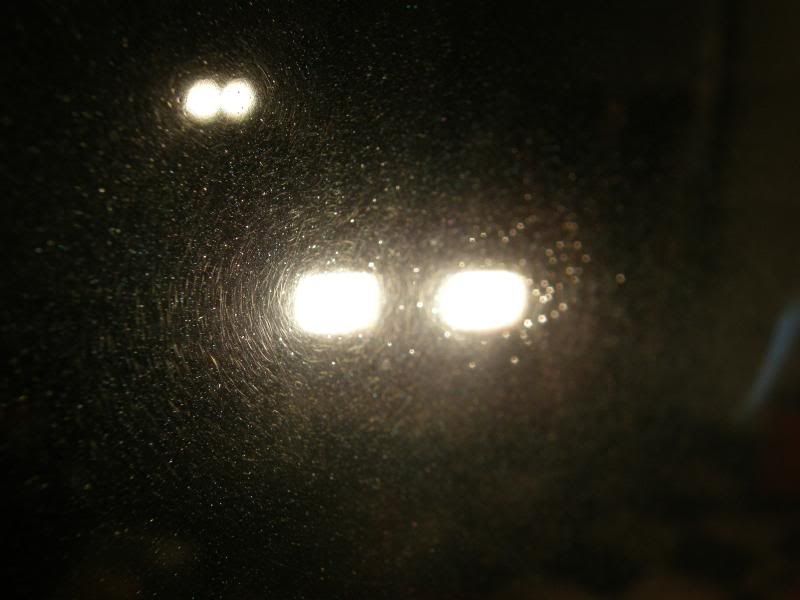
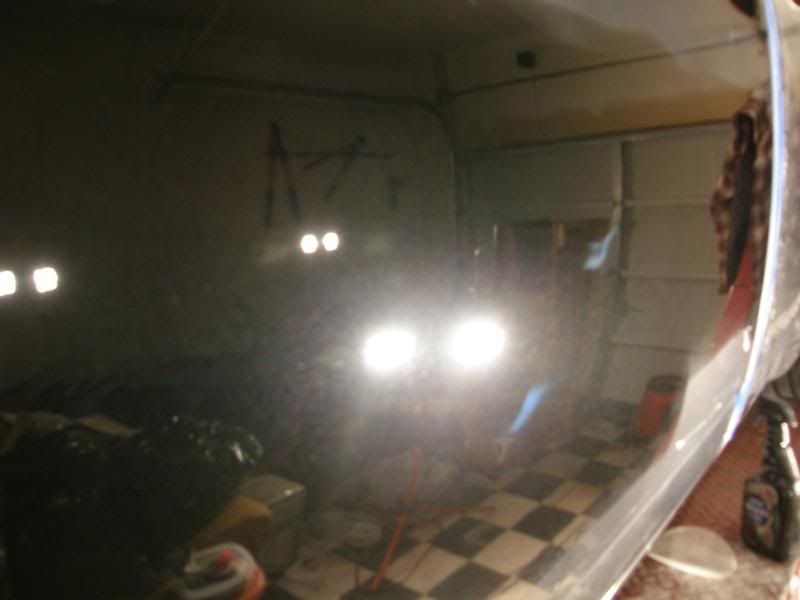
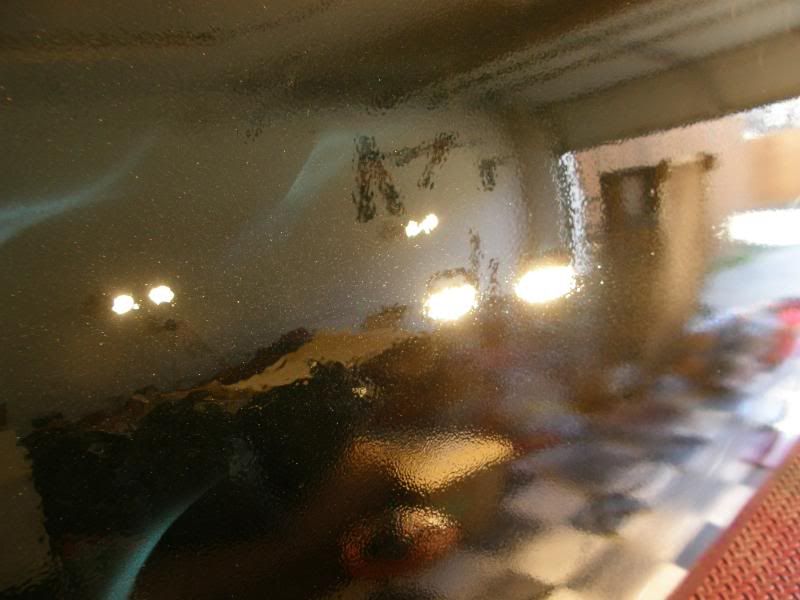
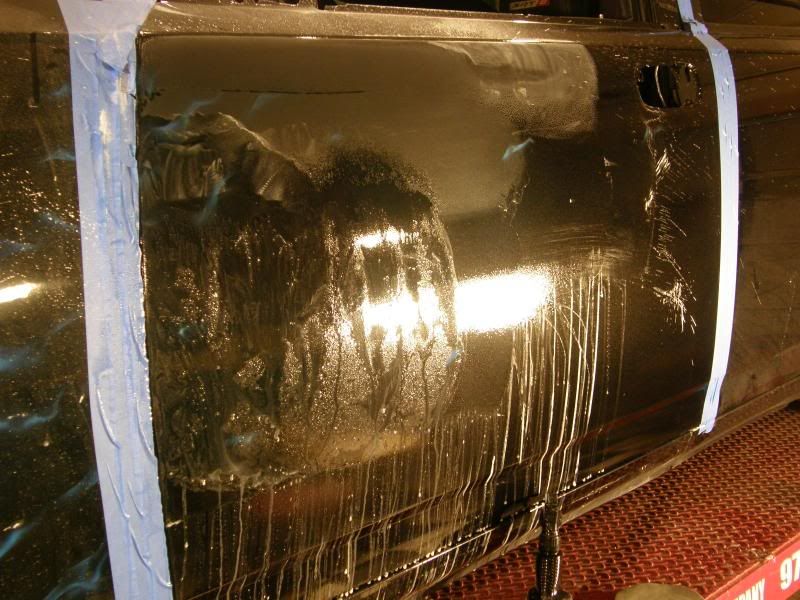
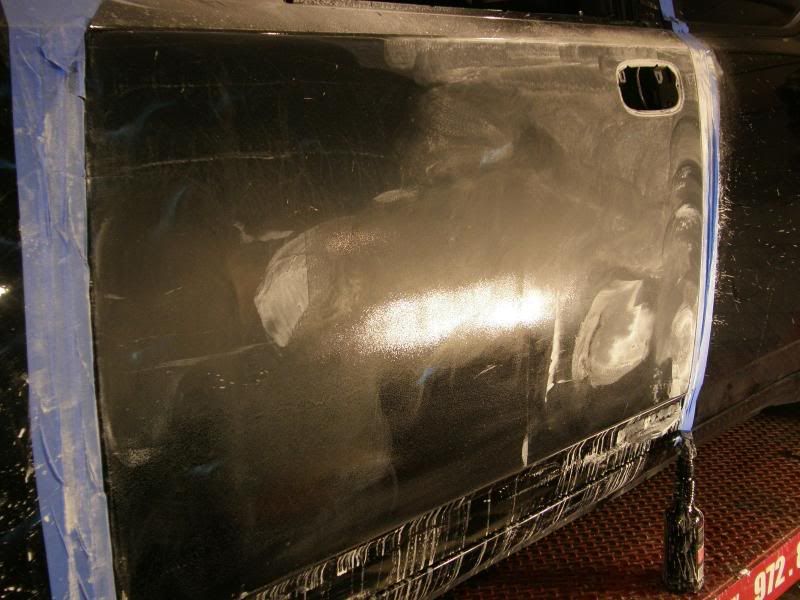
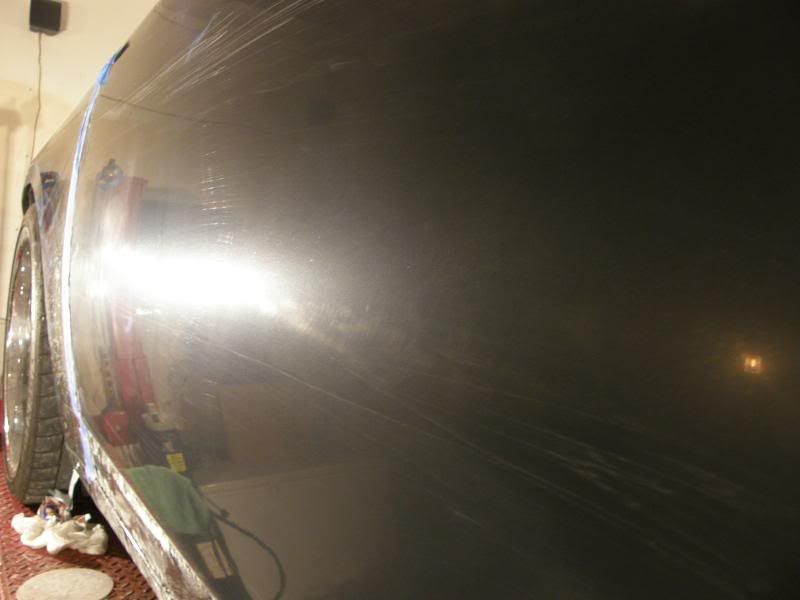
Here is the driver door before I started my sanding.
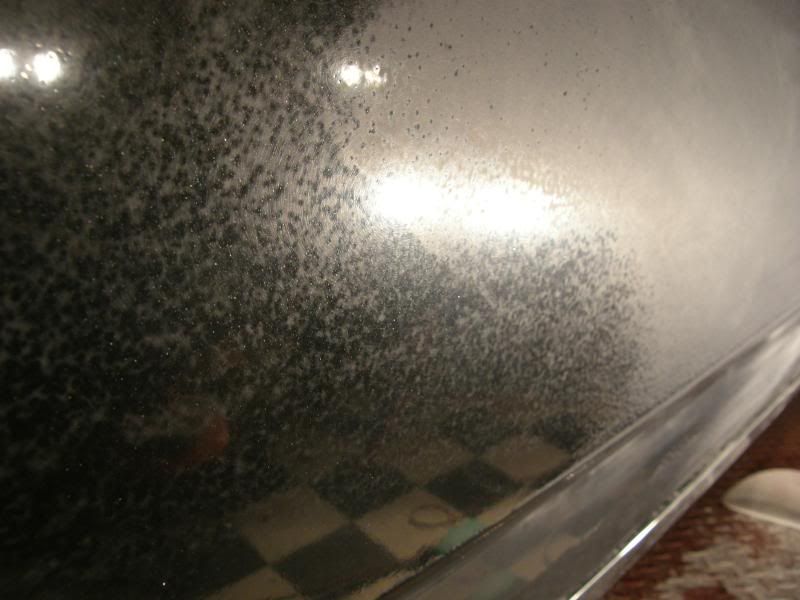
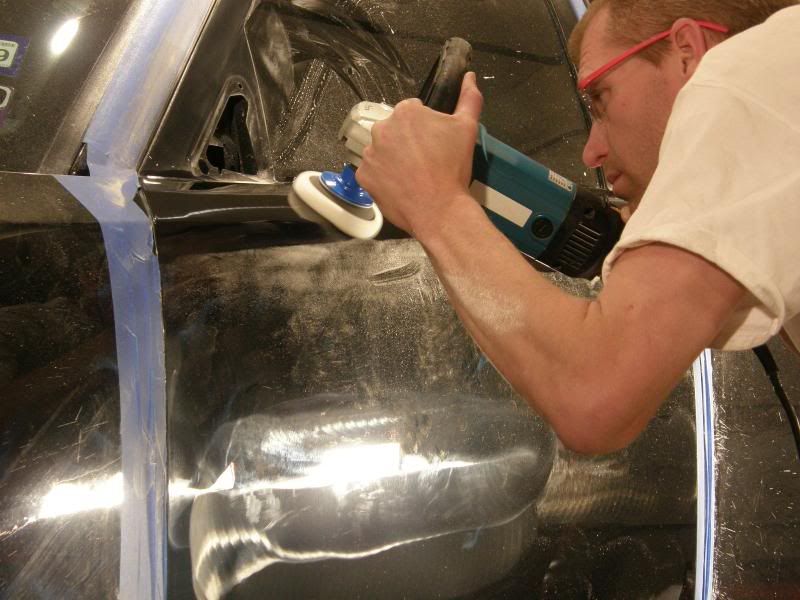
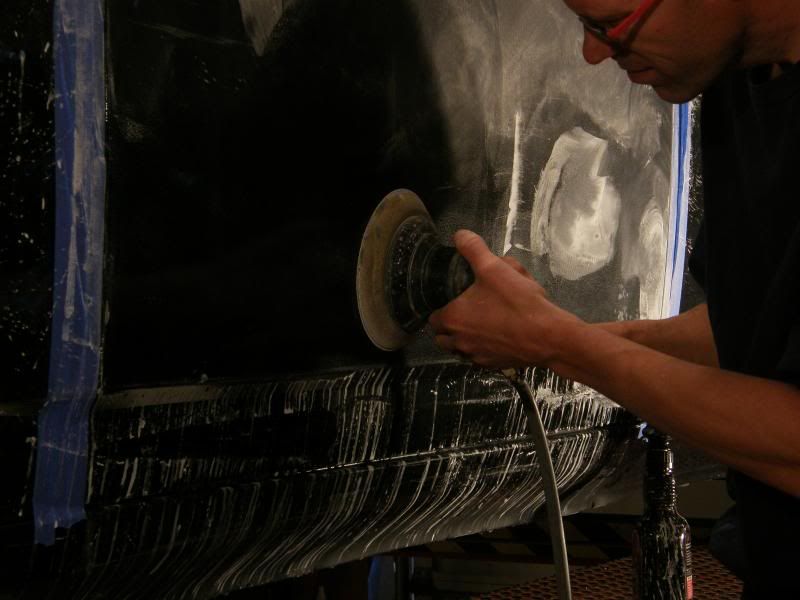
I started to sand the door using 1500 grit paper using my dynabrade air DA sander. I could not believe how much clear was on this door!
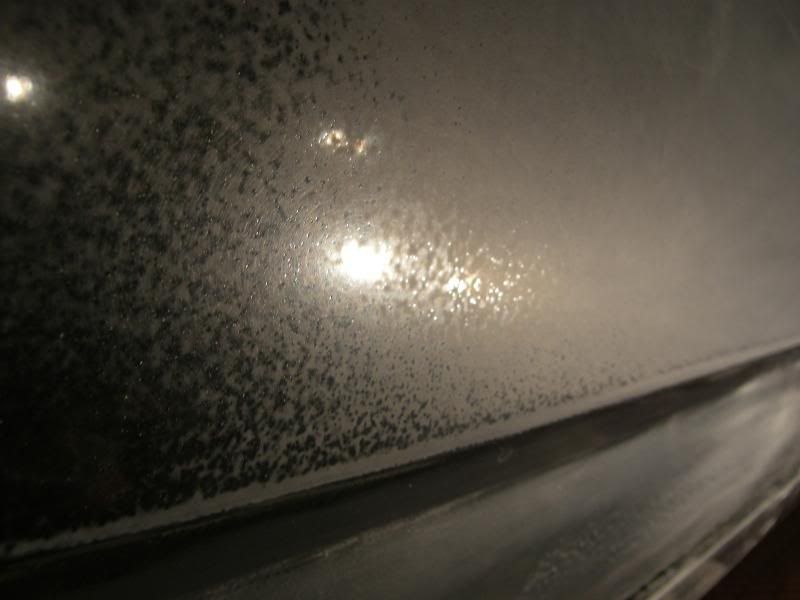
After a few passes you can see how crazy this really is!!
After a few passes and a few discs I started to level out the upper portion of the door.
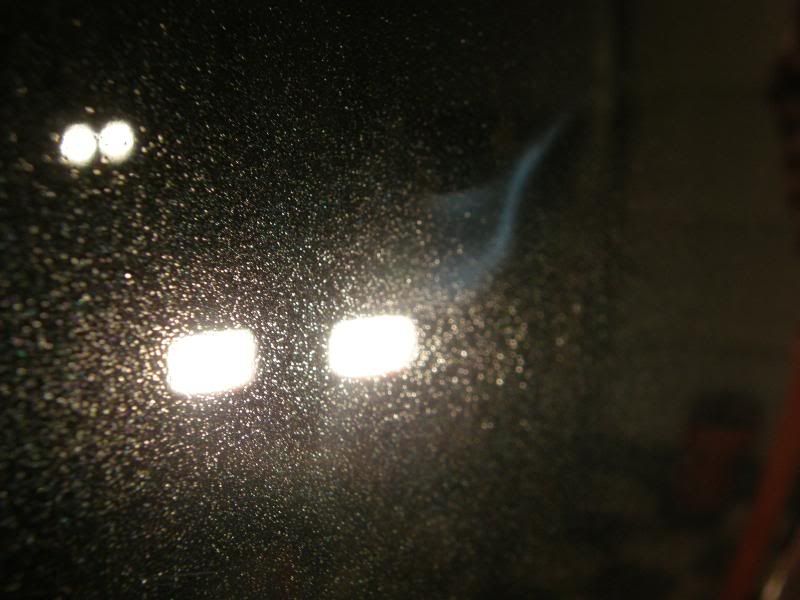
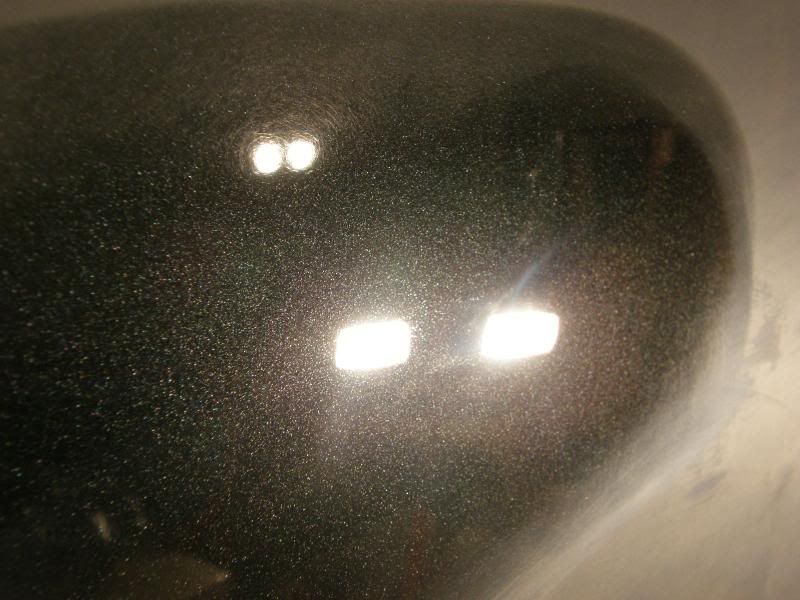
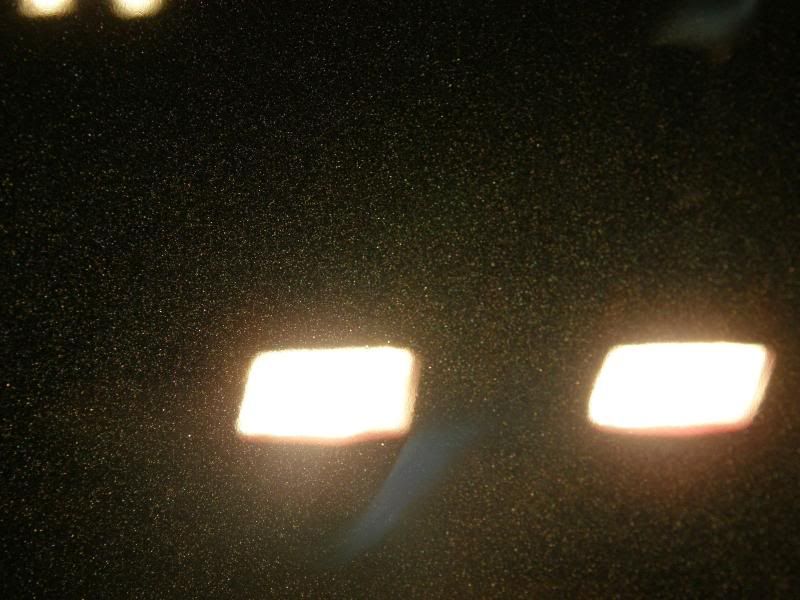
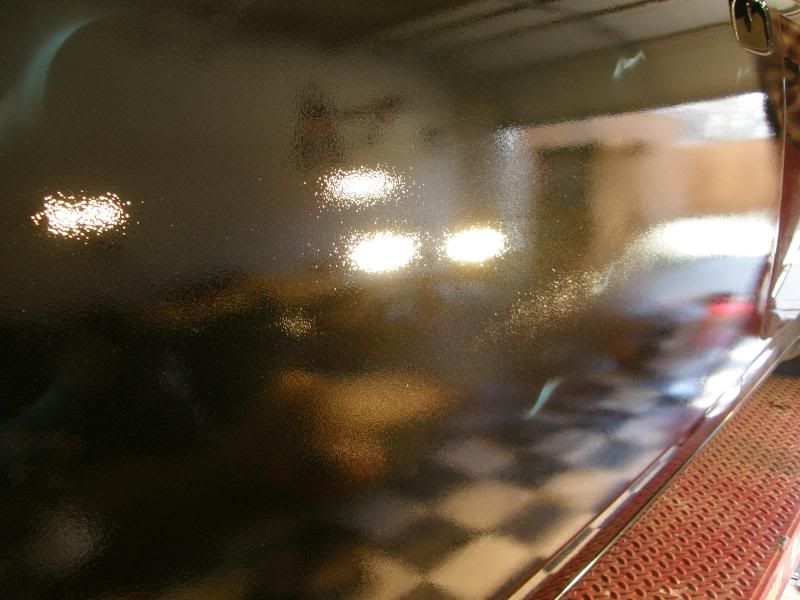
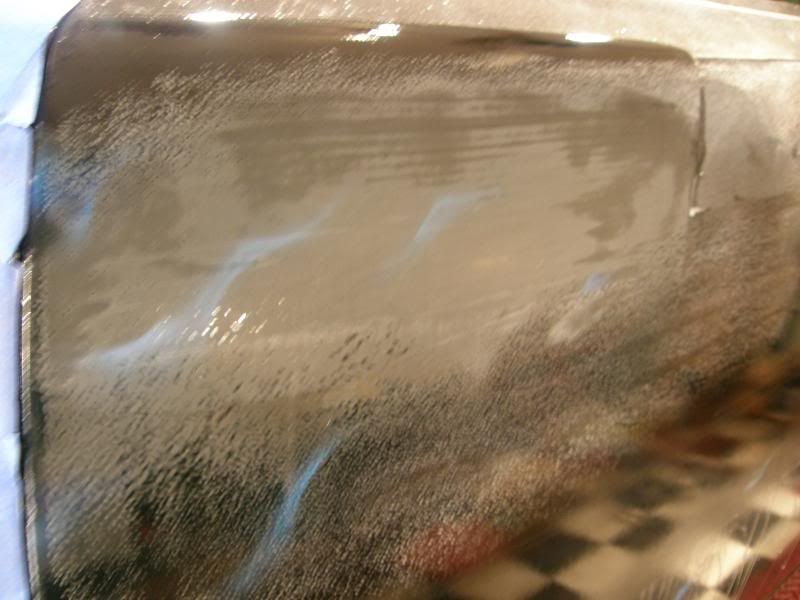
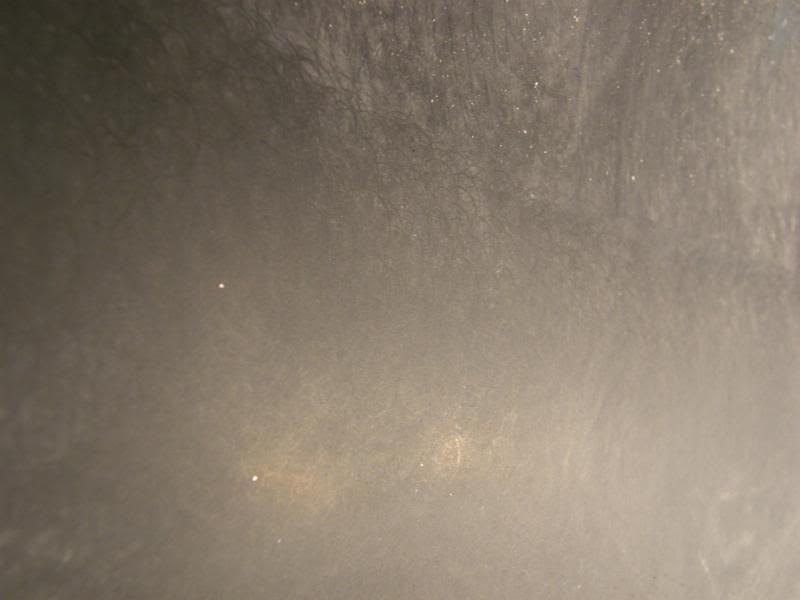
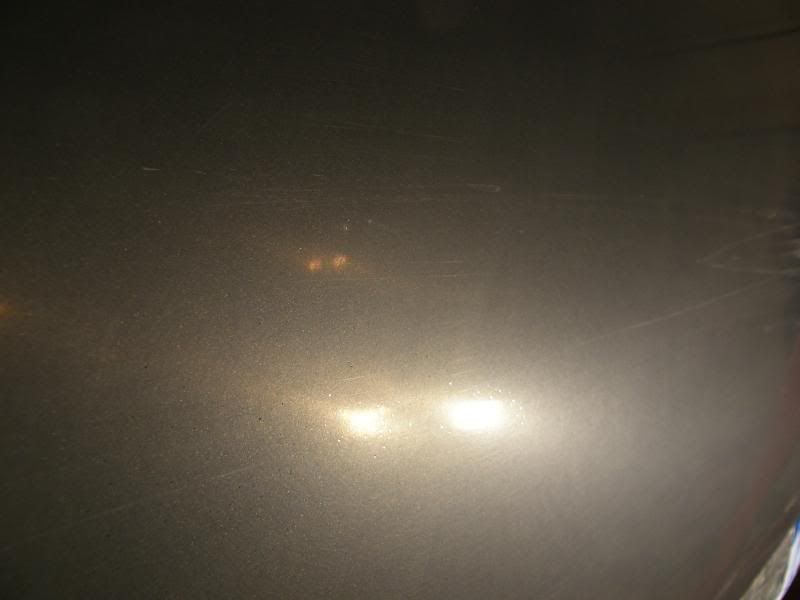
Here is a nice close up of an area where I have not yet worked it really good. This shows how poor a clear coat job this was!
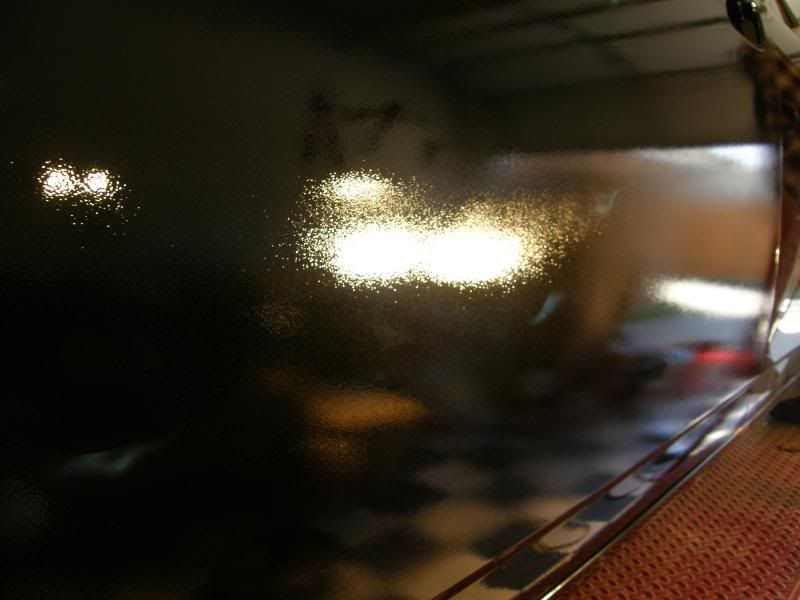
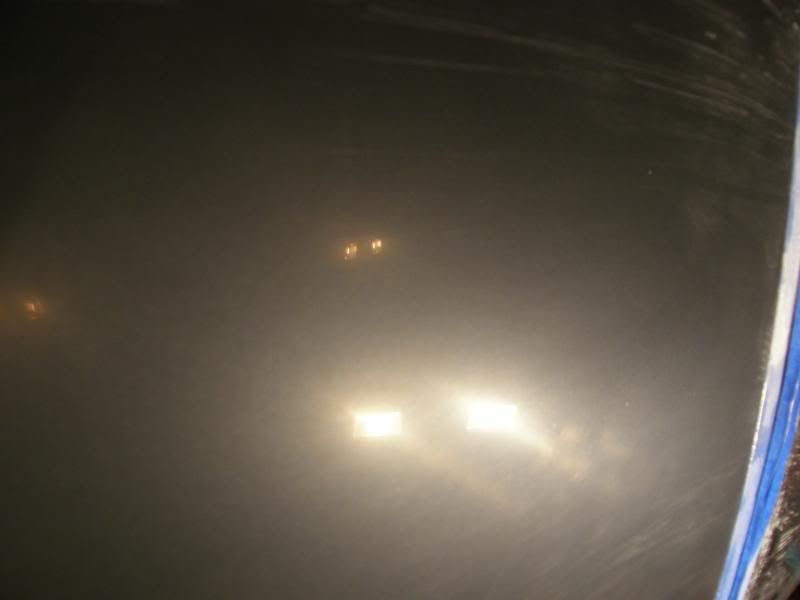
The middle was the worse, they overlapped the clear from the top and the bottom and it was REALLY bad in this area!
Spots were so bad that I had to jump to 1200 grit sandpaper and do areas by hand!
Here is the door done with 1500 grit paper. You can still see bumps in the clear!
Again the middle of the door was the worst with the overlapping of the clear. You can see the bubbles in the clear in this shot. I knew that I was going to have to sand this area again!
The upper area on the door sanding out nice and smooth.
I went over the whole door with some 3000 trizak pads on my dynabrade to smooth out the 1500 marks.
more to come...
Results 1 to 15 of 31
-
01-16-2009, 11:16 AM #1


- Join Date
- Jan 2009
- Location
- Dallas, Texas USA
- Posts
- 81
- Post Thanks / Like

-
01-26-2009, 09:47 PM #2
- Join Date
- Jan 2010
- Posts
- 79
- Post Thanks / Like
Holy ... i mean, how...who painted this car? Ehhhhhh, dude, i don`t know what to say. Your work is amazing, the painter...FAIL!
Nicholas
-
01-26-2009, 09:51 PM #3
- Join Date
- Mar 2008
- Location
- Colorado
- Posts
- 340
- Post Thanks / Like
Good thing they put about an acre of clear on. That much sanding is crazy. Looking forward to some final shots.
-
01-27-2009, 12:39 AM #4
- Join Date
- Nov 2008
- Location
- Phoenix, AZ
- Posts
- 233
- Post Thanks / Like
Holy cow man. That is just unbelievable. I`m sure after this job you`ll be my new hero hahaha.
-
01-27-2009, 03:20 AM #5
- Join Date
- Oct 2007
- Posts
- 70
- Post Thanks / Like
Thats a whole lot of sanding
-
01-27-2009, 03:34 AM #6
- Join Date
- Jul 2006
- Location
- San Jose / Berkeley, CA
- Posts
- 1,354
- Post Thanks / Like
yeah man, subscribed to see the final. Great job on the sanding though.
-Sam
Serving Northern California (East Bay) from
San Francisco, Berkeley, to San Jose.
-
01-27-2009, 08:35 AM #7
- Join Date
- Jan 2009
- Location
- Dallas, Texas USA
- Posts
- 81
- Post Thanks / Like
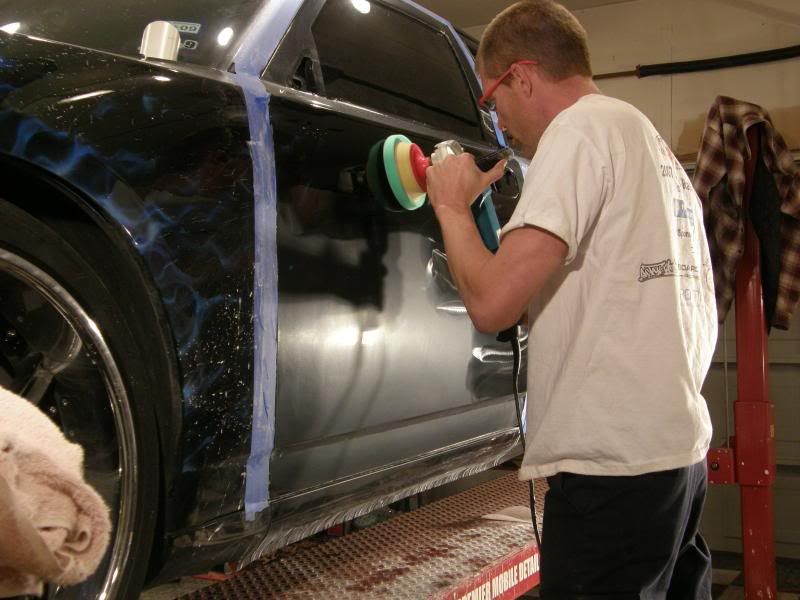
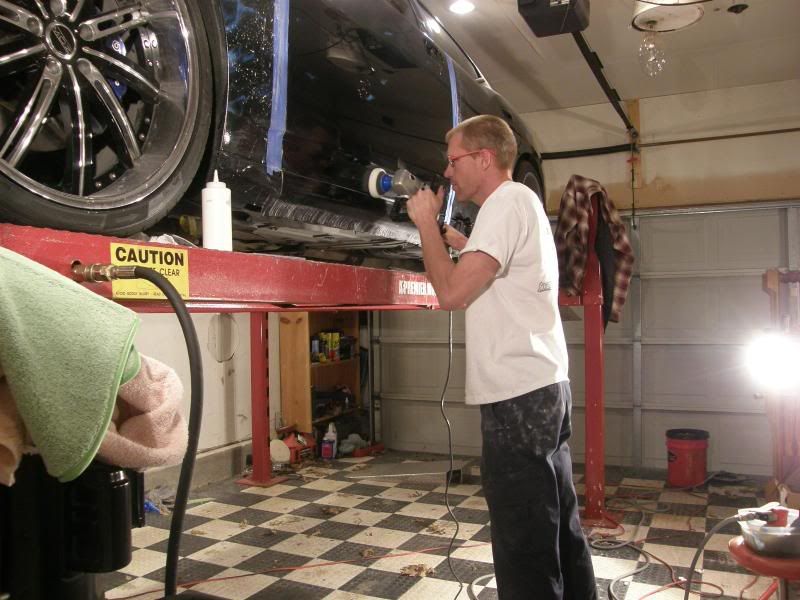
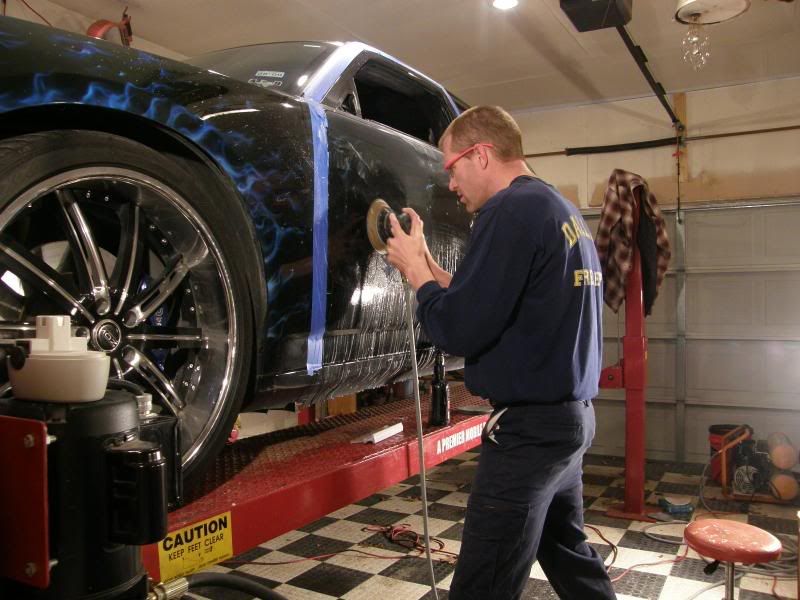
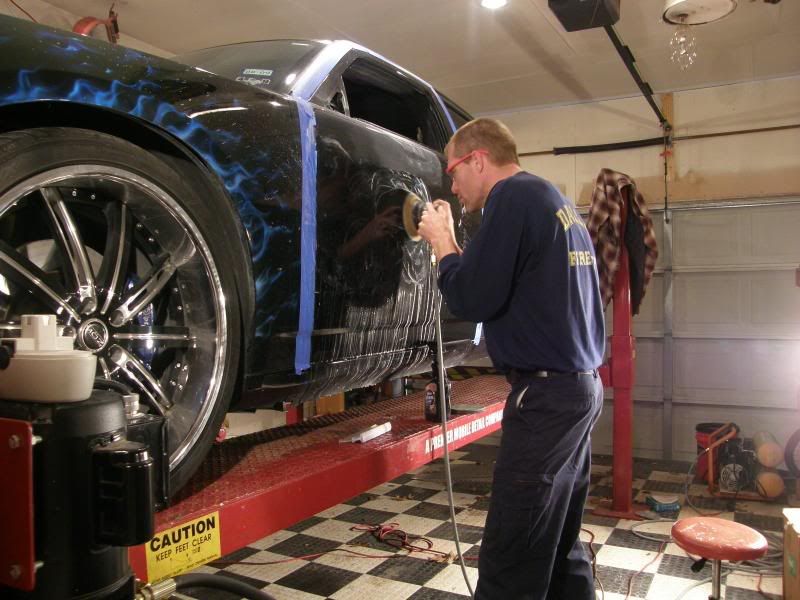
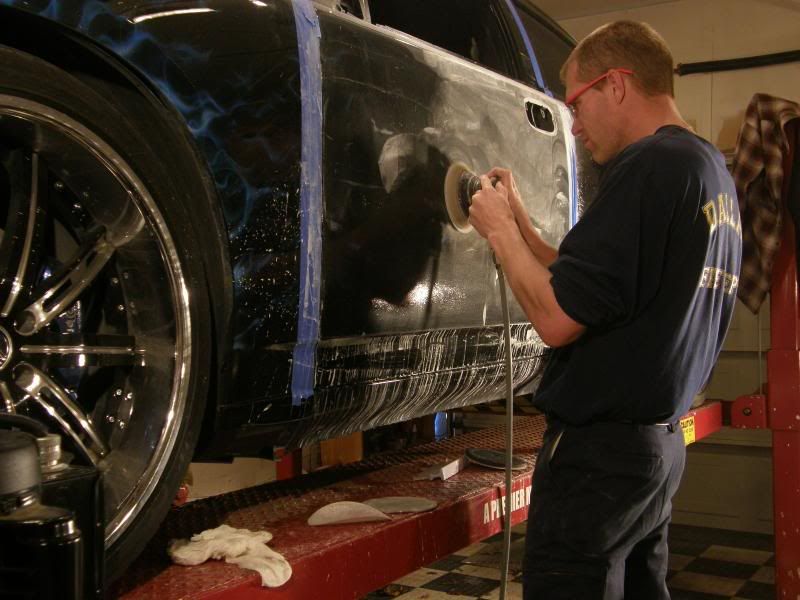
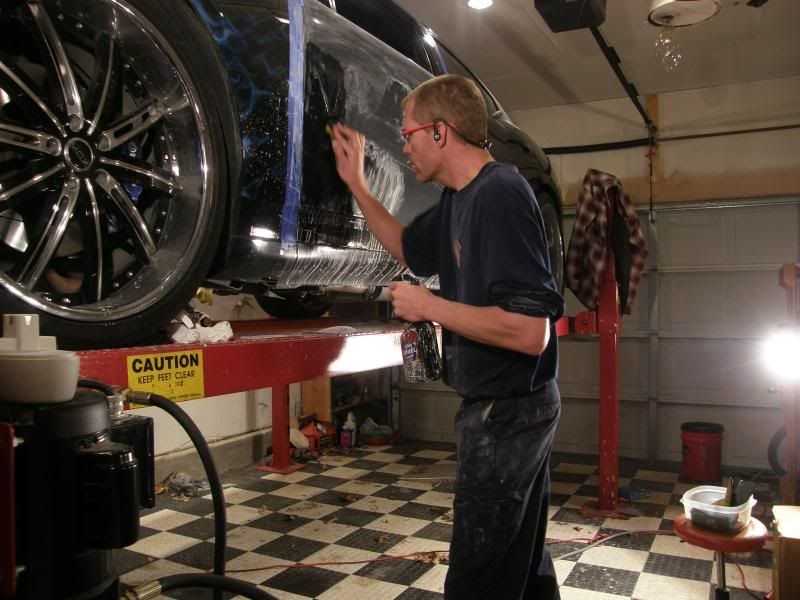
It was time to see how the door looked buffed out. I grabbed my orbit and using the 3M UK green pad, and the new Gloss-It Evolution Finish Beta I started to work the upper area of the door. Also using the new Gloss-It EVP Prime on my pad so I could raise my speed to 3.5 and not worry about burning the paint and also cut down on dusting.
Just a few passes and the sanding marks were GONE! This beta is going to be a great addition for professionals who use high-speed orbits for paint correction!
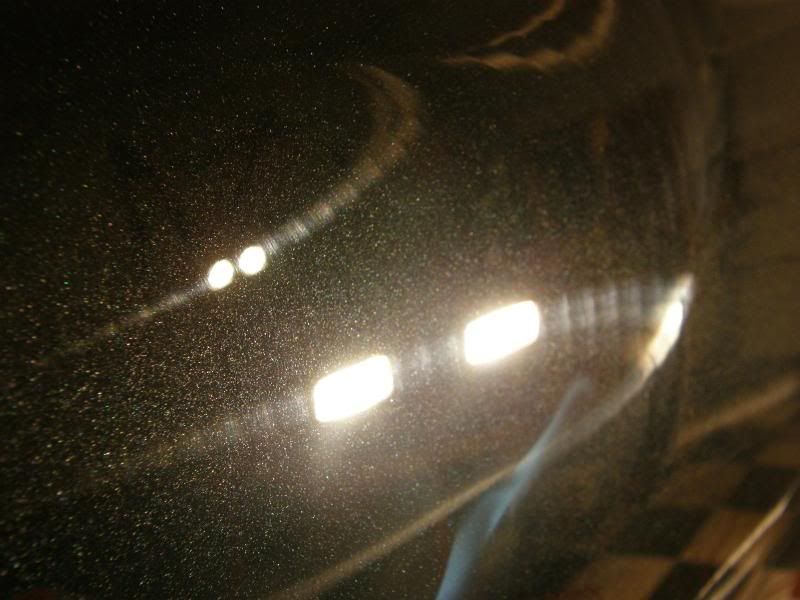
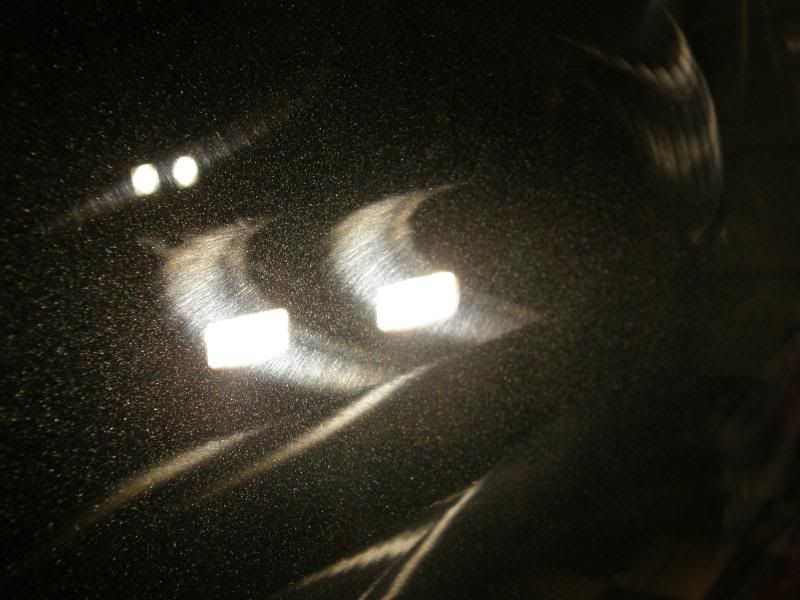
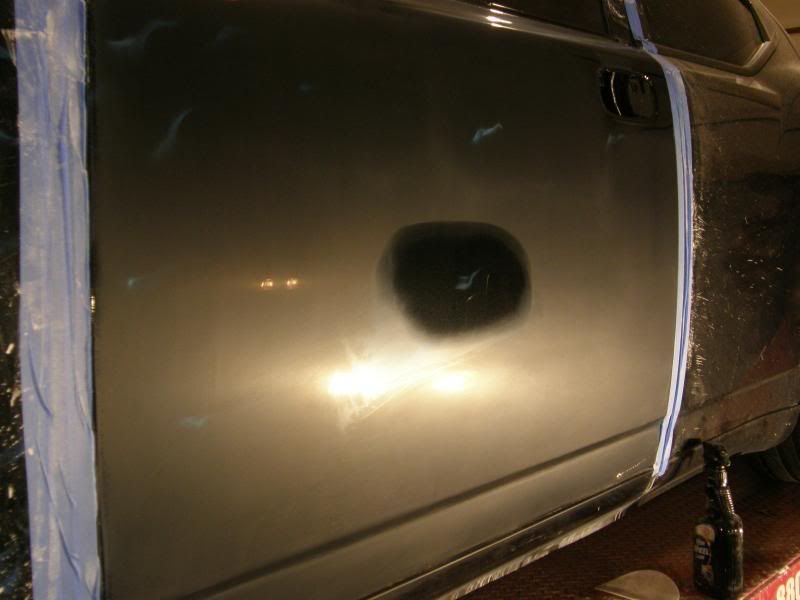
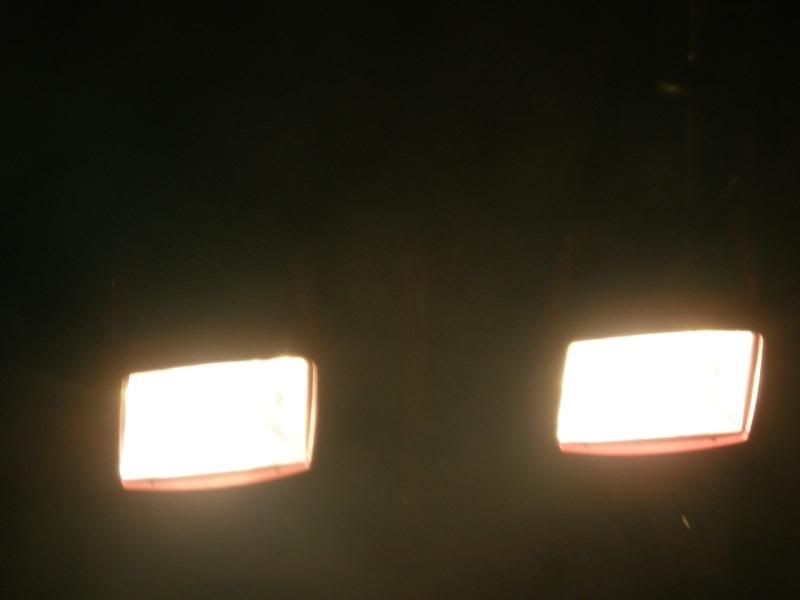
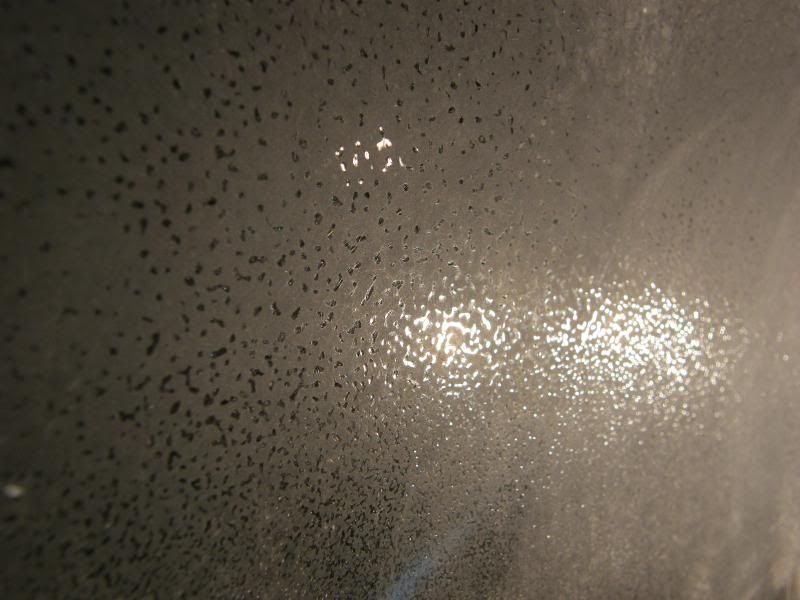
The middle of the door started to show more clear spray, you can see the pitting in the clear. At this point I knew that I was going to have to drop down to 1200 and maybe even 1000 grit to get this level.

This is not the flake in the paint! This is the clear all pitted!
So I dropped down to 1200 grit on my dynabrade and check out just how much more leveling I had to do!!
So I hit the whole door with 1200, then 1500 then 3000 and am about to buff out the door again using my orbit, pad and the new beta polish.
I wanted to hit the middle area first as this was the worst clear issue. The beta knocked out the 3000 grit sand marks like butter!
I used some Gloss-It QD spray to clean the area and wiped with a micro-fiber cloth to see how the paint looked. I was blown away! Crisp and clear!
Also looks like I leveled out the clear pretty good. I am pleased with this sanding job!
I had to focus my attention to the bottom of the door. It was a prefect opportunity to try out the new Gloss-It 3 inch backing plate for the orbit and the new Gloss-It white 3 inch pads. I was very impressed with the cutting ability of the new 3 inch white pads! The foam structure is very much like that of the Megs burgundy cell structure but cut like the UK 3m pads.
This is a great shot showing the new Gloss-It 3 inch backing plate working with the contour of my work area! Also the 3 inch foam pad really flexed well and worked great removing the 3000 grit sand scratches from this area! This is one of my favorite new pads to use in tight spaces.
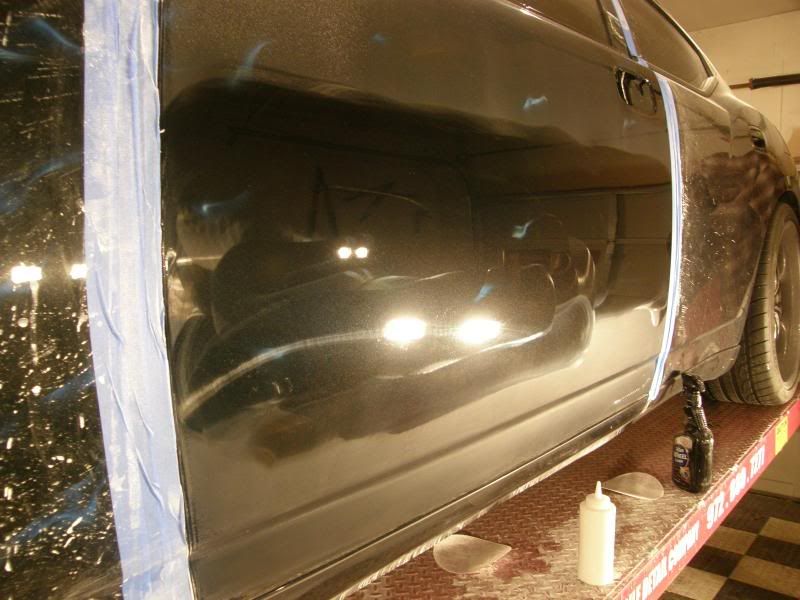
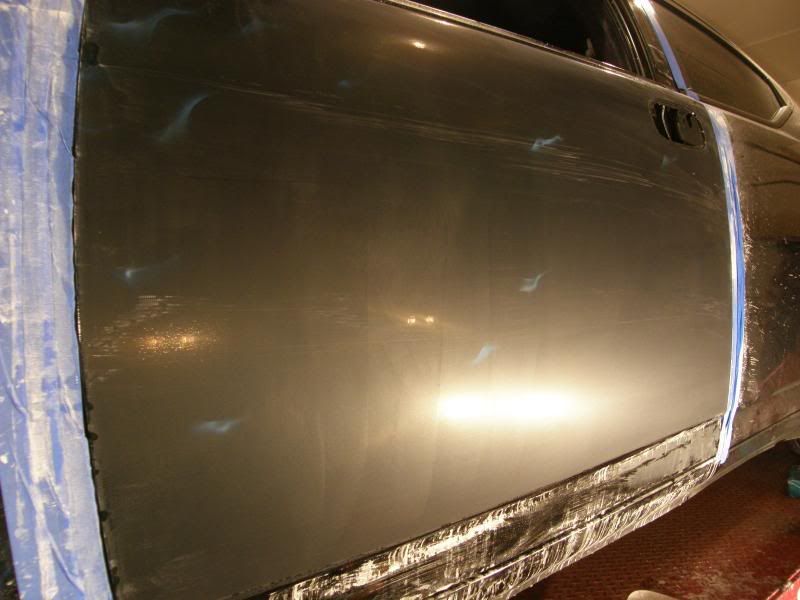
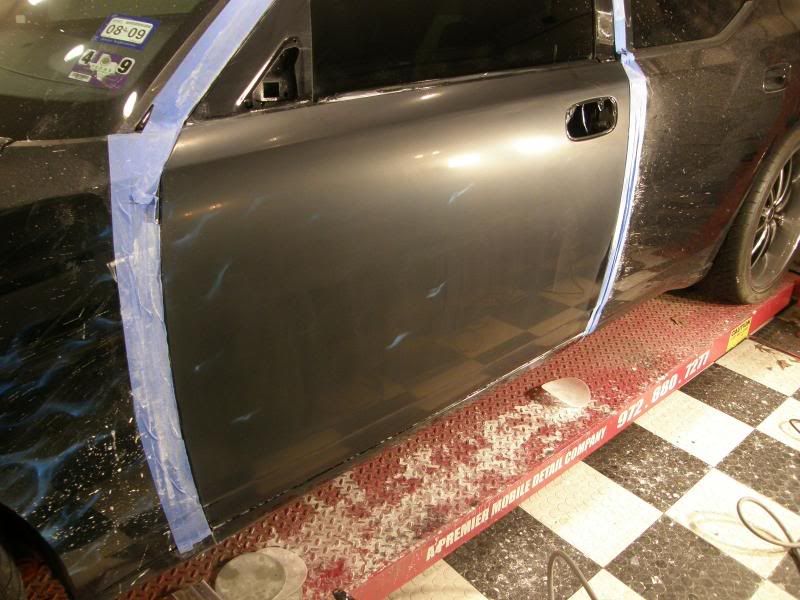
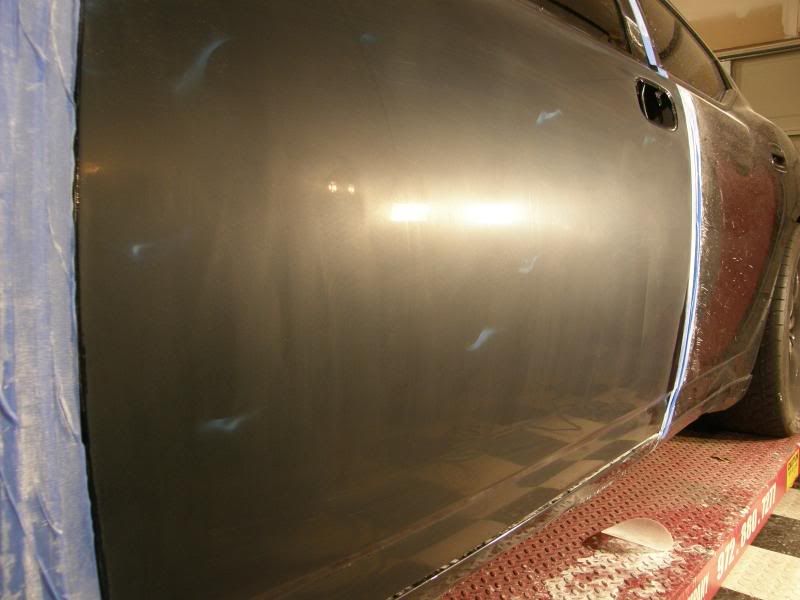
Completed buffed out door prior to a QD wipe down.
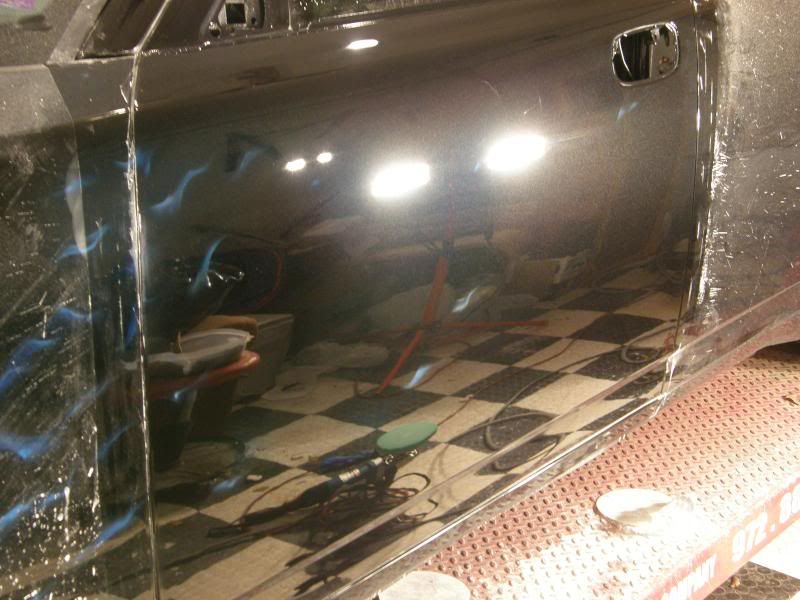
After a wipe down here are the results!
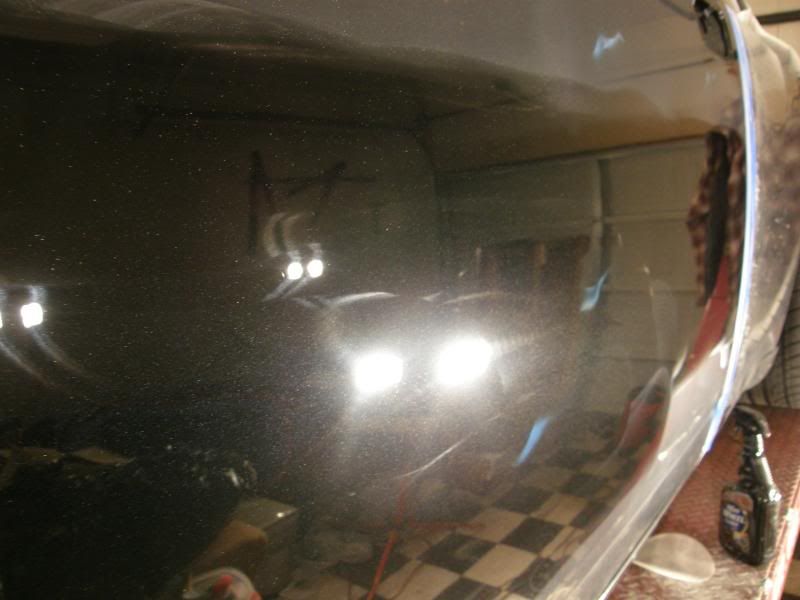
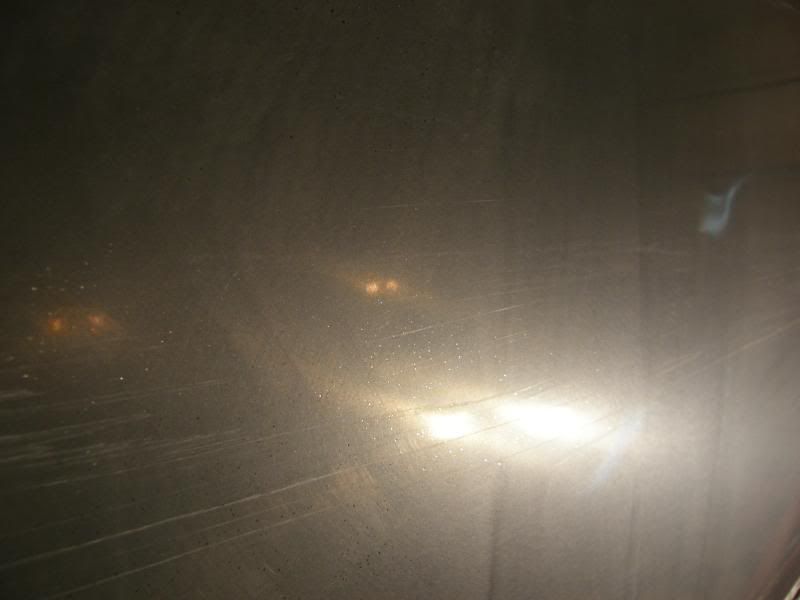
Just a tad bit of pitting still can be seen under bright halogen light. I really do not want to take more clear off so I am going to leave it and move on to the next door. Here are the final shots of the driver door.

This was a lot of work but I feel it came out perfect. Now to do the same procedure on the front passenger door! More to come.... Detail Werkz
An Authorized Gloss-It Tech Advisor, Signature Detailer & Distributor of Gloss-It Products for the Dallas/Fort Worth Metroplex
-
01-27-2009, 09:06 AM #8
- Join Date
- Mar 2007
- Location
- Illinois
- Posts
- 192
- Post Thanks / Like
WOW, thats alot of sanding to make that thing look totally perfect!!
-
01-27-2009, 11:35 AM #9
- Join Date
- Sep 2009
- Posts
- 317
- Post Thanks / Like
Wow that`s a crazy amount of sanding. I agree, good thing they put on alot of clear. It`s coming out amazing!
-
01-27-2009, 01:25 PM #10
- Join Date
- Mar 2006
- Location
- White Plains, NY
- Posts
- 2,714
- Post Thanks / Like
Oh my DRY!! Did the painter shoot that from across the street!
Nice job on the sanding!Detailing Technology - specialista vernice di correzione
-
01-27-2009, 01:28 PM #11

- Join Date
- Jun 2008
- Posts
- 1,587
- Post Thanks / Like
I`ve seen bad paint jobs but I think this takes the cake. It`s a good thing there`s so much clear to mess around with. Great work with the sanding!

-
01-27-2009, 02:09 PM #12
- Join Date
- Mar 2009
- Posts
- 115
- Post Thanks / Like
Where can I get these?
Gloss-It 3 inch backing plate for the orbit and the new Gloss-It white 3 inch pads.
-
01-27-2009, 02:17 PM #13
- Join Date
- Jan 2009
- Location
- Central Cali
- Posts
- 2
- Post Thanks / Like
Looks awesome man. I got to see the finished product...subscribed
-
01-27-2009, 03:20 PM #14
- Join Date
- Nov 2008
- Location
- Connecticut
- Posts
- 87
- Post Thanks / Like
That looks great. Get the finished shots up!!
Chris
-
01-27-2009, 04:36 PM #15
- Join Date
- May 2009
- Posts
- 1,092
- Post Thanks / Like
agreed great sanding work!

BHARE = success
Painter = EPIC FAIL

 Reply With Quote
Thread Information
Users Browsing this Thread
There are currently 1 users browsing this thread. (0 members and 1 guests)
Similar Threads
-
2012 Dodge Charger SRT8
By mr.lazycat in forum Car DetailingReplies: 0Last Post: 09-09-2011, 11:46 AM -
2007 Dodge Charger SRT8 Full Correction
By Richie's Custom Detailing in forum Click & Brag -The Detailers ShowcaseReplies: 25Last Post: 07-25-2010, 08:32 AM -
2007 Dodge Charger SRT8 Full Correction
By imported_Eric in forum The Detailers ShowcaseReplies: 5Last Post: 07-15-2010, 08:33 AM -
Handz Detailed: 2008 Dodge Charger SRT8 "TorRed" *Mega WriteUp*
By Handz in forum Click & Brag -The Detailers ShowcaseReplies: 13Last Post: 03-23-2010, 11:12 PM -
2006 Dodge Charger SRT8
By Richie's Custom Detailing in forum Click & Brag -The Detailers ShowcaseReplies: 8Last Post: 04-09-2009, 07:29 PM
Bookmarks