

<o:smarttagtype namespaceuri="urn:schemas-microsoft-com[img] http:=[/img]2000pontiac</o:smarttagtype> GTPâ¦.back from the dead!!!
<o></o>
Car was riddled with the usual stuffâ¦oxidation, scratches, swirl marks galore. Upon first arrival, and the estimate day, I looked at the car and thought to myself, no way this is going to come up easy! There was some significant damage to the paint, so I aimed for a 90% perfection cleanup. Well, 3 steps and 12 hours later, I was finally done! Iâll keep the talking to a minimum, on to the pics!
<o></o>
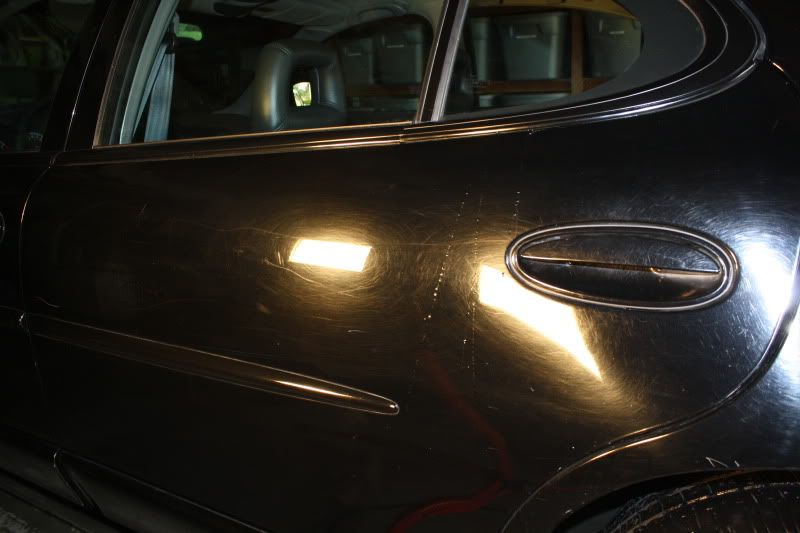
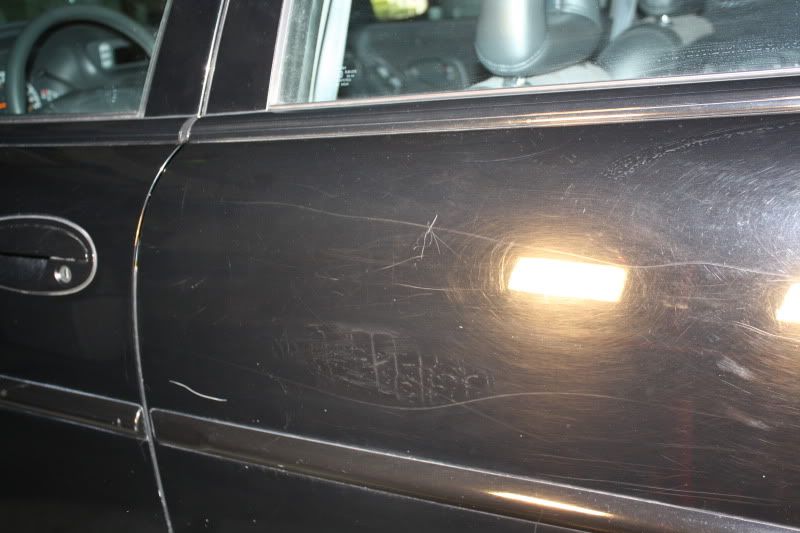
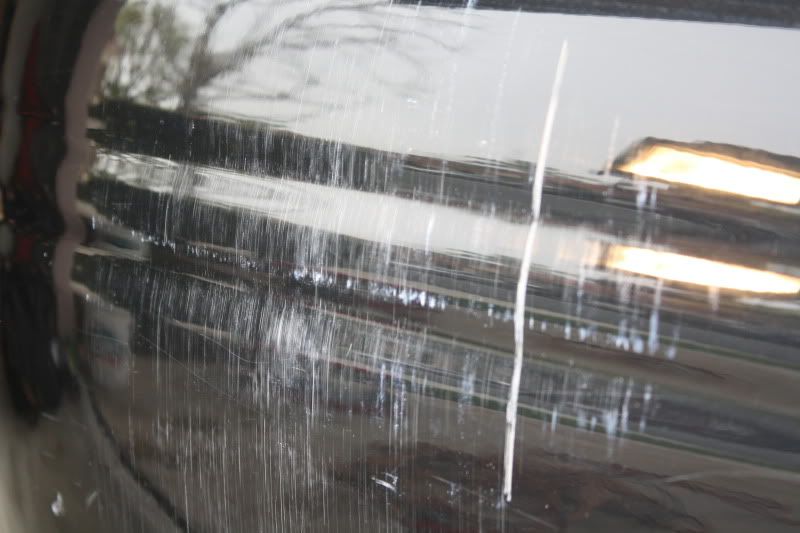
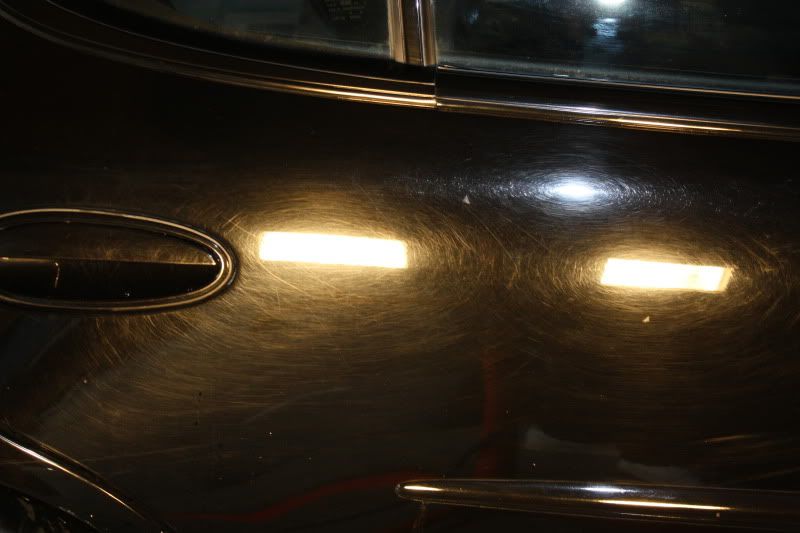
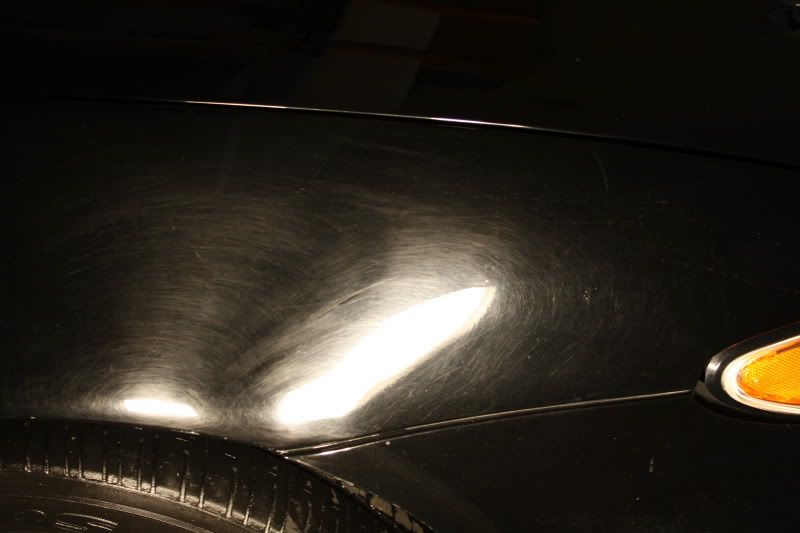
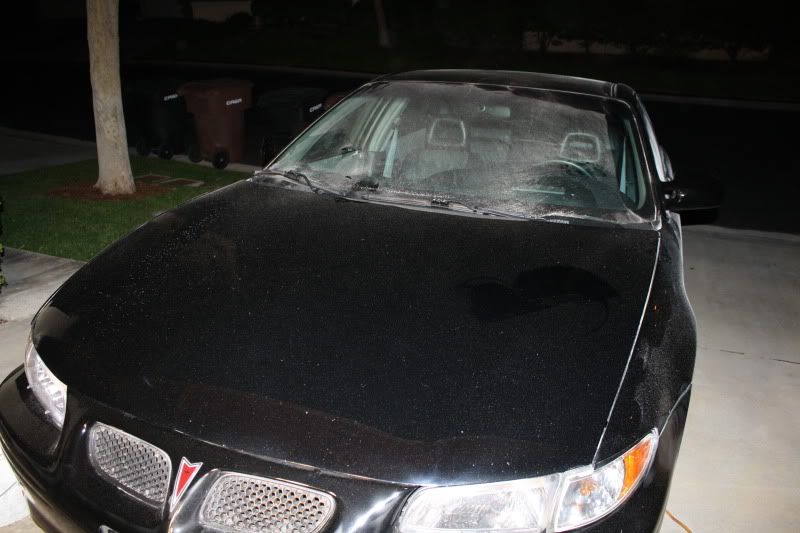
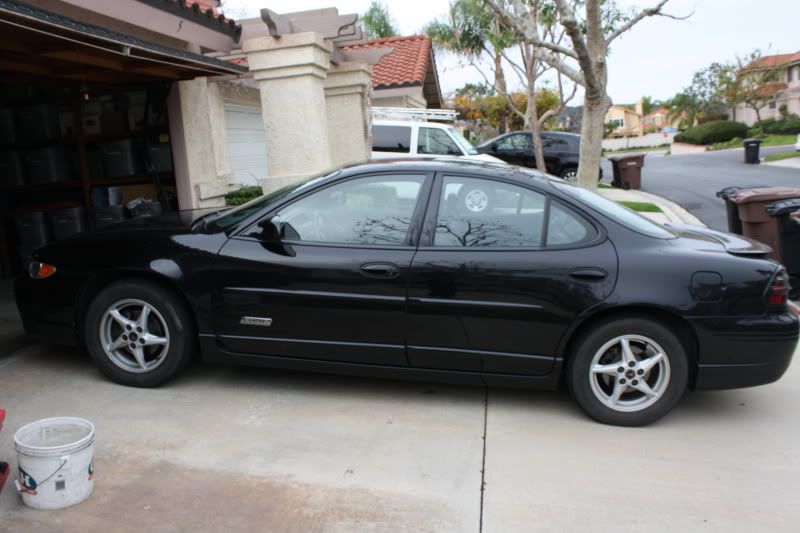
Here is the starting condition of the car when I arrivedâ¦.its not going to be pretty!
<o>:p> </o>:p>
<o></o>
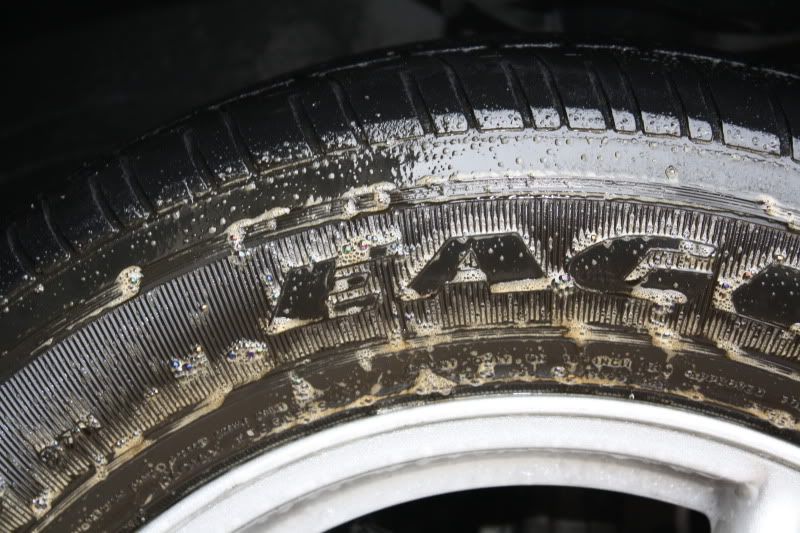
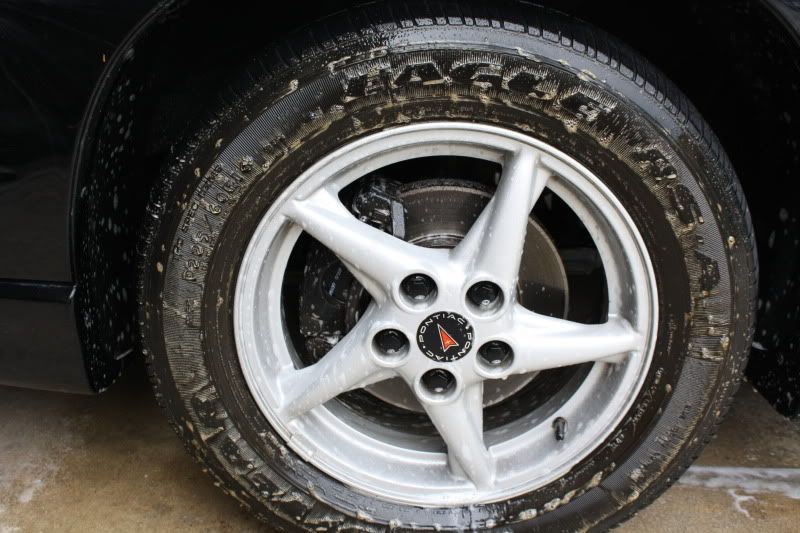
Here you can see meguiars safe d-greaser (tires) and P21S wheel gel (wheels) doing its thingâ¦.this was only after 10 seconds!
Results 1 to 15 of 29
-
12-24-2009, 03:41 PM #1


- Join Date
- Sep 2009
- Posts
- 5,167
- Post Thanks / Like

-
12-24-2009, 03:42 PM #2
- Join Date
- Sep 2009
- Posts
- 5,167
- Post Thanks / Like
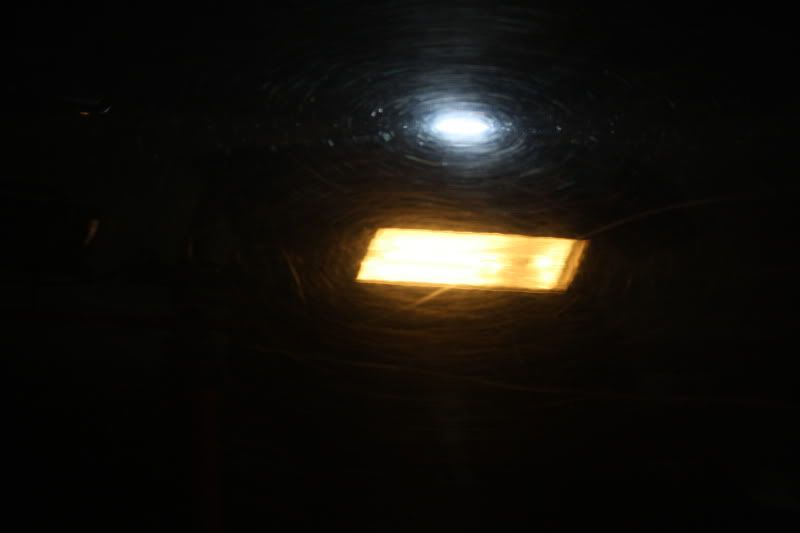
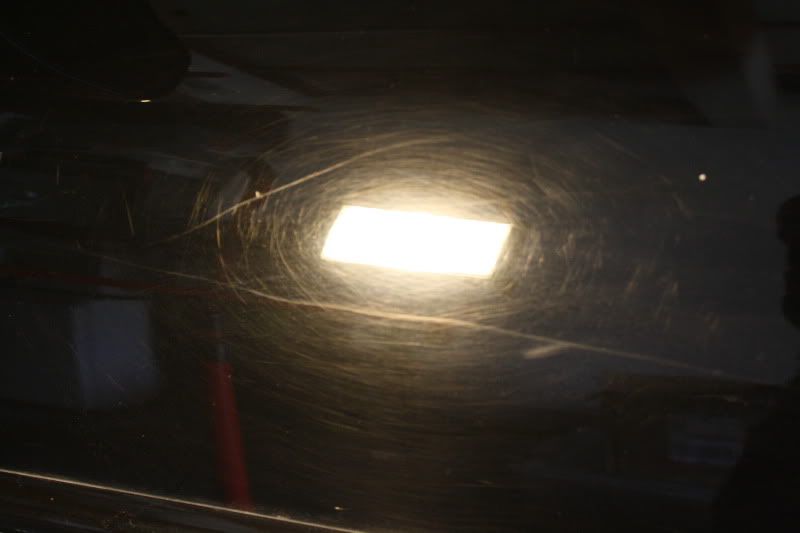
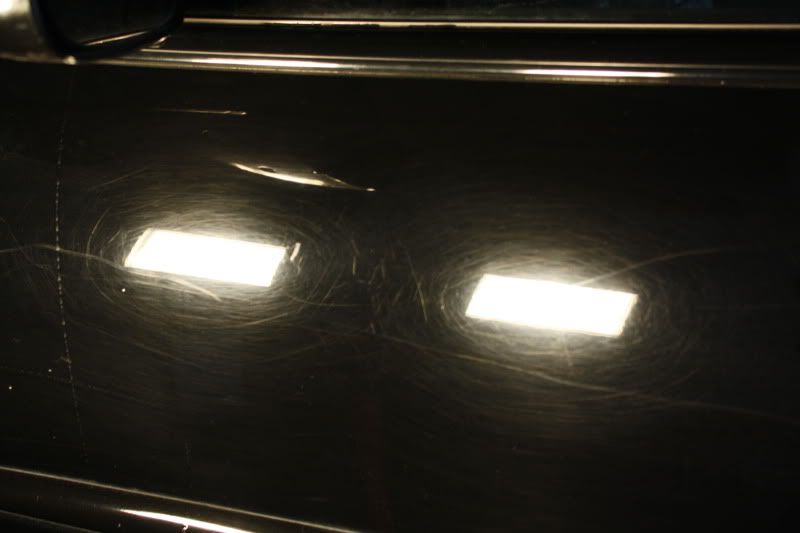
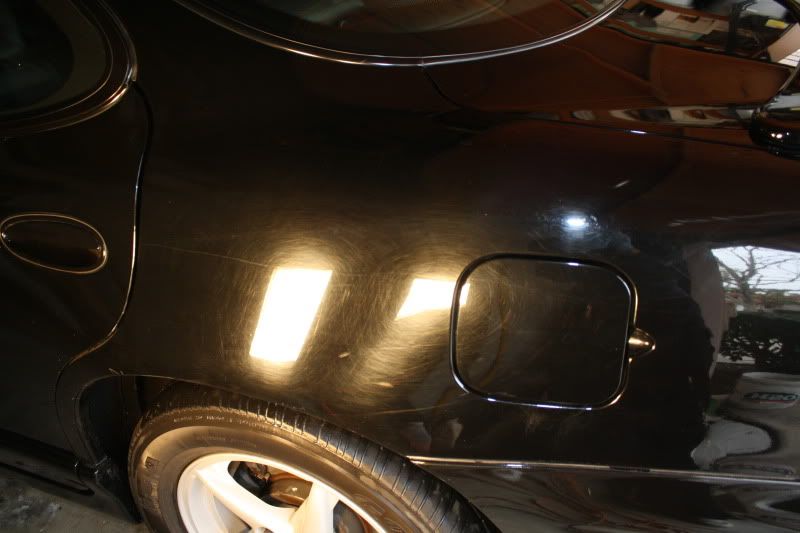
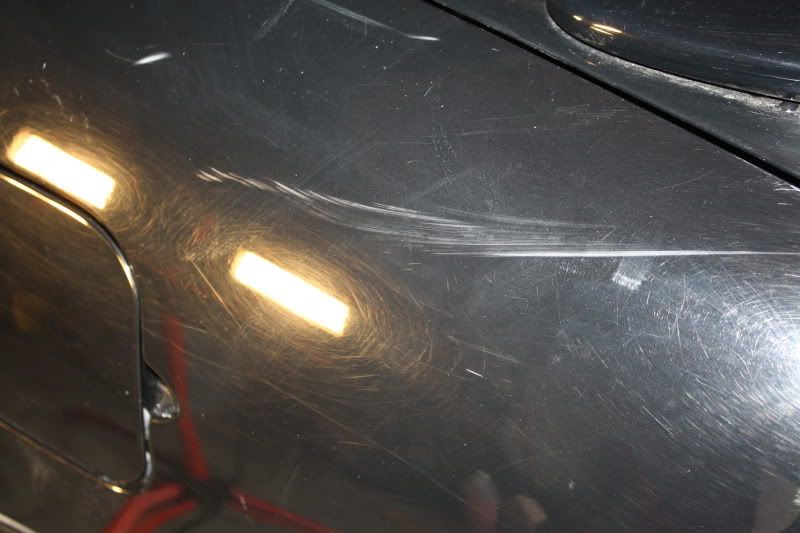
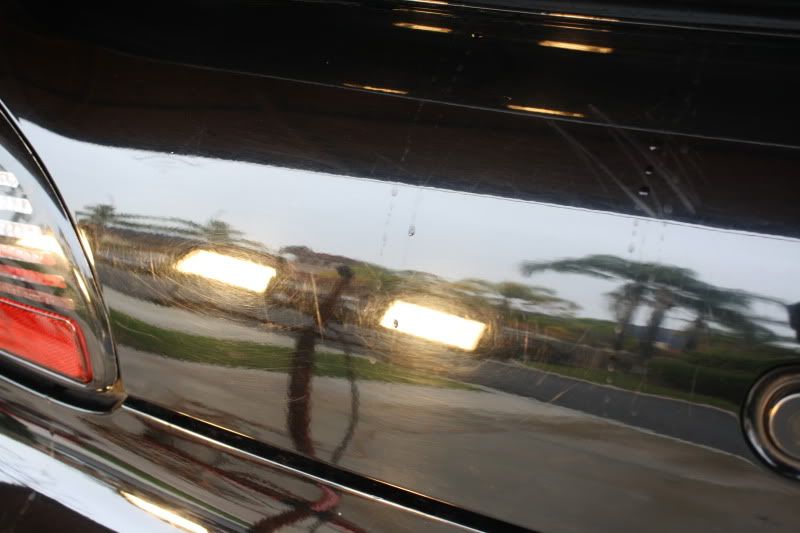
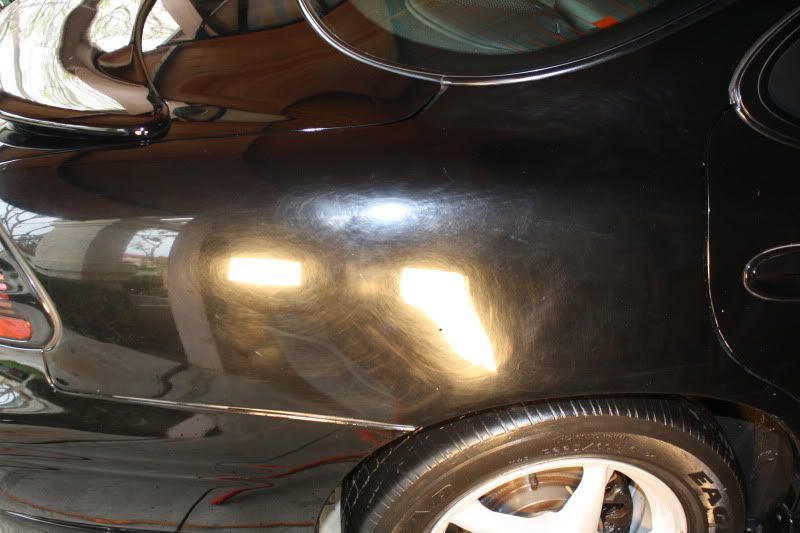
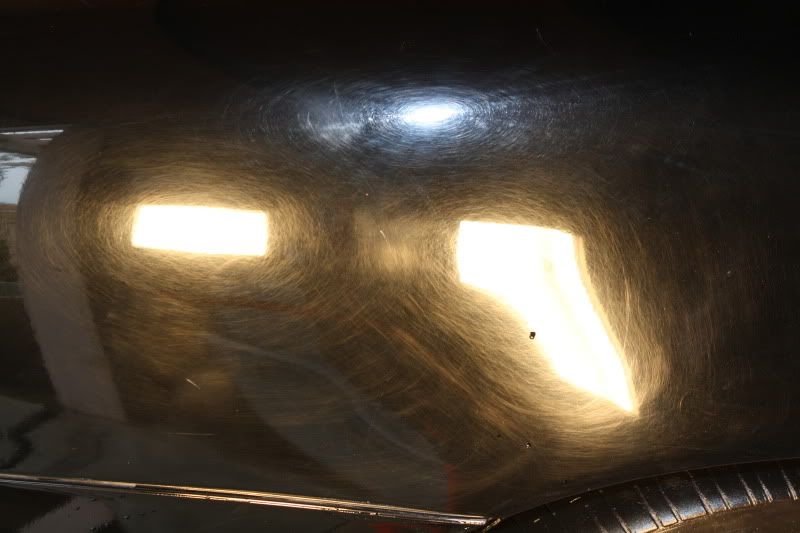
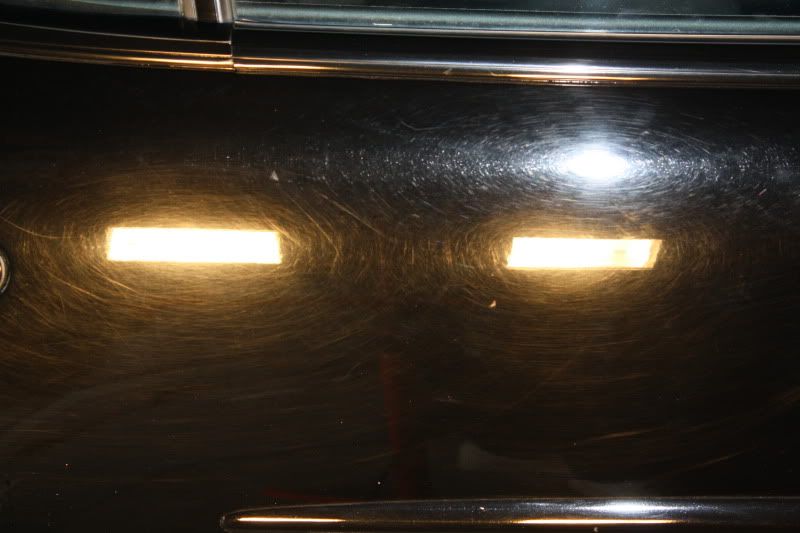
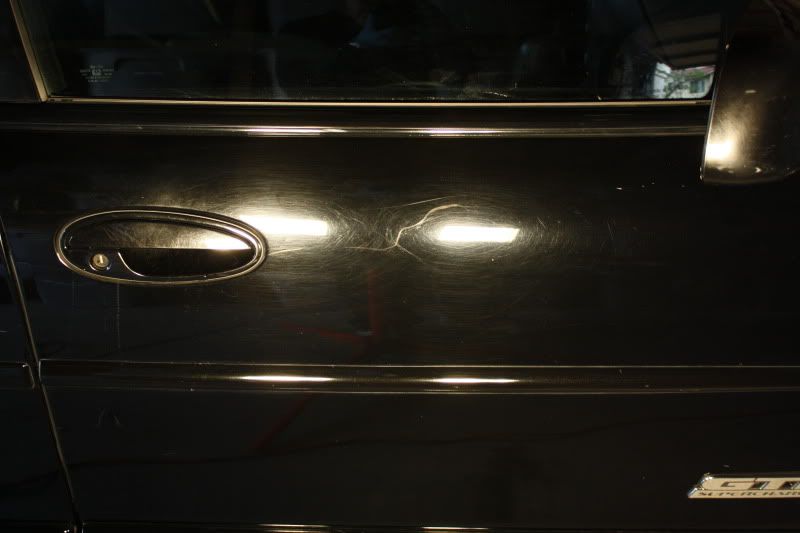
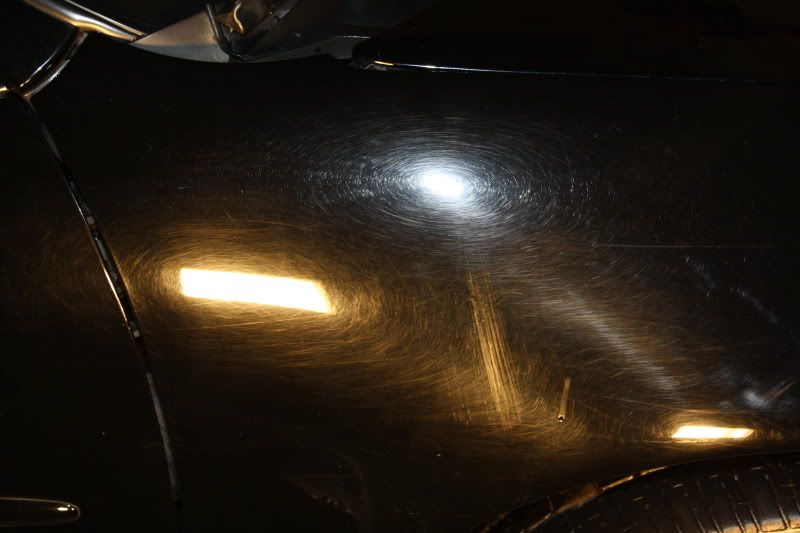
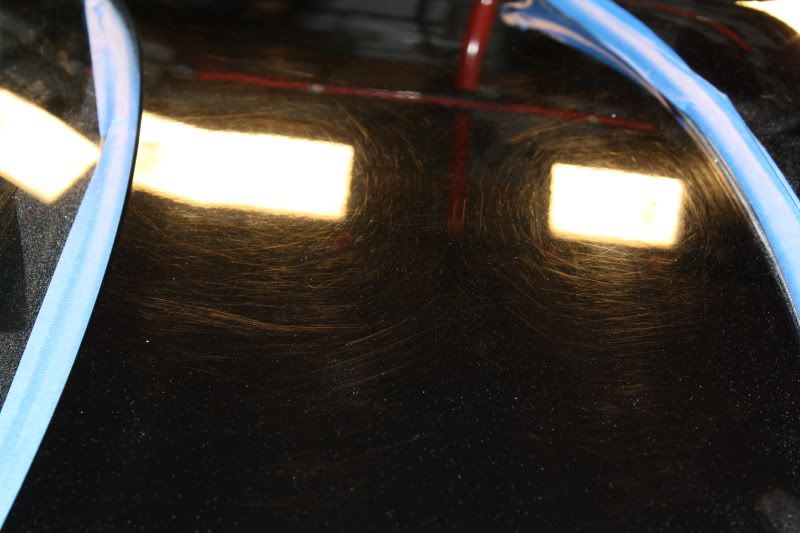
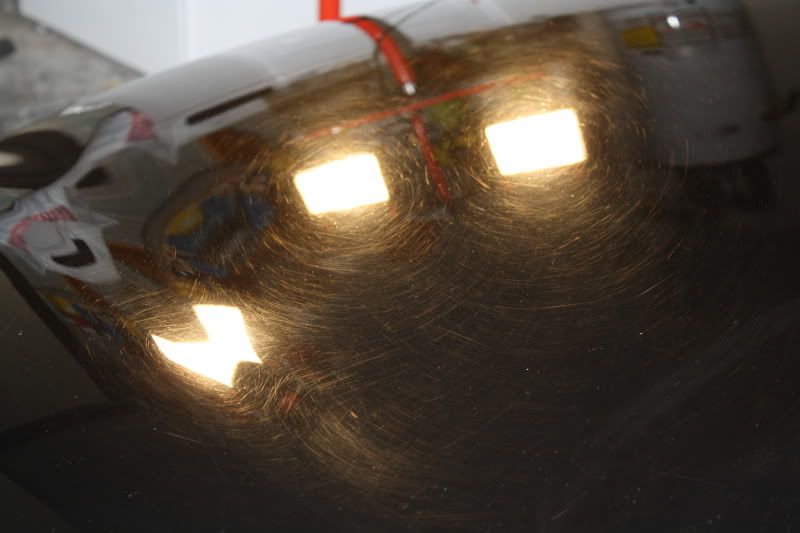
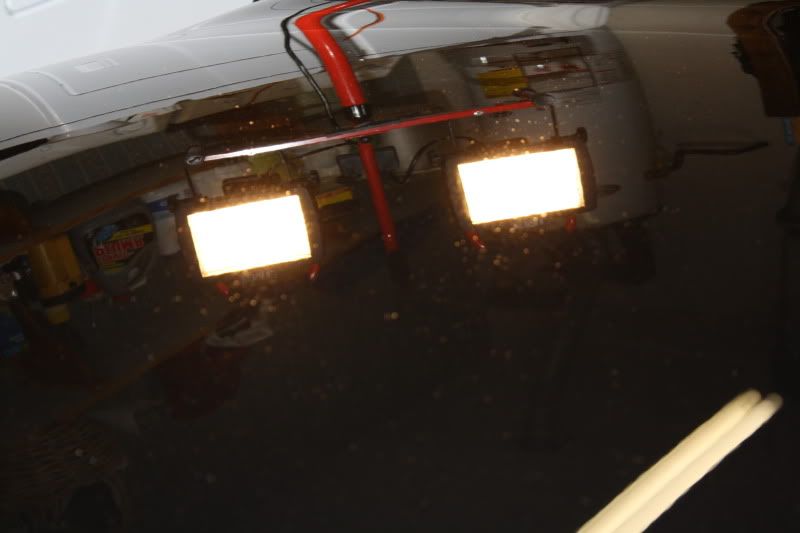
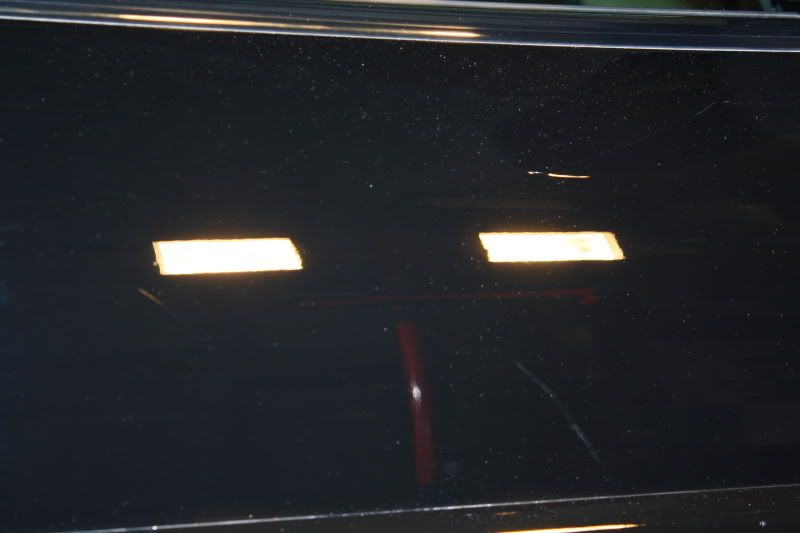
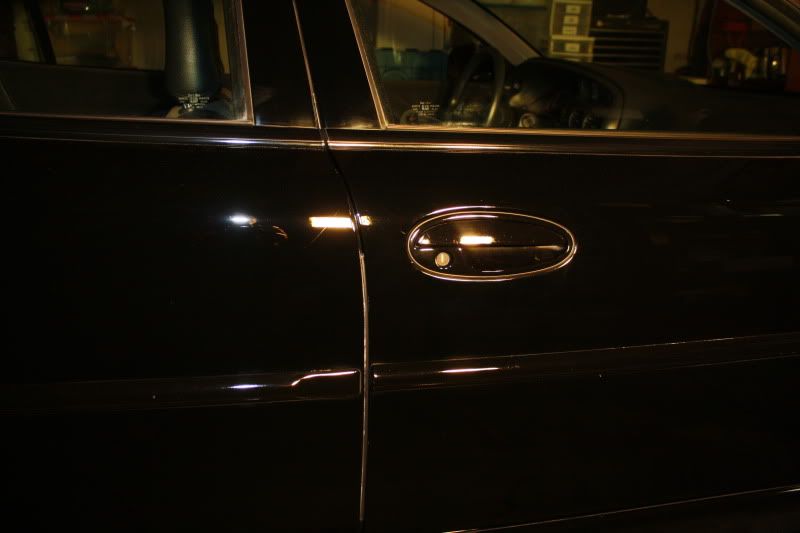
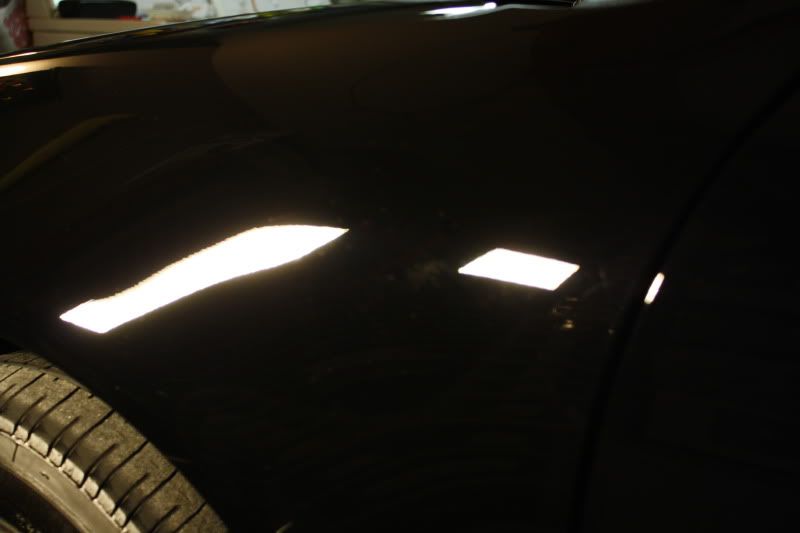
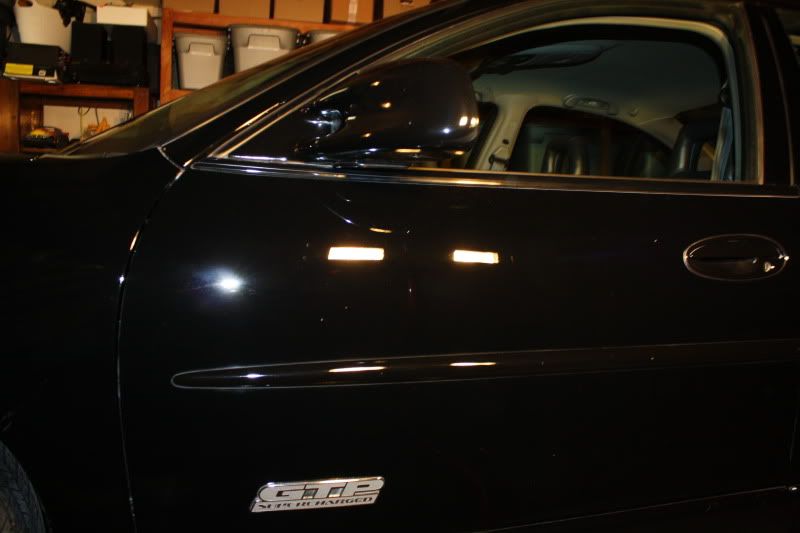
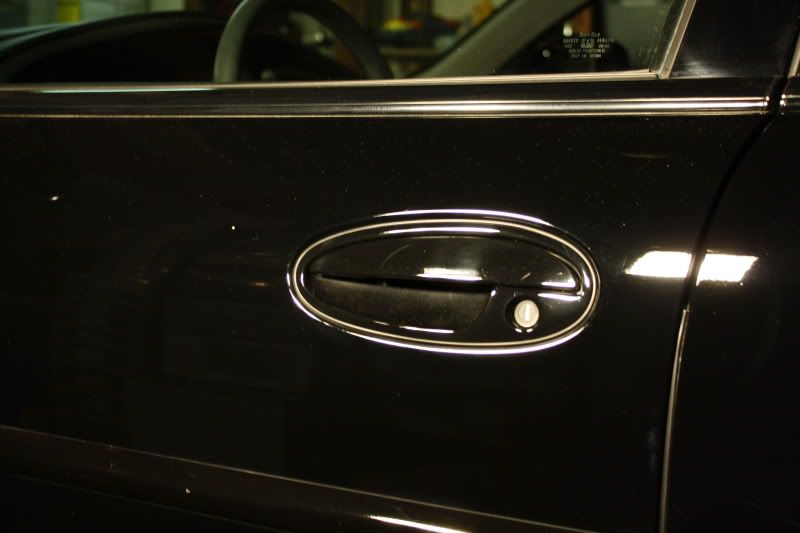
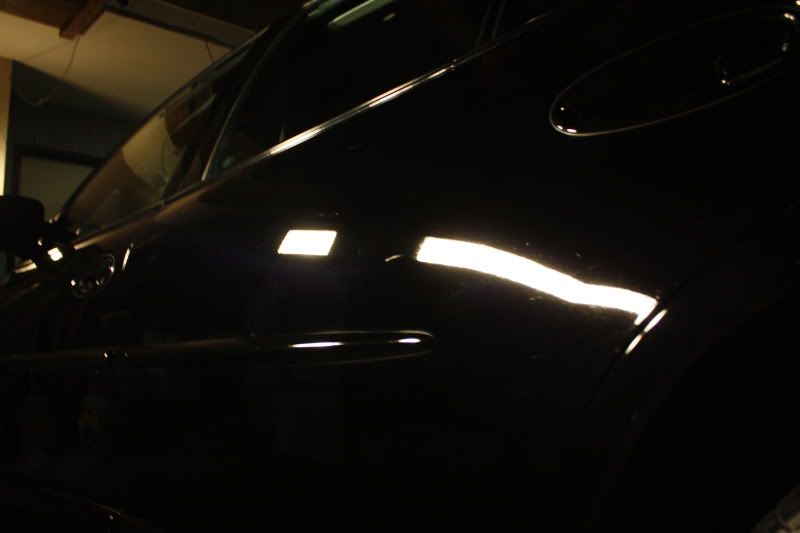
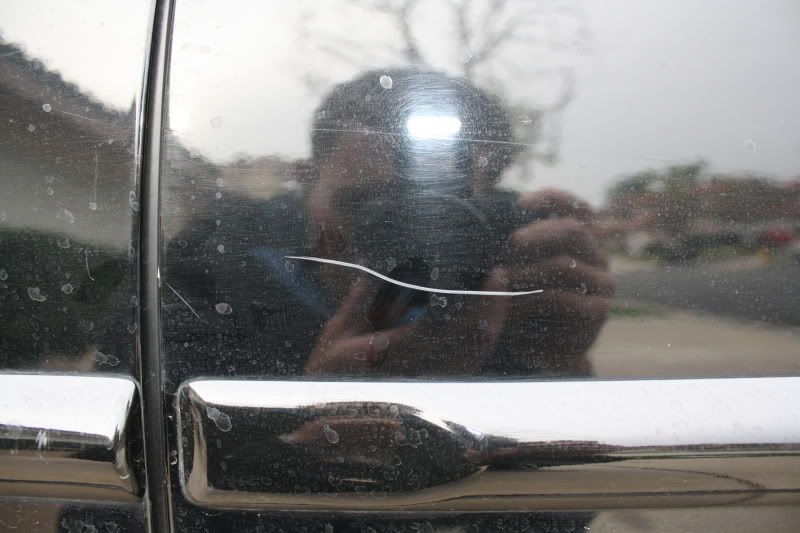
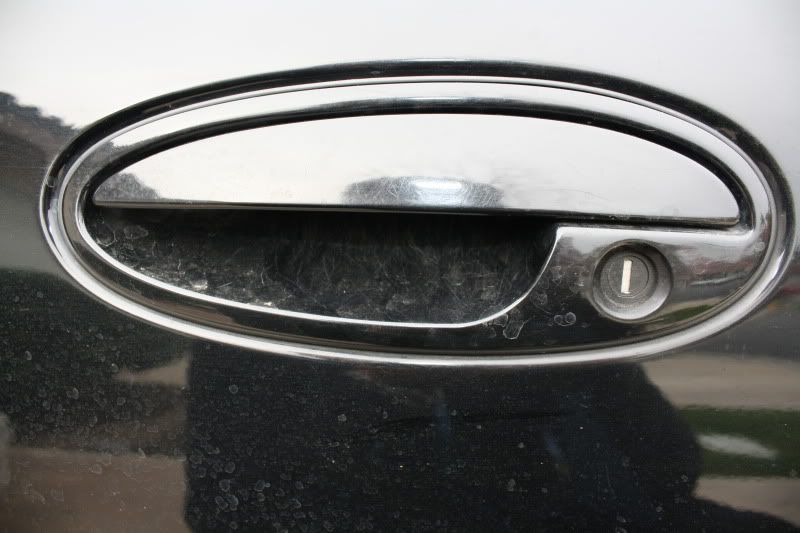
I then pulled the car inside to get some more pictures after the ONR washing. The halogens show an even worse story! Iâll basically take you around the car section by section, panel by panel to give you an overall of how the entire car looked.
<o></o>

-
12-24-2009, 03:44 PM #3
- Join Date
- Sep 2009
- Posts
- 5,167
- Post Thanks / Like
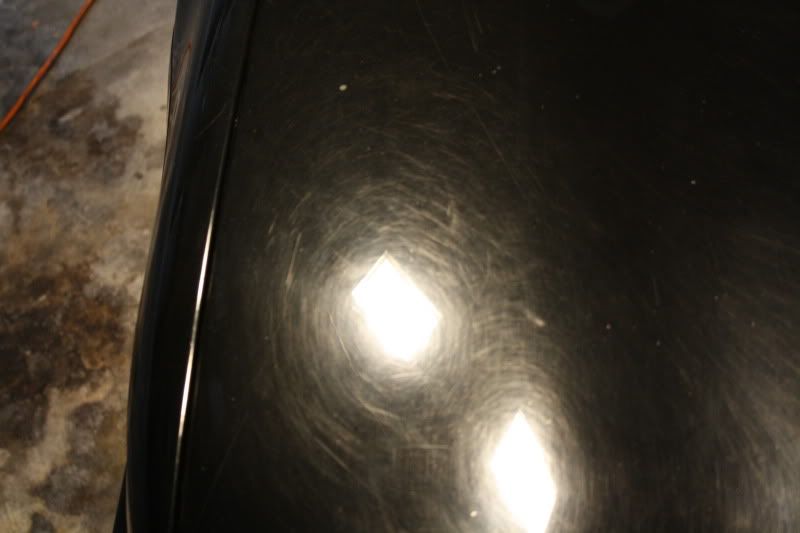
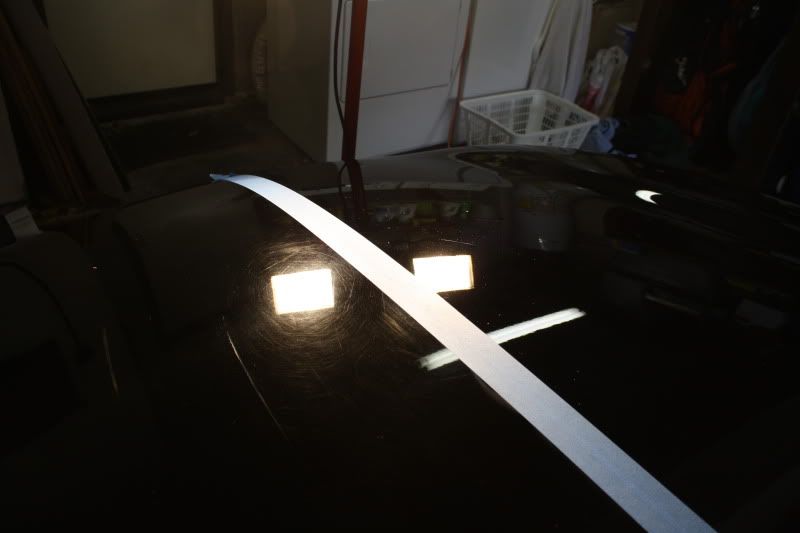
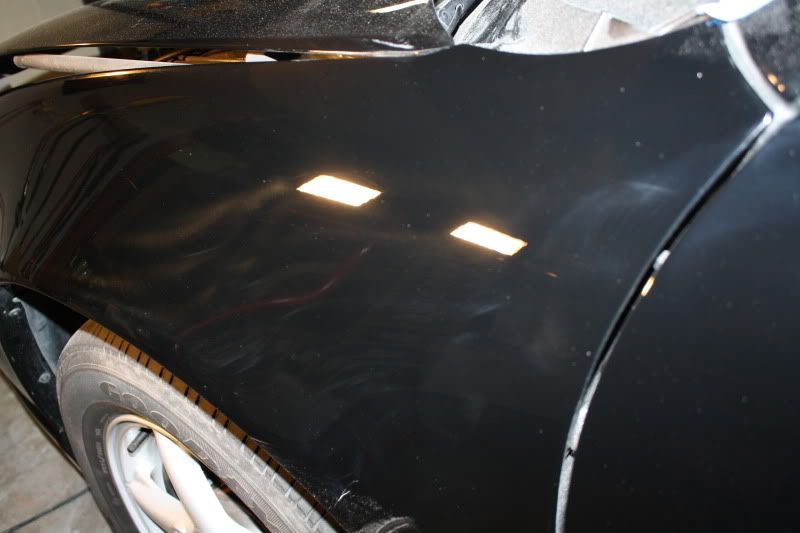
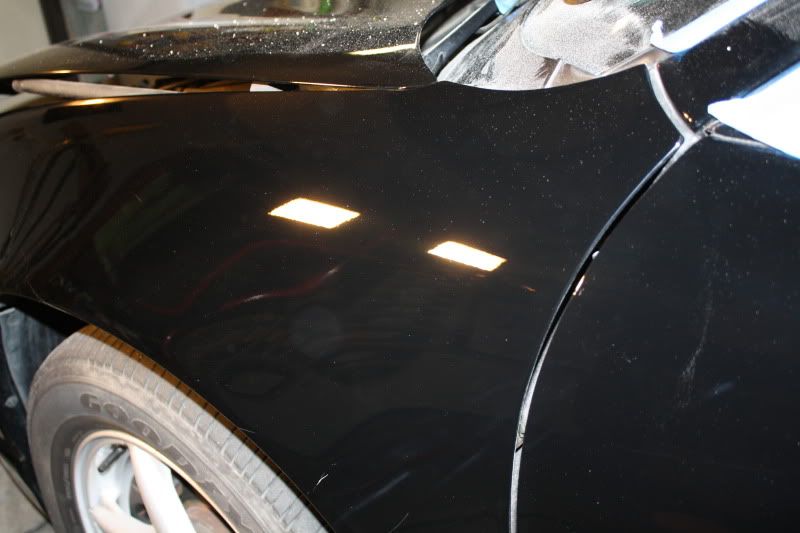
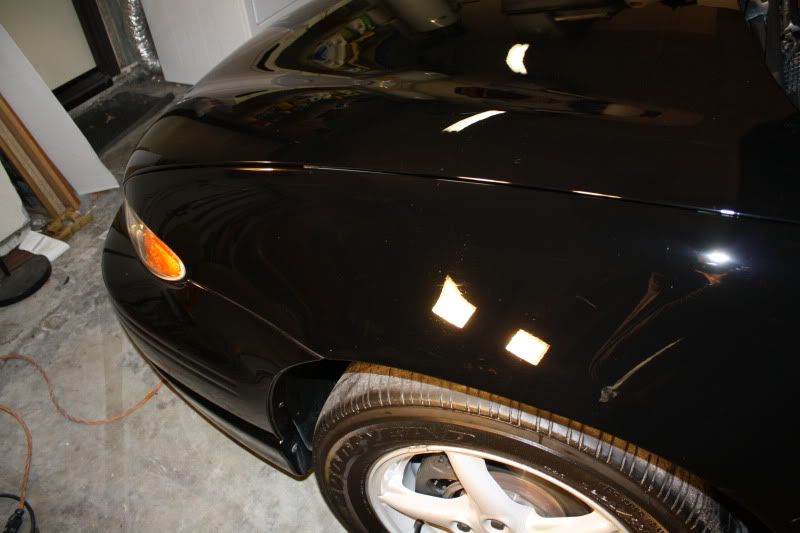
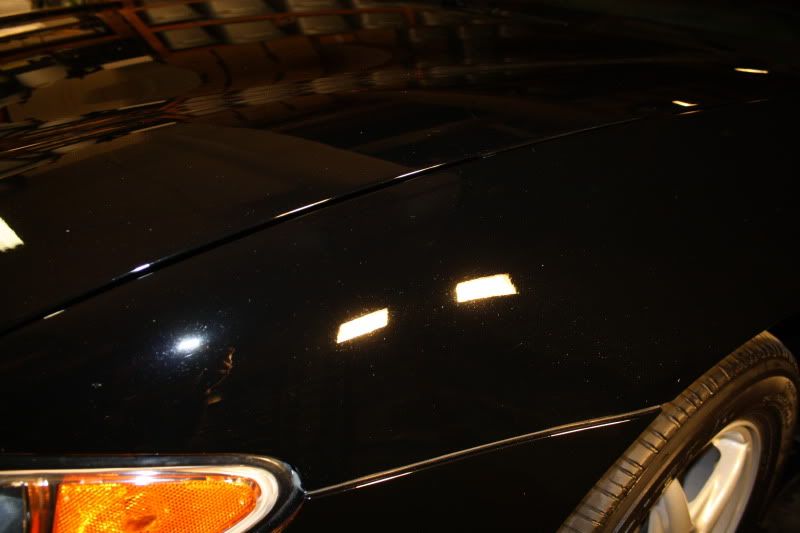
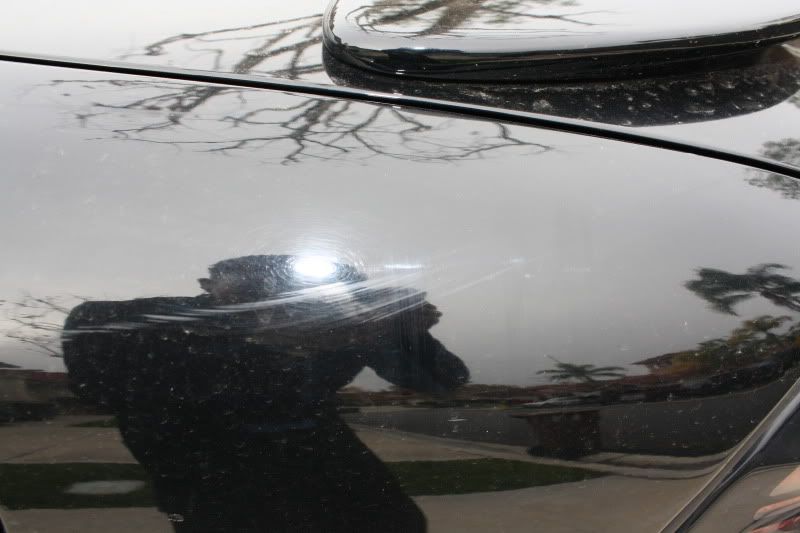
<meta http-equiv="Content-Type" content="text/html; charset=utf-8"><meta name="ProgId" content="Word.Document"><meta name="Generator" content="Microsoft Word 11"><meta name="Originator" content="Microsoft Word 11"><link rel="File-List" href="file:///C:%5CDOCUME%7E1%5CHP_ADM%7E1%5CLOCALS%7E1%5CTemp%5 Cmsohtml1%5C01%5Cclip_filelist.xml"><style> </style> This next section of photos are all of the hoodâ¦starting point, 50/50 shots, full correction.
<o:p> </o:p>
<o:p> </o:p>
This is how I breakdown a section to clay it:
Spray entire area with clay lube, work in a section, apply more lube, work in a section, repeat. In this shot, you can see how big of sections I work!
<o:p> </o:p>
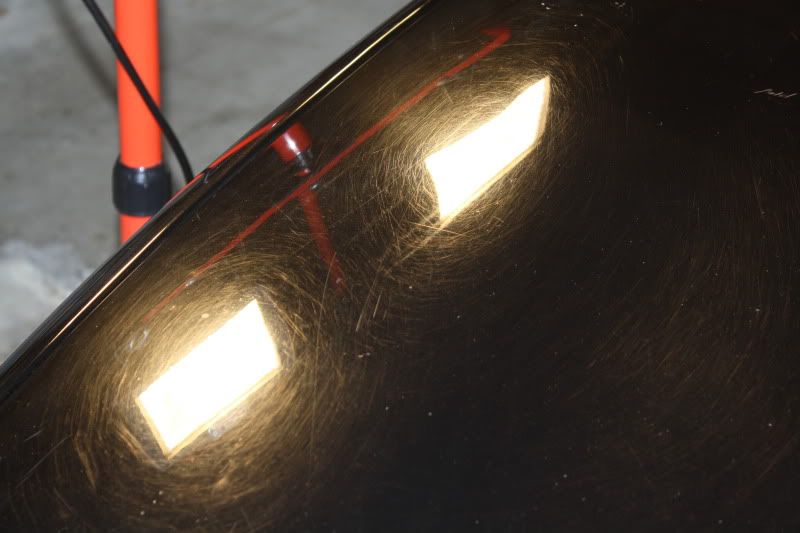
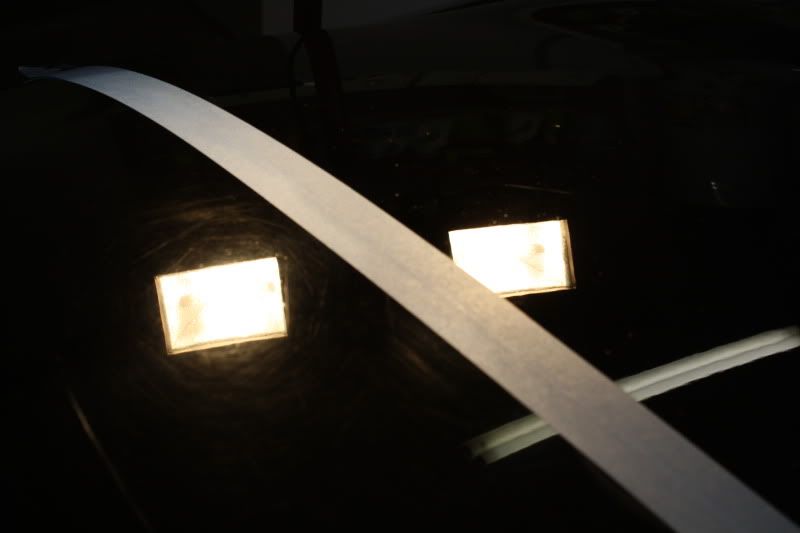
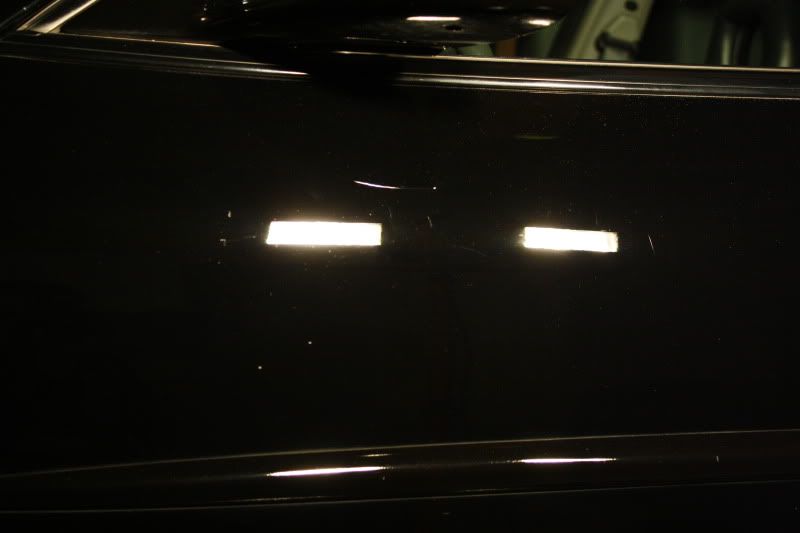
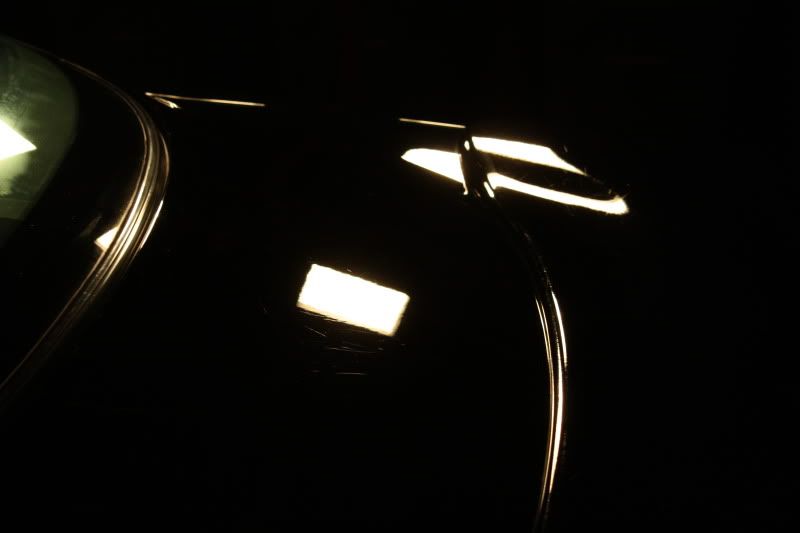
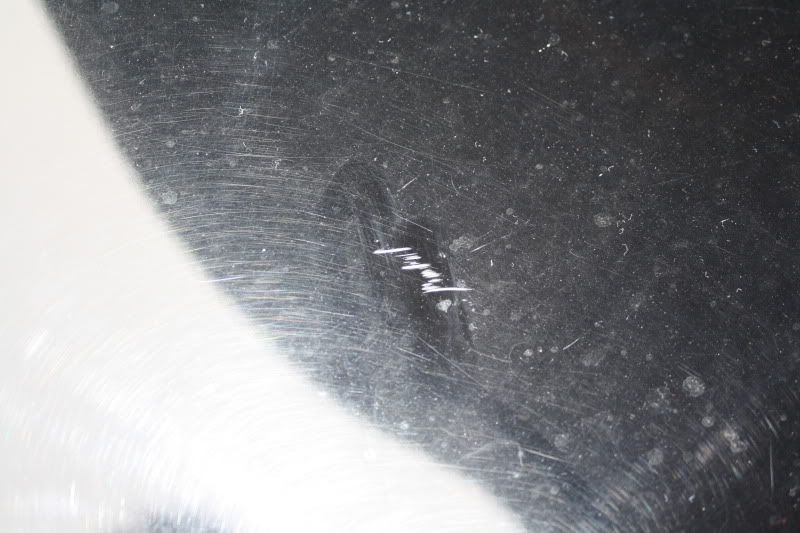
Here is a before and after shot group of pictures of compounding to remove the defects:
Before
Compounded
Other side, compounded
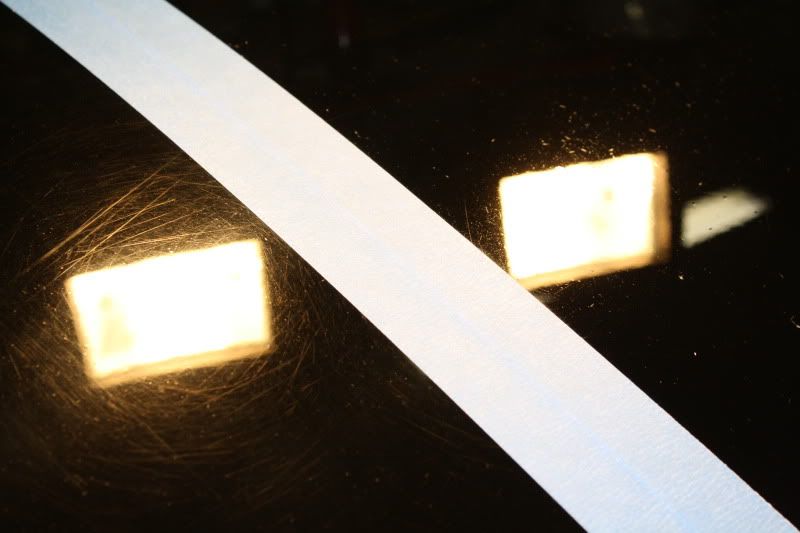
Polished with SIP (still one polish round after this shot)
-
12-24-2009, 03:47 PM #4
- Join Date
- Sep 2009
- Posts
- 5,167
- Post Thanks / Like
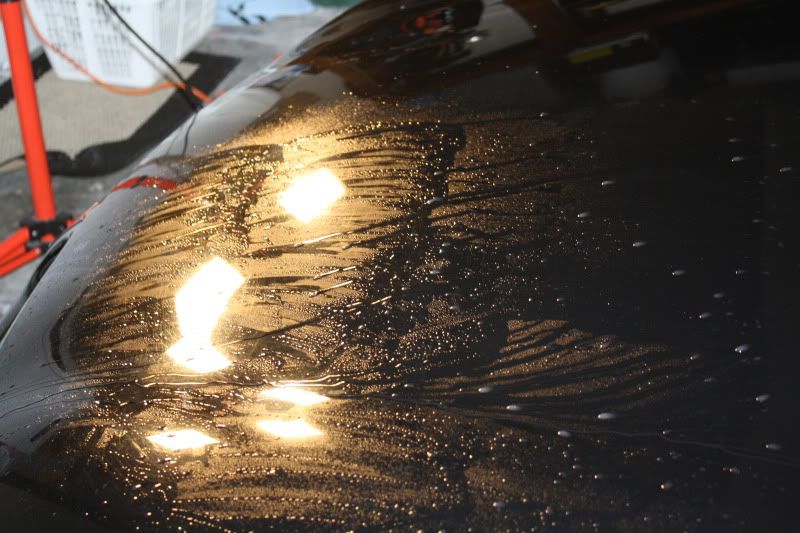
Now it was time to take it out for another bath to remove all the compound/polish dust â there was a lot of it!
<o></o>
Little side bitâ¦this was a really tasty dinner provided by the owner! PASTA to keep me going!!!
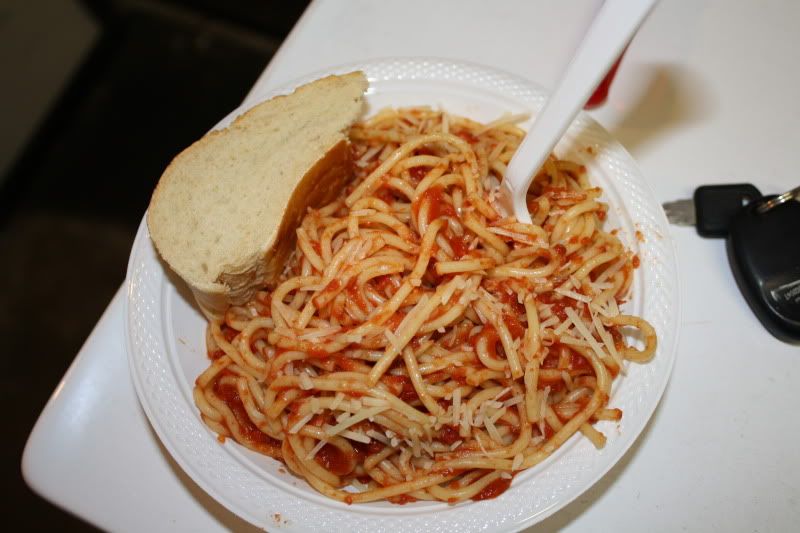
<o></o>
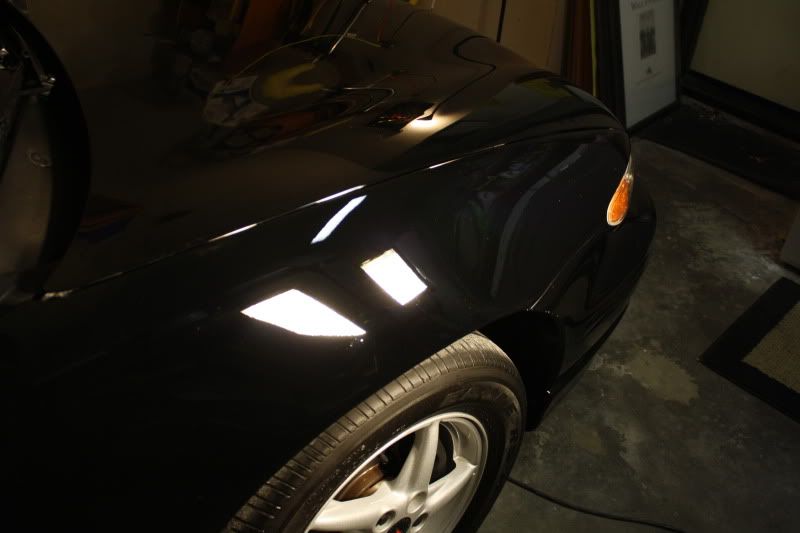
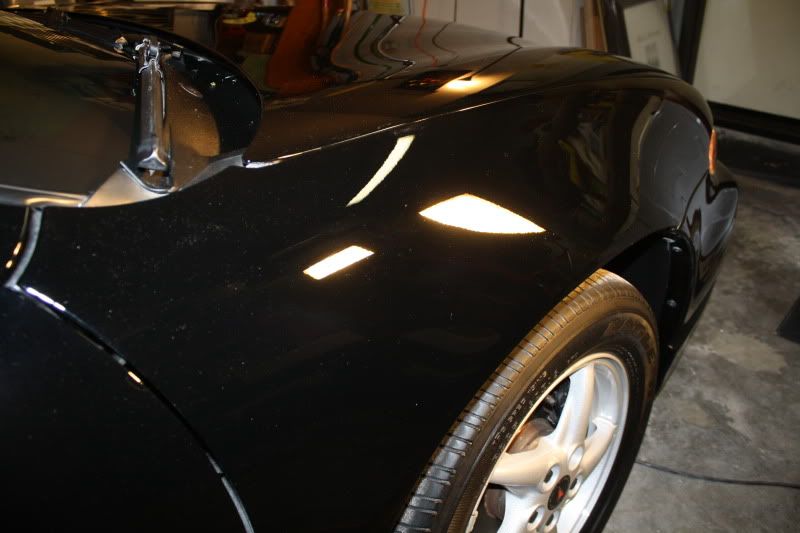
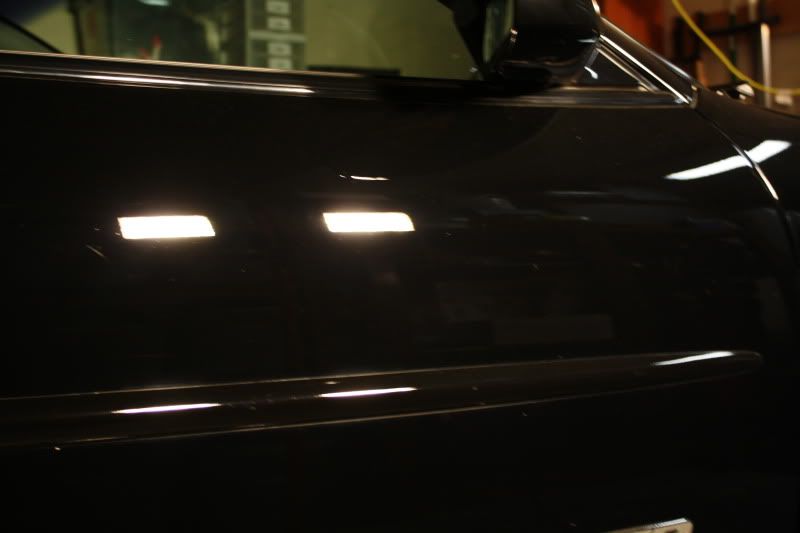
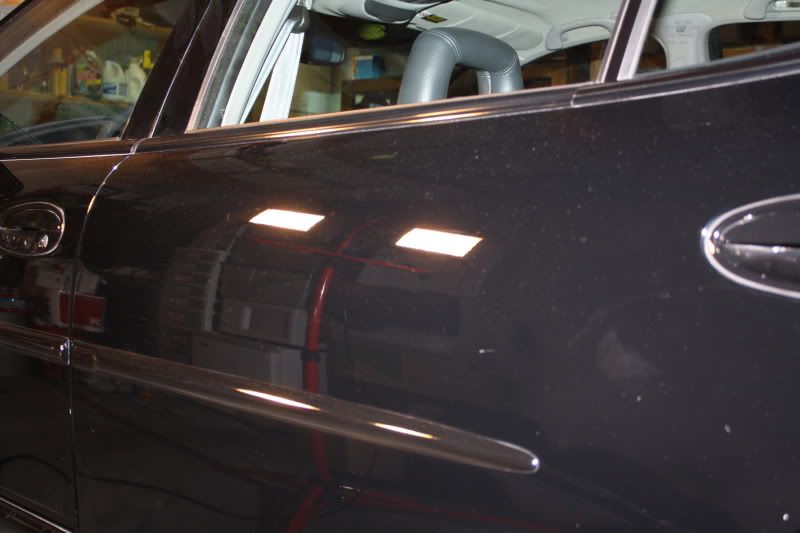
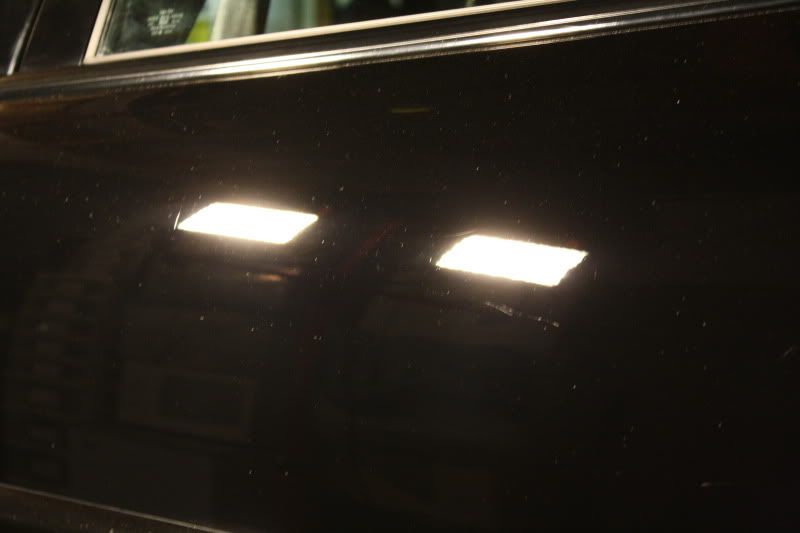
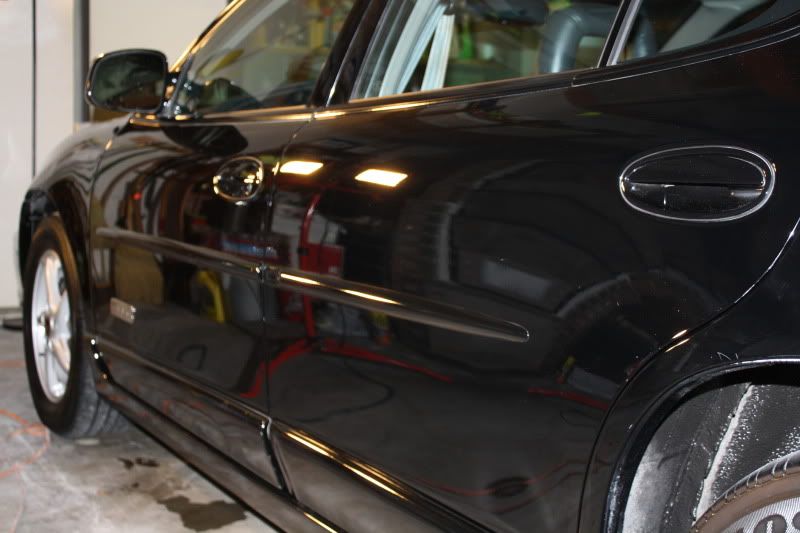
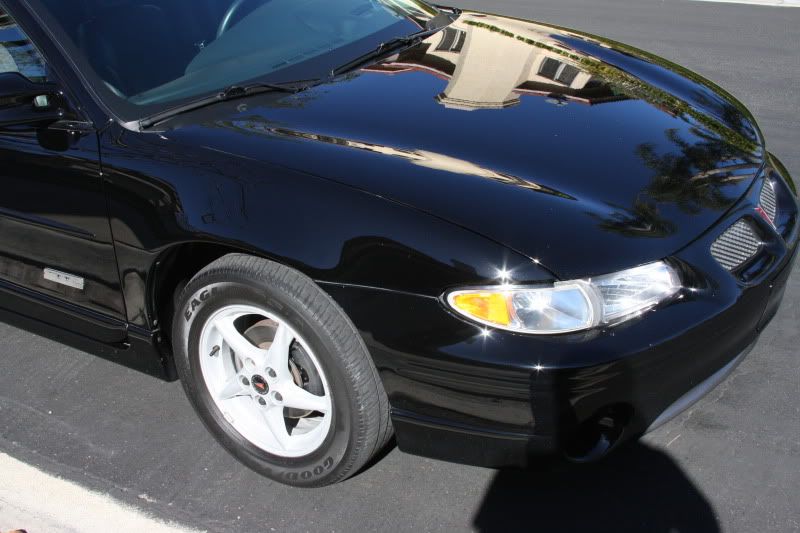
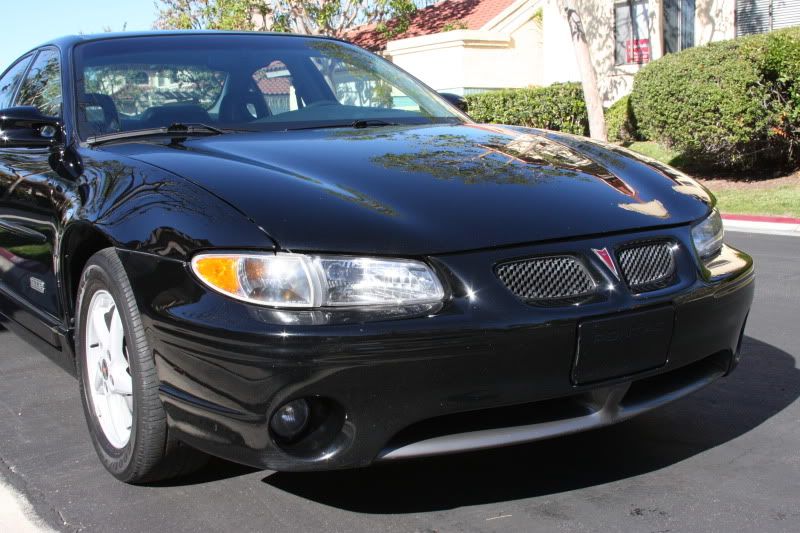
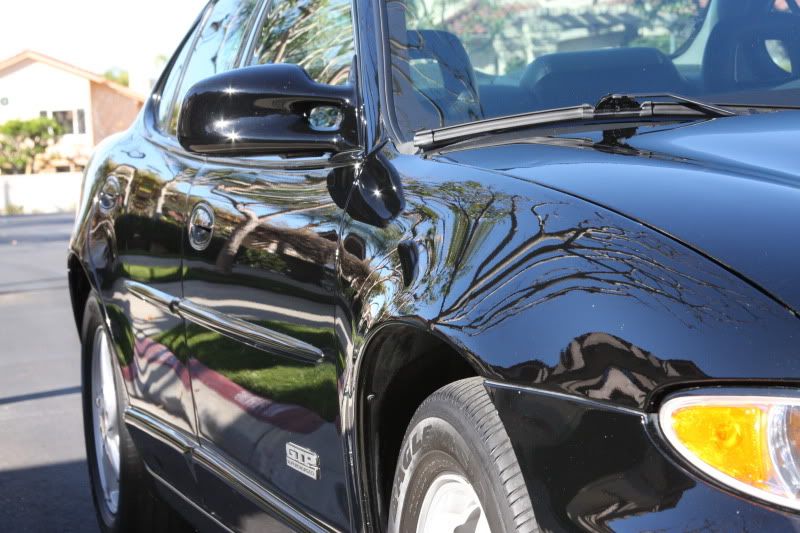
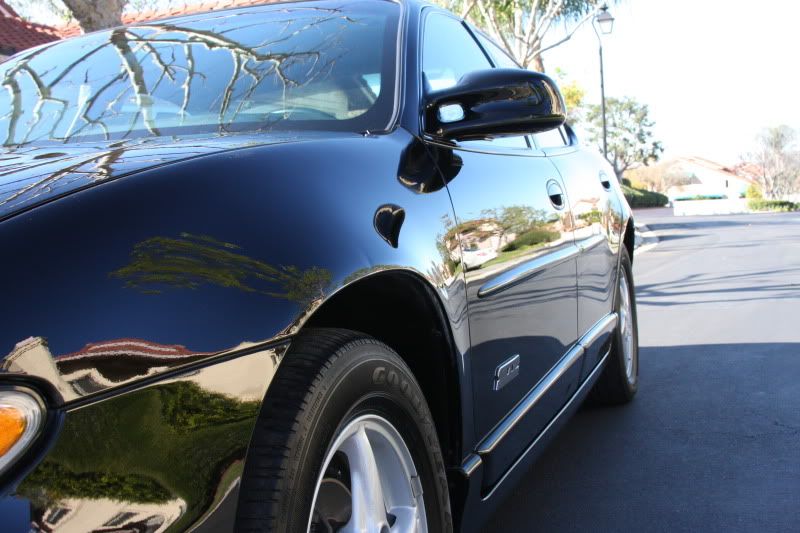
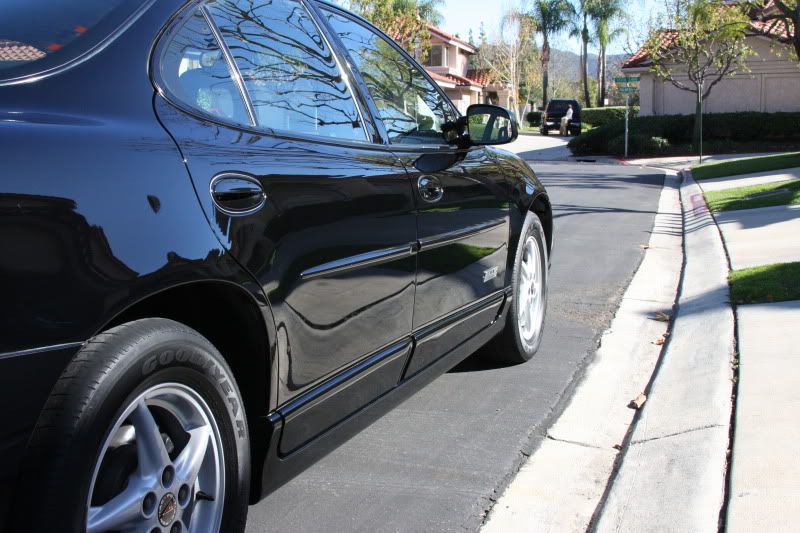
OK, back to the car...after shots from 12 hours of working, 3 rounds of polishing, and one layer of blackfire wet diamond for durable protection!
<o></o>

-
12-24-2009, 03:49 PM #5
- Join Date
- Sep 2009
- Posts
- 5,167
- Post Thanks / Like
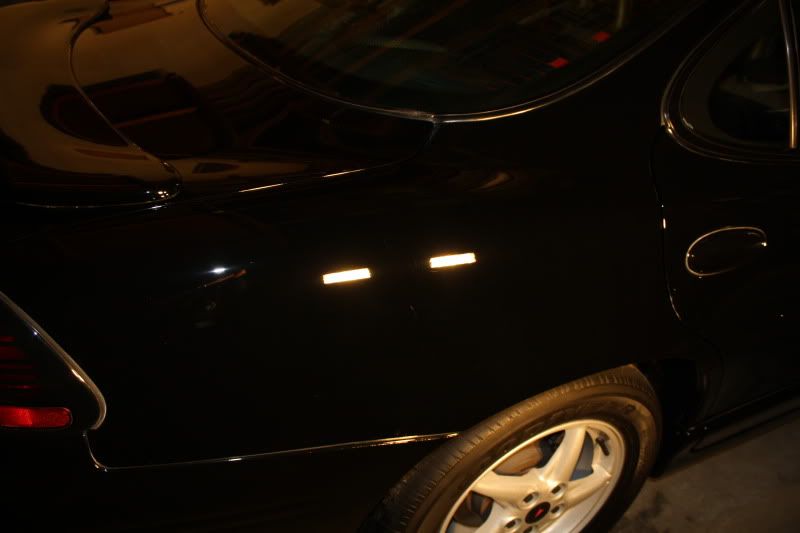
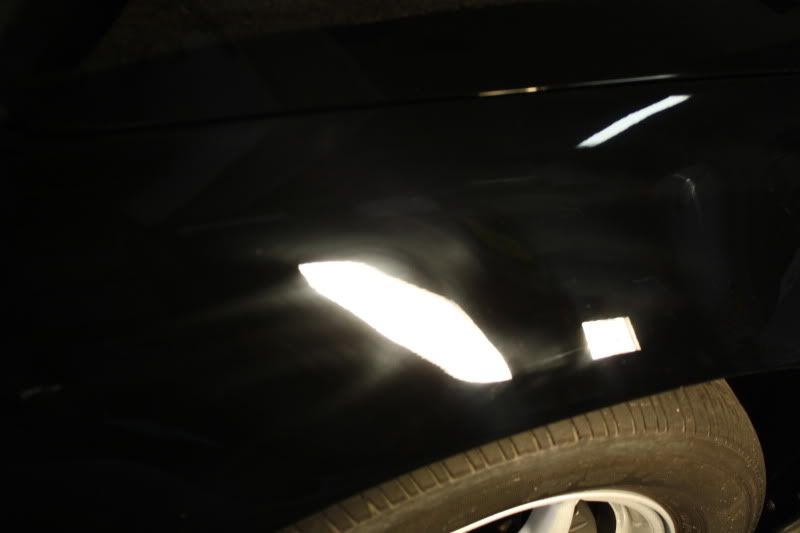
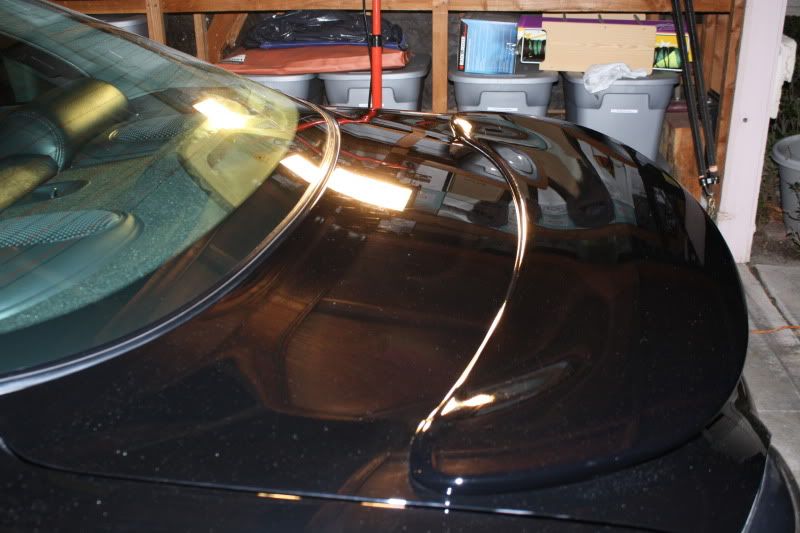
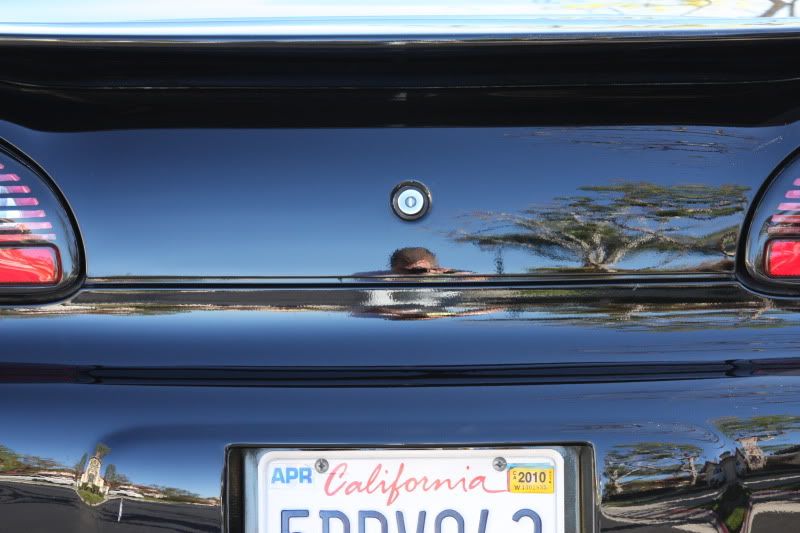
Here is the rear trunk lid which was beyond repair without MUCH more work/sanding/timeâ¦it WAS pretty hammered! Huge improvement:
Finished wheel with M21 sealant applied to help combat the brake dust from sticking too much!

Process was the following:
ONR wash car
Apply P21S wheel gel to wheels, let dwell
Apply megs safe degreaser to tires, allow to dwell
Megs APC+ in the wheel wells
Go back and clean up all the wheels and tires and wells after a 5 min dwell time
Pull car inside, do a test section
Tape off car
Meguiars 105 on PFW at 1500
Menzerna SIP on tangerine hydrotech at spd 6
Re-wash car to rid of polishing dust
Menzerna FPII on uber blue pad at spd. 6
Apply blackfire wet diamond with PC sped 4 on LC black pad
Meguiars 21 to wheels
Apply chmical guys extreme wet to tires
Chemical Guys barebones in wheel wells
Meguiars glass cleaner
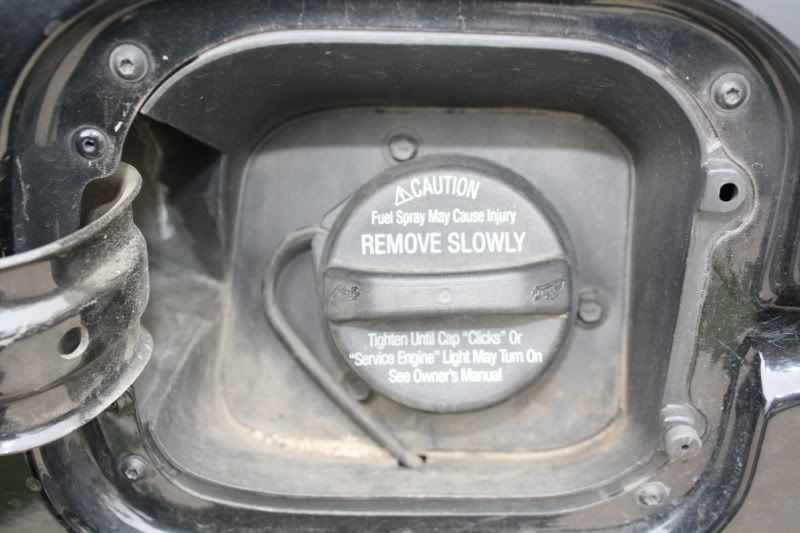
Meguiars final inspection on all door jambs/gas tank
Thanks for looking, comments are always welcomedâ¦
Eric
-
12-24-2009, 04:28 PM #6
- Join Date
- Sep 2009
- Posts
- 5,167
- Post Thanks / Like
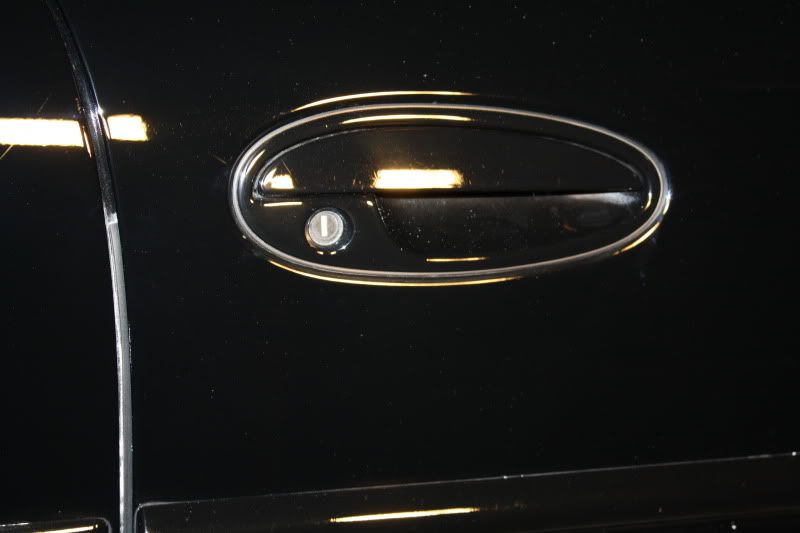
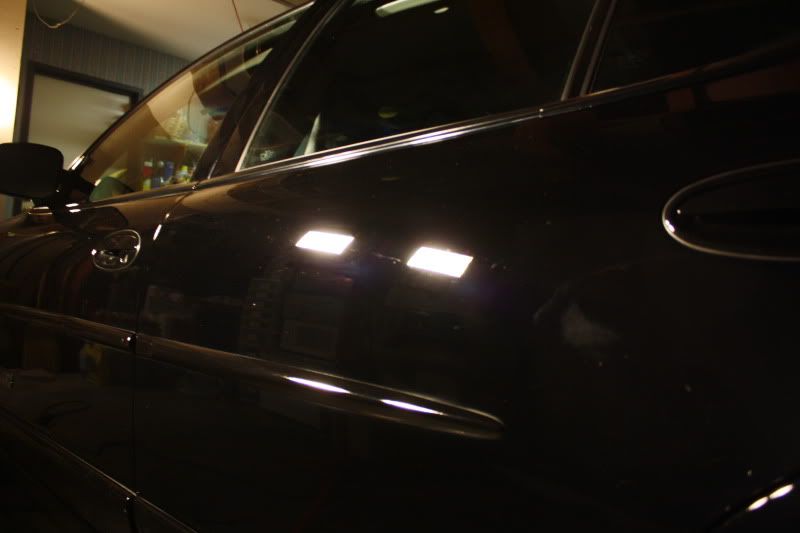
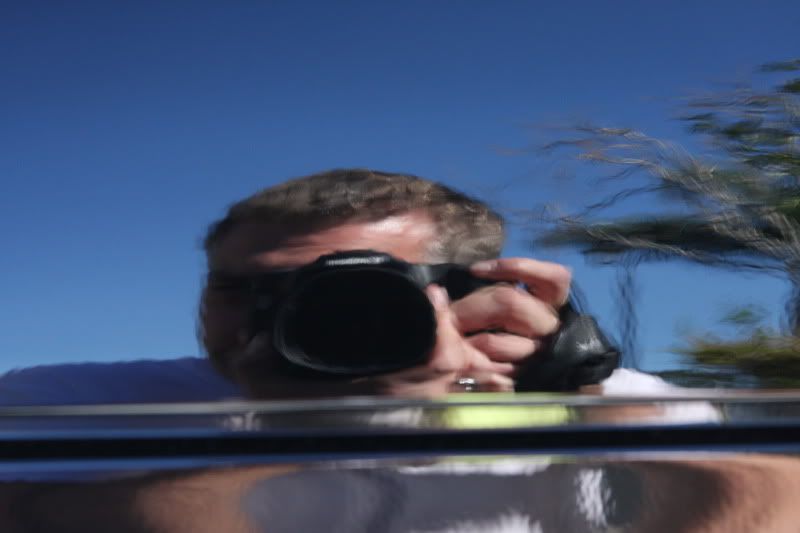
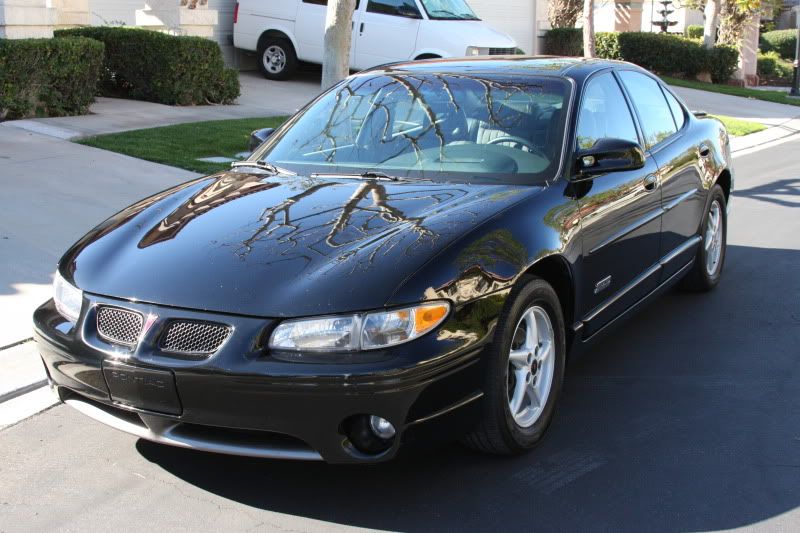
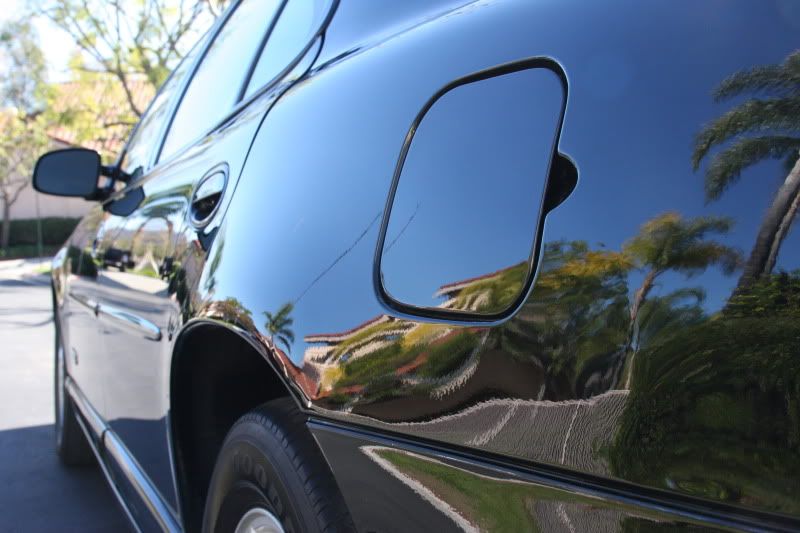
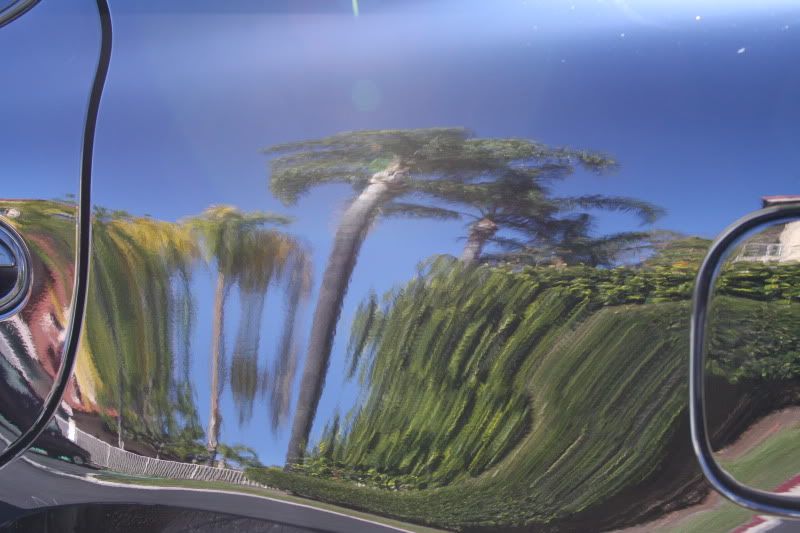
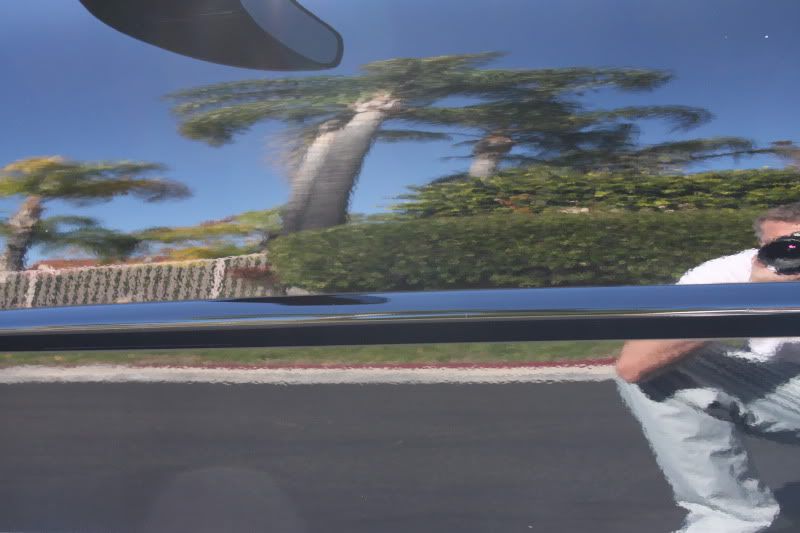
<meta http-equiv="Content-Type" content="text/html; charset=utf-8"><meta name="ProgId" content="Word.Document"><meta name="Generator" content="Microsoft Word 11"><meta name="Originator" content="Microsoft Word 11"><link rel="File-List" href="file:///C:%5CDOCUME%7E1%5CHP_ADM%7E1%5CLOCALS%7E1%5CTemp%5 Cmsohtml1%5C01%5Cclip_filelist.xml"><style> </style> Here are some pics the owner took the next day!!!
<o:p> </o:p>
-
12-24-2009, 04:51 PM #7
- Join Date
- Aug 2009
- Location
- Orange County, California
- Posts
- 260
- Post Thanks / Like
WoW Can you say "BUTCHERED"
That is definately a new lease on life for that vehicle! looks great, what a challenge! wonderful results....
Happy Holiday`s Eric!
-
12-24-2009, 04:58 PM #8

- Join Date
- May 2011
- Posts
- 4,058
- Post Thanks / Like

Great Work Homeboy!:xyxthumbsBarry E. Theal
Presidential Details Of Lancaster PA
Founder of Americana Global Inc.
-
12-24-2009, 06:03 PM #9
- Join Date
- Sep 2009
- Location
- Virginia
- Posts
- 49
- Post Thanks / Like
Whew, the before made me gag
 Probably out of sympathy for an identical car to mine
Phenomenal work! I find the clear on GTP`s quite finicky...
Way to go!
2000 Pontiac Grand Prix GTP - Black
2009 Pontiac G8 GTÂ`- Stryker Blue
I`m here to learn
-
12-24-2009, 06:23 PM #10
- Join Date
- May 2007
- Location
- Charlotte, NC (actually Iron Station, NC)
- Posts
- 1,499
- Post Thanks / Like
Great Job. Bufferbarry would have sanded the entire car though - lol.
Ridding the world of swirls, one car at a time!
-
12-24-2009, 06:48 PM #11
- Join Date
- Apr 2007
- Location
- Northern Va and Va Beach
- Posts
- 1,741
- Post Thanks / Like
Great job my man!!! Owner must be stoked!
DJ Mayo
Paint Correction Specialist
Northern, Va
Detailed Image Mid-Atlantic Featured Detailer
-
12-24-2009, 07:05 PM #12
- Join Date
- Dec 2012
- Posts
- 155
- Post Thanks / Like
just curious......how much did a job like that cost the owner....if you dont mind me asking.
great freeking job though!!!
-
12-24-2009, 10:00 PM #13Lotus Exige S

- Join Date
- Aug 2004
- Location
- SoCal
- Posts
- 2,382
- Post Thanks / Like
Amazing turn around!
-
12-24-2009, 10:14 PM #14
- Join Date
- Nov 2009
- Location
- Brunswick, Ga
- Posts
- 48
- Post Thanks / Like
WOW! man that was an awesome correction! great job!
T.K.C. Mobile Auto Detailing
-
12-25-2009, 01:08 AM #15
- Join Date
- Jan 2006
- Location
- Irvine, CA
- Posts
- 475
- Post Thanks / Like
Great job!
Club Flex Member
Newport Auto Perfection owner and operator.


 Reply With Quote
Thread Information
Users Browsing this Thread
There are currently 1 users browsing this thread. (0 members and 1 guests)
Similar Threads
-
Envious Detailing: Superleggera
By Envious Eric in forum Click & Brag -The Detailers ShowcaseReplies: 8Last Post: 04-27-2012, 11:55 PM -
Envious Detailing: G35 with a new look
By Envious Eric in forum Click & Brag -The Detailers ShowcaseReplies: 7Last Post: 04-01-2012, 11:39 PM -
Envious Detailing: 2007 A4
By Envious Eric in forum Click & Brag -The Detailers ShowcaseReplies: 17Last Post: 03-04-2010, 12:29 PM -
Envious Detailing: Hammered RX-7 given a new life
By Envious Eric in forum Click & Brag -The Detailers ShowcaseReplies: 16Last Post: 01-16-2010, 03:53 PM -
Envious Detailing: holograms no more!
By Envious Eric in forum Click & Brag -The Detailers ShowcaseReplies: 9Last Post: 04-30-2009, 08:18 AM
Posting Permissions
All times are GMT -5. The time now is 07:56 PM.
 Copyright ©, 2002-2015, Autopia Forum - All Rights Reserved
4.2.2
Sponsored by Autopia-CarCare.com
Bookmarks