

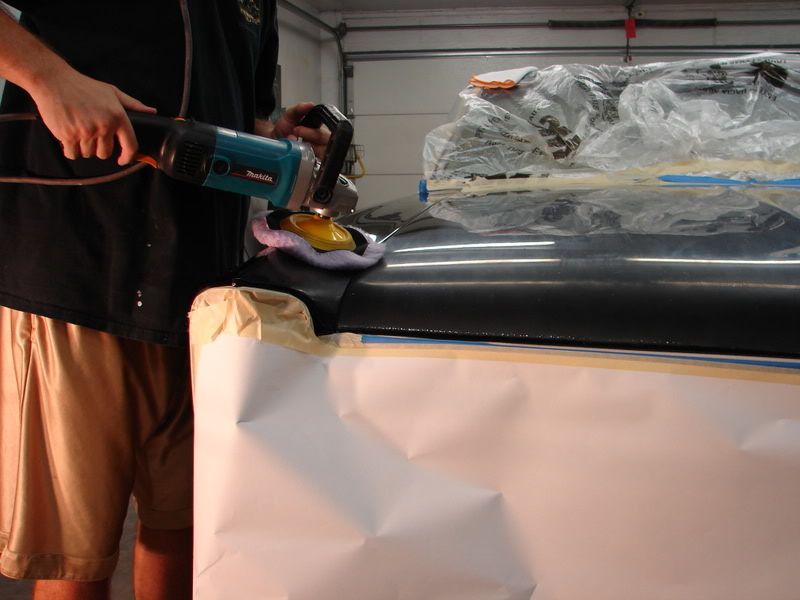
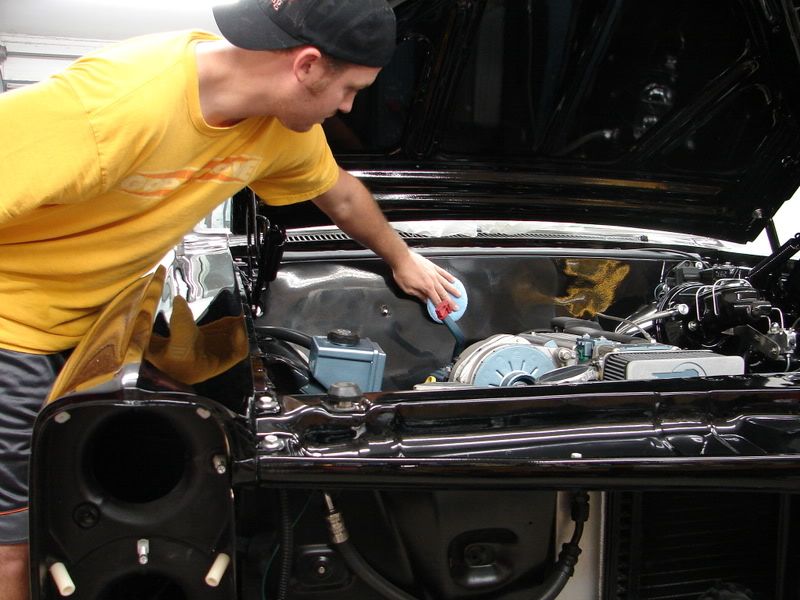
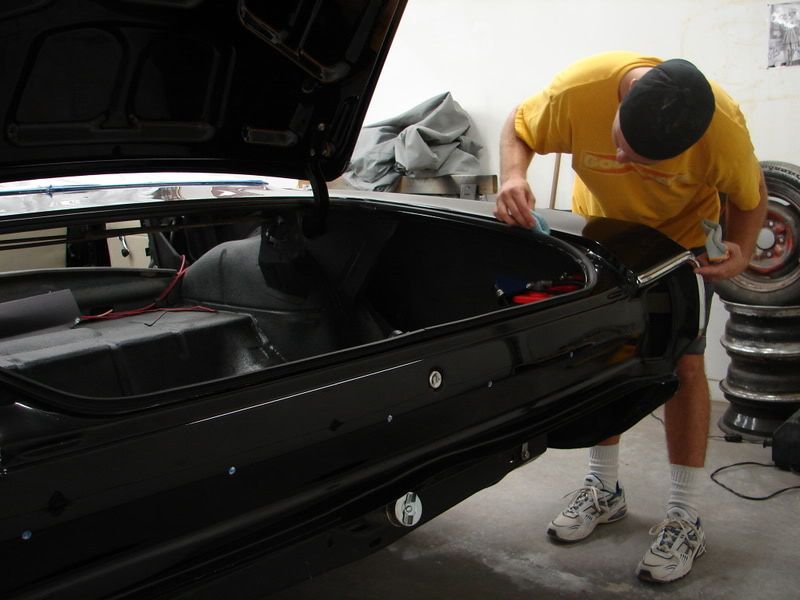
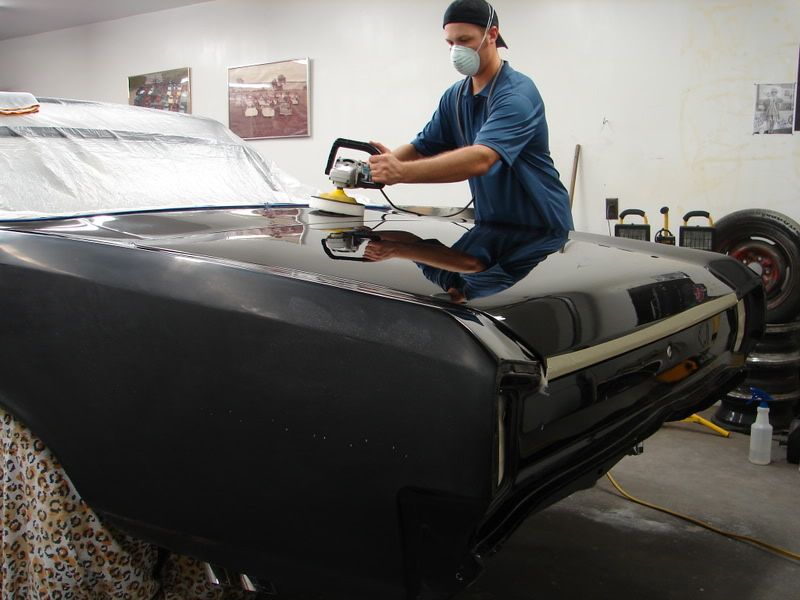
Okay, now that I`ve got the testing done I can start to polish the whole car.
I would have to repolish all the tester panels as well, so the trunk got it again as well as the side panel.
It should also be noted that my final choice of pad/polish combo`s worked great as the Menz left behind plenty of lubricant so that when I went back over it all with the Meg`s M105 I could really work the M105 in for a long time due to the left over lubes from the Menz, I was very very happy with this.
With that in mind I would suggest when using M105 to slightly cut it with another polish that has a lot of lubes in it so you can get a waaaaay longer working life out of the M105.
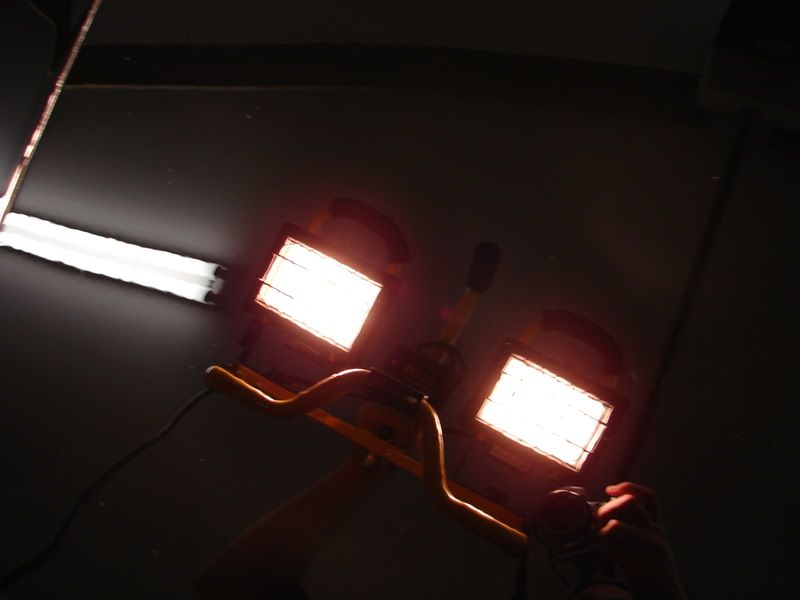
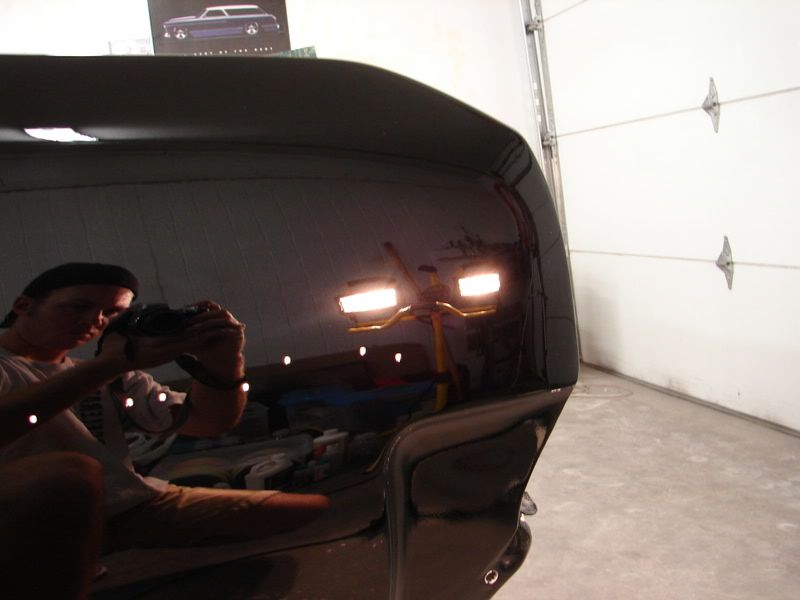
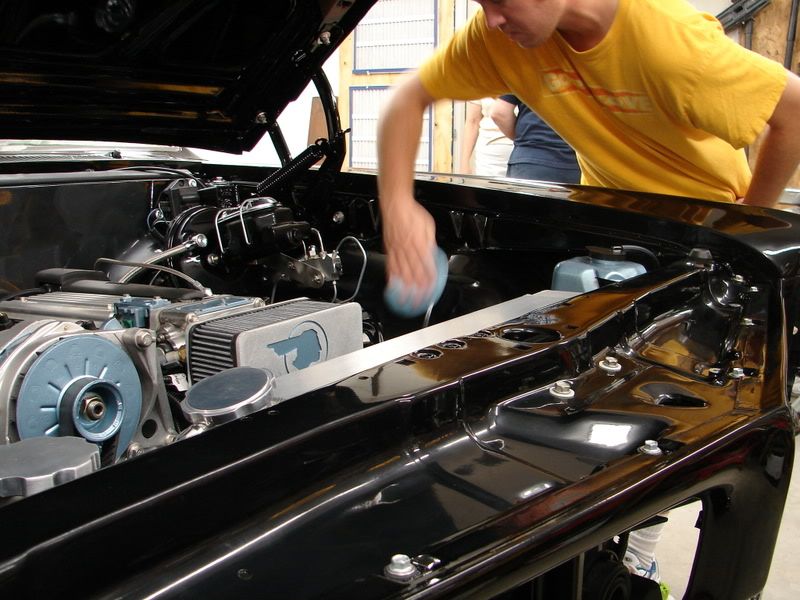
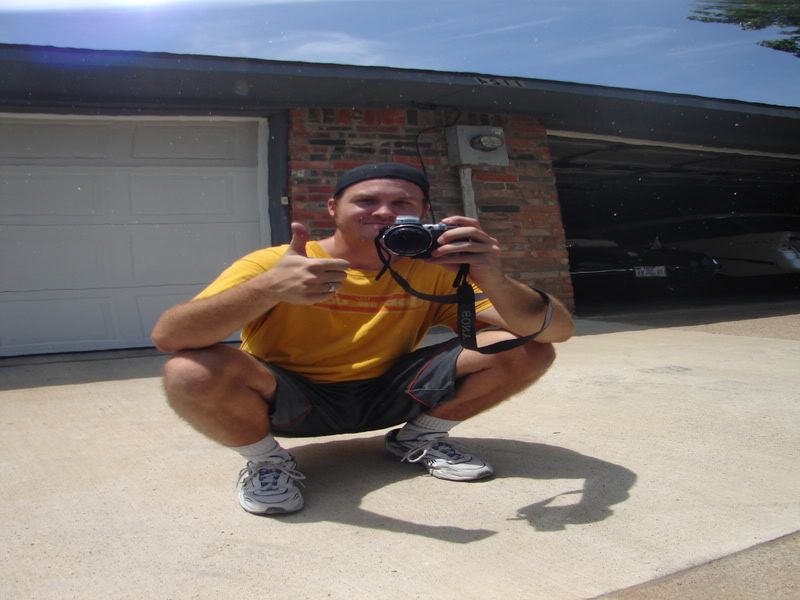
Also some of the pics are staged pics of me as you`ll see cause the pad with not be moving at all.
But in some of the pics you may notice the wool pads not perfectly flat on the panel as that is one of the tricks to using a thin wool pad like that is to every so slightly tilt it so that it is not perfectly flat, this seems to keep it from jumping and skipping alot.
With foam pads this is not the case and you want to keep them very flat as all the heat builds up in the outter areas of the pad so tilting it can cause you to burn the paint very easily.
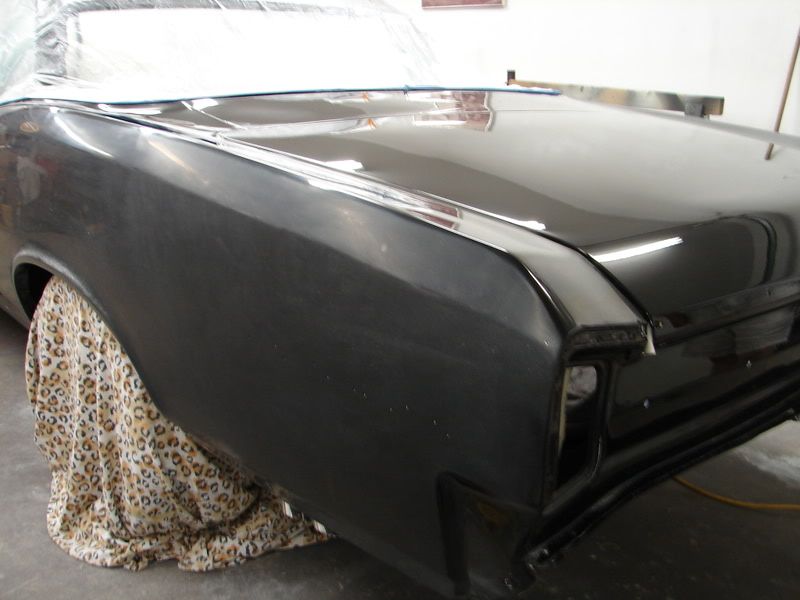
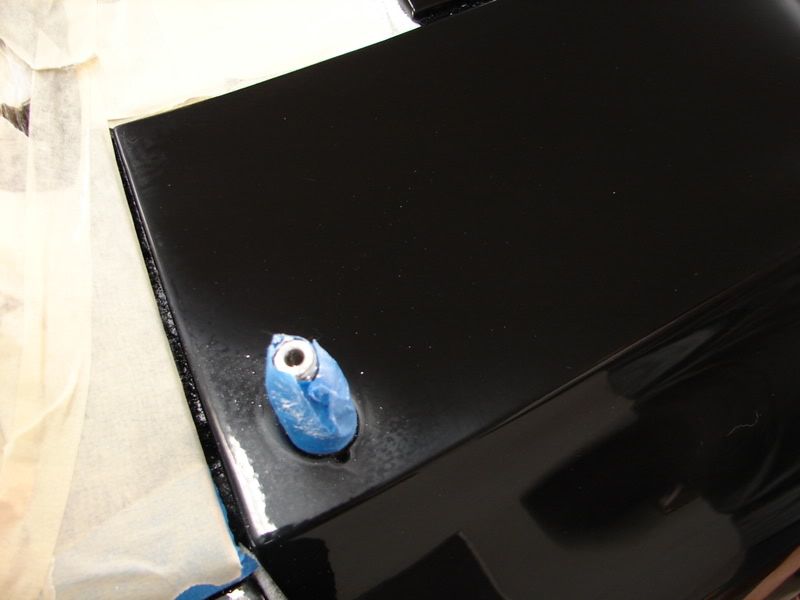
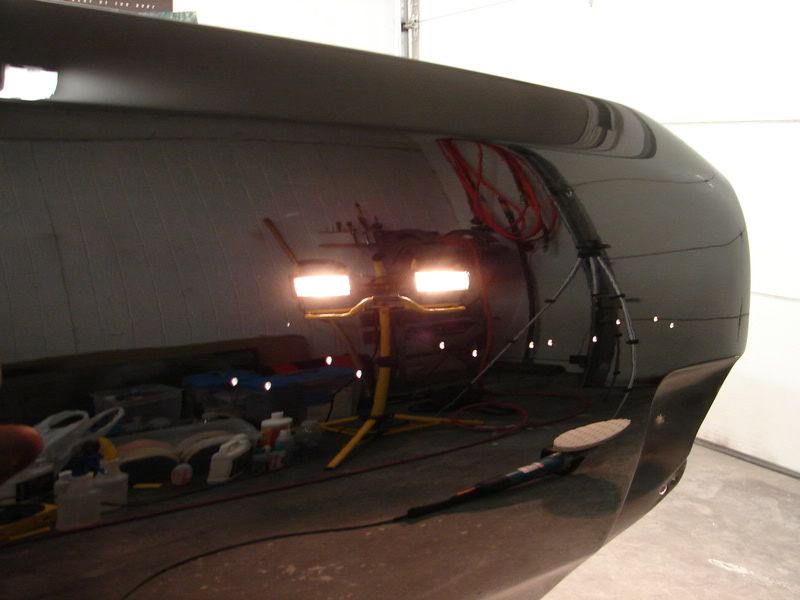
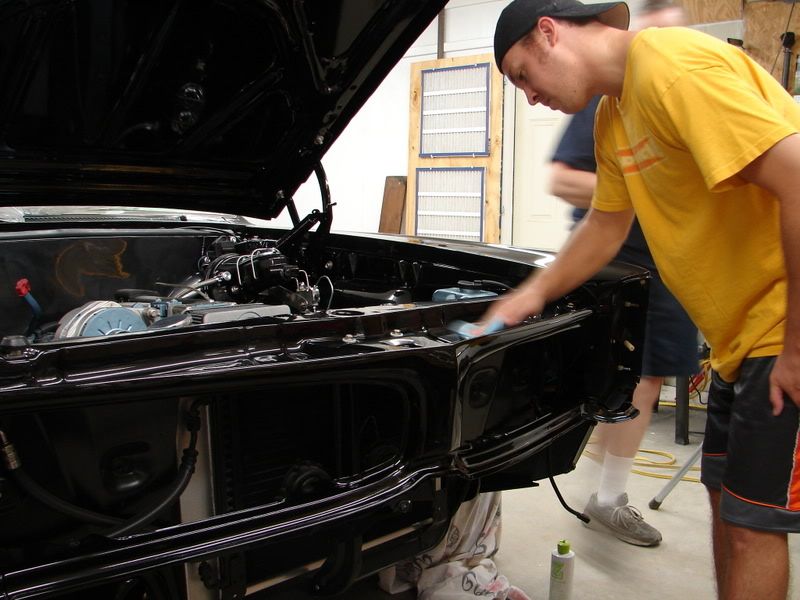
Here`s a pic of the rest of the panel completed with PG/wool and M105/white.
If you look at the pad I`m using in each picture you`ll know what step I`m on in the process.
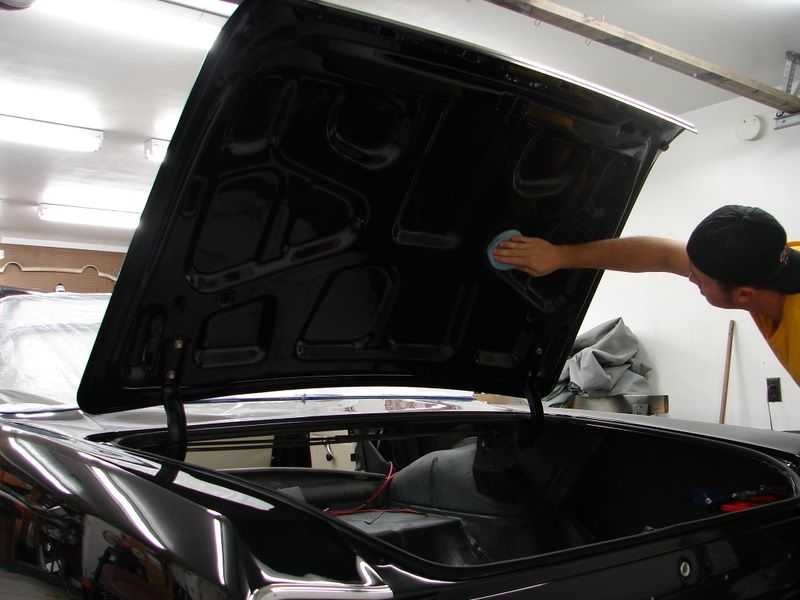
Please note that in delicate areas such as this a whole different process is required as you can not spin the rotary at high rpms in tight angled areas such as this or you will cut threw the paint.
For this area I will use M105 only with a white pad at like 1100rpms, then jewel it a whole lot at 900--700 rpms and it will typically take about 2-3 passes with this process to get perfect.
Here are the results from day one.
Results 16 to 30 of 106
-
07-28-2008, 12:39 PM #16


- Join Date
- Nov 2006
- Location
- Dallas, TX
- Posts
- 2,857
- Post Thanks / Like

Perfection Is In The Details
Rated one of the Top Nine Auto Detailers in the US by AutoWeek Magazine! :buffing:
-
07-28-2008, 12:52 PM #17
- Join Date
- Feb 2011
- Posts
- 33
- Post Thanks / Like
for a novice like me.. your post is absolutely top notch and SO interesting !
thanks you thank you !!
most impressive !
can we see the whole car once it`s done please ?
-
07-28-2008, 01:02 PM #18
- Join Date
- Nov 2006
- Location
- Dallas, TX
- Posts
- 2,857
- Post Thanks / Like
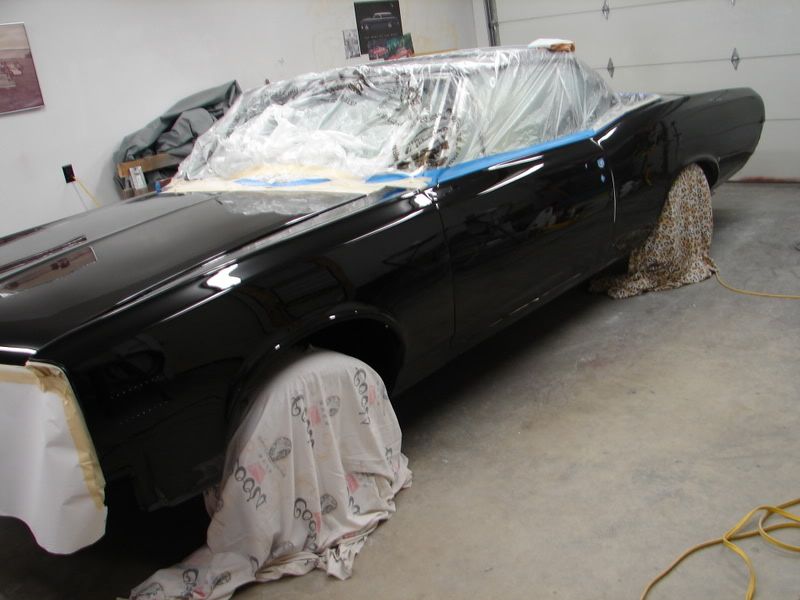
Day two starts bright and early at 8:30 picking up right where I left off....
I am using the exact same process for the whole car only spending a little extra time on the area that need it.
To note the side panels were in way better shape then the trunk and did not require as much as they seemed to clean up much better and faster then the top surfaces for some reason.
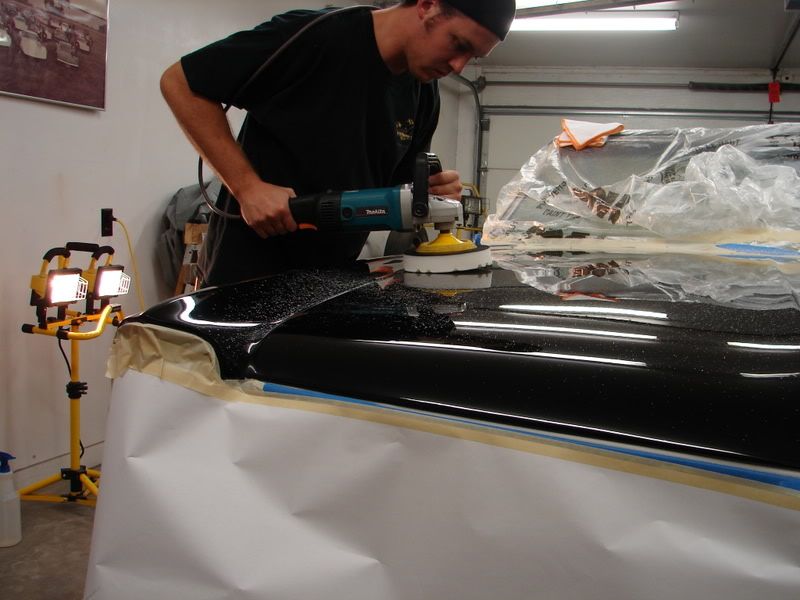
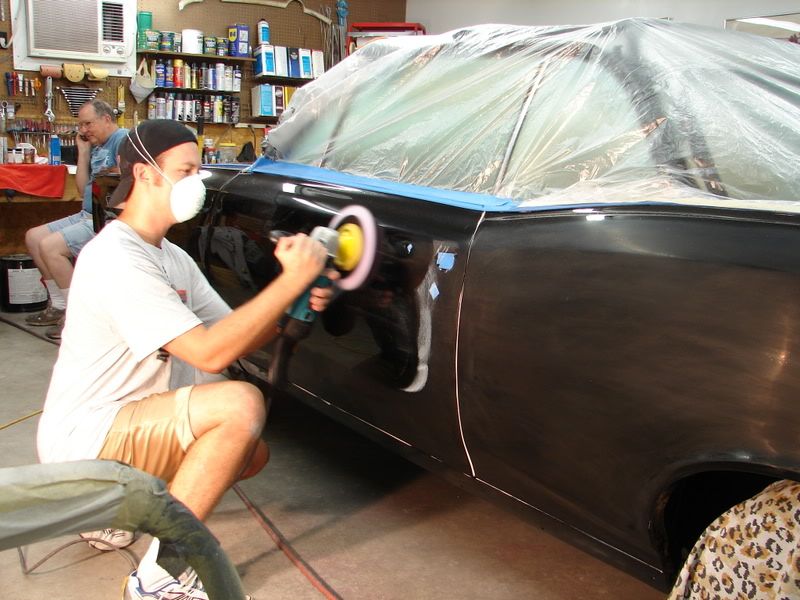
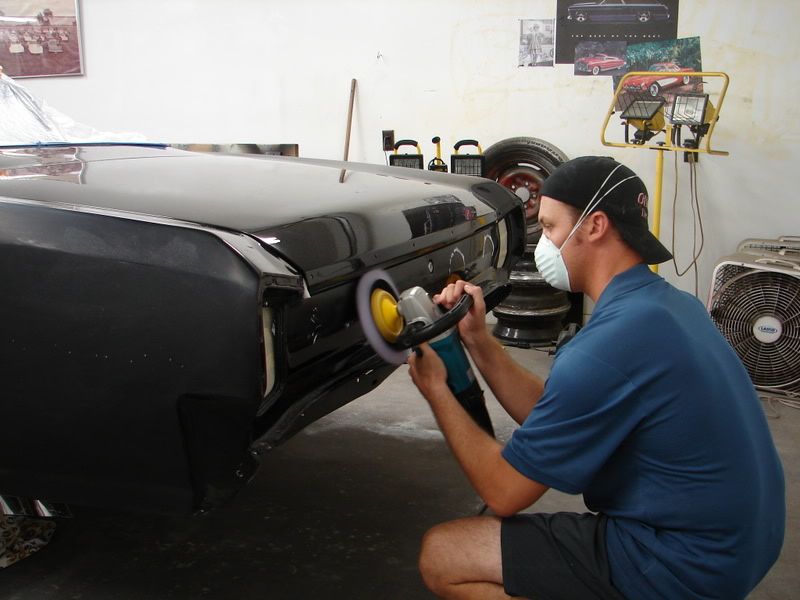
Passenger side door almost done with the first pass of PG with foamed wool pad at 1700rpms.
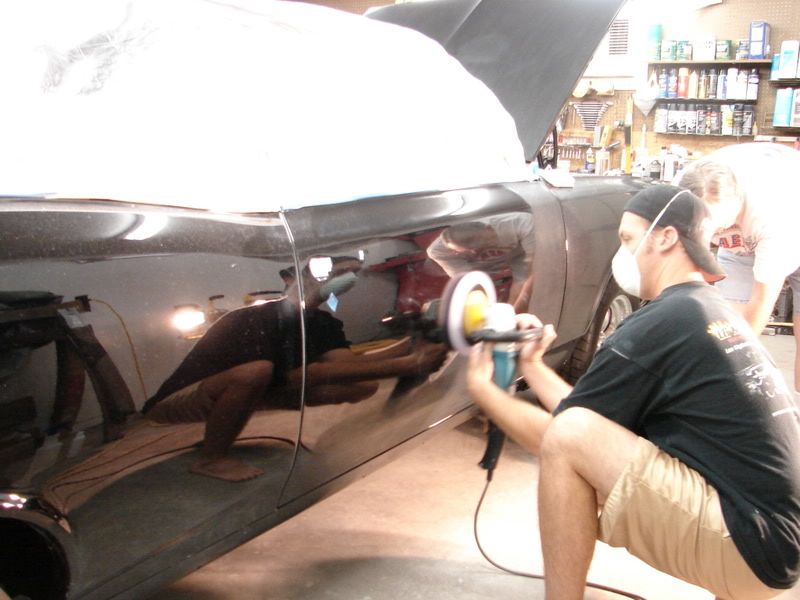
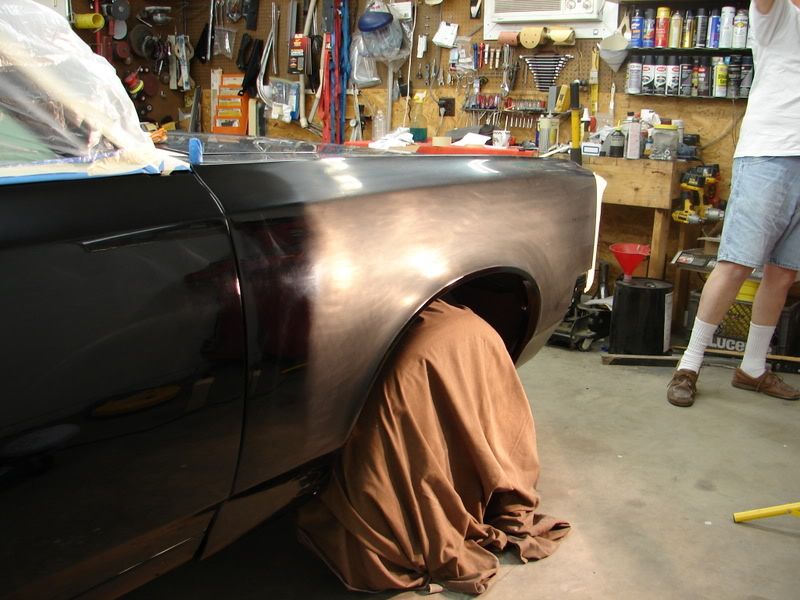
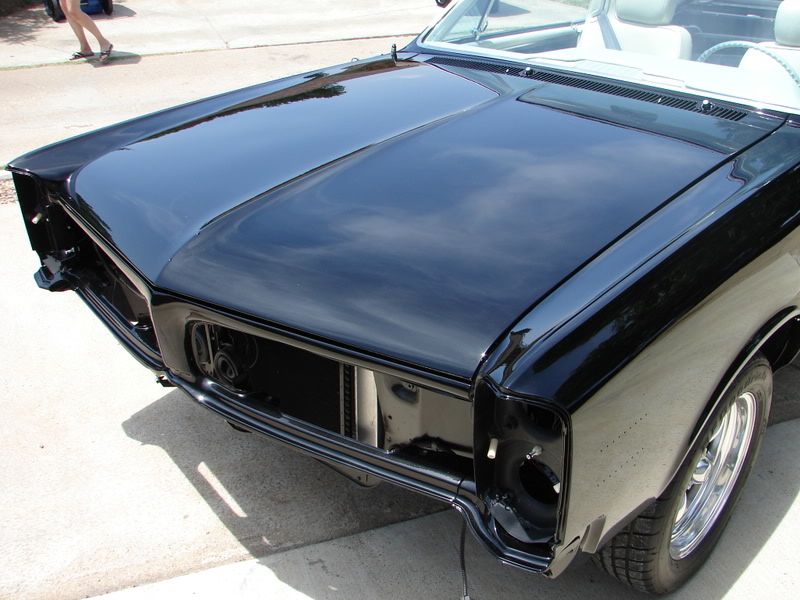
Front fender about to get transformed.
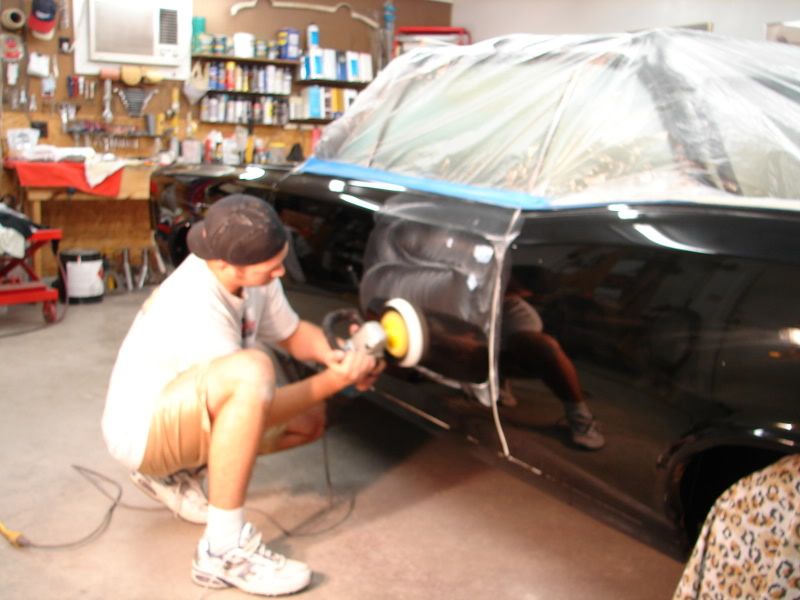
Spreading the PG
Working and about to break down the PG

Broke down and now jeweling the PG
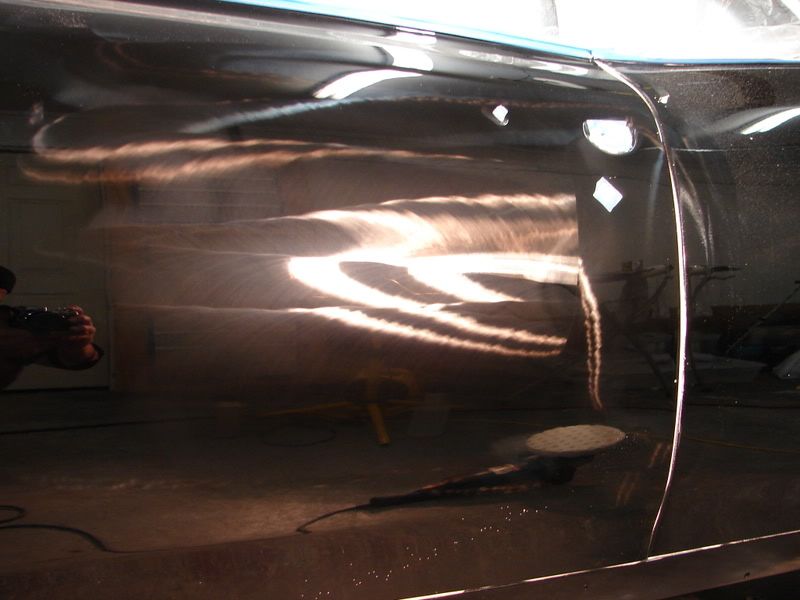
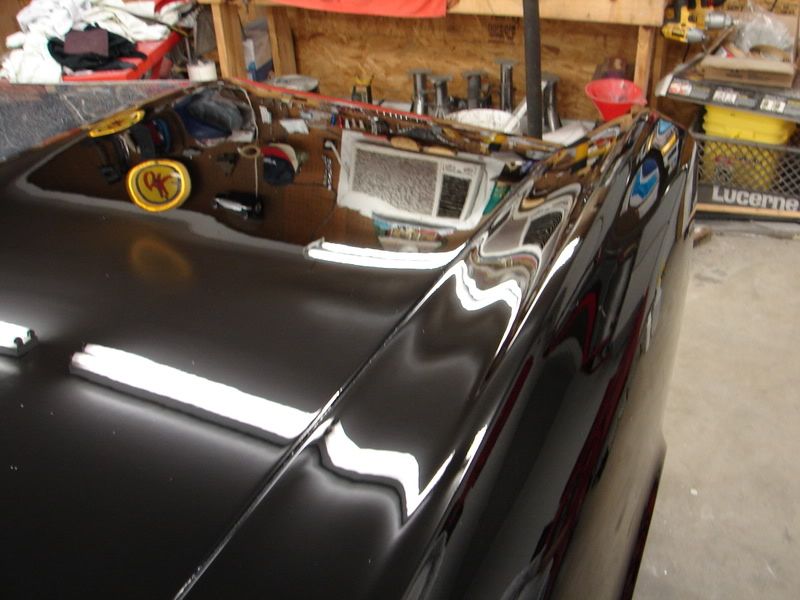
You can see the black paint starting to show through.

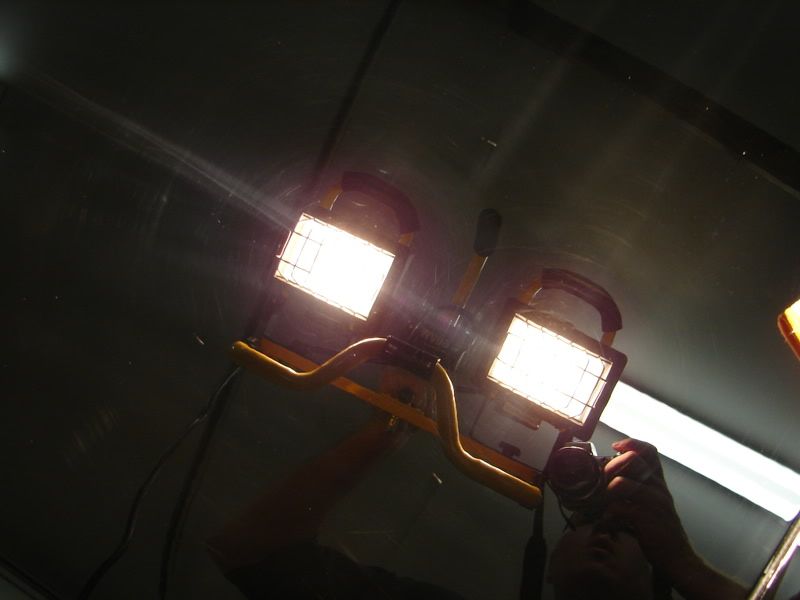
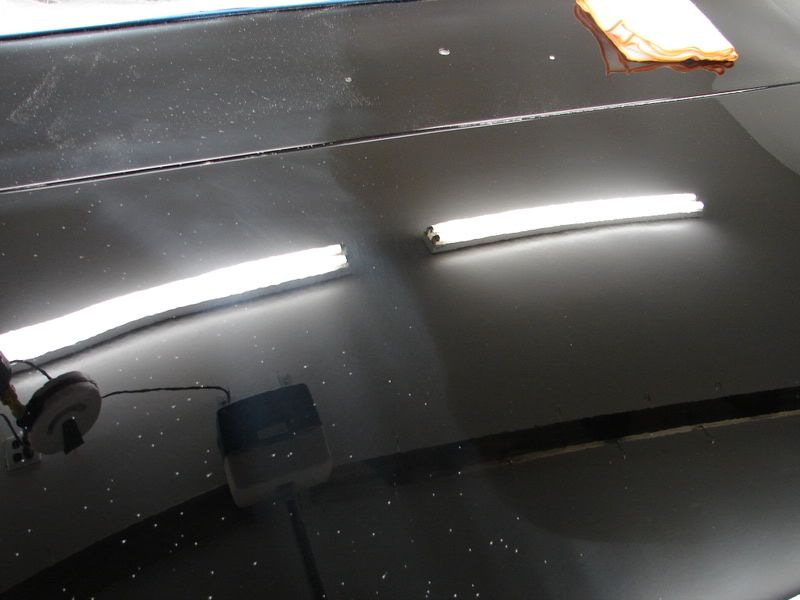
Panel after PG with holograms that the M105 will easily take out.

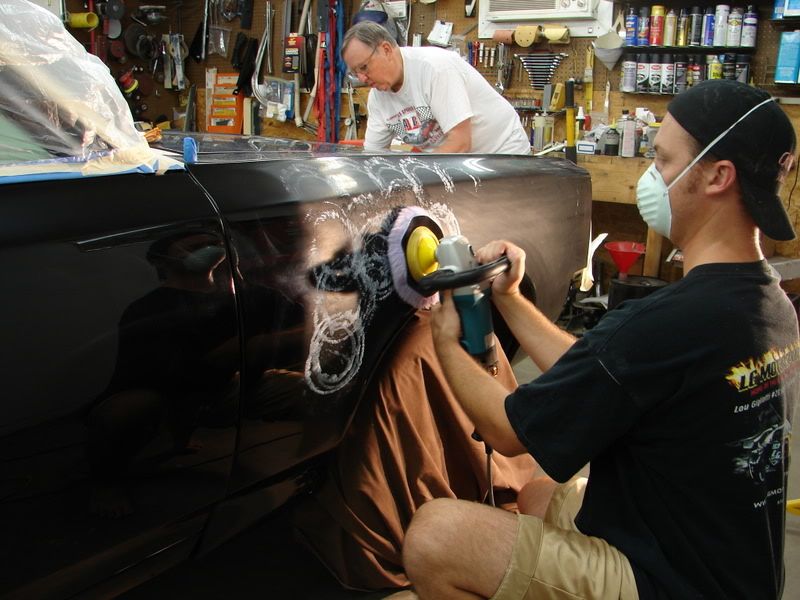
Time to work in the next step with M105 on a LC white pad at around 1500 and jeweled in for a long time (thanks to the lubes in the PG) with a near perfect finish.

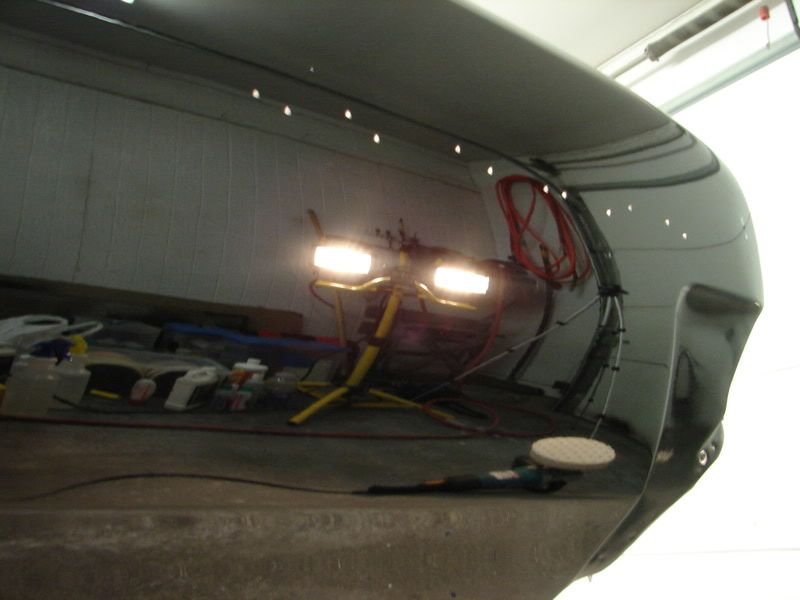
This is what a polish (M105) is supposed to look like after properly broke down and jeweled.

The results are near perfection.

I love this stuff, it is so versital. I can use it as a heavy cut compound with a wool pad or to finish down like a polish with a white pad requiring little clean up.:chuckle:

These areas are very delicate and so I must polish them with very slow speeds and really be careful so I do not burn any part of the paint. Using around 1200rpms to keep things safe and then jeweling with 900rpms.

Some areas such as around the antenna where the pads cannot reach it will require me to polish out the marks by hand, for this I chose Zaino ZPC which is a water based polish that has mild cut with a fast break down time so I knew I could use it by hand for a few passes and get the results I wanted.
I will basically just squirt a little on a pad of MF towel and rub it as fast as I can for a few seconds till it looks good and the owner is happy.

Results
 Perfection Is In The Details
Rated one of the Top Nine Auto Detailers in the US by AutoWeek Magazine! :buffing:
-
07-28-2008, 01:12 PM #19
- Join Date
- Nov 2006
- Location
- Dallas, TX
- Posts
- 2,857
- Post Thanks / Like
 Originally Posted by stockychaser
Thanks, I`m writing the whole thing so people will have an idea of what it takes as well as learn if they ever need to polish there own car.
I`m nearly done with the write up part so it should move alot faster from here on out.
Patience young grass hopper..... Perfection Is In The Details
Rated one of the Top Nine Auto Detailers in the US by AutoWeek Magazine! :buffing:
-
07-28-2008, 01:21 PM #20
- Join Date
- Nov 2006
- Location
- Dallas, TX
- Posts
- 2,857
- Post Thanks / Like
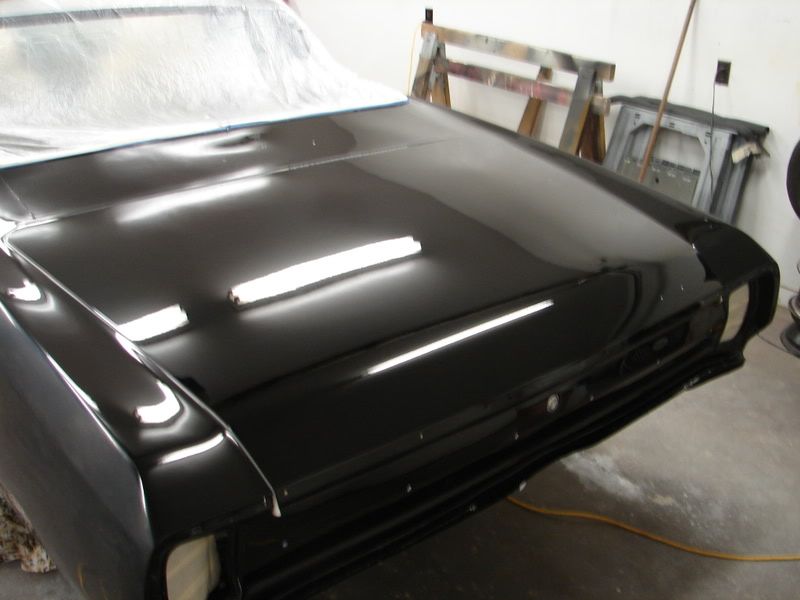
Okay so moving right along....
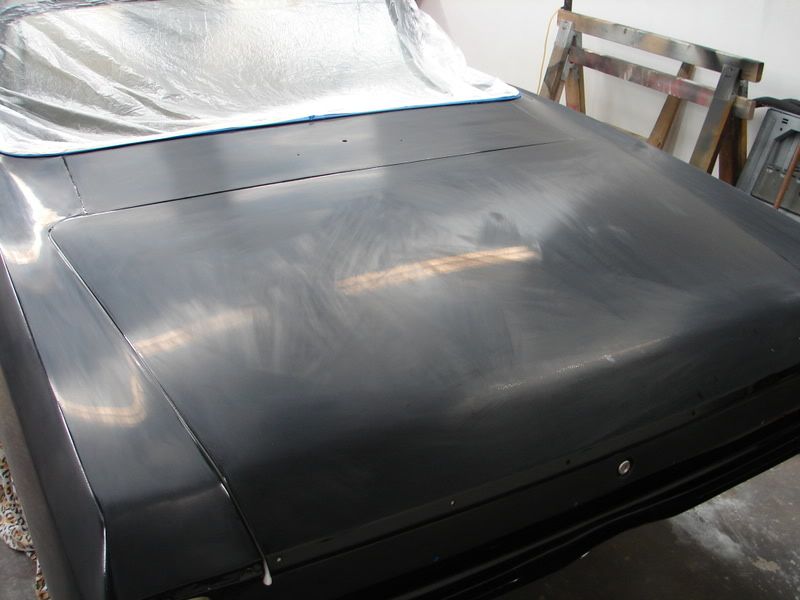
Polishing the hood for the second time....
Now almost half the car has been polished and I know the exact combos it should be smooth saling from here on out.


Now that the majority of the polish for day 2 is complete I go back to the trunk and other areas to reinspect the paint after the lubes from the Menz PG and the lubes from Meg`s M105 have evaporated I can see whatever was being hidden.
Sure enough wouldn`t you know there is still some significant holograms in the trunk lid that I could not find the day before.
So I will now use the Menz Final Polish II with a LC black pad at 1200rpms then jewel it in at 900rpms to put the final touches on it.

before FPII
after FPII
I would again inspect this at the end of the 3rd day to see if any holograms are left over.
This is the end of day two.Perfection Is In The Details
Rated one of the Top Nine Auto Detailers in the US by AutoWeek Magazine! :buffing:
-
07-28-2008, 01:33 PM #21
- Join Date
- Nov 2006
- Location
- Dallas, TX
- Posts
- 2,857
- Post Thanks / Like
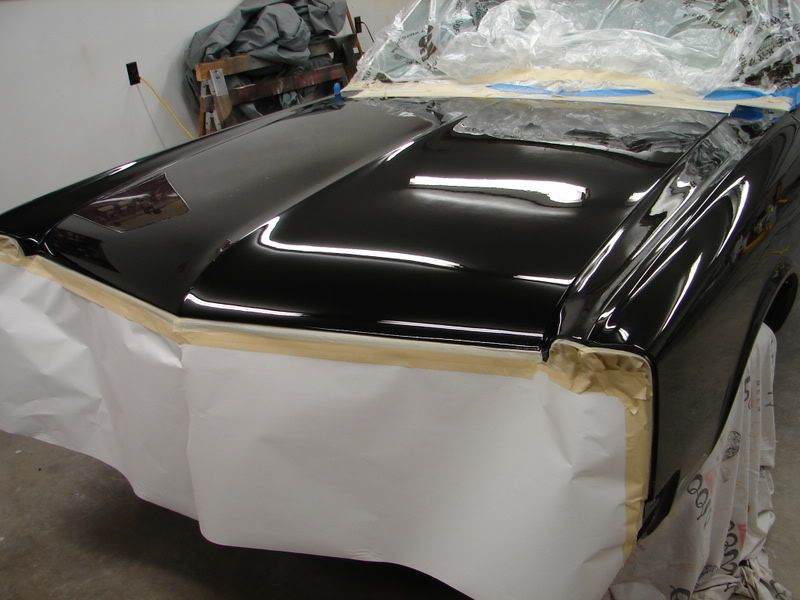
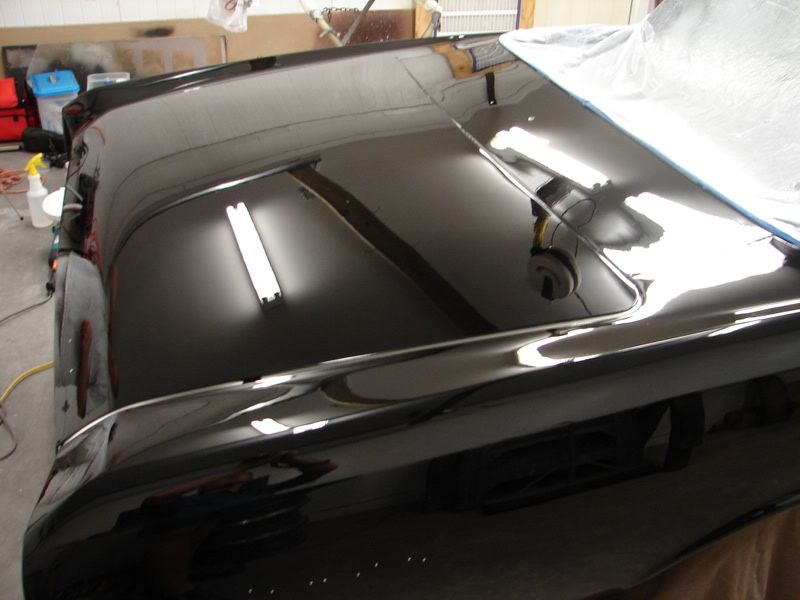
Day 3 begins with the other side of the hood and working my way to the back of the car.
First step with PG and wool pad
Second step with M105 and white pad
dobbing

working in
perfectly broke down and jeweled
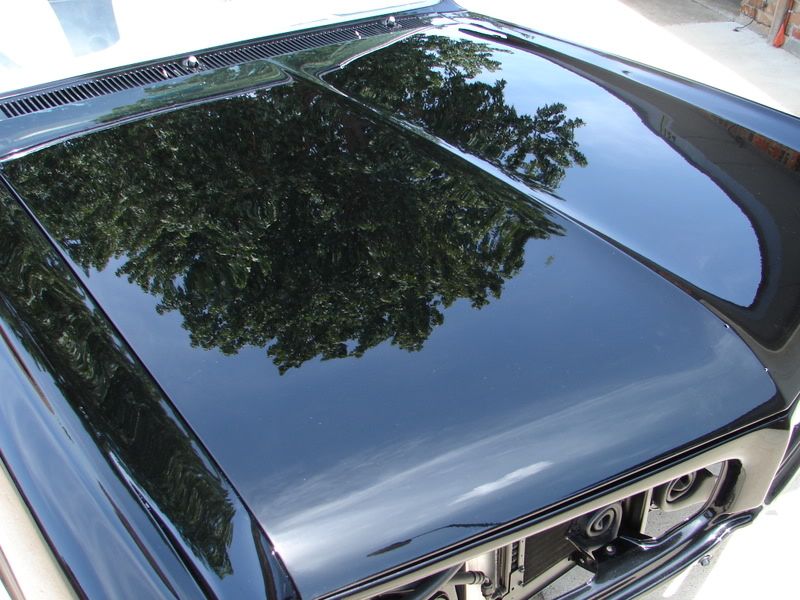
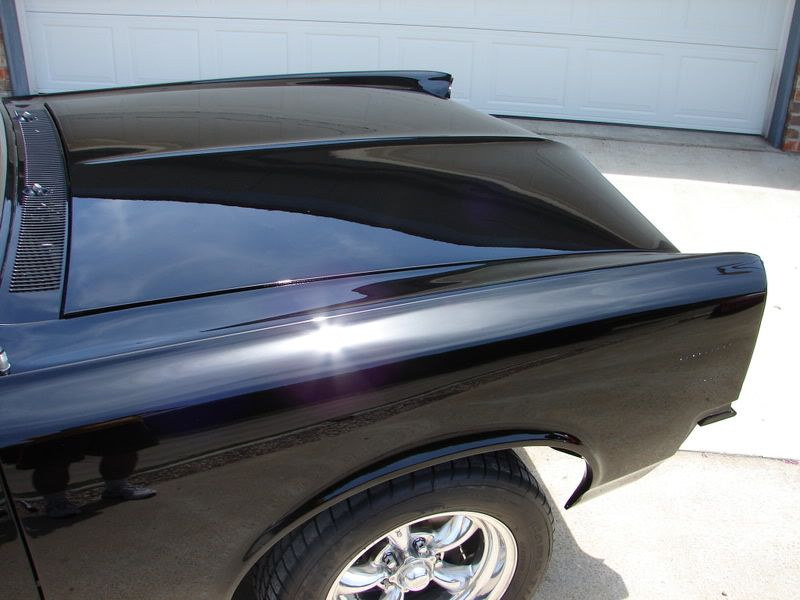
final results after two steps is near perfection. Even though the camera doesn`t show it or pick it up, I can expect some light holograms as were in the trunk lid.
Absolutely last panel and section to correct.
This is already after the Menz PG.

Working in the M105.
I have to be very careful with all the edges in this area so I go over the edges last at a very slow speed to ensure no burning takes place.


After it`s been jeweled

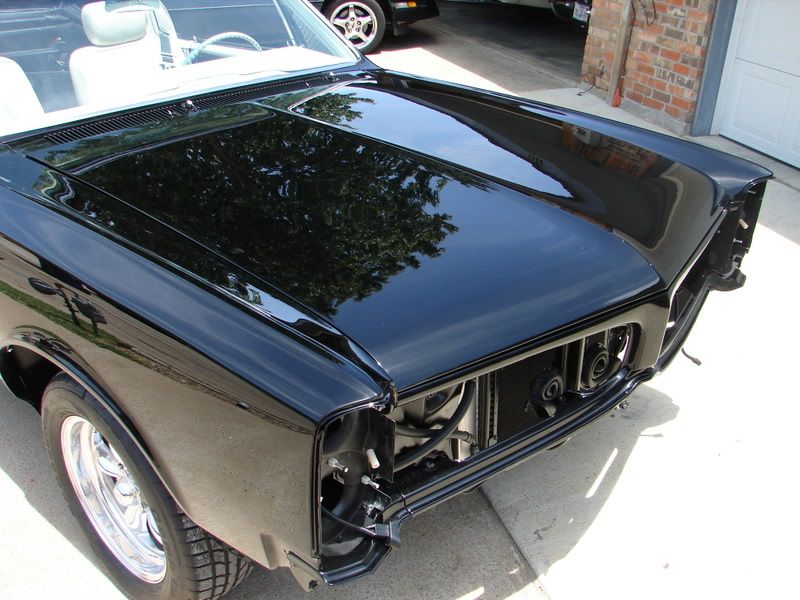
And now teh final results after the M105
I also went over the hood and trunk again with the Final Polish II so that I could double check them the next day after the lubes had evaporated.
Now all I have to do is go over the car again with Menz FPII and a black pad and the surface should be near perfect.:2thumbs:Perfection Is In The Details
Rated one of the Top Nine Auto Detailers in the US by AutoWeek Magazine! :buffing:
-
07-28-2008, 01:44 PM #22
- Join Date
- Nov 2006
- Location
- Dallas, TX
- Posts
- 2,857
- Post Thanks / Like
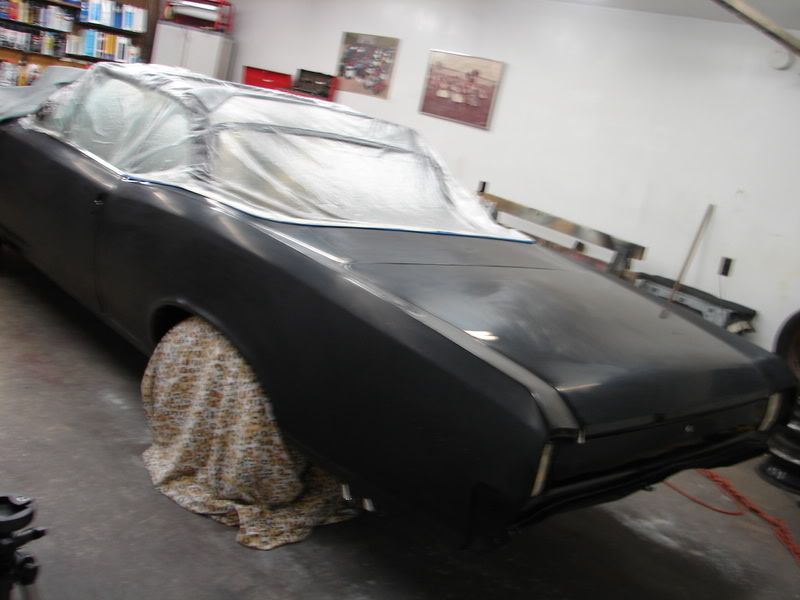
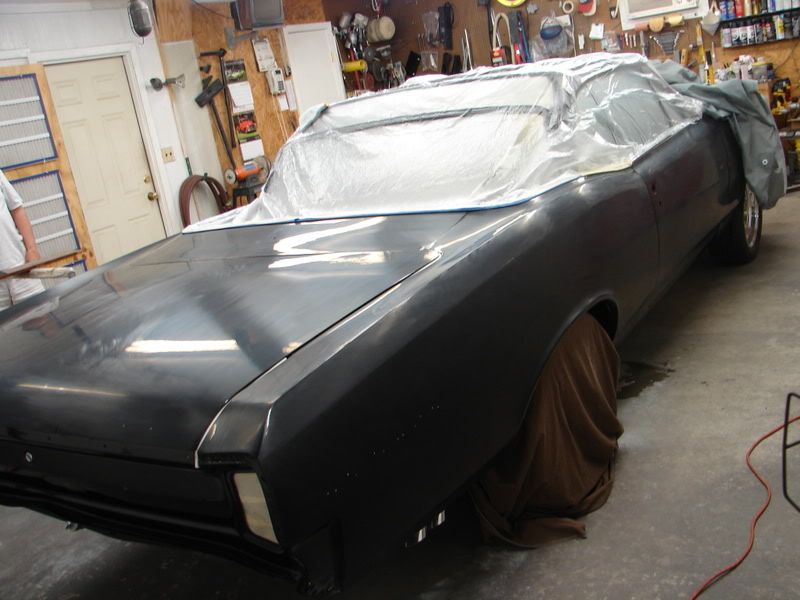
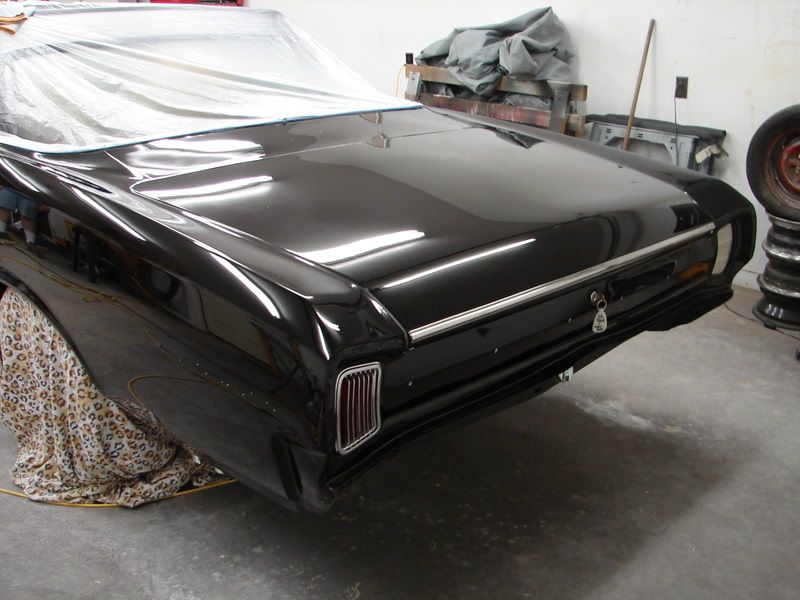
Here are some quick before and afters to remind you of what I started out with.
After all this it was so hard to believe that just a couple days before the whole car was grey.


 Perfection Is In The Details
Rated one of the Top Nine Auto Detailers in the US by AutoWeek Magazine! :buffing:
-
07-28-2008, 01:59 PM #23
- Join Date
- Nov 2006
- Location
- Dallas, TX
- Posts
- 2,857
- Post Thanks / Like
Sorry but I did not document the Final Polishing with Menz FPII and a LC black pad, but basically I just worked it in around 1100-1200 and jeweled it down at 900-700rpms over the entire car.
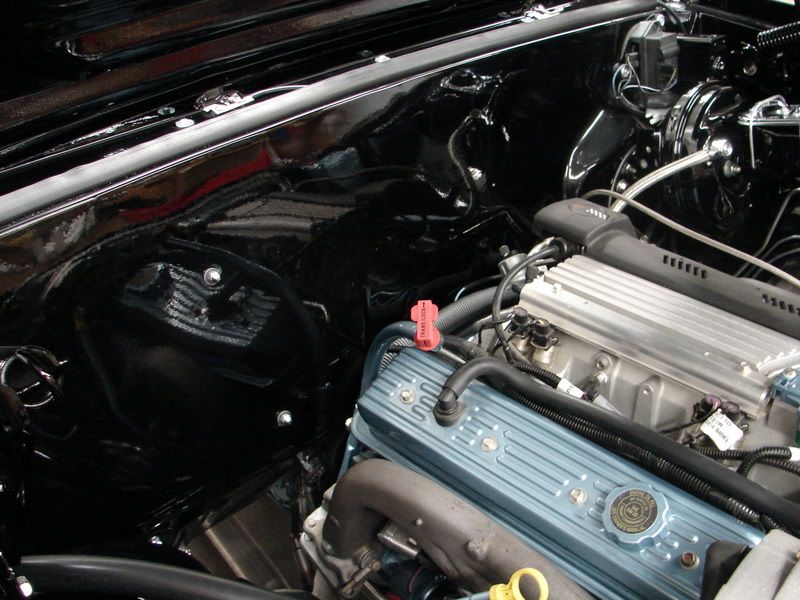
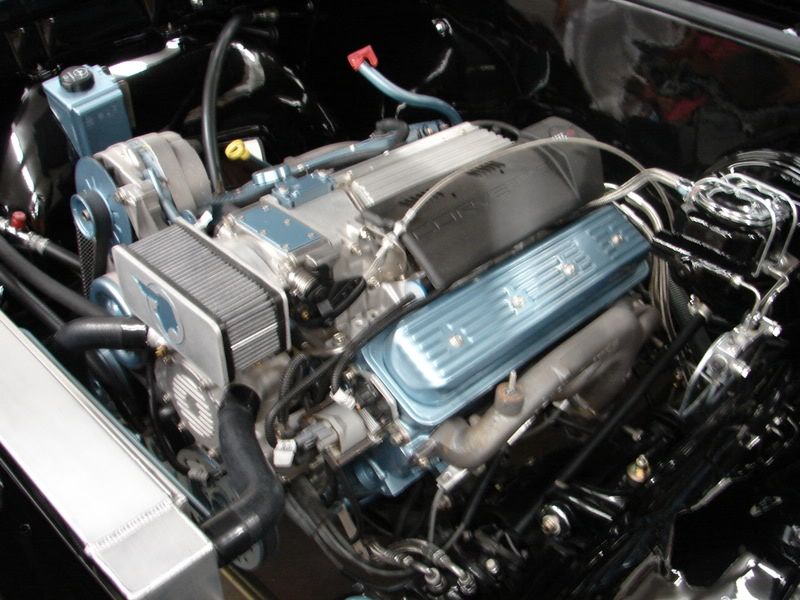
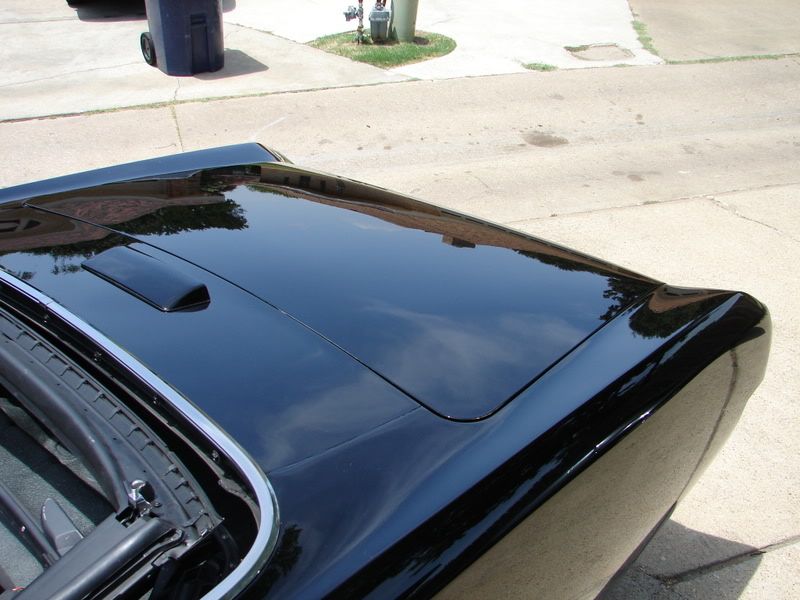
The 4th and final day I went over the entire engine bay with a damp MF towel (remember this car has been sitting in a garage for the last 2-3 years so there wasn`t much to clean, just alot to polish.
Then engine bay and trunk lid roof got wiped down with a QD and then waxed with Zaino ZAIO to give it a sparkling finish.

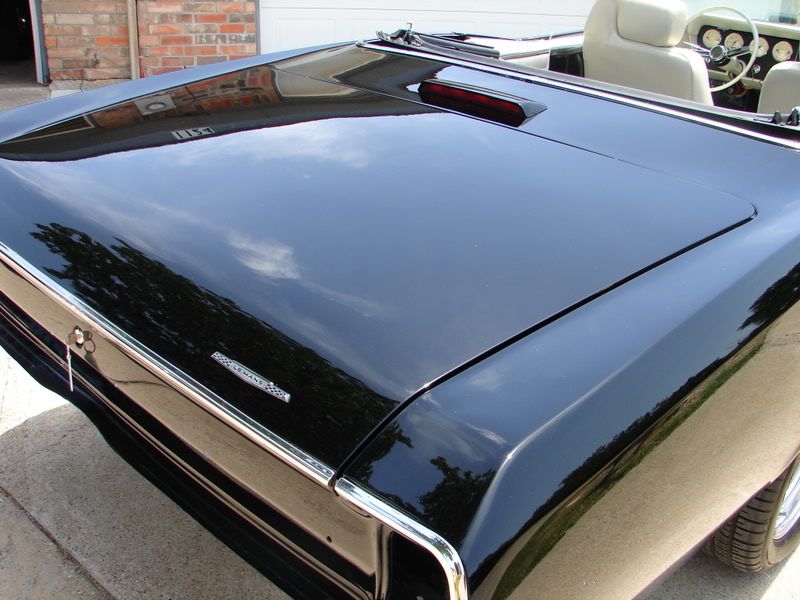
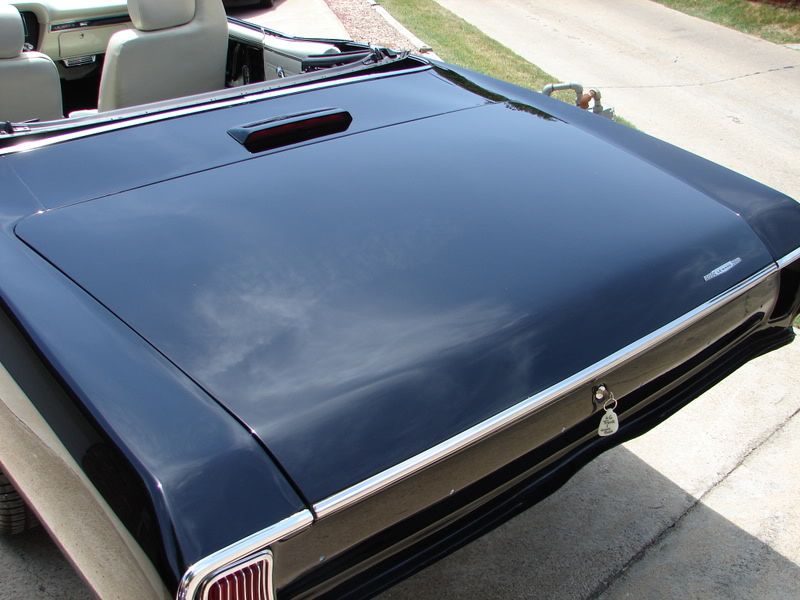
The trunk

After lightly buffing off the ZAIO on all painted parts in the engine and trunk bays.

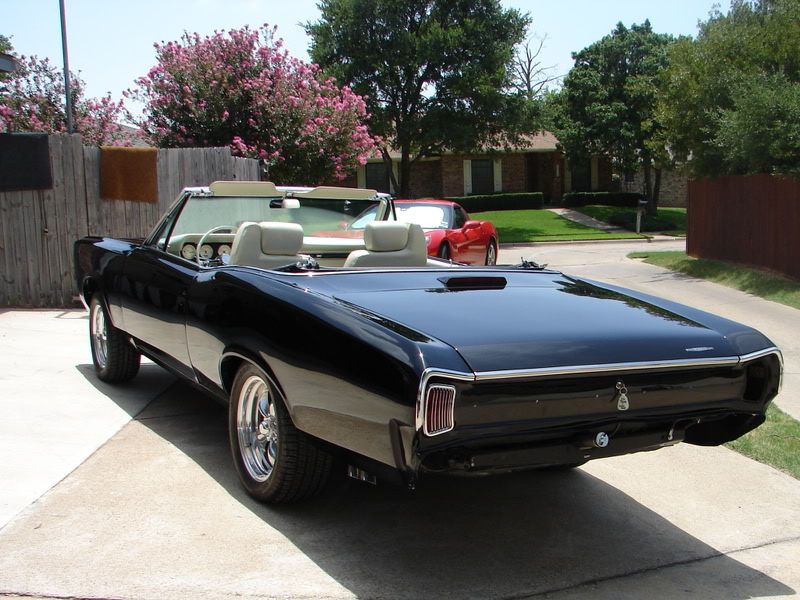
This a 1995 Corvette LT1 taken out of a Police Cruiser and put into the 66 Lemans, it roughly puts out about 370HP and sounds mean as anything I`ve heard.


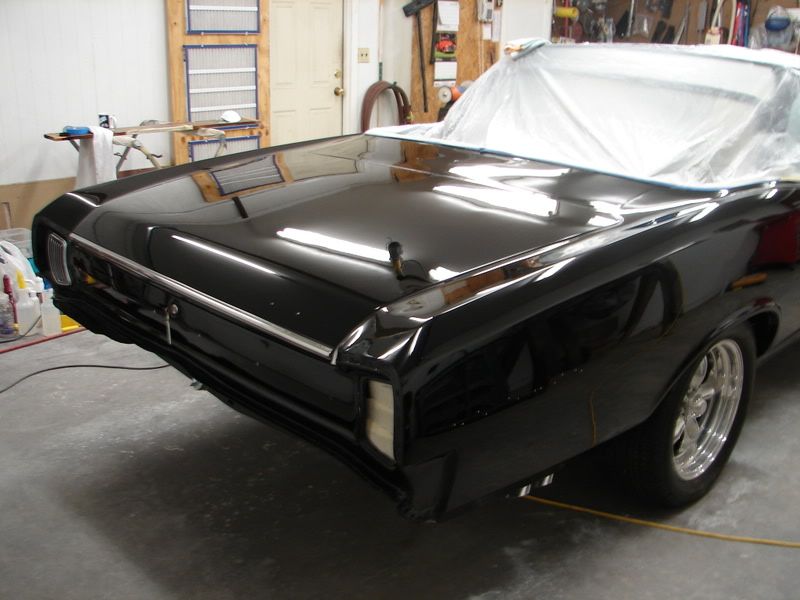
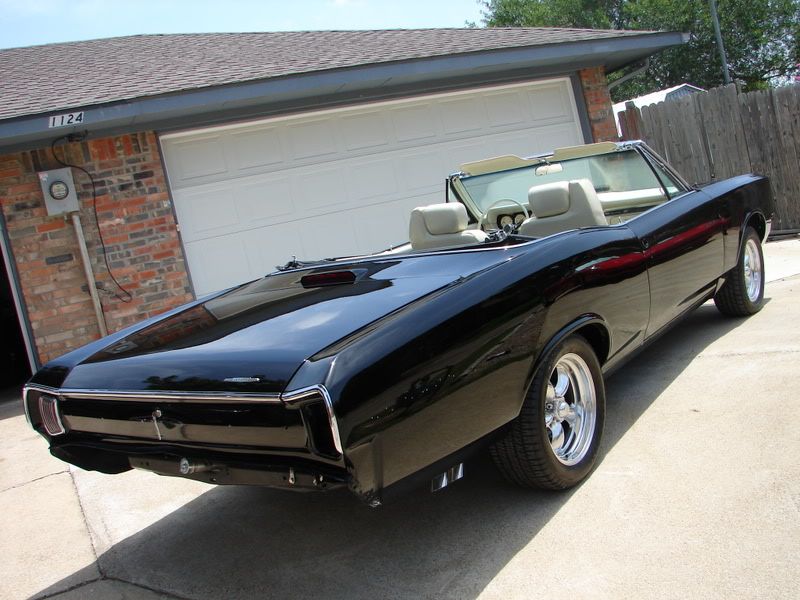
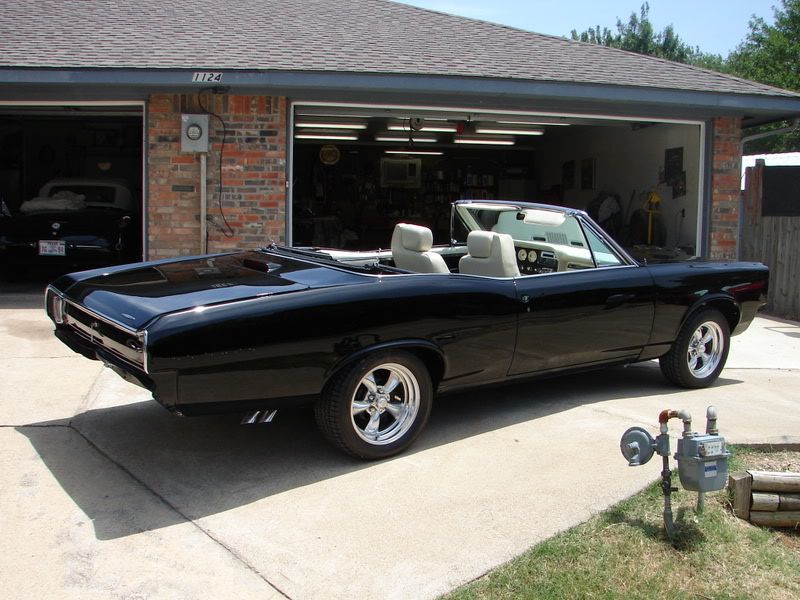
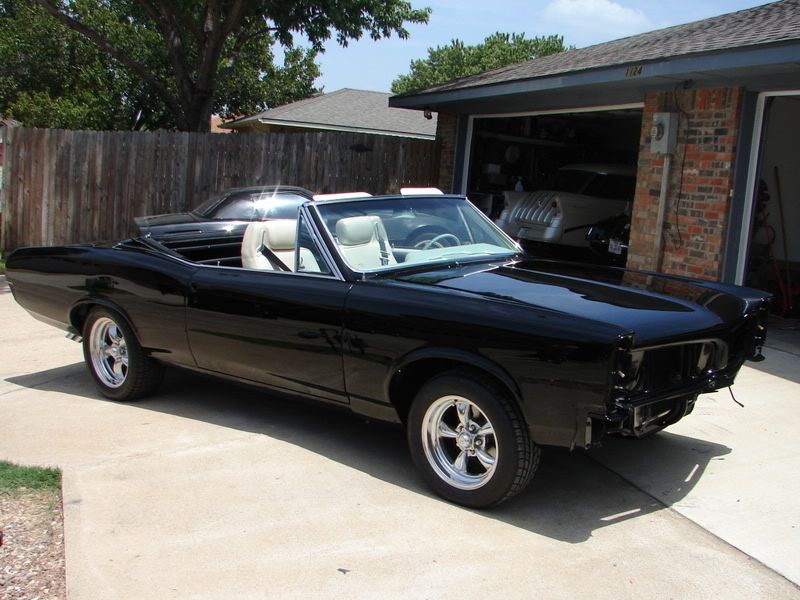
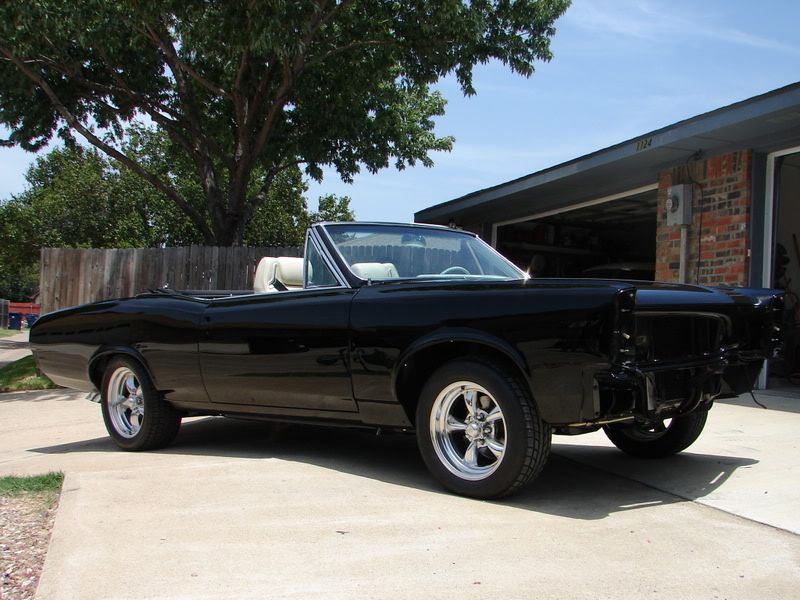
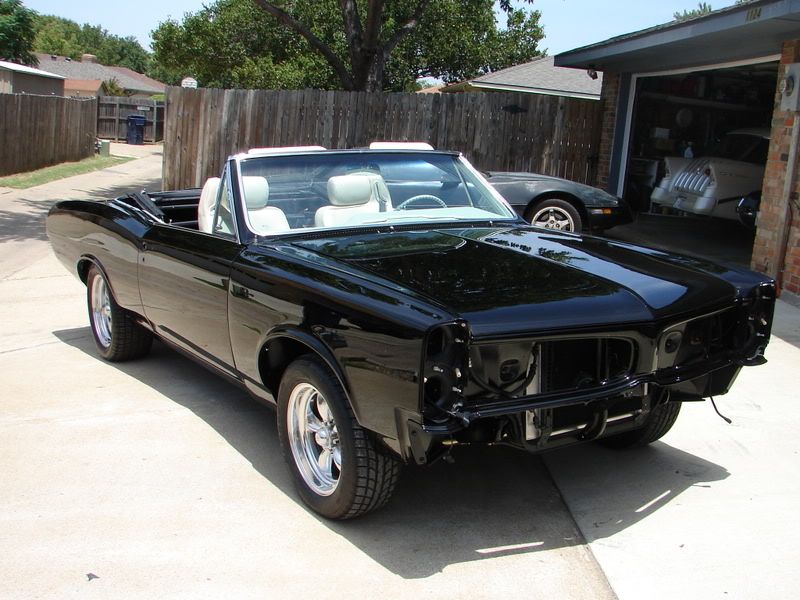
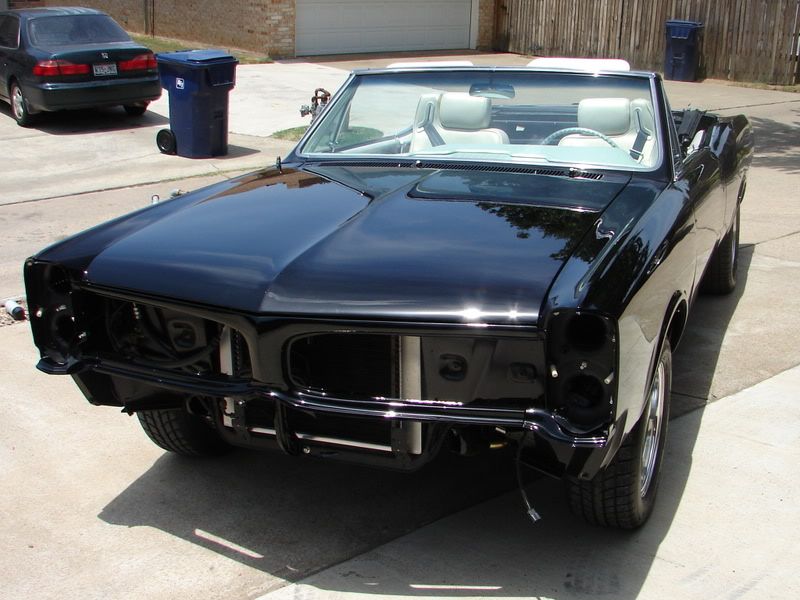
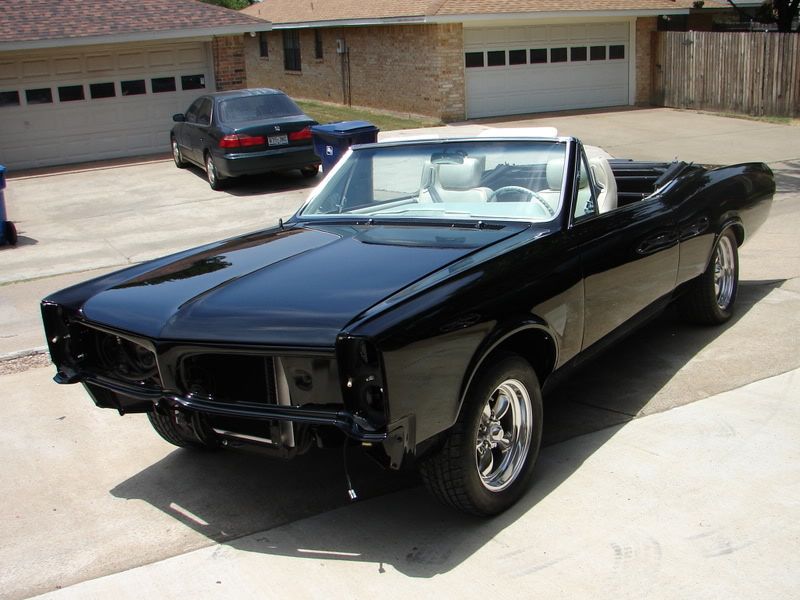
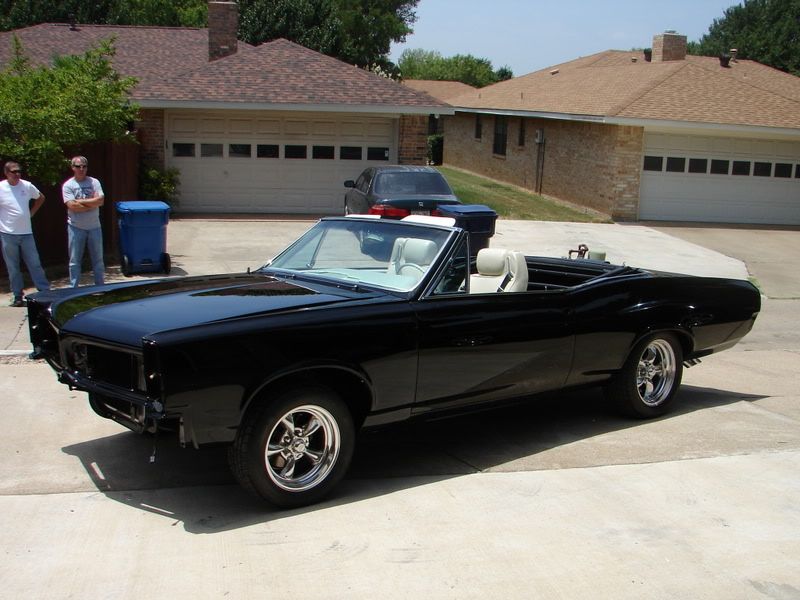
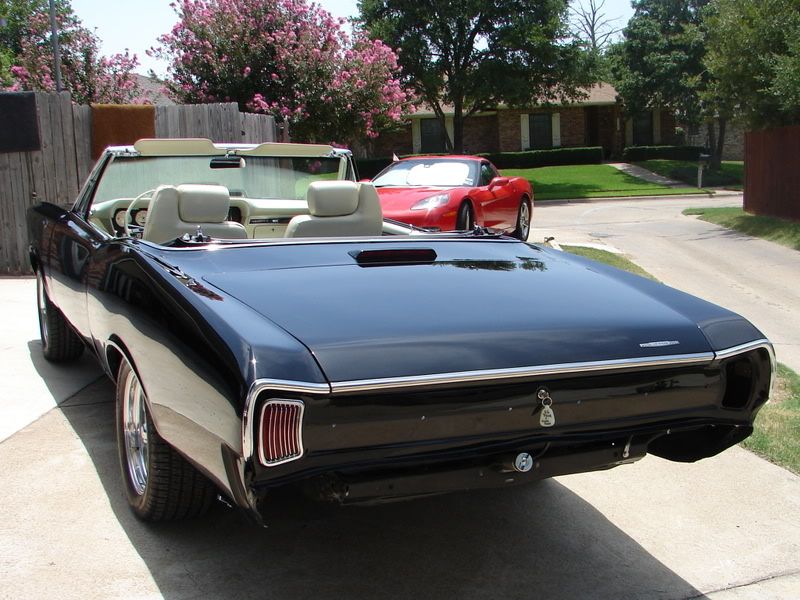
Now after all that is completed, the entire car has been polished over 3 times, it`s time to take it out in the sun for inspection.
It was a little bit cloudy that day but I visually inspected it all and it was about 96% perfect.
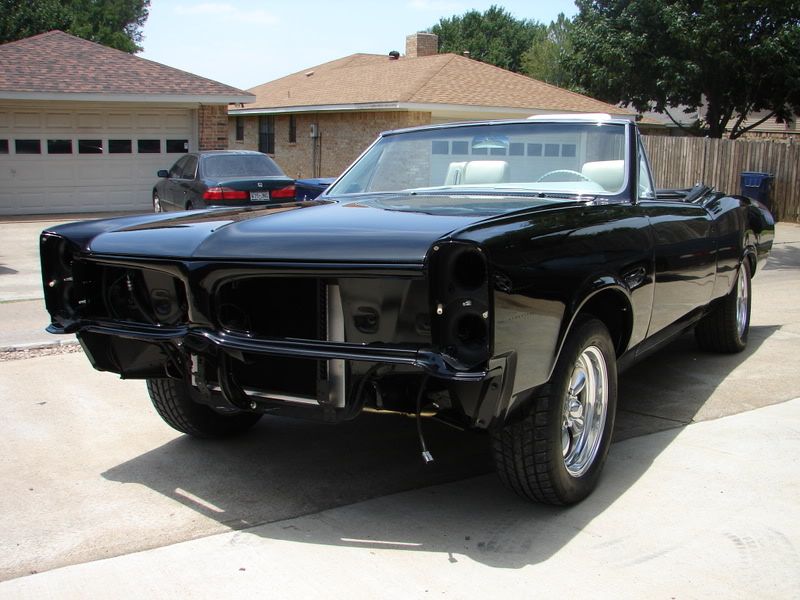
After all the trim is put on as well as lights, grills, other emblems, the top is put in, the hood and one door realigned I will go back and touch up anything as well as seal and wax it.
So with that said, this was basically a two step correction with a 1-2 step final polish which only took me about 23-24 hours. I`m very impressed with the abilities of the polishes to be able to make such a huge process into such an efficient time saver considering the type of work needing done and the ultimate finish...... also helped being in an Air Conditioned garage.
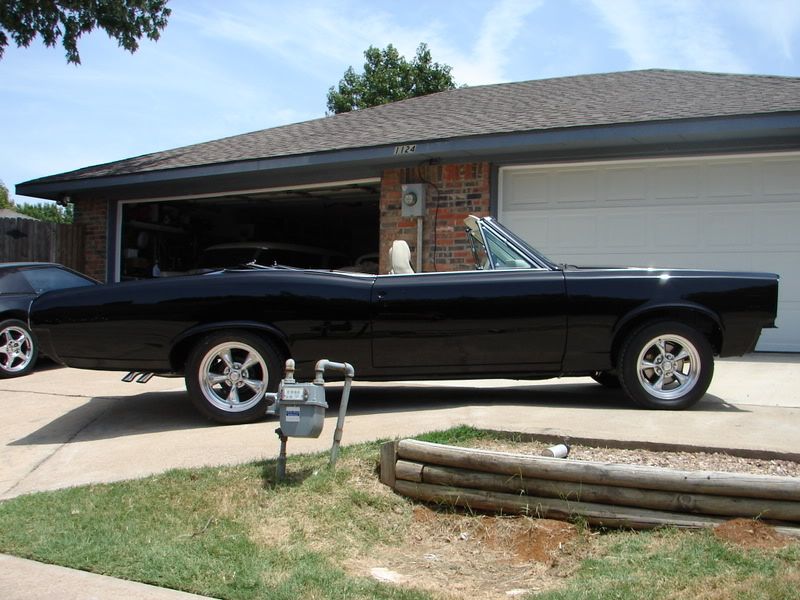
Now to back this sucker out and take some final pics of the overall results.Perfection Is In The Details
Rated one of the Top Nine Auto Detailers in the US by AutoWeek Magazine! :buffing:
-
07-28-2008, 02:00 PM #24
- Join Date
- Oct 2005
- Posts
- 163
- Post Thanks / Like
Wow, I can`t believe the difference. The first car I ever bought was a 1966 Tempest. It was a VERY PLAIN 4-door sedan with an overhead cam 6, automatic transmission, am radio, and no carpet (rubber flooring). My paint never looked like that!
-
07-28-2008, 02:10 PM #25
- Join Date
- Nov 2006
- Location
- Dallas, TX
- Posts
- 2,857
- Post Thanks / Like
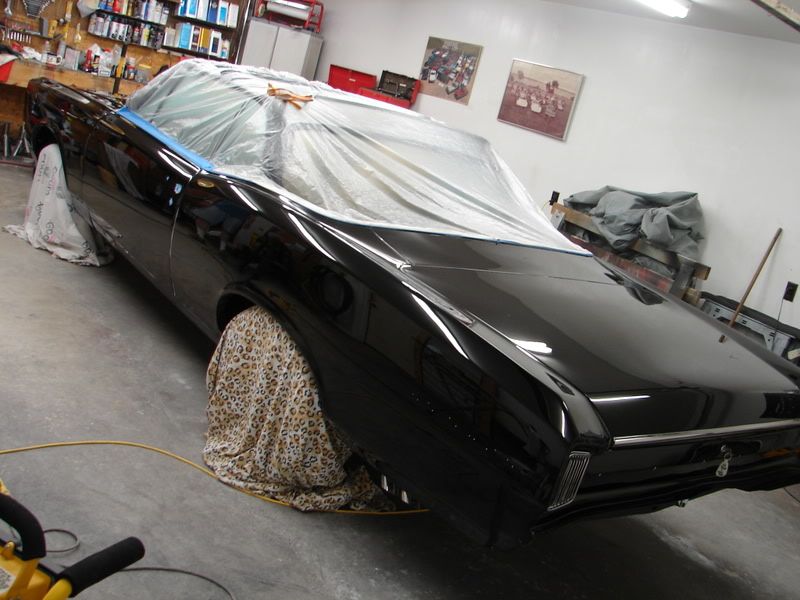
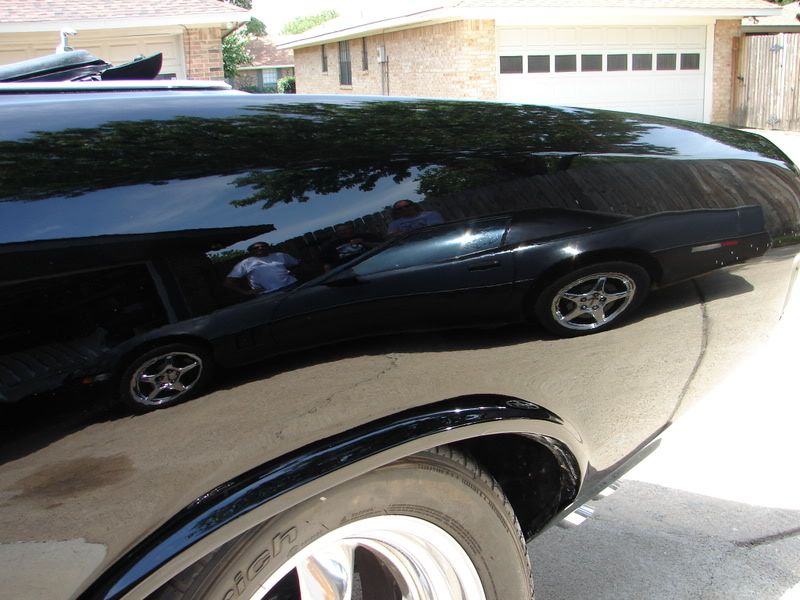
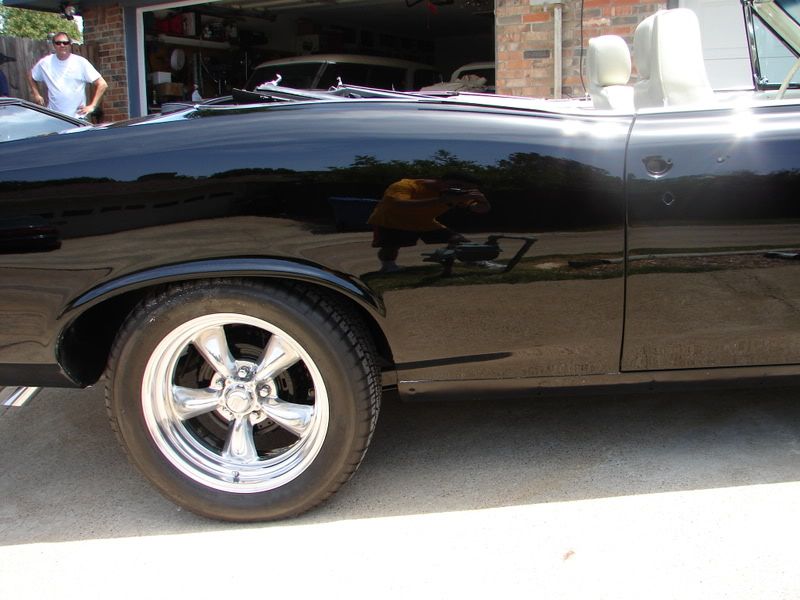
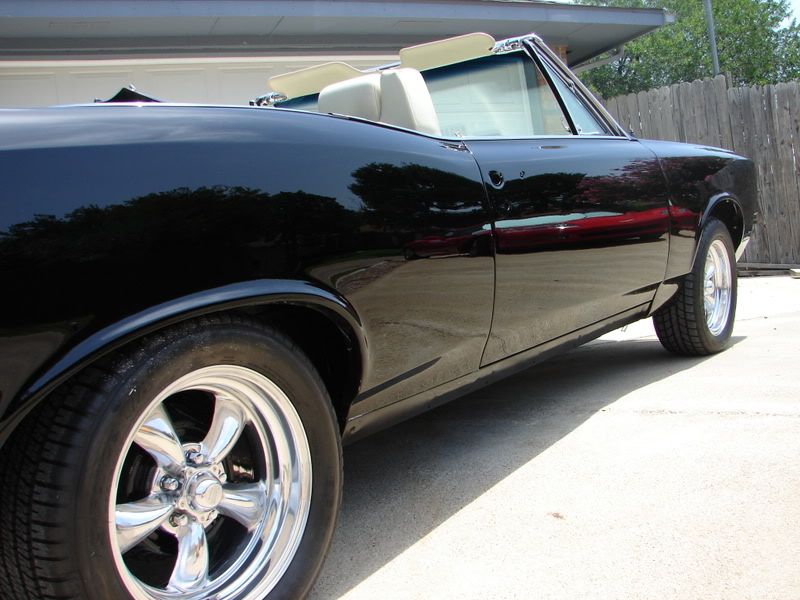
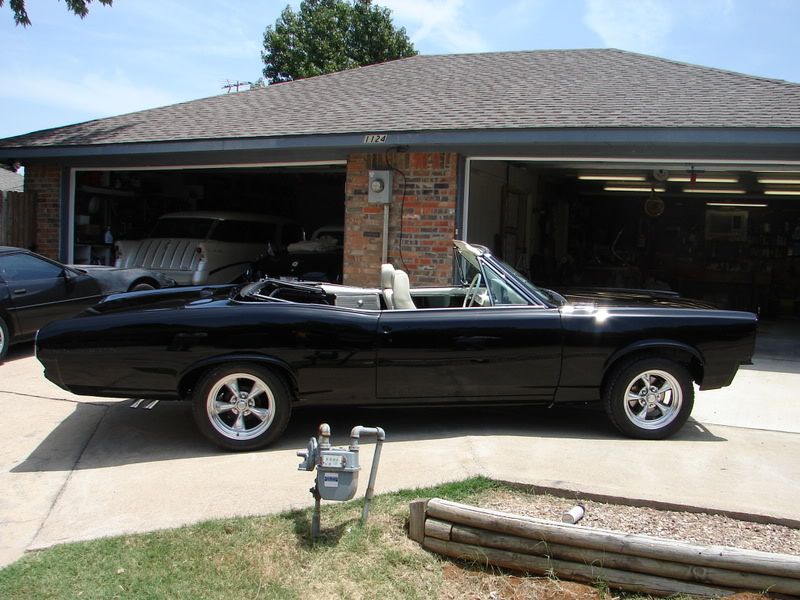
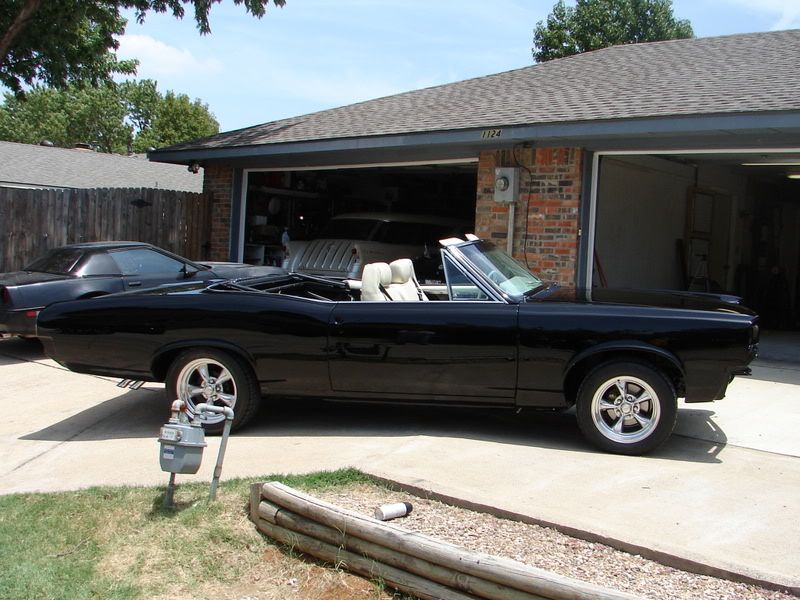
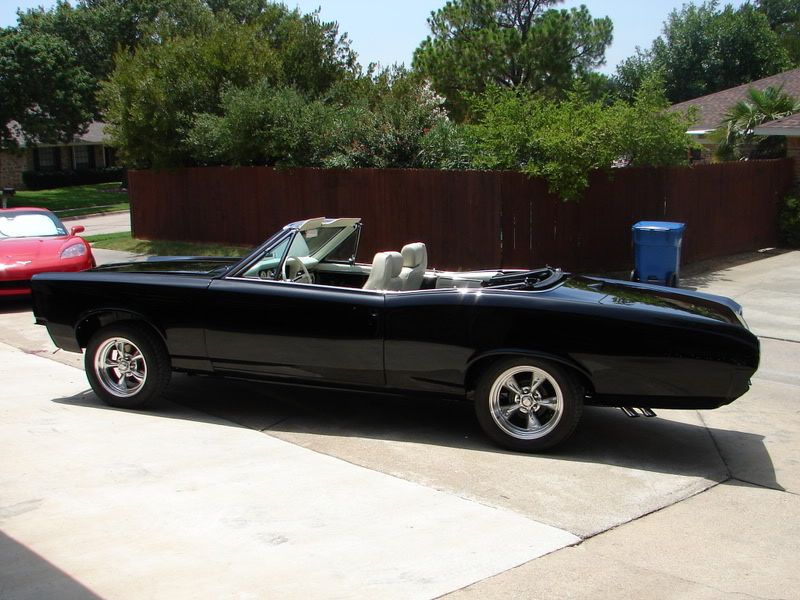
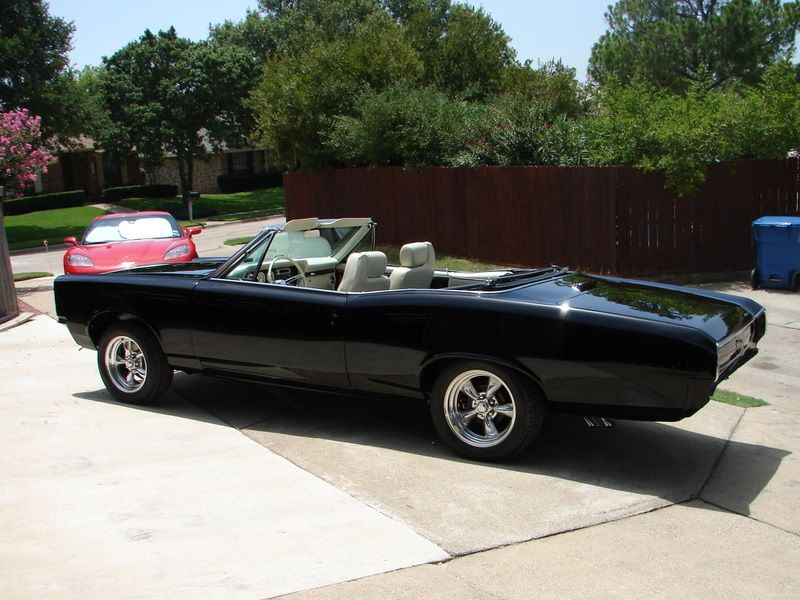
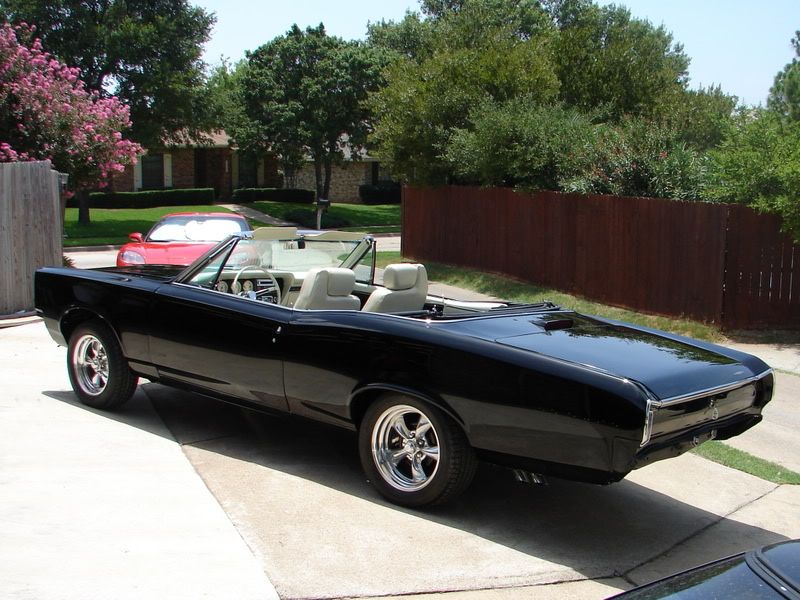
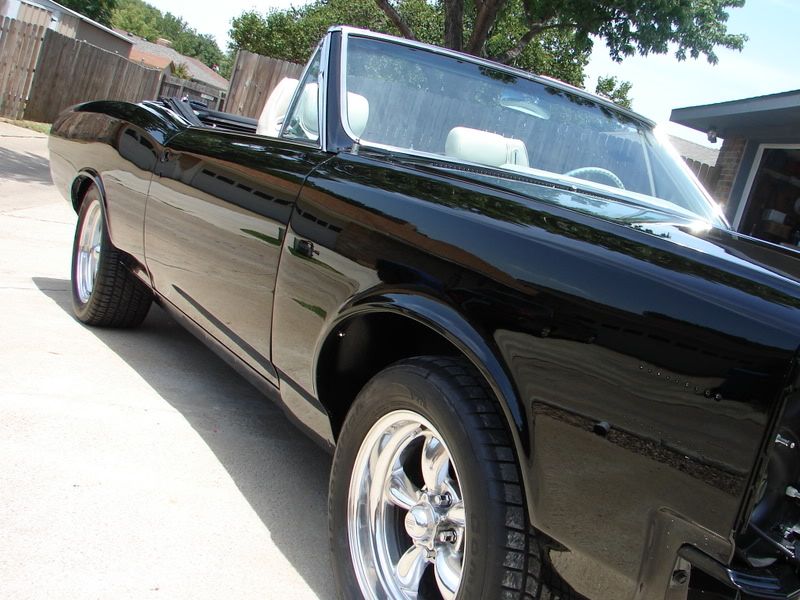
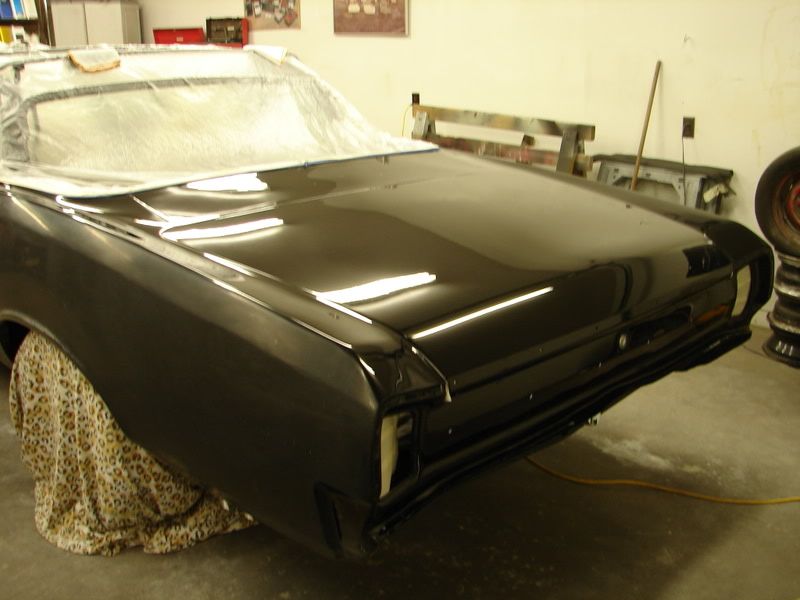
Backing the car out.

A few sun shots before I start the glamour shots.
There was barely the slightest reminant of some tracer holograms left over but not enough for anyone but myself to notice, so when I go back to touch up and wax I will take care of them.
These shots are a bit crappy but the best sun shots I could get.


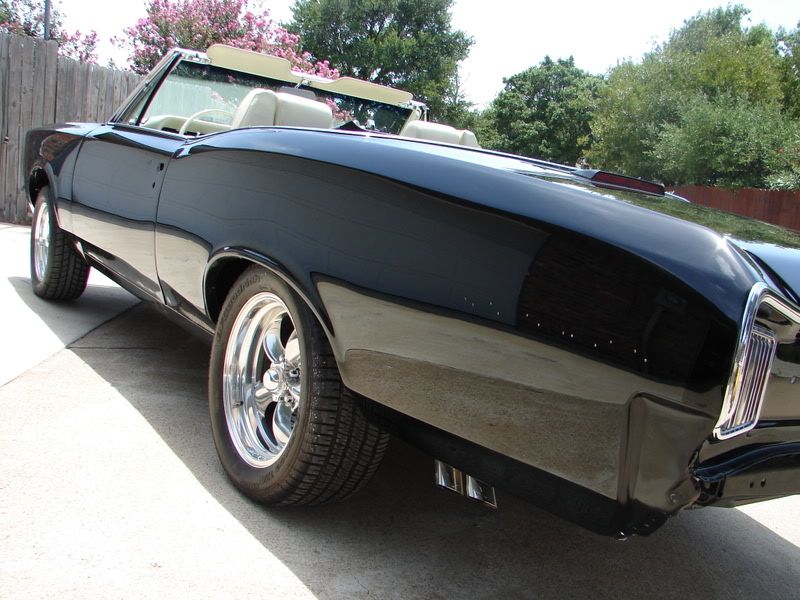
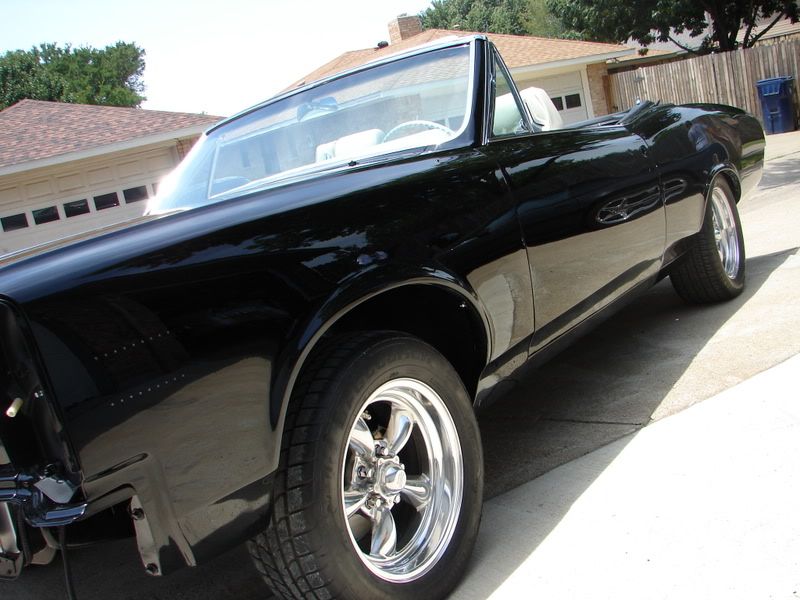


more pics to comePerfection Is In The Details
Rated one of the Top Nine Auto Detailers in the US by AutoWeek Magazine! :buffing:
-
07-28-2008, 02:18 PM #26
- Join Date
- Nov 2006
- Location
- Dallas, TX
- Posts
- 2,857
- Post Thanks / Like


I know this is a long write up, but please read it all before you ask questions as I probably already answered it in the process.
Thanks for looking, hope you enjoyed and learned something new, I know I did.
Josh:usaPerfection Is In The Details
Rated one of the Top Nine Auto Detailers in the US by AutoWeek Magazine! :buffing:
-
07-28-2008, 02:29 PM #27
- Join Date
- Oct 2001
- Location
- Arlington, TX
- Posts
- 34,077
- Post Thanks / Like
Outstanding work, Josh.

Interesting that you get such good results using #105 with the white CCS foam pads, I may have to revisit those pads because I had problems with the edges leaving holograms first couple times I used them with the rotary-might have been my technique though. I`ve been using the yellow Meguiars 8006 pads due to the more rounded edges. Have you noticed a difference between using the same (or similar) pads but one with more rounded edges?
I really like the comparison between combos too, very helpful in deciding what I may need to add to my product collection.
-
07-28-2008, 02:31 PM #28
- Join Date
- Aug 2010
- Posts
- 116
- Post Thanks / Like
great work! I like working with the M105, its a pretty good all around product.
Again great work
-
07-28-2008, 02:39 PM #29AMG Classic Car Detailing


- Join Date
- Feb 2008
- Location
- Sunny Florida
- Posts
- 11,199
- Post Thanks / Like
Josh you out did yourself on this stunning write-up and full correction on the Lemans, it must be great to work a fine piece of history and to bring it to a true Autopian way of doing a outstanding job. I`m blow away by looking at your write-up and photo`s. Even my laptop took forever to down load this posting from you, but it was well worth it! BRAVO JOSH!...........:usa
AutopiaForums is the place to be.
Remember to Shop Autopia-CarCare.com for your Detailing Needs!
-
07-28-2008, 02:49 PM #30
- Join Date
- Nov 2006
- Location
- Dallas, TX
- Posts
- 2,857
- Post Thanks / Like
Originally Posted by Scottwax
Scott, I don`t have any curved pads yet, although I`ve been meaning to get some.
But I will say this, I had an extra amount of work-in life with the M105I think due to the Menz PG leaving behind some valueable lubricants that was very bennificial to letting the M105 spread longer.
I did jewel the M105 for a long long time, I think it really helped in not leaving behind significant holograms.
However the lubes in the M105 hide them just a tiny bit as well, since I reinspected the trunk lid the following day to find significant holograms that I could not see directly after polishing it the day before under the hologens.
I only used the IPA wipe down during the intial testings.
JoshPerfection Is In The Details
Rated one of the Top Nine Auto Detailers in the US by AutoWeek Magazine! :buffing:


 Reply With Quote
Thread Information
Users Browsing this Thread
There are currently 1 users browsing this thread. (0 members and 1 guests)
Similar Threads
-
wet-sanding before polishing
By Red Wolf in forum Machine Polishing & SandingReplies: 5Last Post: 07-06-2011, 01:02 PM -
ts|s Detailing: 71 Liquid Black LeMans Concours Show Car
By tssdetailing in forum Click & Brag -The Detailers ShowcaseReplies: 11Last Post: 07-19-2010, 02:03 PM -
Pontiac Lemans EXTREME Wetsand
By JohnKleven in forum Click & Brag -The Detailers ShowcaseReplies: 7Last Post: 07-03-2010, 04:00 PM -
1966 L-78 396 Chevelle and 1966 327 Corvette
By Scottwax in forum Click & Brag -The Detailers ShowcaseReplies: 12Last Post: 06-21-2010, 05:13 AM -
2nd full detail...2006 Pontiac Solstice...
By imported_Clemsonjoe in forum Click & Brag -The Detailers ShowcaseReplies: 10Last Post: 02-17-2006, 08:11 AM
Bookmarks