

Perhaps I am strange... But I derive just as much pleasure out of detailing an everyday little supermini as I do out of detailing a supercar. In fact, the beauty of a little supermini is making a Fiesta stand out in the crowd is a little harder than a Lambo, which stands out anyway (whether or not for the right or wrong reasons is down to you to decide)... Oh, and its smaller too - so getting it ready for 3pm after a 9am start was going to be more feasible!

Down to business and Byran had spent yesterday evening preparing the car for the detail - washed, clayed, arches. Great when Bry can do this as it allows us to get off to a flyer with the machine polishing on the day of the detail
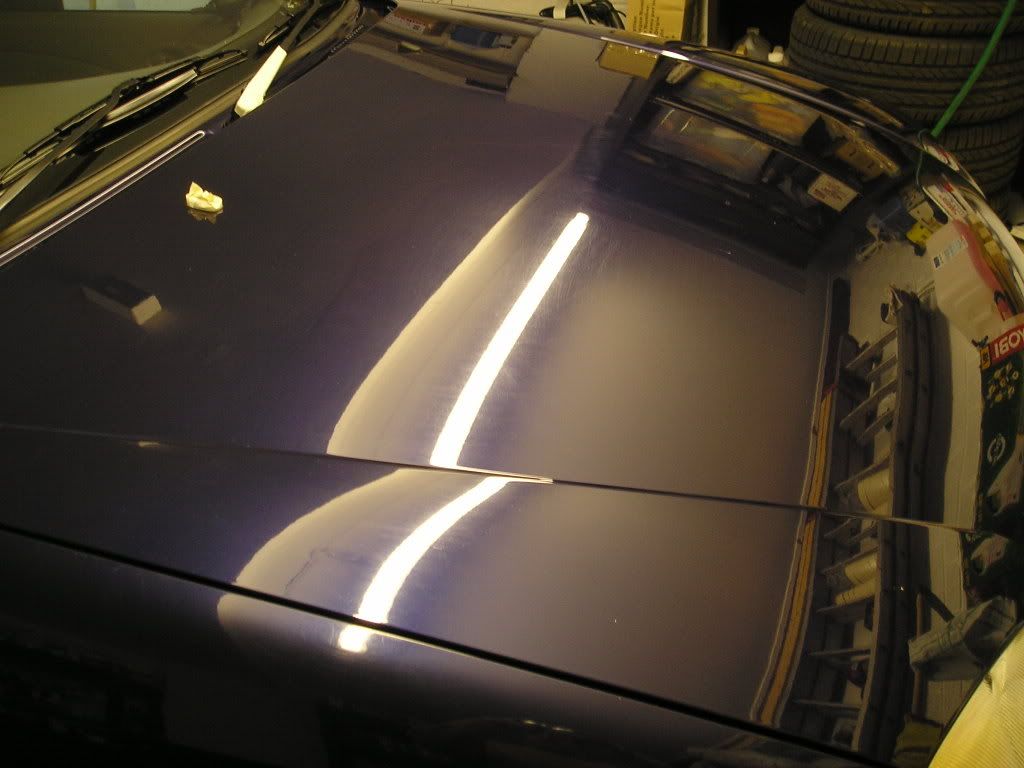
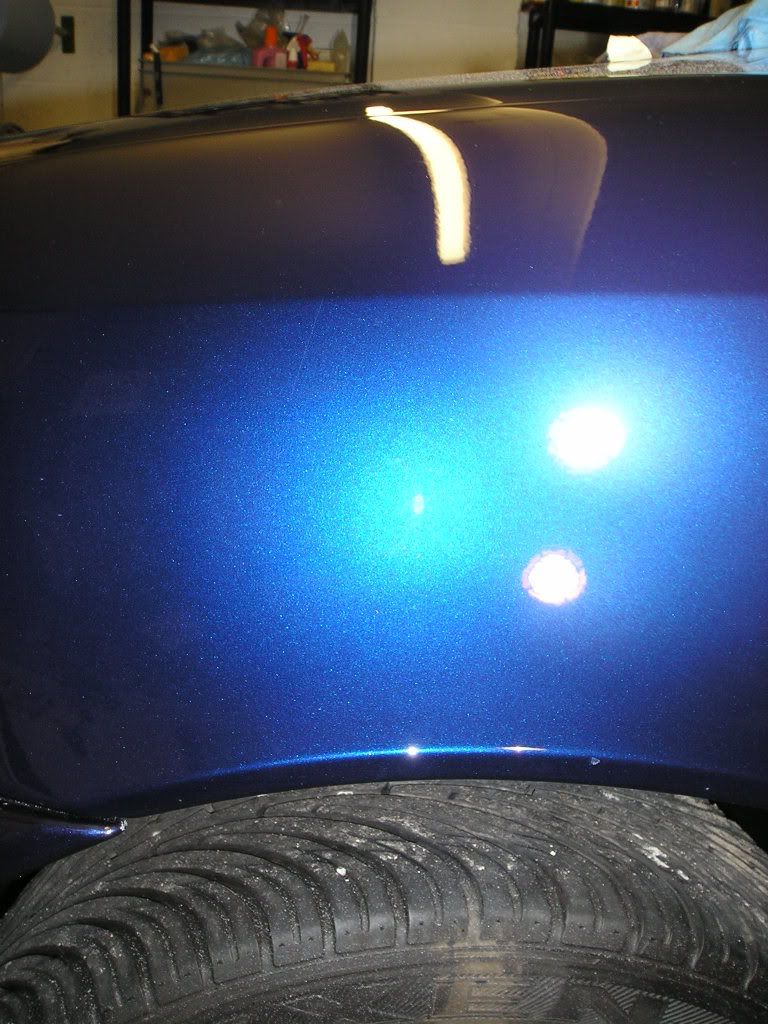
With the car rolled into the garage, we could start to see the extent of the correction required on the paintwork, even under the standard strip light the bonnet was a mess:
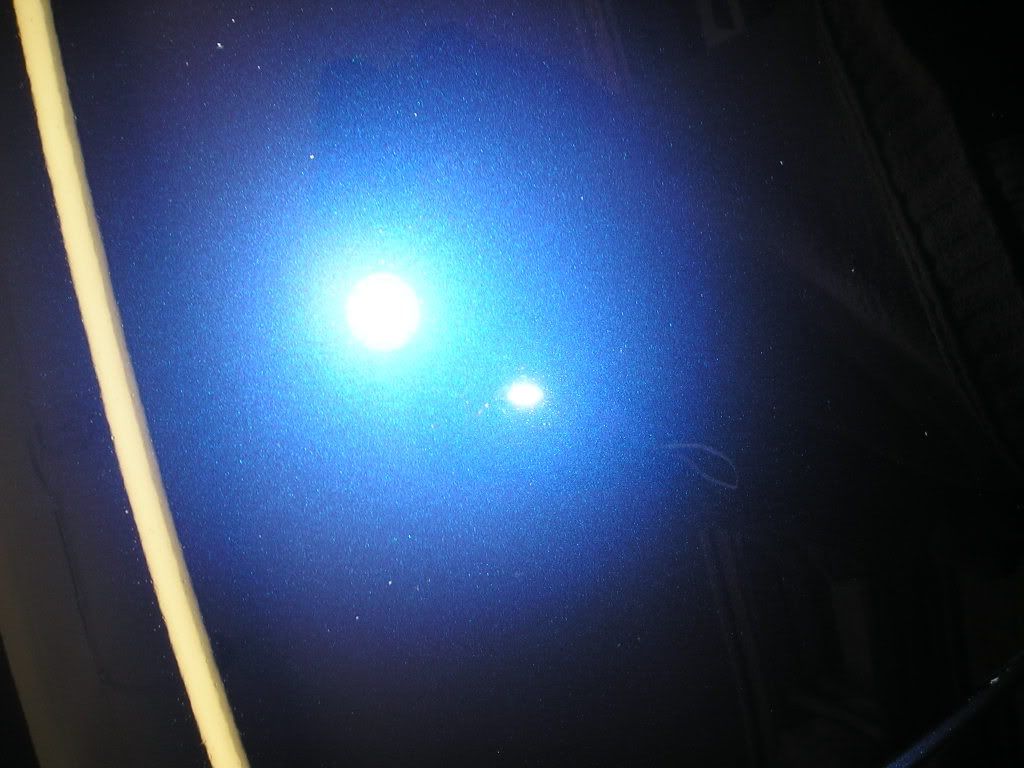
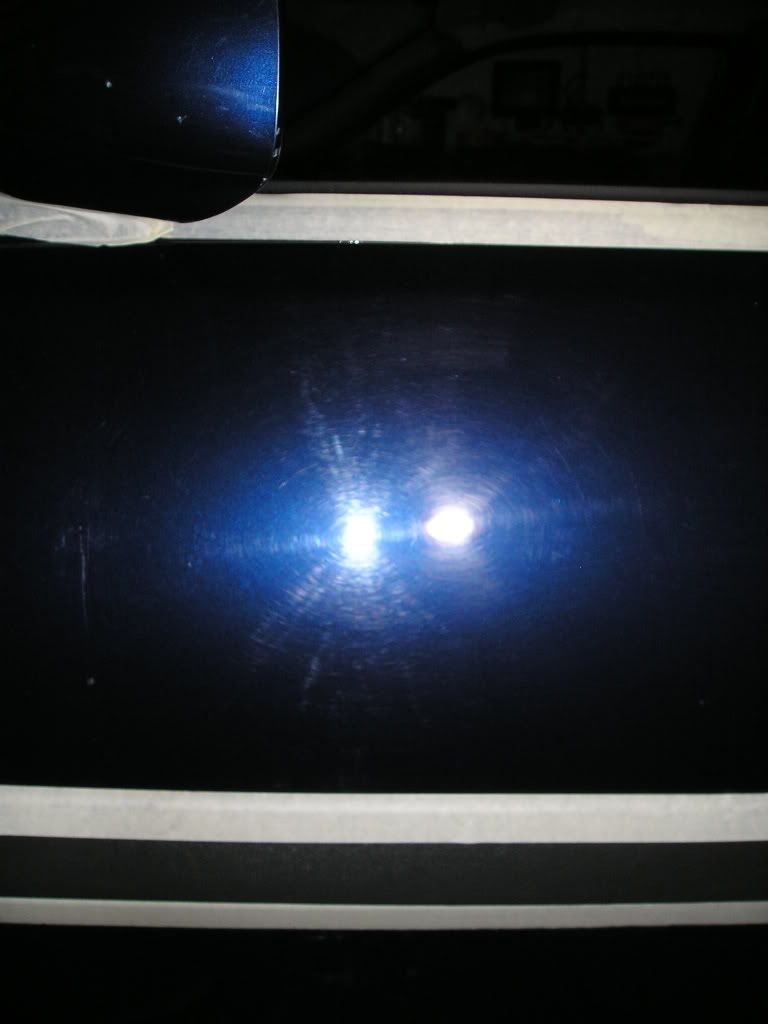
Under the Sun Gun, there were many swirls and also many deep RDS in the finish:
First attempt with the rotary in hand was Menzerna PO106FF Final Finish. The aim here was to conserve time on this detail, as the car had to be ready by 3pm. The first plan oif action was to try a light to medium polish and see what correction it would achieve with one hit, knowing how well it is also able to finish down. Applied as follows:
- Spread at 600rpm, 1 pass
- Begin to work at 1200rpm, 2 passes
- Work thoroughly at 1500 - 1800rpm, 10 or so passes to clear
- Refine at 1200rpm, 2 or 3 passes
This corrected the general swirls (the paint was actually pretty soft), finished down very well - but left an array of RDS that were present across the car in much fuller view - not an acceptable finish in my eyes, so a different, stronger apporach was needed. Combined to this, FF was not ultimately happy on the rotary as you could feel it dragging an kicking a little so I decided to seek a cutting solution away from Menzerna...
Speed was still a consideration...
So: MarkV Mystique, used in a different role to what I normally use it. This time with a LakeCountry Yellow CCS cutting pad to give it some serious cut. Worked only to remove the defects, not to finish as follows:
- Spread at 600rpm, 1 pass
- Worked at 1200rpm, 2 or 3 passes
- Worked at 1500 - 1800 rpm, until defects removed (typically 5 - 7 passes)
I was moving the machine quickly side to side when applying this, around 6" per secon on occasions, and down to around 3 - 4" per second with medium pressure. This helped keep the heat of the cutting process down, and made for safer cutting, especially round edges.
The polish was worked only until the defects were removed. No attempt was made to finish, as with the car`s paint being soft, a cutting pad and compound combination is never going to deliver the best possible finish, regardless of work time... Indeed, you are simply wasting paint trying to finish it down. So the Mystique was allowed to do its work, and then I swapped over to a finishing combo for finishing: Menzerna PO85RD Final Finish (my personal favourite finishing polish) on a Meguiars W9006 tan finishing pad (my personal favourite finishing pad.
Worked as follows:
- Spread at 600rpm, 1 pass
- Start to work at 900rpm, 2 passes
- Work at 1200rpm, 3 - 4 passes
- Work at 1500rpm, 6 - 7 passes until clear
- Refine at 1200rpm, 2 passes
- Burnish at 900rpm, 2 - 3 passes
Classic Zenith point technique which I use extensivley to deliver crystal sharp, deep gloss finishes that I am proud of - regardless of the car they find themselves on
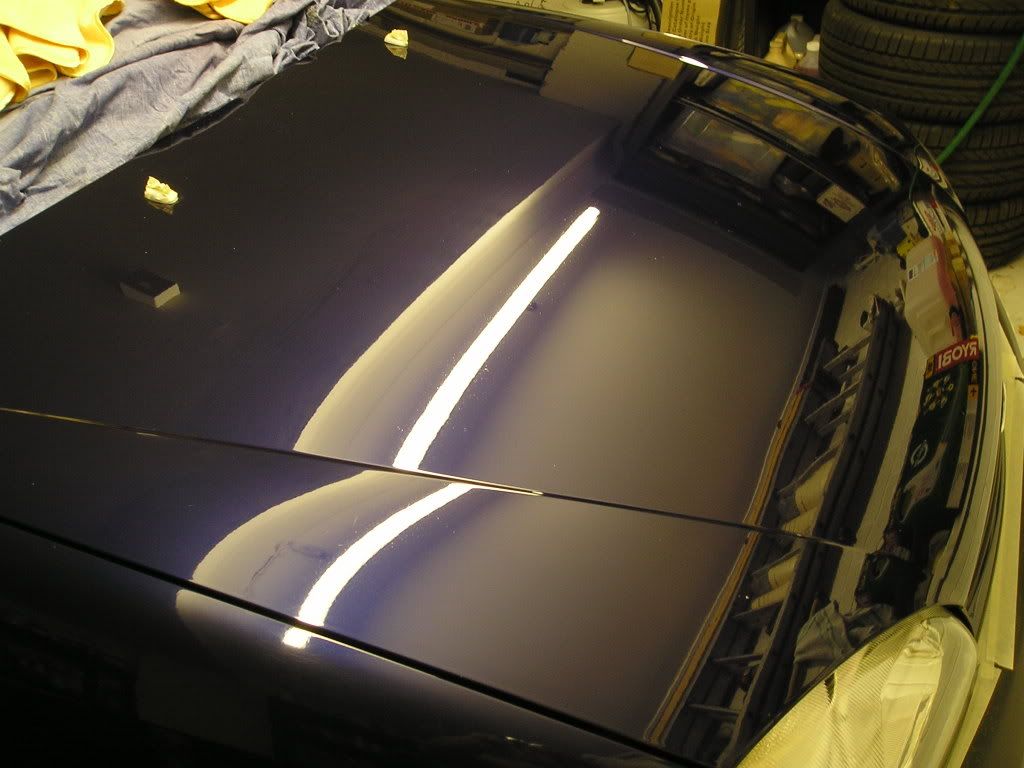
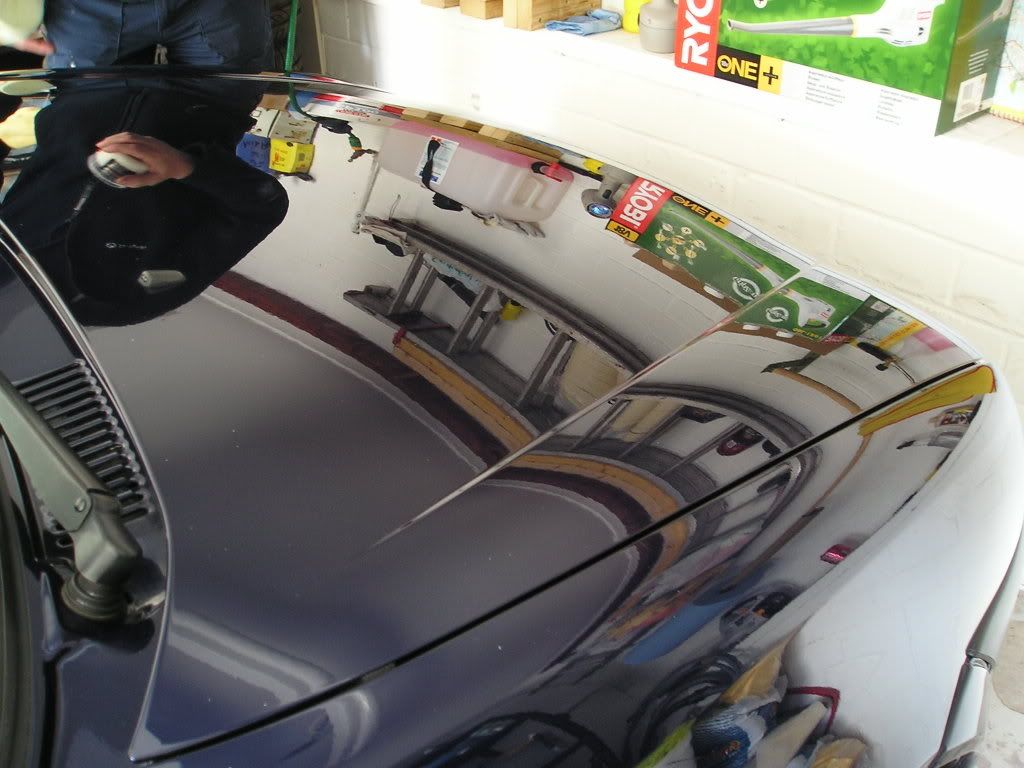
This took the bonnet from the pictures above, to looking like this under the garage light:
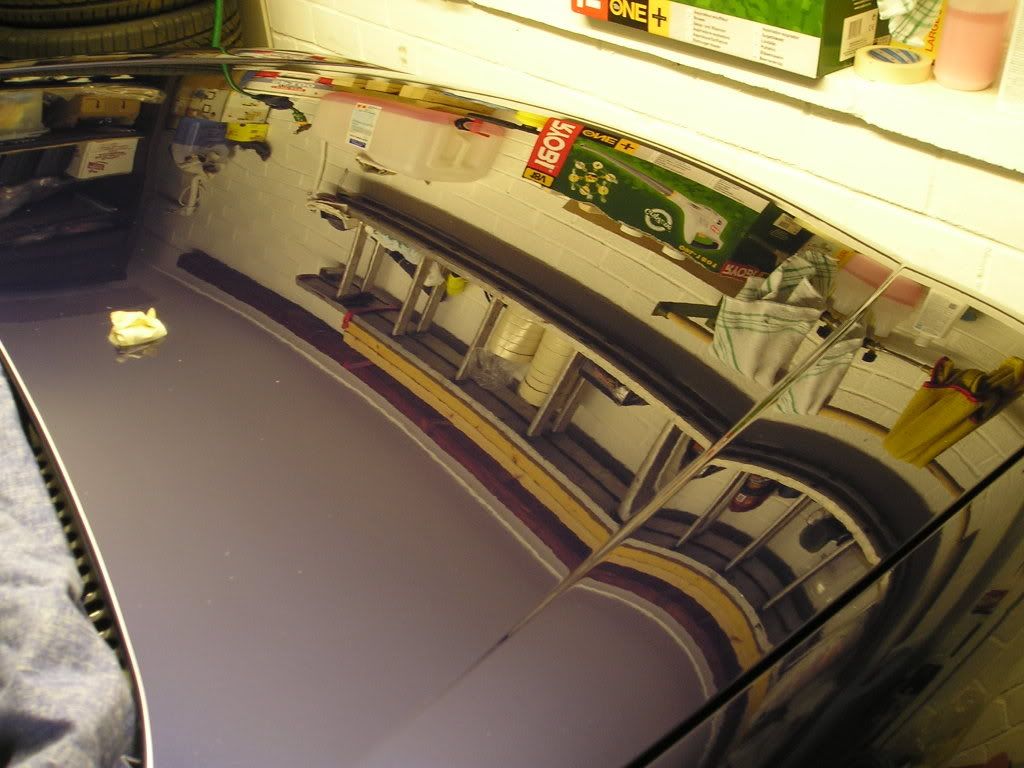
And under the Sun Gun (and camera flash):
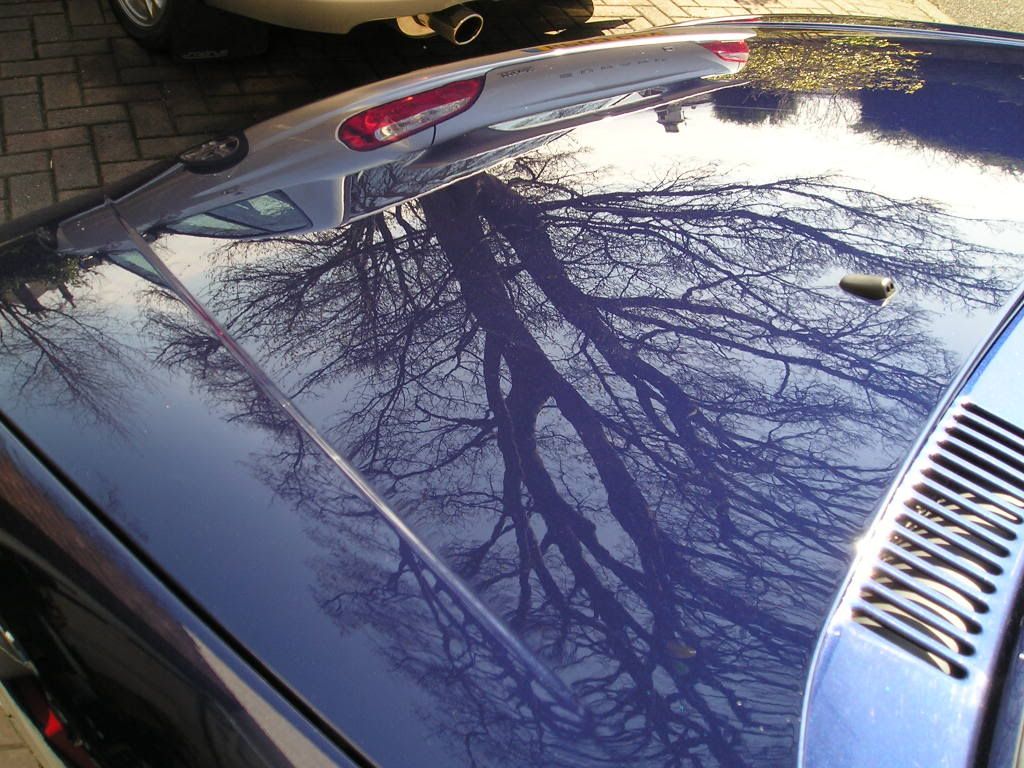
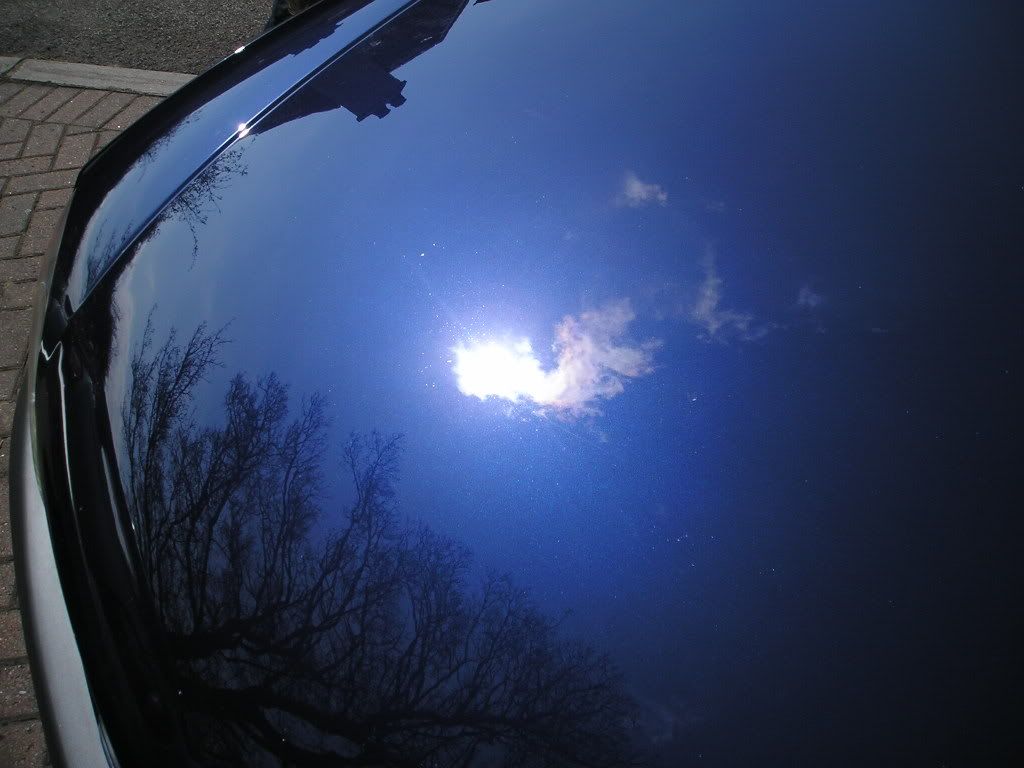
Pretty big improvement to the paintwork. The gloss achieved from machine polishing alone:
Onto the rest of the car, which was treated to the above cutting regime across the board other than the smaller regions which Bryan tackled with Intensive Polish on the PC.
Front wing before cutting:
Front wing after cutting stage only (Mystique):
Not bad at all for finish, but lacking a little in depth and clarity - this due to the fact the compound was not worked with a finishing pad, or with the intention of finishing.
After burnishing and refining (Final Finish):
Passeneger door before:
and after cutting and finisshing:
Rear driver`s side door, you again could clearly see the damage to the paint taking away from the gloss without the need for the light:
`Under the gun`
And the quality of the finish after cutting and finishing in the light of day:
Huge improvement... which is even more clearly seen under the gun:
As well as PCing the smaller areas, Bryan all PC`d the plastic lights - polishing oad and Meguiars PlastX went along way to take the lights from this:
to this:
Better
LSP choice today. Clearkote Yellow Moose Cream Wax first to lightly cleanse and to glaze the paint - I`m a big fan of this product and using it on most of the detailing I do now for its ability to infuse the paint with a lovely wettness, akin to #7, but with great ease of use. Will be trying Poorboys Black Hole soon, and this is the product it will have to beat.
Wax choice was ***** Glasur - my favourite ***** wax. May be one of the cheaper ones, but as I`m not a fan of the silvery bling look of the likes of Concours personally, the Glasur represents a nicer wax for me as it delivers more of a glossy nuance in my eyes - more like Victoria Concours wax. That, and the durability I have seen from Glasur has been better than Concours, which still surprises and disappoints me...
So Glasur was the wax. Bryan applied and removed this by hand, and the finish now in the garage:
Glass was polished with Autoglym Glass Polish, tyres with Meguiars Hot Shine (applied by applicator), plastics with Meguiars All Seasons Dressind, Wheels waxed with RimWax.
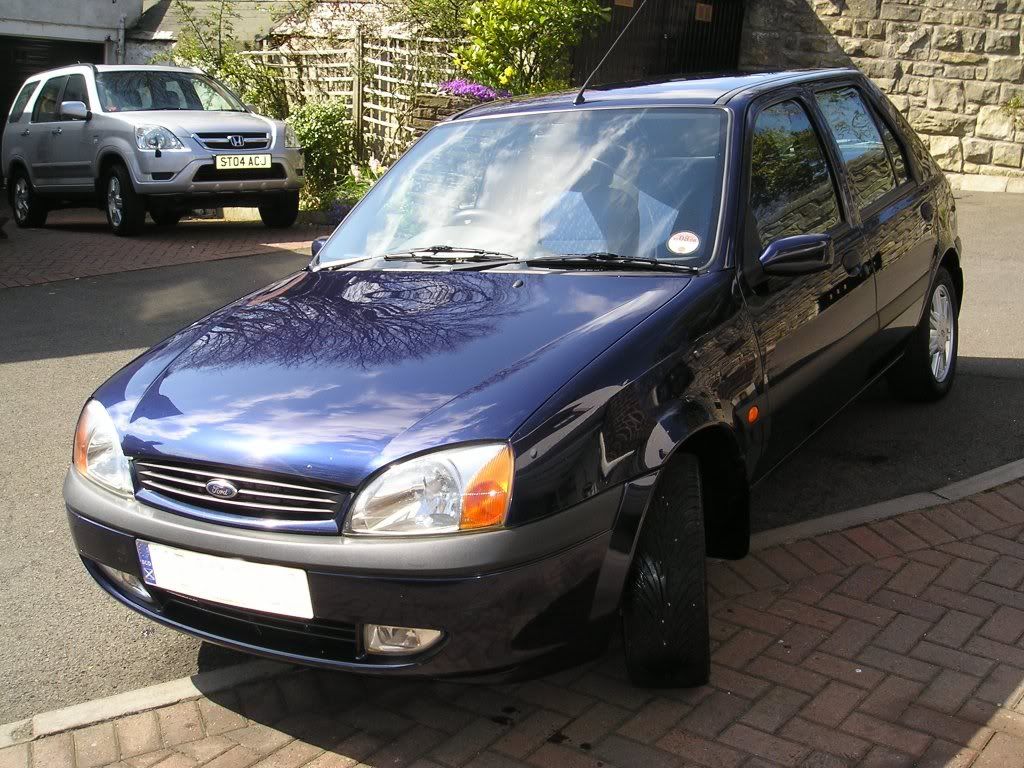
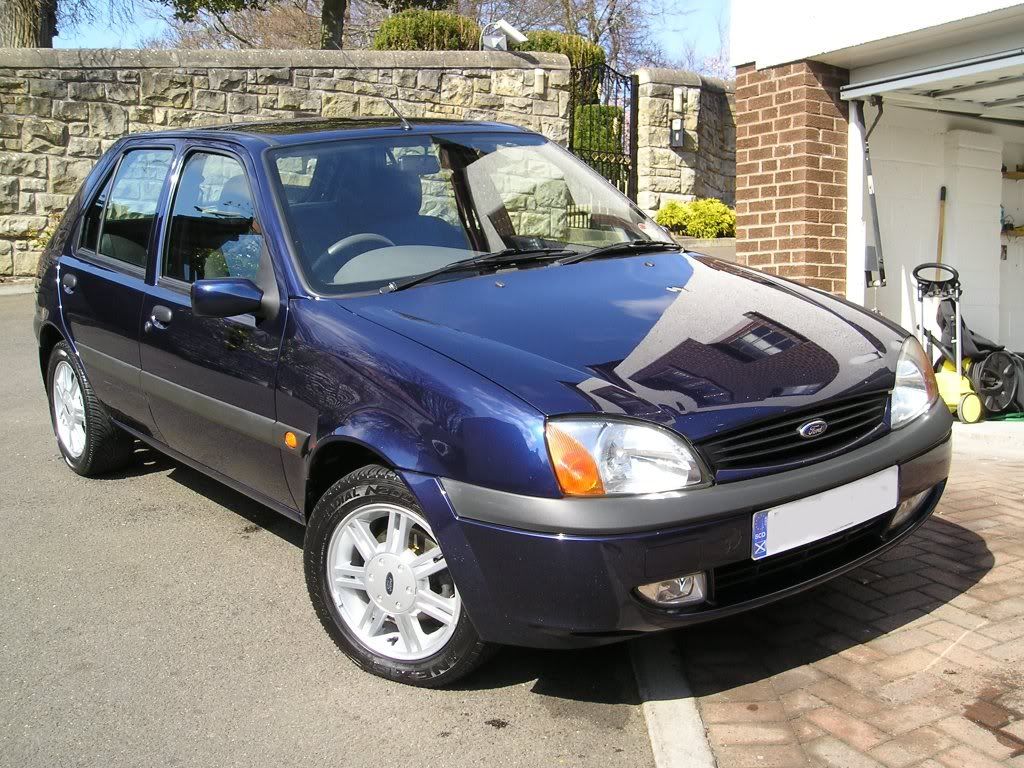
Rolled out into the sunshine (for once!! yay!) for the after shots:
The car has just been bought for a new driver as their first car. I think its a pretty smart wee first car, this! :thumb:
I hope the owner enjoys it.
Results 1 to 11 of 11
-
04-18-2008, 10:51 AM #1


- Join Date
- Jun 2006
- Location
- Dundee, Bonnie Scotland
- Posts
- 1,159
- Post Thanks / Like

"A thing of beauty is a joy for ever: Its loveliness increases; it will never pass into nothingness; .... "
-
04-18-2008, 11:26 AM #2
- Join Date
- May 2005
- Location
- Wakefield, MA
- Posts
- 2,400
- Post Thanks / Like
Looks better than new!
Nice write-up
Great work
-
04-18-2008, 11:31 AM #3
- Join Date
- Mar 2007
- Location
- Illinois
- Posts
- 192
- Post Thanks / Like
Even the little ones can look amazing!!
Nice Job
-
04-18-2008, 11:56 AM #4
- Join Date
- Mar 2007
- Location
- Santiago , Chile
- Posts
- 305
- Post Thanks / Like
Terrific job . Car looks impeccable . Iôm sure the new owner will love it .
Cheers , Jean Paul
-
04-18-2008, 12:53 PM #5
- Join Date
- Mar 2005
- Location
- San Jose, CA
- Posts
- 1,920
- Post Thanks / Like
Great correction and results! It`s nice to see a common car look better than a lot of cars out there, even some poorly taken-care-of exotics, hehe.
Devil Pad
Professional Automotive Detailing
-
04-18-2008, 01:04 PM #6Lotus Exige S

- Join Date
- Aug 2004
- Location
- SoCal
- Posts
- 2,382
- Post Thanks / Like
I completely agree about getting as much satisfaction out of detailing smaller, everyday cars as really nice ones. Well done!
-
04-18-2008, 01:48 PM #7
- Join Date
- Jul 2006
- Location
- San Jose / Berkeley, CA
- Posts
- 1,354
- Post Thanks / Like
great finish on the car!!!
-Sam
Serving Northern California (East Bay) from
San Francisco, Berkeley, to San Jose.
-
04-20-2008, 10:30 AM #8
- Join Date
- Jul 2005
- Posts
- 26
- Post Thanks / Like
Whats it got? V10?...V12?...
Looks Great! I`m amazed
I`d like to see more of the scooby in the back.
-
04-20-2008, 11:04 AM #9
- Join Date
- Jul 2006
- Location
- MA / NH
- Posts
- 3,594
- Post Thanks / Like
Great work!
Raising The Gloss Bar One Car At a Time!
UNIQUE POLISHING, MA / NH
Ryan Blanchette
-
04-20-2008, 11:50 AM #10
- Join Date
- Jul 2005
- Posts
- 969
- Post Thanks / Like
Fantastic job! That car was trashed before. What a difference!!!
-
04-20-2008, 12:10 PM #11
- Join Date
- Mar 2009
- Posts
- 190
- Post Thanks / Like
niiiiiiiiiice:goodjob love the before and after shots of the hood. have to agree with you and some people here about detailing a dd and making it stand out from the more expensive cars. makes you appreciate seeing cars that are well taken care of that arent mass produced anymore... especially when its a small vehicle. makes detailing them more fun and less time consuming unless theyve got flaws that needs to be corrected like what you have shown


 Reply With Quote
Thread Information
Users Browsing this Thread
There are currently 1 users browsing this thread. (0 members and 1 guests)
Similar Threads
-
Black Ford Fiesta ;), paint correction
By AutoSpaClub in forum The Detailers ShowcaseReplies: 8Last Post: 10-12-2013, 06:27 AM -
How to repair manual ford fiesta?
By steve Parker in forum Car DetailingReplies: 0Last Post: 01-19-2013, 02:33 AM -
Wife`s Ford Fiesta With Blackfire Wet Ice Over Fire
By imported_blake_jl in forum Waxes, Sealants, and LSP'sReplies: 9Last Post: 05-09-2009, 03:03 PM -
It`s official! I`m getting a 2011 Ford FIESTA!!! FREE
By Lumadar in forum Hot TubReplies: 19Last Post: 04-03-2009, 08:41 PM -
a funny video with a corvette z06 and a ford fiesta
By agentxc_02 in forum Hot TubReplies: 5Last Post: 03-18-2009, 08:41 AM
Bookmarks