

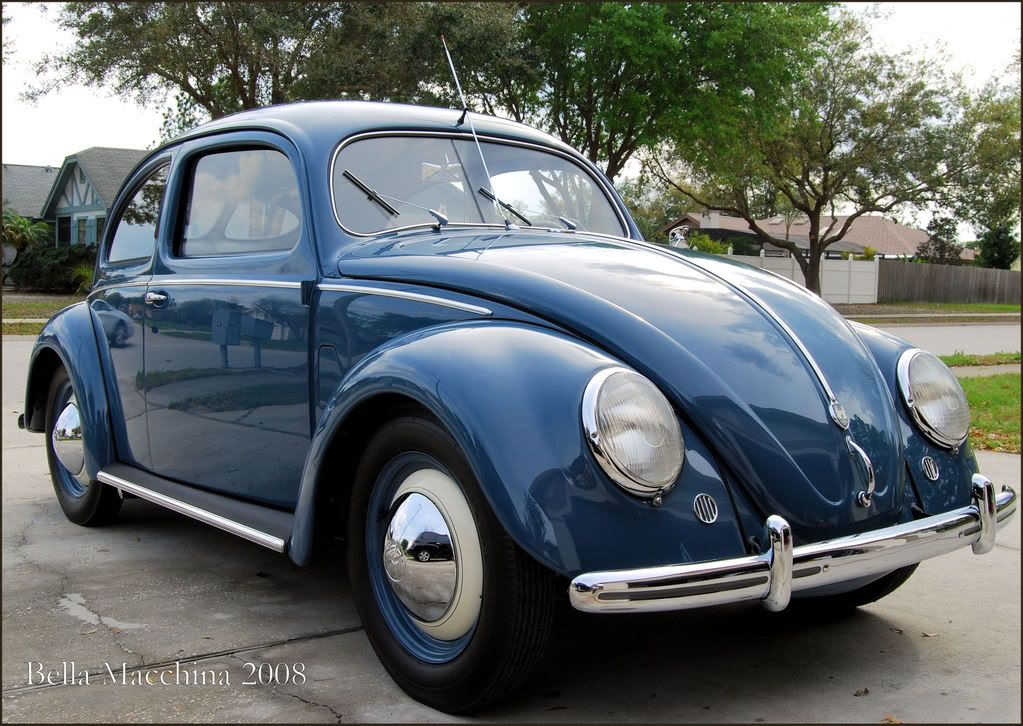
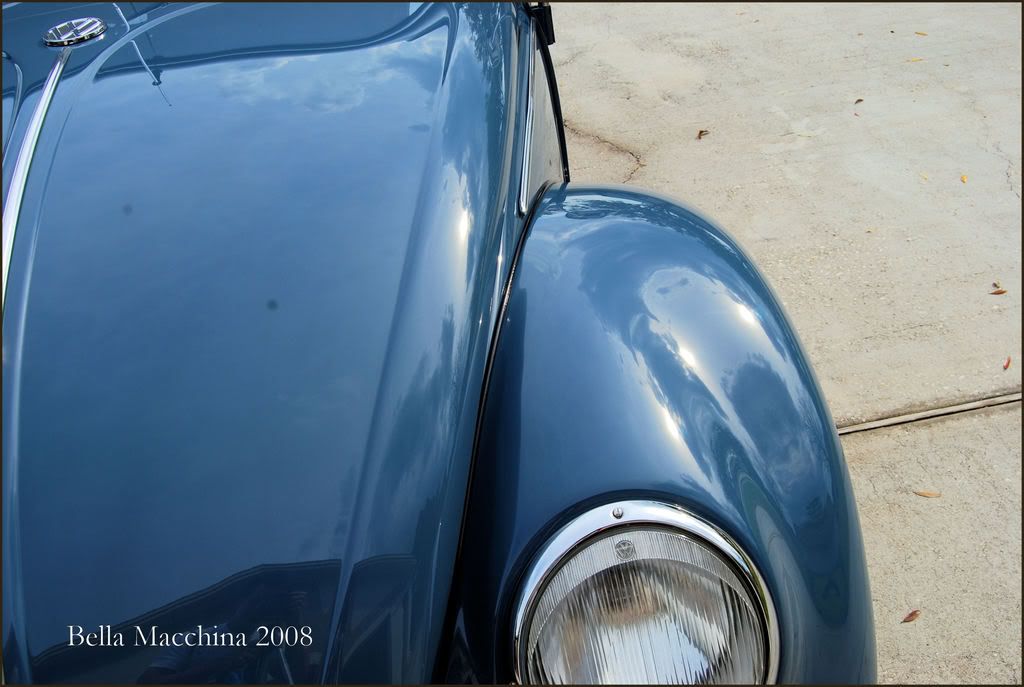
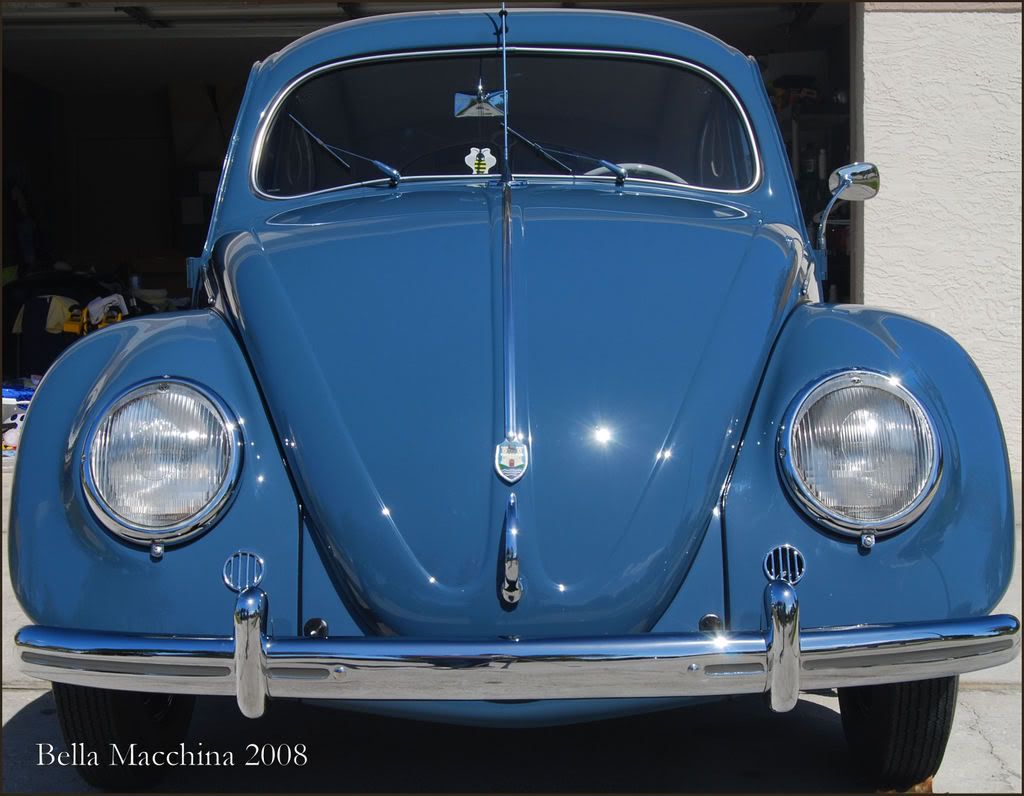
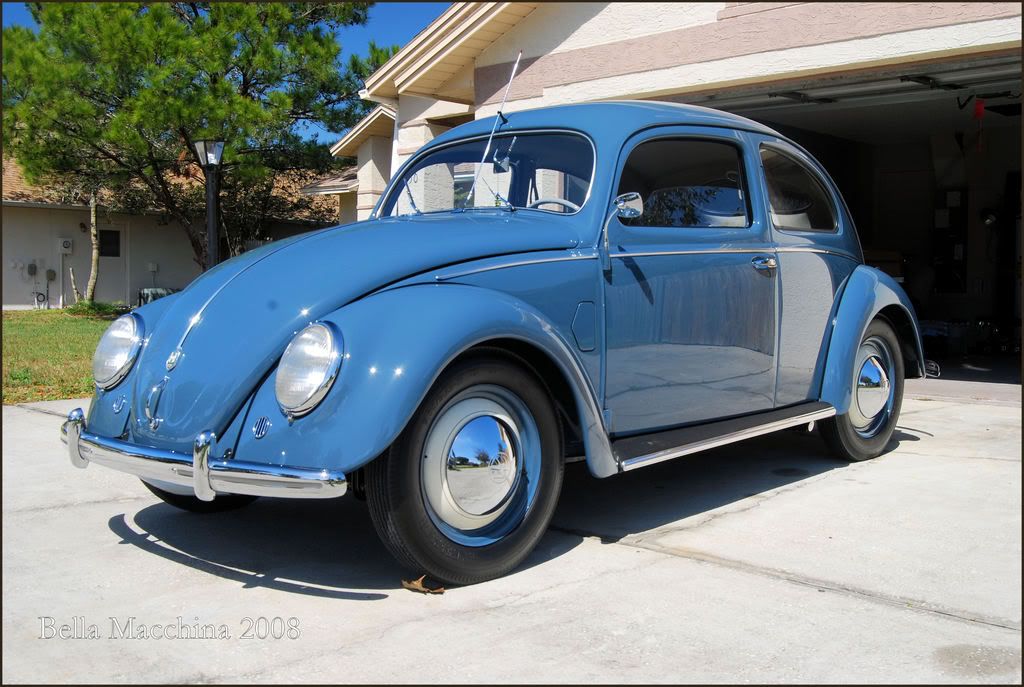
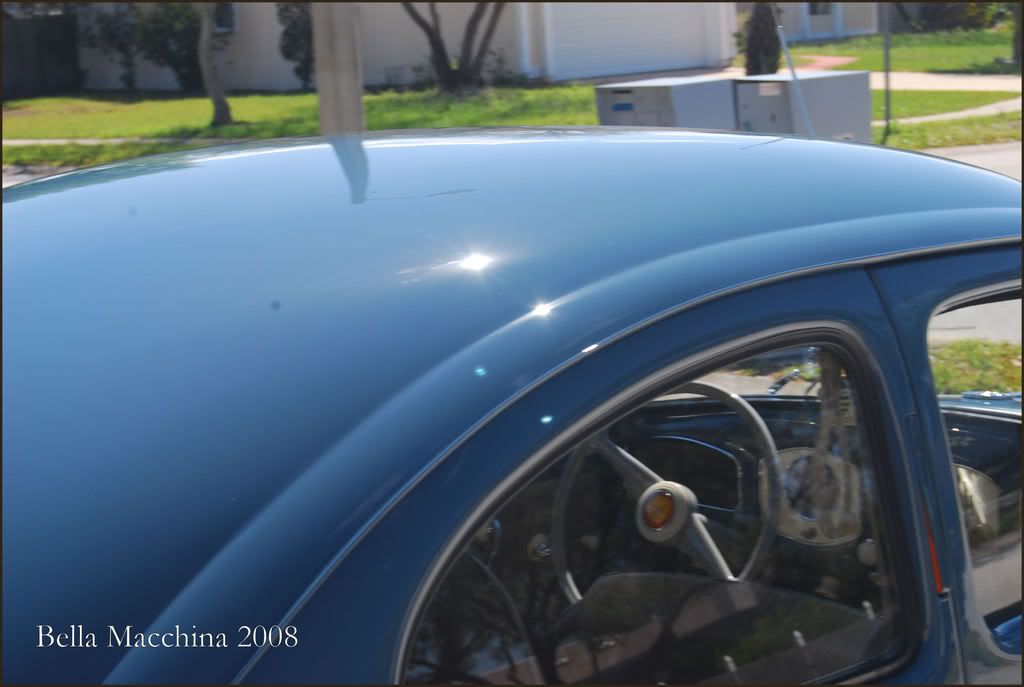
The Volkswagen Beetle was designed by Dr. Ferdninand Porsche to be the people`s car. It started production in 1938 and continued almost unchanged until 1967. The 1951 model I was able to work on has the rare "split window" design and it almost indistingusible from the orginal models.
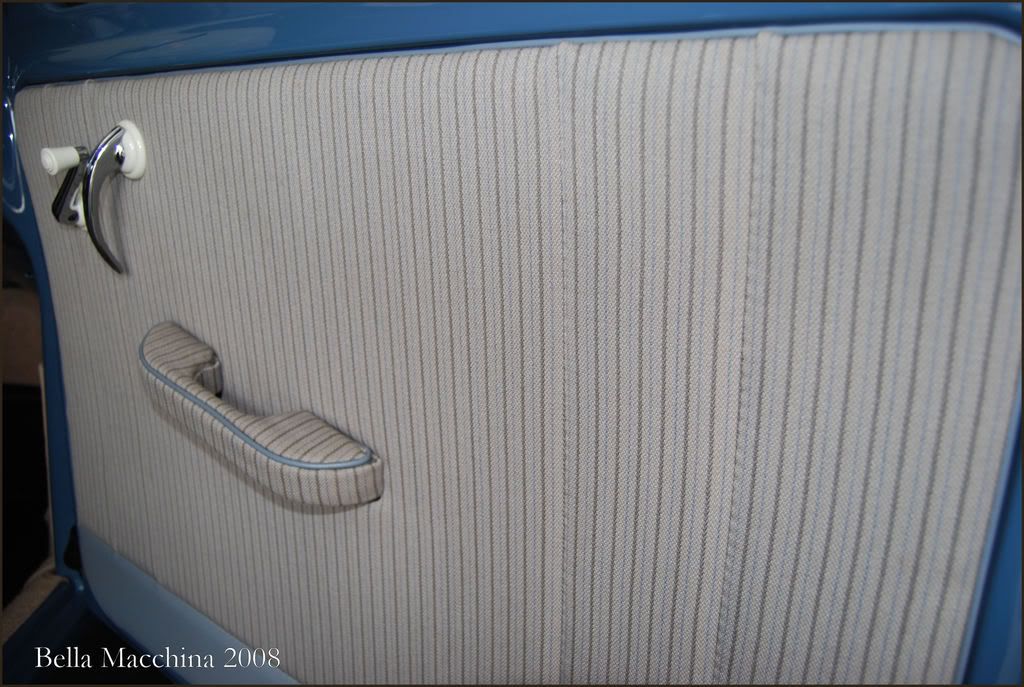
I have never been into the whole Beetle thing, but after spending almost a week (35+ hours) working on this car, the charm started to rub out. This Beetle is probably the single nicest car I have ever work on in terms of build quality. The door panels are straight, the gaps are Pepple Beach even, there is no waviness or orange peel (including the frame, jambs, trunk, and engine bay!). It was just awesome to see such a iconic car treated to such a high dollar restoration.
Now it just needed a little help to get it to its best.
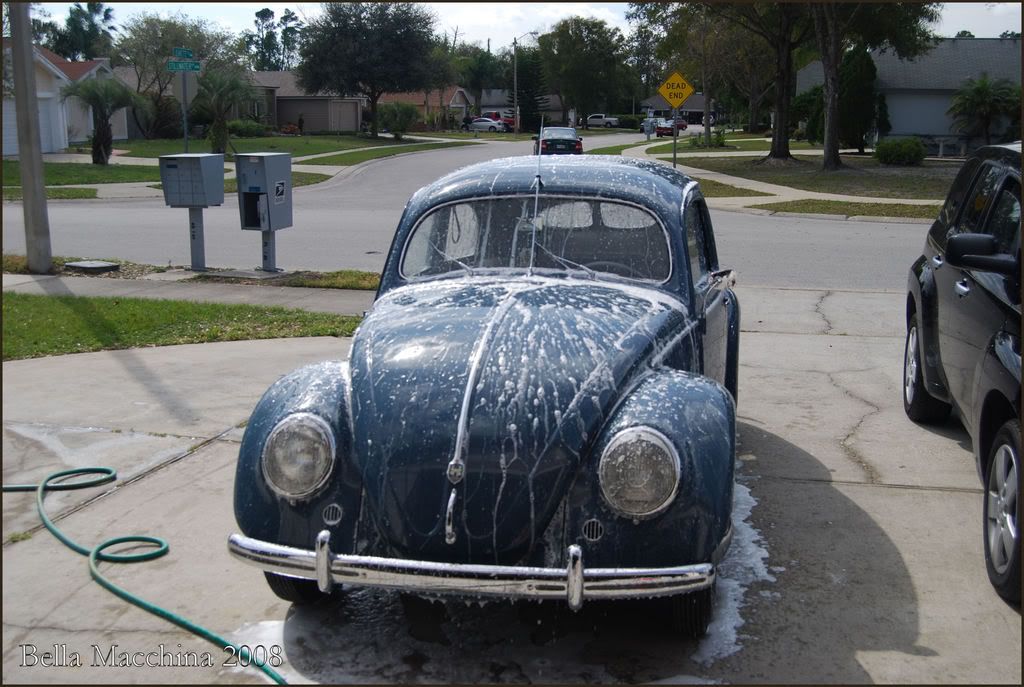
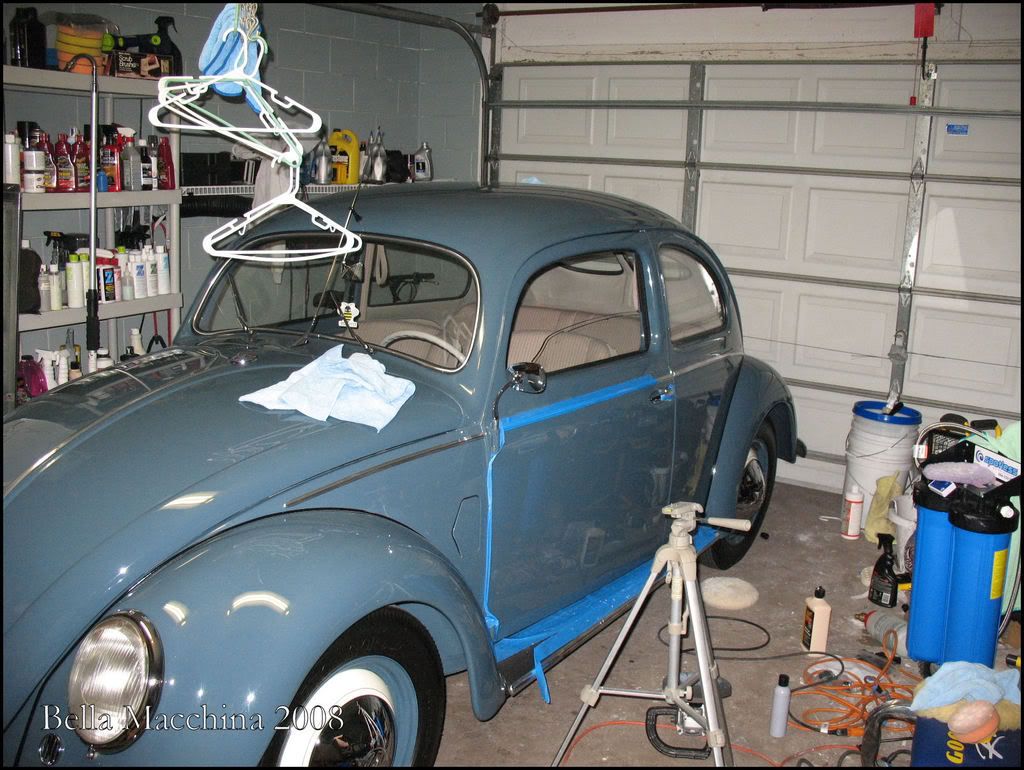
The Beetle was foamed up with P21s Total Body Wash to clean the paint. After careful washing of every surface, the Beetle was pulled into the garage for an inspection.
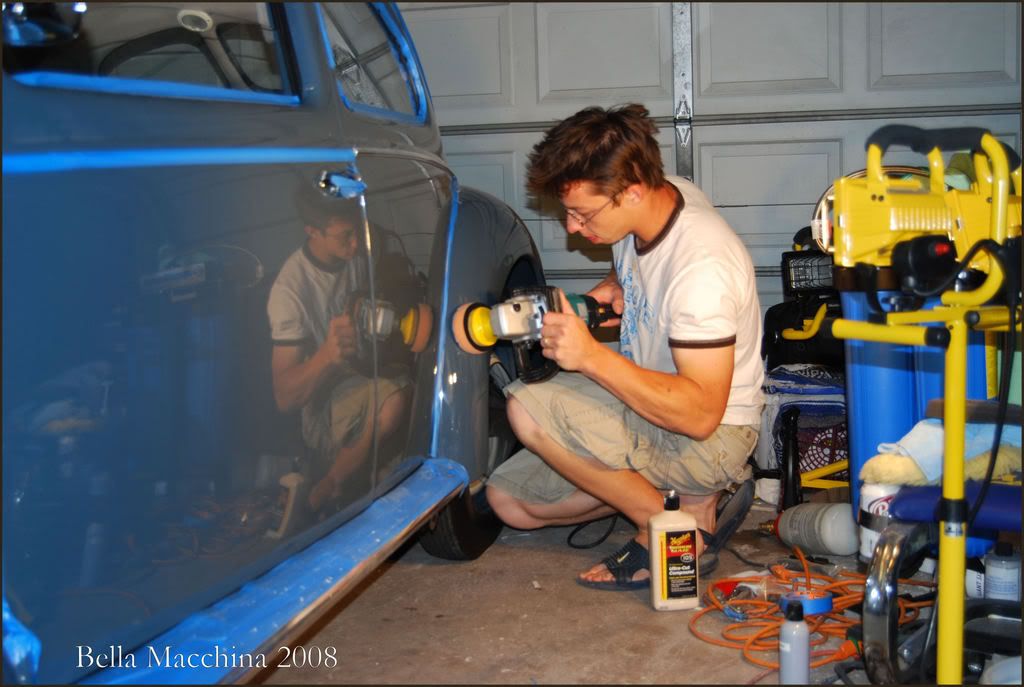
Because I was doing this detail at my house (in my rather cramped garage) I had the luxury of taking as much time as necessary to bring the paint to its highest level. I worked mostly at night (after working during the day) and shot for absolute perfection.
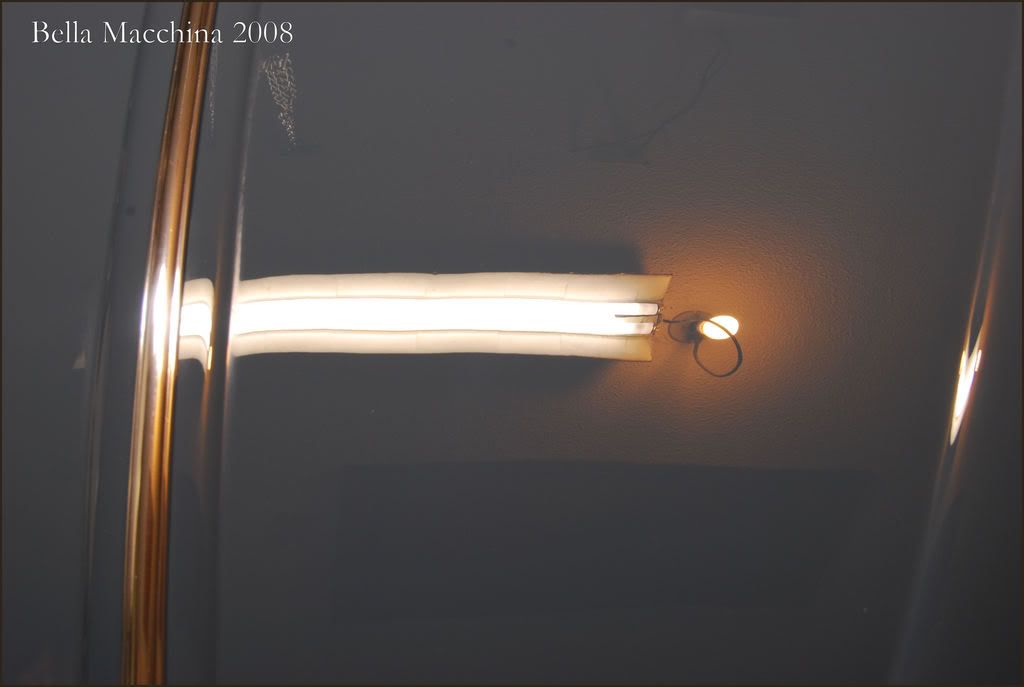
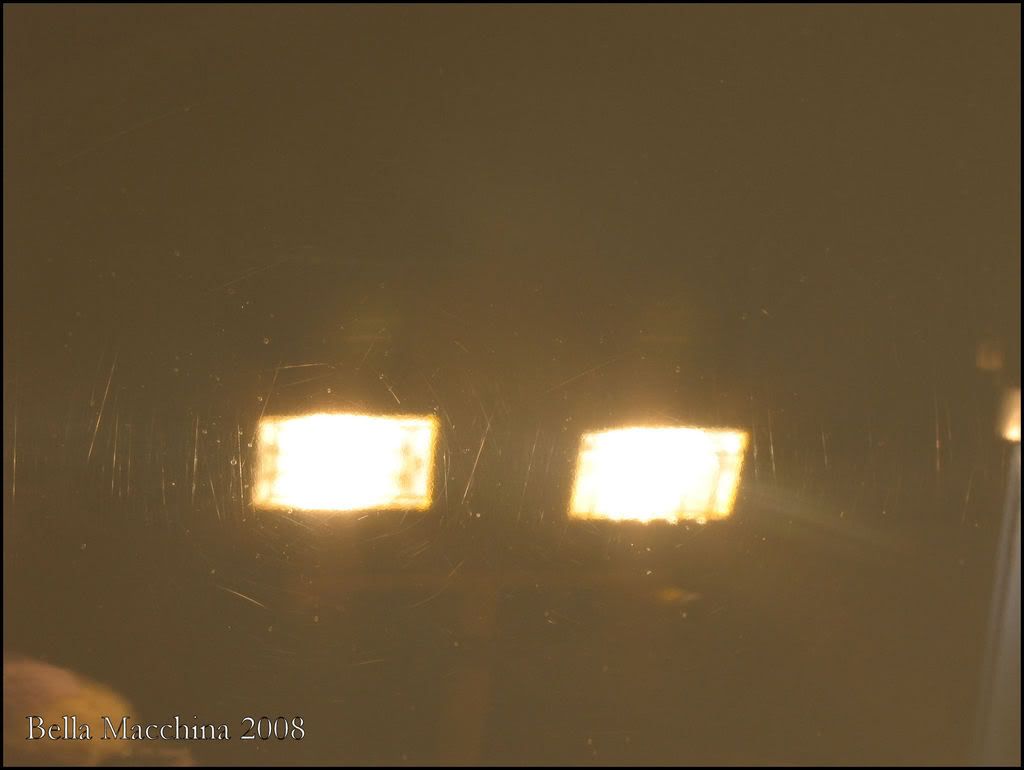
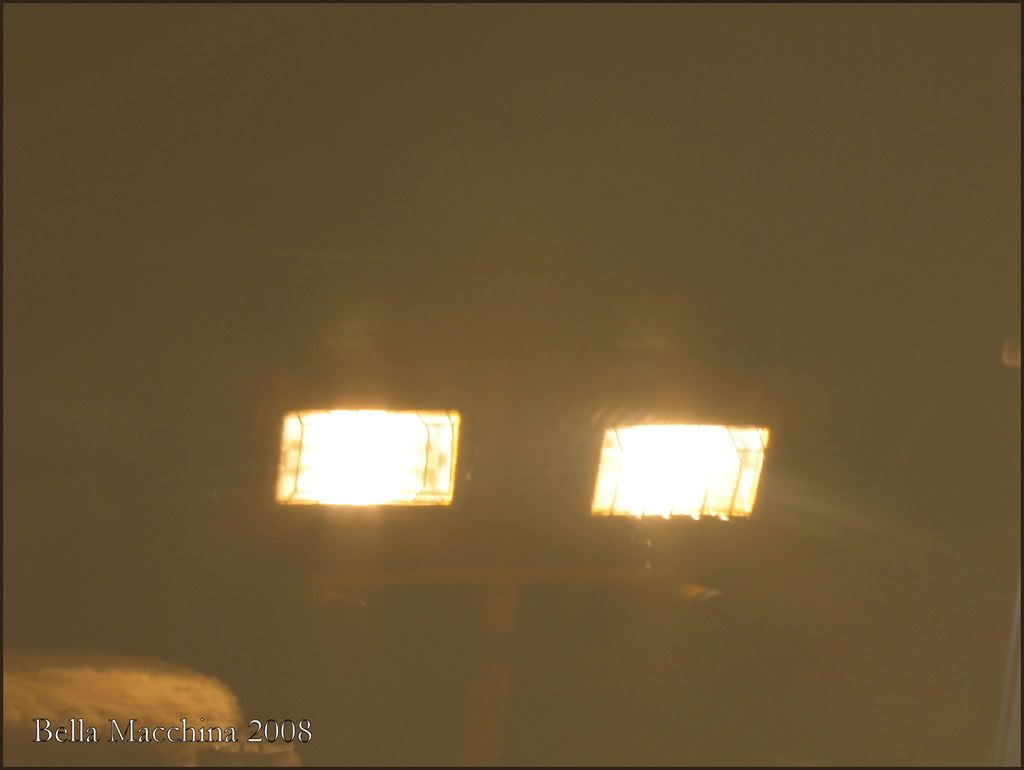
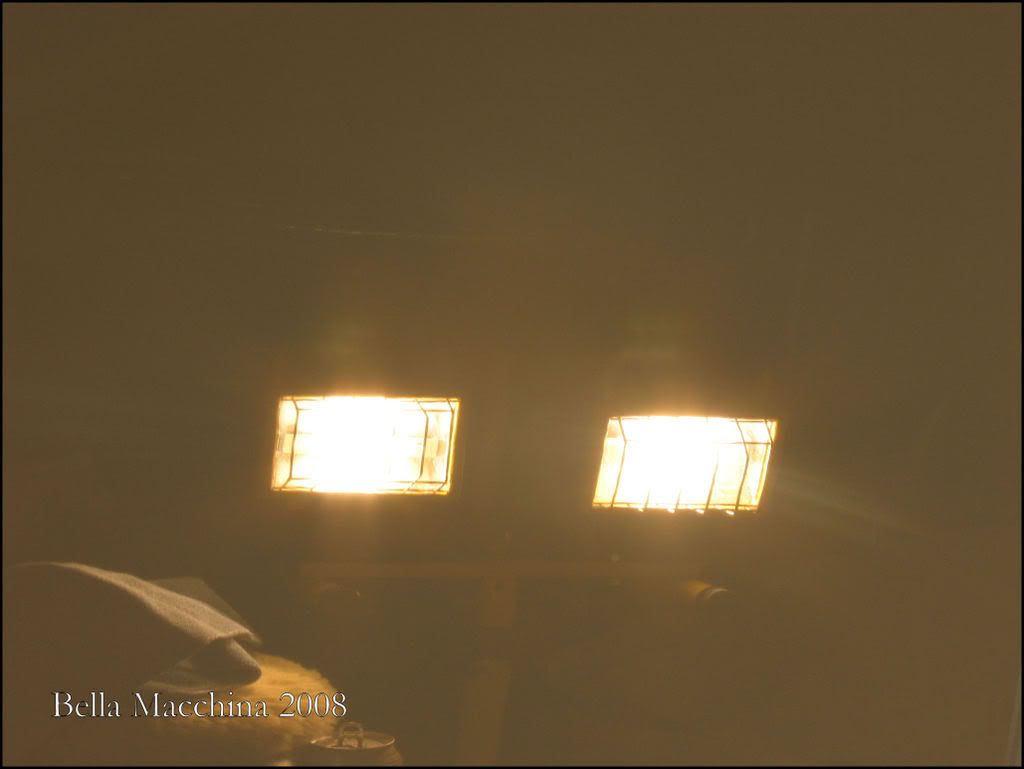
A careful pre-paint inspection revealed that paint was very thick between 16.7 and 18.5 mils, with an average in the 17.1 range. After talking with the owner I discovered it was painted single stage blue, then cleared on top of for multiple coats. Under the halegon lights, I noticed (besides light swirls and trails) a large amout of Random Isolated Deep Scratches) or RIDS, and circular wool marring.
When soft paint is fresh, it can be damaging to polish with twisted wool, because the fibers can leave deep cuts in the paint, which look Audi symbols. Unforuntately these types of marks where all over the car, hidden by the swirls.
I decieded to work on the door first to get an idea of the total time needed, and to lock in on a process that would work.
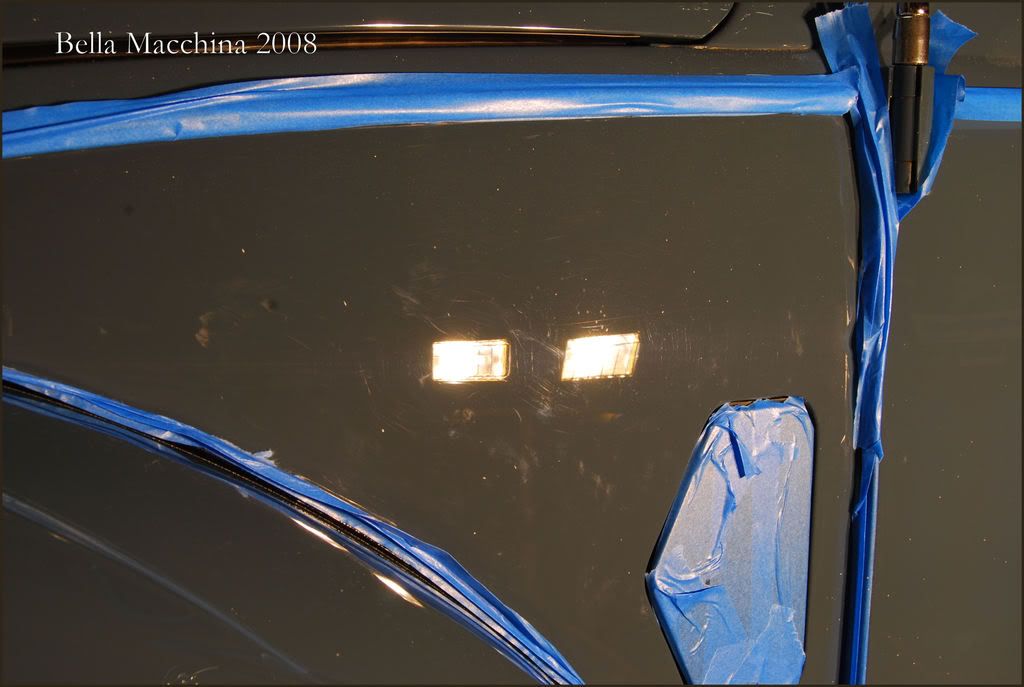
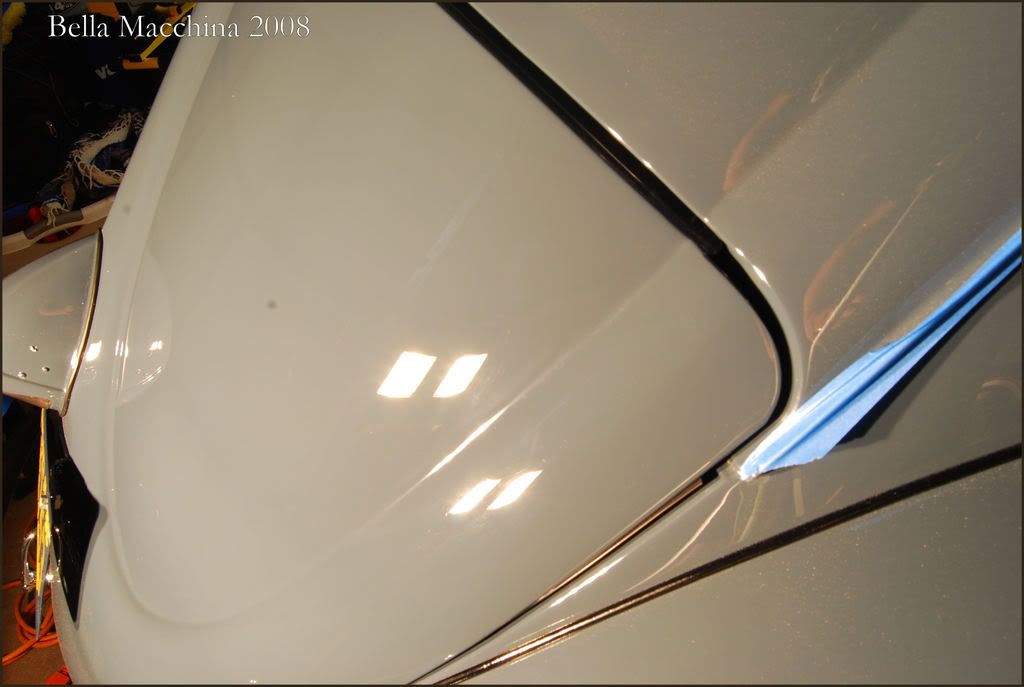
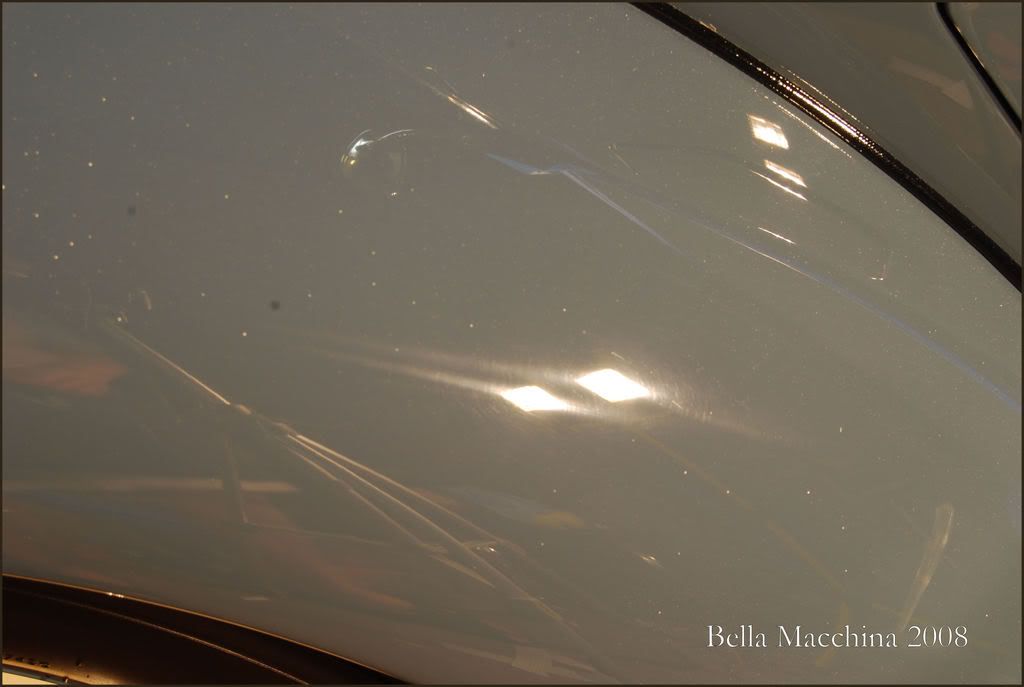
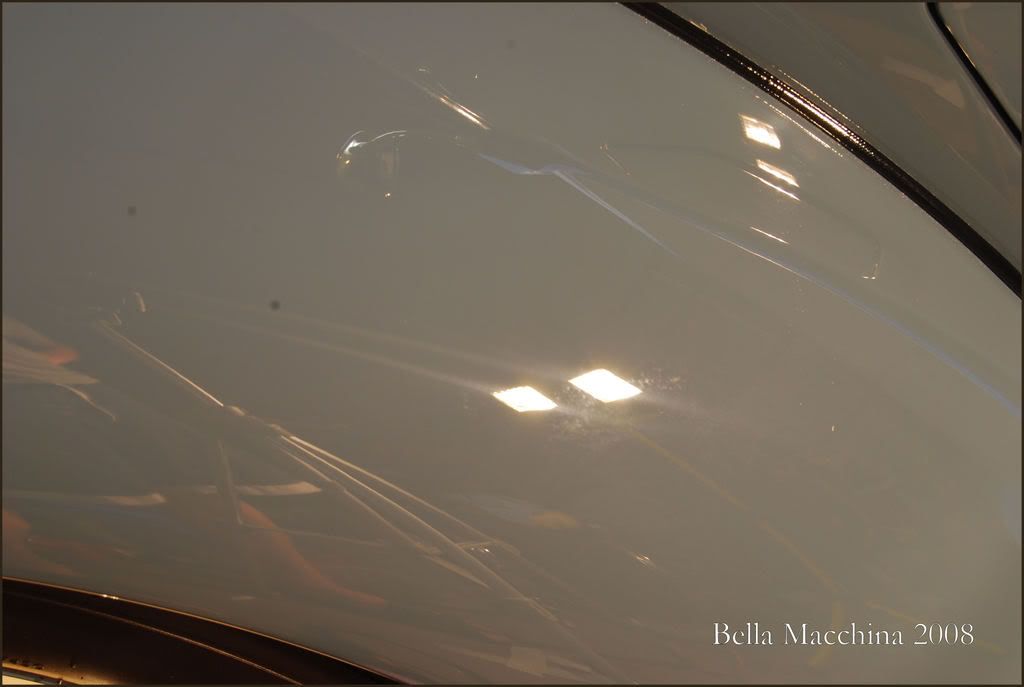
Under the halogens, here is a shot of the driver side door after 2 passes of SIP and white pad (which removed 95 percent of the swirling, but left thousands of RIDS and rotary rings.
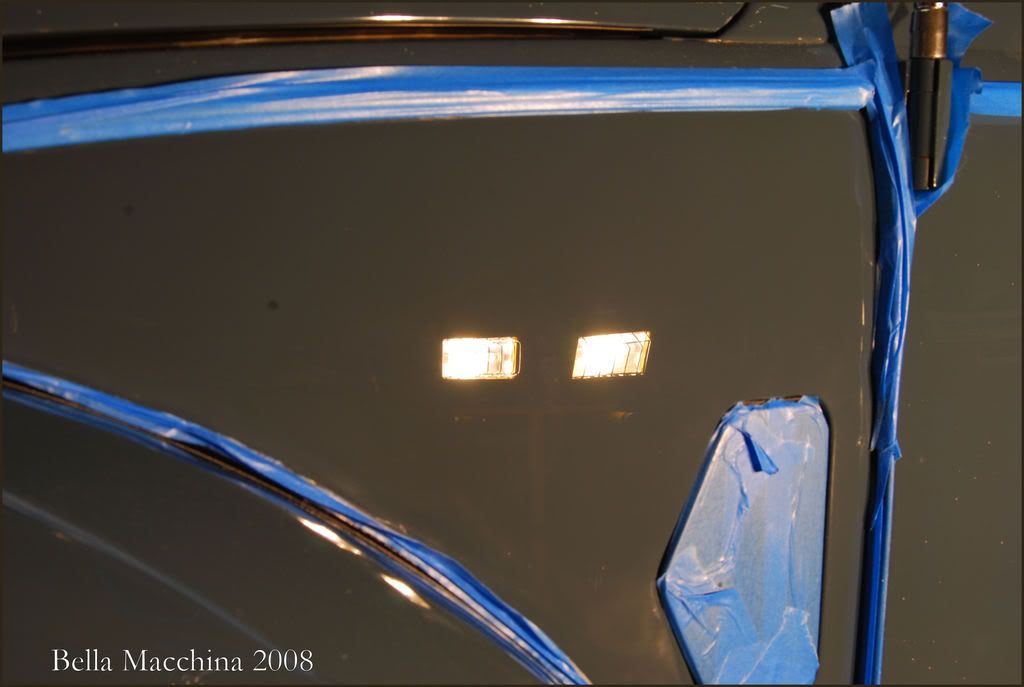
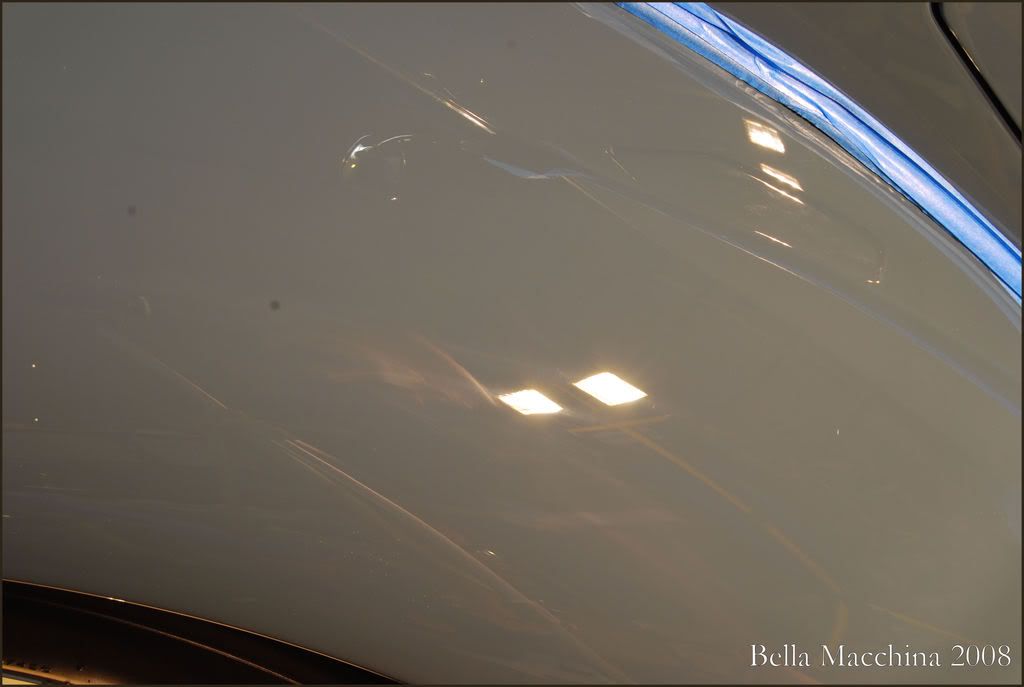
I had to up the aggressiveness, and elected on Meguiars` UCC M105 and a lake country Purple Wool (which is fine enough in cut to not instill more rings). I measured the area at 17.2 mils, then made several passes at 1800 (until the defects where removed). I believe in the end I made 9 passes with M105 and a purple wool, then followed with SIP on a white CCS pad. I rechecked the paint depth from time to time, and ended up with 16.8mils (or removing .4 mils) to remove the majority of defects. Given that this car has upwards of 8 coats of clear, I felt comfortable removing this large amount of paint.
Then each section was burished with Menzerna 106ff on a Meguiars Solo finishing pad.
It took me just over 4 hours to complete the door (trying different combinations). Argh, this was going to be a hard one.
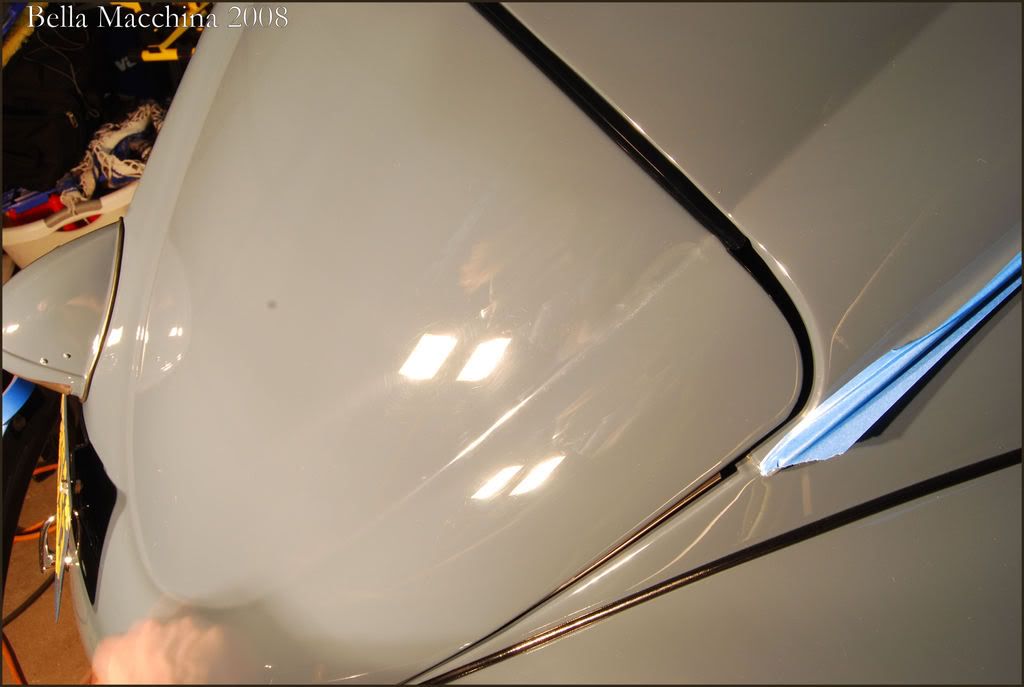
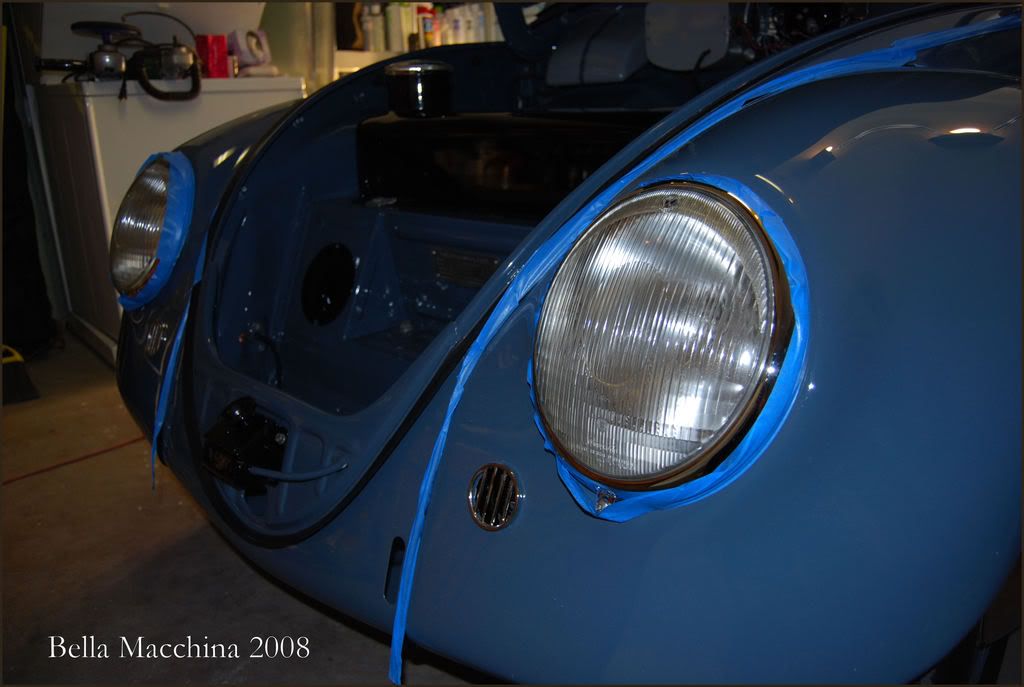
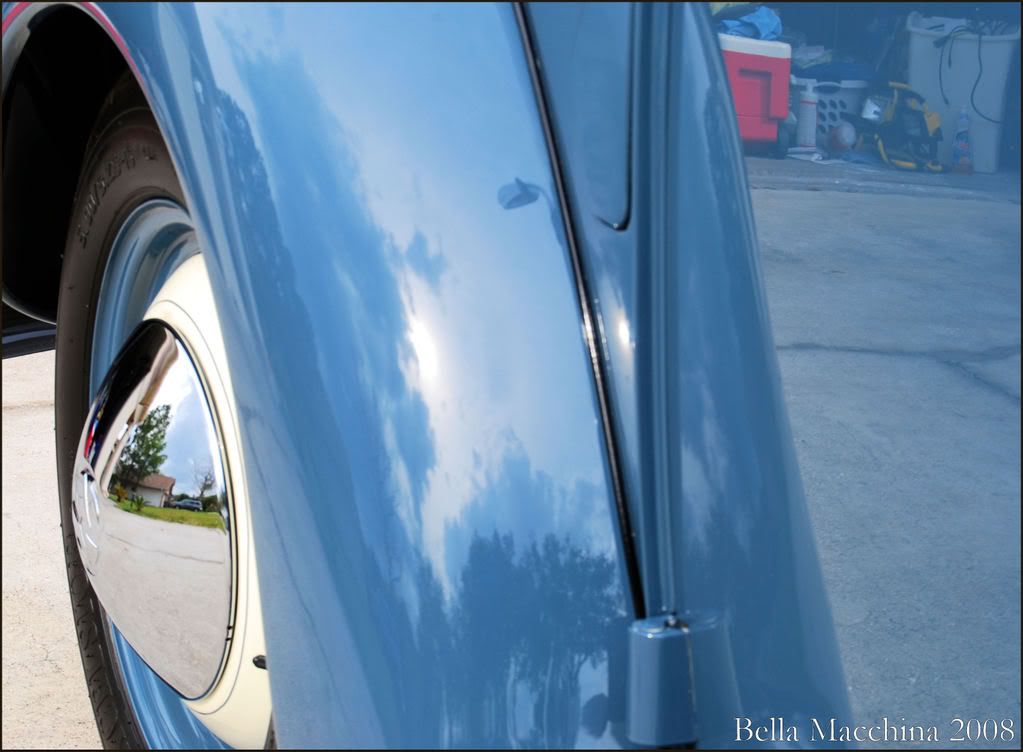
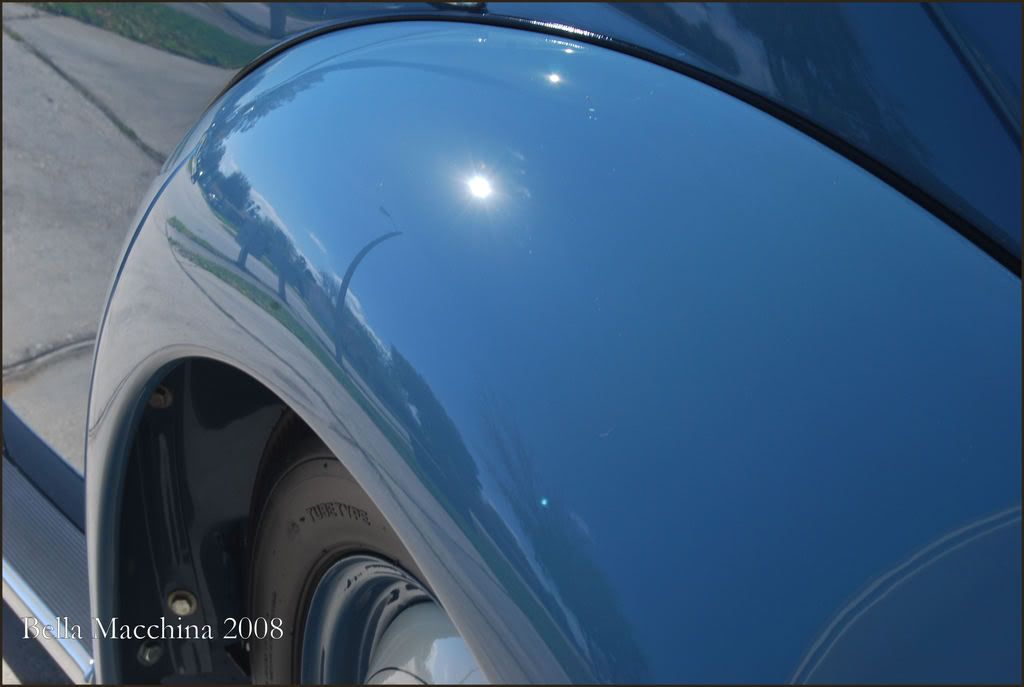
Front fender before...
during
after
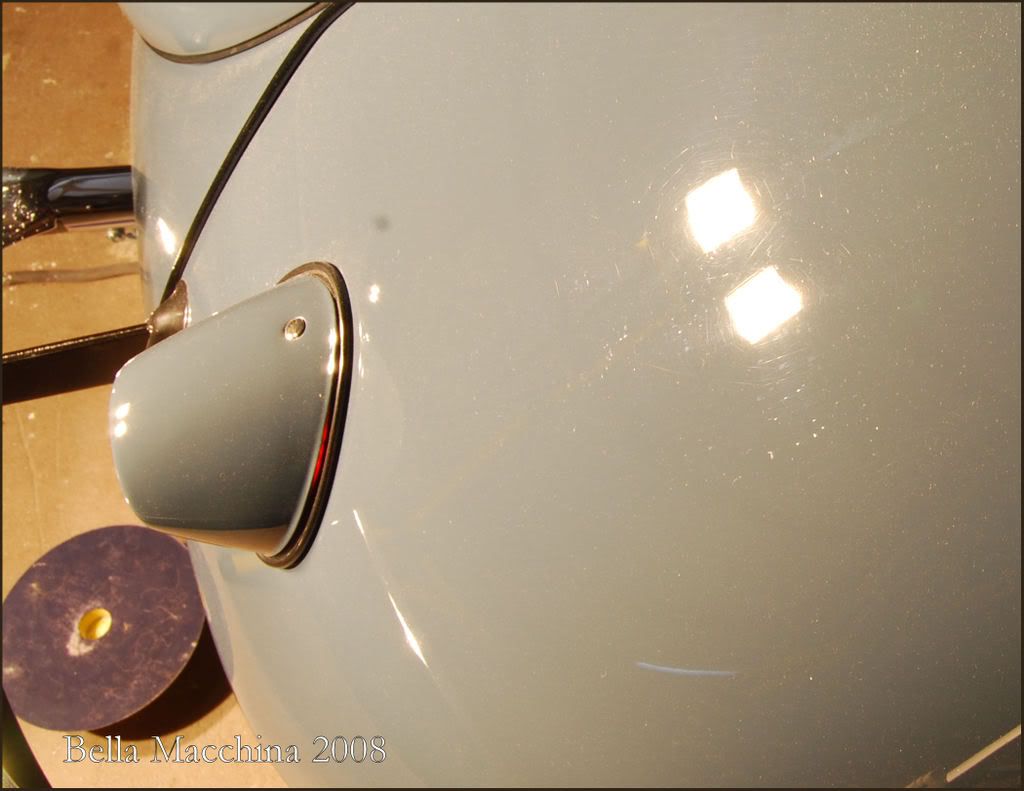
Infront of the drivers door had several scratches and huge amounts of marring.
Results 1 to 15 of 54
-
03-10-2008, 02:22 PM #1Just a regular guy


- Join Date
- Feb 2009
- Location
- Oviedo/Stuart Florida
- Posts
- 15,278
- Post Thanks / Like

-
03-10-2008, 02:23 PM #2Just a regular guy
- Join Date
- Feb 2009
- Location
- Oviedo/Stuart Florida
- Posts
- 15,278
- Post Thanks / Like
3 hours later
Area`s that required four inch spot pads would get 10-15 passes with M105 UCC to insure full defect removal. Again, caution was taken and the paint was frequently measured to make sure we never dipped into more than .3-.4 mil reduction.
A lot of tight areas, tight curves, etc meant a lot of time was spend with spot pads and a sore pack.
Before
After
Before

After
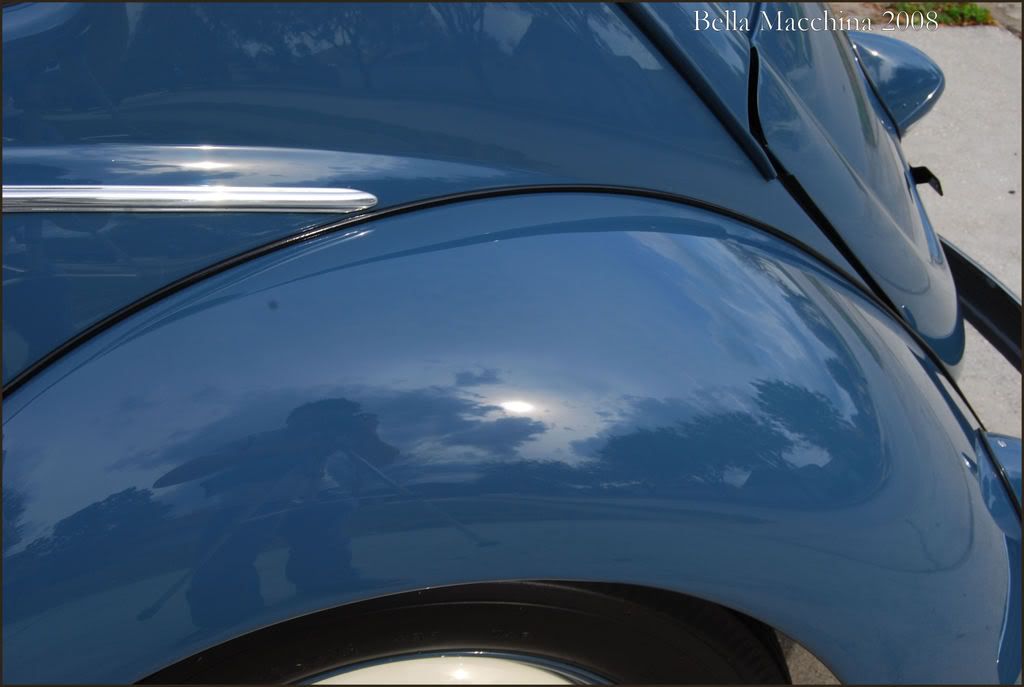
Before
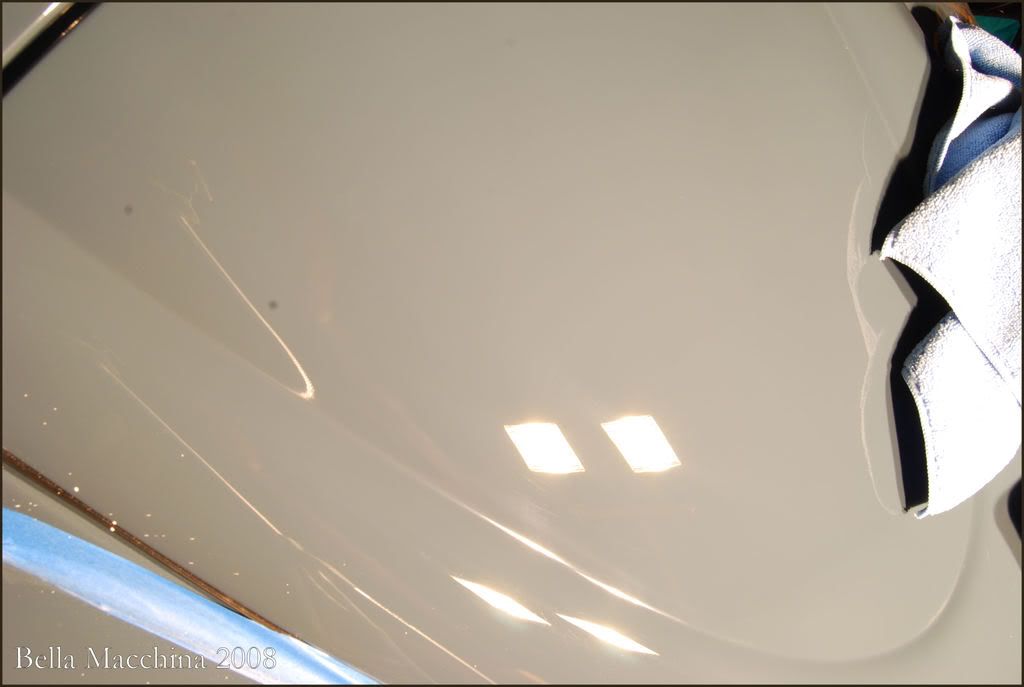
After 105/purple wool (to give you an idea of how nice this compound finishes)

Some scratches still remained after removing .4 of a mil. Because I could not feel these scratches before (anything .3 mil or deeper should be easily detected by a nail) and there was no reduction in size of the rids, I could only assume they where in the single stage paint, under the clearcoat.
After 3 nights of staying up to 2:00AM, I had perfected the drivers side front fender, door, side panels, rear fender and engine cover. Between taping, measuring, spot polishing, jeweling, and remeasuring, I had well over 15 hours in the correction alone, and was progressing slowly. I called up Jon Springer, former owner of Perfection Auto to see if he could lend a hand on Thursday of doing the interior, engine, and minding to the details while I put in a full day of correction.
I started back up at 7:30 AM Thursday, and proceeded to polish until 5:30 that evening, bringing the total paint polishing time to about 25 hours total. Jon, who is looking to become the newest member of Bella Macchina helped out hugely in the interior and engine compartment. He arrived at 11:15 and we plugged on.
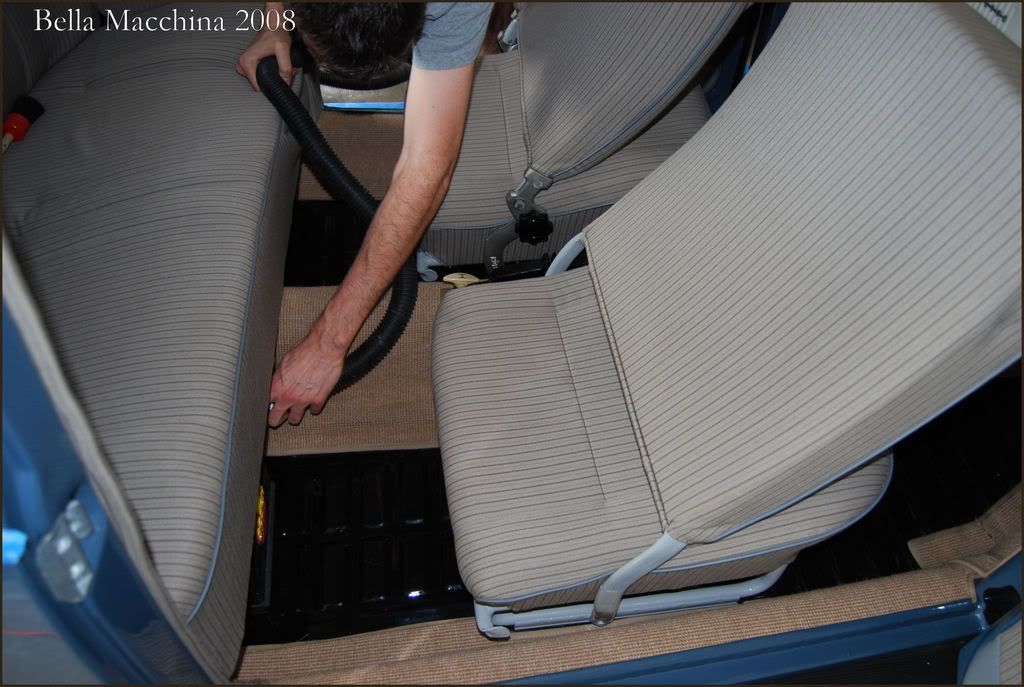
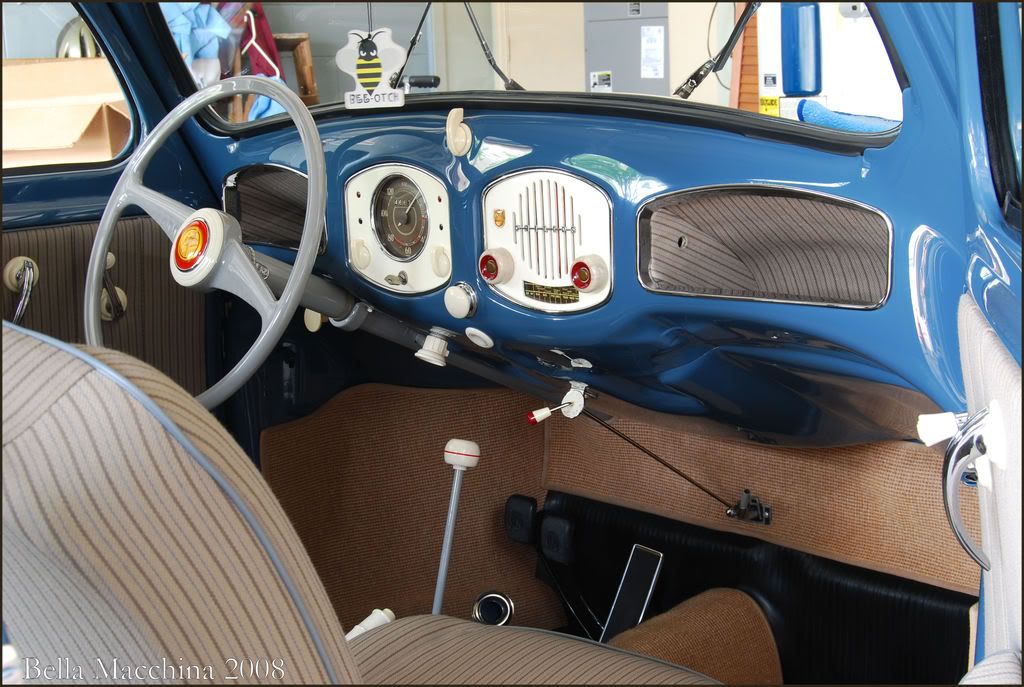
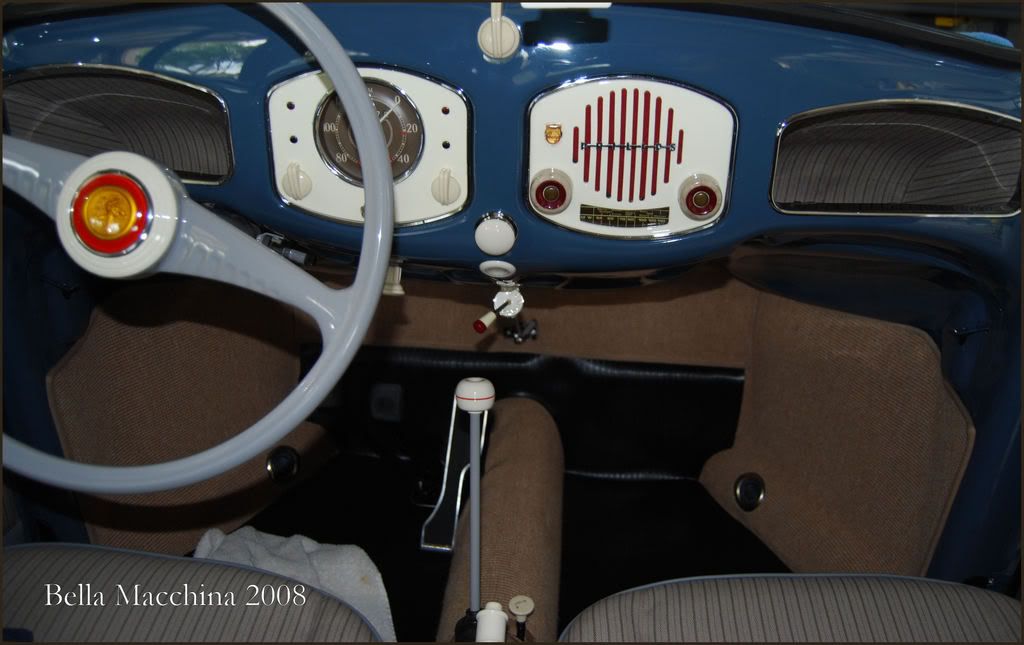
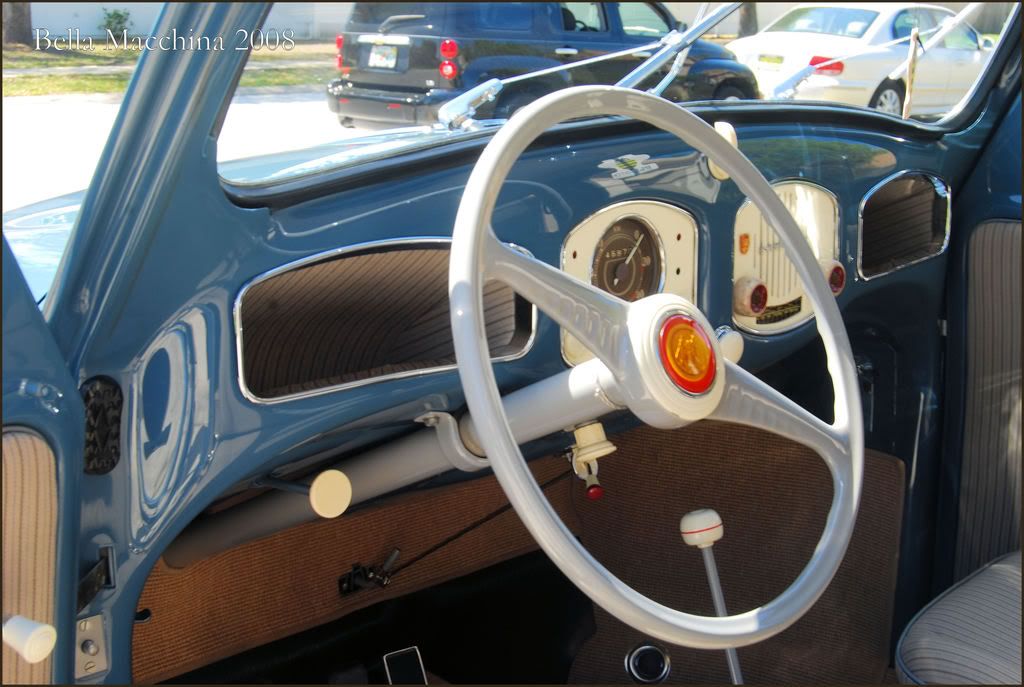
All upholstory was removed (that could be), and the interior was meticulously vaccumed. Light spots in the upholtosry where spot treated with Folex, and wiped cleaned. Various plastics where cleaned and conditioned with 1Z Enziette Cock Pit Premium.
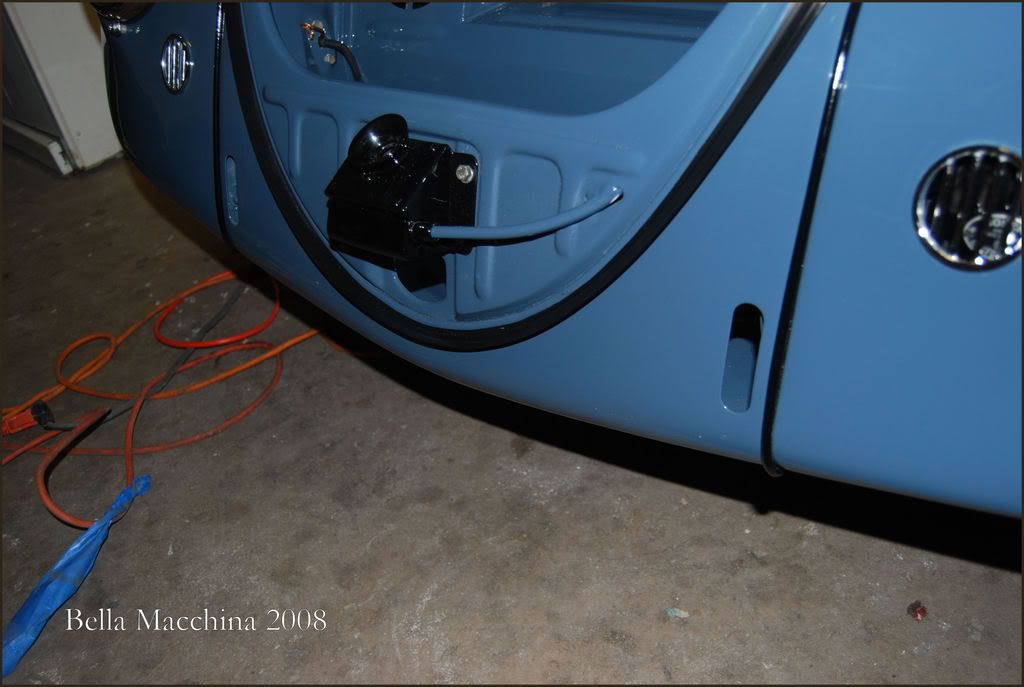
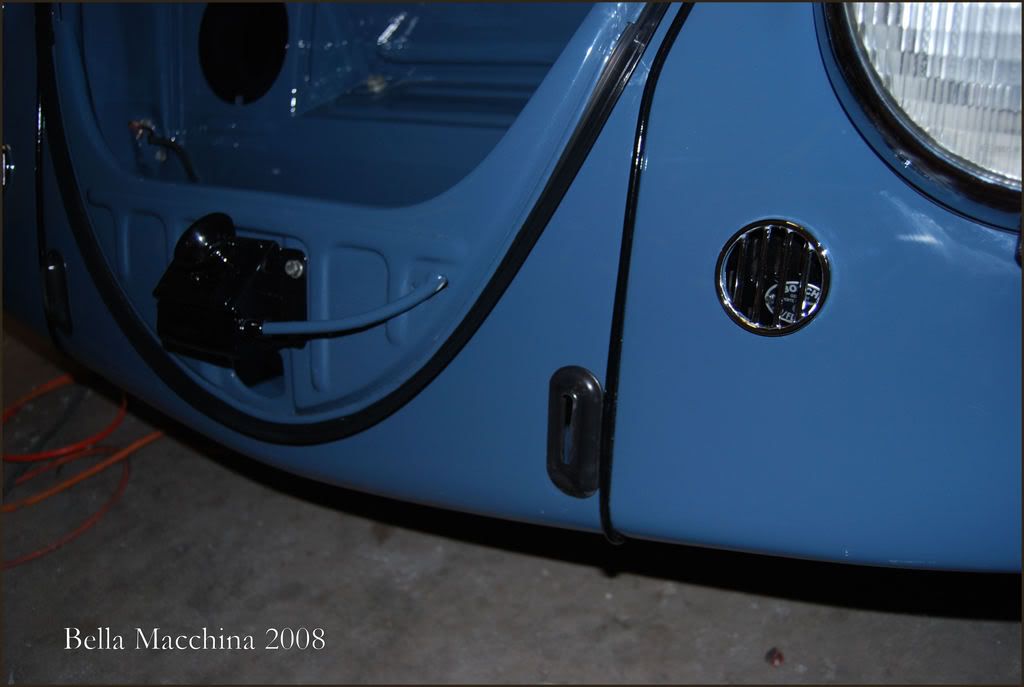
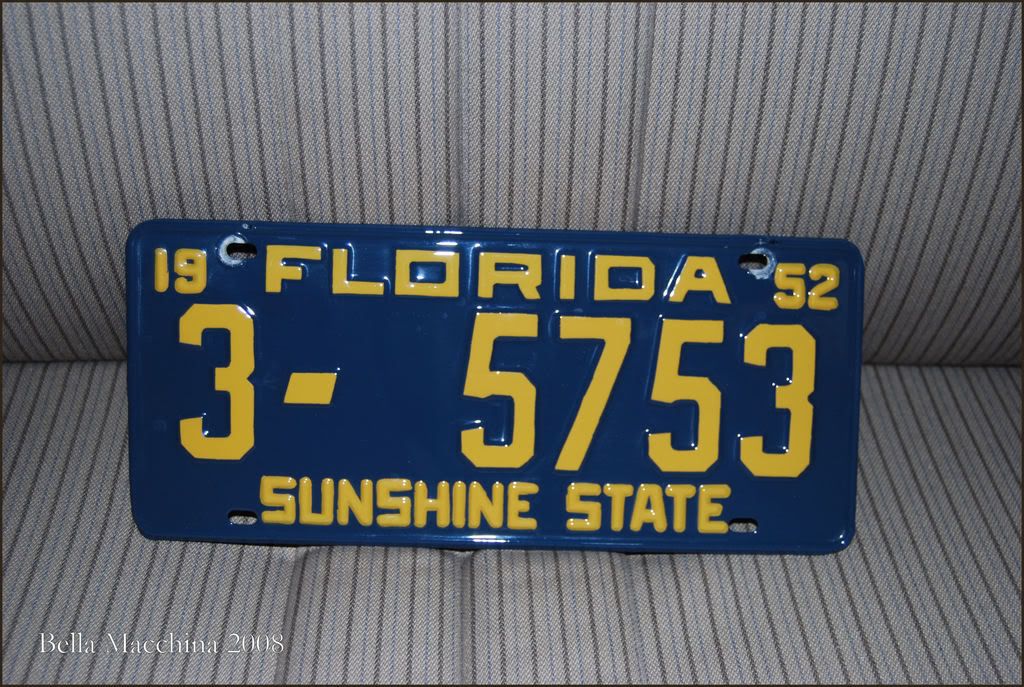
To get into the nooks and crannies when polishing, we elected to remove the front bumper, trim pieces, and licenseplate frame.
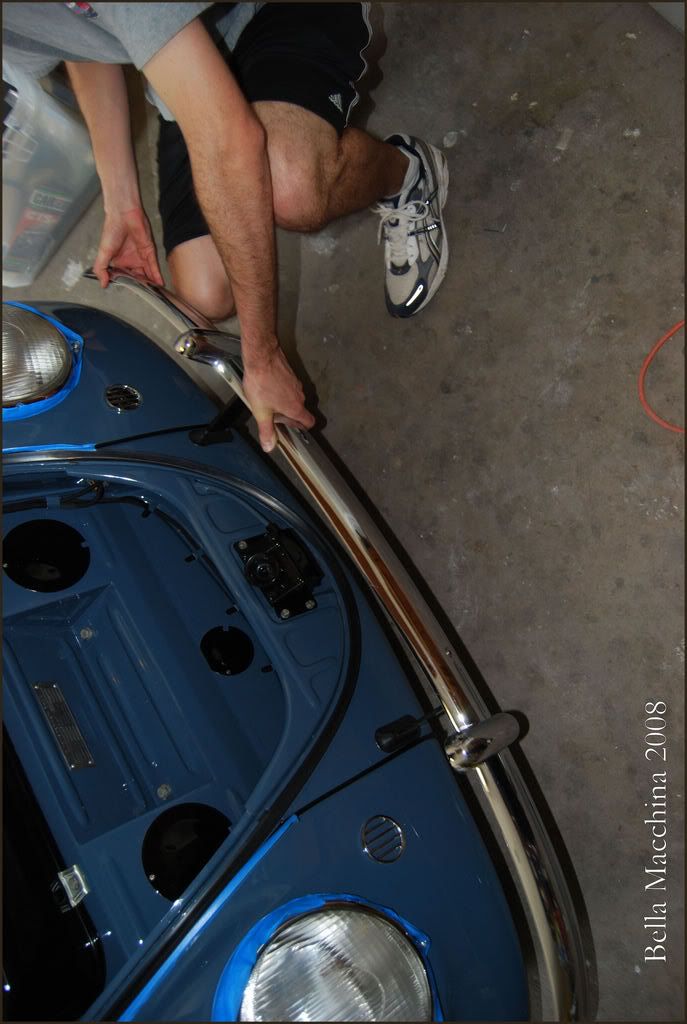
I continued my assult on the exterior as Jon worked feverishly on the inside. All interior painted surfaces where hand polished using Zaino All In One, then topped with Z5pro. The rubber seals and trim recieved 1Z`s Gummi Pledge, and the hard plastics where cleaned with 1Z`s Plastik Reiniger. All trim was then protected with 303 Areospace Protectant. The fabric recieved 303 Fabric Guard, and was then brushed to a uniform, concours perfection.
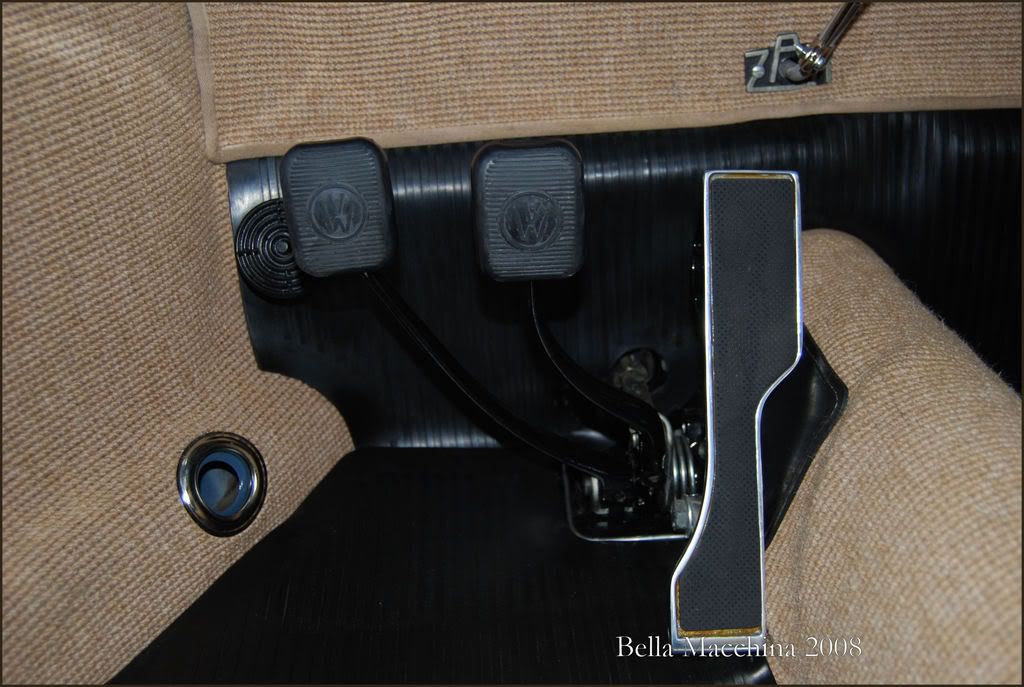
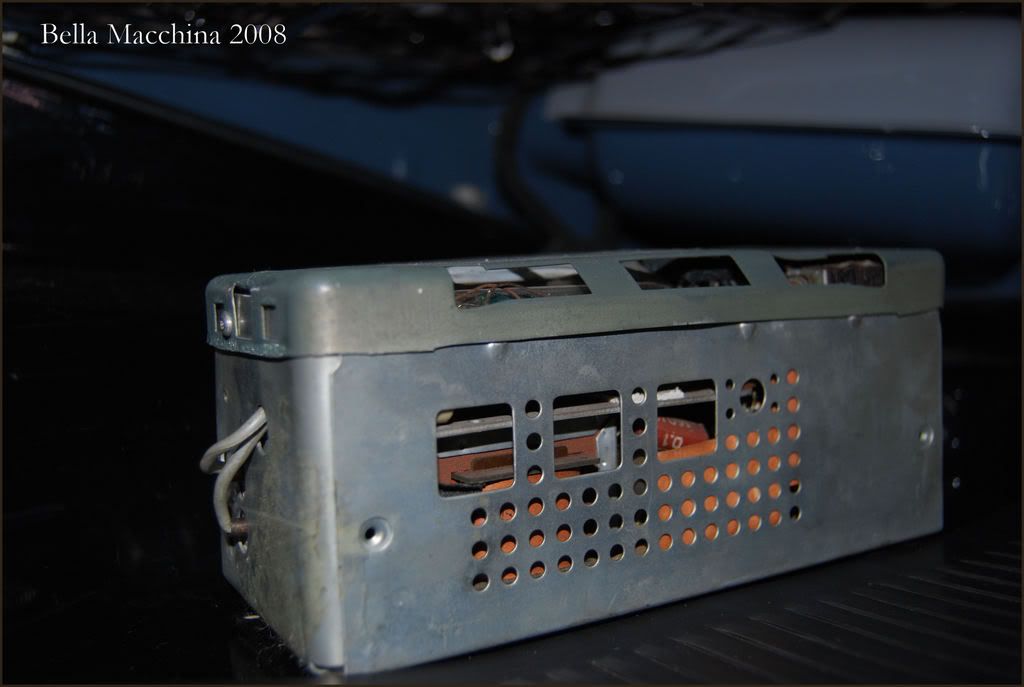
Jon finished with the interior by stripping off the old, tire dressing on the floor matts and cleaning with with 1Z Plastik Reiniger topped with 303. The seatframes where cleaned and treated with Z-AIO, as well as the battery (under the seat).
The windows where polished with Jeff Werkstatt Prime Strong with a white pad on a portercable, than topped with Acyrilc Trigger.
The drivers door before...
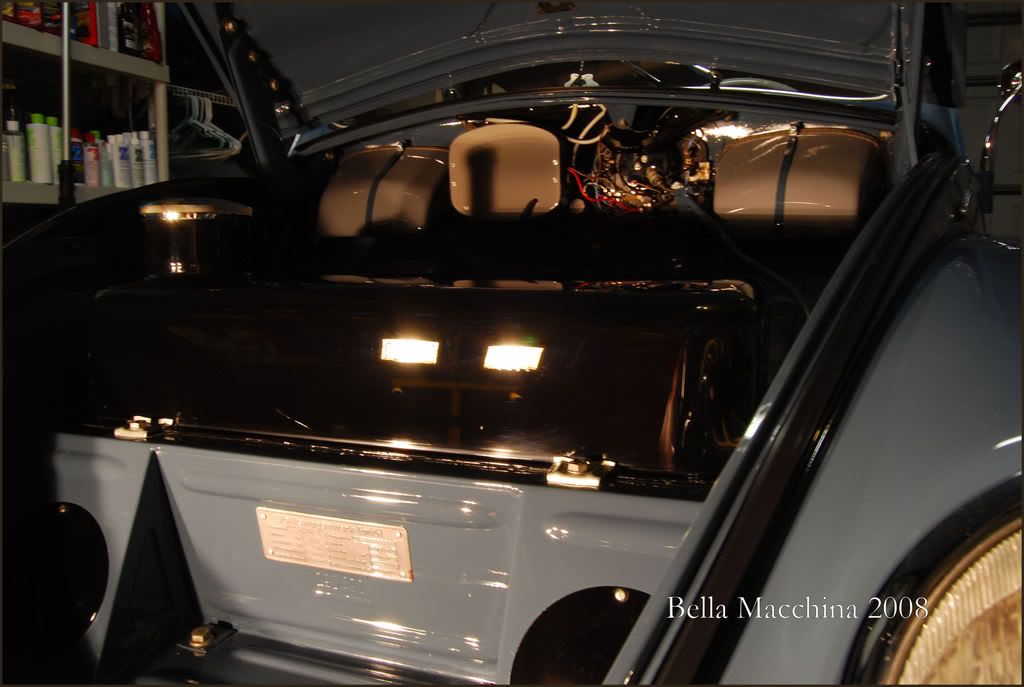
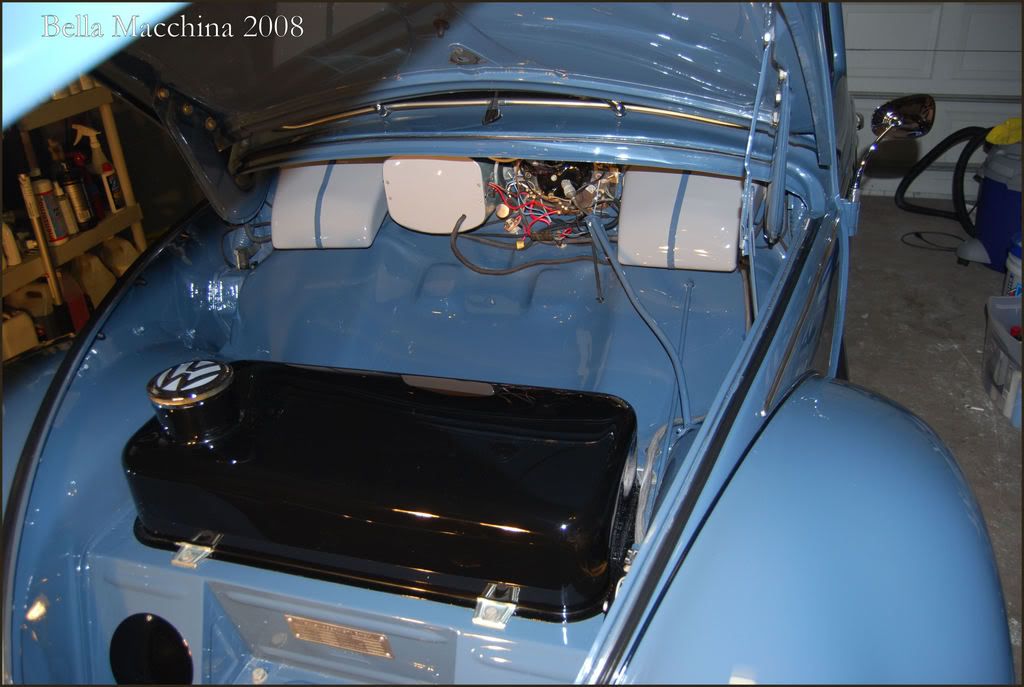
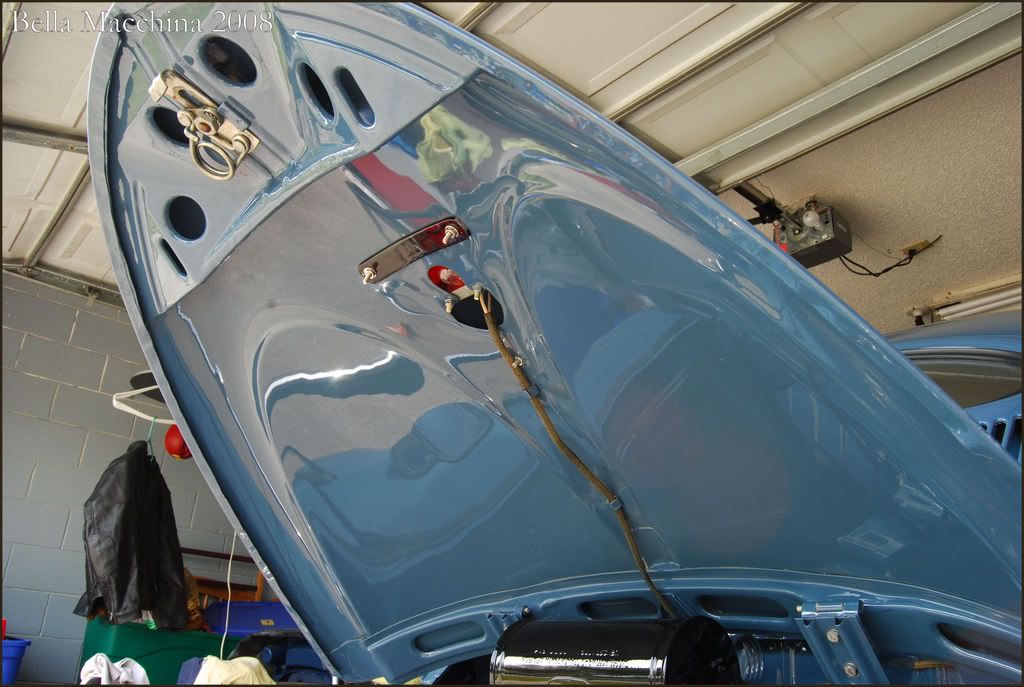
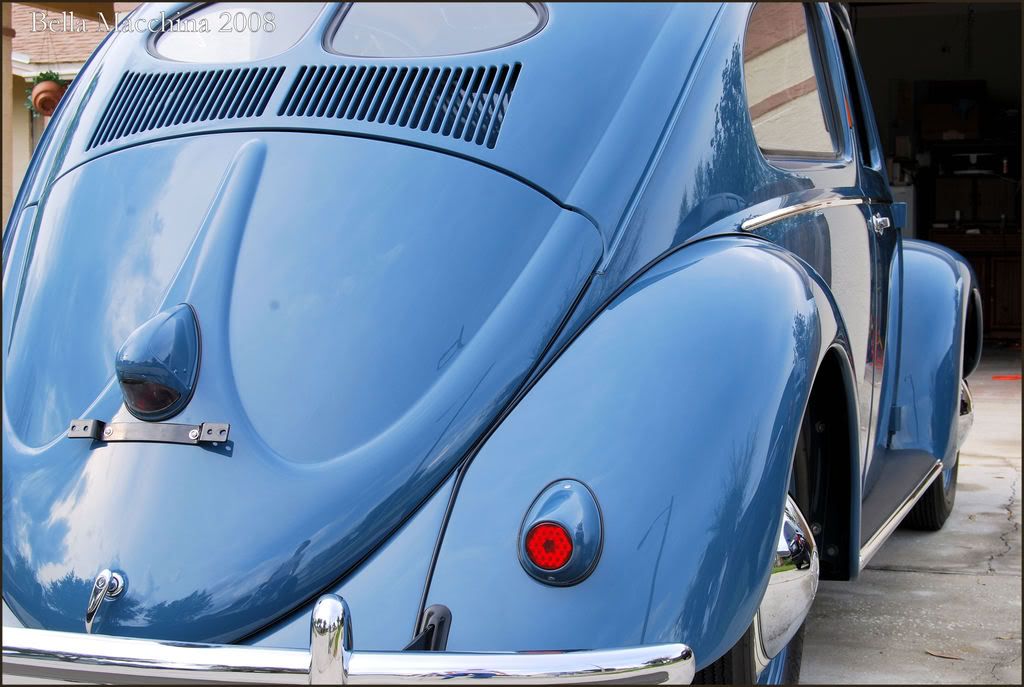
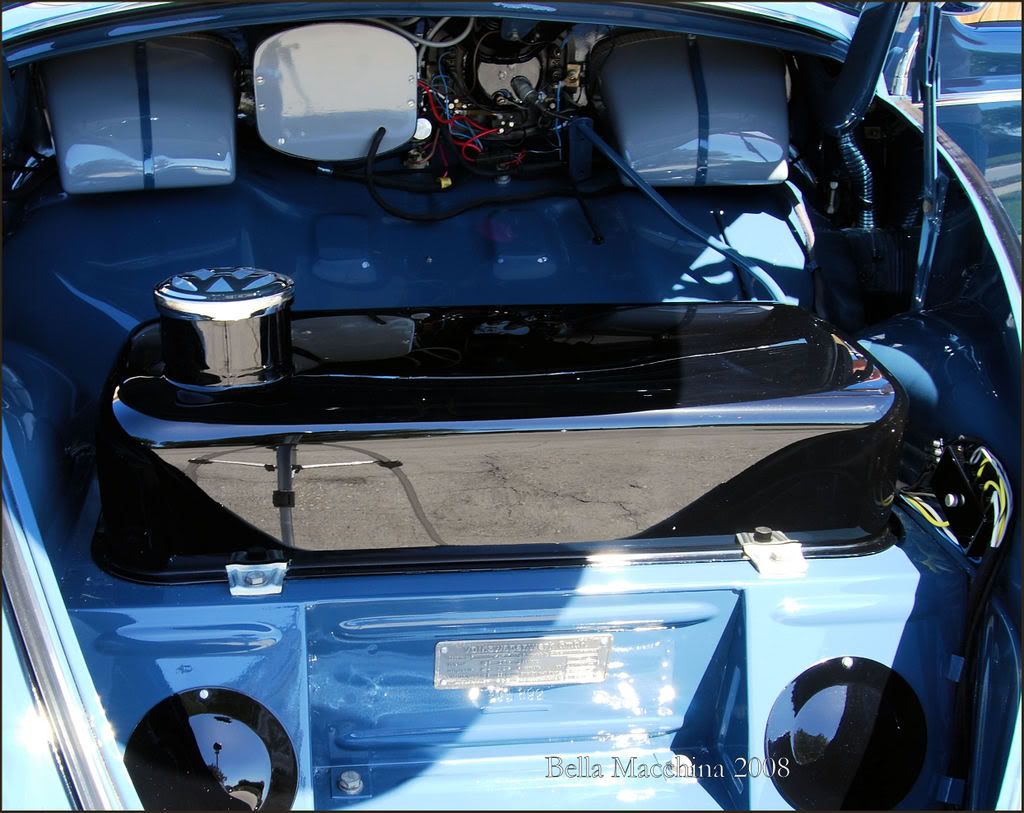
The truck of this car is in the same great shape as the exterior (no orange peel, fully detailed, etc). However the painted gas tank needed polishing.
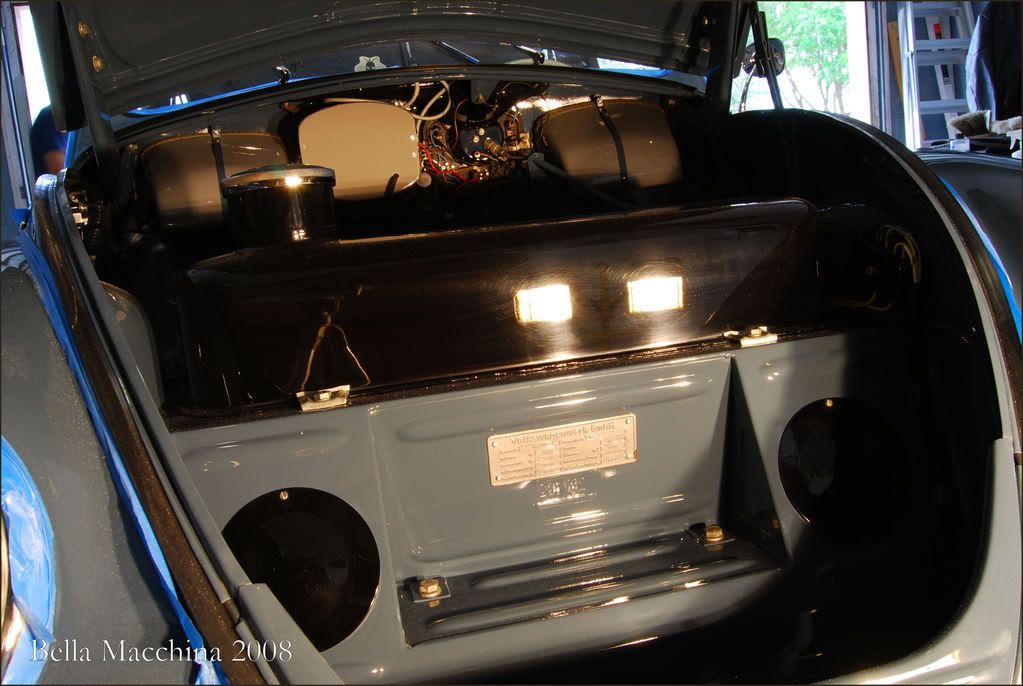
The gas tank had deep wool marring that required almost an hour to perfect, using a combination of M105, M83, and Meg`s FP mixed with RMG on spot pads. The thank was then topped with Zymol Titanium for two coats.
-
03-10-2008, 02:24 PM #3Just a regular guy
- Join Date
- Feb 2009
- Location
- Oviedo/Stuart Florida
- Posts
- 15,278
- Post Thanks / Like
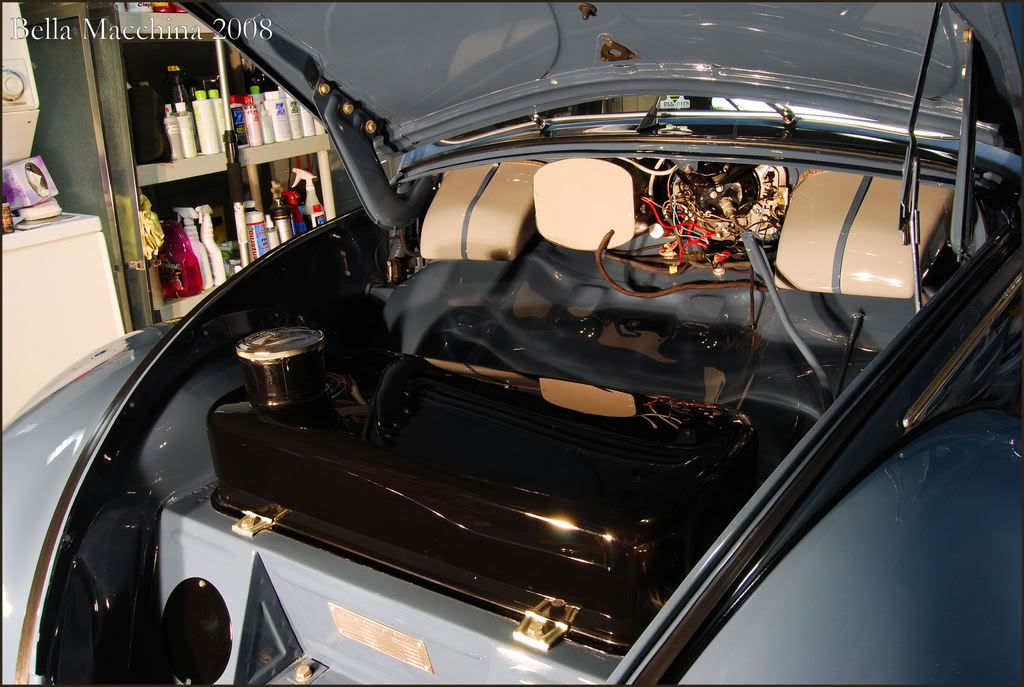
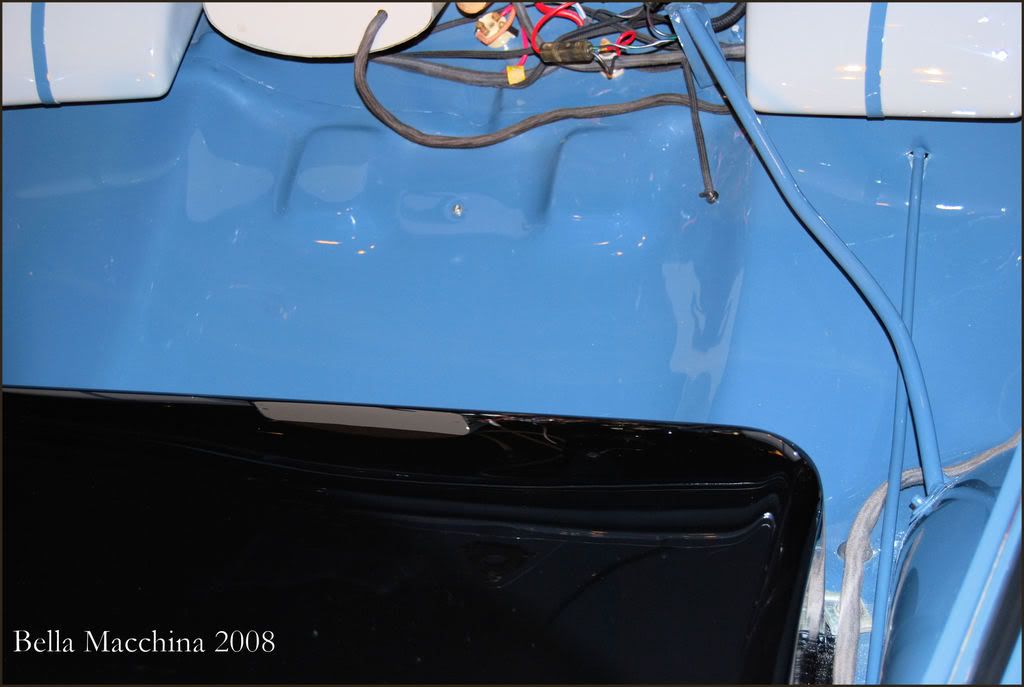
The rest of the trunk was cleaned using Z6 and microfibers, then recieved Meguiars #7 by hand, topped with Lusso Oro.
I rewashed the car to get rid of dust, then pulled it back in, and dried it carfully. Earlier in the week I had tried several different sealants and carnauba waxes to find the right look. On this paint, I wanted to go for maximum choice, so I elected on a sealant. It feel between JW`s twins and Zaino. Given that the owner has Zaino to begin, and I had the time to apply multiple layers to get the most out of it, that was line we elected to stick with.
The paint was prepped with Prep-Sol and wiped clean. Then Z5pro x 3 (zfx`d was applied at that night).
After wipping the last coat of Z5 off the paint, I removed all the weather stripping and treated it with 1Z Gummi Pledge.
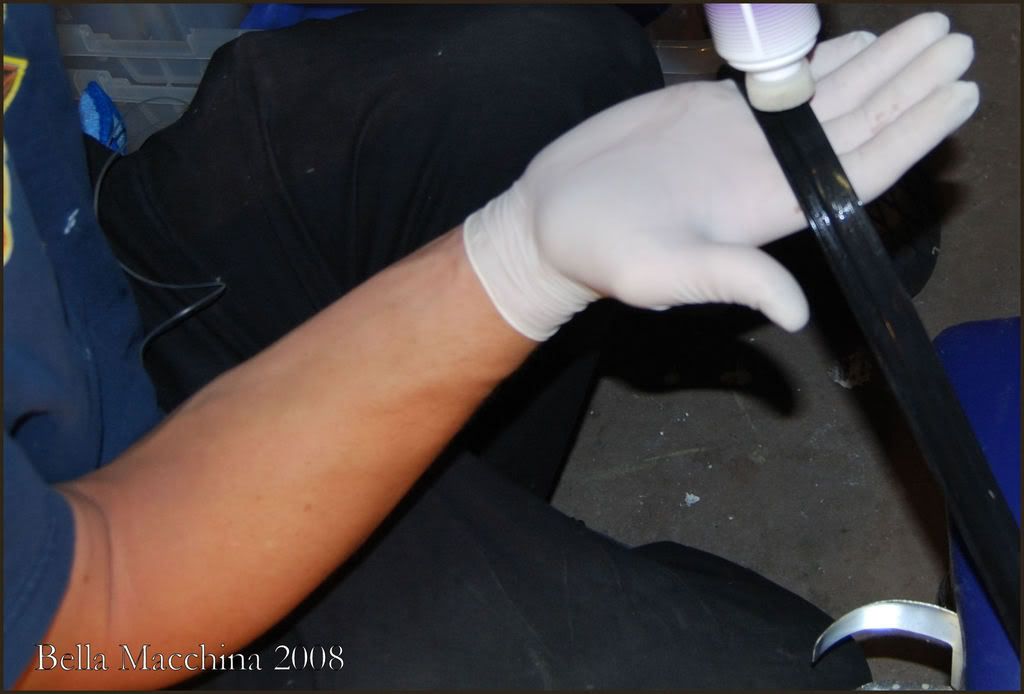
After treating, all the stripping was carefully reinstalled.
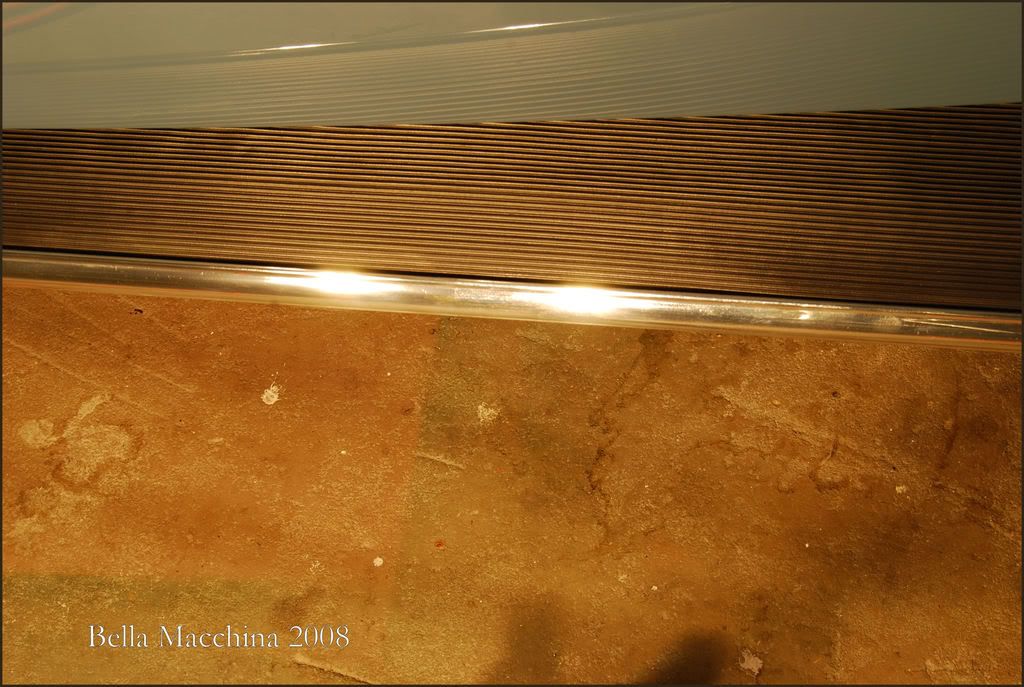
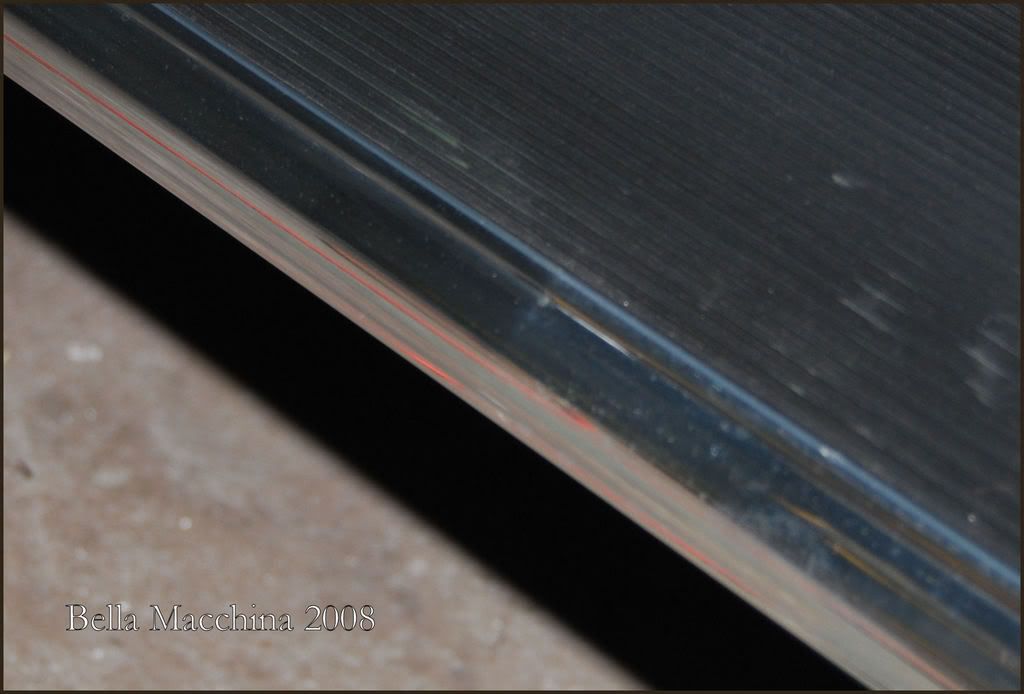
The aluminum trim was lightly oxidized, and using Deep Finish Deep Alum to chemically clean and polish the rare pieces seemed the most prudent choice. The results are more dramatic then the pictures suggest, as it was 2:30 AM Friday morning, so I could capture the shots in the sun. It took until nearly 3:30 AM to hand polish all the aluminum trim in the interior,exterior, and compartments.
I took a 3 hour nap and jumped back to work Friday morning, with an end in site.
Trim was resinstalled around the car, and treated and conditioned.
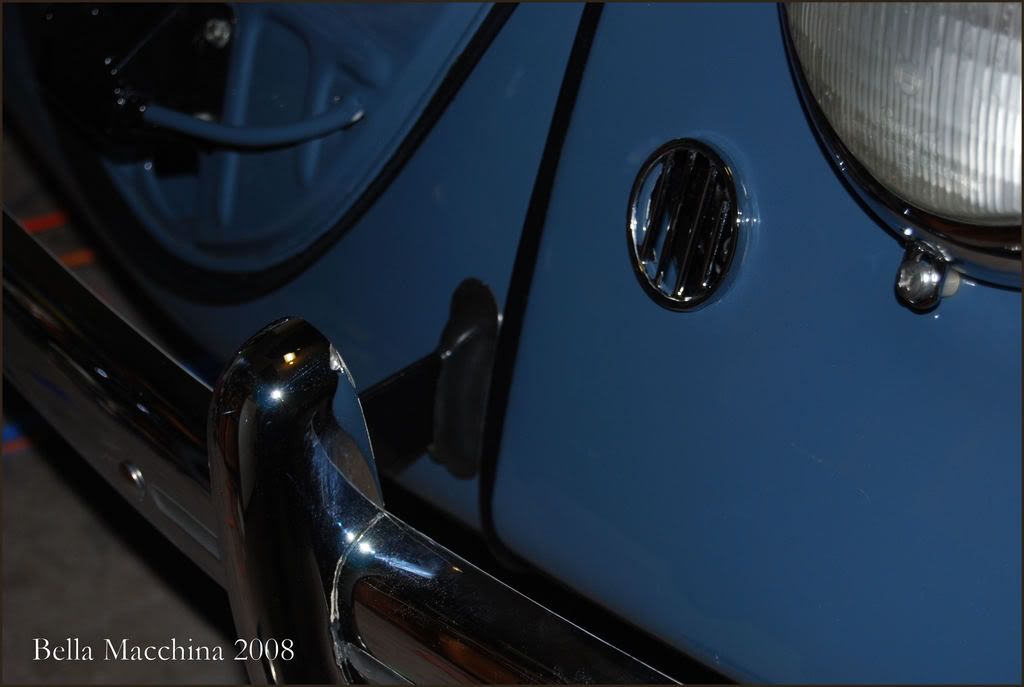
Before reattaching the bumper.
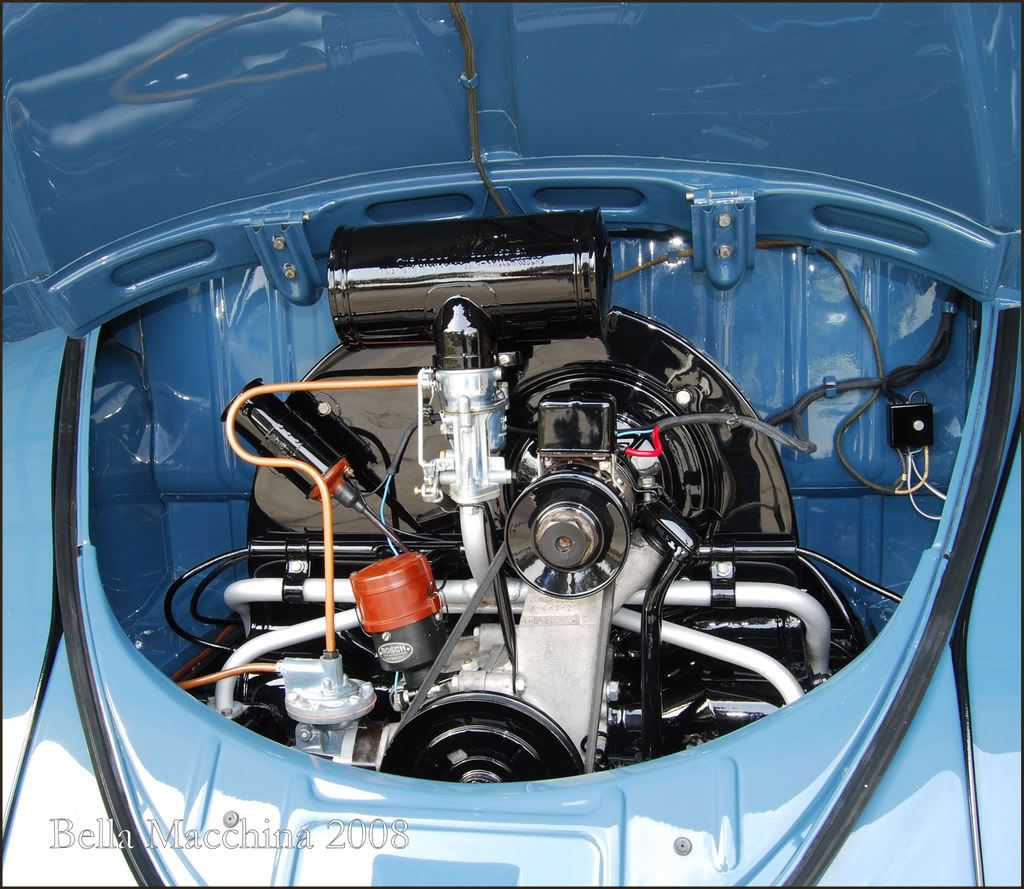
The next morning I wiped down the engine (Jon had previously spent two hours in it the day previous, washing, polishing and treating all the painted surfaces with Z-AIO and Z5pro). I dressed some trim and wiped off the dust.
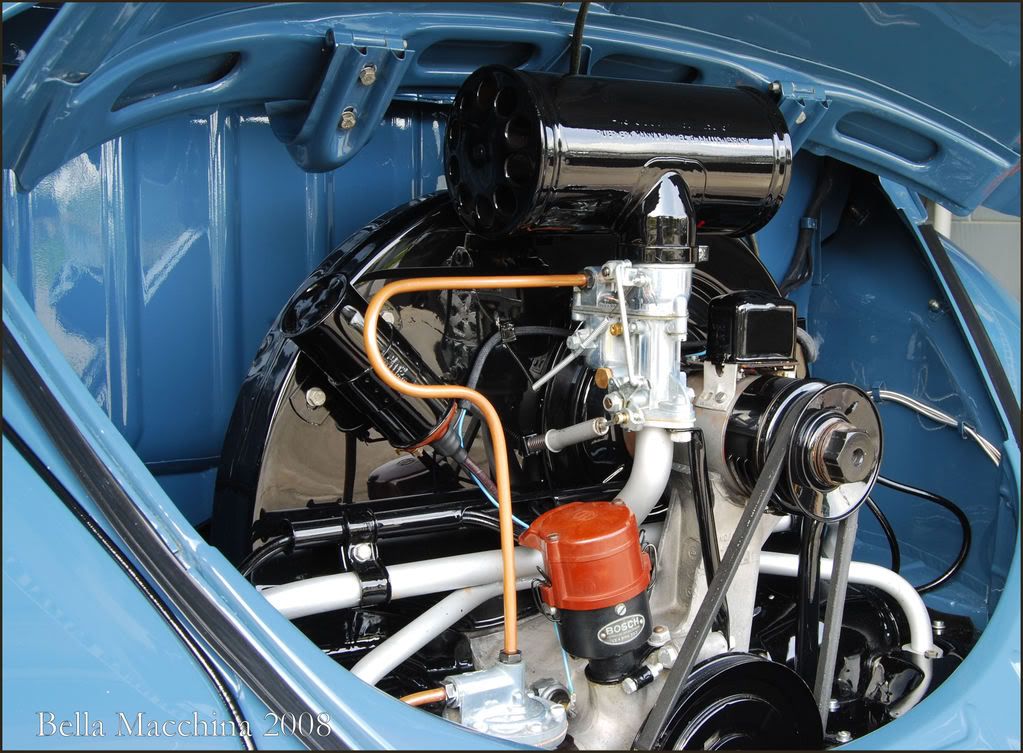
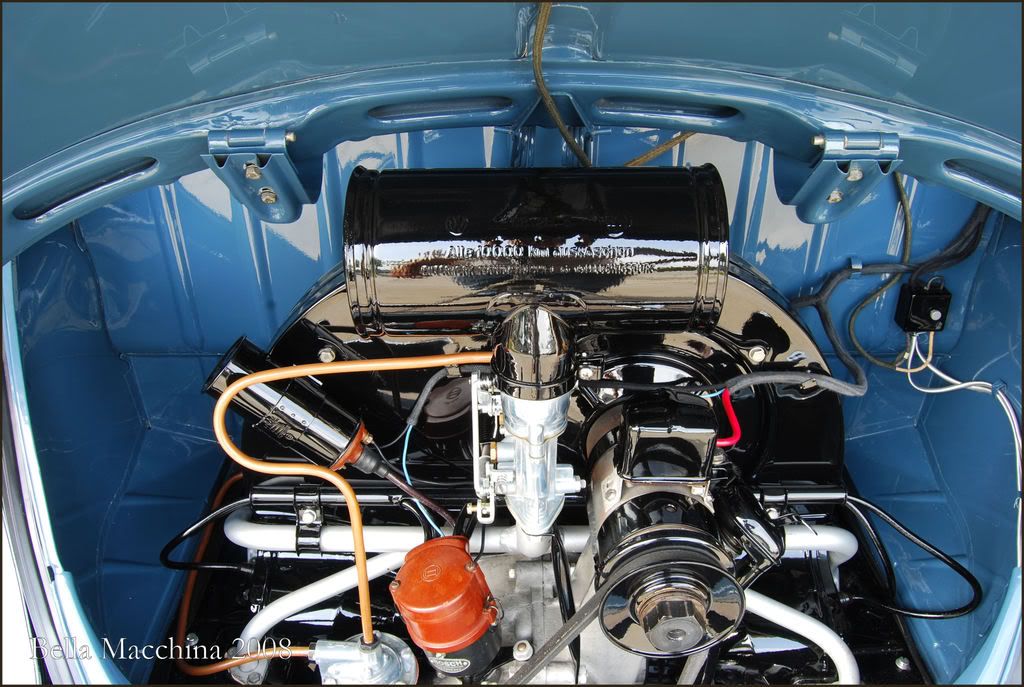
All undersides, jambs and painted surfaces recieved hand polishing and the Zaino treatment.
-
03-10-2008, 02:25 PM #4Just a regular guy
- Join Date
- Feb 2009
- Location
- Oviedo/Stuart Florida
- Posts
- 15,278
- Post Thanks / Like
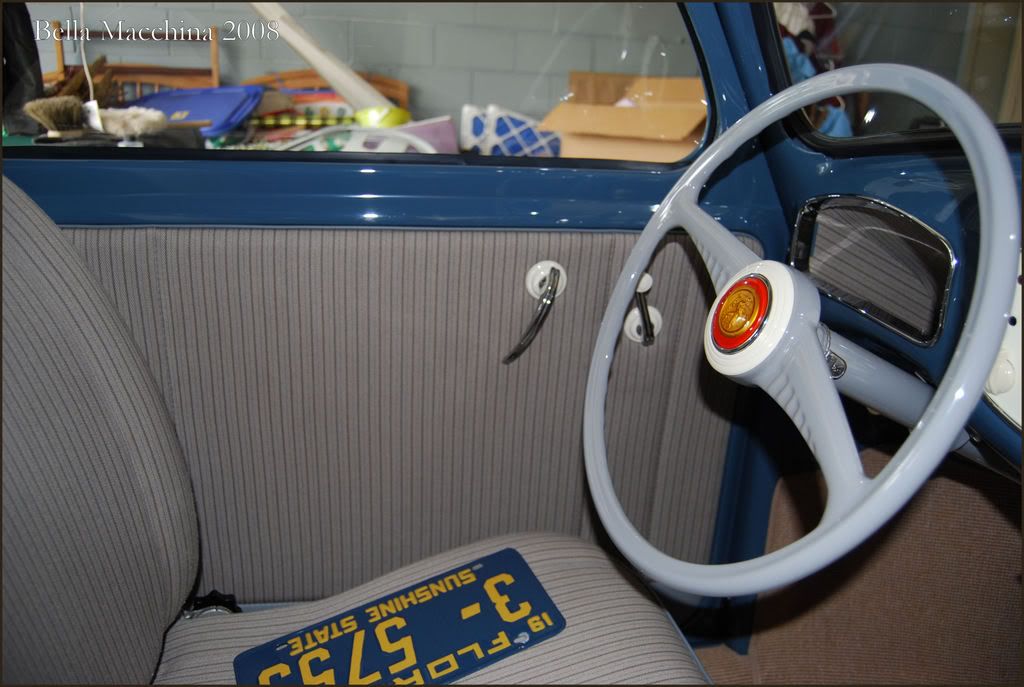
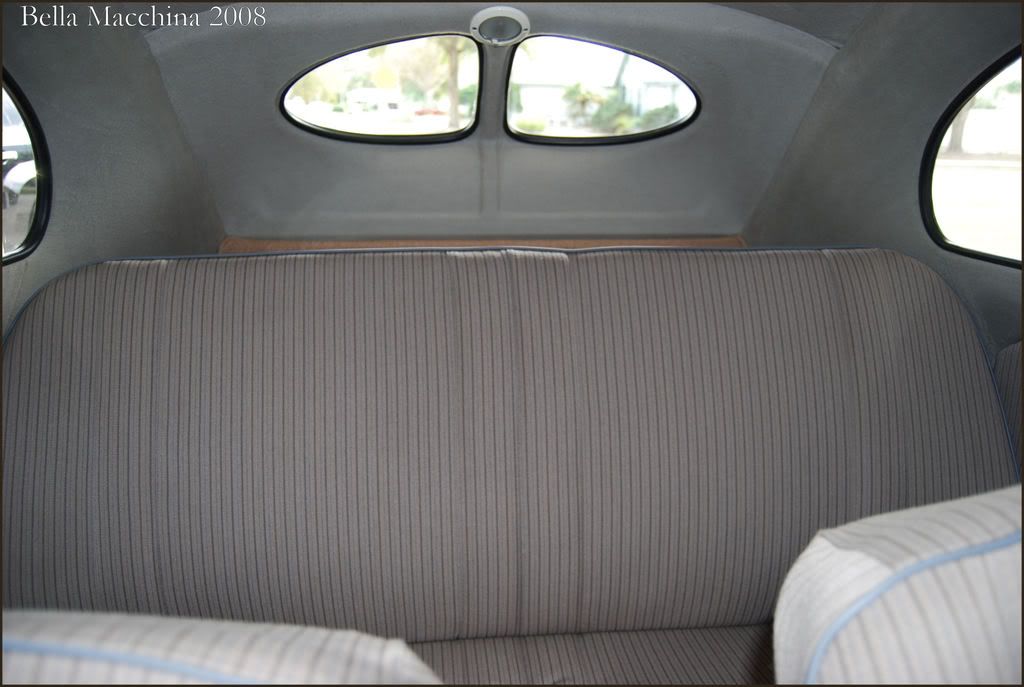
Some pictures of the interior that Jon spent so long on...
-
03-10-2008, 02:26 PM #5Just a regular guy
- Join Date
- Feb 2009
- Location
- Oviedo/Stuart Florida
- Posts
- 15,278
- Post Thanks / Like
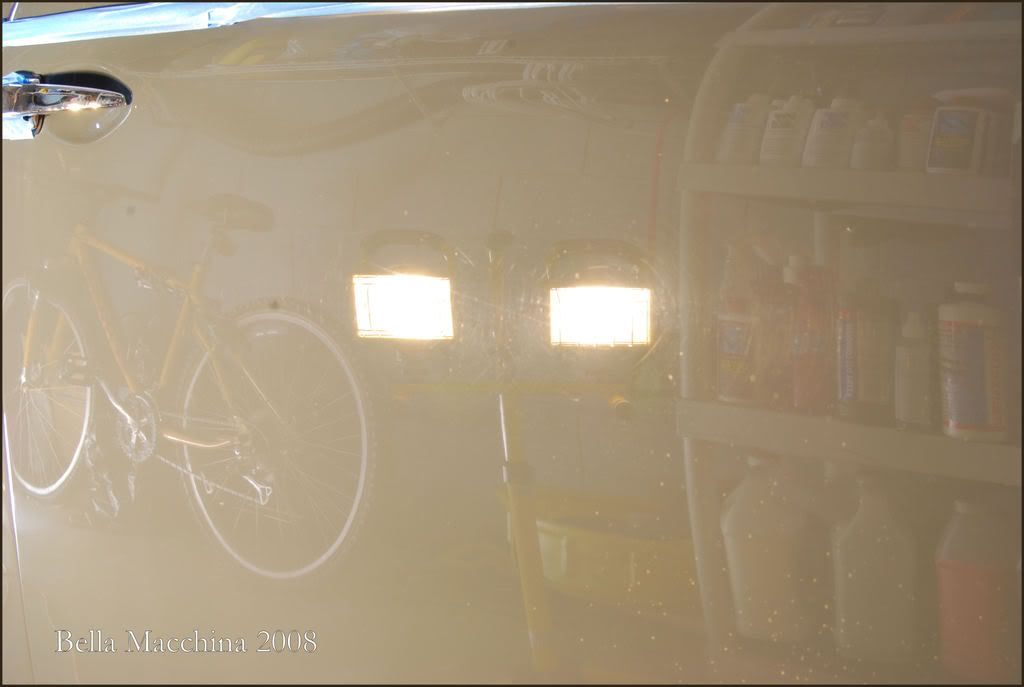
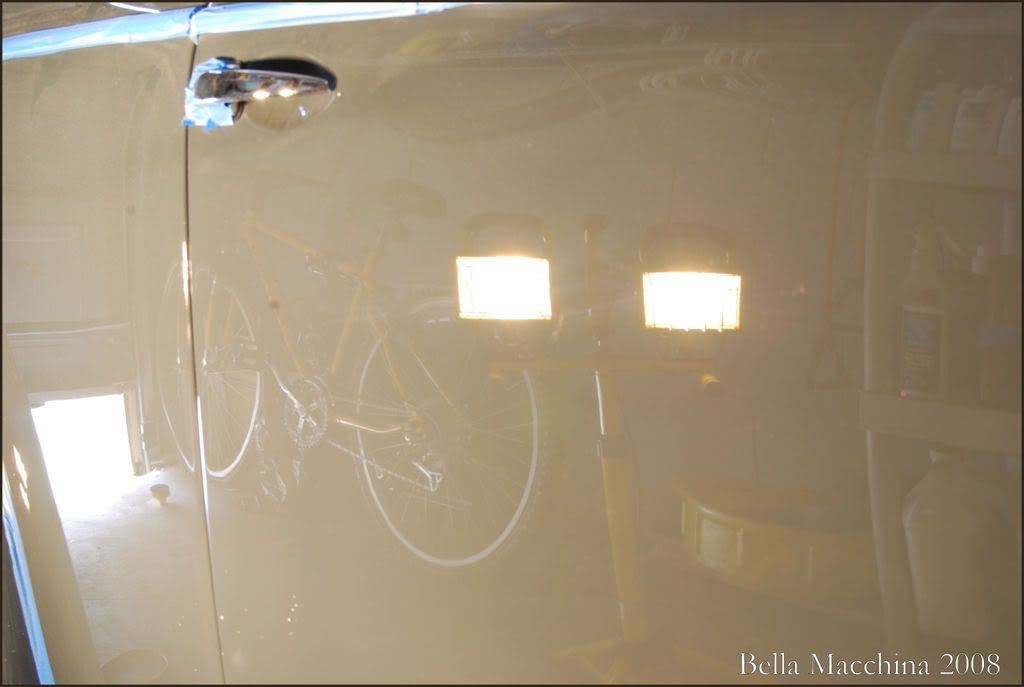
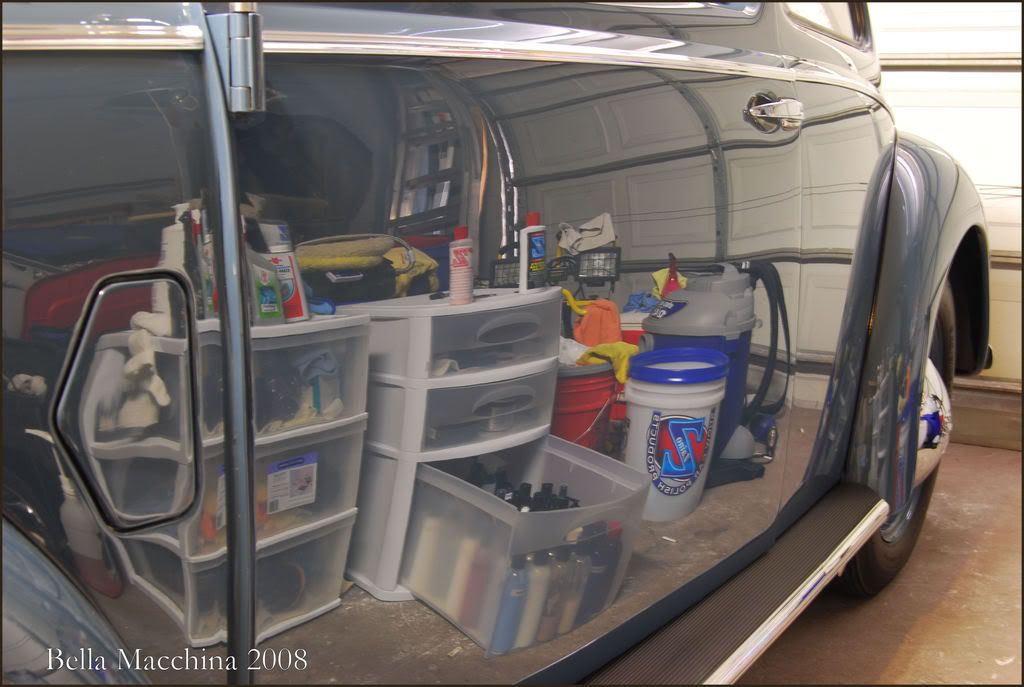
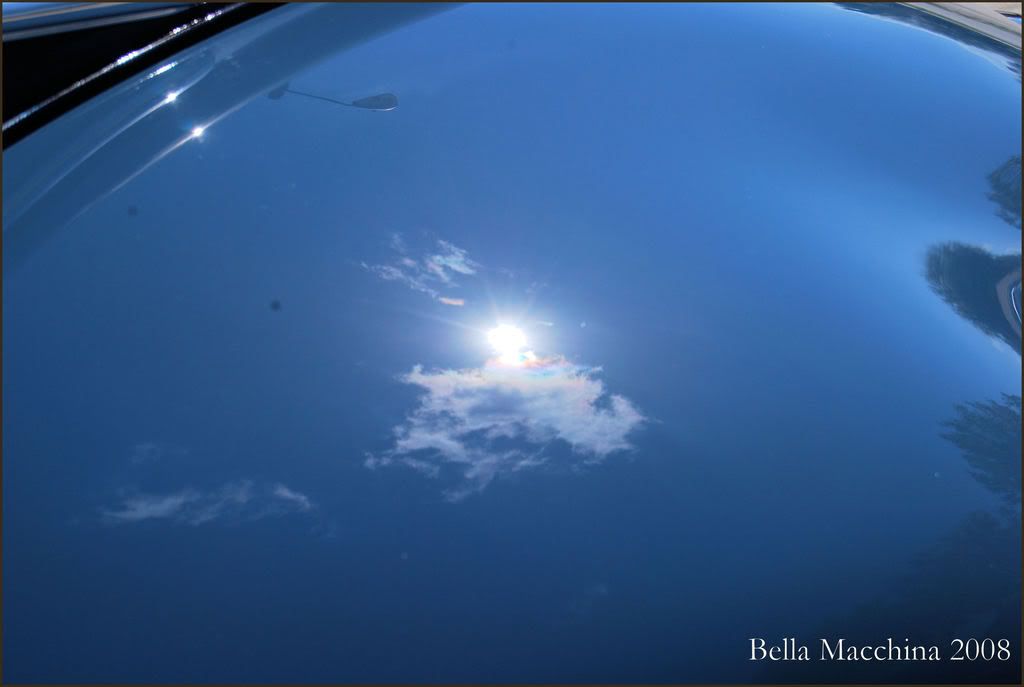
I then pulled with VW out for some photo`s but it was threating rain, so I pulled it back in quickly, and couldn`t find the lighting I wanted to show off the paint.
I was a little dejected as it started to rain and the owner was scheduled to pick up the car. I still hadn`t gotten any good after shots in the sun, so I took a couple in my garage to show how sharp and orange peel free the paint was.

Then I got the call, the owner had to work late and couldn`t pick her up until tomorrow. Perfect I thought, so I wiped the car down and added a topper of Z2pro with Z-CS going over the top of that.
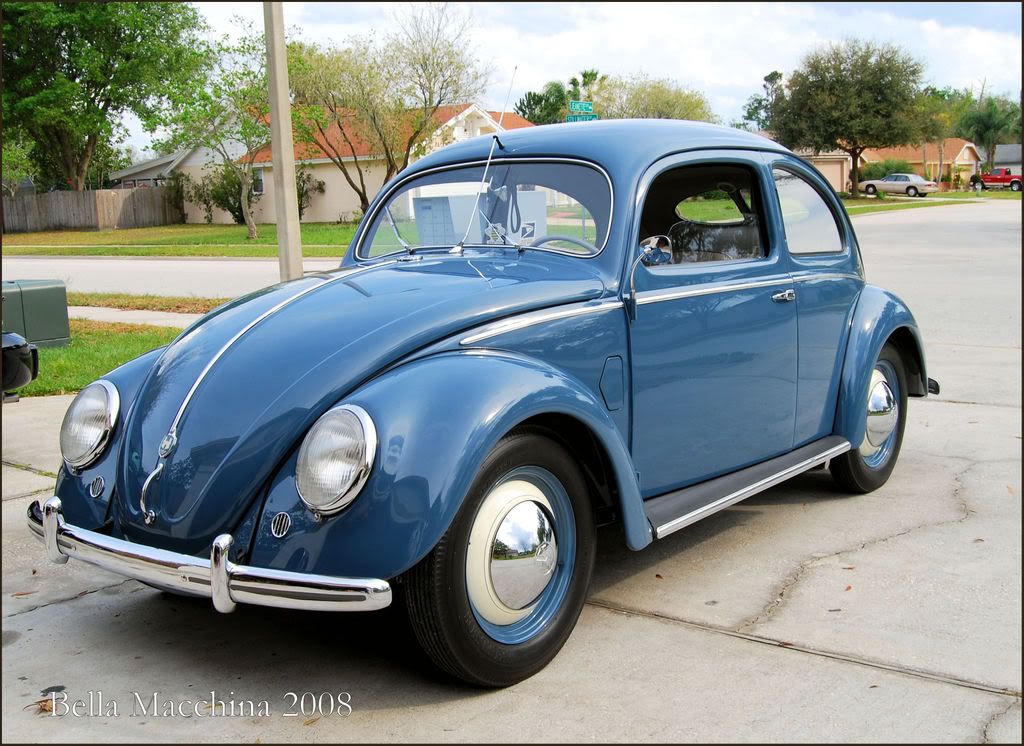
The next morning, the sun was out and I snapped some quick pictures before I had to say good-bye to the Beetle that took away 35 hours of my week. (I loved every second of it).


Farfegnugen!
-
03-10-2008, 02:35 PM #6Just a regular guy
- Join Date
- Feb 2009
- Location
- Oviedo/Stuart Florida
- Posts
- 15,278
- Post Thanks / Like
PS Daniel (baseballlover) dude, I am very sorry I didn`t get to meet up with you. I hope you see why I have been so busy, I wasn`t trying to blow you off!!!
-
03-10-2008, 02:40 PM #7
- Join Date
- Sep 2006
- Location
- NY, Long Island
- Posts
- 850
- Post Thanks / Like
WOW
 Just Wow

-
03-10-2008, 02:52 PM #8
- Join Date
- Dec 2006
- Posts
- 558
- Post Thanks / Like
Very nice.....
That engine and compartment look outstandling......:2thumbs:
-
03-10-2008, 02:52 PM #9
- Join Date
- Jul 2001
- Location
- Macomb, MI
- Posts
- 243
- Post Thanks / Like
Amazing work. Those Germans sure do put together timeless cars. The car looks absolutely stunning. Congrats on the great work!
-
03-10-2008, 02:54 PM #10
- Join Date
- Jul 2007
- Posts
- 279
- Post Thanks / Like
Holy cow that looks amazing! You have a great work ethic along with some amazing skill! Kudos!

-
03-10-2008, 02:56 PM #11
- Join Date
- Sep 2002
- Location
- NE Ohio
- Posts
- 86,984
- Post Thanks / Like
Th0001- I always love your attention to detail (no pun intended) and this one`s a real treat, thanks for sharing it.
[insert usual regarding TH0001`s work here...]
One thing I`d like to point out for emphasis is how your made an properly ad hoc decision about how much paint to remove based on *knowing* what the painter had done, and you kept checking your proguress with the ETG :xyxthumbs I wouldn`t want anybody to think it`s generally OK to take off that much All those passes with aggressive combos had me on the edge of my seat as I waited to get to the part where you discussed the final ETG readings. Hope it doesn`t get marred up again any time soon.
Only 35 hours too! You guys work fast.
-
03-10-2008, 02:57 PM #12Super Moderator

- Join Date
- Dec 2001
- Location
- Middletown, Delaware
- Posts
- 13,582
- Post Thanks / Like
Stunning work my friend :2thumbs:
You certainly have brought new meaning to the term "Fargunugan". Herbie would be proud...:spotOnly Z Best Detailing-Automotive Concours Detailing Services
http://ozbdetailing.com
https://www.facebook.com/ozbautodetailing
-
03-10-2008, 03:04 PM #13

- Join Date
- Mar 2009
- Posts
- 676
- Post Thanks / Like
a BIG classic fan here and that is a stunning job
Beautiful restoration and amazing attention t detail in your work, again.
I recommend you get the sensor cleaned on your camera BTW and remove those dust spots that keep cropping up in your images. That would show off your work even better
-
03-10-2008, 03:09 PM #14AMG Classic Car Detailing

- Join Date
- Feb 2008
- Location
- Sunny Florida
- Posts
- 11,199
- Post Thanks / Like
Fargunugan mi amigo, That VW bring back old memories when i was a young punk. My best friend had one for yrs and we would drive long distances to pick up chicks, until he sold it and got a muscle car. Just amazing what you have done to it and it`s 100% better looking than the day it left the factory.
 ........:usa
AutopiaForums is the place to be.
........:usa
AutopiaForums is the place to be.
Remember to Shop Autopia-CarCare.com for your Detailing Needs!
-
03-10-2008, 03:45 PM #15Just a regular guy
- Join Date
- Feb 2009
- Location
- Oviedo/Stuart Florida
- Posts
- 15,278
- Post Thanks / Like
 Originally Posted by Yal
Thanks!
Originally Posted by Dave1
Thanks Dave1!
Originally Posted by adjulian
tHANKS adjulian! I totally fell for this car
Originally Posted by JustinDetail
Thanks Justin. Ask Brian, I have been known to put in about 30 hours straight (with a 15 minute nap).
Originally Posted by Accumulator
Thanks Accumulator, I think. I don`t know what ad hoc is, so I am assuming its a compliment. The final readings showed an average decrease of .2 mils (which was sufficent to remove 99 percent of all marring), while some areas had .3 mils decrease. I never registered more than a .3 decrease in reading.
Originally Posted by Pats300zx
Thanks Pat, Herbie IS proud!

 Reply With Quote
Thread Information
Users Browsing this Thread
There are currently 1 users browsing this thread. (0 members and 1 guests)
Similar Threads
-
Porsche Club of America Concours
By Brad B in forum Car Show & ConcoursReplies: 4Last Post: 12-29-2006, 05:12 AM -
Pics from the Southern AZ Porsche Concours
By Onehole in forum Car Show & ConcoursReplies: 2Last Post: 05-03-2004, 02:18 PM -
Clay, Mans Greatest Invention!
By FourStarDetail in forum Auto Detailing 101Replies: 7Last Post: 03-19-2004, 08:40 PM -
Pics from Arizona Porsche Concours
By Onehole in forum Car Show & ConcoursReplies: 14Last Post: 11-14-2003, 02:15 PM -
Pics from the Porsche LA Concours
By Onehole in forum Car Show & ConcoursReplies: 1Last Post: 06-08-2003, 10:44 PM
Bookmarks