This has taken longer than planned to test and write up.` I know there are many who have been anxiously awaiting this write up and to all of you, I apologize for the delay.`
`
`
After my first review of some trim restorers and dressings âhttp://www.autopia.org/forum/topic/1.../#entry1422446<span style="font-size:14px;">â I was contacted by a few companies to review their trim restore products as well.`
`
`
I chose to include a few over the counter products, not because I expected them to compete with the others, but so that the DIYers could decide whether the cost of the other products are justified. `We have all had those moments of debate whether it is worth the cost for a product that is many times that of something you could grab at the local auto parts store. `There are still other products I would like to test and compare but with over $250 invested in products for testing I cannot justify purchasing any more just for testing purposes. `
`
`
Finding people with test subjects that were willing to allow for uneven looking trim for a long period of time and being accessible for me to observe proved more difficult than I anticipated. `The solution was to dumpster dive at a few local body shops. `
`
`
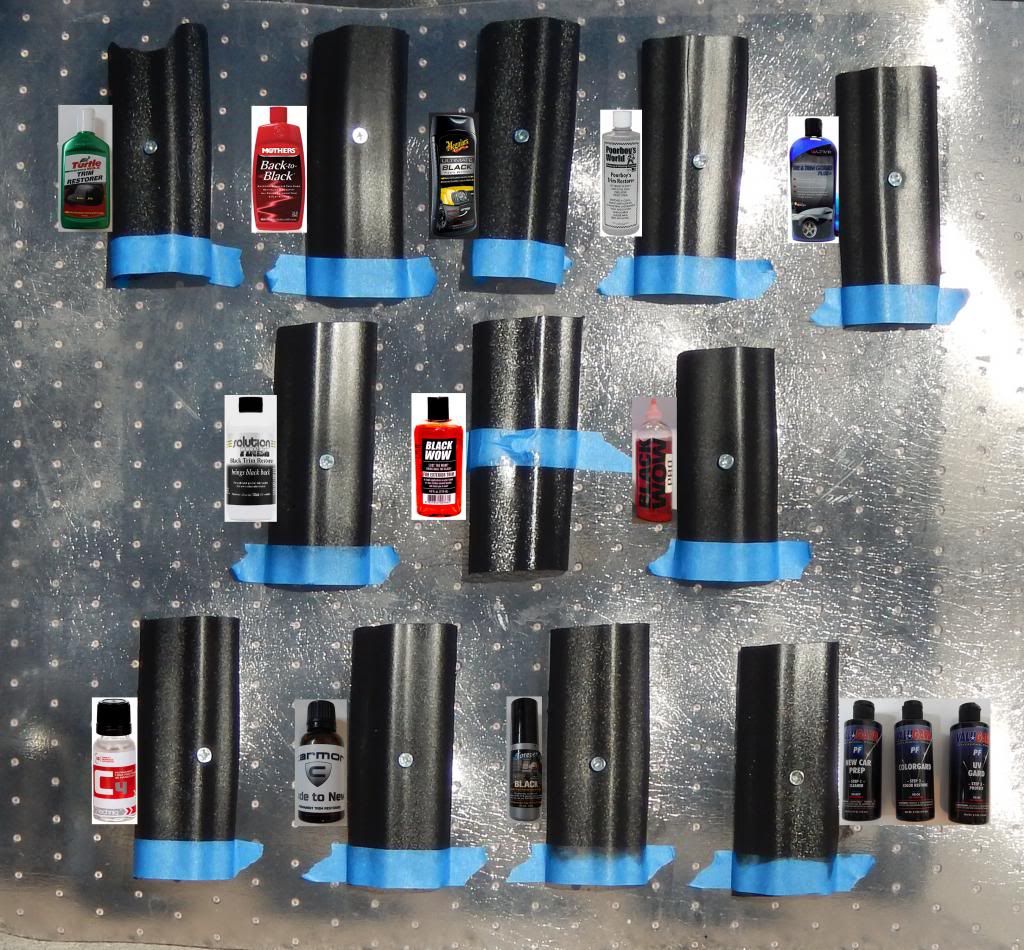
For the durability test I used a bumper strip (unknown vehicle) that I cut into several pieces and attached to a large piece of plastic. `This allows for easy mobility, even and consistent exposure to the elements and side by side comparisons. `
`
`
`
`
Each piece for the test panel was cleaned with Optimum Power Clean, then with Pre Wow!, followed by a dawn wash and `finally an IPA wipe. `If that isnât enough to properly clean and prepare plastic trim for a product then the product is not user friendly enough for me to even consider using. `The bottom 1 inch of each piece was taped off to provide a strip of untreated plastic. `I also kept a small piece that was untreated as a control piece that could be held next to each treated piece. `Unfortunately the piece was not heavily faded but since this particular test was for durability it shouldnât matter. `(Scroll down for the effectiveness testing) `Since the test pieces were small I used triangle make-up applicator sponges to apply. `Since some products had varying recommendations for time before being exposed to the elements I left the panel in the garage for a full week after application. ` Any specific application details included below. `I shot a video of the application process should anyone question the application method affecting the results. `Video part 1, `Video part 2
`
`
`
`
*I am not a great photographer and many of these were taken in haste just for documentation purposes. `Sometimes the photos may not appear exactly as my description implies. `In most cases this is due to lighting and angles. `
`
`
`
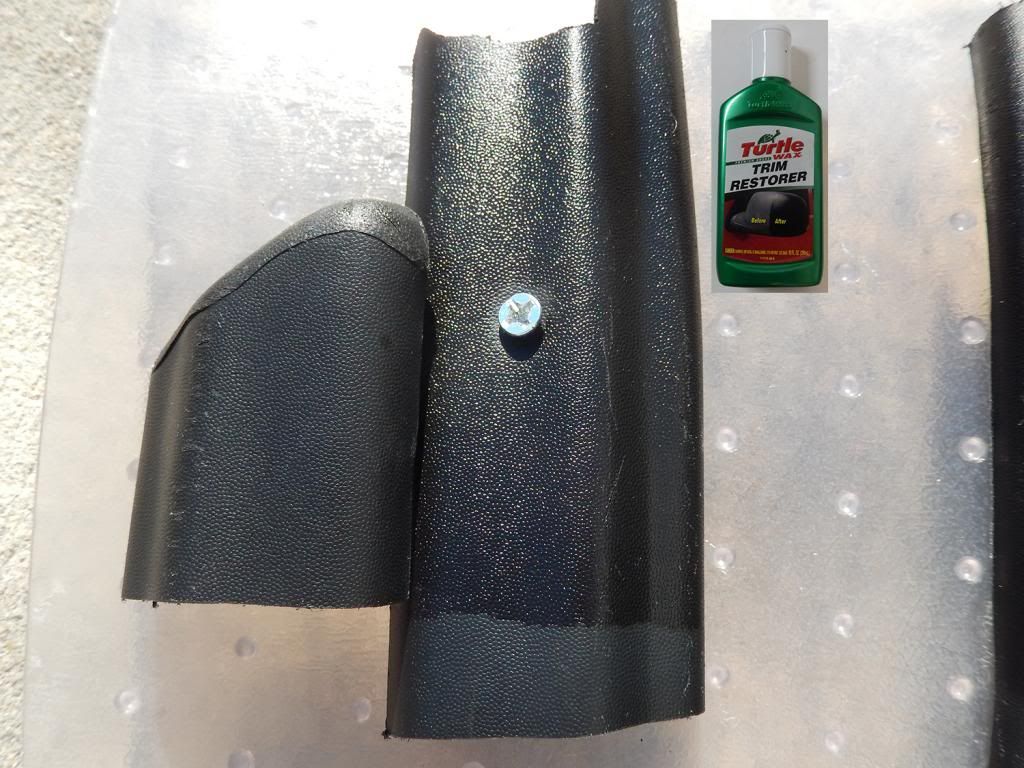
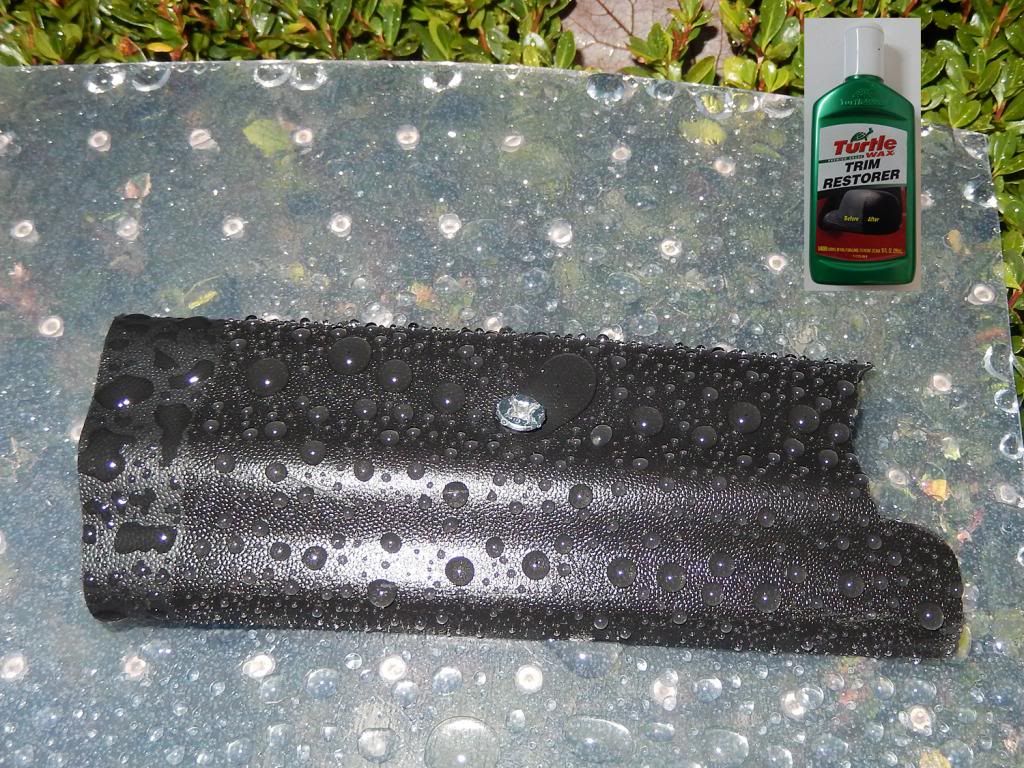
Turtle Wax Trim Restorer:
`
`
`
This was a last minute addition since my neighbor happened to have it in his garage. `Cost is roughly $10 for 10 oz. ` It is a clear, thin liquid and has a mild, unidentified fruit smell (possibly apple or pineapple. `Canât tell with my cold). `Allow to penetrate for 5-10 minutes, then wipe off excess. `It goes on quite oily; feels like rubbing baby oil on the trim. `The initial look is very oily as well. `
`
`
`
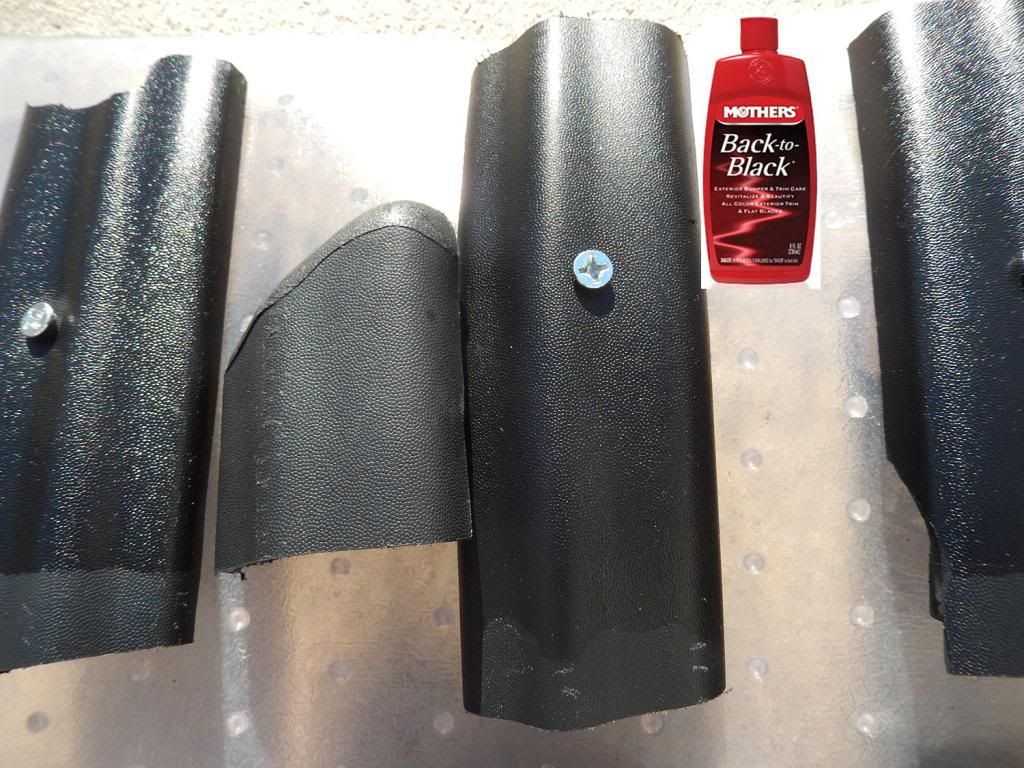
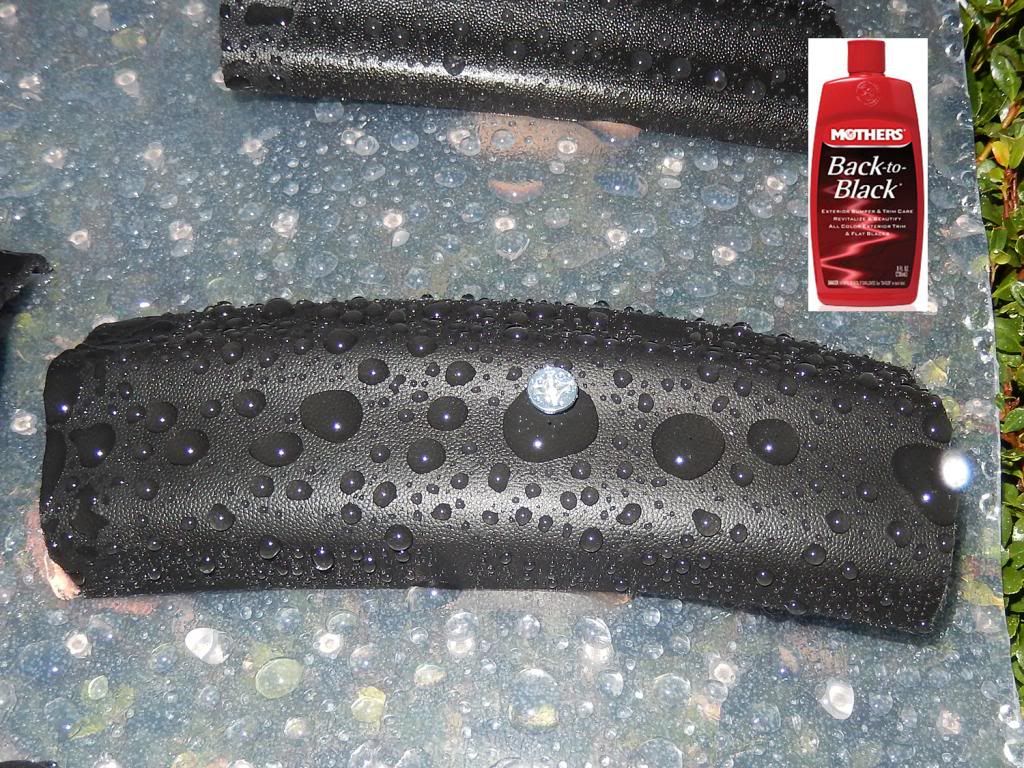
Motherâs Back to Black:
`
`
`
This had been taking up space on the shelf in my garage for some time. ` Cost is roughly $7 for 8 oz. `A white lotion-like consistency that has a mild chemical odor; slightly thinner than shampoo. `Allow to dry then buff off excess. `Darkens the trim with a low sheen. `Requires significantly more product to cover an area than any other product tested. `On larger sections it produced uneven results.
`
`
`
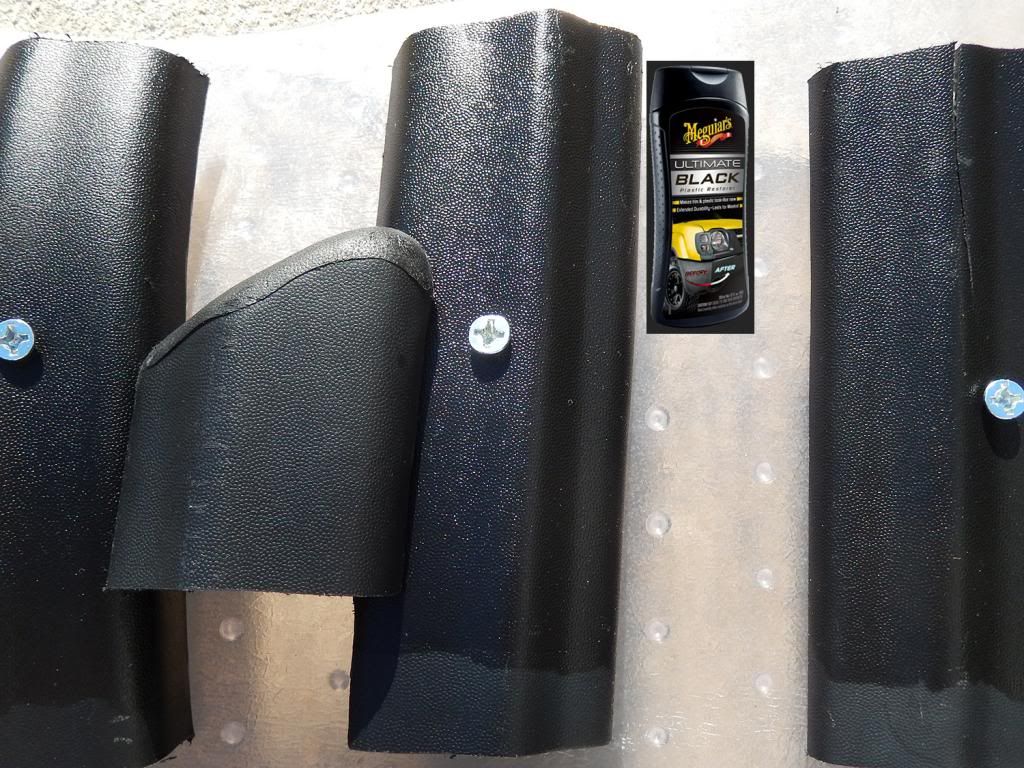
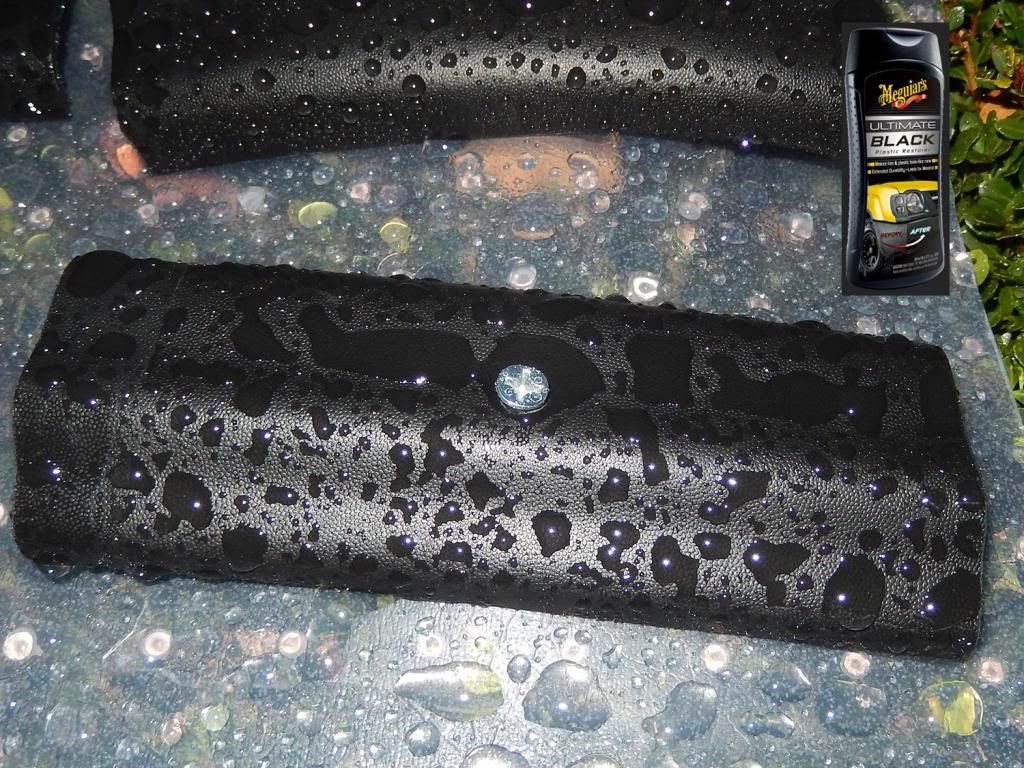
Meguiarâs Ultimate Black Plastic Restorer:
`
`
`
Another product that has been on my shelf for a long time. `Cost is roughly $10 for 12 oz. `A cream colored lotion with a tropical, sun tan lotion smell. `Wipe on an remove excess. `Easy to apply and provides a dark, rich but not overly greasy look. `
`
`
`
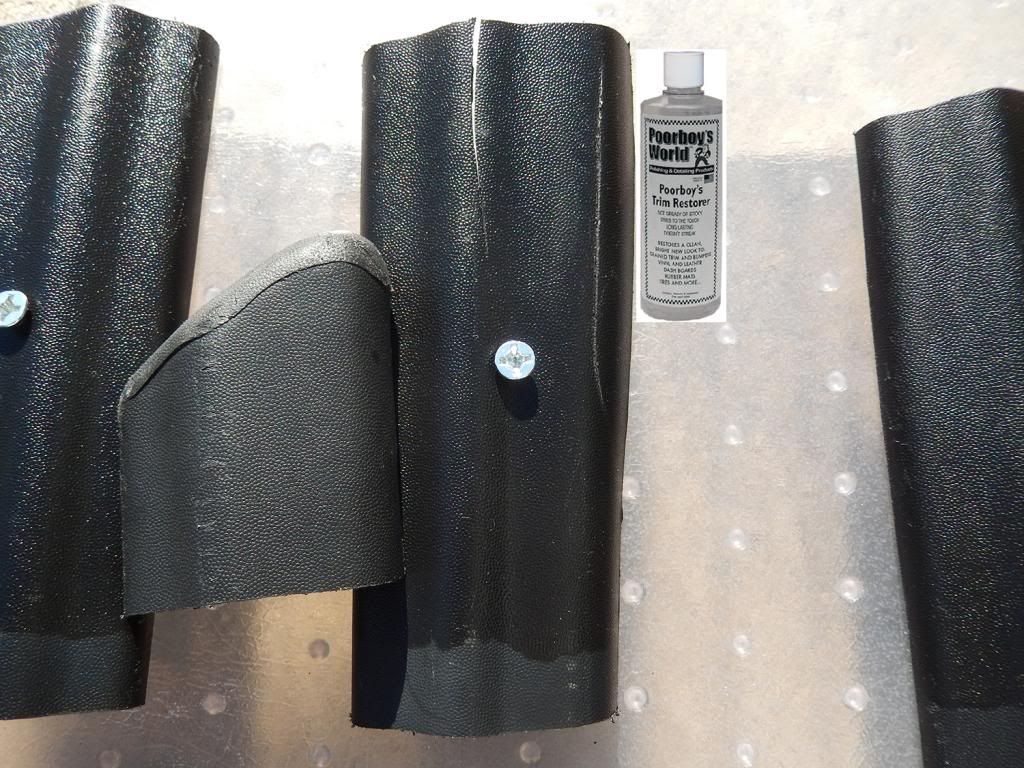
Poorboys World Trim Restorer:
`
`
`
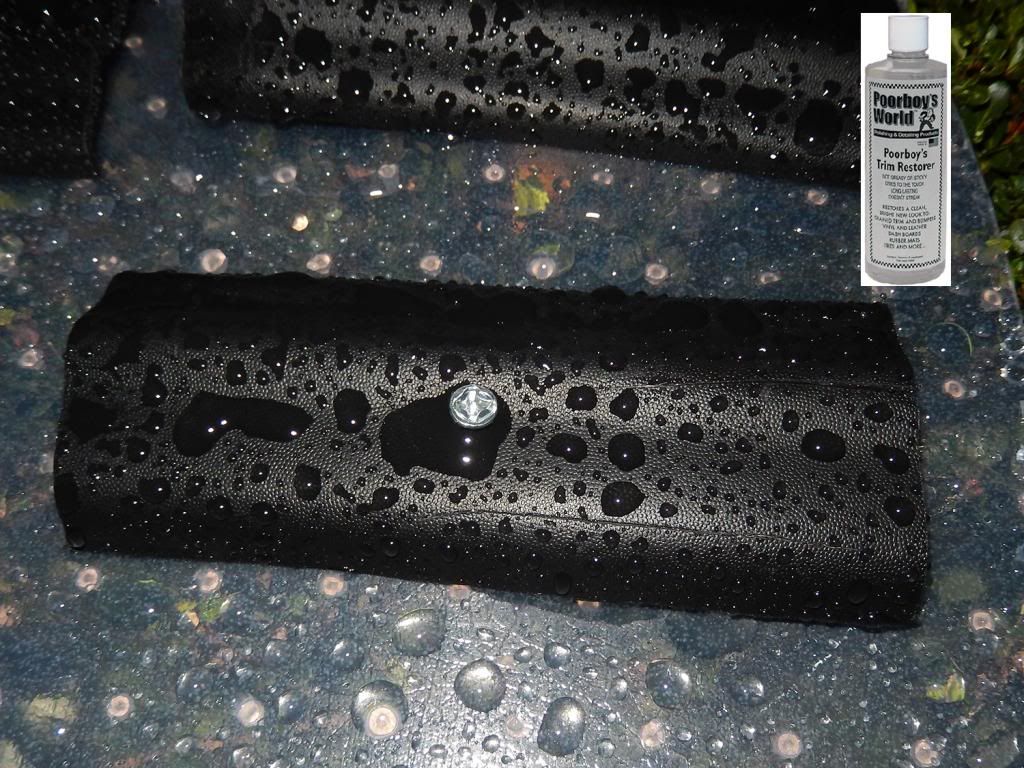
I decided to add this to an order just to add to the test. `Cost is roughly $18 for 16 oz. `A clear, very thin liquid with a very distinct coconut/tanning oil smell. `Wipe on and allow to dry as long as possible before buffing off excess. `Spreads very easy and leaves a oily look when applied.
`
`
`
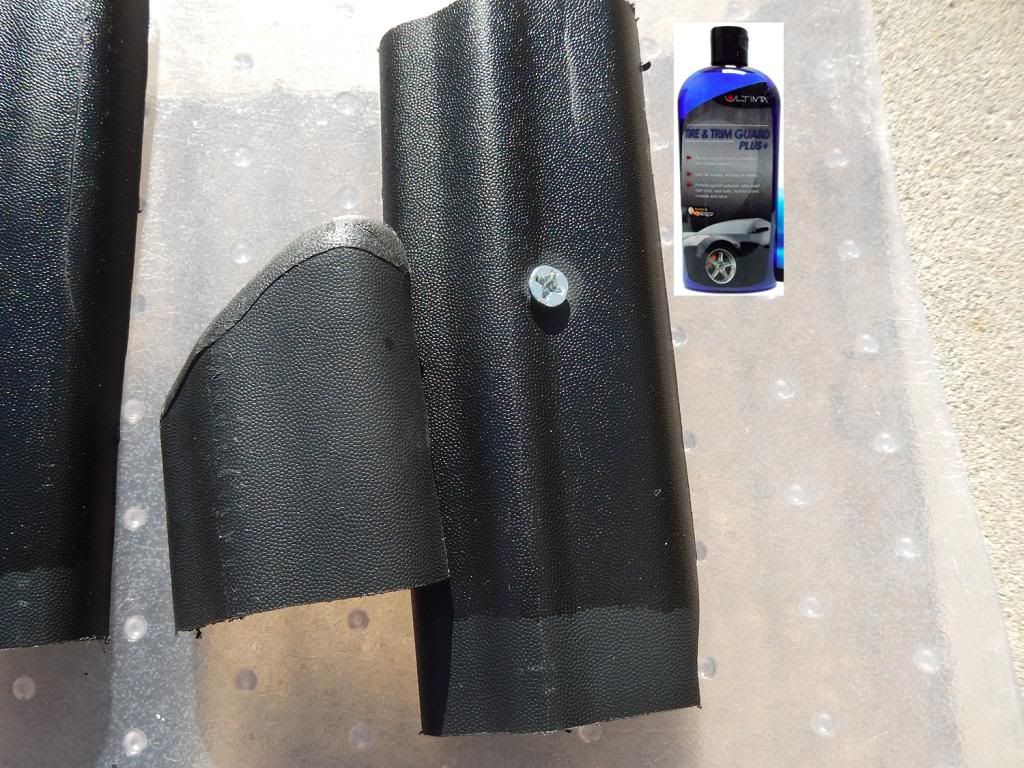
Ultima Tire & Trim Guard Plus: `
`
`
`
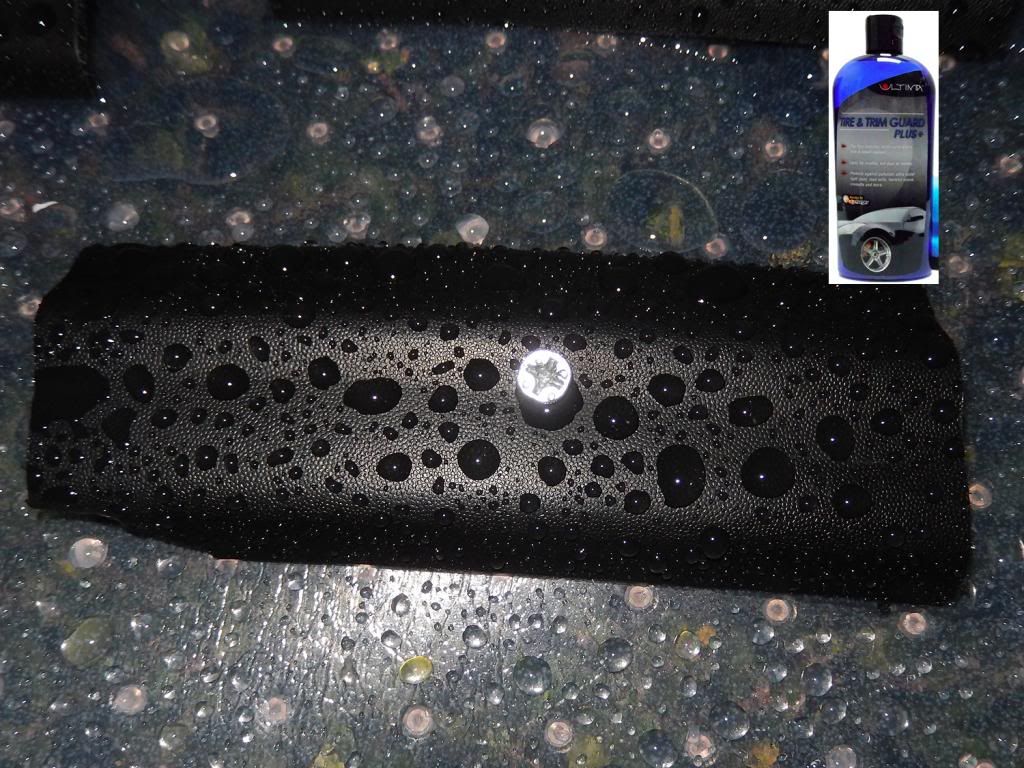
This has been my favorite dressing for trim. `Cost is roughly $32 for 12 oz. `A little goes a very long way so the initial look of being costly is deceptive. `A clear liquid with a mild solvent smell. `Instructions donât say it but I have found it best to allow to penetrate for 10-15 minutes, then wipe off excess Spreads very easy and leaves a moderately glossy look but not greasy to the touch once dried.
`
`
`
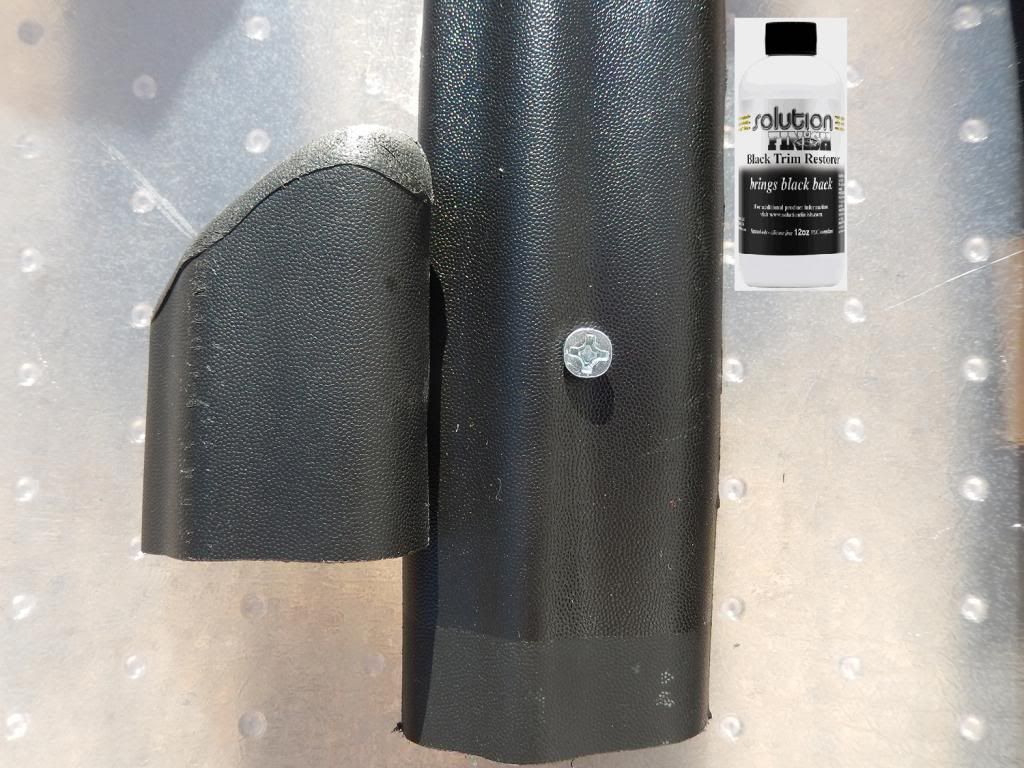
Solution Finish: This was provided to me by the Chris West for testing purposes. `
`
`
`
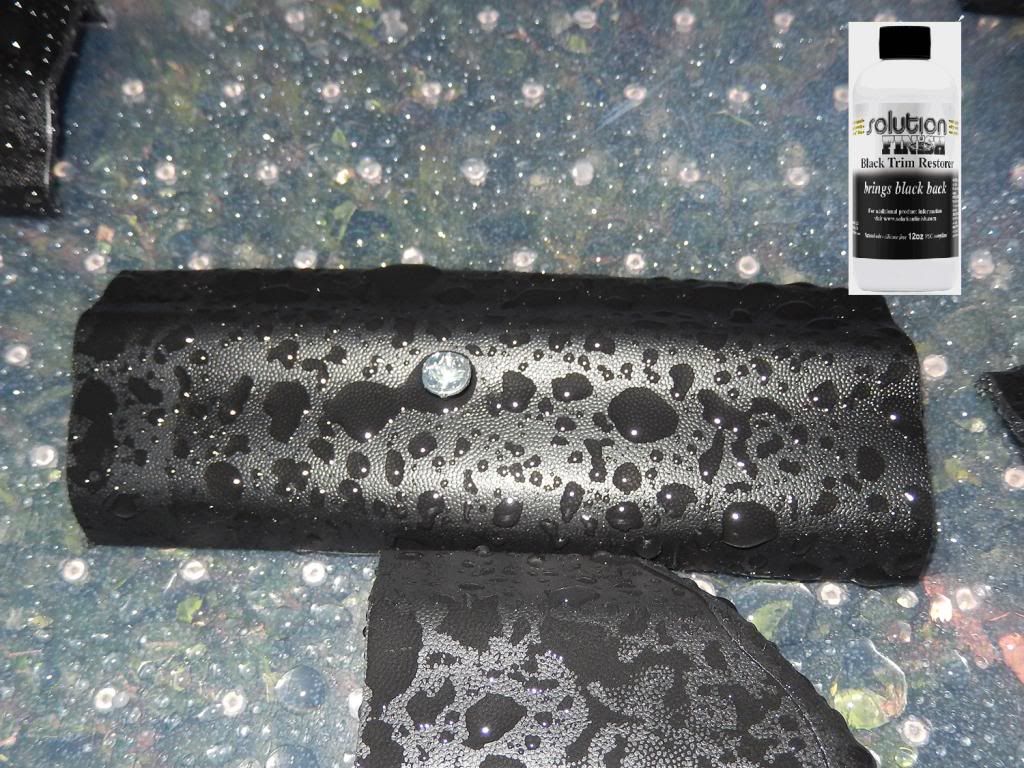
Cost is roughly $40 for 12 oz. `I had read many forum posts that question this products viability on colored trim other than black. `It is a liquid consistency that is black in color; almost looks like fountain pen ink when in the bottle. `I tested on a light gray interior panel and had no issue with the black changing the color; just giving the low sheen, dressed look. `I see no reason to believe it would not produce the same results if used on colored plastics. `When spread on a lighter color plastic the black color makes it look uneven. `Larger areas can seem to not be getting even coverage at first. `Allow to penetrate 1-2 minutes then wipe off the excess. `The unevenness goes away leaving a rich, natural look. `Wear gloves as it will absorb into skin and stain. `Likewise, if it gets on paint wipe off immediately. `Once dried it can be difficult to remove. `Taping around the trim made it much quicker and easier to work to the edges. `
`
`
`
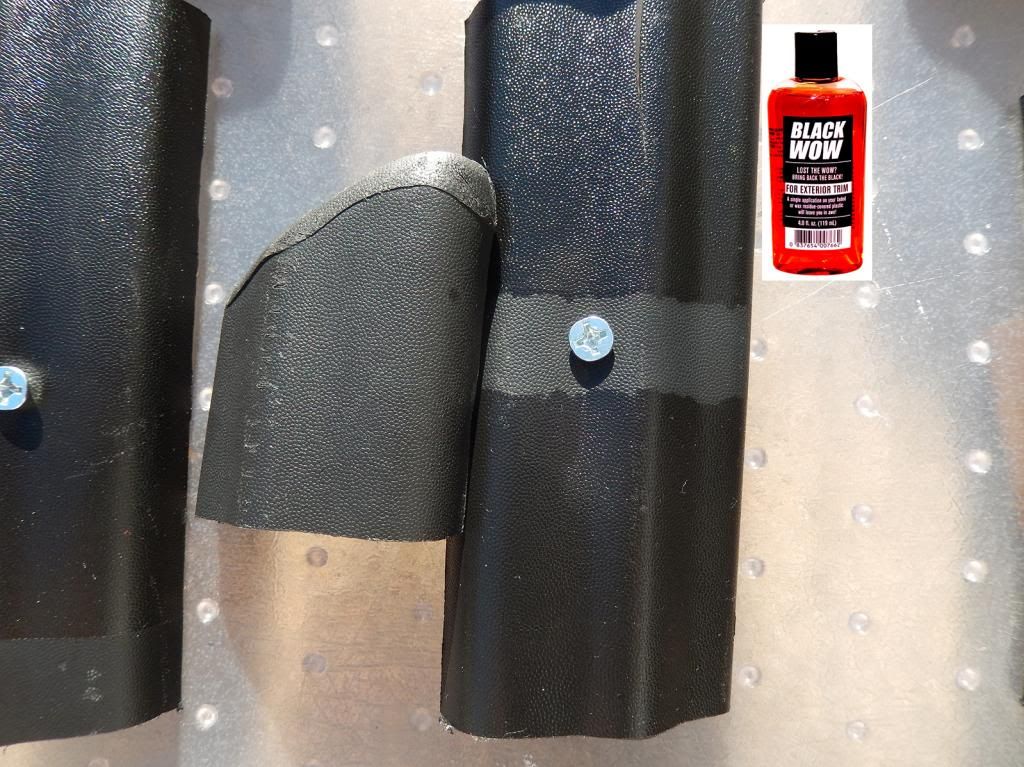
Black Wow!: `This was purchased for the first test.
`
`
`
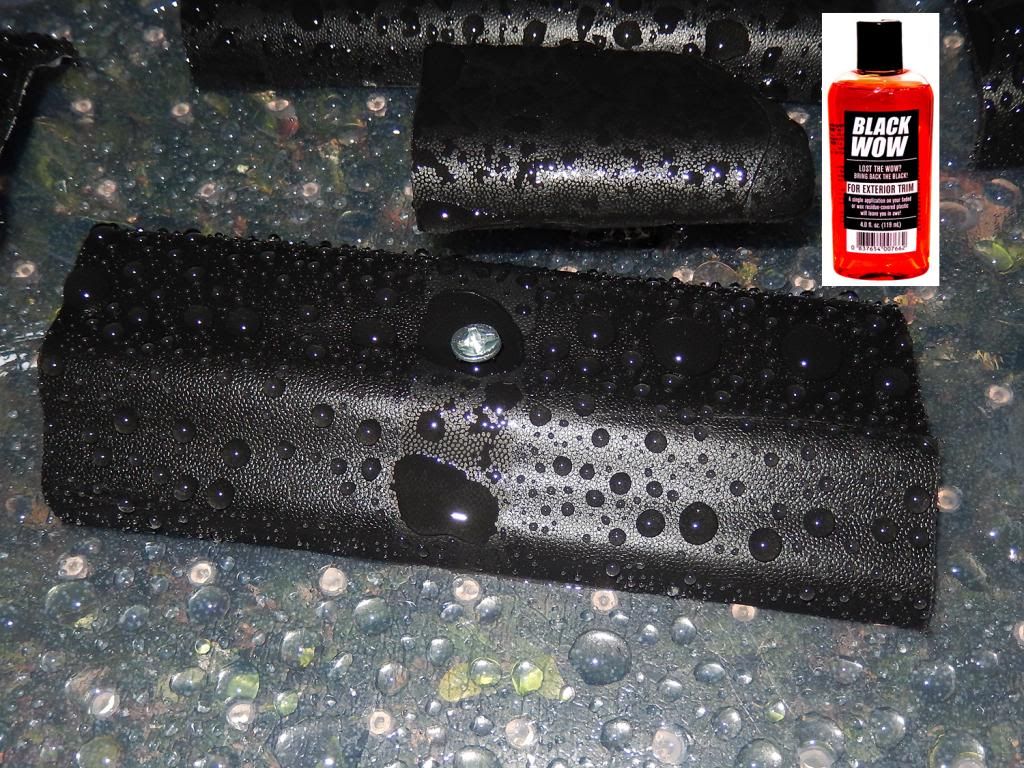
Cost as purchased was roughly $45 for the 4 oz. kit that includes the Pre Wow that is the recommended cleaning companion. `A 2 oz kit is roughly $35 and a 2 oz bottle without the Pre Wow can be gotten for about $16. `It is a pinkish-orange gel with a nice watermelon smell. `A little goes a long way. `This test piece was taped across the middle to test the difference between dwell times. `After my first test Richard Lin, the maker of Black Wow!, suggested I did not allow the product to penetrate long enough which likely contributed to the poor performance. `The top half of the test piece was allowed to dwell for about an hour before removing the excess while the lower half was left for about 4 days. `On larger test panels it was a little more difficult to spread and produced thicker areas that looked greasy. `Once the excess was removed the look was still glossy but even. `
`
`
`
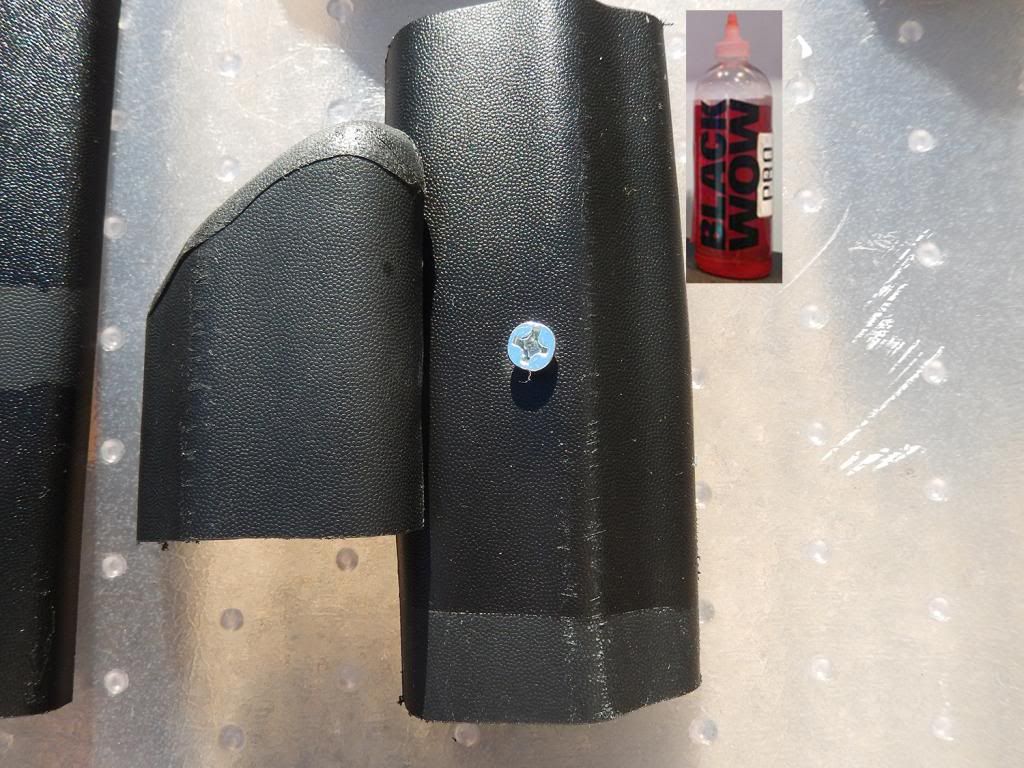
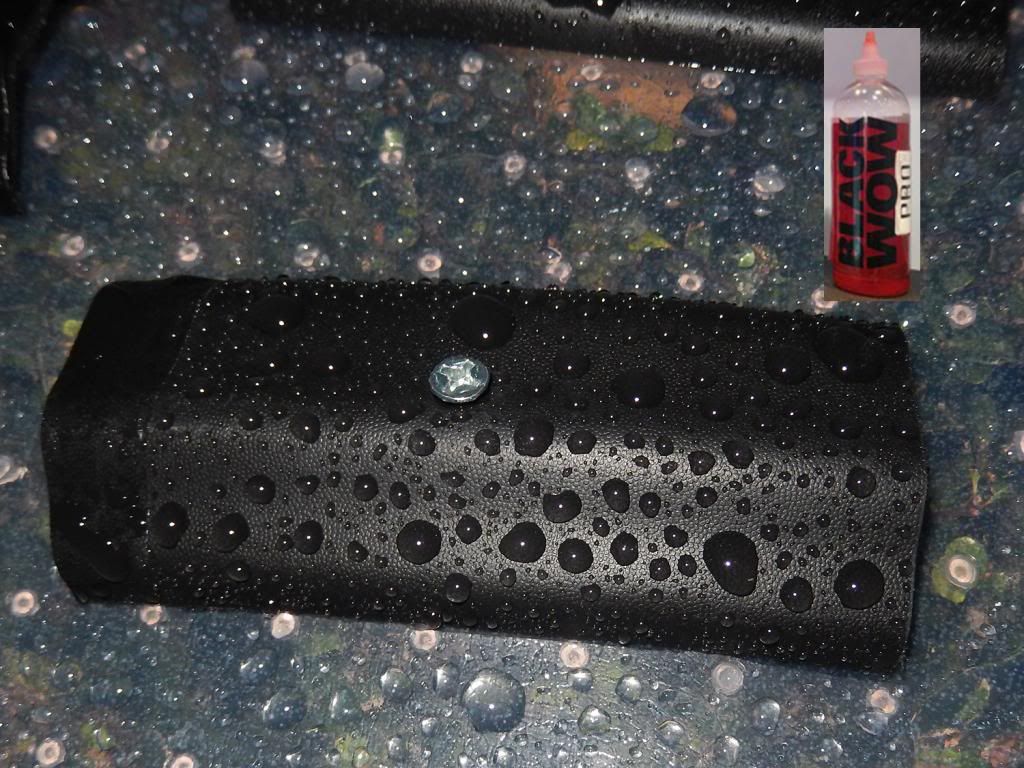
Black Wow Pro: `A small sample of this product was sent for testing after the first test. `It was sent prior to its introduction at SEMA. `It is just now beginning to be distributed to retailers.
`
`
`
Cost is roughly $70 for 16 oz. `At first Black Wow Pro looks very similar to Black Wow! `It has a color more of a true orange and has the same pleasant, watermelon smell. `The consistency is much thinner; more of a liquid than a gel. `It is designed to absorb much faster into the plastic and eliminate some of the issues experienced with Black Wow!, thus being more user friendly. `That it is. `I found it to spread easier, absorb quicker and leave a very natural, rich, non-greasy look. ` I have heard of others using an air brush for applying it which can be a huge advantage when applying to intricate areas like plastic grill inserts and vent covers.
`
`
`
We now get into the coatings: `these products bond to the surface rather than absorbing into the plastic.
`
`
`
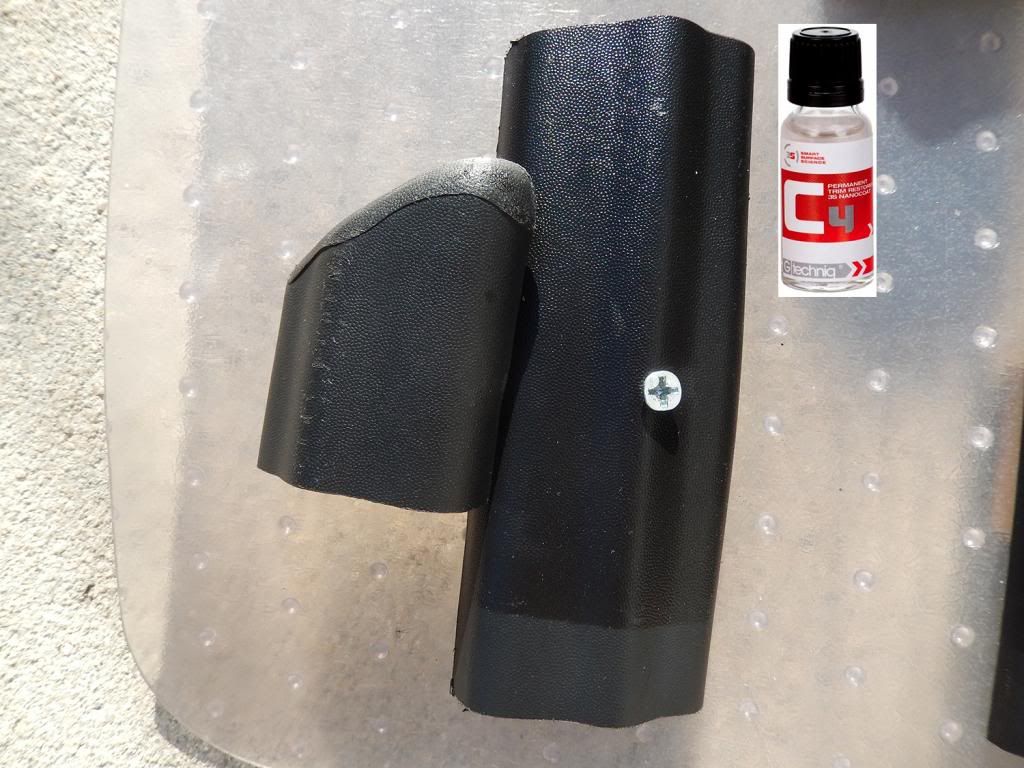
GTechniq C4 Permanent Trim Restorer: `A carry over from the first test.
`
`
`
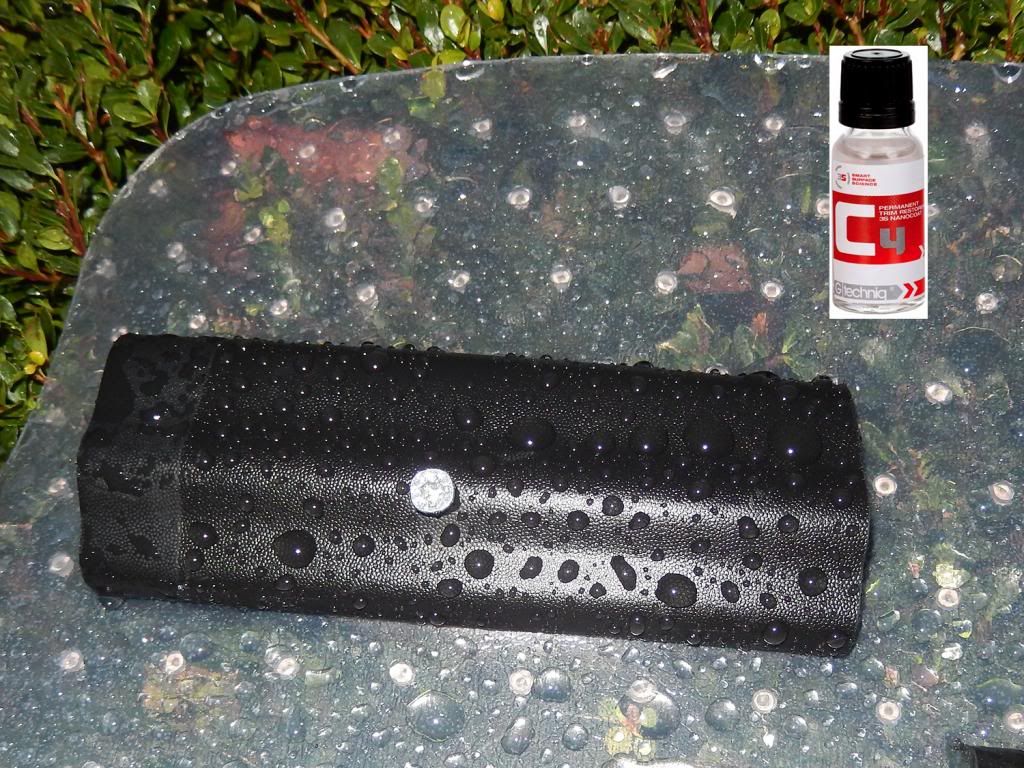
Cost is roughly $65 for 1 oz. `A ½ oz. option is available for ~$40. ` It is a clear liquid. `It looks like a small vial of water. `The smell is a floral-chemical smell that I canât identify but hints of Absenthe. `Donât let the price scare you. `I managed to coat all the plastic on an Avalanche, including the bed cover panels, with about ¾ oz. `Apply evenly and immediately remove any excess with a micro fiber towel. `The look is very natural and effective at restoring the look of faded trim. `
`
`
`
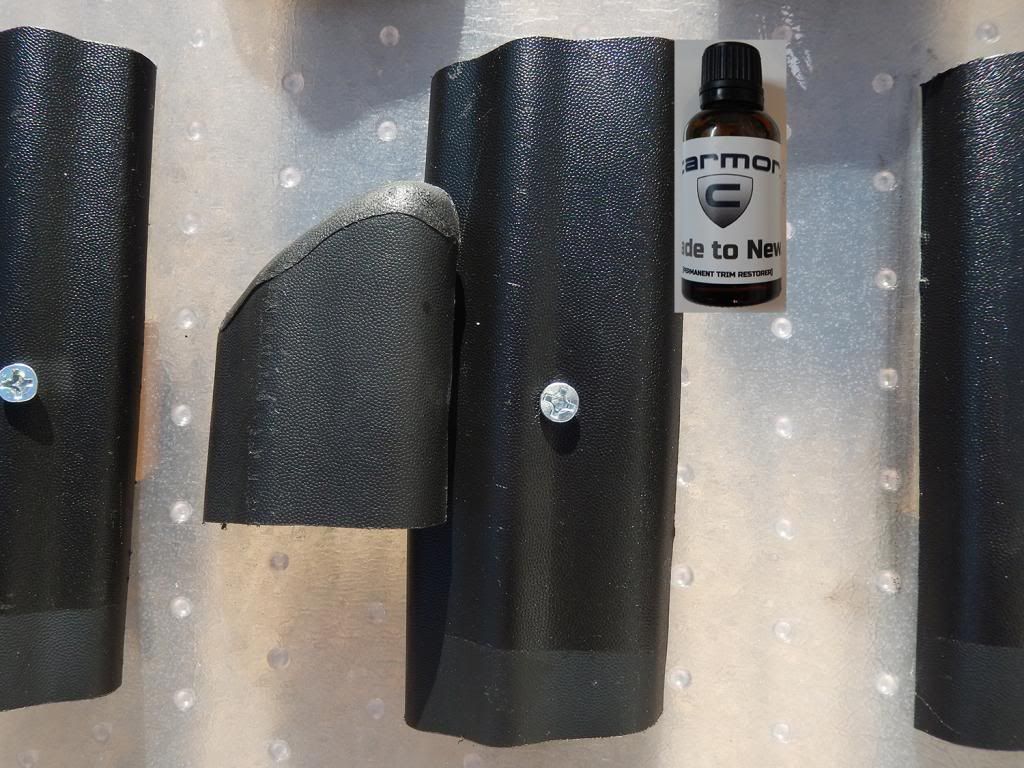
Carmor Fade to New: `This was provided for testing purposes. `
`
`
`
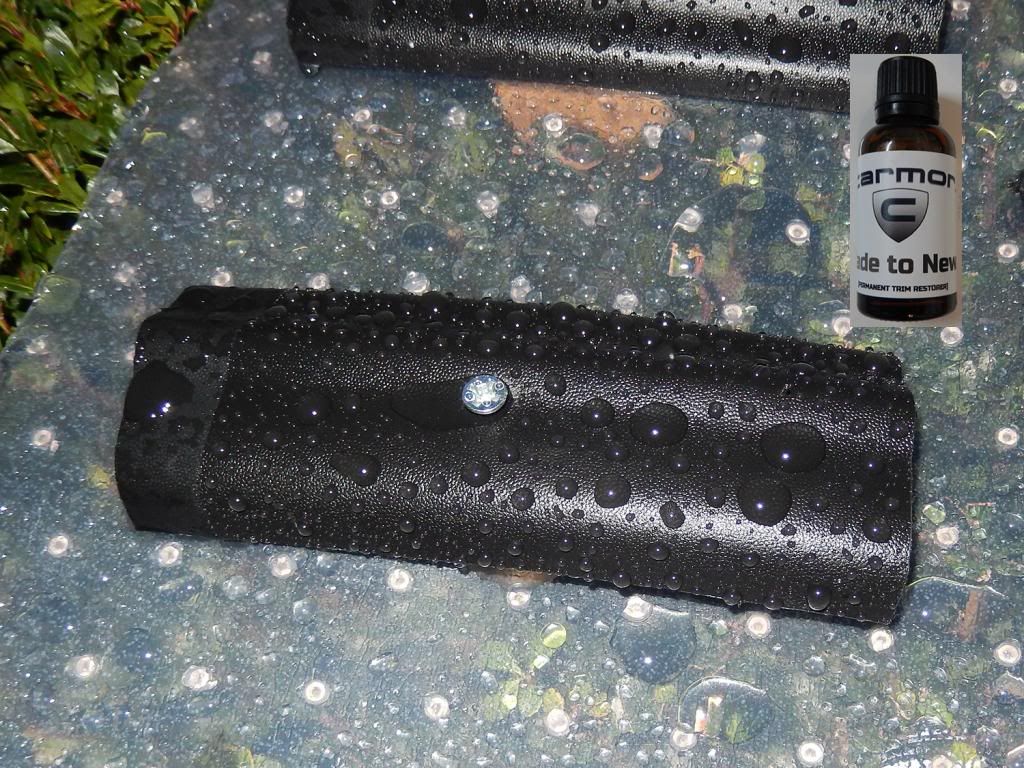
I had not heard of the product prior to being contacted and asked if I would be interested in testing it. `Cost is roughly $35 for 1 oz. `It is also a clear liquid that works by bonding to the surface of the plastic in a similar way to the GTechniq. `The smell is similar to acetone/nail polish remover and the consistency is slightly thicker than the GTechniq. `Side by side products look very similar with Carmor having a slightly glossier look. `Being slightly thicker, Carmor is a little slower to spread, particularly on larger sections. `Once applied avoid contact for 2 hours to avoid smudging. `It is advised to not clean the plastic with strong cleaners for 1 week after application. `Avoid water for 24 hours to avoid spotting or trails. `Wipe gently as soon as possible if water does come in contact during that time.
`
`
`
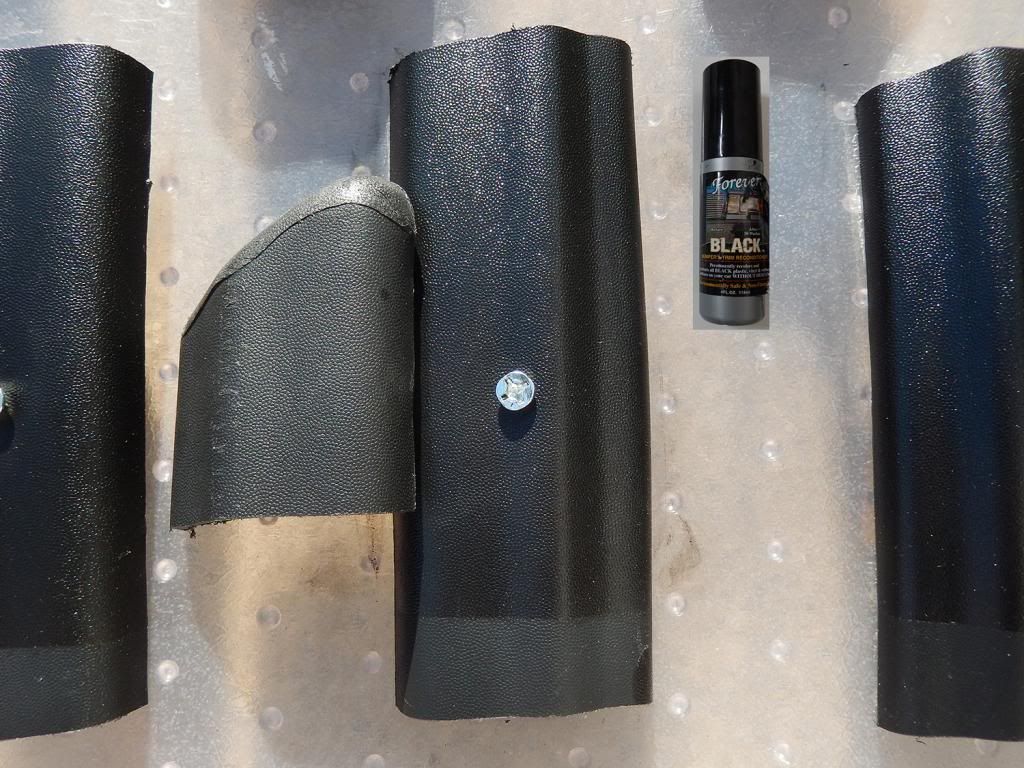
Forever Black: `Another carry over from the first test.
`
`
`
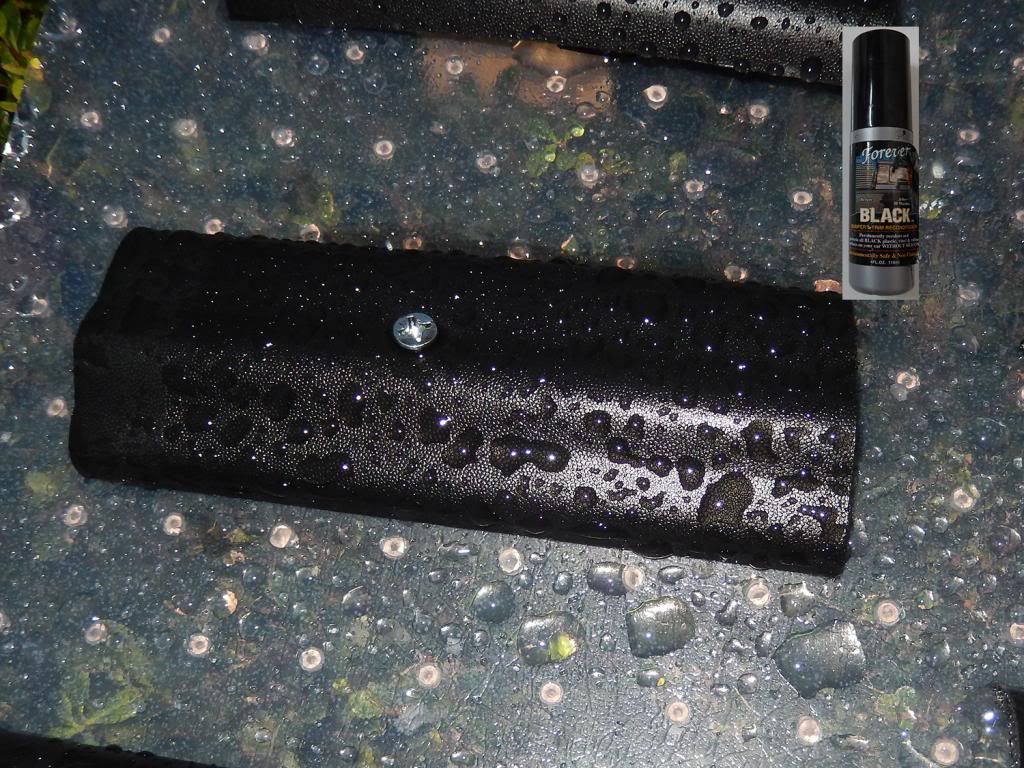
Cost is roughly $13 for 6 oz. `A black, liquid dye, *not for use on any other color. `I have used this product on my own vehicles in the past and found it to be quite effective. `I have learned that applying a second coat after the first has been allowed to dry for ~15 minutes will greatly enhance coverage and look. `It is difficult to get perfectly even coverage so it can look splotchy for a while after application. `I have found that to even out over time. `Additional coats may reduce that. `
`
`
`
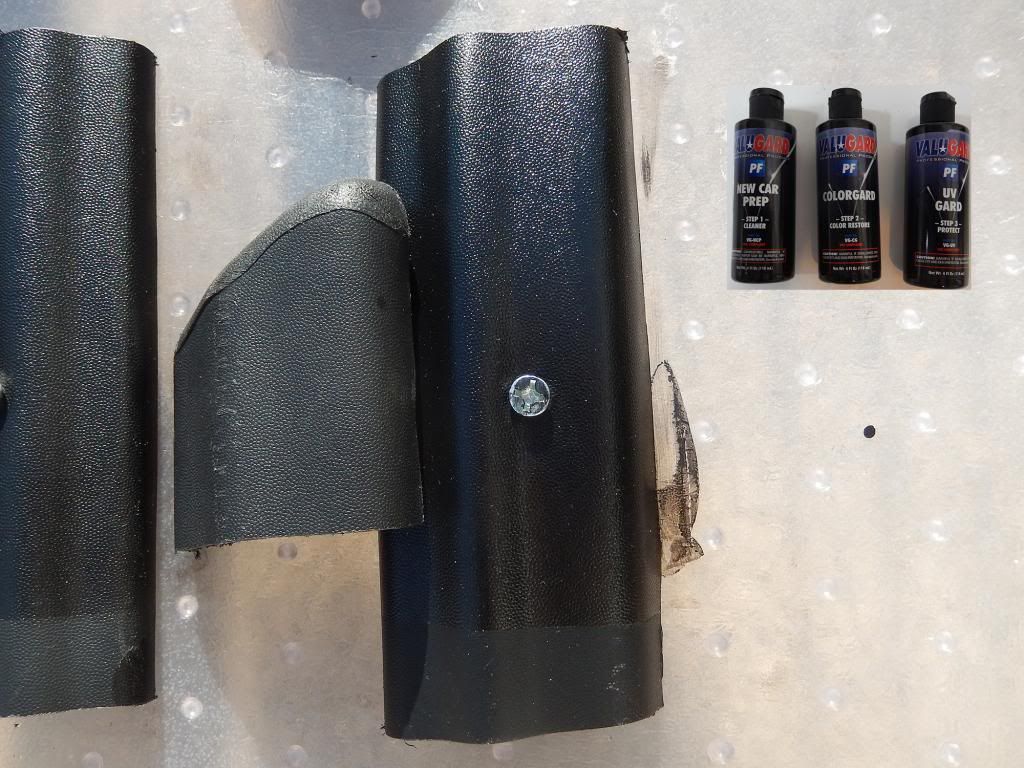
ValuGard ETR III: `Another carry over from the first test.
`
`
`
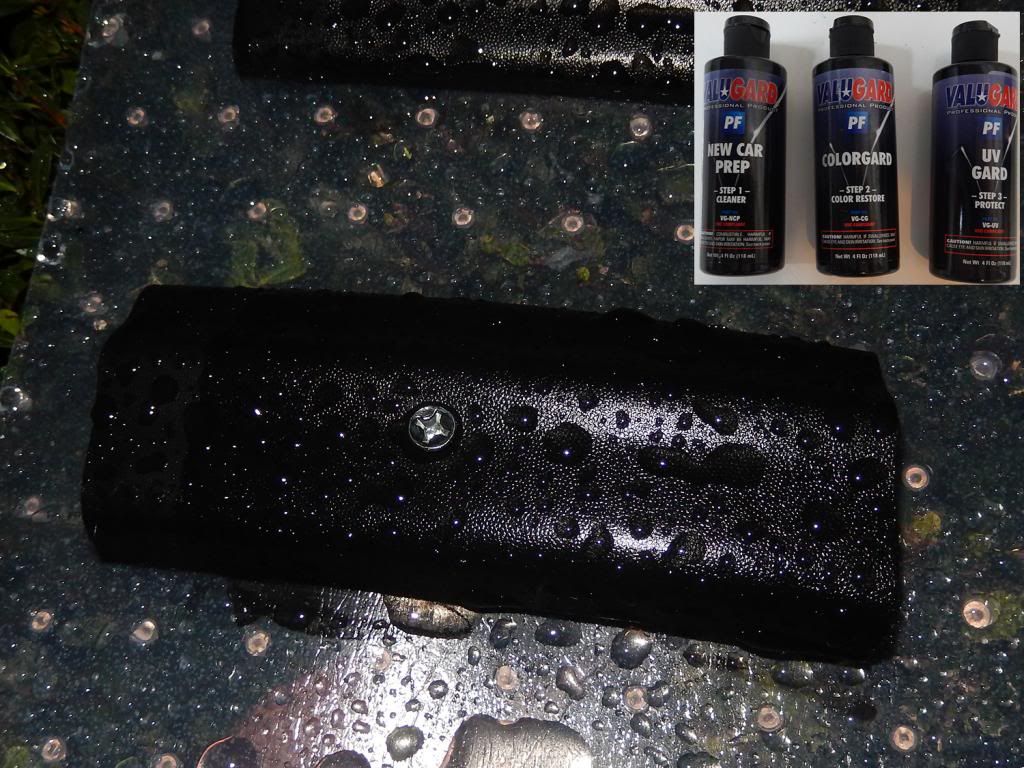
Cost is roughly $80 for the kit (3 parts, 4 oz. each). ` The look is similar to a smooth, polished, black plastic, even on texture, that has a slight purplish tint. `Difficult to describe. `This product did not perform well in the first test. ` The first part of the kit is a cleaner to be applied with a towel. `Allow to dry completely, then apply the Color Guard, allow to dry completely, then apply the UV Guard, allow to dry completely. `For optimal durability it is recommended to apply a second coat of the UV Guard. `The UV Guard has a blue tint to it when applied that becomes clear when dry. `I suspect that is what gives the slightly blue/purple tint to the final look. `The kit is specifically for black but it is my understanding that it is possible to get other colors, though I found nothing about that on the website. `The time to apply to just a small section was extensive. `The combination of applying multiple coats, then waiting for each to dry makes it a little tedious, particularly when doing intricate parts like bumper inserts or mirror housings. ` This would likely be less of an issue when doing an entire vehicle as the starting point should be dry by the time you make it around the vehicle. `Do not expose to water for at least 24 hours.
`
`
`
After 12 days and a couple light rains (~1 week of exposure) I had an opportunity to observe the water beading of the products. `Beading is, by no means, a conclusive test of effectiveness or durability, particularly because not all the products are hydrophobic but for some it can provide a reference if there is a change. `For many you can see the difference in the beading on the treated and untreated sections. ` (Scroll down for a better demonstration of the hydrophobic qualities of each product.)
`
`
`
`
`
`
`
`
`
`
`
`
`
`
`
`
`
`
`
`
`
`
`
Results 46 to 48 of 48
Threaded View
-
01-29-2014, 11:51 PM #1
Thread Information
Users Browsing this Thread
There are currently 1 users browsing this thread. (0 members and 1 guests)
Similar Threads
-
Trim Restorer Showdown - Round 2 (Long and Pic heavy)
By Nth Degree in forum Detailing Product ReviewsReplies: 38Last Post: 11-30-2014, 02:30 AM -
A (color) Changing of the Guard? German Wheel Cleaner Showdown Round 1
By Todd@RUPES in forum Detailing Product ReviewsReplies: 35Last Post: 12-26-2013, 08:19 AM -
Trim restorer/dressing showdown
By Nth Degree in forum Detailing Product ReviewsReplies: 11Last Post: 08-19-2013, 02:00 PM -
Trim restorer/dressing showdown
By Nth Degree in forum Detailing Product ReviewsReplies: 14Last Post: 08-17-2013, 10:22 PM -
Dry Shine Trim Restorer vs. ReNu Finish Automotive Trim Restorer
By Merlin in forum Detailing Product ReviewsReplies: 3Last Post: 07-07-2011, 11:24 AM



 Reply With Quote
Bookmarks