

Originally Posted by drew.haynes
Actually, it is more correct to say that the GTP`s have the same motor as the Buick , as the 3800 is actually a buick engine and forced induction models were appearing in Buick`s (think grand national) long before it showed up in Pontiac`s. But yeah, since 1997, under the sheet metal, the GTP and the Regal GS are the same exact car with the same drivetrain. It`s one hell of a sleeper. Not as many Regal guys are in the 11`s, but they are out there (just not as many Buick modders out there). Personally, I`ll be happy with 13`s. One of the guys around me has a full intercooler setup with a 3.0 pulley. He`s should be deep in the 12`s with only a few thousand put into the car.
Results 16 to 30 of 47
-
05-16-2008, 07:28 PM #16


- Join Date
- May 2006
- Posts
- 390
- Post Thanks / Like

-
05-16-2008, 09:00 PM #17
- Join Date
- Jan 2008
- Posts
- 82
- Post Thanks / Like
Don`t leave out the love for the SSEI! Bonneville owner here but mine is an L36. I believe the fastest SSEI is 11s which isn`t bad for such a large car.
-
05-16-2008, 09:11 PM #18
- Join Date
- May 2006
- Posts
- 390
- Post Thanks / Like
I think Ed Morad has an 11 or 10 second SSEI. He`s also the best source of used 3800 parts anywhere.
-
05-17-2008, 10:51 AM #19
- Join Date
- May 2006
- Posts
- 390
- Post Thanks / Like

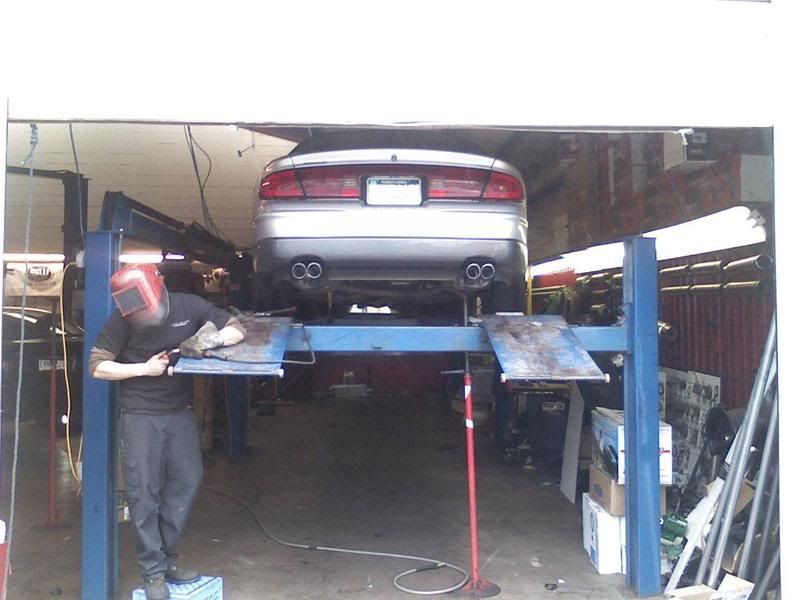
Can`t wait to get those fugly GTP tips off
Now, to answer the inevitable question: Is this just for looks or do you expect some sort of a performance upgrade out of this?
Well, granted it was 15-20 degrees cooler when i was seeing 11-12psi on a stock pulley, i just ran the car and saw a peak of 8.5psi dead on 70 degrees. I`d say they definitely flow better. No more boost stacking for me! Now it`s time to drop 3/10" off this pulley. Say hello to 13`s
-
05-20-2008, 01:49 PM #20
- Join Date
- May 2006
- Posts
- 390
- Post Thanks / Like
Hotness
Tips are in. Stock resonator (choke point) swapped for a magnaflow unit.
-
05-20-2008, 05:01 PM #21
- Join Date
- May 2006
- Posts
- 390
- Post Thanks / Like
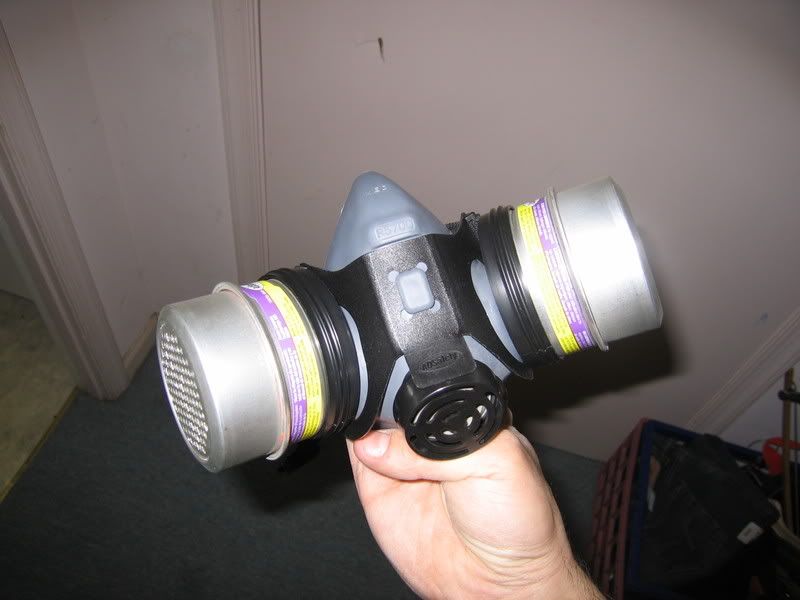
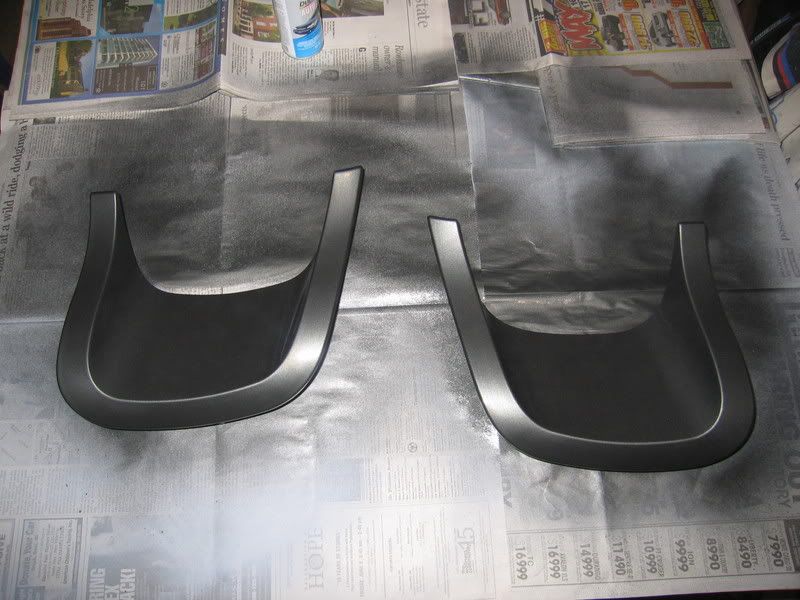
Safety first
2 coats of primer then light sand
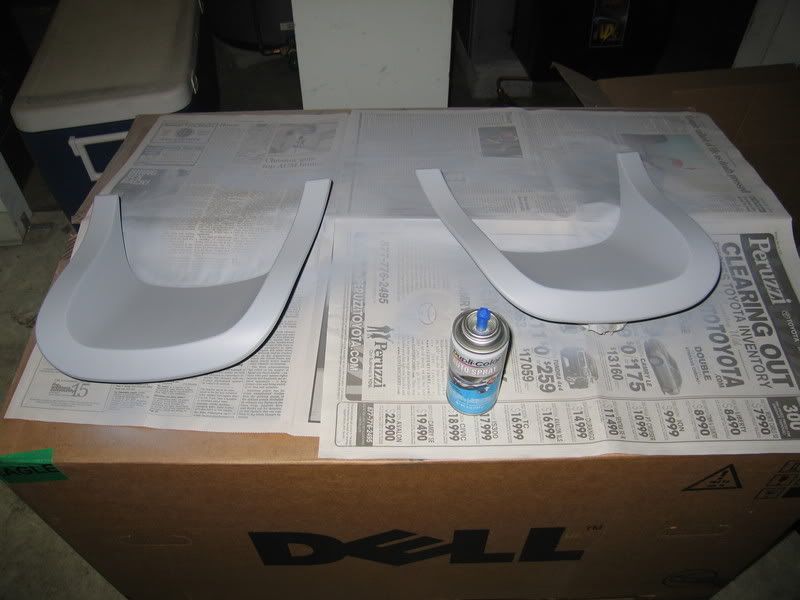
first base coat. This is where i am now. 1 or 2 more to go, then clear

-
05-20-2008, 06:10 PM #22
- Join Date
- Dec 2007
- Location
- Arkansas
- Posts
- 93
- Post Thanks / Like
Are the inserts/bumper plastic or metal? Should have used an adhesion promoter if those inserts were plastic, but they should be fine...
As far as cutting, if you are good with a jigsaw, it would make easy work of that with a metal cutting blade on it. If I can follor a line perfectly with mine, you could... lol. The inserts should cover up and rough edges though, so I wouldn`t worry about making the cut TOO pretty, just make sure it`s right.
-
05-20-2008, 06:12 PM #23
- Join Date
- Dec 2007
- Location
- Arkansas
- Posts
- 93
- Post Thanks / Like
Looks nice, man. I bet it sounds a lot better, too

-
05-20-2008, 06:26 PM #24
- Join Date
- May 2006
- Posts
- 390
- Post Thanks / Like
Originally Posted by Joseph K
I scuffed the surface with 320 grit wiped with prep-sol and primed. Since it`s not a really flexible plastic, i should be fine not having been able to find plastic bumper specific paint.
If you read back, you`ll see the work we did with tin snips. Ended up being a very nice cut. It`s probably what I`d recommend now for cutting this type of plastic bumper cover. The lip on the inserts is big enough that i could have cut it out with a hatchet
Originally Posted by Joseph K
It`s pretty quiet actually, but it does have a bit of a grumble to it now. Just enough to raise an eyebrow if you were very attentive, but not enough to make anyone think twice. I tried to take some video on my camera, but it`s not even worth posting because the little microphone on the camera can`t pick up the bass, so it sounds tinny and generally crappy in the video.
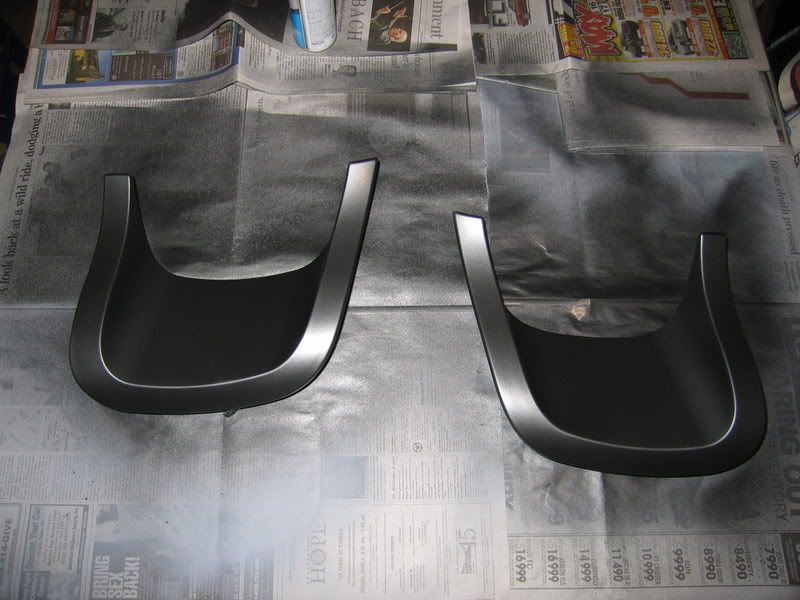
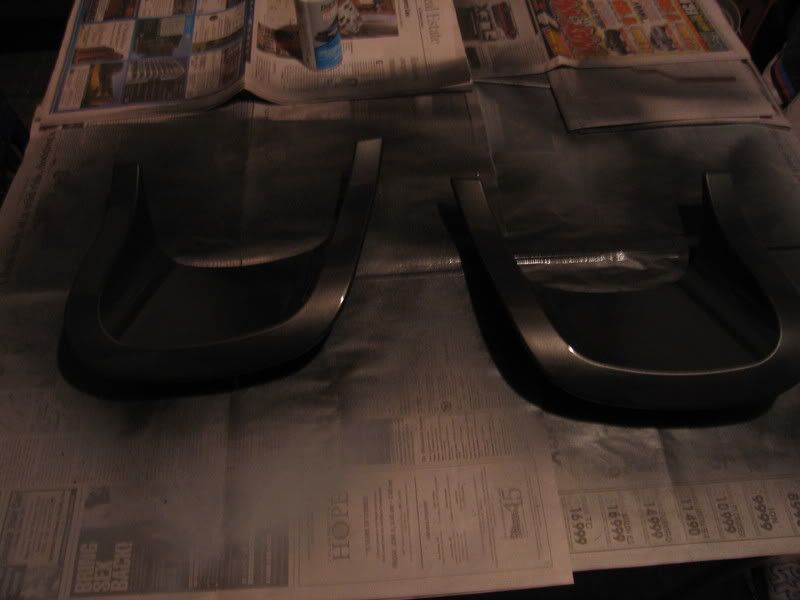
anyway...3 coats. Will be ready for clearcoat after drying for a couple hours.
-
05-20-2008, 08:07 PM #25
- Join Date
- May 2006
- Posts
- 390
- Post Thanks / Like
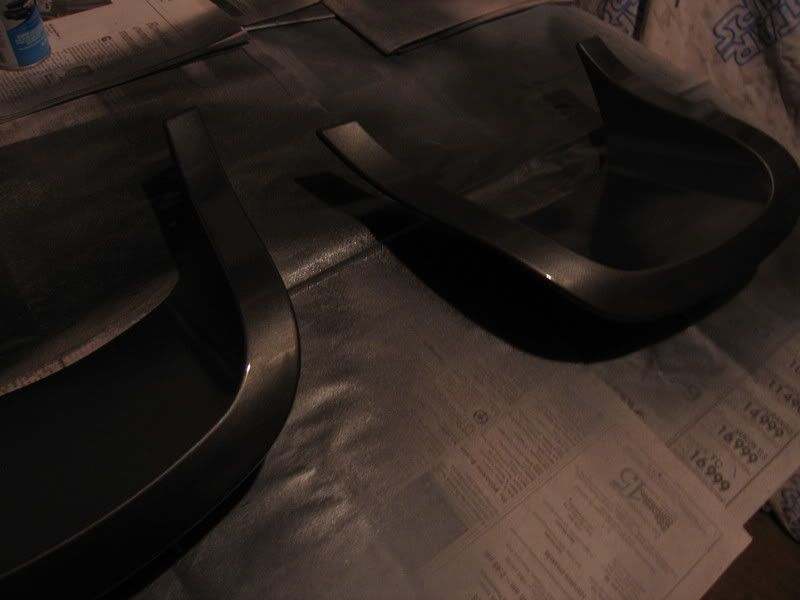
2 layers of clear added. turned the flash off for the second and third picture.
-
05-21-2008, 09:55 AM #26

- Join Date
- Sep 2002
- Location
- NE Ohio
- Posts
- 86,984
- Post Thanks / Like
victory- You gonna get `em mounted this weekend?
-
05-21-2008, 01:06 PM #27
- Join Date
- May 2006
- Posts
- 390
- Post Thanks / Like
I`m gonna mount them on the bumper Friday. that gives a couple days for the paint to cure and it`s the first day it won`t be raining. Gonna use the polyurethane adhesive after sanding and prepping both surfaces, then tape it up with my blue trim tape for 24 hours.
-
05-23-2008, 07:43 AM #28
- Join Date
- May 2006
- Posts
- 390
- Post Thanks / Like
Fascias going on
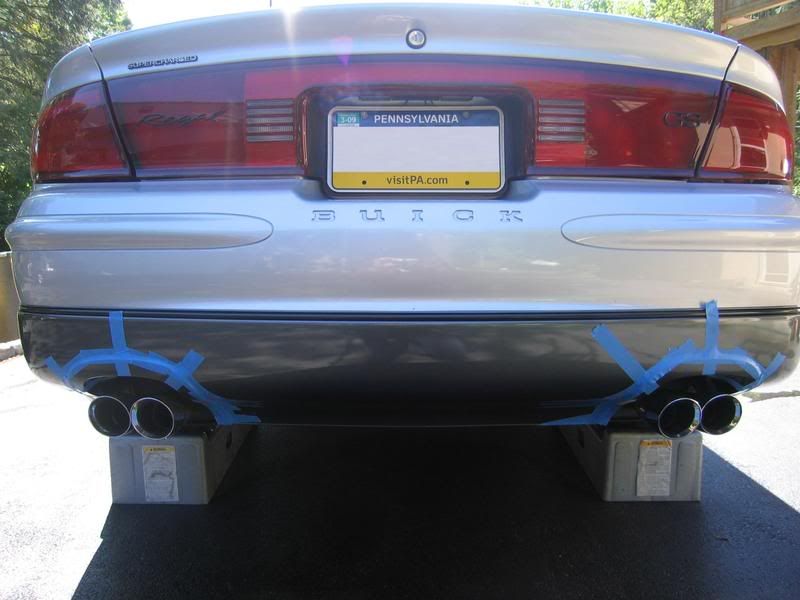
Polyurethane adhesive should be totally set in 24 hours.
-
05-23-2008, 08:49 AM #29DEEP & WET

- Join Date
- May 2005
- Location
- Maine
- Posts
- 1,273
- Post Thanks / Like
You`re doing a real nice job with that mod. Props to you. Modding is so fun when you do it yourself. THis is especially true with cosmetic mods IMHO.
Looking forward to the results.
JJUmm! BLACK
-
05-23-2008, 09:28 AM #30
- Join Date
- Sep 2002
- Location
- NE Ohio
- Posts
- 86,984
- Post Thanks / Like
victory- Just be a *little* careful pulling the tape off. I know, the blue stuff is supposed to be issue-free, but anyhow...

 Reply With Quote
Thread Information
Users Browsing this Thread
There are currently 1 users browsing this thread. (0 members and 1 guests)
Similar Threads
-
Exhaust Staining on Rear Bumper/Trunk
By JVD in forum Washing, Drying, and ClayingReplies: 7Last Post: 06-23-2014, 06:12 PM -
cutting/swirl remover on bumper
By Harper55987 in forum Machine Polishing & SandingReplies: 4Last Post: 06-11-2013, 12:48 PM -
Dual exhaust: what say you?
By III in forum Hot TubReplies: 15Last Post: 05-22-2006, 09:41 PM -
Suggestions for these exhaust tips, please?
By loco in forum Car DetailingReplies: 12Last Post: 05-09-2005, 09:55 AM -
Exhaust on rear bumper
By Eclipse550HP in forum Car DetailingReplies: 2Last Post: 01-02-2004, 06:19 PM
Bookmarks