

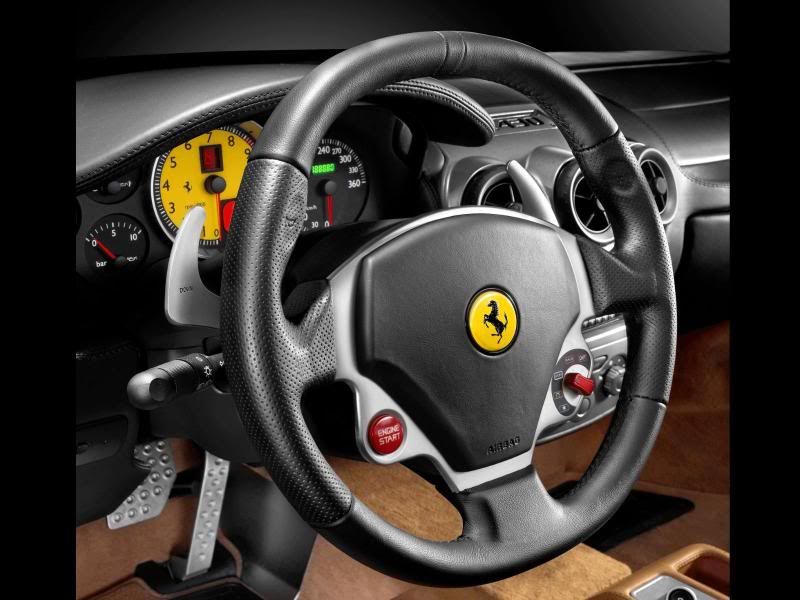
Leather covered steering wheel:
Steering wheels have an extra coating of protective finish on the already finished or coated leather. Perspiration and dirt are absorbed readily into the dry leather, and combined with the ultra violet (UV-radiation of the sun a chemical reaction occurs that degrades the finished leather. All of us have seen this wear on steering wheels. A finished leather steering wheel is protected with a urethane clear top coat. UV heat will allow any dirt / grease to become imbedded and the surface becomes more soiled the abrasive dirt / grit produces a shine.
Using leather oil-based conditioners on finished leather may cause delamination from the leather substrate. As the oils will permeate the leather via the stitching or any micro-cracks in the surface, once oil gets between the urethane and the substrate it causes loss of adhesion (See also Oil and Oil based Products) Most manufacturerâs advice against using oil-based conditioners on steering wheels as it makes the surface slippery and could be dangerous if you lose control of the vehicles steering
Cleaning
1. Clean the wheelâs leather surface with a leather cleaner (Leather Masters⢠Strong Effect Cleaner ) or a Limonen (citrus) based de-greaser (P21S Total Auto Wash) diluted 5:1 with warm distilled water in a spray bottle; dependant upon type and extent of soil or stain
2. For oil or grease stains use Leather Masters⢠Leather Degreaser (check for colour fastness) this aerosol product is ideal for cleaning this type of stain as it dissolves the oils and transforms them into a powder that is more absorbent than the leather.
3. This powder is what is wiped off, cleaning and degreasing the leather. Allow the white powder to dry fully. If the powder is drying to a yellow colour, it means that there are still a lot of oils in the leather.
Using a Medium / hard horse hair brush, or a soft sponge, spray and work the cleaner into a foam, lightly scrub surface and immediately wipe with a terry towel to remove excess moisture, especially around stitching (you may need to repeat this process).
4. Then use a compressed air nozzle to dry
5. Once wheel is thoroughly dry apply Leather Masters⢠Leather Protection
Do not use an abrasive on the surface as youâll remove the ultra violet protective topcoat Maintenance â hydrate the leather surface with a damp 100% cotton towel, occasionally use a diluted 1:10 degreaser (Leather Masters⢠Leather Degreaser ) solution and distilled water to remove any build-up of body oils from your hands
The DCT Motorsports factory - eighteen years of experience refinishing steering wheels and developing unique aero parts for high end vehicles.
They complete all work orders in-house which allows them to accept a wide range of customerâs requests. Customers can specify material colours, materials, patterns, Carbon weave, or almost any type of finish. DCT has full control of every single step in the manufacturing process, so they can assure the best finish quality and fulfil the work orders with minimum lead time
Alcantara® Covered Steering Wheel
Often perspiration / body oils will cause the nap to become flattened, in most cases it can be revived simply by cleaning with the correct chemicals (Leather Master⢠Foam Cleaner) and using a napping brush. As a general rule when cleaning you should only to use products specifically designed for this type of fabric; avoid using a product designed for cleaning leather.
It`s also important to do a patch test before cleaning any fabric to make sure the colour or integrity of the fabric won`t be damaged. To do this, apply your cleaning product to an inconspicuous area to see what the effect will be.
Use a napping brush to raise the pile and loosen / separate the fibres. Remove pilling with a single-sided razor blade and then apply a suitable cleaning solution on to an applicator pad and apply to one area at a time (do not over-wet the fabric or use wet steam).
Cracked Leather Coating
Clear-Cote is a protective coating for newly refinished leather or vinyl. It provides a durable, washable surface for any leather or vinyl upholstery; available in original gloss or matte finish. Use a very fine 2000 grit finishing paper to provide a âkeyâ for the clear coat. Apply two thin coats as oppose to one heavy coat, allow to dry thoroughly â Color-Plus
Replacement or having someone do a rewrap at an upholstery shop would be an expensive option.
Be cognizant that unless you have a temporary replacement wheel you wonât be able to use your vehicle for at least three days while your applying pigmentation and refinishing the wheel, so plan accordingly
The leather covering on a steering wheel are a very high wear areas and often the colour can wear through fairly quickly as they are exposed to ultra violet (UV-
A few days before commencing the actual leather renovation, clean the finished leather surfaces and then apply Leather Masterâs Soft, this is not a conditioner per se but it will soften the finished leather and make it easier to work with.
Removing the Steering Wheel
Disconnect the negative battery terminal, and remove the steering wheel. Once the wheel has been removed , remove all of the electronics and trim plates.
Light Surface Scratches
Finished (urethane) leather surface scratches (usually from jewellery (rings) or fingernails - for light slightly scuffed surfaces use 2500 grit finishing paper, with light pressure sand the area until the marks have faded.
For deeper scratches - Then use a very thin application of Leather Masterâs Leather Filler, water- based acrylic paste that fills out scratches in leather or any part of that grain that is missing.
All the steps for preparation and pigmentation application are the same, although itâs a good idea to use a mild degreaser to remove any oil or grease from the surface and then proceed by removing the manufactured finish from the leather with leather solvent; (Leather Masters⢠Leather Degreaser) this allows the pigmentation colorants to adhere and penetrate the leather, giving a sound base covering, uniformity and to will ensure an original equipment manufacturers (OEM) finish.
Use painterâs tape and/or masking paper around anything that doesnât require pigmentation applied (i.e. interior of the wheel and the rear vinyl etc
Pigmentation (Colour) Renovation
Certain areas of your vehicles leather interior like seats, upholstery, side mouldings and steering wheels inevitably start to show signs of wear, even if well taken care of, that spoil its overall impression. Often these imperfections are not serious and are simply colour that has worn off or light scratches in the leather surface which can be removed and will disappear with the right application technique and leather pigmentation. Swisswax Leather
Refurbishing (Colour) Pigmentation
Steering wheels typically have a matte clear coat to protect them from ultra violet (UV-
Allow the pigmentation to cure for 24 hours before the application of the clear coat. Apply with a clean lint free 100% cotton micro fibre towel, being careful to apply a two thin uniform coats (allow each coat to thoroughly dry) to reduce build-up and streaks, allow to dry for 24 -36 hours; dependent upon temperature and humidity. This type of clear paint can be `heat cured` with infra-red heat, a heat gun or a hair dryer
Finally apply a surface a protection product Leather Masters Protection Cream with a dry micro fibre towel and allow to thoroughly dry and then lightly buff. This provides a Scotchgard⢠type protection specifically formulated for leather
Note: the same methodology and products can be used on leather shift stick (gear knob) covers
Leather Stitching
If the stitching and finished leather surfaces are different colours try to avoid allowing any pigmentation to dry on the stitching; to remove wipe with a water-based solvent cleaner. Leather stitching is usually cotton and nylon mix, nylon is attacked by harsh petroleum distillate solvents, they melt it and weaken the threads, which may cause the stitching to fail over time
Stitching is somewhat friable if subjected to excessive abrasion, bearing this in mind the cleaner needs to âdo the workâ without relying on friction.
To renovate / clean stitching using a medium / hard horse hair brush, a toothbrush or a sponge and a safe solvent cleaner (DT-1105) this chemical is formulated from several types of alcohol and milder based solvents and it will remove all dressings, protectants, waxes and oils from the surface. And then remove all traces of the solvent / alcohol with a foam cleaner Leather Master⢠Foam Cleaner
Relevant Articles
http://www.autopia.org/forum/autopia...ml#post1474865
Results 1 to 1 of 1
-
03-09-2012, 06:41 AM #1The Old Grey Whistle Test


- Join Date
- Feb 2005
- Location
- Florida, USA - London, England
- Posts
- 5,464
- Post Thanks / Like

What gets overlooked too often is that one must be a student before becoming a teacher.

 Reply With Quote
Thread Information
Users Browsing this Thread
There are currently 1 users browsing this thread. (0 members and 1 guests)
Similar Threads
-
Help with a stinky leather steering wheel.
By nittany1 in forum Car DetailingReplies: 6Last Post: 05-24-2011, 12:47 PM -
Leather flaking off steering wheel
By BigO in forum Car DetailingReplies: 0Last Post: 05-25-2006, 09:46 AM -
Leather steering wheel issue...help!
By mc01ta in forum Car DetailingReplies: 14Last Post: 03-09-2006, 02:38 PM -
Leather Steering Wheel Maintenance
By ScoobyDrew06 in forum Car DetailingReplies: 13Last Post: 10-17-2005, 12:14 PM -
Leather Steering Wheel.
By MLM in forum Car DetailingReplies: 2Last Post: 06-13-2002, 08:40 PM
Bookmarks