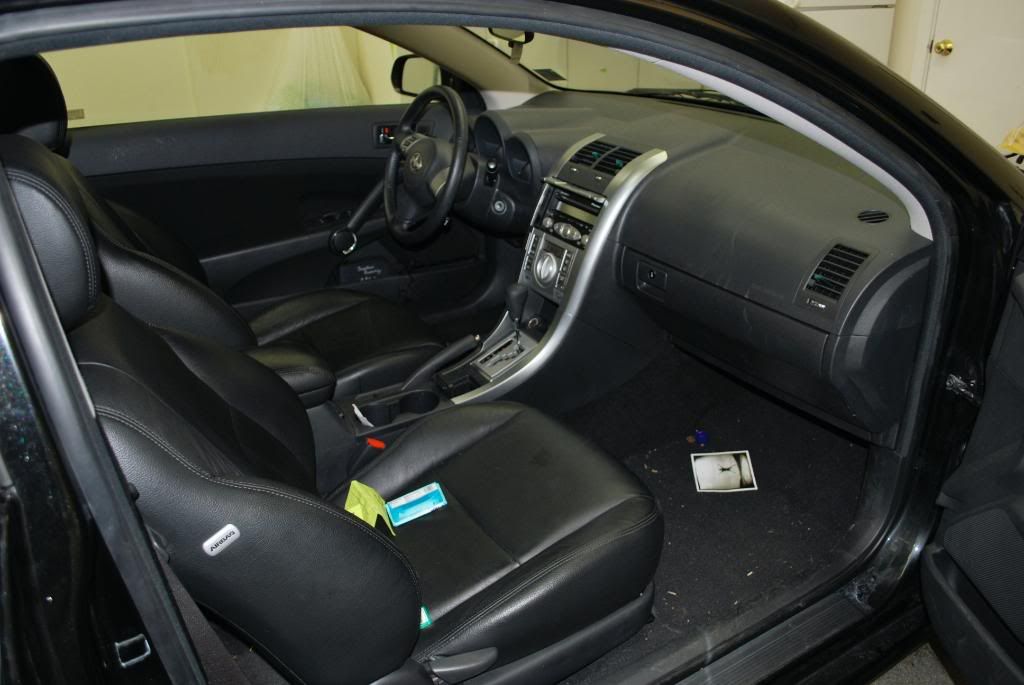
MAKE FOR DIFFICULT DETAILING :nervous:
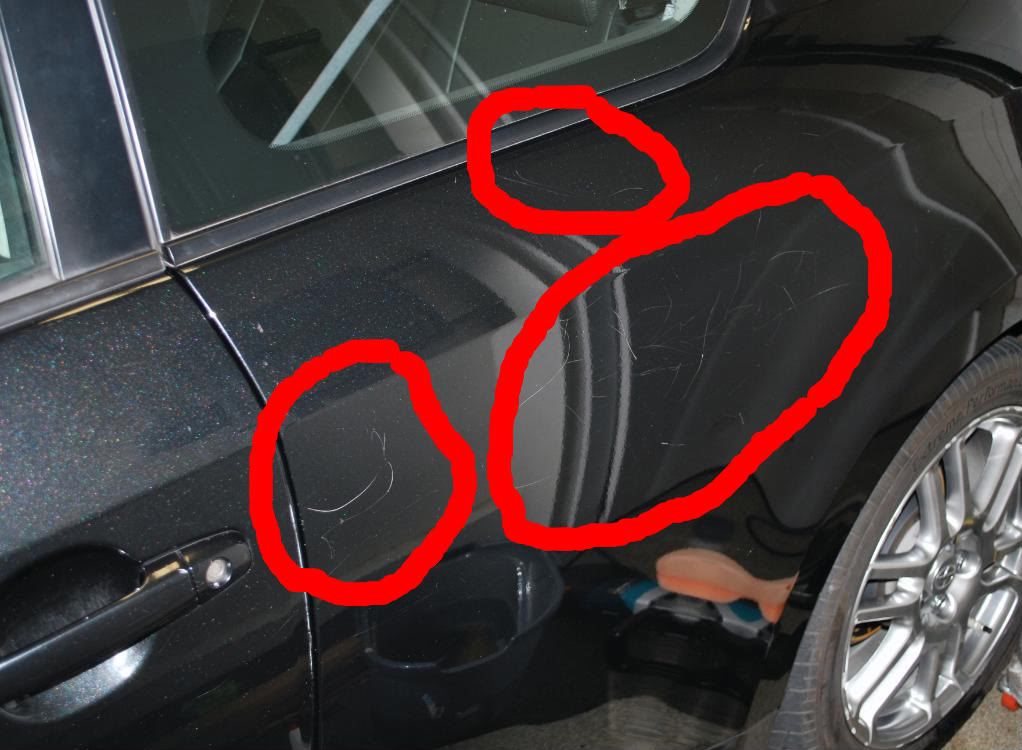
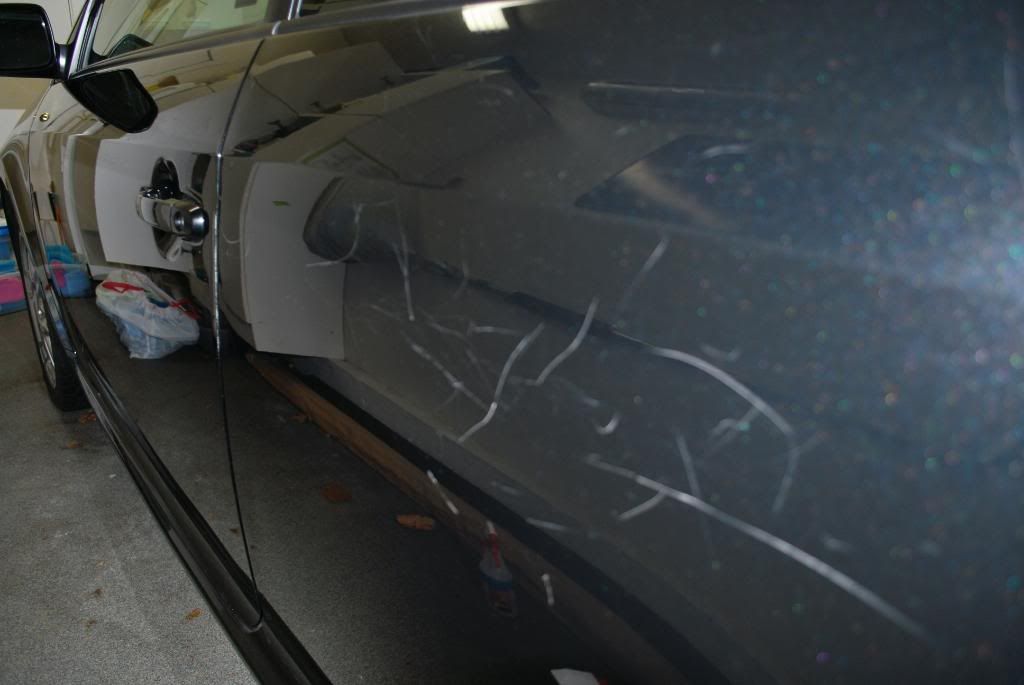
Apparently the poor owner of this Scion TC said the "wrong" thing to his girlfriend at the wrong time while she was sitting in the passenger seat.
His girlfriend proceeded to exit the Scion and take off her HIGH HEEL shoe as she walked over to the drivers side door to get some revenge :down
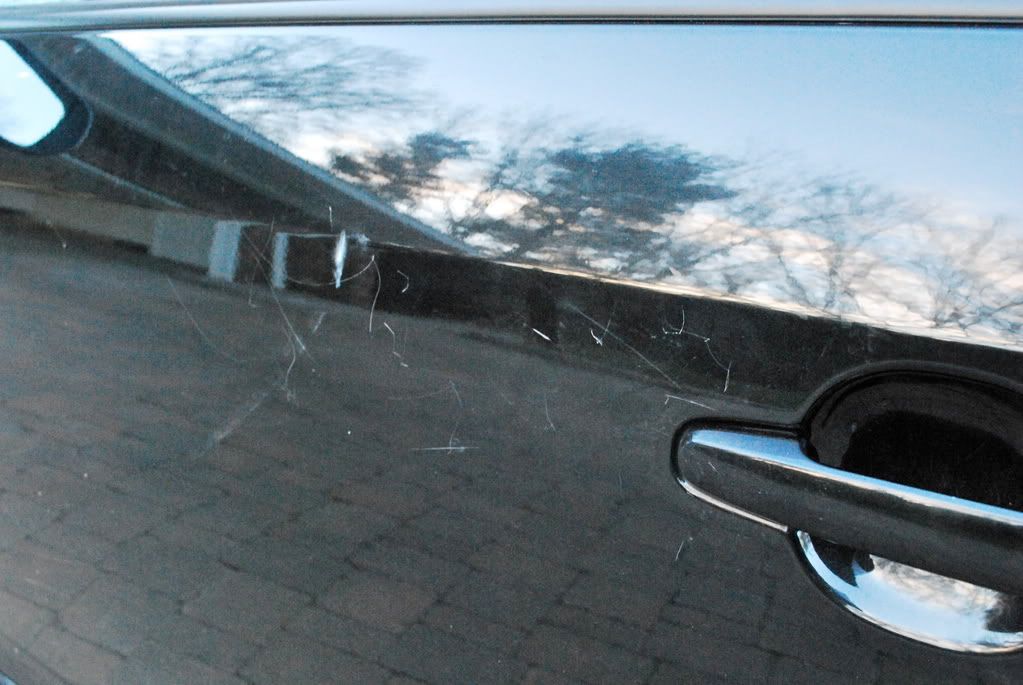
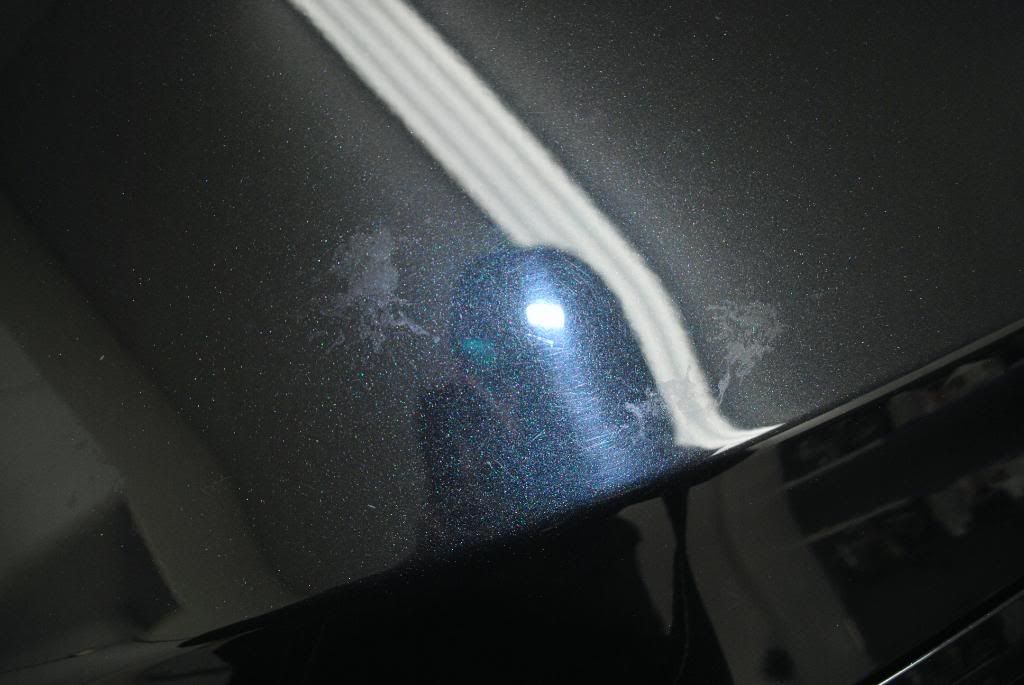
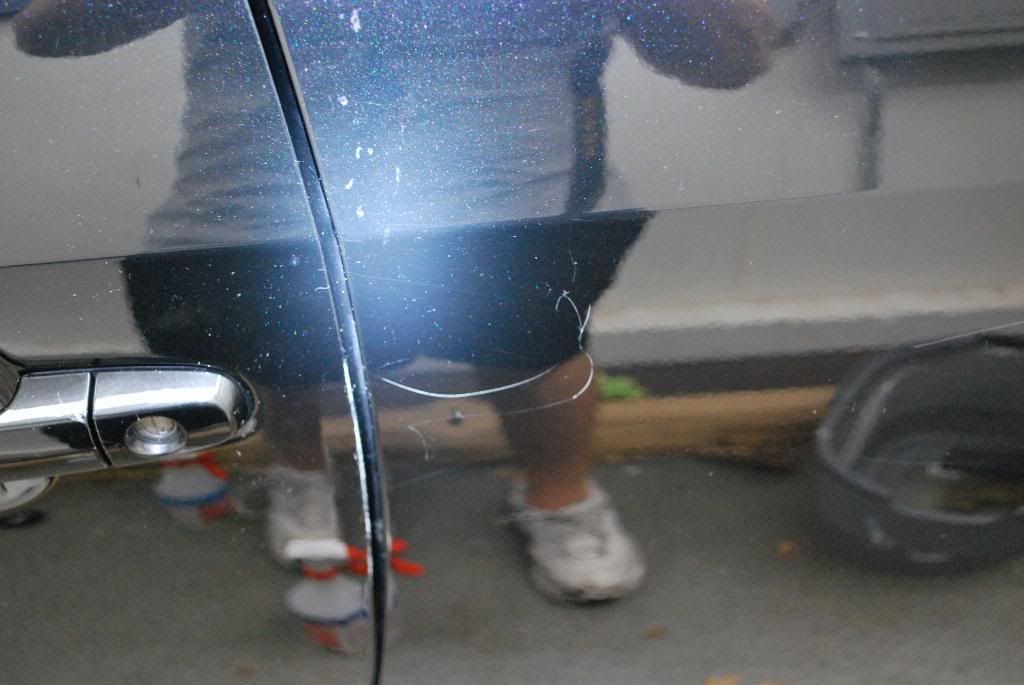
The result...
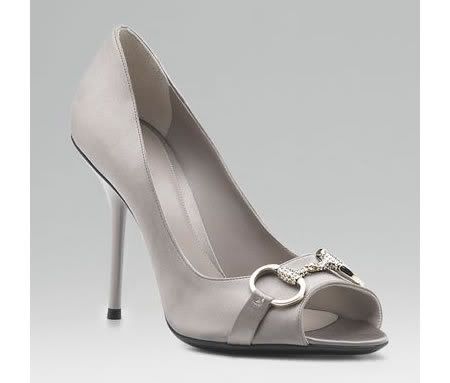
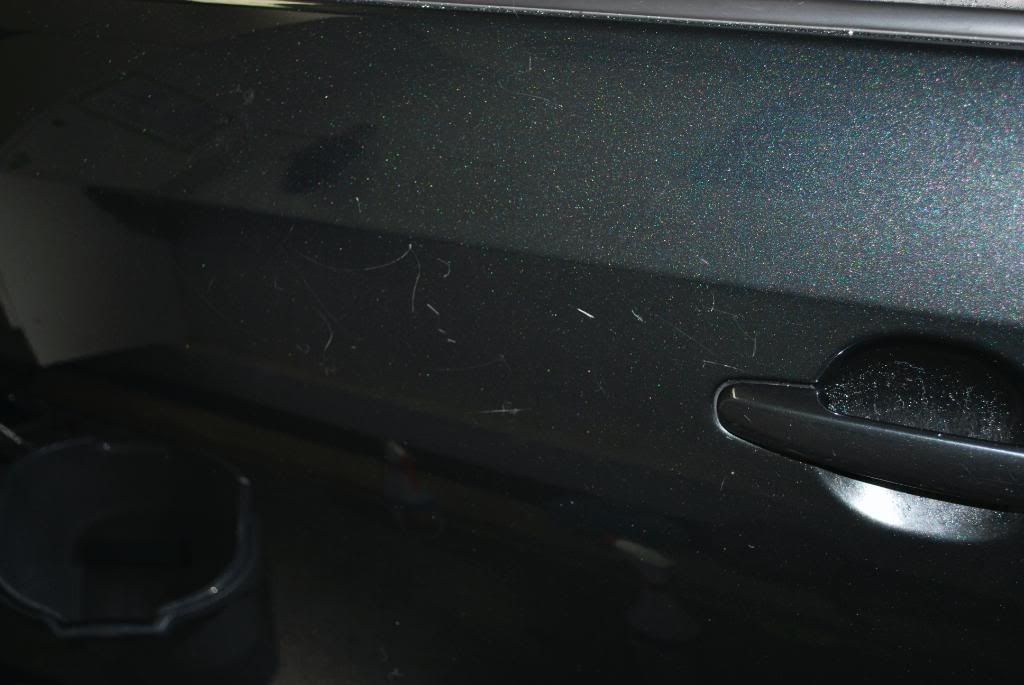
The culprit...
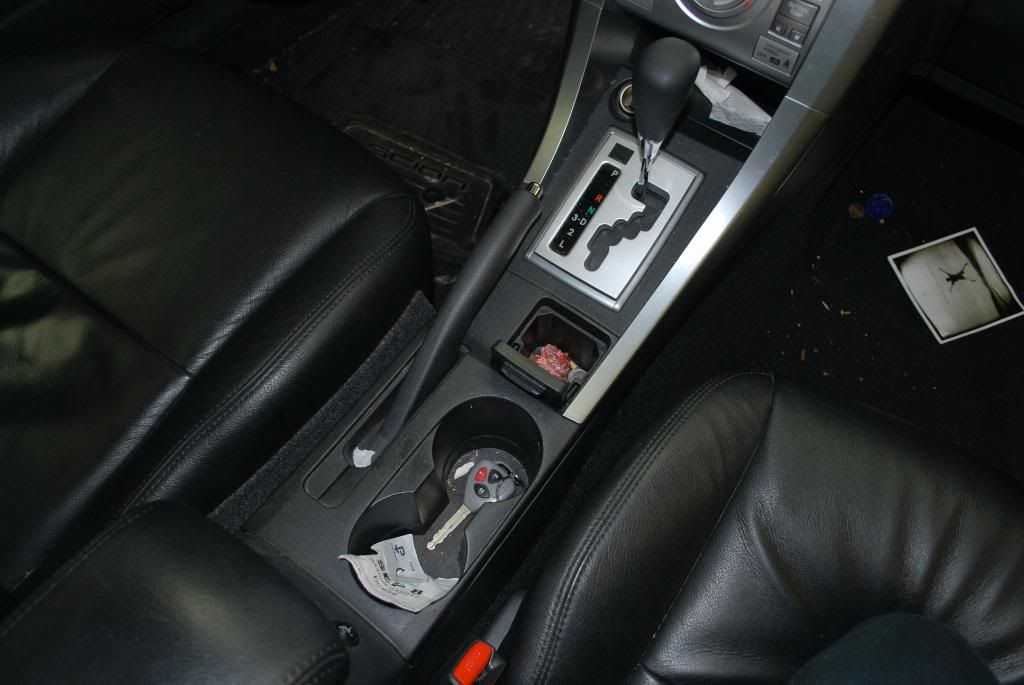
At first I didn't believe I could fix the deep scratches caused by the shoe, but the owner begged to do whatever I could so I agreed to the detail ...despite his yelp at my ballpark estimate. In addition to the severe scratches the car in general was in poor condition as it is never garaged and sometimes neglected by other family members the owner informed me.
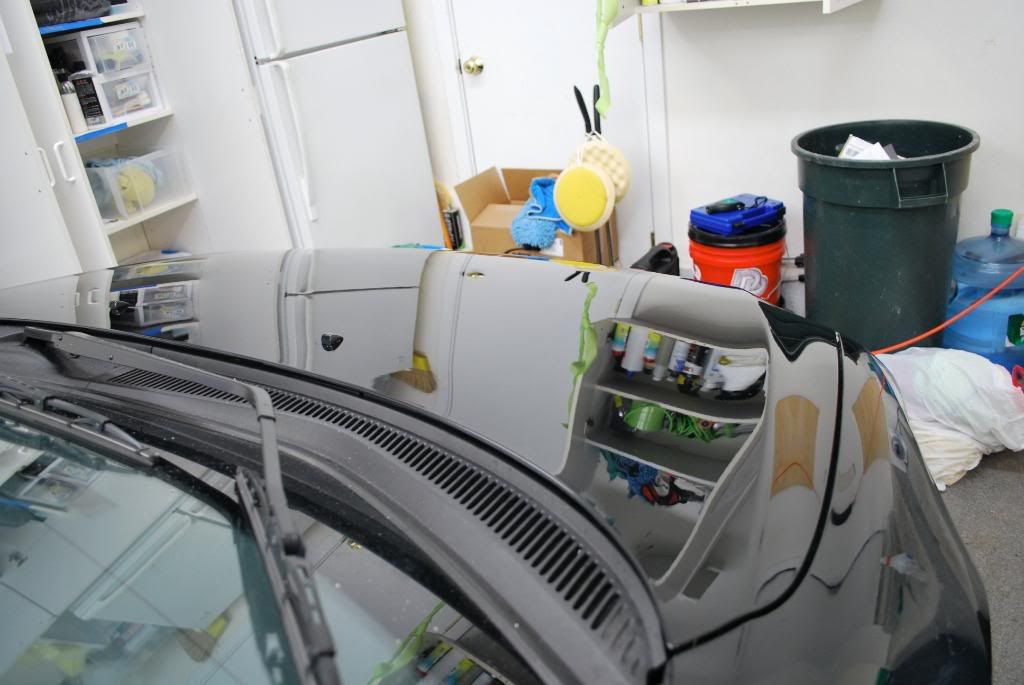
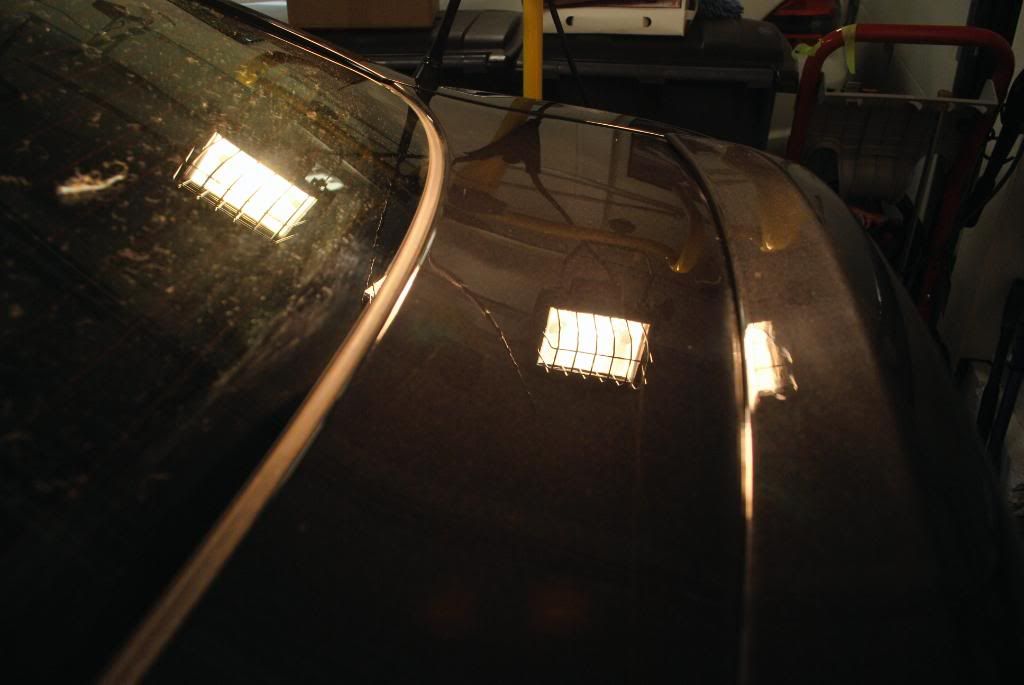
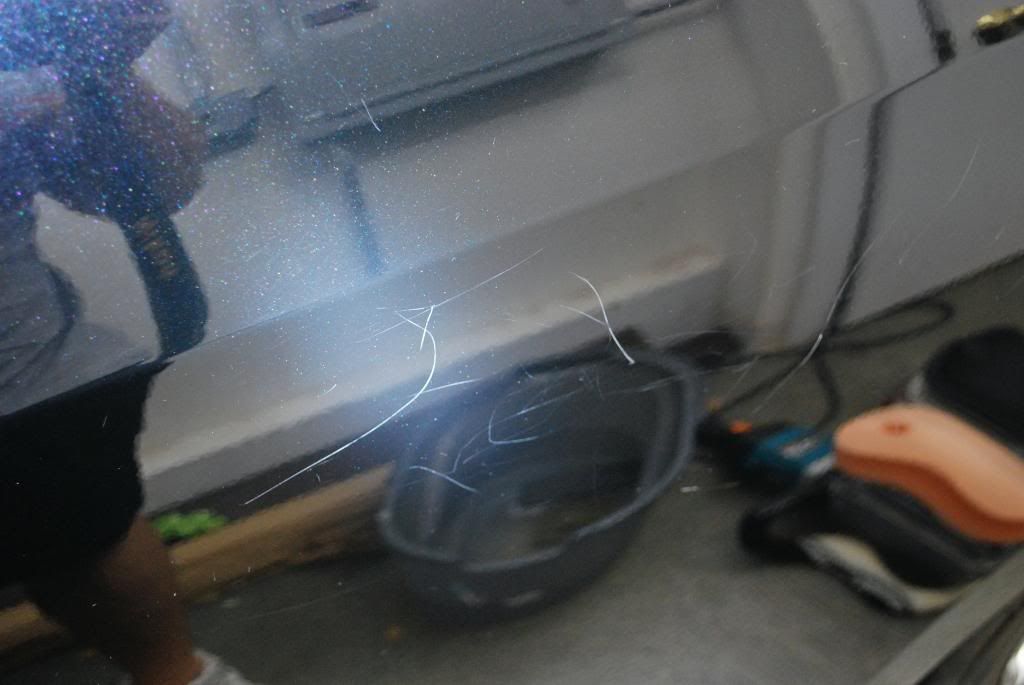
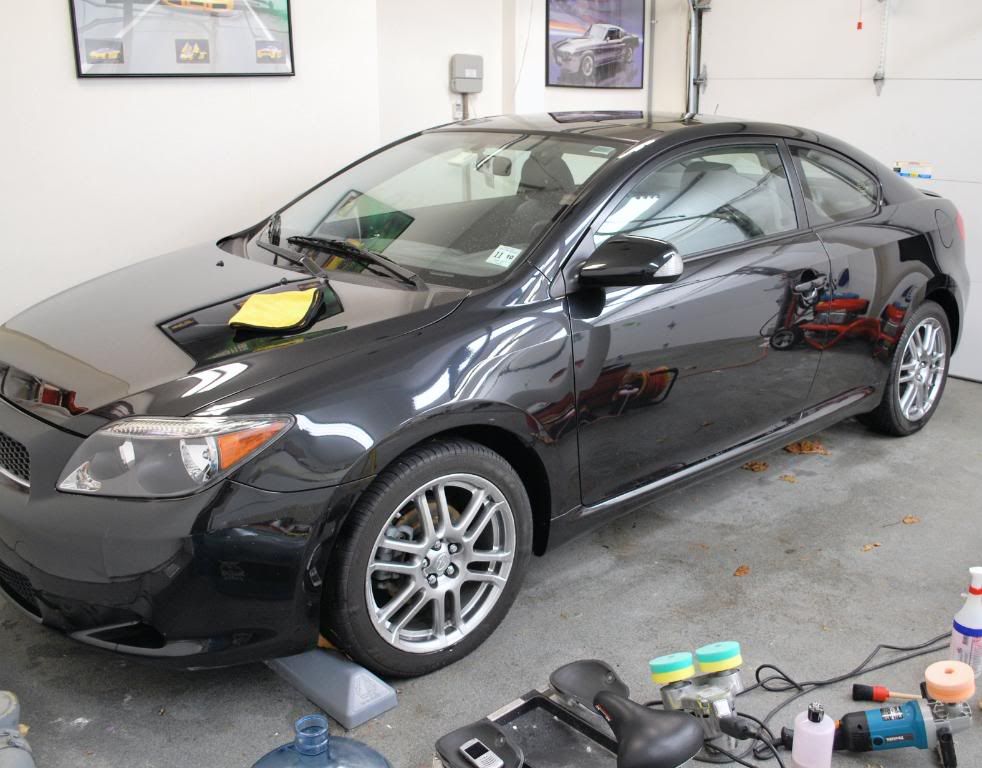
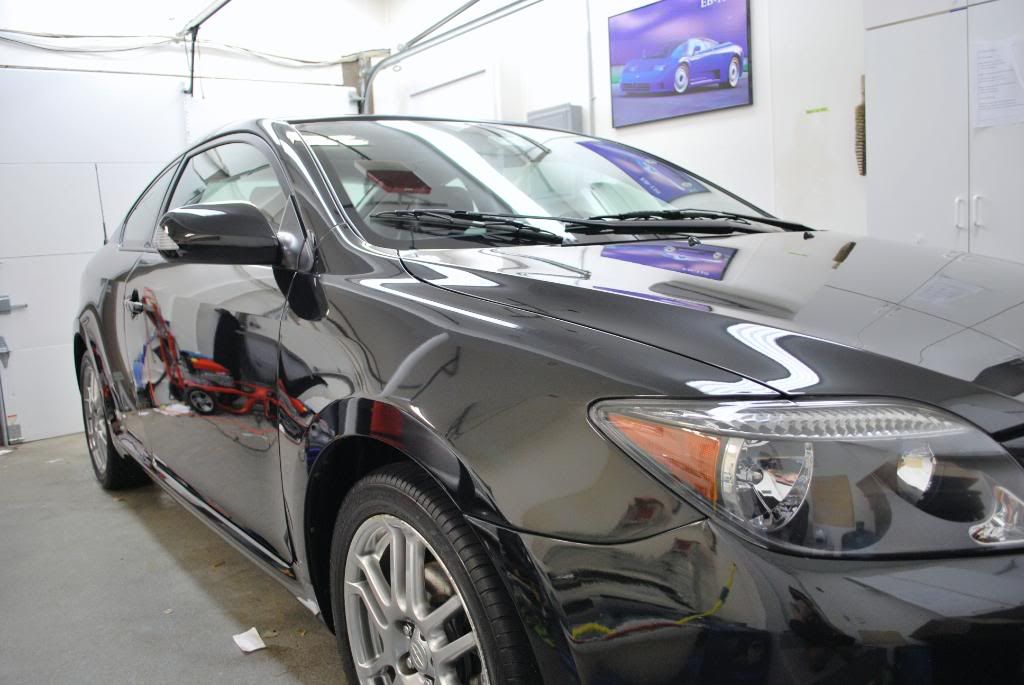
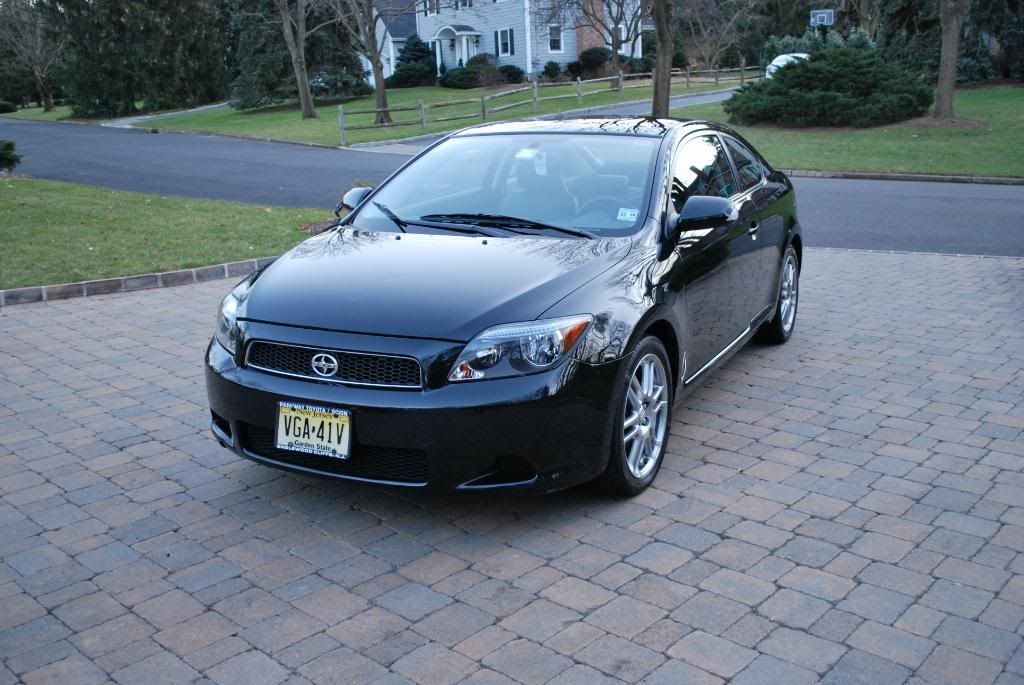
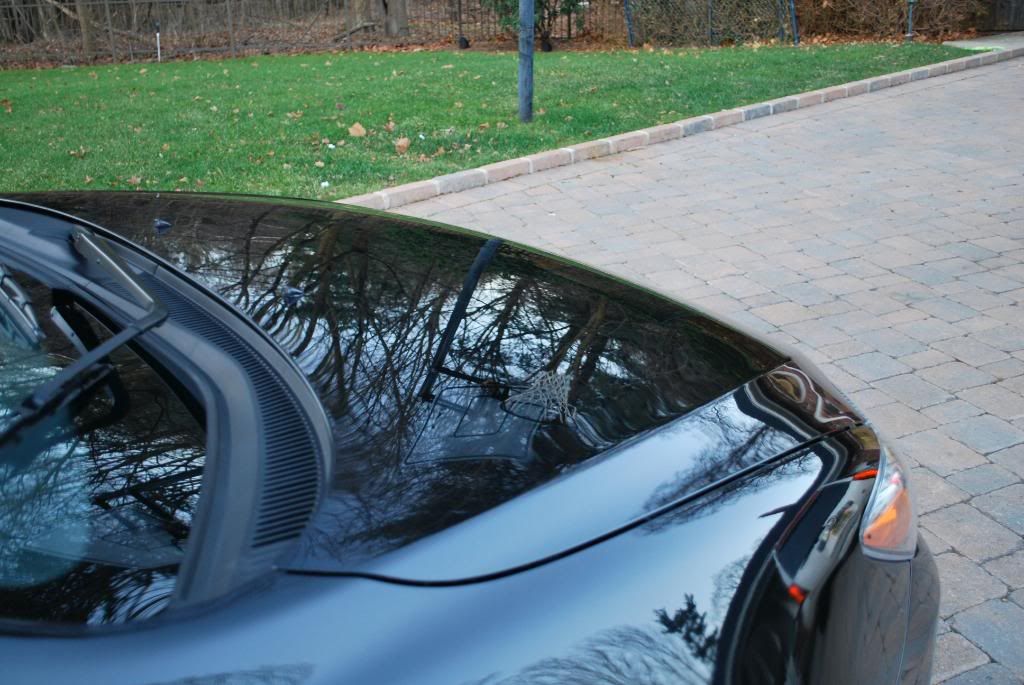
A shot of the main damage outside
We'll get to the correction work and wetsanding later, first up is the wash process
The Scion was very dirty with the works: road grime, road salt and heavy brake dust.
I didnt have time to document the wash process on Day 1 of the detail so here is a quick summary.
The DIC 20 and Camspray 1500 PW were a big help during the process as it was freezing temps outside so extra scrubbing and drying weren't needed
-Poorboys spray and rinse on the wheels
-APC 4:1 on the tires and wheel wells
-Pre foam the paint with a heavy mixture of CG CWG
-Remove road grime w/ Grime Destroyer and PB bug squash
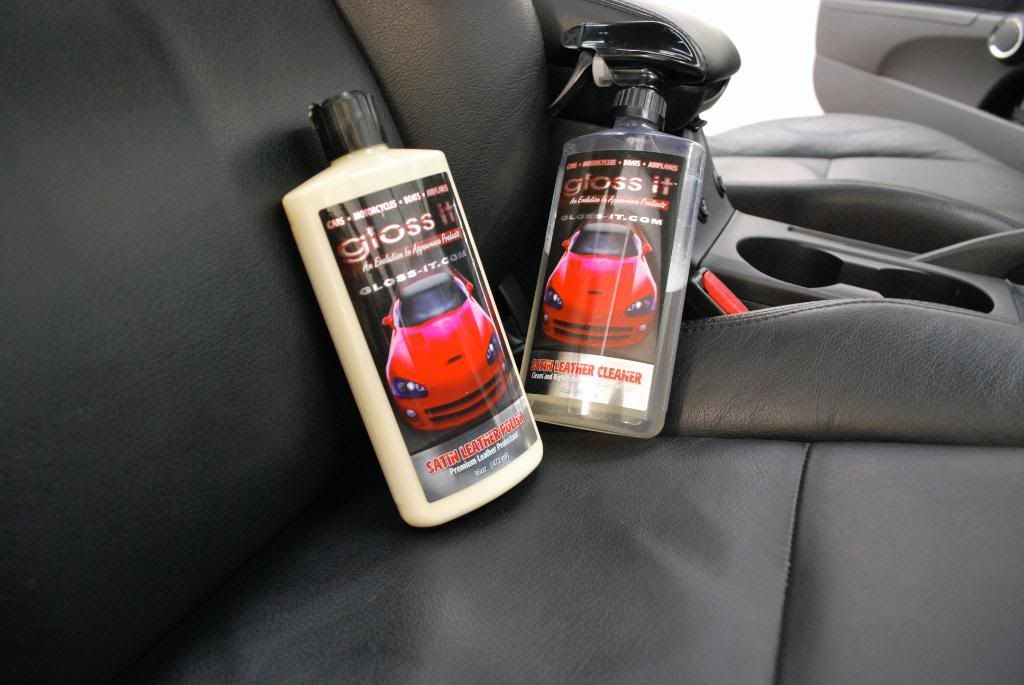
-2 bucket hand wash with gloss it gloss shampoo and 2 shmitts
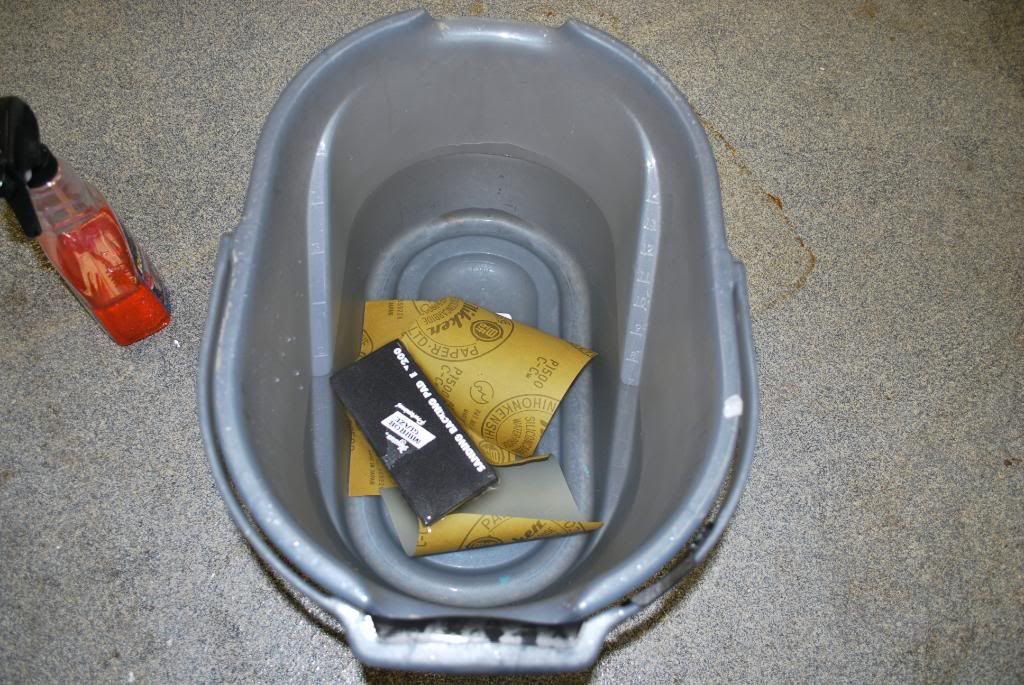
Before I called it a night I made sure to let the wetsadning paper soak for adequete time so it would be good to go for the following day
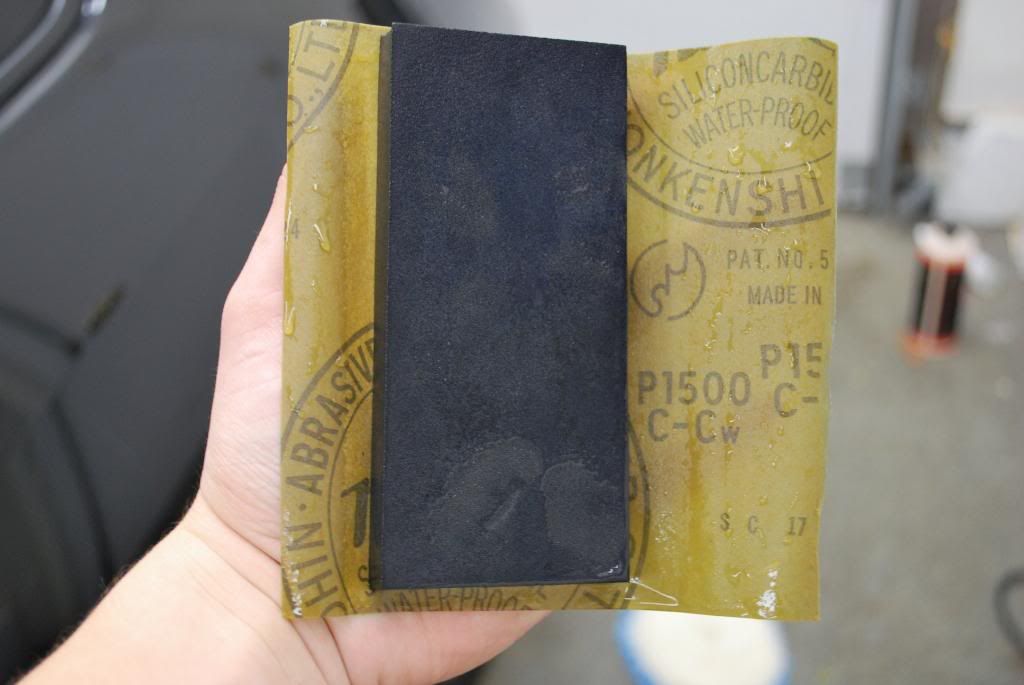
Meguiars Uni-Grit 1500, 2000, 2500 and 3000 soaking overnight
Day 2 started the correction work, first the car was clayed
After doing a quick "cellophane test" I found the finish to have a considerable about of contaminants. First I needed to soften up the clay as its been sitting in a cold garage for a while.
Warm water in a pot usually does the trick
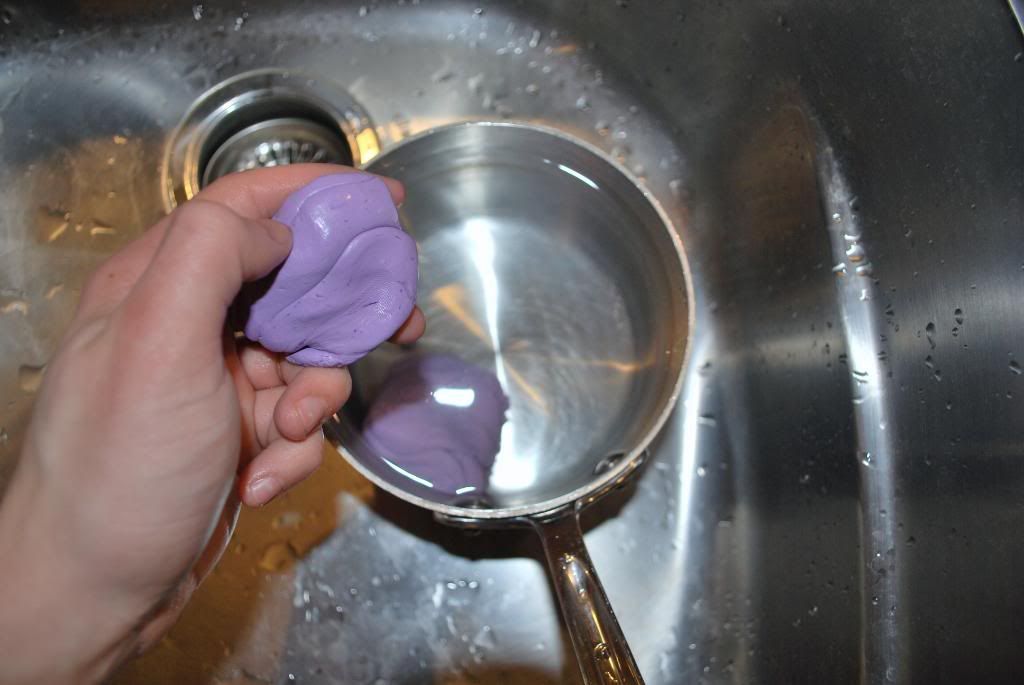
I used Gloss It lavender aggressive clay with Megs LT 1:1 for lube
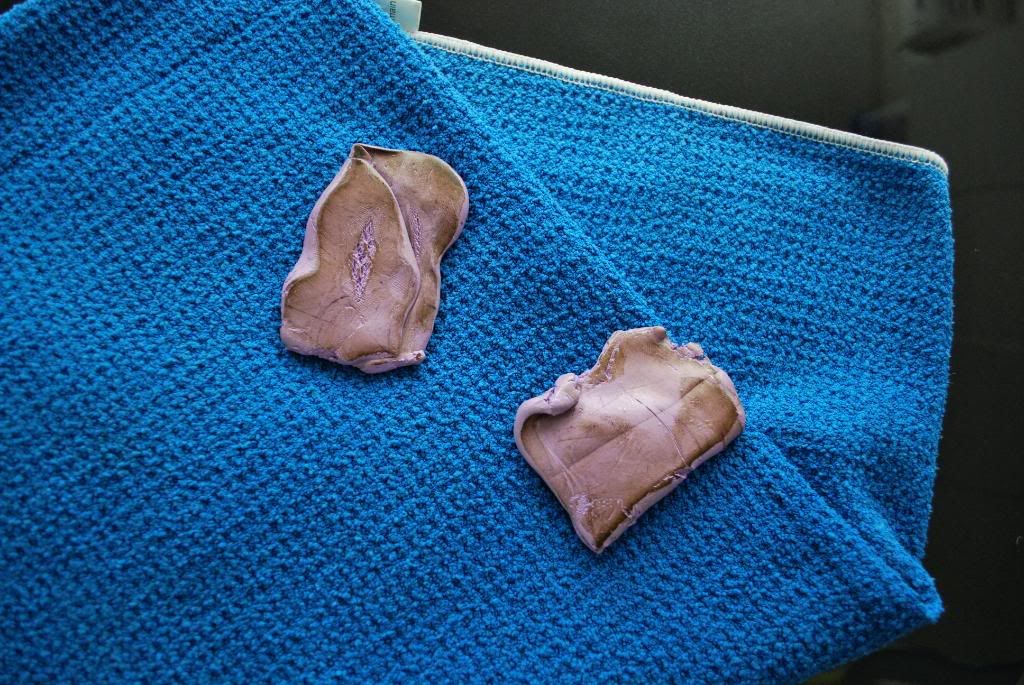
Here is the clay after about 3/4 of the car
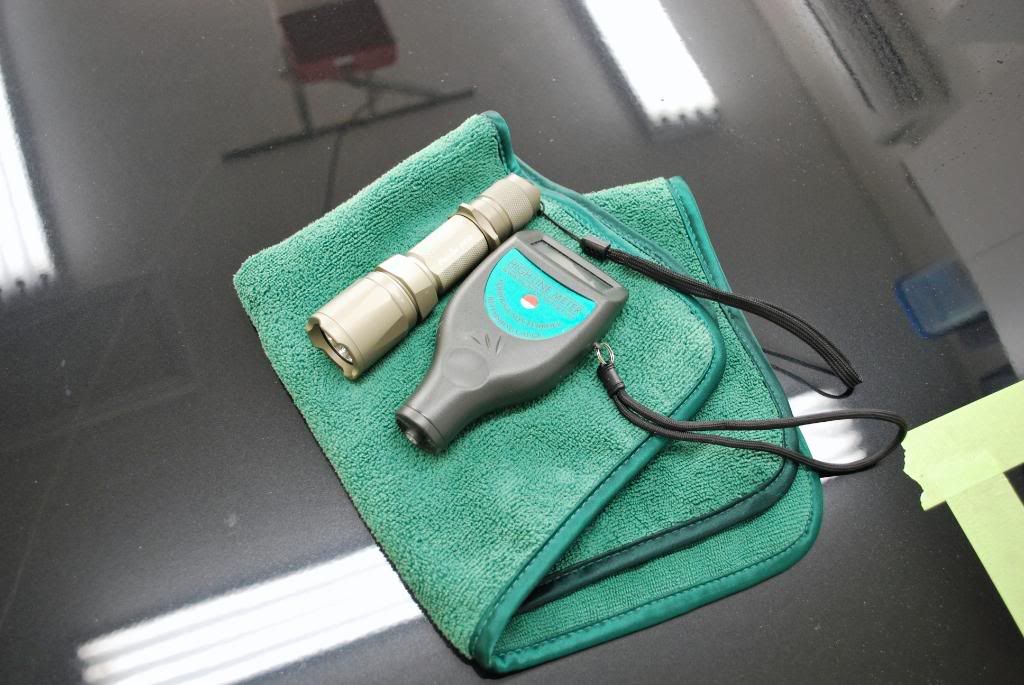
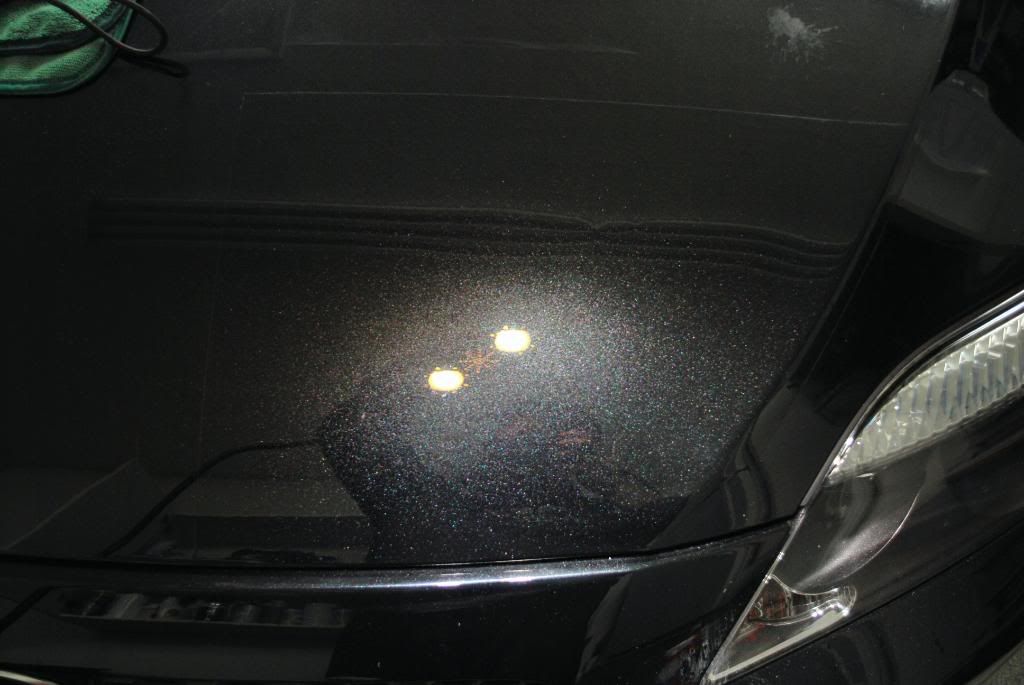
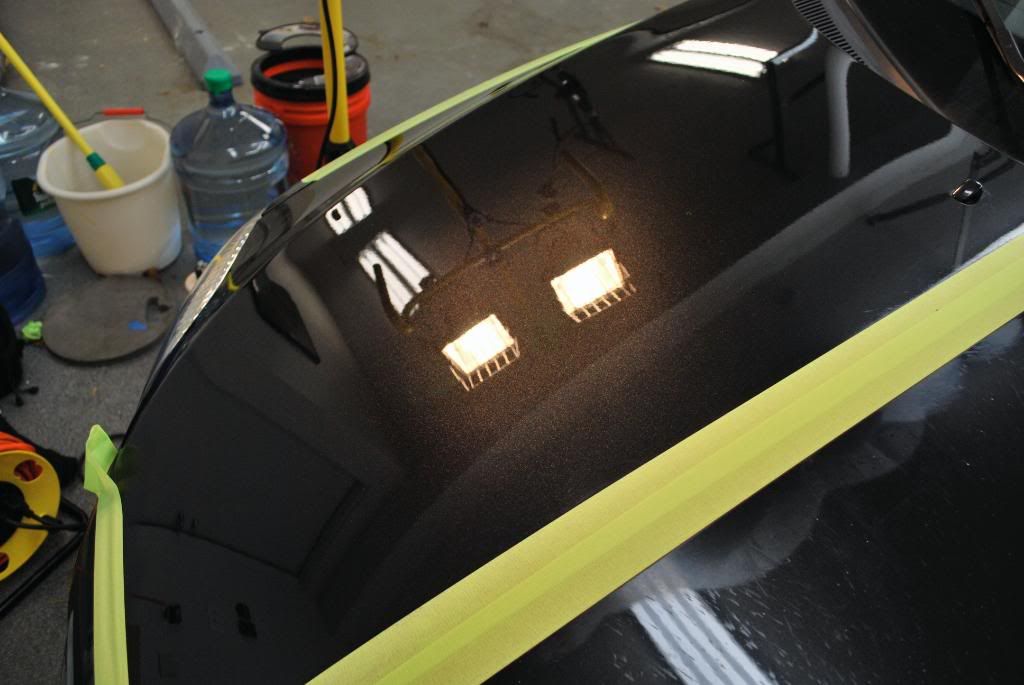
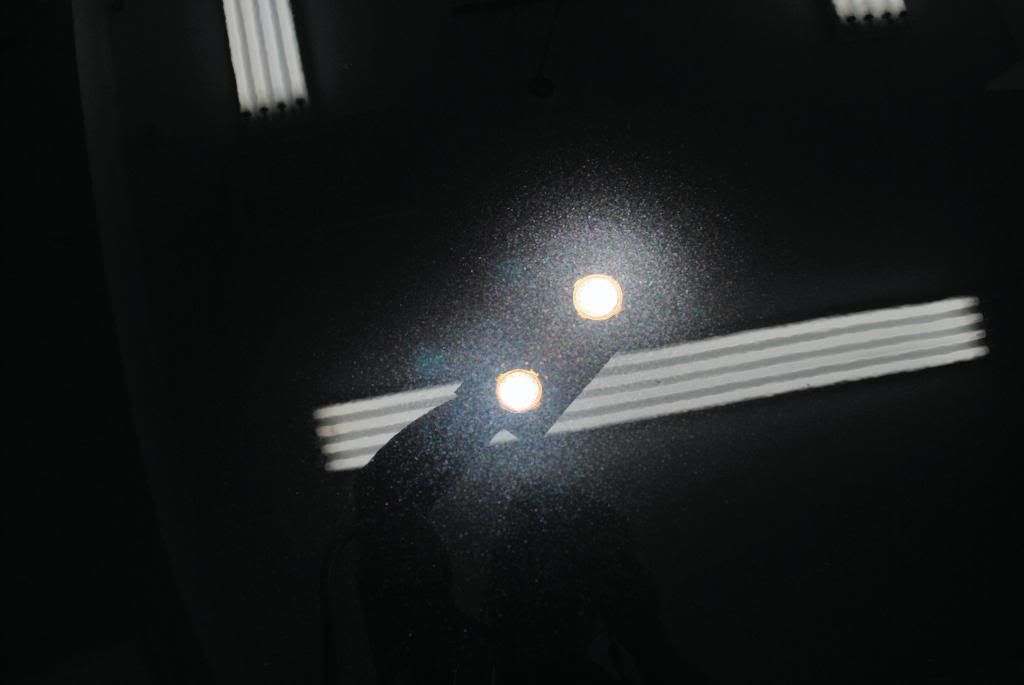
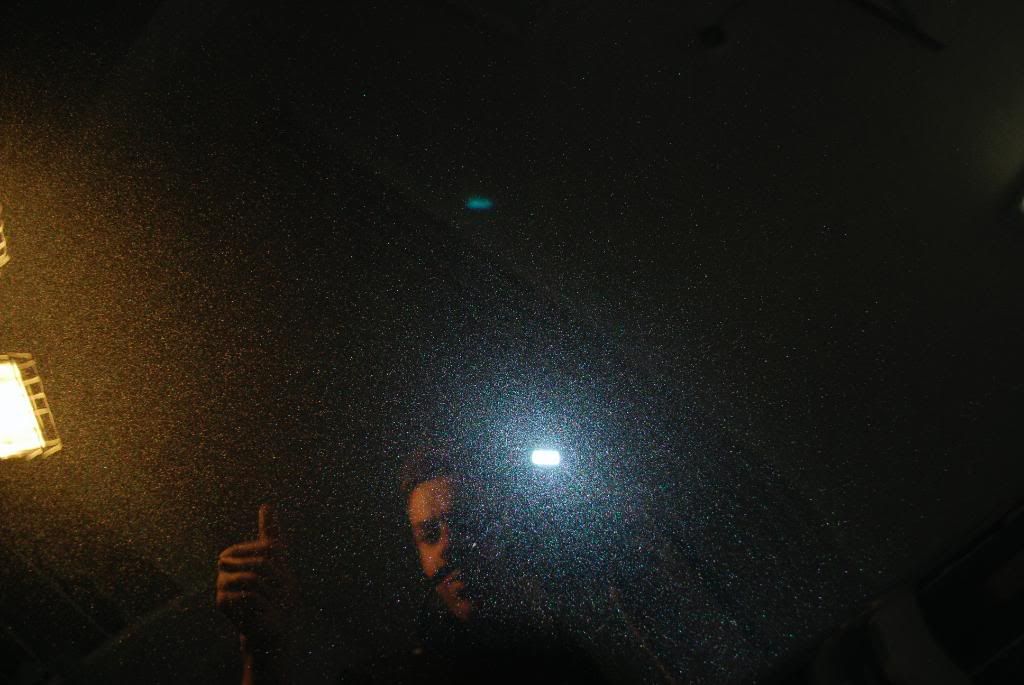
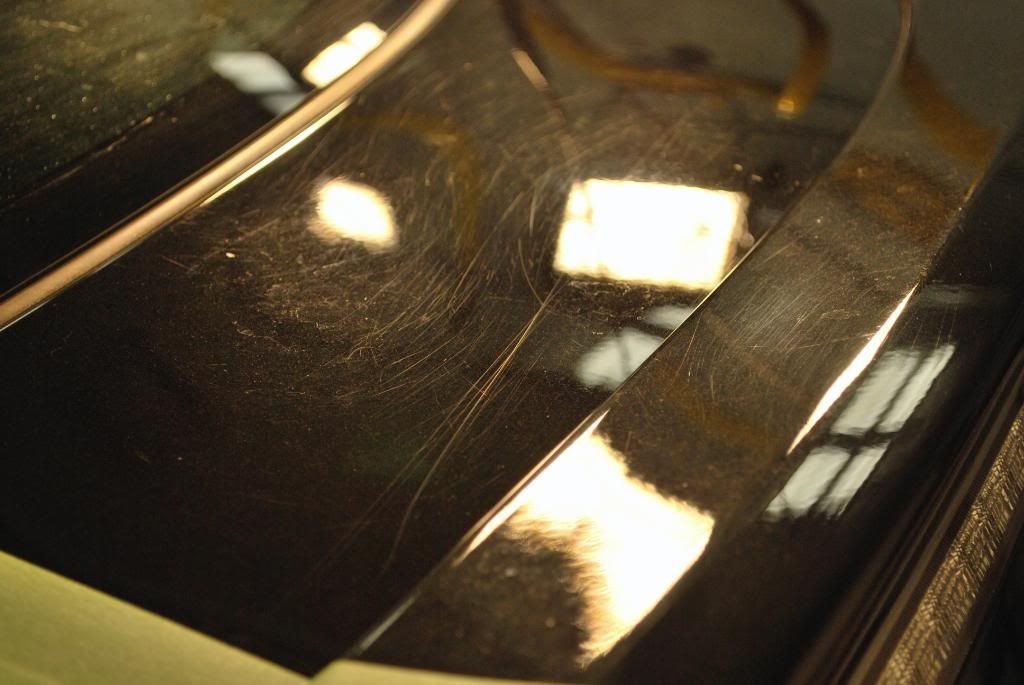
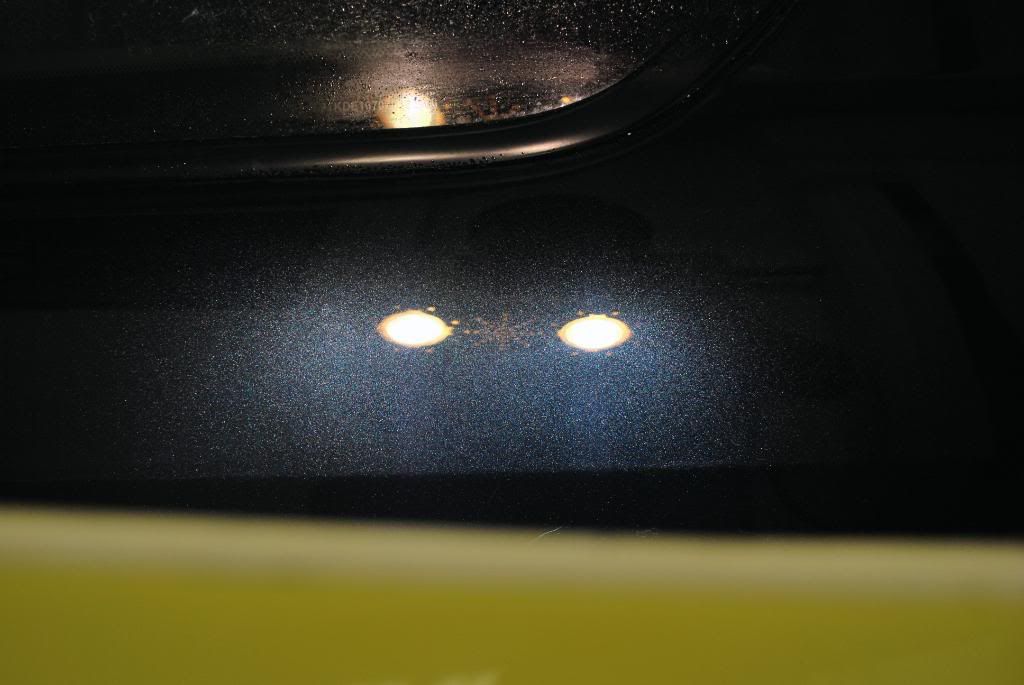
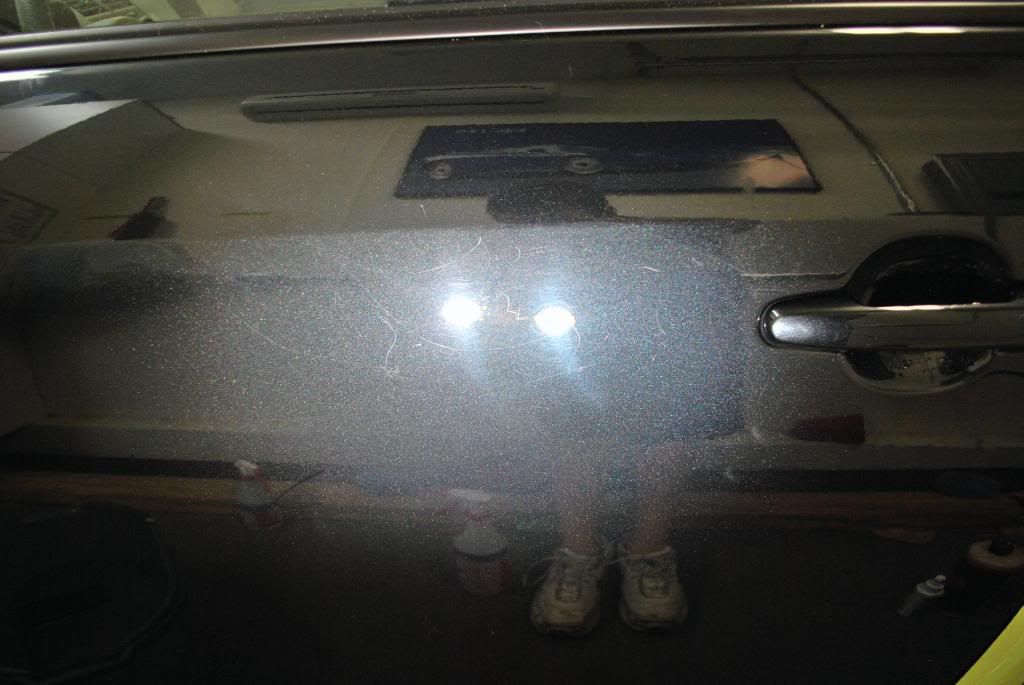
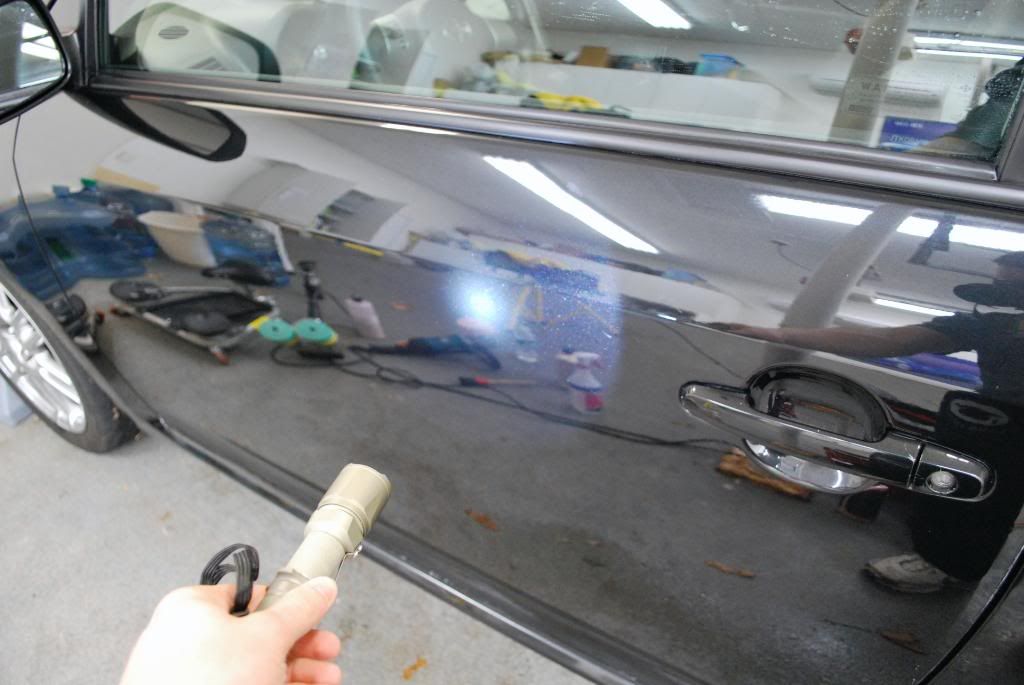
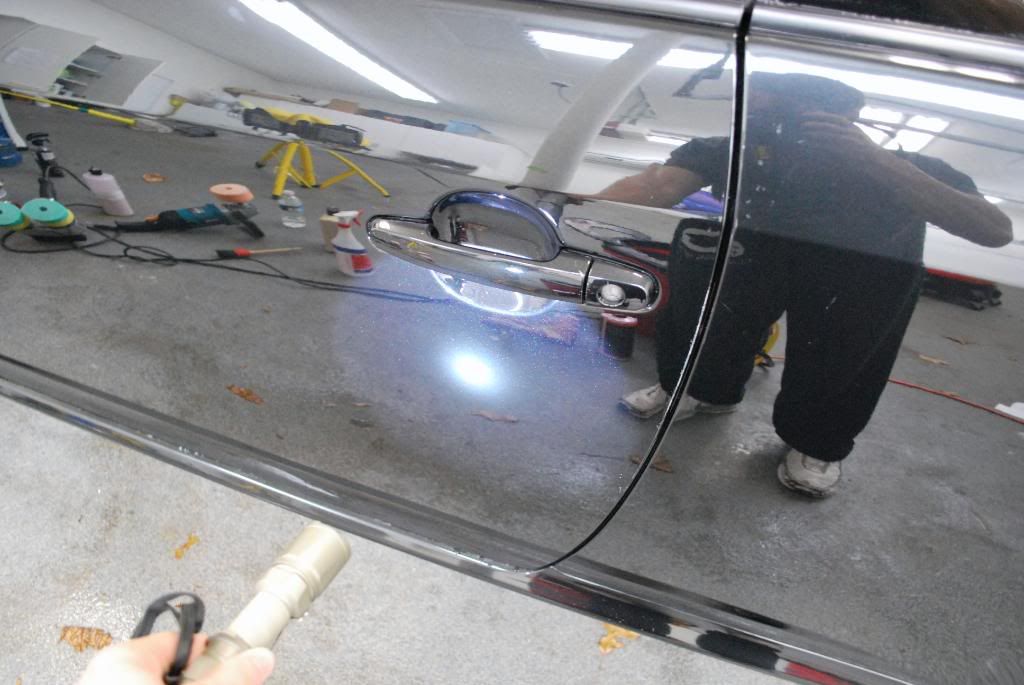
After claying came the inspection, my tools of choice were the Highline PTG and the ever so great "Light of Truth" Fenix TK10 ... nothing picks up defects better on metallics
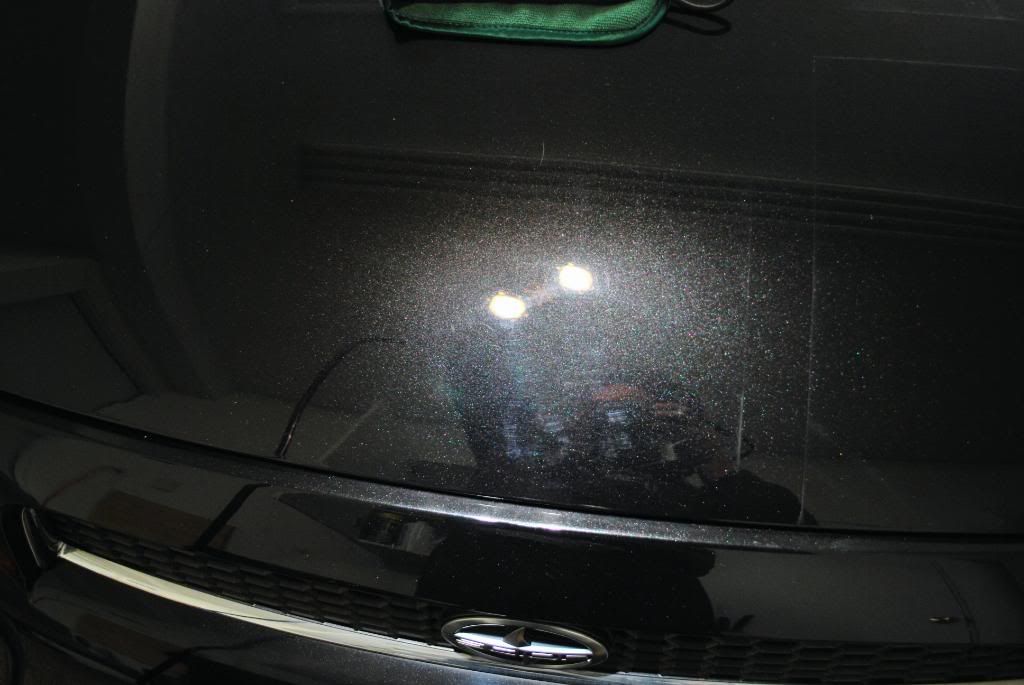
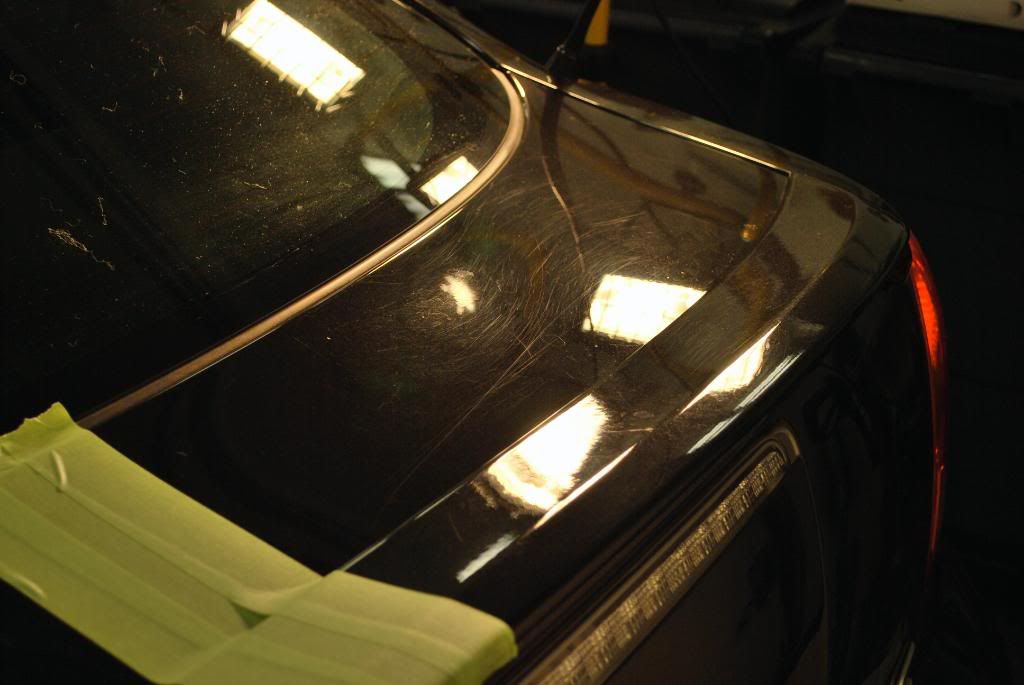
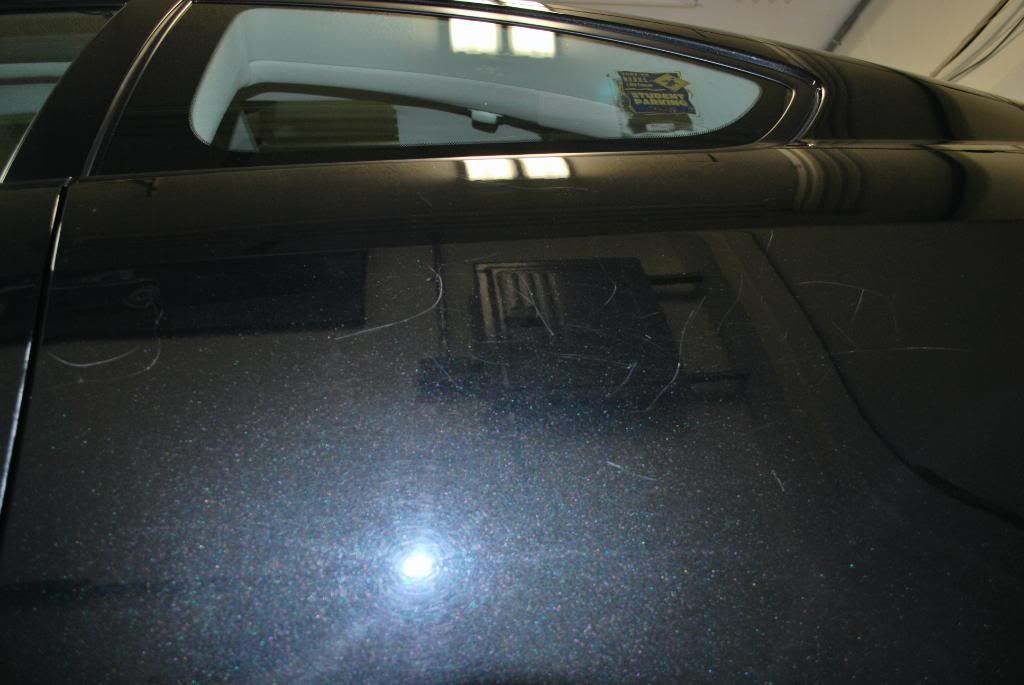
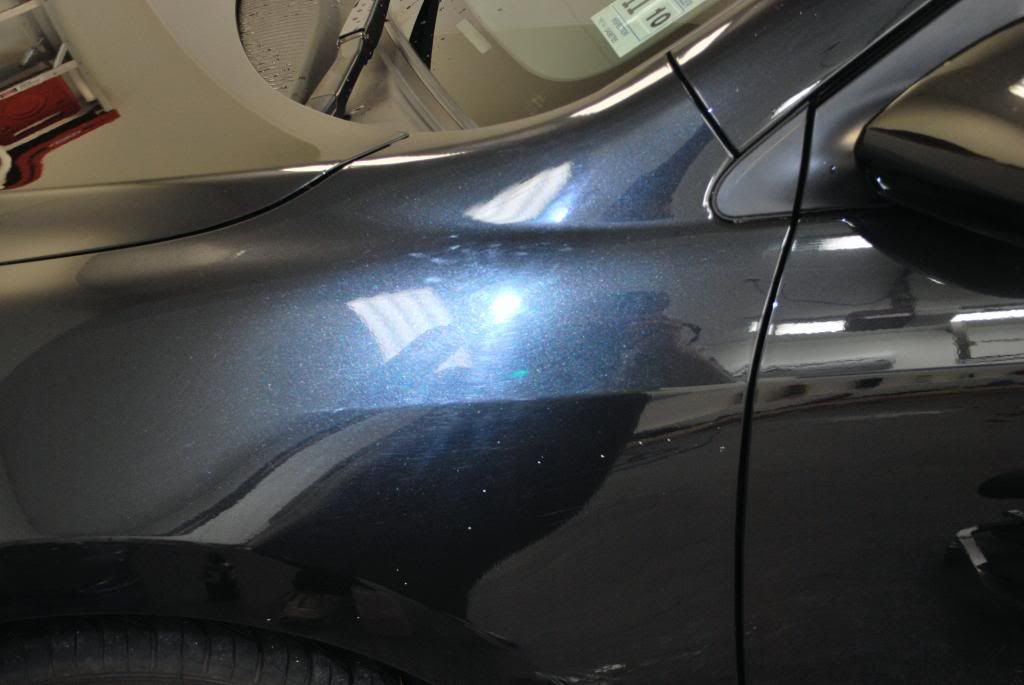
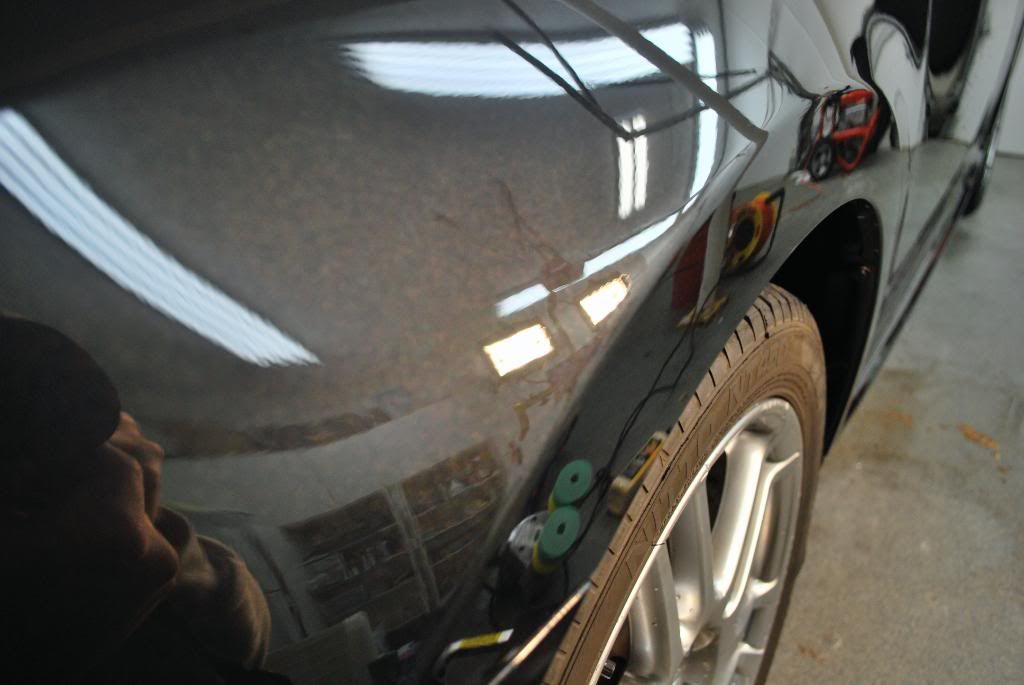
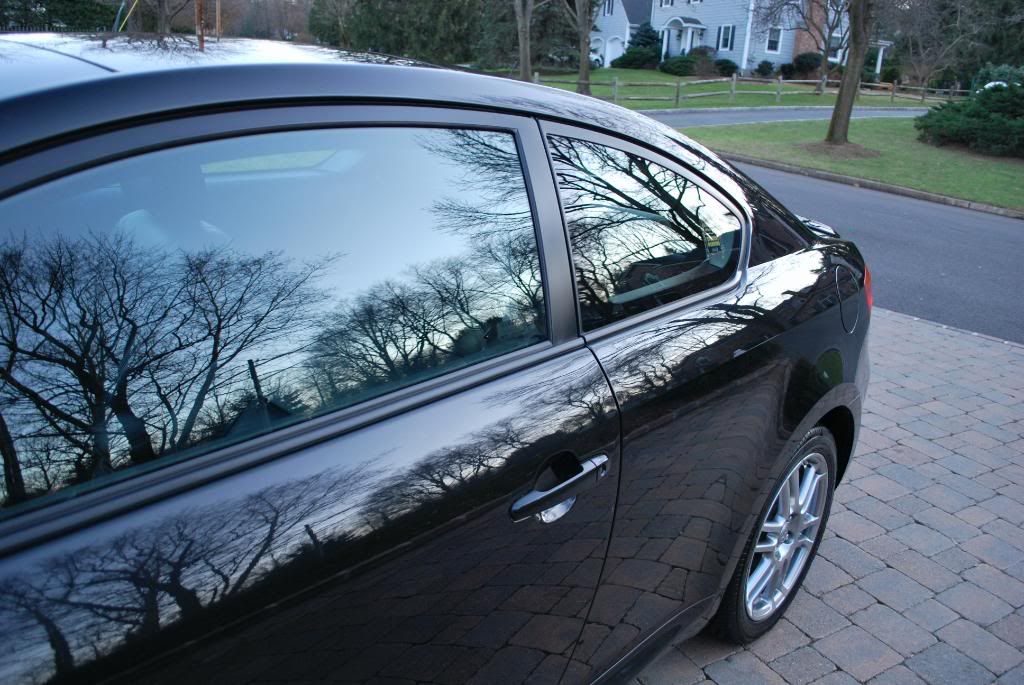
The side fender with moderate swirls under the fenix
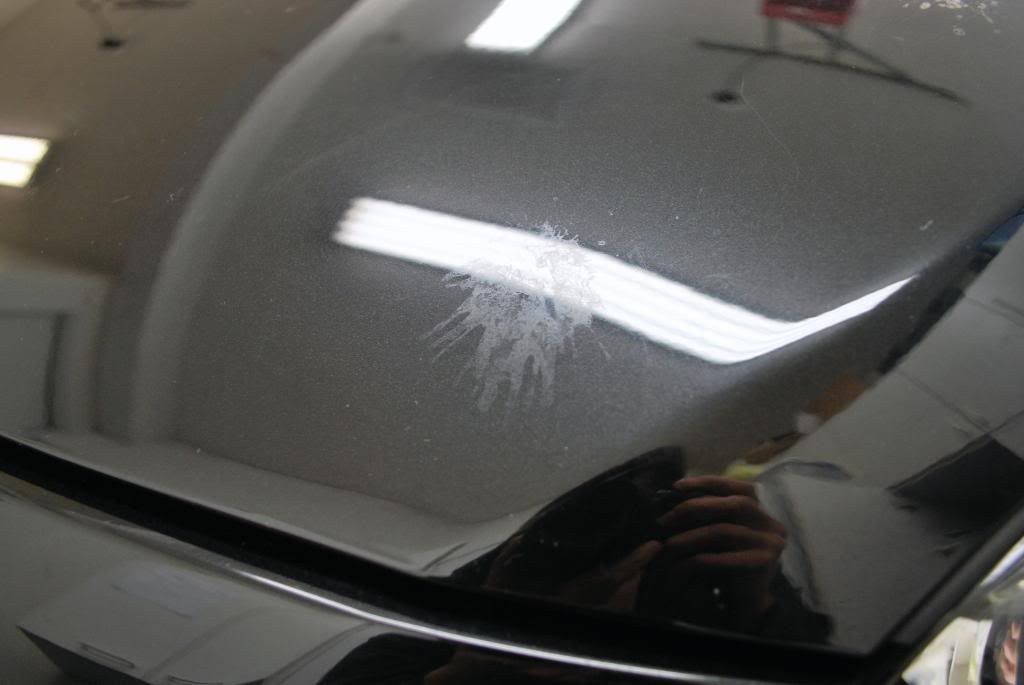
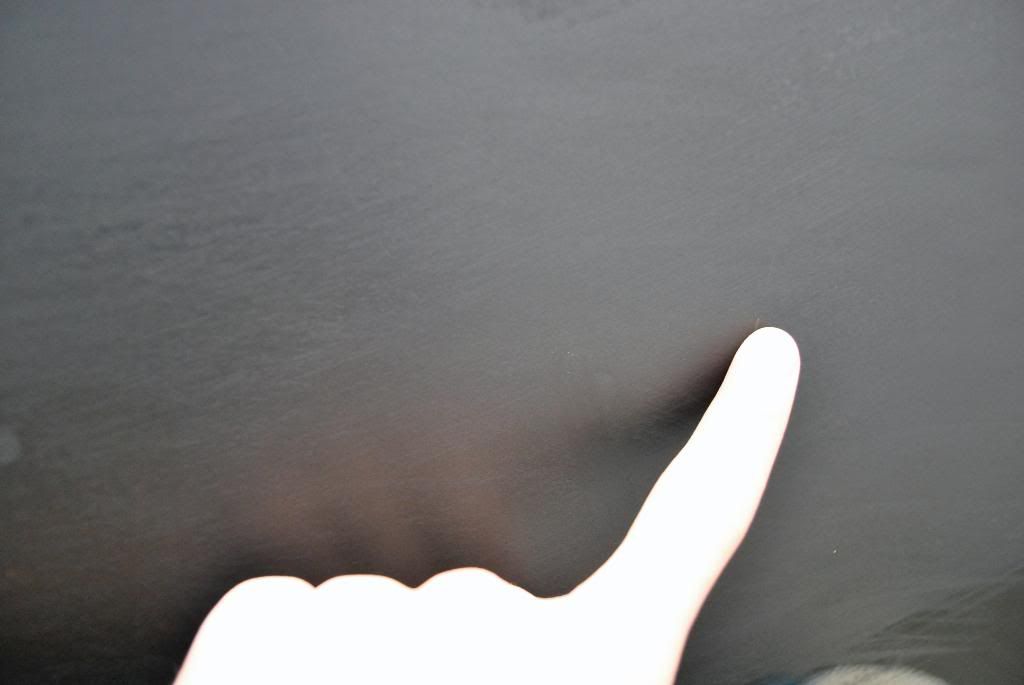
There was some sever bird drop etching in several spots of the hood which needed wetsanding attention, before doing large sections of the hood I did a test section, wetsanded and corrected to see what polish and pad combo would work best
I tended to the bird etching on the hood test spot as well, first I sanded with Meguiars Uni-grit 2000grit
I was able to use the same polish and pad combo to remove the sanding marks as well
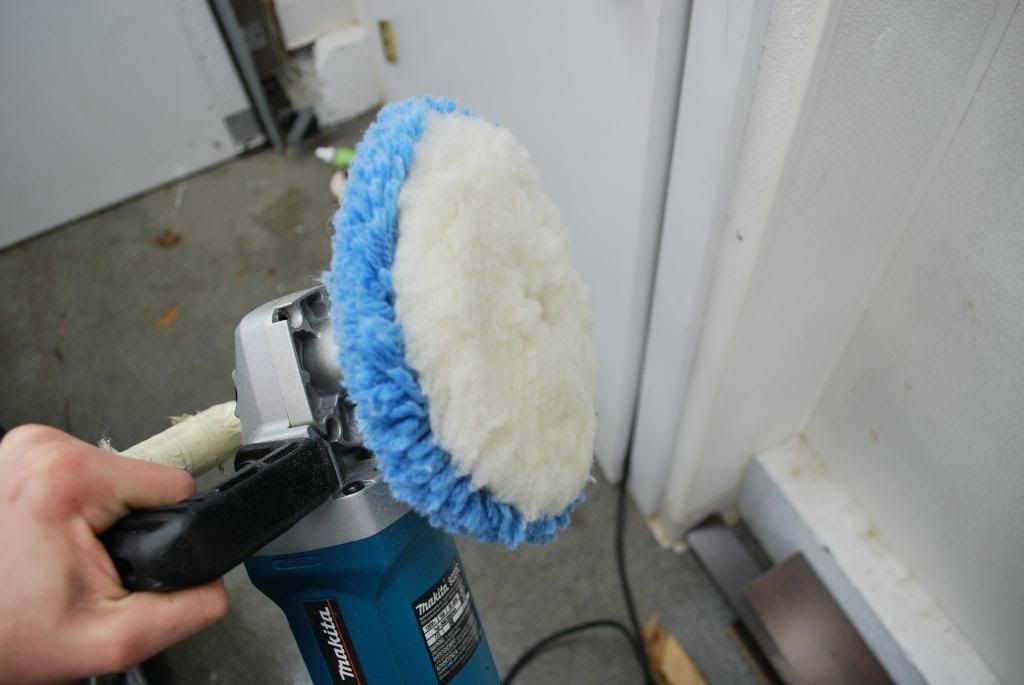
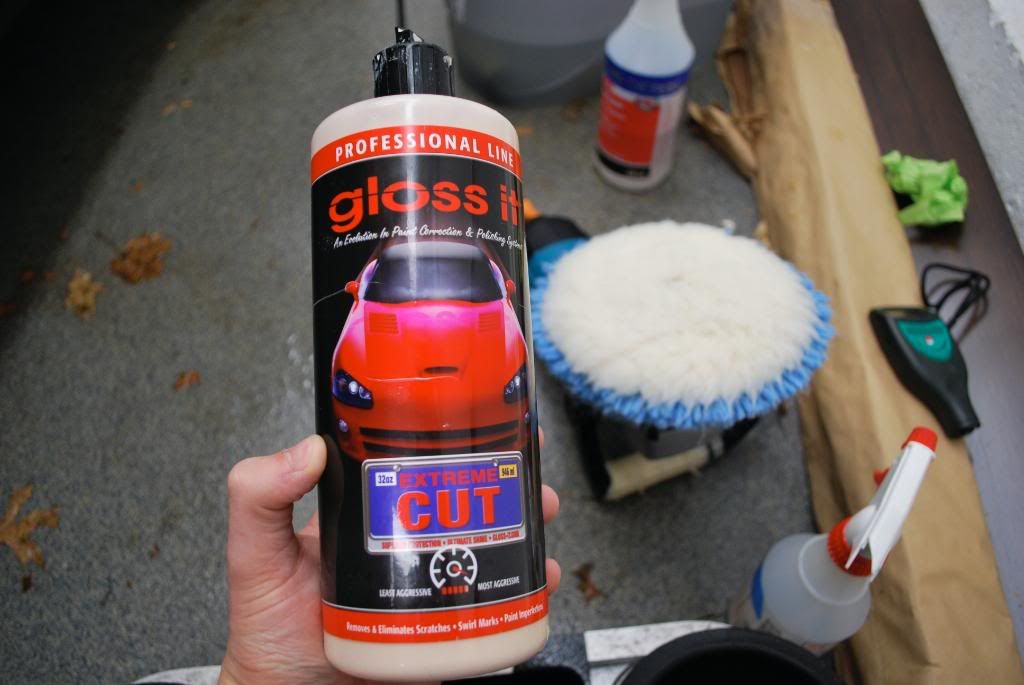
-Gloss It Extreme Cut w/ a megs burgandy and EVP prime on the Makita.
My Zenith approach was a little different in terms of RPM used because I had Gloss It EVP on the pad when correcting, EVP extends work time and disperses heat so you can polish longer at high speeds without generating excess heat.
900,1200, 1800, 2100 rpm ------ then back down to 1500, 1200 and 900 to finish off
Working the extreme cut on the test spot
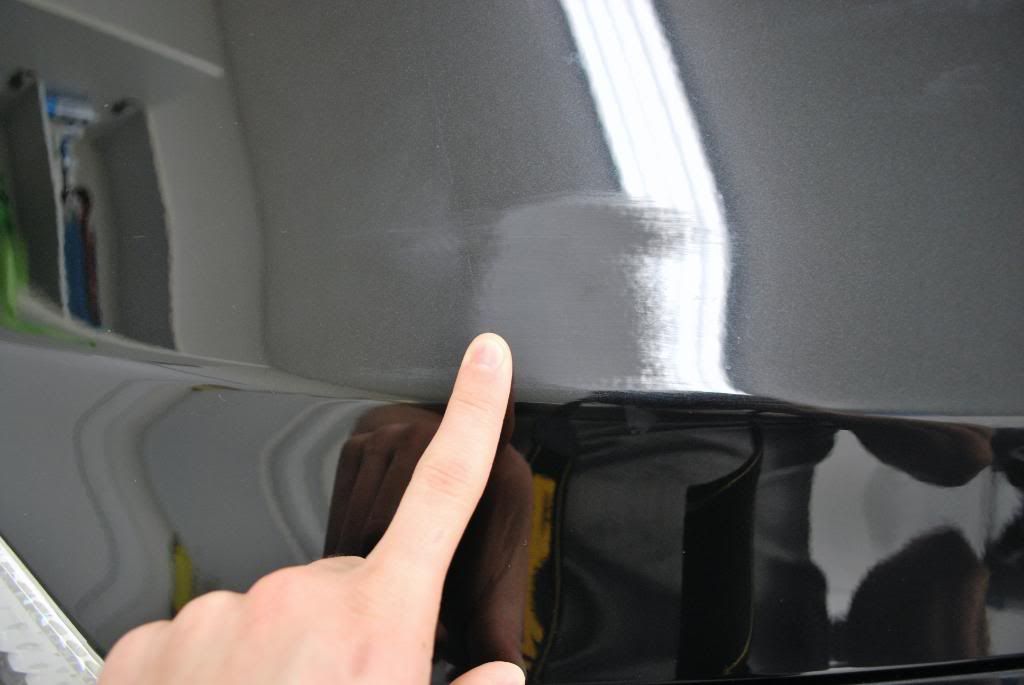
Turns out the combo worked excellent, a quick before and after
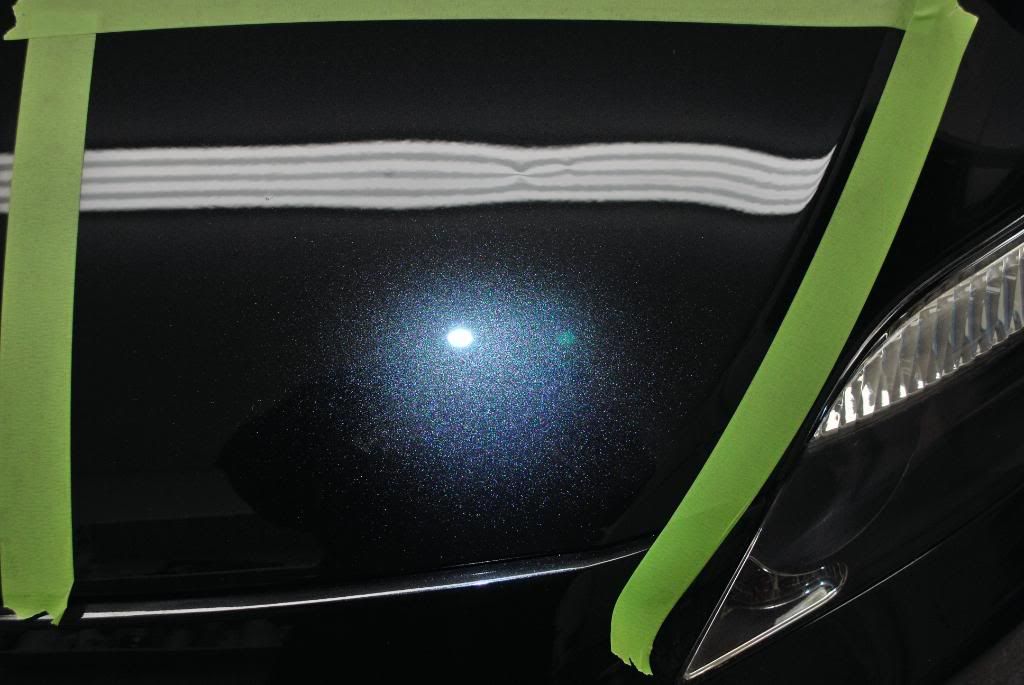
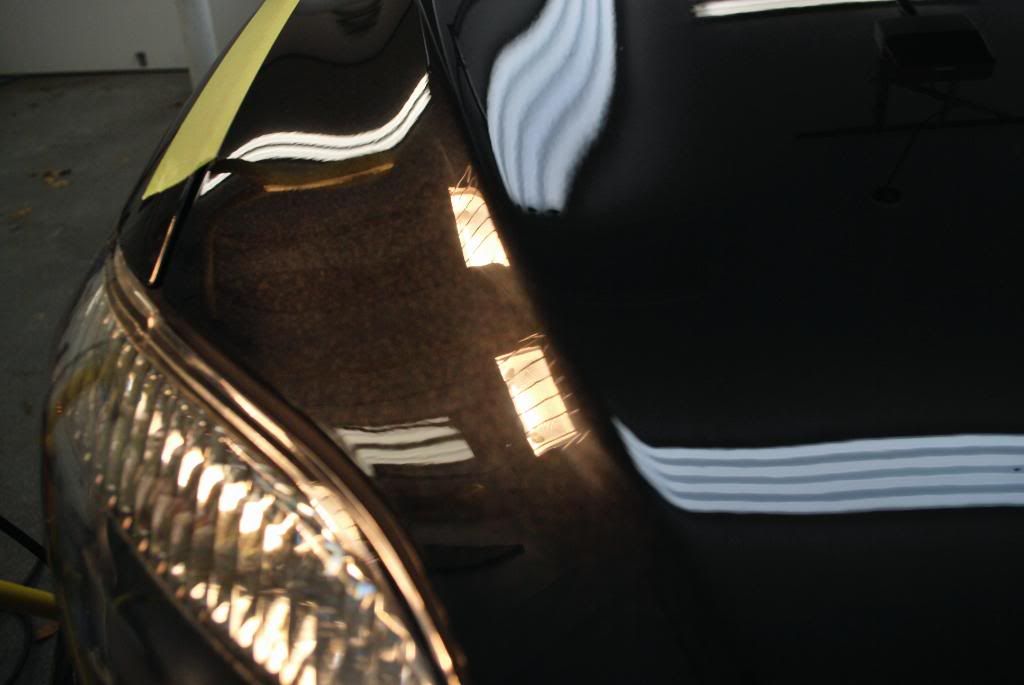
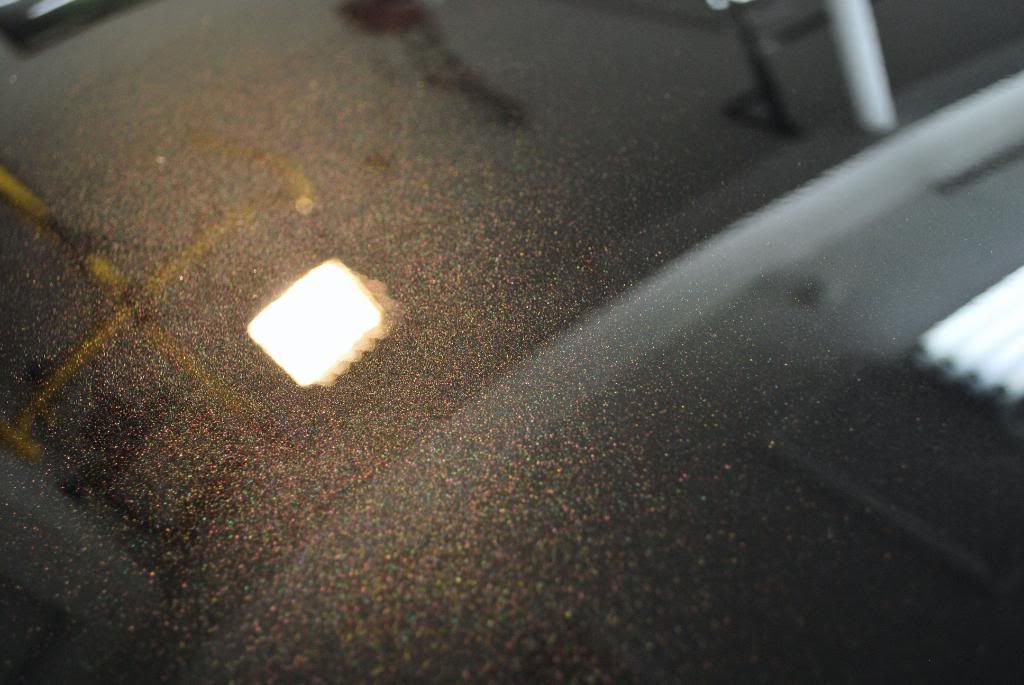
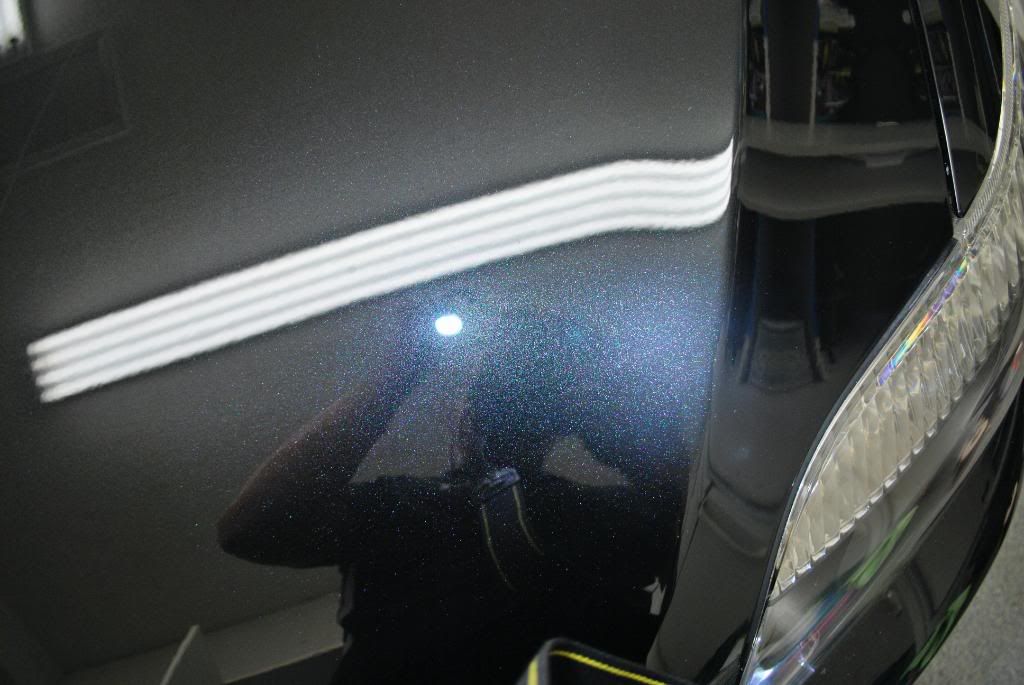
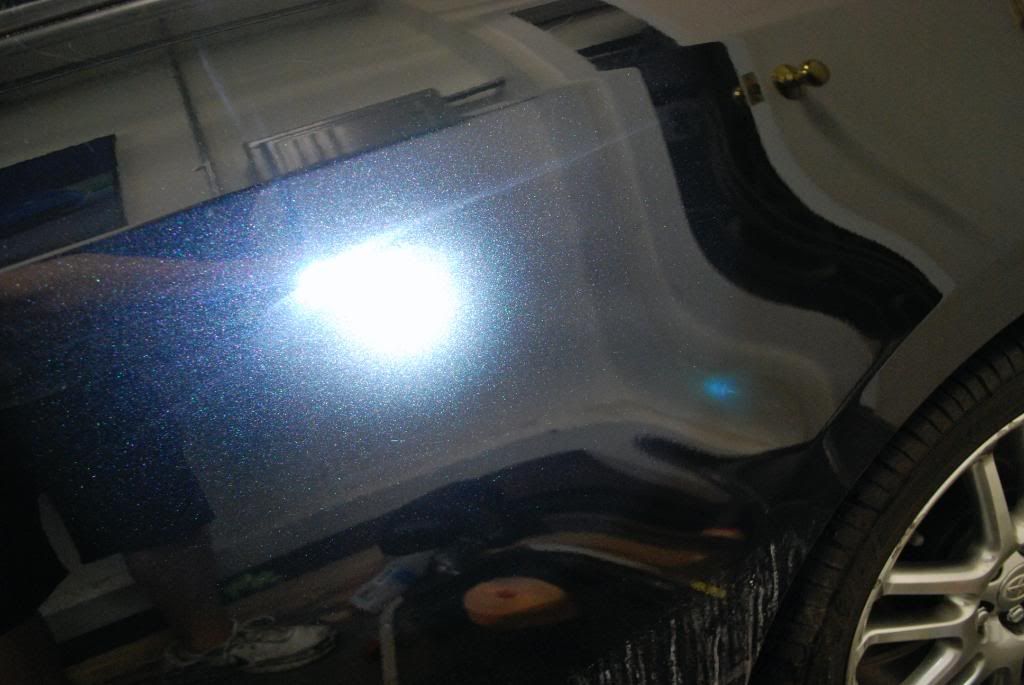
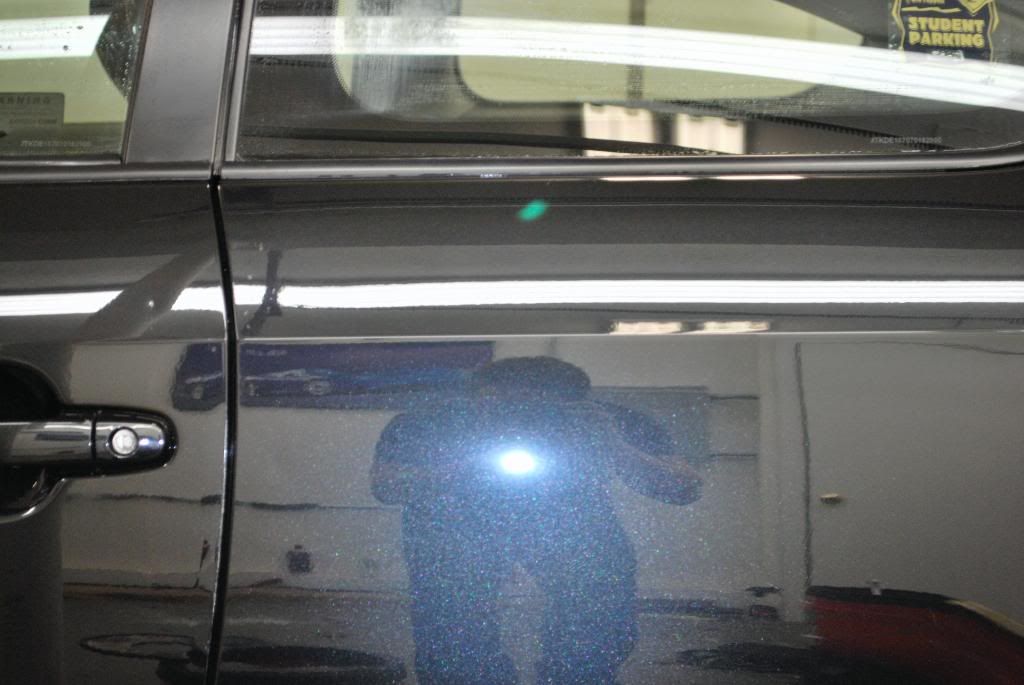
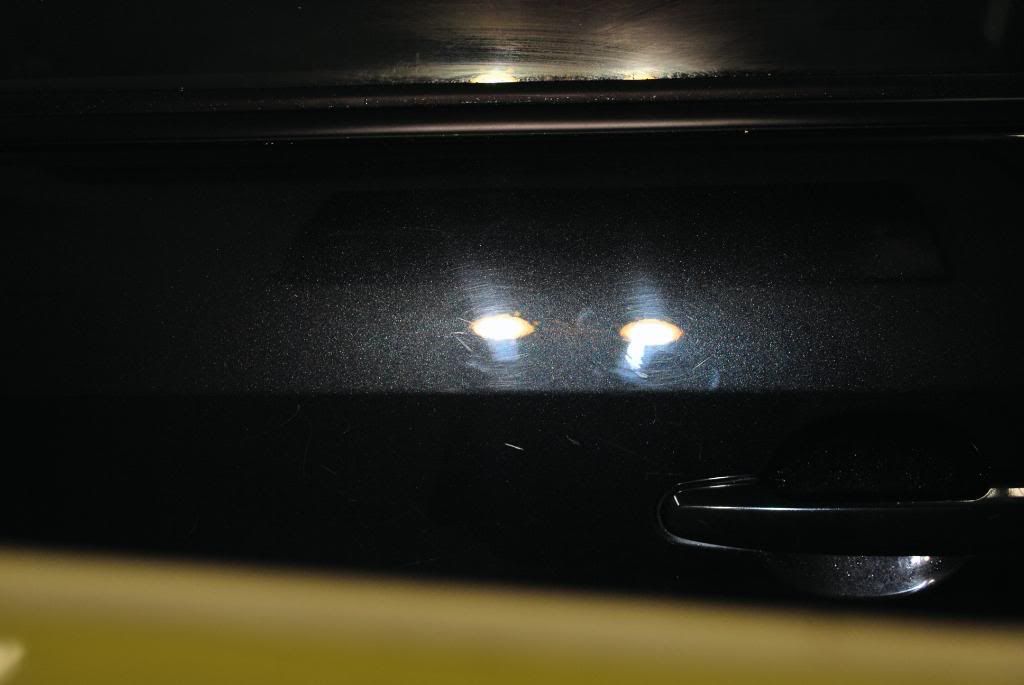
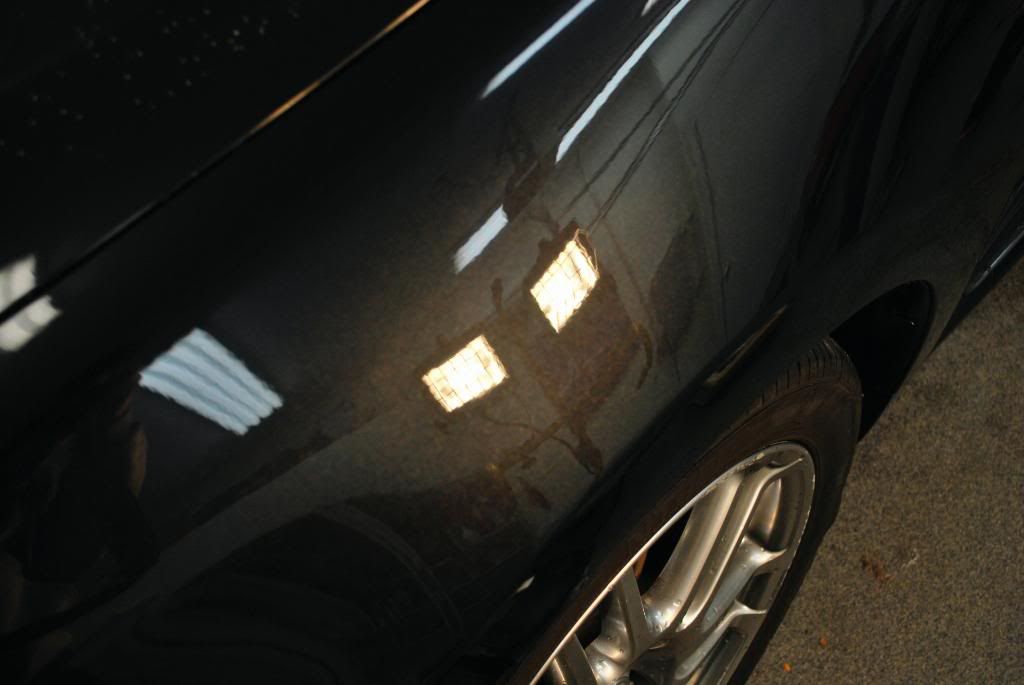
And under the Light of truth after an IPA wipedown... perfect! You can tell the finish is 100% hologram free because the center LED beam on the Fenix is not refracted on the paint in all directions, you see the beam in a perfect circle which indicates full correction.. mind you these results were after only 1 step correction and the IPA wipedown
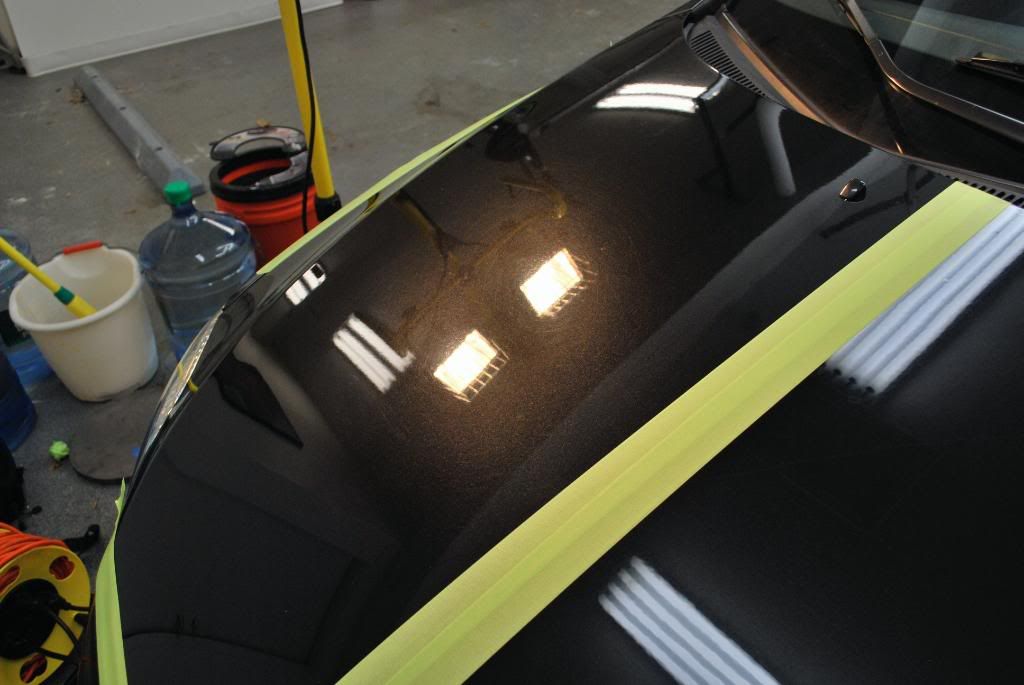
I found that combo worked very well so I corrected the rest of the hood, 2 other bird etchings were sanded with either 2000 and 2500grit
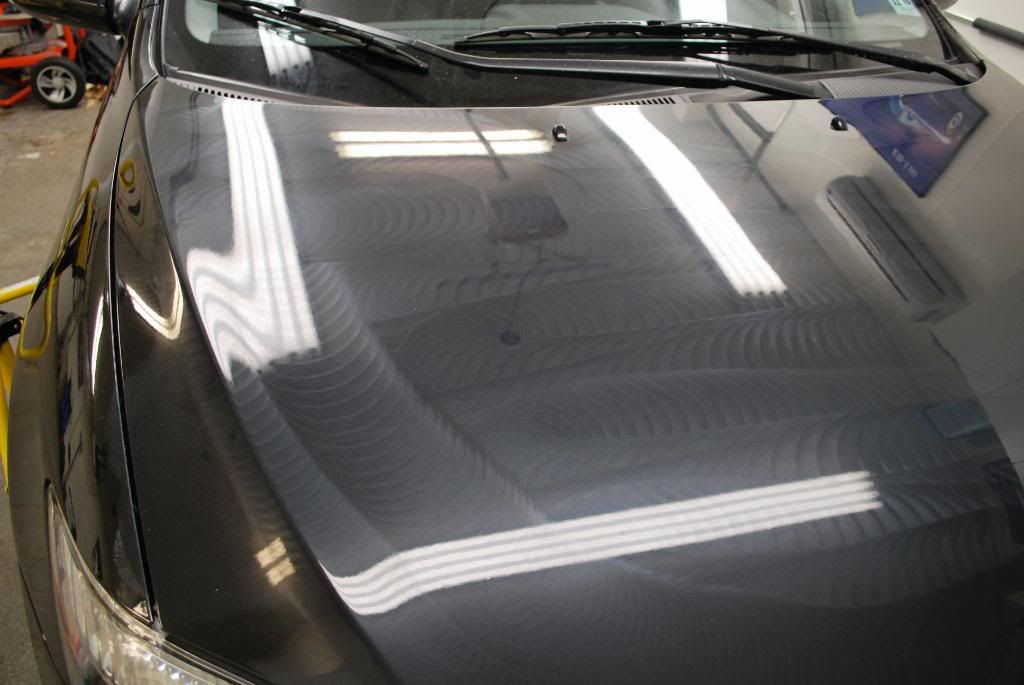
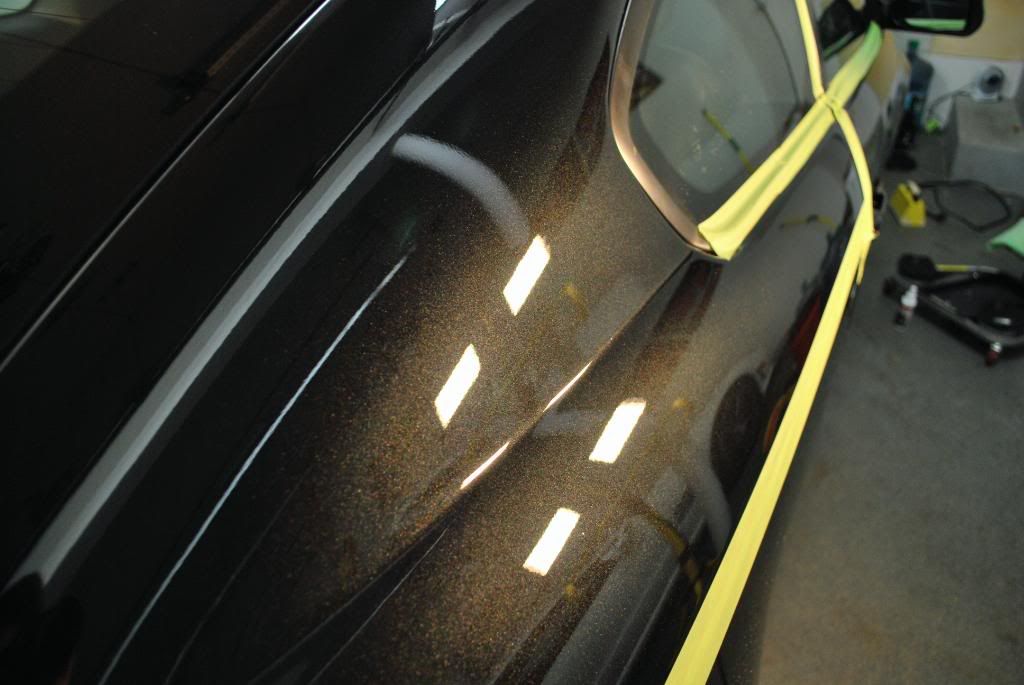
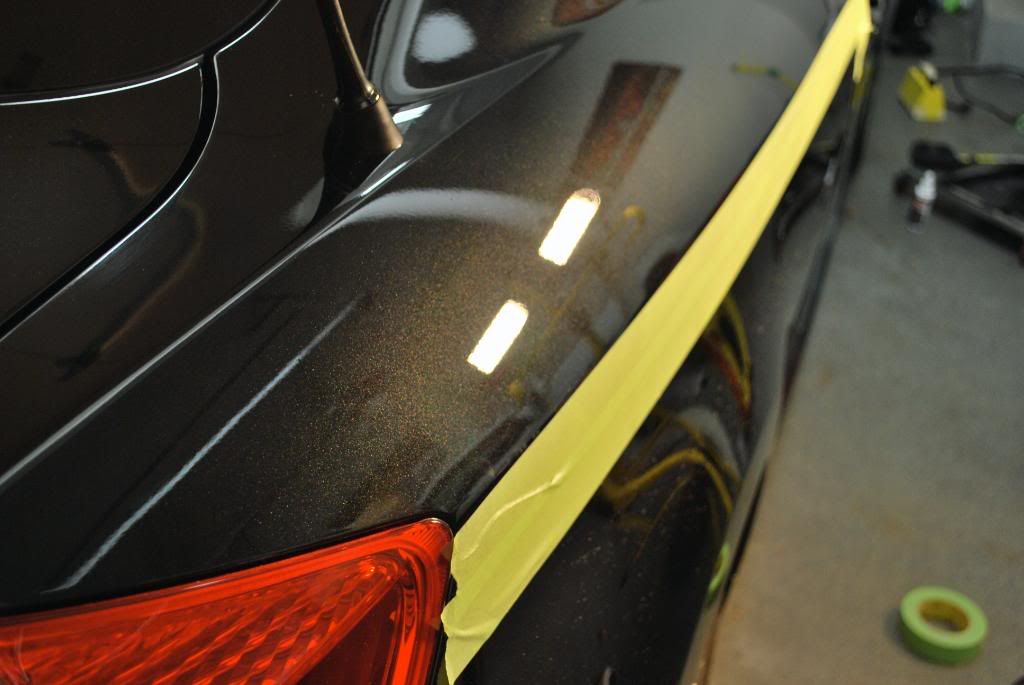
Moderate swirling and some deeper RIDS were corrected on the rest of the hood
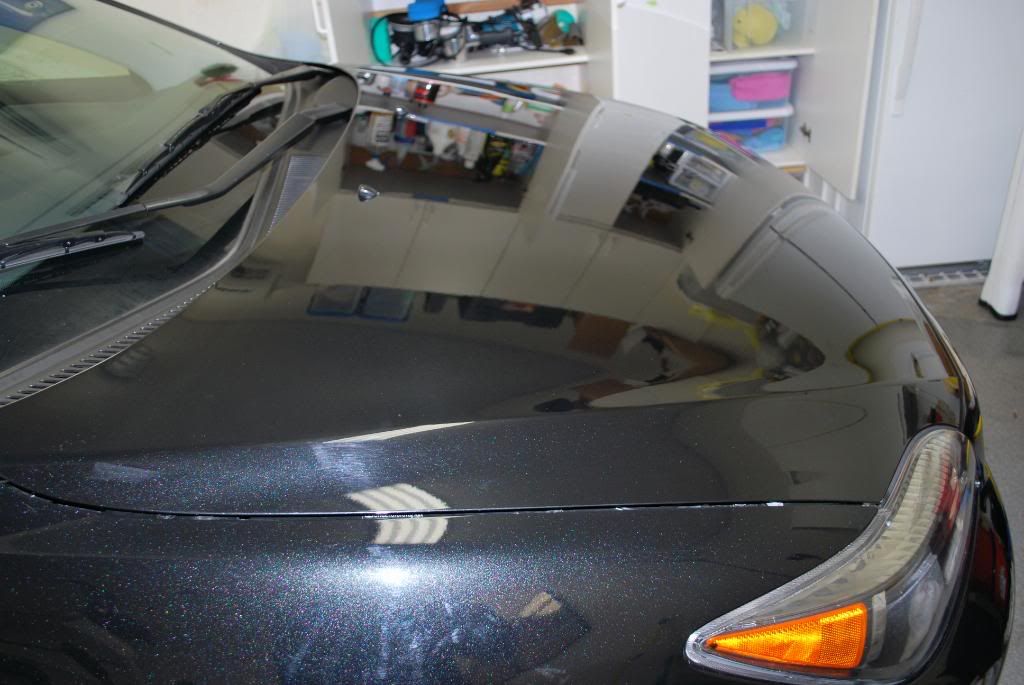
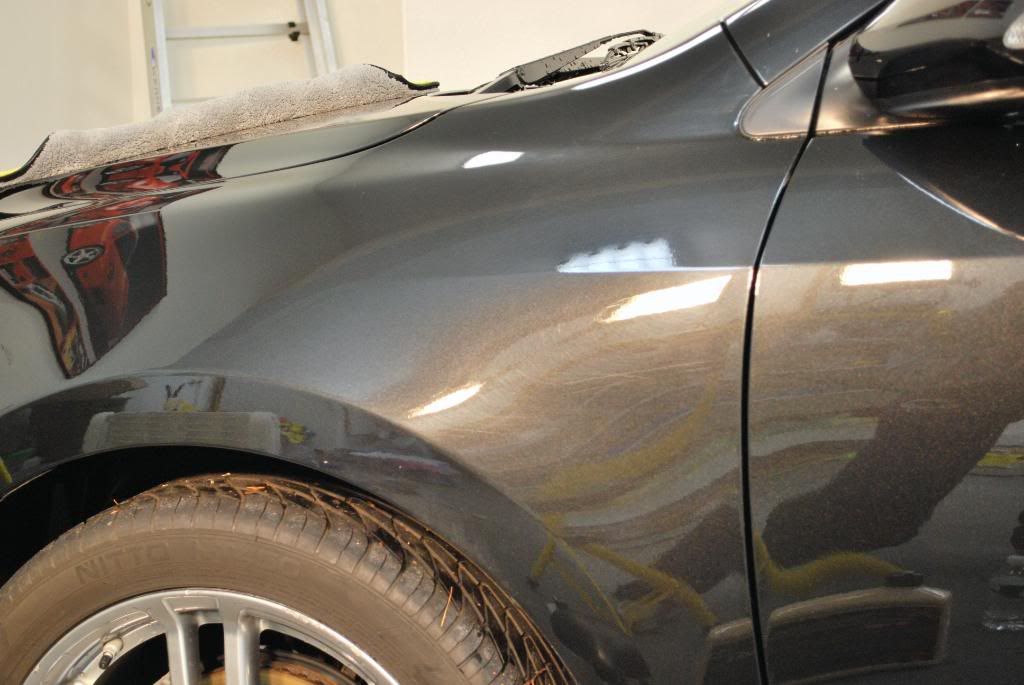
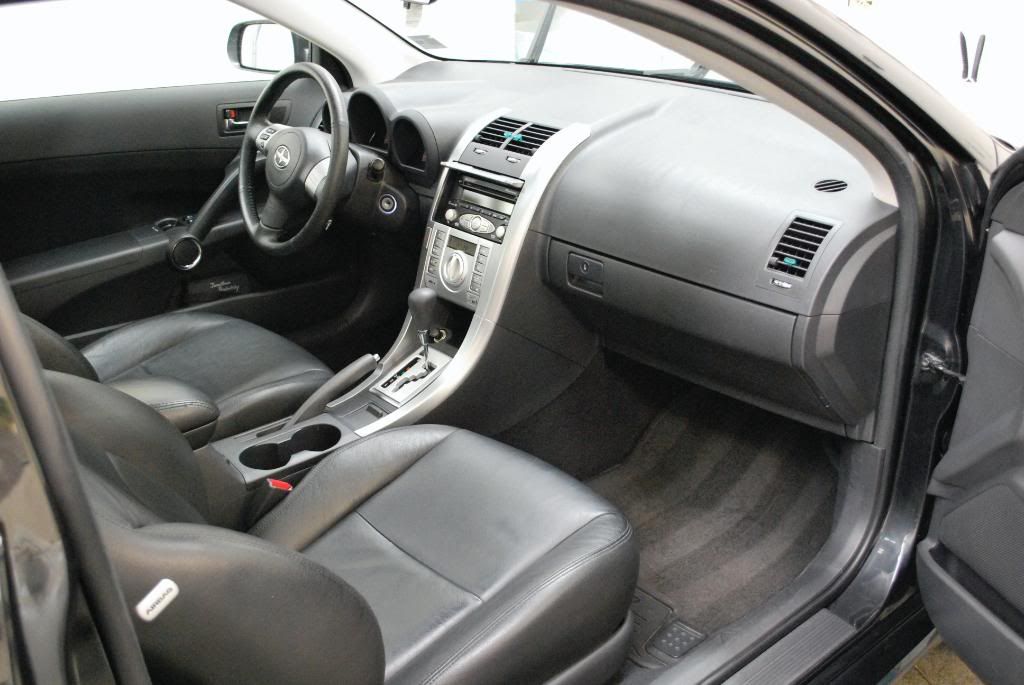
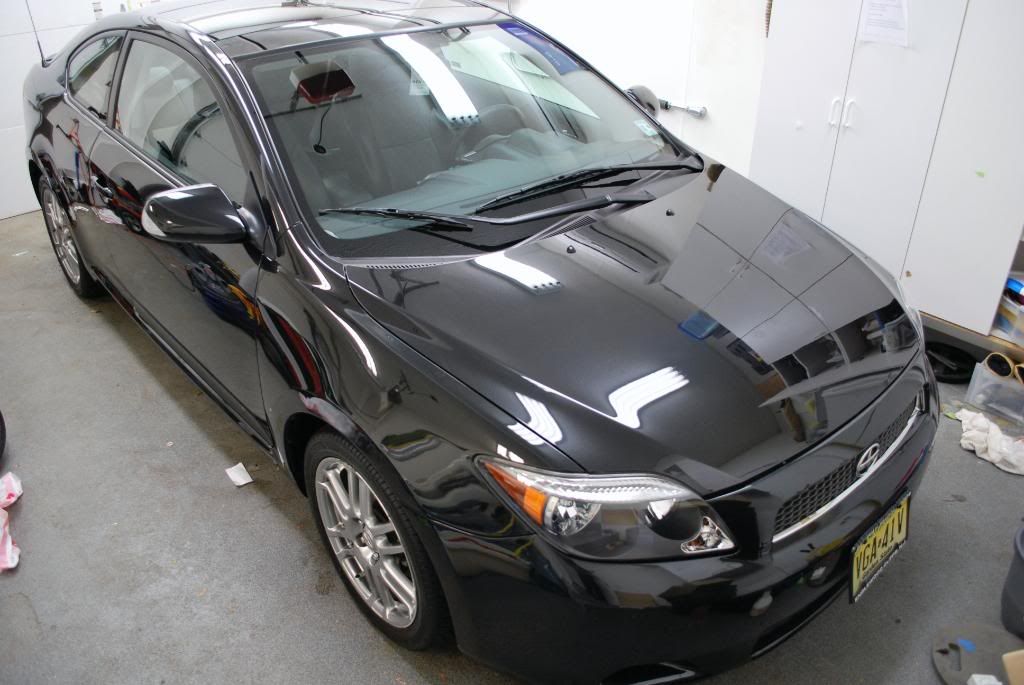
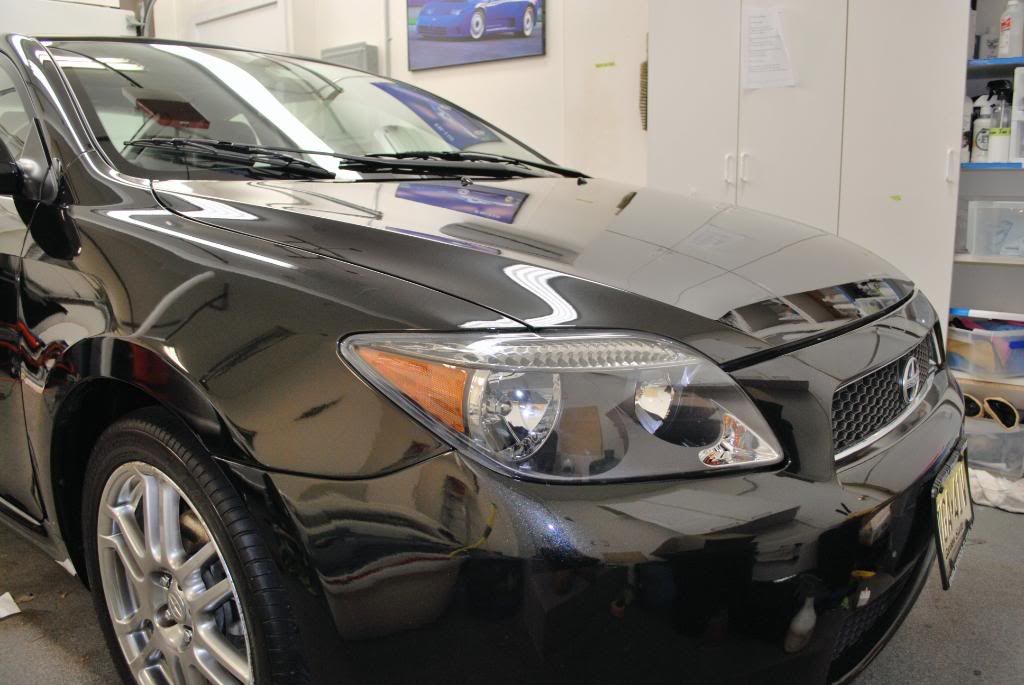
Before
After
Apparently the poor owner of this Scion TC said the "wrong" thing to his girlfriend at the wrong time while she was sitting in the passenger seat.
His girlfriend proceeded to exit the Scion and take off her HIGH HEEL shoe as she walked over to the drivers side door to get some revenge :down
The result...
The culprit...
At first I didn't believe I could fix the deep scratches caused by the shoe, but the owner begged to do whatever I could so I agreed to the detail ...despite his yelp at my ballpark estimate. In addition to the severe scratches the car in general was in poor condition as it is never garaged and sometimes neglected by other family members the owner informed me.
A shot of the main damage outside
We'll get to the correction work and wetsanding later, first up is the wash process
The Scion was very dirty with the works: road grime, road salt and heavy brake dust.
I didnt have time to document the wash process on Day 1 of the detail so here is a quick summary.
The DIC 20 and Camspray 1500 PW were a big help during the process as it was freezing temps outside so extra scrubbing and drying weren't needed
-Poorboys spray and rinse on the wheels
-APC 4:1 on the tires and wheel wells
-Pre foam the paint with a heavy mixture of CG CWG
-Remove road grime w/ Grime Destroyer and PB bug squash
-2 bucket hand wash with gloss it gloss shampoo and 2 shmitts
Before I called it a night I made sure to let the wetsadning paper soak for adequete time so it would be good to go for the following day
Meguiars Uni-Grit 1500, 2000, 2500 and 3000 soaking overnight
Day 2 started the correction work, first the car was clayed
After doing a quick "cellophane test" I found the finish to have a considerable about of contaminants. First I needed to soften up the clay as its been sitting in a cold garage for a while.
Warm water in a pot usually does the trick
I used Gloss It lavender aggressive clay with Megs LT 1:1 for lube
Here is the clay after about 3/4 of the car
After claying came the inspection, my tools of choice were the Highline PTG and the ever so great "Light of Truth" Fenix TK10 ... nothing picks up defects better on metallics
The side fender with moderate swirls under the fenix
There was some sever bird drop etching in several spots of the hood which needed wetsanding attention, before doing large sections of the hood I did a test section, wetsanded and corrected to see what polish and pad combo would work best
I tended to the bird etching on the hood test spot as well, first I sanded with Meguiars Uni-grit 2000grit
I was able to use the same polish and pad combo to remove the sanding marks as well
-Gloss It Extreme Cut w/ a megs burgandy and EVP prime on the Makita.
My Zenith approach was a little different in terms of RPM used because I had Gloss It EVP on the pad when correcting, EVP extends work time and disperses heat so you can polish longer at high speeds without generating excess heat.
900,1200, 1800, 2100 rpm ------ then back down to 1500, 1200 and 900 to finish off
Working the extreme cut on the test spot
Turns out the combo worked excellent, a quick before and after
And under the Light of truth after an IPA wipedown... perfect! You can tell the finish is 100% hologram free because the center LED beam on the Fenix is not refracted on the paint in all directions, you see the beam in a perfect circle which indicates full correction.. mind you these results were after only 1 step correction and the IPA wipedown
I found that combo worked very well so I corrected the rest of the hood, 2 other bird etchings were sanded with either 2000 and 2500grit
Moderate swirling and some deeper RIDS were corrected on the rest of the hood
Before
After


") . How do you like the camspray? I'm having troubles justifying the $700 price tag..
. How do you like the camspray? I'm having troubles justifying the $700 price tag..