David Fermani
Forza Auto Salon
2006 Cadillac Escalade – (Black) ~ Complete Detail
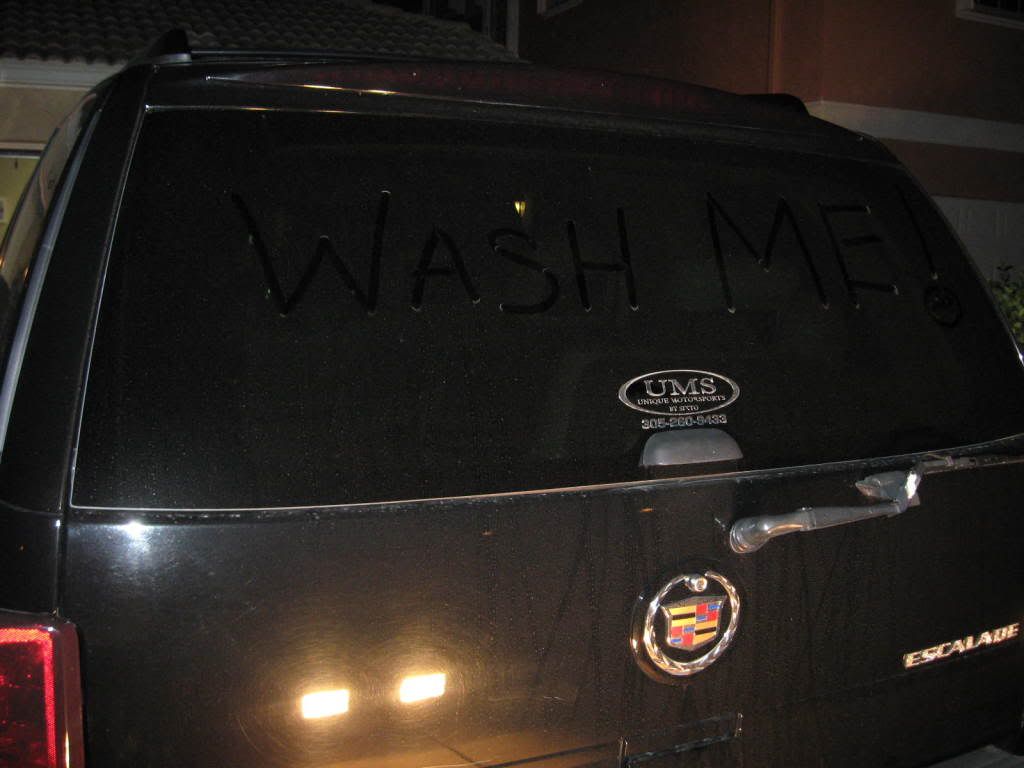
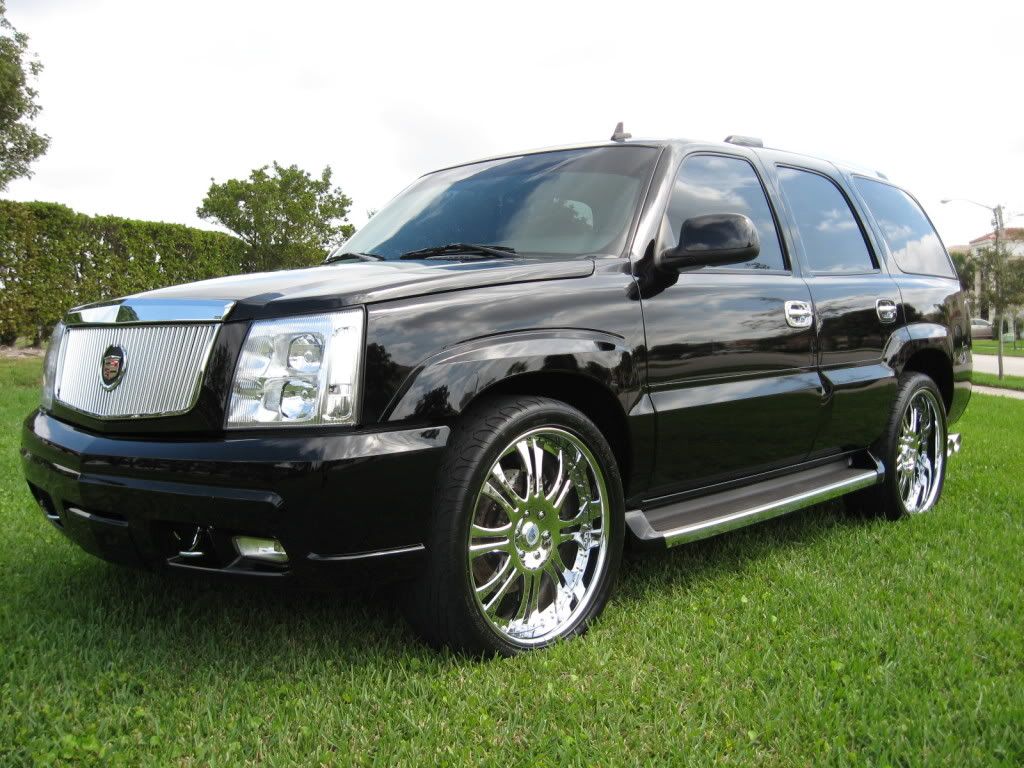
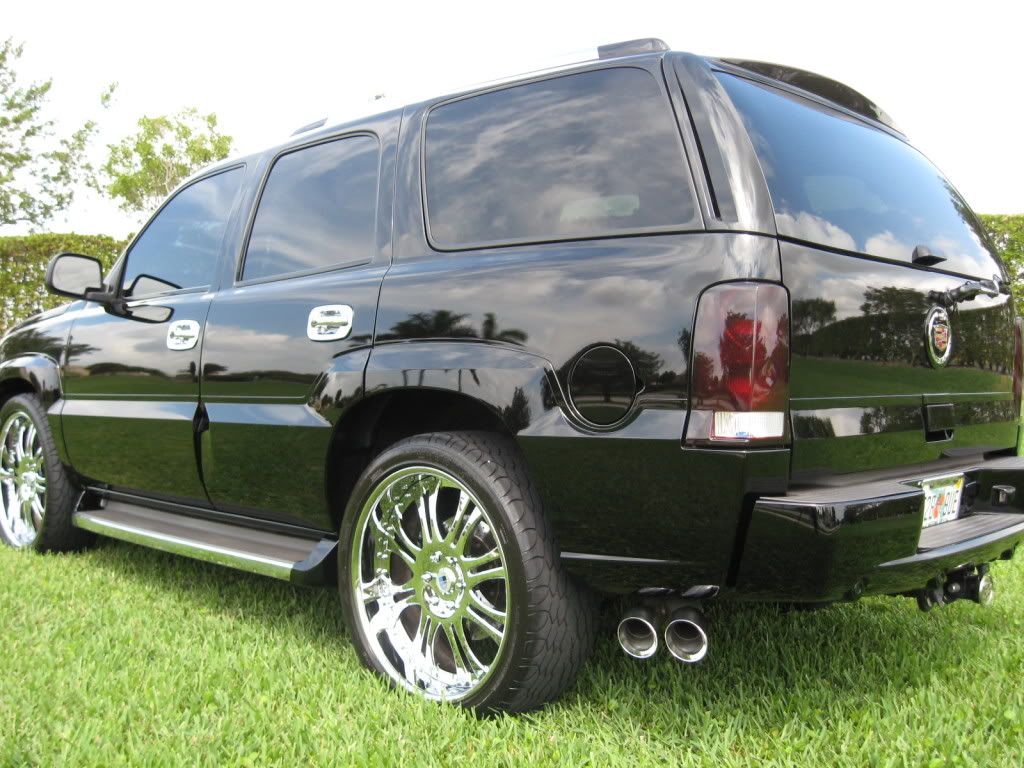
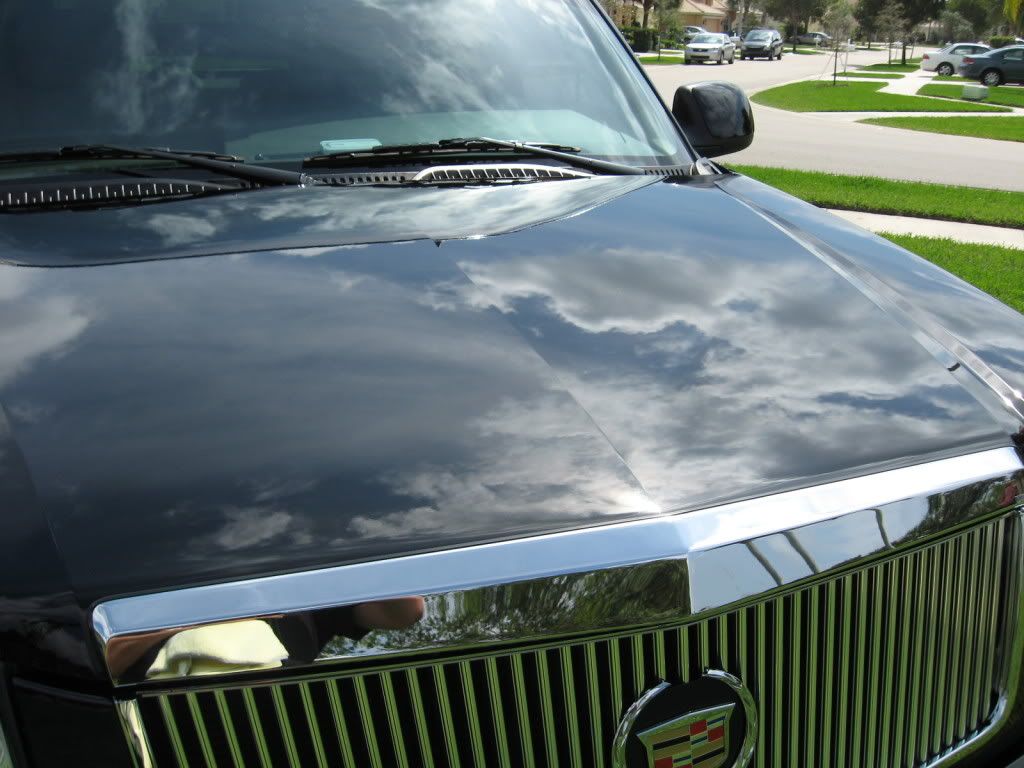
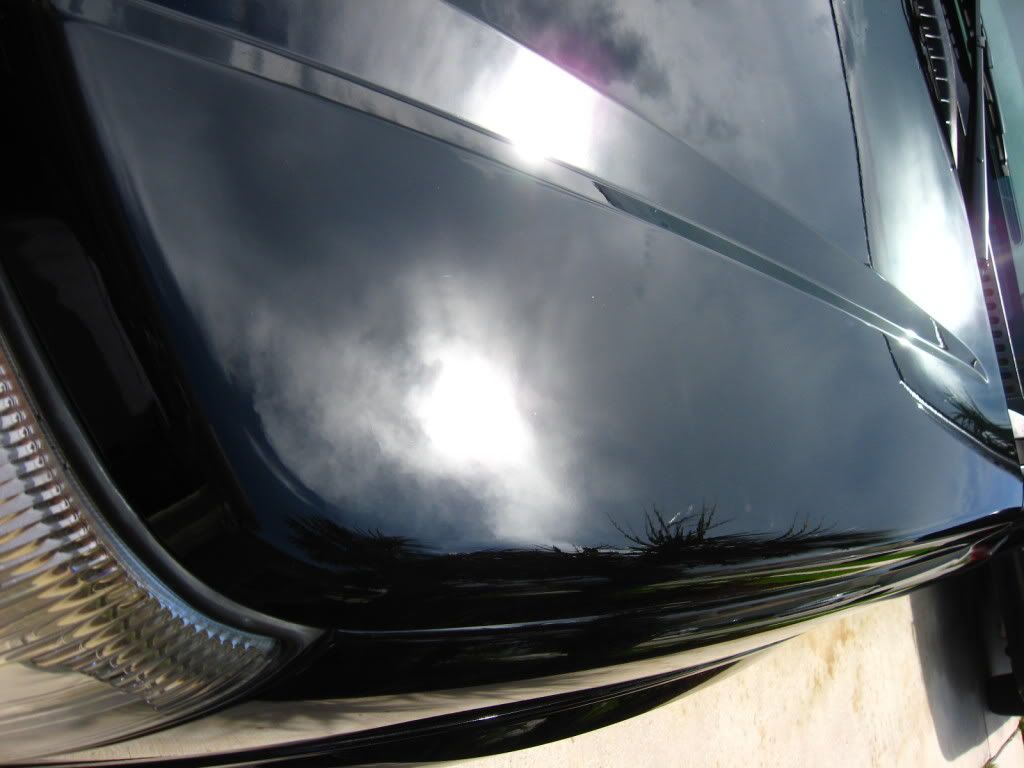
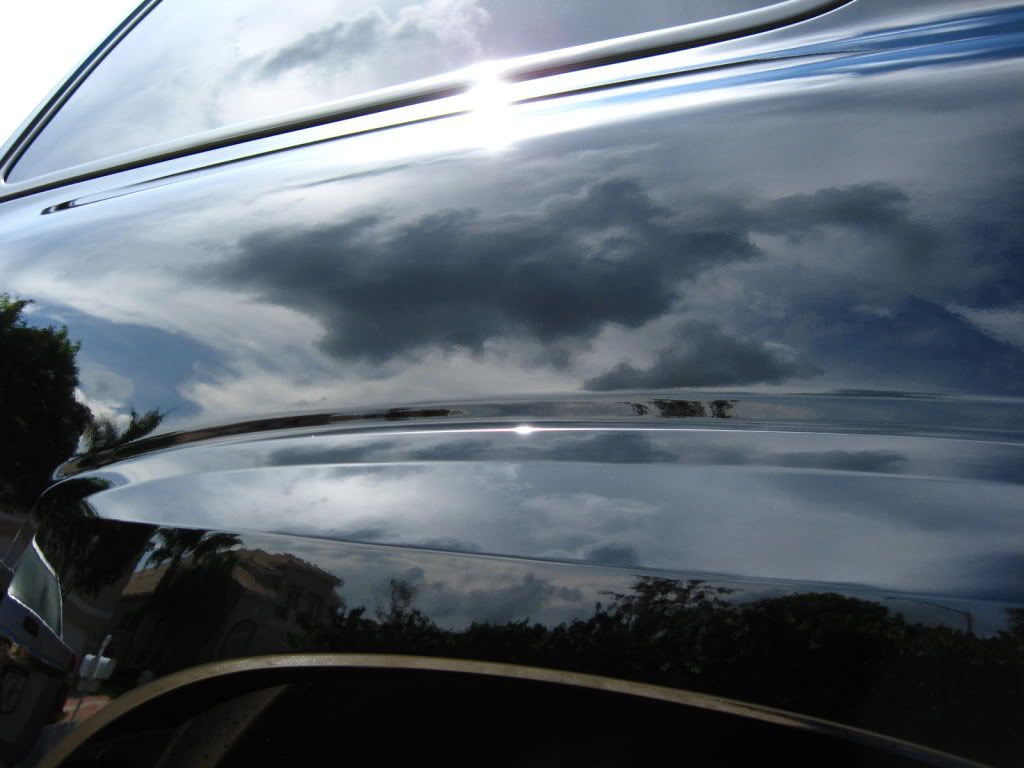
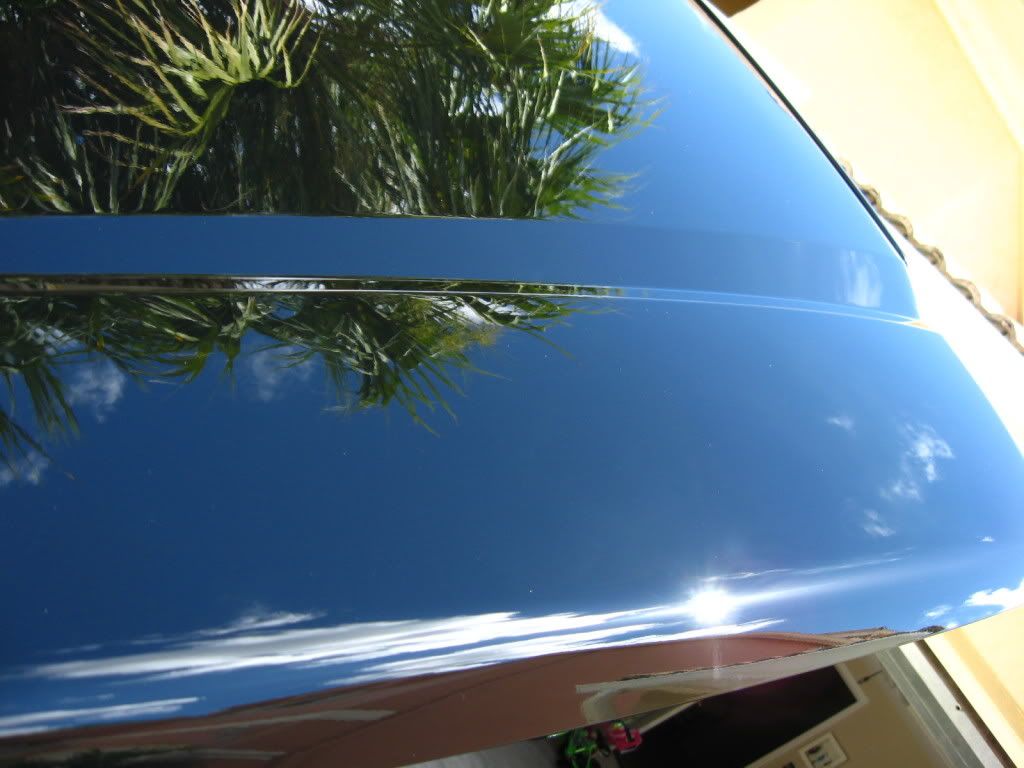
I had the opportunity to spend the entire weekend with this 2006 Cadillac Escalade in solid black. The car was full of deep swirls and needed a complete clean-up from head to toe. This owner is not only my 1st client since relocating to Florida 2+ years ago, but is my best. He allows me total control in the reconditioning/preserving of his vehicles and commutes well over an hour from Miami to W. Palm just to have me take care of them.
Here are some other threads I’ve done on his vehicles:
http://www.autopia.org/forum/click-...dition-overspray-removal-2002-expedition.html
http://www.autopia.org/forum/click-brag/95560-when-seats-so-bad-they-need-powerwashed.html
It’s a real pleasure to be able to take my time on each project right from the comfort of my home. This specific time, I choose to really work the paint polishing out every possible defect and then bringing up the gloss in a multitude of processes. The owner dropped the vehicle off Friday
evening and I immediately began my process of extensively prepping it.
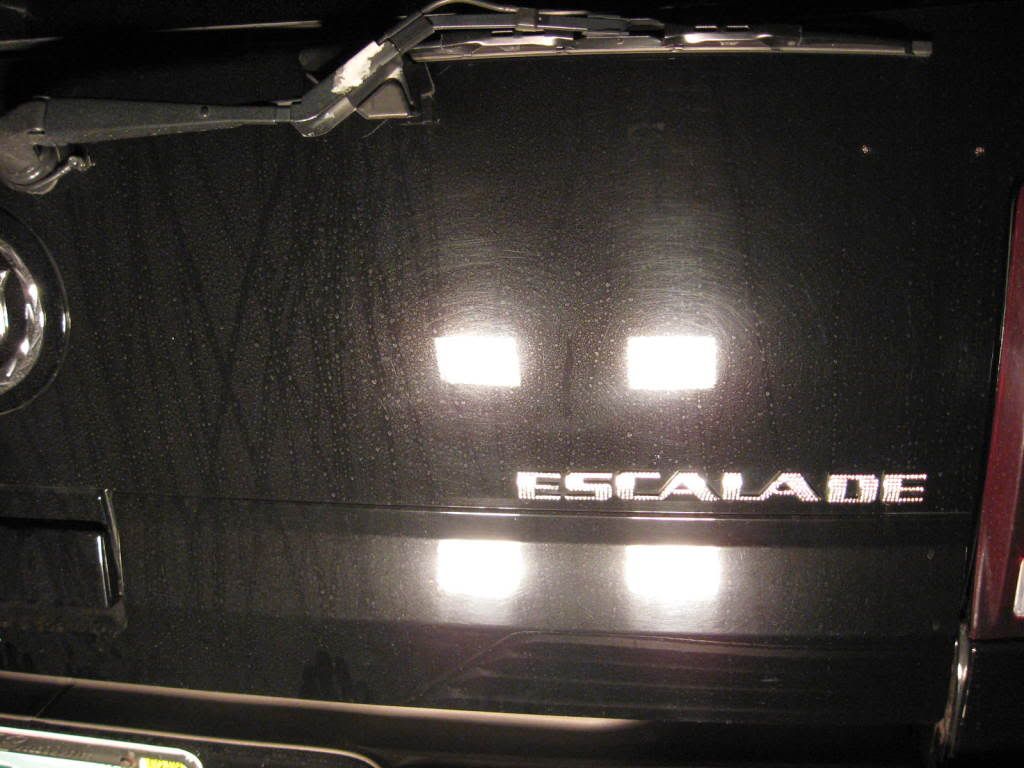
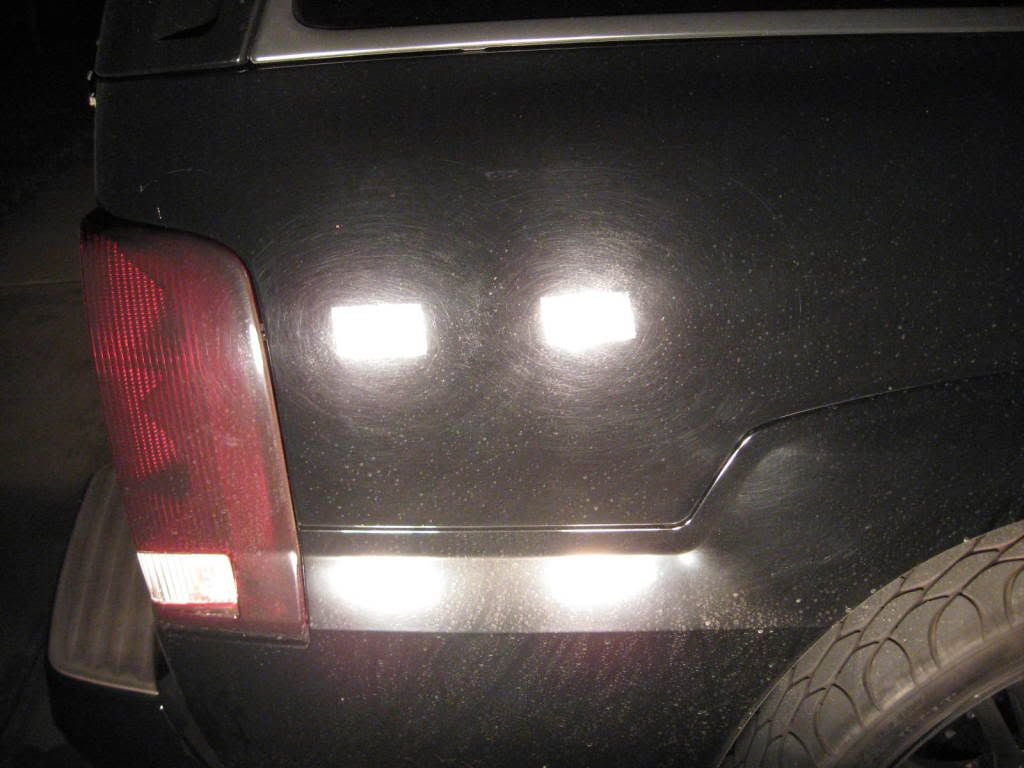
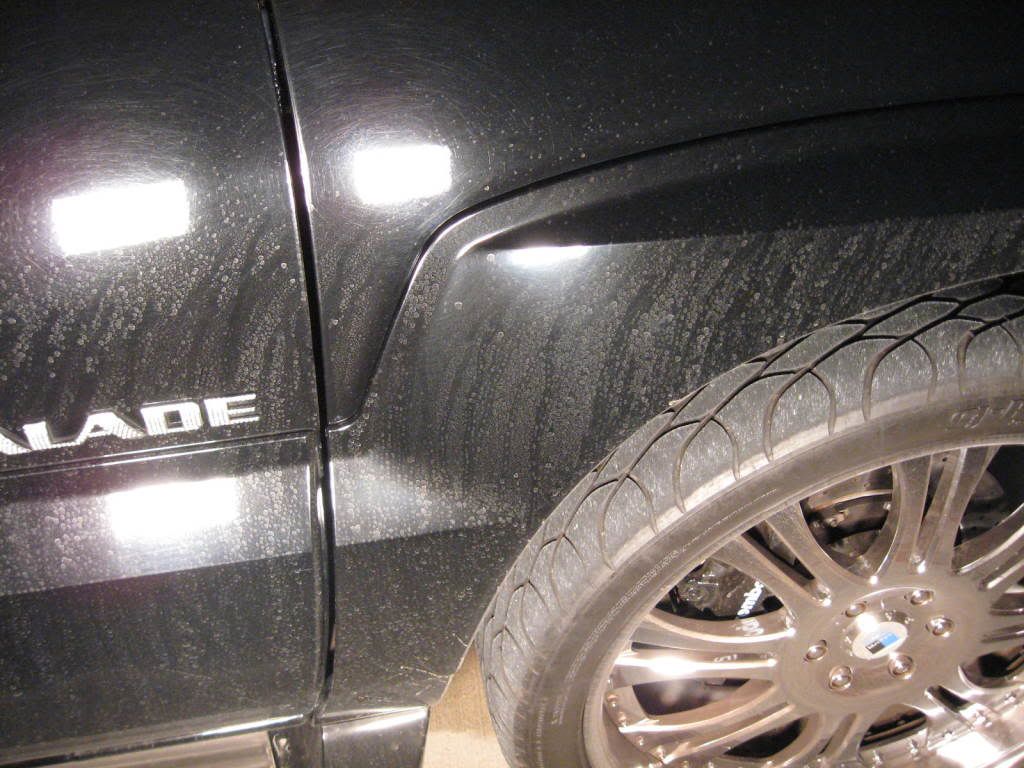
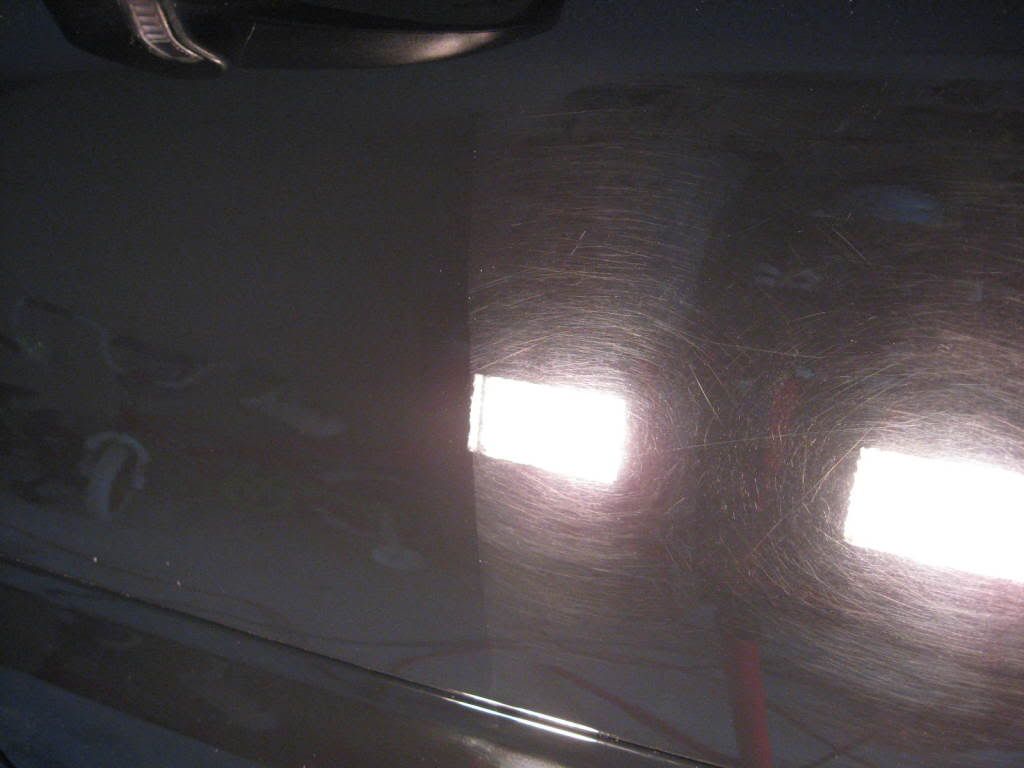
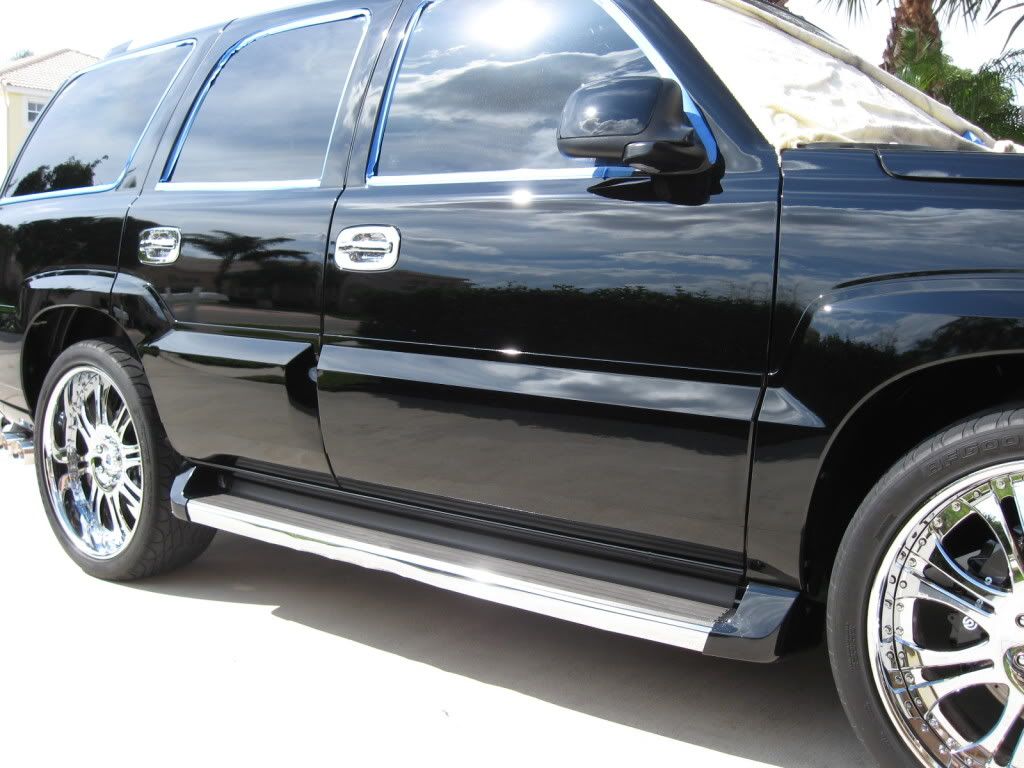
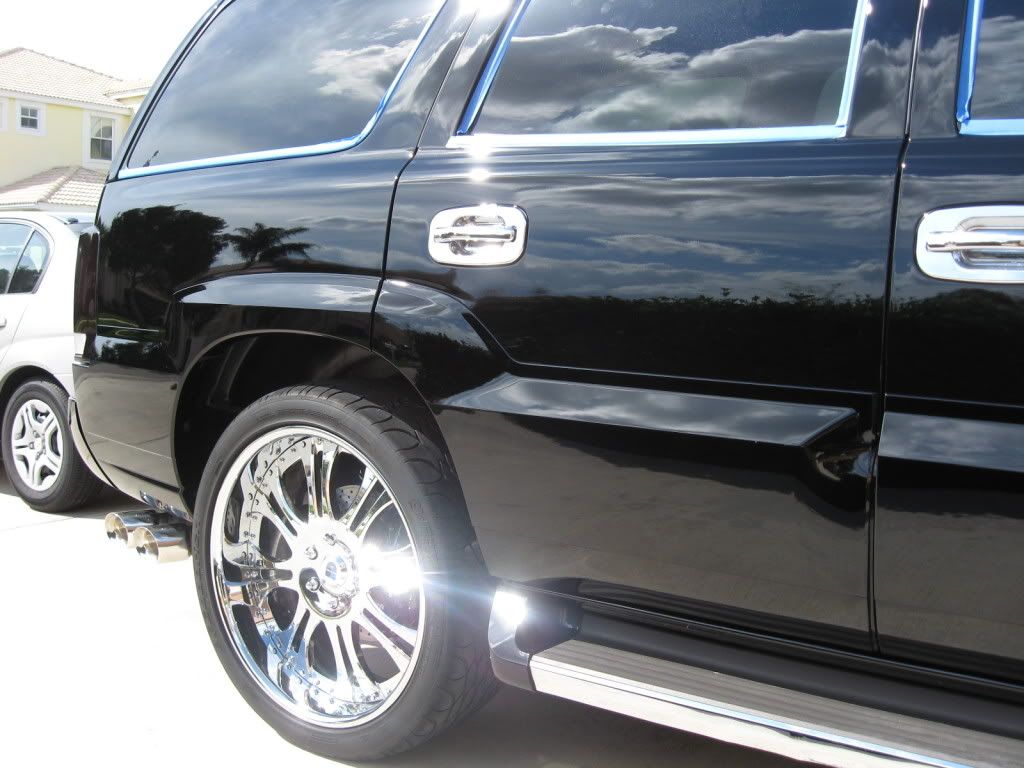
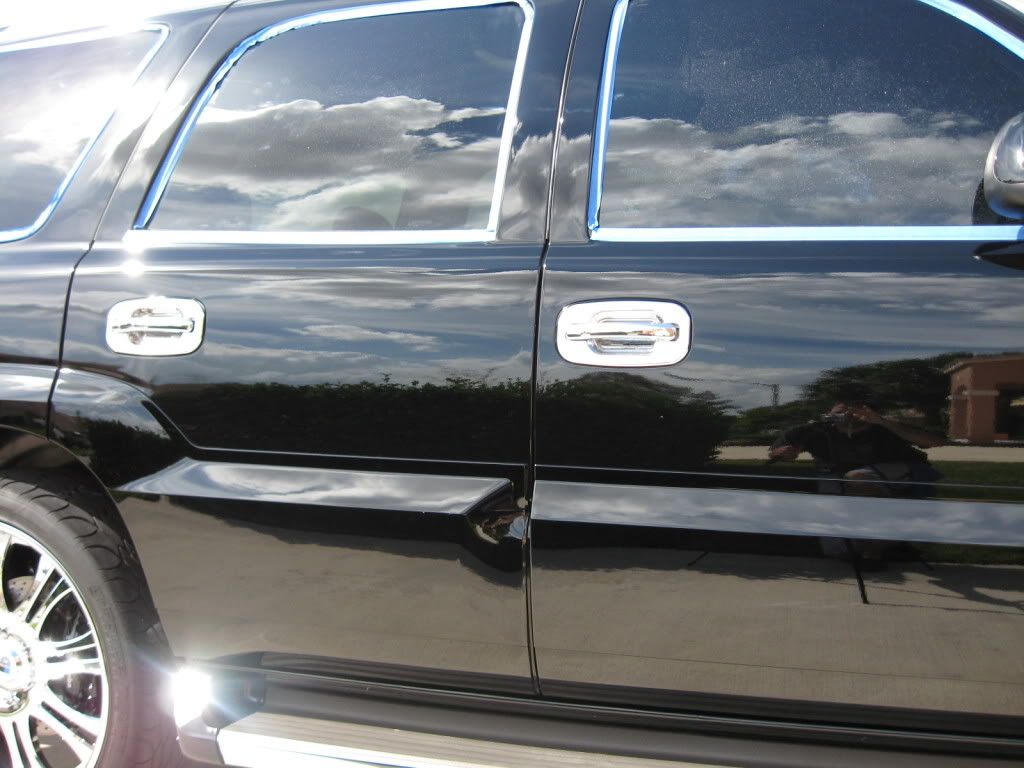
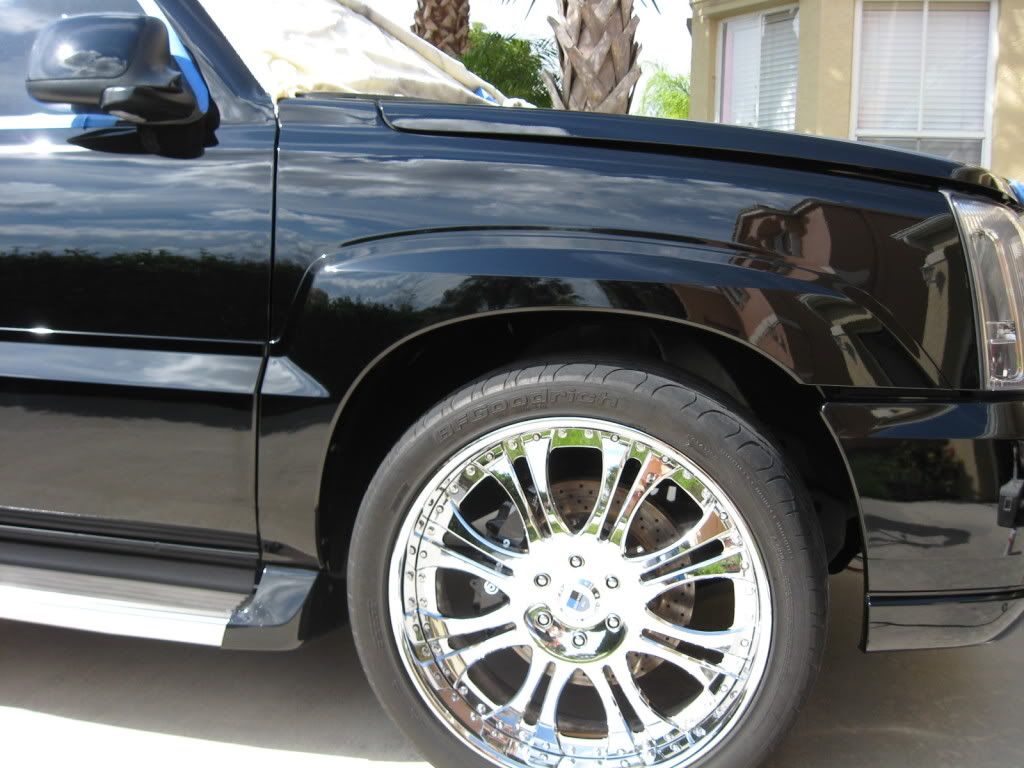
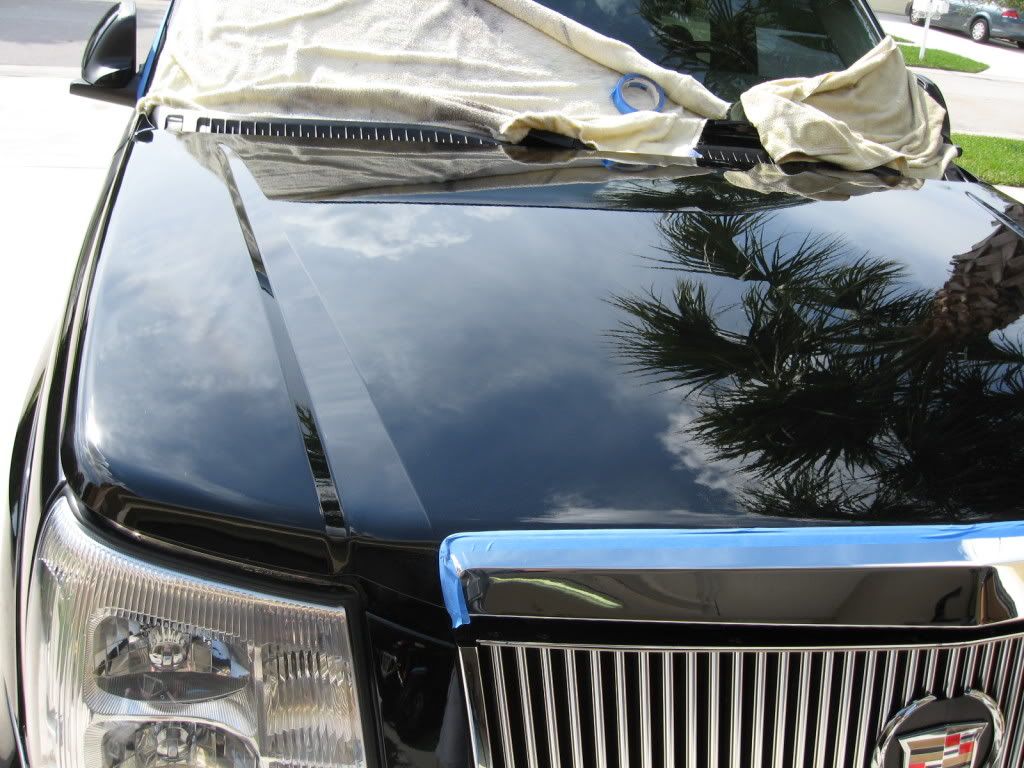
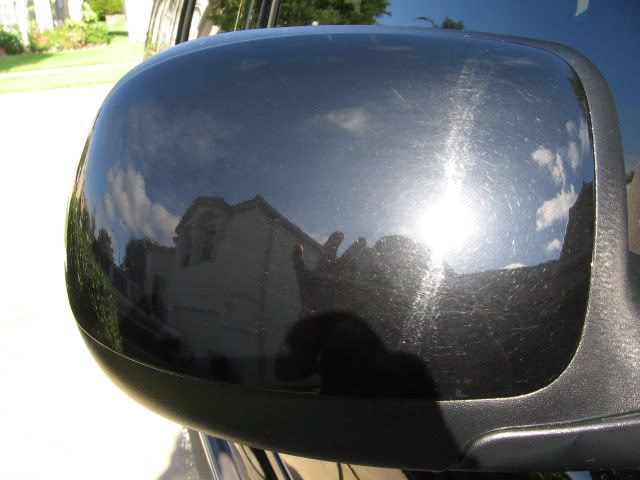
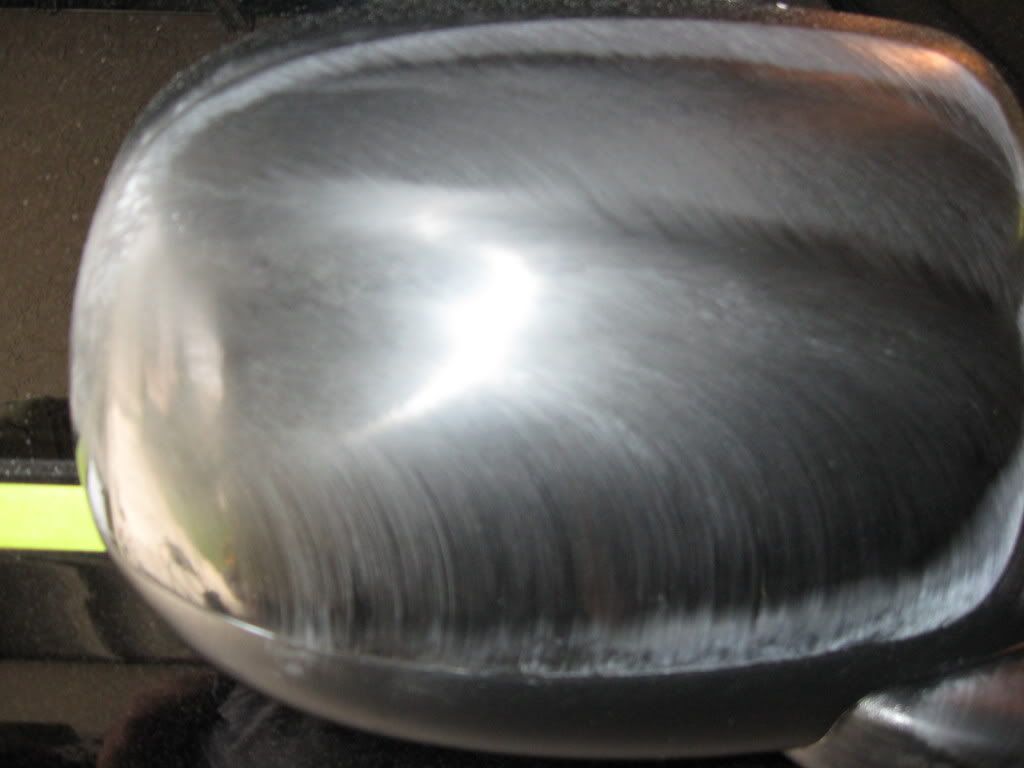
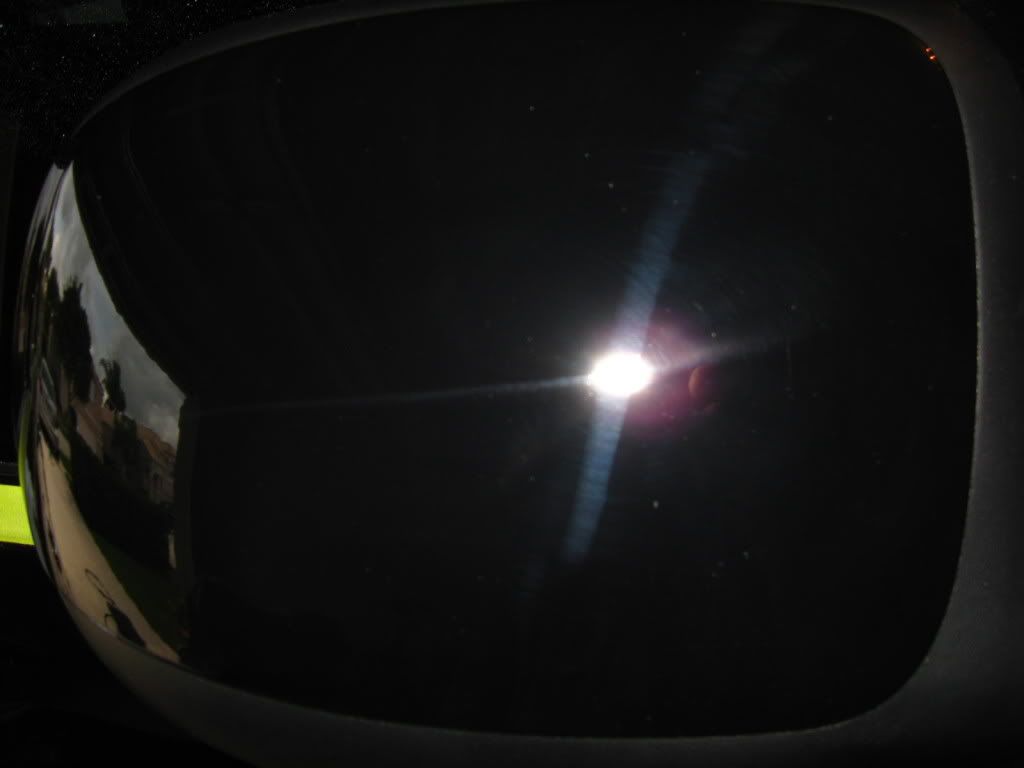
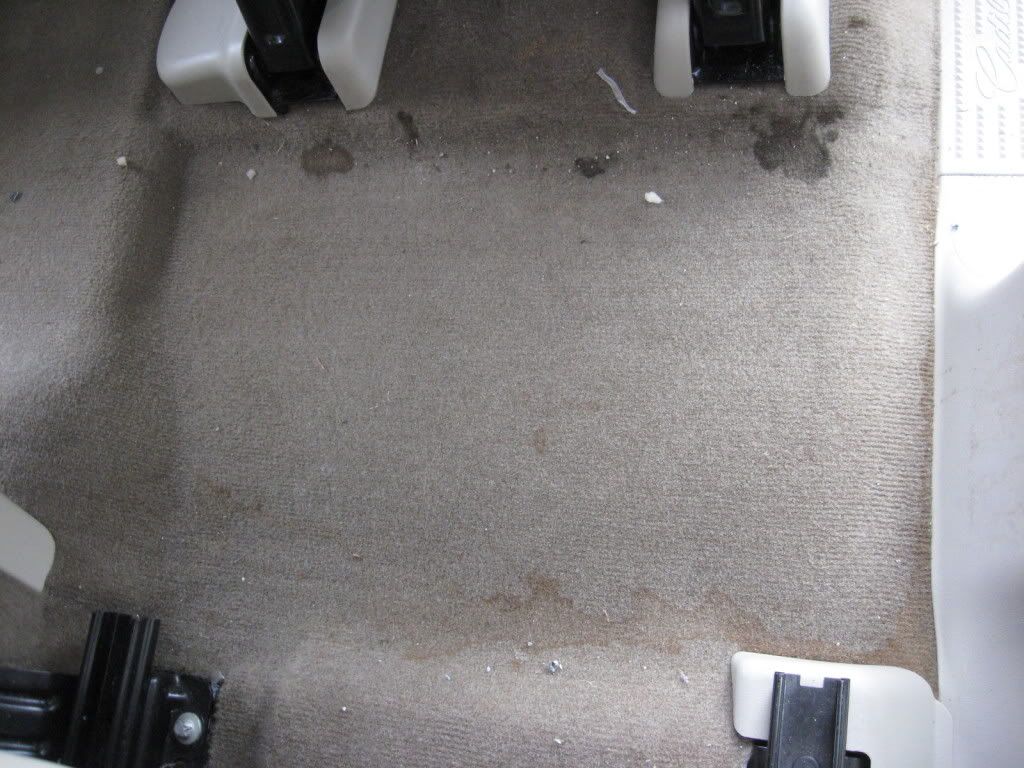
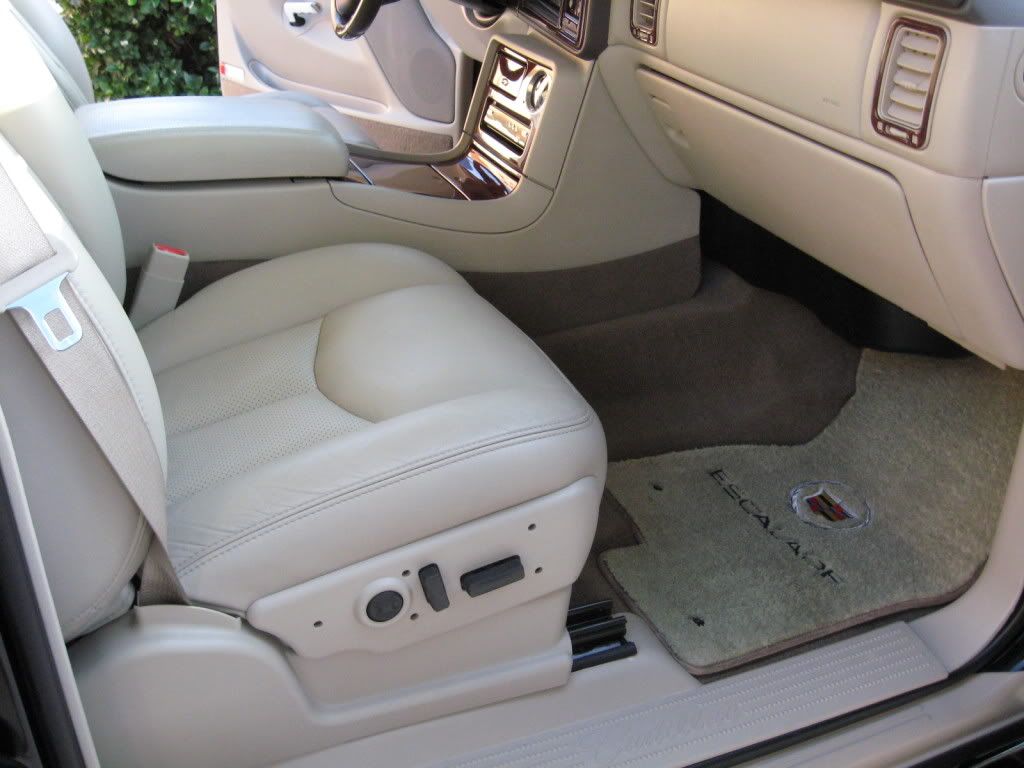
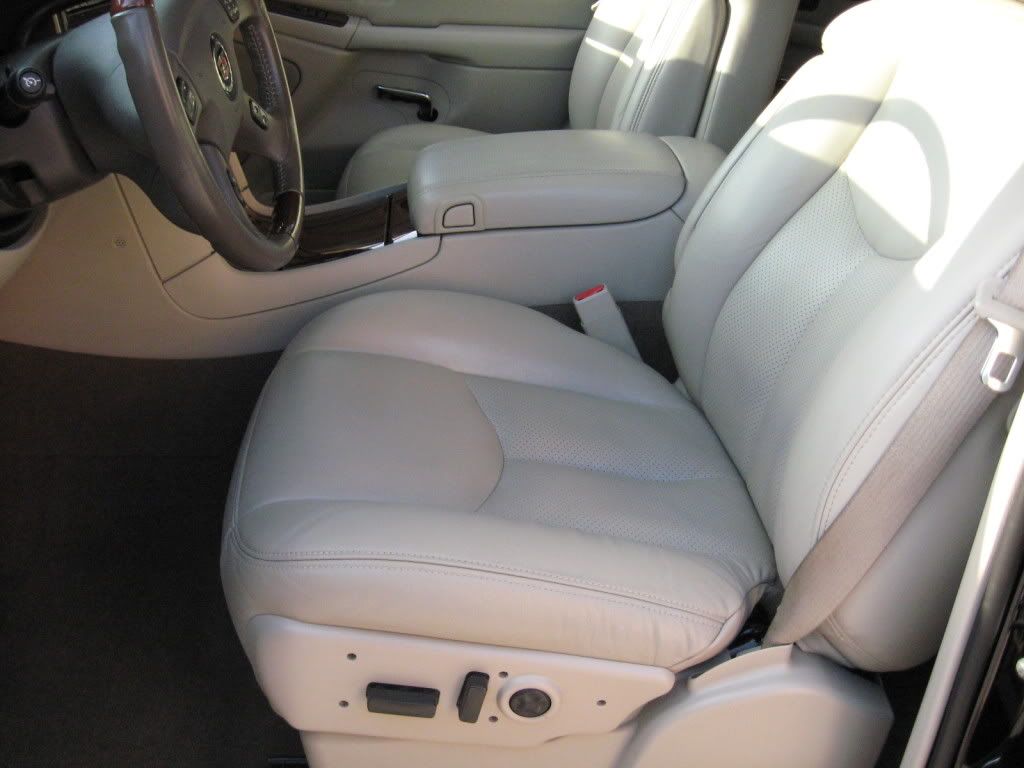
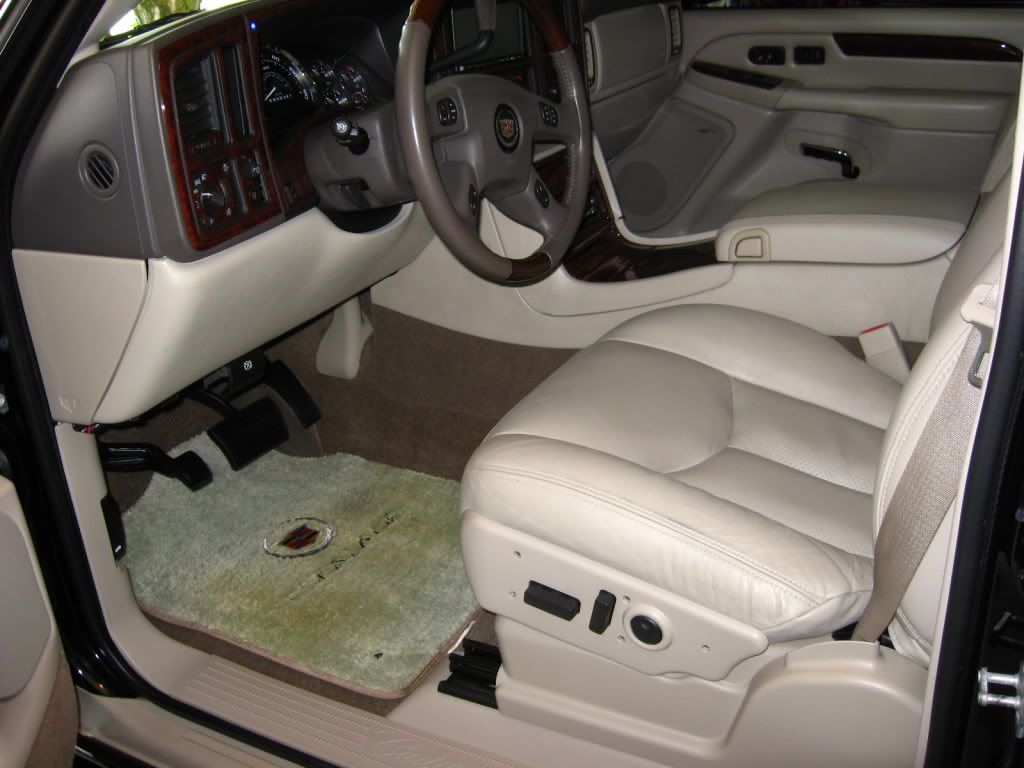
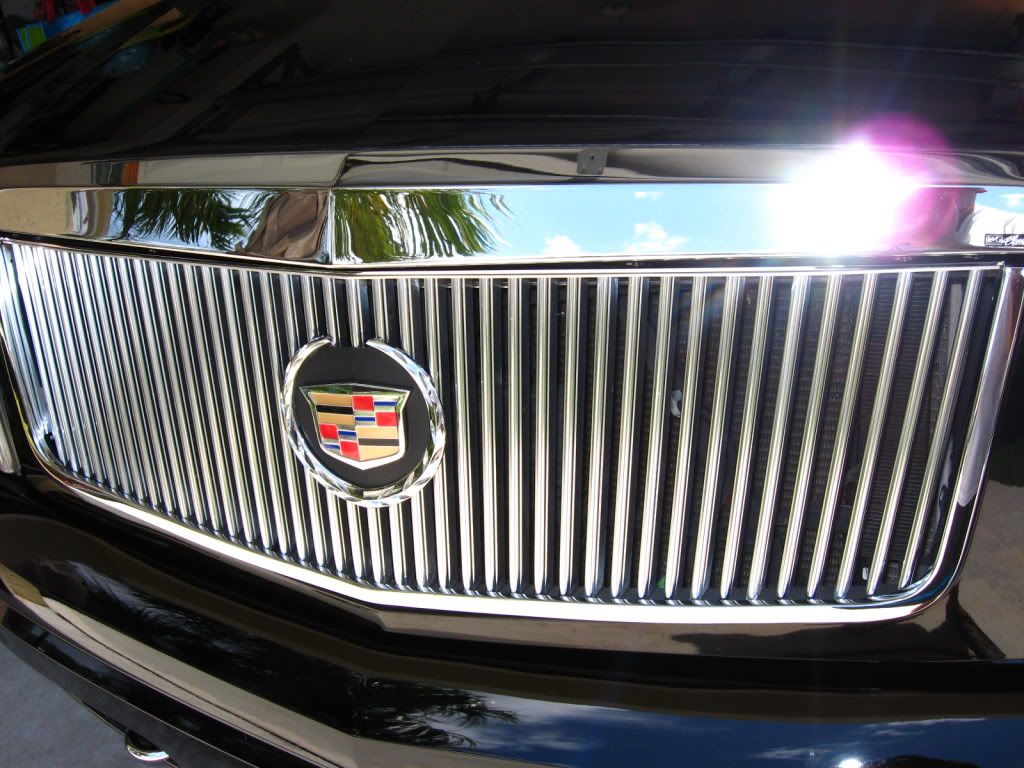
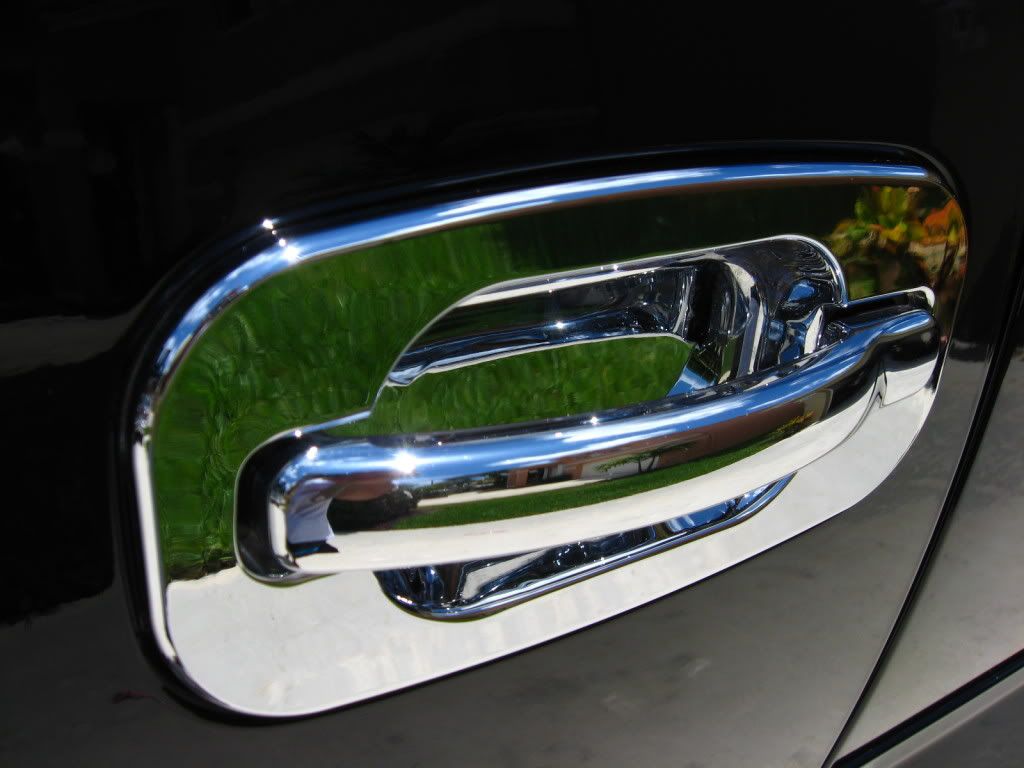
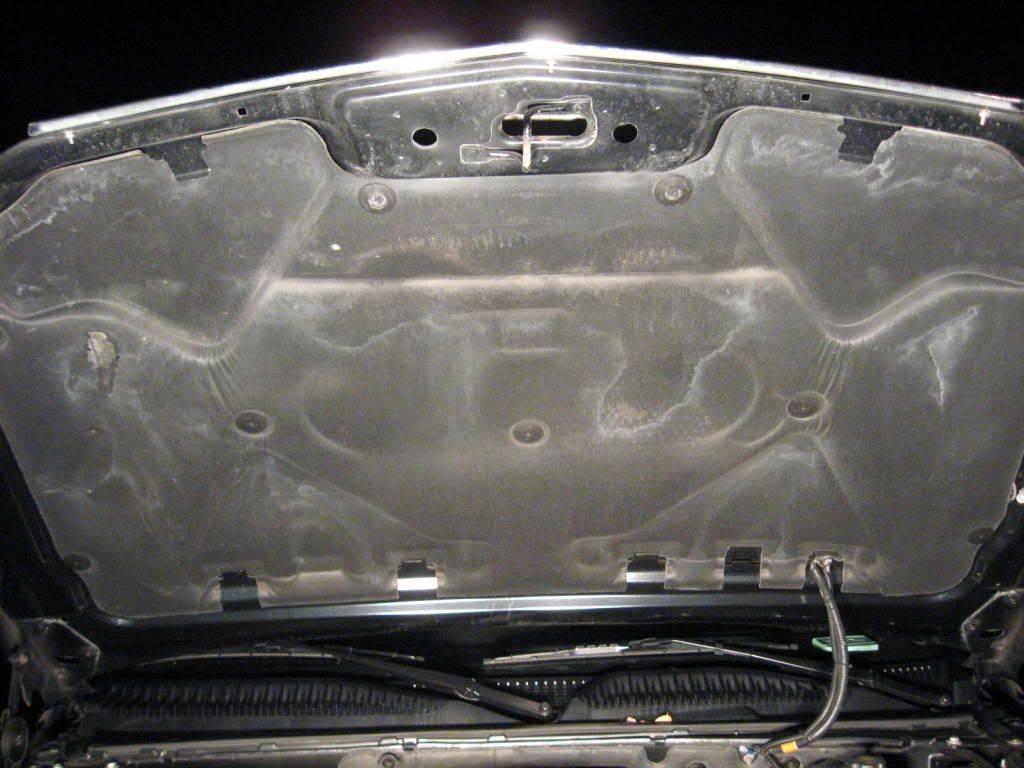
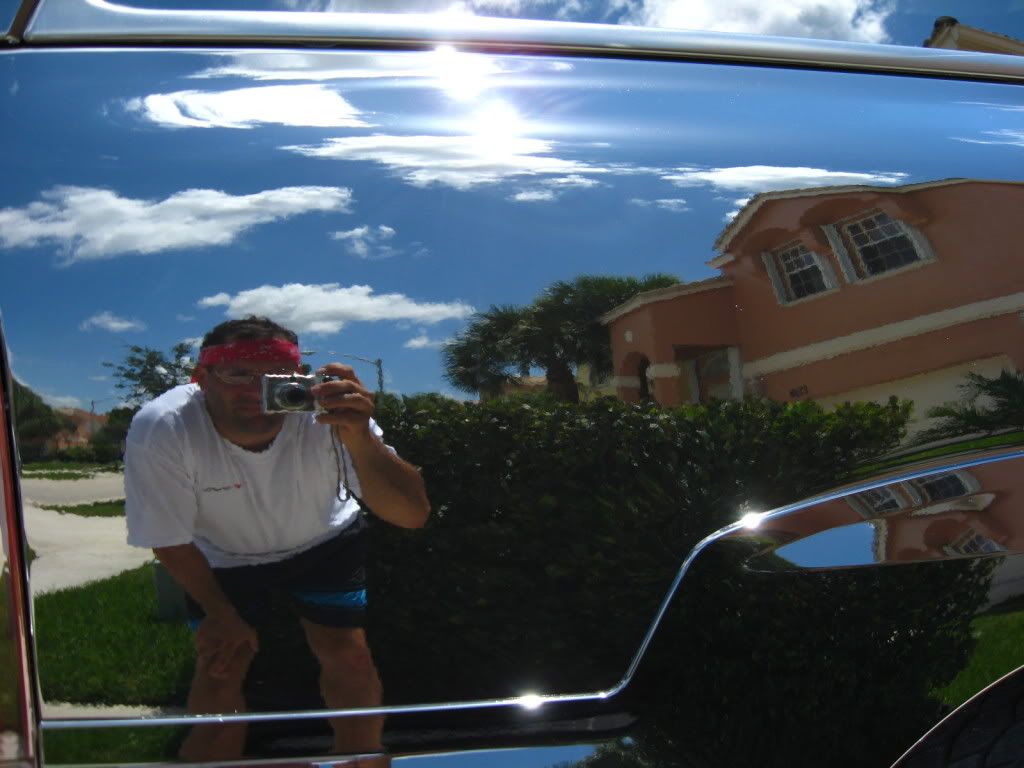
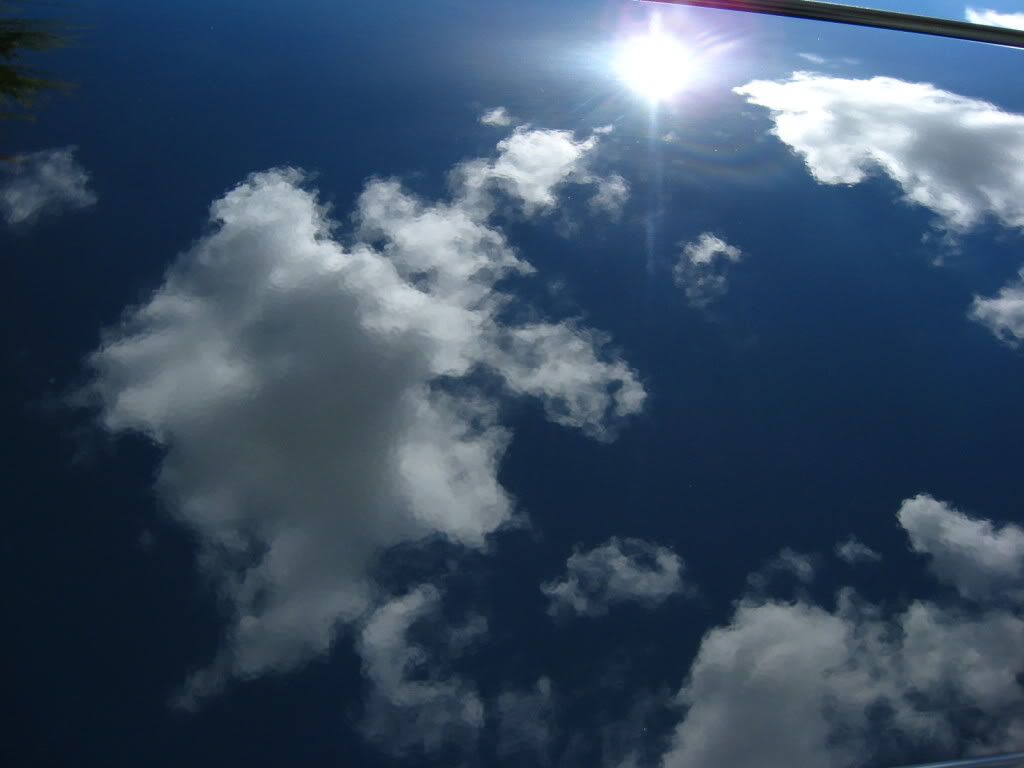
**Befores**
**Wash Process**
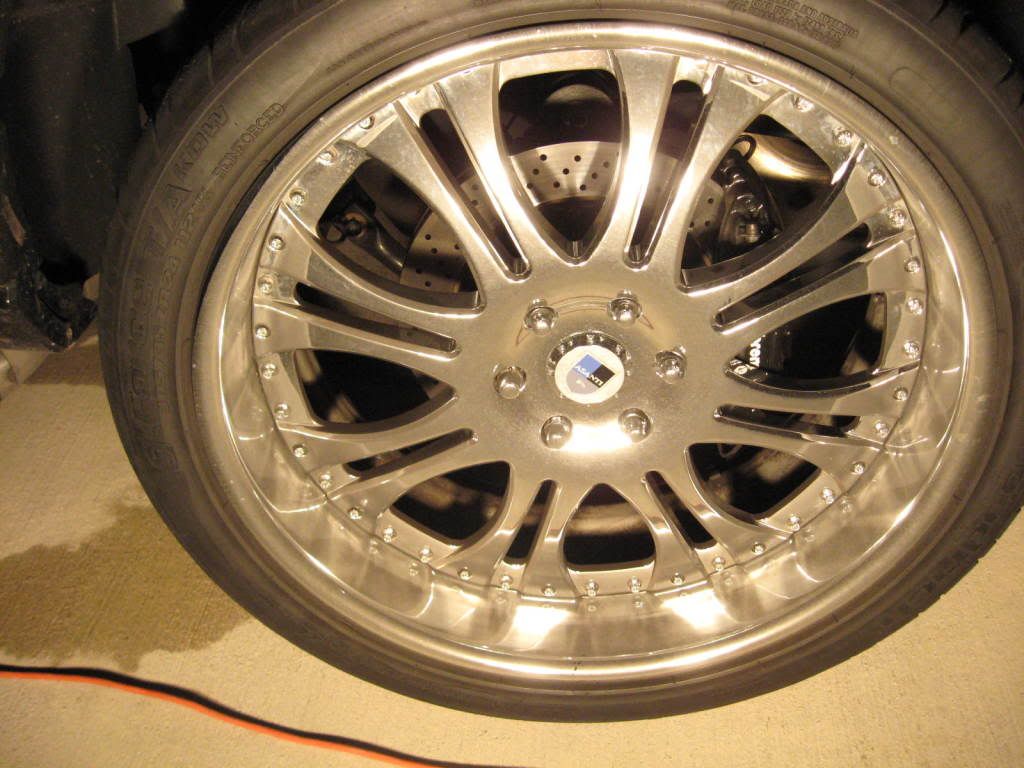
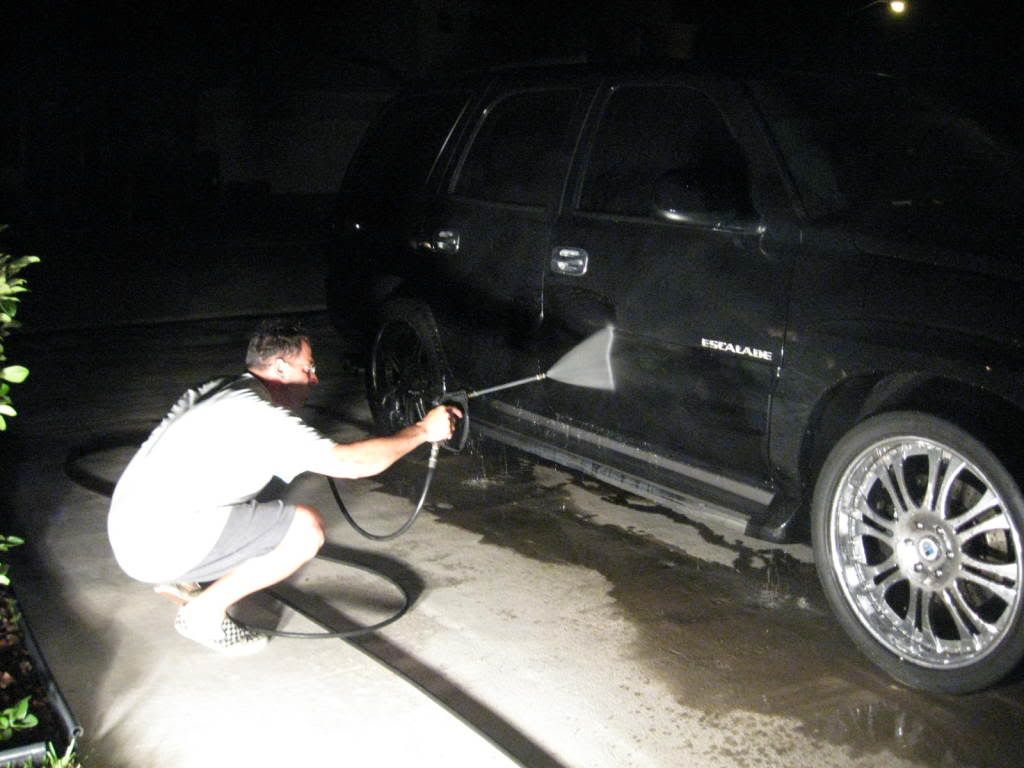
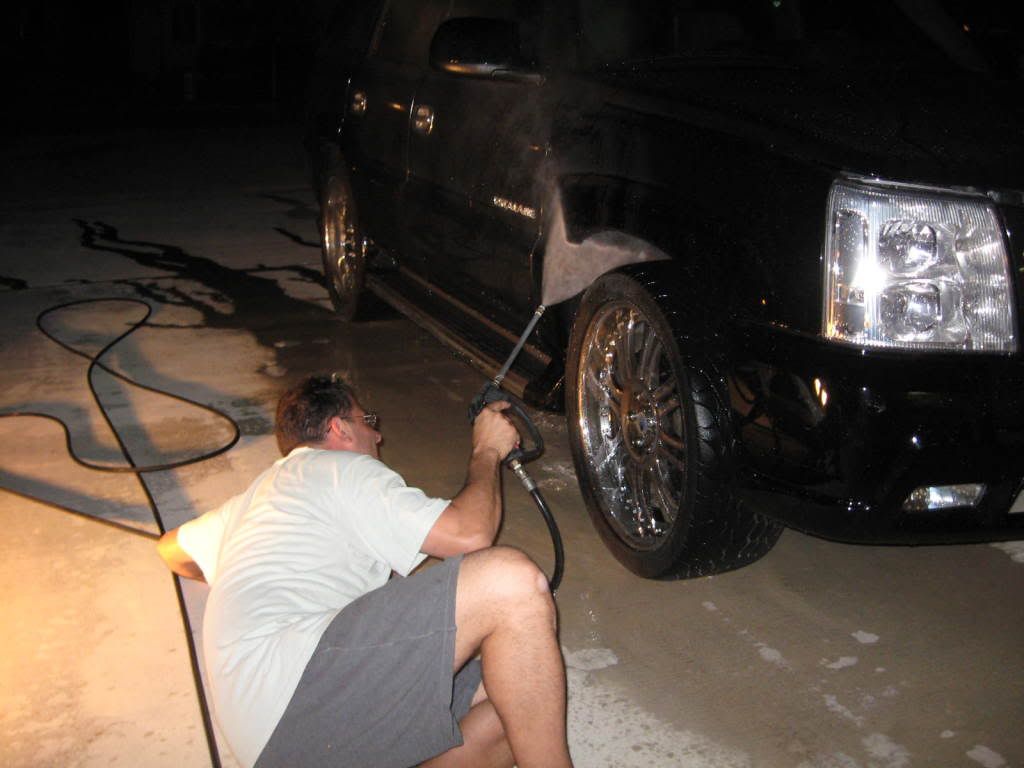
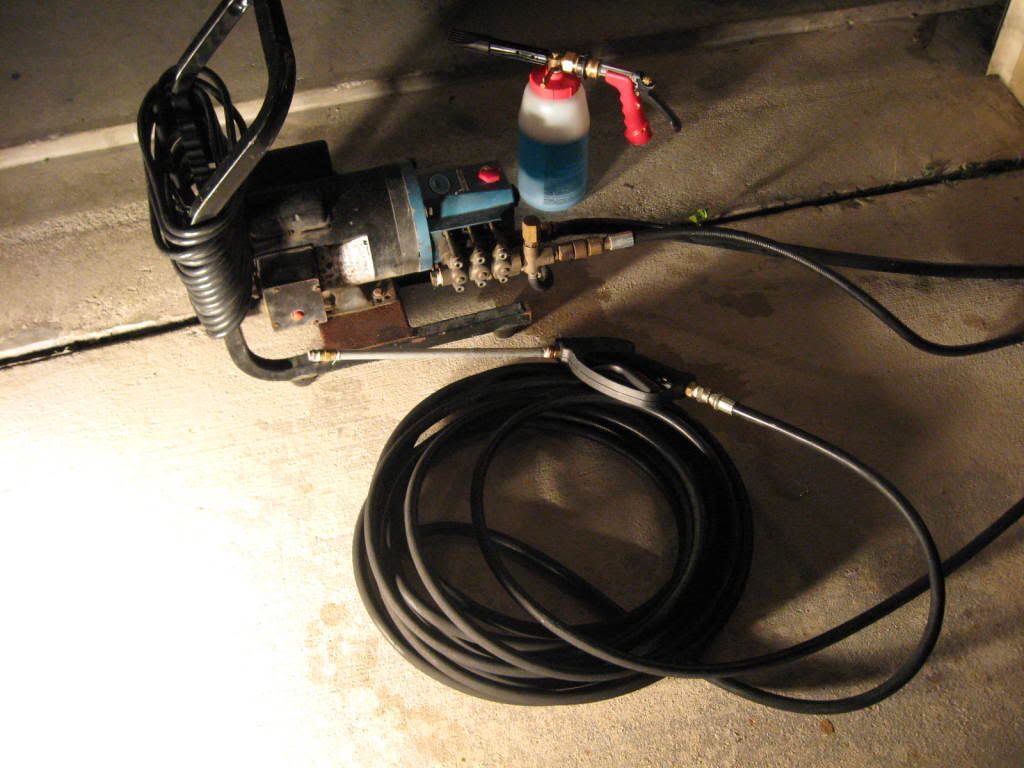
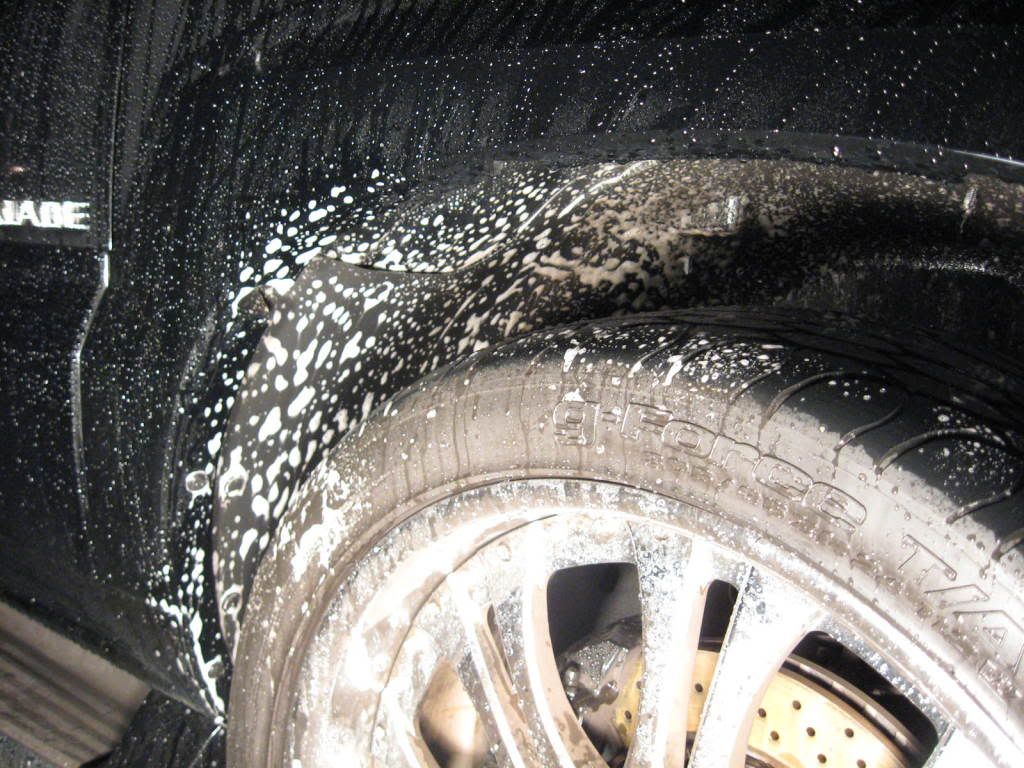
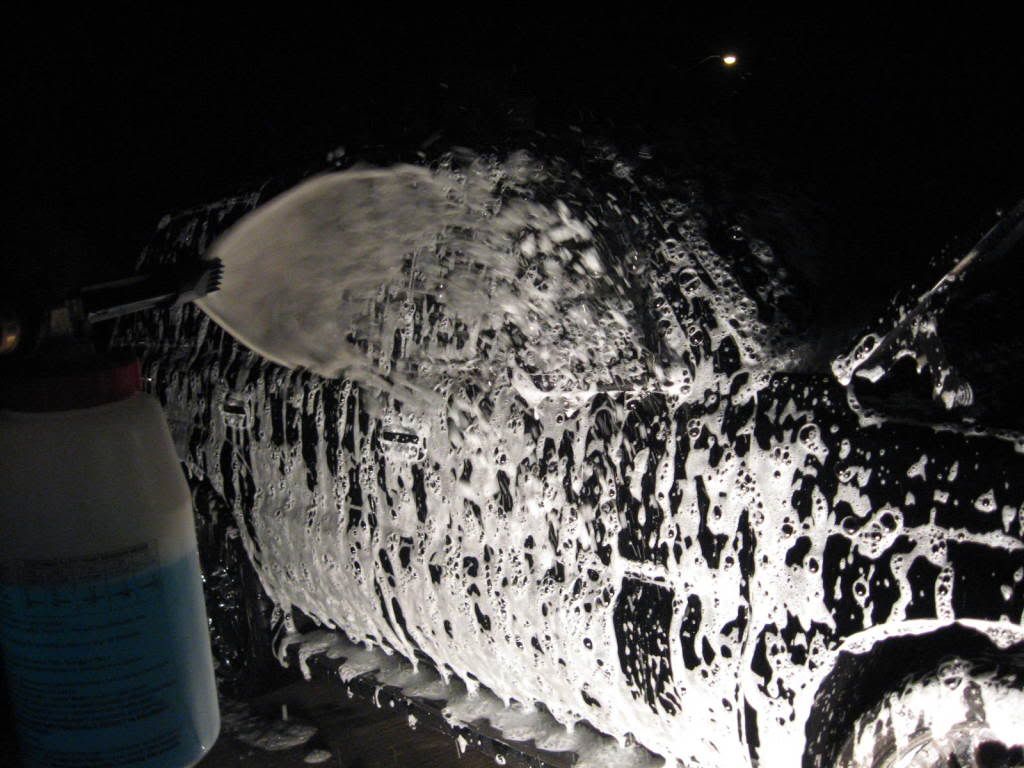
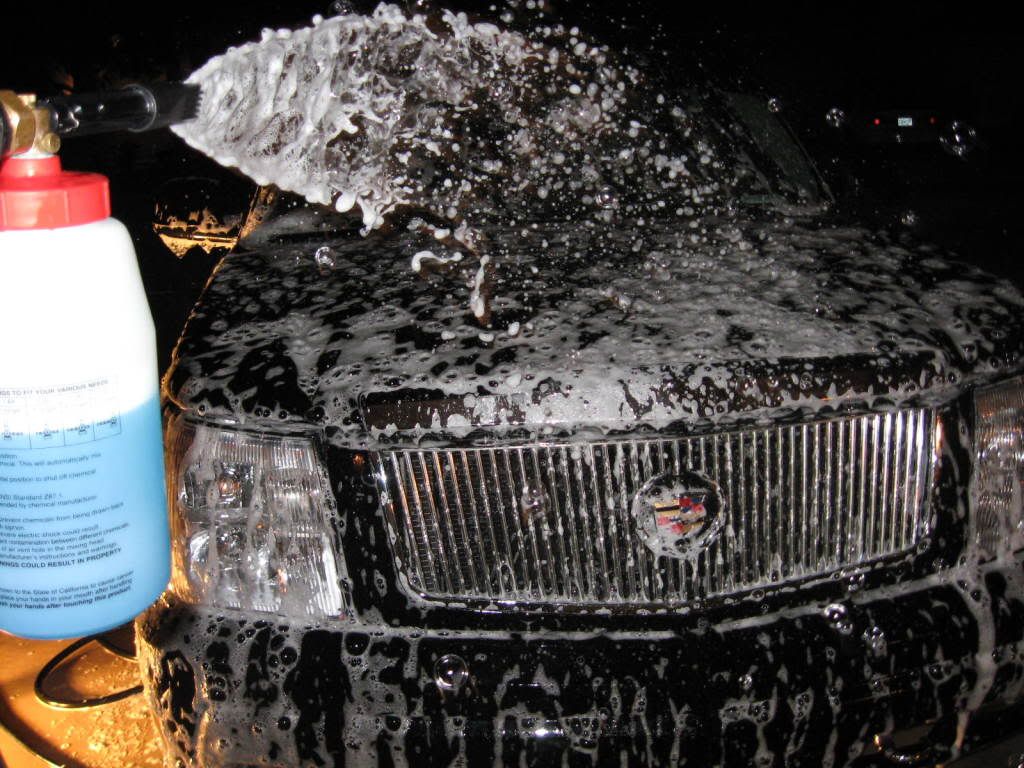
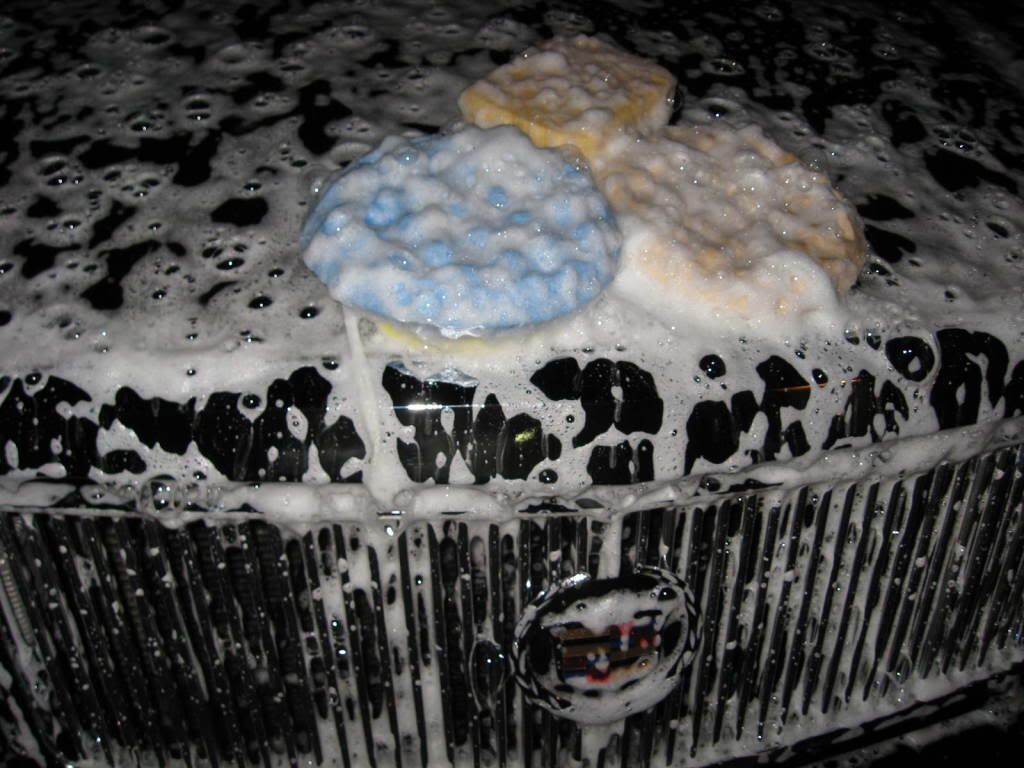
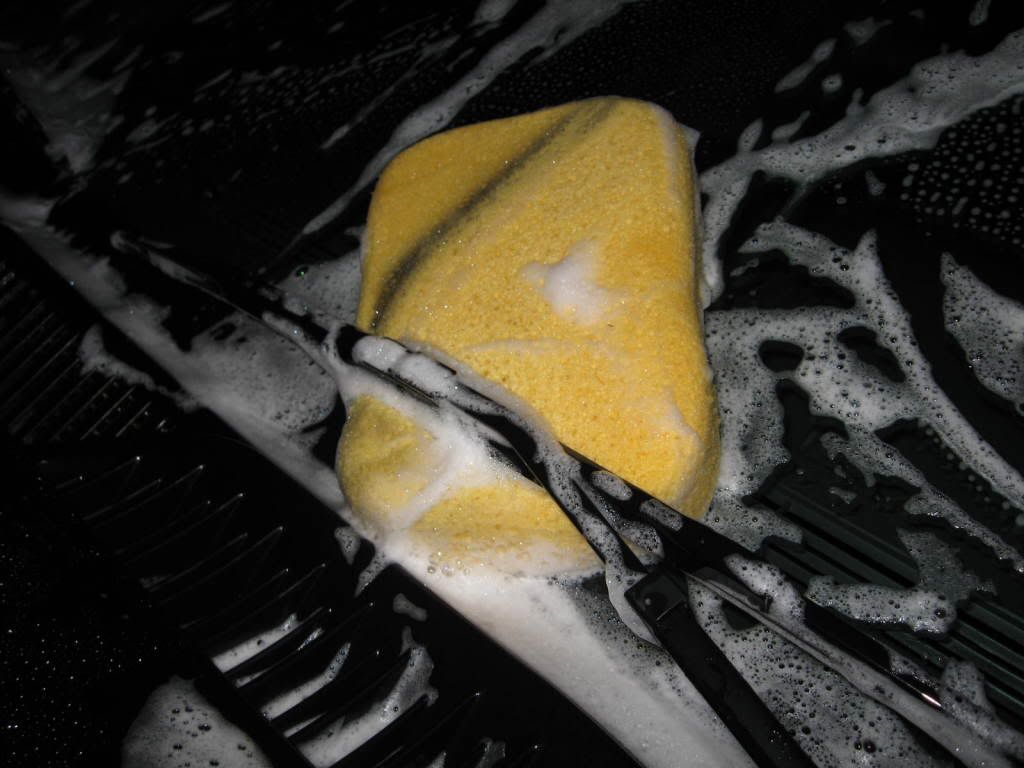
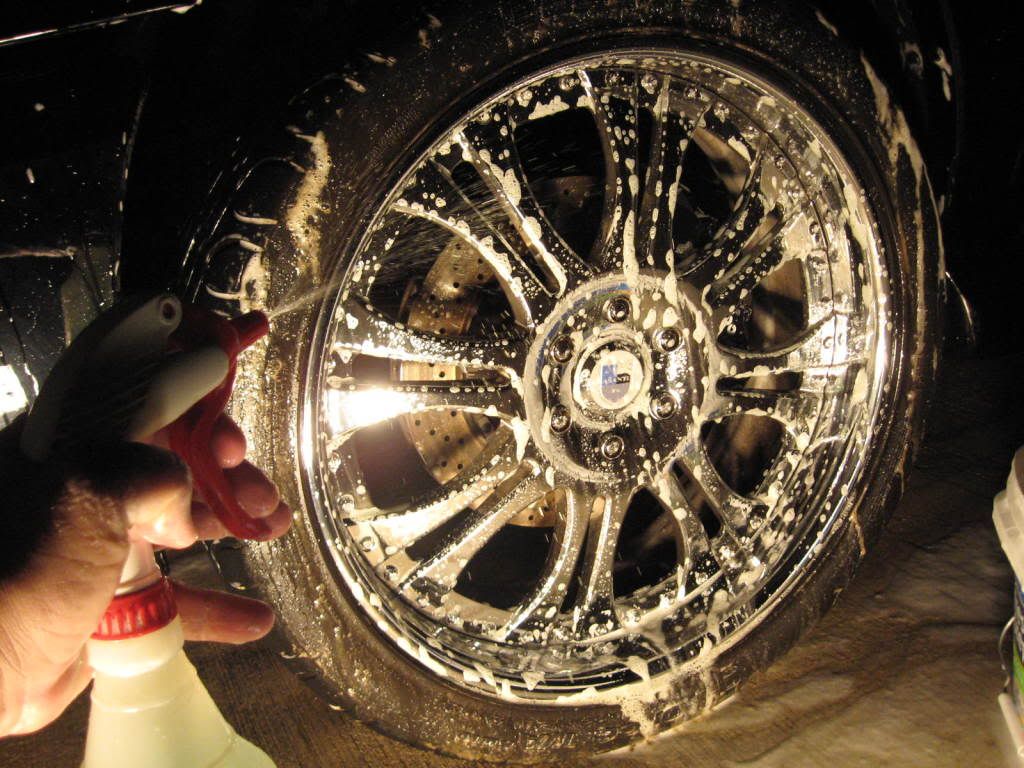
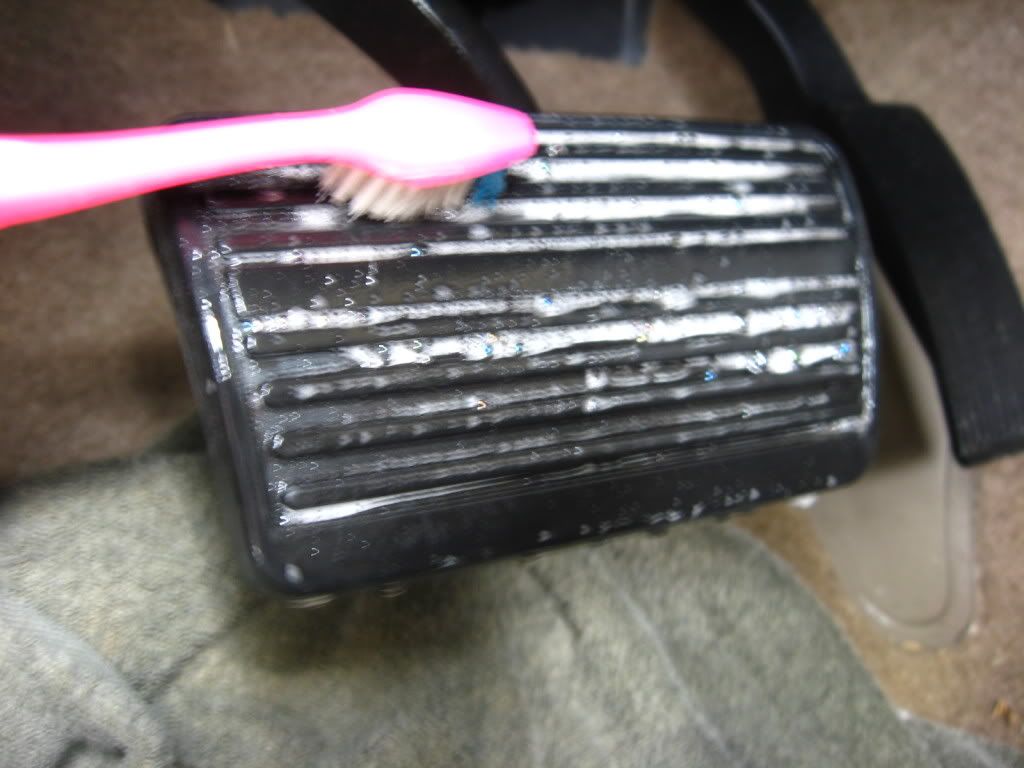
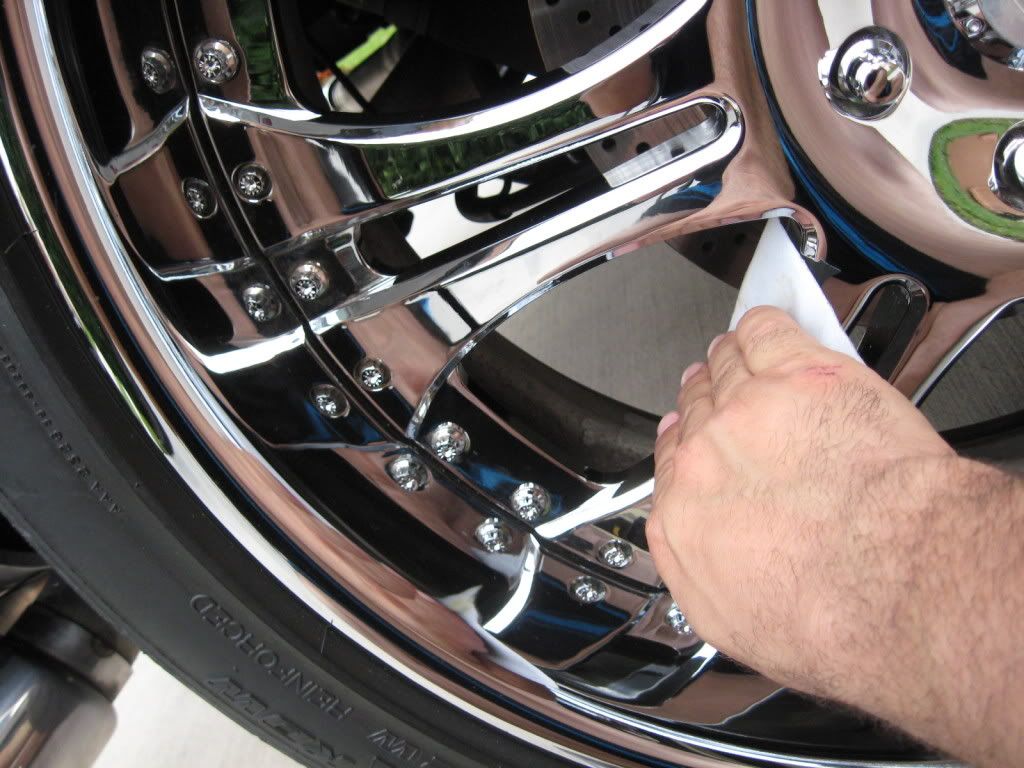
The complete exterior 1st received a thorough 1500psi blasting with my power washer to remove any and all loose debris and grime to mitigate additional damage once being hand washed in the 2nd step. I then pre-soaked the exterior with a mix of Auto Magic(AM) Red Hot degreaser & E-Z Suds Liquid Concentrate and hand washed each panel, component and wheel well to insure that nothing would interfere with the polishing process to come. Wheels,tires & wheel wells were cleaned with AM Magnificent
wheel cleaner.
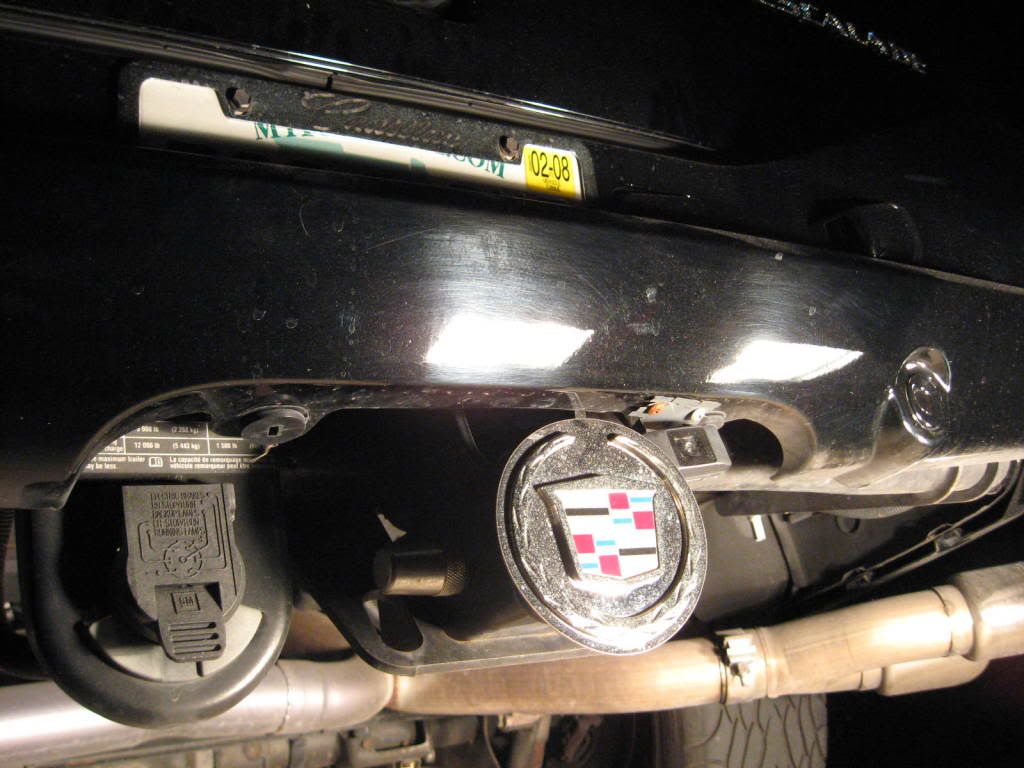
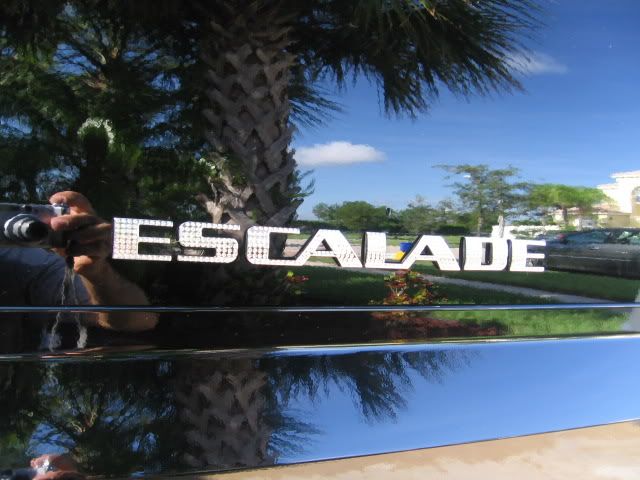
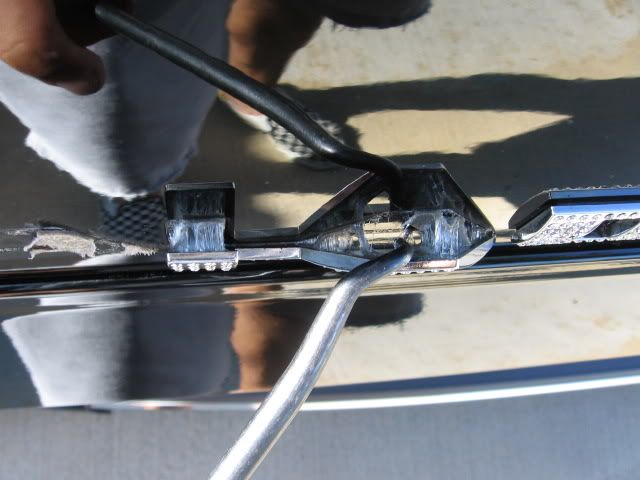
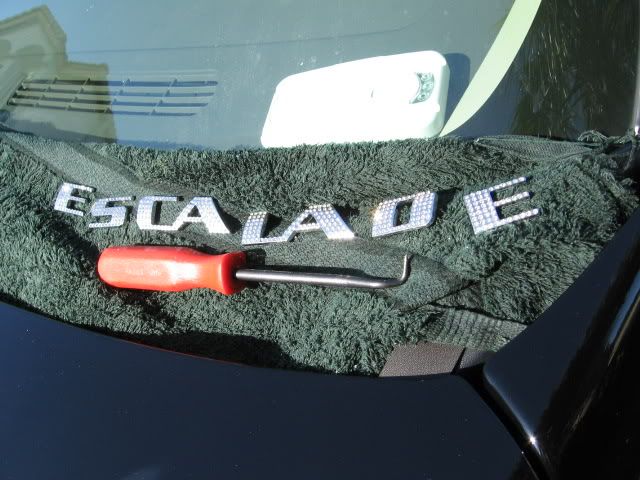
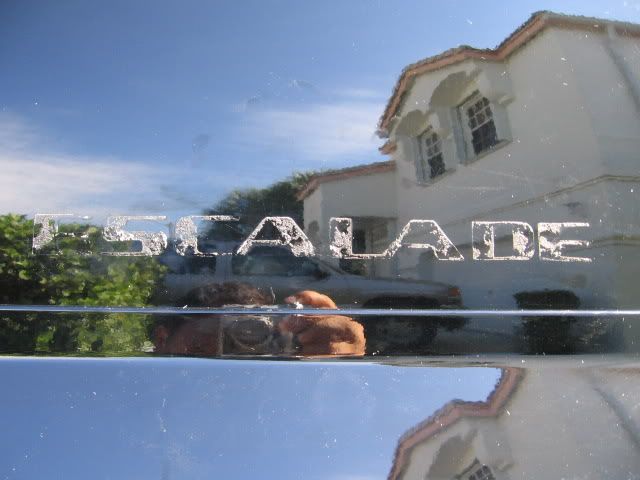
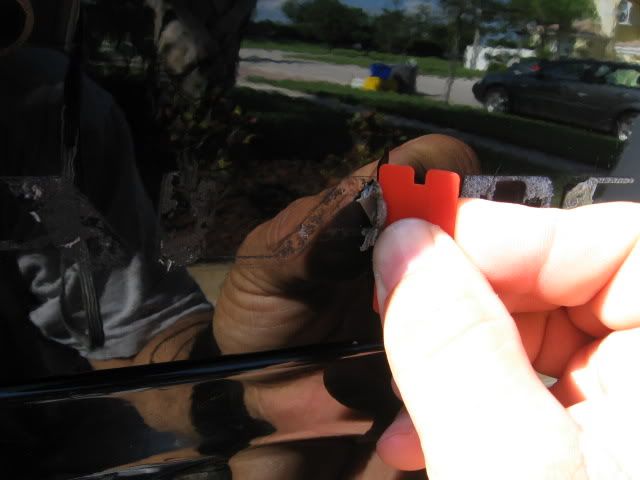
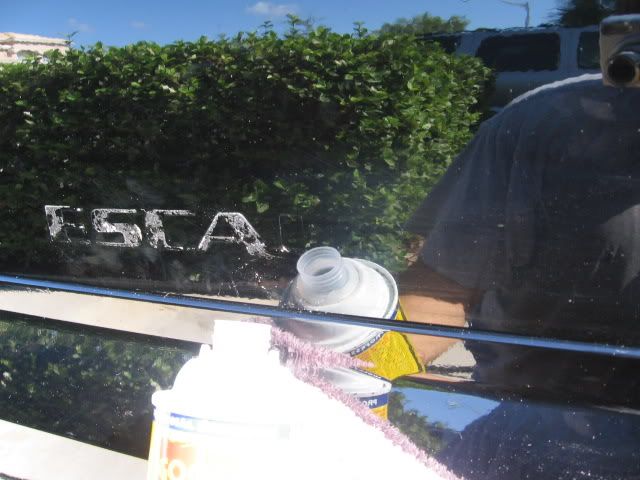
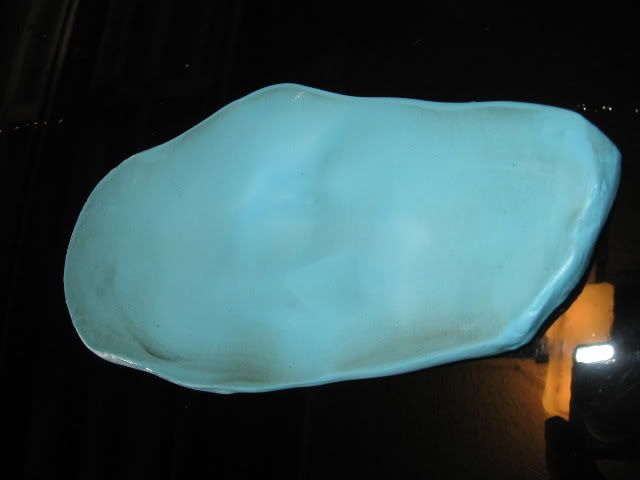
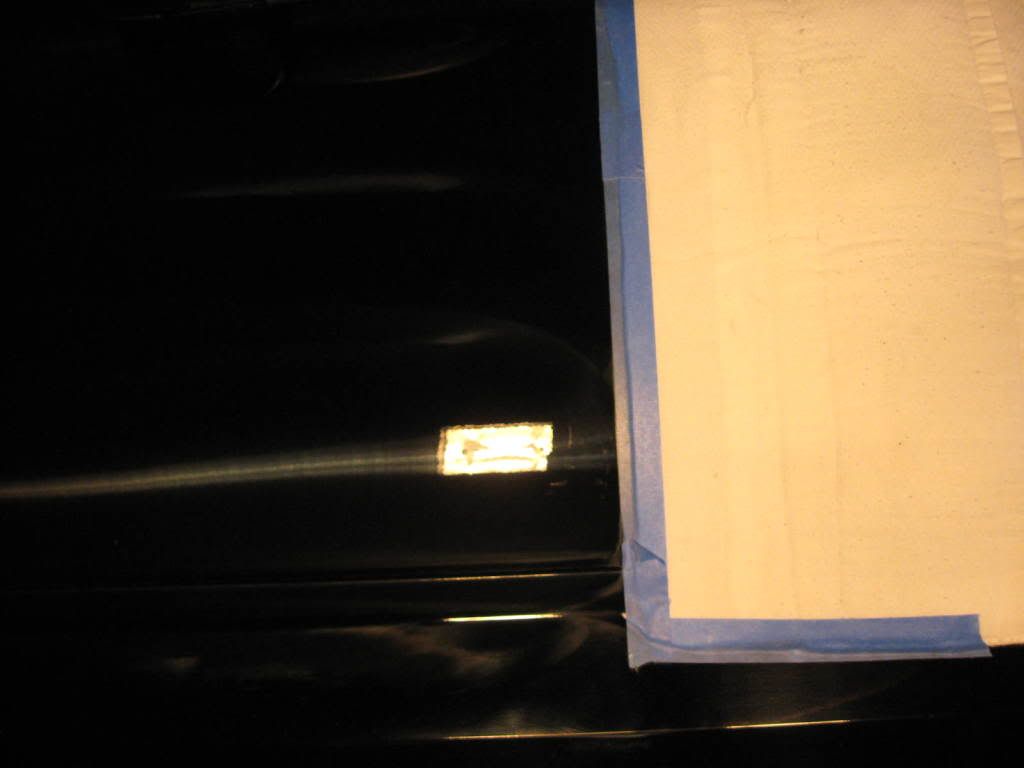
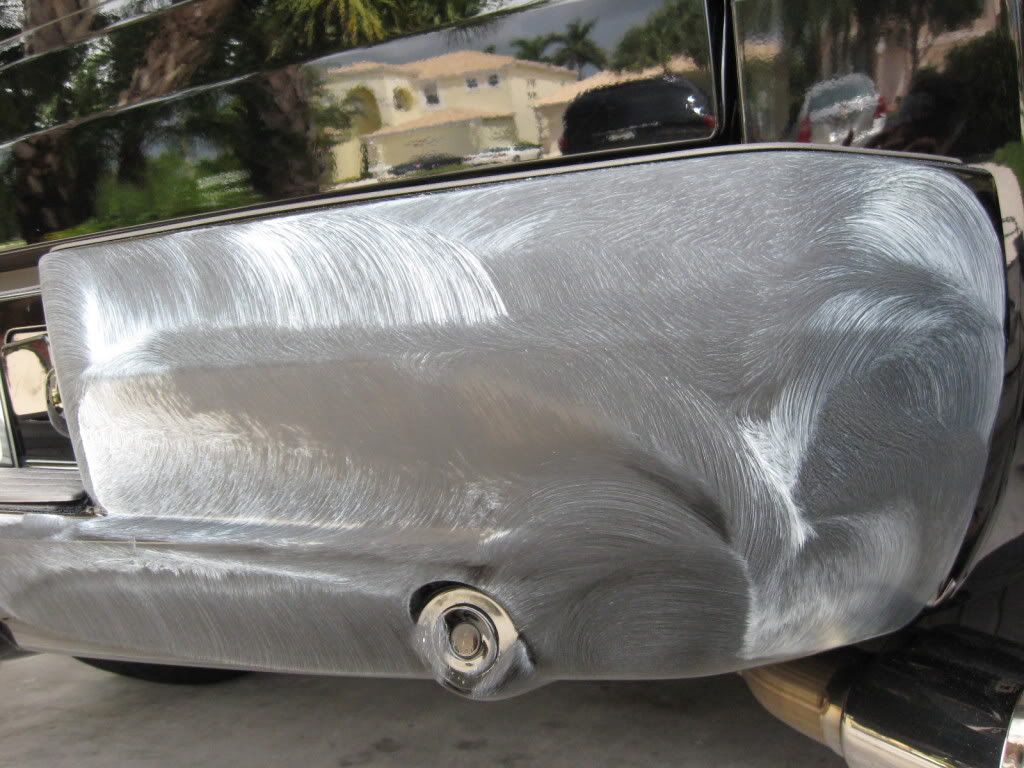
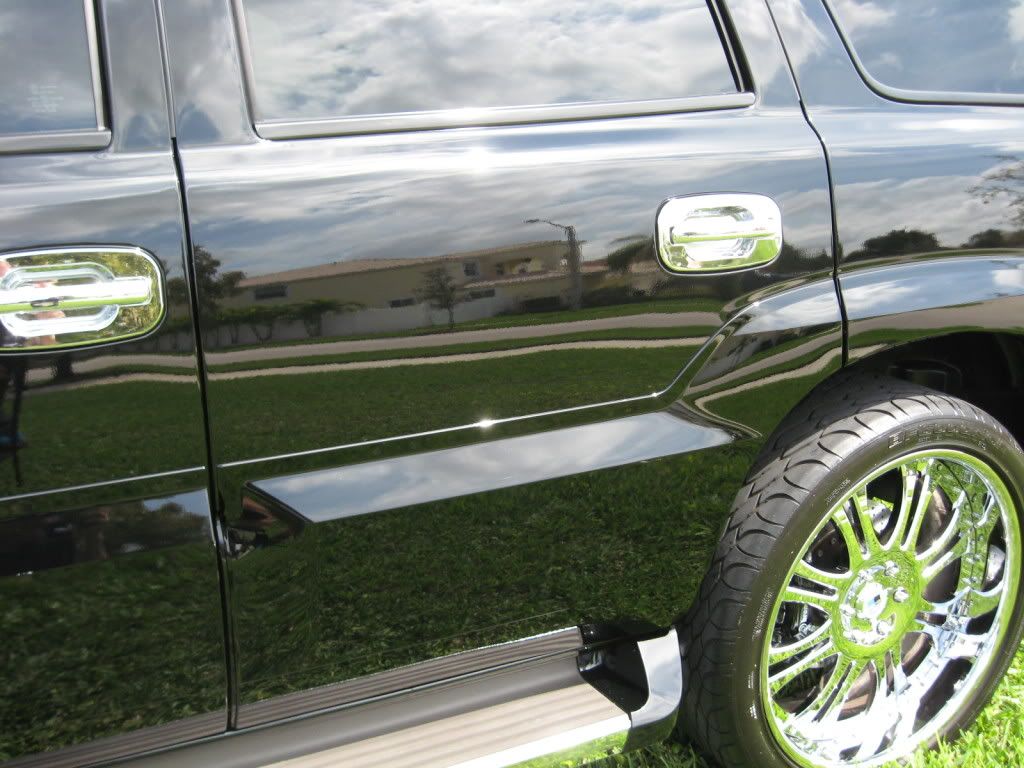
The owner requested that I remove all the custom Swarovski crystal encrusted emblems & decals. I 1st heated each one up with my 500W halogen and carefully pulled each one away with my MAC trim pick. I then removed the remaining 2-sided tape with a plastic razor blade. I then wiped away the left over glue with Goof-Off solvent. There was quite a bit of shadowing and I used Meg’s 105 compound with a Lake Country yellow wool pad to remove it.
**Surface Contaminant Removal**
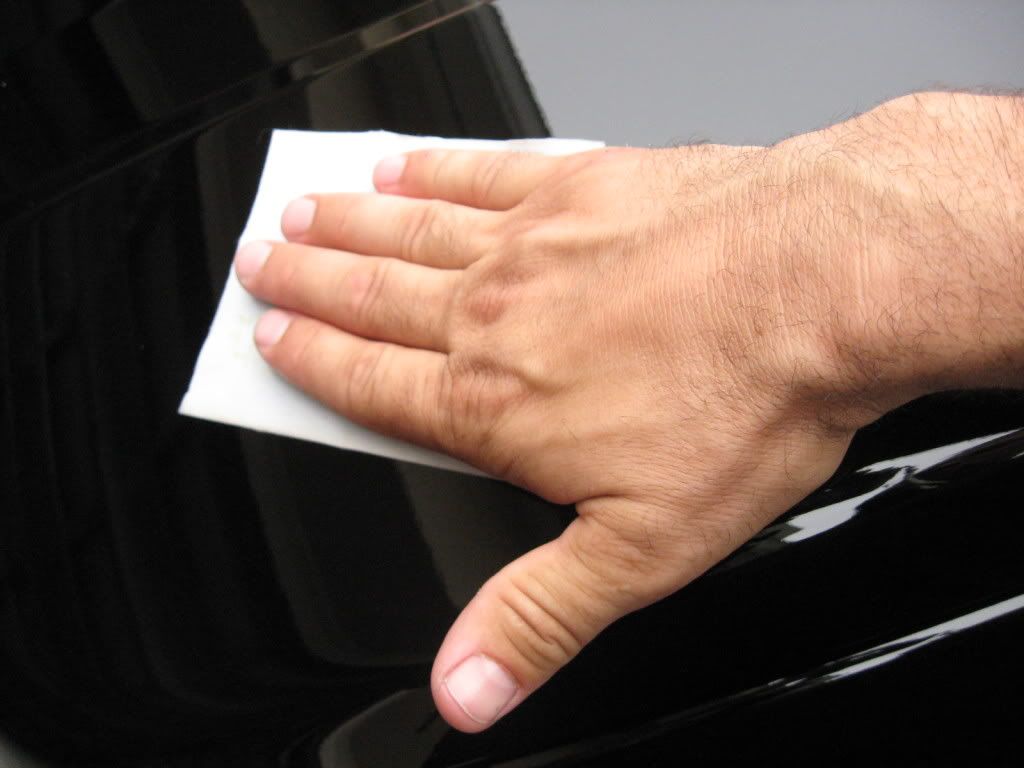
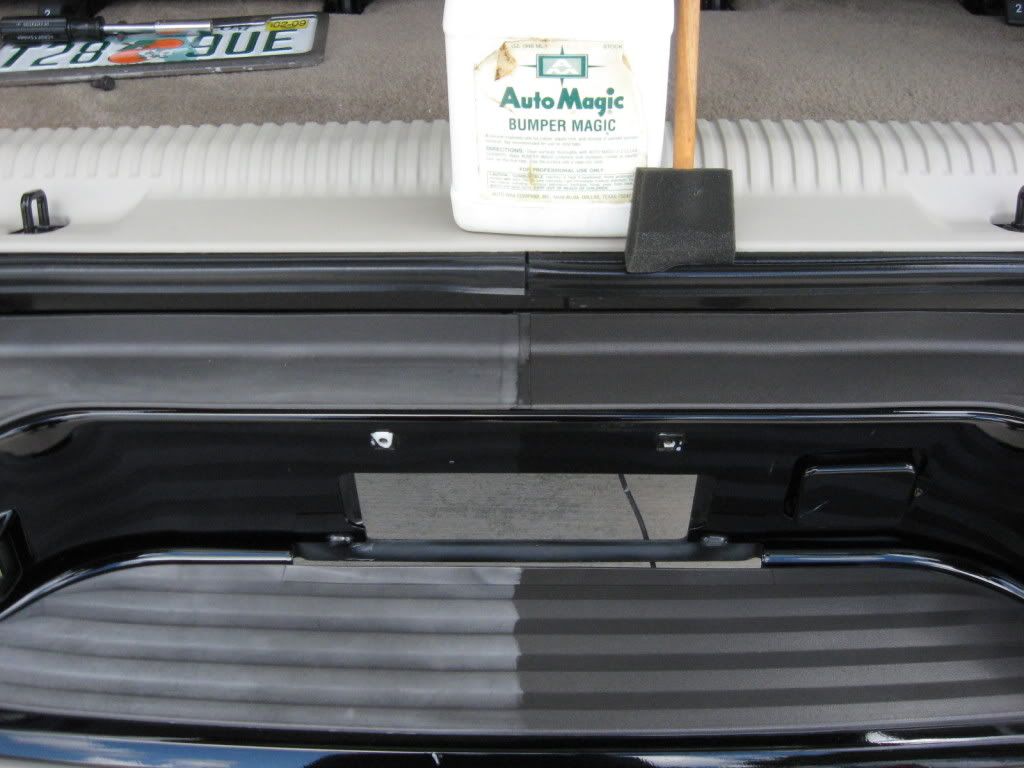
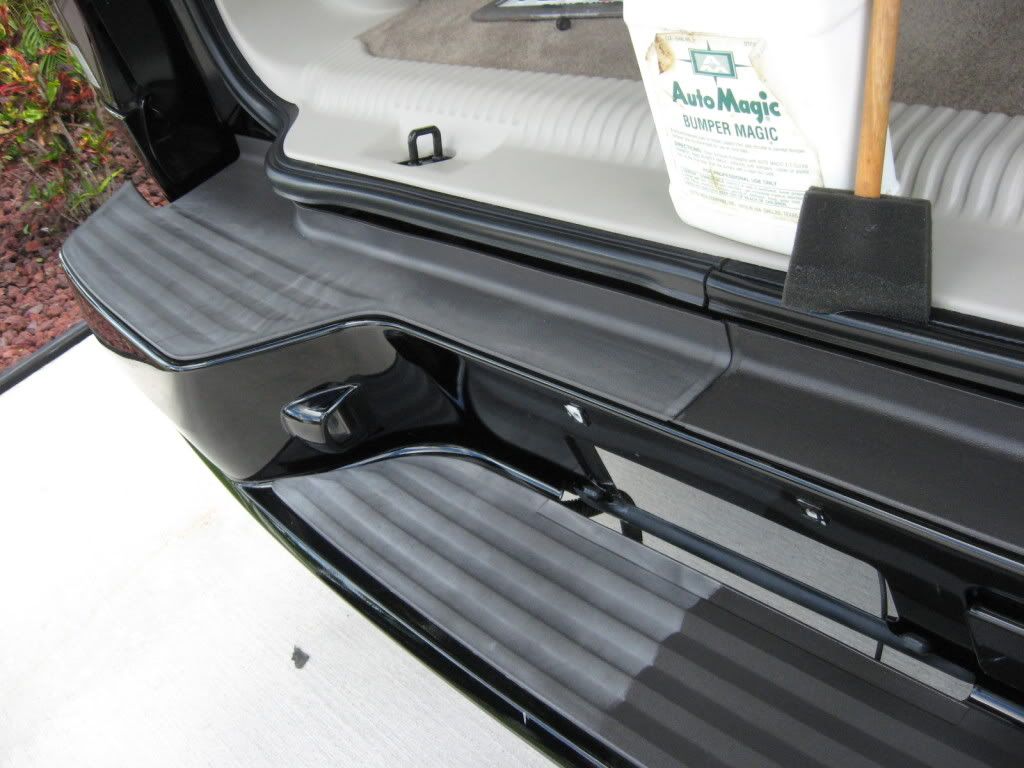
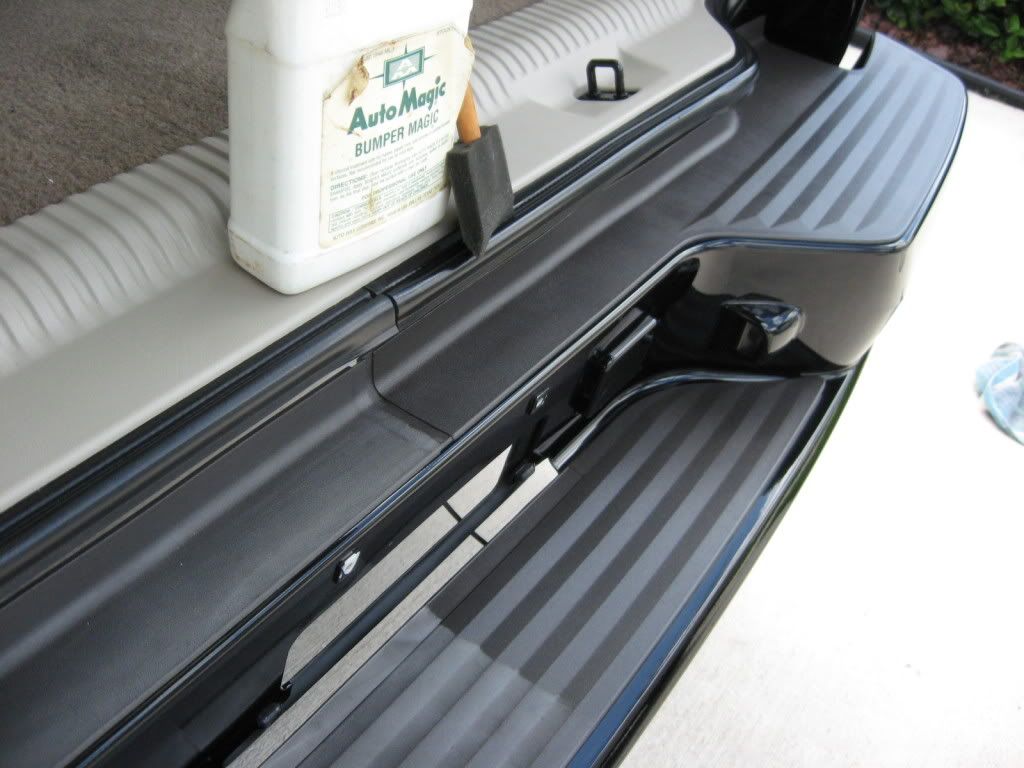
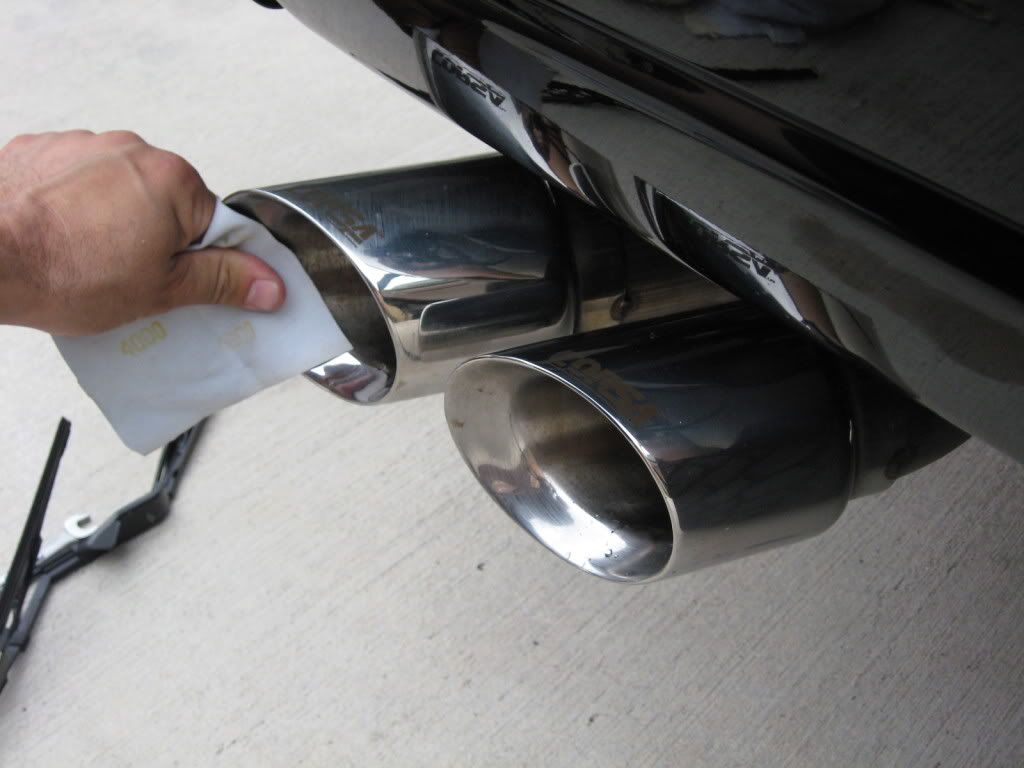
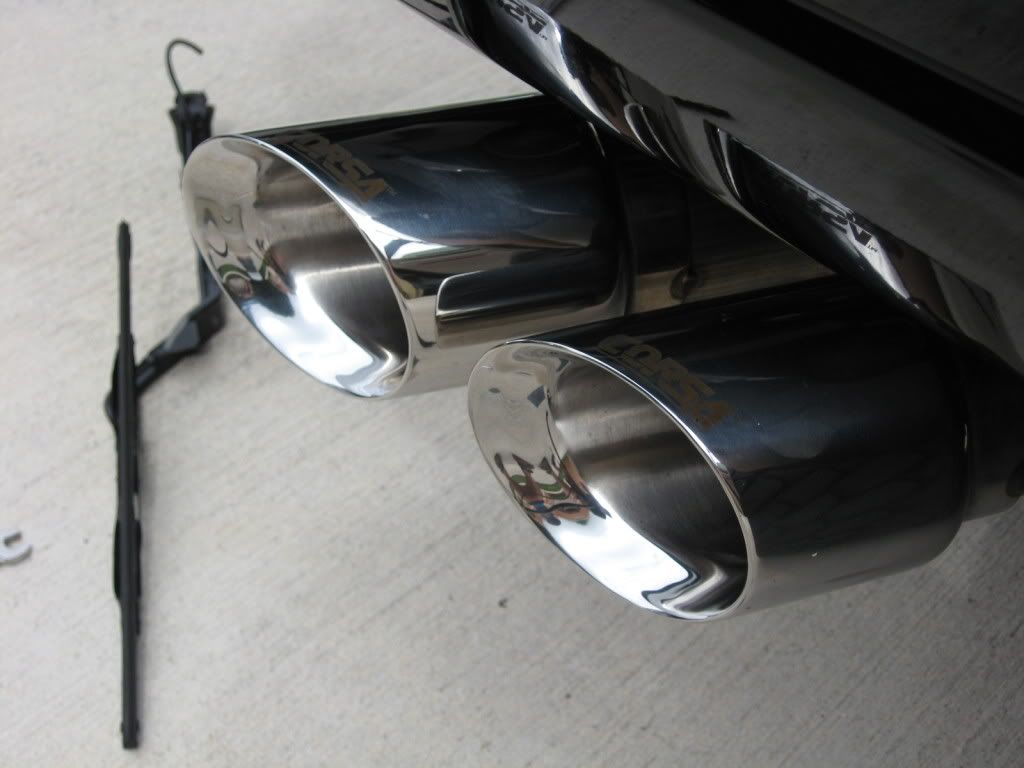
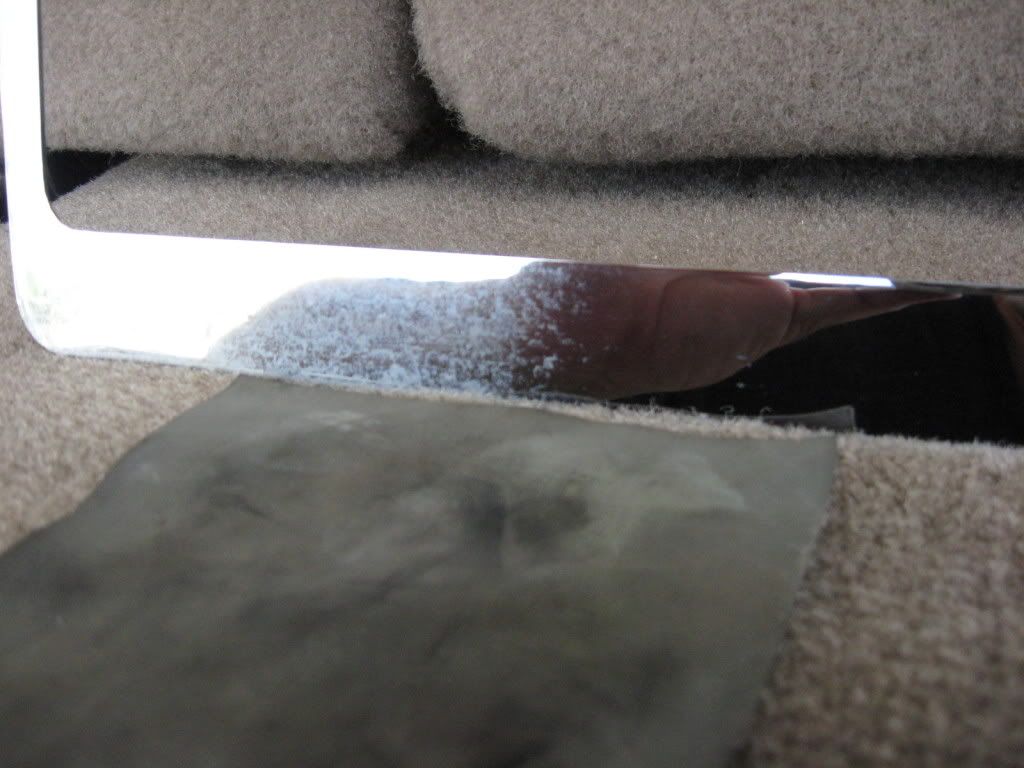
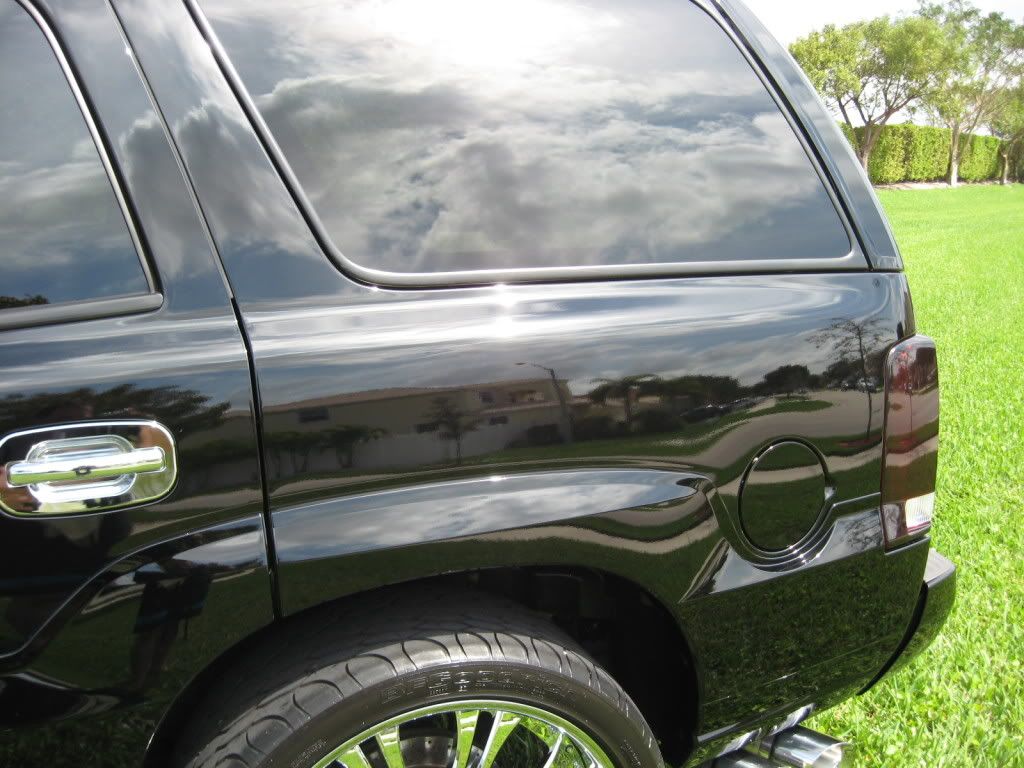
After washing, the surface felt relatively smooth, but after doing a close inspection with cellophane paper, I noticed tiny little bumps on the surface. I 1st used AM blue Clay Magic lubed with AM Body Shine. After drying the surface, I then dry sanded everything with 4000 grit sandpaper from Micro Surface Finishing Products. This grade of paper allows for quick and easy surface prep with little to no marring (especially after claying). It really makes a significant difference in both the appearance & feel of the finished product.
**Test Panel**
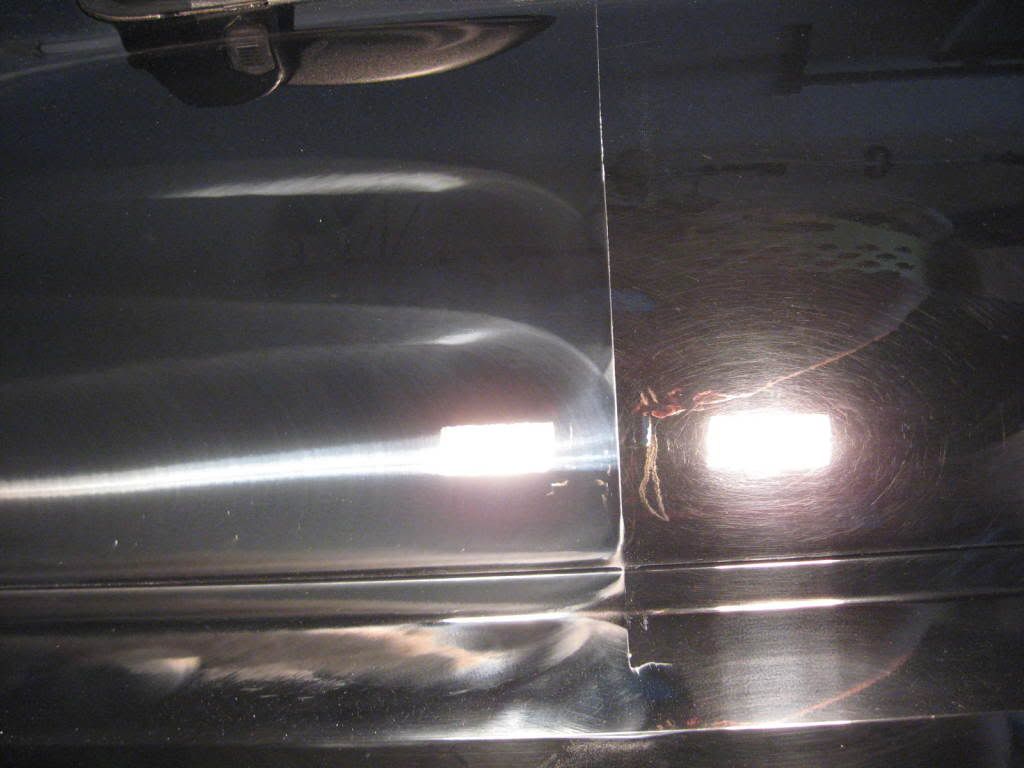
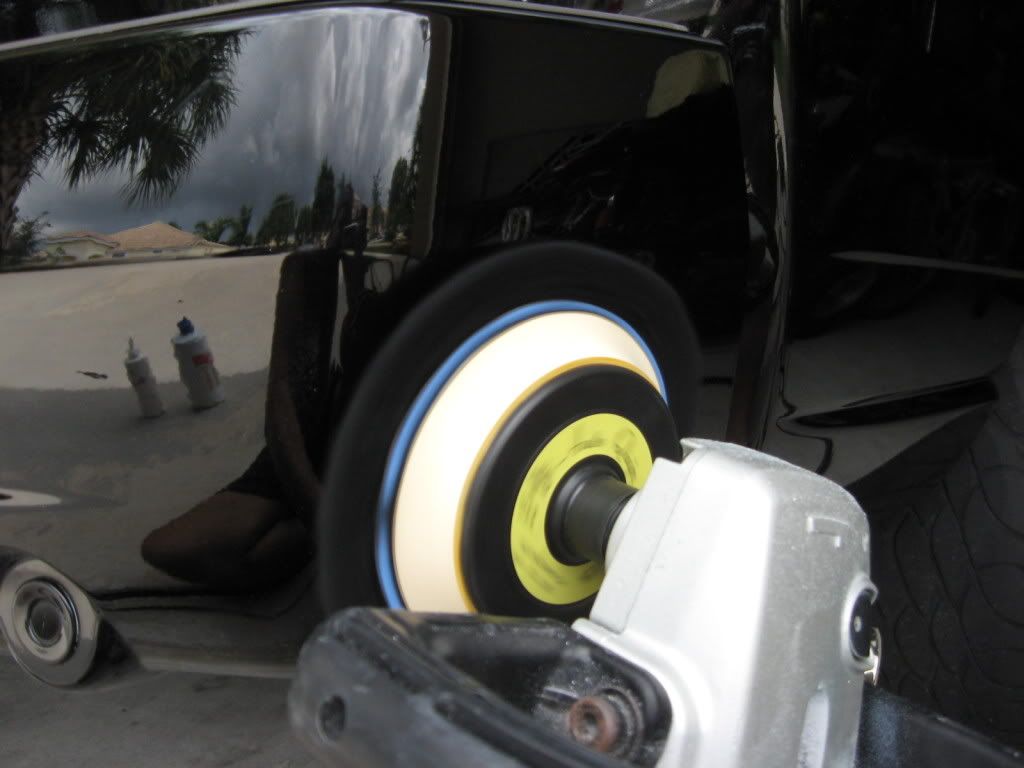
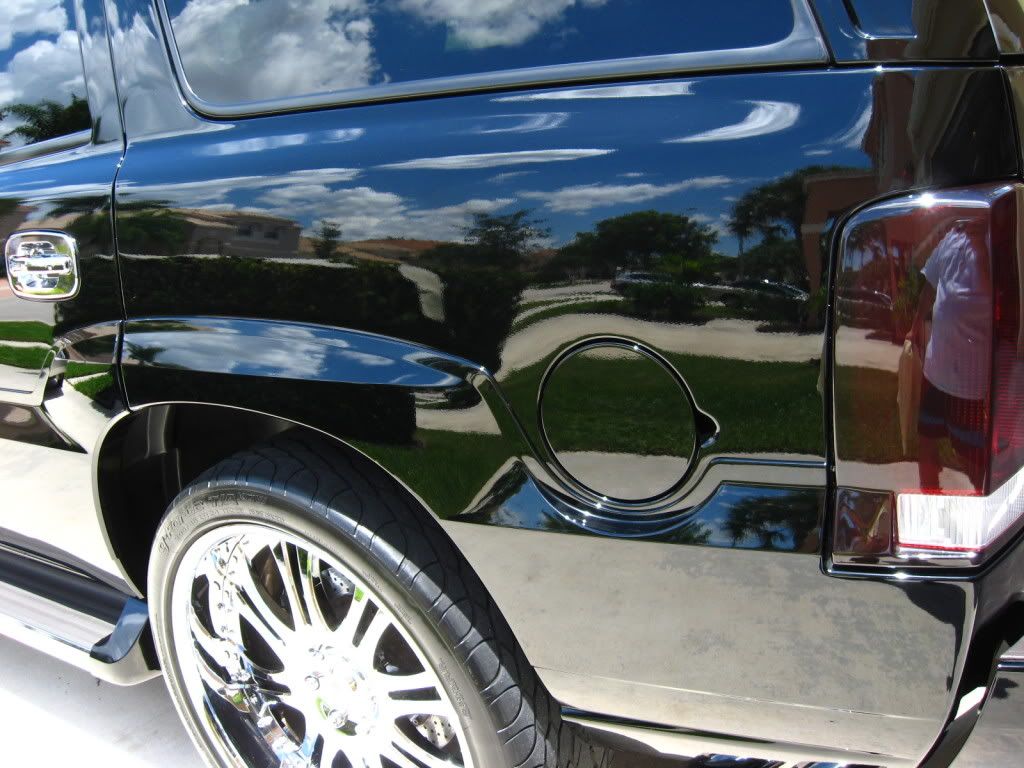
After trying out several combinations of products & pads, I decided on using Menzerna Intensive Polish with a Micro Surface Black Lambs Wool(BLW)
pad for the initial correction of the heavy swirls. This pad IMHO cuts much better than a Purple Foamed Wool, leaves the finish with less buffer trails and does not lint at all. It also lasts 10 times longer than PFW works great with Menzerna polishes and really allows more bite in the defect removal perspective. Especially on this super soft Cadillac clear.
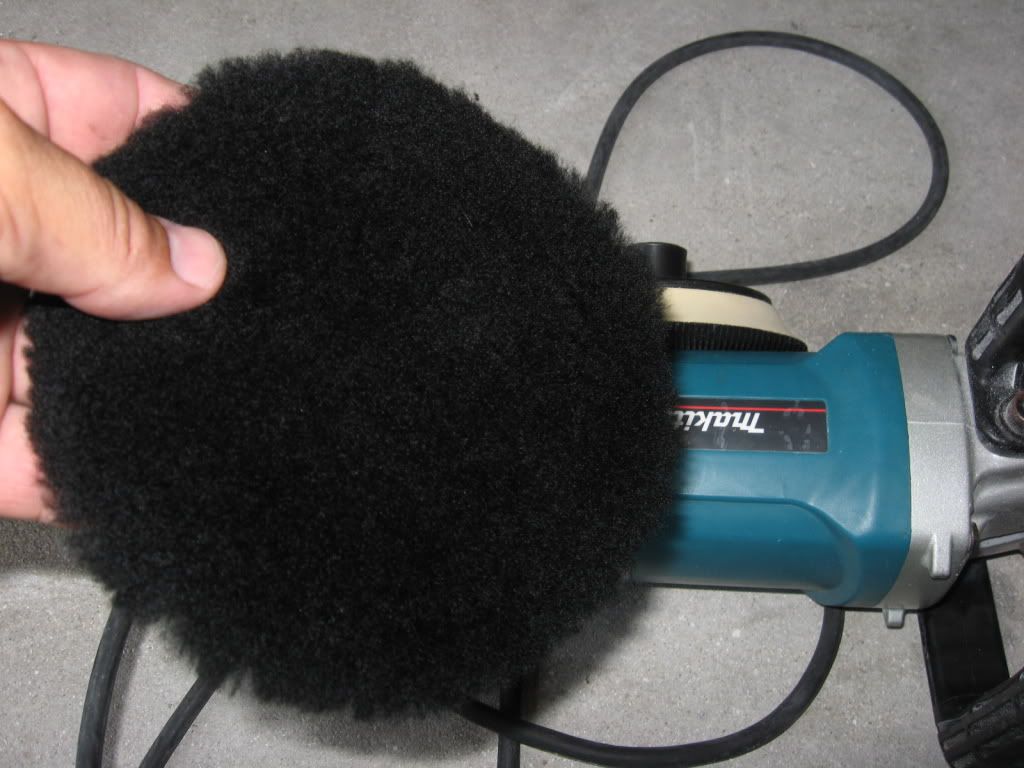
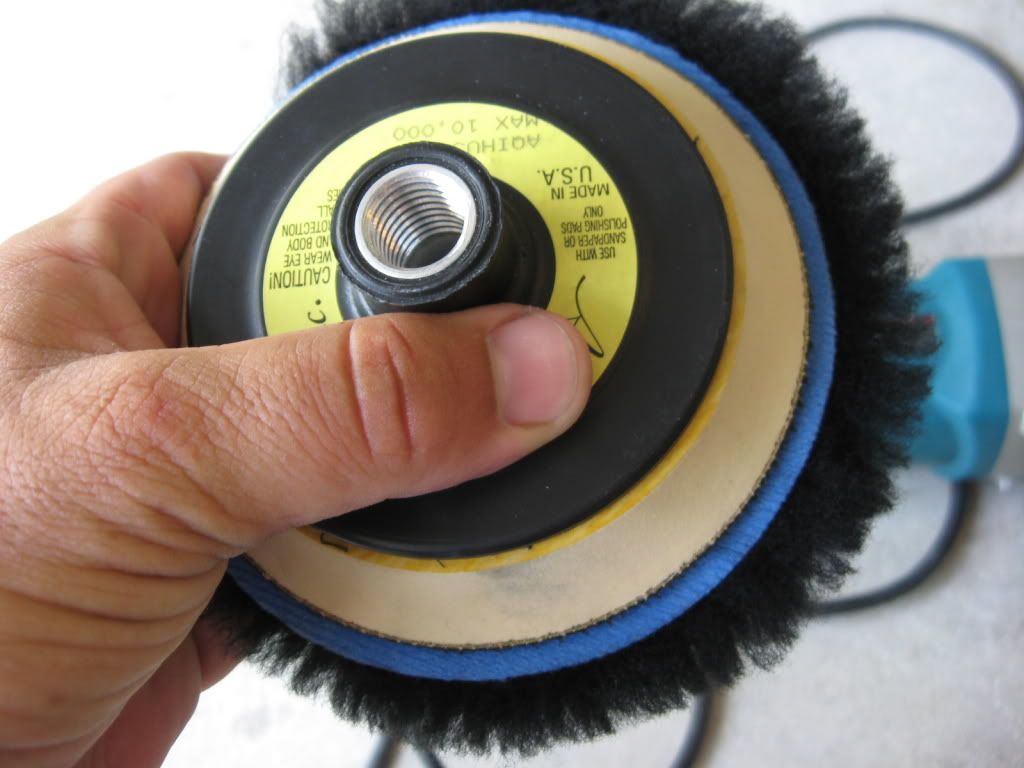
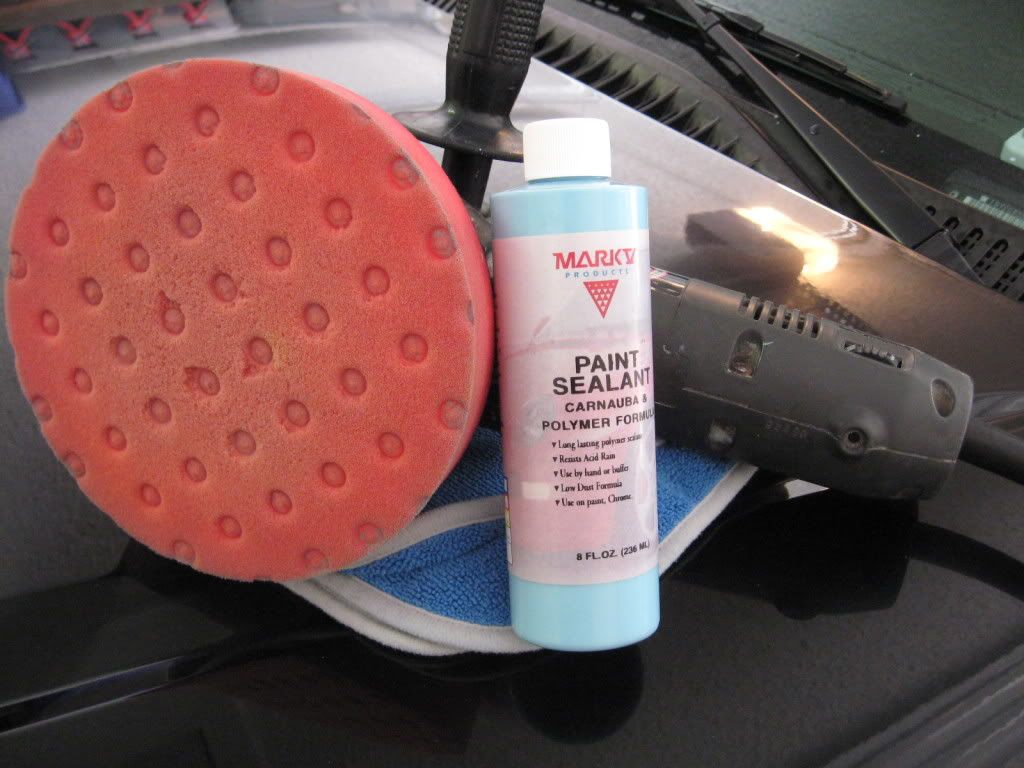
Here’s some different pads & plates I’ve been experimenting with. Each one gives a different/special feel when buffing and once mastered, can really help support the user in tackling individual areas of certain vehicles.

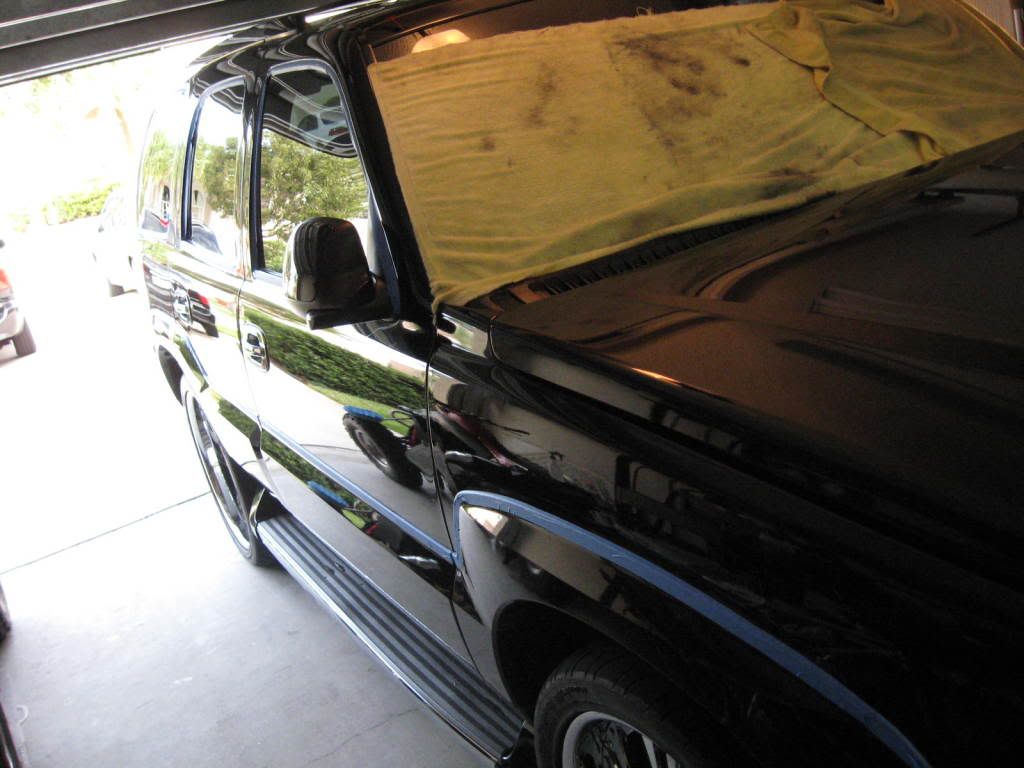
I then taped off and covered all critical moldings & trim to allow for safe as well as thorough buffing.

I had the opportunity to spend the entire weekend with this 2006 Cadillac Escalade in solid black. The car was full of deep swirls and needed a complete clean-up from head to toe. This owner is not only my 1st client since relocating to Florida 2+ years ago, but is my best. He allows me total control in the reconditioning/preserving of his vehicles and commutes well over an hour from Miami to W. Palm just to have me take care of them.
Here are some other threads I’ve done on his vehicles:
http://www.autopia.org/forum/click-...dition-overspray-removal-2002-expedition.html
http://www.autopia.org/forum/click-brag/95560-when-seats-so-bad-they-need-powerwashed.html
It’s a real pleasure to be able to take my time on each project right from the comfort of my home. This specific time, I choose to really work the paint polishing out every possible defect and then bringing up the gloss in a multitude of processes. The owner dropped the vehicle off Friday
evening and I immediately began my process of extensively prepping it.
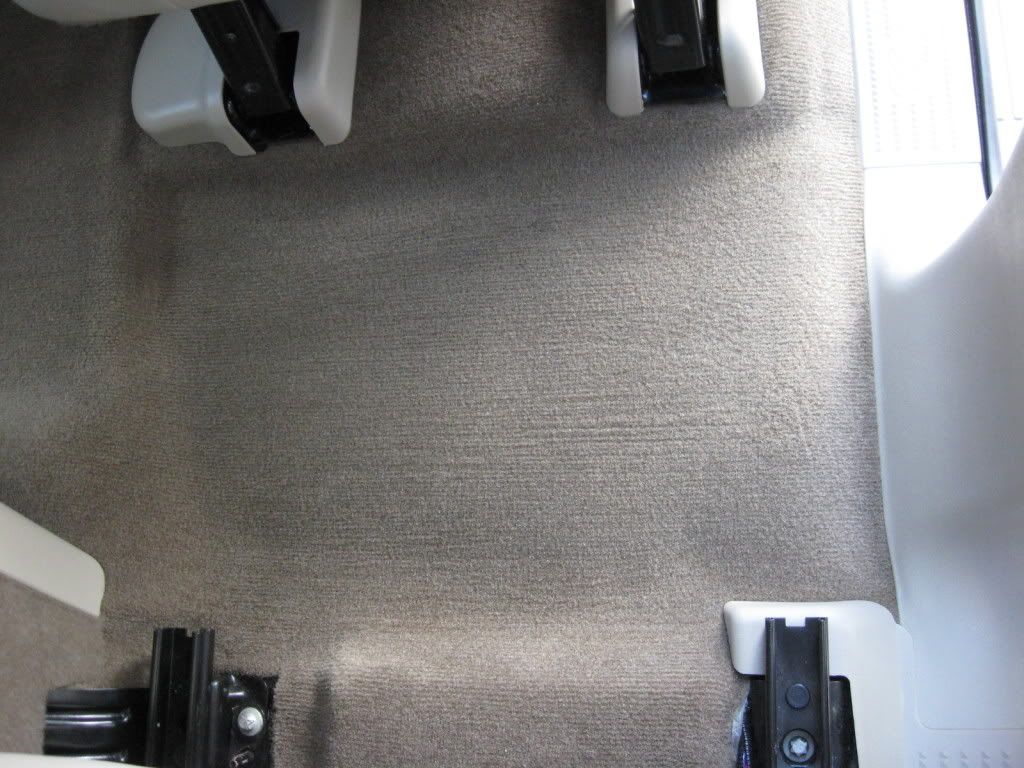
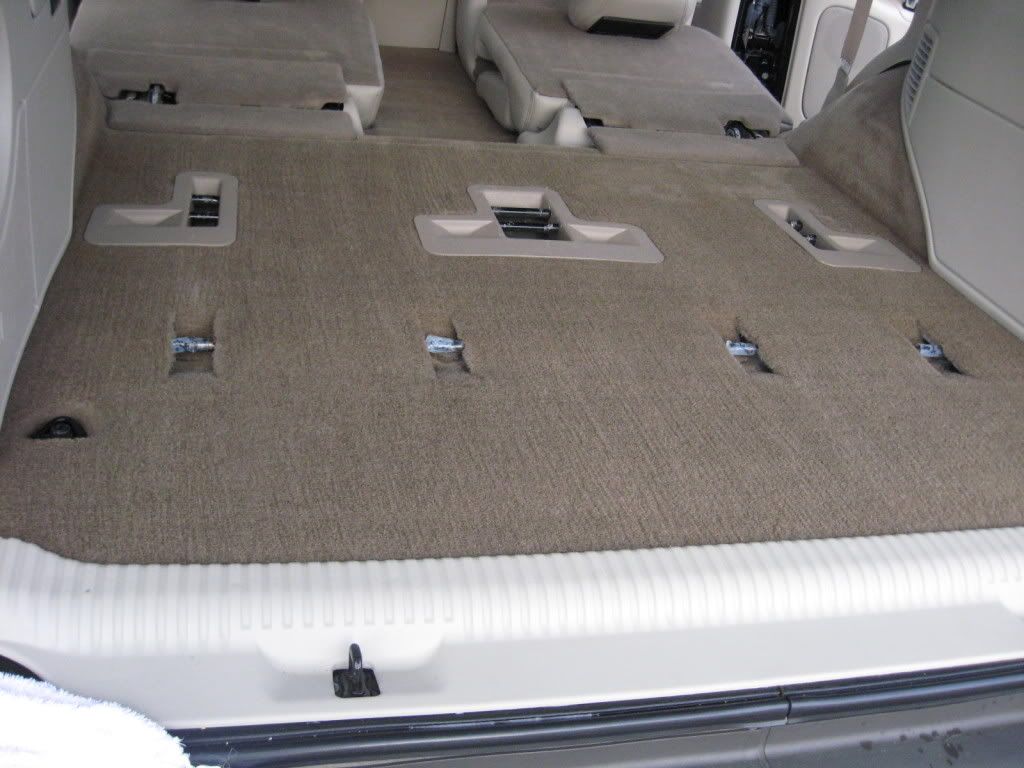
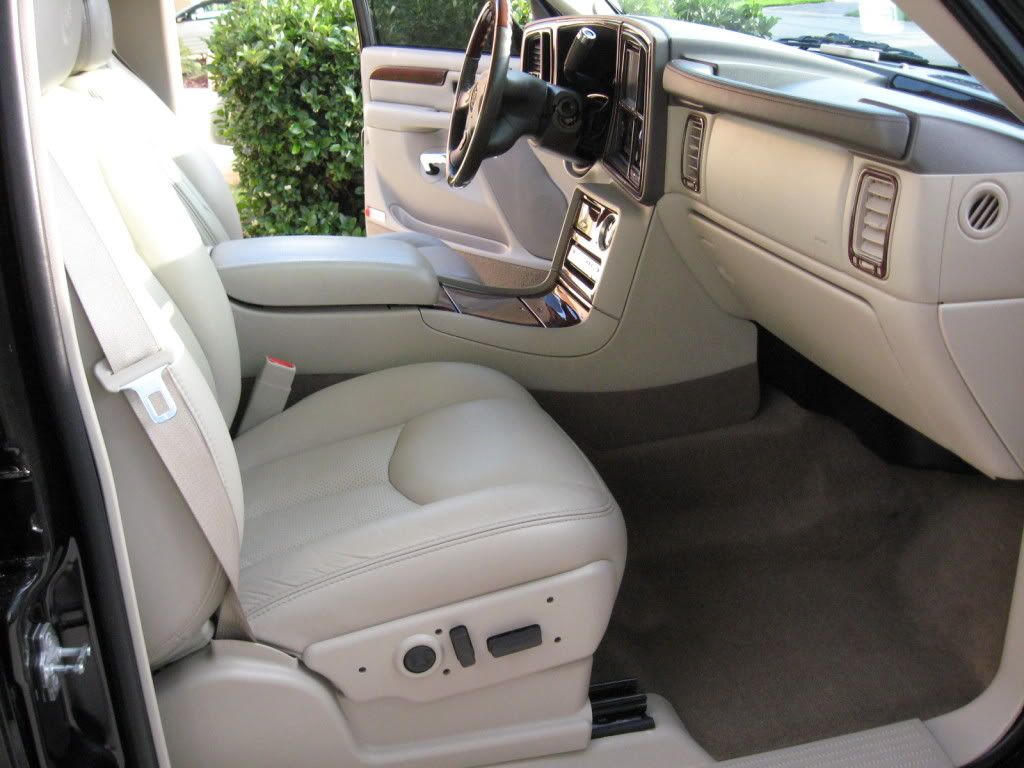
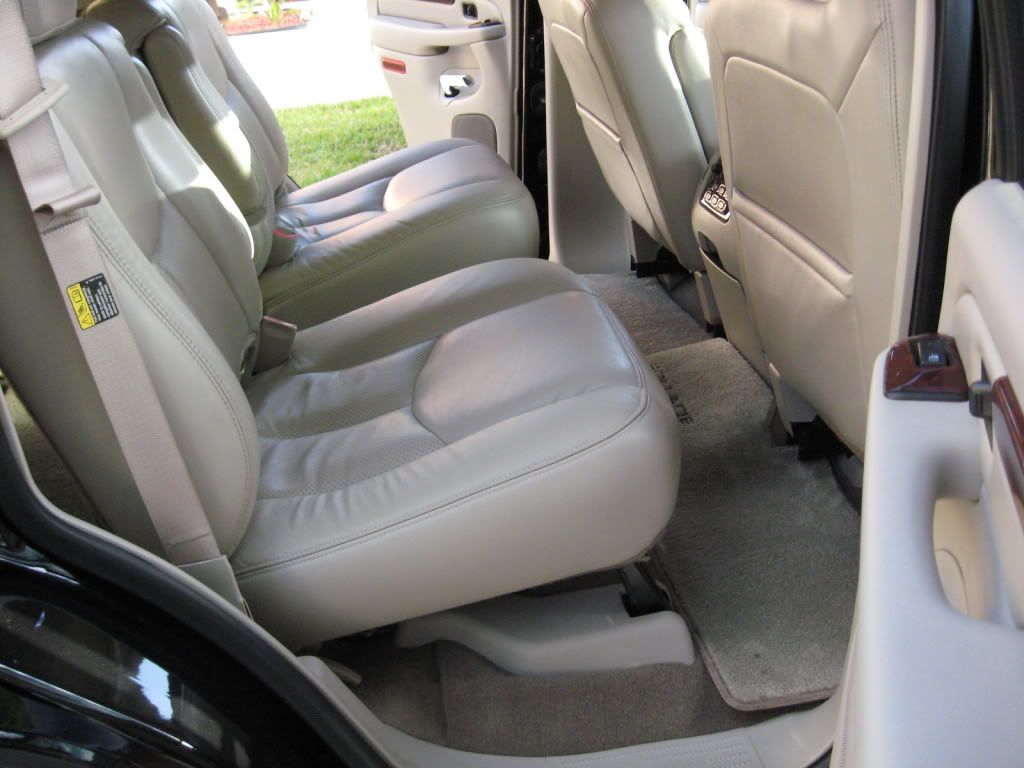
**Befores**
**Wash Process**
The complete exterior 1st received a thorough 1500psi blasting with my power washer to remove any and all loose debris and grime to mitigate additional damage once being hand washed in the 2nd step. I then pre-soaked the exterior with a mix of Auto Magic(AM) Red Hot degreaser & E-Z Suds Liquid Concentrate and hand washed each panel, component and wheel well to insure that nothing would interfere with the polishing process to come. Wheels,tires & wheel wells were cleaned with AM Magnificent
wheel cleaner.
The owner requested that I remove all the custom Swarovski crystal encrusted emblems & decals. I 1st heated each one up with my 500W halogen and carefully pulled each one away with my MAC trim pick. I then removed the remaining 2-sided tape with a plastic razor blade. I then wiped away the left over glue with Goof-Off solvent. There was quite a bit of shadowing and I used Meg’s 105 compound with a Lake Country yellow wool pad to remove it.
**Surface Contaminant Removal**
After washing, the surface felt relatively smooth, but after doing a close inspection with cellophane paper, I noticed tiny little bumps on the surface. I 1st used AM blue Clay Magic lubed with AM Body Shine. After drying the surface, I then dry sanded everything with 4000 grit sandpaper from Micro Surface Finishing Products. This grade of paper allows for quick and easy surface prep with little to no marring (especially after claying). It really makes a significant difference in both the appearance & feel of the finished product.
**Test Panel**
After trying out several combinations of products & pads, I decided on using Menzerna Intensive Polish with a Micro Surface Black Lambs Wool(BLW)
pad for the initial correction of the heavy swirls. This pad IMHO cuts much better than a Purple Foamed Wool, leaves the finish with less buffer trails and does not lint at all. It also lasts 10 times longer than PFW works great with Menzerna polishes and really allows more bite in the defect removal perspective. Especially on this super soft Cadillac clear.
Here’s some different pads & plates I’ve been experimenting with. Each one gives a different/special feel when buffing and once mastered, can really help support the user in tackling individual areas of certain vehicles.
I then taped off and covered all critical moldings & trim to allow for safe as well as thorough buffing.


") :woot2:
:woot2: . did you ever find animal chin? LOL ...