Greetings. I took some time to get some more practice in on my trusty test panel (it`s almost reached it`s end). This is the same panel I`ve used before on such threads as my 5 way compound comparison.... http://www.autopia.org/forums/machin...tml?highlight=
Keep in mind, this panel has already been sanded and polished before!
Obejectives:
- Practice! Damp sanding, rotary use, and polishing
- Testing! - Getting familiar with Mirka`s Abralon, the Flex 3401, Flex PE14, 3D AAT, and wool pad
- PTG readings for each "correction step" (except final polish step)
- Purposely burning through clear coat to determine just what it takes, and how much thickness was removed
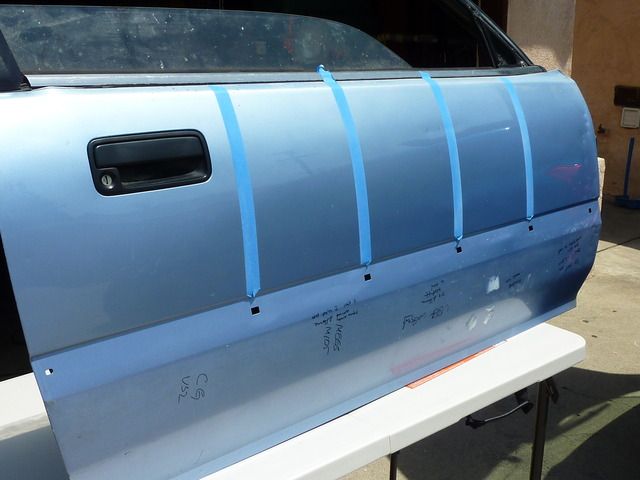
Test Panel
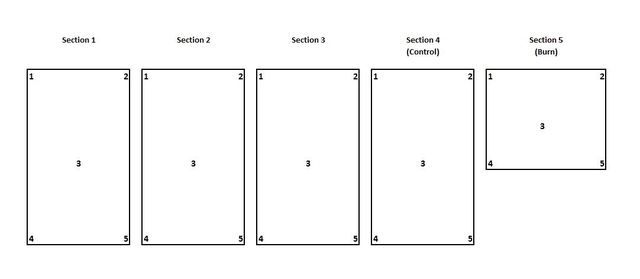
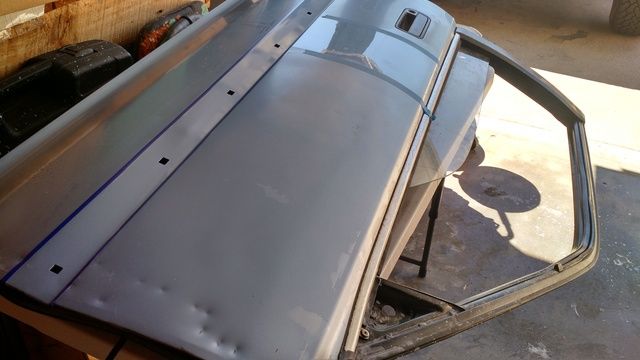
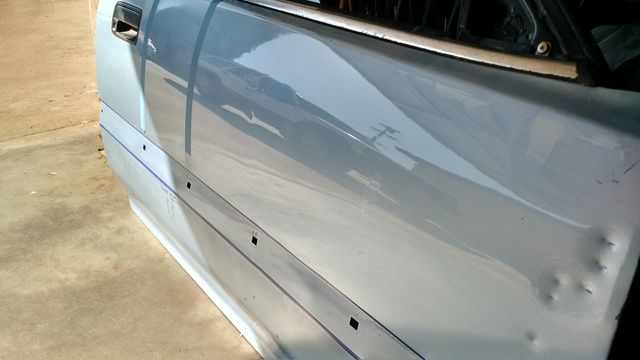
As noted, this is the same panel that`s been used. Here were the "sections" from prior testing...
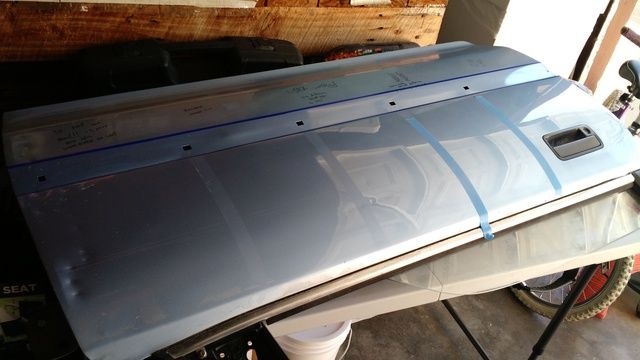
In the current testing phase, I removed some of those tape lines to have one larger panel. In essence, I merged sections 1,2, and 3. I`m using the rectangular holes used for body molding clips as my way of lining things up, and keeping those "sections" for my readings. Here`s what that looks like:
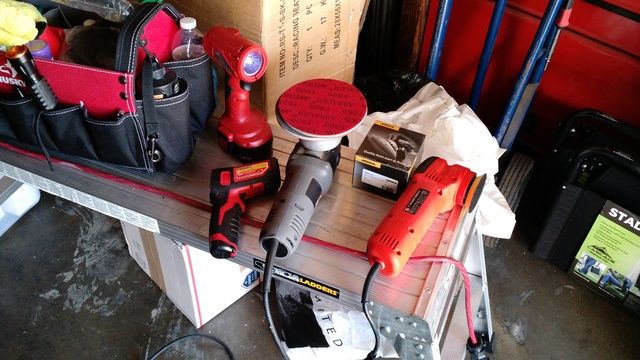
Tools
- PC 7424 w/ 6" plate - damp sanding
- GG3 - damp sanding, edgework
- Flex PE14 - compounding
- Flex 3401 - polishing
- Milwaukee infrared thermometer - temp readings
Products
- 3D AAT Compound, Polish
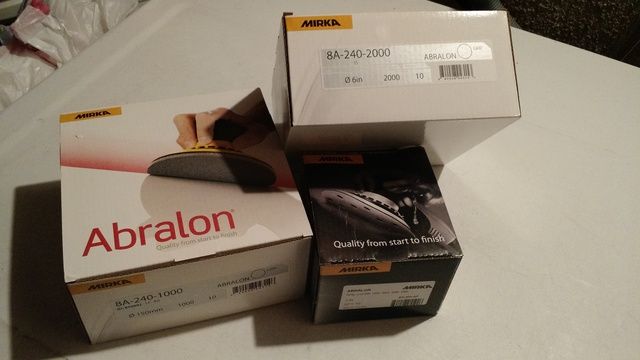
- Mirka Abralon 3" and 6" discs, 1500 grit and 2000 grit
- Buff N Shine Blue Wool Pad, 7.5"
- oops - polish pad unk - I`m guessing a white Hybrid
- 3M blue vinyl tape, 1/8" - for edges
- misc towels, IPA, spray bottle, etc...
For my review on the Mirka Abralon discs, click here... http://www.autopia.org/forums/machin...tml?highlight=
Process:
After removing tape, i cleaned the panel down, and used the 3M Blue Vinyl tape to cover up the high spots and edges. Even though I`m just practicing on a test panel, I wanted to do it as if this were a real job (mostly).
After taking my initial rounds of readings, I then did the edgework with the GG3 and 3" sanding discs. Followed up with the PC and 6 discs. Took more readings. Repeated the process, sanding, wiping off residue, and taking readings.
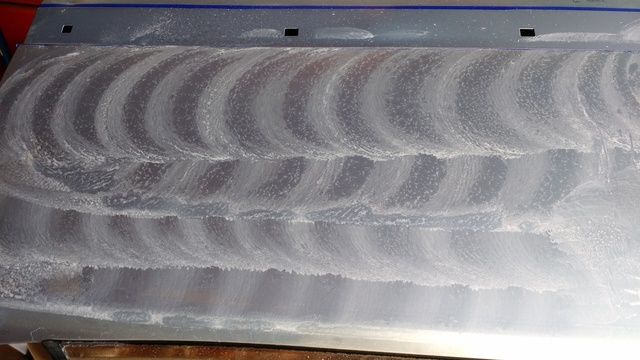
The exception was the "burn" section. I used more force on this TRYING to burn through the clear. Mission accomplished after the second phase with the 1500 grit.
Things looking good, so far...
The Abralon discs were leaving me with a nice, flat, surface.
Having flashbacks as a kid with a coloring book, "Stay within the lines!"
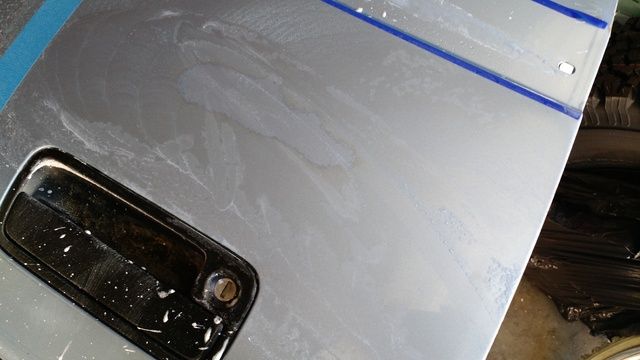
Here`s what the slurry looks like on the "burn" section. It took a moment to realize it happened!
Same section, cleaned off a bit
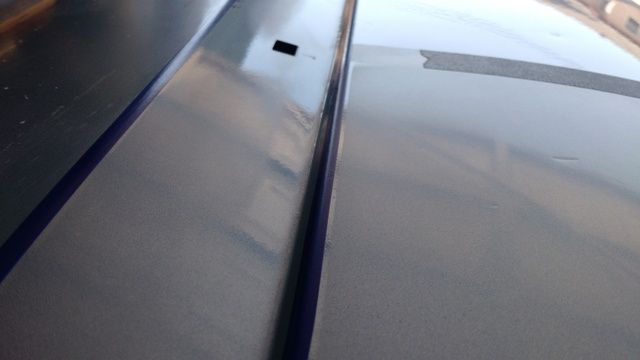
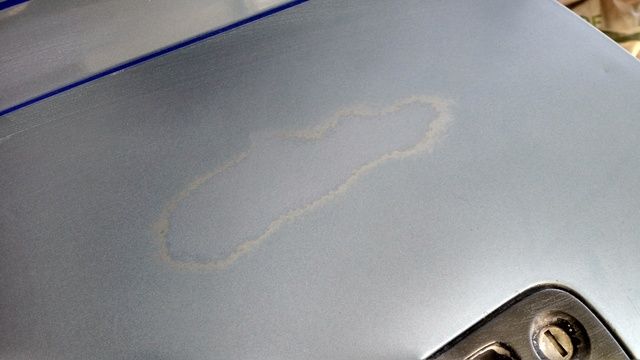
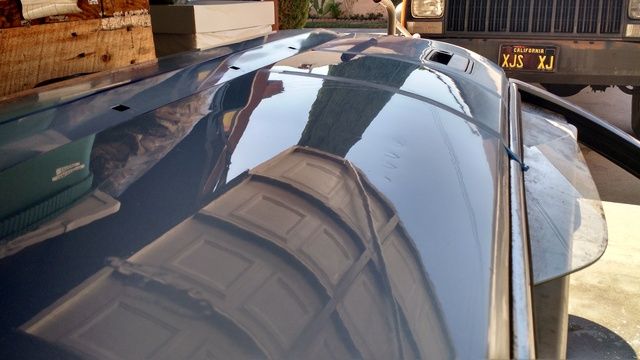
After the 2k grit step, you`re able to see some reflection
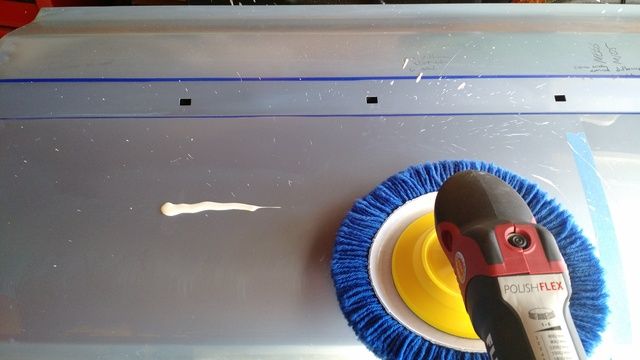
After laying down my bead of compound, a thought crossed my mind: Hmm, will it sling if I put some product onto the wool pad directly? Answer....
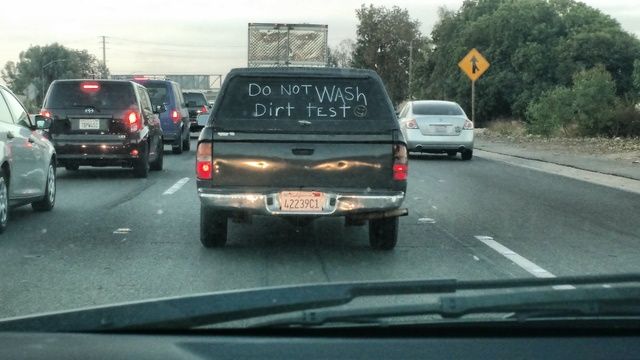
Random fun pic (saw this on the freeway like a week ago. made me laugh)
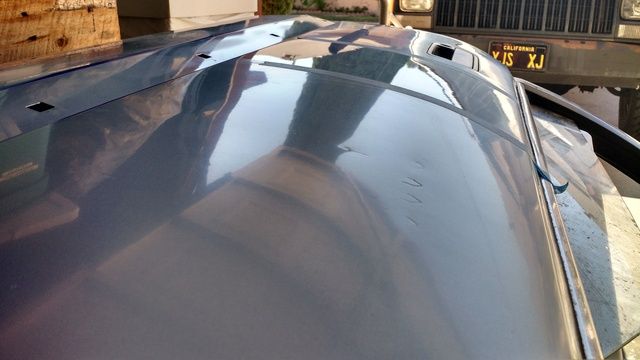
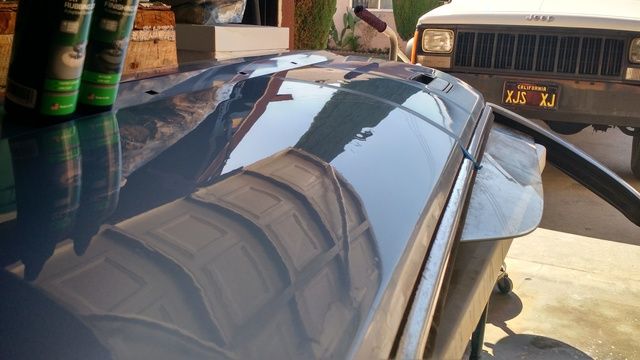
After compounding with Flex PE14 and wool pad
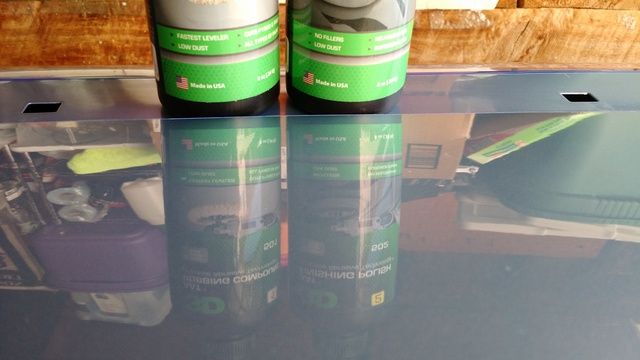
After final polishing with Flex 3401
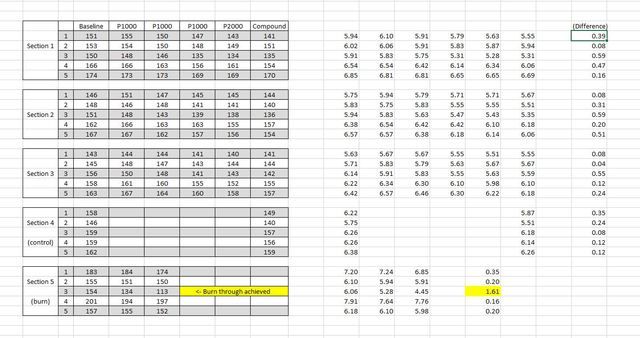
And lastly, my "notes" from the paint thickness readings. I took my readings using microns, but figured I`d make it easier for you MILS guys, by using Excel to convert the numbers over.
Section column tells you what section that pertains to. Refer to the first pic to get a visual as to where it goes on the door panel
Second column is numbered 1-5, per each section. Again, refer to the first pic to get an idea. NOTE: I tried to take the readings from the same spot, each and every time. There were some chips, and other "markers" on the paint that helped with some areas, but most were best guess type deals.
The remaining columns are broken down into the "correction step" they go with. First is the baseline, before any correction taken. This is followed by three passes (complete section passes, as done with polishing) in 1000 grit, then one with 2000 grit, then finally by the compounding. I noticed the compounding took very little off, so didn`t bother with taking readings after polishing.
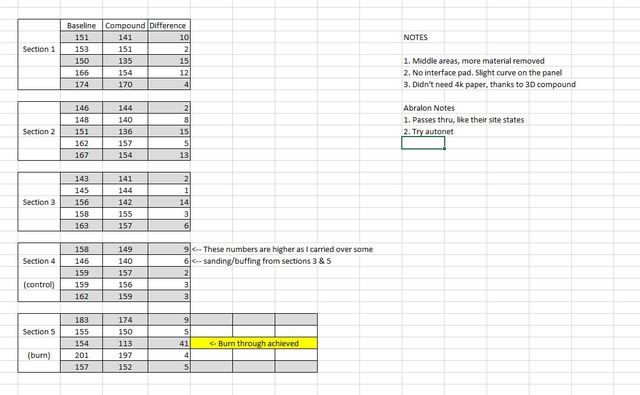
This last one, I removed the four correction steps (sanding) to leave the baseline numbers, followed by the compound numbers. I then took the difference between the two so I may get an idea as to how much clear coat was removed to get to the final number. This "difference" is also noted on the MILS section in the prior pic.
Hope this helps some of you guys. Any questions, send them to PO BOX 1627, ALONG WITH A COOKIE, to my attention. If I don`t answer, I didn`t like your cookie.
I`ll do my best to answer. Some of the others can chime in as well, as they probably know more than me!!
Thank you
Results 1 to 2 of 2
-
11-01-2016, 01:28 PM #1
PTG, Clear Burn-Thru, 3D AAT, Flex, Mirka Abralon
Post Thanks / Like - 4 Likes, 2 Thanks, 0 Dislikes
-
11-01-2016, 01:34 PM #2
Re: PTG, Clear Burn-Thru, 3D AAT, Flex, Mirka Abralon
I noticed the PTG readings look a little small on the thread. If anybody wants the original pics, or even the Excel file, send your request to crx4fun@gmail.com. Please, no Sp@m. Thank you
Post Thanks / Like - 1 Likes, 0 Thanks, 0 Dislikes Stokdgs liked this post
Thread Information
Users Browsing this Thread
There are currently 1 users browsing this thread. (0 members and 1 guests)
Similar Threads
-
Mirka Abralon Sanding Discs
By JustJesus in forum Machine Polishing & SandingReplies: 16Last Post: 10-10-2016, 03:53 PM -
Which Clear Kote products to buy to use with Flex 3401?
By Spike73 in forum Machine Polishing & SandingReplies: 0Last Post: 11-17-2009, 10:07 AM -
Best places to buy Mirka Abralon in small quantities?
By ZoranC in forum Car DetailingReplies: 8Last Post: 01-07-2007, 04:47 PM -
Mirka abralon: where to buy
By scottabir in forum Professional Detailer General DiscussionReplies: 8Last Post: 01-16-2005, 08:20 AM -
paint correction process with mirka abralon sanding pads
By Focusedonsound in forum Auto Detailing 101Replies: 7Last Post: 08-06-2004, 12:11 AM




 Reply With Quote
Bookmarks